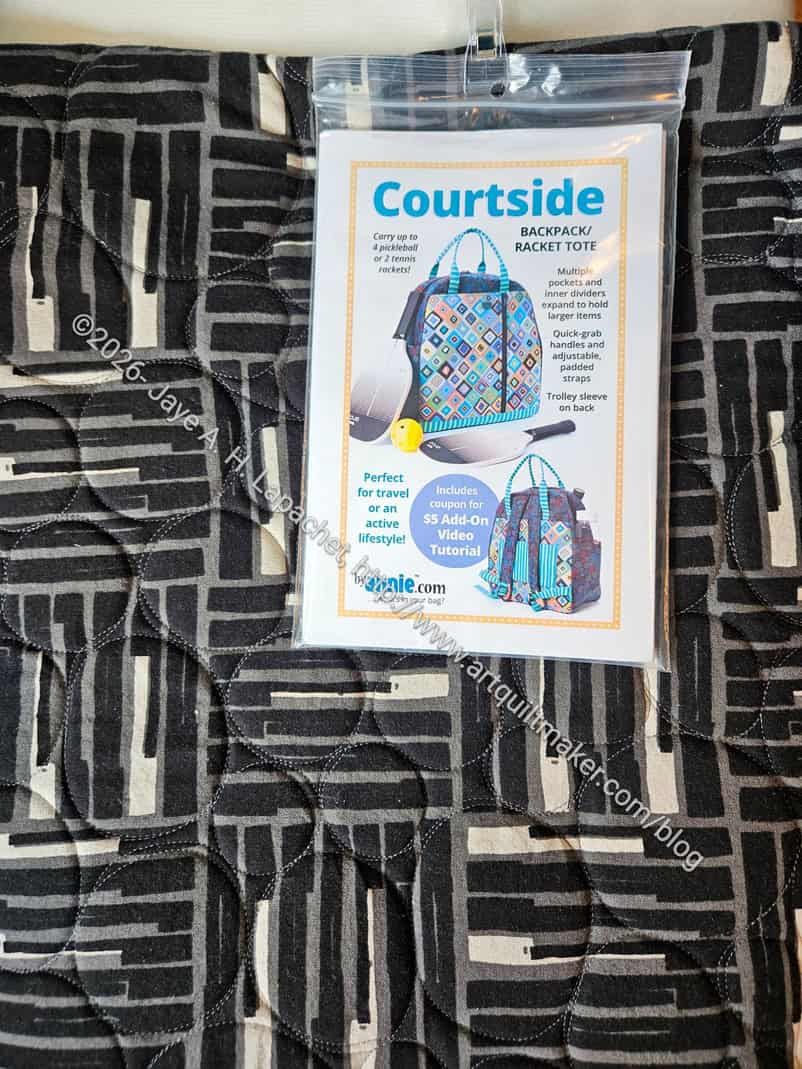
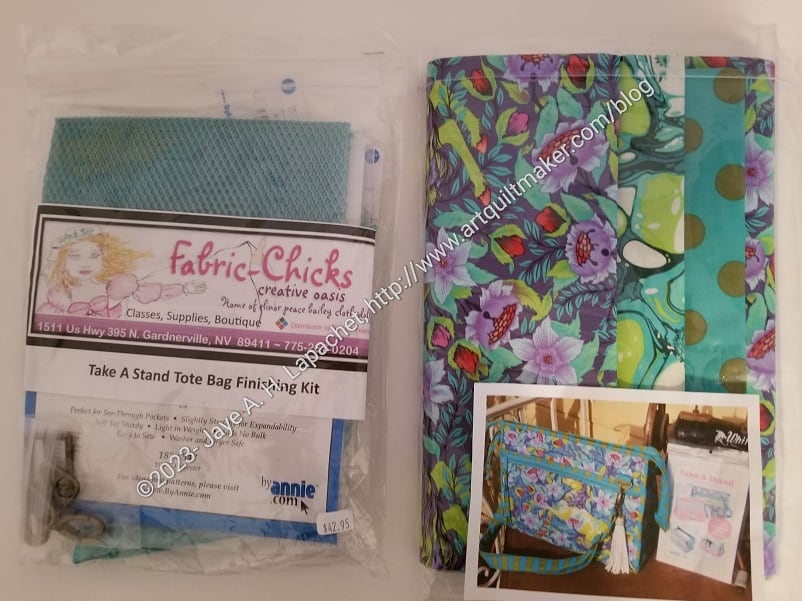
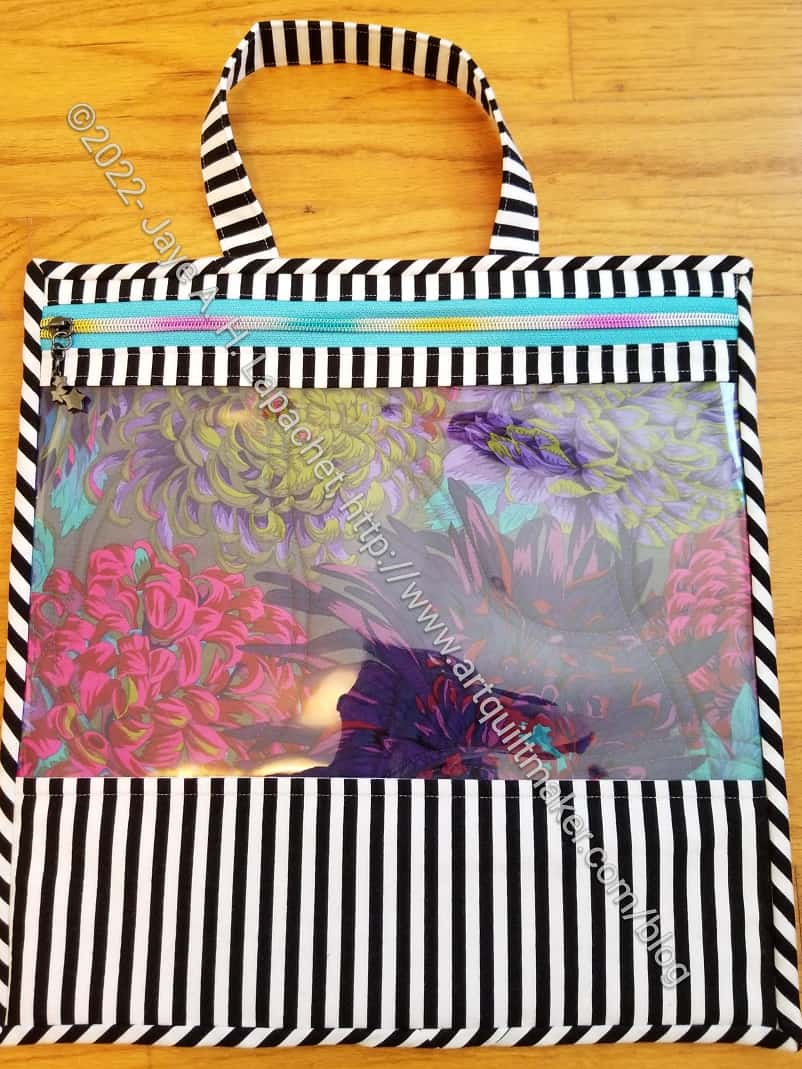
As mentioned, I decided to make this bag instead of the Aneela Hooey bag when visiting Mary.

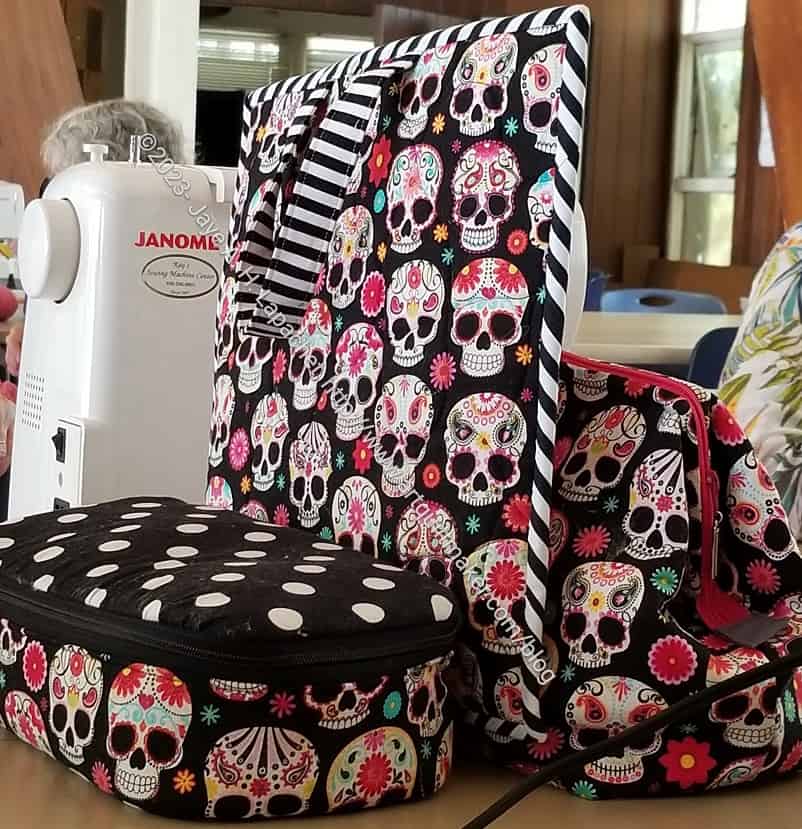
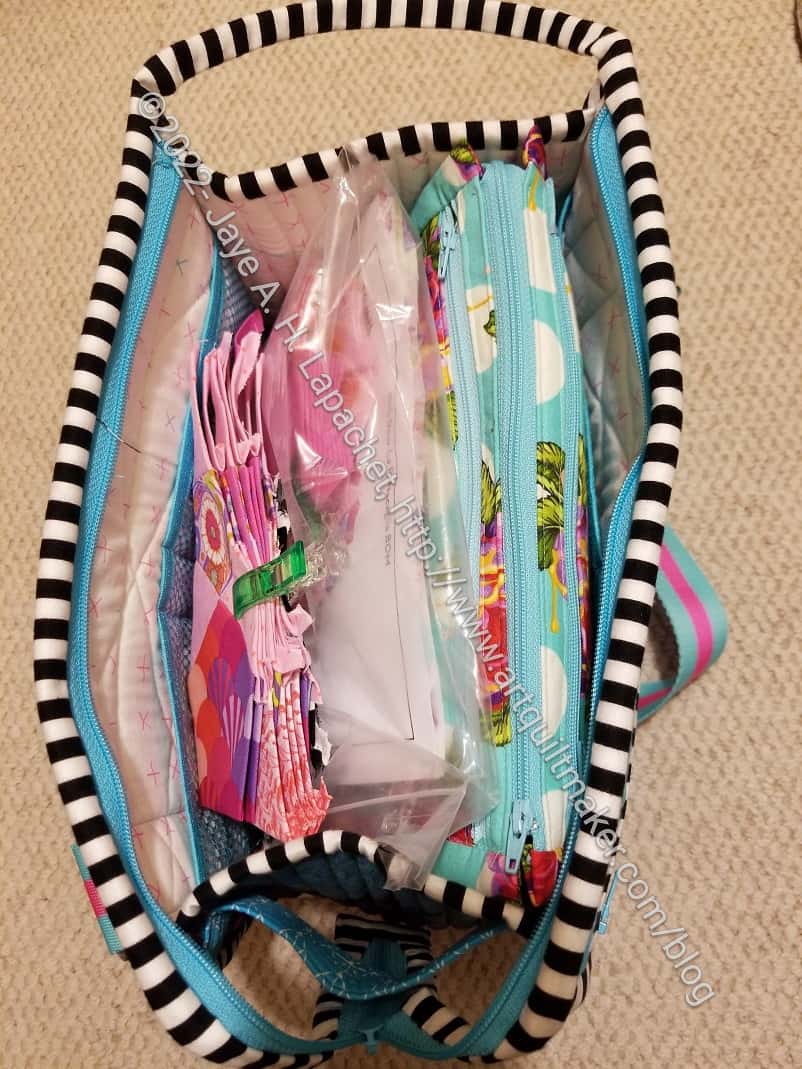
I got quite a lot done, but I had enough fabric to sew this one and one other. I had gathered enough of the selected fabrics to make three Book and Tool Folios. I had enough of some, but not all to make the second Zip It Up. I want the recipients to enjoy the fabrics. I found that I needed two full half yards to make the case body. Though I had enough fabric to start the third one, I decided I would make one and, assuming all went well, make the second two in assembly line fashion.
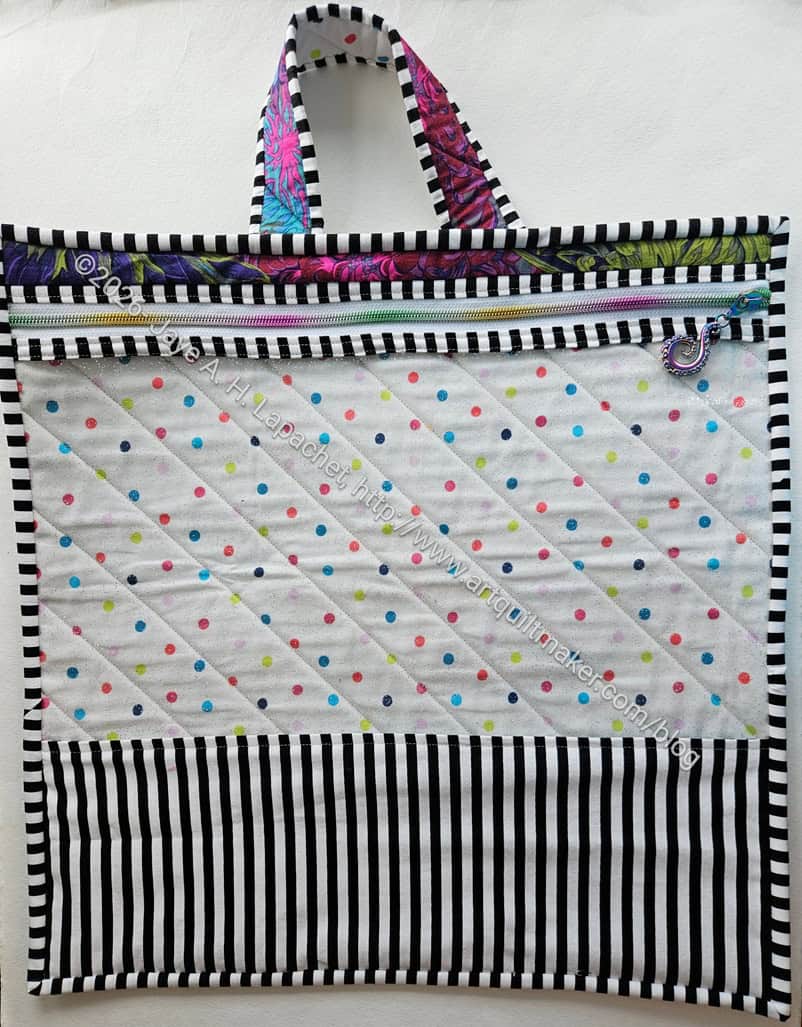
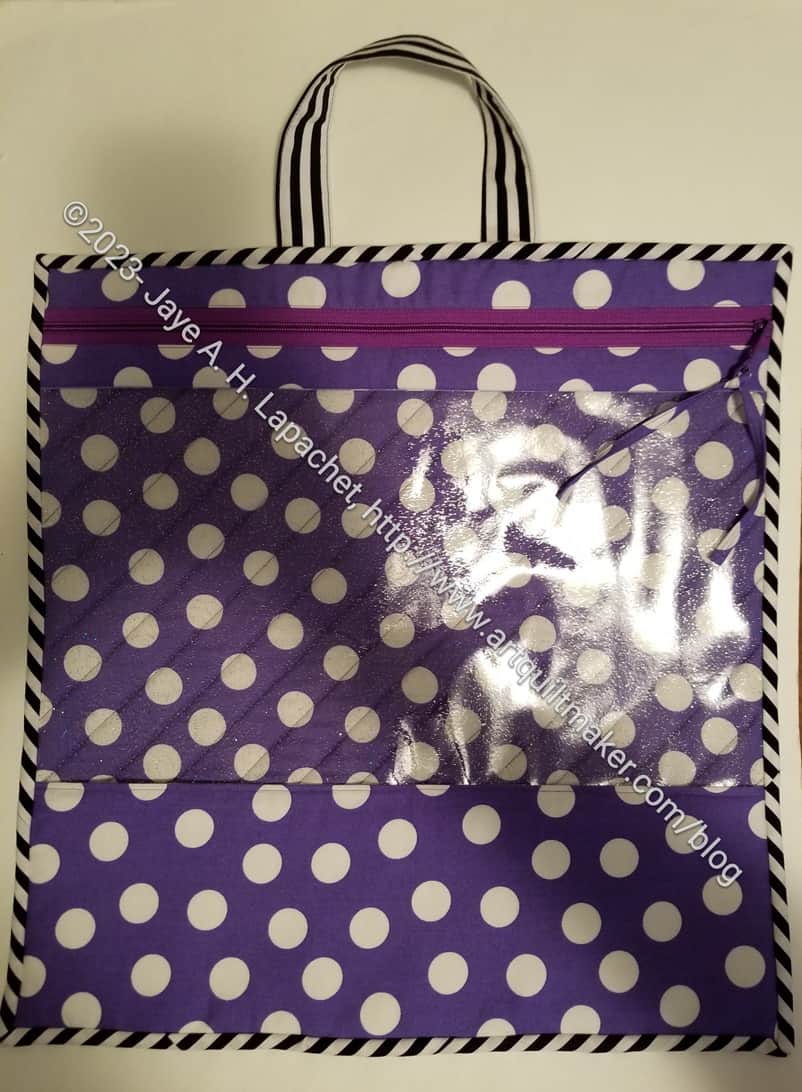
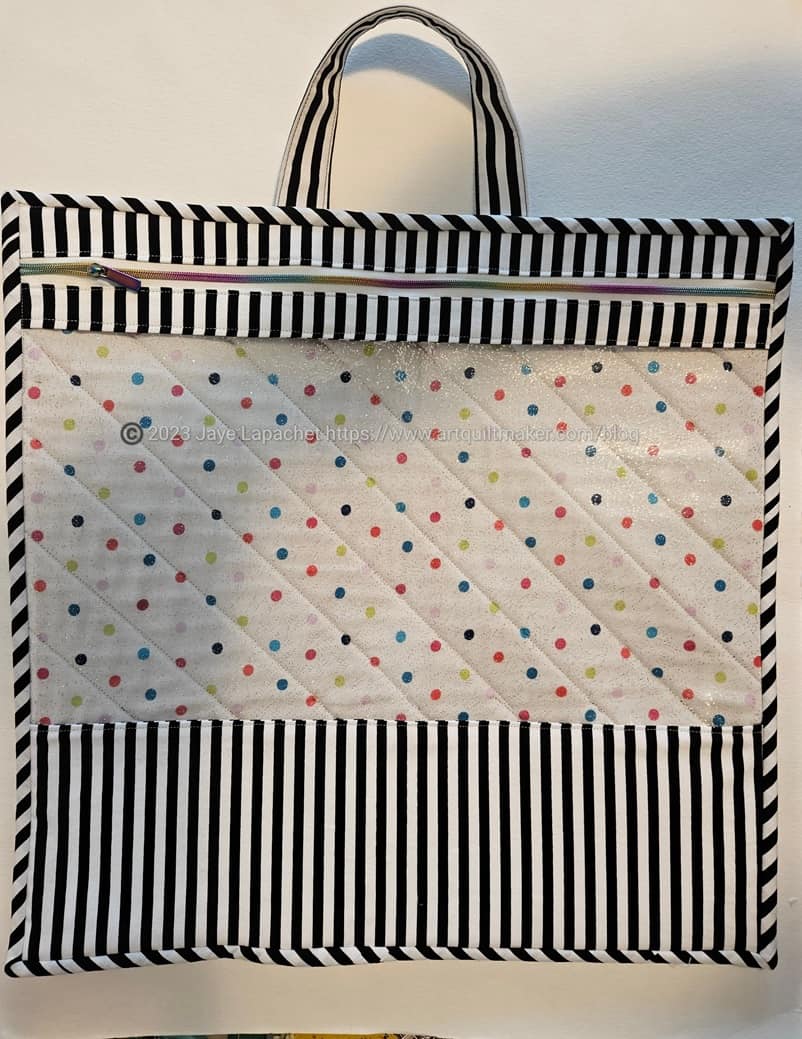
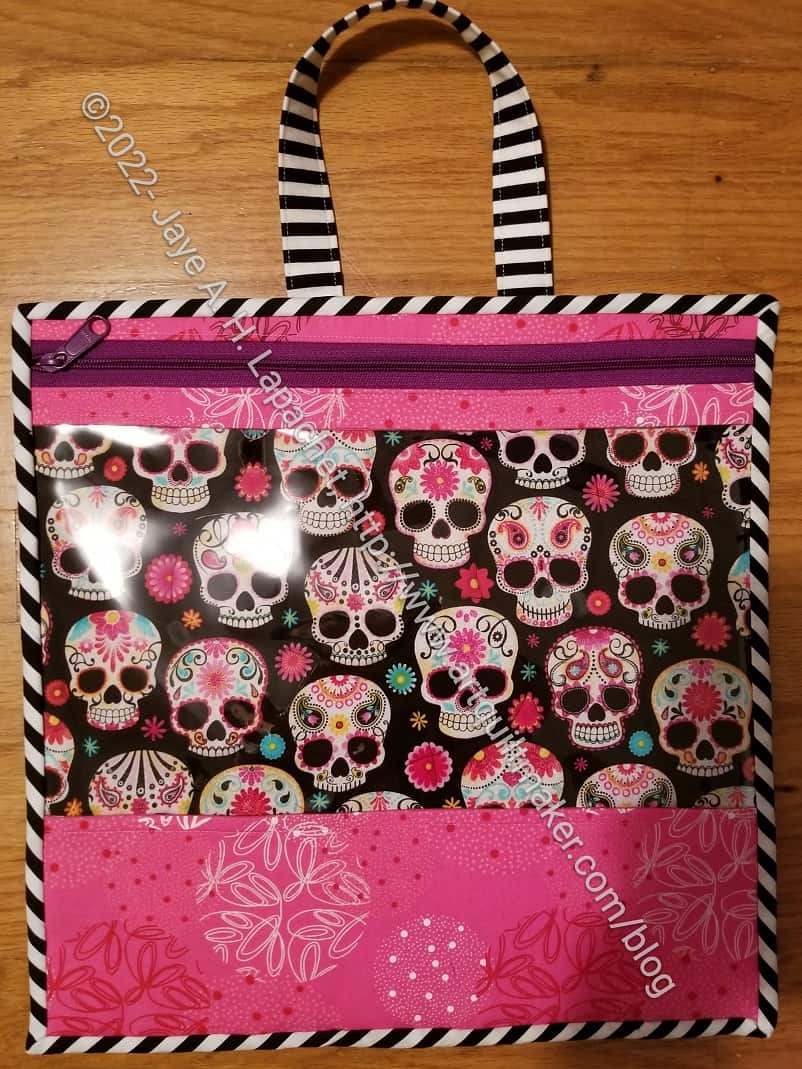
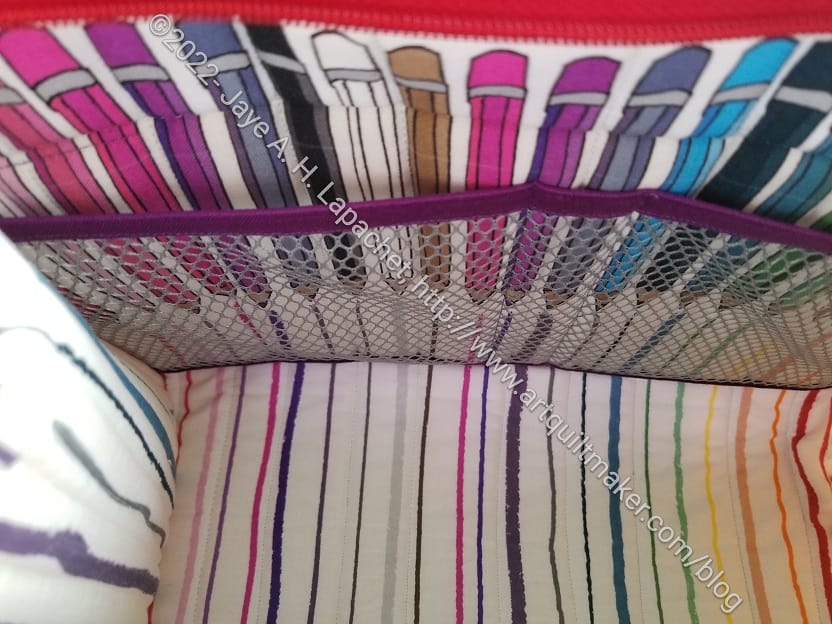
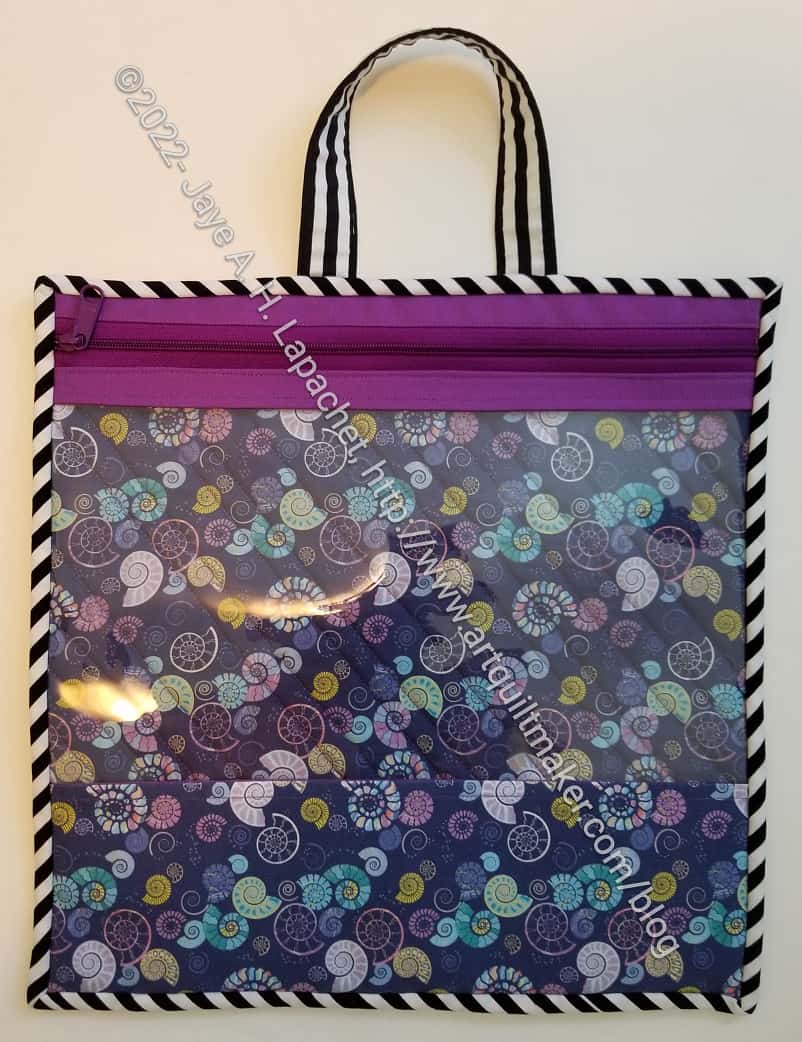
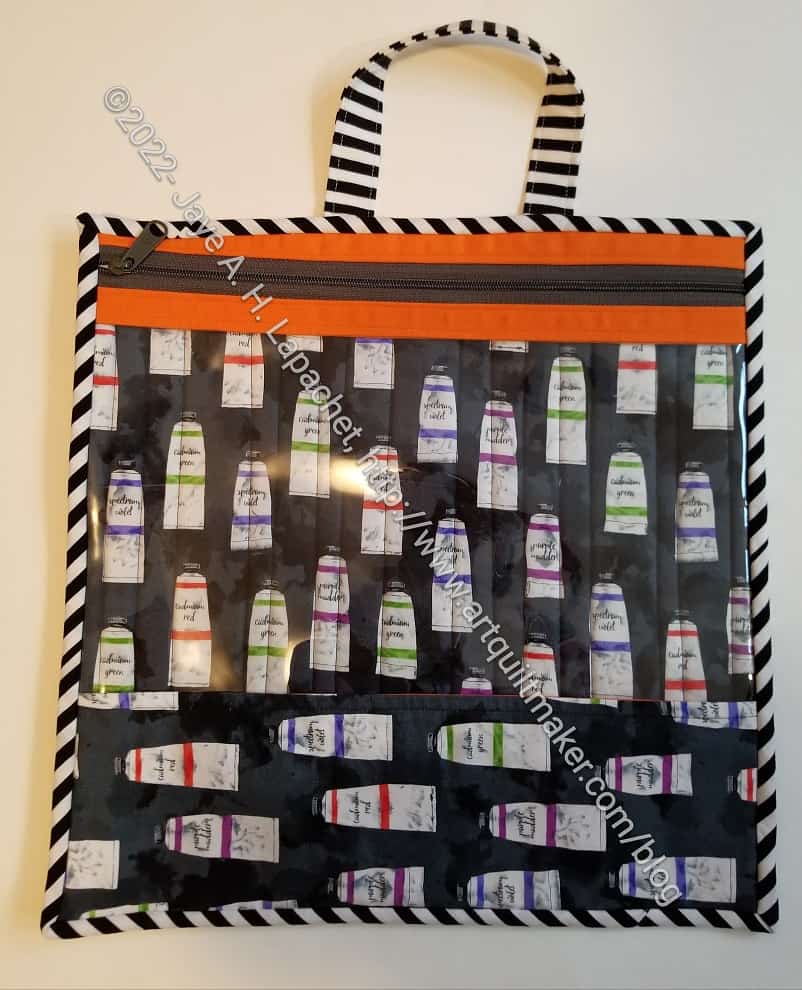
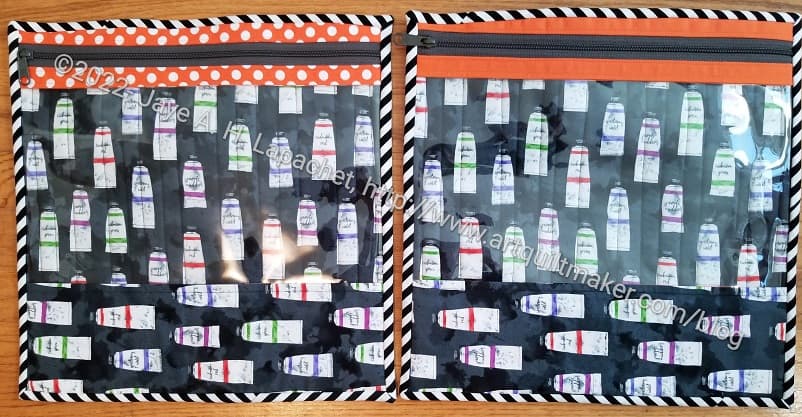
I looked at Mary’s version and chose to make this bag with two vinyl pockets instead of a mesh pocket and a vinyl pocket. I thought they were more useful for non-sewing activities than one mesh pocket and one vinyl pocket.
I cut the first vinyl pieces out wrong, so those will become the new windows for future I Spy pouches. I am glad I brought a brand new roll of glitter vinyl. Mary has a lifetime supply of clear vinyl, which was a good backup in case I ran out.
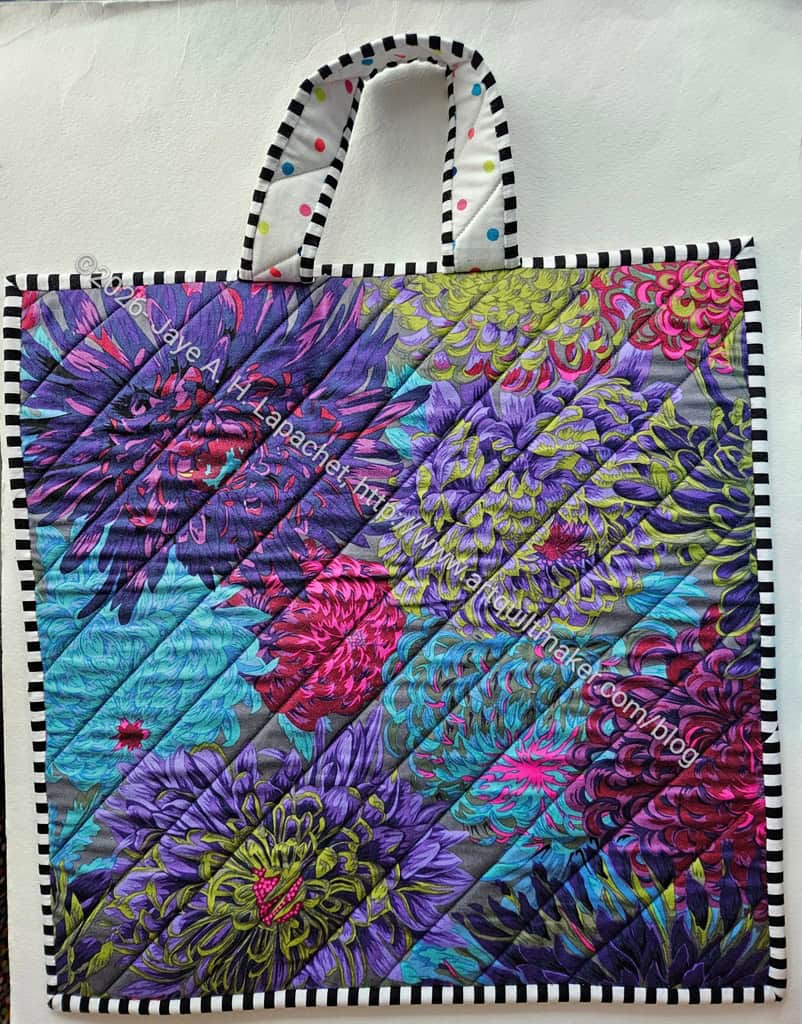
I made good progress despite the need to quilt the fabric. 🙁 As I progressed on the project, I decided I wanted to cover the top of the vinyl pockets below the zipper with ribbon, so I brought the pieces home. Since I was ready to assemble the bag, I needed to stop, add the ribbon and then proceed. Another project to finish at home. Sigh.