Henry 2

As you saw on a recent Design Wall Monday post, I have been working on another piece of mosaic piecing.

Finally, over last weekend, there was enough yardage to really make progress on another softie. I have had another owl on my mind and decided it was time to cut out the parts. I finished almost all of the cutting except the eyes and the beak.

Henry 2 in process
Henry 2 in process

This past weekend, I cut out the eyes and the beak. They required some fusible and interfacing, so I worked on that in between my other projects. I thought I might get him done, but I worked more on the Russian Rubix and made some serious progress there. There is plenty to do on Henry.

I also need to get more of the plastic beads I use to weigh down pincushions. This will all shake out this weekend or soon

The project is coming together pretty well. I am worried about not having enough schnibbles with which to fill him, but I am also trying to be Zen about the whole thing and let it happen as I need the pieces and parts. I am such a control freak that it is hard.

As with Henry 1, Henry 2 is for a friend who is going through a tough time.

I really liked making this owl and have plans for more. It is a good gift that makes people smile. Sadly, I am now officially out of scraps of brown fabric. I may have to dive into my brown yardage if I want to make more of these.

More soon.


Meet Henry

Henry - Wings Open
Henry – Wings Open

How do you like Henry?

I don’t know if his new mom will name him Henry, but he looks like a Henry to me.

Remember the mosaic quilting I showed you at the beginning of the month? Here is what I was working on. I just sent him off and hope his new mom likes him.

His whole body is made from small scraps of brown fabric. The inside of the wings are also mosaic pieced. The beak is made from a scrap of a mango colored solid. The eyes are rather large scraps that also came out of the scrap bin. He is Scrapilicious!

Henry -Wings Closed
Henry -Wings Closed

I saw the pattern (Quilt magazine, October/November 2013) and immediatelyt hought of a friend who was going through a tough time. I wanted to make him, but I don’t want to keep him and I thought he would be perfect for her. It took me awhile to make him and since I have been working on him, things have gotten better for Henry’s new mom.

I did the wings a little differently than the pattern suggested. The pattern said to applique them on, similar to the way the eyes and beak were applied. I thought it would be more fun if the wings had some dimension and it wasn’t that big of a deal to make them move.

The original pattern had the maker using wool scraps and crazy quilting over the seams. I wasn’t about to use wool with all of this cotton laying around. Crazy quilting would be a great idea, but I didn’t want to take the time. As I have mentioned, there is a lot of chaos around my work table right now and I needed to make some headway through it. I am considering making another one soon-ish and may go with the crazy quilting on that one. We will see.

Henry in Process
Henry in Process

I put my cutting table to good use for this project. It is a good thing I cleared off part of it as I would not have had enough space for it.

I stuffed him with schnibbles so he is heavy. I still need to sew a label on to him.

I think he came out adorable.

Book Review: Flip Dolls & Other Toys

Flip Dolls & Other Toys That Zip, Stack, Hide, Grab & GoFlip Dolls & Other Toys That Zip, Stack, Hide, Grab & Go by Laura Wilson

The toys in this book are really imaginative. Making some or all of them would really add some fun to the creative toy box of a child in your life. This is one of the books that I gave away in November’s Black Friday Sew-in, but didn’t really get a chance to look at. Shannon at Lark was able to send me a copy. Thanks to Lark Crafts for sending this book to me to review.

I can imagine an aunt or uncle making the characters in this book and sending them, one at a time, to a niece or nephew. The other wonderful thing about the creatures in this book is the opportunity for adding texture, as in fabric texture, to a child’s life.

If you have no children in your life that should not deter you from this book. Toys on your desk at work draw people in to talk, collaborate, shoot the breeze. Flip dolls, which seem to not really be readily available, are a twofer. Two toys in one and an additional spur to the imagination in children and adults.

Like many of Lark’s books, this one starts with a “Getting Started” (pg.10) section that includes tools, materials, basic techniques, special skills, and customizing. There are sidebars, two of which caught my attention, “The History of Flip Dolls (you know I love history!) and age appropriateness. I noticed, throughout the book, that the author discusses modifications to accommodate the ‘mouthiness’ of smaller children. All of the sections have a description for each entry. For example, there are three kinds of scissors listed in the tools section. Wilson writes a few lines about why you need each, e.g. no cutting paper with your fabric scissors! The section is illustrated by photographs and whimsical drawings. It also includes the basic shape and some examples of how to modify it to create different creatures.

Following the introductory section are three additional sections, which provide the projects in ever increasing difficulty. The sections are Zip & Stack, Hide, Seek & Go, and Flip & Turn.

All of the projects have a difficulty rating and it took me a minute to understand how they were coded. The arrows were a little confusing, but I got with the program quickly.

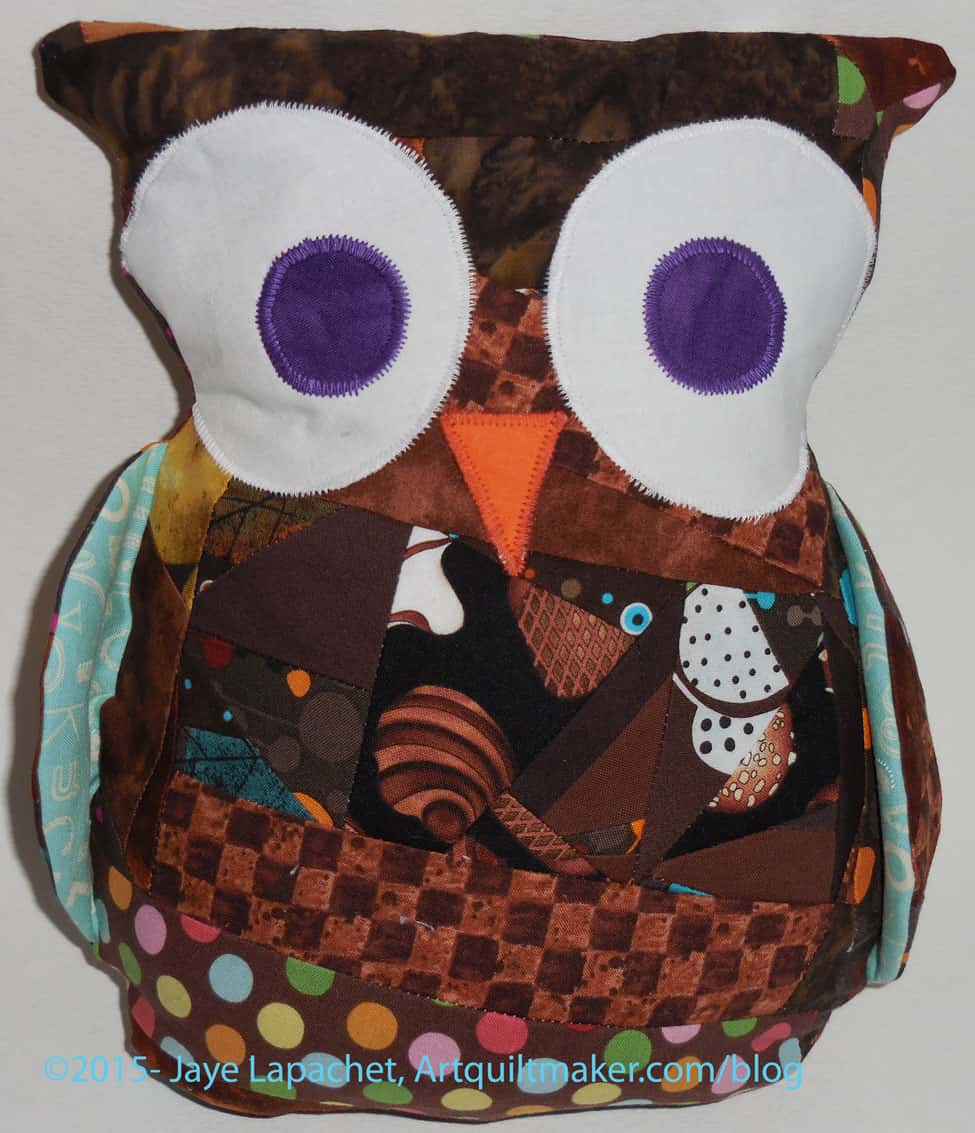
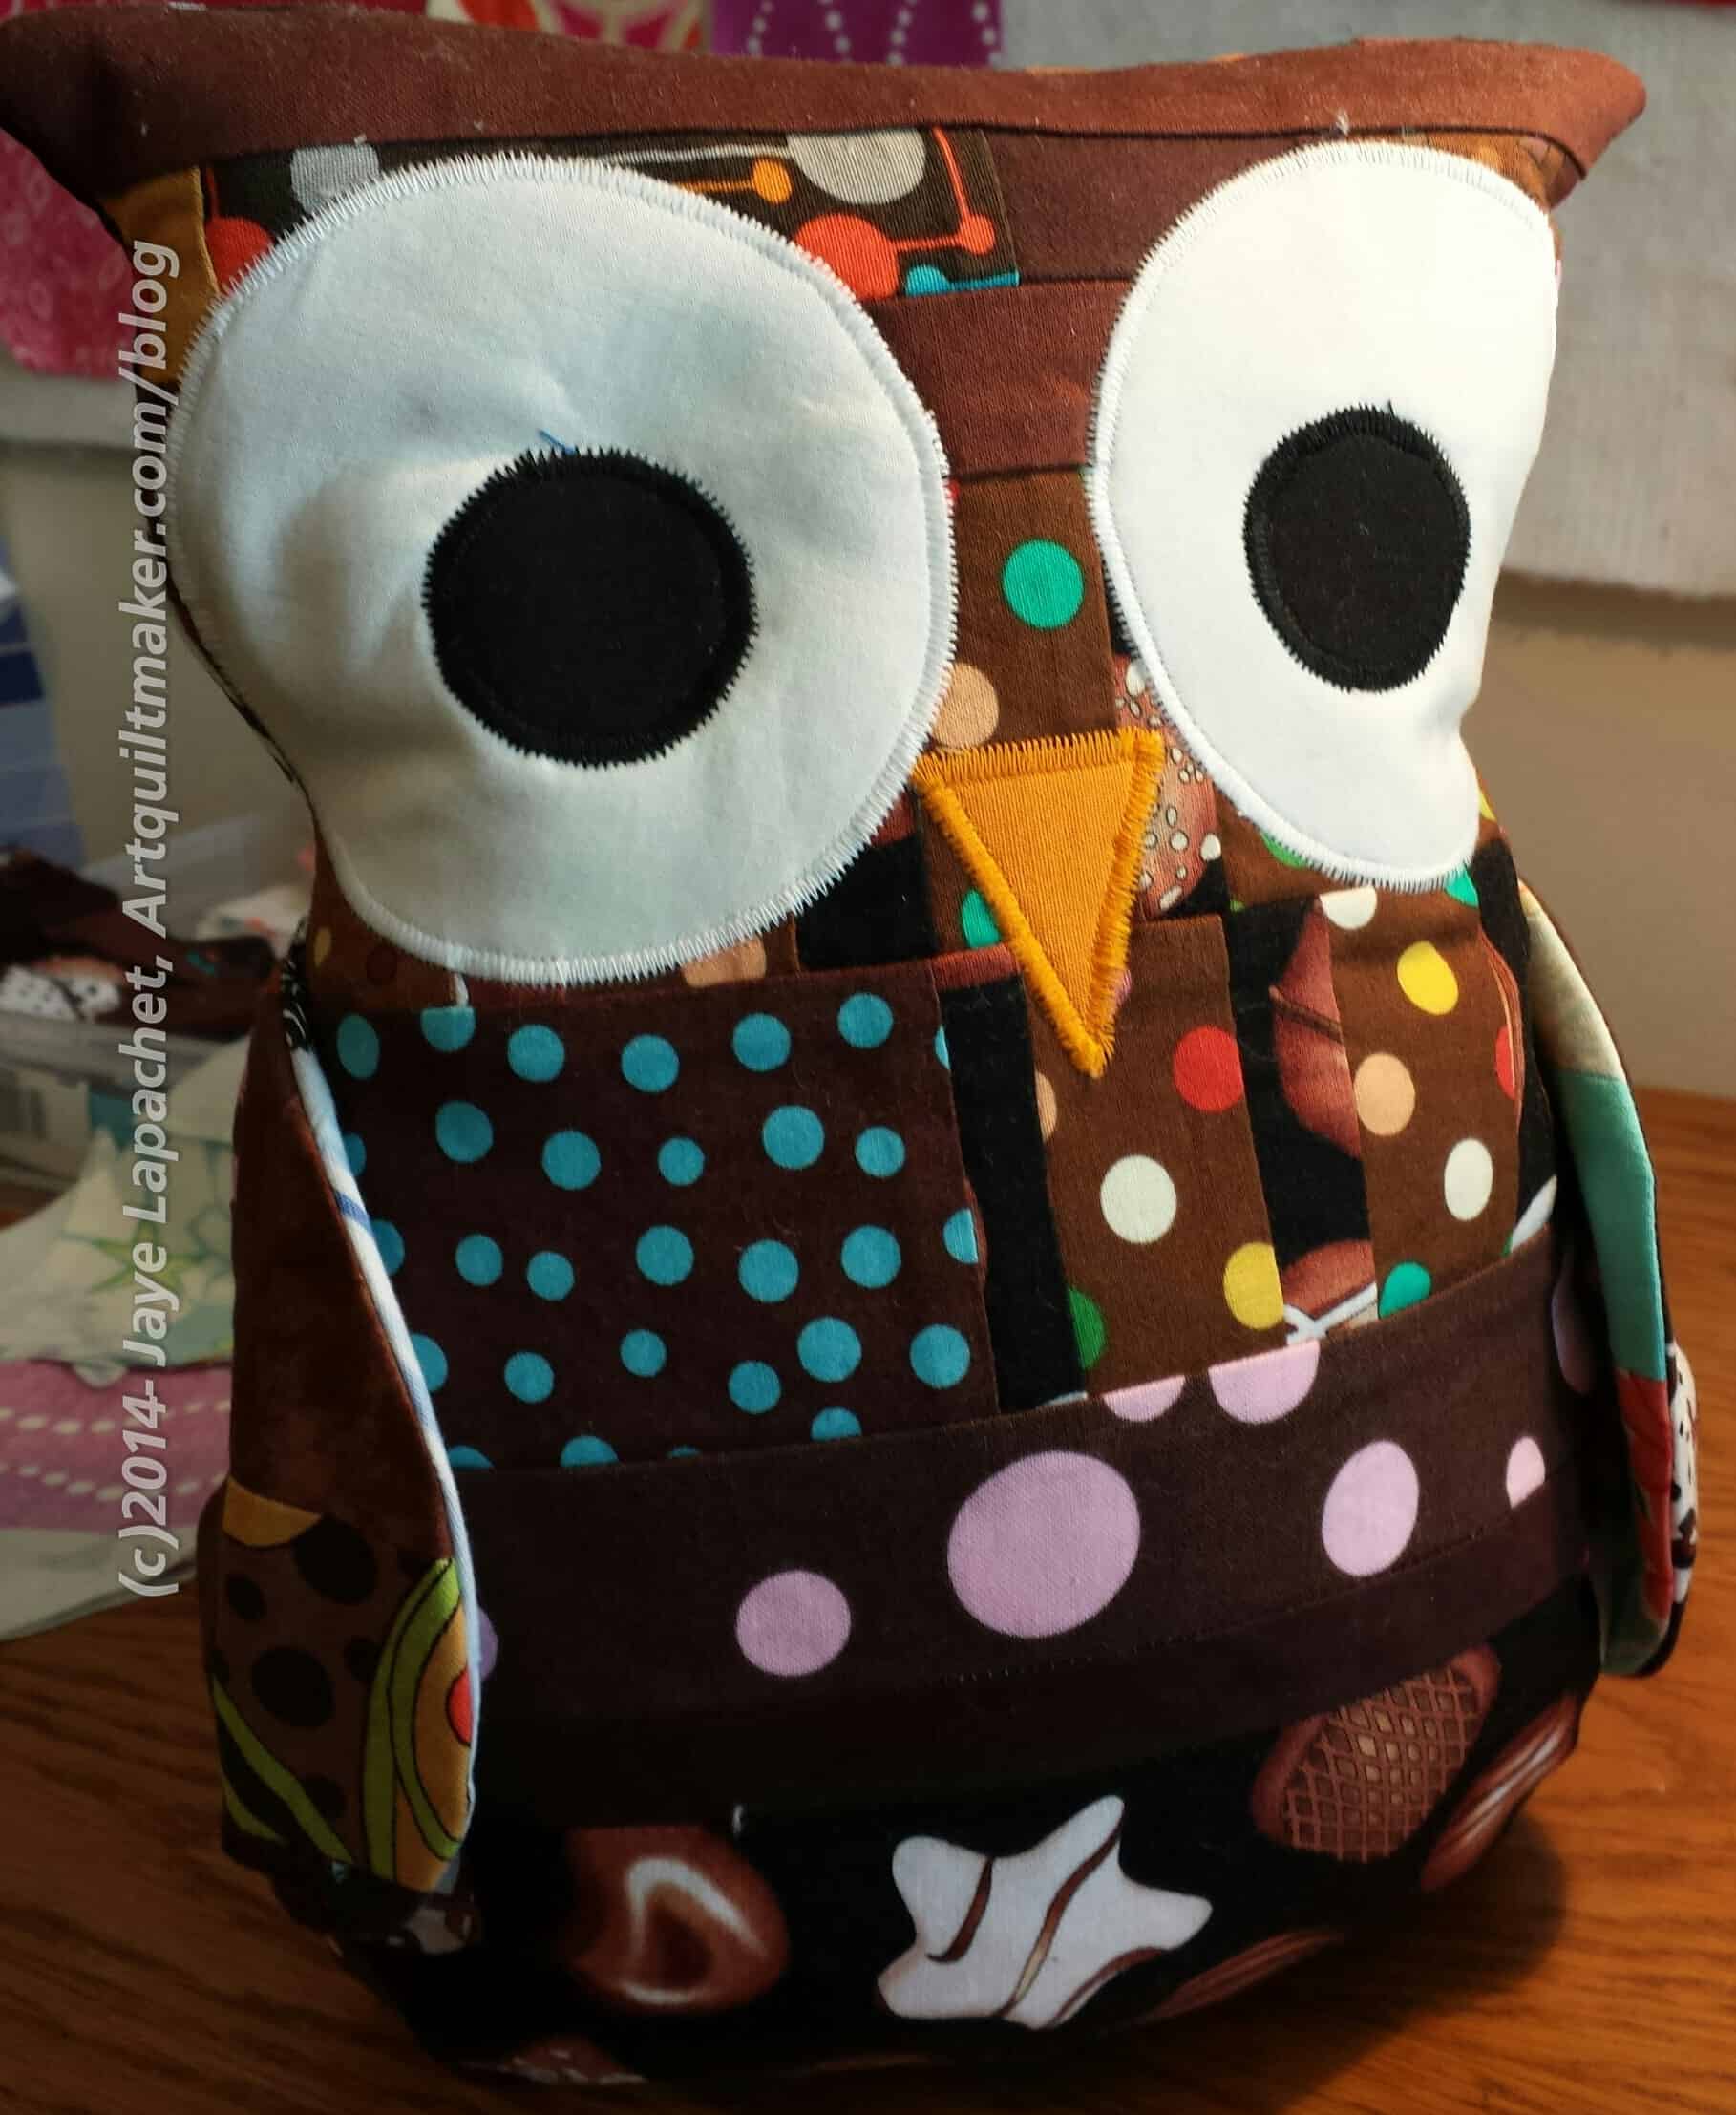
Some of the cleverness of the projects shows up in the section. The Cheshire Cat has a pocket in the back with additional mouth pieces (lips, mustache, etc) that add to the fun of this toy. My favorite project in the Zip & Stack section has to be the Smiling Crocodile. I LOVE the zipper for the mouth. There are brief instructions for shortening a zipper and also a good description of installing a zipper.

On many of the projects there is opportunity for your own creativity. The wings of the flying horse could have sparkly embroidery floss, the plates on the shell of the turtle could have embroidered outlines.

In the Hide, Seek & Go section, the Winged Horse could do double duty as a regular horse as the wings are removable. I also like the front panel of the Nuts & Bolts Robot, which provides additional opportunity for creativity.

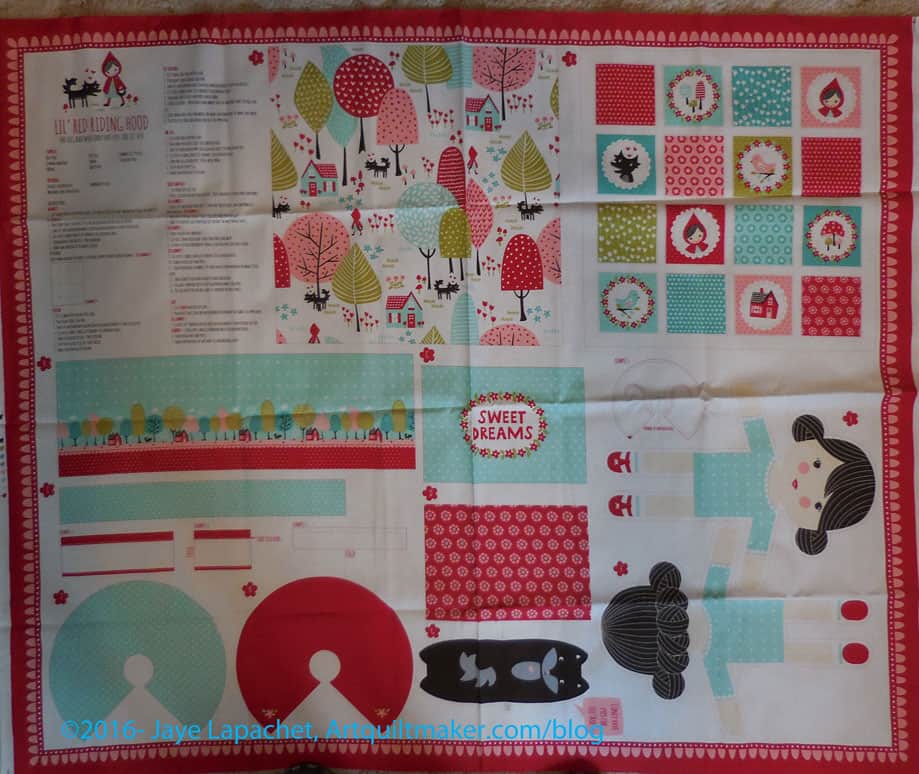
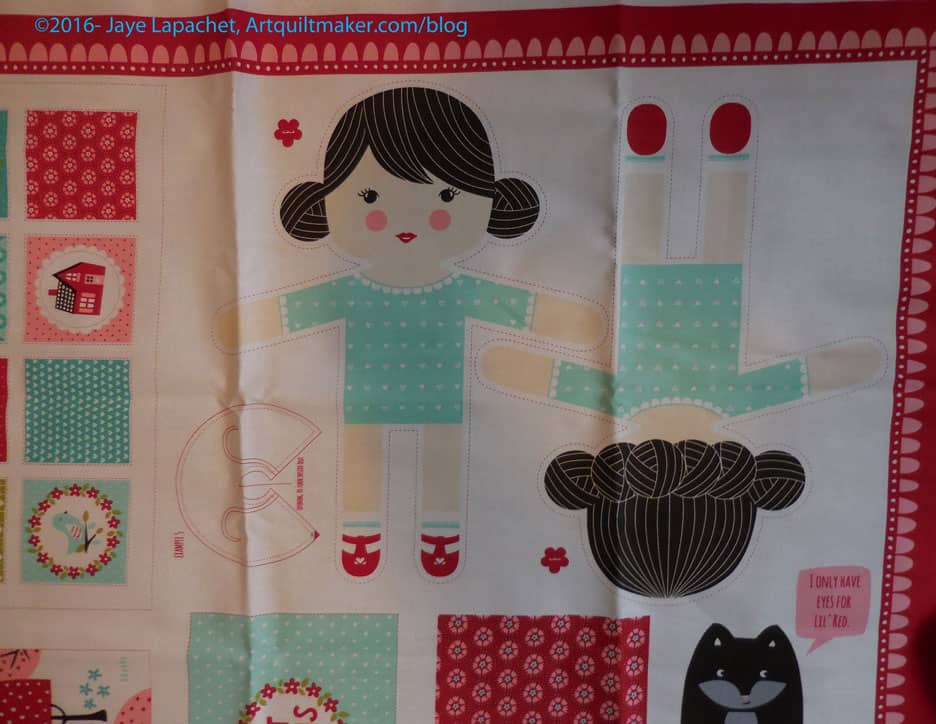
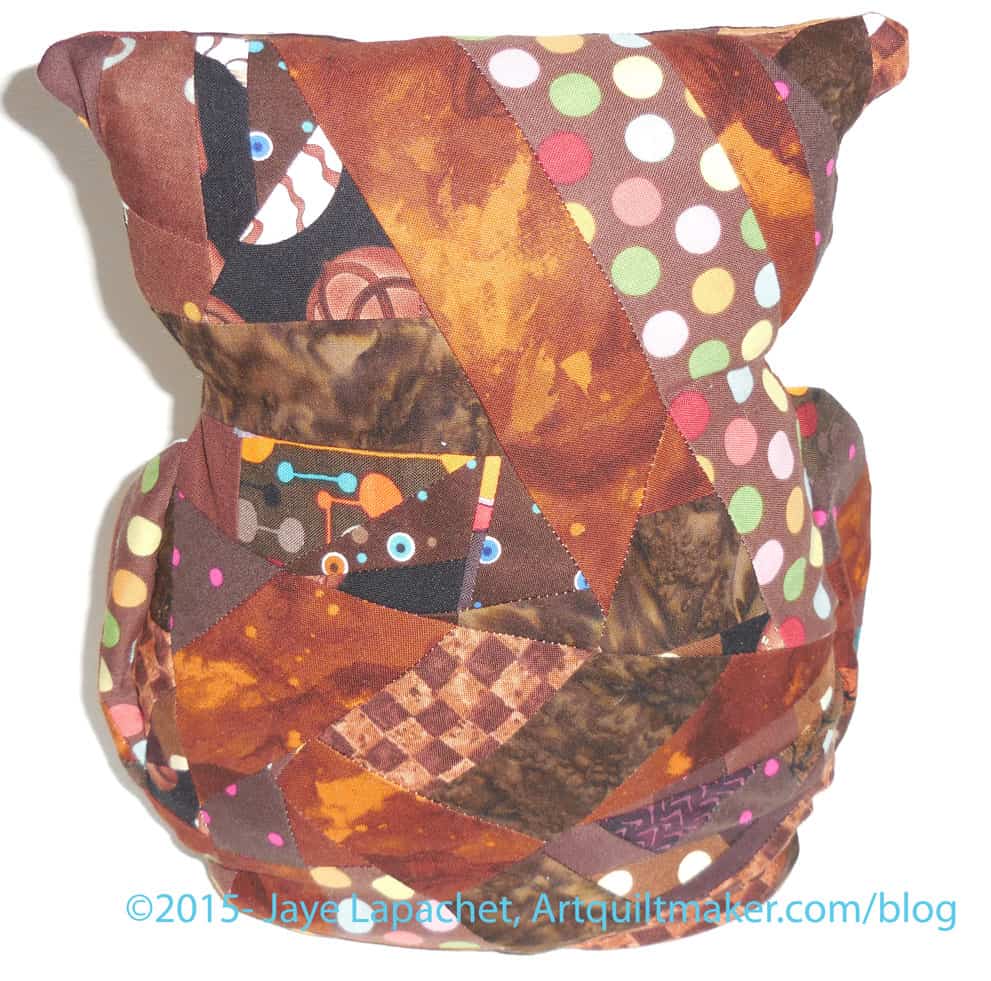
Finally, the Flip & Turn section has the flip dolls. There is a caterpillar and butterfly combination, George & the Dragon (you might need two so some actual swordplay could happen!), and the Owl and the Pussycat. With the directions, I can see a lot of other flip dolls: Red Riding Hood, Cinderella and Snow White with the Wicked Queen under her skirt as a few examples.

The one small thing I didn’t like about the book was the materials used. This is a small thing and easily remedied. I wasn’t fond of the fabrics from which the projects were made. I thought they were too subtle and old fashioned looking. As I said, that is easily remedied by using your own fabrics. Also, I would have liked to have seen some tiny red beads standing in for blood drops on the vampire (pg.25). Looking at finished objects made from fabric in a book is much different than feeling the item in person.

Templates are at the back and have to be enlarged, so plan ahead. No late night runs to the copy store!

I like this book because it is different. The projects are not your usual run of hte mill projects. The toys are clever and inspire the imagination. I also see the spark that can lead to readers jumping off and taking the ideas to different levels. Take a look at the book and enjoy!

View all my reviews, especially the Stuffed Animals review as I think it and this review will work together very well.

Book Review: Stuffed Animals

Stuffed Animals: From Concept to ConstructionStuffed Animals: From Concept to Construction by Abigail Patner Glassenberg

When I received this book from Lark, I didn’t realize it was by the same author who wrote The Artful Bird Feathered Friends to Make and Sew, a book Jennifer Ackerman-Haywood featured on a podcast, and a book that included a flamingo I adored.

This book has much more accessible looking and simpler looking projects (16 projects and 52 lessons) than her previous book. They also are more kid friendly rather than works of art.

The book starts with an introduction and I was glad to see the author bring up creating your own designs in the first paragraph. She also envisions big things for your future. She wants you to create patterns for soft toys.

The patterns are arranged by difficulty with the easiest coming first, preceded by the ubiquitous section on Tools and Materials (pg.11). there are a few different items required than many of the regular quilt books. An awl, a craft knife and a sliding gauge are listed, none of which are included in my basic sewing kit. The items that should be included in a basic sewing kit are listed separately. They include all the normal things, except for hemostats, which I would consider to be a specialty item. I can see where they would be required for projects that need stuffing. Everything required is pictured and well explained.

Abigail Patner Glassenberg has written an extensive section on Designing Stuffed Animals (pg.18- ). Considerations such as visual research and sketching, using tools, considering grainline, and drawing and editing a pattern.

The section called Making Stuffed Animals (pg.24- ) also includes different sections on skills and techniques for being successful in this endeavor. One caught my attention, Checking and Reinforcing Seams (pg. 25), because it occurred to me that I should do this on some of my quilts or bags. Glassenberg doesn’t leave anything to chance in this book and this section goes over every detail, including leaving an opening, clipping curves, turning and many others.

Finally the projects start on page 35, which tells me how important the techniques and skills are to the author. “The simplest softie pattern you can make is an outline toy (pg.35),” which is what the first and easiest project is – a fish. Though she includes a pattern for the fish, she tells you what an outline pattern is and assumes you will work on your own. The pattern goes on for some pages, covering every detail from start to finish.

There is something for everyone in this book, of course, in difficulty, but also in design. There are lions, camels, hippos, monsters and other animals. Each project includes a lesson, which would help with techniques in the author’s first book. The Crab project has a lesson in tab joints and turning and stuffing a long skinny part while the Kangaroo project has lessons in “putting in a pocket” and “cutting a hole to attach limbs”. Having the lessons will help the reader design their own projects later.

Many of the fabrics were fine, but the one thing I didn’t like about this book were many of the fabrics. I thought they were old and looked like they had been snipped from clothes in the closet of an elderly and solitary couple. The monsters would have been a lot cuter and more appealing in batiks. I didn’t like the 70s looking prints and found some of the fabrics to be musty looking. Still, fabrics are a personal choice and have no impact on all the good of this book.

There is an index, which I like 😉 as well as full sized templates in the back.

This is a book anyone who wants to learn a lot should look at.

View my reviews, including my non-quilt, non-craft book reviews