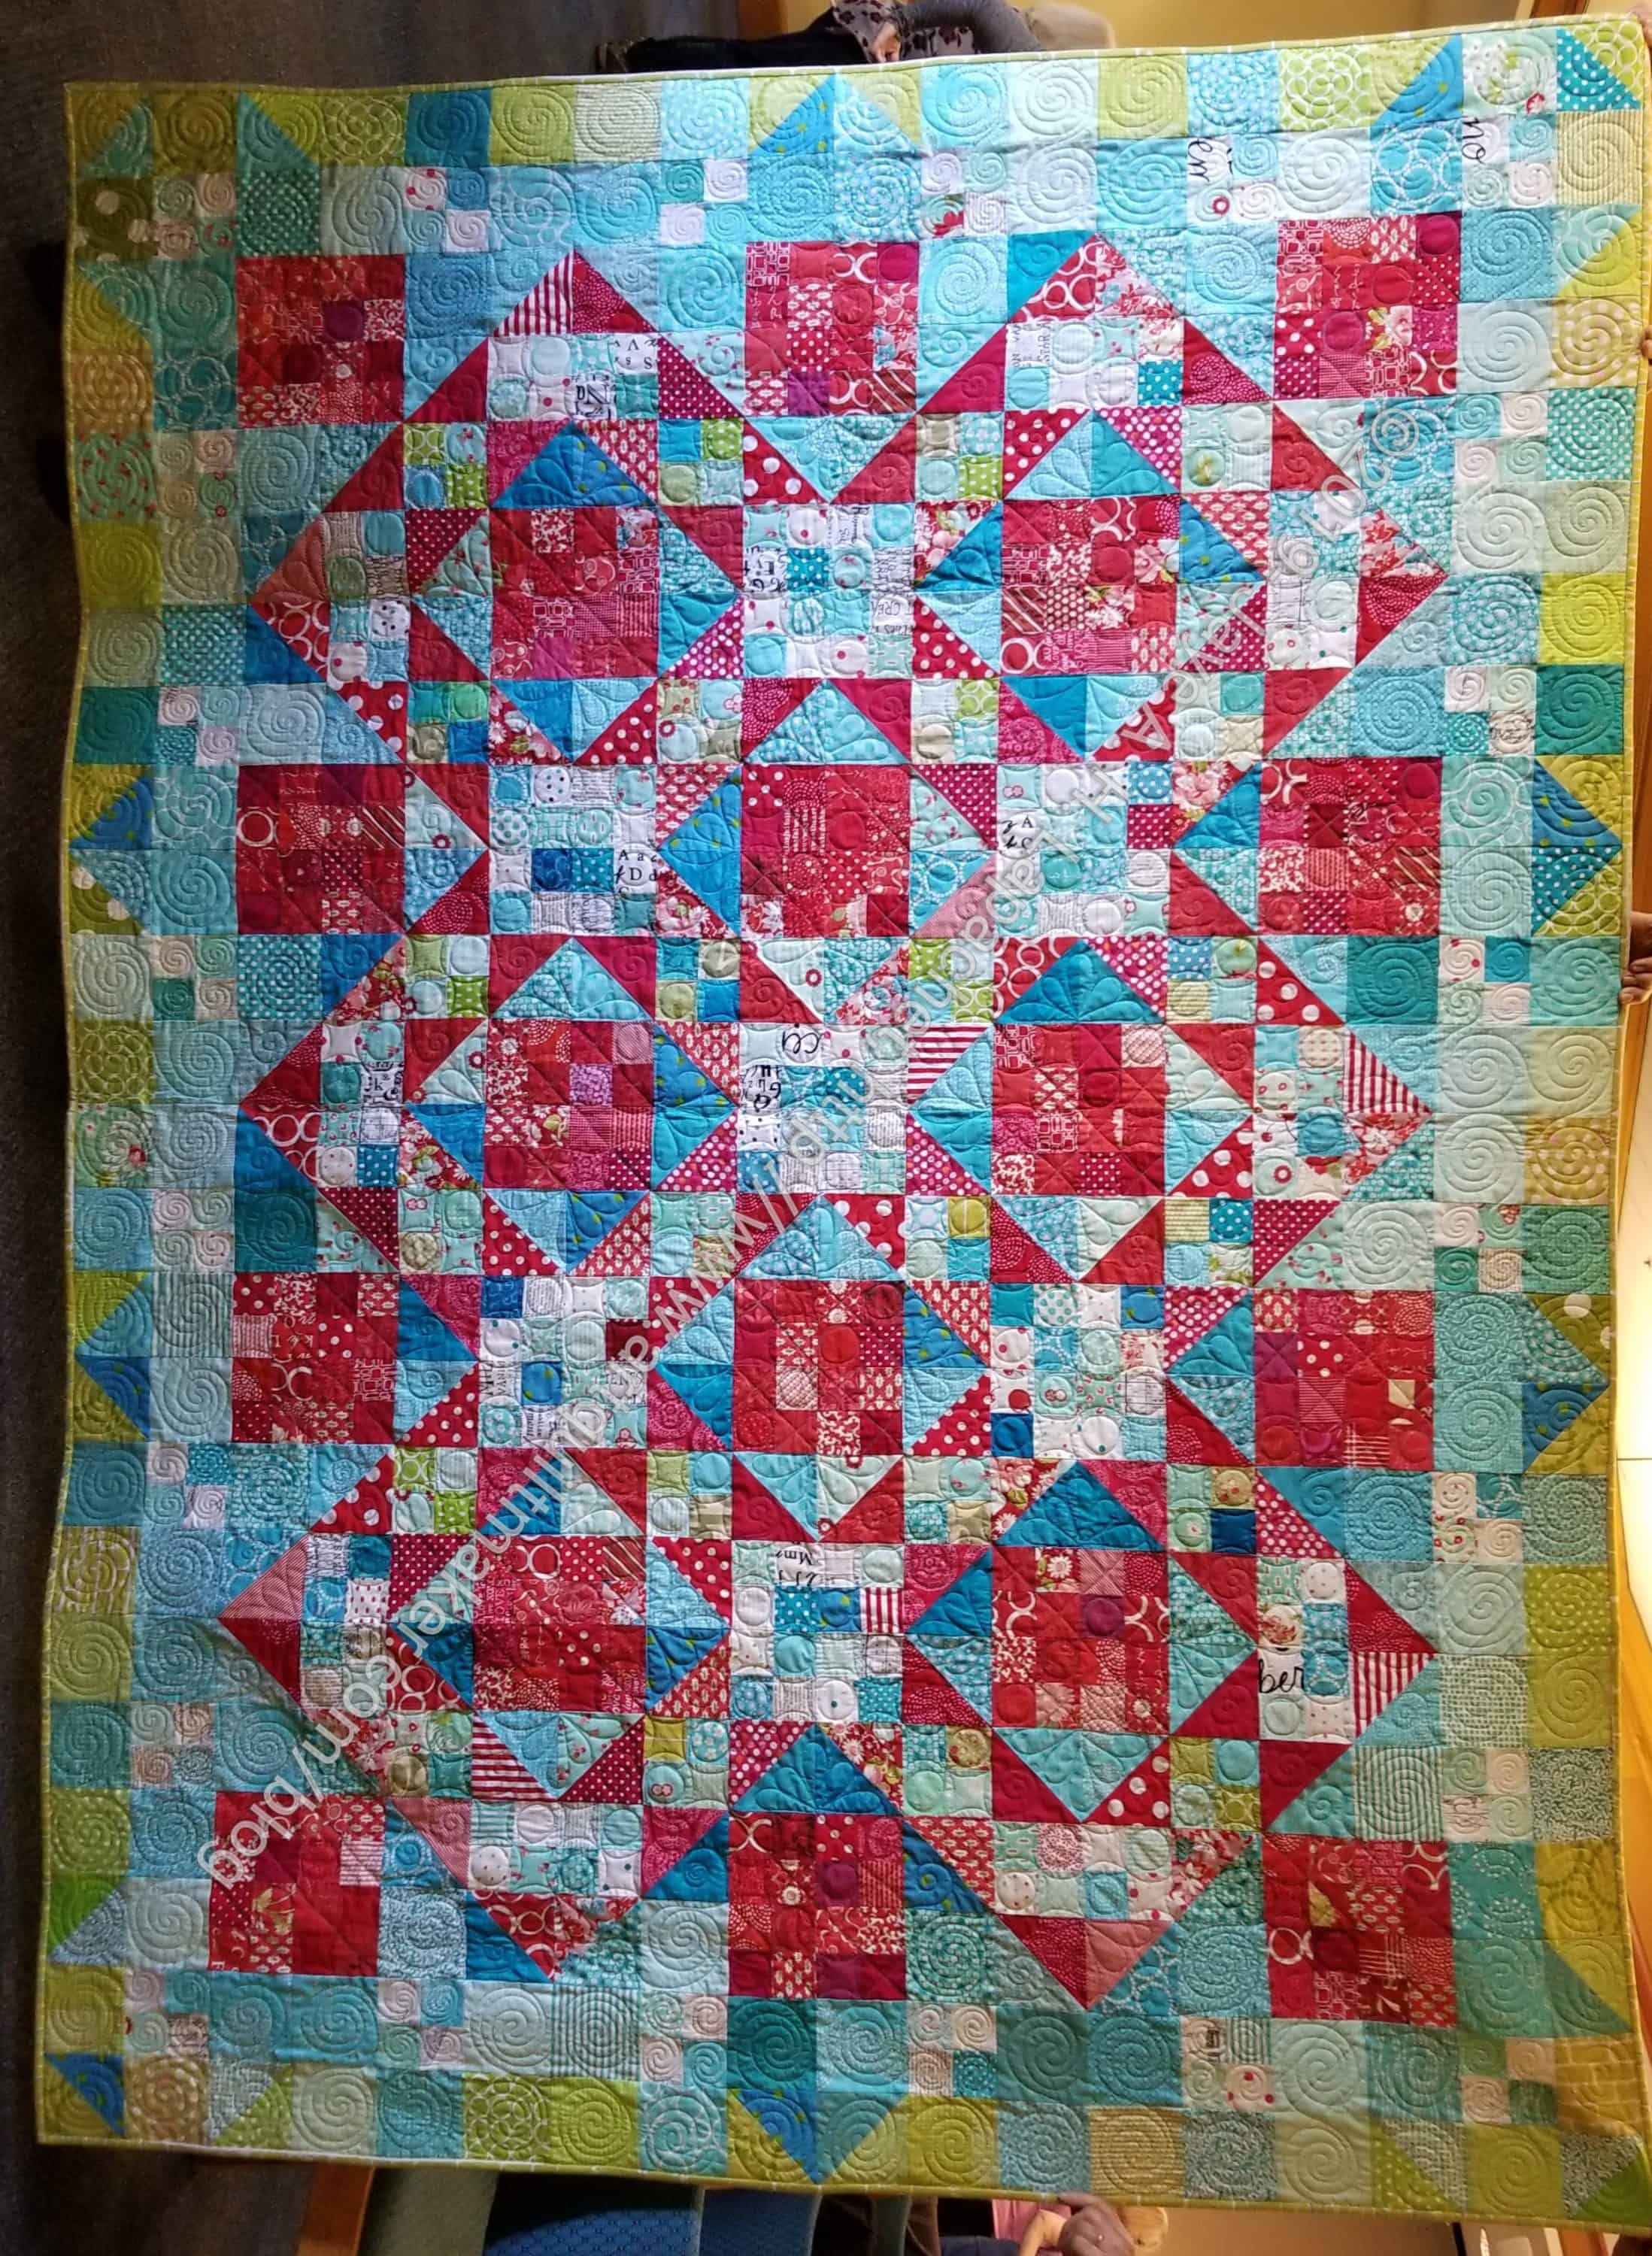
I meant to drum both of my quilt hangers into service for this huge monster, but, sadly, the YM left to go back to school before I could do it. Regardless, the Stepping Stones n.2 is finished.
Some guild pals helped me take the photos by holding it for me.
There are things I don’t like about it, mostly concerning value (or maybe contrast– I haven’t delved into the differences yet), but the overall look is good. I may not be done with this design yet, but we will see. I am not sure what I would do differently aside from changing placement of some of the fabrics or create a different border.
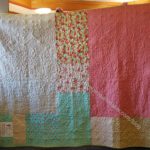
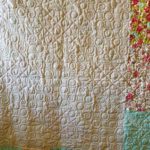
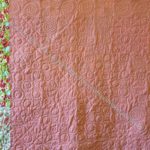
The quilting shows up really well from the back.
I will send it off to its new home soon.