Need a break from the holiday frenzy? Paper folding is very soothing. It doesn’t require machinery of any type and you can fold at the cafe while drinking some coffee or hot chocolate and staying away from crazy family antics for a few minutes.
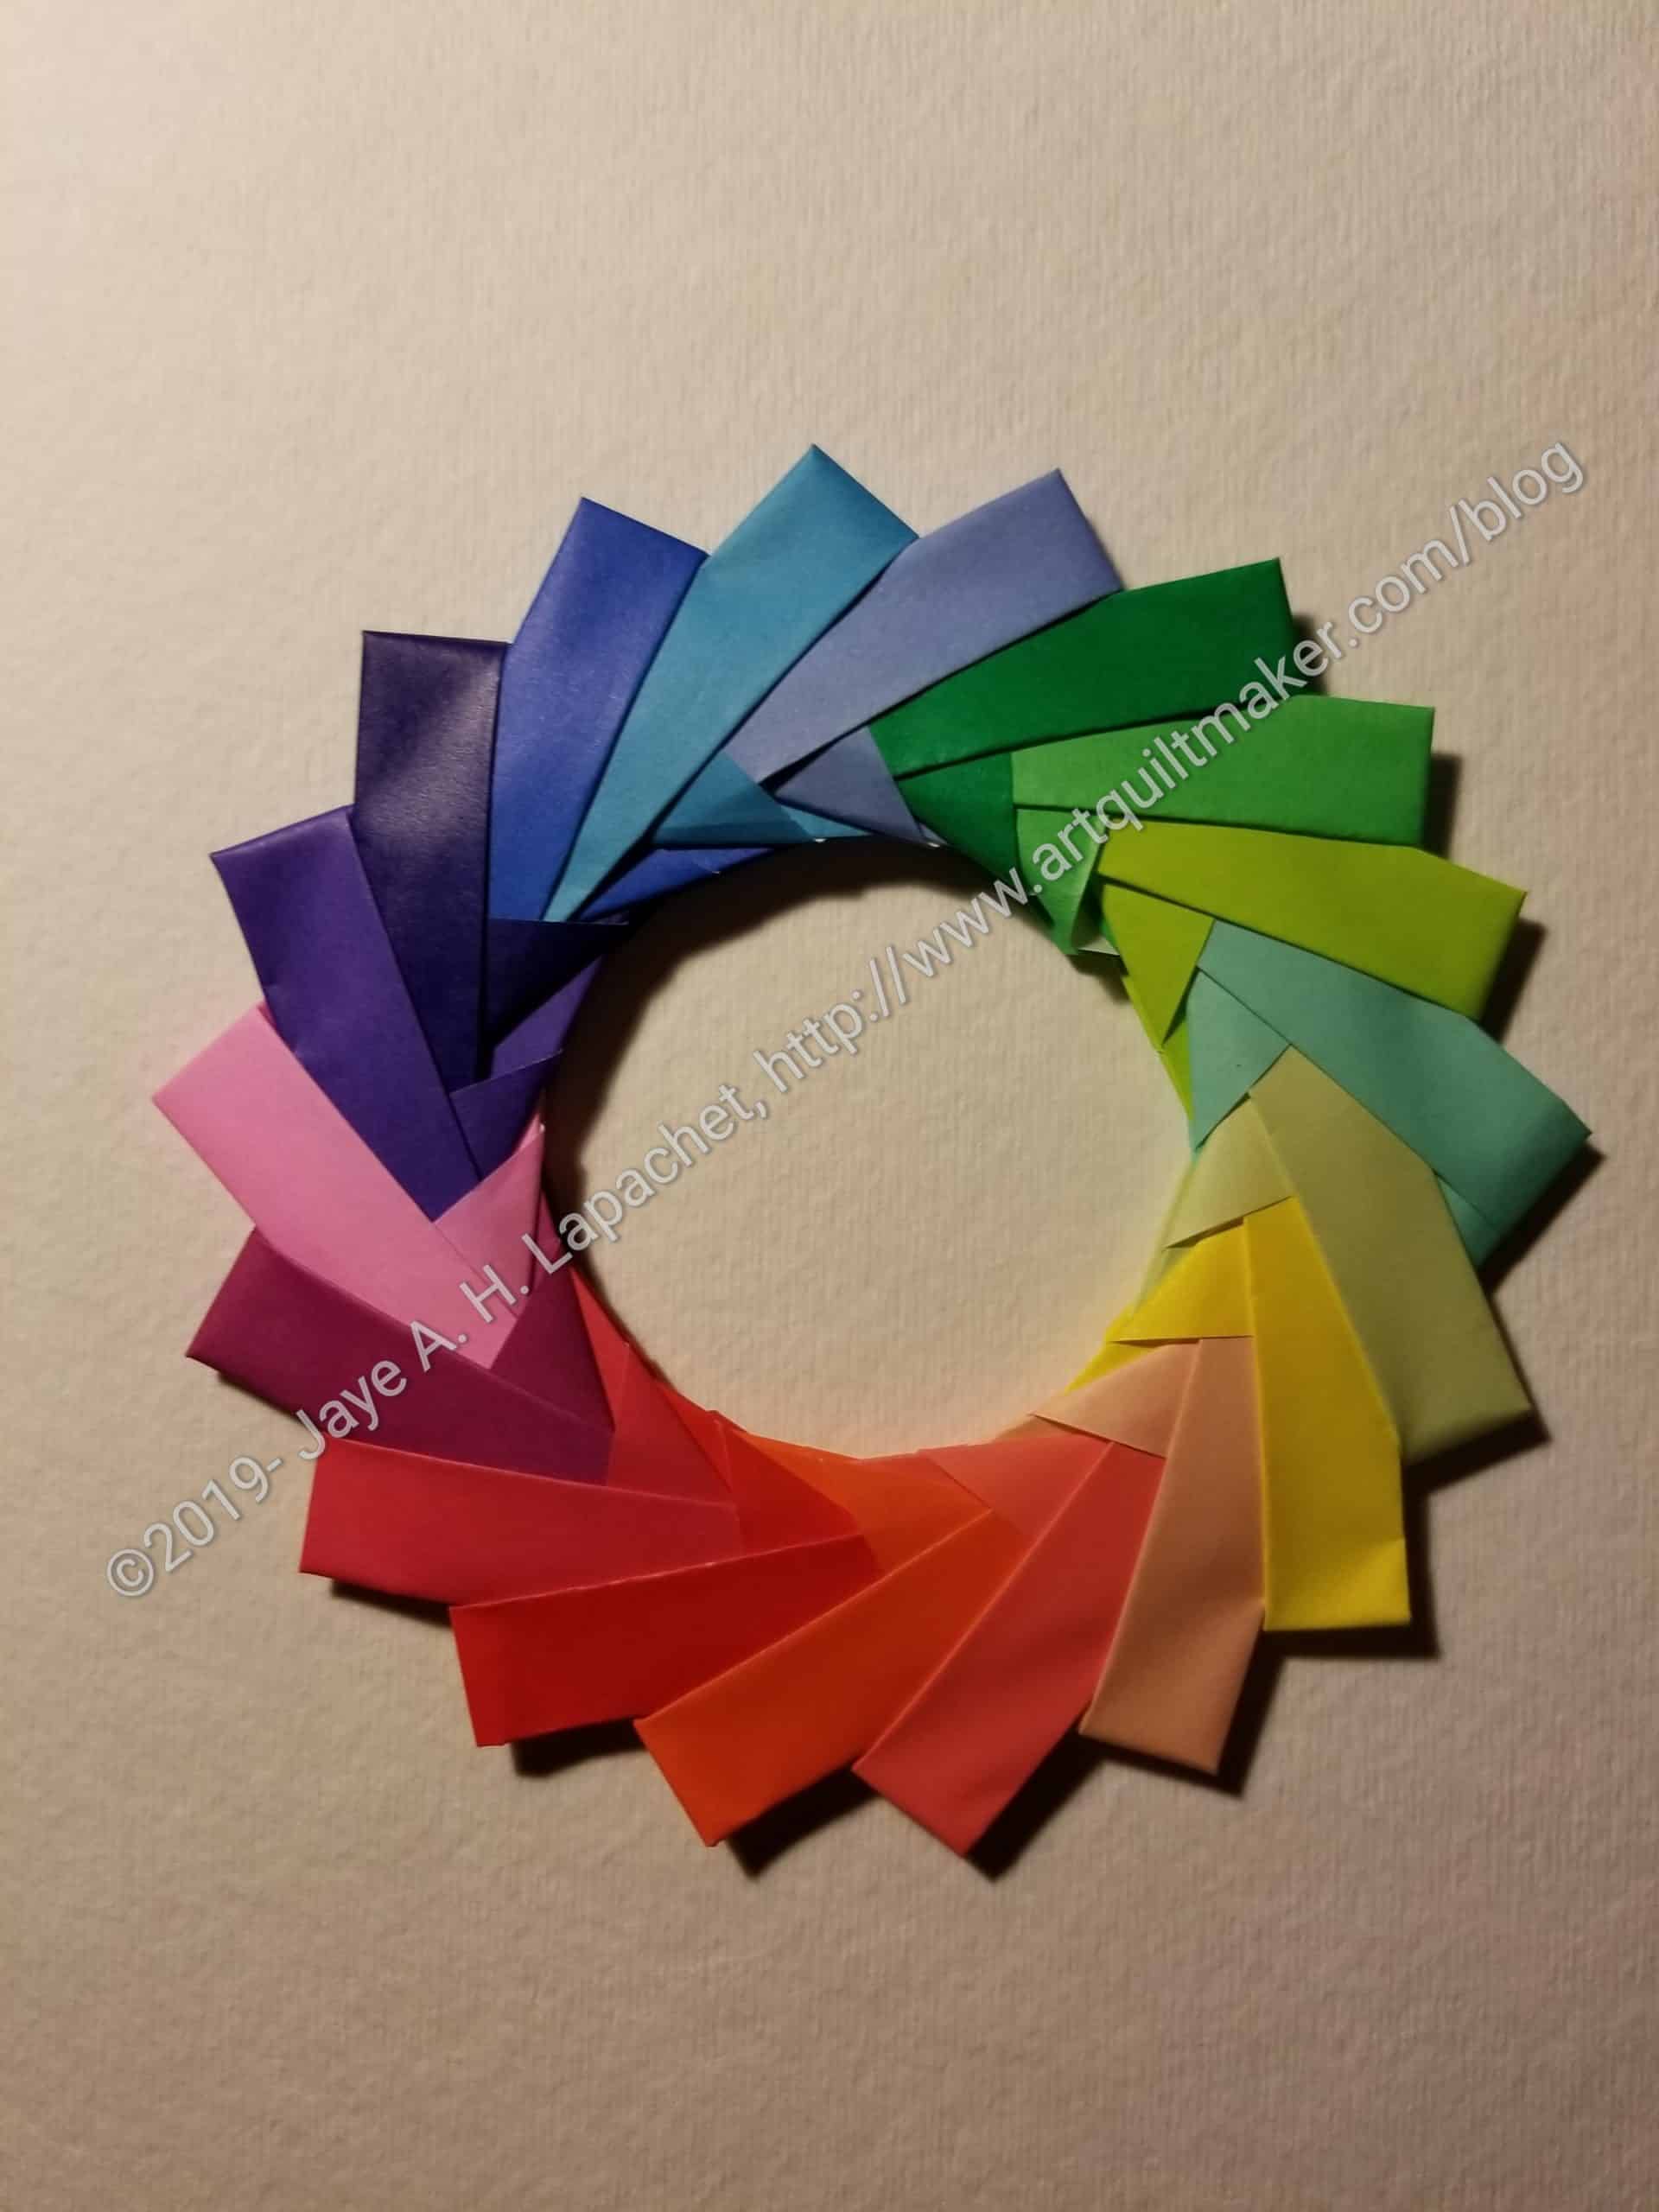
I spent some time folding a Mette Ring the other night when DH was watching football after he spent a day at the mall. I had found the pattern some time ago and decided it would be a good way to do something and stay off my feet, which were tired and sore.
Supplies
- 18 pieces of square paper*
- bone folder (optional, but highly recommended if you are using thick paper)
Make 18 units. Directions below makes one unit.

Use one piece of paper.
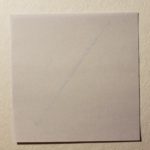
My paper has a lavender front (right side) and a white back (wrong side)
Start by turning the paper over so the back faces up.
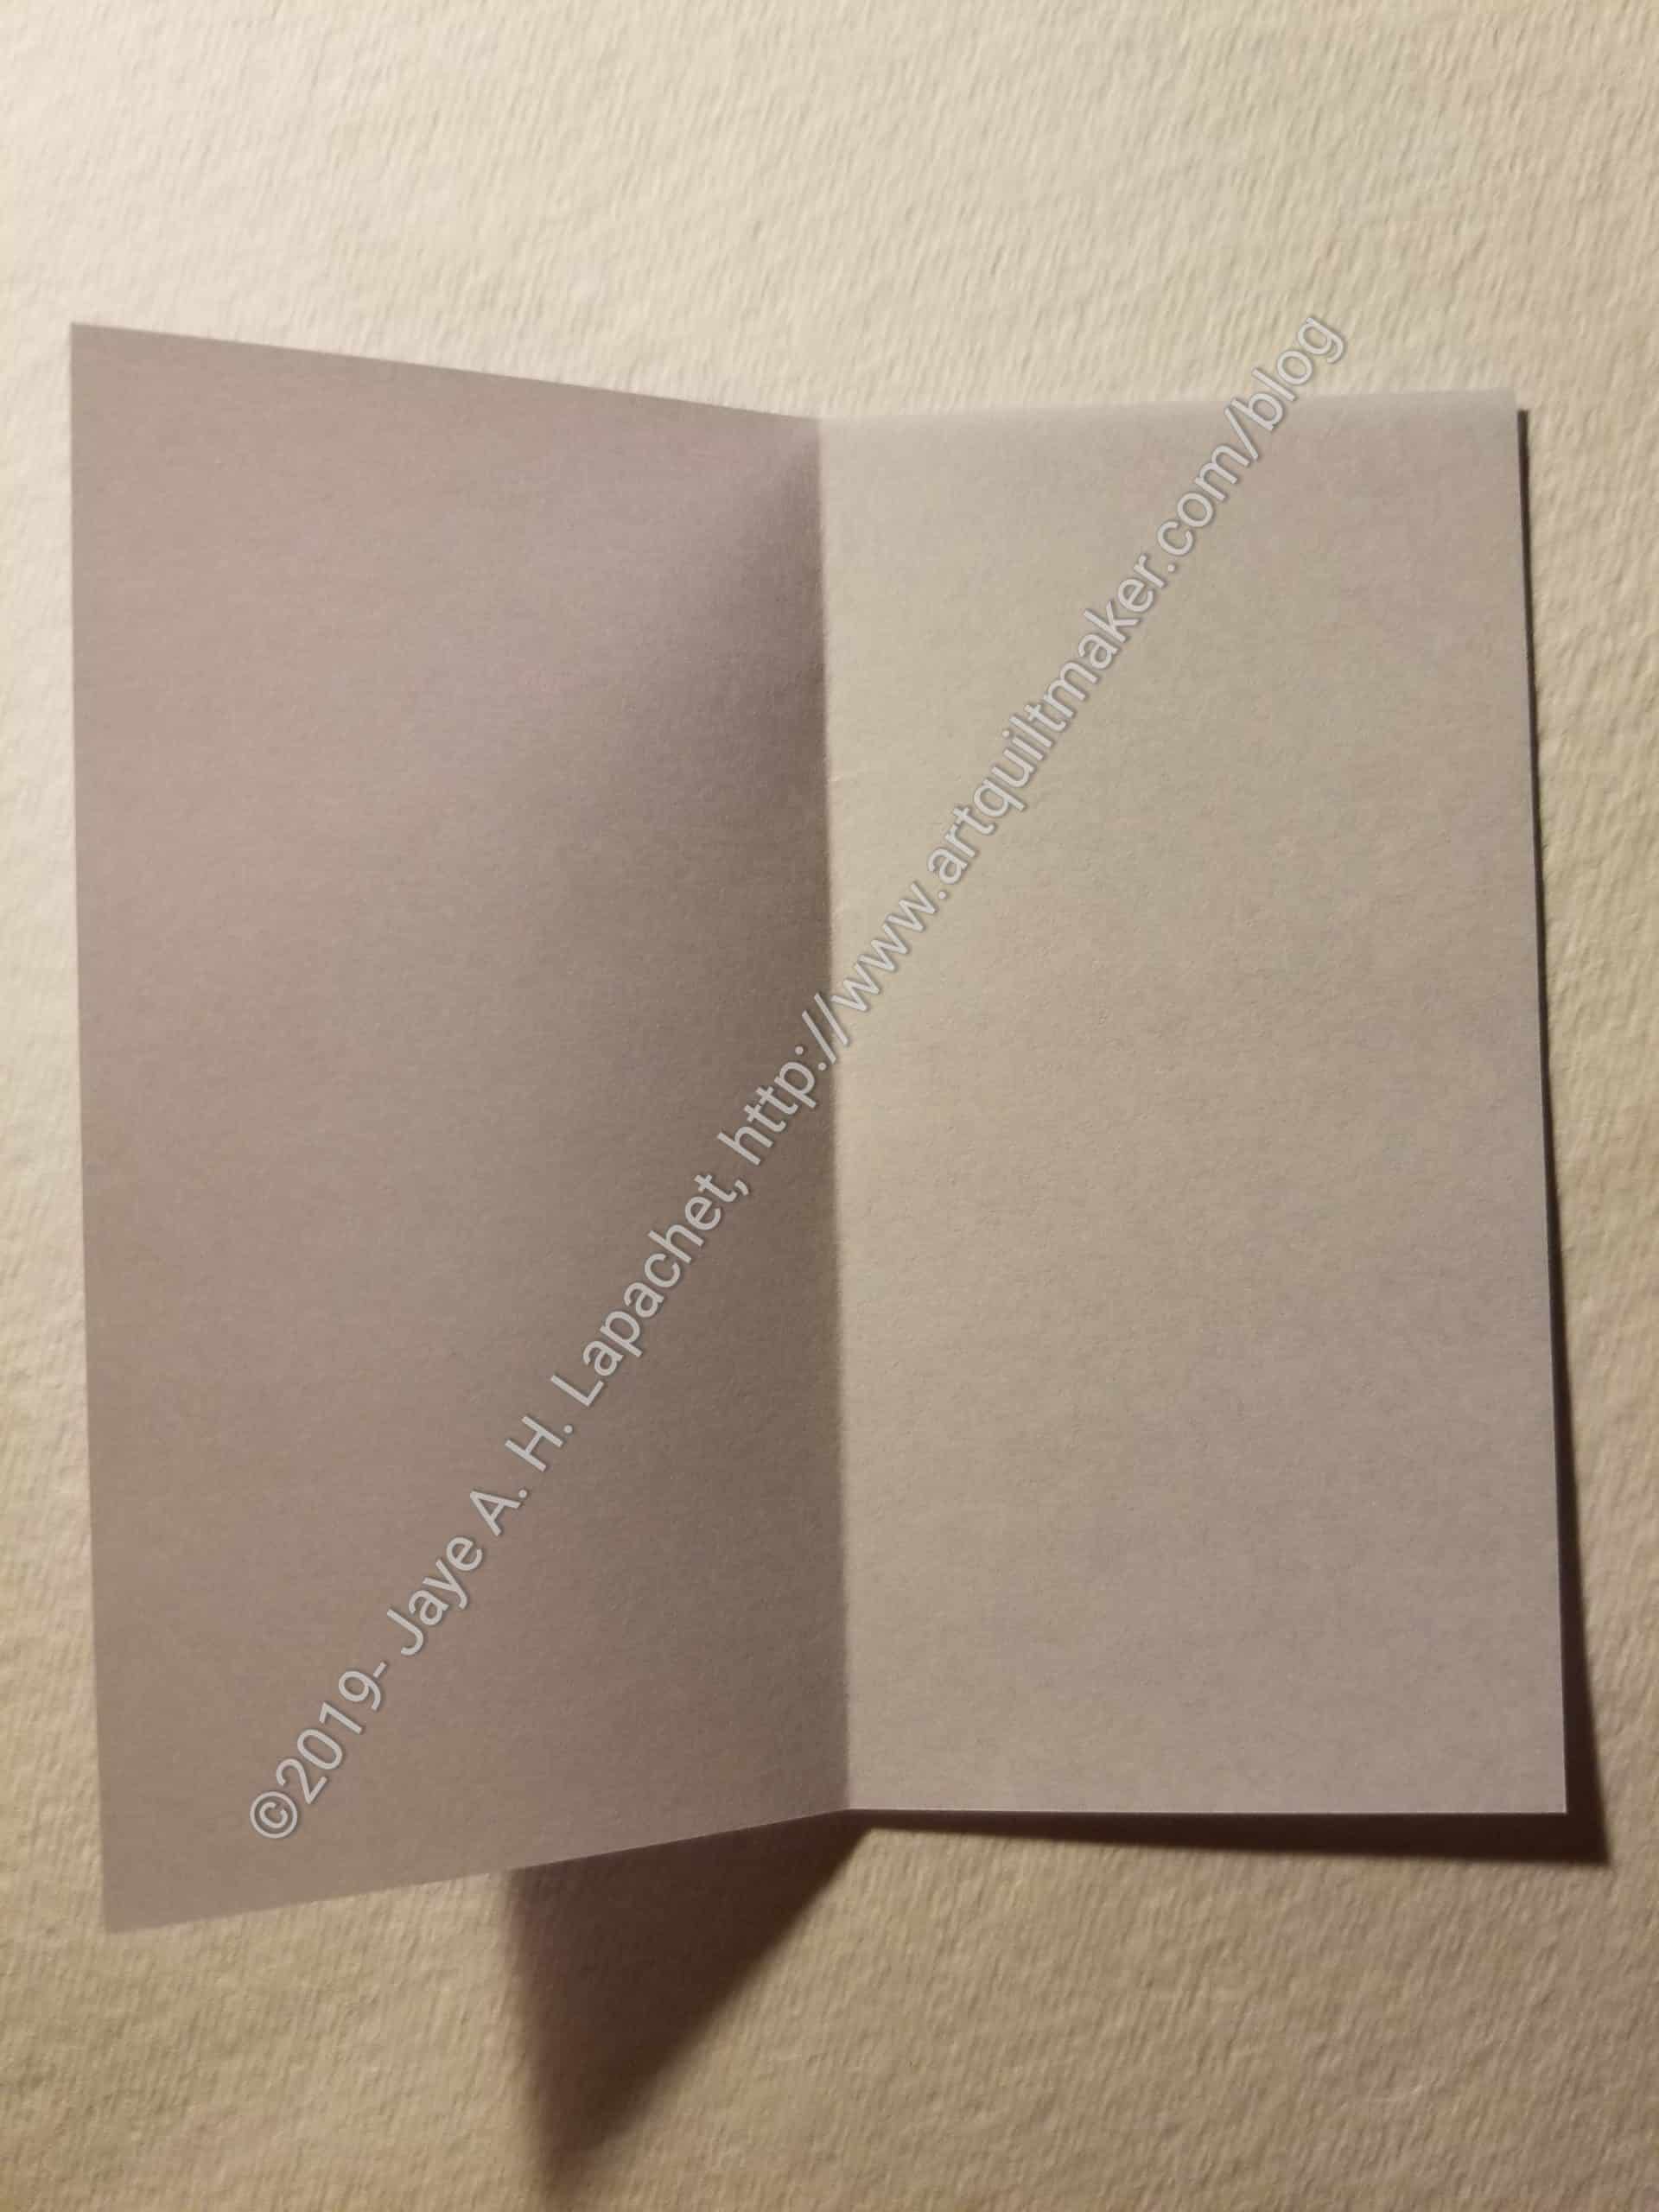
Fold square piece of paper in half
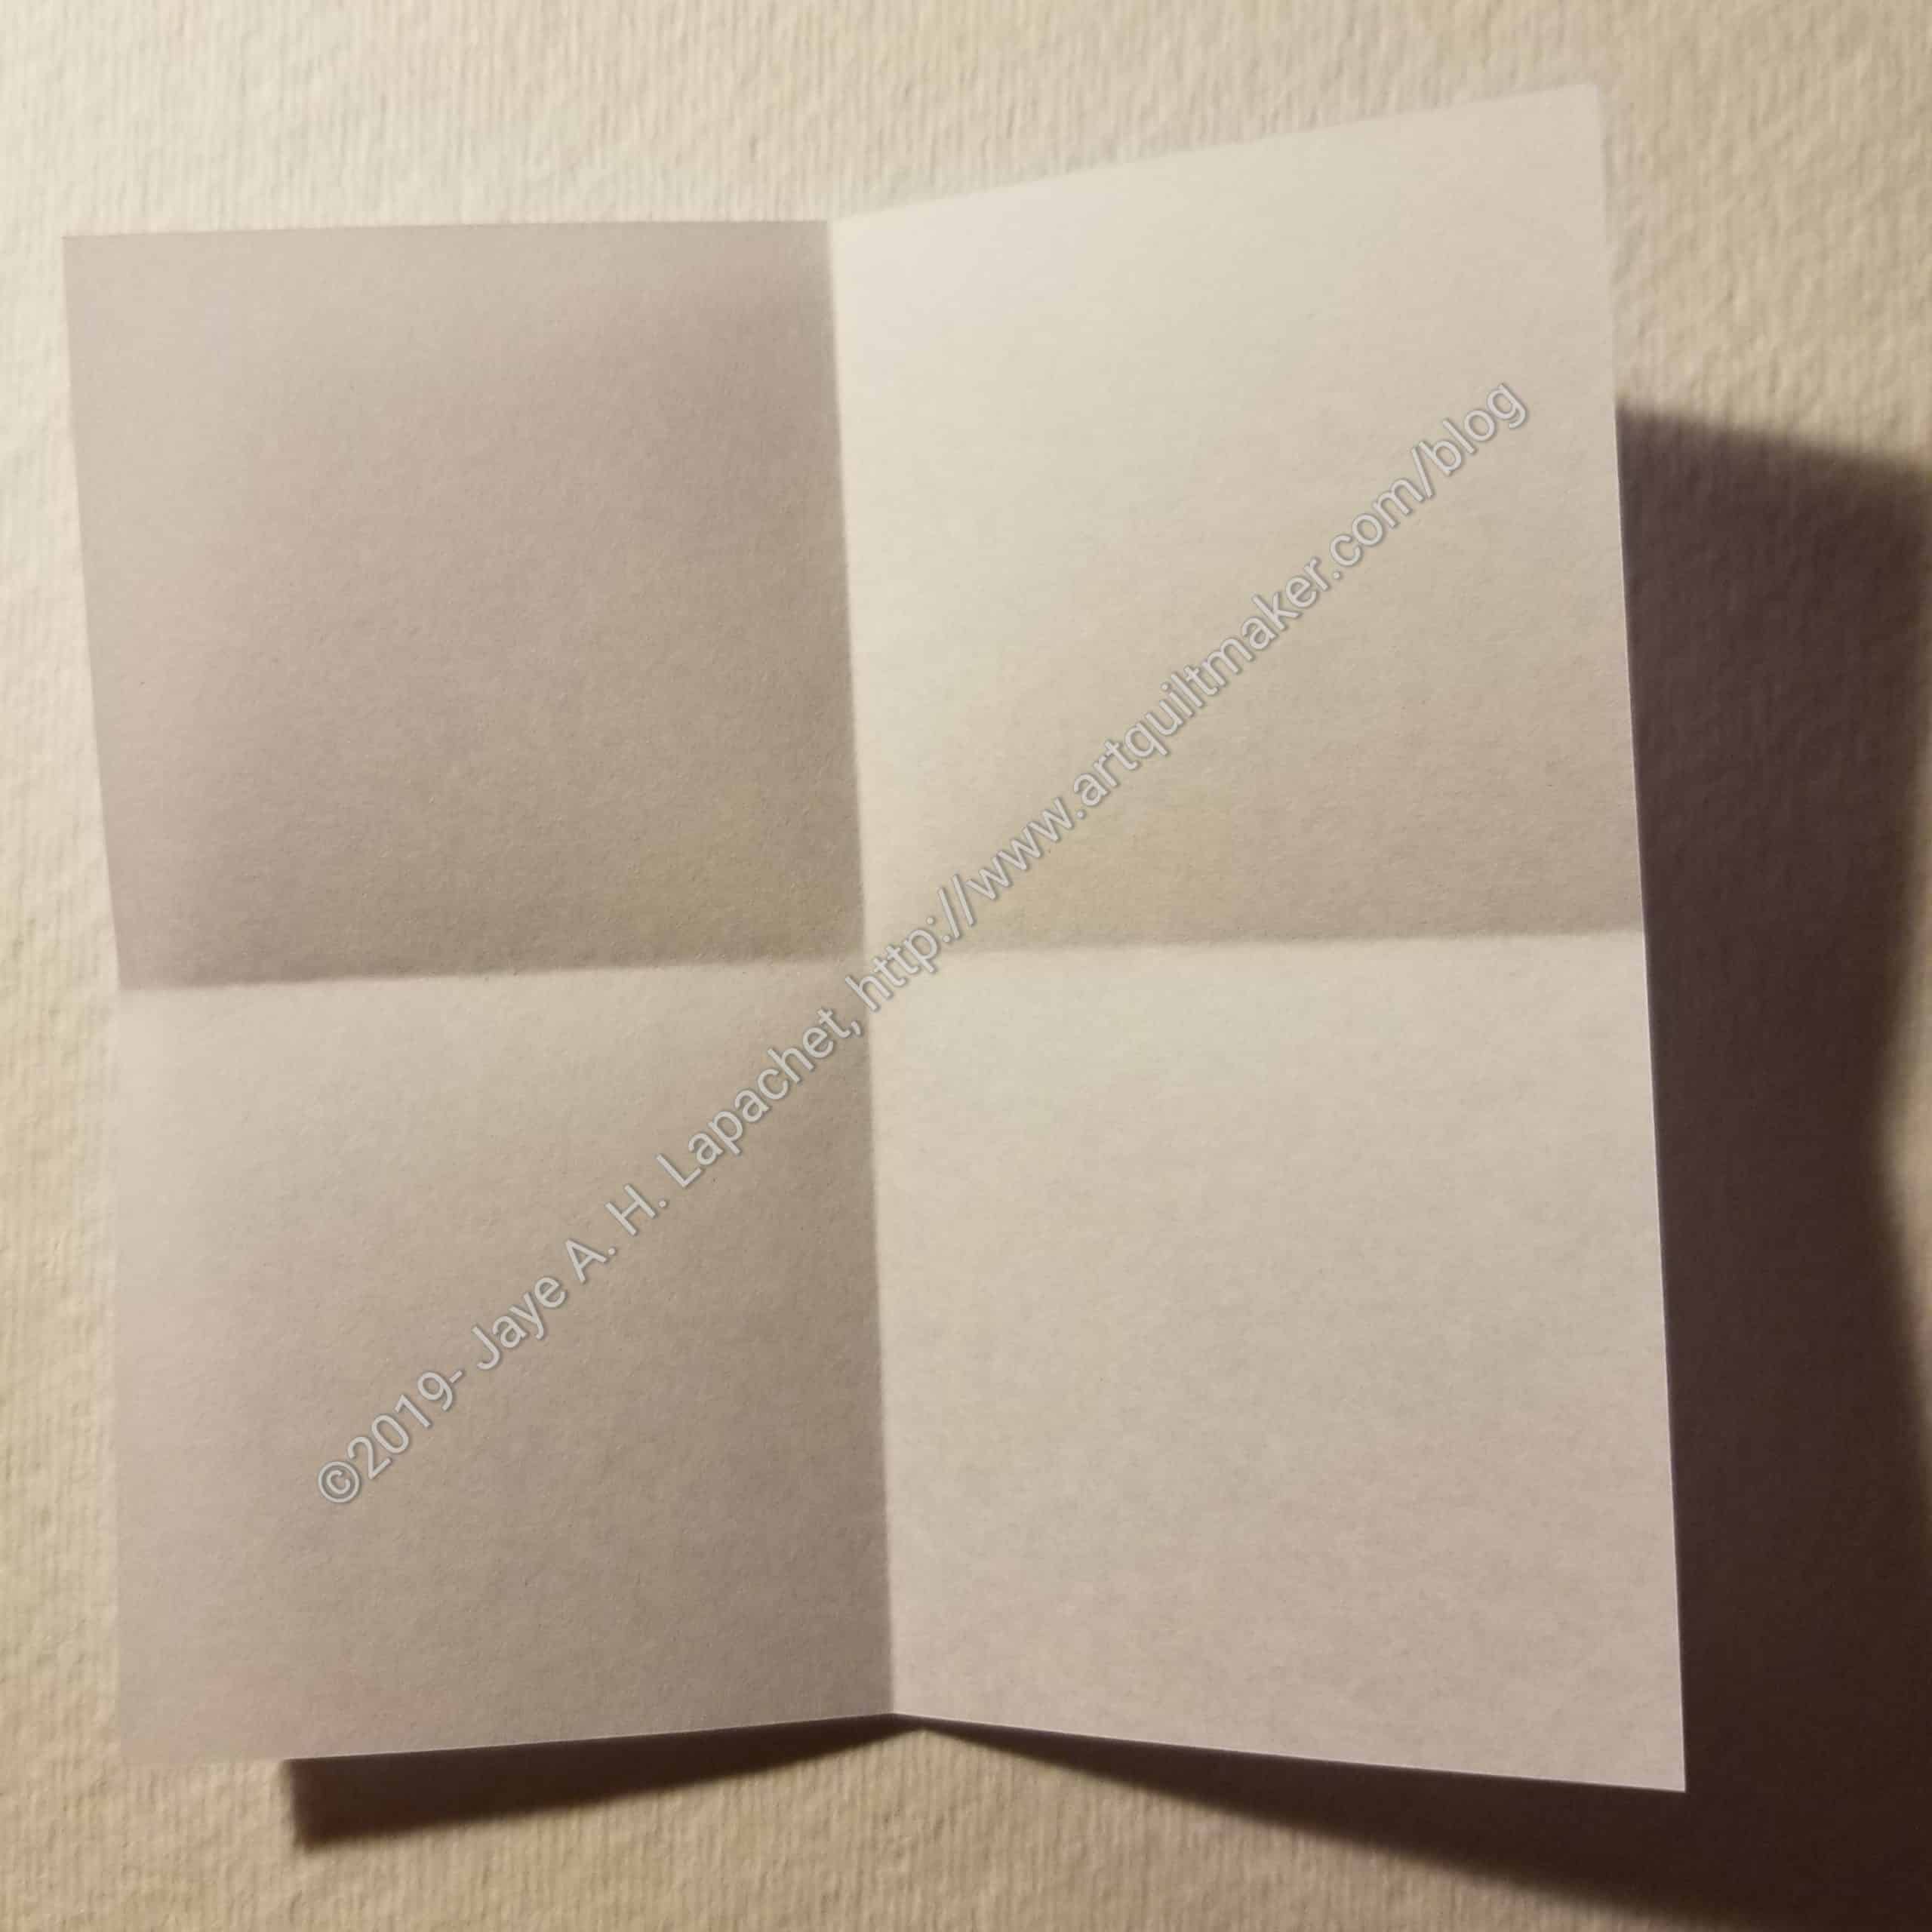
Open up the piece of paper and fold it in half the other way. You will have a cross made of folds on the paper. If you are a quiltmaker, you will see a four patch.


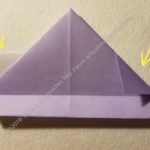
Fold two top corners towards the center on the diagonal

Fold bottom up to meet the two corners. The edge of the paper will be even with the original folded center line and the break between the two triangles from the previous fold.
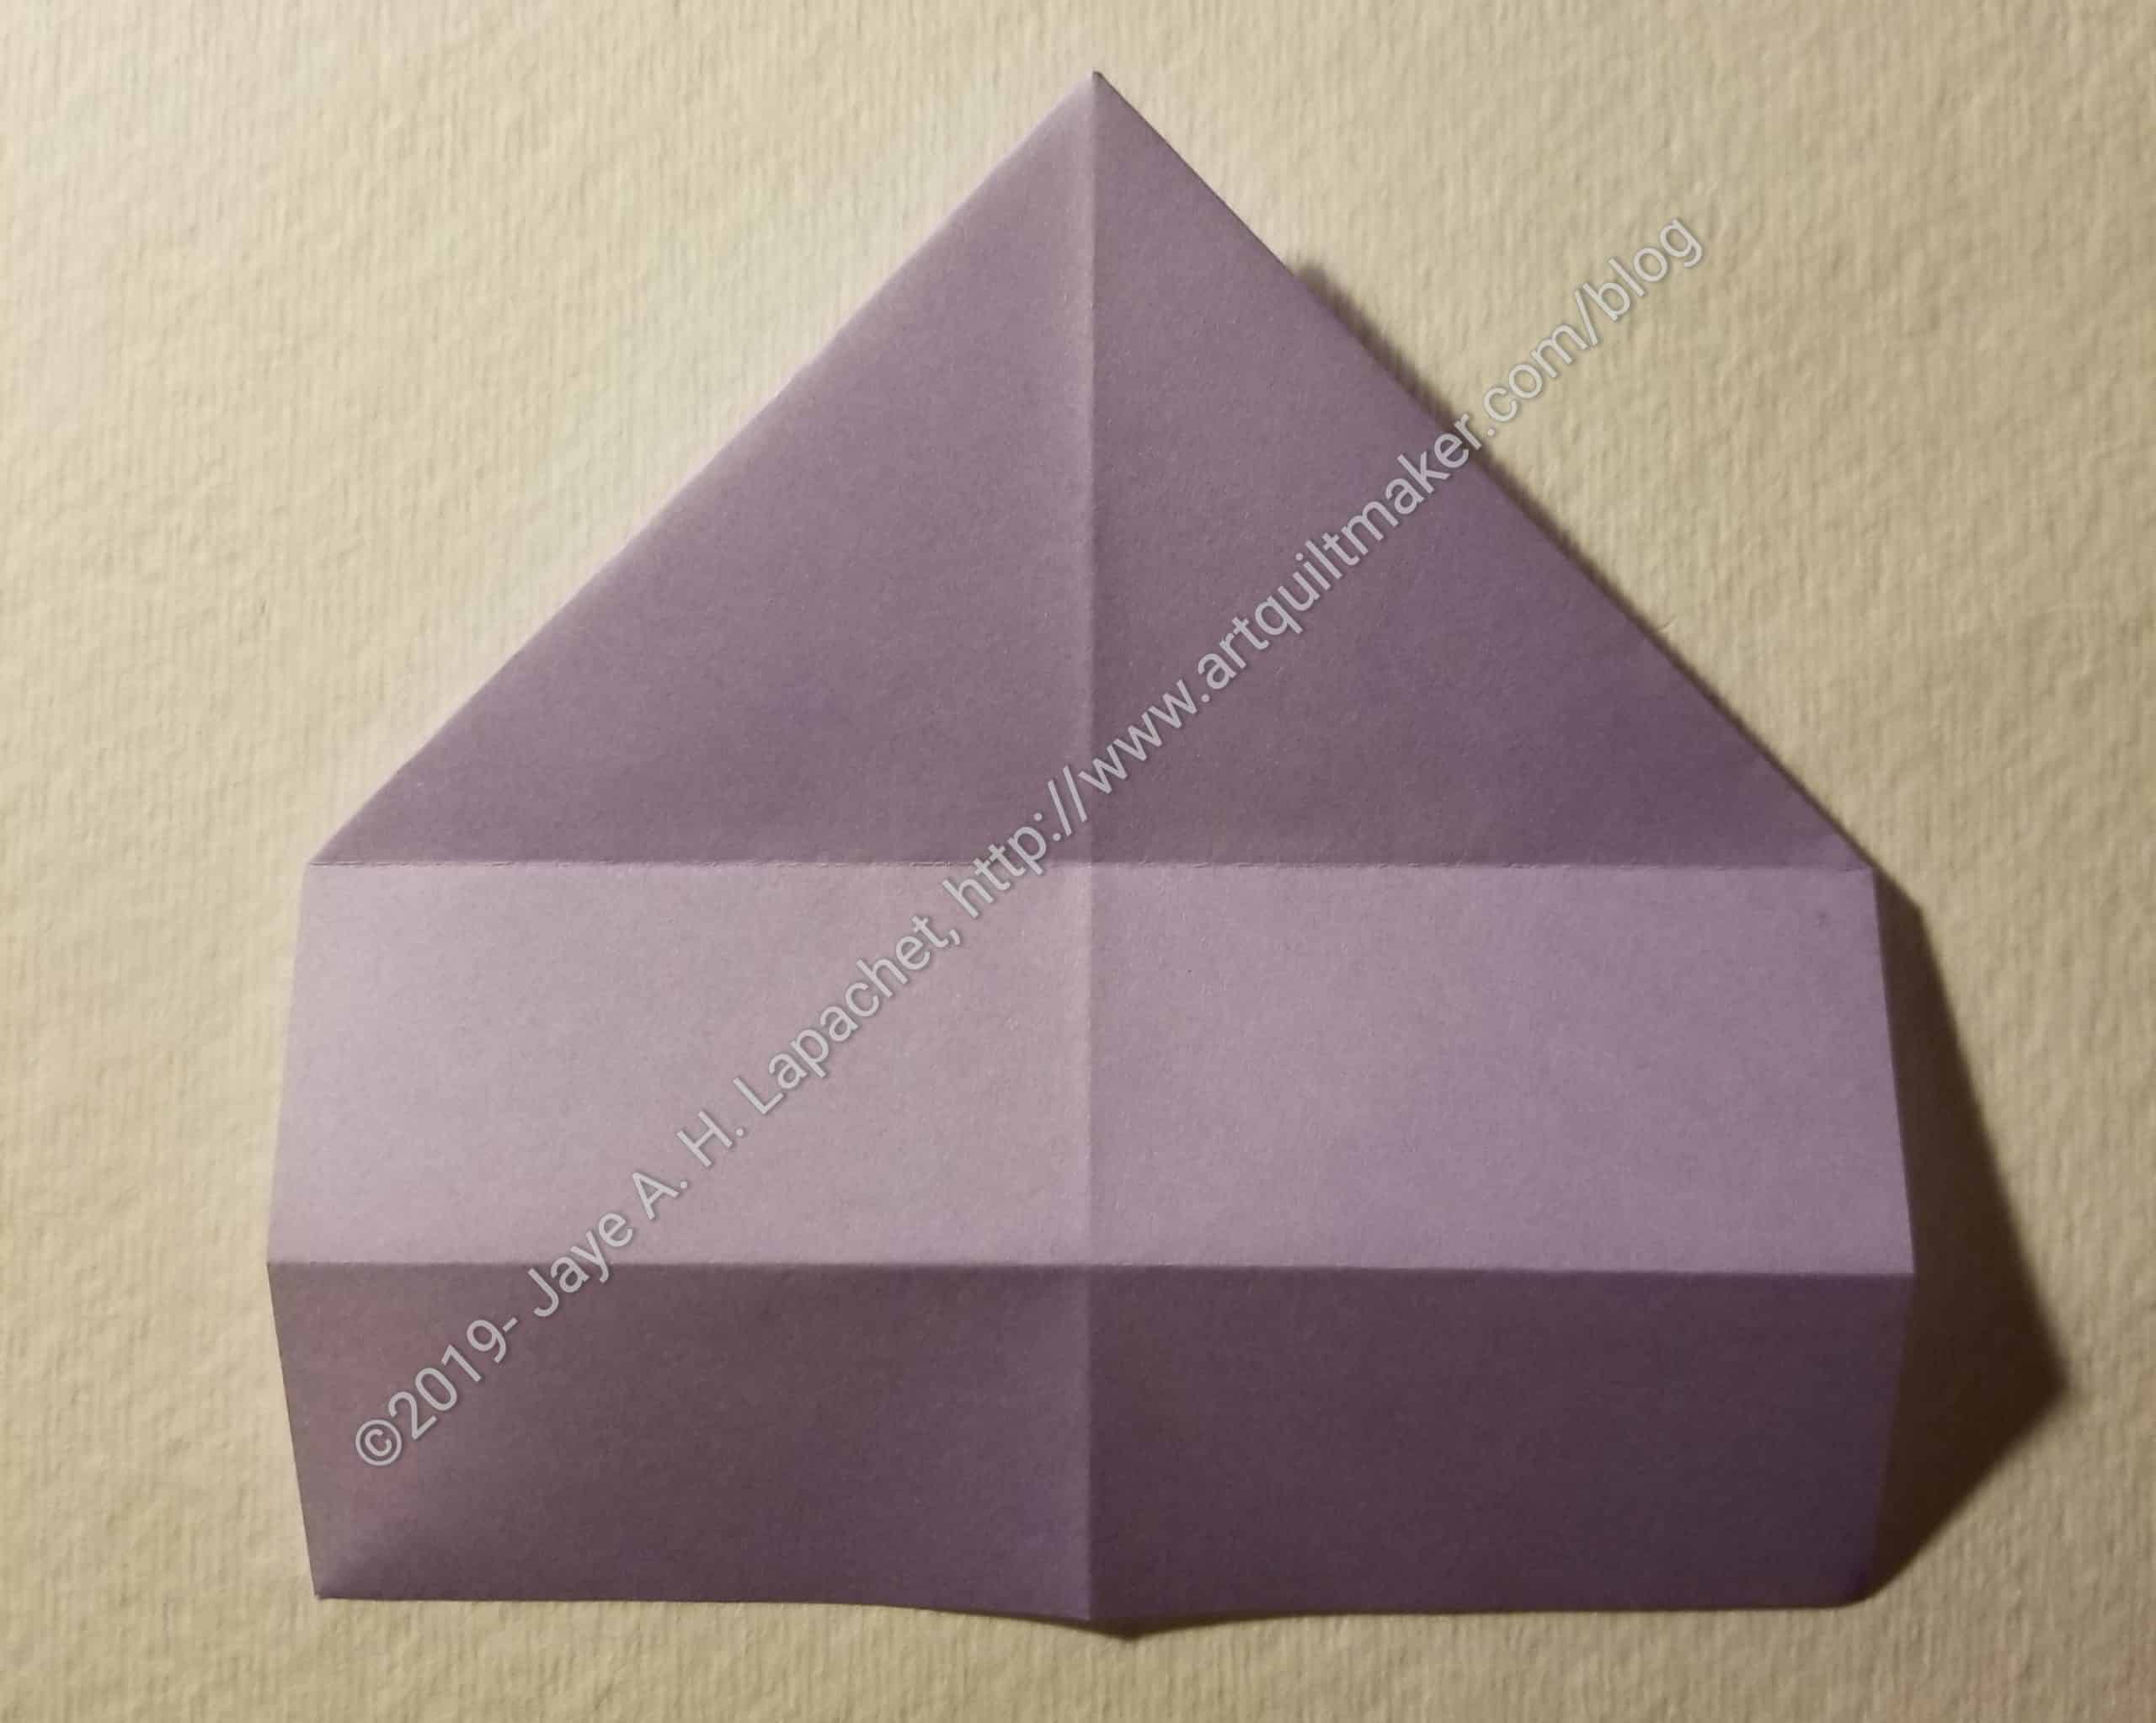
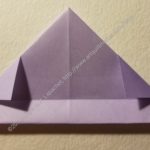
In the above photo you have two rectangles. They are just made from folds.
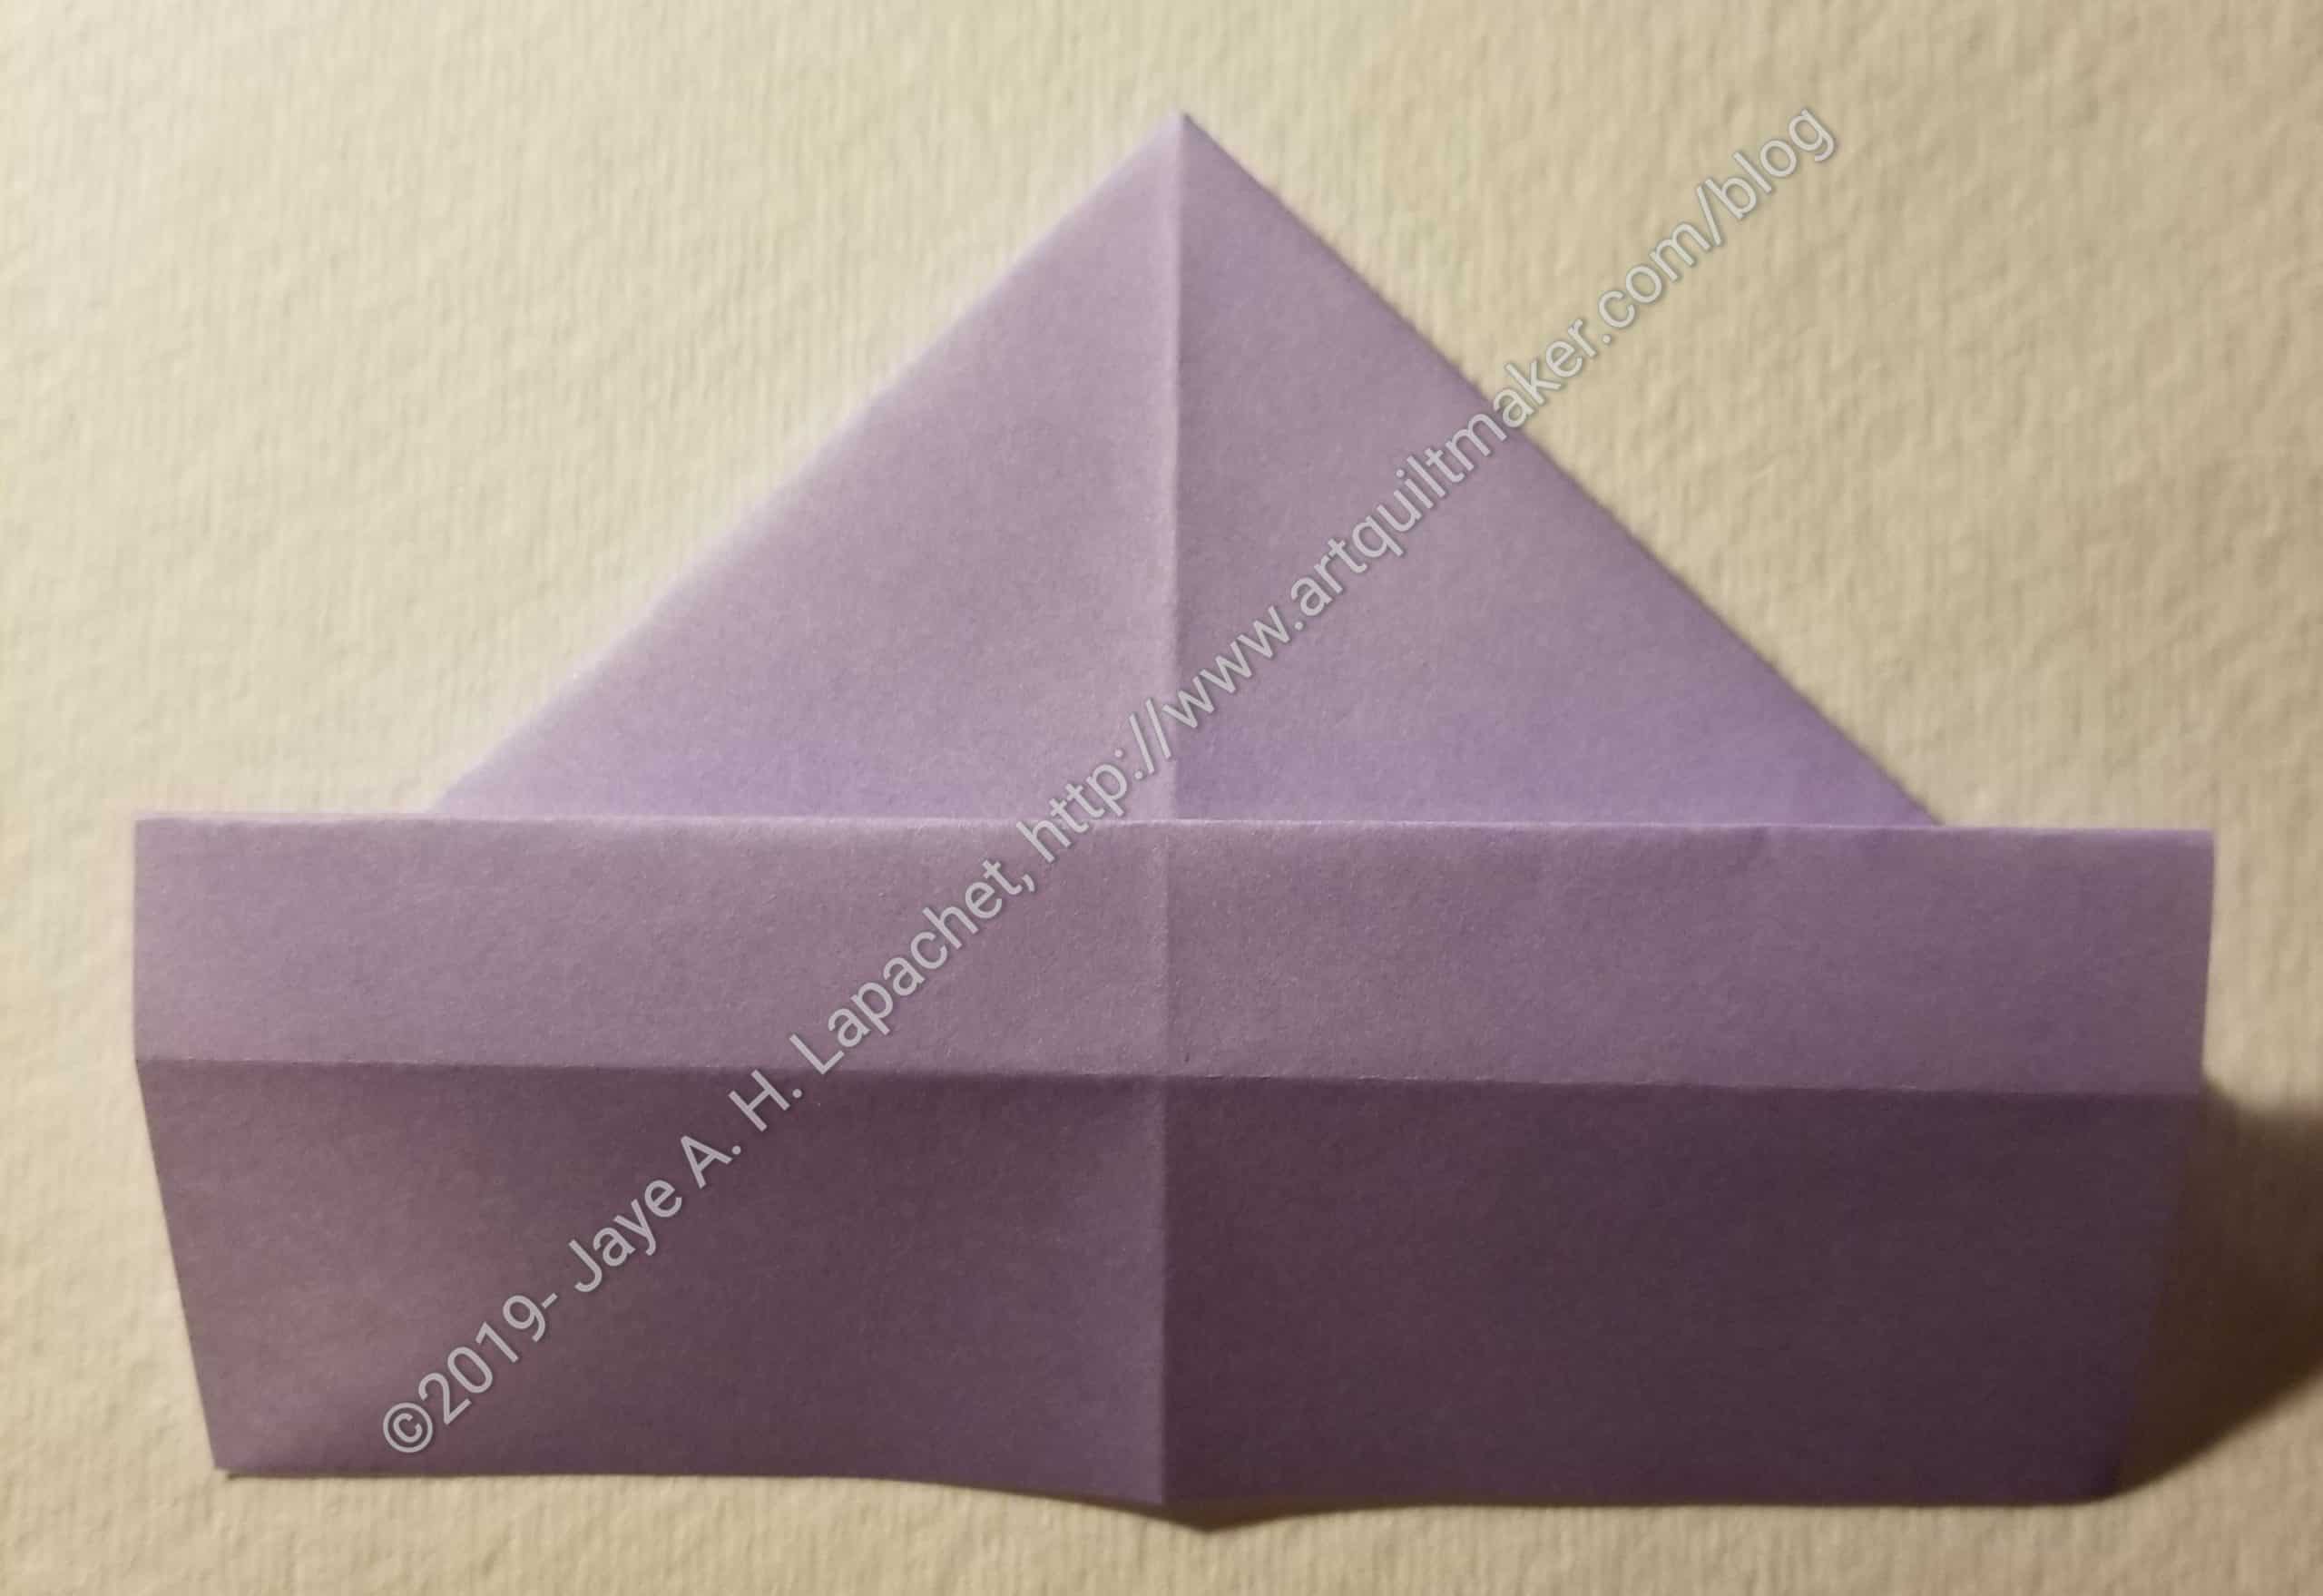
Turn the piece over.

Fold the rectangle-bottom section back onto the triangle portion so the right sides of the paper are together and you can see the wrong side.
The next part is a little tricky, but only to explain. The basic idea is to fold the topmost rectangle in half lengthwise.
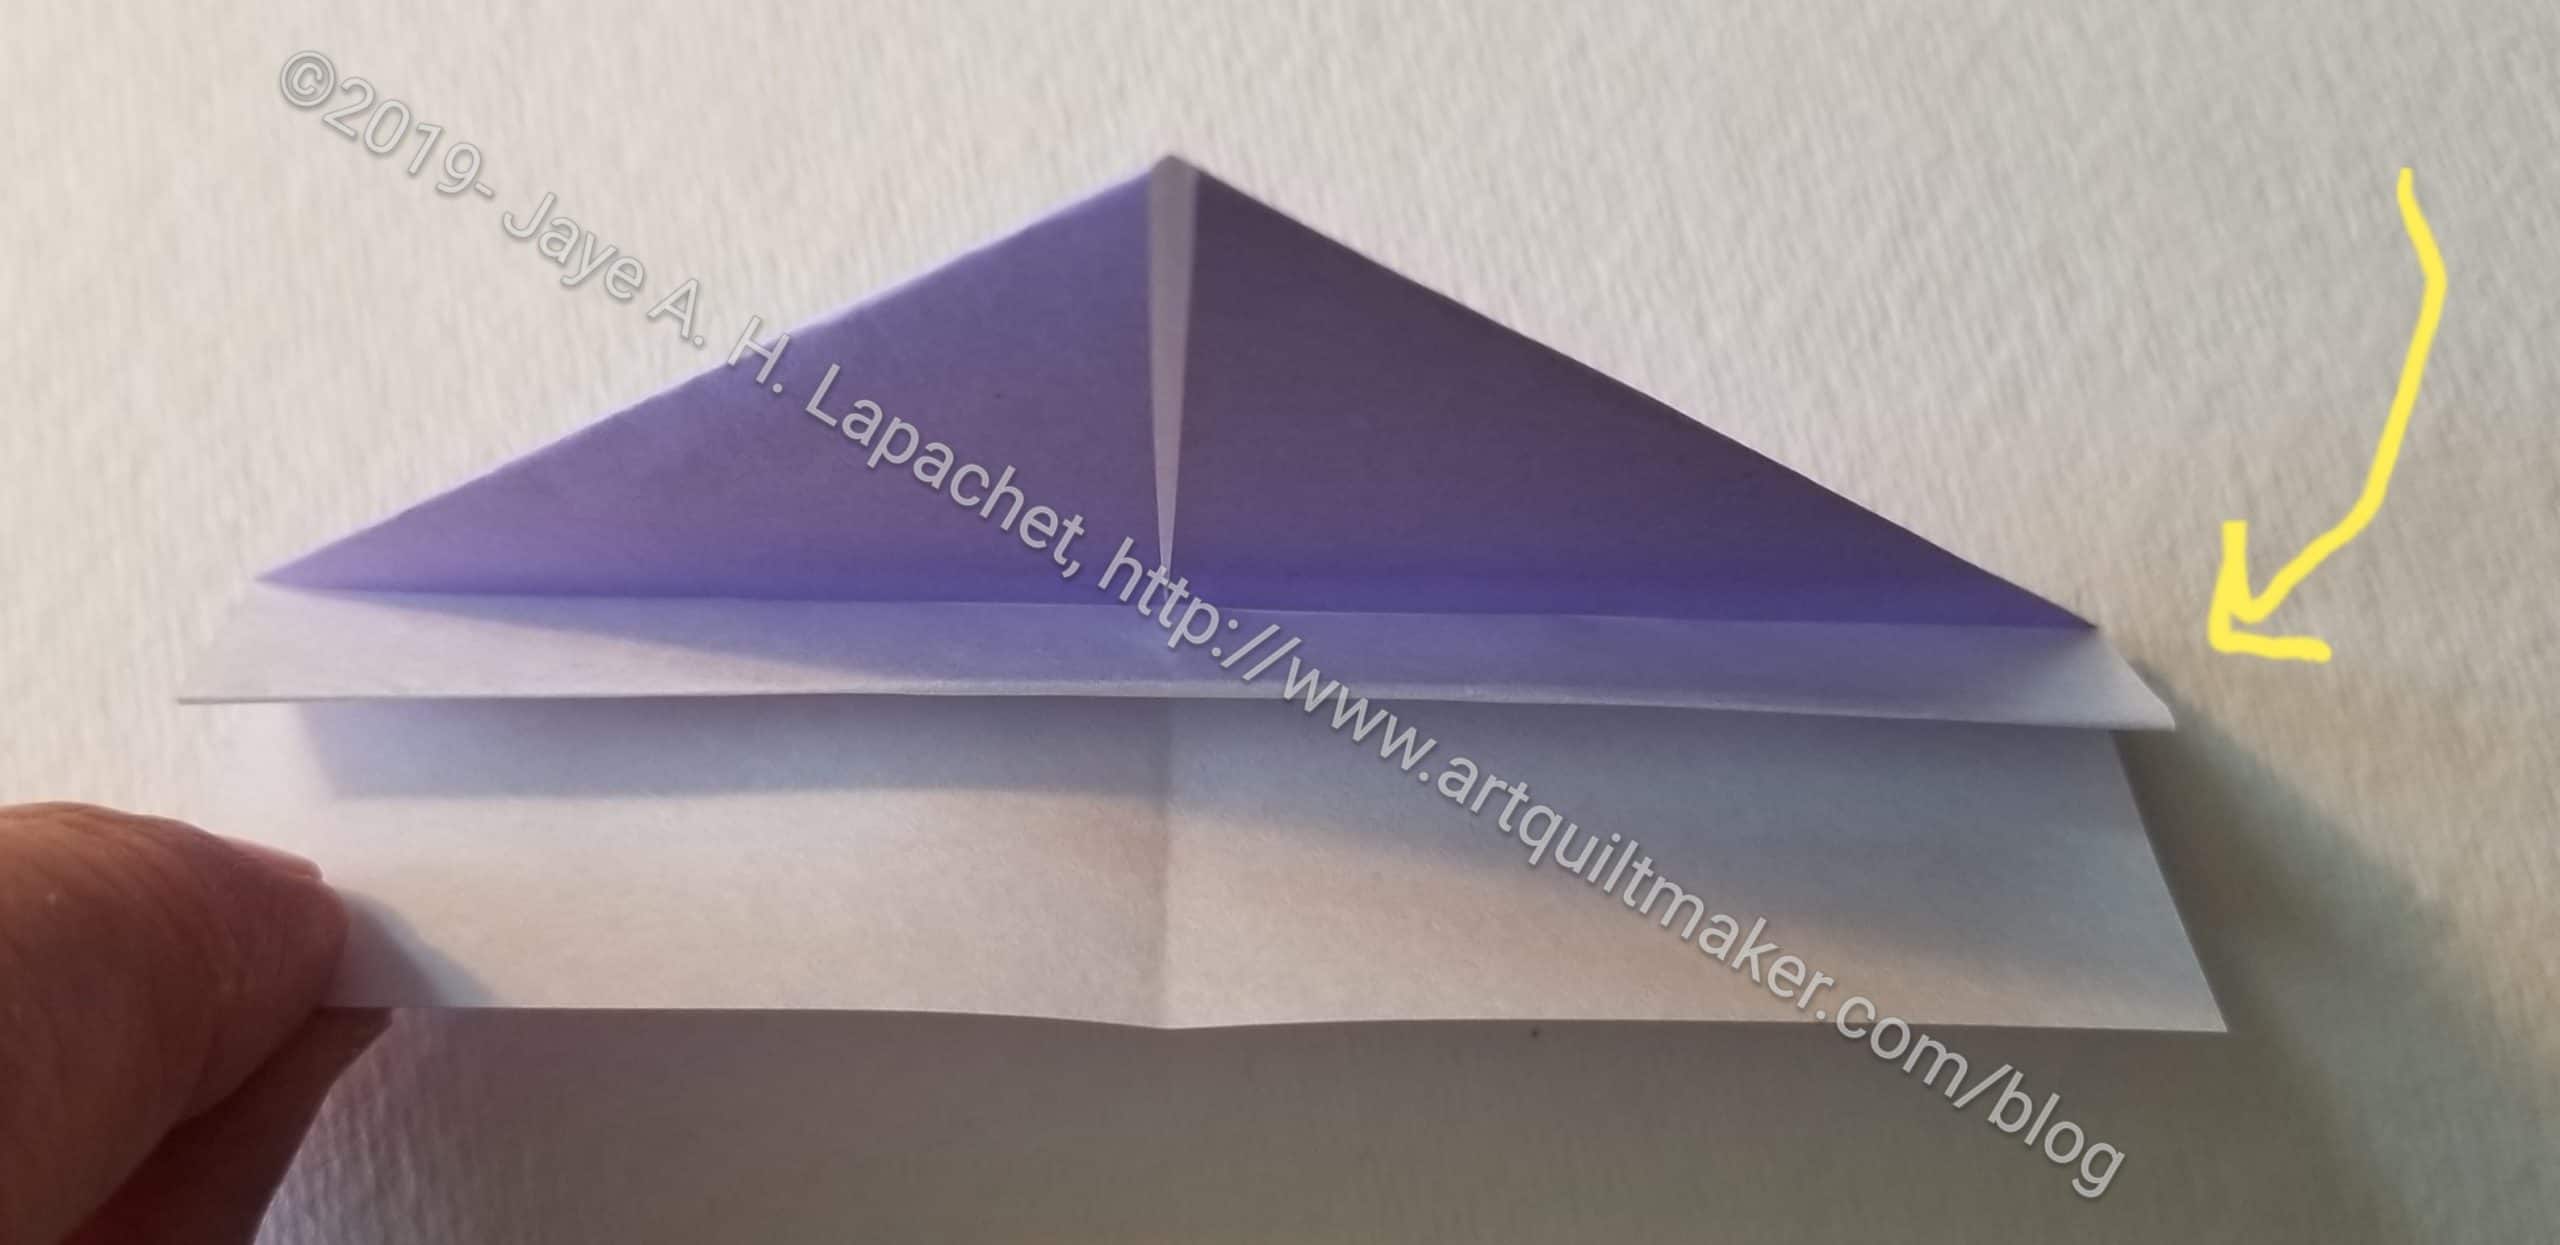
Fold the top rectangle in half lengthwise wrong sides together. N.B. In the bottom photo, I flipped the unit over so I could show you how the folds look.
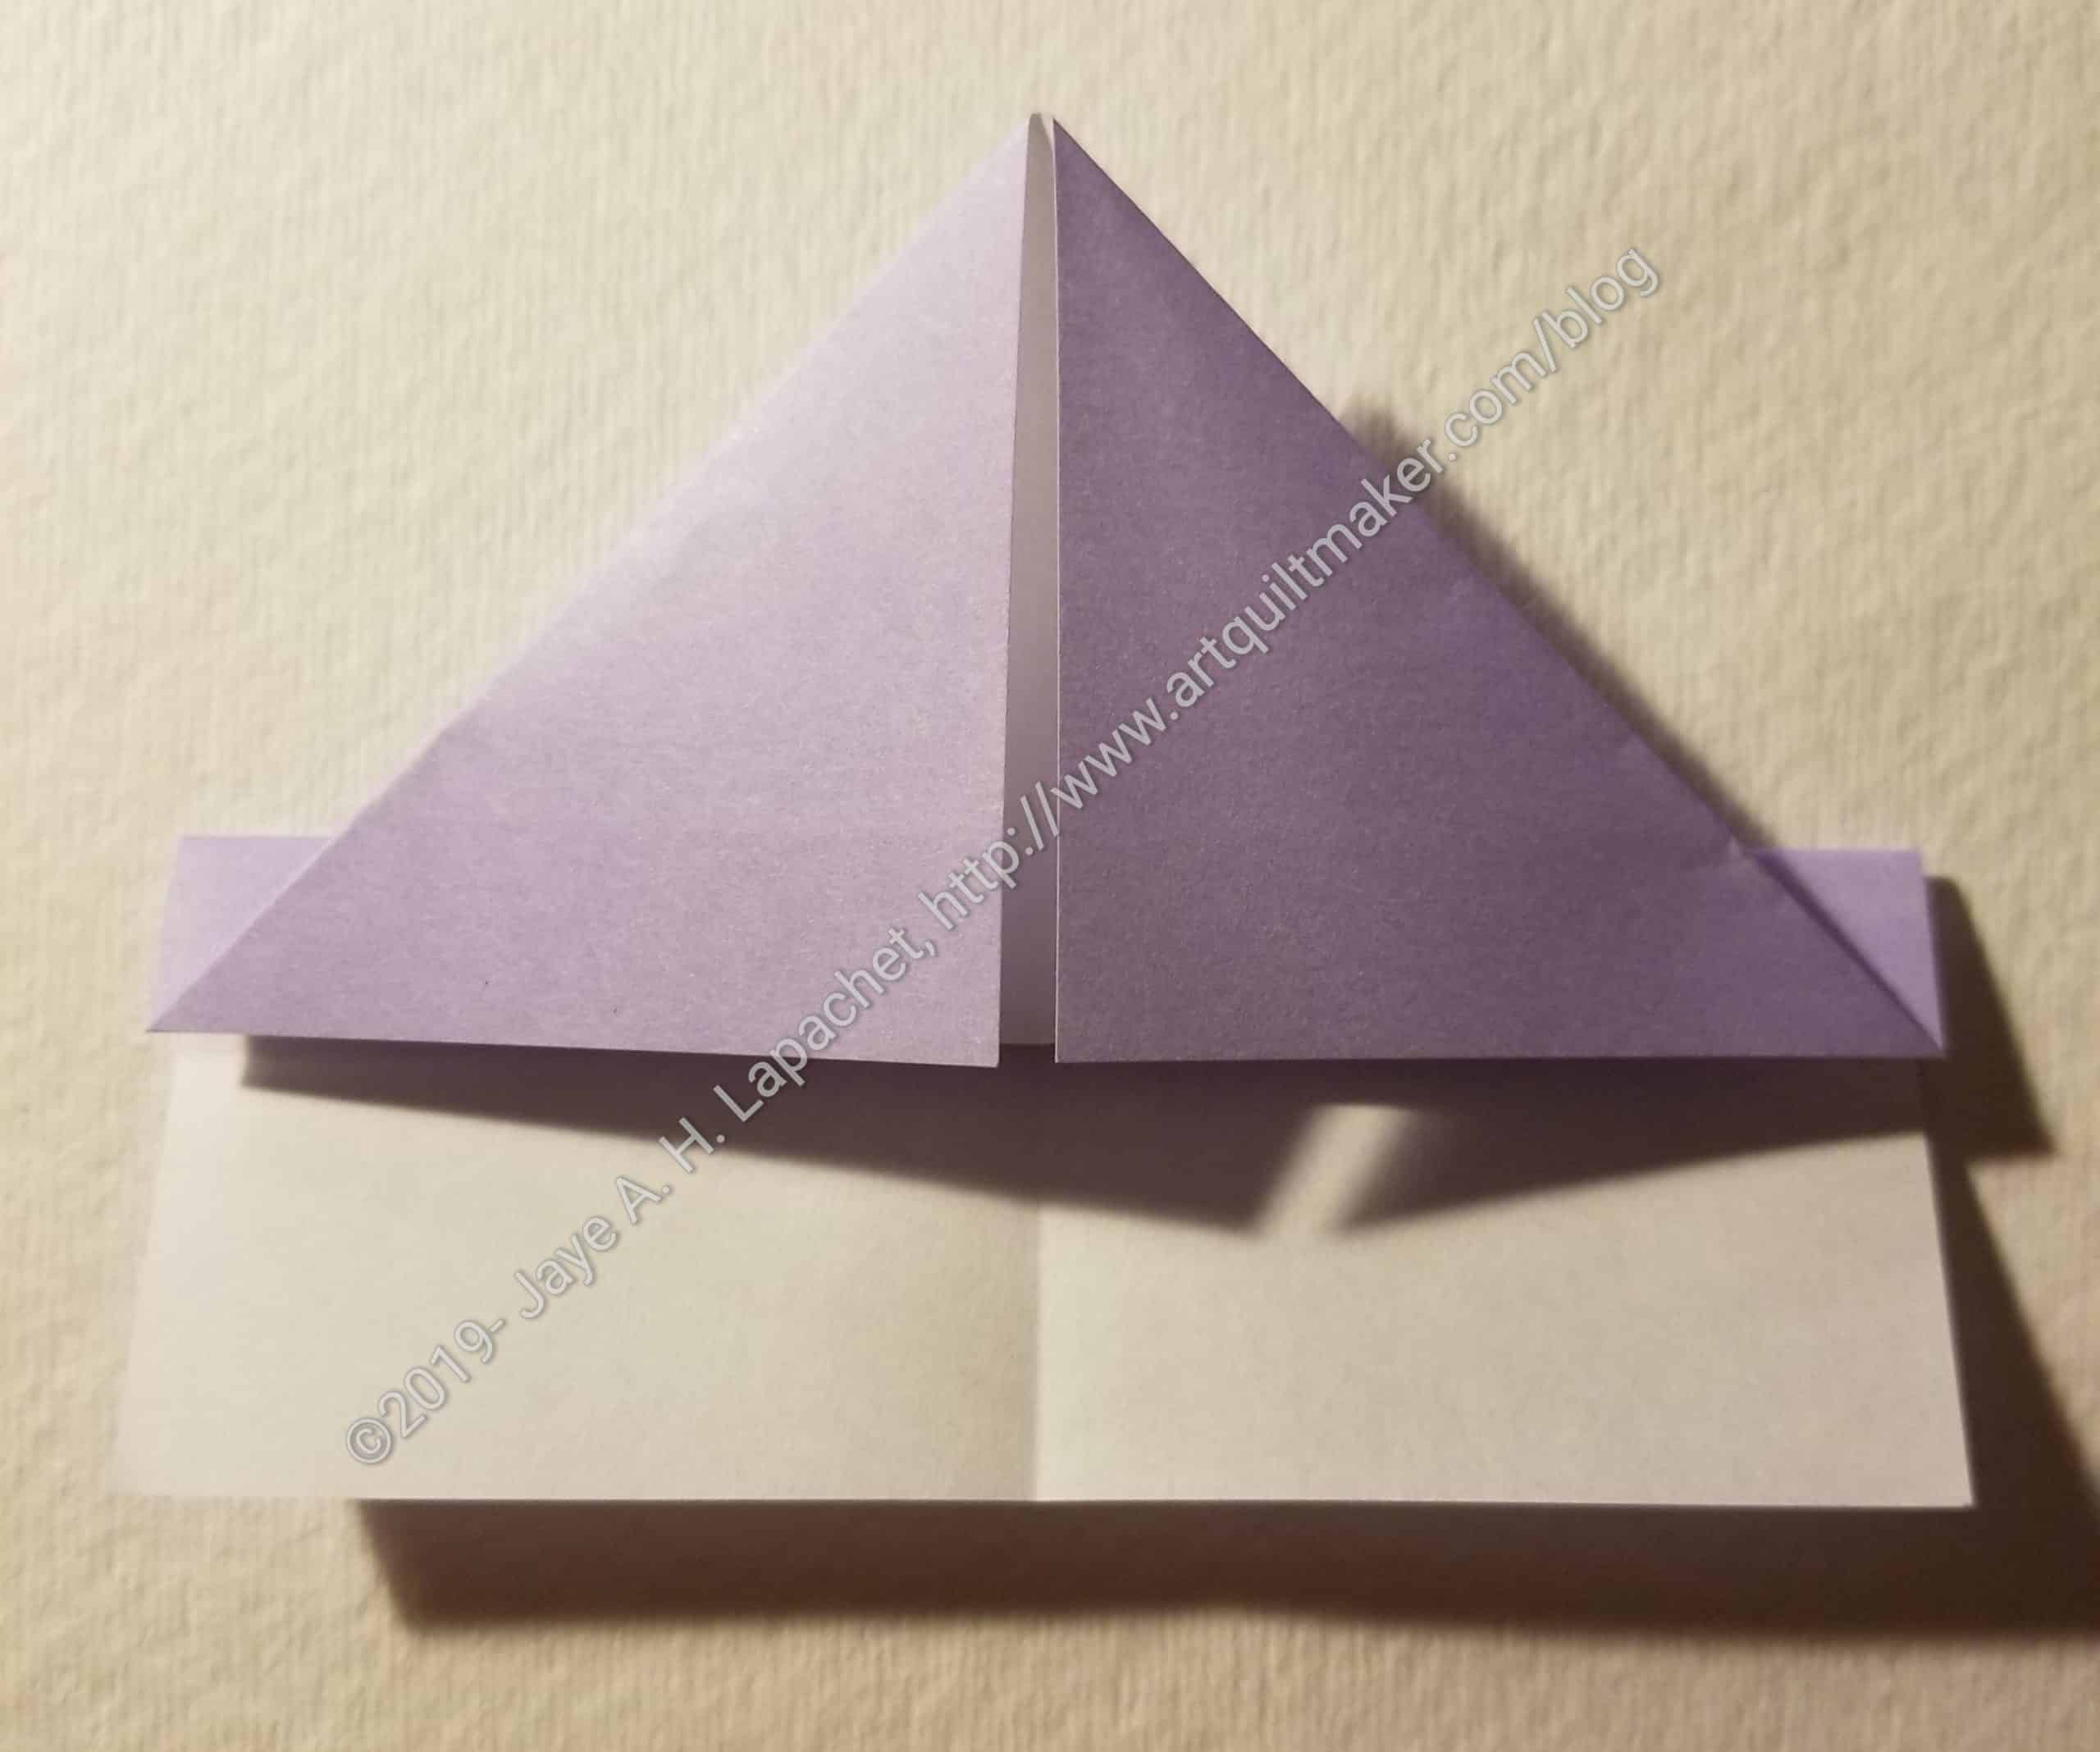
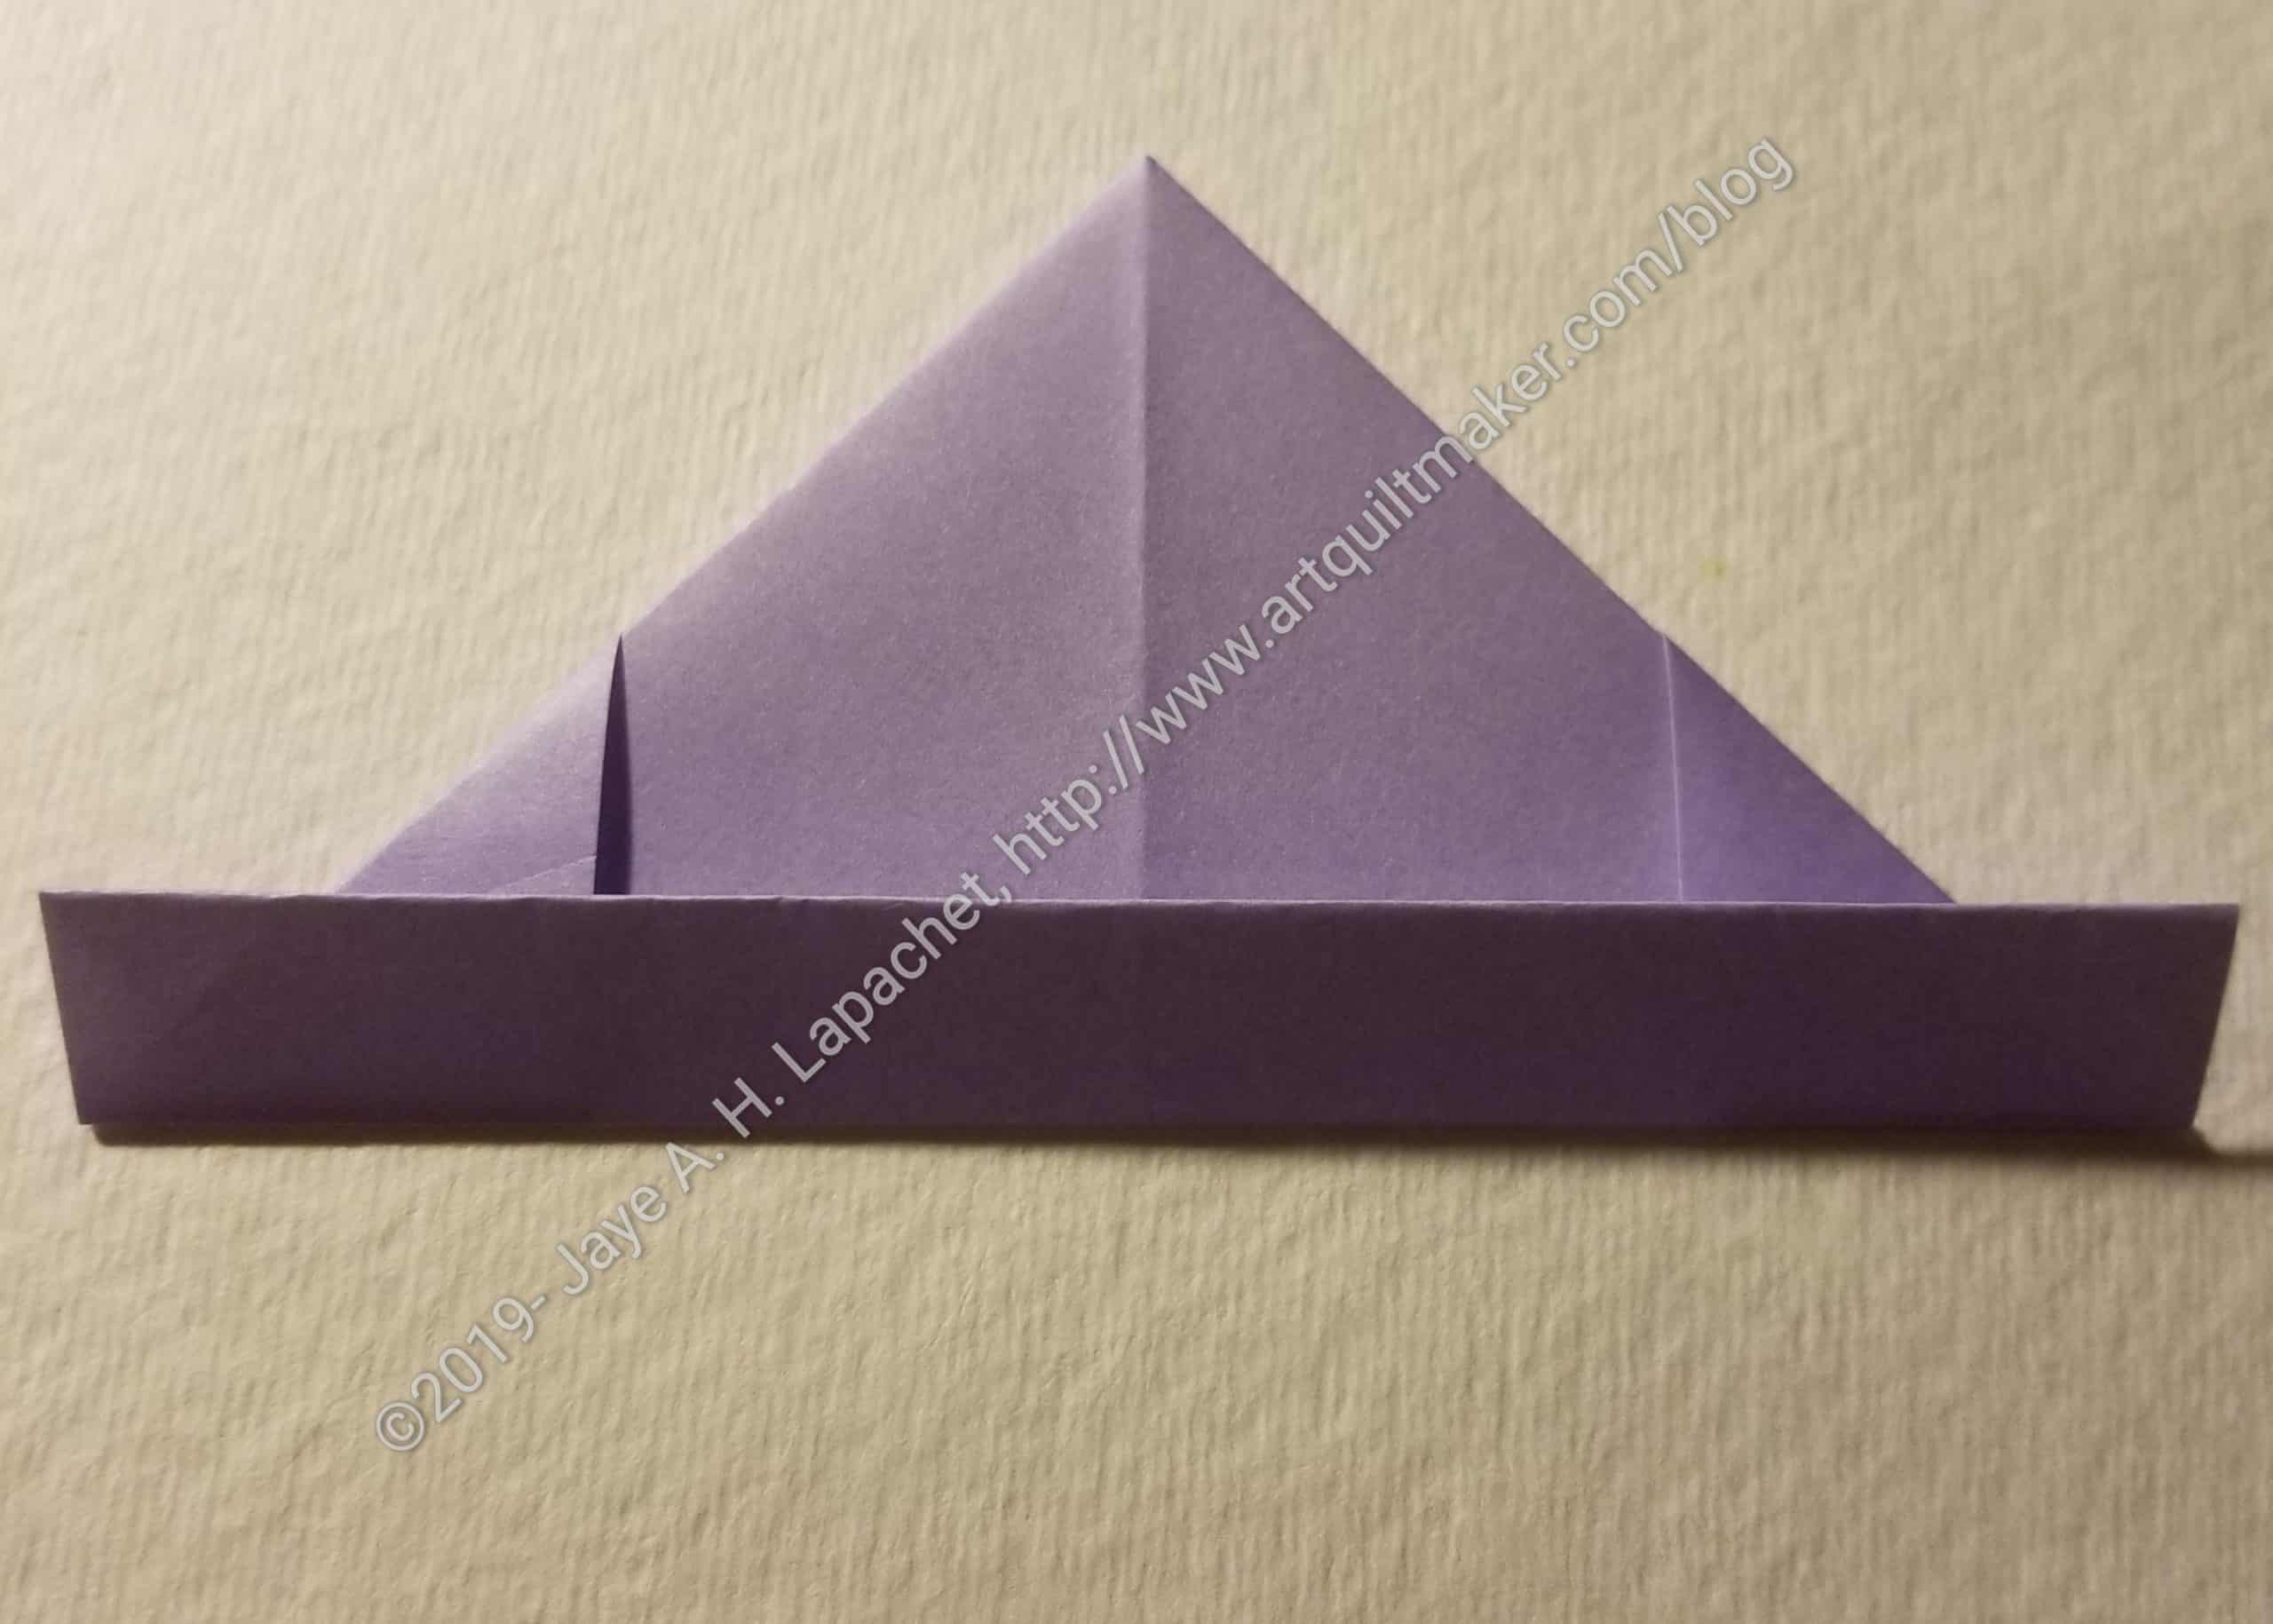
Turn the piece over again. The opening between the two triangles will be on top.

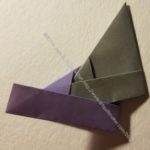
Fold the bottom rectangle up, covering part of the opening made by the diagonal folded corners/triangles
Turn the piece over again, so the larger rectangle is on the bottom.


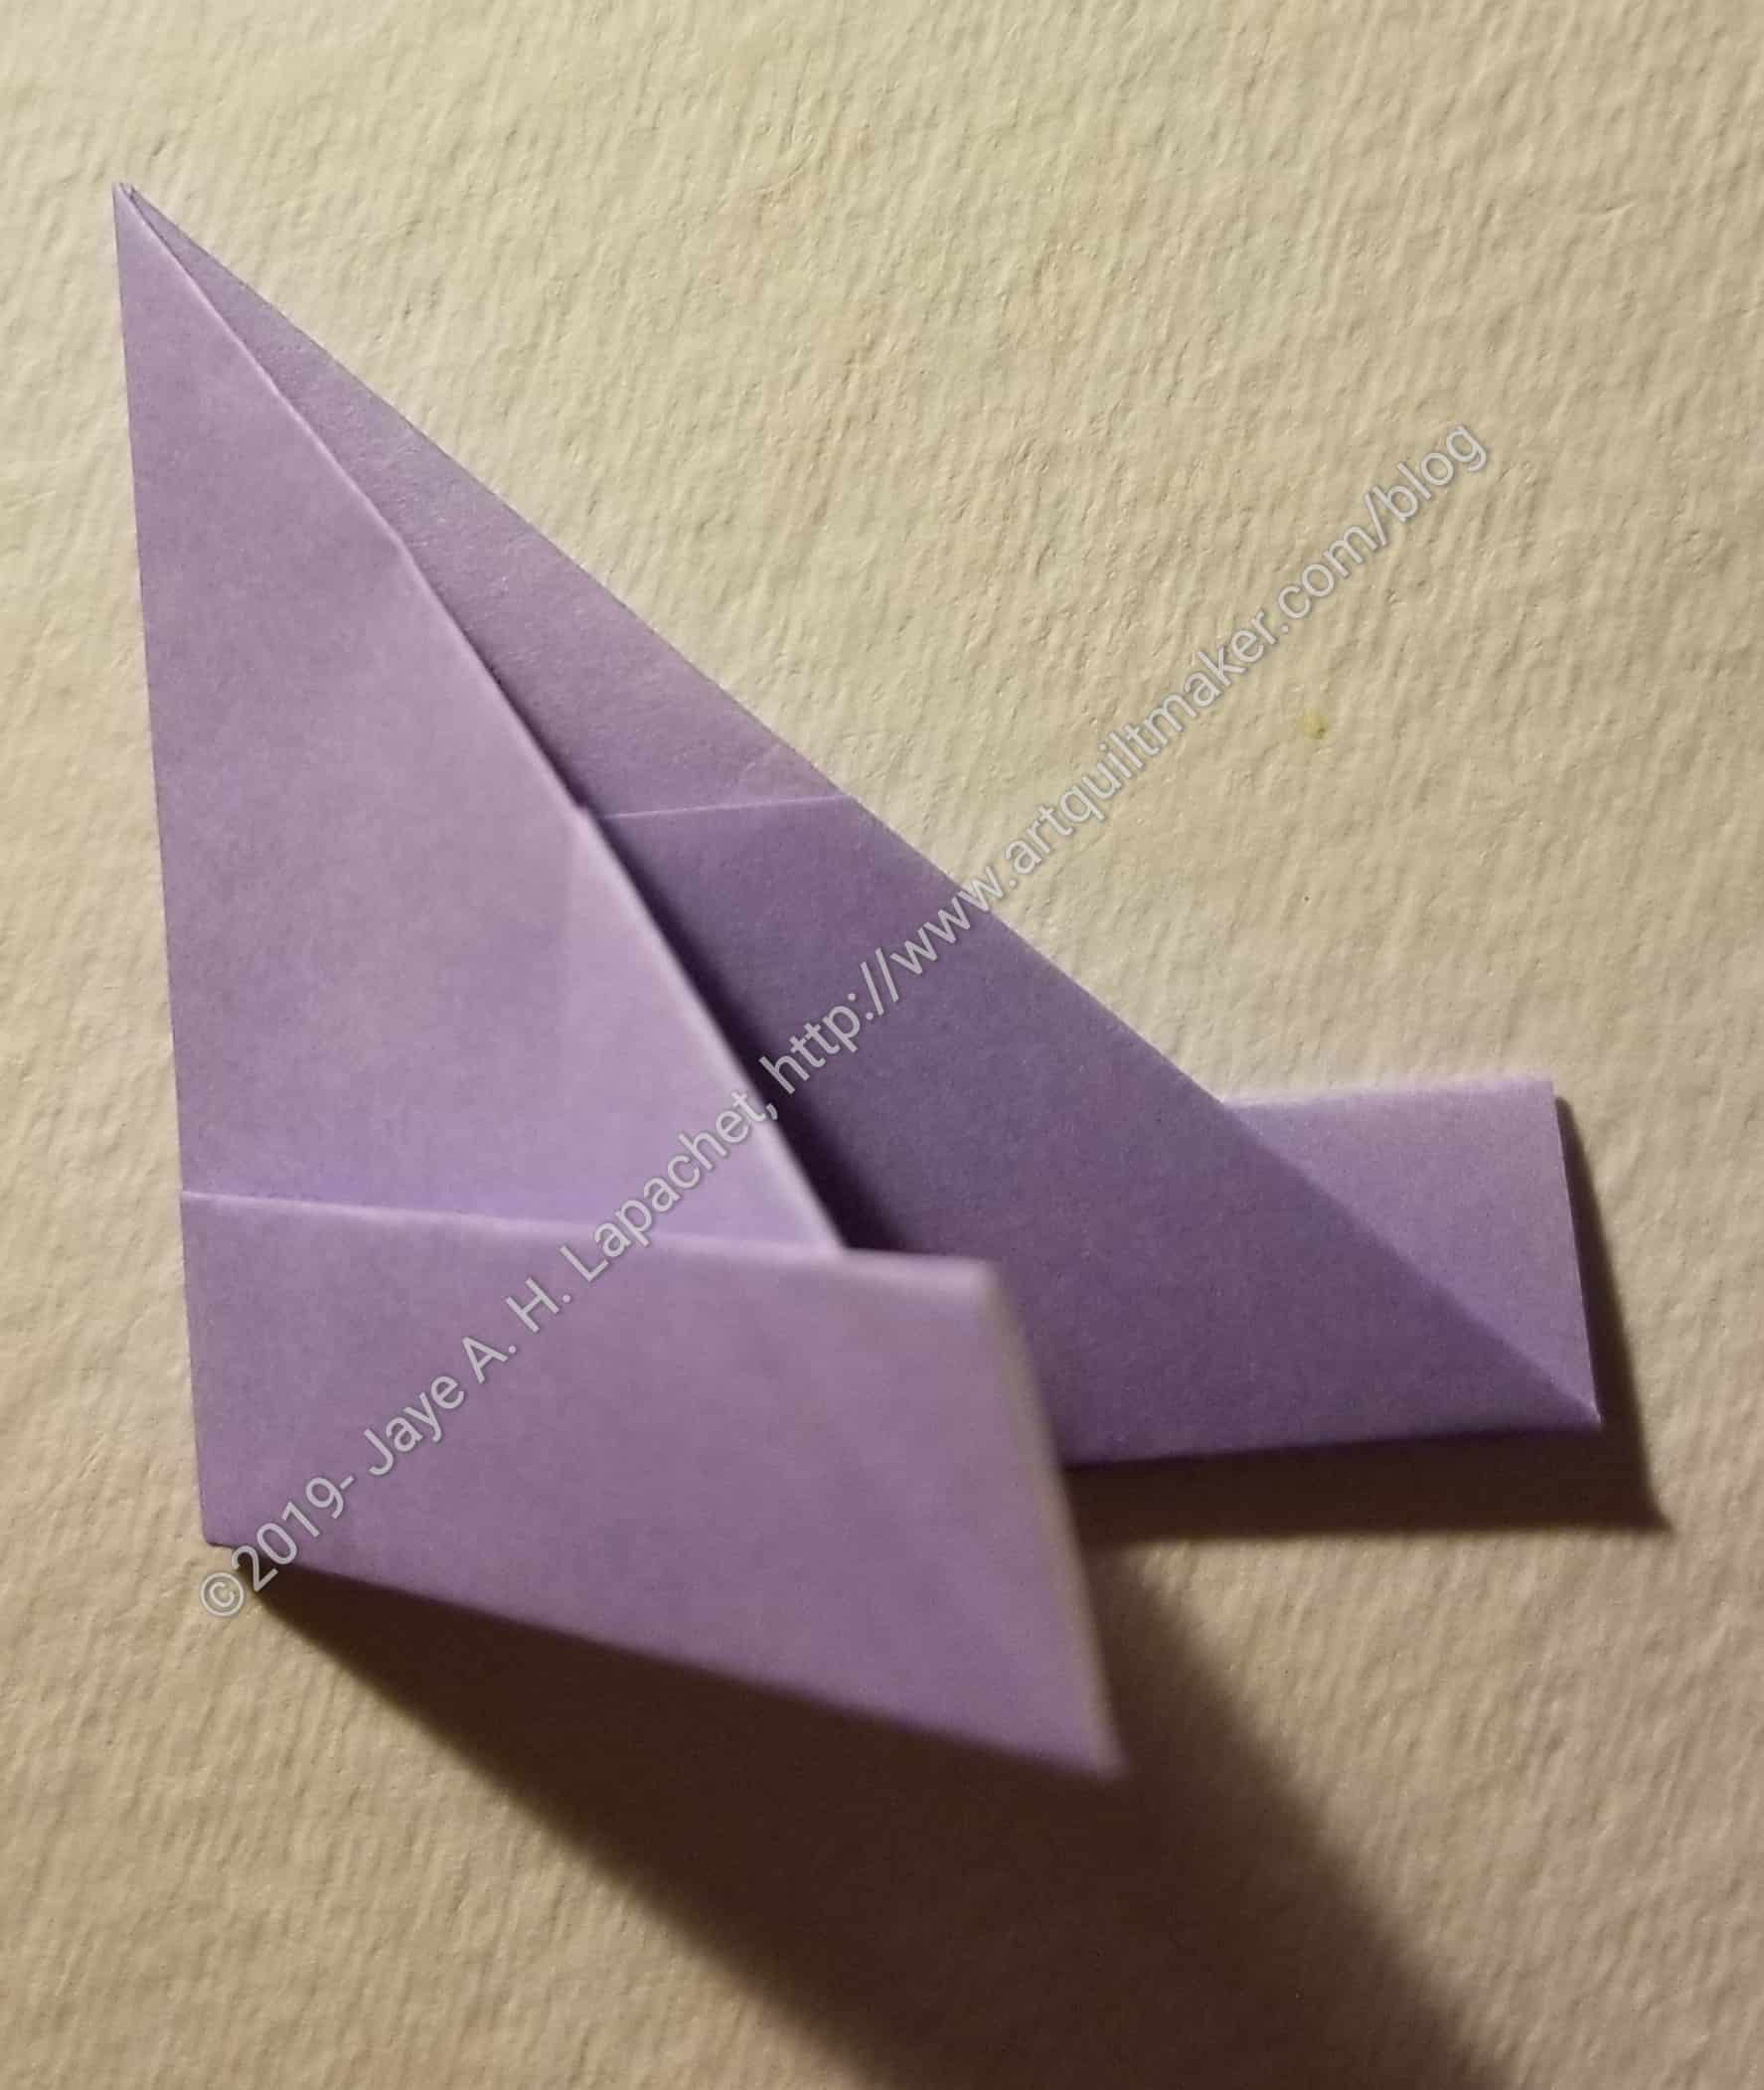
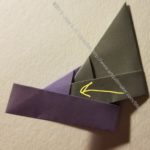
You will need to move the thin rectangle out of the way. Fold the two corners down and on the diagonal so the back of the paper is not showing
Tuck the corners under the smaller rectangle. See an additional image on Mette Pedersen’s site.
Fold the thin rectangle back up. You will have a shape that looks like a paper hat
Fold the piece in half vertically along the opening between the two triangles.
Tuck one leg into the next leg in the little pockets formed by the second folded corners
Now: go practice. It took me at least a ring and a half to really get the hang of folding the units. These make great gifts and tree ornaments.
Resources:
- Mette Pedersen’s site
- Video on folding the Mette Ring
- Ring of Rings – Mette rings ‘braided’ together
*I use affiliate links and may be paid for your purchase of an item you click on. There is no additional cost to you for clicking or purchasing items I recommend. I appreciate your clicks and purchases as it helps support this blog.