I said in a previous face mask post that I needed to fix some details in the DIY Cloth Face Mask pattern.
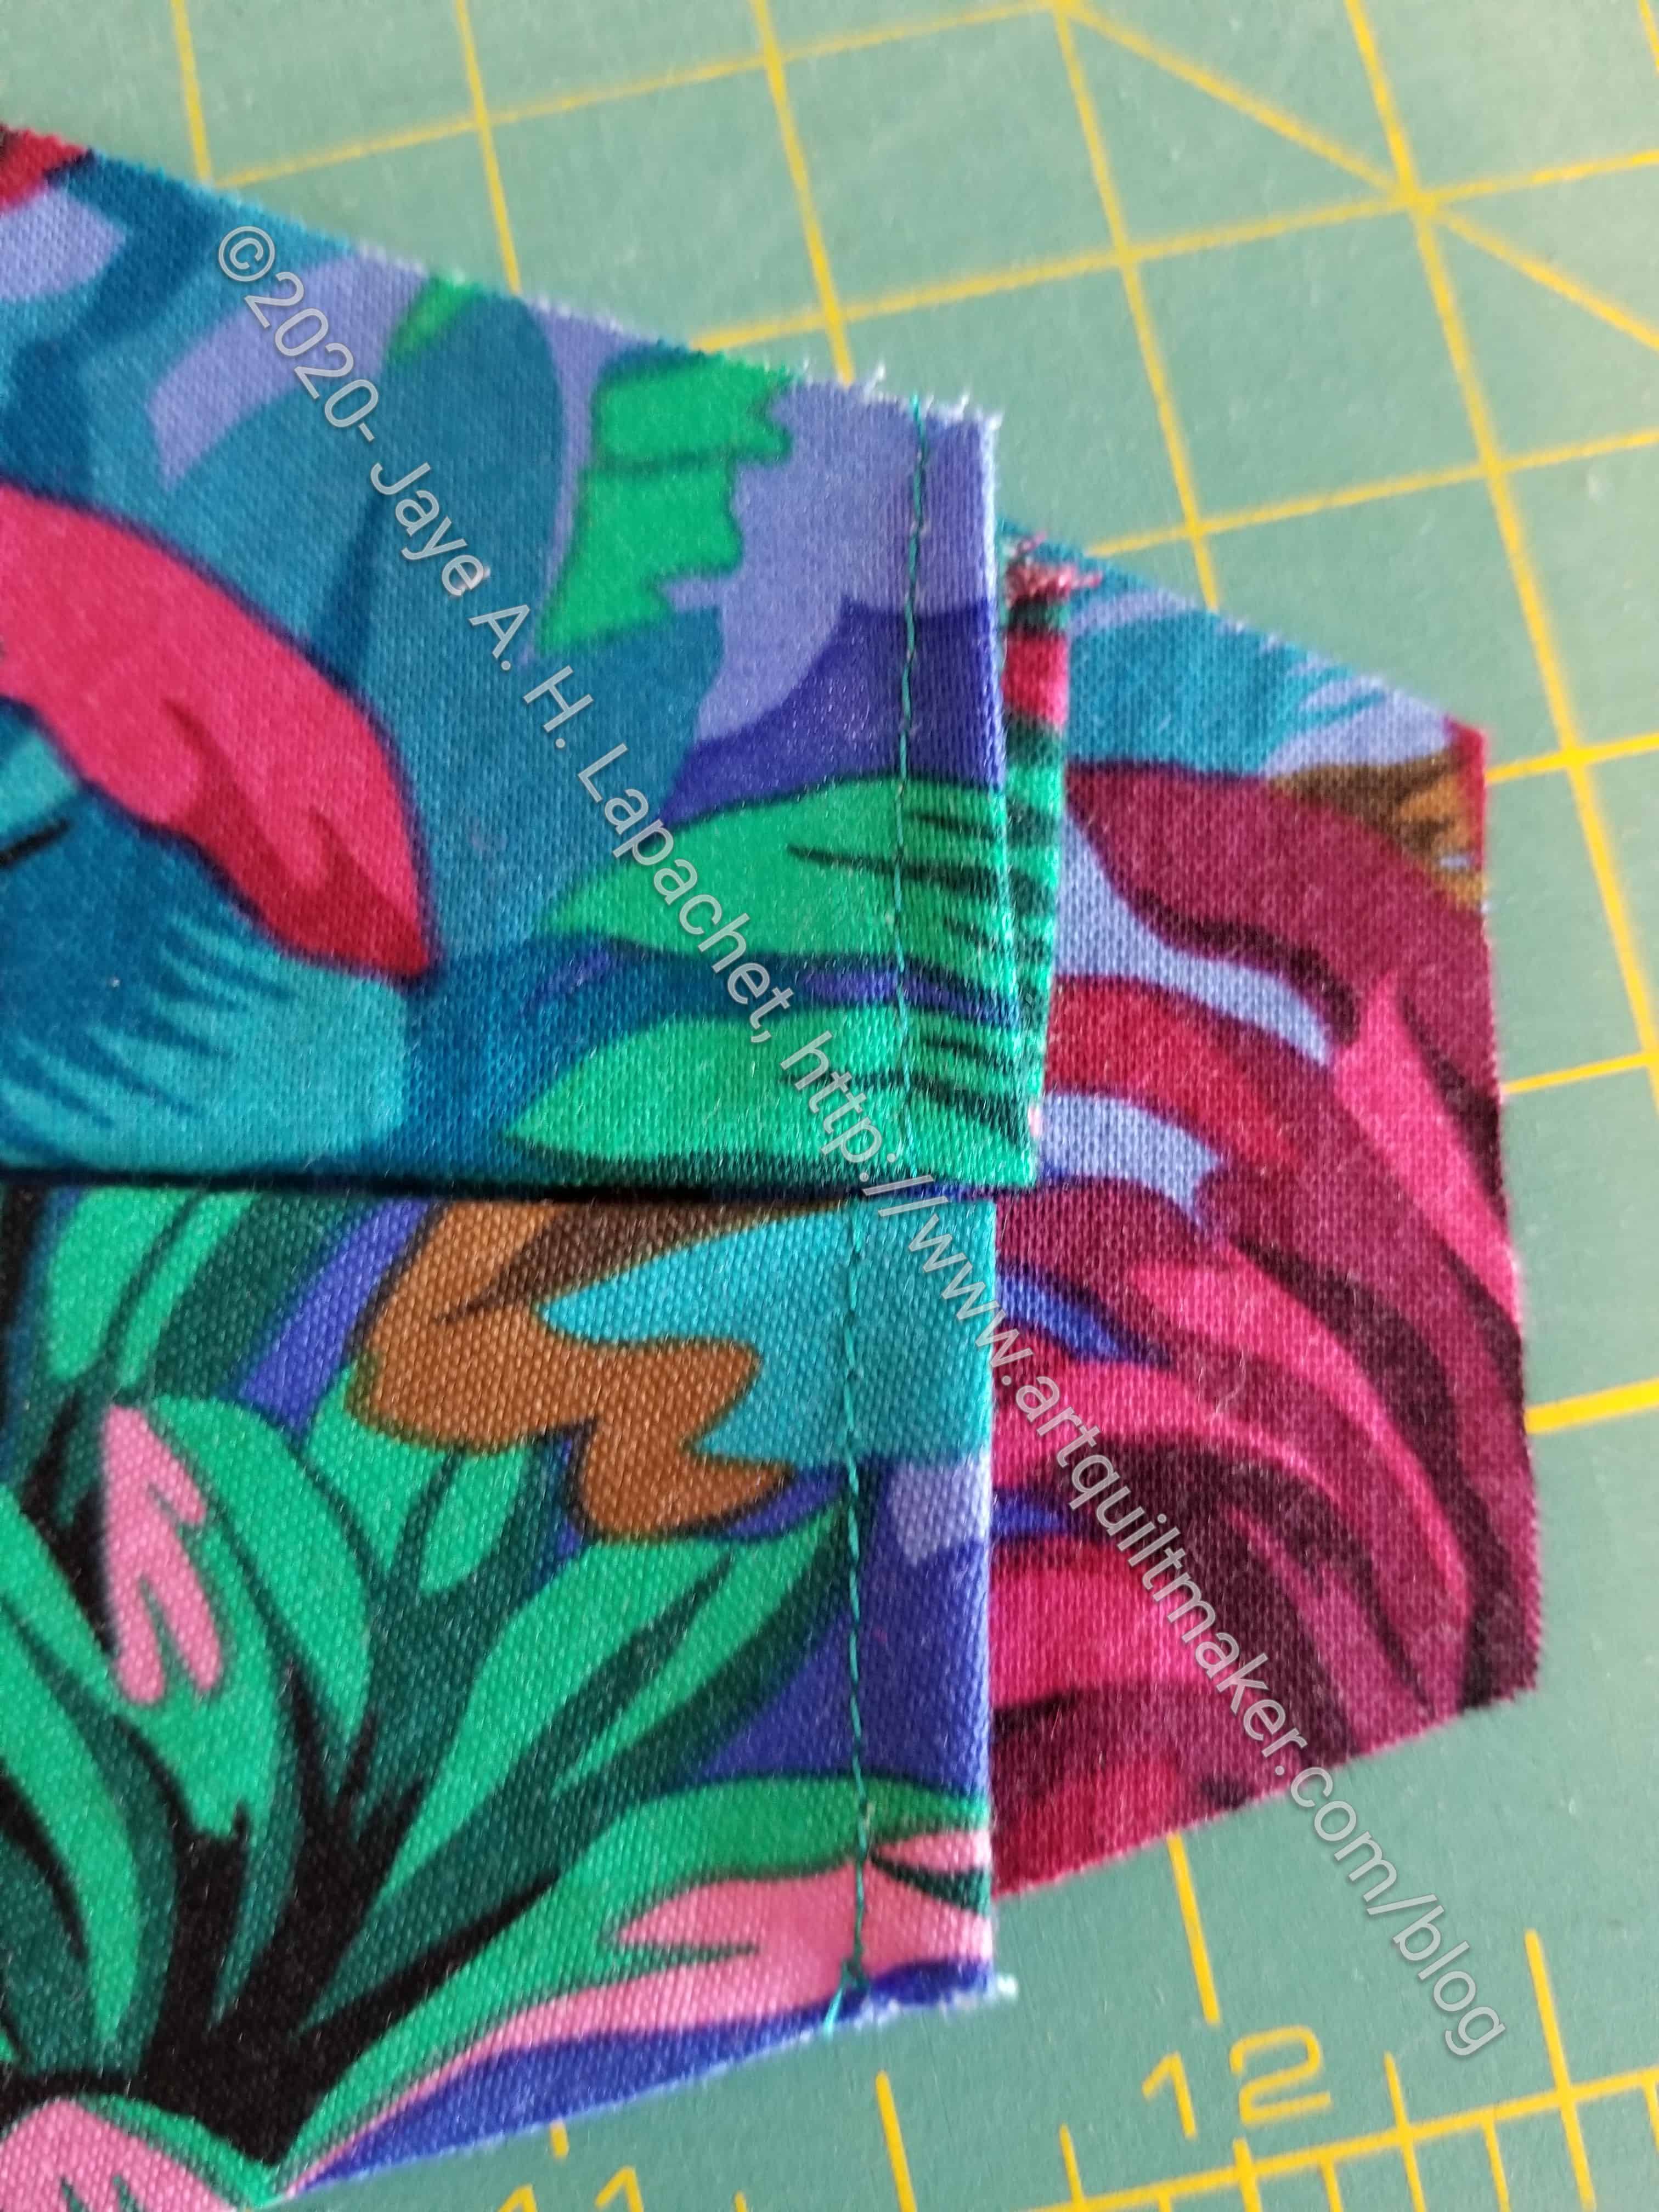
First, the gussets needed to have, for certain, the raw edges covered. After adding the nose pieces, I did one fold and sewed the raw edge closed.
This adds an extra layer of fabric, which is a challenge later, but with the covering of the longer main mask panel (you can see it sticking out past the 12 on my mat), I think it will keep the raw edges from unraveling.
I could have sewed the raw edges closed before adding the nose piece, but I didn’t. Feel free to do it that way.
In my post the other day, I mentioned using elastic. My elastic goes all the way around the back of my head as opposed to just over the ears as the video shows. With glasses and headphones, I have too much stuff on my ears already to add a mask to the poor overburdened body part.
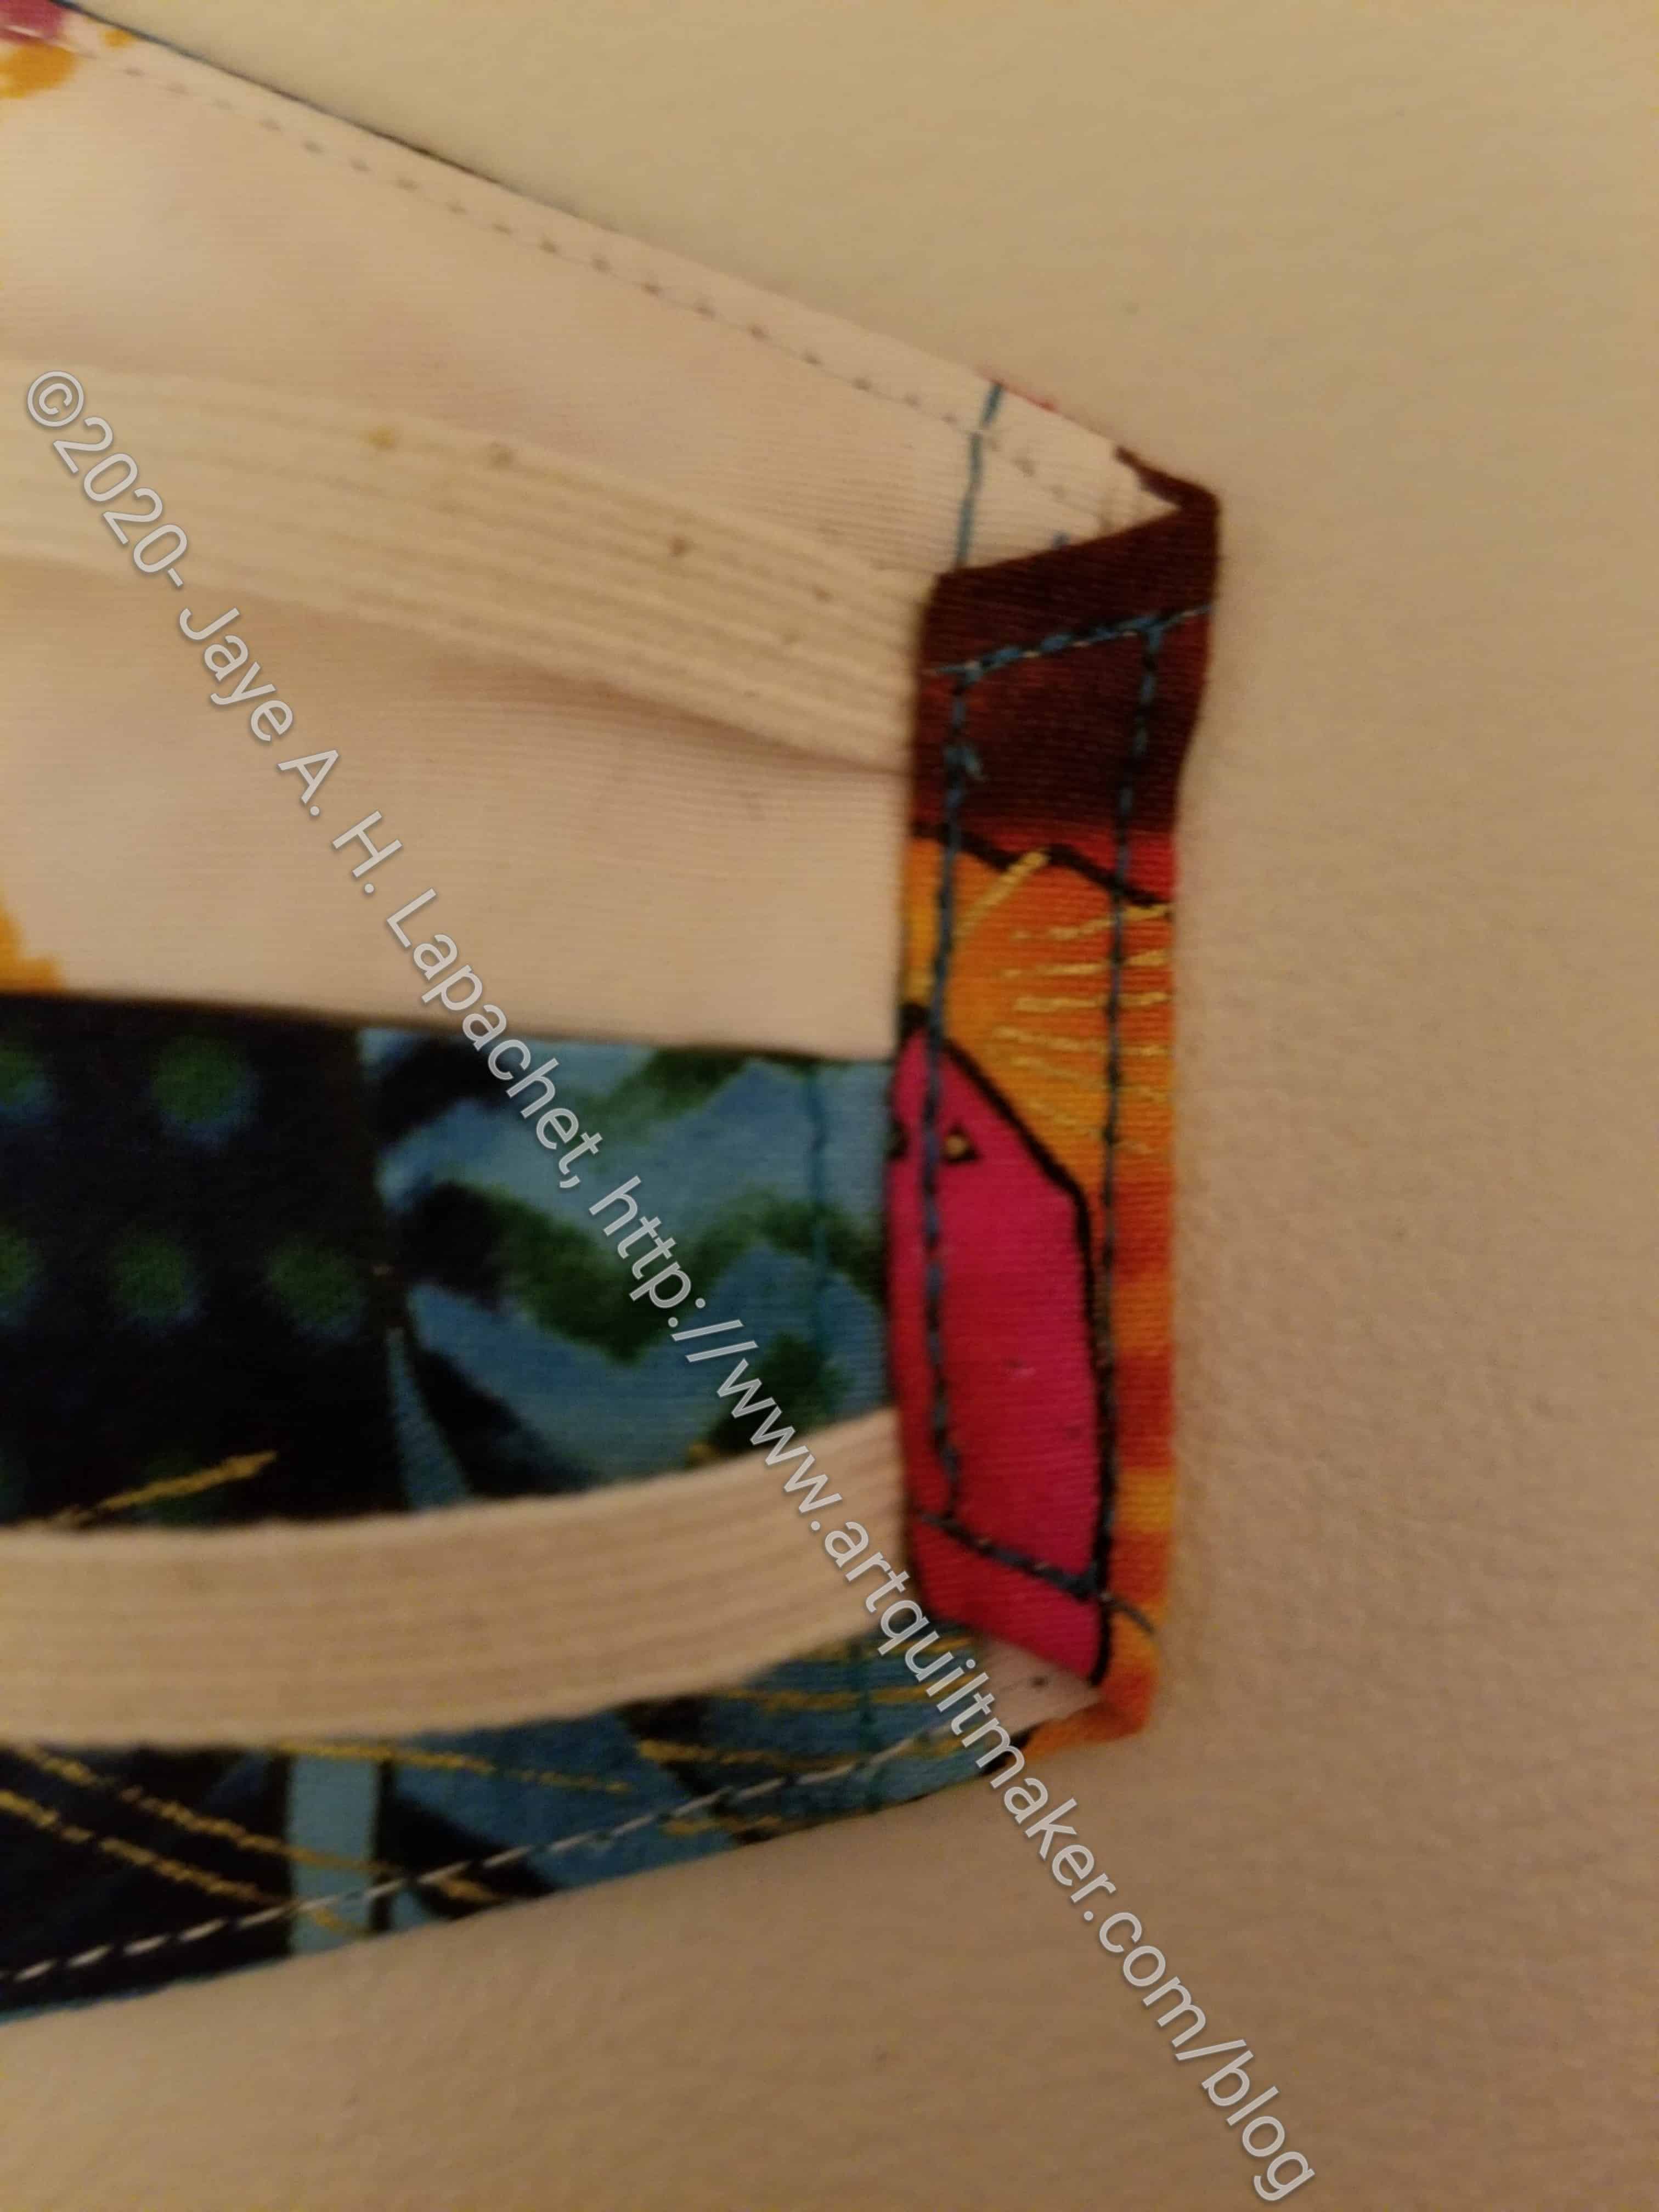
I am not sure this is the best way to add elastic across the back. The folded over edges stick out a little so the look isn’t sleek.
Once the raw edges of the gussets were secured, I fold over the edges of the main mask panel and tucked the elastic inside. Then I sewed in a rectangle, going over the stitching closest to the middle of the mask twice.
I add the nose piece to the pattern by aligning the middle of the nose piece with the mark on the fabric, then surrounding the nose piece with pins, so I know where it is. I sew around it, removing the pins as I go and being careful not to sew over them or the nose piece.
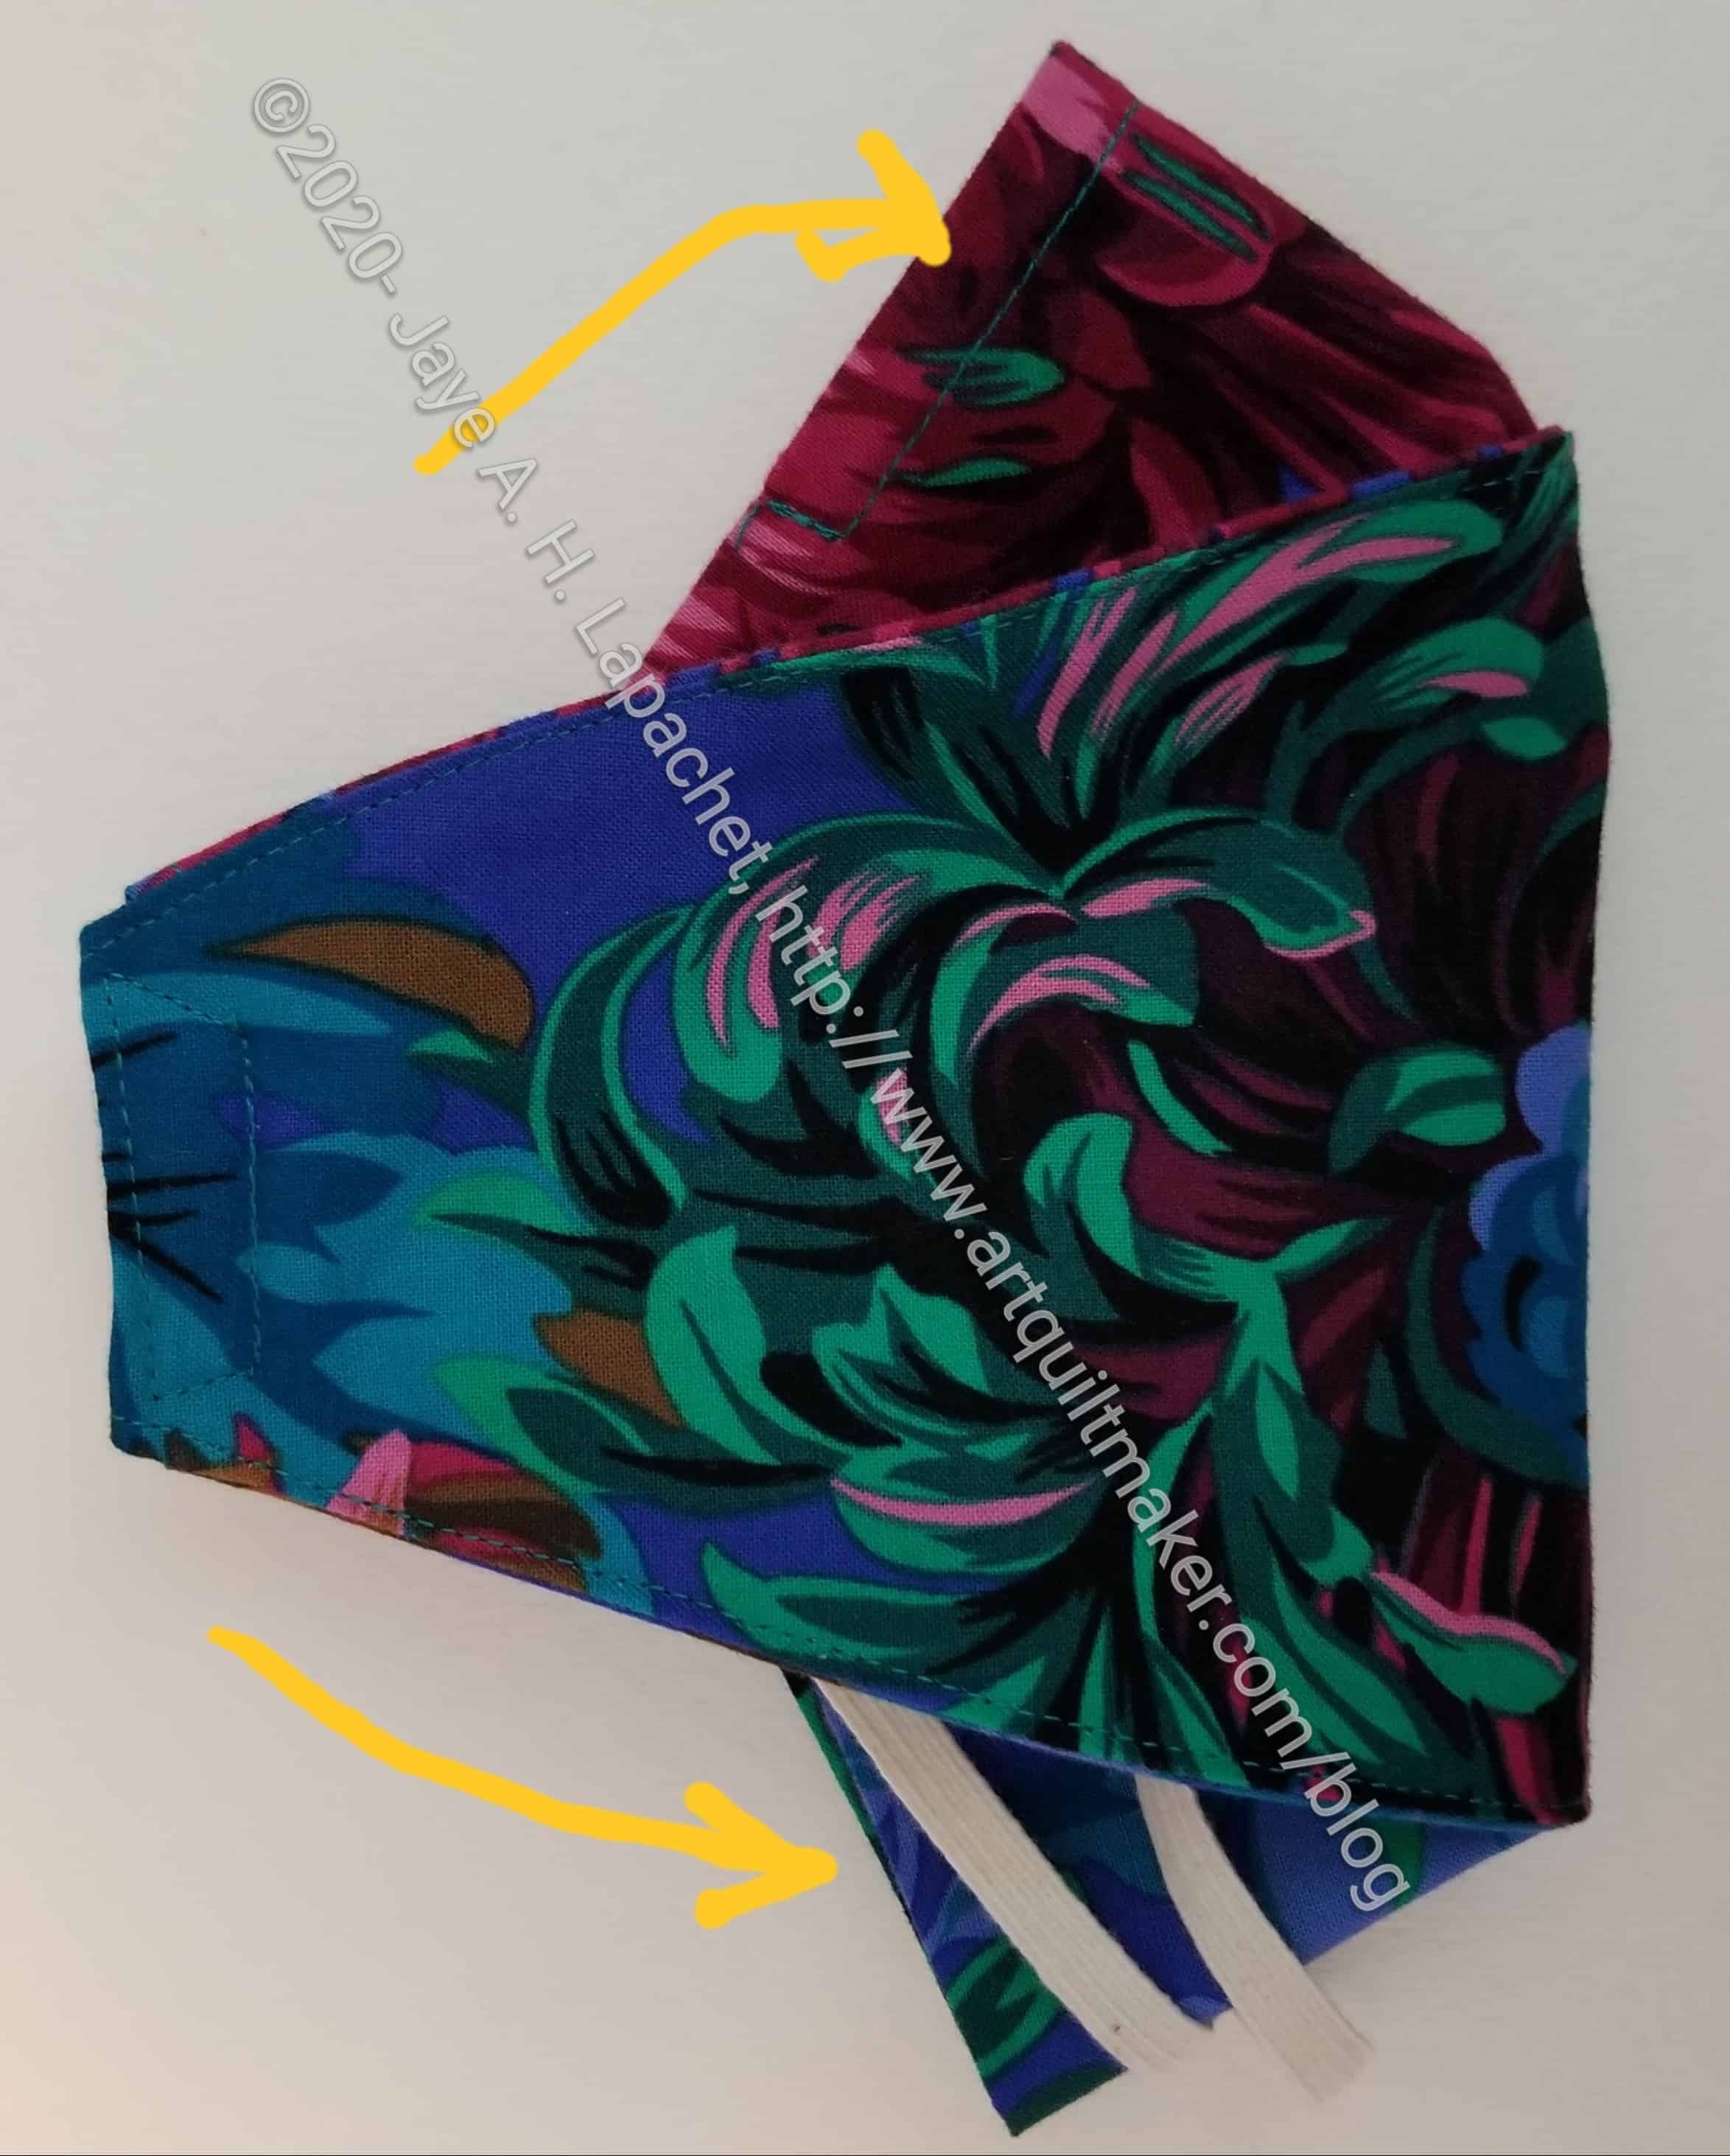
The top arrow shows where the nose piece is.
The bottom arrow shows the two strands of elastic. I measured them at 10 inches for my head. Of course, you can adjust them to your needs.
I don’t know when I will have the opportunity to wear this mask out. When I do, I will report back.