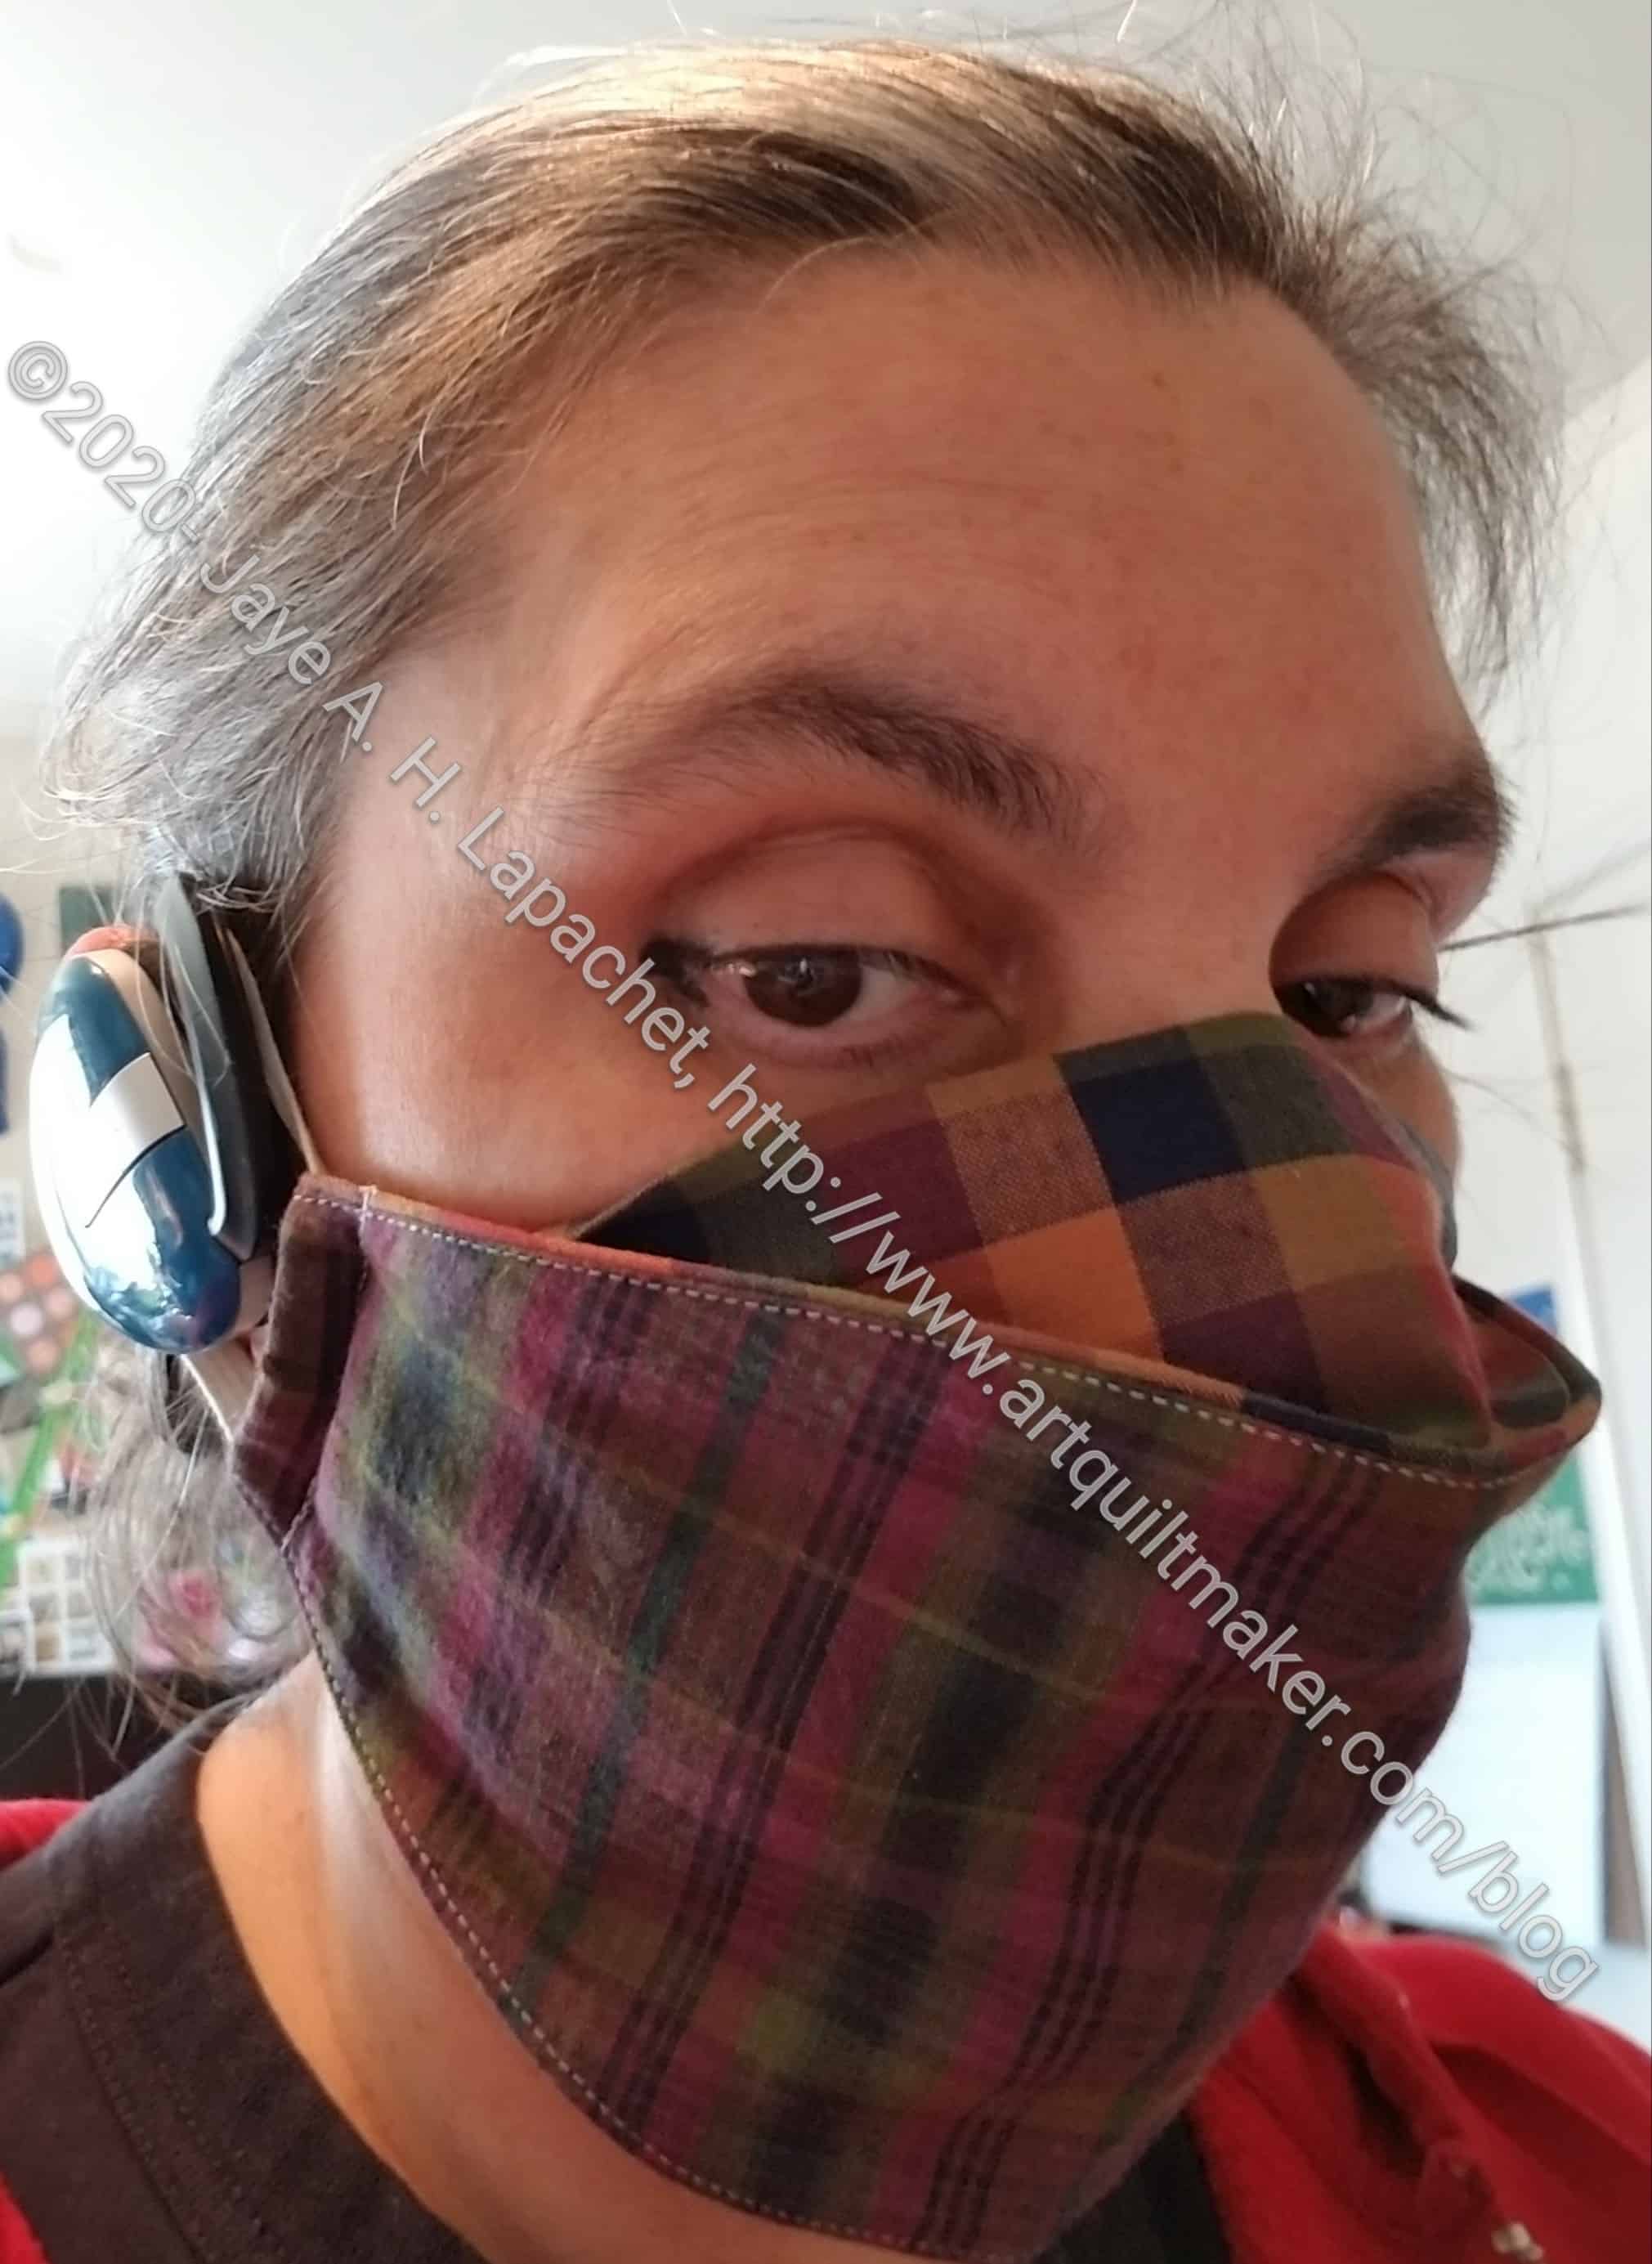
I took the time to finish the face masks that I started for DH. Restrictions are being lifted so I don’t know if they will be needed. I would, however, rather be safe than sorry. I don’t want to get sick or spread anything we might have to anyone else.
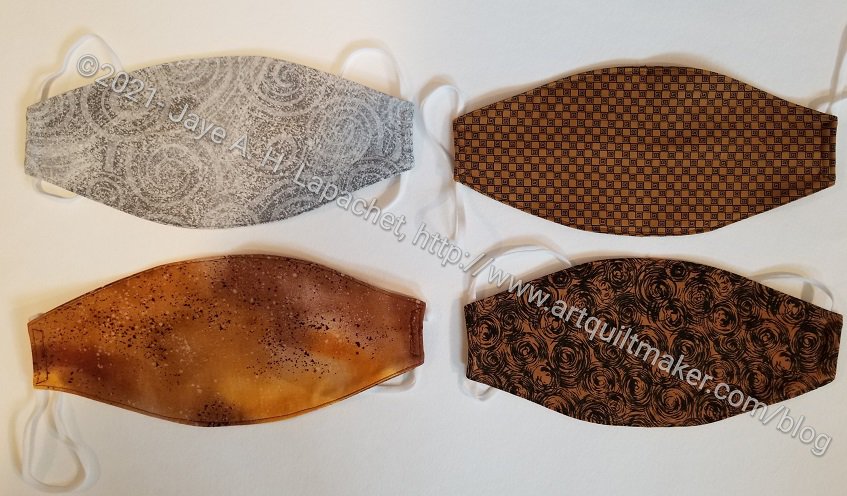
DH looks good in brown, thus I used some of the few brown fabrics I have to make masks. I wasn’t very frugal with the fabrics and put any all scraps into the pet bed bag. I am tempted to put all brown fabrics on to the guild destash message on the forum. I don’t really need them in my collection and they are taking up space.
I had to get back to mask making. 🙁 Masks, it seems, get a little worn. I find that I wear the same mask over and other. It fits the best, stays on the best and is breathable. However, it is getting a little frayed around the edges.
For the first time in over a year, we are heading out on a trip. Grand Parlor is next week and we will attend. I don’t want to go without sufficient masks. Since I have been having issues with my skin, I don’t want to buy the paper masks in case they add to my problems. Also, I want us to have enough masks so we have fresh ones to wear every day.
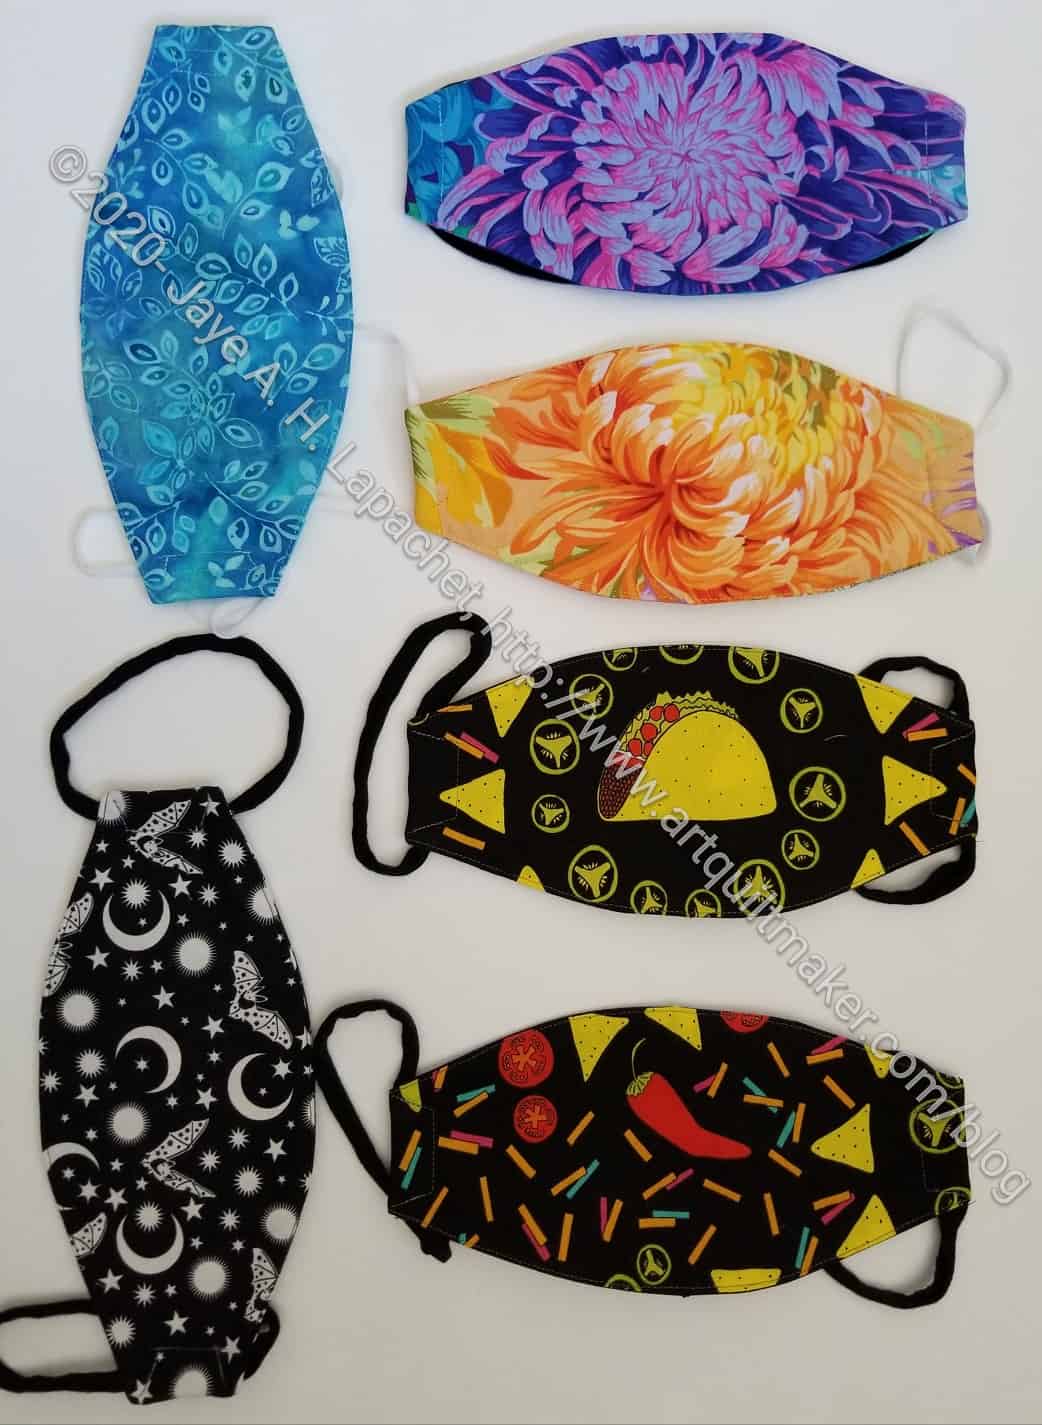
May 2021 Face Masks
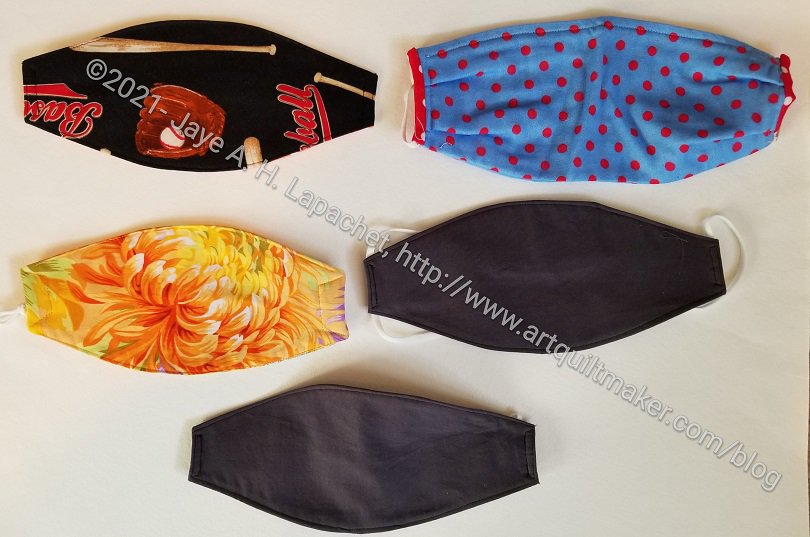
I had about 7 that were either cut out or half made. I finished all of those. Some needed ripping out, but I just made them work. The time it takes to make a new mask doesn’t make ripping out really worth it.
I also made two dark ones for for the ‘Banquet’, so we look black tie-ish.
I plan to make more of the masks I know how to make even if people don’t think we need to wear masks anymore. I have enjoyed not getting the ‘flu and not getting a cold, and, of course, not getting COVID-19.
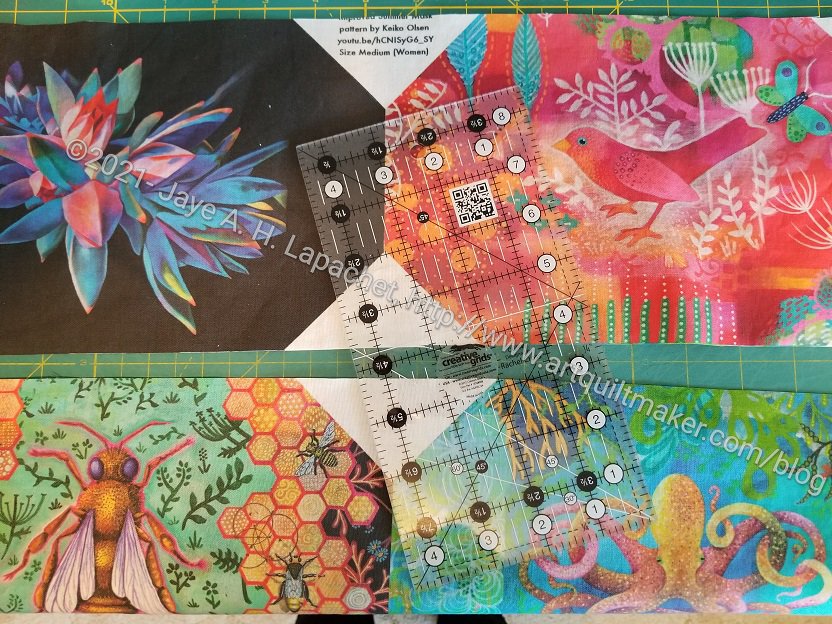
Judy Coates Perez masks in process
I started the Judy Coates Perez masks, but didn’t get very far. Cutting them out was exhausting and, since I had a larger number than I originally ordered from Spoonflower, there were a lot of them.
I haven’t made this pattern. While It looks straightforward, it also doesn’t seem very difficult. I didn’t want to get stuck on trying a new pattern when I needed to get several masks done. I will make these, but I’ll start fiddling with them after I have enough masks for our trip.
There are some links from a previous post that I am reposting here.
Improved Summer Mask tutorial (video) by Keiko Olsson
Judy Coates Perez mask tutorial based on the Improved summer mask tutorial by Keiko Olsson. Judy also has some wonderful fabrics in her new Spoonflower shop that make fun masks.
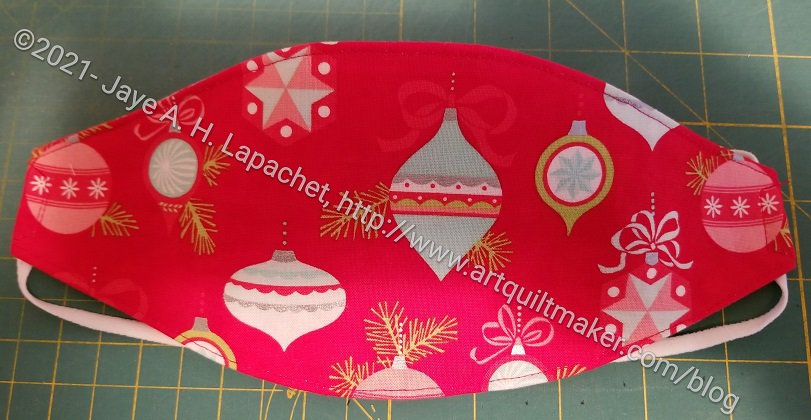
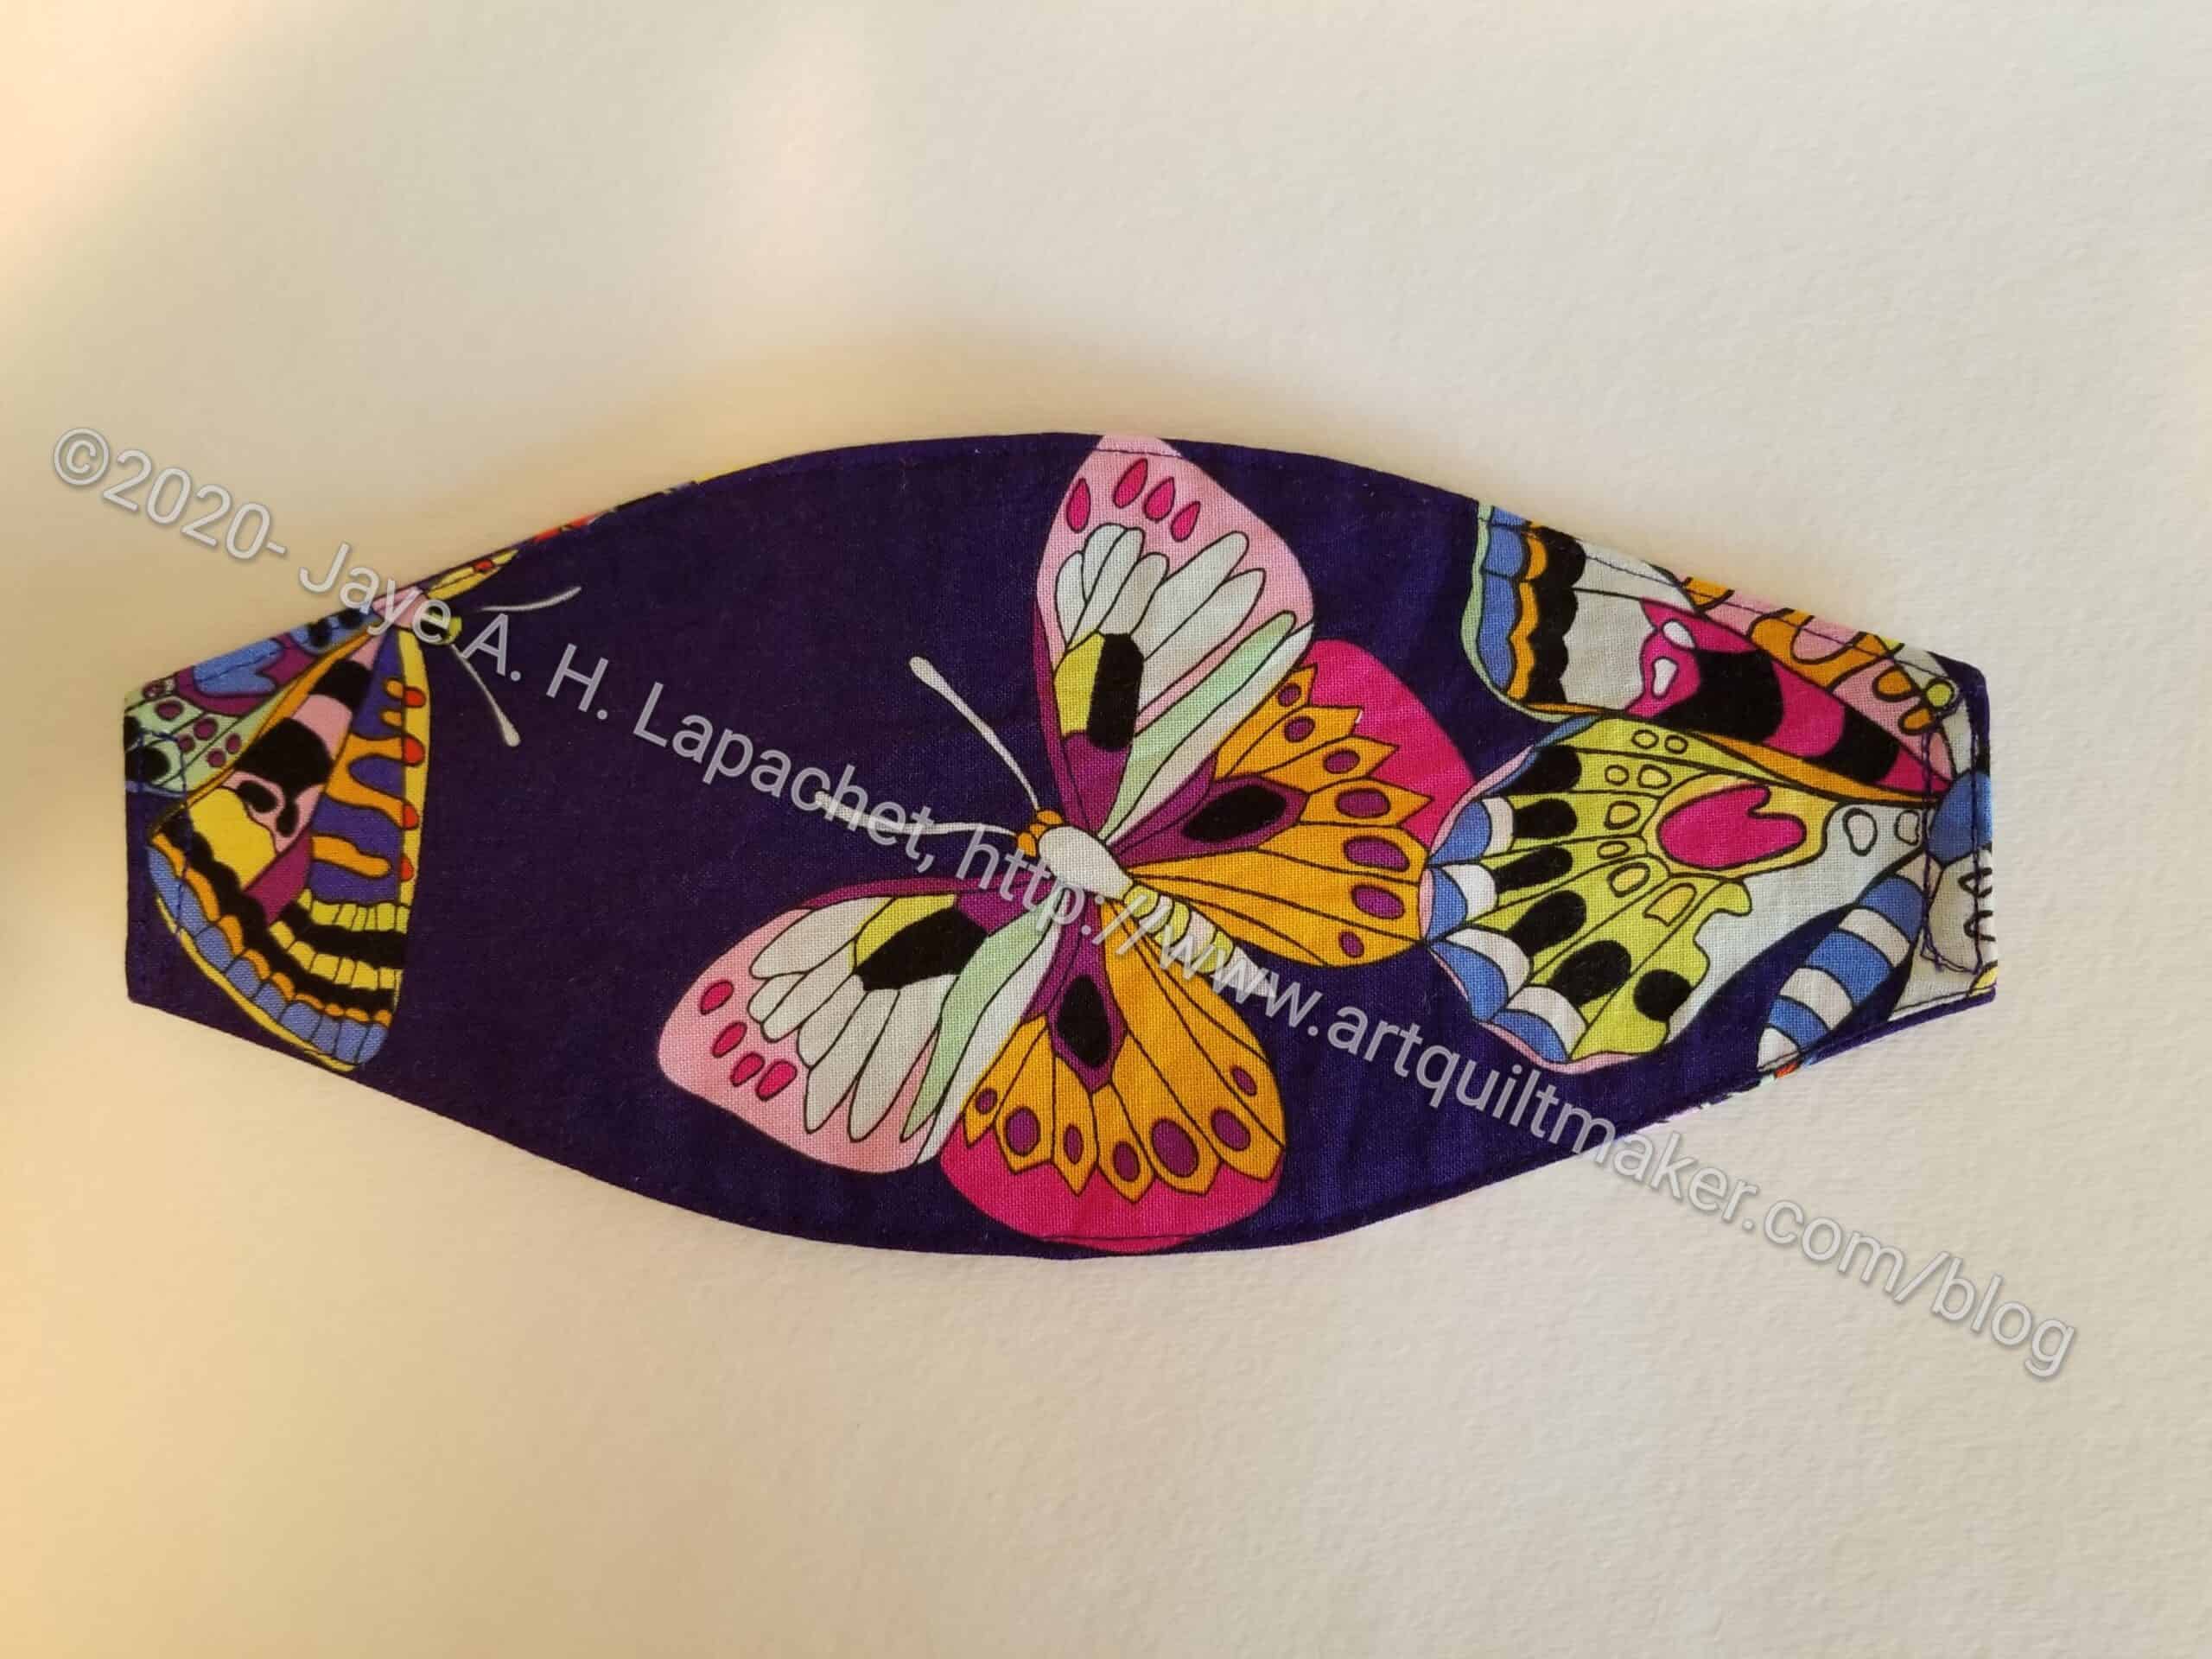
This is the mask I made for my SIL to go with the Butterfly Cotton Candy Pouch. I actually finished it on December 19. As I have said, I have to wait to show off gifts as some of my recipients read this blog.
I was amazed at how easily it went together. I really didn’t have any problems after getting re-oriented back to the pattern. It gave me heart to get back to some of the masks that are languishing half finished on my cutting table.
I had several face masks in process for a number of weeks. Since I decided to work on small projects, I decided that I would finish them.Finishing them also means I get them off my cutting table, so I can actually cut things out. (I can but half finished projects are definitely in my way).
Having run out of black thread was a problem, but otherwise, I got a number of them finished. The ones for the YM will be in the mail soon.
I need to get more masks finished. I have several from the video pattern in progress, but haven’t gotten to finish them. I need a few more since I seem to be going out a little more. I want to change them after every day I go out. As I mentioned, the YM needs some solid versions for work. I found some fun fabrics leftover from pillowcases.
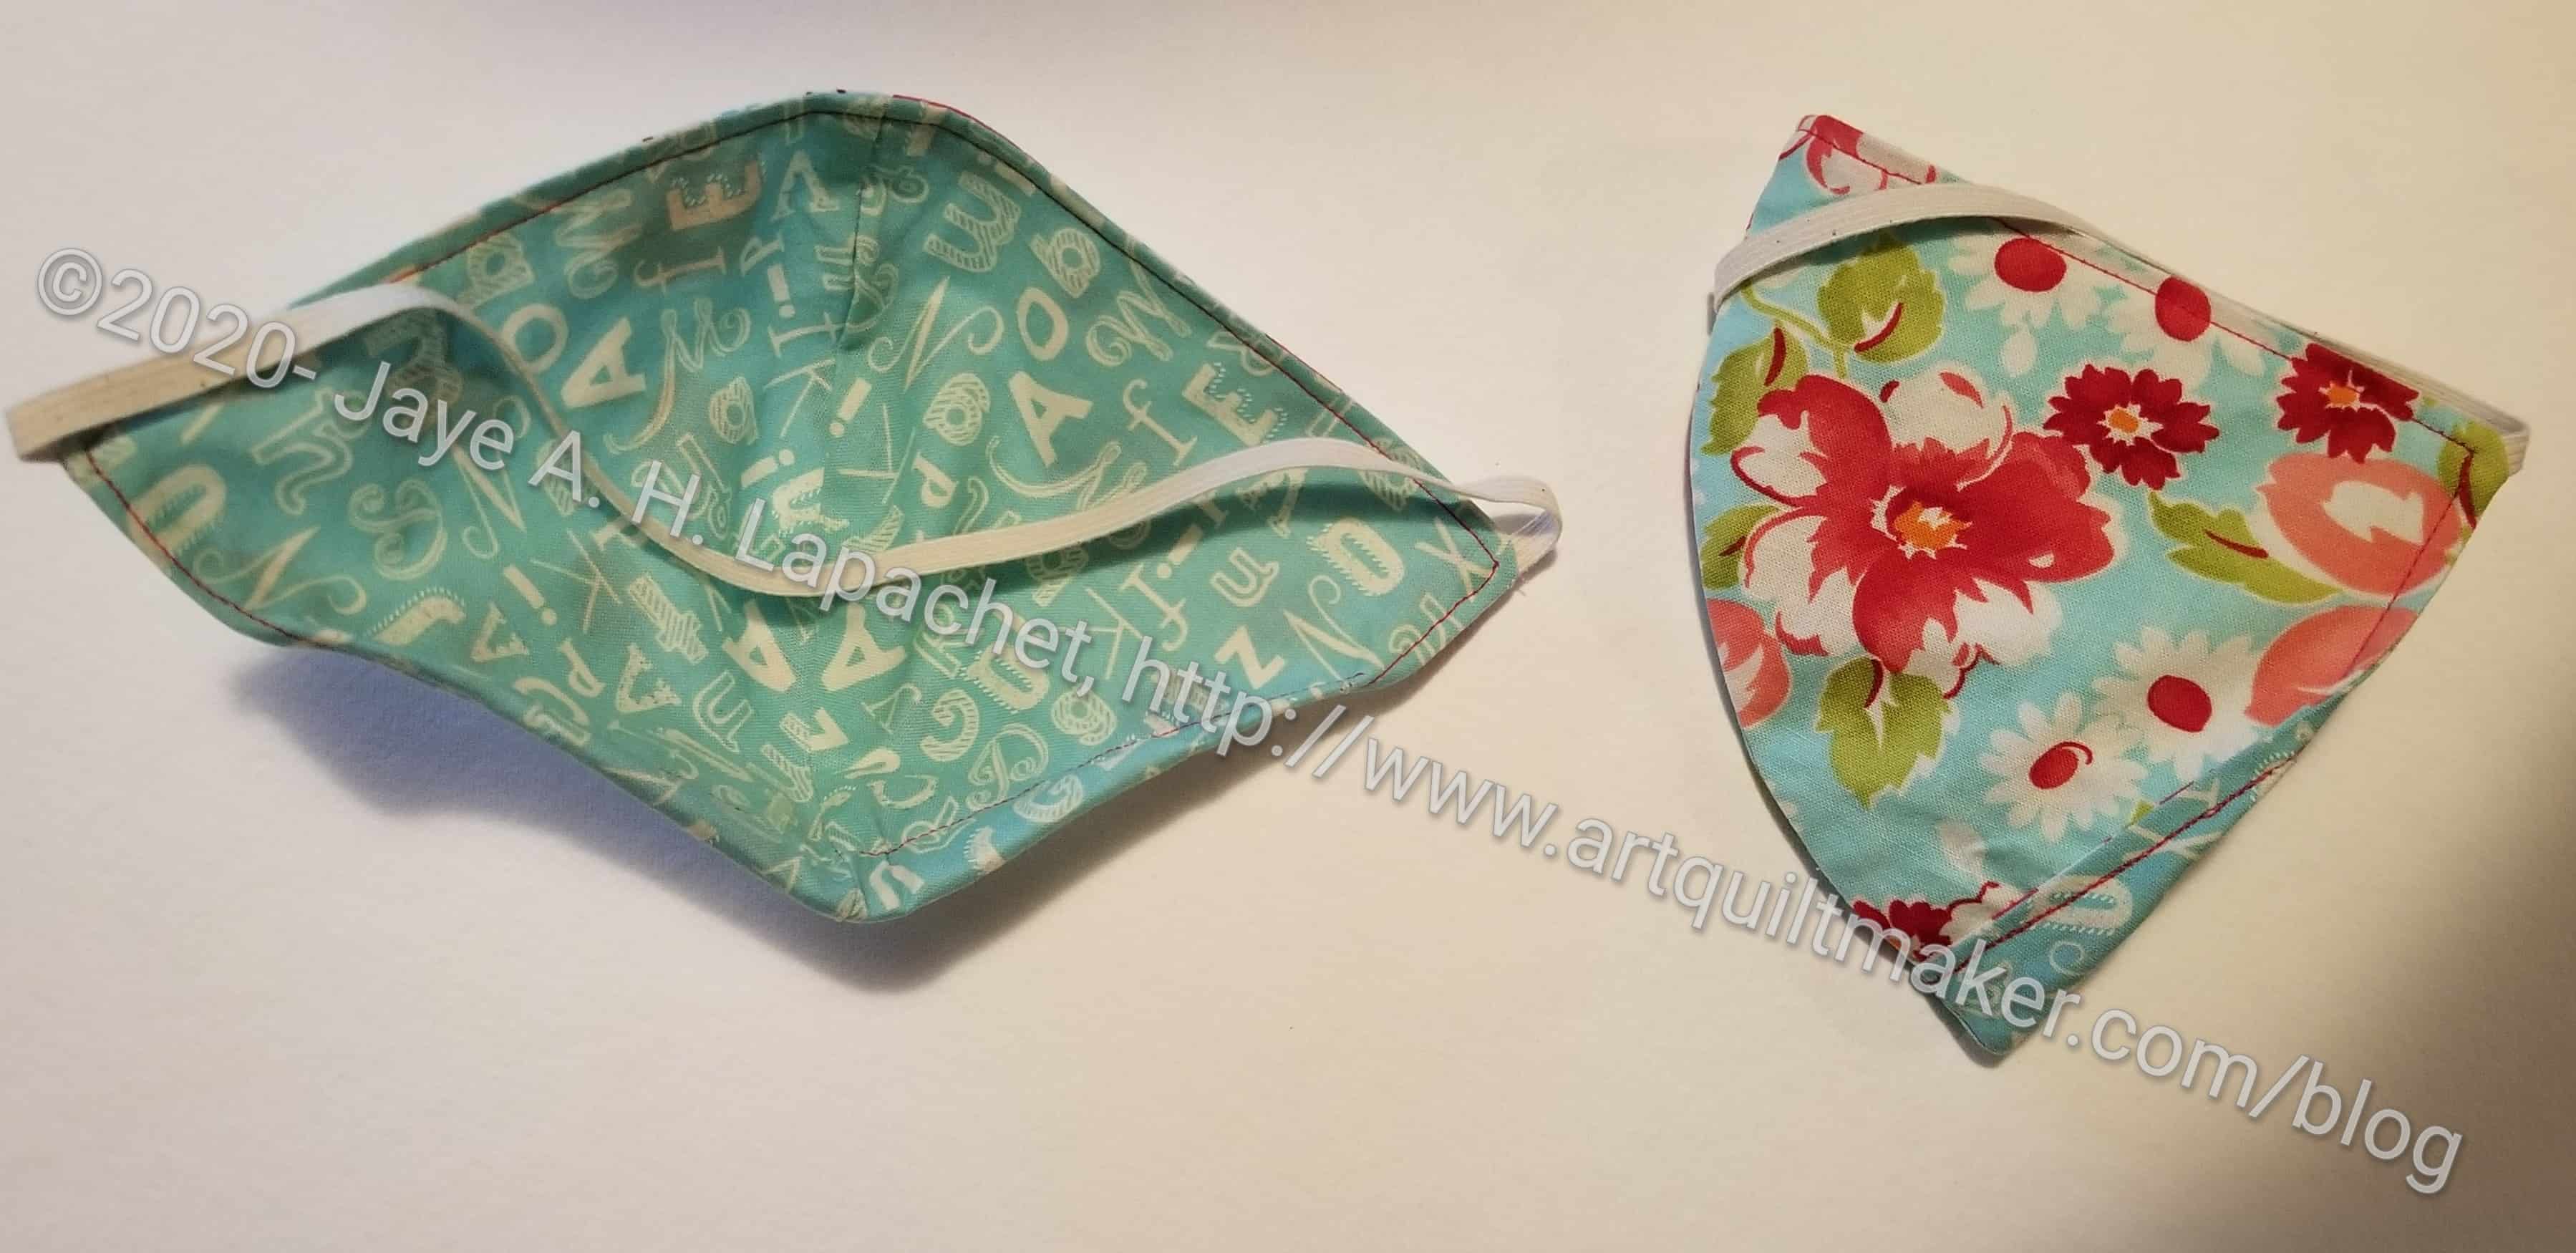
Sunday Face Masks
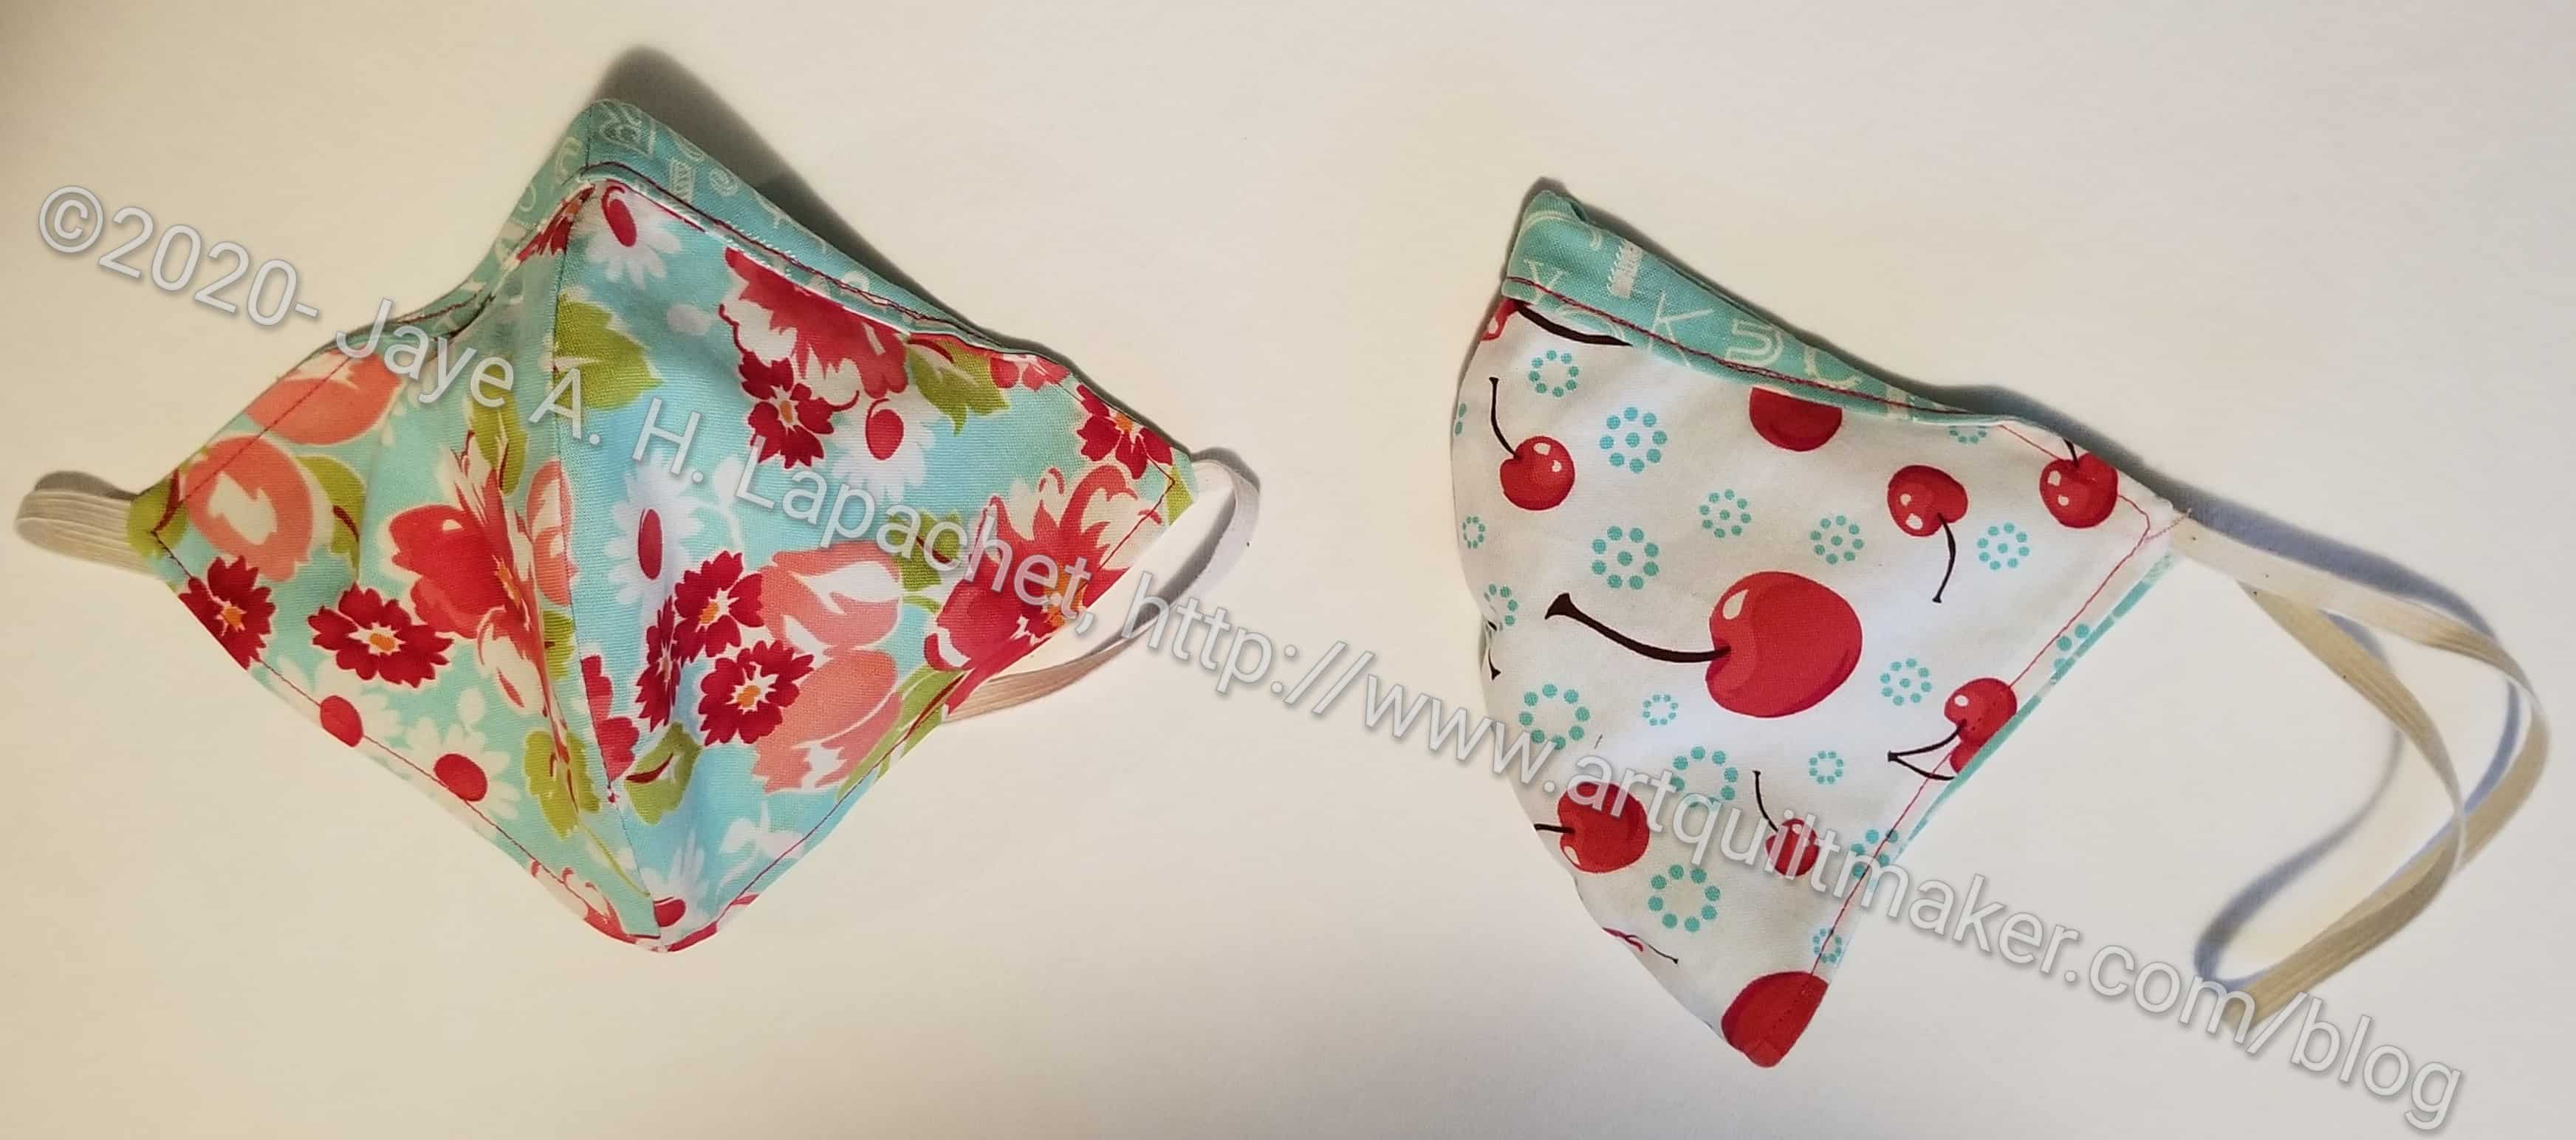
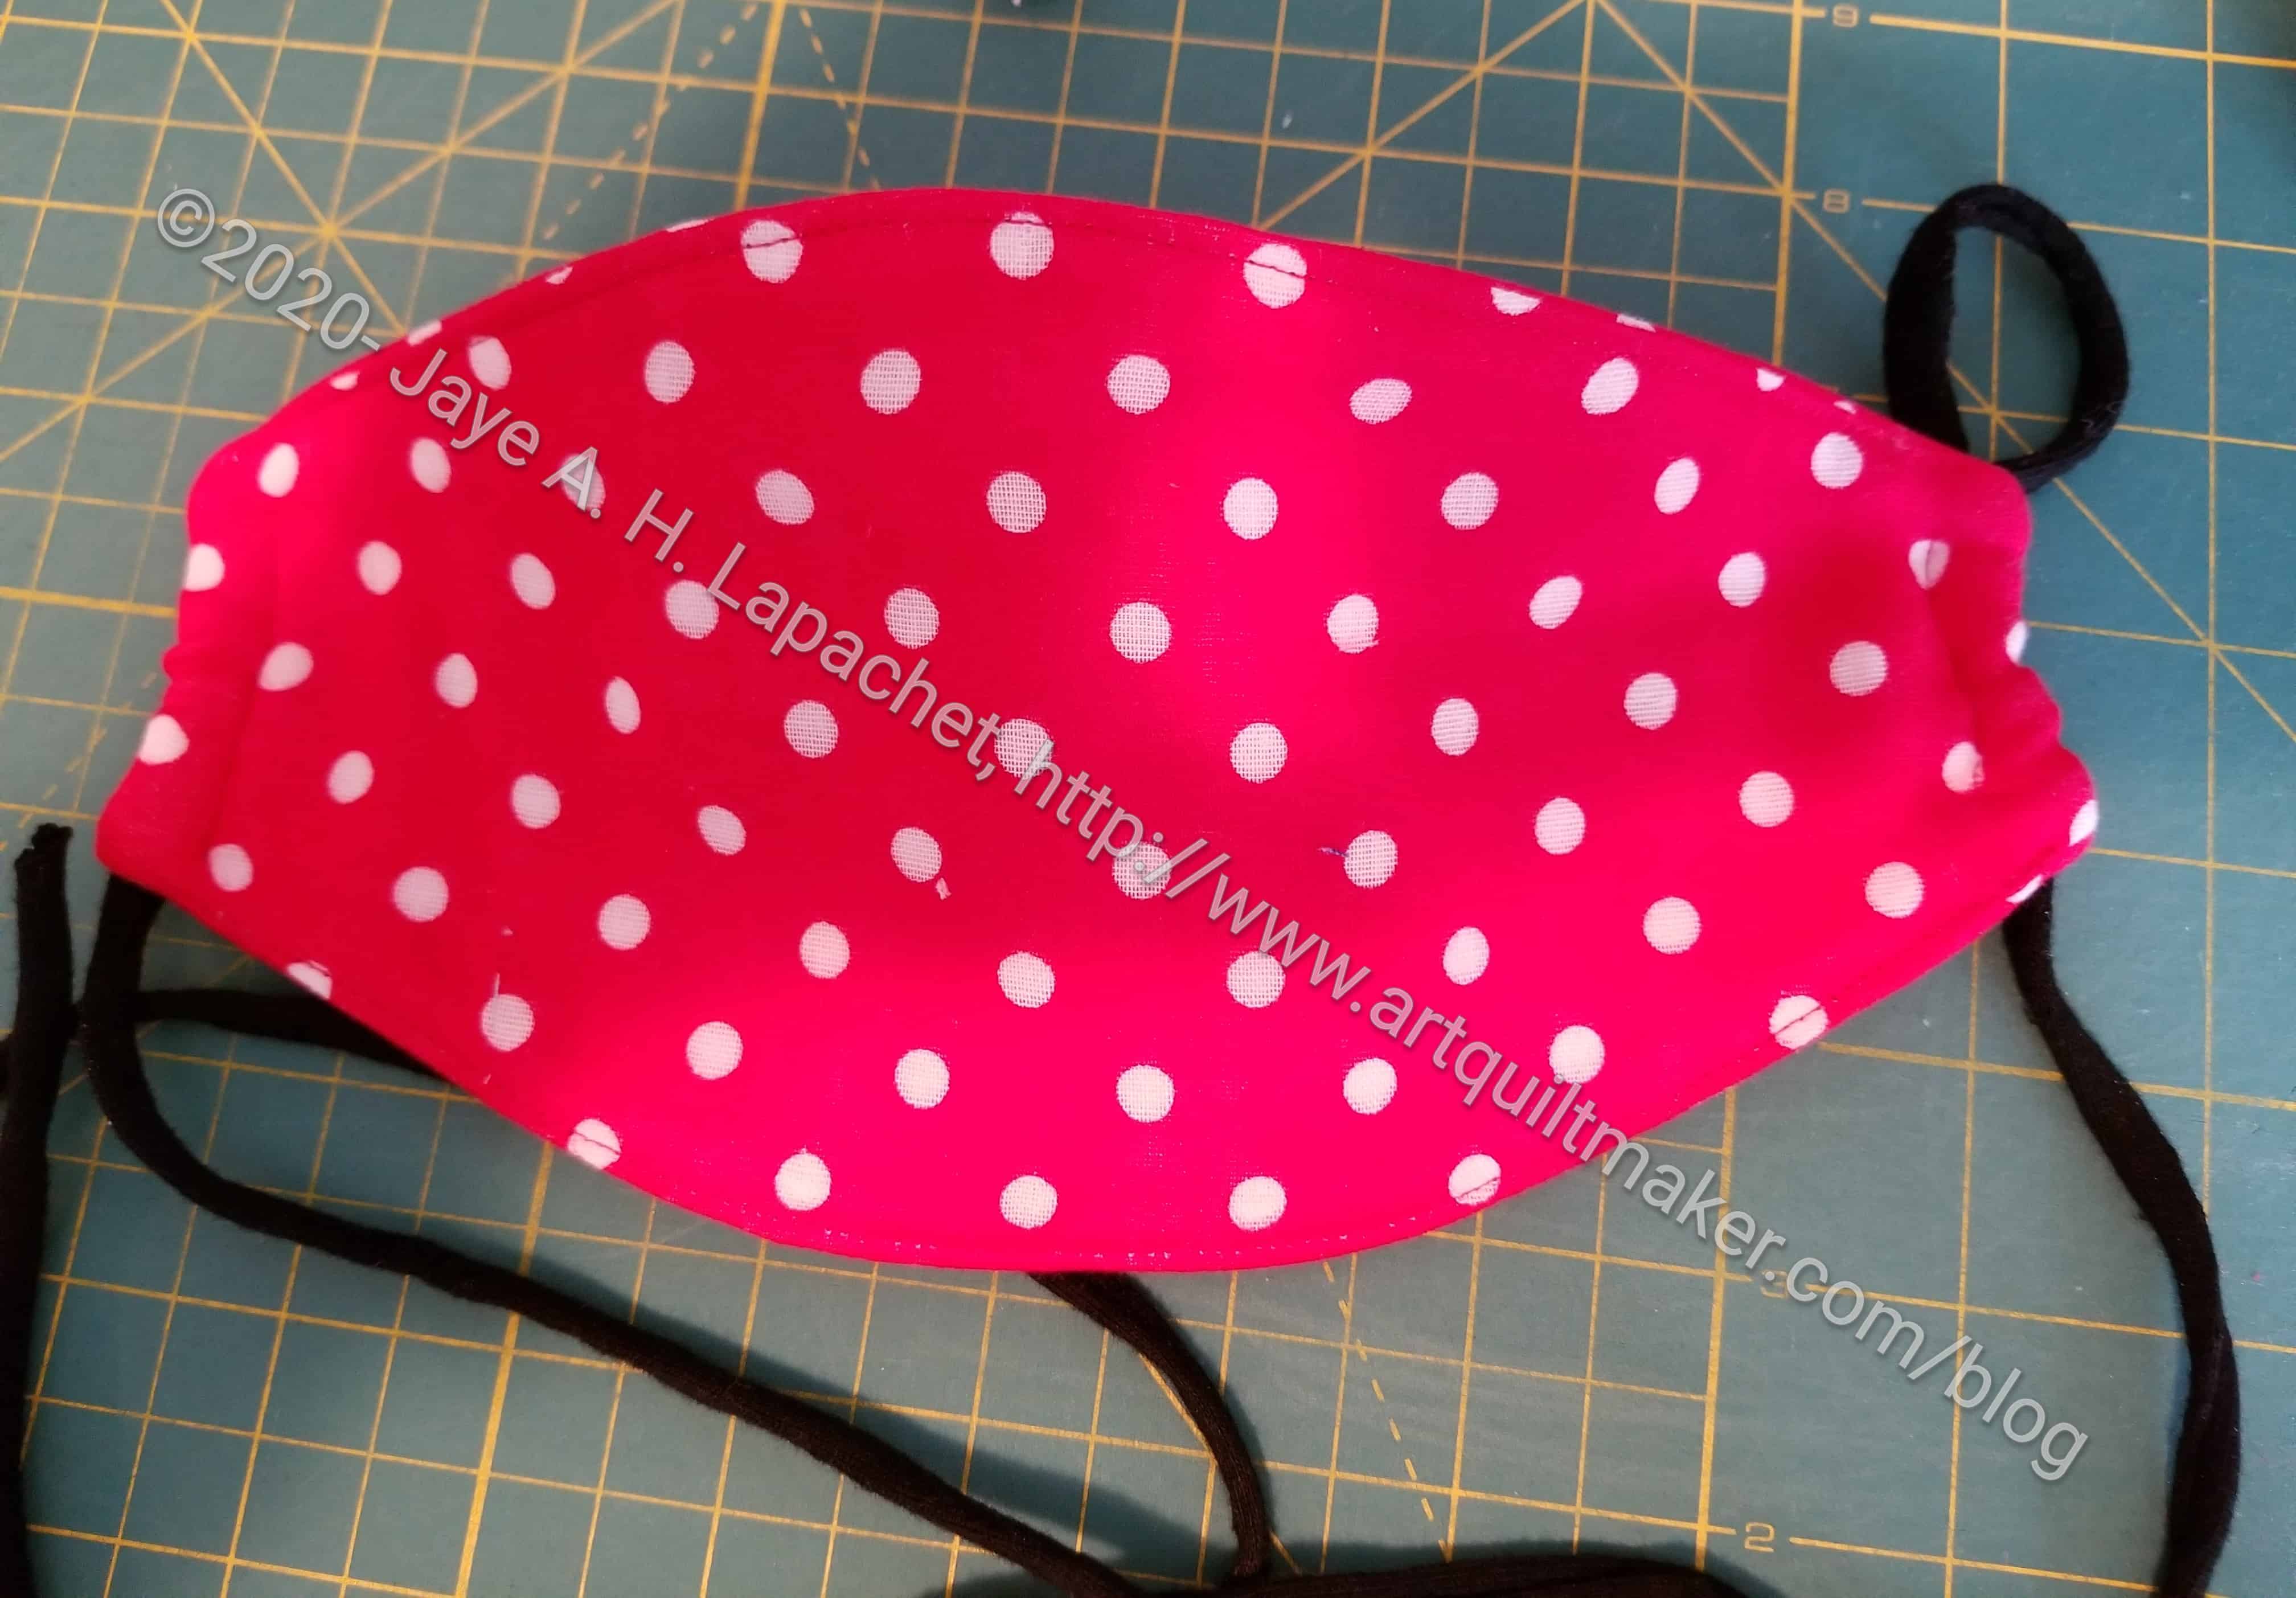
On Sunday when I wasn’t sewing on the Red Scribbles quilt, I made a couple of masks using the pattern from Jen Carlton Bailly and some Bonnie & Camille fabric. I was pleased to be able to use my rotary templates form her class. The pattern went together very quickly and I used some wire that my mom sent me when nose pieces weren’t available.
Sunday Face Masks
One nice thing about this pattern is the little bit of trim that is created when inserting the nose piece. Also, the nose piece isn’t as fiddly to insert as on my other pattern.
I haven’t tried these on as I plan to give them to my neighbor and I don’t want to share my germs. I need to make myself one to see if it fits, however.
I had some large-ish ‘scraps’ recently, so made a couple of masks for the YM. Since I was mailing him a package I also made one for his girlfriend. She is S-i-Ping 4 hours away from the YM, but I know that that they are trying to see each other as often as possible.
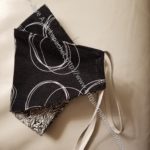
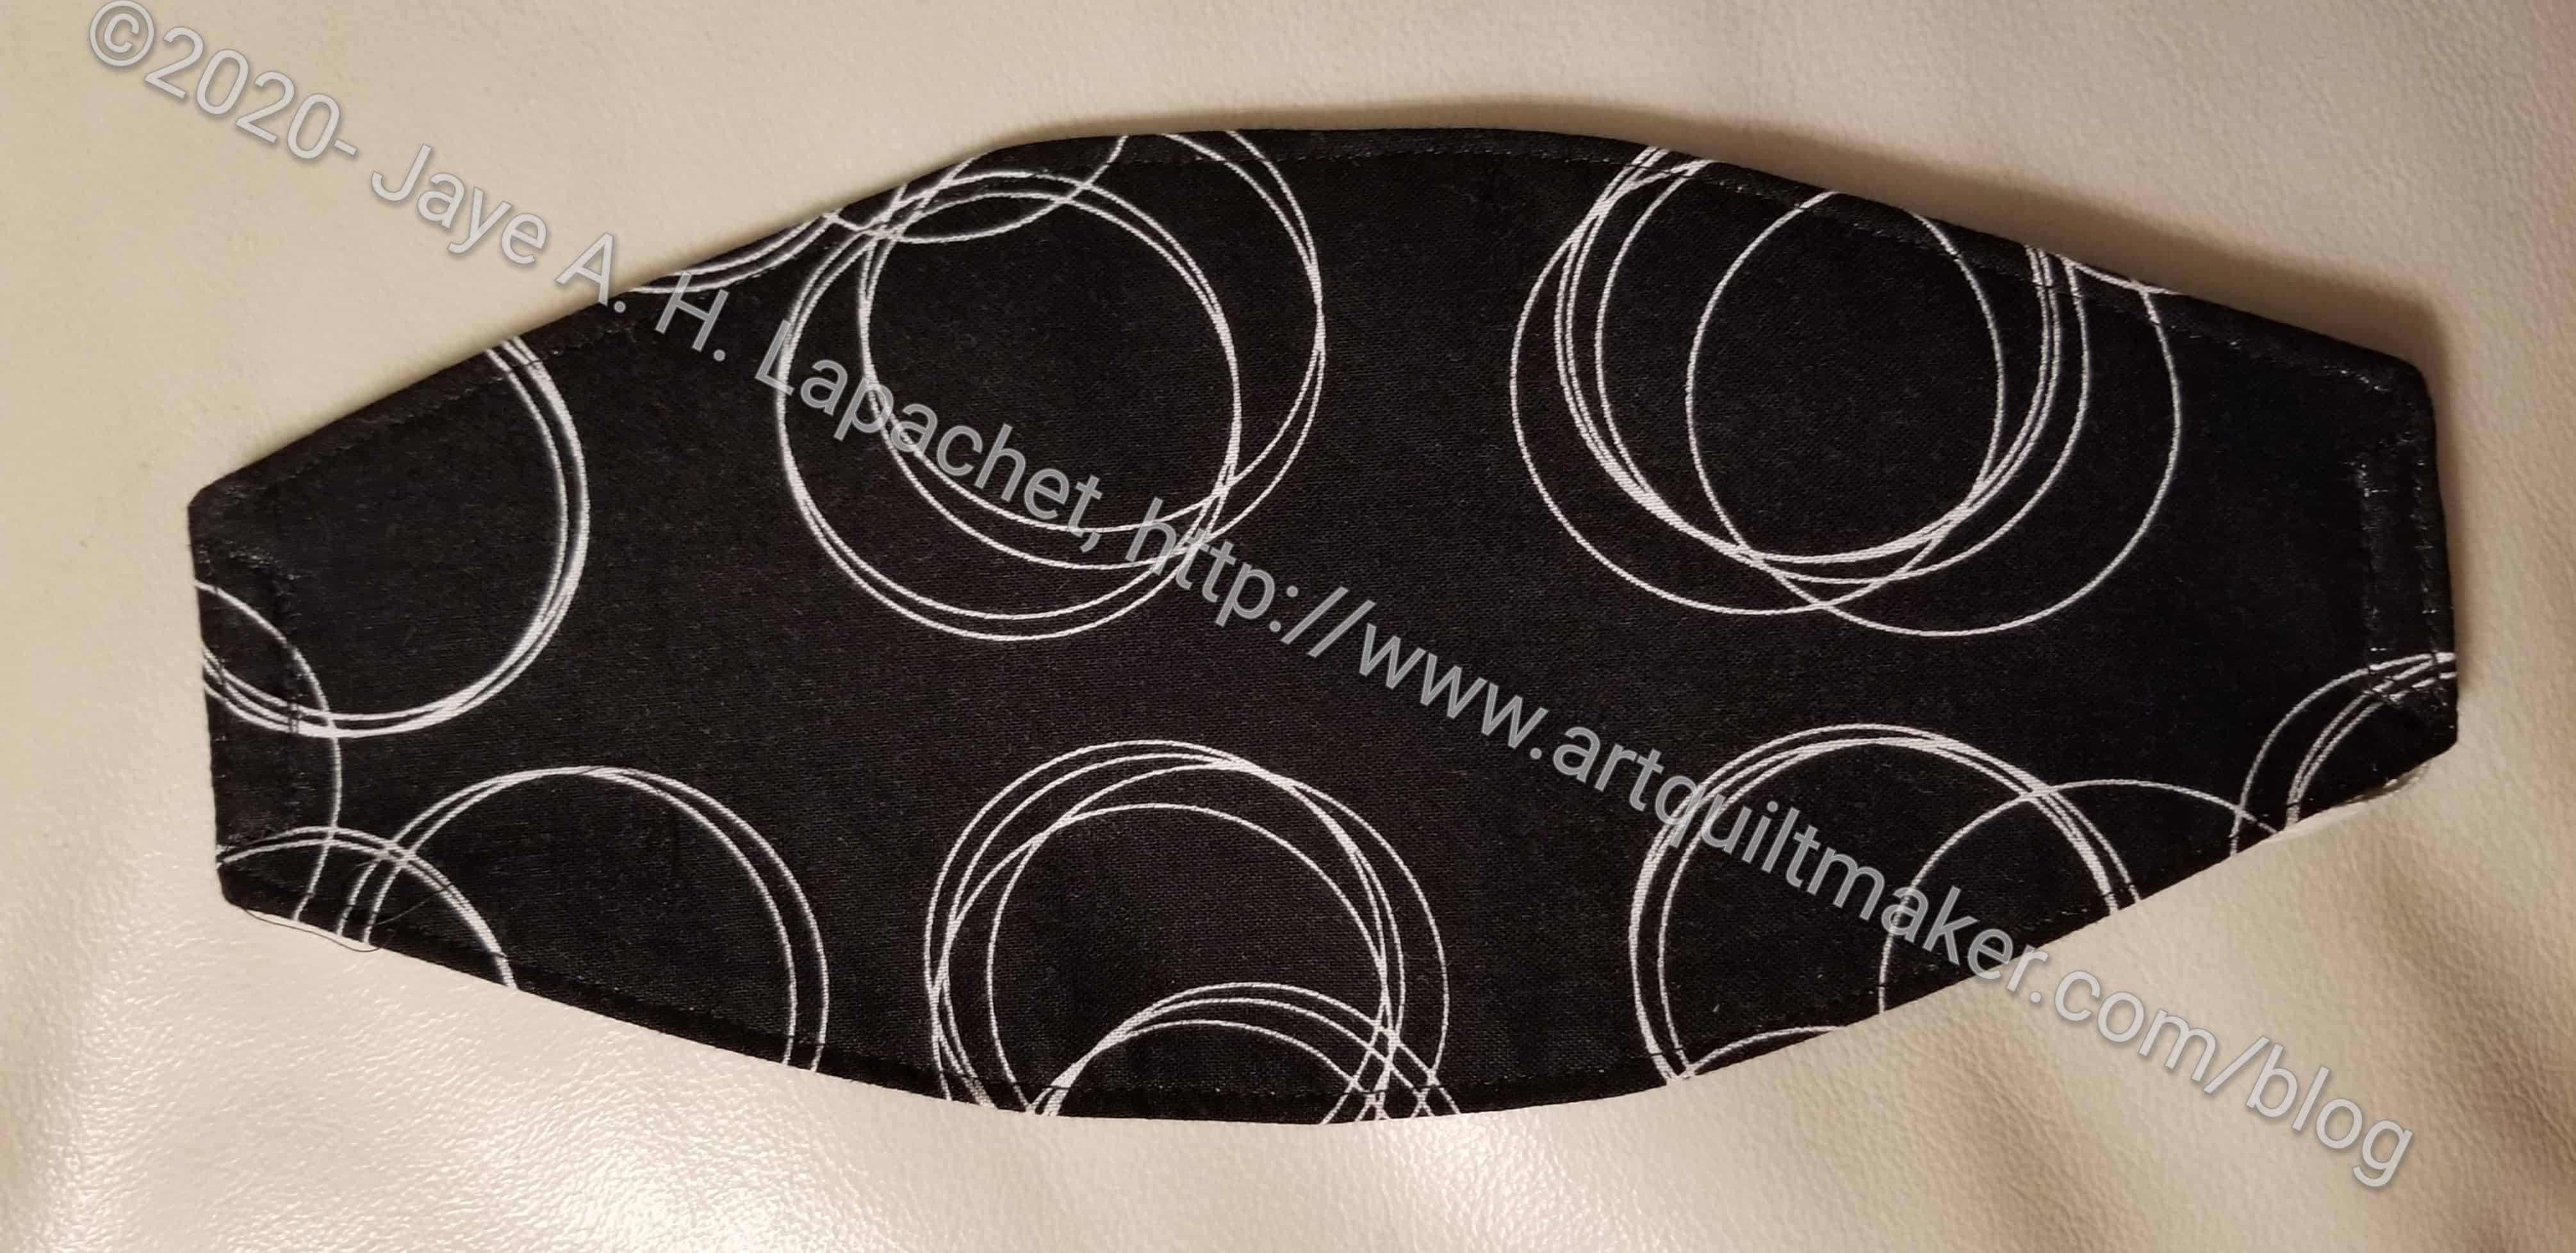
Black Circle Mask
By ‘large-ish scraps’ I mean pieces too large for my scrap bin, but too small for filing in the bins I use for my larger pieces of yardage. For me, it is better to cut them up either for future projects or into usable sized patches. Some of the pieces were large enough that I had enough for masks. I want the YM to have enough for at least two weeks, so he can have a fresh one every day, so cutting mask pieces has been on my mind.
Green Vine Mask front
Of course, I didn’t have any dark green scraps, so I had to delve into yardage to find the YMG’s favorite color. I have very little dark green, but I found this Jinny Beyer print that I bought pre-blogging and decided it would work. I hope the horizontal vines don’t come across as having a passive-aggressive meaning…or something.
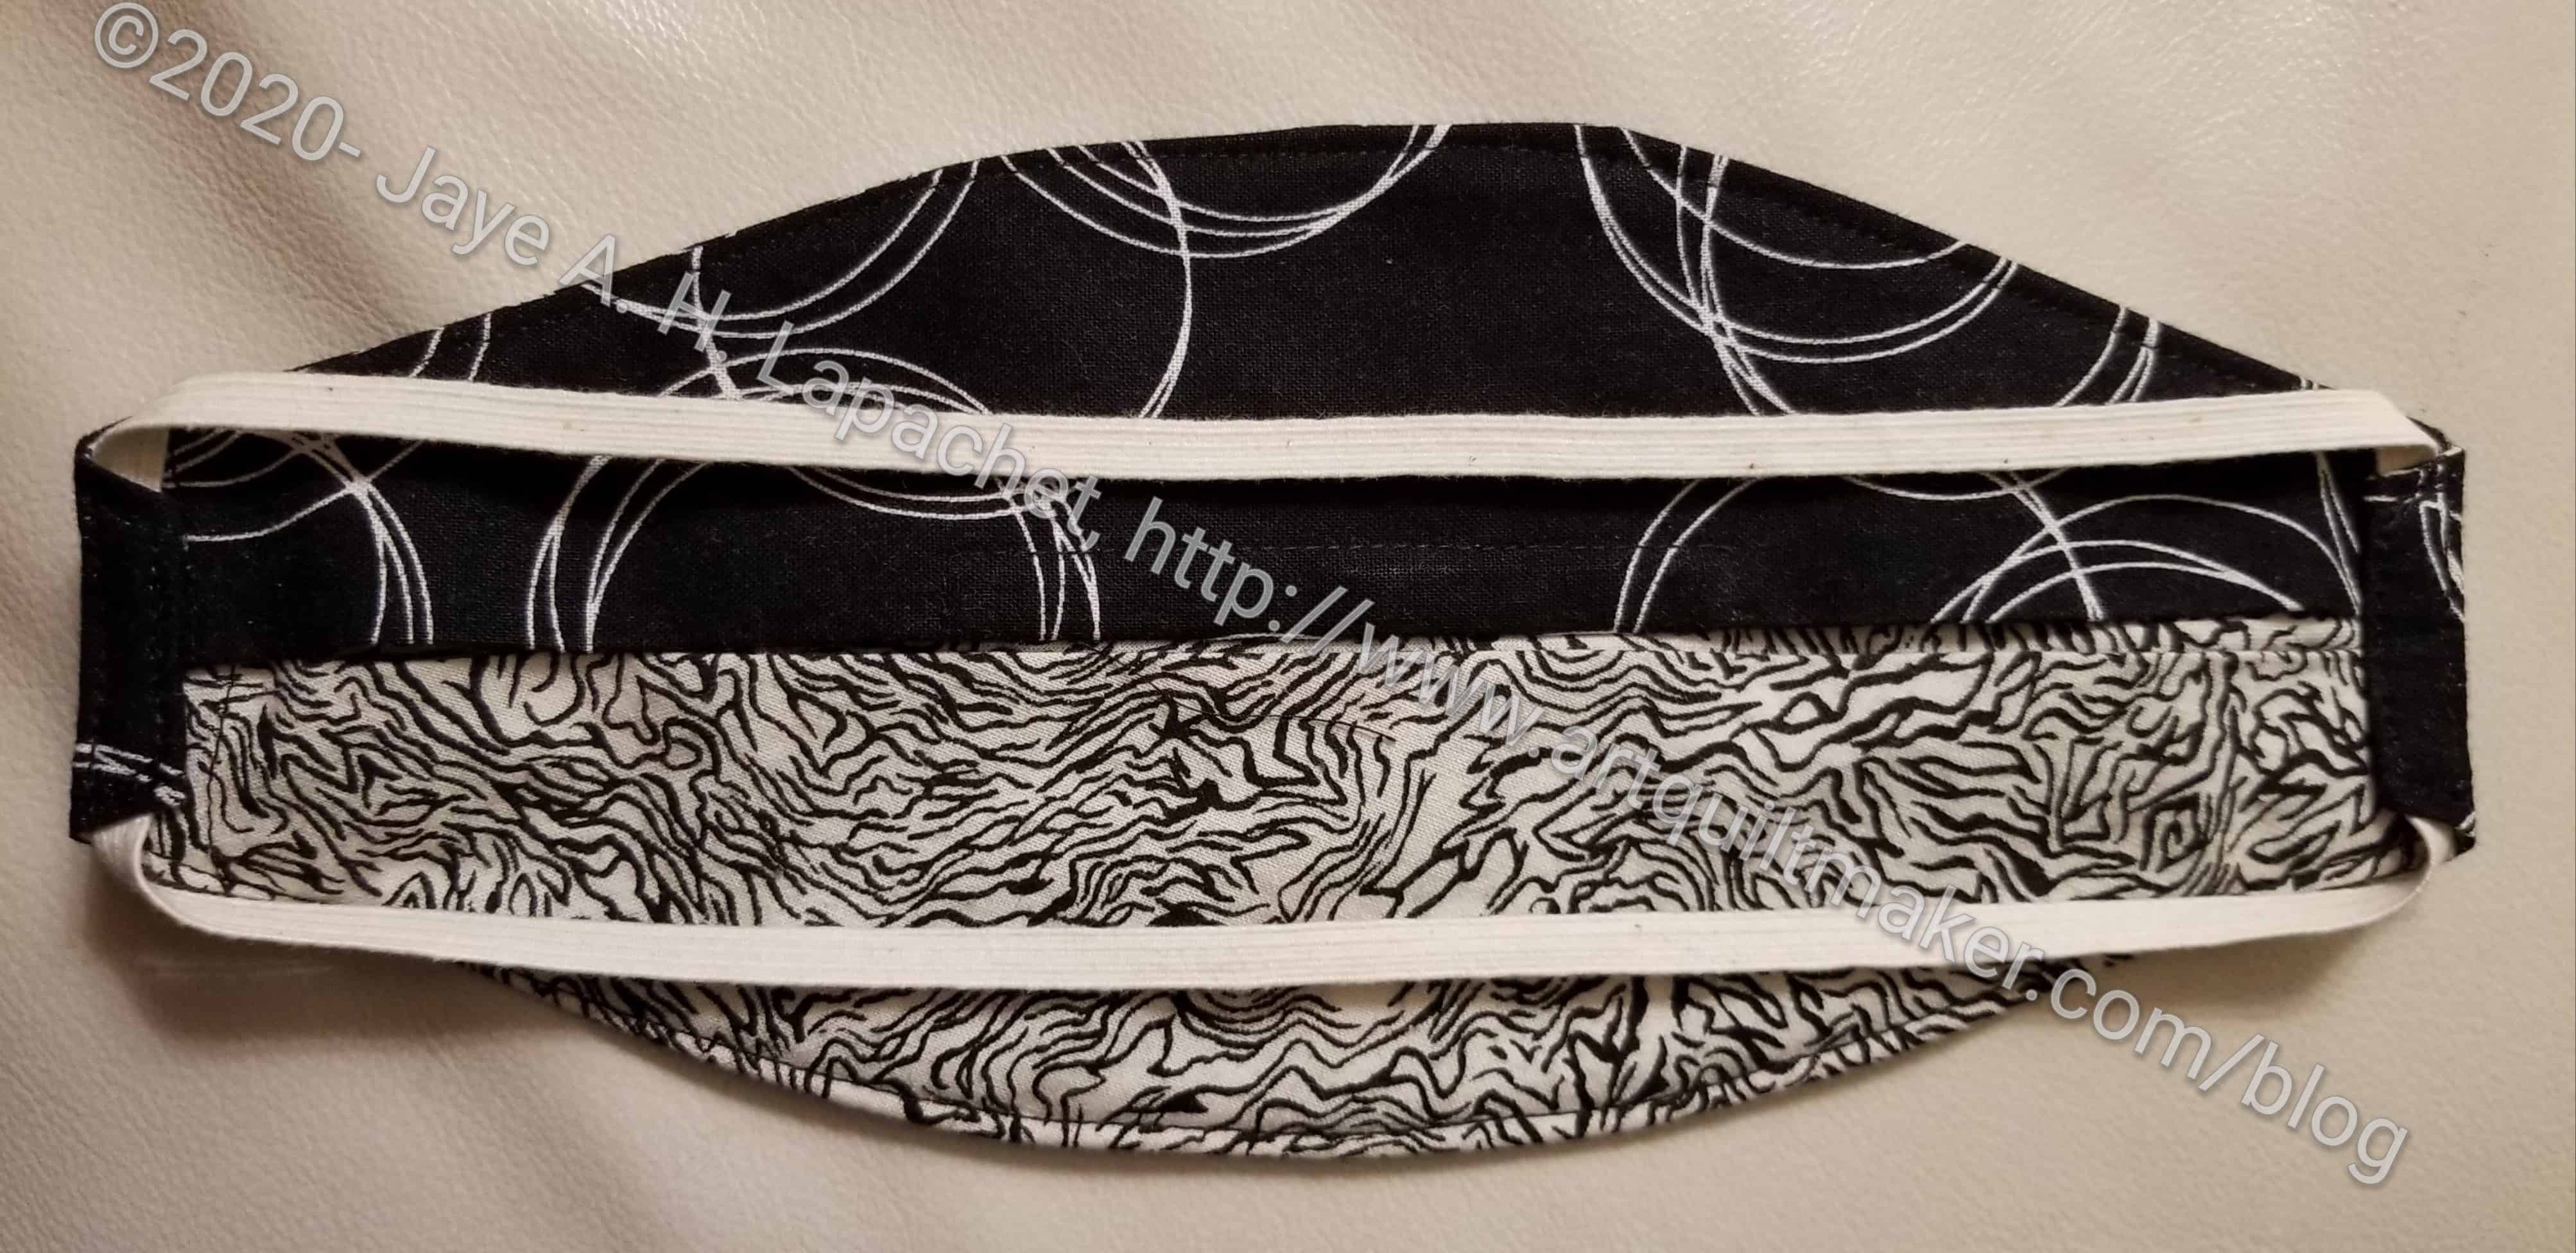
Black Circle Mask Elastic
This is the same video pattern I have been using. I described some issues I was having in the last Face Mask post. I worked on redoing the way I insert elastic on these. I sewed similar rectangles on the ends, but inserted the elastic so that the ends are covered by folding the ends in. I might have made the elastic a little small, but we will see. I don’t try on masks I am sending to other people, so I don’t know if the edges will flap out like my previous batch. I know it is a small thing easily covered by hair, but the detail bugs me.
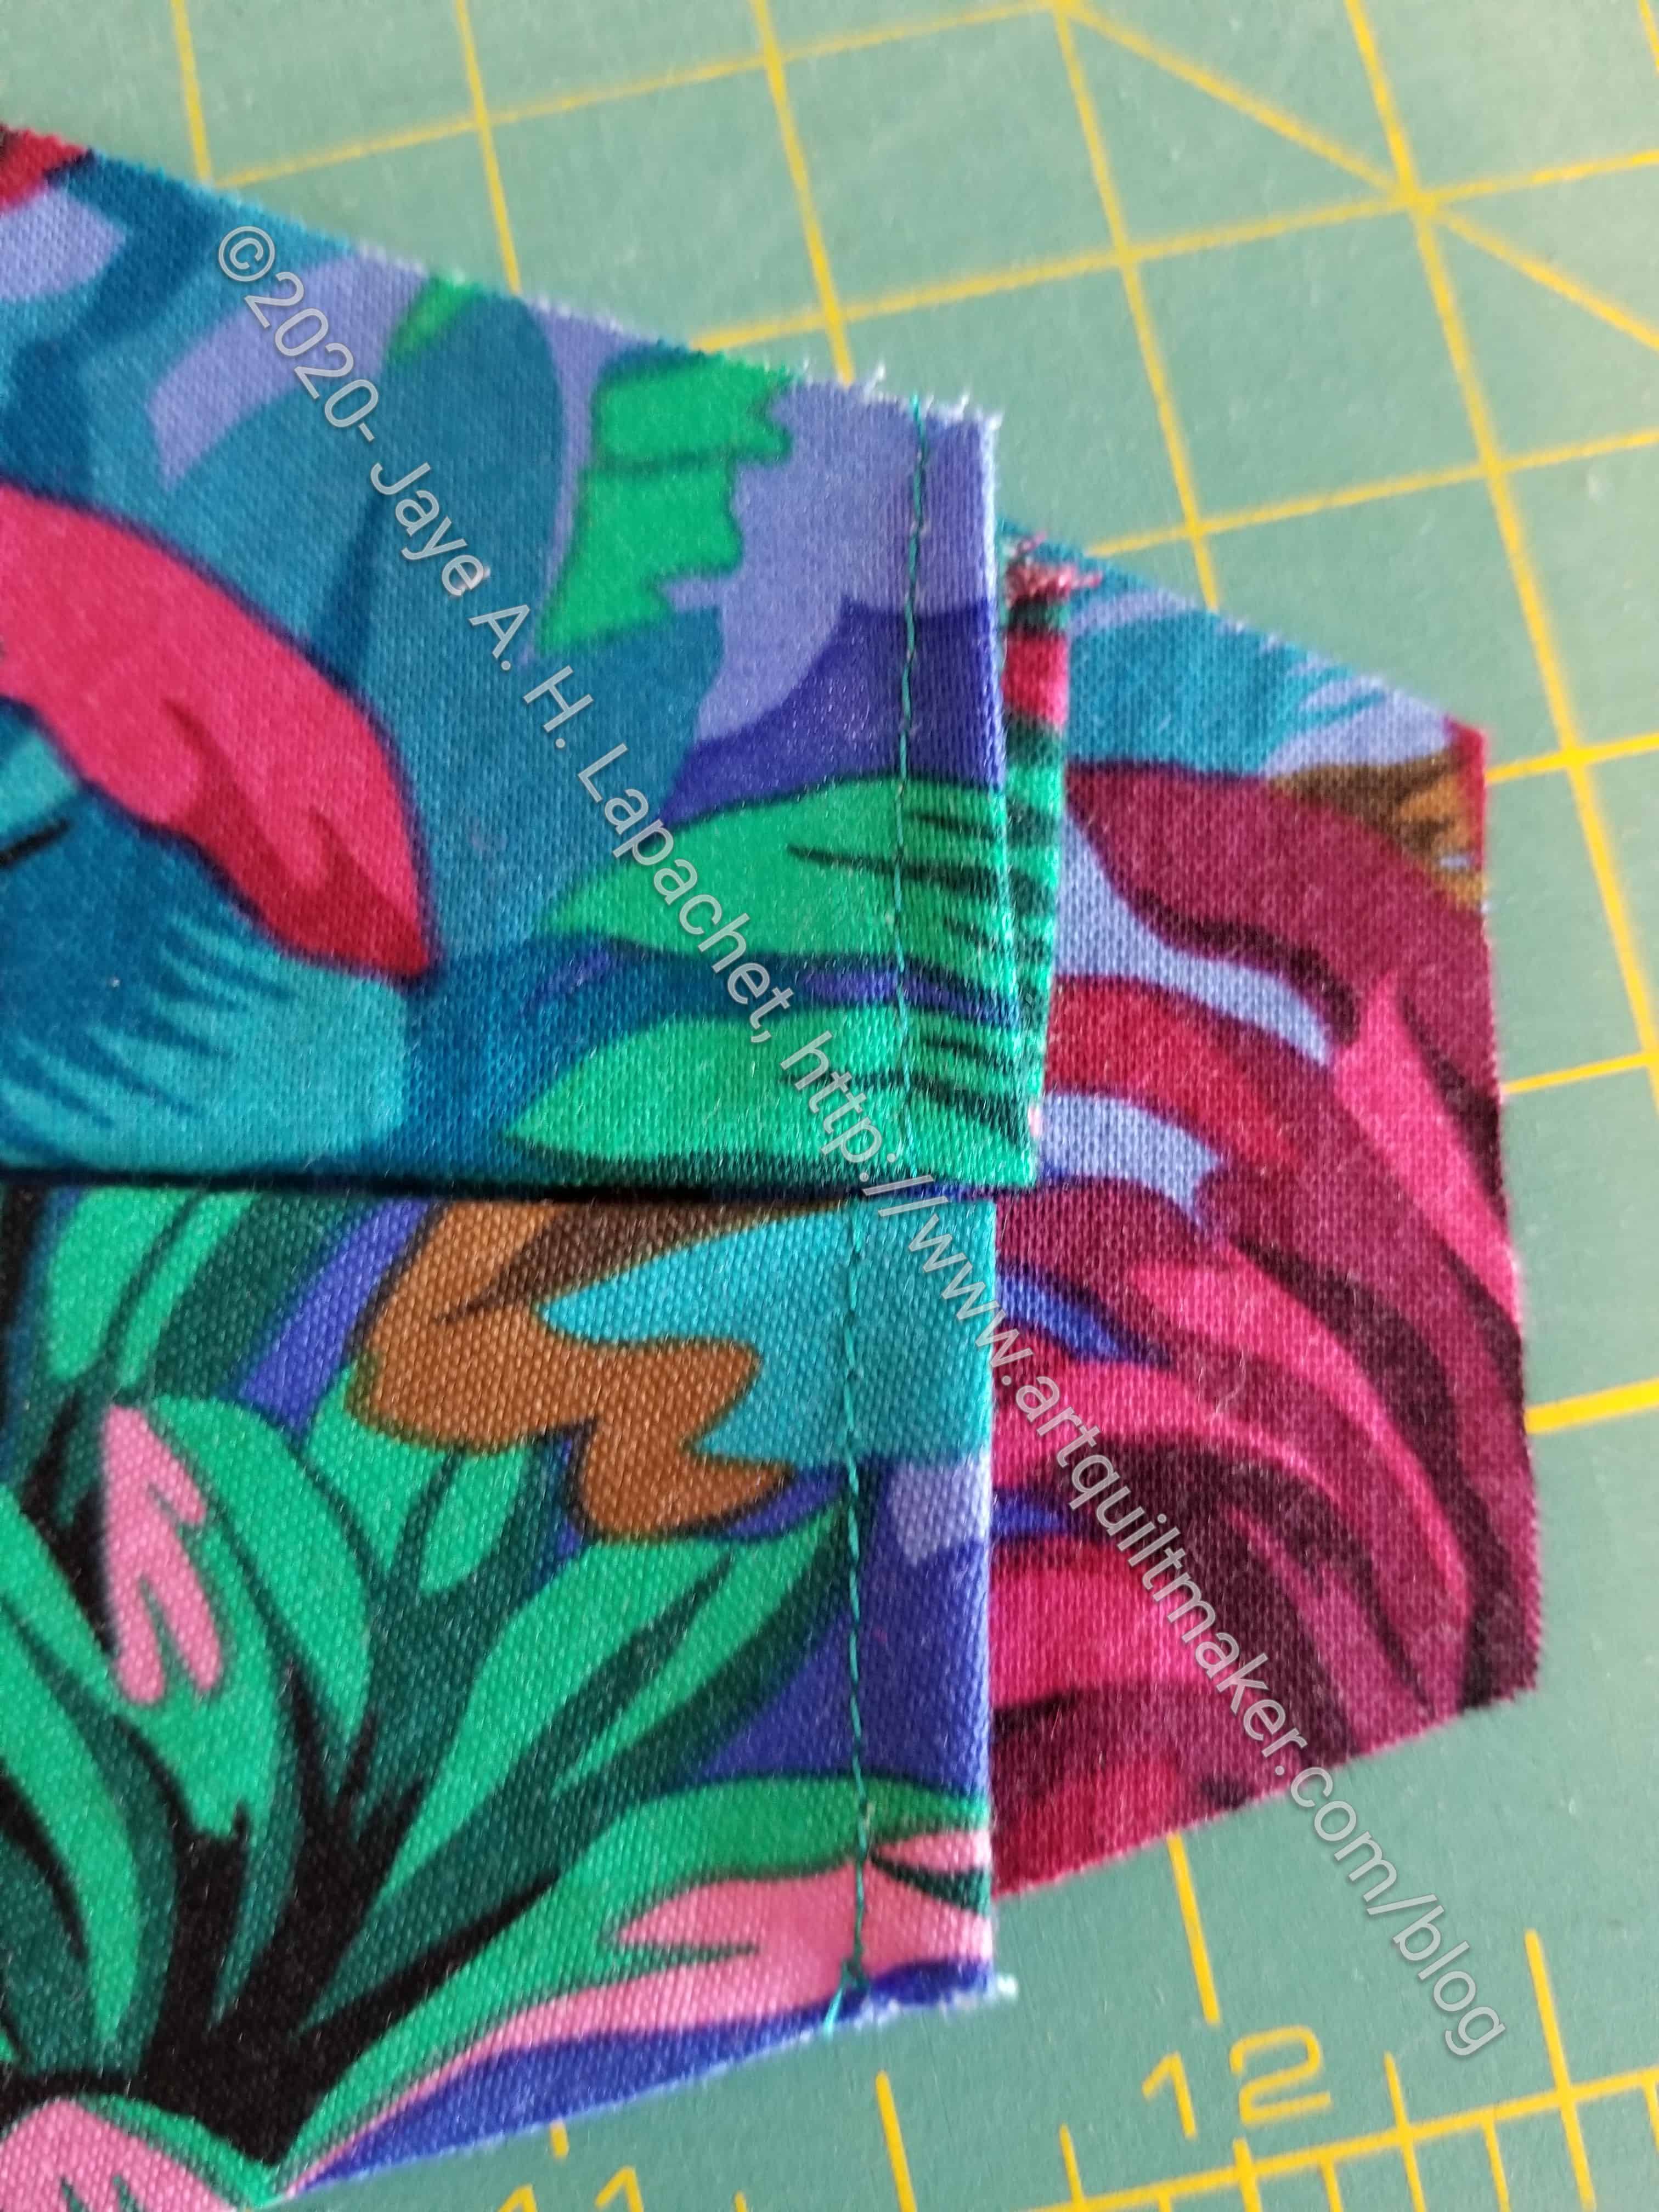
First, the gussets needed to have, for certain, the raw edges covered. After adding the nose pieces, I did one fold and sewed the raw edge closed.
This adds an extra layer of fabric, which is a challenge later, but with the covering of the longer main mask panel (you can see it sticking out past the 12 on my mat), I think it will keep the raw edges from unraveling.
I could have sewed the raw edges closed before adding the nose piece, but I didn’t. Feel free to do it that way.
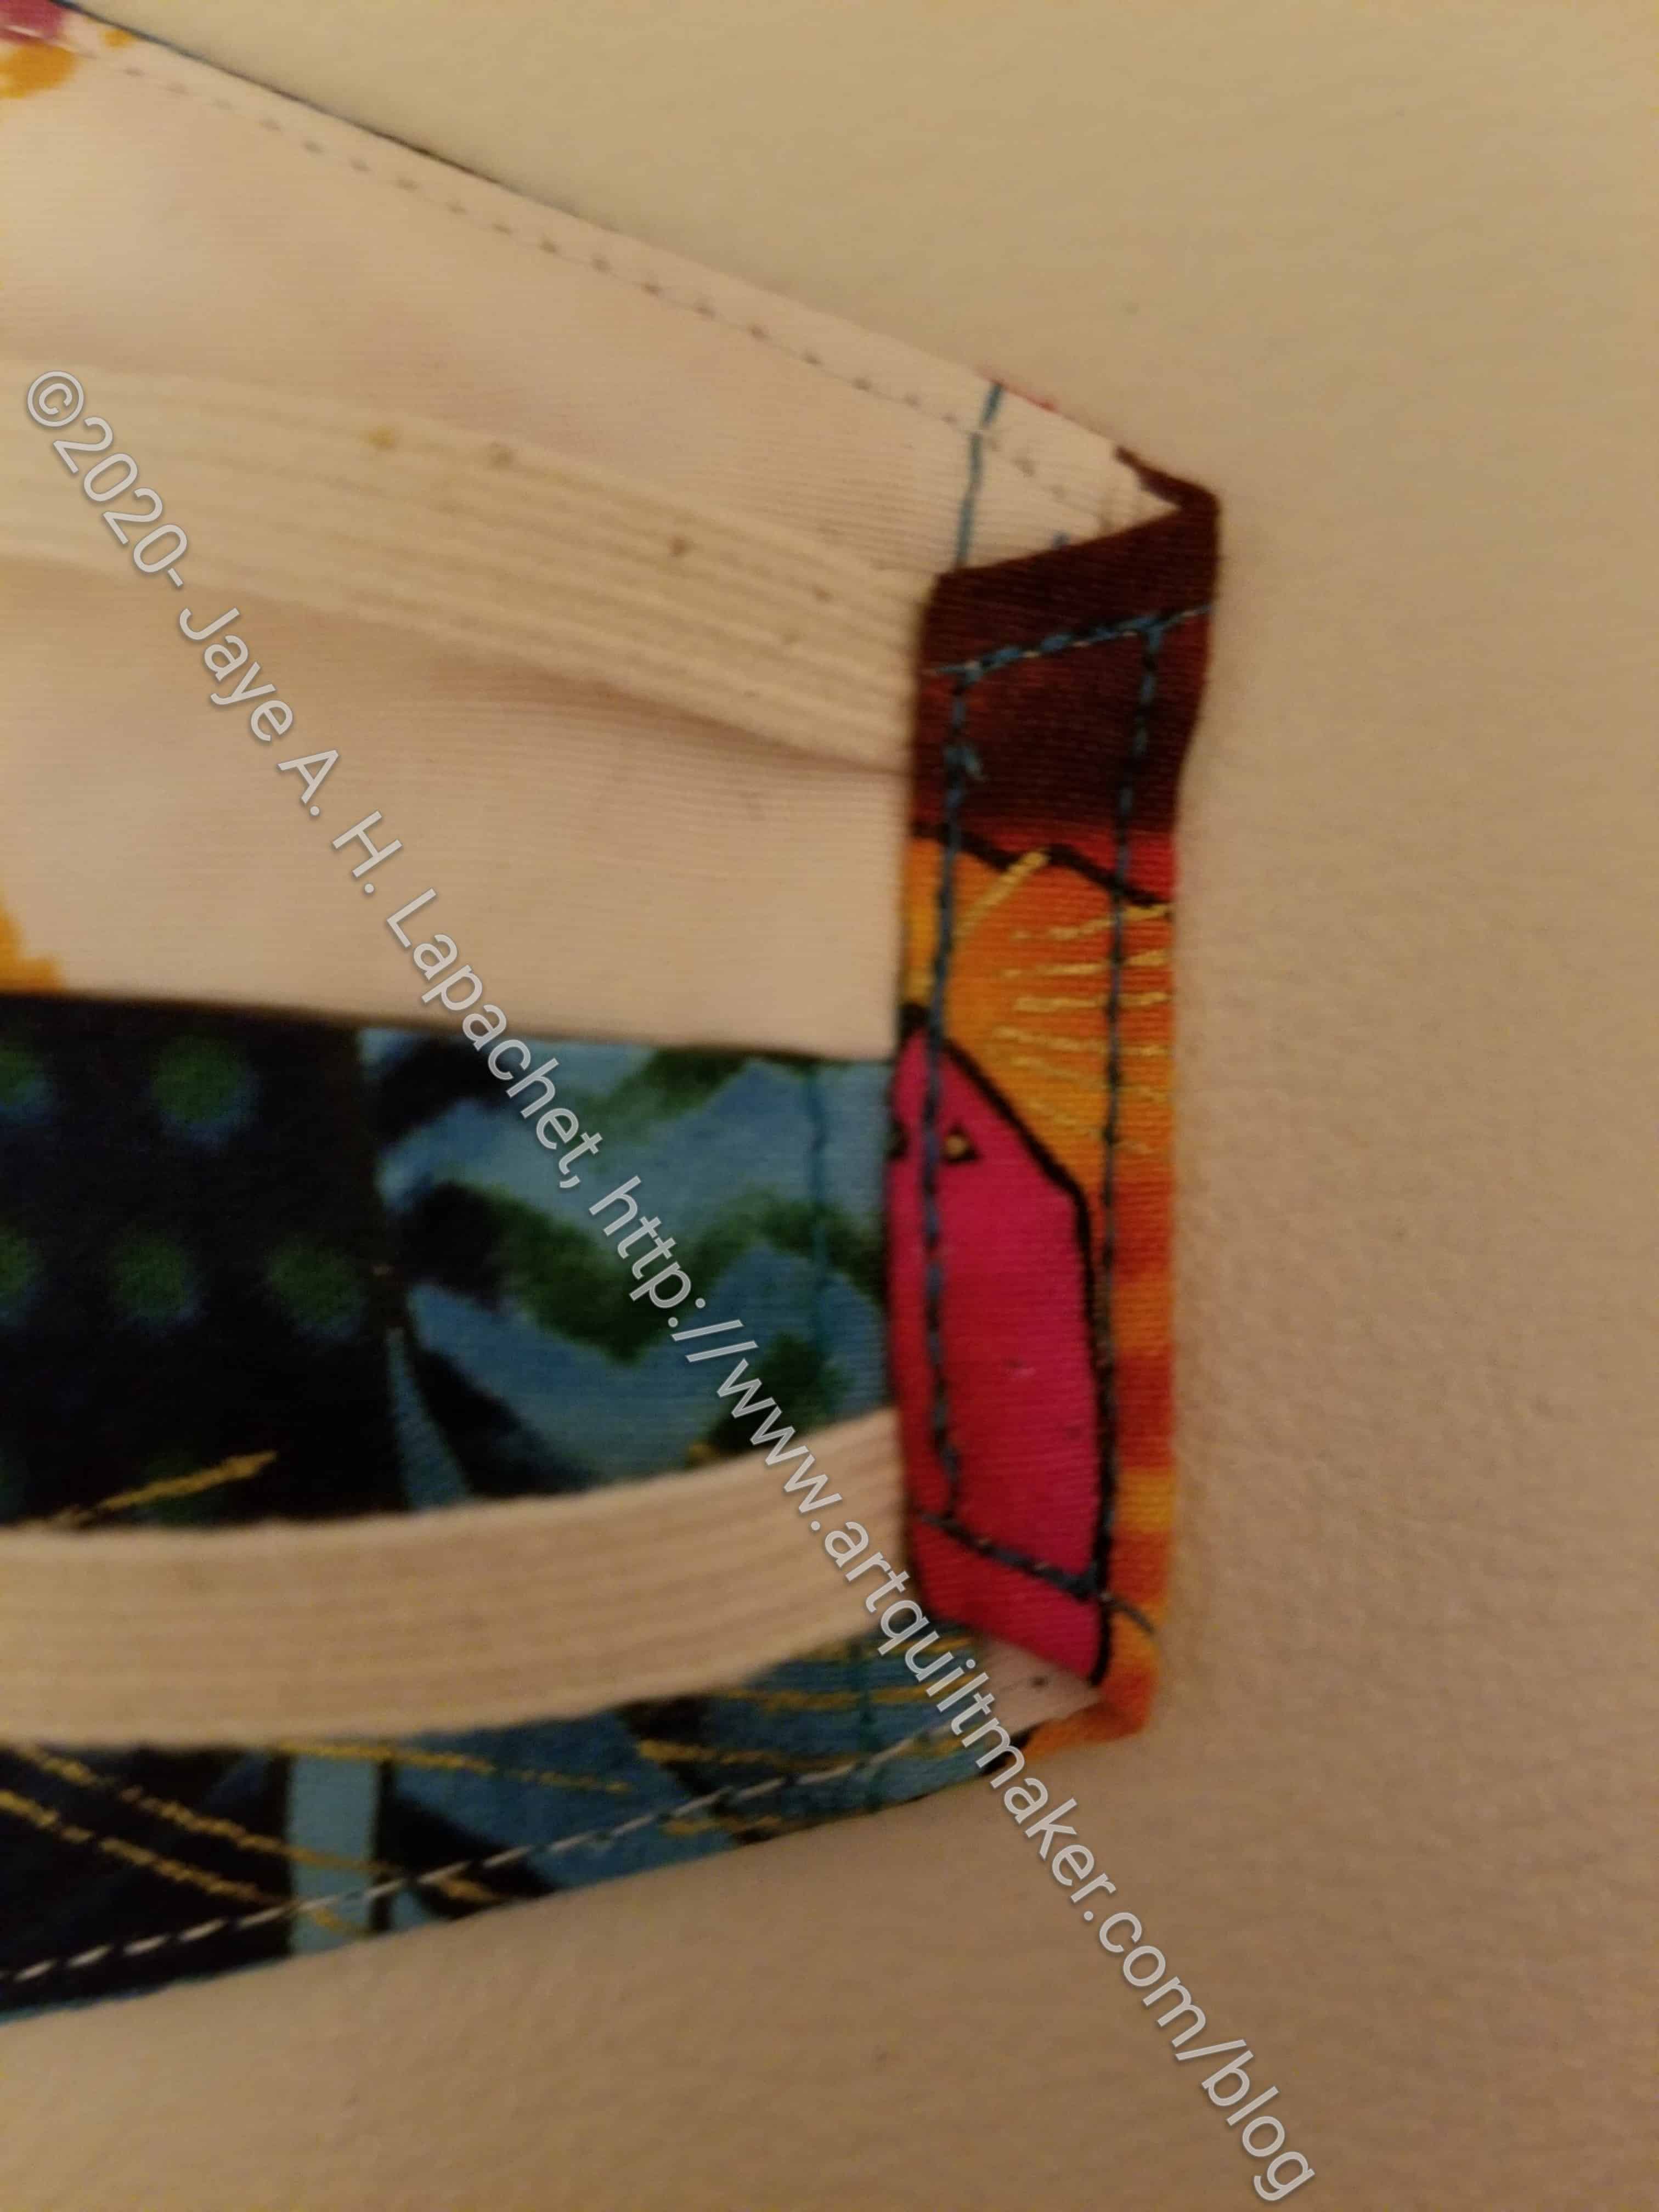
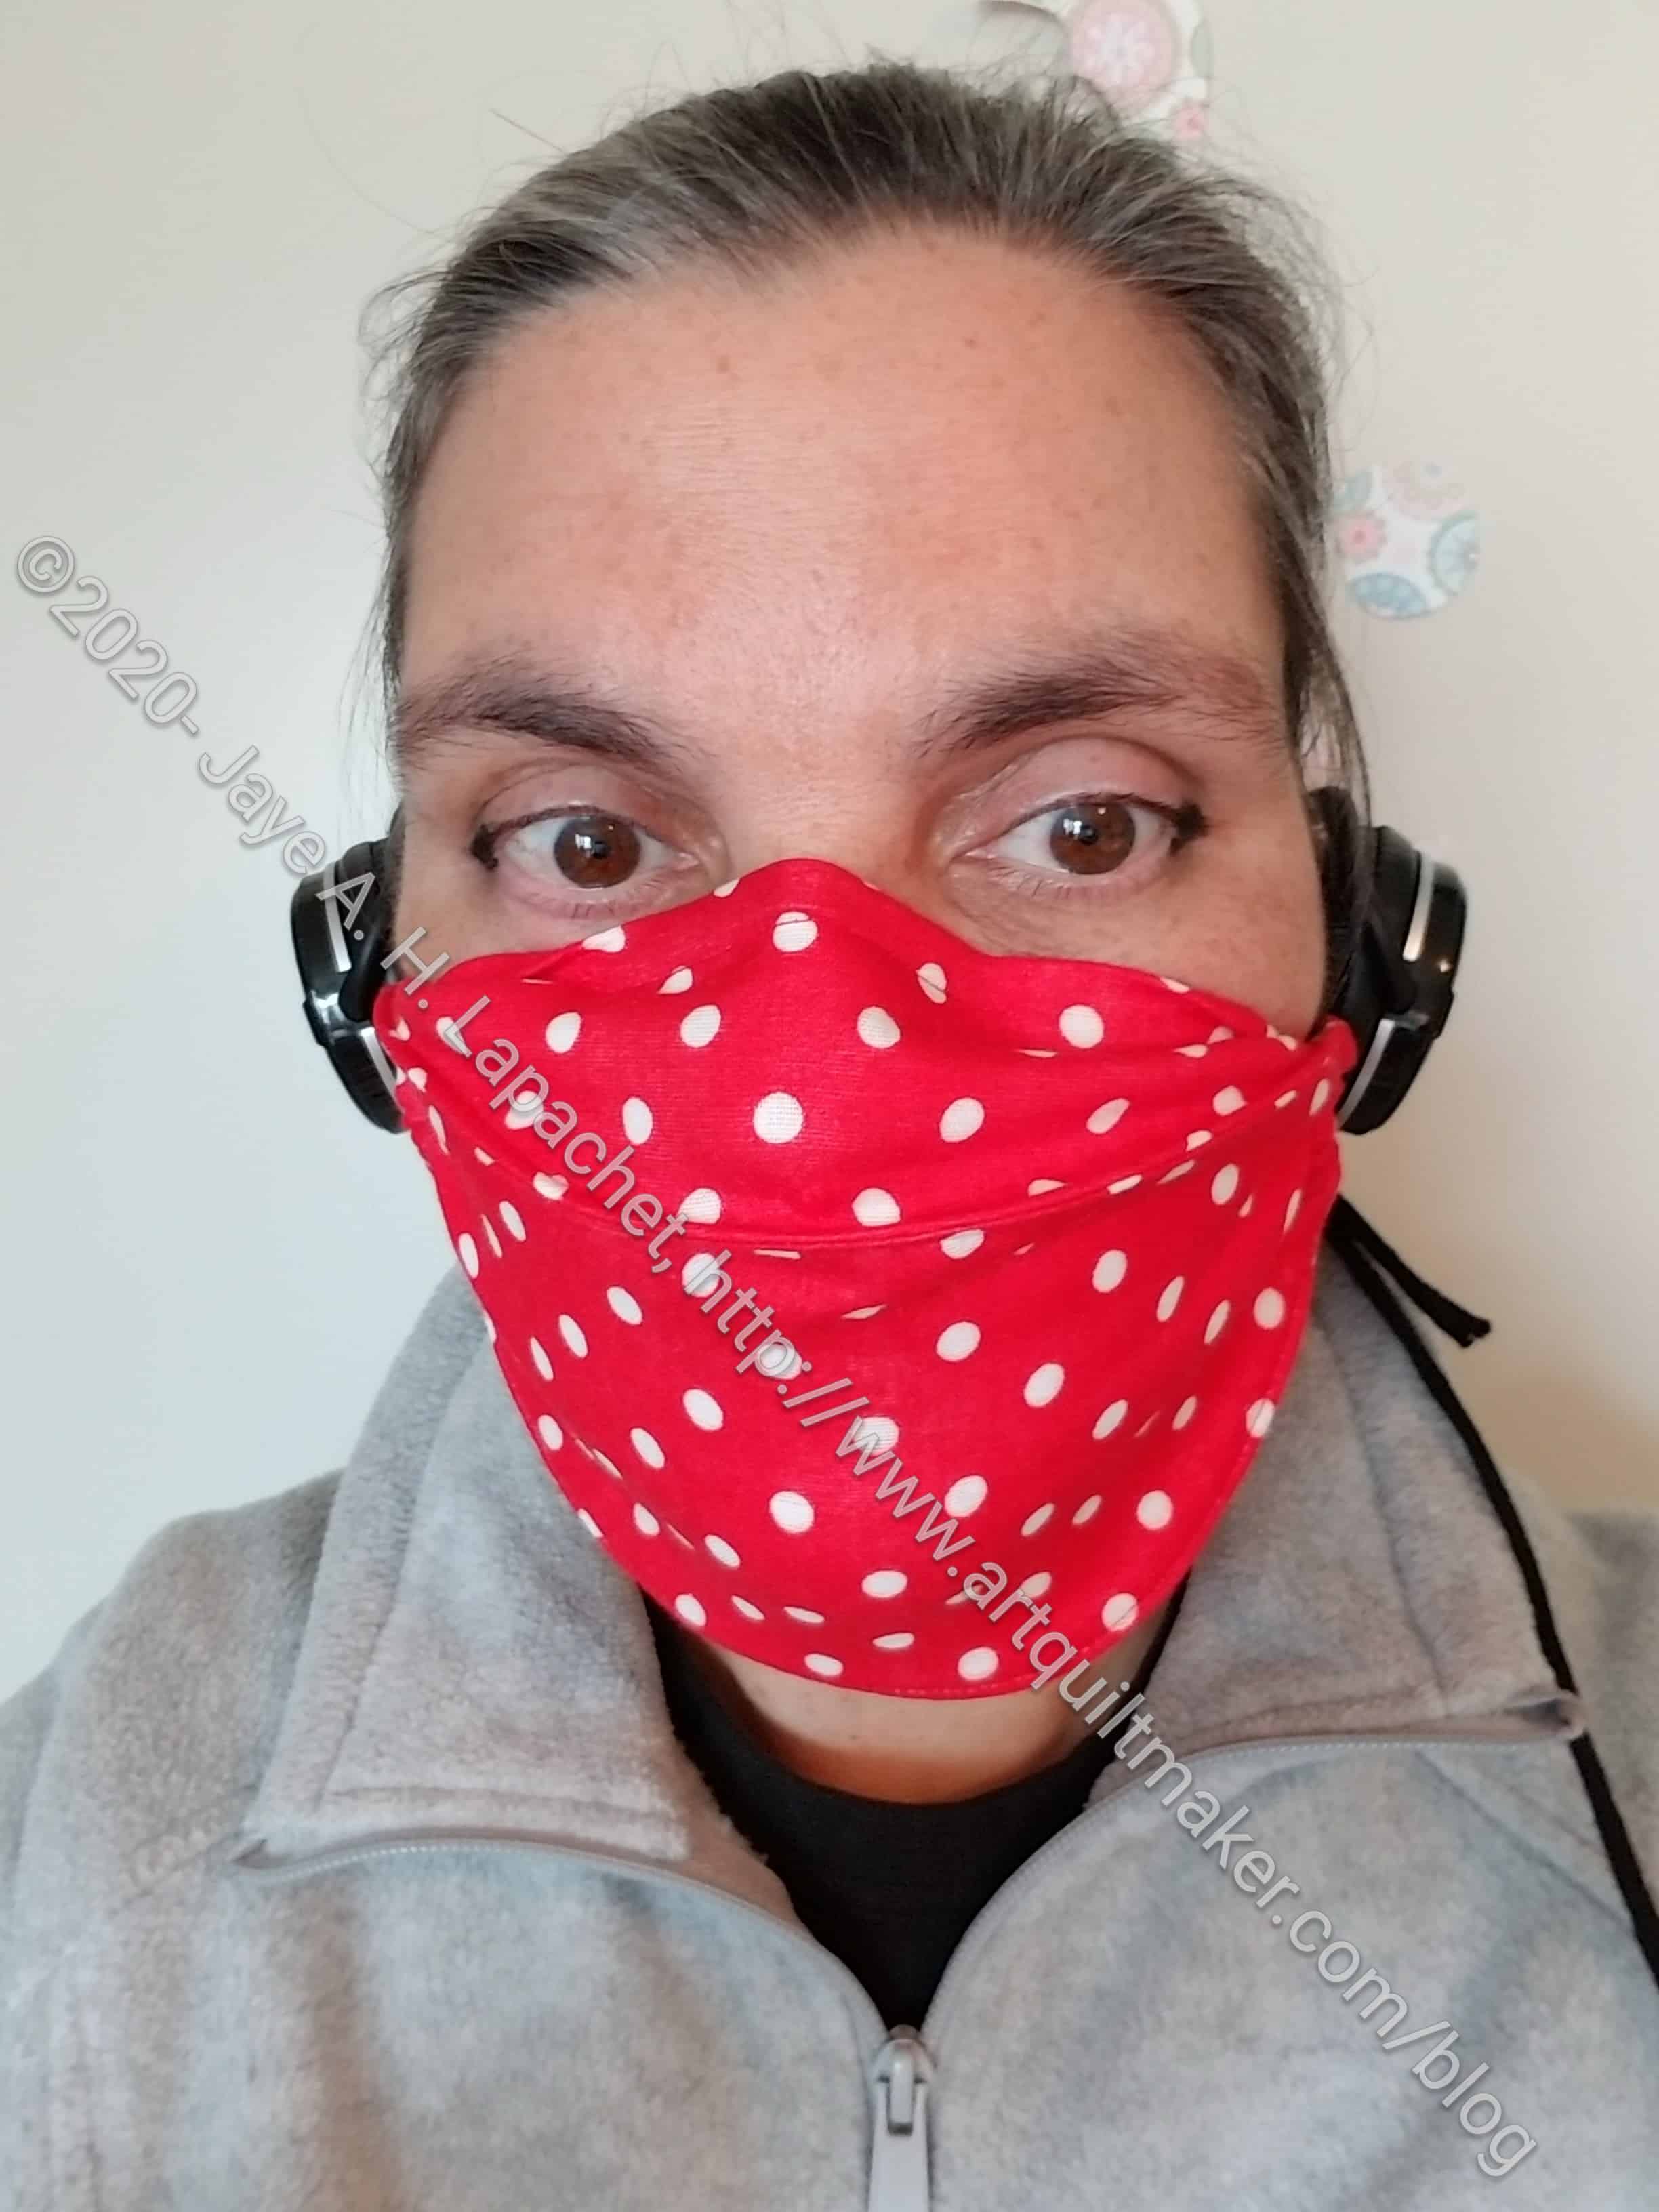
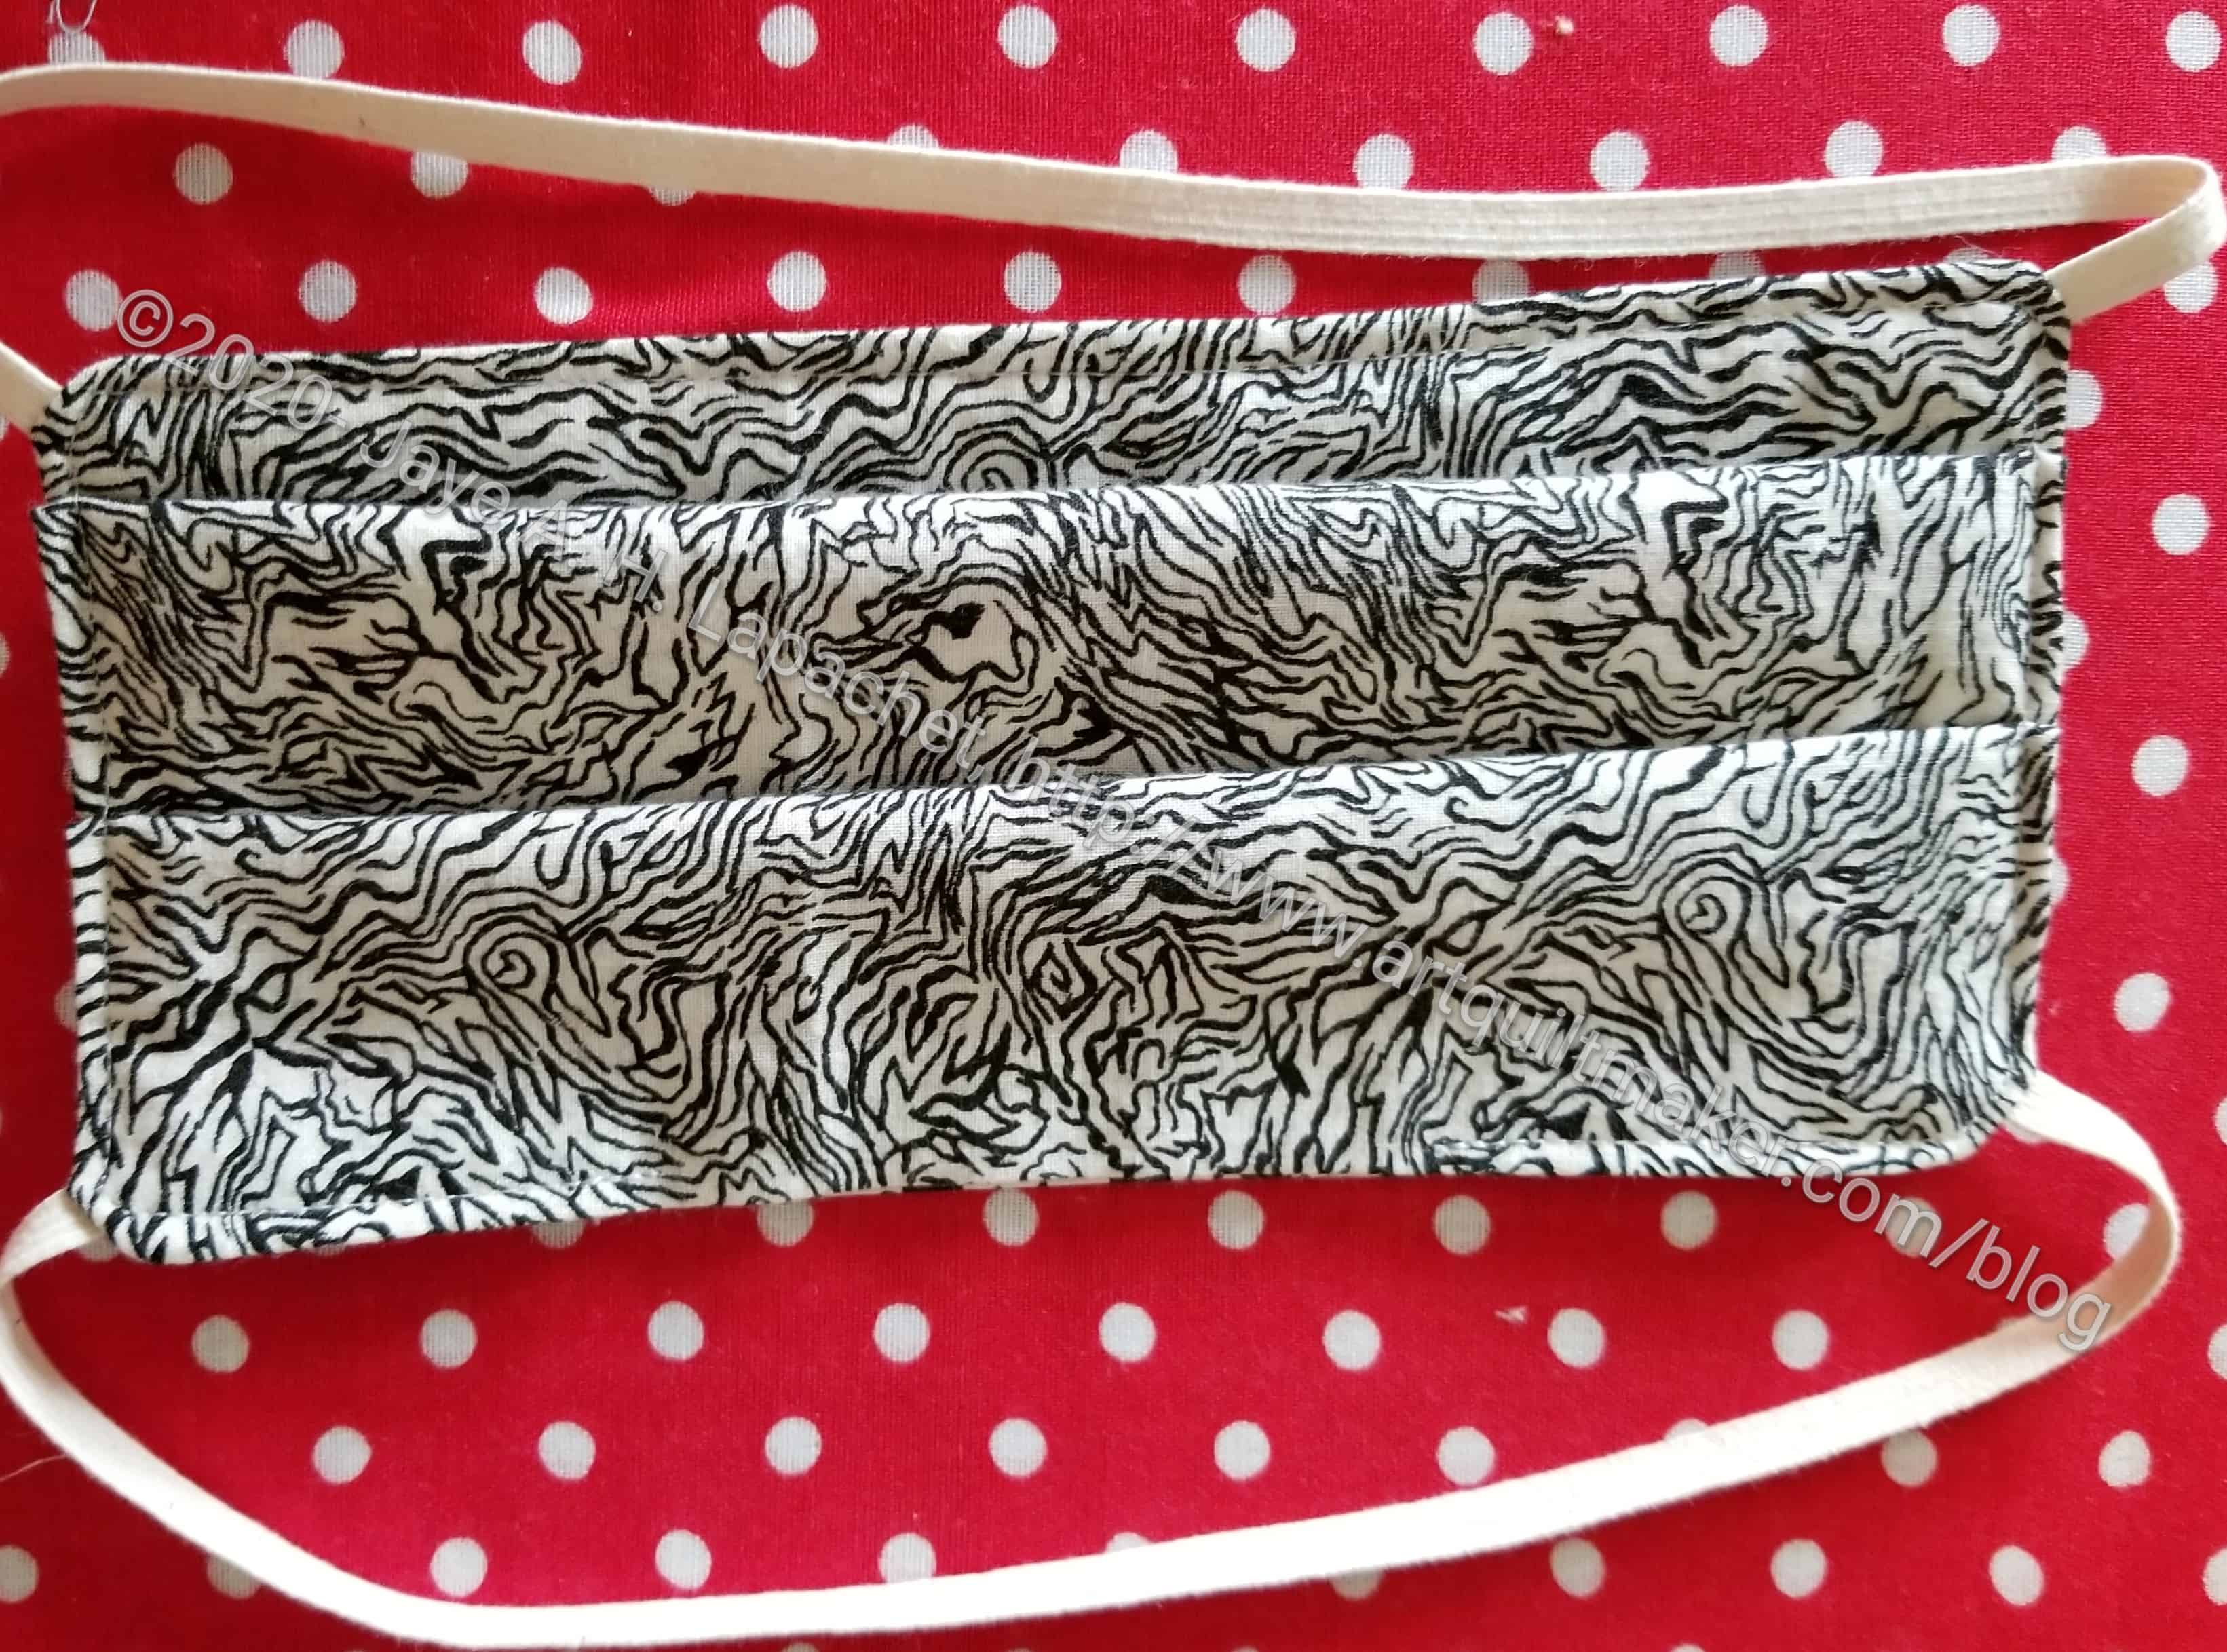
Chrysanthemum Face Mask Elastic
In my post the other day, I mentioned using elastic. My elastic goes all the way around the back of my head as opposed to just over the ears as the video shows. With glasses and headphones, I have too much stuff on my ears already to add a mask to the poor overburdened body part.
I am not sure this is the best way to add elastic across the back. The folded over edges stick out a little so the look isn’t sleek.
Once the raw edges of the gussets were secured, I fold over the edges of the main mask panel and tucked the elastic inside. Then I sewed in a rectangle, going over the stitching closest to the middle of the mask twice.
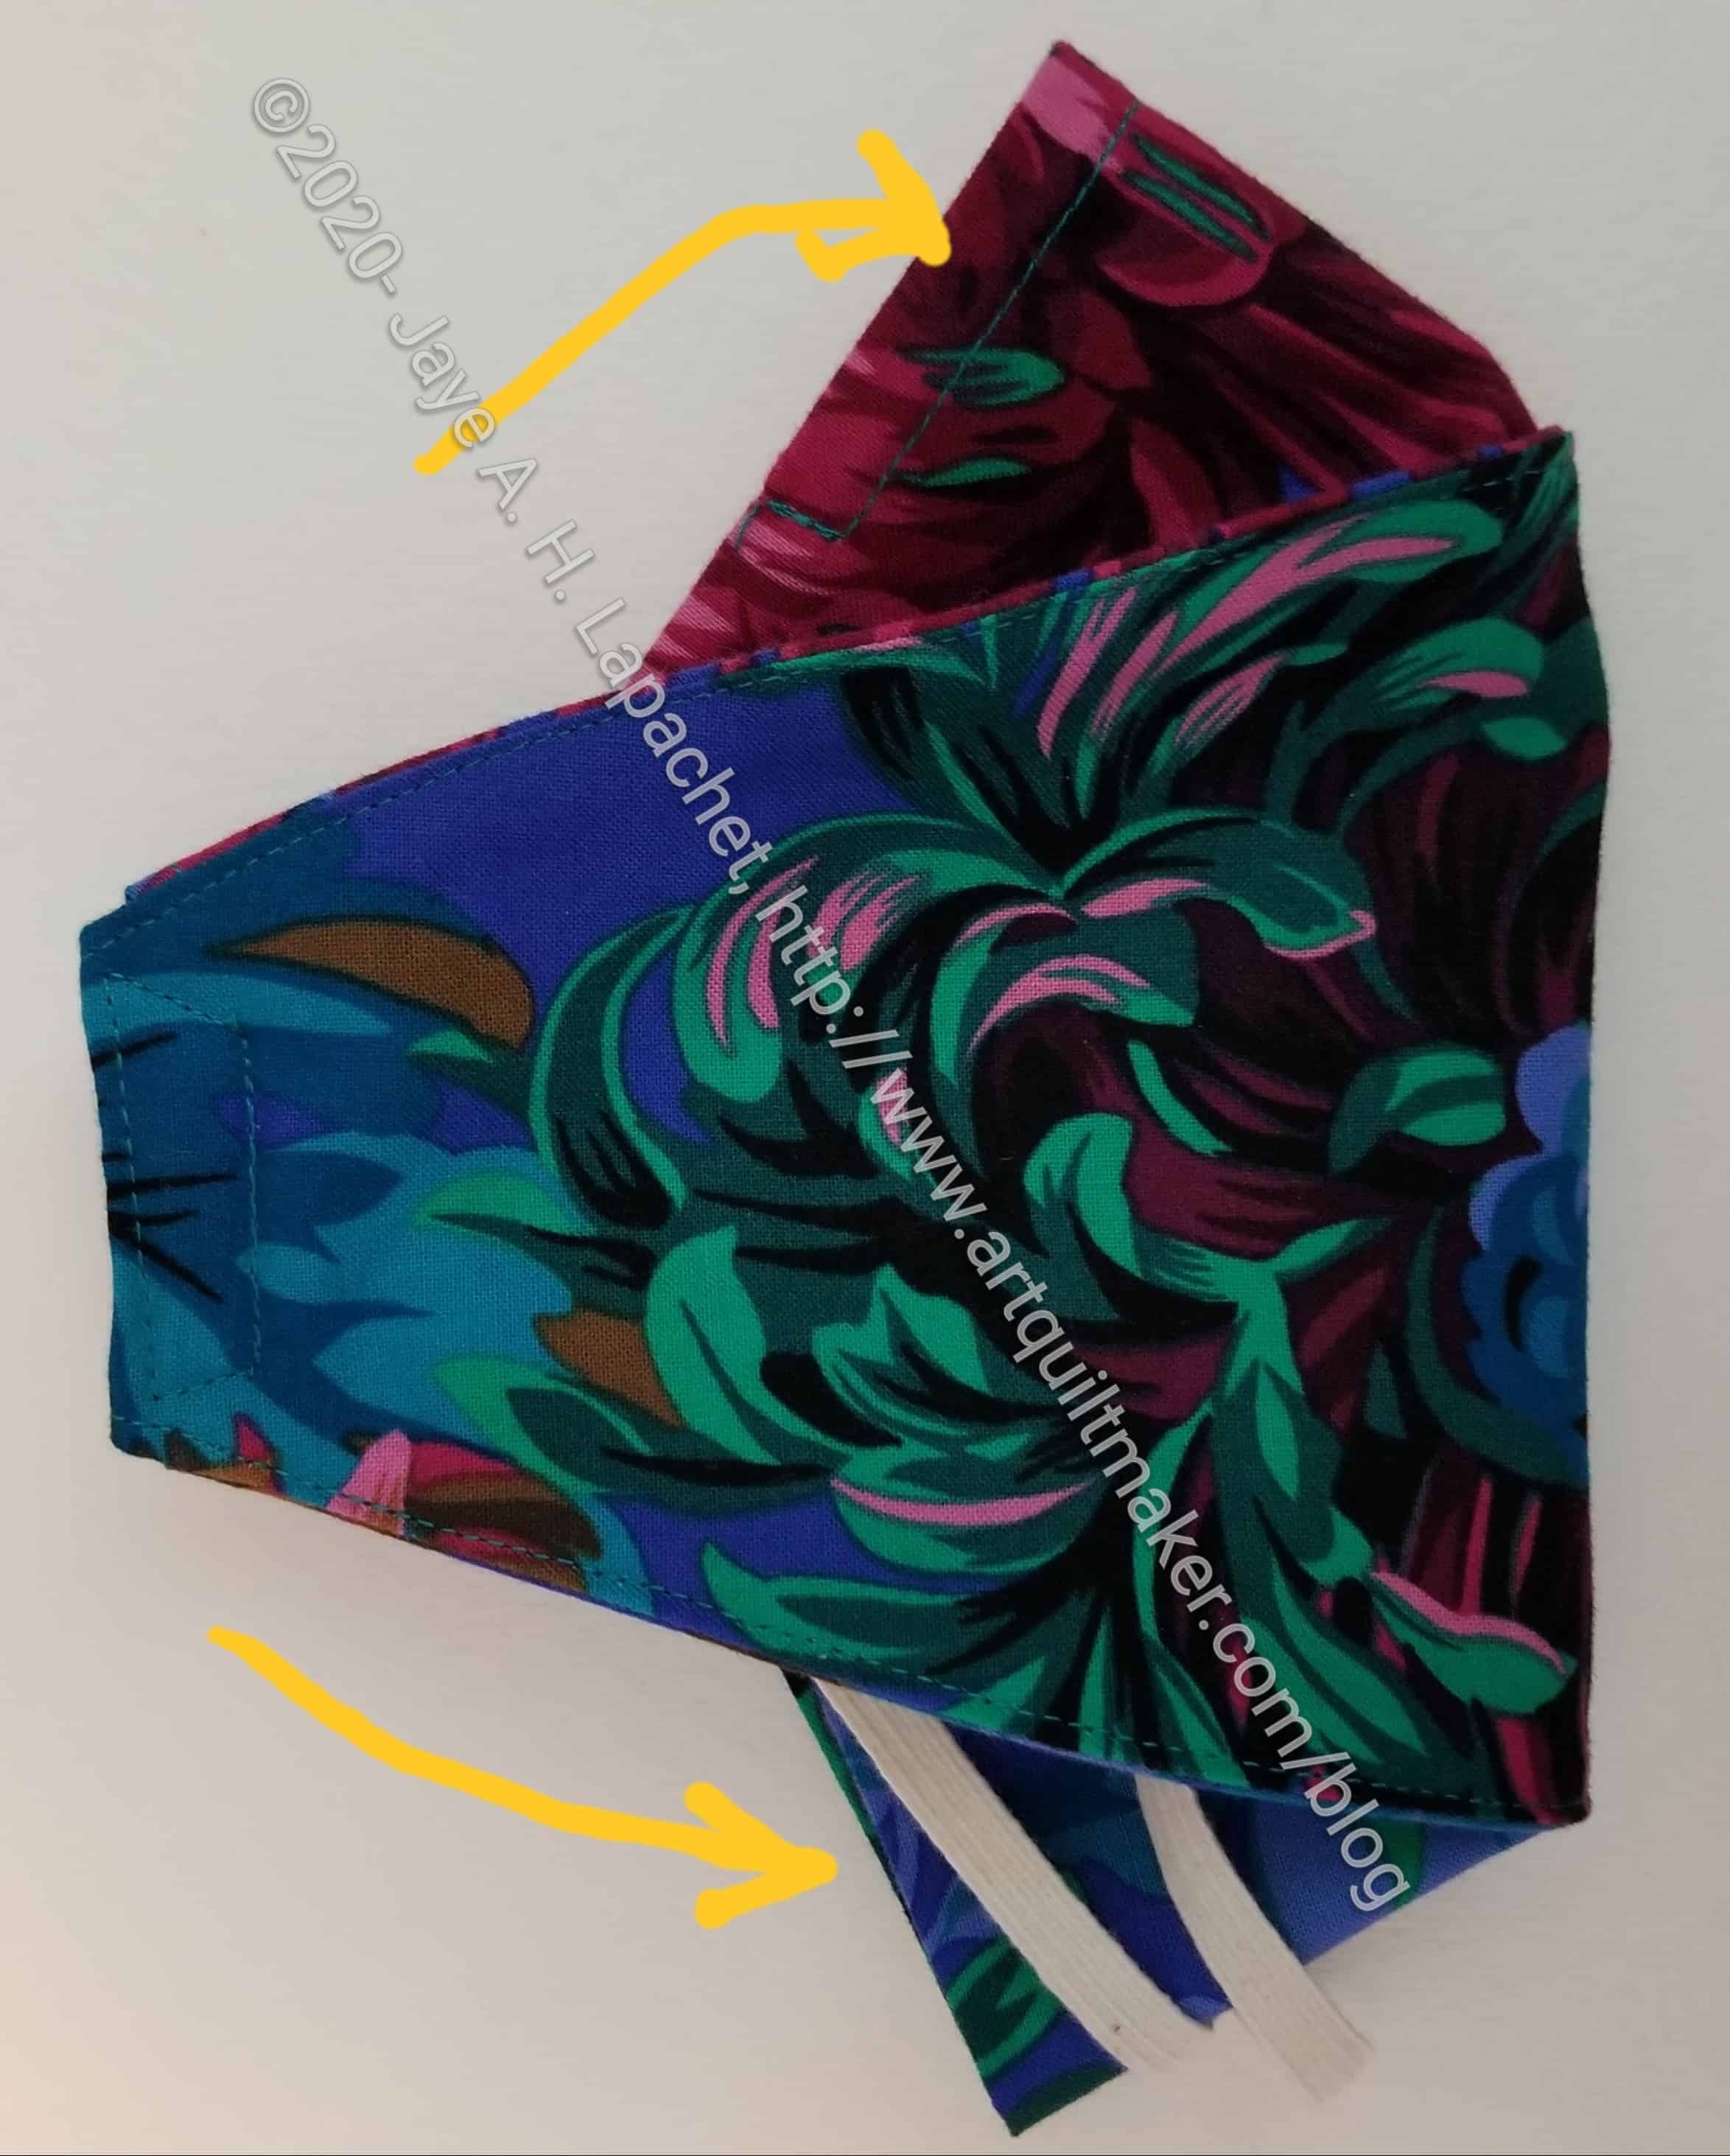
Chrysanthemum Face Mask -changes
I add the nose piece to the pattern by aligning the middle of the nose piece with the mark on the fabric, then surrounding the nose piece with pins, so I know where it is. I sew around it, removing the pins as I go and being careful not to sew over them or the nose piece.
The top arrow shows where the nose piece is.
The bottom arrow shows the two strands of elastic. I measured them at 10 inches for my head. Of course, you can adjust them to your needs.
I don’t know when I will have the opportunity to wear this mask out. When I do, I will report back.
The guild had Virtual Sew Day on Saturday. There were 9-10 people at any one time, which seemed like a good number. After I put some rectangles on the design wall (empty after taking FOTY 2018 to the longarmer), I worked on masks.
I am still using the DIY Cloth Face Mask video pattern and I am getting more familiar and more confident with it. After wearing the mask I made with this pattern and a cord lock for several hours on Friday, I decided to make another mask using this pattern with elastic instead of a cord lock.
This pattern works very well with my glasses. I added a nose piece, thanks to Friend Julie and her husband for keeping me supplied! With the nose piece well adjusted, I get very little, if any fogging. Allergies are torturing me, though, so I sneezed a few times while wearing the mask which reminded me why I need multiple masks.
Also, the cord lock and cording works well if I am wearing a ponytail. I can hook the top cord over my ponytail and then tighten the cord lock behind my neck. Getting the mask tight helps with preventing fogging. The problem is that I was wearing my hair down and by the time I got home I think large chucks of hair were embedded in the cord lock. 🙁
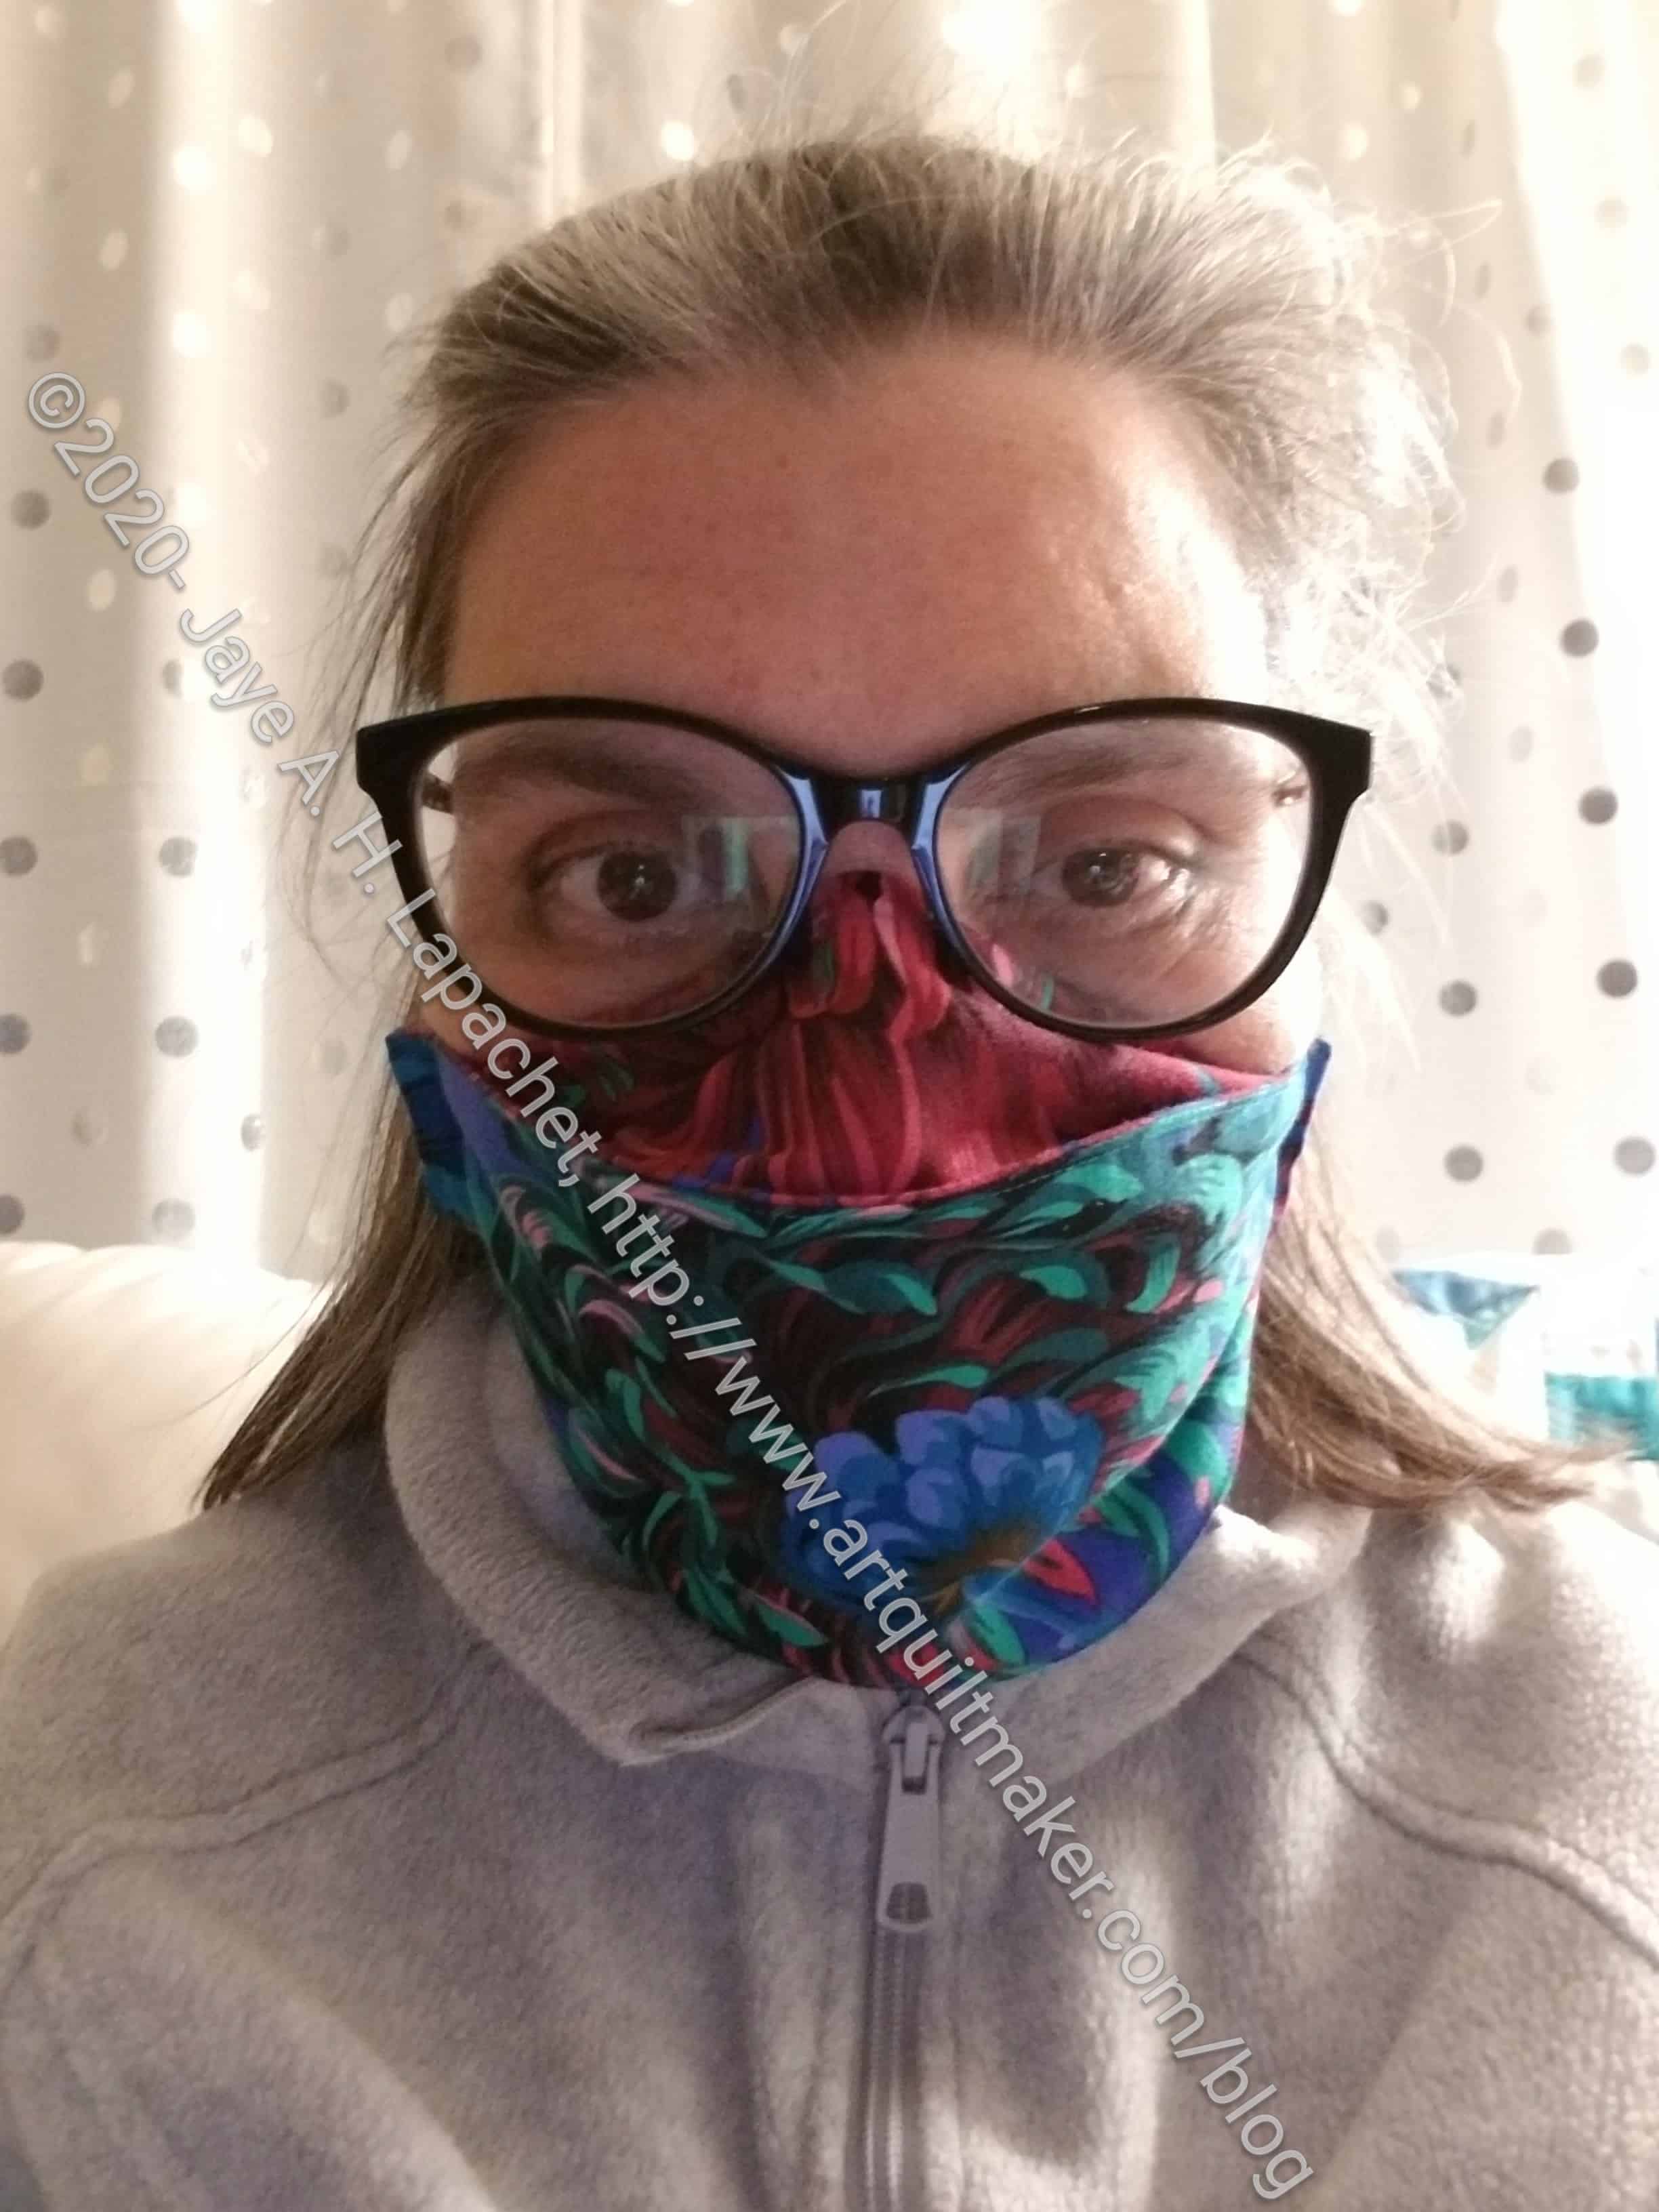
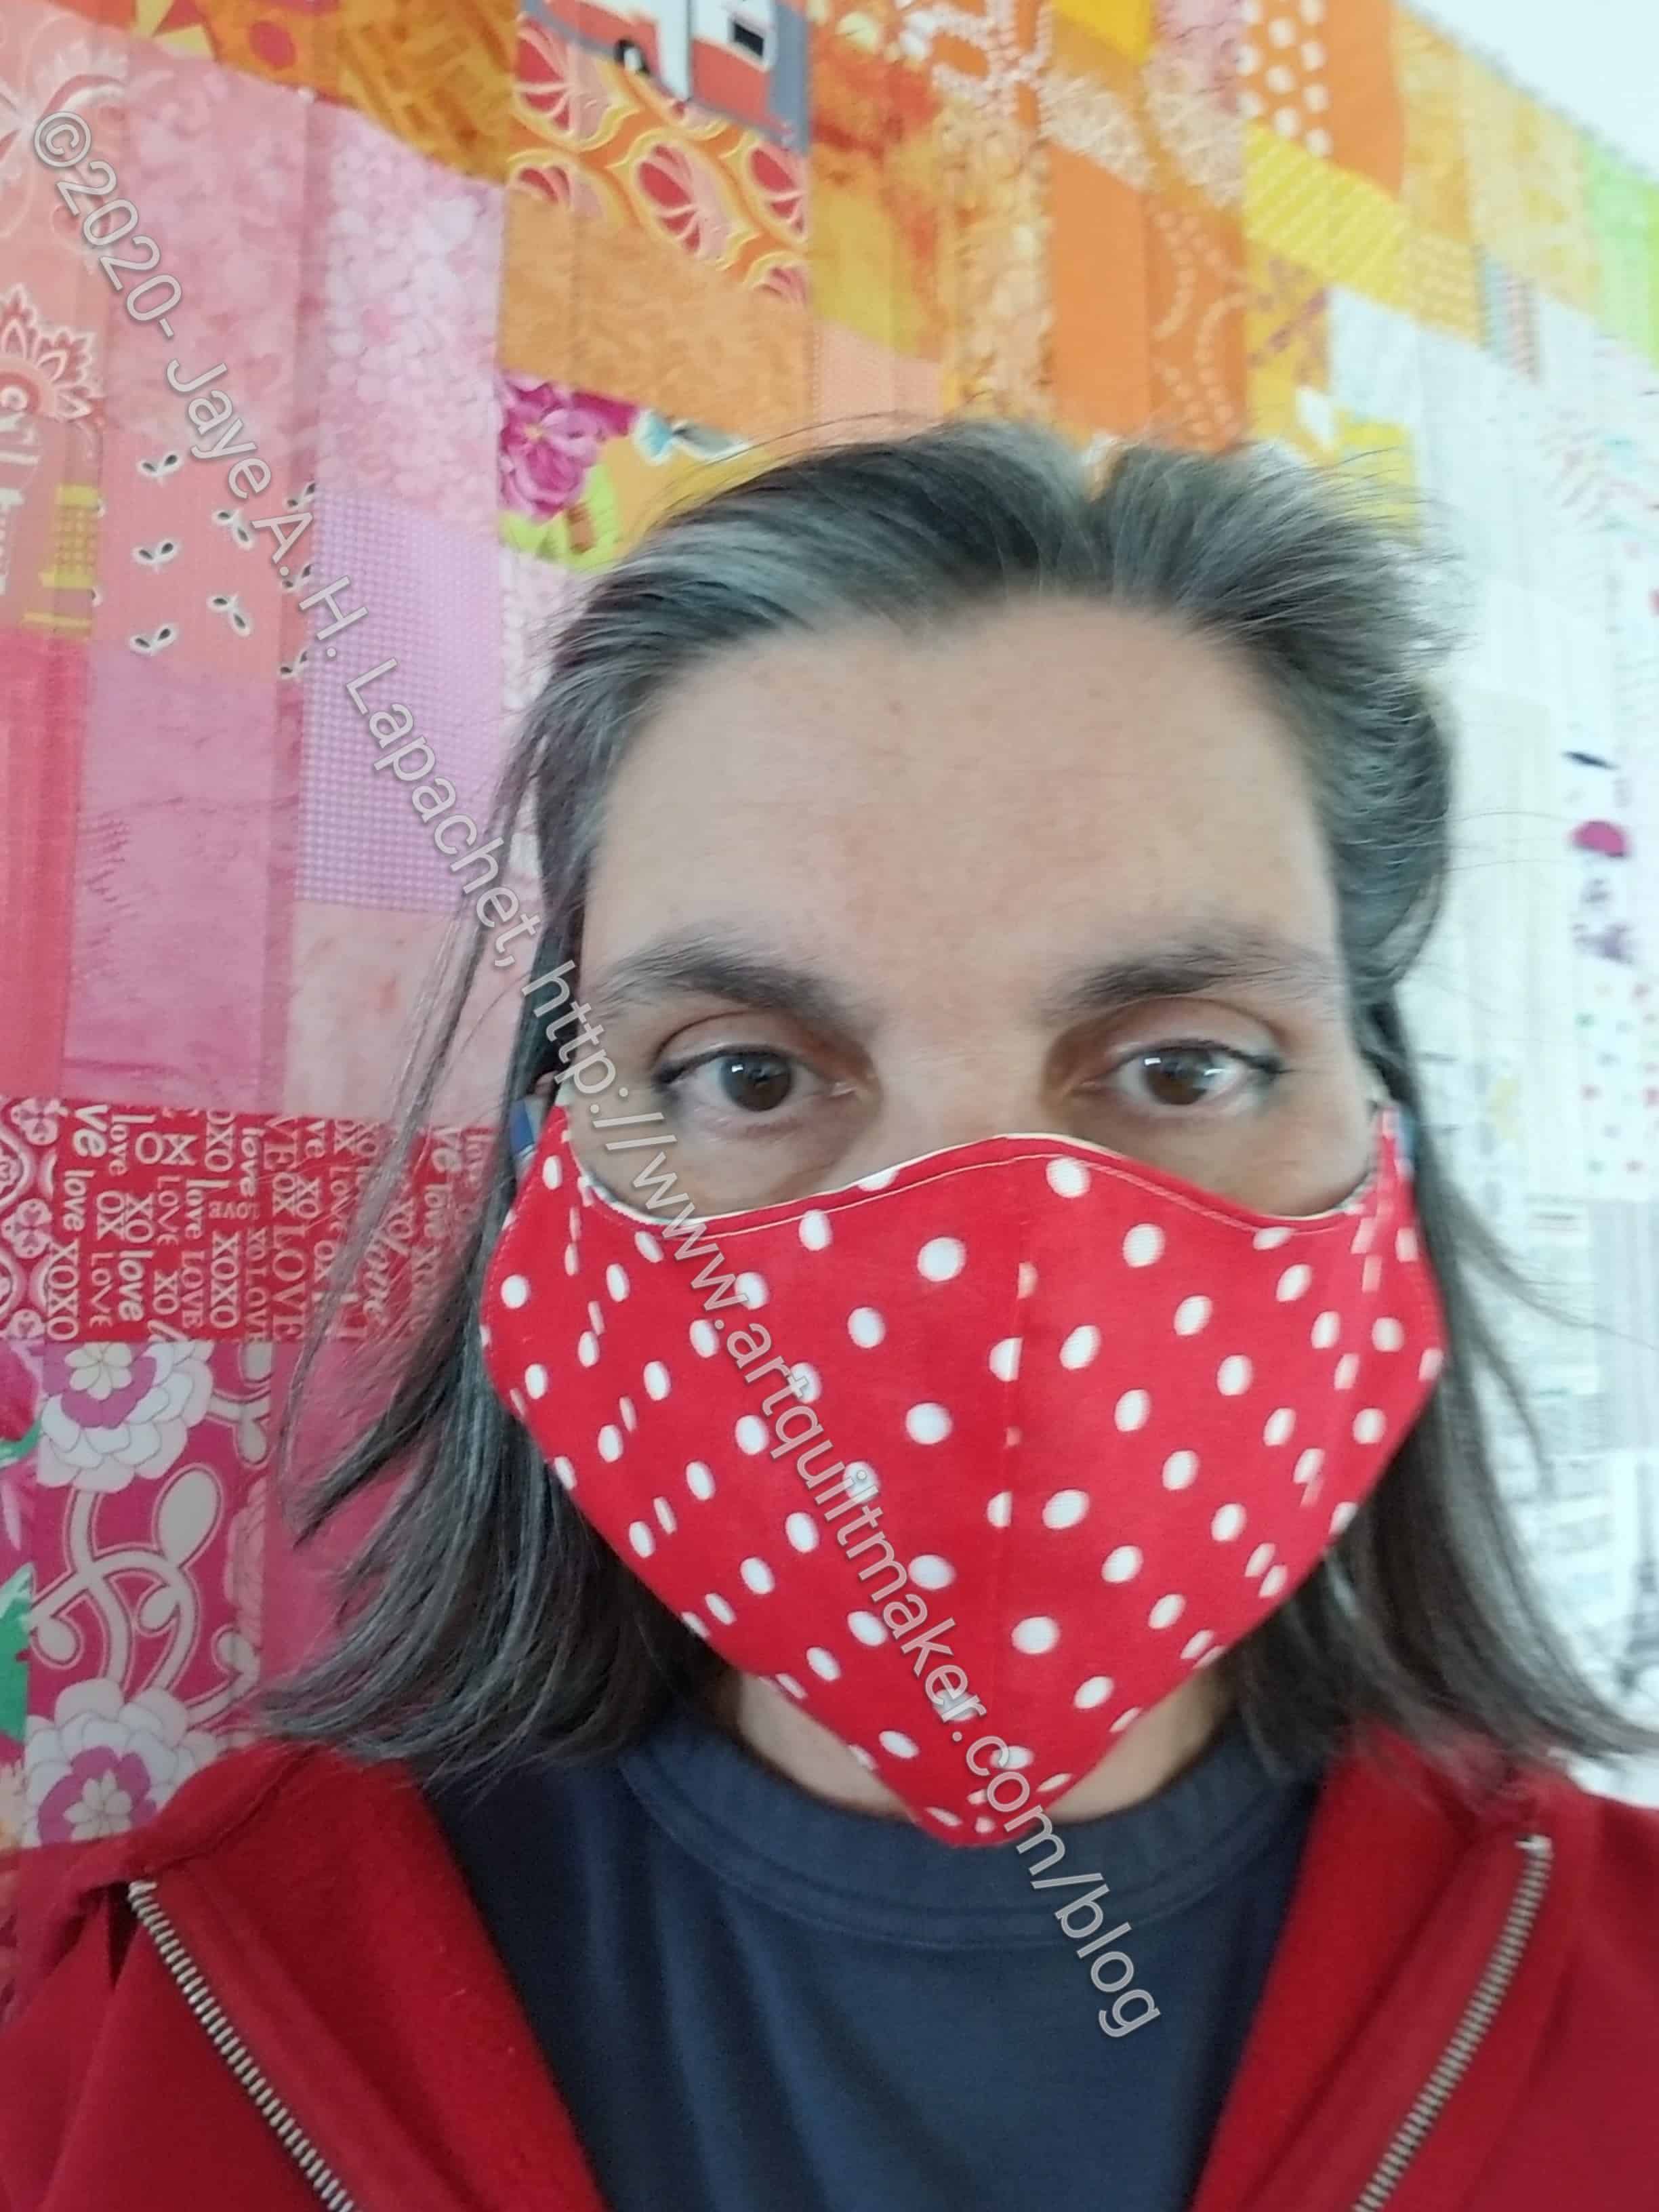
Chrysanthemum Face Mask
My new mask, which is the exact same pattern as the red dot mask, has elastic instead of a cord lock. It fits well and the nose piece fits tightly around my nose. The real test will be when I wear it out.
The elastic is slightly better for this test on the couch, but I can tell any kind of mask wearing is better with my hair up. I think a hairdresser/stylist who designs a hair cut for mask wearing will be a genius.
DH has his collection and didn’t want anymore for the moment. I will make him one to wear with his tuxedo, assuming we ever get to dress up again, but I am going to wait until I get the pattern exactly right.
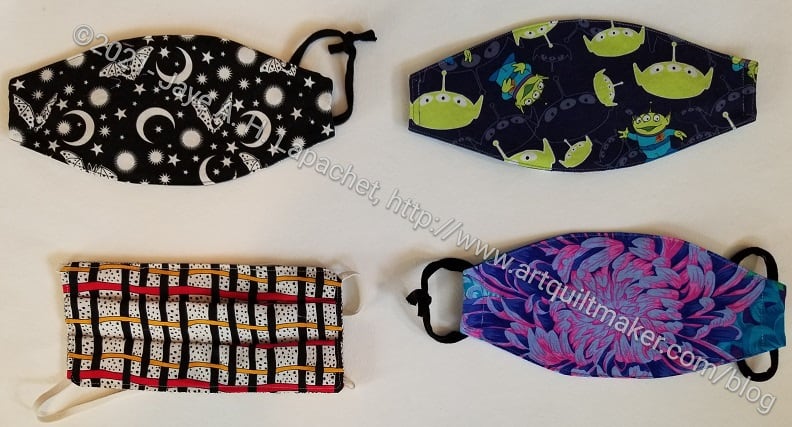
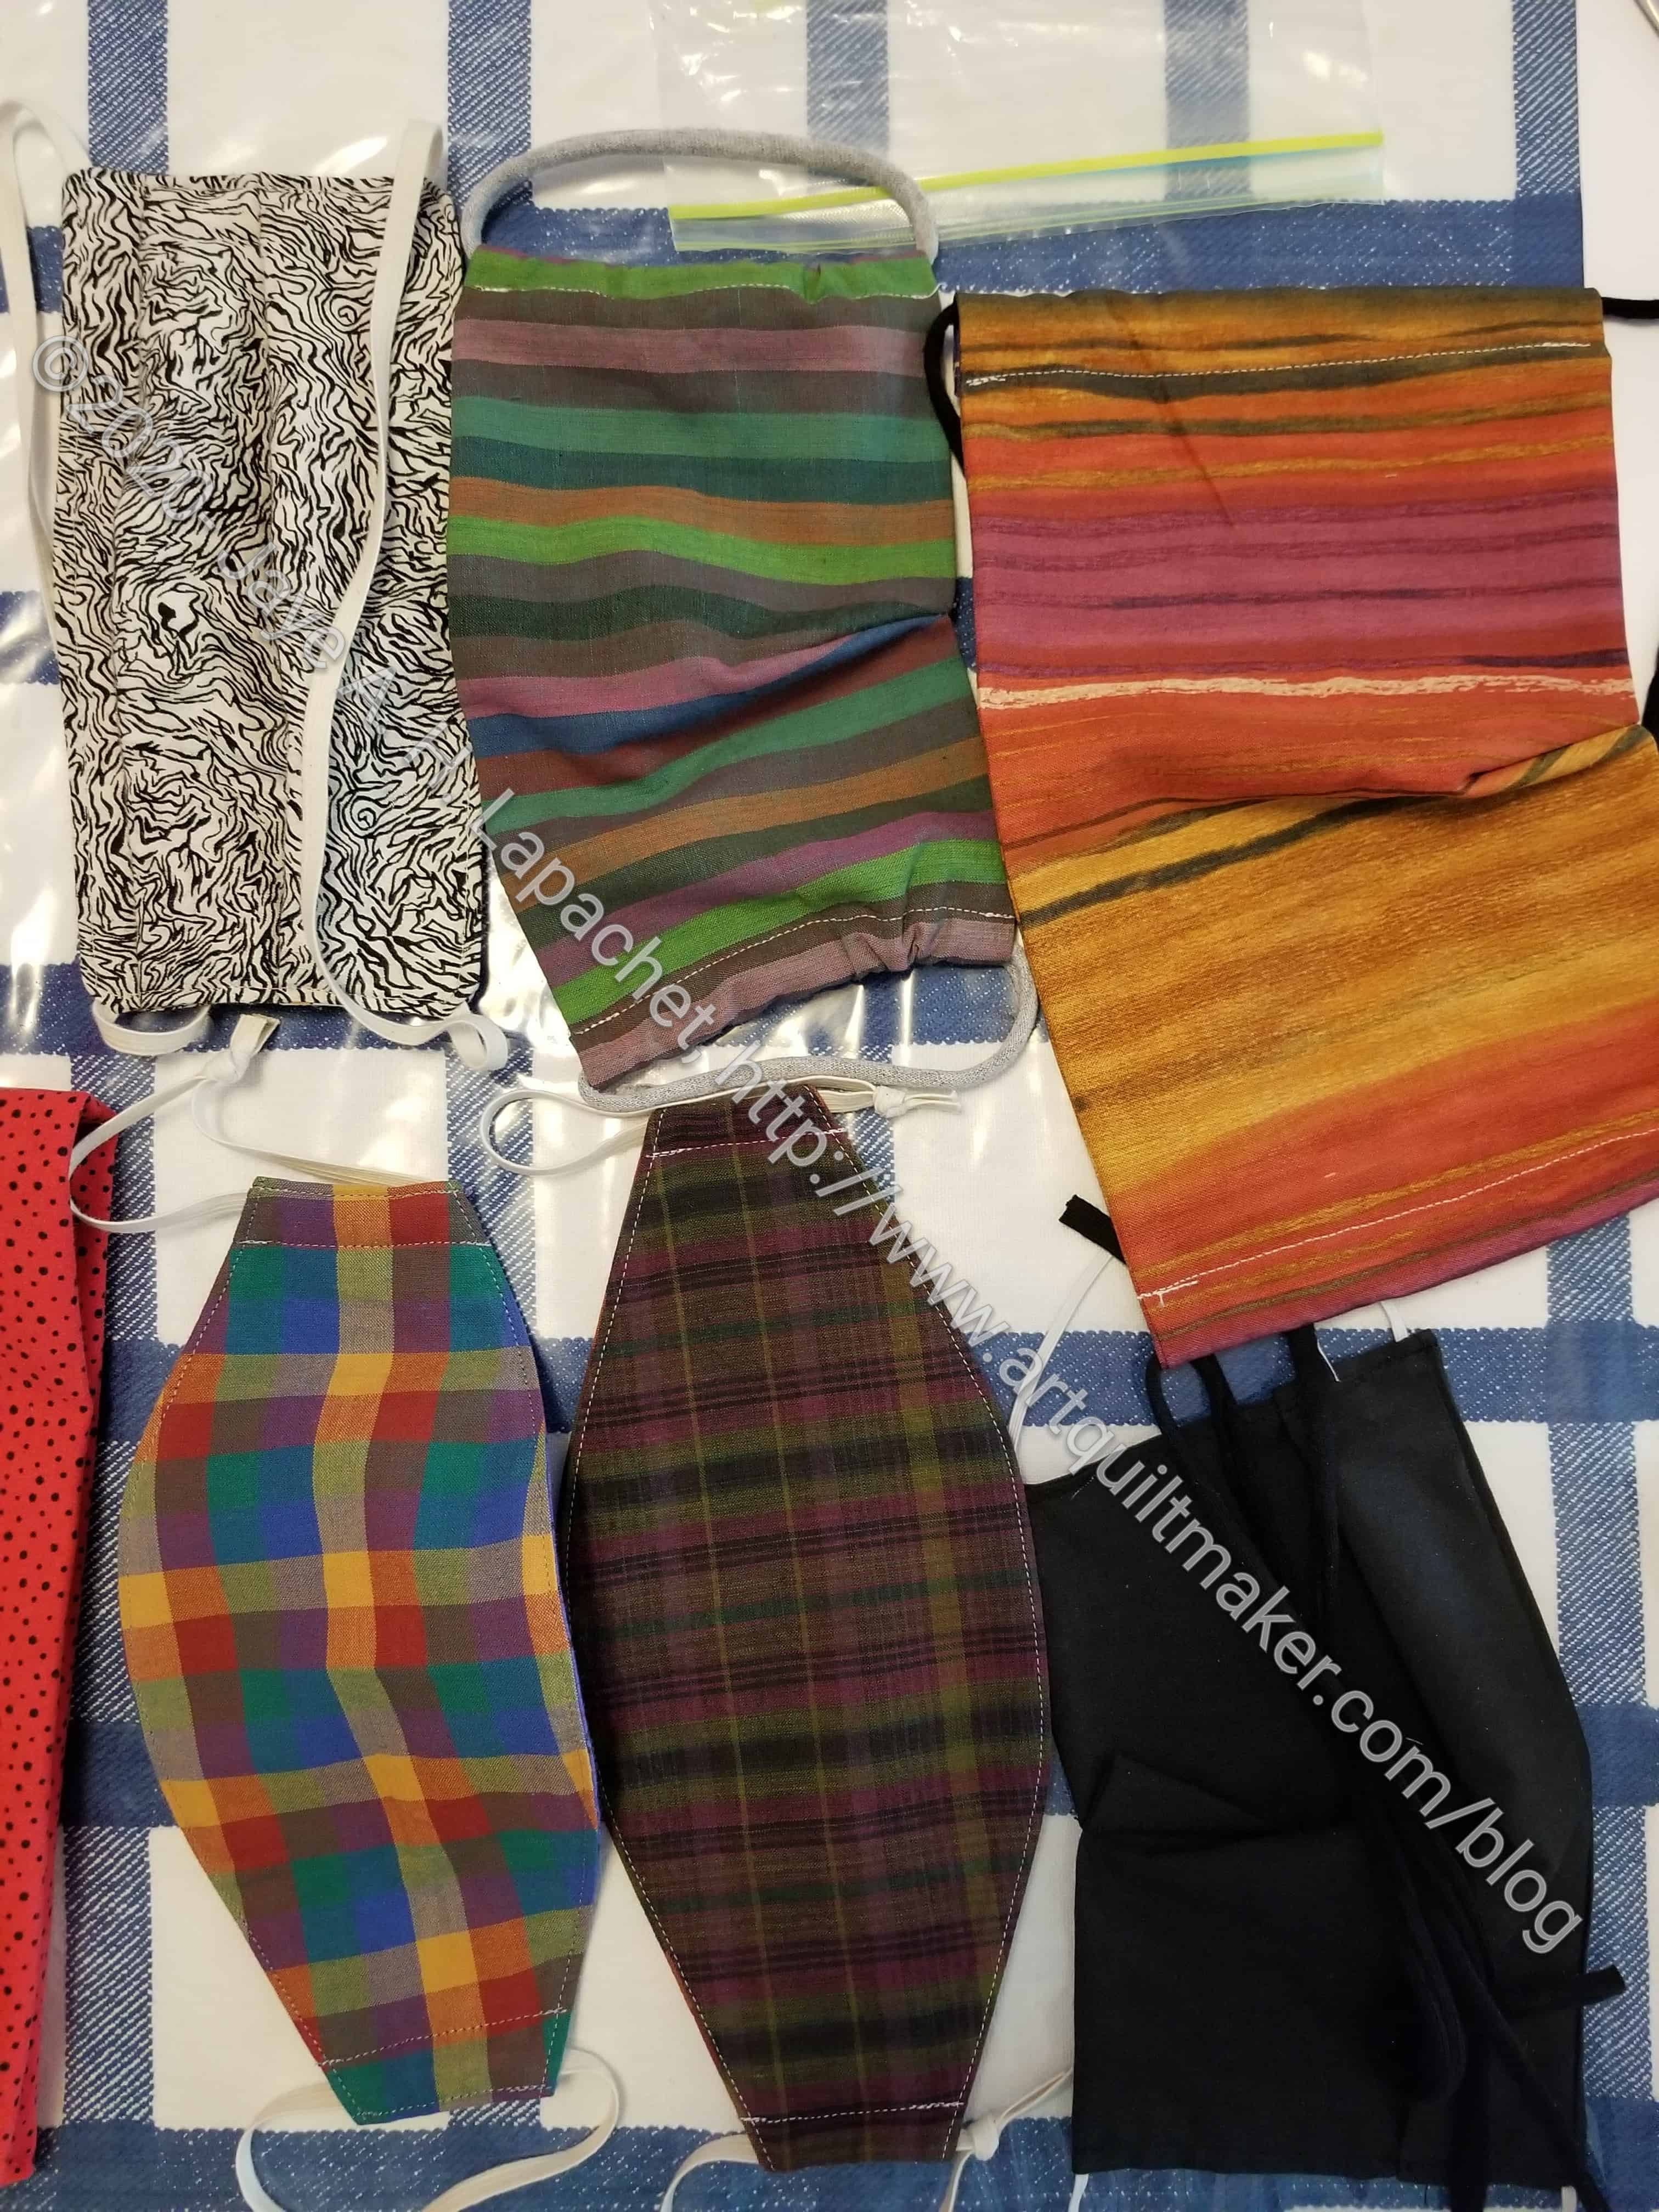
Four Masks – early July
I made four masks. I experimented with fussy cutting and was pretty successful on the mask main panel. I wasn’t as successful with the gussets, but I can do better next time.
One is for the YM, because it makes me feel better to make him masks. The other two are gifts as well.
I feel like I made progress on a face mask I can make quickly that will work with my/DH’s/ YM’s glasses. The original pattern for this one came from the video tutorial I talked about before. I like this pattern because of the shape and the ease of making it. I tweaked the pattern to make it work better for us.
Some of the changes I made:
I added a nose piece. Julie sent me some nose pieces, which work really well. Since they help keep our glasses from fogging up, I have been adding them to masks I make.
I made the top and bottom gussets (not sure if that piece is a gusset or not) longer to try and ensure that the raw edges were covered. That is something that didn’t work as well as I had hoped. All the pieces were too thick and hard to sew through when I went to make the channels.
Face mask with stretchy cord
I used stretchy cord from Maker’s Mercantile and a cordlock. This allows me to really pull the mask tight around my face. The bad part is that I was wearing my hair down and the cordlock got caught in my hair. 🙁 I think it would work ok while wearing a ponytail. I don’t, however, want to have to always wear a ponytail.
It is still not ideal, but the good points are:
doesn’t fog up my glasses as much
I can pull it tight because of the cordlock
relatively quick to make
The good part of the stretchy cord/cordlock combo was that it didn’t add more stuff to my ears. I went out to drop off a gift wearing this mask and wearing glasses, headphones and elastic on my ears is too much.
Points on which to work
encasing raw edges – I think I will keep the gussets the original size from the pattern and sew the raw edges closed.
try adding elastic around the back instead of stretchy cord
The channels were to small to insert the cord. I used the Purple Thang, which worked pretty well, though it kept getting stuck on a seam, I think, inside the channel. Inserting the cord was not a smooth process. Deirdre talked about using a stainless steel straw to keep the channel open. I don’t have one of those, but my get one and try it.
Face Mask front
This is not the same pattern that I used before, but I did use the same fabric. It is double gauze and I thought it would be comfy.
I haven’t given up on other patterns, especially the one my friend Deirdre sent me. I will try that one with a nose piece and elastic around the back to see if that works for me.
DH got some masks in the mail from my mom. He now has quite the collection! She uses different patterns than I have used, but she has also made a lot more.
I am still experimenting, as I have said, so I try and pick fabrics that he will wear, but may not be fabrics that he will wear to work. That will come when I find the pattern and style that works for us. My mom made him a black one that he can wear with his tuxedo. Of course, I have no idea if we will ever attend a black tie event again.
In an effort to help out my neighbor, I made her some more masks. I am also using her as a guinea pig. She will tell me what she likes and doesn’t like about the masks, I hope.
The top one (Martelli pattern) I modified and put a nose piece in it. I like the pattern for that mask, because it goes together really quickly. We have decided, however, that we prefer straps that go around the back of our head, so we can loop the masks around our neck when they aren’t actually covering our faces (in the car or when we aren’t around people). Also, additional things around our ears compete for space with glasses and headphones. I’ll probably make this one again with straps/elastic that go all the way around the back.
The bottom mask is from the video pattern I talked about. It has those wings on the top and bottom. I need to try making it with straps around the back as well. I wonder how it would be if I made an X on the back with the straps (elastic)?
I don’t think I mentioned it before, but our neighbor only had one mask which is why I offered to make her some. She is keeping that one for ‘good’ and since I had more of the same fabric, I made a couple more. I don’t think she understands how much fabric I have. It’s nice for me to be able to do something for someone. She also makes lemon curd for us and supplies us with lemons. It’s a fair trade.
I finally had some success with face masks over the weekend. This has been an ongoing problem for me. Not because we don’t have masks, but because I feel bad that I haven’t been successful.
I think I needed to find the right pattern. This one seems like it might work for me.
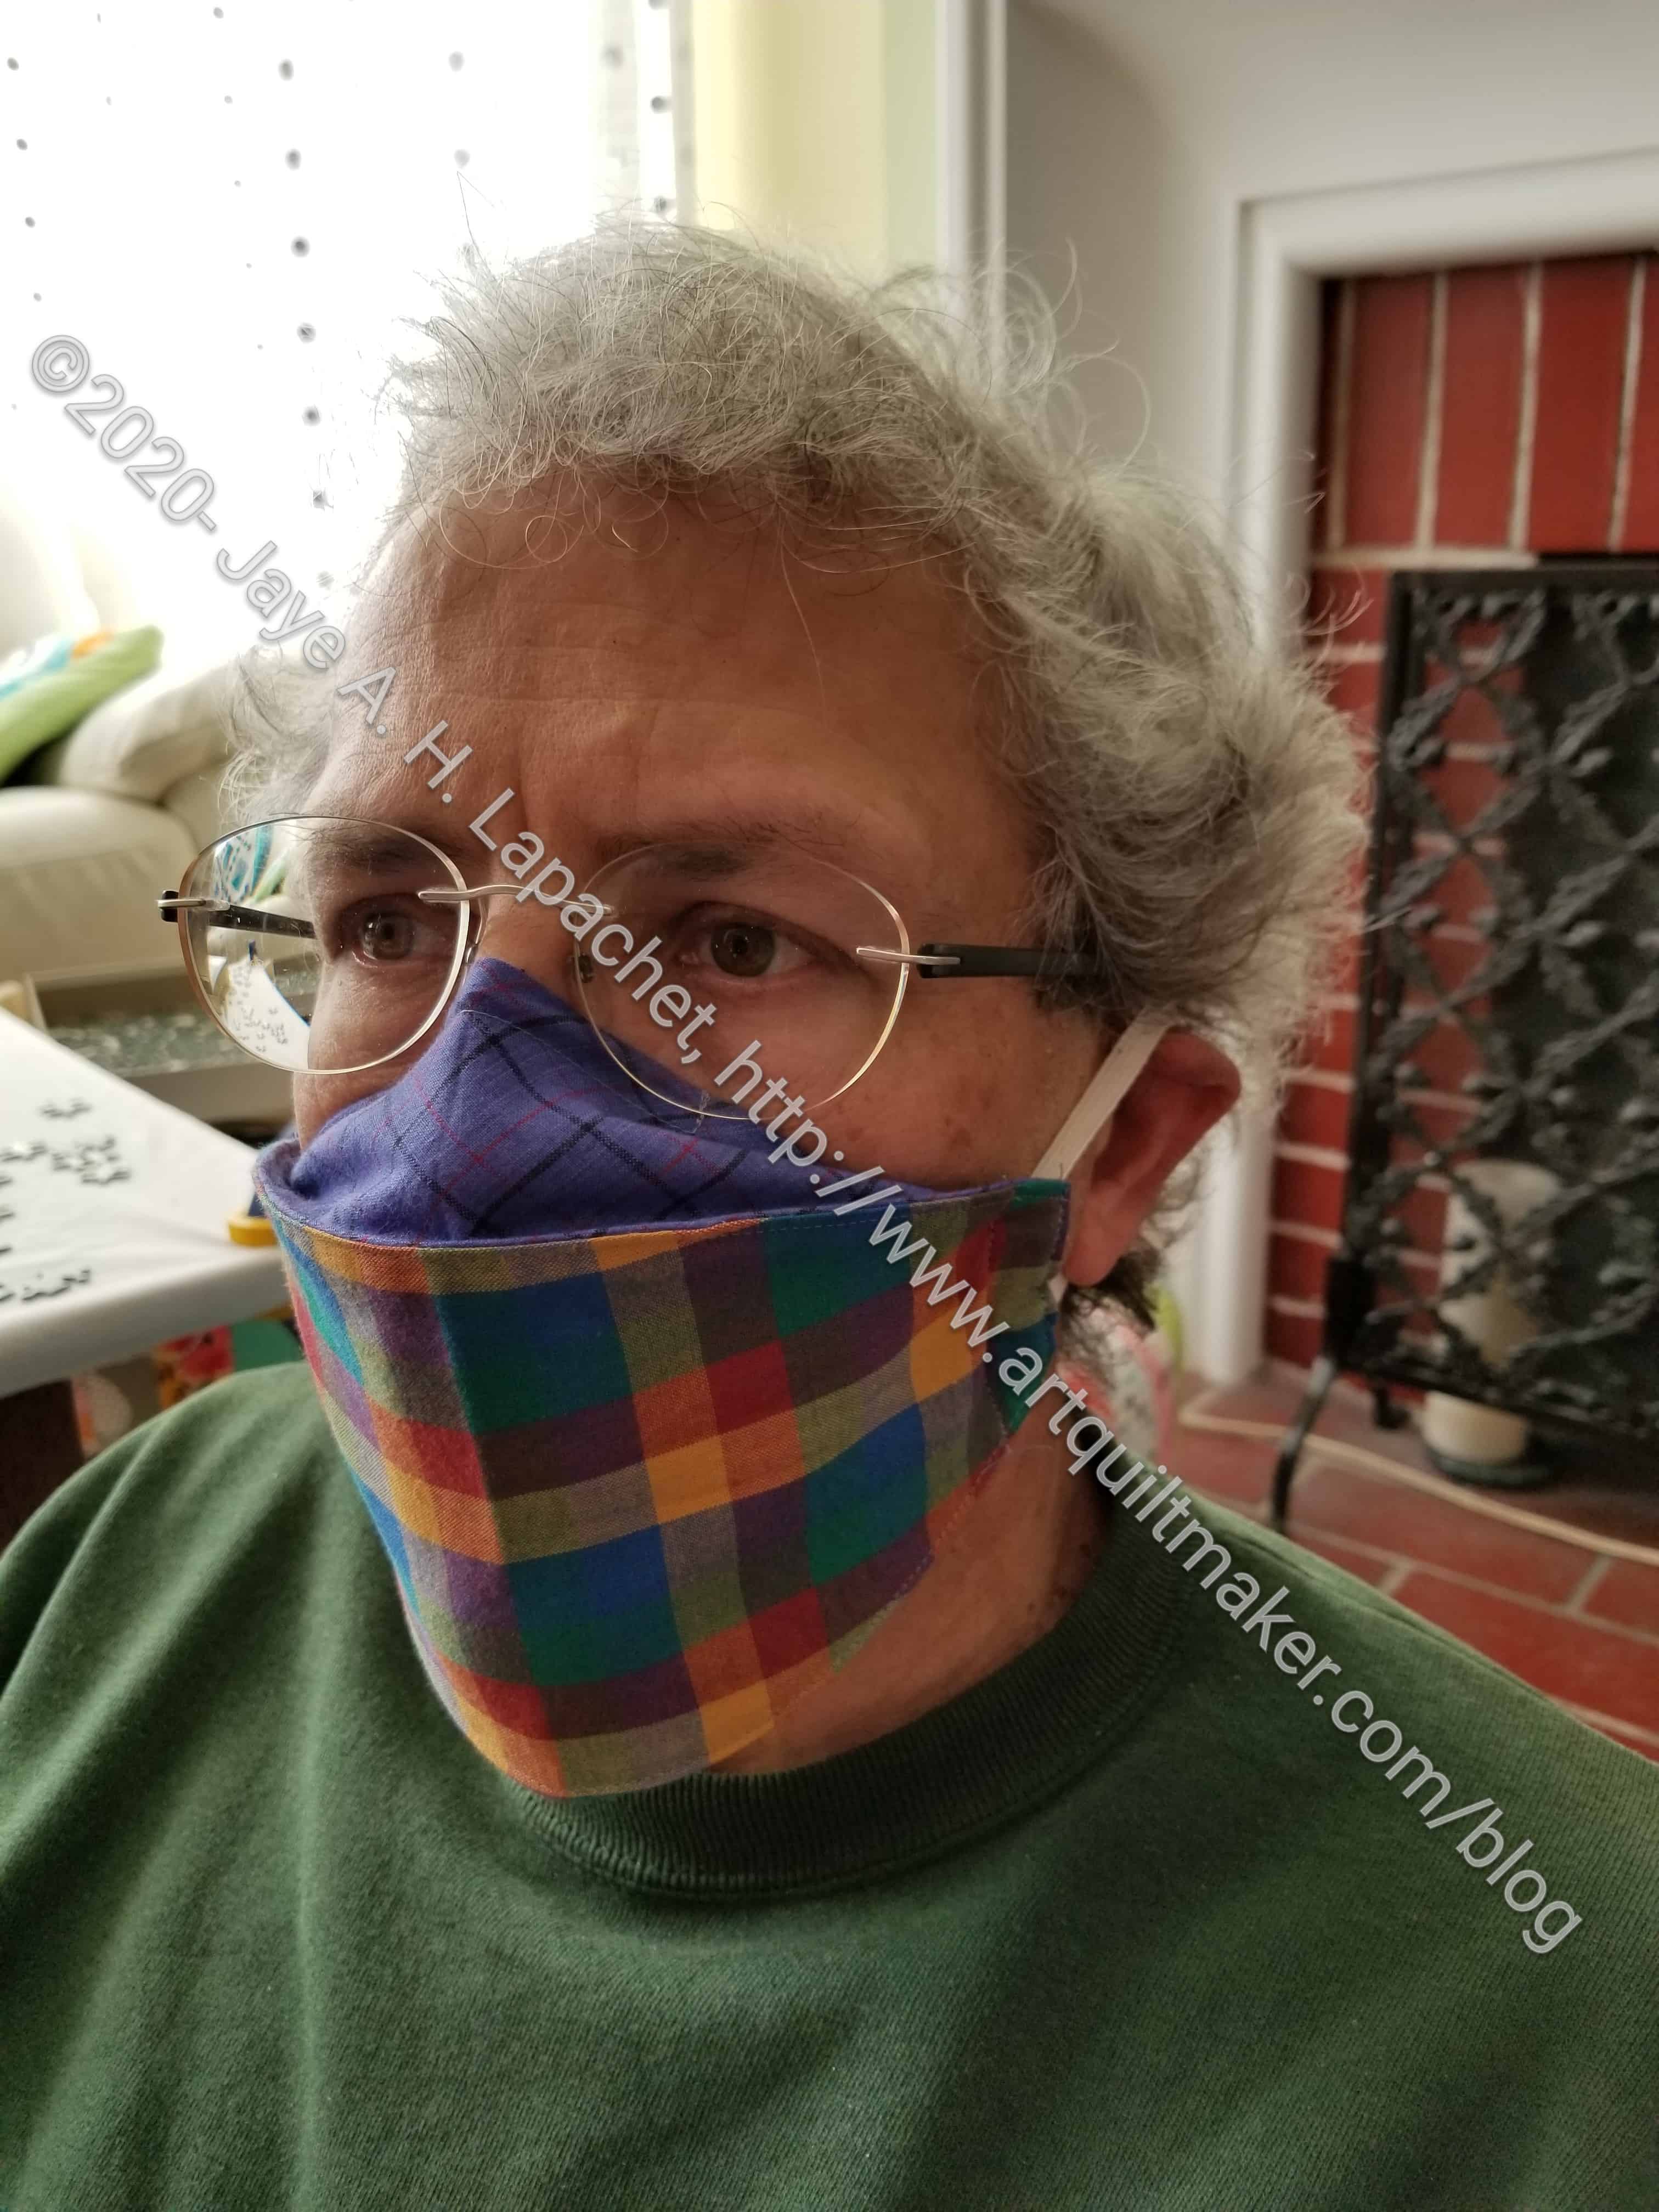
Mask Testing
The pattern I used is a video pattern and was recommended by a quilting friend. She has the same glasses problem that we have. While I still have some things I want to adjust, this is the most successful I have been with masks so far.
One thing I need to play with is the edges where the elastic attaches. I am not convinced the raw edges are sufficiently closed. I played around with different ways of dealing with them and still have not found the best method.
The one above with the purple plaid on the top has a nose piece in it. I was annoying DH with trying on masks (they are for him after all) and he wanted to play around with the nose piece before he pronounced judgment.
I am still flailing away at face masks. Deirdre has made tons and she sent me a pattern that I tried over the weekend. Even with curves (which don’t’ scare me), this mask came out a lot better. It still isn’t ideal as I didn’t have anything to put in it as a nose-shaper, but it was easier to sew and came out a lot better.
As usual, cutting out took the longest. I didn’t buy the rotary templates as I don’t plan on making enough to make it worthwhile. Also, D reported problems going around the template with a rotary cutter. I pinned the pattern to the fabric and used scissors, which worked fine. I might trace another pattern with tracing paper, but regular printer paper worked well for now.
DH is working on a nose shaper for us and Friend Julie will send me a few of what she is using. I want to make a few masks, especially for the YM. He takes the bus every day and works packing orders. I would be a lot happier if he had a bunch of masks to use. SIL #2 made him several, which are tiding him over.
I am really still trying to figure out a pattern that works well for us (me) and how to make it. I have high hopes for this pattern.
Push came to shove this past weekend. I couldn’t put off making masks any longer. I had a dentist appointment in the City. The City requires that N95 masks be covered, if you wear that kind of mask. That is the mask I have been wearing on the few occasions I go out. They have to be covered since your breath goes out the filter (meaning I could breath on someone). Thus, I had to have something else. DH’s mask is more like one you would wear so you don’t breath in dust and it is getting a little worn, so I had to make two.
Mask #3 – back
Before I did any other sewing I got down to business. I had printed out a new pattern from Madeeveryday.com. It was laying on my desk and looked easy enough, so I went for it. Except for the bottom elastic length, these came out pretty well. They are not excellent, but better than my first effort.
I made DH’s mask first. He has been great at trying masks on and providing kind feedback.
DH’s mask
After making his, I decided to use a 1/4 inch seam allowance instead of half as suggested on the pattern. I also rounded the corners of mine using a 2.5 inch rotary cutting circle. I think I need a new blade for my small rotary cutter, because it did not roll as smoothly as my regular rotary cutter. Still, I added the rounded corners so I could just zoom around the whole thing without having to deal with corners. Also, I thought it would reduce bulk. I might cut little darts in the seam allowance of the curves on the next one.
DH’s mask
At least we are set for this week. I promised my ‘mature’ neighbor a mask, so I’ll make one for her this week.
I might have to create a blog hashtag for face masks, but for now, I am filing these posts under accessories. I have a feeling we may be making face masks to match our outfits in the not too distant future. I also think gloves will come back into fashion.