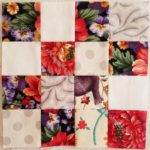
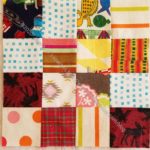
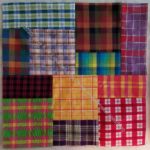
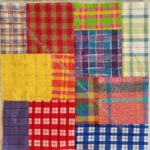
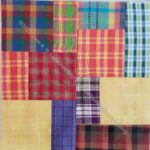
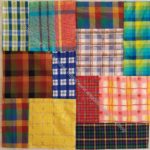
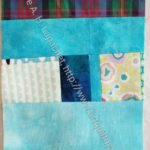
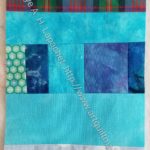
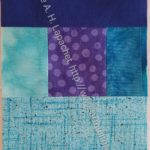
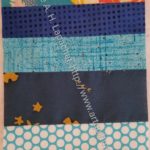
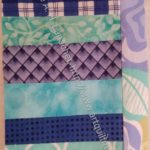
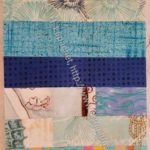
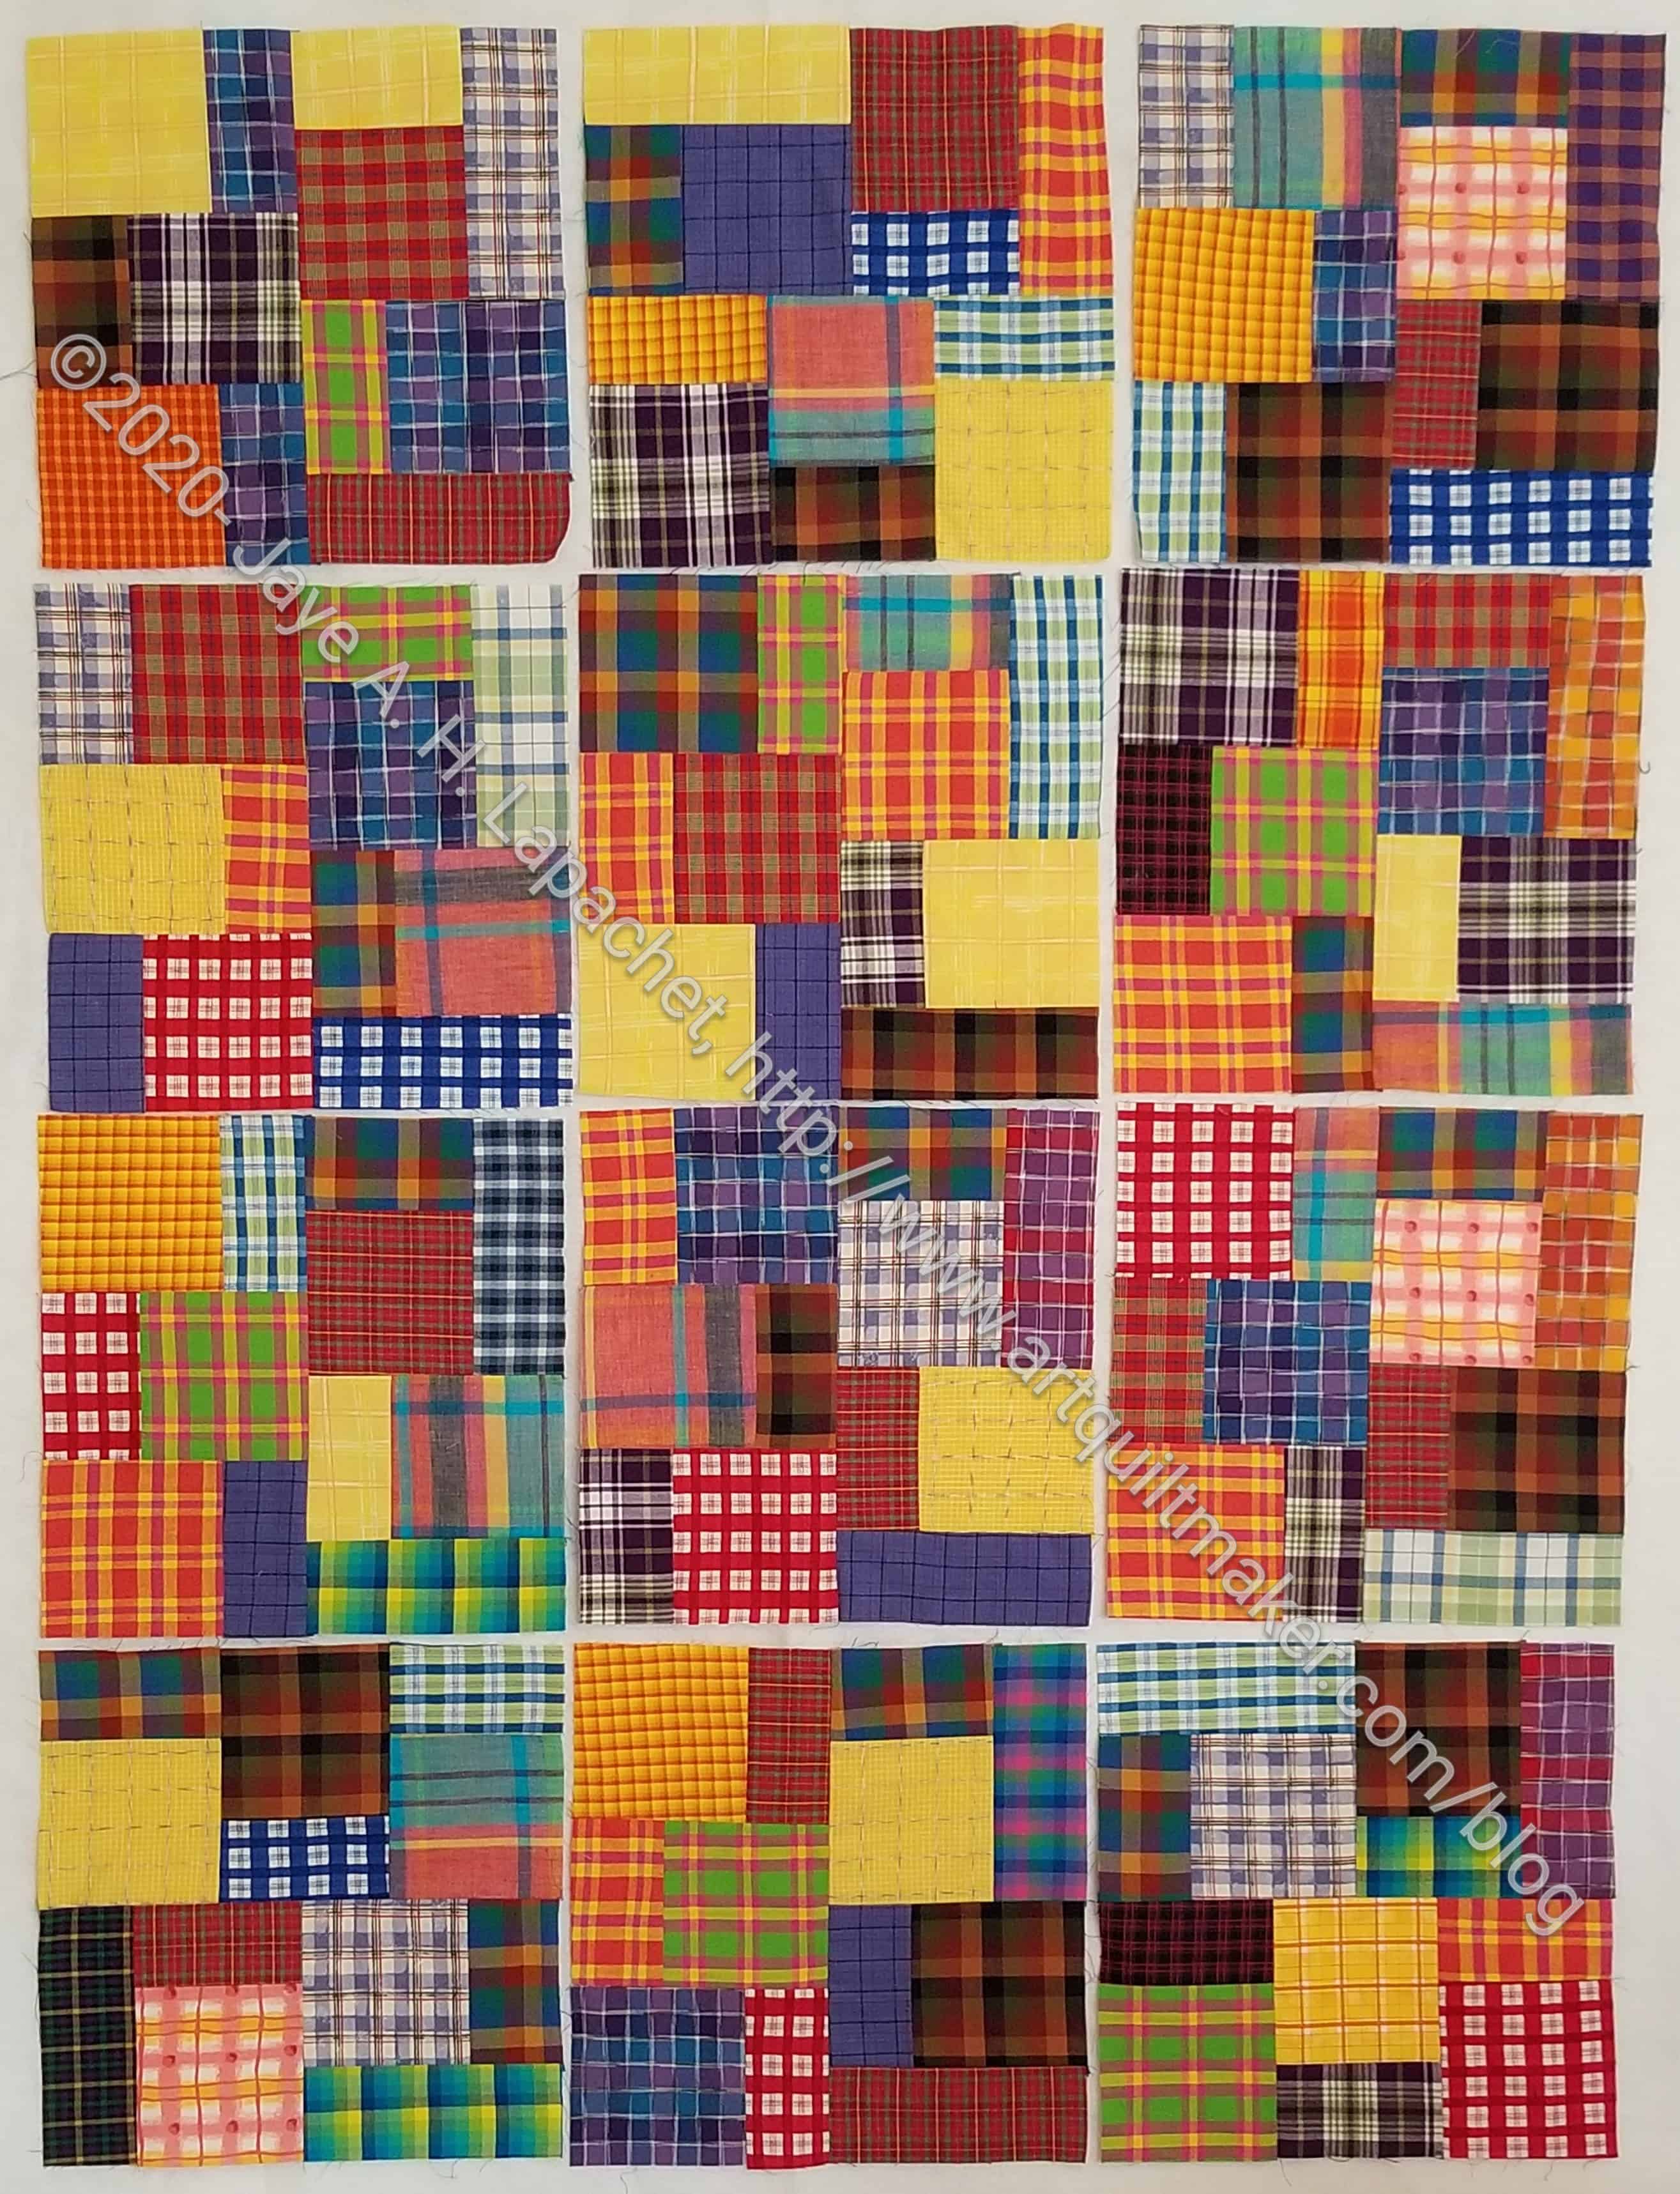
More blocks for June! I really scraped the bottom of the donation patch bin at the beginning of the month, so some blocks look a little strange. It was good to clear out that bin and start afresh.
Commentary about works in progress, design & creativity
More blocks for June! I really scraped the bottom of the donation patch bin at the beginning of the month, so some blocks look a little strange. It was good to clear out that bin and start afresh.
I started piecing FOTY 2018 and that means a lot of leaders and enders. You saw the start of this quilt the other day. I made a lot of progress on making the blocks on Saturday.
I am pleased with the progress, but really need to make progress on FOTY 2018.
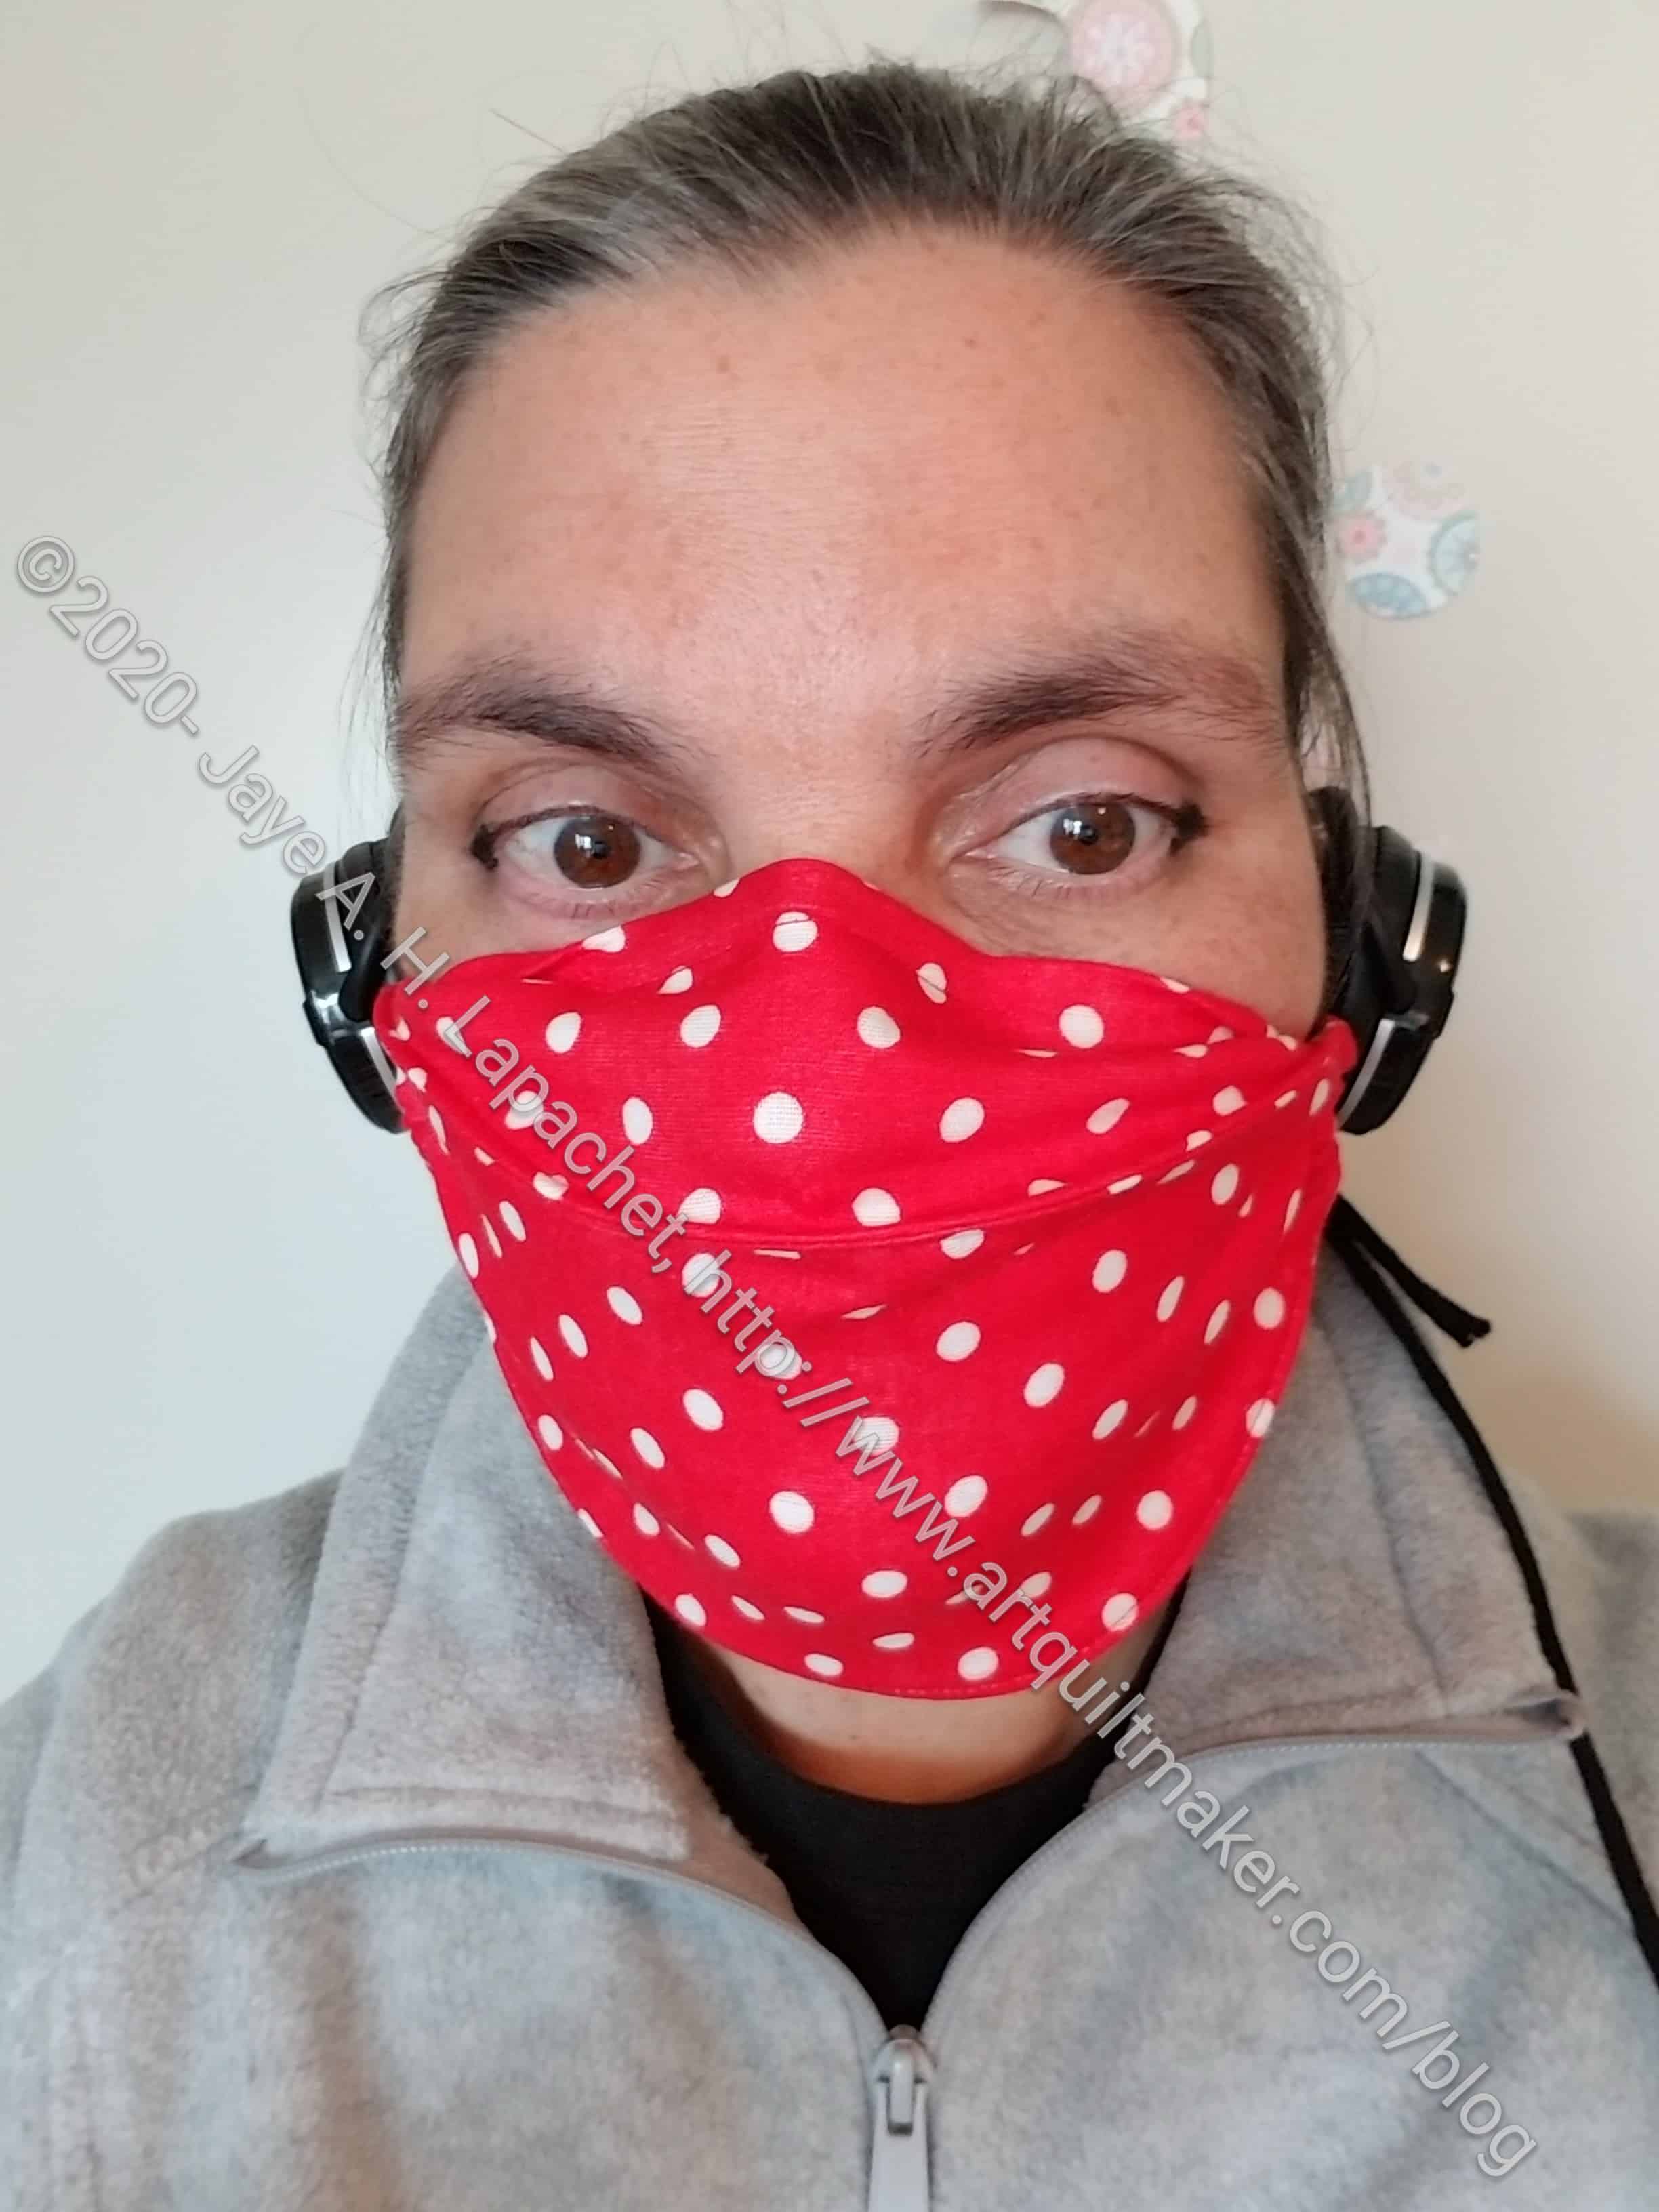
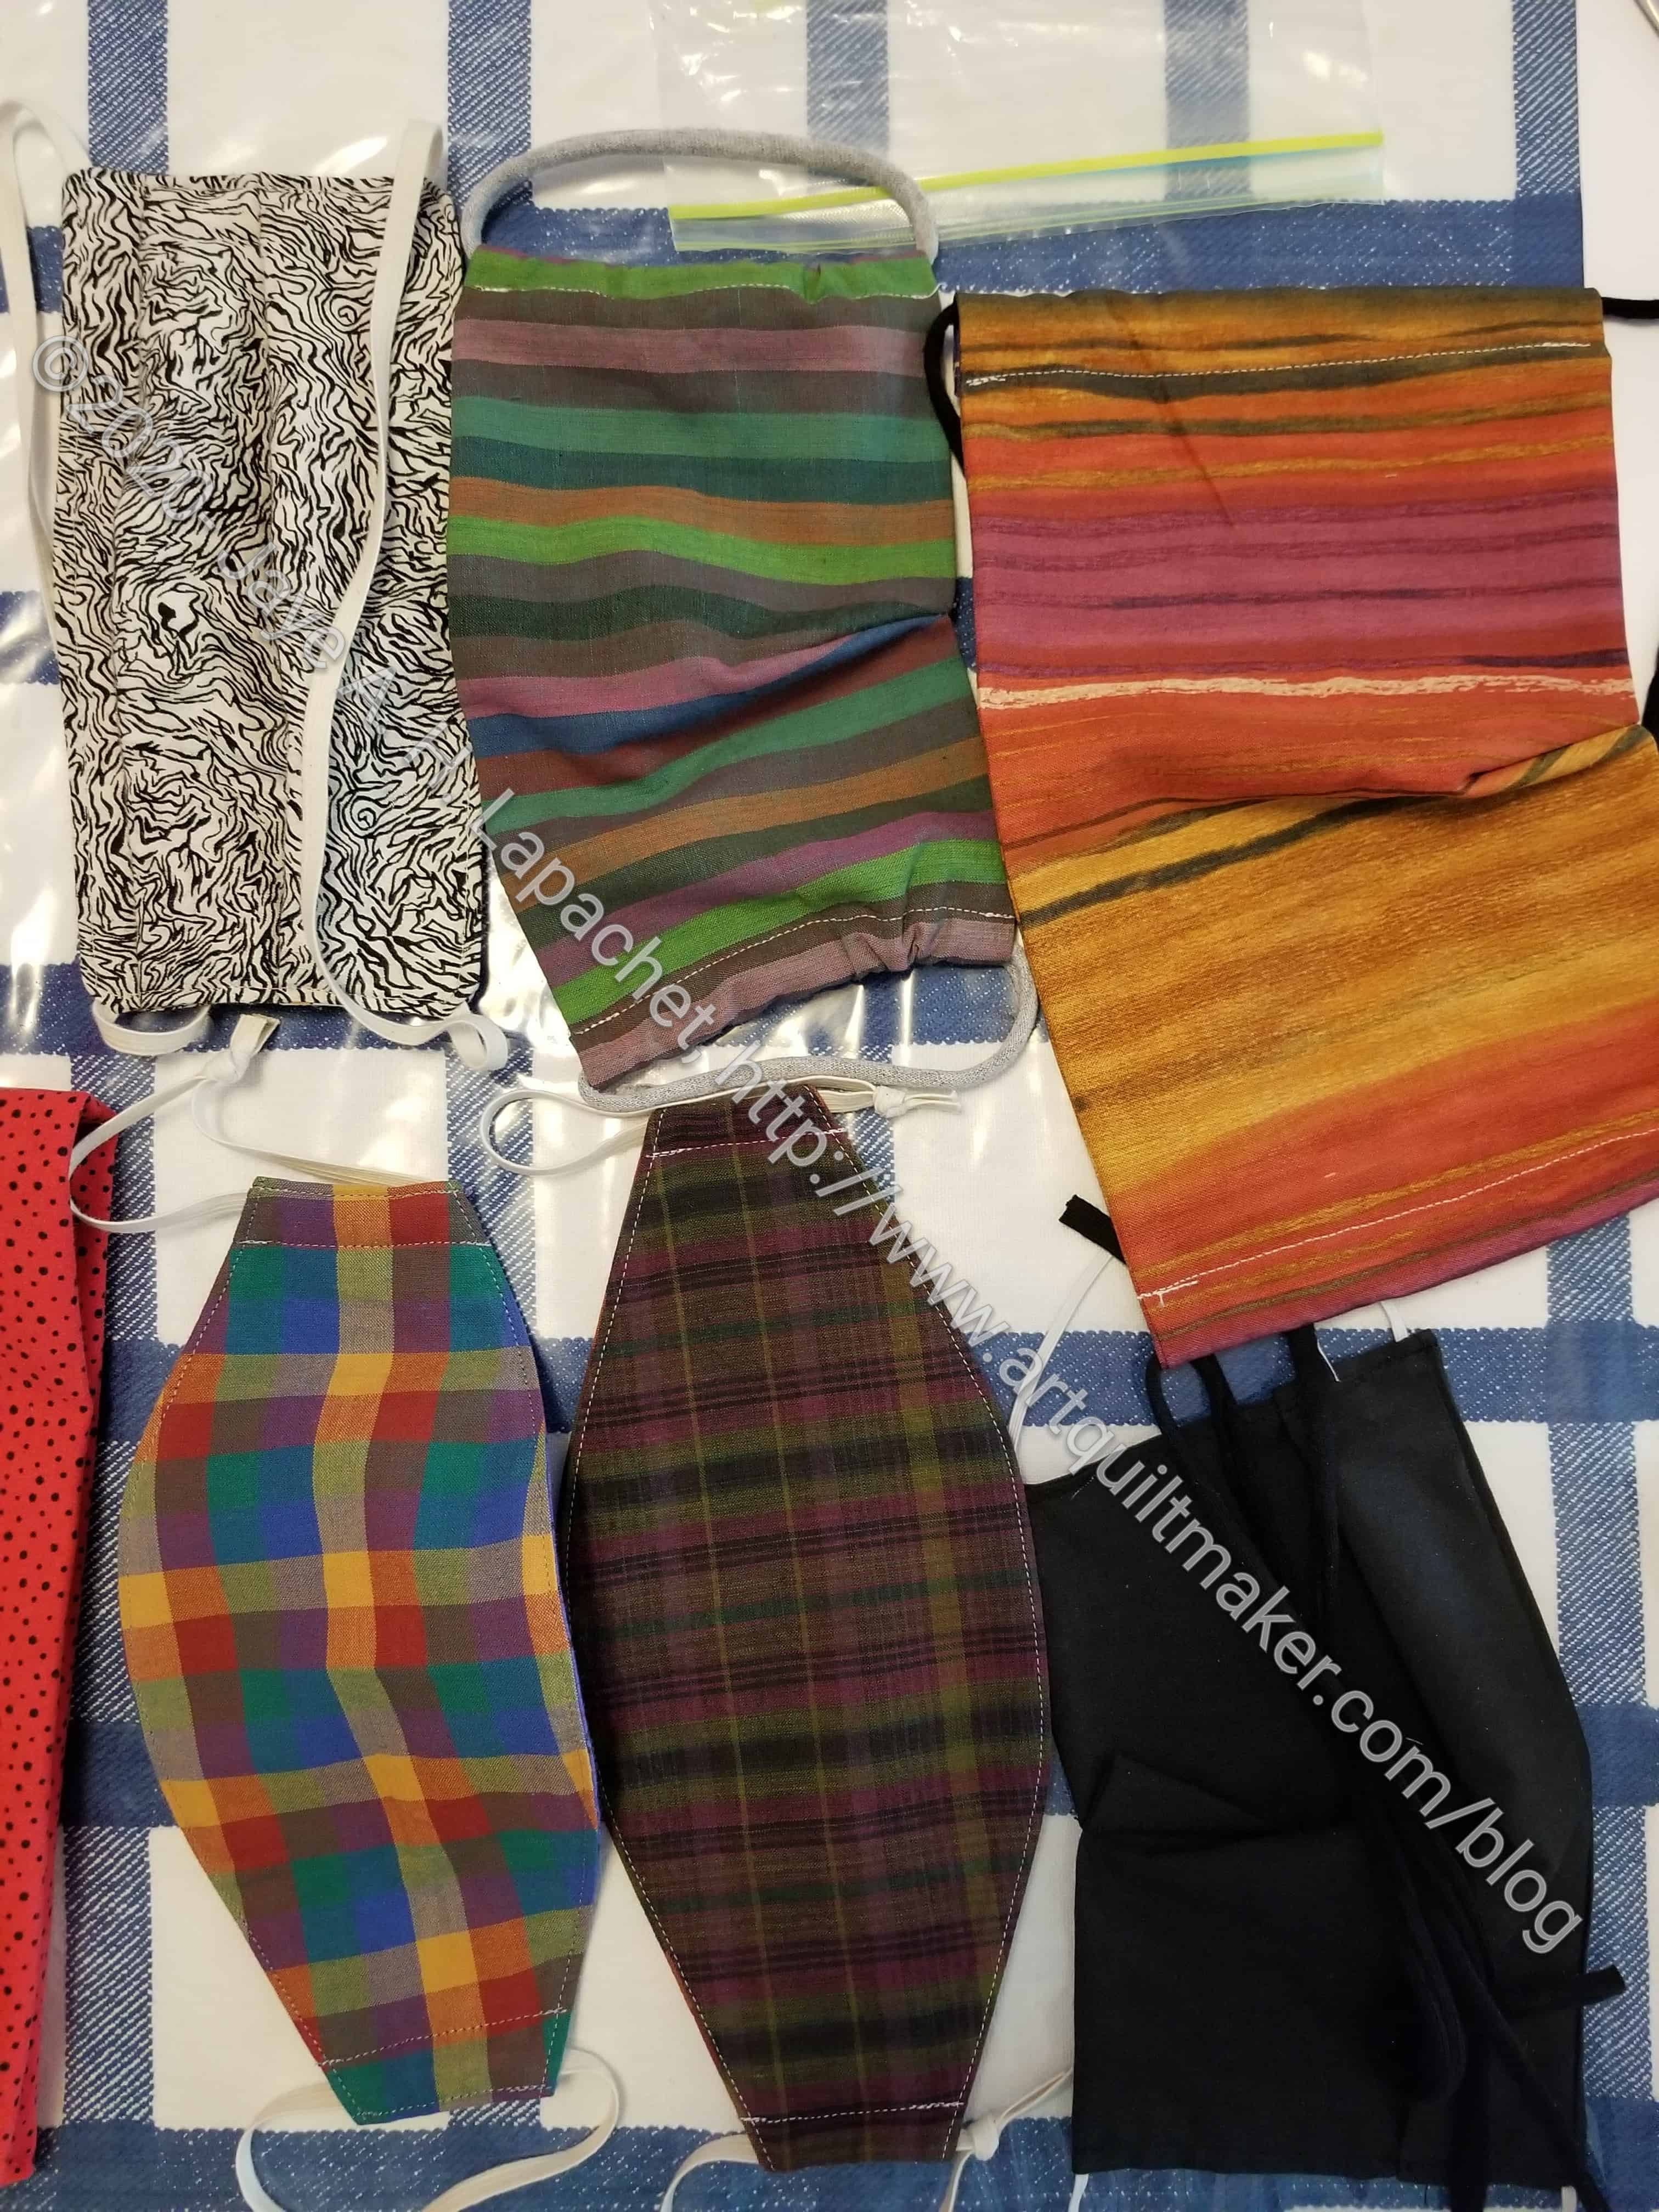
I feel like I made progress on a face mask I can make quickly that will work with my/DH’s/ YM’s glasses. The original pattern for this one came from the video tutorial I talked about before. I like this pattern because of the shape and the ease of making it. I tweaked the pattern to make it work better for us.
Some of the changes I made:
I added a nose piece. Julie sent me some nose pieces, which work really well. Since they help keep our glasses from fogging up, I have been adding them to masks I make.
I made the top and bottom gussets (not sure if that piece is a gusset or not) longer to try and ensure that the raw edges were covered. That is something that didn’t work as well as I had hoped. All the pieces were too thick and hard to sew through when I went to make the channels.

I used stretchy cord from Maker’s Mercantile and a cordlock. This allows me to really pull the mask tight around my face. The bad part is that I was wearing my hair down and the cordlock got caught in my hair. 🙁 I think it would work ok while wearing a ponytail. I don’t, however, want to have to always wear a ponytail.
It is still not ideal, but the good points are:
Points on which to work
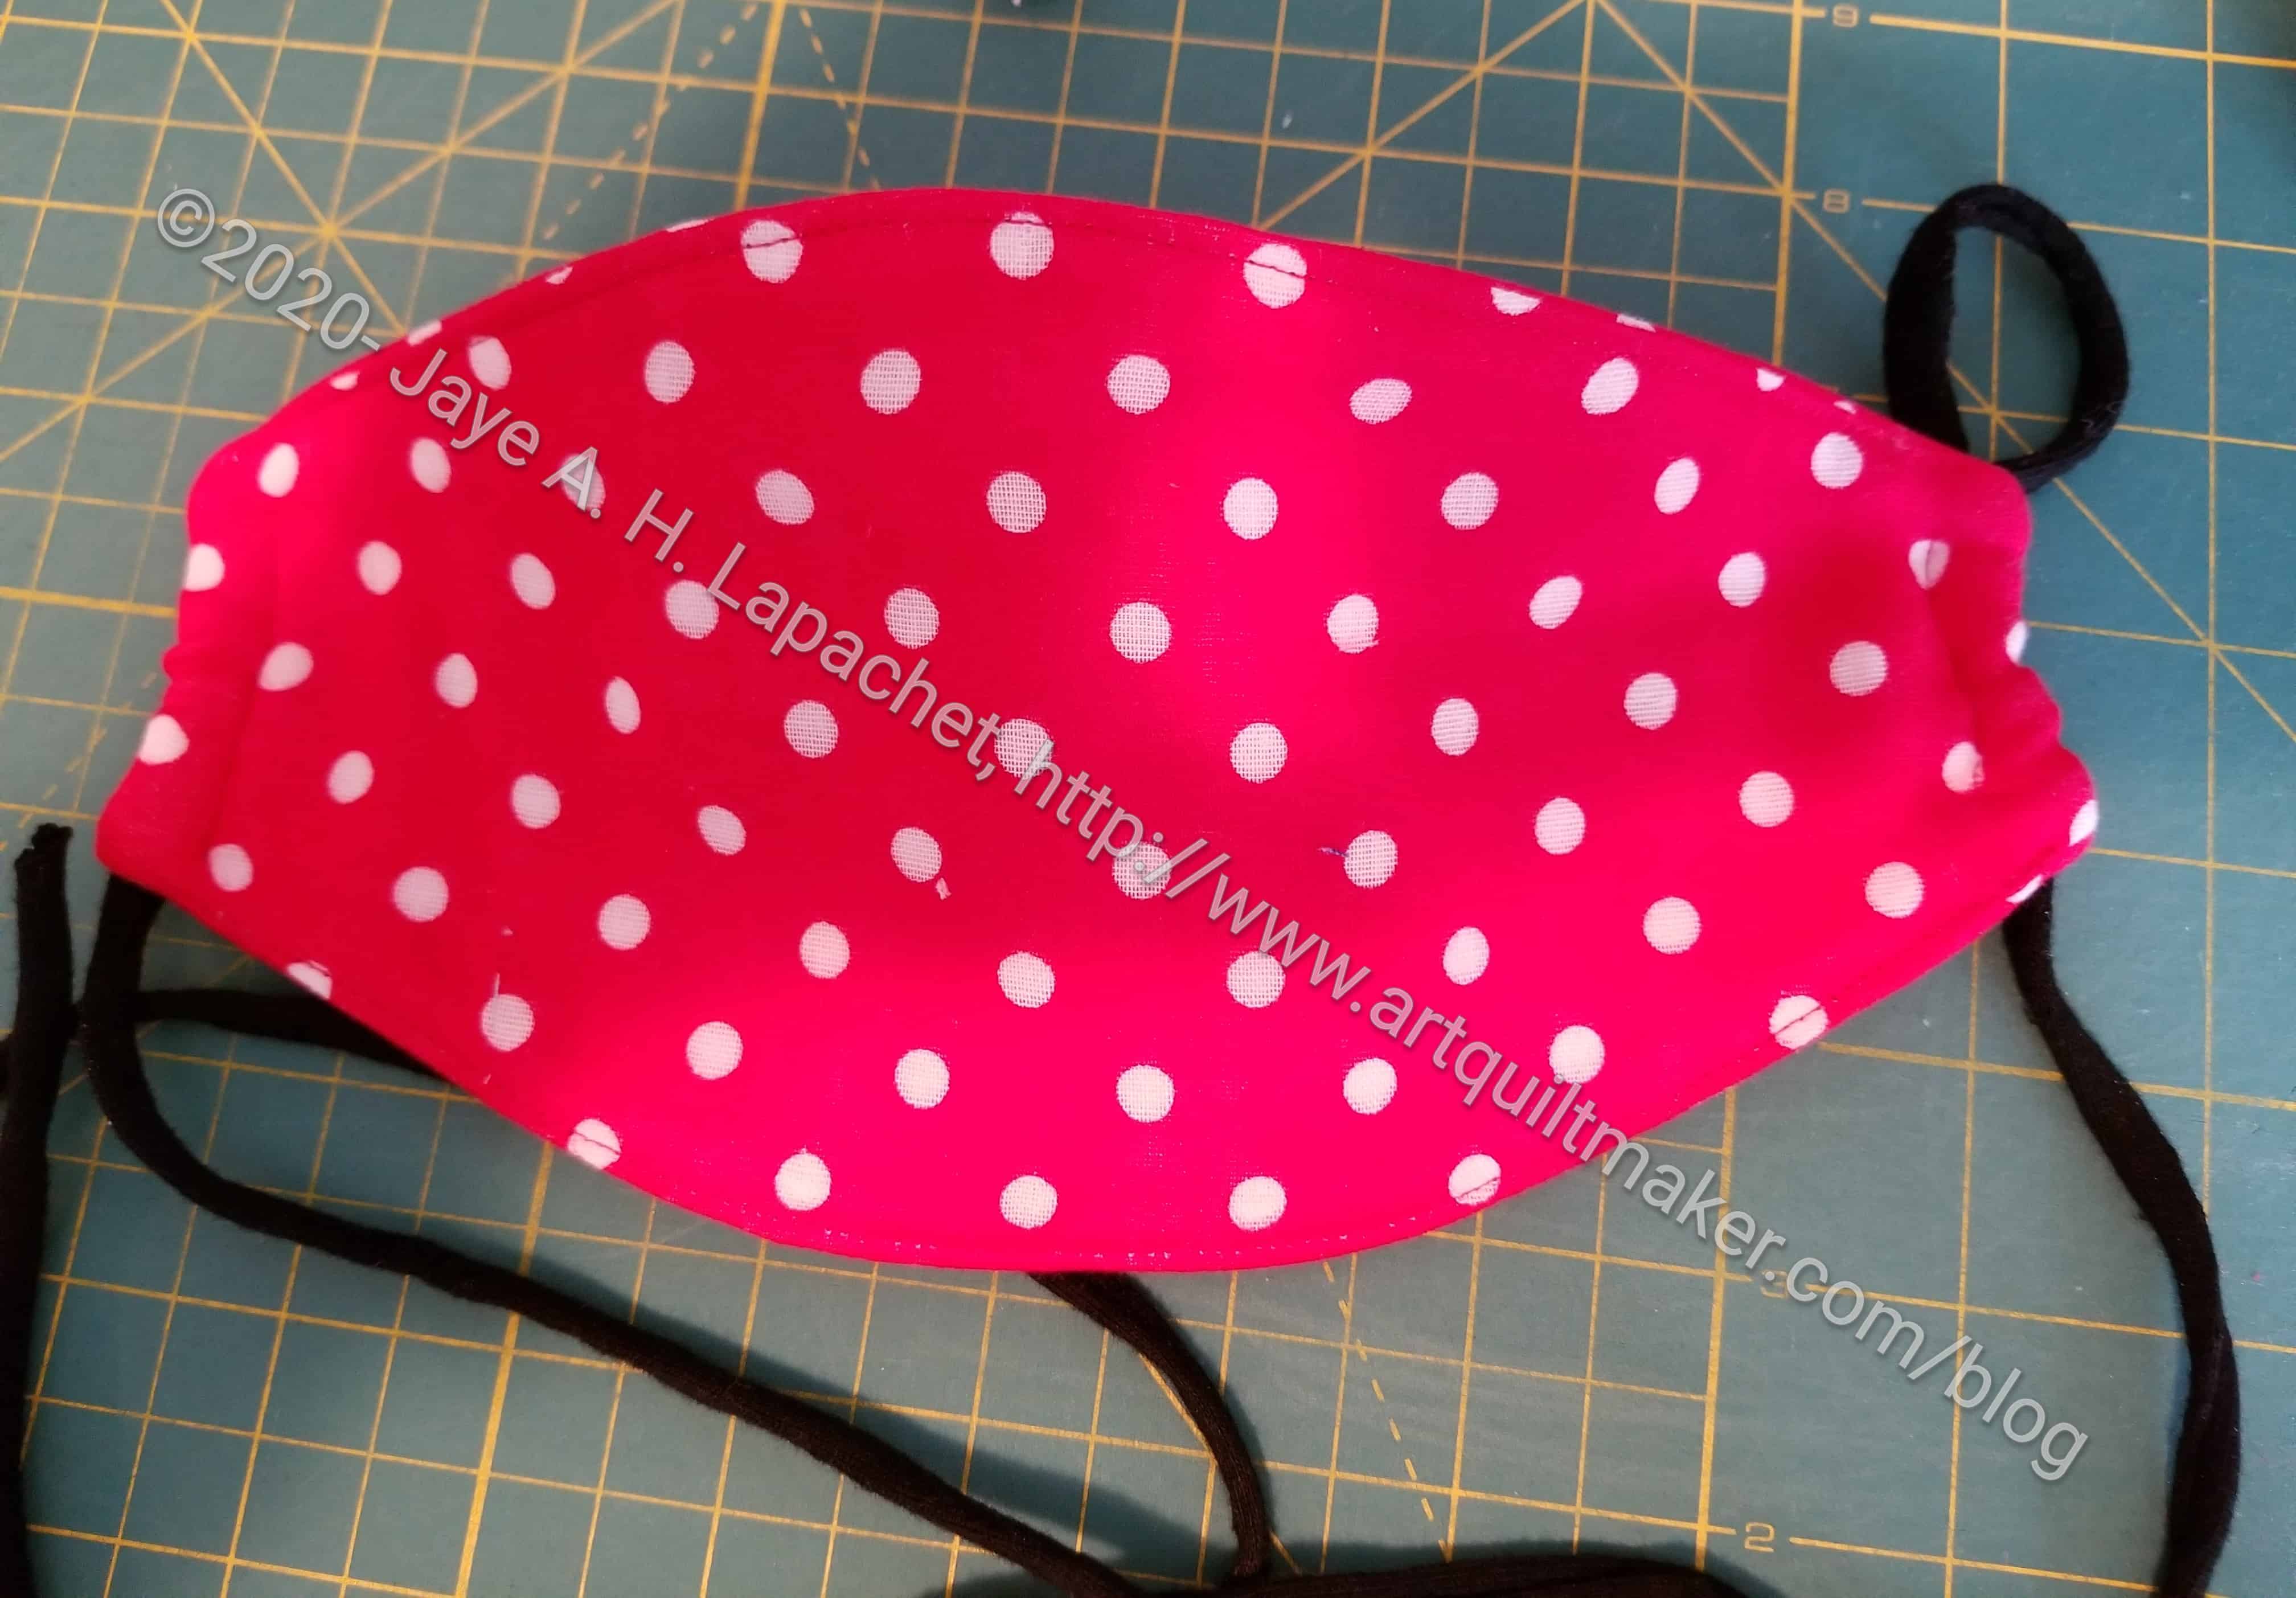
This is not the same pattern that I used before, but I did use the same fabric. It is double gauze and I thought it would be comfy.
I haven’t given up on other patterns, especially the one my friend Deirdre sent me. I will try that one with a nose piece and elastic around the back to see if that works for me.
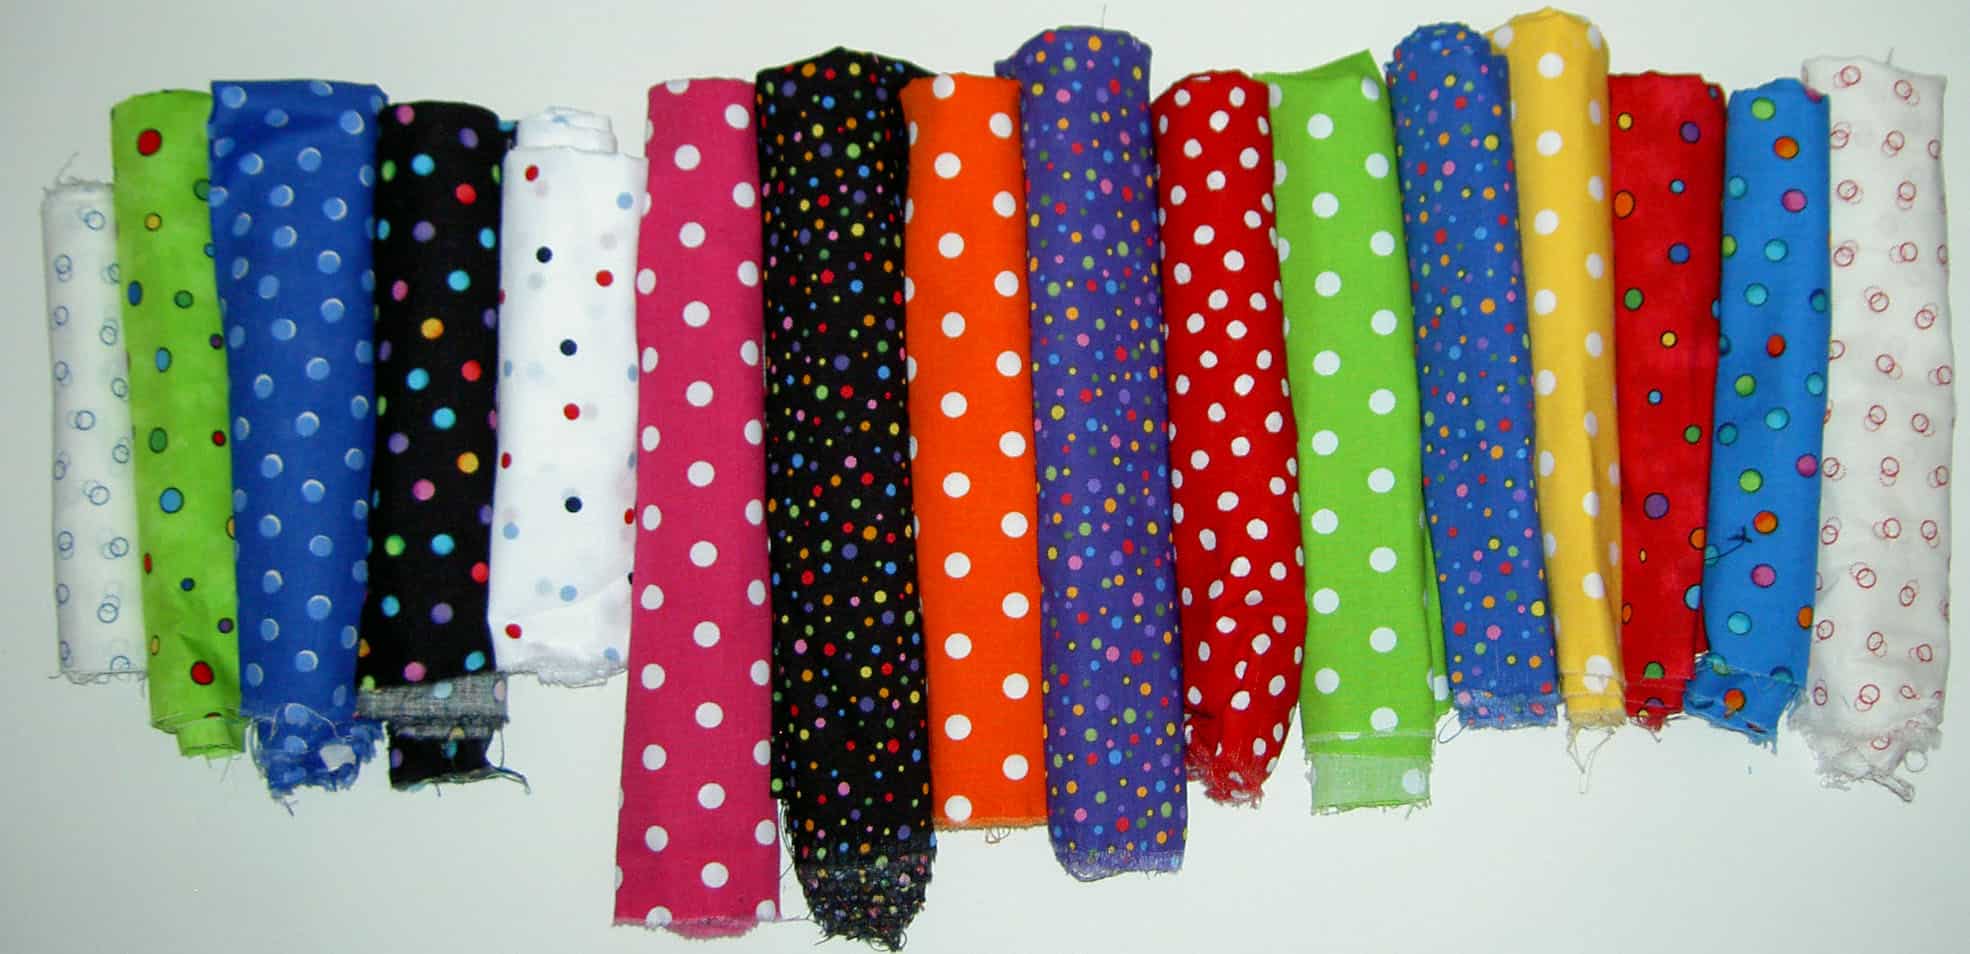
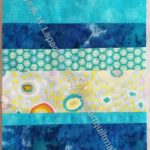
Some dots to make us all happier today.
It has been quite a while since I reflected on these potential projects. The most notable change is that the Windmill patches have been turned into 3 quilts: 2 are quilted and live in new places, one is ready for quilting and another quilt, with the rest of the patches, will be in process soon.
Art Institute of Chicago Fusible Applique’ (Ticker Tape Style) Quilt
Art Institute of Chicago Fusible Applique’ (one sheet of fabric) Quilt
Blue Rectangles Gradation Quilt
Blue Lemonade
Easy Street
En Provence #2
Feathered Star Block (or quilt?)
Good Night Irene Quilt
Interlocking Triangles Quilt(s)
Jack’s Chain Quilt
Music Quilt
Pineapple (Hunting and Gathering)
Silk Colorblock quilt
Spin Wheel
Out of the Dream State: Below is a list of projects that were on this list at some point that I actually made or am working on:
I worked on the UCAB again the other weekend. Last weekend? I don’t remember. It started off so well, then I got lost. I couldn’t figure out how to finish the front pocket.
I really tried hard to understand the pattern, but just didn’t get it, so I contacted the designer. I still couldn’t understand the explanation, so I asked Lynette.
Lynette sent me some info she had sent to another bag maker. It didn’t answer my question, but I woke up the next morning with an idea of how to make the pocket. It may not be the way the designer intended, but it will get the job done – as long as I do it!
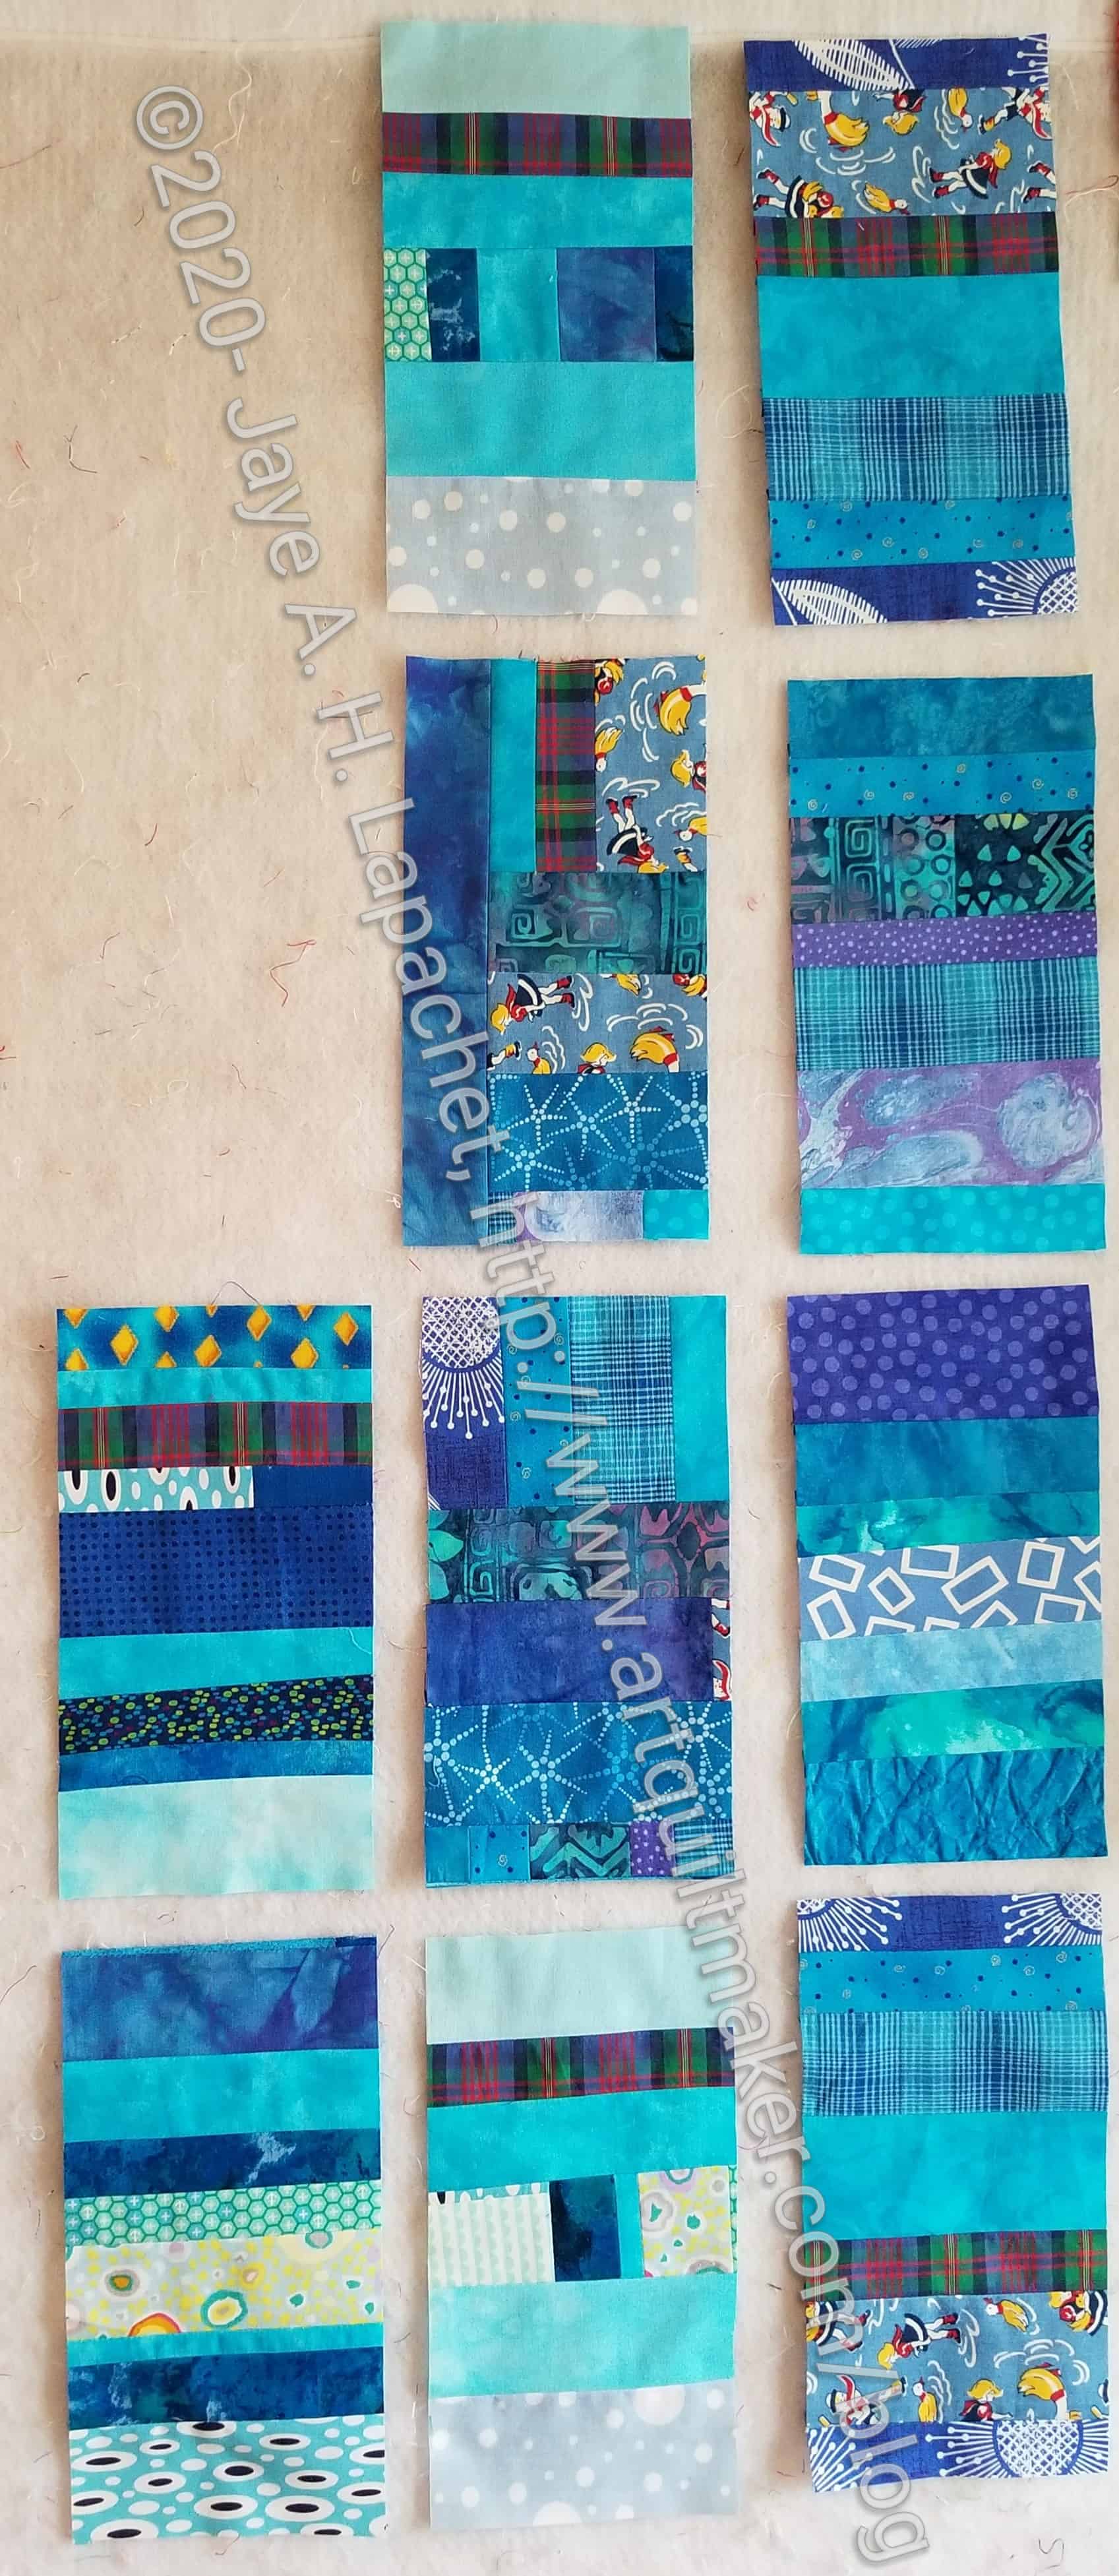
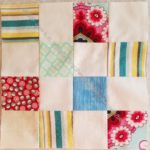
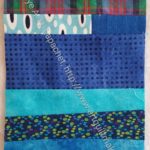
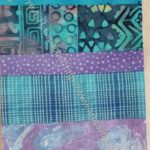
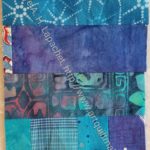
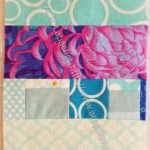
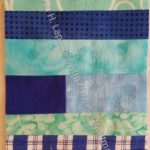
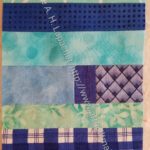
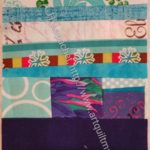
I started sewing some strips together and now I have started another donation quilt in the Color Strips & Chunks series.
It started sort of accidentally. I had a few strips left from a box that was stashed behind my old design wall. They were on my sewing table, so I sewed them together when I needed a leader or ender. Then, I opened my blue scrap drawer, which is not noticeably less full despite the last blue strip quilt I made, and used strips to make more blocks. I am pretty sure I have at least two more quilts in that drawer.
I am out of background fabrics for 16 patches, so this is a good way to use up scraps and have something for leaders and enders.
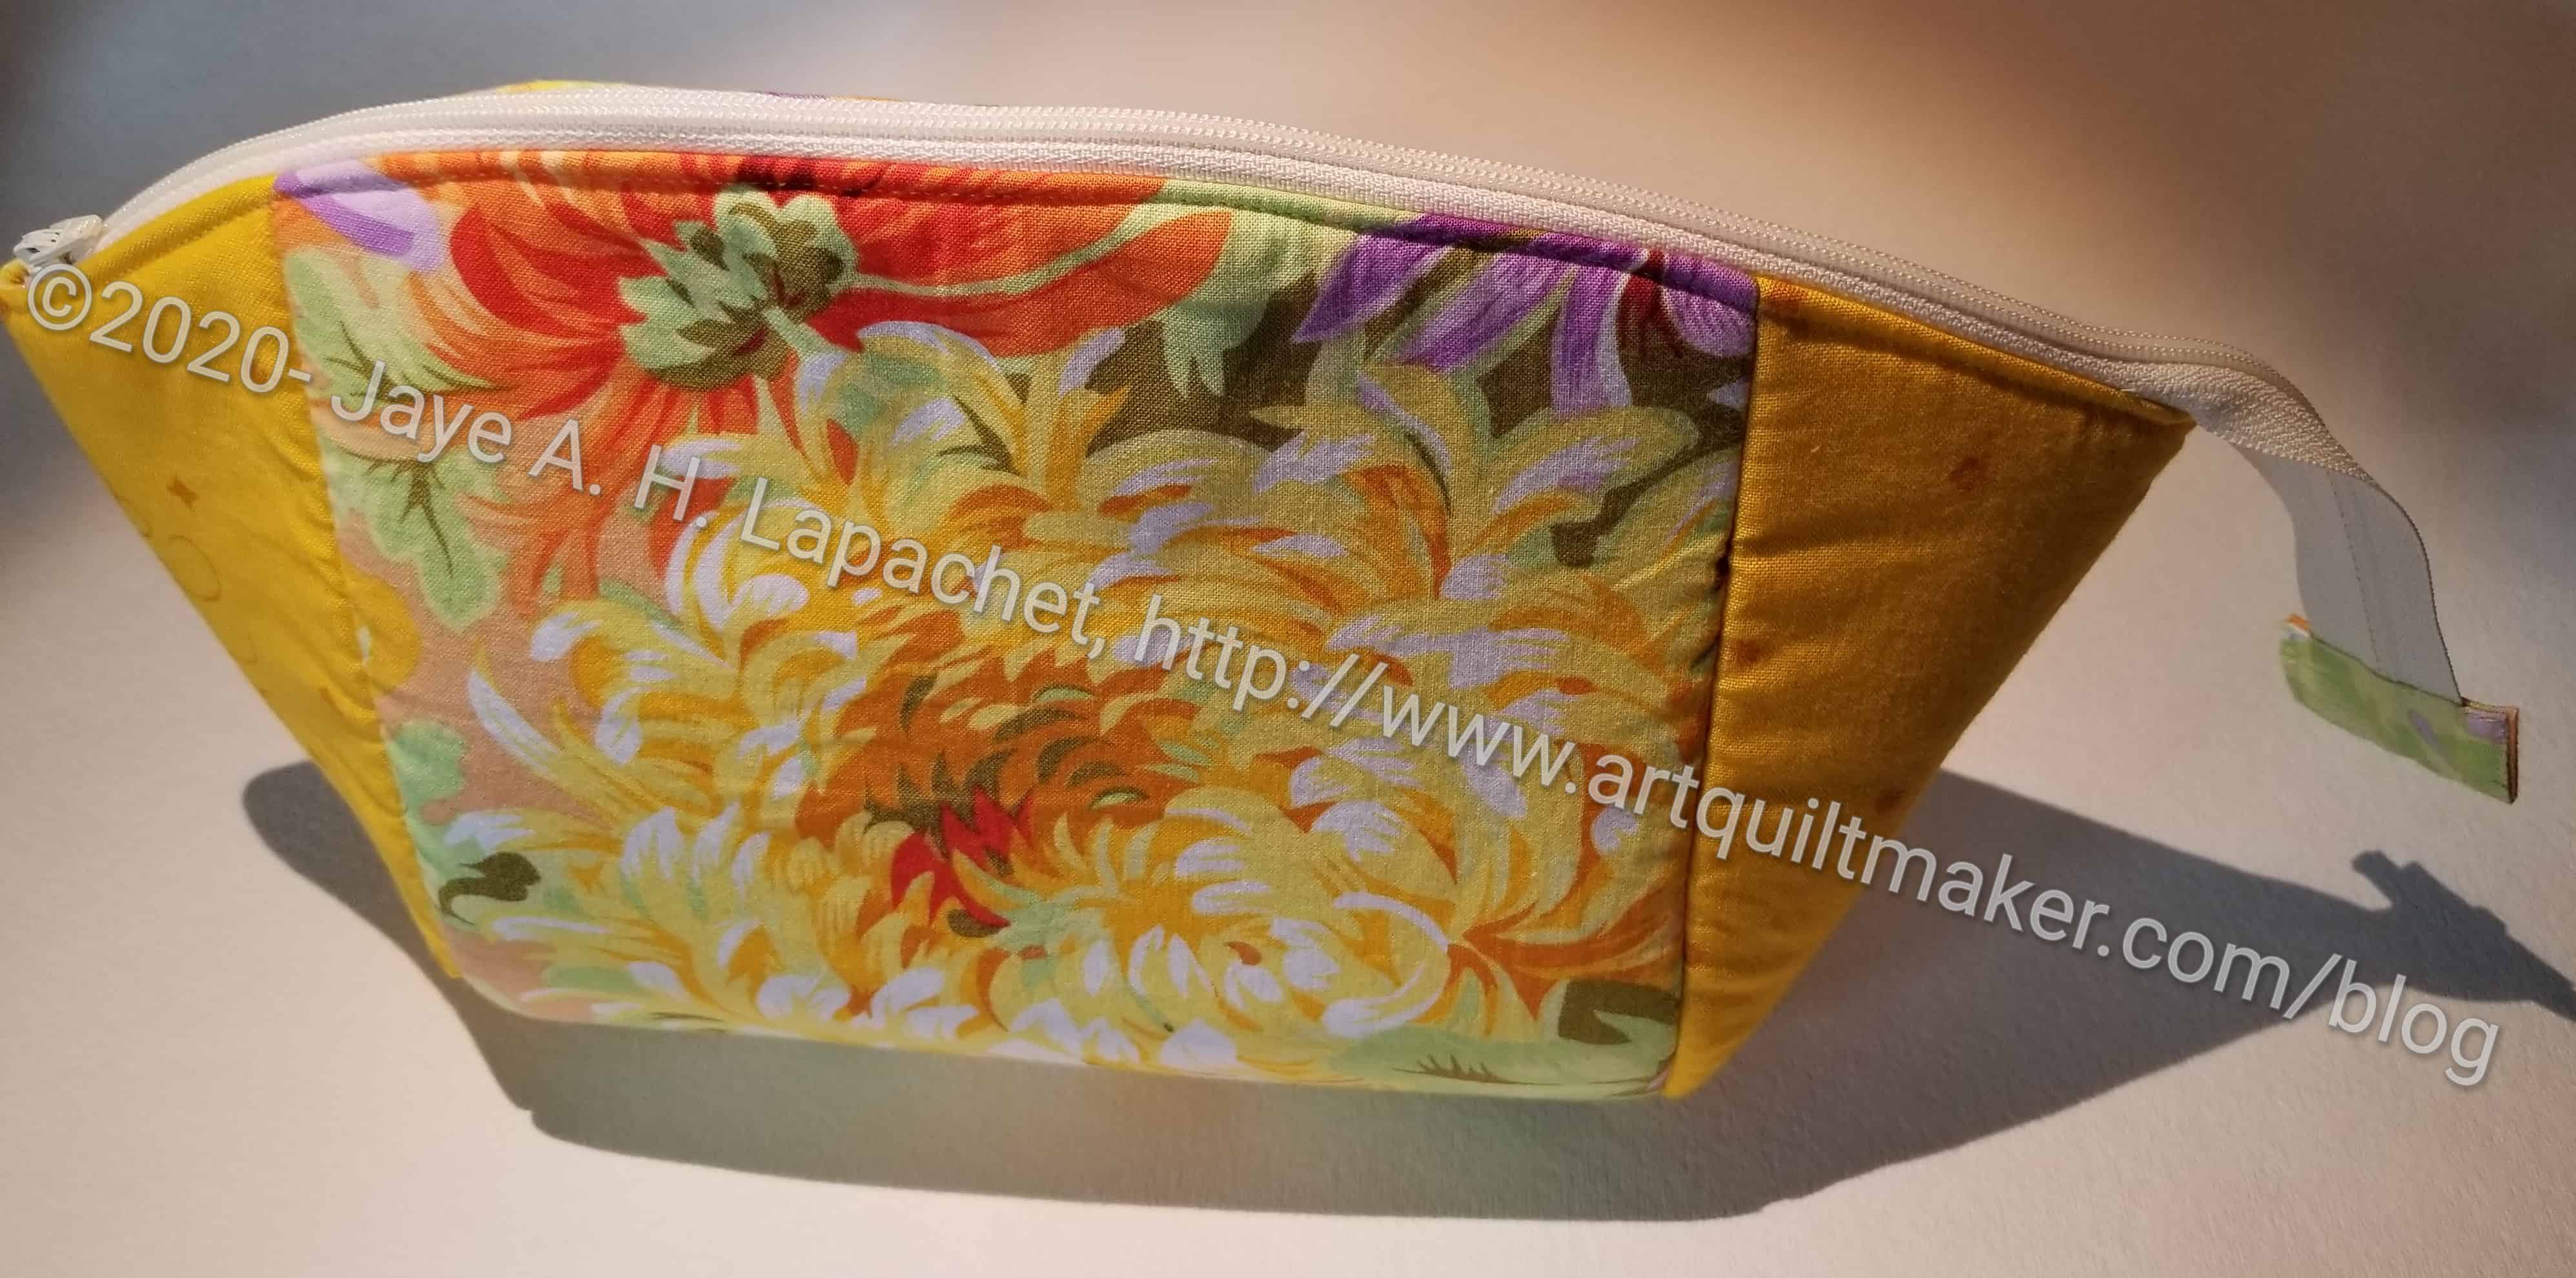
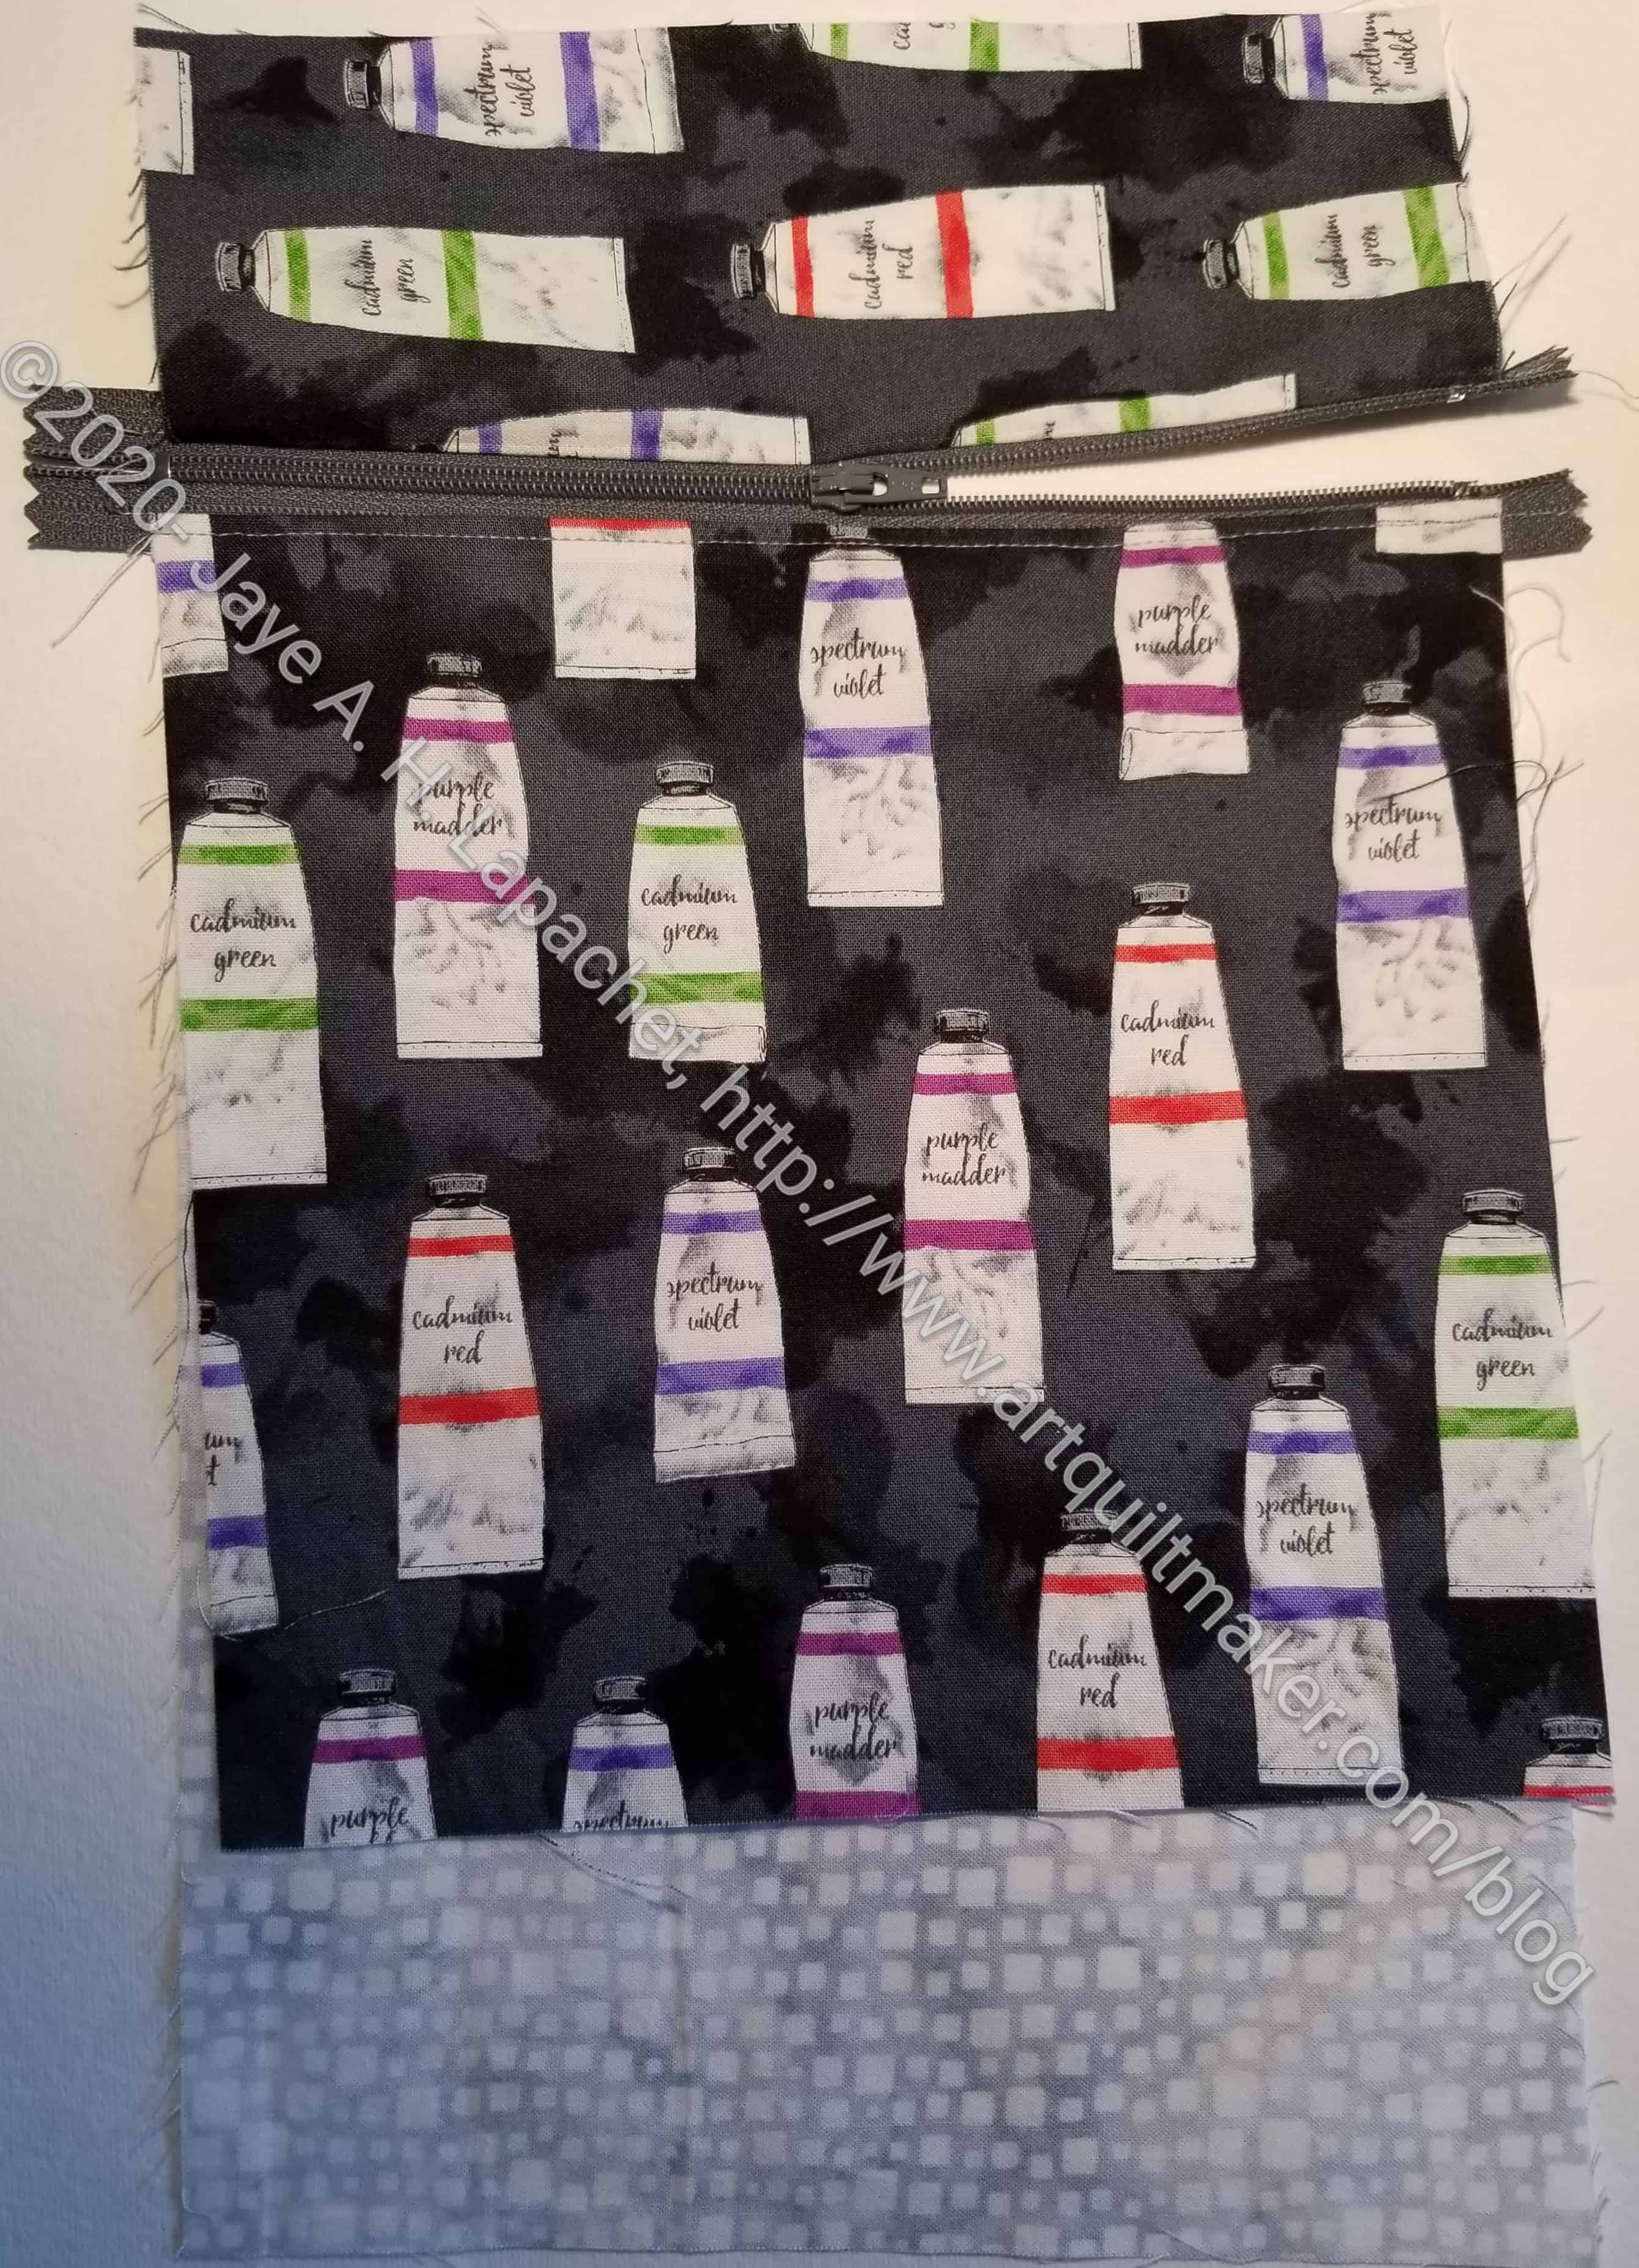
I finished another Cotton Candy Pouch over the weekend. As mentioned in a previous post, this pattern is from the Minikins Seasons 1 & 2 (no affiliation) by Sara Lawson of Sew Sweetness.
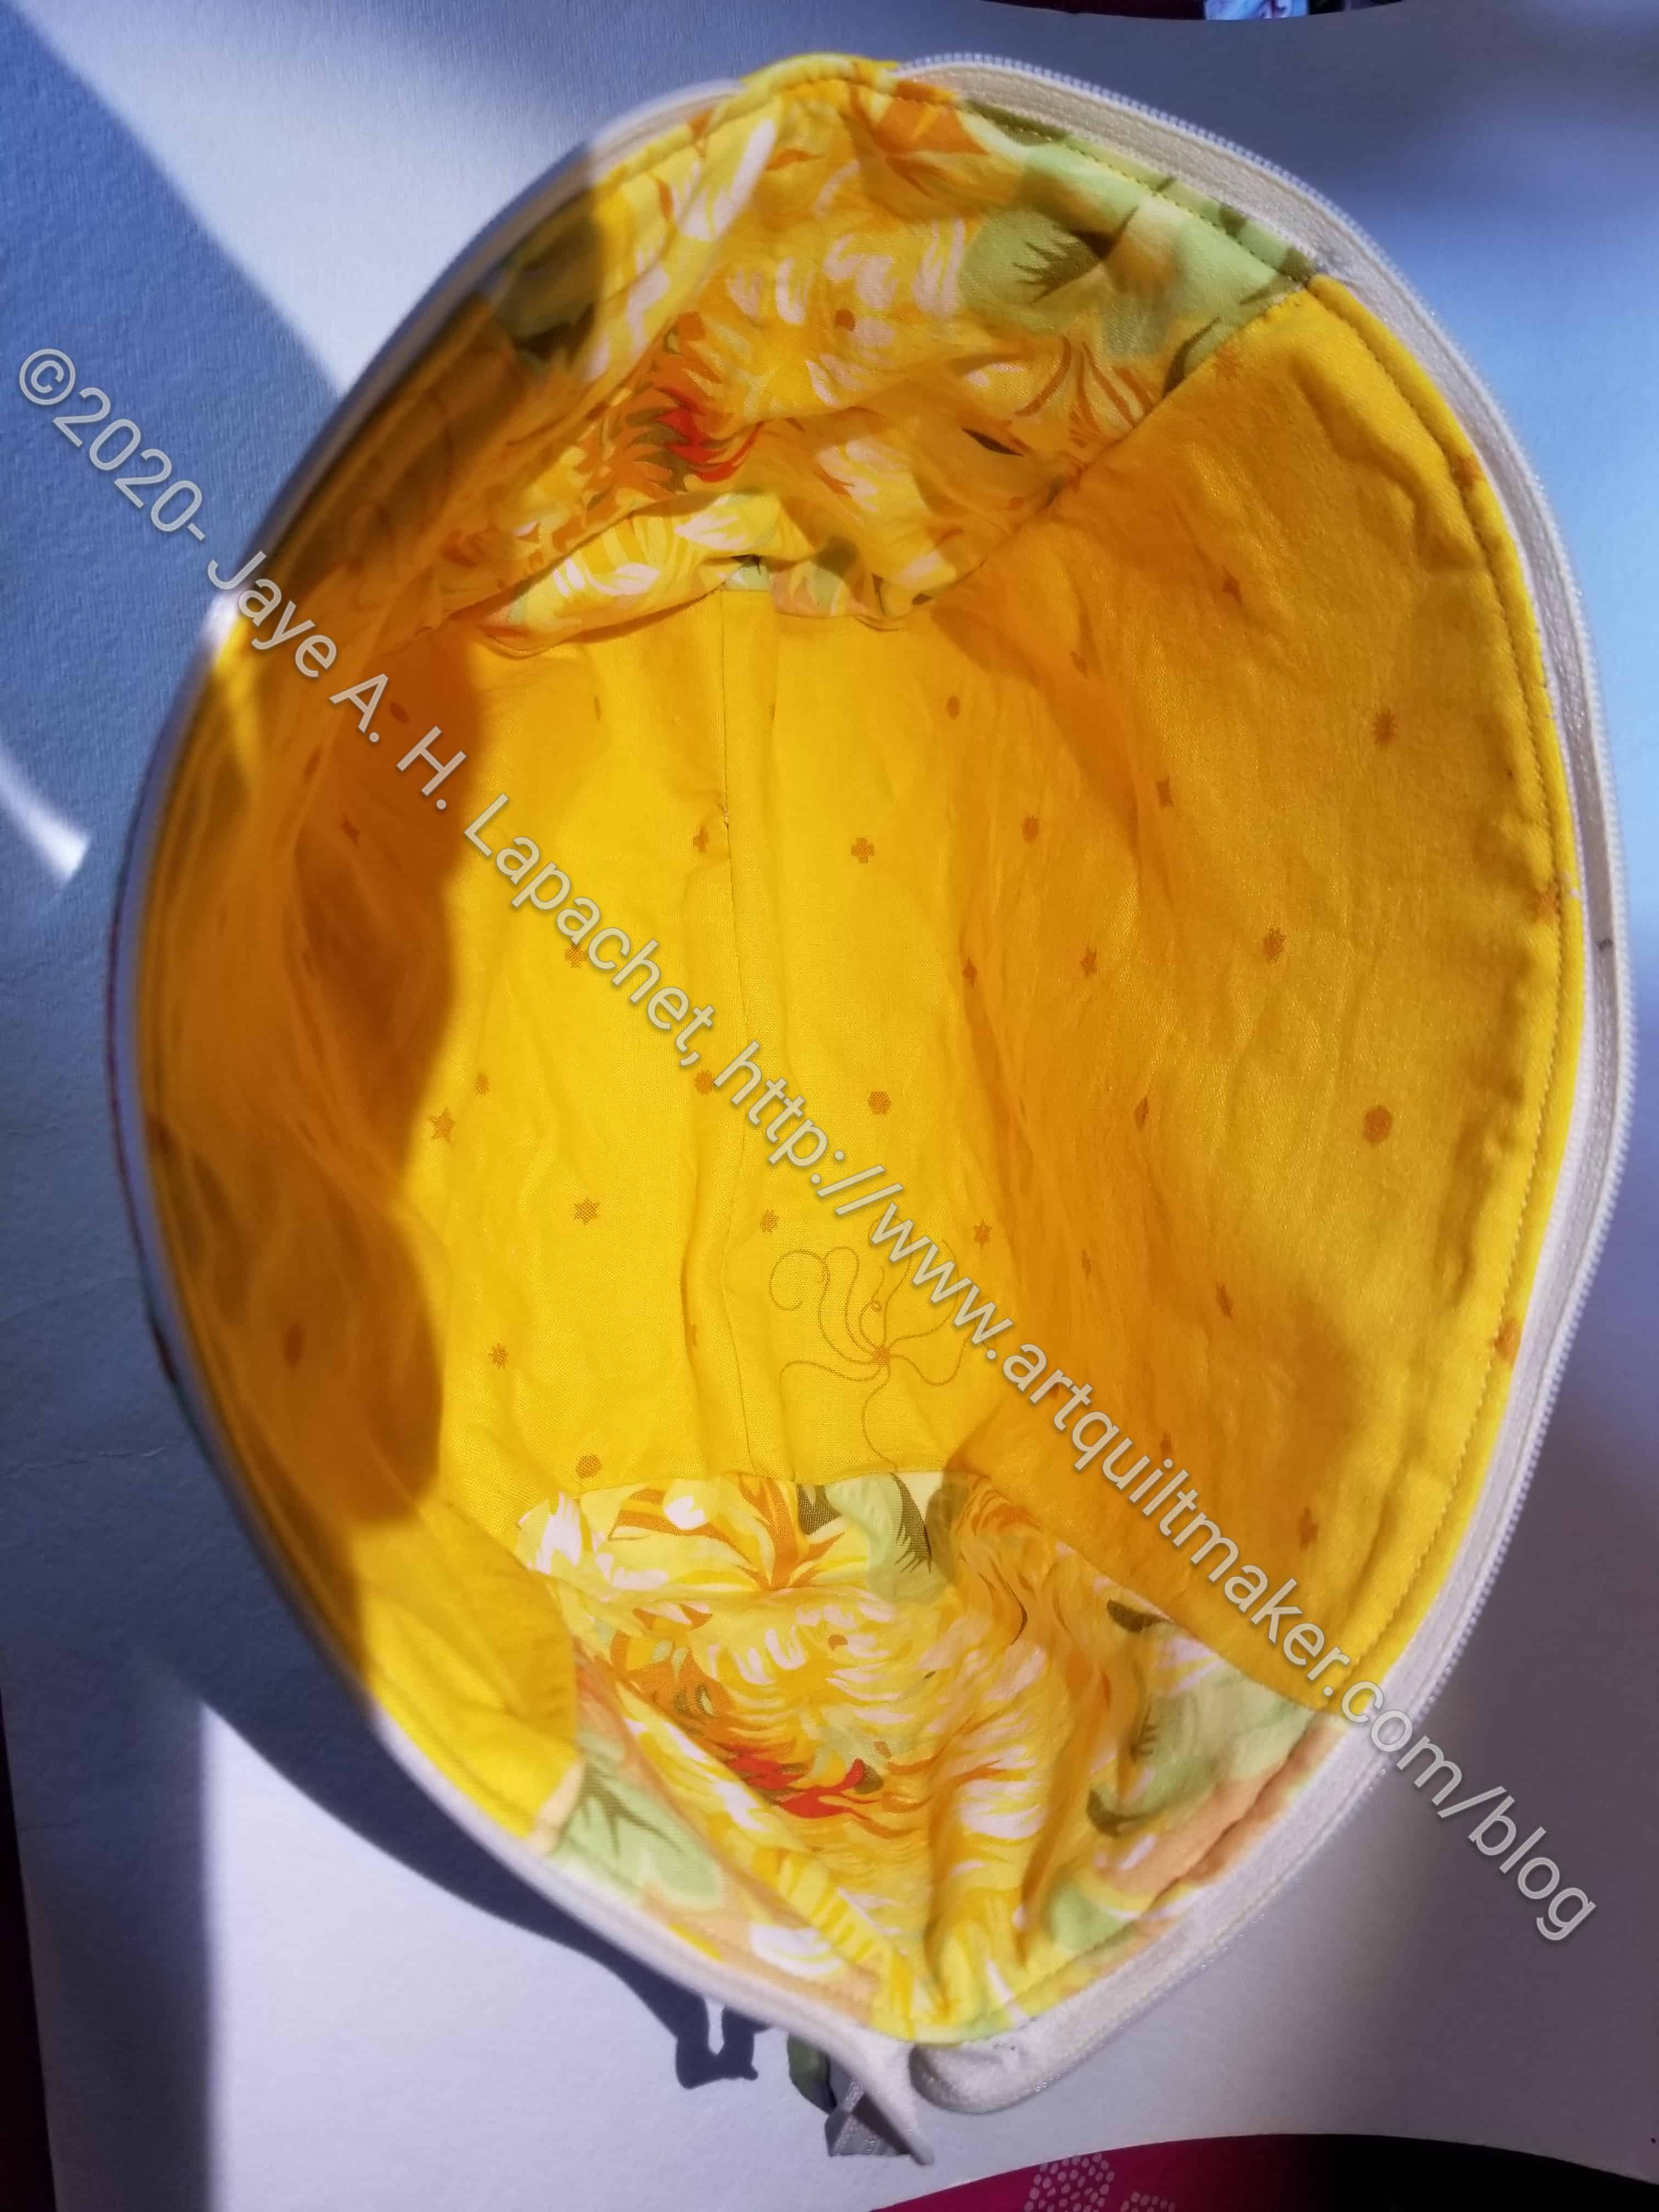
I made an effort to fussy cut fabric this time so my pouch highlighted some great fabric. Sara does this in her pouches and I really like the look. I cut the side panels out of the Philip Jacobs fabric, which was not correct – I keep thinking those side pieces are the main fabrics. I decided to use them on the inside, reversing the way I put in the fabric.
I had some trouble with the zippers, but in the end the video about veering the zipper off the project and the project video finally got the thole technique into my head. I want to cement it. I think I might make another pouch with some of the Echinacea fabric I got from the last Modern Quilter’s Box.
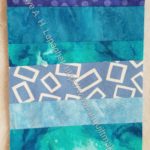
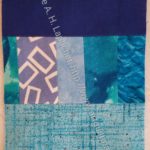
Spectrum of Colors Arranged by Chance is a 1951-53 painting (oil on wood) by Ellsworth Kelly. I saw it at the SFMoMA when Julie, DH and I visited a few years ago. I have been wanting to use the idea in a quilt for awhile. Last week, I started on FOTY 2018, which will be my piece inspired by Kelly’s work.
Spectrum of Colors Arranged by Chance is a 1951-53 painting (oil on wood) by Ellsworth Kelly. I saw it at the SFMoMA when Julie, DH and I visited a few years ago. I have been wanting to use the idea in a quilt for awhile.
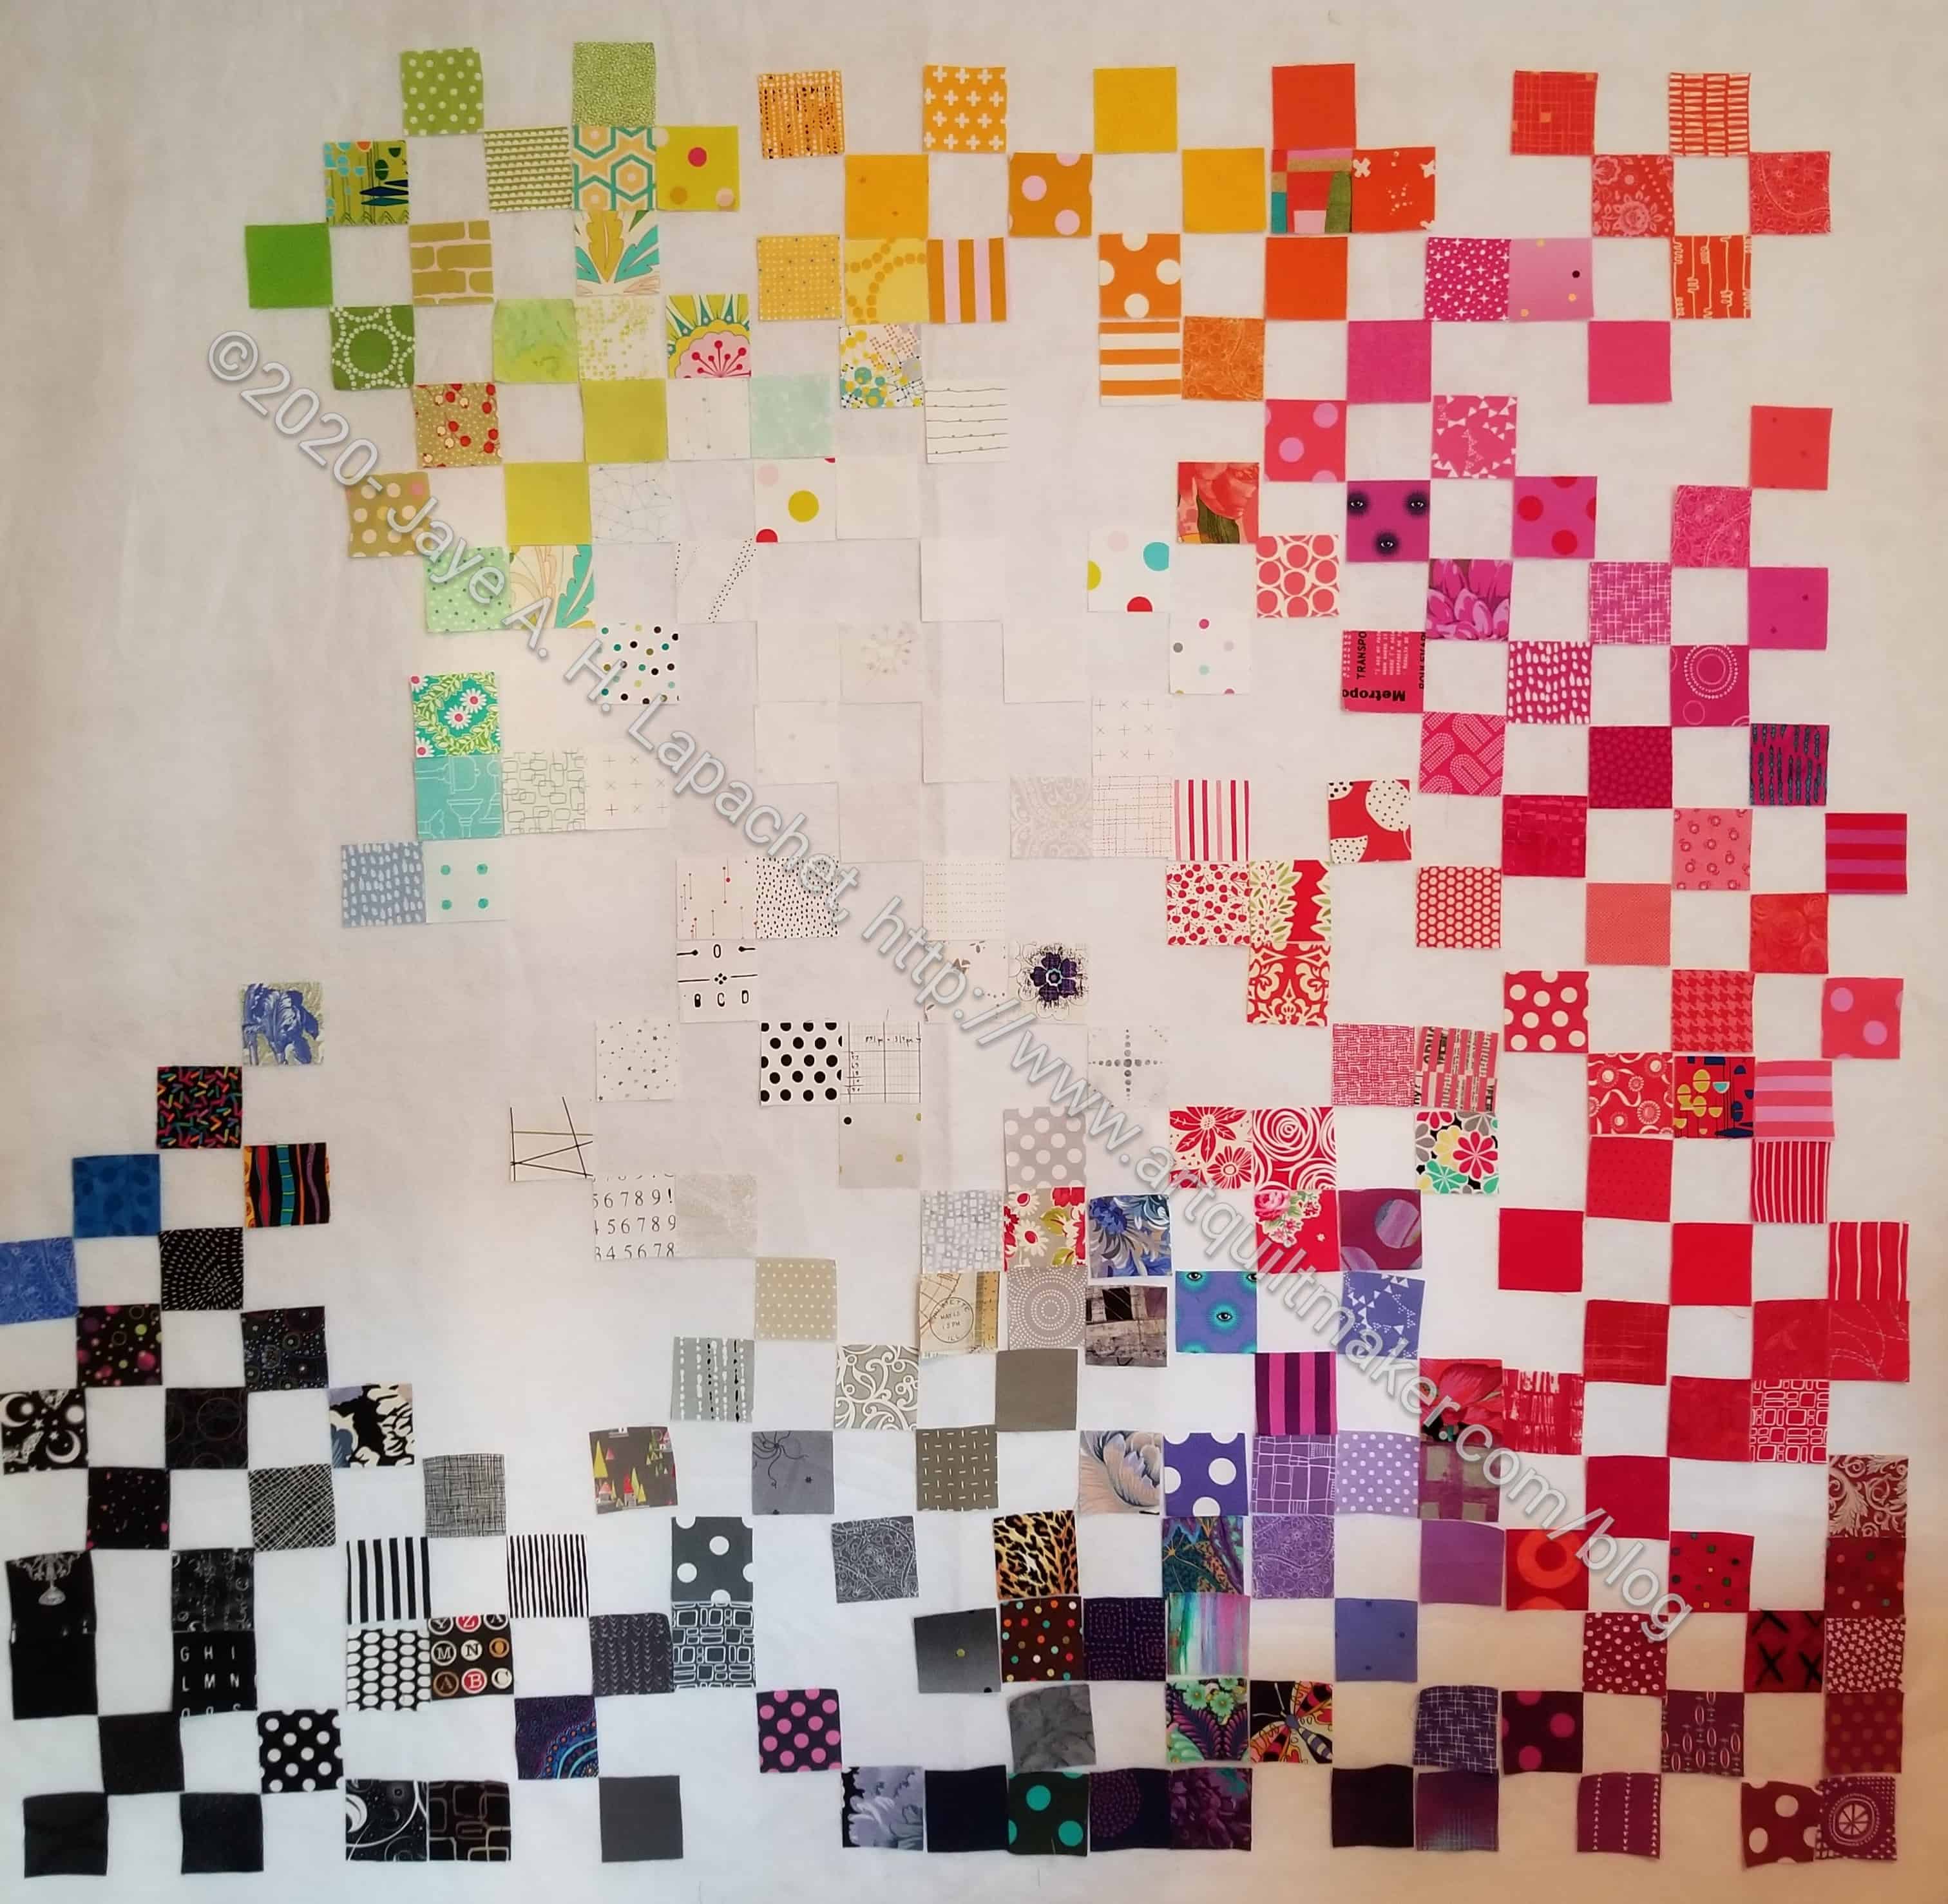
Last week, I started on FOTY 2018, which will be my piece inspired by Kelly’s work.
I have to say that putting the pieces on the wall has been a joy. I feel much closer to it with my new design wall. I also really like the white interspersed with the color. It is making me think of doing one with white squares as well as the slate grey I have planned for 2019.
I am also apprehensive about adding the black. We will see, though.
I am also really excited that I am working on a true UFO!!
The felt finally arrived.
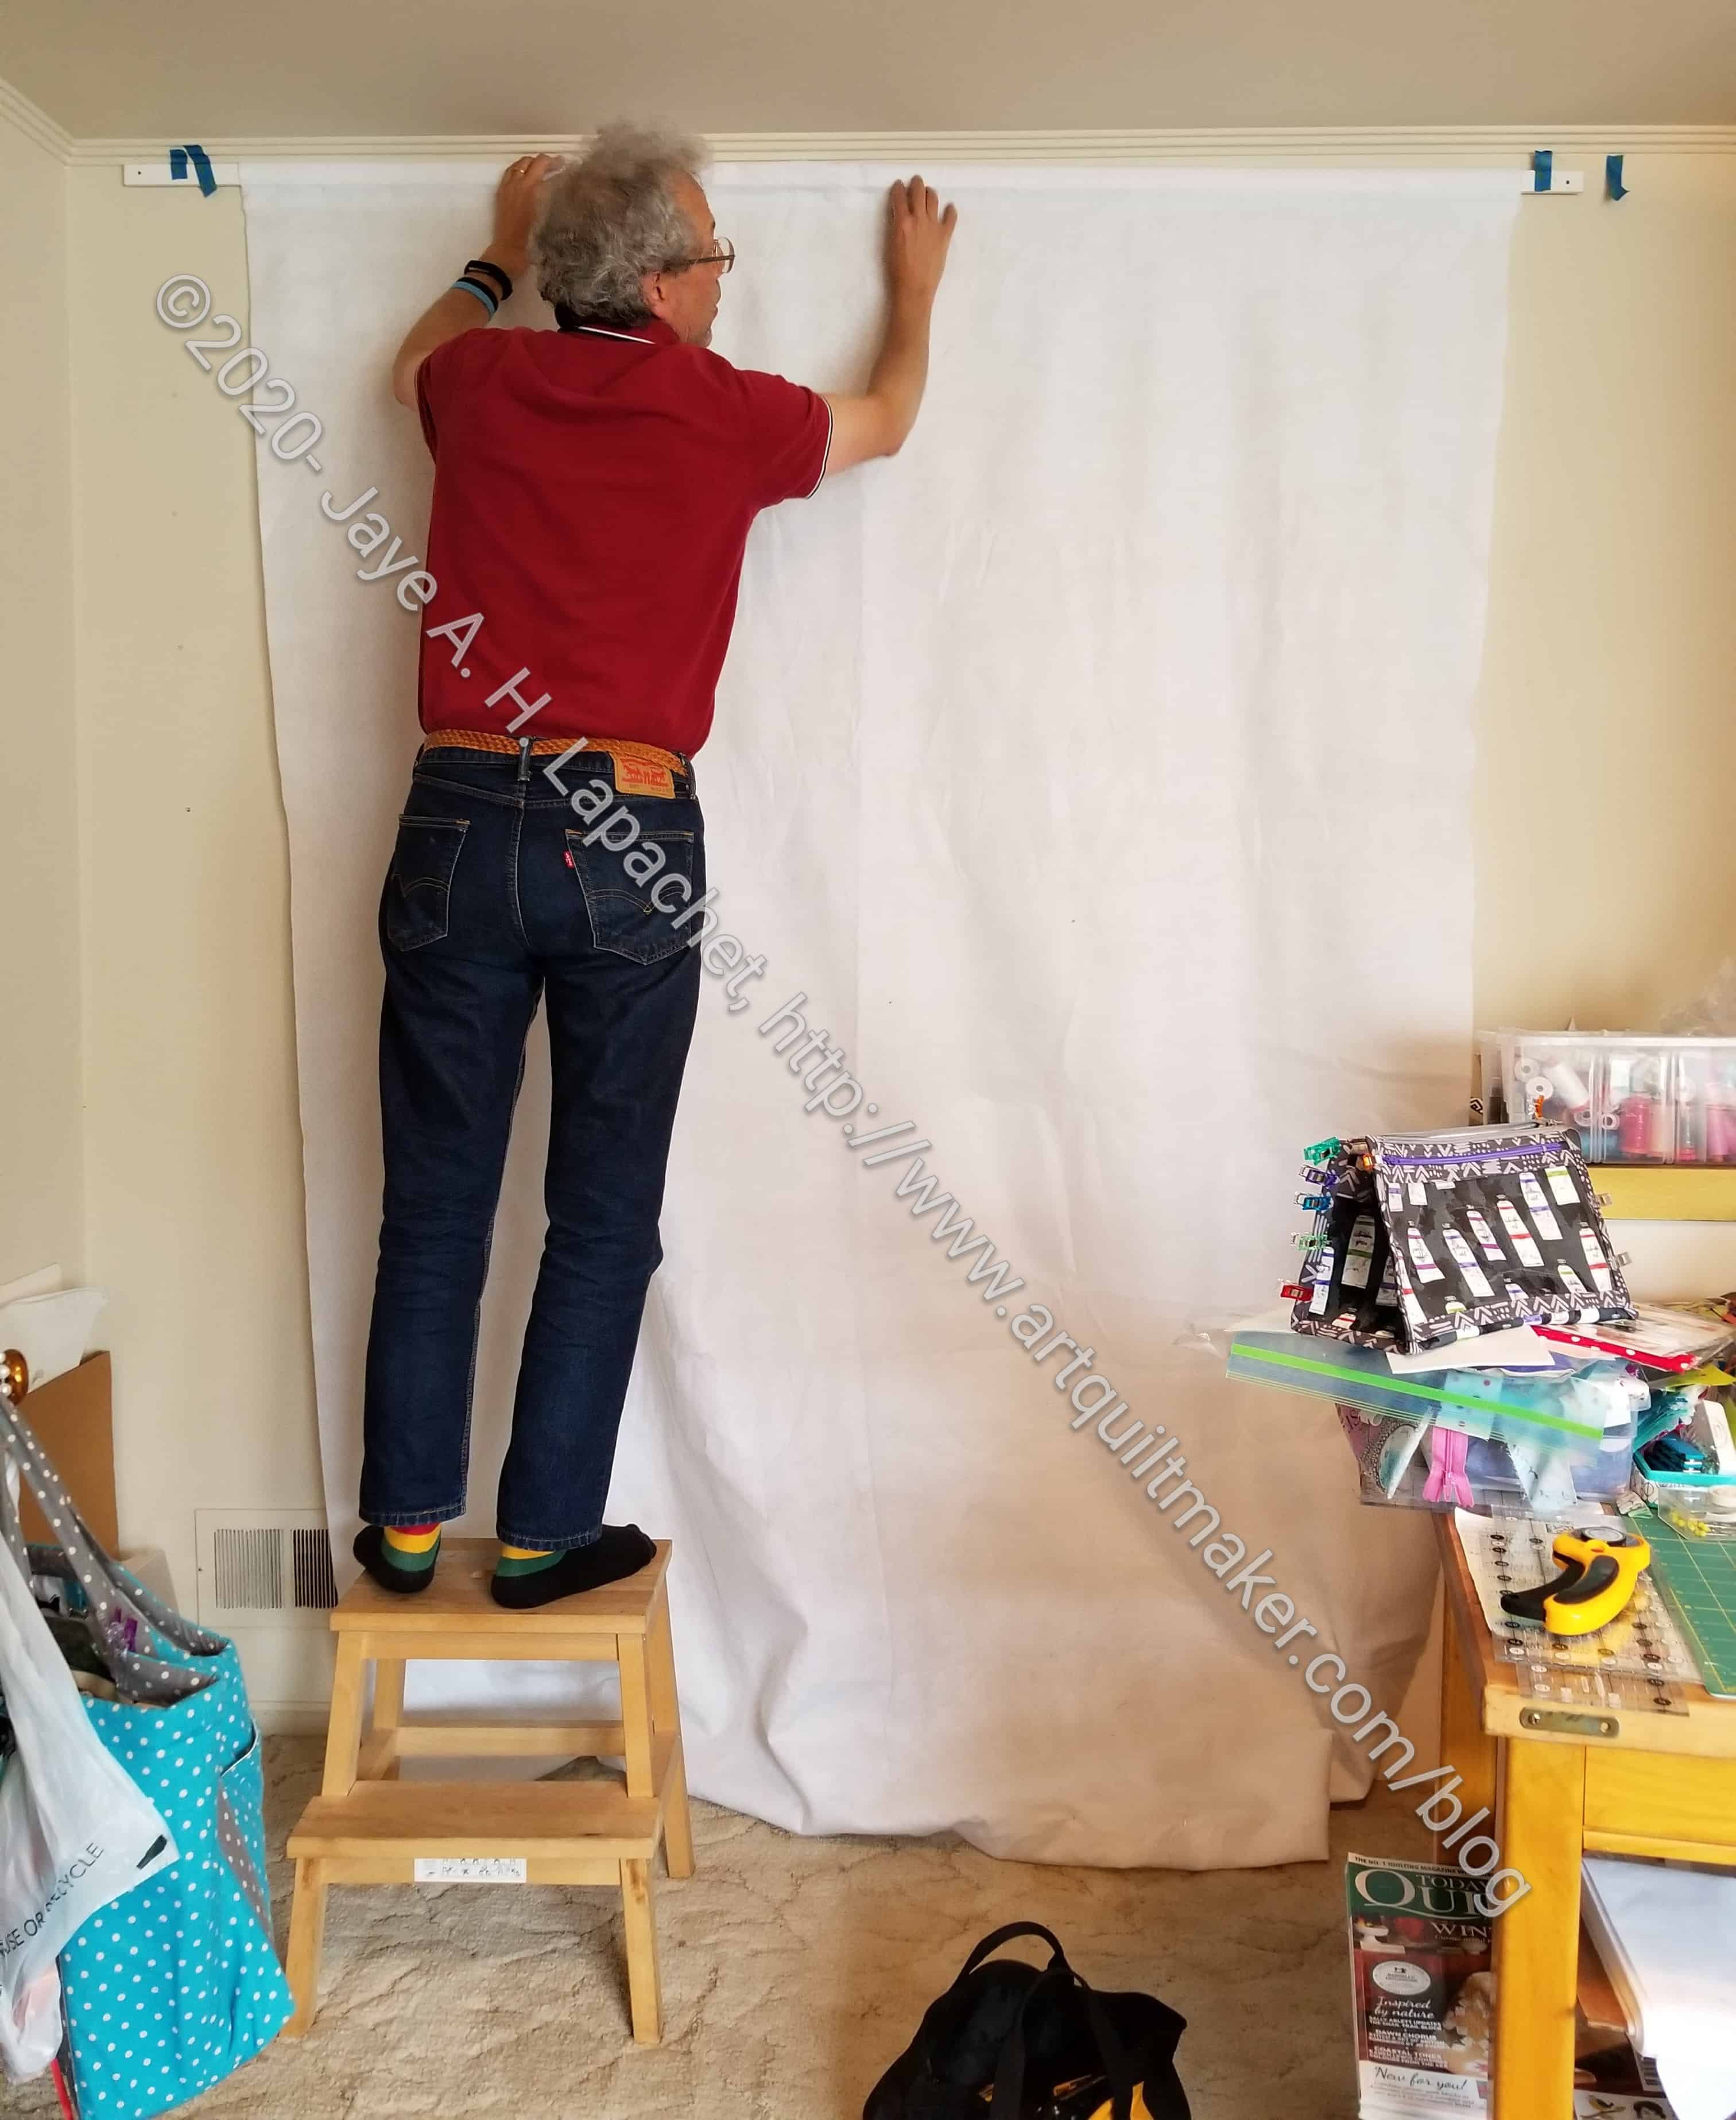
DH went out and got a piece of wood and we were able to install my new design wall.
First, I made a sleeve.
Next, we slipped the wood through the sleeve and, then, screwed the wood into the wall.
The photo, above, shows my workroom in a big jumble because I had to move everything out of the way to get the design wall up.
I had hoped that 72 inches would be wider, but 72 inches is just 72 inches. It might be better that it isn’t wider, because I would just make larger quilts, I think.
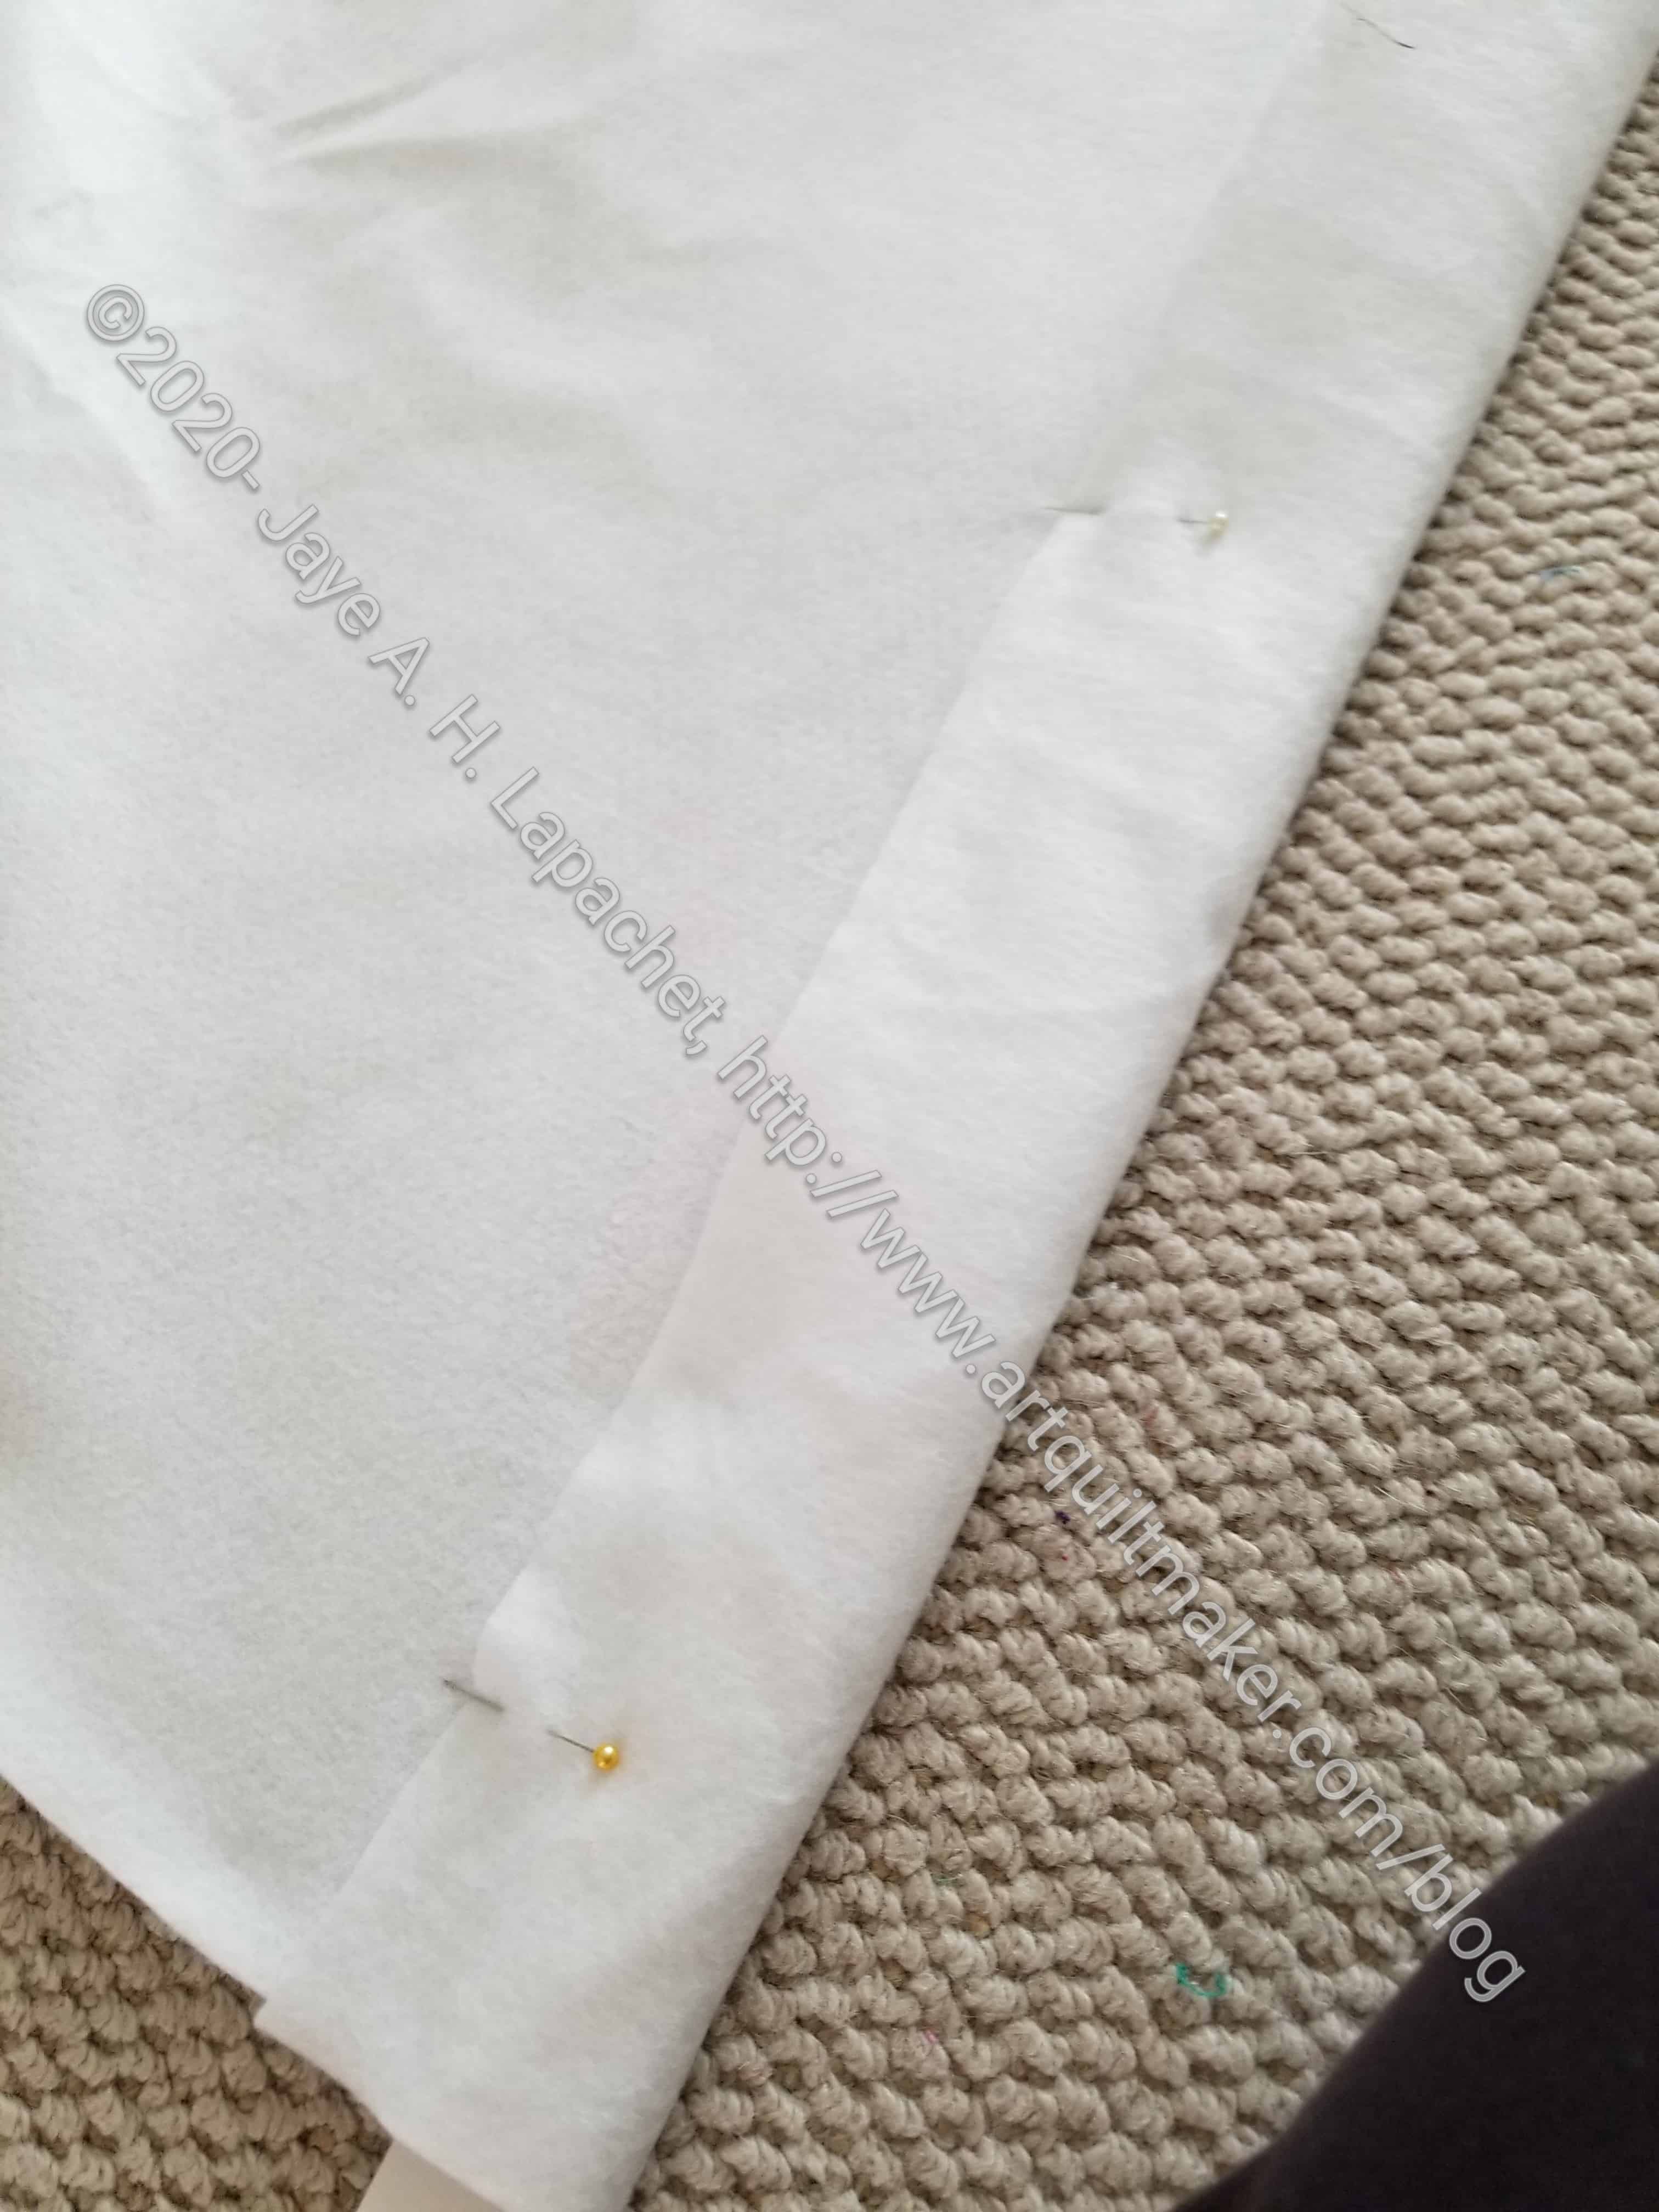
Making the sleeve was a challenge as felt stretches more than regular quilting cotton fabrics.
It isn’t quite done yet. I am waiting to see if I want to put another sleeve on the bottom before I cut off the bottom. I will have to cut part of the bottom off to make space for the heating vent.
Despite nothing happening and not going anywhere, it is already June 20! I can’t believe how time is flying by. It would seem a bit unfair except that I am getting a bit of sewing done.
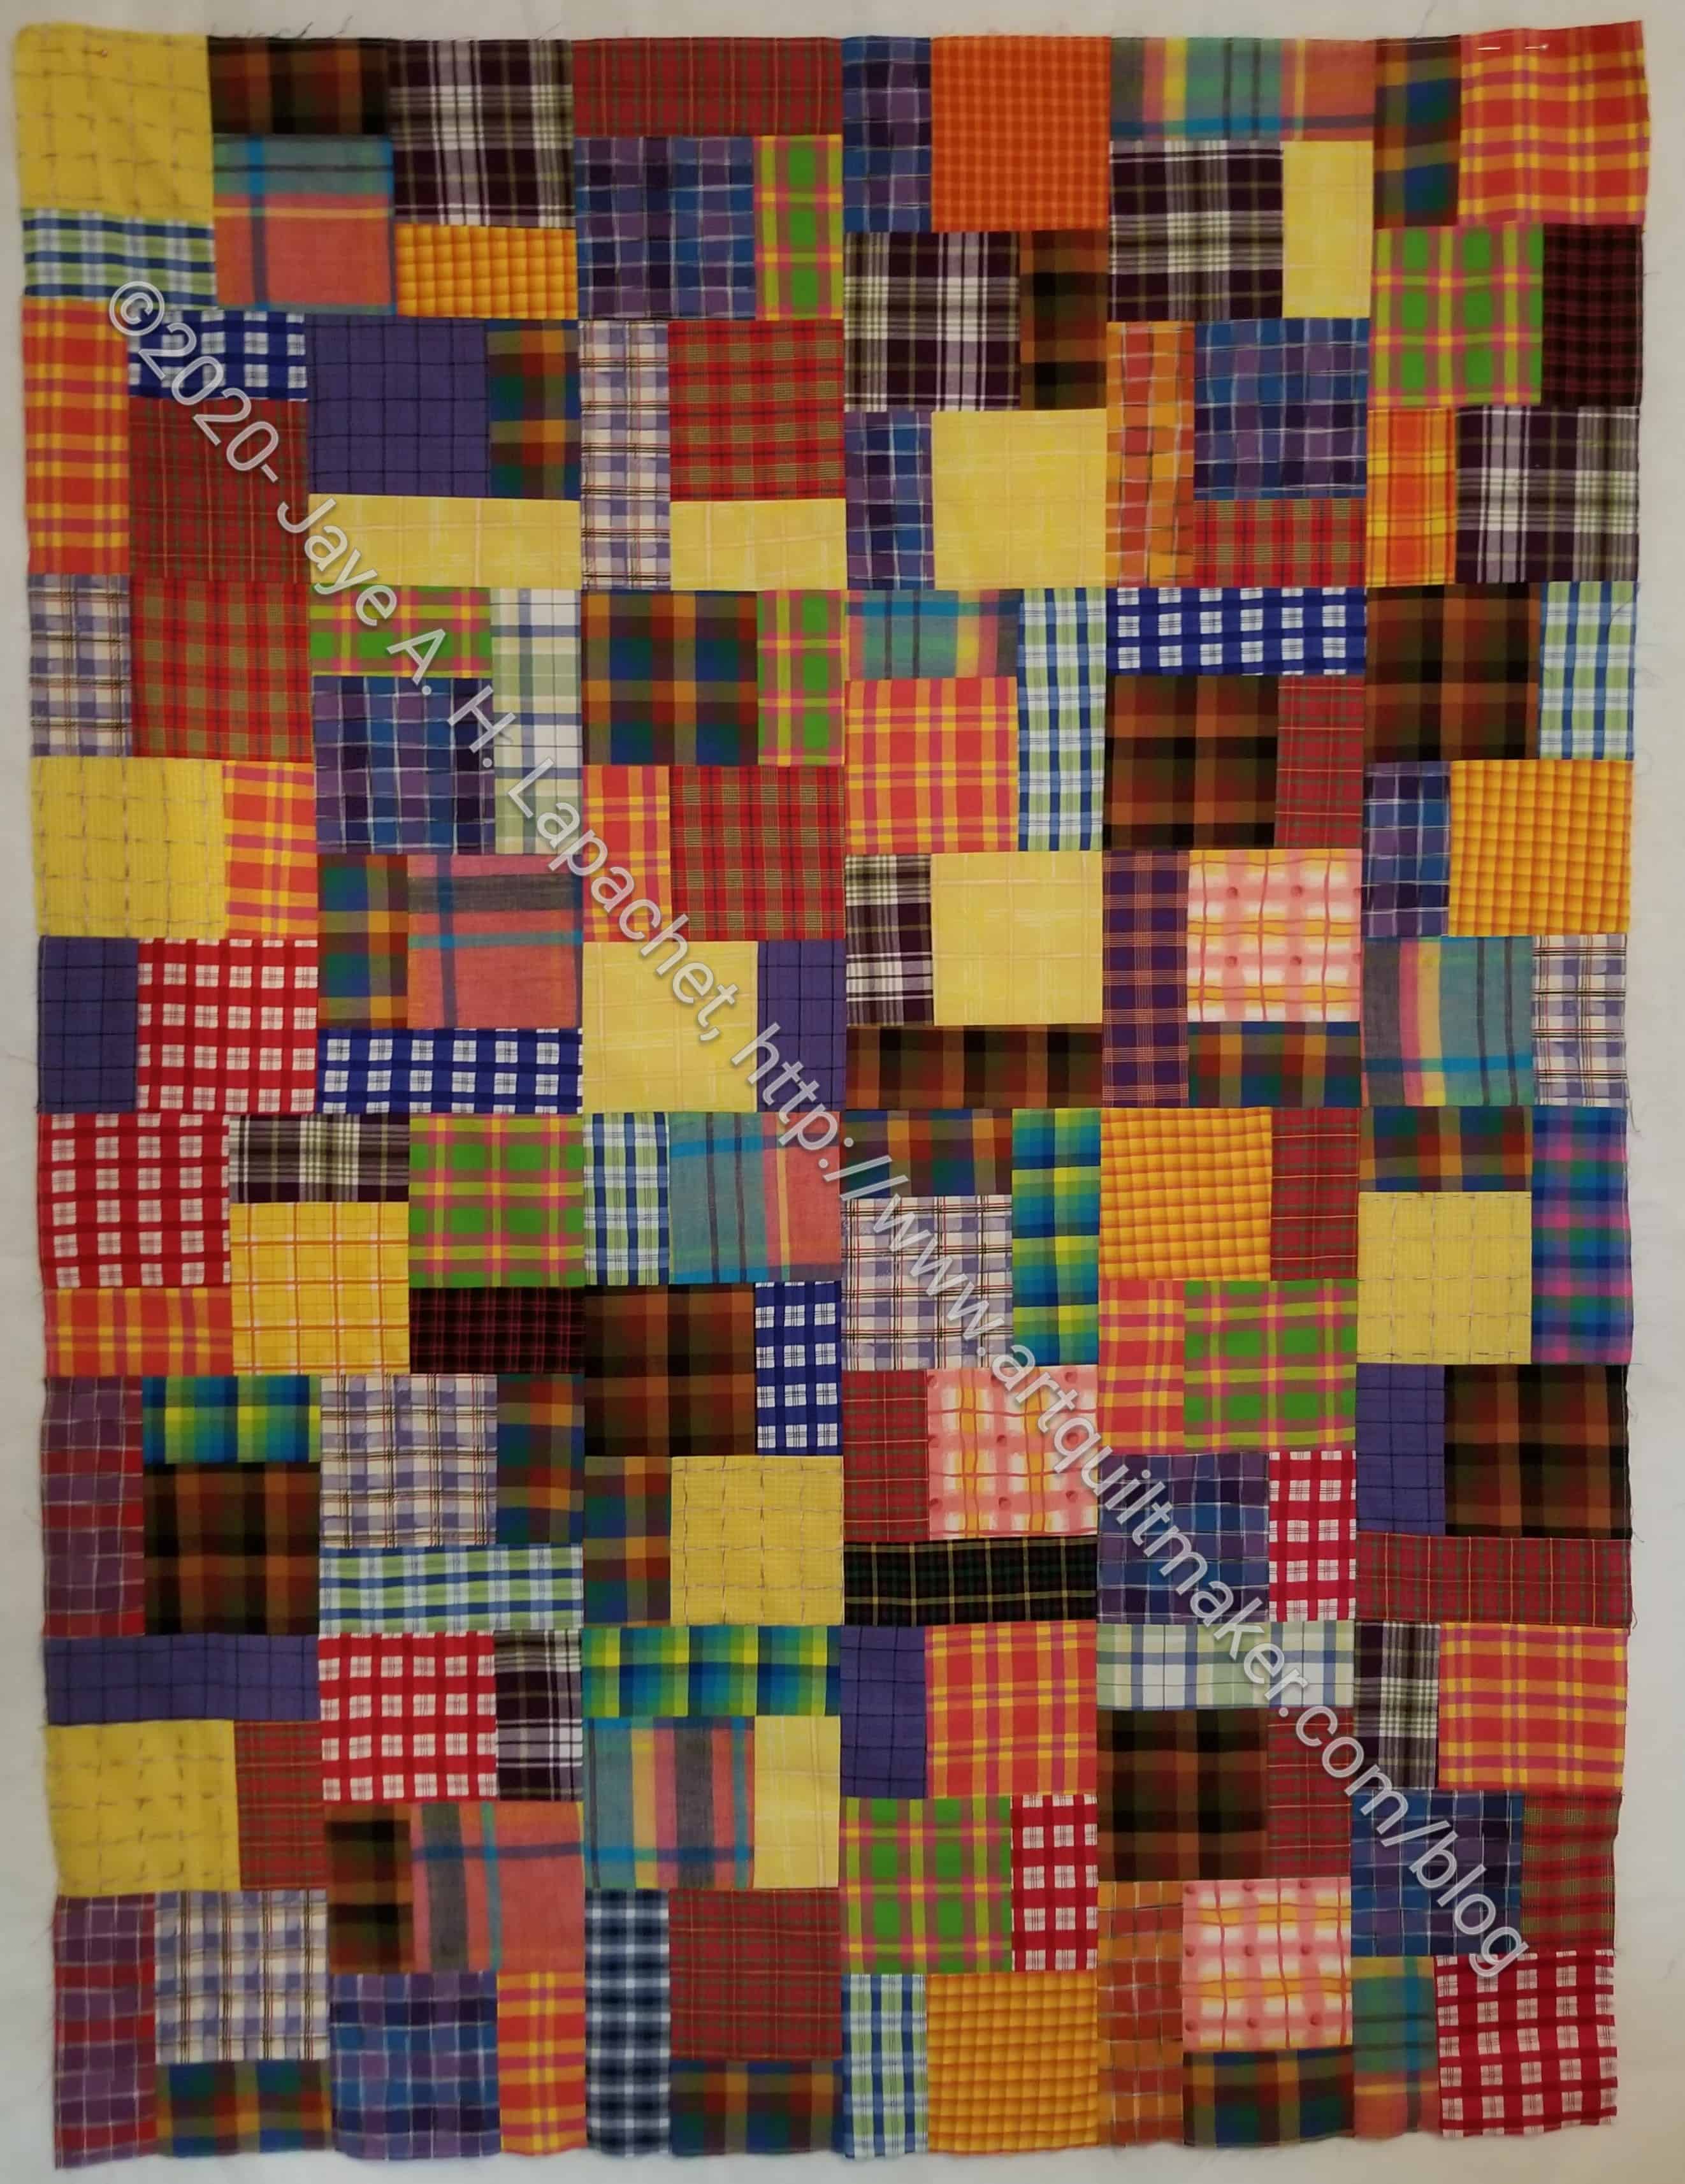
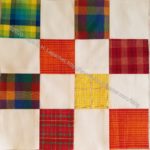
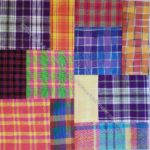
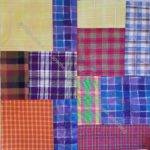
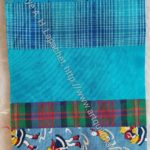
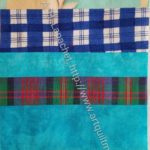
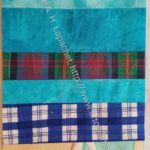
The Plaid donation top and back are finished. I don’t know when they will be quilted. I may make an attempt to send them off to someone in the guild to quilt. That is a project for another day.
As a bonus all of the plaid yardage is used up. I have some scraps left and I am in the process of cutting them up into usable pieces. Some will get filed for for the strip and chunk donation quilts. I am being more generous towards the Pet Beds than I normally would in leaving some larger pieces for the stuffing this time.
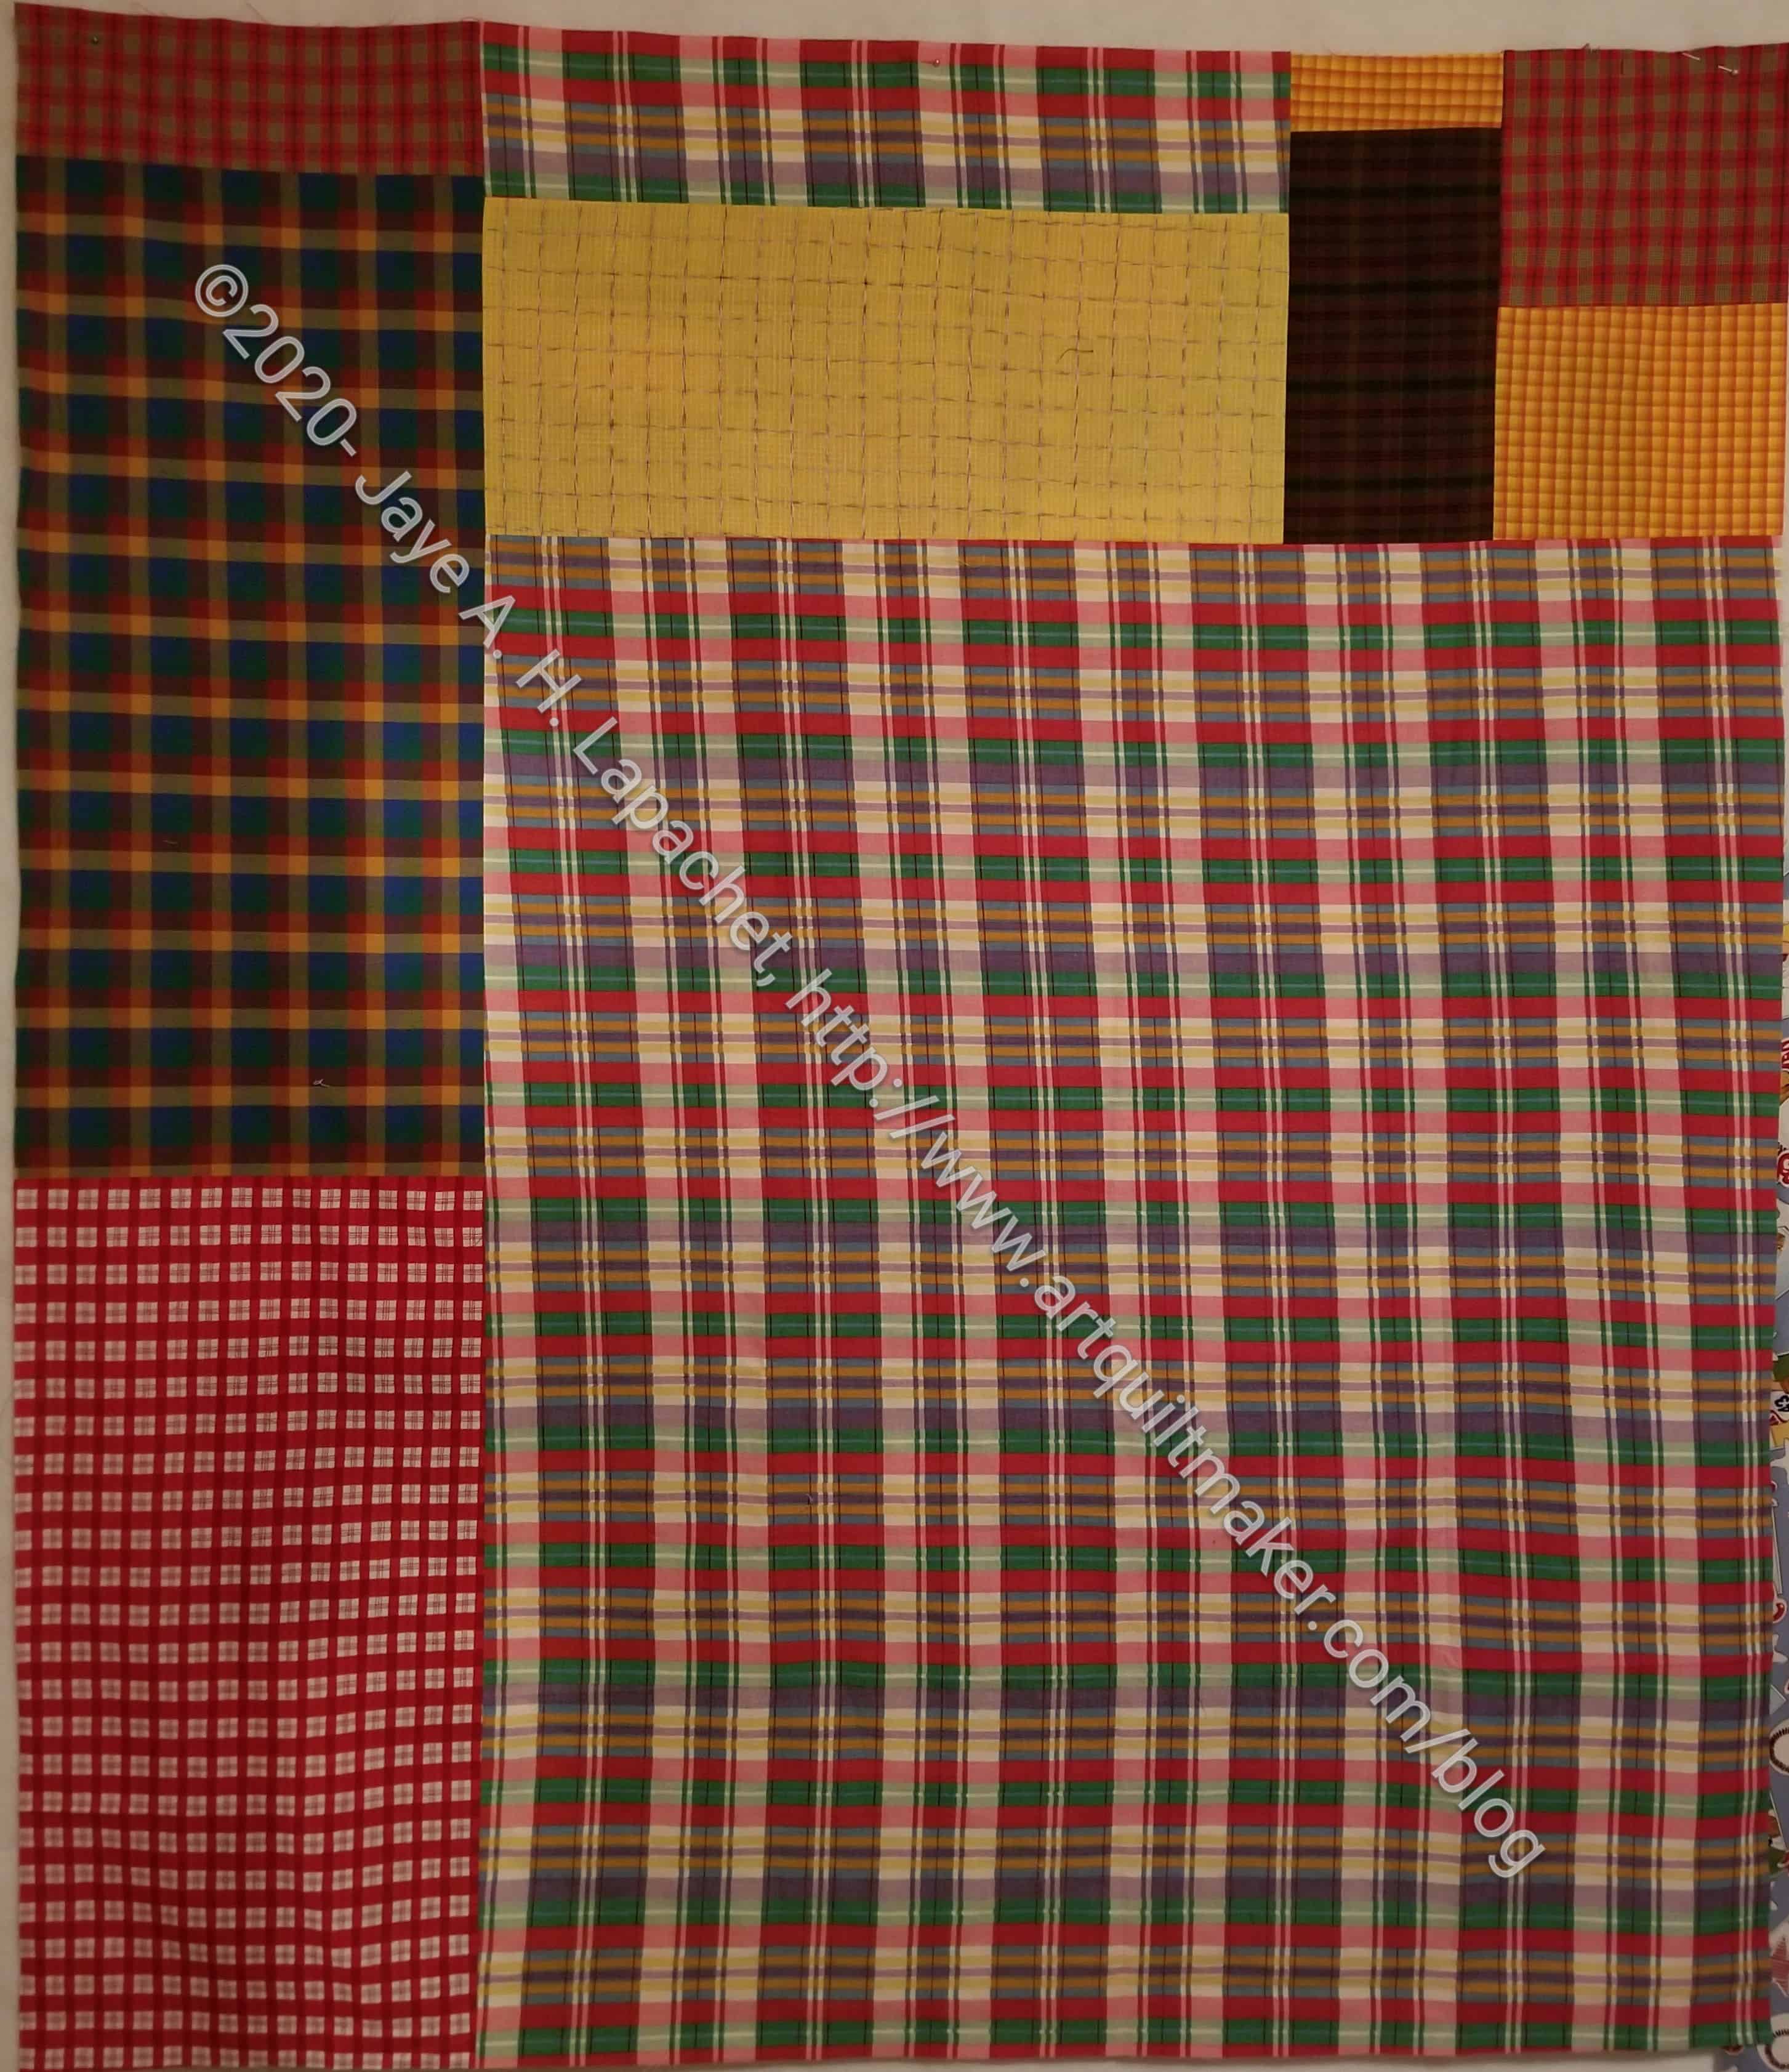
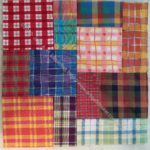
Of course, I used a lot of the leftover yardage for the back of the Plaid Block Party back. I did find a large piece of plaid that I used for the back of this piece, which was handy so I could keep the whole thing plaid and didn’t have to introduce other fabrics into the piece. I thought a solid would work, but am glad I didn’t have to worry about it.
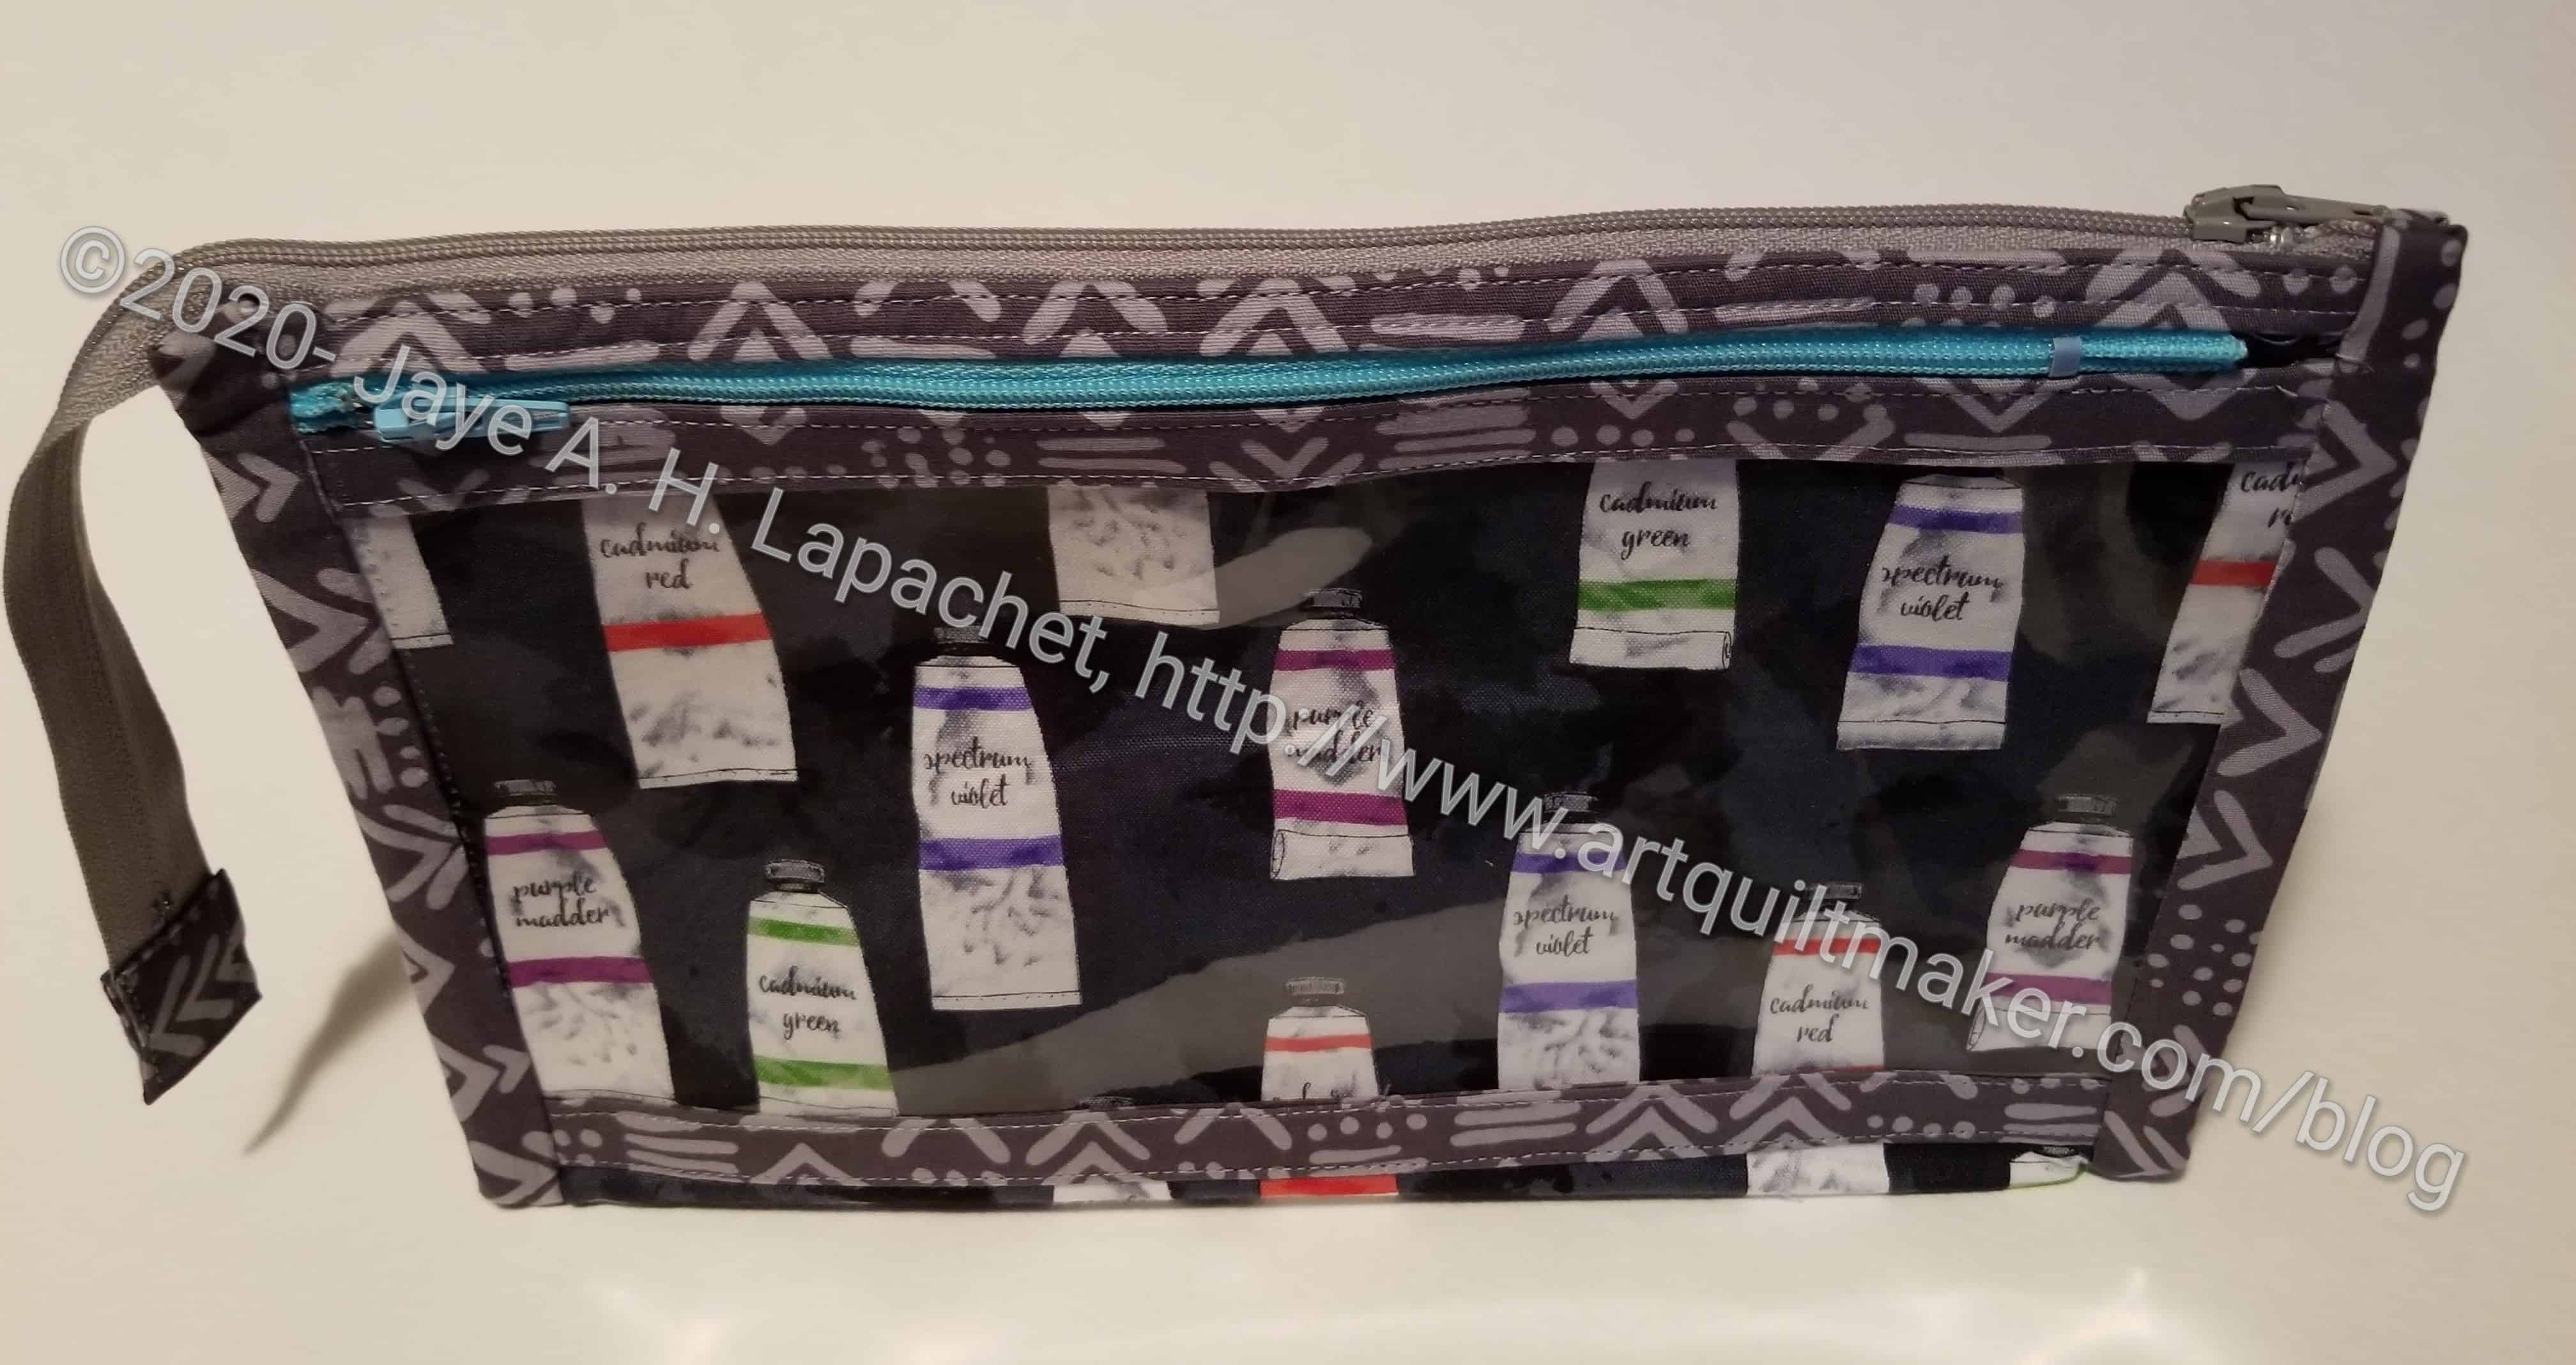
I finished the Inside Outside Pouch at Craft Night on Monday. I only had the binding left and that was a good task to work on.
The pattern is pretty easy, especially after making the Boxy Clear pouch as many of the steps are the same.
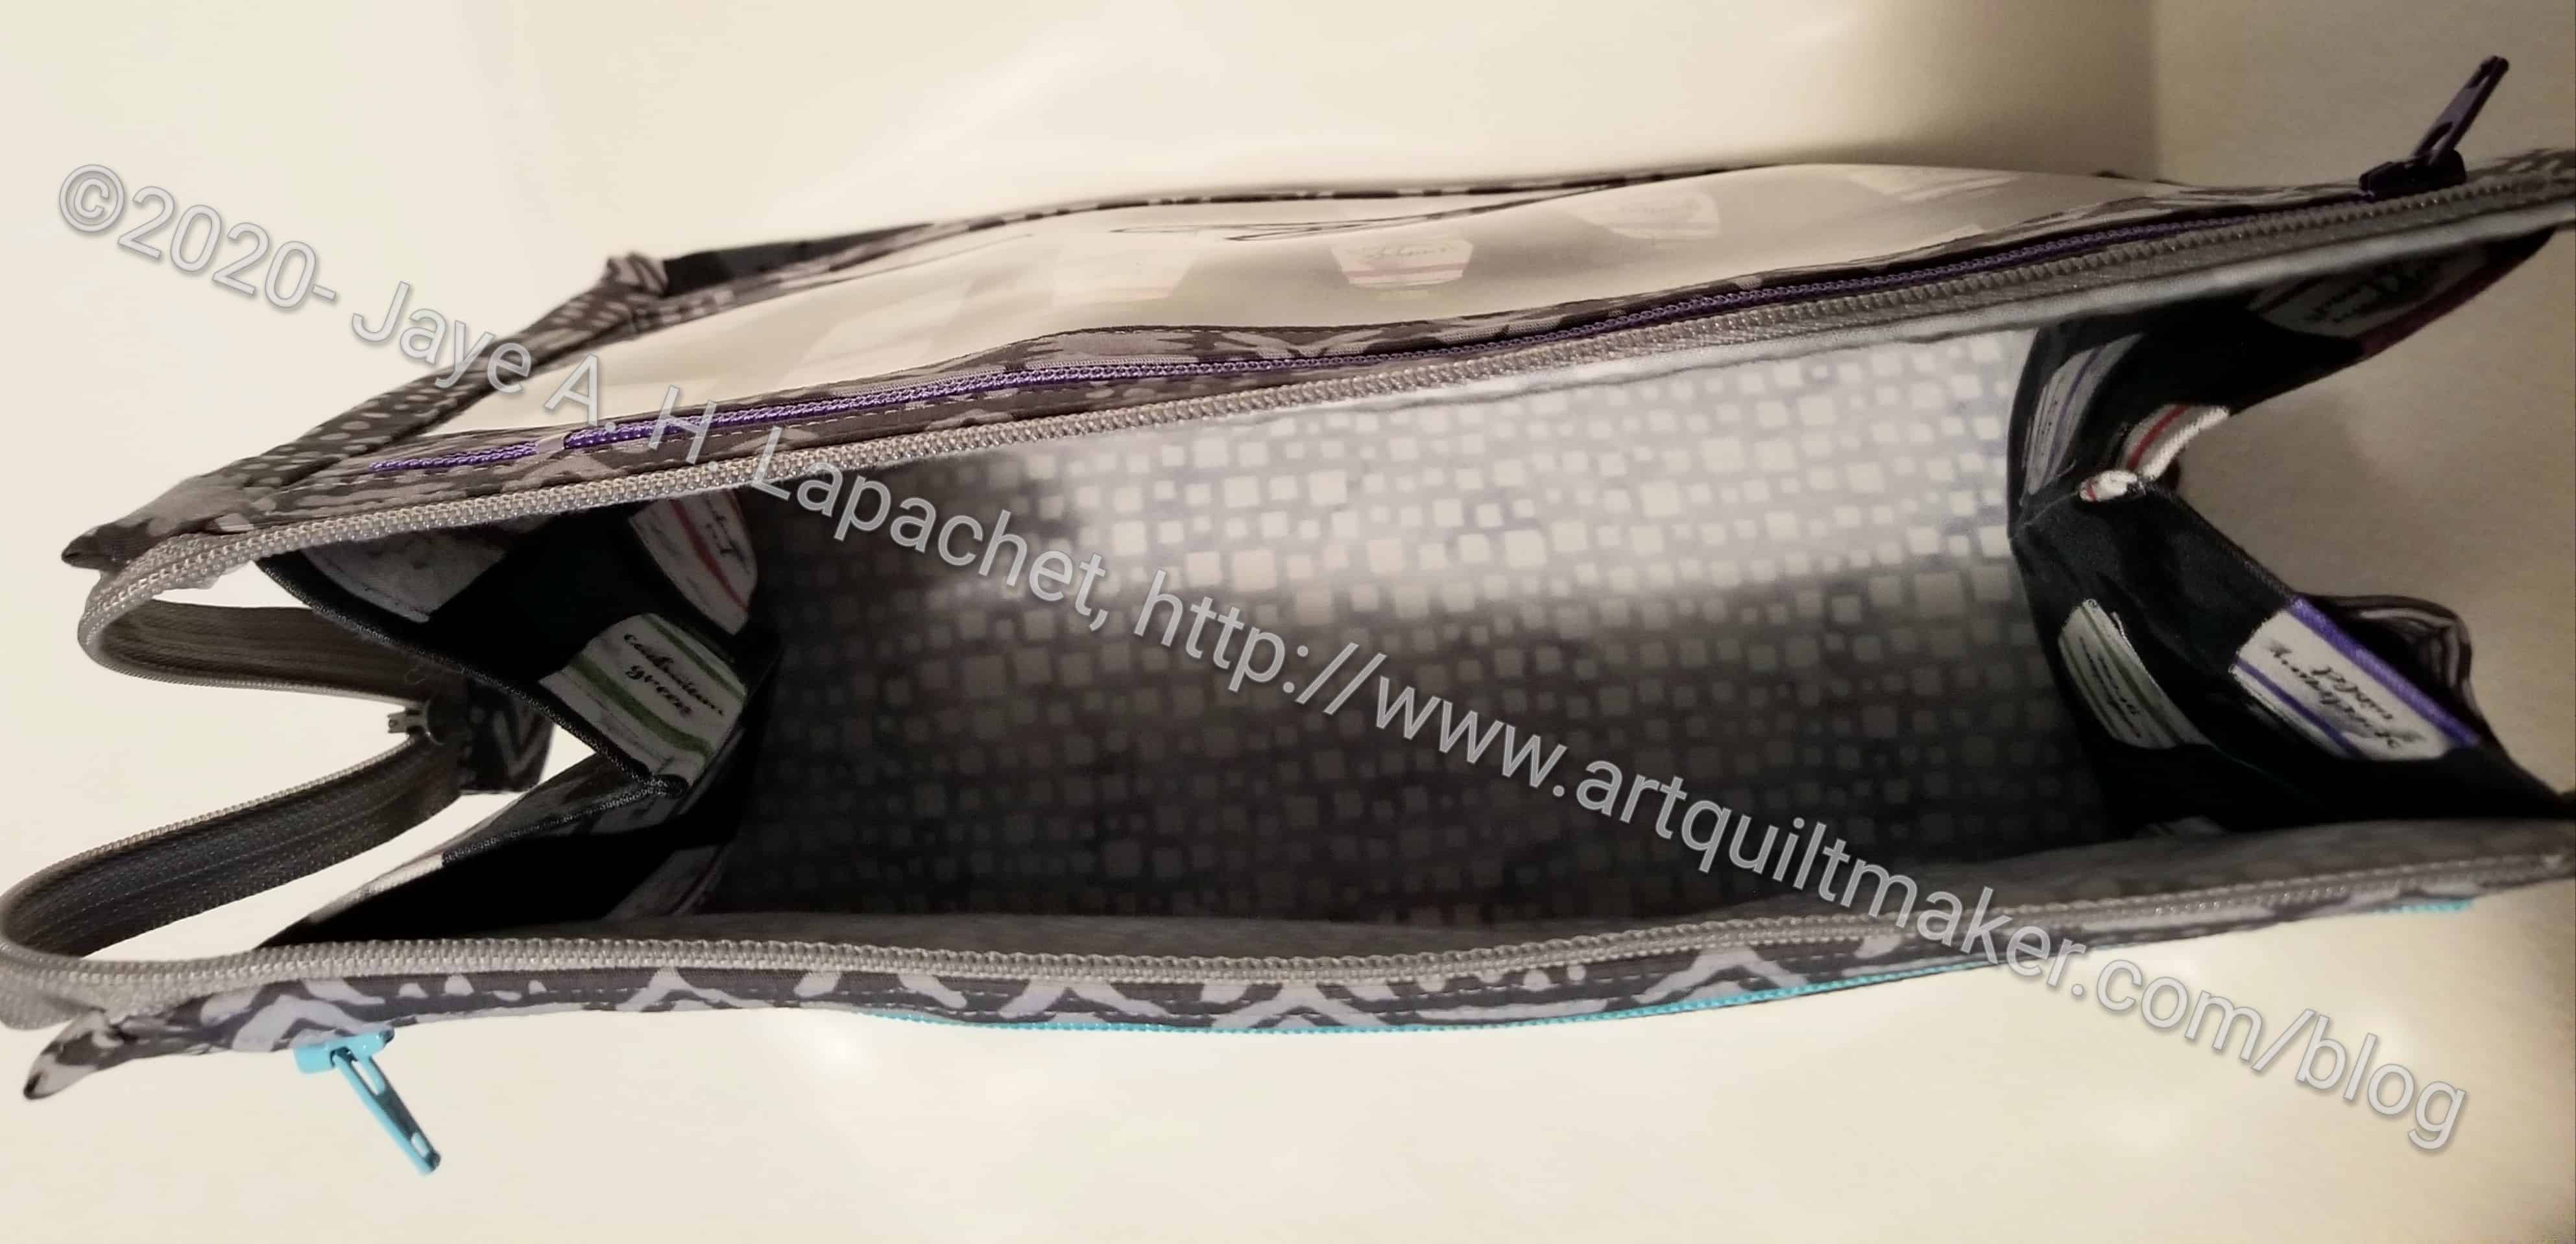
One problem I had was with the zippers. This was not a problem with the pattern, but was a problem with how to measure zippers. I know now that you measure from puller to stopper, not from end to end. The zippers in this pouch are a little short, but it shouldn’t matter in the grand scheme.
I used some leftovers from projects for Mom, so she will probably end up with it. I am not sure how much I like this product. It is a good pattern and easy to follow, but the pouch is kind of large and I am not sure how I would use it. I’d like a smaller version for my binding makers. I may try making a smaller one.
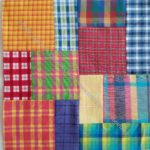
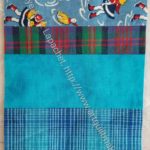
I finished all the blocks for the plaid donation top. I rummaged through some older fabric and found a large-ish piece of plaid I will use for most of the back. The leftovers, of which there are still a few, will make up the rest of the back. I think this will make a great boy quilt.
In the course of my rummaging, I found some baseball fabric remnants and will use them for another donation quilt. Stay tuned for that one.
DH got some masks in the mail from my mom. He now has quite the collection! She uses different patterns than I have used, but she has also made a lot more.
I am still experimenting, as I have said, so I try and pick fabrics that he will wear, but may not be fabrics that he will wear to work. That will come when I find the pattern and style that works for us. My mom made him a black one that he can wear with his tuxedo. Of course, I have no idea if we will ever attend a black tie event again.