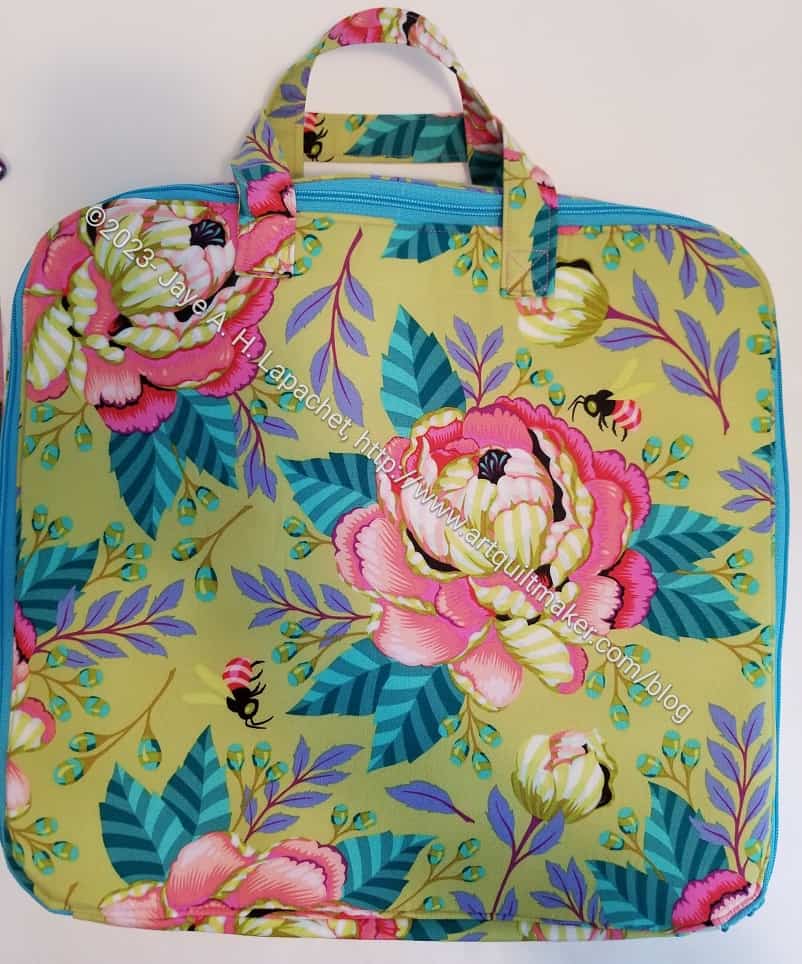
I was able to finish the Amethyst Project Bag before the Retreat.
The other day when I wrote about this project, I was concerned that I wouldn’t have time to finish it before the Retreat. Despite some unsewing, I had no problem finishing it.
I realized while making this bag that one reason I enjoy making bags is that I still have a lot to learn. This bag is pretty good work and I am not ashamed to give it to someone at the Retreat, but the work could be better. It isn’t that my workmanship wasn’t good; it was that I wrestled with the 3D-ness of the bag while top stitching. I just need more practice.
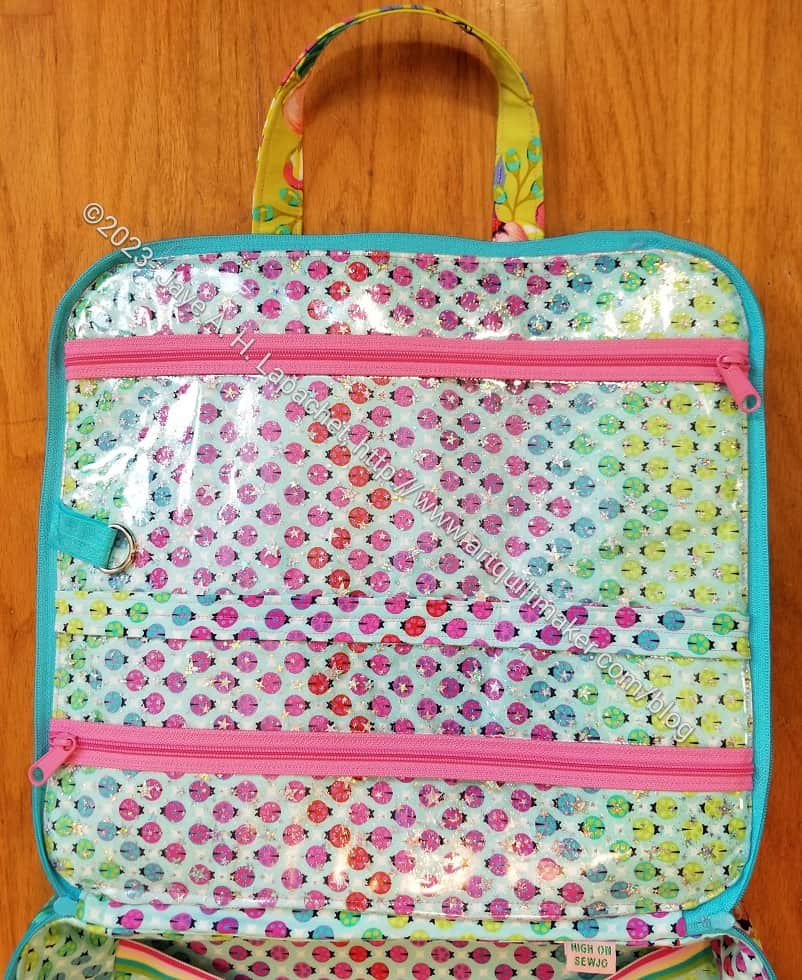
I think the bag is more useful with the vinyl inside pockets. I talked about using the directions from the A Place for Everything v.2 bag as guidelines in a recent post.
You can see that I added a D-ring, as usual. I wanted to make an I Spy pouch to clip on to it, but didn’t have time. I also am not sure I have any more of the two fabrics. Maybe later.

The bottom section is where I installed the elastic. The dimensions of this bag are 14.5 x 13.5 inches, which is large enough for most quilt blocks. The elastic and parachute clip keep them inside. I think this could be used for rulers as well.
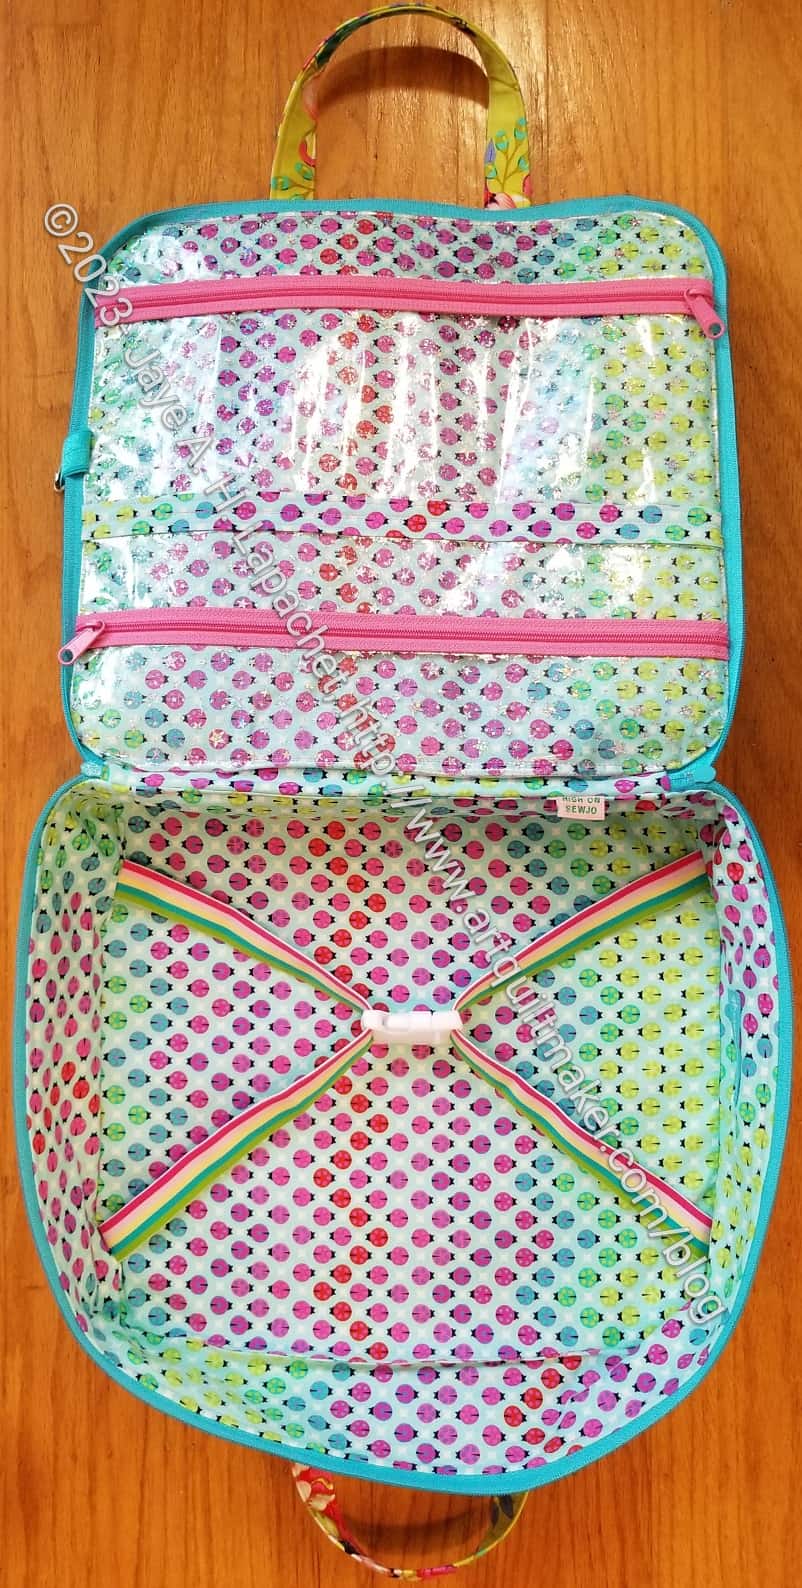
In general, and overall, the inside is very useful, I think. The lady bug fabric (from the Tula Pink Tiny Beasts line) looks really fun. There is a bit of movement in the fabric as well.
All of the Tula Pink fabrics are designed to coordinate, so I think the outside (Ka-Bloom) and the ladybugs go together. I suppose ladybugs crawl on flowers sometimes….
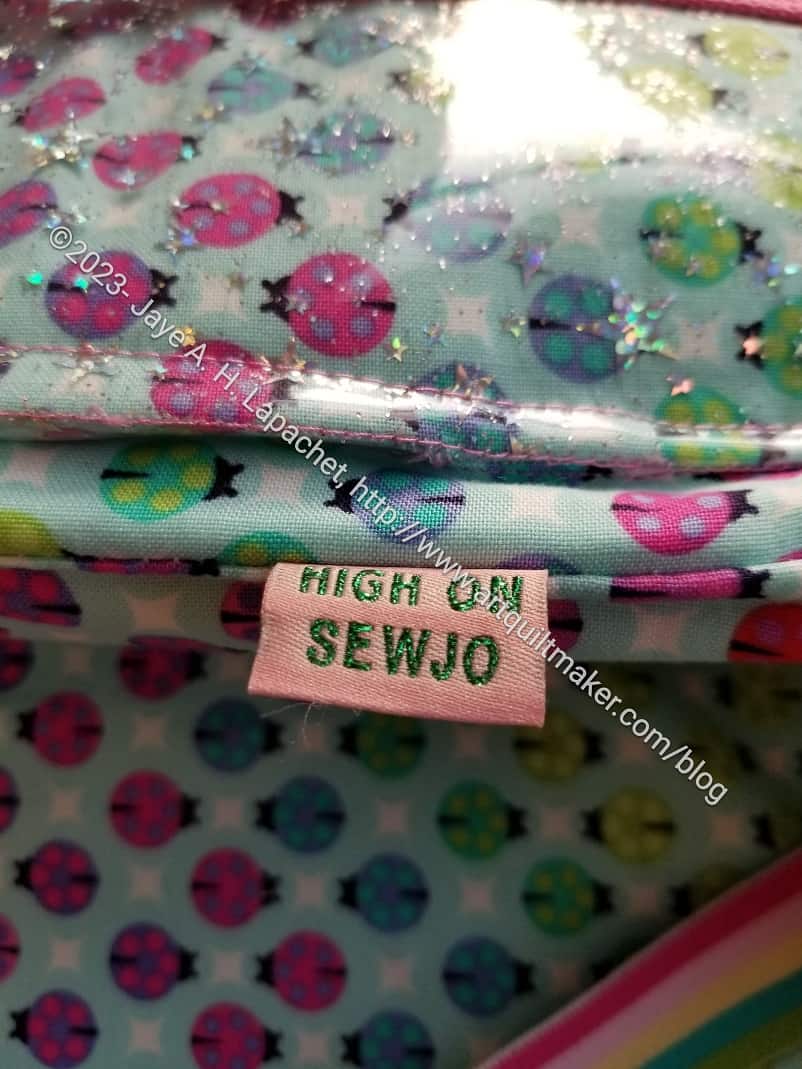
Finally, I used another one of the Advent labels. If I make one of these again, I’ll put it on the side. I am still trying to find the best place to attach labels.
This is not a Sew Sweetness Minikins pattern, but it is one that I have had for awhile. I am glad to finally be trying it out.