To Sash or Not to Sash

Aqua-Red Sampler - August 2018
Aqua-Red Sampler – August 2018

As part of the Sampler Quilt Class and other tutorials I have on this site, I want to add one about putting a quilt together. I thought it would be good to include information about sashing at the same time. Since I have been using this quilt to write the Sampler quilt posts, I thought I would use it to create the latest tutorial.

Process can be a difficult mistress (boy toy??) and she had both fangs and talons out for me on Sunday. I really wanted to just piece a bunch of stuff together, so I took Who Am I? off the design wall and started checking out sashing options for the Aqua-Red Sampler. I thought this would be a relatively easy task and I would be sewing in no time.

HA! I should never think that.

I started off thinking that the version above with no sashing just wasn’t quite right. I have a stack of fabrics that I keep for backs and sashing (larger pieces) so I started to look through them and try them out.

I always use Lorraine Torrence’s rule to “make visual decisions visually”. Well, when I do that I usually get good results. When I don’t, I ruin the quilt.

Sample Sashing n.1
Sample Sashing n.1

I pulled out the most likely option and pinned some blocks up on my design wall (2 layers of fabric don’t stick). You can see how optimistic I was that this would work based on the number of blocks I put up. It isn’t terrible, but I didn’t like the way the red was interacting with some of the reds in the blocks.

Sample Sashing n.2
Sample Sashing n.2

I thought maybe some blue and I have a nice turquoise solid that I got out. Not terrible, but nowhere near great either. The blocks with the lighter blue backgrounds stick out like sore thumbs and the blocks with the medium blue backgrounds wash out. I wasn’t daunted yet.

Sample Sashing n.3
Sample Sashing n.3

I thought maybe I should introduce a new color. I know I wanted this to be a, basically, two color quilt, but I started to think, perhaps, that there was no way to keep that dream alive with the two colors I had chosen. I thought about the green in Stepping Stones n.2 and I picked out a nice floral without flowers that included that green plus the blue.

Hideous.

Sample Sashing n.4
Sample Sashing n.4

I couldn’t yank that fabric off the design wall fast enough. It made me think of my man, Phil, though. I tried one of his prints. Also hideous. Well, not hideous, but it really didn’t work. The blue was wrong. The pink was wrong. It looked messy and slapped together.

Sample Sashing n.5
Sample Sashing n.5

I decided to try some white. It wouldn’t be my first choice because it is too predictable, but I was starting to feel desperate. Just a little. The white is wrong, too. I am not sure why, but it doesn’t add anything. It was too white as well, as if THAT makes any sense.

Sample Sashing n.6
Sample Sashing n.6

Since I liked the dots and was still thinking the white might just too white, so I pulled out a different dot and tried to like it. It isn’t terrible. It does add a bit to the whole piece, but the black dots just aren’t right. There is none of that fabric in the whole piece. I put it aside as a possibility.

Sample Sashing n.7
Sample Sashing n.7

Still thinking dots would work, I pulled out a different red dot print. The red wasn’t exactly the shade I would have chosen if I had all the fabric in the world, but the dots were larger and that was promising. Also, not terrible, but also not exactly right.

By this time, I was starting to feel disheartened and needed some input so I posted to Instagram to get some feedback. People were very kind and had some good ideas.

Sample Sashing n.8
Sample Sashing n.8

One person suggested navy, which might work, but I don’t like navy much and don’t have any navy fabric – yardage, at least. I might have some scraps. Amanda suggested yellow. I had a nice sunshine-y orange, which I just thought I would try to see. Not terrible, but not right either. It came across as gold in the photos (even the one above, I think). You remember the hunt for yellow in which I engaged for the basket quilt? I really didn’t want to go out and buy fabric. I really felt I had to have something that would work.

Sample Sashing n.9
Sample Sashing n.9

I found some cherry fabric, again by my man, Phil, and thought I would try it. The first Philip Jacobs option was still on my mind. I wasn’t ready to give up on him again. This fabric is actually okay. I think ‘okay’ is a step above ‘not terrible’. Still it didn’t scream YES! at me.

Much more sighing went on.

Sample Sashing n.10
Sample Sashing n.10

My last option for the day was a grey. I was not hopeful. I really wanted to sew and I had used most of my sewing time on an unsuccessful attempt to choose some sashing.It didn’t work. It doesn’t look much better than the white

I gave up and went to sew the latest donation quilt. I am starting to think this quilt does not want sashing and I’ll have to make the tutorial with another quilt.


New Donation Quilt

Dotty Squares -Donation Top To Be

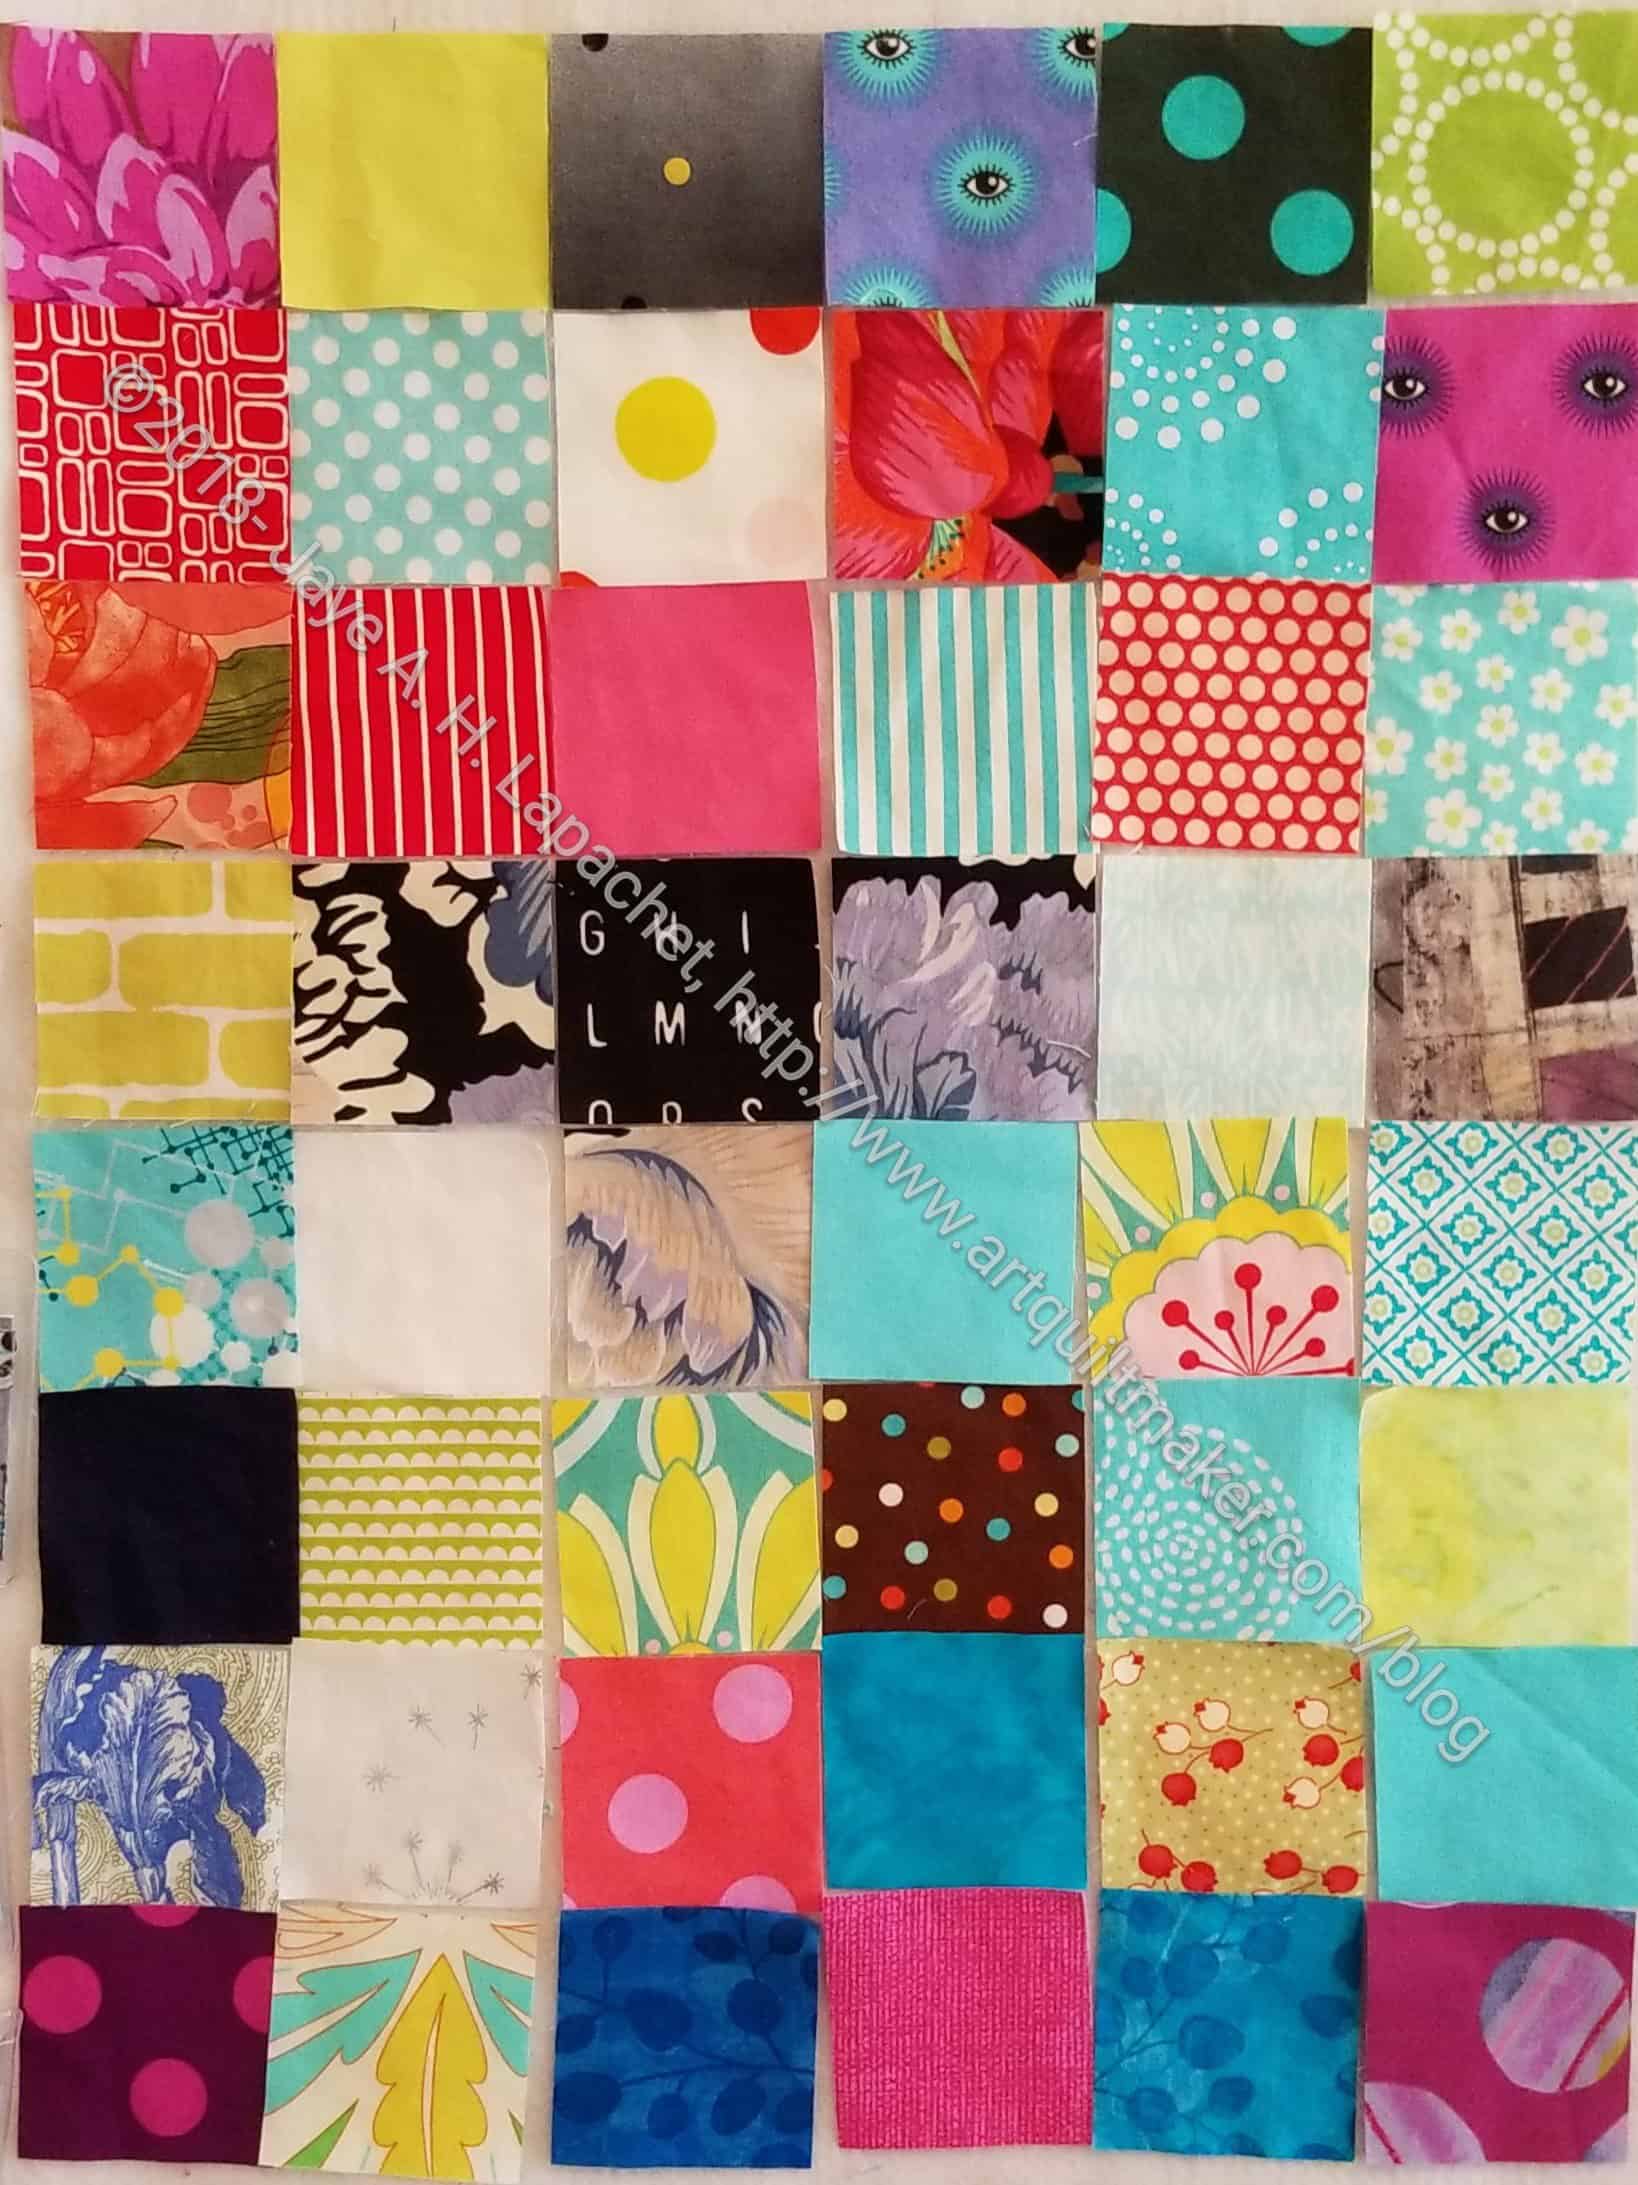
I found a pile of squares the other week and decided, Sunday, that I would quickly sew them together for another donation quilt. Fortunately, I had 42 and a 6×7 layout is a great size.

I got more than half sewed. It is super easy sewing, so I might get a few seams in here and there during the week.

Dotty Donation Top - half sewed
Dotty Donation Top – half sewed

I hope I don’t remember why I cut these and kick myself for sewing them together in another project. Fortunately there is no shortage of dots on white at my house.

New Knitting

New Knitting
New Knitting

I bought this yarn in Sisters and love the colors.  I started knitting in Sisters, but have ripped it out at least three times since then.

That is my process. I think this latest cast-on with stick.

One issue I considered it making a shawl. My office can be cold sometimes and if I don’t want to wear my fleece inside, a shawl would be nice. I heard of a pattern where you start with a cast on of 2 and then continually increase. I did this for about 10 rows and then ripped it out. It looked messy and was not soothing to knit. I will knit a large scarf for now and use that in my office and find a shawl pattern that isn’t such a PITA.

Quilt Class: Cathedral Window Block

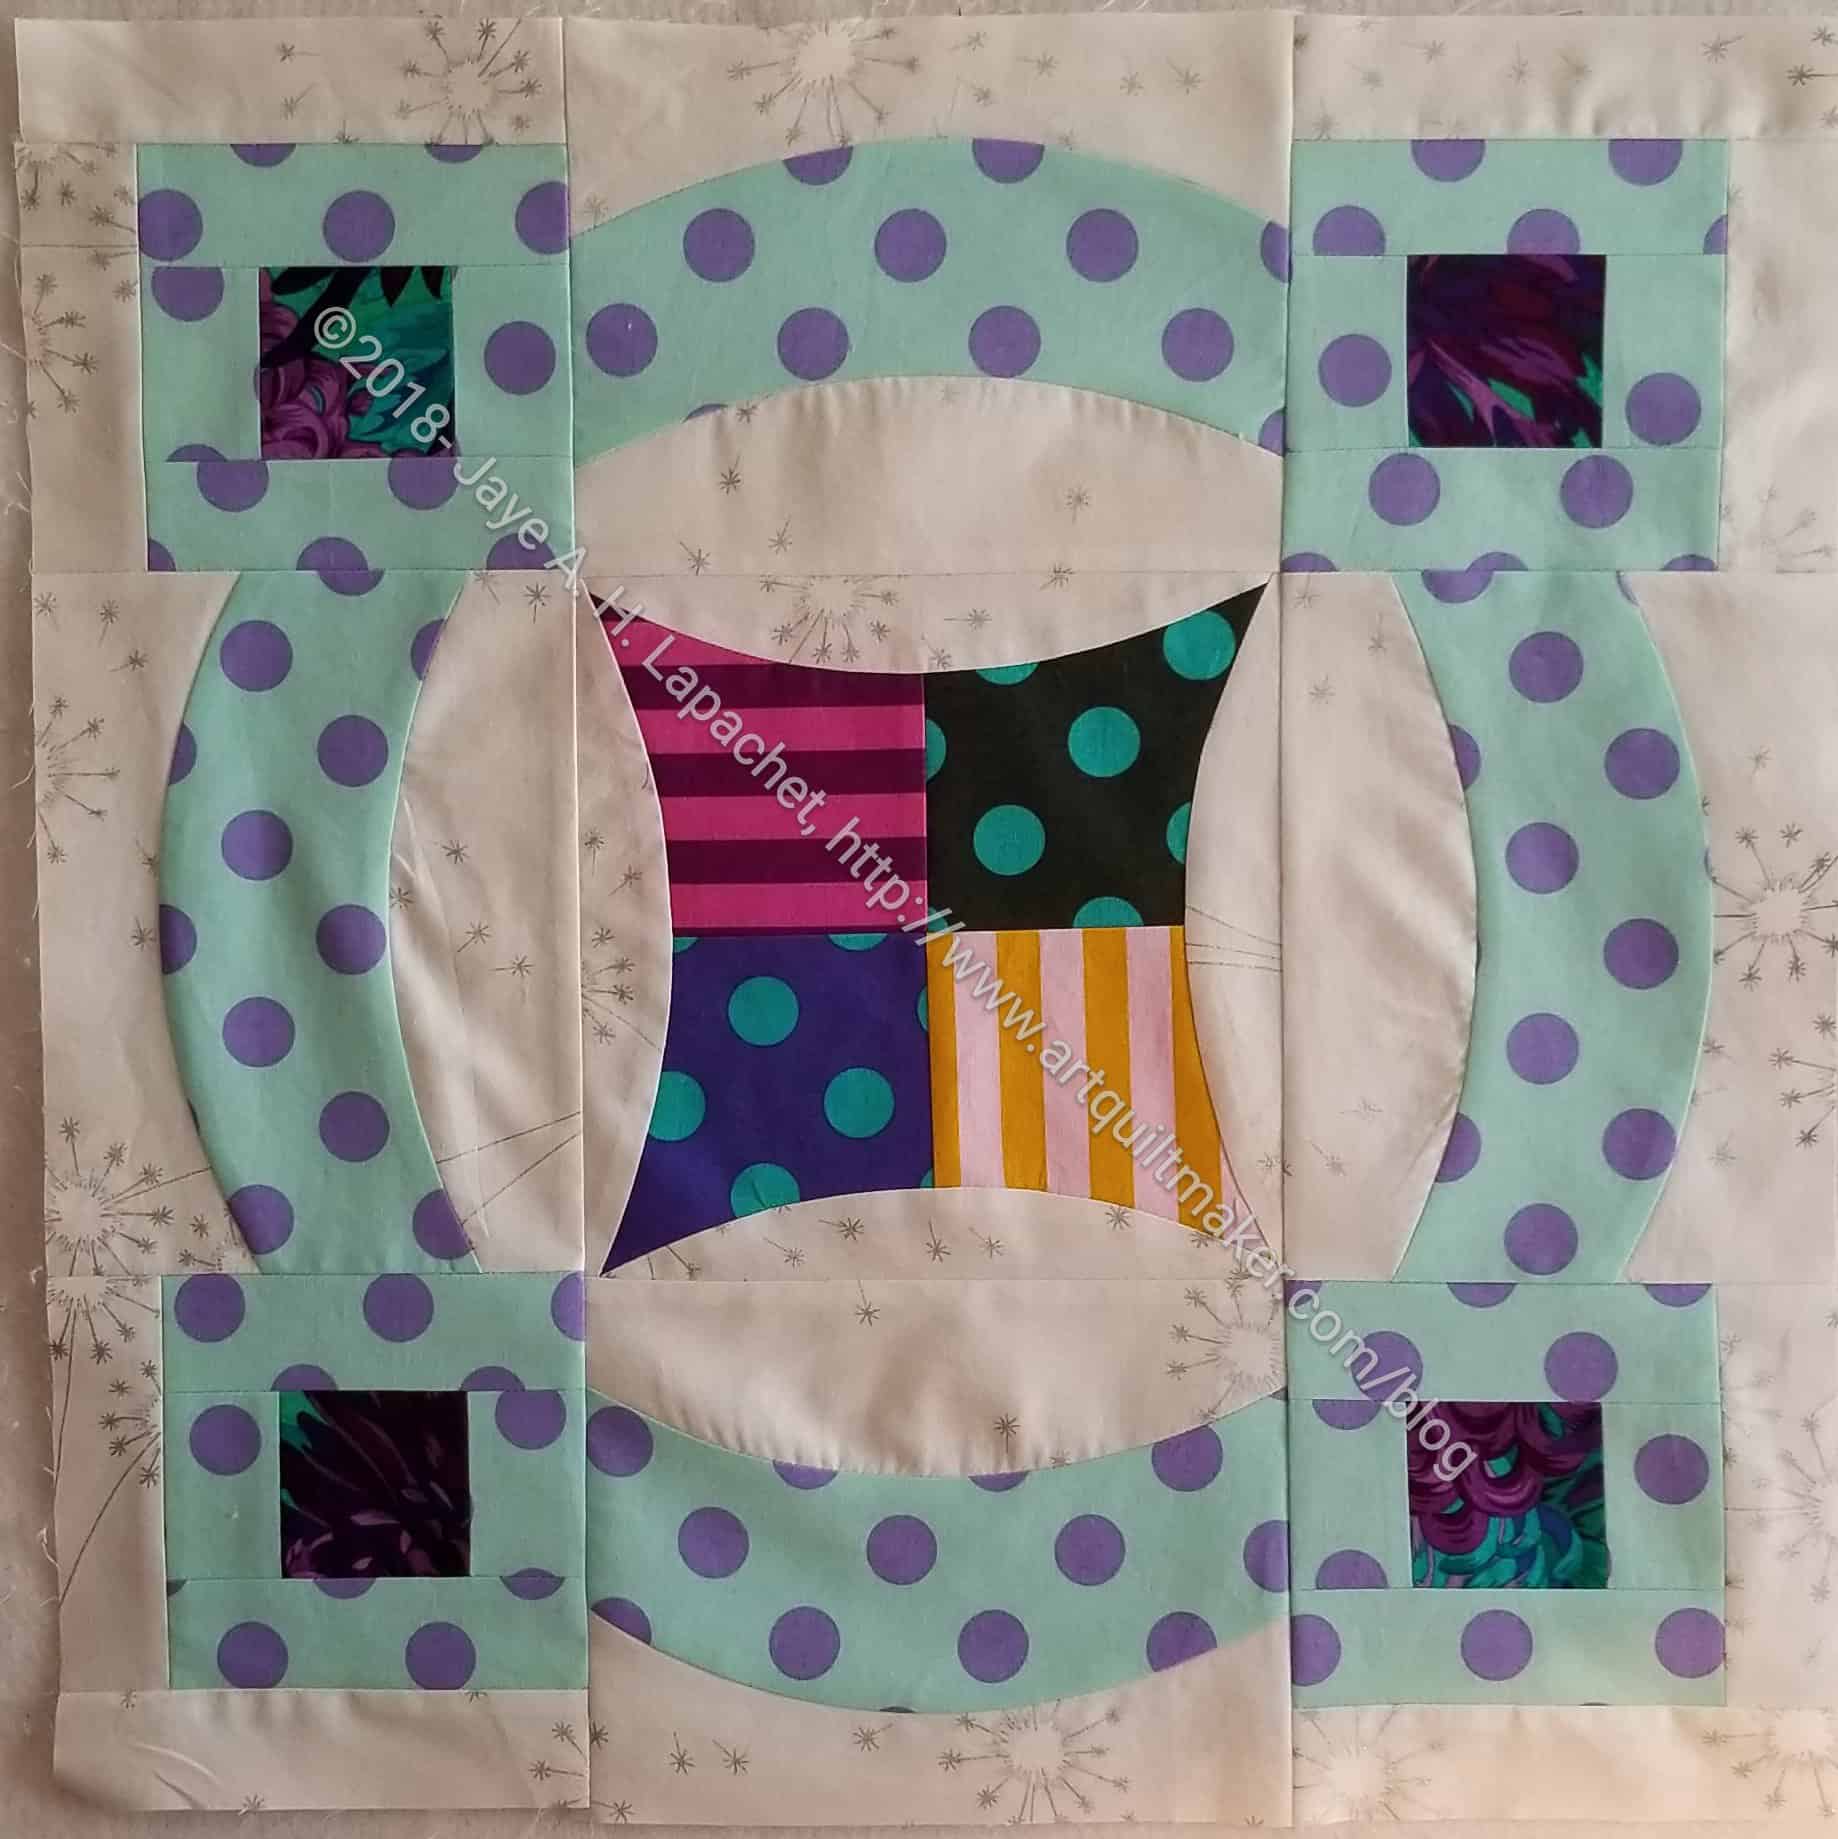
Finished Cathedral Window block

I decided to make this block after finding I needed one more block to complete my Aqua-Red Sampler. I have never made one of these, so I thought “what the heck?”. I had seen some directions for it and it caught my attention. As mentioned, I had to cobble together instructions from at least three different tutorials to be able to make the block. Below is my version. The tutorials I referenced are noted below.

Finished Block Size: 12 inches (12.5 unfinished)

Supplies

  • Fabric
    • In this tutorial, the background is turquoise and the foreground is red.
  • Thread – you might want to use your regular piecing thread for the first part of the directions, then switch to a thread that matches the background fabric for sewing the curves shut
  • Seam ripper (I use a Clover ergonomic seam ripper)
  • Sewing machine
  • 1/4 inch foot
  • applique’ foot (foot with a center mark)
  • square ruler at least 12.5 inches square
  • long ruler at least 12 inches long (I use a 3.5 x 12.5 Creative Grids)
  • snips or scissors
  • Pins
  • Iron
  • Ironing surface
  • Tool to poke out corners
  • A pen or pencil you can use to draw on fabric (I like Sewline pencils)
  • Stiletto or dental pick type instrument (something thin and pointy)
  • hand sewing needle

Instructions for making a 12″ (finished) Cathedral Windows block

1. Cut 4 squares of background fabric 12.5 inches by 12.5 inches

4- 4 x 4 inch foreground squares

2. Cut 4 squares for inset pieces 4 inches by 4 inches.

Fold 12.5x12.5 inch squares in half
Fold 12.5×12.5 inch squares in half

3. Fold each of the 4 background squares in half. This will make your 12.5 x 12.5 inch squares into rectangles (e.g. do not fold NOT along the diagonal).

  • Hint: I sew all four one after another, but you can sew one at a time, if you prefer.

3A. Sew along the short side, backstitching at the beginning and the end.

Open up rectangles & match edges

4. Open your rectangles and match up the raw edges.

Match edges and nest seams
  • Hint: I nest the center seams and pin, starting in the middle
Leave opening
Leave opening
Pin edges closed, leaving an opening for turning
  • Hint: leave an opening 2-3 fingers wide for later turning.  I mark this with two pins right next to each other.
Sew seam shut
Sew seam shut

5. Sew your pinned seam shut except for the opening you have left.

Backstitch at beginning and end
  • Hint: I backstitch at the beginning and end of the seams including next to the opening. Yes, it is a hassle to start and stop, but I don’t want the edges of the seams to come apart when I turn.
Smooth out blocks
Smooth out blocks

6. Place recently sewn squares on the ironing board and smooth out wrong side out (above). They should make nice squares.

7. Press nested seams in opposite directions from the center out.

Press seam open to minimize bulk

8. Press long seams in one direction, being careful to line up edge of opening as best you can.  You can press this seam open if you want.

You should now have 4 nice flat squares with wrong sides out.

9. Turn squares right sides out.

10 Poke out corners carefully. I use a knitting needle whose mate broke.

Your squares are now on the bias, so be careful when you handle them.

Press right side
Press right side

10A. Press

Press
Press


Corners folded in
Corners folded in

11. Fold corners into the center. Do this with all four corners and make a new square. The square should be 6 inches.

4 blocks laid out in a 2x2 grid
4 blocks laid out in a 2×2 grid

12. Lay out the blocks in a 2 x 2 grid, so you can see what you have

Pin triangles together

13. Pin the center triangles of the two top triangles together. Do the same for the bottom triangles. Now your 2×2 grid will be pinned together in two rectangular sections

Draw a line in the crease

14. Using a ruler (I use a 3.5 x 12.5 Creative Grids), and your marking implement (I like Sewline pencils), draw a line in the crease under the triangles you are about to pin

Line up squares
Line up squares

15. Line up squares with backs together and triangles pointing to the right.

16. Put your applique’ foot on your sewing machine.

17. Sew along the crease on both sets.

18. Lay out the 2×2 grid again. Now you will have two ‘rows’. You are going to sew the rows together.

Pin them together
Pin them together

19. Fold up the top triangles from the bottom row and the bottom triangle from the top row.

Draw another line between the two 'rows' in the crease
Draw another line between the two ‘rows’ in the crease

20. Draw a line along the crease at the bottom of the two triangles.


21. Sew along the line. After, you will have your 2×2 grid of squares sewn together and the triangles will be flapping around.

Start laying out your foreground squares
Foreground squares laid out

22. Take your foreground triangles and lay them on top of your background

Tuck flaps over foreground

23. Tuck the flaps in towards the center and pin in place. Watch out that the edges of your foreground squares don’t show. Make the edges curve slightly

  • Note: this was confusing to figure out and it turned out that I did not have all the sewn triangles in the right place. After you sew the triangles together, make sure you flatten them back in their original places, e.g. one layer of background on top
You may need to use a stiletto
  • Note: I had to use a thin sharp tool, like a stiletto or dental instrument to tuck in some of the foreground edges. I sometimes use a seam ripper, which is a very bad habit, because if you aren’t careful, you can rip your fabric. You can definitely trim the foreground fabric, but trim a little at a time very, very carefully
Pinned and ready for sewing

24. Pin each edge in three places with the heads of the pins facing the center of the foreground fabric. This is not micro management; this technique will allow you to sew as long as possible with the pins in place

Sew close to the edge of the background fabric

25. Sew very close to the edge of the background. I sewed slowly and carefully. I used the above mentioned sharp tools when I needed a little help. Leave LONG tails so you can knot off and hide the threads

26. Handstitch the other triangle flaps closed with a few stitches. The other tutorials said to use the machine, but 2 stitches is a pain and an irritant on the machine, so I hand sewed the flaps closed when I was sinking threads.

Cathedral Window Block in process

I never thought of making it before, but this block did kind of take my fancy. This is kind of a strange block, partially because of all of the layers. It is lumpier than I expected. Warn your longarmer about it.


Resources:

  • Fons & Porter Cathedral Window block– I originally found the instructions in one of their magazines as part of their ‘learning to quilt* series’. I had to go looking for other instructions when I found the directions had no sizes or actual cutting instructions. Directions are brief.
  • Lovely Little Handmades Cathedral Window block – uses a printed background, so you can see how that works. Most people use white, so it was a little confusing for me when I wanted to use the blue.
  • Sometimes Crafter Cathedral Window block – some missing detail, but has the instructions for cutting the right sized patches. I also don’t like it that the viewer cannot enlarge the photos to see the details.


*Nota bene: not sure if this is the correct name, but it describes the basic idea of the series.

Color My Quilt – Mary C

Color My Quilt - Mary
Color My Quilt – Mary

Mary put out her Color My Quilt directions at the last meeting and I was able to get it done while I was working on Who Am I? a couple of weekends ago.

I am still going with long thin pieces as I think they help people put the quilts together, though most don’t know it yet since only two finished pieces have been sewn.

ColorPlay: Bar Color

Sobo Ramen Bar
Sobo Ramen Bar

I took a picture of this bar area before this restaurant stopped carrying gluten free noodles. I finally dug the photo out, because of the bright and cheerful nature and had some fun creating palettes.

ColorPlay: Bar default

The default palette was less neutral-y than usual, which was a pleasant surprise. The red tones are an interesting addition. I also noticed that the program didn’t stick exclusively to the edges.

The monochromatic palettes were interesting. Yes, I made more than one this time. As you can see there are both cools and warms. I know the green is not warm, but it has a kind of warm feel to it – a bit mossy, I guess. Perhaps there is a yellow undertone giving it a bit of a warm feel.

I like some of the blues in the blue palette quite a bit.

The two pink-red palates are similar, but a little different. As usual, I was really surprised at the colors that came out of the tool.

ColorPlay: Bar n.2
ColorPlay: Bar n.2

I really played around with the other palettes. I really like the blue and gold in palette n.2. The rest of the colors are kind of meh, though the greys alone or as a background would probably be great.

ColorPlay: Bar n.1
ColorPlay: Bar n.1

The one above looks like a Japanese stationery store or a bag of sweets or a girl’s party when she is just getting out of the pink stage.

ColorPlay: Bar n.8
ColorPlay: Bar n.8

I thought I had better create a palette of neutrals. I know there are some of you out there who love neutrals (well done they can be great). I think this one is much more interesting than some I have seen. I won’t make a quilt – or anything – from the colors, though.

What will you make?

I use the Palette Builder Tool on the Play-Crafts site. Thanks to Anne Sullivan for making it available.

Under the Sea Progress

Under the Sea, August 2018

After analysis of the divisions and categories with the least number of entries at the Fair, we decided embellishment was one to target. Craft Night was Monday and I decided I needed to work on this piece.

Under the Sea has been underway for awhile (uh, 2009!) I decided that I will make a pillow out of the piece and enter it. That means getting it done. I took it out and got reoriented as I don’t know the last time I worked on this piece. I had a bit of thread left so I finished a section with that thread (see purple arrow below) and then did a few more lines of stitching in the center.

I feel like it might need a few beads in various places, but we’ll have to see. I have to lay some out and look at it, otherwise I am going with done.

Finished: Green Donation Scarf

Green Scarf
Green Scarf

I finally finished the green donation scarf I have been working on for months. I can’t remember exactly when I started it, but I think it was earlier this year (not last). I bought the yarn at Tuesday Morning on my way to visit MIL.

I started this scarf sometime before April, but after March 1. Before that was the Knight scarf and a hat/cowl set.

Anyway. This one will head to my mom who will use it to make gifts for the women at her local domestic violence shelter.

I’m not sure if I can make another in time to be included in the gift boxes. Let me know if you have a scarf you want to contribute.

Cathedral Window

I didn’t know what to sew over the weekend. It isn’t like I don’t have plenty of projects on which to work. Also, I am making good progress on the Who Am I? piece, but I wanted to make progress. I have another block to make for the Aqua-Red Sampler and decided to try something new.

I found some directions for a machine pieced (machine sewn?) Cathedral Window block and it was bugging me, so I decided it would be the last block in my Aqua-Red Sampler. It wouldn’t be the same as all the other sampler quilts and I would get to finish something today while progressing on something else.

I started with the Fons & Porter directions I found in one of their magazines. 🙁 These directions did not tell me what size blocks I was making or what size to cut the patches. The directions were not that helpful either. I am not sure what the company that owns Fons & Porter is doing, but they aren’t doing themselves any favors by hiding this crucial information.

I went to the web and found two tutorials. I used them in conjunction with each other, because neither had all the information. Sometimes Crafter had the right size, so I could tell what sizes to cut and Lovely Little Handmades had excellent directions though used different sizes patches.

Cathedral Window Block in process

My block is still in process, but it is coming along very well.

I have some hand sewing to do, which neither tutorial recommends, but I don’t care. It is the way I want to finish my block.

I decided to create a tutorial. I think the quilt world needs a more complete Cathedral Windows block tutorial in the 12.5 inch (unfinished) size, so look for that soon.

When I finish this block, another decision will be made and I will be able to put the Aqua-Red Sampler together.

FOTY 2018 – August

FOTY 2018 - August 2018
FOTY 2018 – August 2018

It took me awhile to cut enough squares to make a good post. I did it and am still making progress.You can see that many of the fabrics are from the Stepping Stones n.2 piece. There are a few from Ends n.5 and also some from the Tool Tote. It is fun to see the fabrics I used in projects in this quilt.

There are also some new fabrics, which makes me feel happy, because I am getting fabrics cut and organized for future projects.

This is making me think of putting together FOTY 2017. I really need to get to that. Should I finish the Aqua-Red Sampler first or put that project back on the back burner and move to FOTY 2017?

I have so many projects!!! I need more time to sew.

Bend Shop Hop: BJ’s Quilt Basket

I couldn’t go to Sisters without visiting local quilt shops. It’s what I do.

BJ's Quilt Basket
BJ’s Quilt Basket

The second one we visited was BJ’s Quilt Basket in Bend. Don’t worry, I’ll get to the Stitchin’ Post.

BJ's Quilt Basket Interior 1
BJ’s Quilt Basket Interior 1

The shops in the area are LARGE and have a lot of fabric. BJ’s was no exception. The shops in the area were benefiting from the Sisters Outdoor Quilt Show and all the related events, so they had extra staff and specials going on. They also had a cooler out front full of free water, which was nice. It was fairly warm, so it was a nice gesture.

BJ's Quilt Basket Interior 2
BJ’s Quilt Basket Interior 2

I am not used to such large shops, so it felt a bit overwhelming. BJ’s had a section of repro fabrics, a section of 1930s prints, a few aisles of batiks, blenders (tone-on-tone) plus a lot of new stuff right up front. It was kind of shocking to see so much fabric in one place. Delightful also.

BJ's Quilt Basket Interior 3
BJ’s Quilt Basket Interior 3

I was pleased to see a lot of batiks in the area. Near me, people eschew batiks even though they are lovely. BJ’s was no exception. The shop had tons.

I saw the Tula Pink dots and stripes at The Stitchin’ Post, but I didn’t buy them. I couldn’t resist a few bits at BJ’s.

They also had lots of Kaffe prints. I bought a few at each of the shops at which we stopped.

BJ's Quilt Shop: purchases
BJ’s Quilt Shop: purchases

BJ’s Quilt Shop
Address: 20225 Badger Rd, Bend, OR 97702
Phone: +1-541-383-4310
Hours: 9:30am-5:30pm

Bend Shop Hop: The Stitchin’ Post

Julie and I did not have classes on Thursday. I highly recommend taking a day off from the intensity of learning when you are at an event like Sisters/Quilter’s Affair.

We got up at our normal 6:30 because of that crazy window, but had a leisurely breakfast, sat around a bit and then got ready before we left at 10:30 to go to some quilt shops.

The Stitchin' Post
The Stitchin’ Post

First stop was the Stitchin’ Post. It is a 7-8 minute drive from where we were staying. I would be thrilled if I had a quilt shop that close to my house. I’d be in trouble, but thrilled nonetheless.

Okay, the Stitchin’ Post is actually in Sisters, not in Bend, but I am calling this series of posts the Bend Shop Hop regardless. Bend “Area” is too long (take a look at that URL already!).

Stitchin' Post Interior 8
Stitchin’ Post Interior 8

We went into the Stitchin’ Post at least twice, but the Thursday visit was the day we planned to look around at everything. I think we might have been there closer to 4 times, but who’s counting?

Stitchin' Post Interior 1
Stitchin’ Post Interior 1

It is a gorgeous shop. Huge! High ceilings, bright paint, plenty of staff, lots of great fabric and samples. Prices were ‘normal’ – $12-13/yard. The stock was depleted early in the week and by Thursday, our shop hop day, it was hard to find things. Not horrific. It wasn’t like the shop was empty, but a lot of notions were sold out and their fat quarters were a bit thin on the ground. Still, I found plenty to buy.

Stitchin' Post: Kaffe prints
Stitchin’ Post: Kaffe prints

The Stitchin’ Post had a gorgeous Kaffe corner. I bought a lot of Kaffe on the trip, though not as much as I could have. I will use one of the pieces to make a nightshirt.

Stitchin' Post Interior 4
Stitchin’ Post Interior 4

This was the first shop at which I saw the Tula Pink Dots and Stripes. They are gorgeous. Nice sized dots and stripes and interesting colors. I really wanted all of them, but the lines for cutting were daunting at times when there was enough to cut 24 half yards. You can see them in the photo above behind the dress.

There was so much to look at in that shop! they had a lot of different fabrics, some of which I hadn’t seen before. I saw lots of batiks, which we don’t see here anymore very much.

There was a small section of household gifts – soaps, tea, mugs and some interesting pincushions. I wanted to get one for Julie, but I couldn’t while she was there and when I came back to get it, someone else had beaten me to it.

I looked at the yarn a lot on Sunday and, as mentioned, bought a couple of skeins to make another scarf. Since I didn’t bring needles with me, I had to buy needles as well.

First Stitchin' Post purchase
First Stitchin’ Post purchase

This shop is absolutely worth a visit. I had a great time. If you are in the area, head to Sisters and visit The Stitchin’ Post.

Stitchin' Post purchases
Stitchin’ Post purchases

The Stitchin’ Post is located at:
311 W. Cascade St. (Hwy 20/126)
in Sisters, Oregon

Mailing address:
P.O. Box 280, Sisters OR 97759
Phone: (541) 549-6061
eMail: stitchin@stitchinpost.com
Store Hours:
Monday – Saturday 9-5 (9 – 6 in the summer)
Sunday 10-4

ColorPlay: Afternoon Tea

Afternoon Tea: September 2004

I came across this photo as I was perusing possible ColorPlay photos. In 2004 I went to afternoon tea at the Ritz with my mom, grandmother and mother-in-law. It was nominally for my grandmother’s birthday and one of the first times she had come to see me.

This was not a great photo choice as the colors aren’t the tropical paradise I like.

ColorPlay: Afternoon Tea- default

The default is more colorful than I expected. There are lots of dull colors, but that reddish-brown, Paprika, isn’t terrible.

ColorPlay: Afternoon Tea- 1

I moved the bubbles around slightly and came up with a slightly brighter palette. I don’t think the colors go together that well, but the Pimento and Nightfall look pretty nice.

ColorPlay: Afternoon Tea- 2

Palette number 2 is where I gave in to neutrals. I didn’t want to do a monochromatic neutral palette out of the gate, but I admitted that most of the colors in the photo would be some kind of neutral.

ColorPlay: Afternoon Tea- 3

Palette number 3 is a slight variation of palette number 2. More and darker neutrals.

ColorPlay: Afternoon Tea- 4

The grey palette is my monochromatic attempt.

ColorPlay: Afternoon Tea- 5

I thought I would finish up with palette n.4, but then I saw a bit of yellow and wanted to use that in a palette. The first attempt at adding the yellow resulted in Kona Moss. For whatever weird technological issue, I couldn’t get close enough to the edge to capture the yellow. I tried again and Pickle based on the little pastry on the plate. I was going for scarlett from the strawberries, but ended up with Paprika again.

Let me know what you think of these palettes and if you make anything.

(L to R) MIL, Me, Mom, Grama

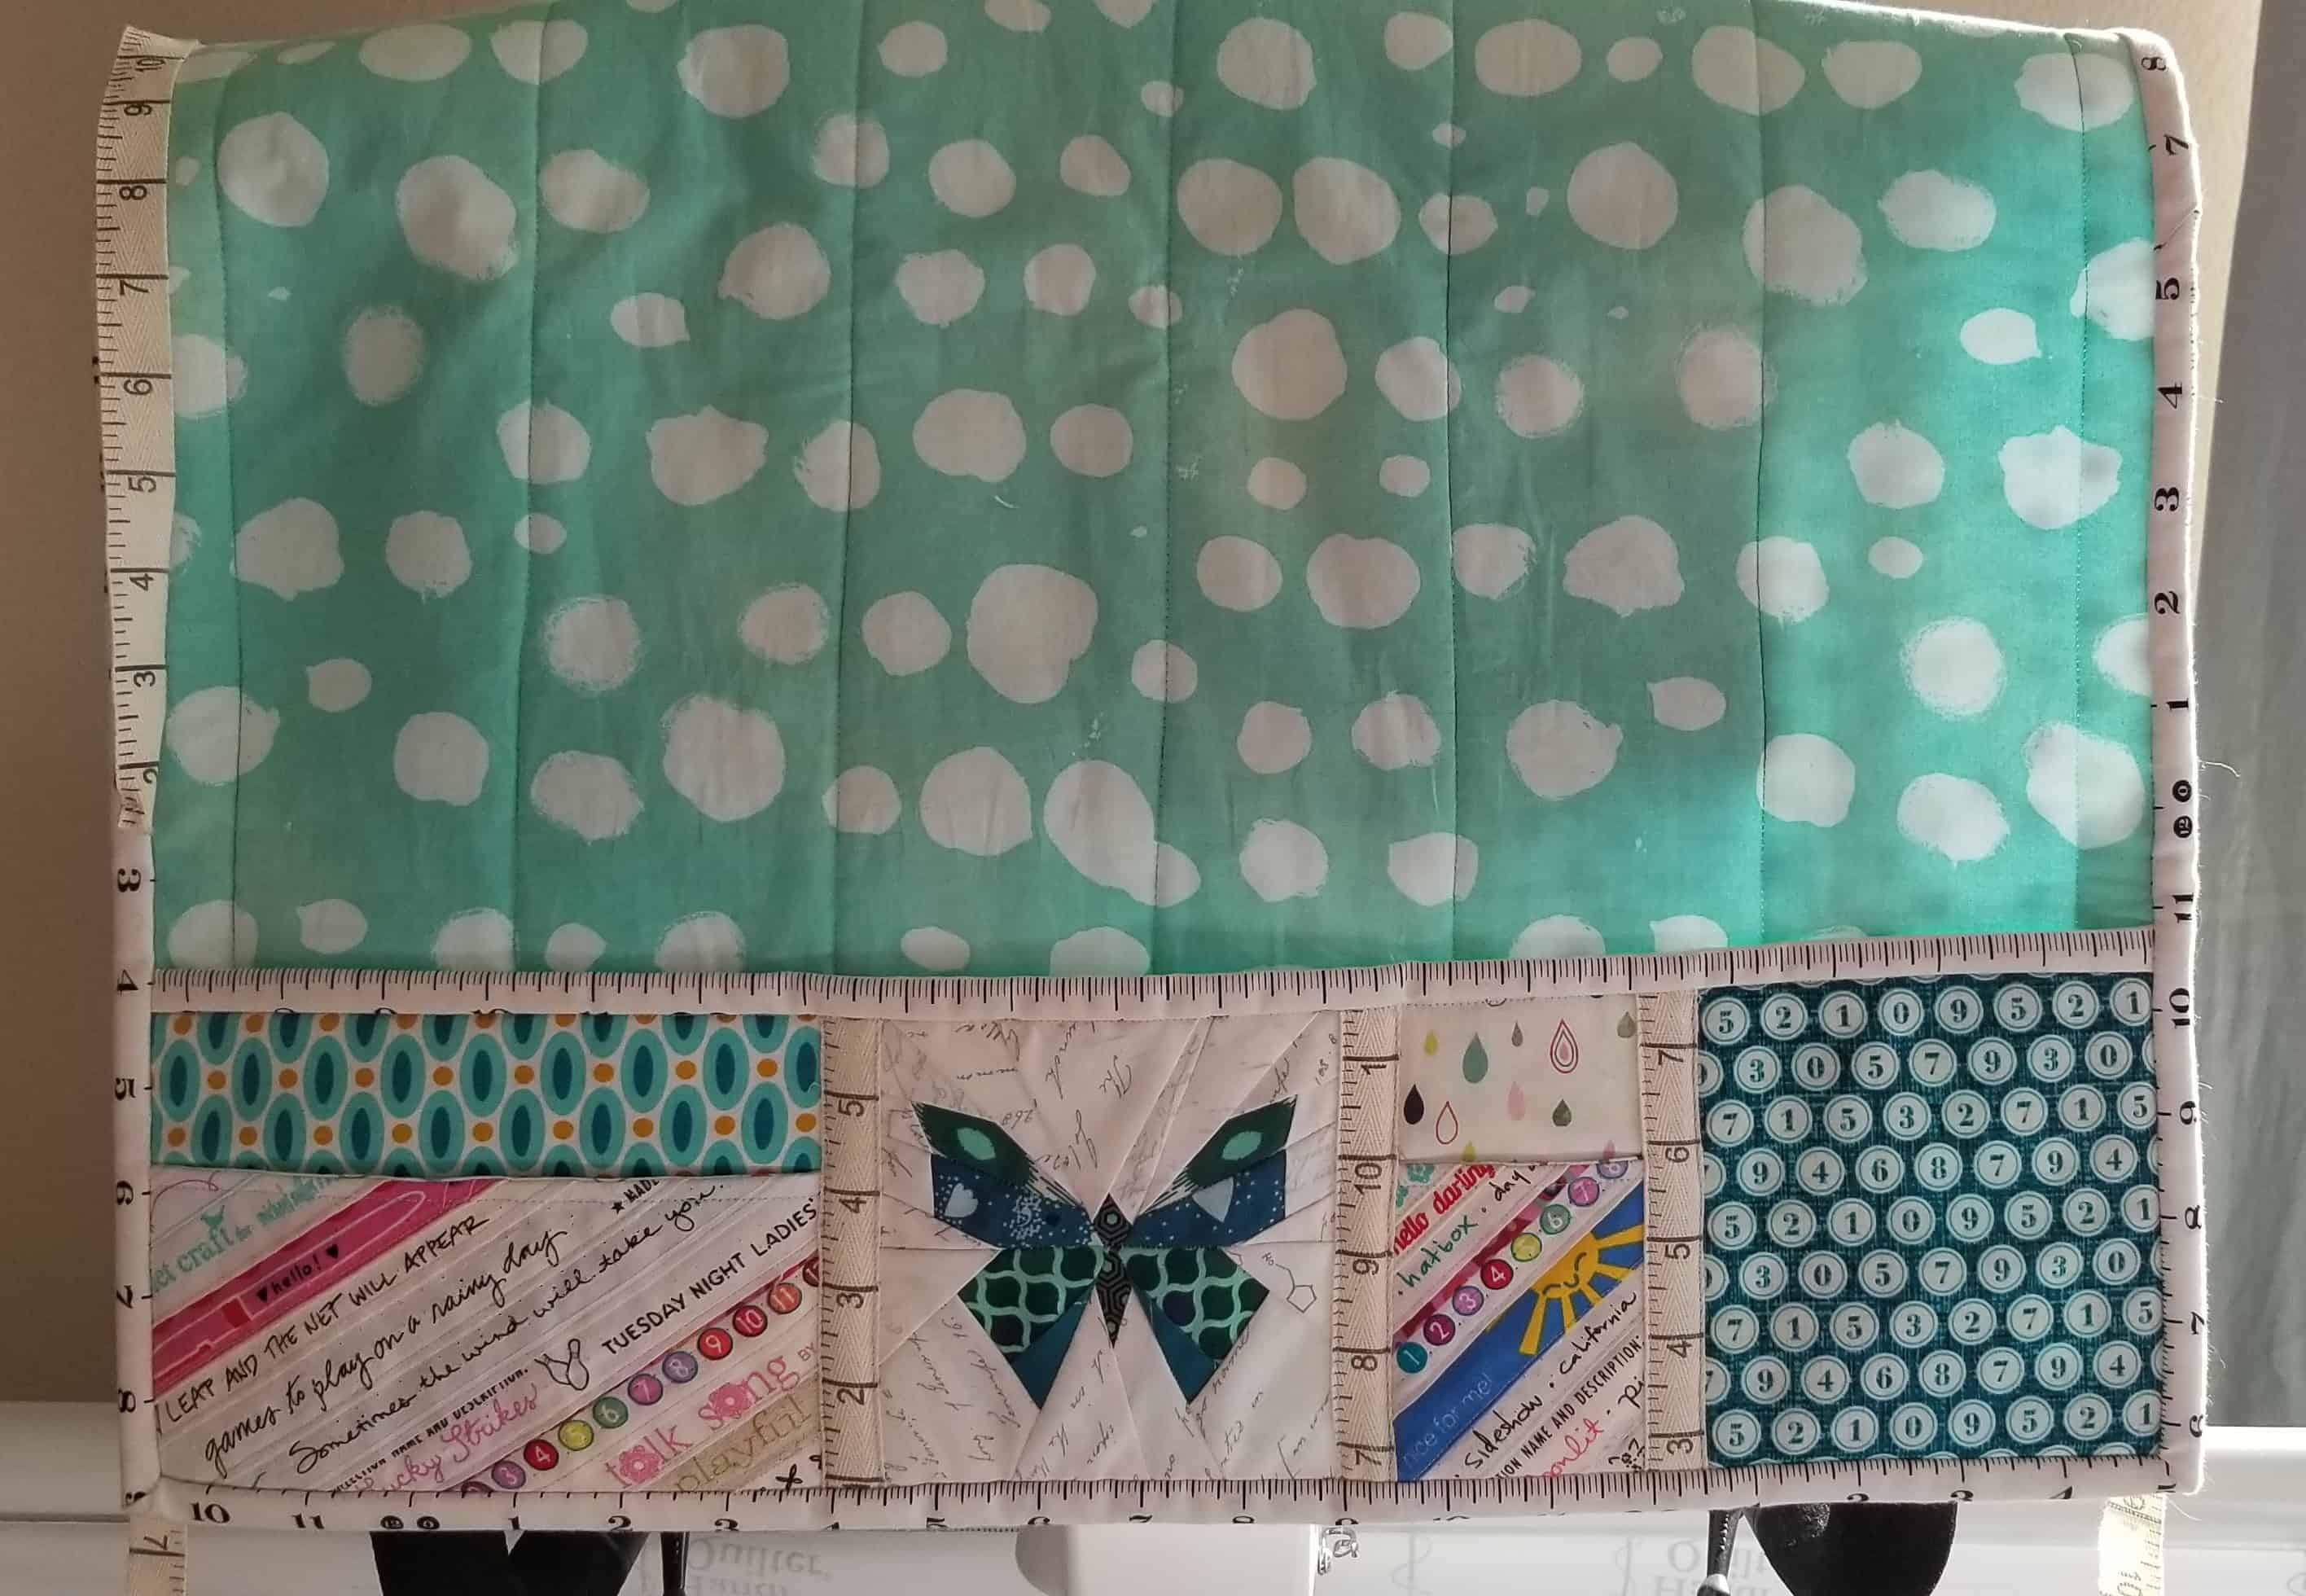
Tool Tote Finished

Finished: Tool Tote
Finished: Tool Tote

I finally finished the Tool Tote. Now I can just stare at it wondering, a little, what I was thinking.

Looking at in this photo, it looks great, but I am not sure about actually using it. The Tupperware box I have used forever works fine for tools and is hard. How would I fit this thing into my travel system? On the other hand, it has handles and handles are always a good thing.

Tool Tote: Zipper Tab with Soft & Stable

I was almost finished the other day, but I put the zipper tabs on and they just looked terrible. Using Soft & Stable in a zipper tab is a dumb idea. I wouldn’t have known it was a dumb idea unless I had done it, though.

The photo of the zipper tab makes the thing look fine. It isn’t fine, though; it didn’t stay together and on the back the top hem was popping out and looking awful. I also went around the whole thing 3-4 times and couldn’t quite match up the stitching as the whole bag was attached to the zipper tab. The whole thing was a mess.

Tool Tote with new zipper tabs

I ripped off the Soft & Stable zipper tabs and made some new ones with ShapeFlex instead. It worked like a charm and the zipper tabs look a lot better. I changed the fabric used and that helped make the tabs look better as well.

If you make this bag, definitely make it with fabric for the zipper tabs matching the outside pocket.

Tool Tote: big mouth opening

I had big plans to make a bunch of these, because of the Big Mouth design. I really like the way it opens up all the way, so you can see all of your stuff. It was a hassle to make and I didn’t think the directions were great. They were very chatty and friendly, but not very useful. I think I might be ruined by the Crafty Gemini style of learning. I do know that if I make more I will get better at making them.

As I said, I am not sure what to do with it. I could get another set of tools and fill the thing and keep it with my guild stuff. Not sure if  really need that.

Merit Hexie Pillow Finished

Merit Hexie Pillow
Merit Hexie Pillow

I totally forgot to post the finished version of my merit hexie pillow. The last time I posted about this was on April 4!

I don’t know exactly when I finished it, but it was not long after April 4.

I had to take all the papers out before appli-quilting them on to the background.

I also forgot to show it at the guild meeting. I’ll bring it with the Walking Foot WOW pillow (another thing I forgot to bring to show and tell) to the next meeting.