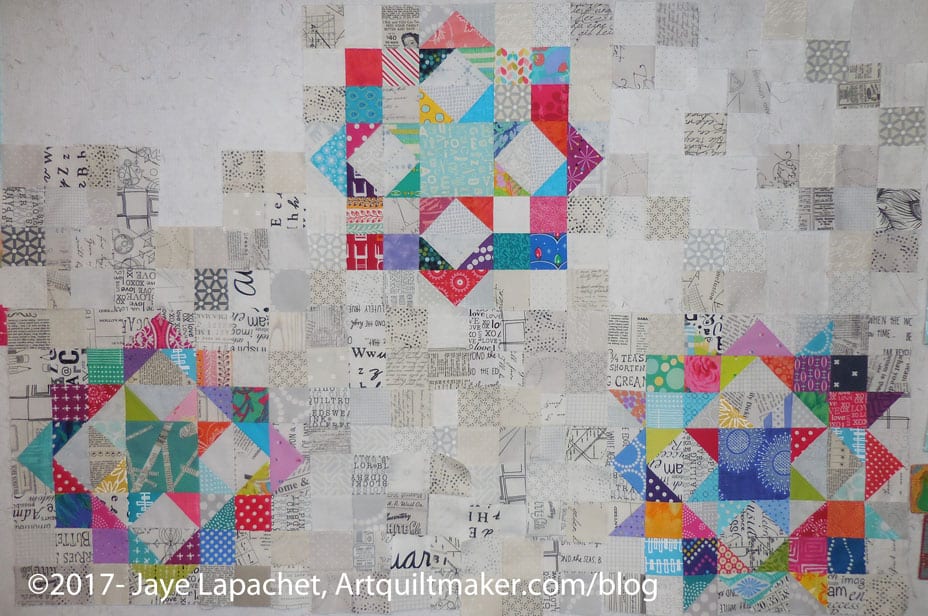
I wasn’t very happy with a couple of the blocks from the last group of blocks, but I am continuing to persevere and am much happier with the latest batch.
City Sampler n.49-52
It is working for me to use these blocks as leaders and enders while I piece The Peacock. They require a lot more thought than simple piecing of two squares together leaders and enders, so it is harder to think of them as rote sewing. Still, I am getting these blocks done. I made it to Block n.53 by last Sunday and that block was half done by the time the weekend ended. This means I am more than halfway finished with the set of blocks. All of the 100 blocks in 100 days piecers are nearing the end, which will mean my inspiration goes away. Still, I am taking advantage of it while I can.
City Sampler n.45-46
I am making the blocks the way Tula suggestions, which is a problem for me regarding triangles. My machine is eating corners of the triangles. Fortunately, after n.55, I have some blocks with, what Tula calls, stripes. After a quick glance through the rest of the book, it appears that most of the rest of the blocks consist of squares and rectangles. Hallelujah!
City Sampler n.47-48
The triangles do look nice on some of the blocks; it is just the making of them that is driving me crazy. I never thought of buying a single needle plate (think of all the needles I will break!), but Tula’s method of making the triangles might drive me to it.
As soon as I finish the Peacock top, I will put these blocks up on the design wall and take a look at how they look together.
I am working, today, with another photo from my trip to Austria.
I used to live at Glockenspielplatz 6/3/13 and this is the Glockenspiel (chimes, carillon) across from the main house door. I don’t remember that giant tower and will have to look up some photos from my last trip to Graz to see if I simply don’t remember.
Again, I am playing with neutrals, apparently. The colors of the buildings are remarkably consistent in Graz. The yellowing stone of the buildings, the red tile (slate???) roofs and the green copper of some towers or other architectural details. No fuchsia or turquoise here.
ColorPlay November 18 n.2
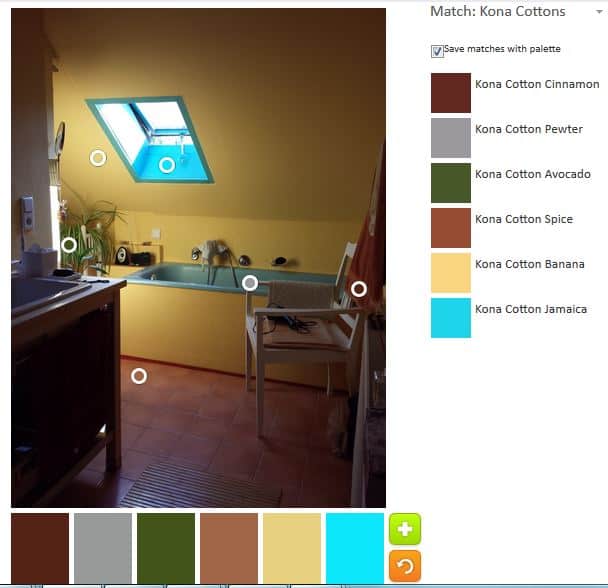
The Palette Builder tool created a much more neutral heavy palette, which makes me wonder how the circles are placed on the image by the programming. The circles seem to gravitate to the darker sections of the photo. You can see that none of the gold or sand colors have a circle on them.
Still the tool selected a bit of blue, which adds to the palette, though I was sorely tempted to move the blue circle to a darker section of the sky.
ColorPlay November 18
I thought my first attempt would also be somewhat depressing (I am gaining more of an appreciation for neutrals, however), but the yellow and the blues add some cheeriness.
I wanted to get a good color for the green copper, but wasn’t really successful. This made me think about whether I was expecting a matching color from my mind or if I was truly seeing that green color. Yes, I do know there are a variety of greens in that architectural detail.
ColorPlay November 18 n.3
Since I seemed to be stuck on greens, I decided to try and create an almost completely green palette using that copper covered tower.
I am not sure if Limestone, Shale and OD Green are actually greens. If I assume they are, I have to say they lean heavily towards the grey end of the green spectrum. Yes, I did move that blue circle to a spot that would register Stratosphere.
Let me know if you make something from either of these color palettes.
However! The napkins for Thanksgiving are done! As I mentioned last time, one got eaten so I went and bought another pack. The dusky purple was an inspired choice. All of the motifs turned out really well on that background.
Leaf Embroidery on Purple
Tree Embroidery on Purple
Turkey Embroidery on Purple
Even the Pennsylvania Dutch style turkeys is appealing.
Well, I cannot seem to stay away from the garments. I am still not a confident garment maker and I couldn’t do it easily without my SIL who is a master (mistress??) of garment sewing.
I am using some great California fabric that I found at the Granary. It is called California Here we Come by Studio 8 for Quilting Treasures.
California Here We Come Fabric
I bought 3 yards of the tan for the shirt. I knew I would need some extra and I didn’t want to run out in case I made mistakes. I thought the tan colorway would look good with the recipient’s coloring. I also bought a half yard of the black on white, which would be my colorway preference.
This is a really good California print as it has a lot of the sights of our state and goes beyond the most prominent. Whoever drew the print was thoughtful about the motifs.
She is supervising me heavily and I need it, because I can’t get the layout of the pattern pieces straight in my head. I only had to recut 3 pieces this time, which is an improvement.
Now I have cut all the pieces and applied interfacing. I have also hemmed the shirt fronts. Onward.
Last week, I wrote a post on HRTs. After writing it and concentrating, mostly, on tutorials, I thought of rulers. Yes, I mentioned the Tri-Recs ruler, but I thought there might be others. I am not sure why I didn’t think of it myself.
BlocLoc HRT ruler
This idea got legs when one reader (Thanks, Libby!) told me that the BlocLoc ruler system has an HRT ruler. I saw them in an online shop and they look similar to the BiRangle, though different as well.
I am not familiar with this system of rulers, not because there is anything wrong with them. I haven’t used them, mostly because I don’t want to get sucked in to another type of ruler! I do want to support small quiltmaking businesses and I feel the urge to just try them all the time. It is hard since I am such a ruler lover.
Creative Grids HRT
After finding the BlocLoc rulers I went searching for others. I found a Creative Grids triangle ruler** that will help you make HRTs in a variety of different sizes. It is similar in shape to the Tri Recs, but looks like you can make more sizes using it.
I think you could also make blocks with super skinny triangles like Storm at Sea or 54-40 or Fight.
This CG ruler is a little pricey – $18.95. Think of how many quilts you could make! 😉
Accuquilt-HRT die
It also occurred to me that Accuquilt may have a die. They do. The die (#55411) cuts two skinny triangles in a 3 x 6 inch** size. You must have a Go! machine to use this die. It is compatible with the Studio, Big and Go! Baby, though you might have to use an adapter. This die is also included in the Accuquilt GO! Qube Mix & Match 12″ Block set**. The obvious drawback is that you get only one size.
I went to the Cotton Patch a few weeks ago and they had a whole Accuquilt Center in their store now! It made me want to swoon. If I only had unlimited funds and space! I suppose more time would be useful as well. 😉
**I use affiliate links and may be paid for your purchase of an item when you click on an item link in my post. There is no additional cost to you for clicking or purchasing items I recommend. I appreciate your clicks and purchases as it helps support this blog.
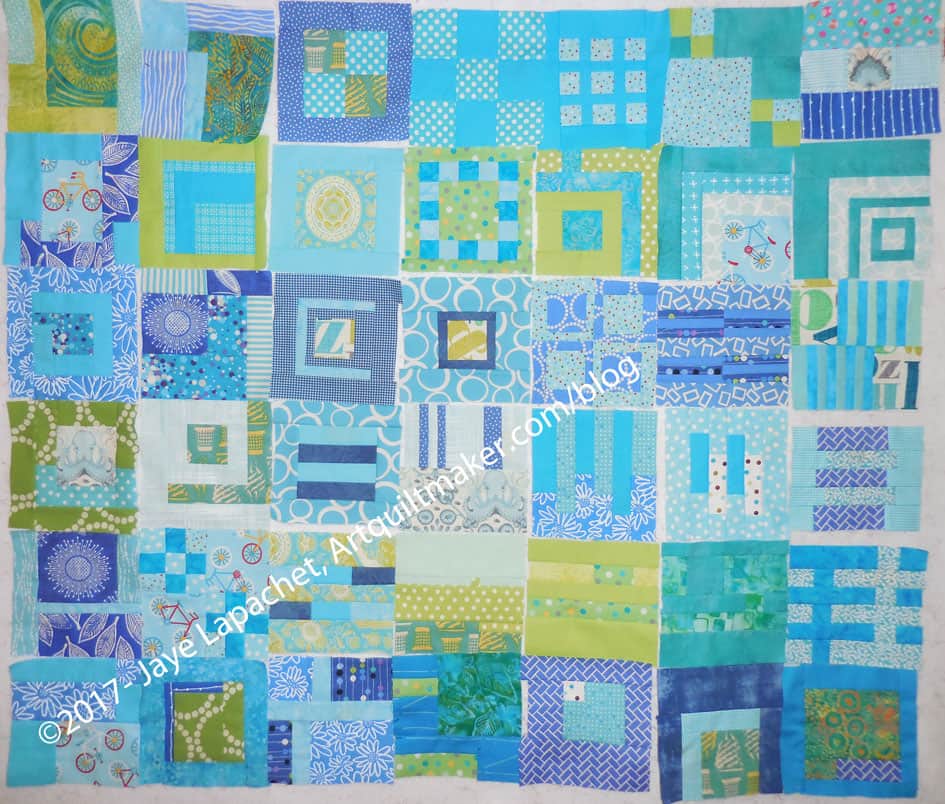
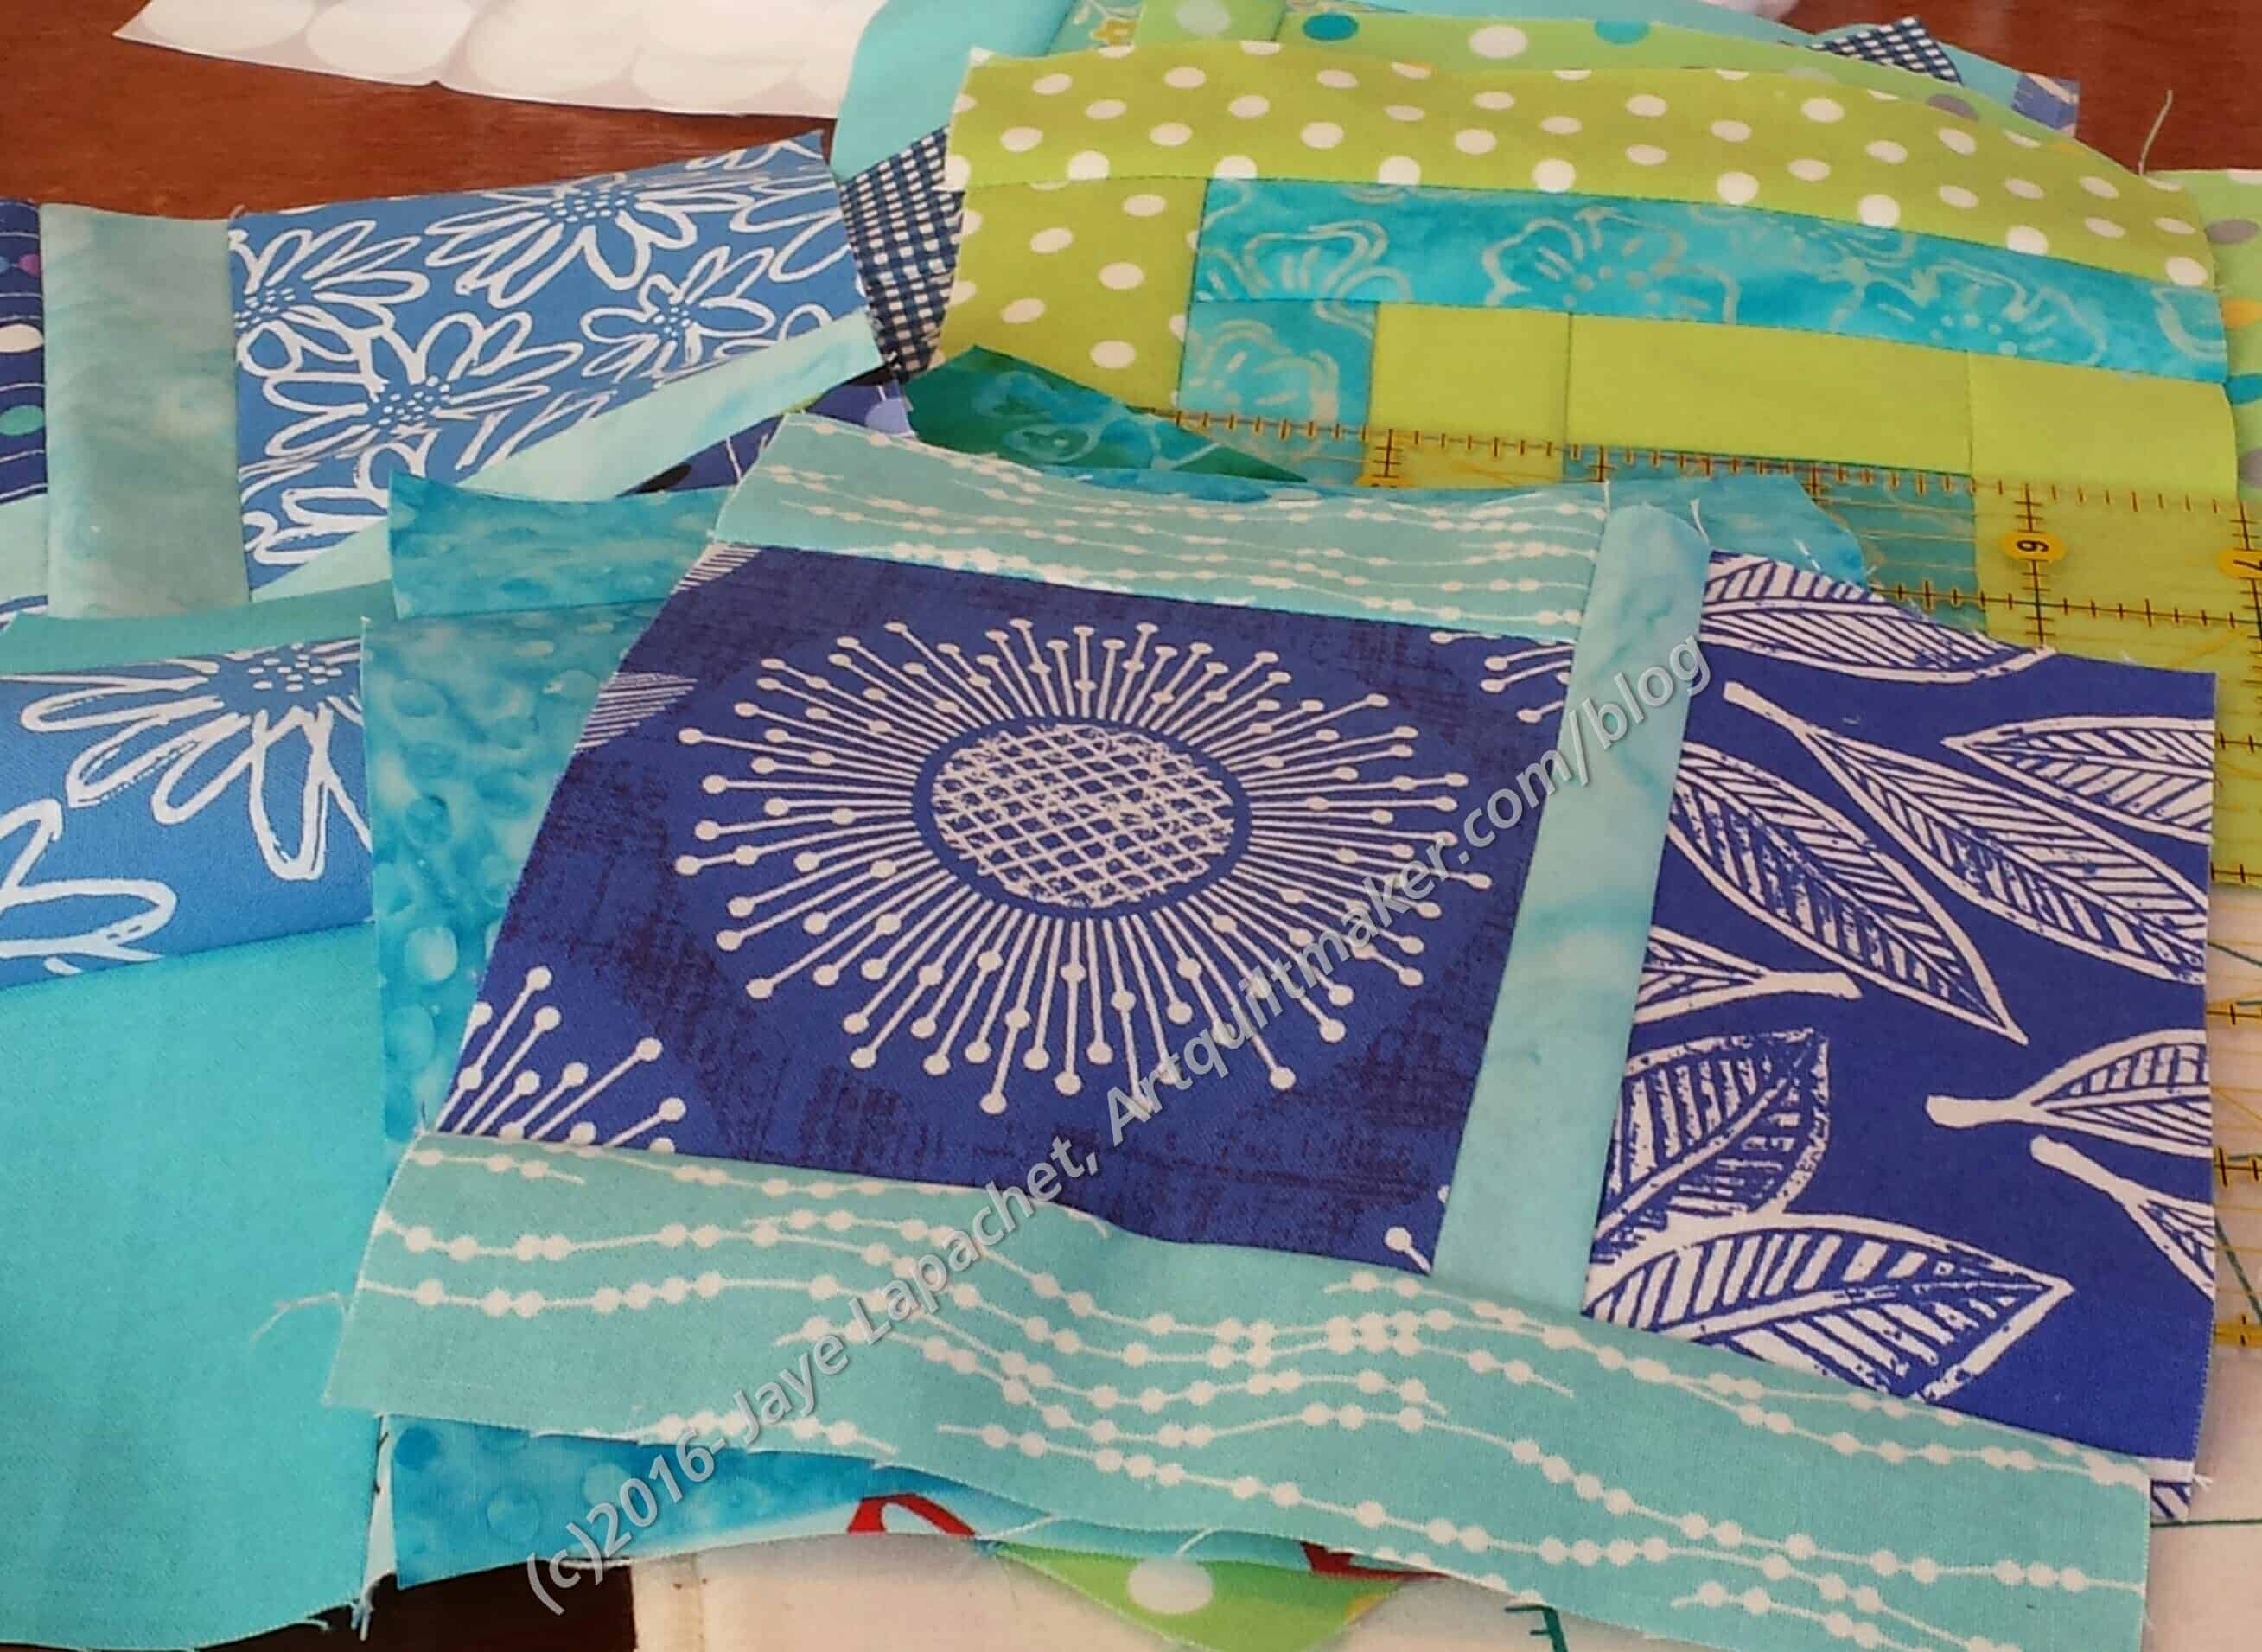
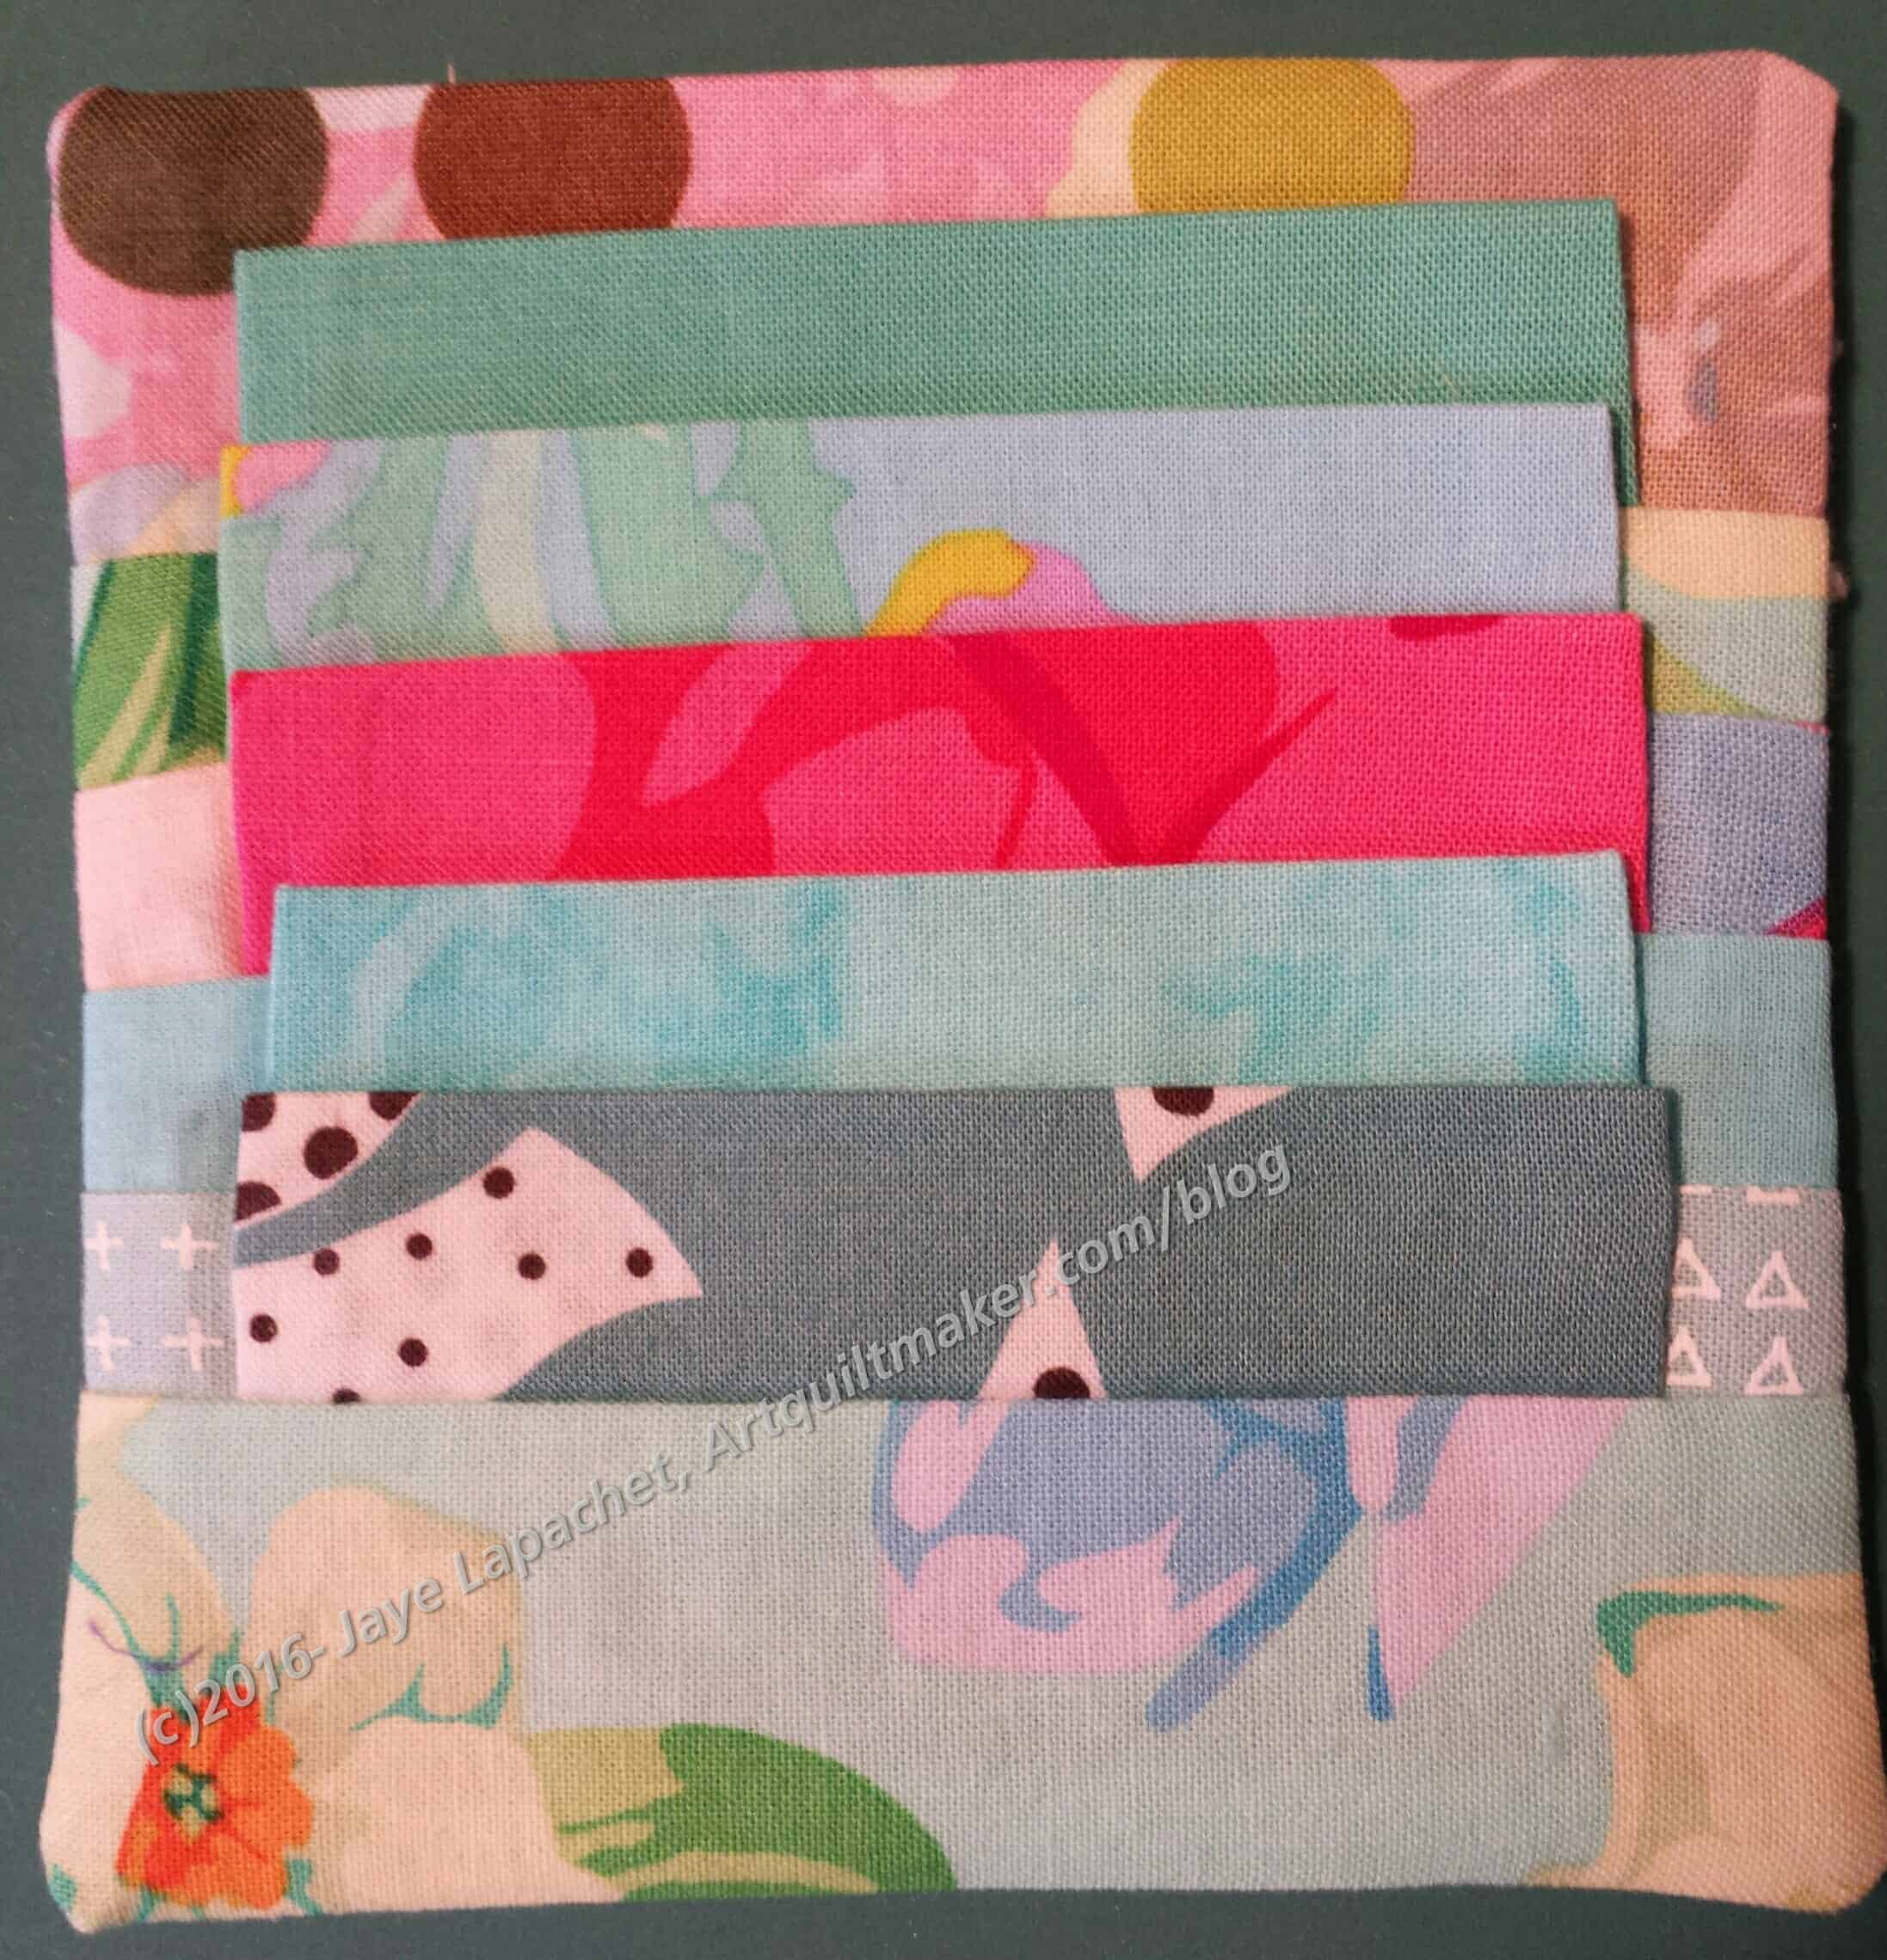
This group looks like it would be a wonderfully cheerful baby/toddler quilt. Turquoise and pinky-red! What could be better?
It makes me want to just toss all the FOTY 2016 squares up on the wall and sew them together in a way that creates a larger cheerful quilt with this look. This tells me that I am getting tired of the project.
Don’t worry; it is a stage int he process and I will get through it. It is a good sign and perhaps I will start arranging right after New Year’s Day. We’ll see.
I looked in the box of squares yesterday and found it stuffed to the gills. I hope I don’t have to cut the squares down. I don’t want to.
I have been in desperate need of leaders & enders lately. The crisis has passed since I got my order of Northcott Colorworks charm squares, though before it did a lot of weird pieces were sewn.
Orange Soda Journal Cover (closed)
I had some orange scraps that I had started to sew together, so I continued to sew and turned it into a journal cover. It is along the same lines as the Orange Crush journal cover and the scraps may have been from that piece.
I am really pleased with how this one came out. The front cover is really well placed. The scraps aren’t too small, which always causes finishing issues. It is also bright and cheerful. I need bright and cheerful right now.
On my first day in Dornbirn, I went with my Austrian mom to the natural grocery store (Bioladen). Across the street was the house above. I love the painted shutters and the window boxes. September is such a lovely month in Vorarlberg.
I decided to use the photo to see what kind of palette I could make. I have recently been fascinated with the combinations of neutrals. I see a lot of houses in the neighborhood painted in a pleasing combination of neutrals. I am reluctant to commit to such a color combination, however. There is a difference between admiring as I amble by and being forced to look at it each time I drive up and walk in.
ColorPlay Nov 11 n.1
This photo has some interesting neutrals. I focused on the neutrals in the first palette. As individual colors combined with super brights, as per my usual, I can imagine using them. I am not sure about the palette above. I was trying to get a white, but the Palette Builder recognized the color as baby blue. It is interesting to think about using a very, very pale blue instead of white. This is when I need a team of assistants to sew on command. 😉
ColorPlay Nov 11 n.2
Kind of depressing, especially after Tuesday, so I tried to create a brighter version. Not much to work with, but I do like the result. The watermelon is an interesting color.
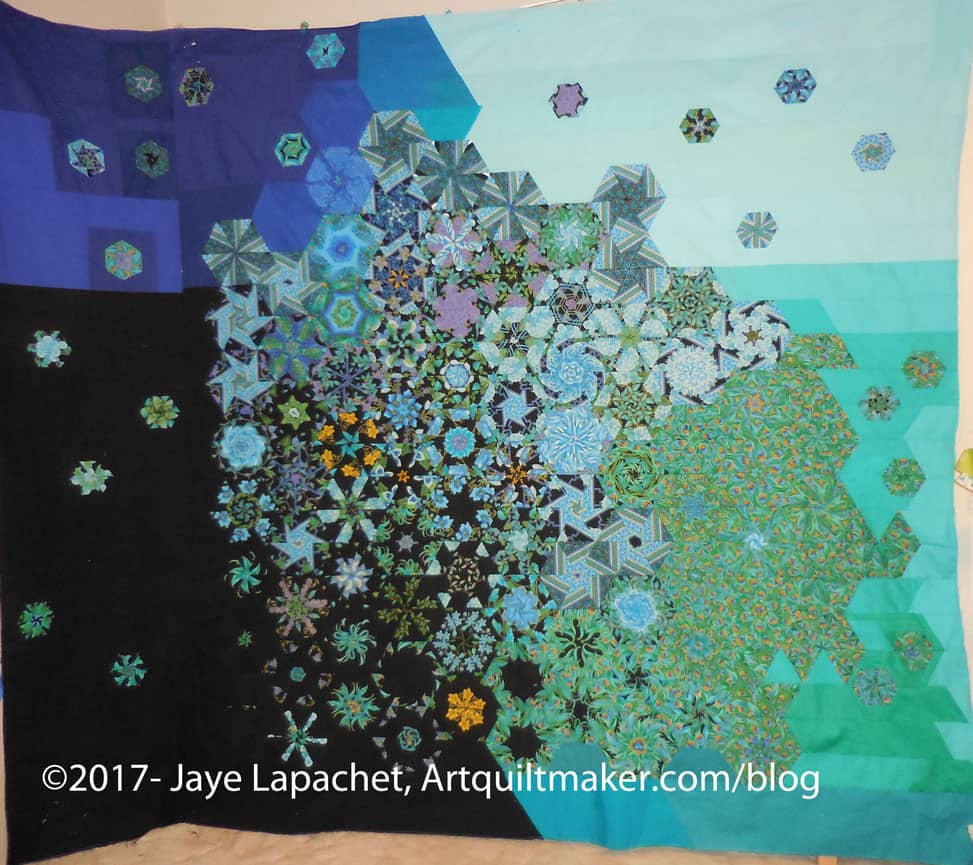
I know I just wrote about my progress on The Peacock a few days ago, but I have made more progress and I am pretty excited. The progress feels kind of like a baby. The first few months of a baby’s life sees a lot of change in their looks. In this piece, each row seems to provide more personality.
The Peacock – Nov 2016
I spent most of the day Sunday out, but since it is Standard Time and the day started early, I arrived home on the early side. The timing allowed me to spend a few hours sewing. I wasn’t expecting any sewing time and was very pleased. As I am getting towards the top, the piece really looks more and more like something.
I am not sure I am a huge fan of the green (feather) diagonal line, on the right towards the middle, that was formed when I pieced those rows. I am not, however, unpicking. I do like the trails the green solid has made and I am eager to get those sections on the design wall so I can finish working on the final width and layout.
I know I was pretty ambivalent after making the blocks for this piece. I am really interested in how the quilt top is turning out. It is taking a lot of time and work. However, the challenge is really working my brain.
The tablerunners are ready for their first outing in a couple of weeks. I have no illusions about finishing the tablemat, but I am pleased with my efforts thus far.
The first one I finished is shown on the left. I really like this one and kind of wish I had bought more of these panels, so all of the runners could match. I didn’t and I am not making more.
Tablerunners #2 & 3
I did very simple quilting, for the most part, though the quilting ended up being much more complicated on the alternate design just because of the fabric motifs. I did a lot of outline quilting of the leaves and such, so it took more time.
I think, depending, that I will plan to take the tablemat to the next quilt retreat. I get a lot of blocks made at retreats, but quilting is also a good task for a retreat.
The last time I reviewed my list was in July. I have made some progress, but not a lot. August was pretty much a desert for getting projects done and I was gone in September so no sewing then either. I was ready to rock in October and am making some progress.
In Process
The ‘In Process’ is used to denote projects on which I am actively working or pretending to stitch. I try not to put away projects, because that will ensure I never work on them.
Carpenter’s Wheel blocks – I finished #9 and #10. I thought this finish concluded the blocks. However, after I laid them out, I realized that I didn’t have enough to do what I wanted. I need to make a few more. Perhaps as leaders and enders?
English Paper Piecing Project– half hexies – I added three more stars to the large piece over the weekend. I also measure the piece and figure out how much more I have to stitch to get it to a good size.
Lobster – have more stitching to do and then I need to quilt it.
Octagon 9 Patch: ready to put together. Not sure what I am waiting for. Another leaders/enders project or do I want to lay out the blocks more carefully?
Pies and Points from Victoria Findlay Wolfe class. No further progress. I did find more of the background fabric when I went to Portland, so I can make a larger piece.
Stepping Stones #2 – I am in the process of making the border blocks after I designed them to be a little different from the first Stepping Stones quilt.
Still WIPs
I still have WIPs. Who doesn’t, after all? A project in the ‘UFO’ category means I am stalled. A nicer way of saying UFO is a WIP. The list is a lot shorter and the projects are newer, for the most part.
Aqua-Red Sampler – I made progress on the partial seaming tutorial and need to sit down to finish it.
The Tarts Come to Tea: I still haven’t worked on this since April 2011, though, it is in a prominent location so I have easy access. I am taking a machine quilting workshop soon (shock, horror, I know) and the focus is on background motifs. Just what I need!
Pointillist Palette #4: Fourth is a series of 6 quilts; needs tiny square patches sewn together. I still haven’t worked on this project either, but I do think about it.
Self Portrait: started in 2006 at a class at Quilting Adventures in Richmond, Virginia. My career counselor breathed new life into this project for me. She asked a simple question and the end result was inspiration for this piece, but I kind of lost steam again after printing images on paper to try out different designs. Lately, I have stopped feeling like I need to finish this piece. I am not ready to give up on it yet. I think it really needs major surgery.
Under the Sea: class project; like the design and am happier with the colors. I bought a few spools of Aurifil 12wt and have been embroidering with it and the Perl Cotton on it. It might become a lush pillow for someone.
Theoretically, the Tarts Come to Tea is in the quilting process. I am taking a class next weekend that may give me some ideas and perhaps get me back on track with it.
Binding
None
Hunting and Gathering
Blue Gradation Quilt: cutting 2.5″x 4.5″ blue rectangles
Blue Lemonade: cutting blue, green, purple 2″ squares
Spin Wheel: really not started, but supplies gathered. I probably have enough fabrics and just need to decide to start.
Windmill quilt: Still hunting and gathering. I am supposed to be cutting a variety of greys for the background. I bought a new template, so I should be able to get going again
Other
Stepping Stones #3 using the Macaron pre-cuts from Hoffman. I have all the fabric in pre-cuts and am just waiting for space in my schedule.
I think my last update about this project was in August. A lot has happened and I think we are nearing the end.
SIL and her machine have been working hard. She has to recolor all of the designs so use just 6 colors. Sometimes that is really hard and she has to make compromises. Still she has done a great job and I can’t wait to have the napkins out at Thanksgiving.
Thanksgiving Napkins, mid October 2016
My job has been to wash and press all of the embroidered napkins. I have had no bleeding or fading of the designs. I have used a lot of Flatter and Mary Ellen’s Best Press!
The embroidery machine had a hissy fit and ate one of the yellow napkins. While there were probably enough napkins for everyone, we decided to get one more packet (World Market Buffet napkins). I bought a dusty purple and these came out SUPER well. I am very pleased with them.
I really like all of the napkins. Not only are they pretty and festive, but they are also large enough to keep laps clean.
Time does funny things to my head when I am sewing. I know I sewed A LOT over the weekend. Still, I felt like it wasn’t enough. Will there ever be enough time to sew? I don’t know.
The Peacock, end of October 2016
During all that time, I worked, mostly, on the Peacock. I now have 10 rows sewn together in some fashion or another. I have them mostly sewn together in groups of four rows. They will all be sewn together eventually, but I am just doing this much for now.
I also started to sew some bits of the upper rows together, but nothing major is done up there. I have to get serious about the solids and see what I can make for the background in the upper right hand corner.
I have an idea to spice up the latest batch of 16 patch blocks I made for the BAMQG charity project using HRTs.
HRTs are half rectangle triangles, which are similar to half square triangles. This shape/block is also called a Bias Rectangle. I wanted to make them using a method similar to the Triangle Technique. Wouldn’t that be great? DH and SIL worked on the math, but they could only get one rectangle and a kite shape out of a similar method.
It might be easier to cut these shapes if you had a cutting mat turntable. Martelli has one that includes an ironing surface.
The Modern Quilt Guild posted a tutorial on bias rectangles. The tutorial shows how to make 4.5 x 6.5 inch final block size, but notes that the tutorial works for any size as long as you use the same sized rectangles. The tutorial includes directions for “squaring” up the blocks (a rectangle made up of two triangles).
Wayne Kollinger also posted 3 (yes, THREE) different tutorials for making HRTs. First, he talks about just cutting fabric. No tools or special rulers. Wayne’s second method also uses the Tri Recs ruler. The third tutorial uses freezer paper. One thing Wayne says is “the rectangles are twice as long as they are wide. This means that for a 6″x6″ block the rectangles would have a finished size of 2″x 4″. For a 9″x9″ block the rectangles would have a finished size of 3″x6″.”, which is very helpful information moving forward.
Heidi at Buttons and Butterflies posted a tutorial includes what not to do, which is a great illustration of what I found out from DH’s mathematical adventures. From the tutorial you can see what happens without having to do it yourself. 😉 There are a few different techniques included in this post including an Accuquilt technique. The Accuquilt die has the tips cut off for easier matching of patches. She finishes up with a tutorial similar to the Modern Quilt Guild tutorial. Heidi also talks about the differences in HRTs, which I was glad about since I didn’t realize some of the things she discusses.
Kristi of the Schnitzel and Boo Blog uses a similar technique to Heidi, but sews on each side of the center line to make her HRTs in her post. The post includes a quilt tutorial/pattern as well.
Marjorie Rhine from Quilt Woman has a PDF discussthe topic, including three options for making the blocks. One is to use a template, similar to my tutorial on using templates. I supposed the Tri Recs ruler discussed above would also work. Also mentioned are the Marti Michell’s Template Set D or Margaret Miller’s AnglePlay Template. The latter is a companion to a couple of books. She includes paper piecing and using templates as techniques. The PDF includes a lot of useful information.
These can also be made using foundation piecing. Printing a template from EQ7 or drawing the paper template is also possible.
BiRangle ruler
Finally, I have a ruler called a BiRangle ruler. It is by Martingale (I bought it when the company was called That Patchwork Place).
Sew Mama Sew has a tablerunner pattern. She talks about why the Triangle Technique does not work for HRTs.