Book Review: String Frenzy

String Frenzy: 12 More Strip Quilt Projects; Strips, Strings & Scrappy Things!String Frenzy: 12 More Strip Quilt Projects; Strips, Strings & Scrappy Things! by Bonnie K. Hunter

I wasn’t really interested in another project book until I saw the Straits of Mackinac project somewhere. I love the block and the way the overall quilt looks like it has curves even when there is no curved piecing. I looked at buying the book, but decided to see if my library had it first. I have many library cards and use them to excess! The system with the second closest branch didn’t have it so I ordered it using interlibrary loan (ILL). Then it occurred to me that it might be available from another branch in the system and I could have it delivered to the closest branch to my house. I thought ILL would take forever so I requested it again. Then I promptly forgot about the whole thing until both books came in on the same day!

This is basically a project book. It is about 95 pages, most of which are filled with patterns for the 12 quilt projects. The projects start on page 16 and end on page 89.

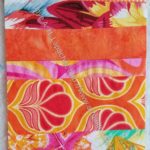
The book starts off with a dedication and acknowledgements (pg.3). A brief table of contents follows on page 4. One of my favorite things for project books is an overview of the projects page (pg.5), which is included in this book. The layout of the page shows a detail image of each project, gives the name and the page number.  I like this because it is useful for going straight to the project in which you are interested. I, of course, went straight to the Straits of Mackinac project (pg.26)!

“…to think of stitching all of these small bits back together simply to cut a shape to sew to another shape and then another. But something happened when I did. I was no longer simply following a pattern or a design, but creating something unique that danced and dazzled before my eyes” (pg.6). This quote explains the true wonderfulness of quiltmaking. I am not completely sold on string piecing, but my strip donation quilts have brought me back to this concept. I may not want to make blocks from tiny pieces all the time, but I do see the allure of creating something unique that nobody else can create. I also see the value in using a lot of different fabrics to make a quilt shimmer.

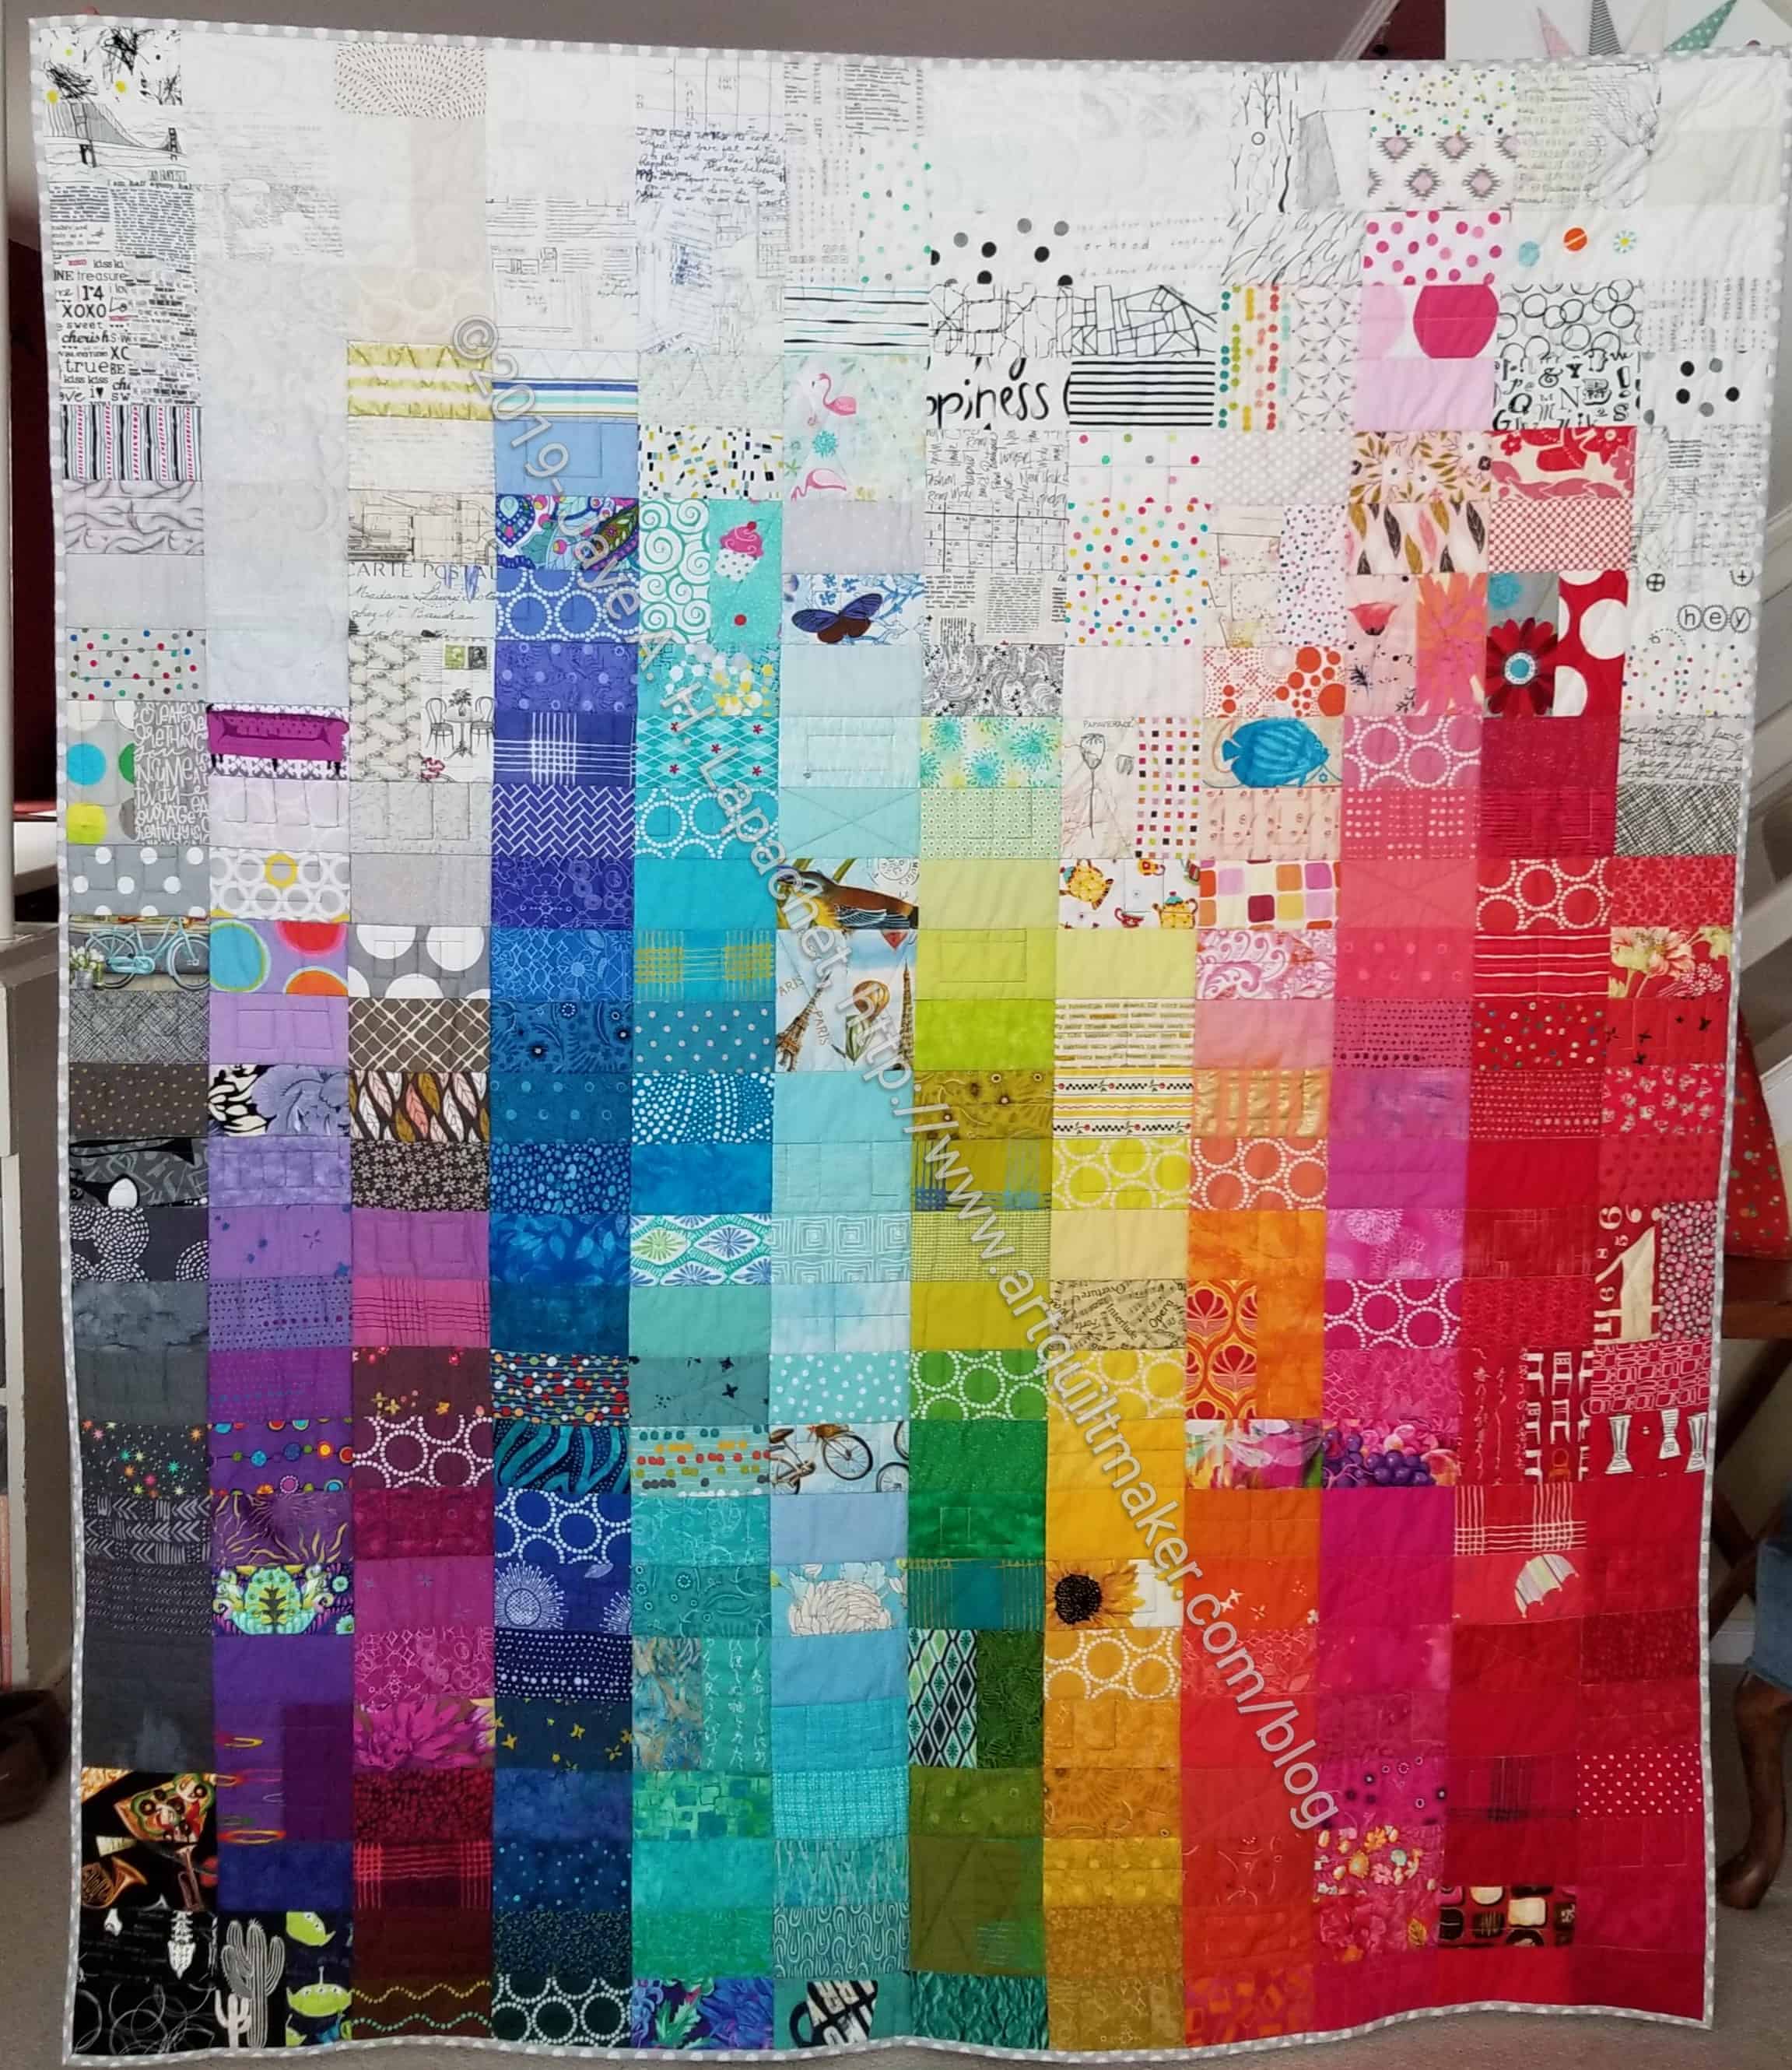
I have found that “there is magic in the piecing. Every scrap is full of memories of the project from which it came – every color, texture, and bit of contrast. They might not look like much on their own,these humble little pieces, but together they are a symphony of beauty, each scrap a spot on the timeline of your life as a quilter” (pg.6). This sentiment is so true for me. Every morning I wake up and look at Scrapitude Carnivale and it makes me happy. I pull scraps out of my scrap drawers and think about the project in which I originally used it. That is one of the beautiful things about scrap quilts.

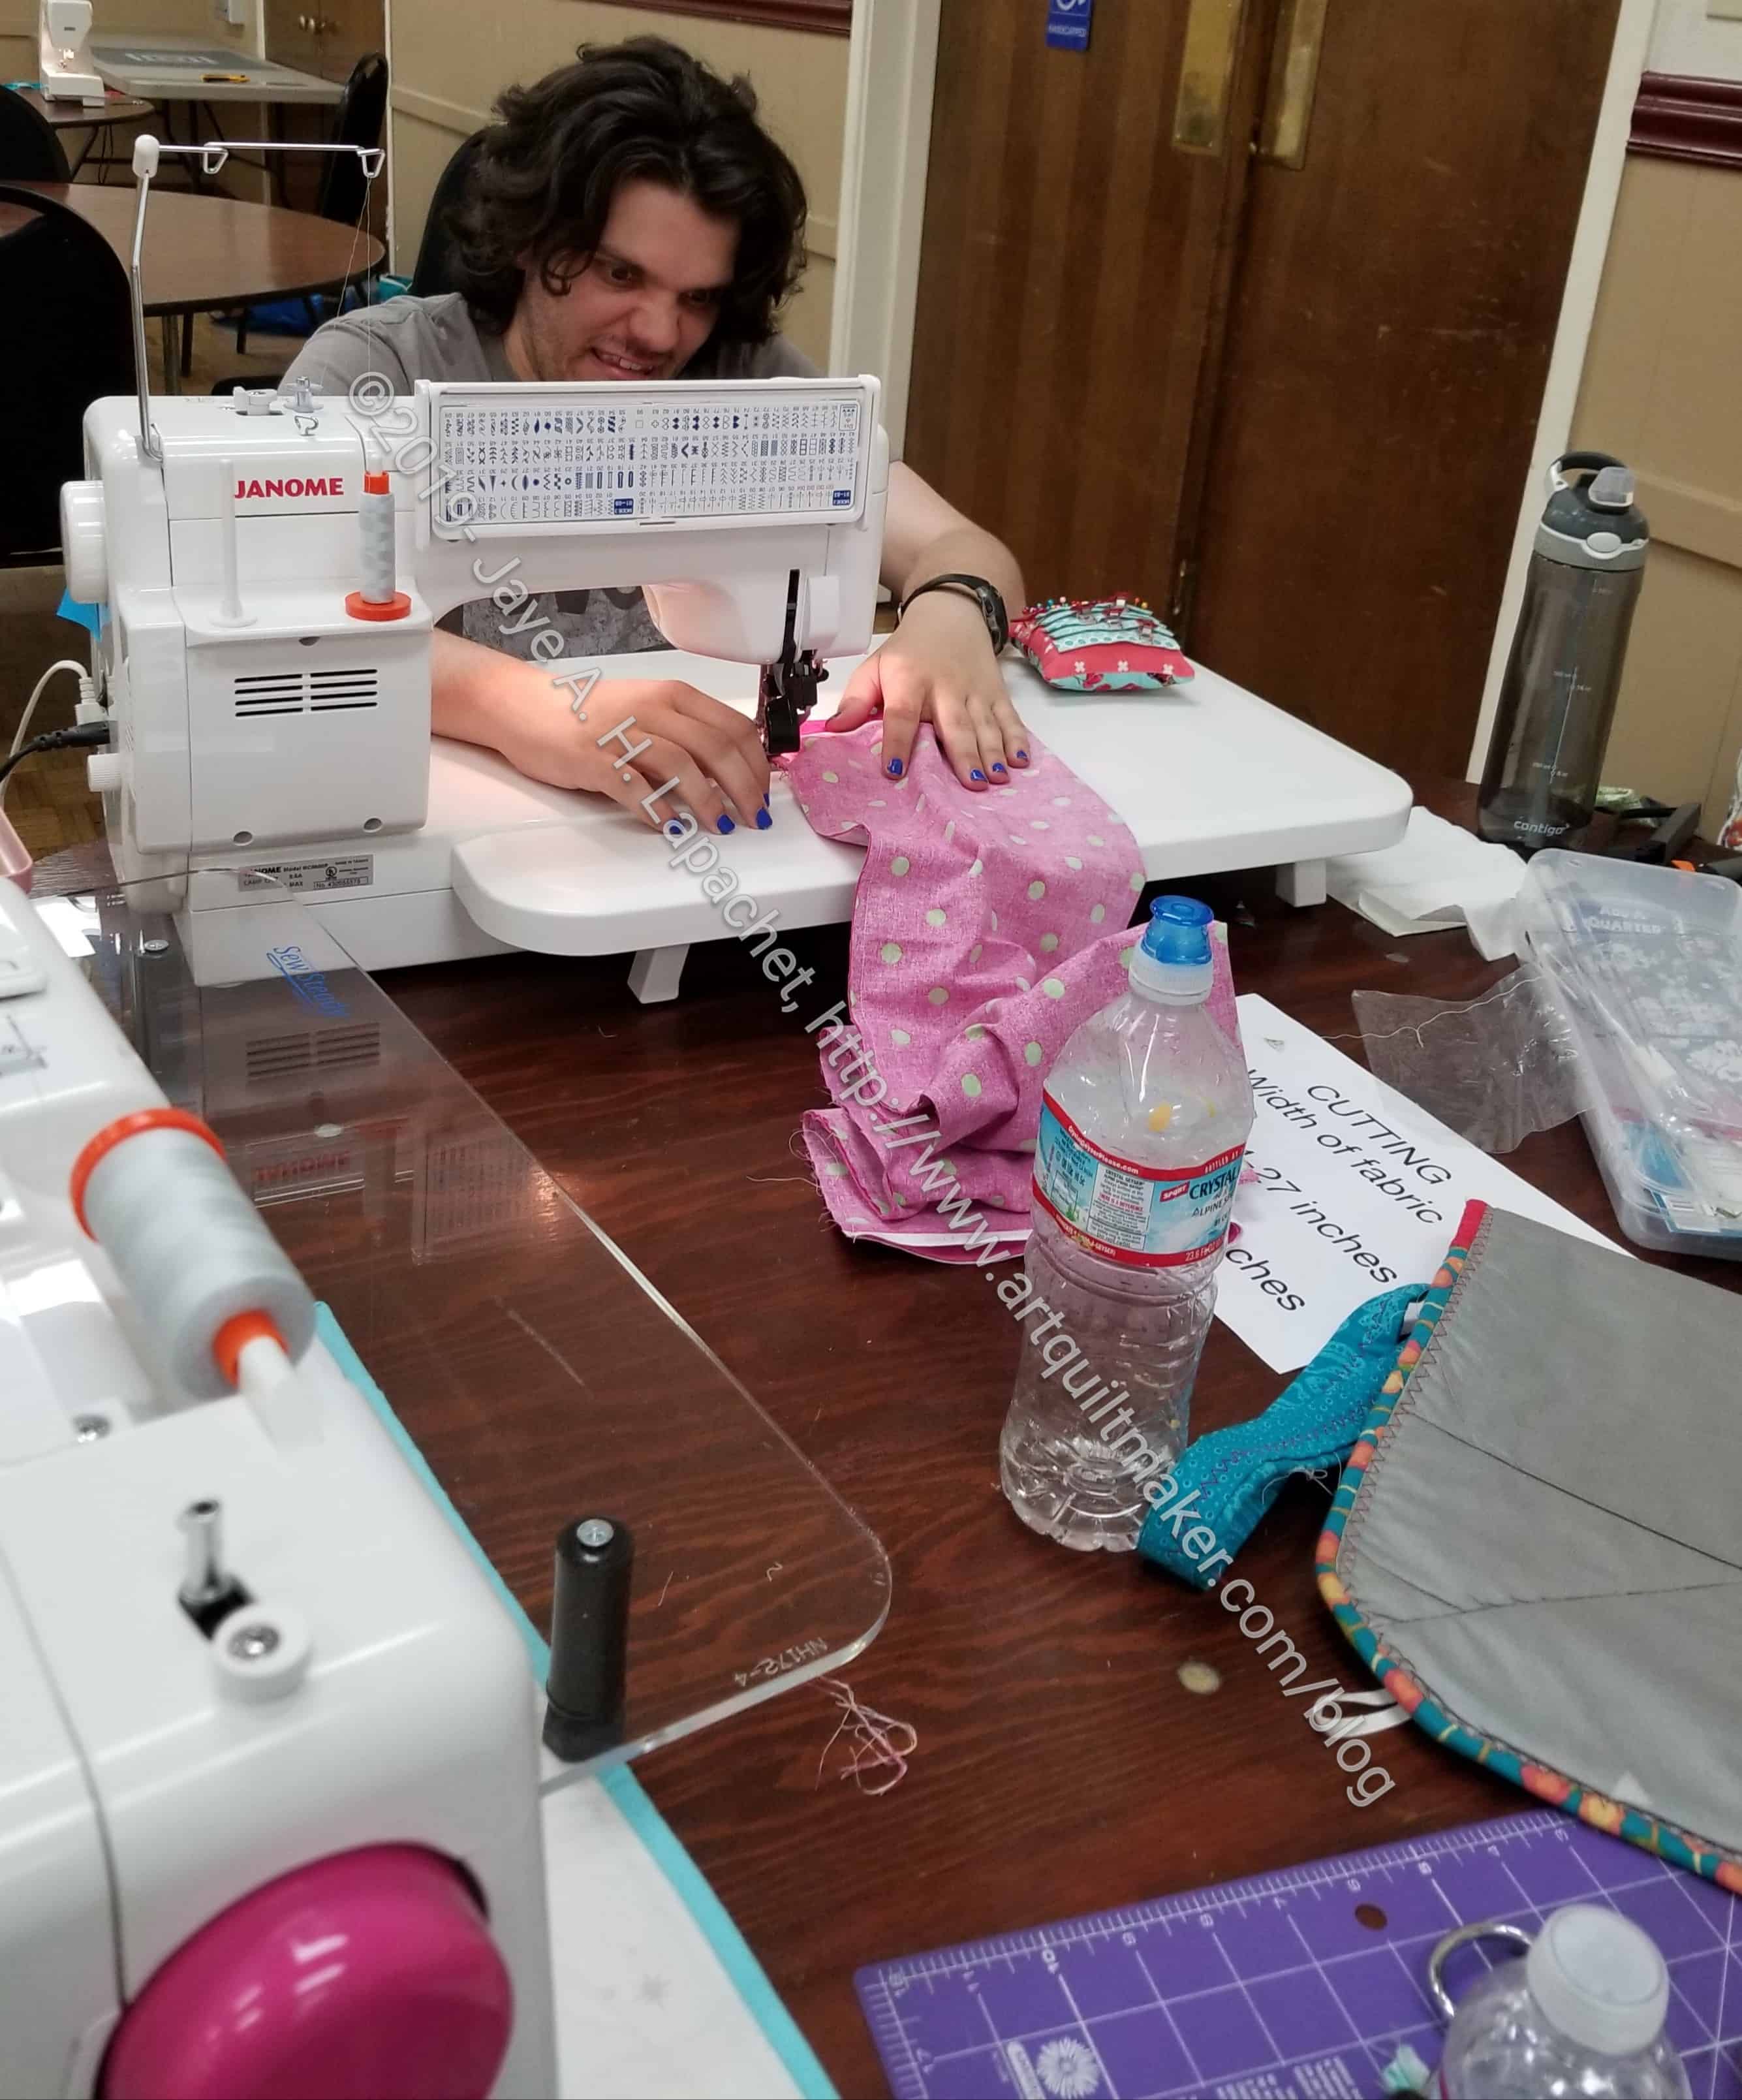
Of course, there are basic sewing guidelines, as every book seems to have. Bonnie has put her own stamp on it by assuming readers know what tools and supplies they need. She does mention a sewing machine in “good working order (to avoid frustration)” (pg.7), which is straightforward and useful. Since the projects use scraps, she tells readers how she calculated yardage and more about the project instructions (pg.7). You’ll have to wing it a little if you are using scraps, since they are usually not full yards or even FQs. Bonnie Hunter is famous for using scraps, so the “About Project Instructions” section briefly talks about the ins and outs of using scraps. She also mentions cutting binding strips (pg.7), which I don’t remember seeing in books like this.

Bonnie Hunter designed a specialty ruler called Fast2Cut Essential Triangle Ruler. This ruler helps make HSTs, QSTs and Flying Geese units. Hunter provides a picture and a brief description of the ruler in this section (pg.8). The ruler is a good addition to my Triangle Technique when you want to make one or two HSTs units rather than eight at a time. Not only does she show the ruler, but she shows how to use it for HSTs (pg.8), QSTs (pg.9-10) and Flying Geese (pg.10-11) units as well. Bonnie provides as chart near the Flying Geese instructions, so the reader can make different geese sizes. The ruler instructions have accompanying images, which make them easier to interpret.

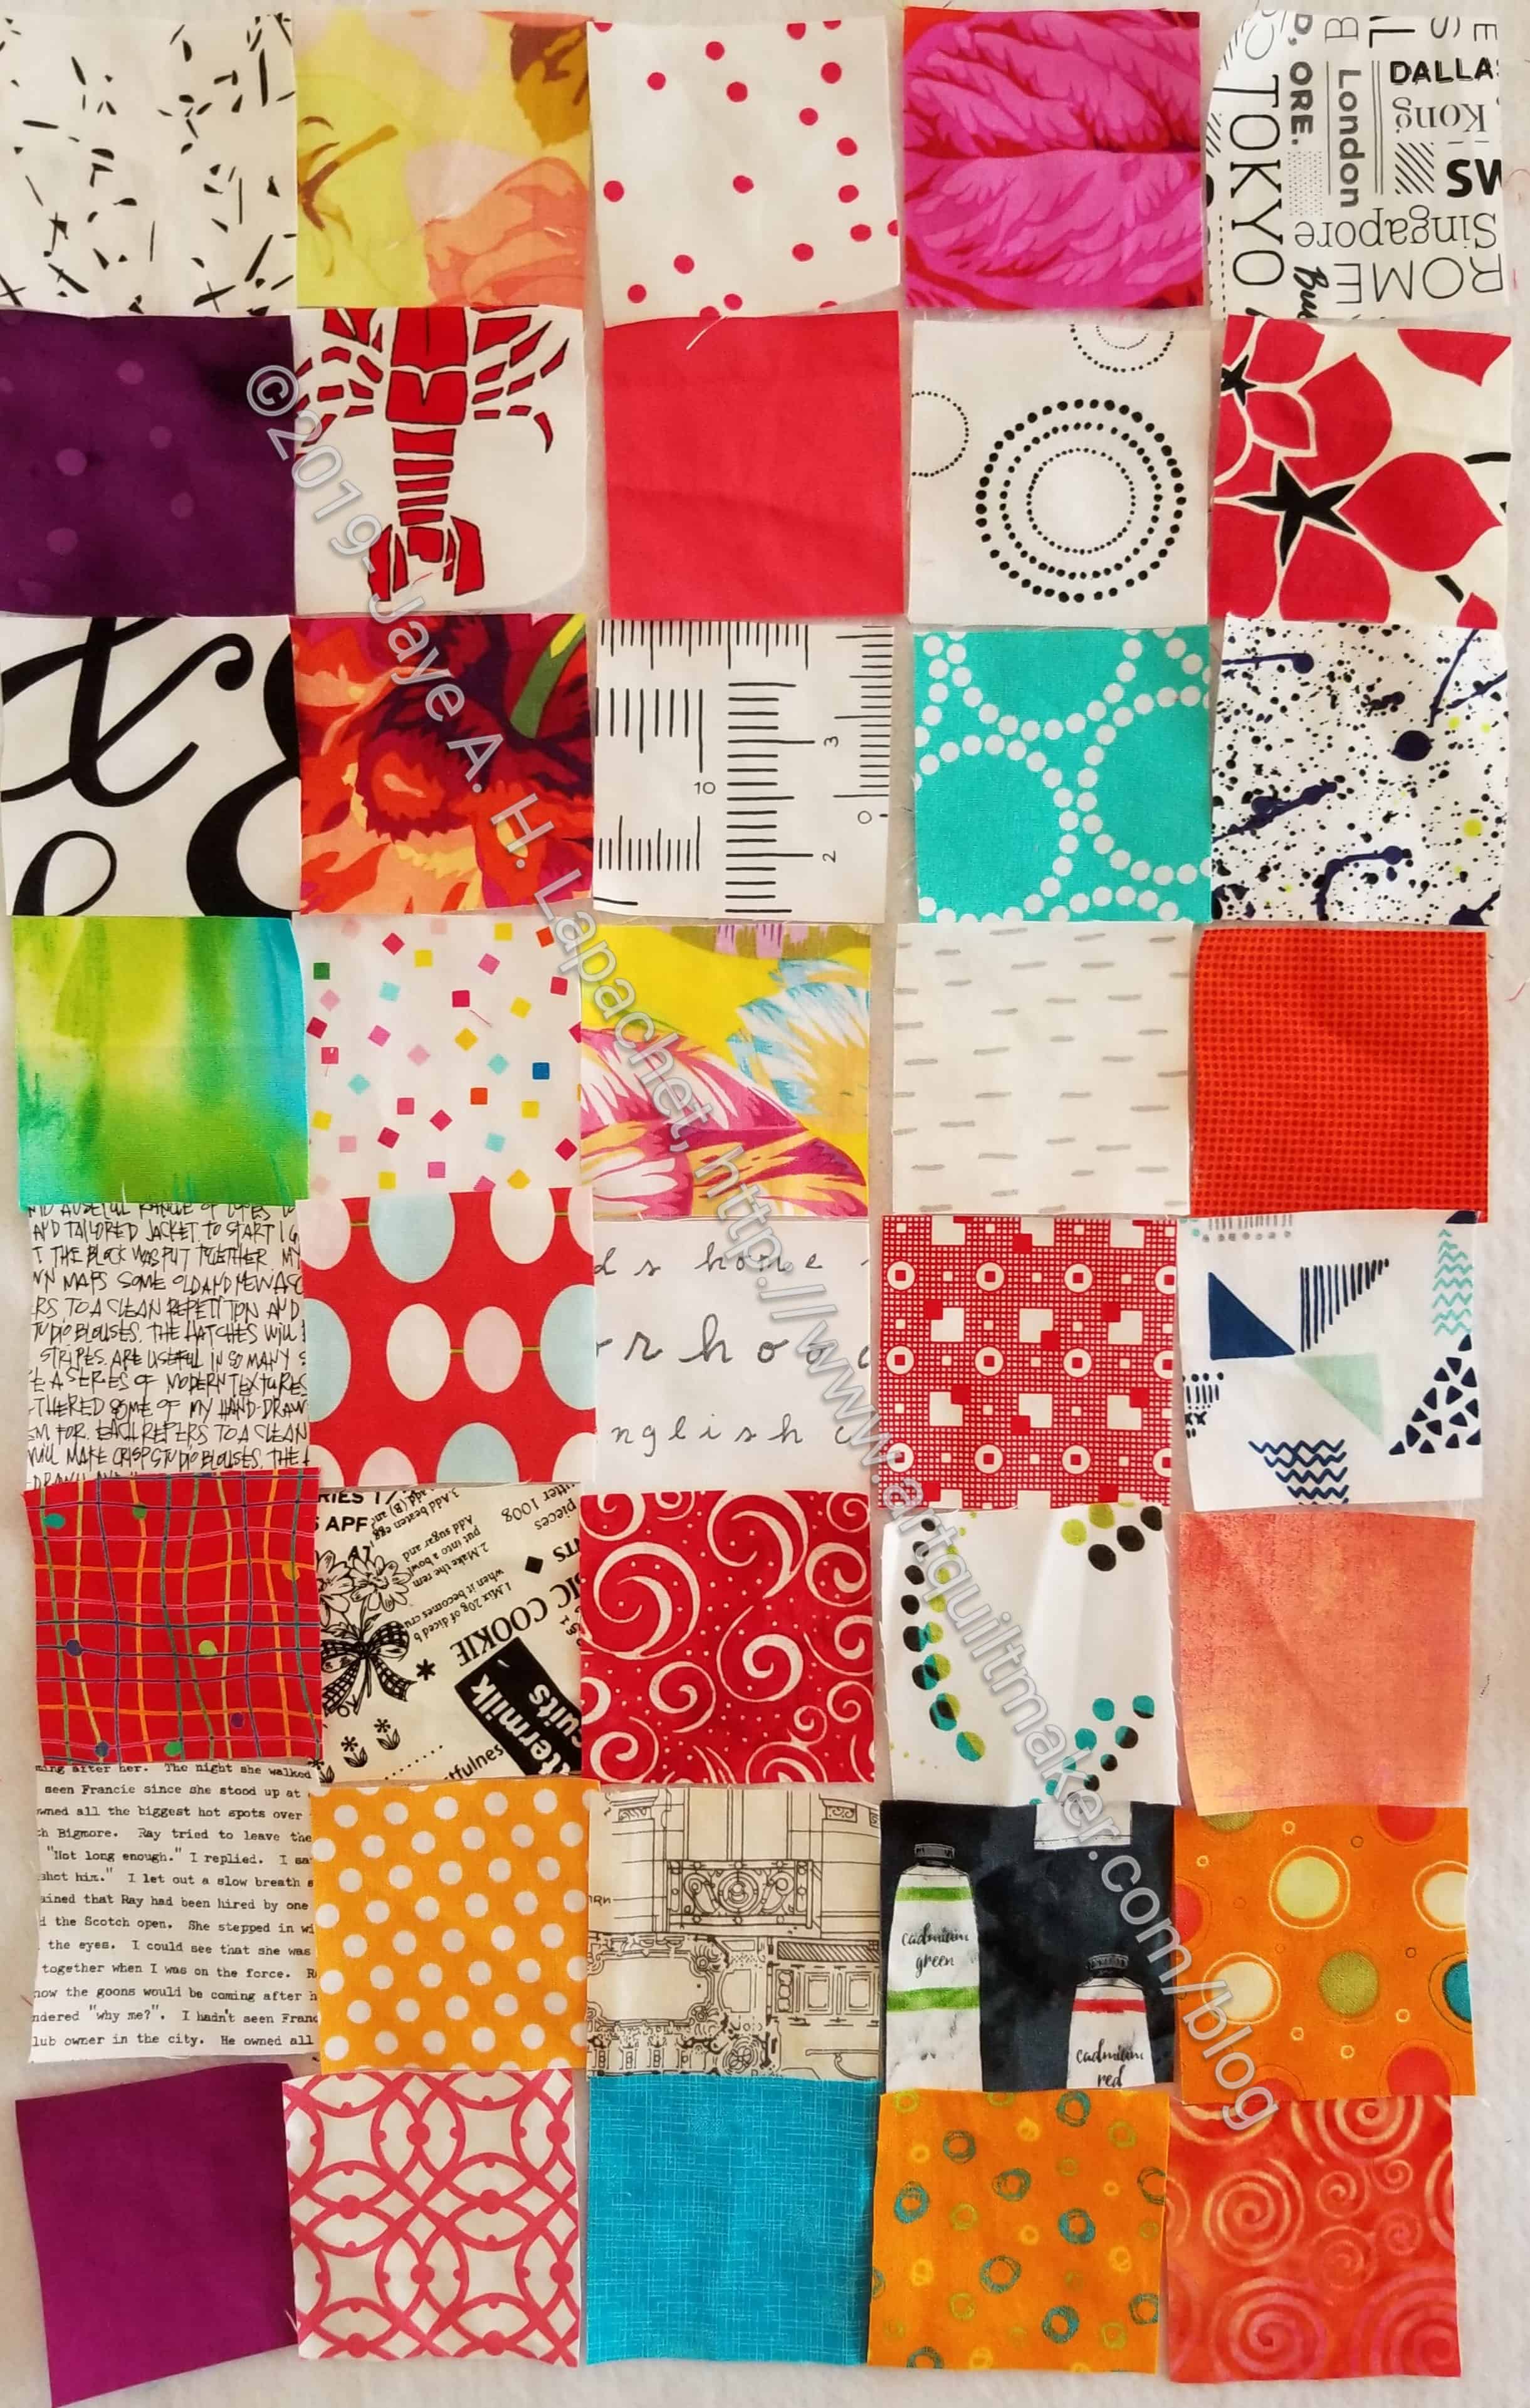
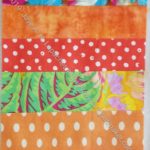
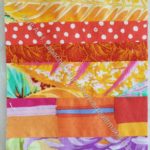
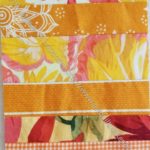
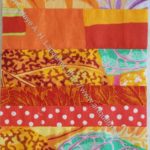
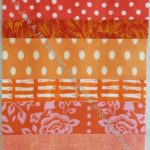
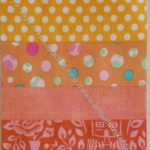
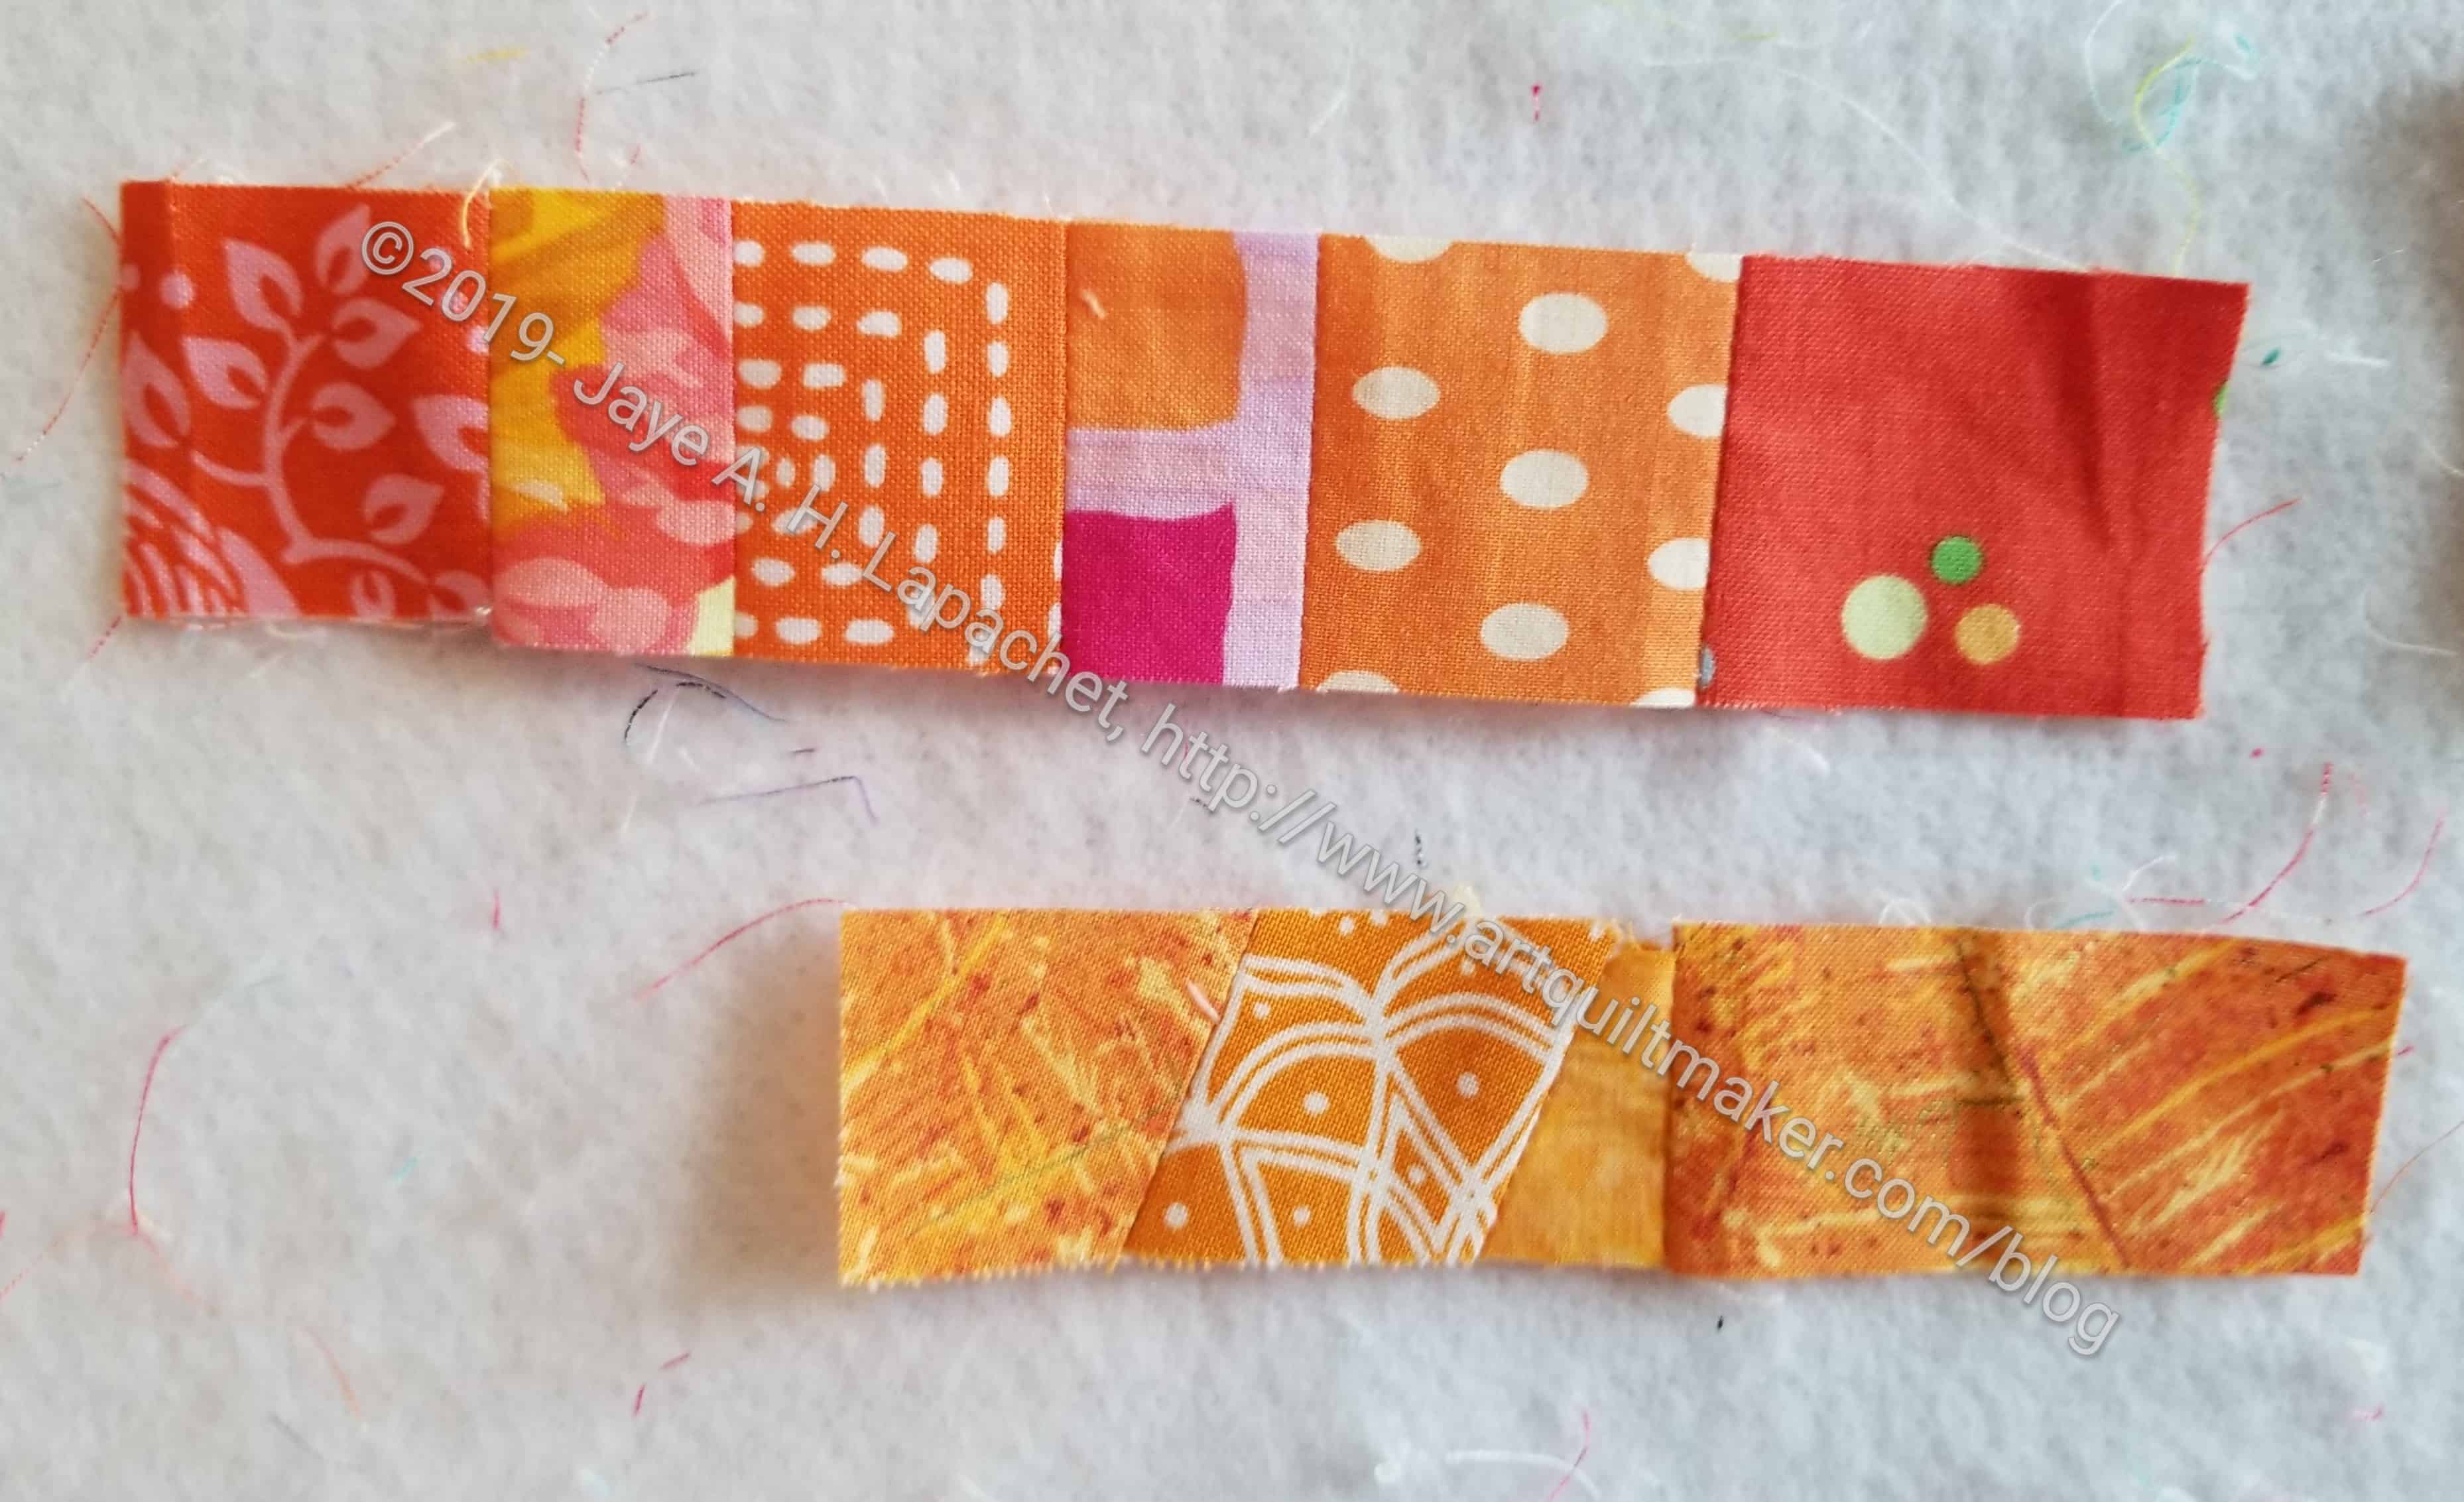
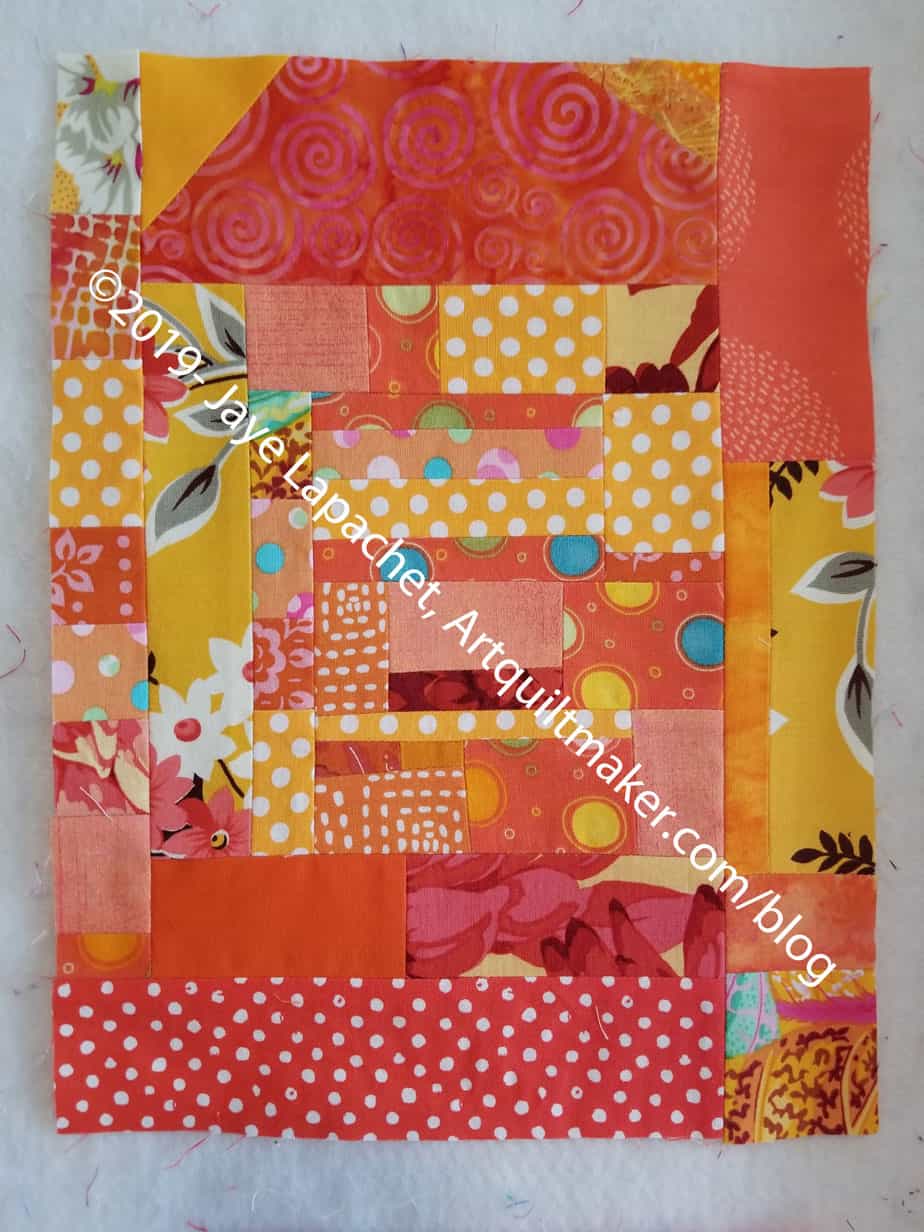
‘Strings’ haven’t come up thus far in the book, but the author starts explaining what they are, how to make them and why to use them following the discussion of the Fast2Cut Essential Triangle Ruler (pg.11). The discussion includes the definition of a string and how wide strings should be (pg.12), using foundations with strings, easy paper removal and pressing (pg.13). One tip, which I didn’t know is not to use tracing paper or vellum since they will curl or shrink when touched with an iron (pg.13). Interesting!

After reading this book, I also now know the difference between a crumb and a string (pg.14). It turns out that the way I make my Improv donation quilts is crumb piecing and I use string piecing for the strip version. A project book can teach me something new, too, which is why I like to take a look at as many new books as I can. The book teaches the reader to build crumb blocks (pg.15) with briefl but mighty instructions.

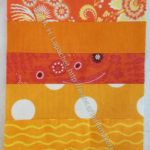
Patterns start with Geese on a String (pg.16-21). No lifestyle shots in this book, just a nice flat photo of the whole quilt (pg.17), with sizes for blocks and the entire quilt given (pg.16). I like it that there are no surprises.

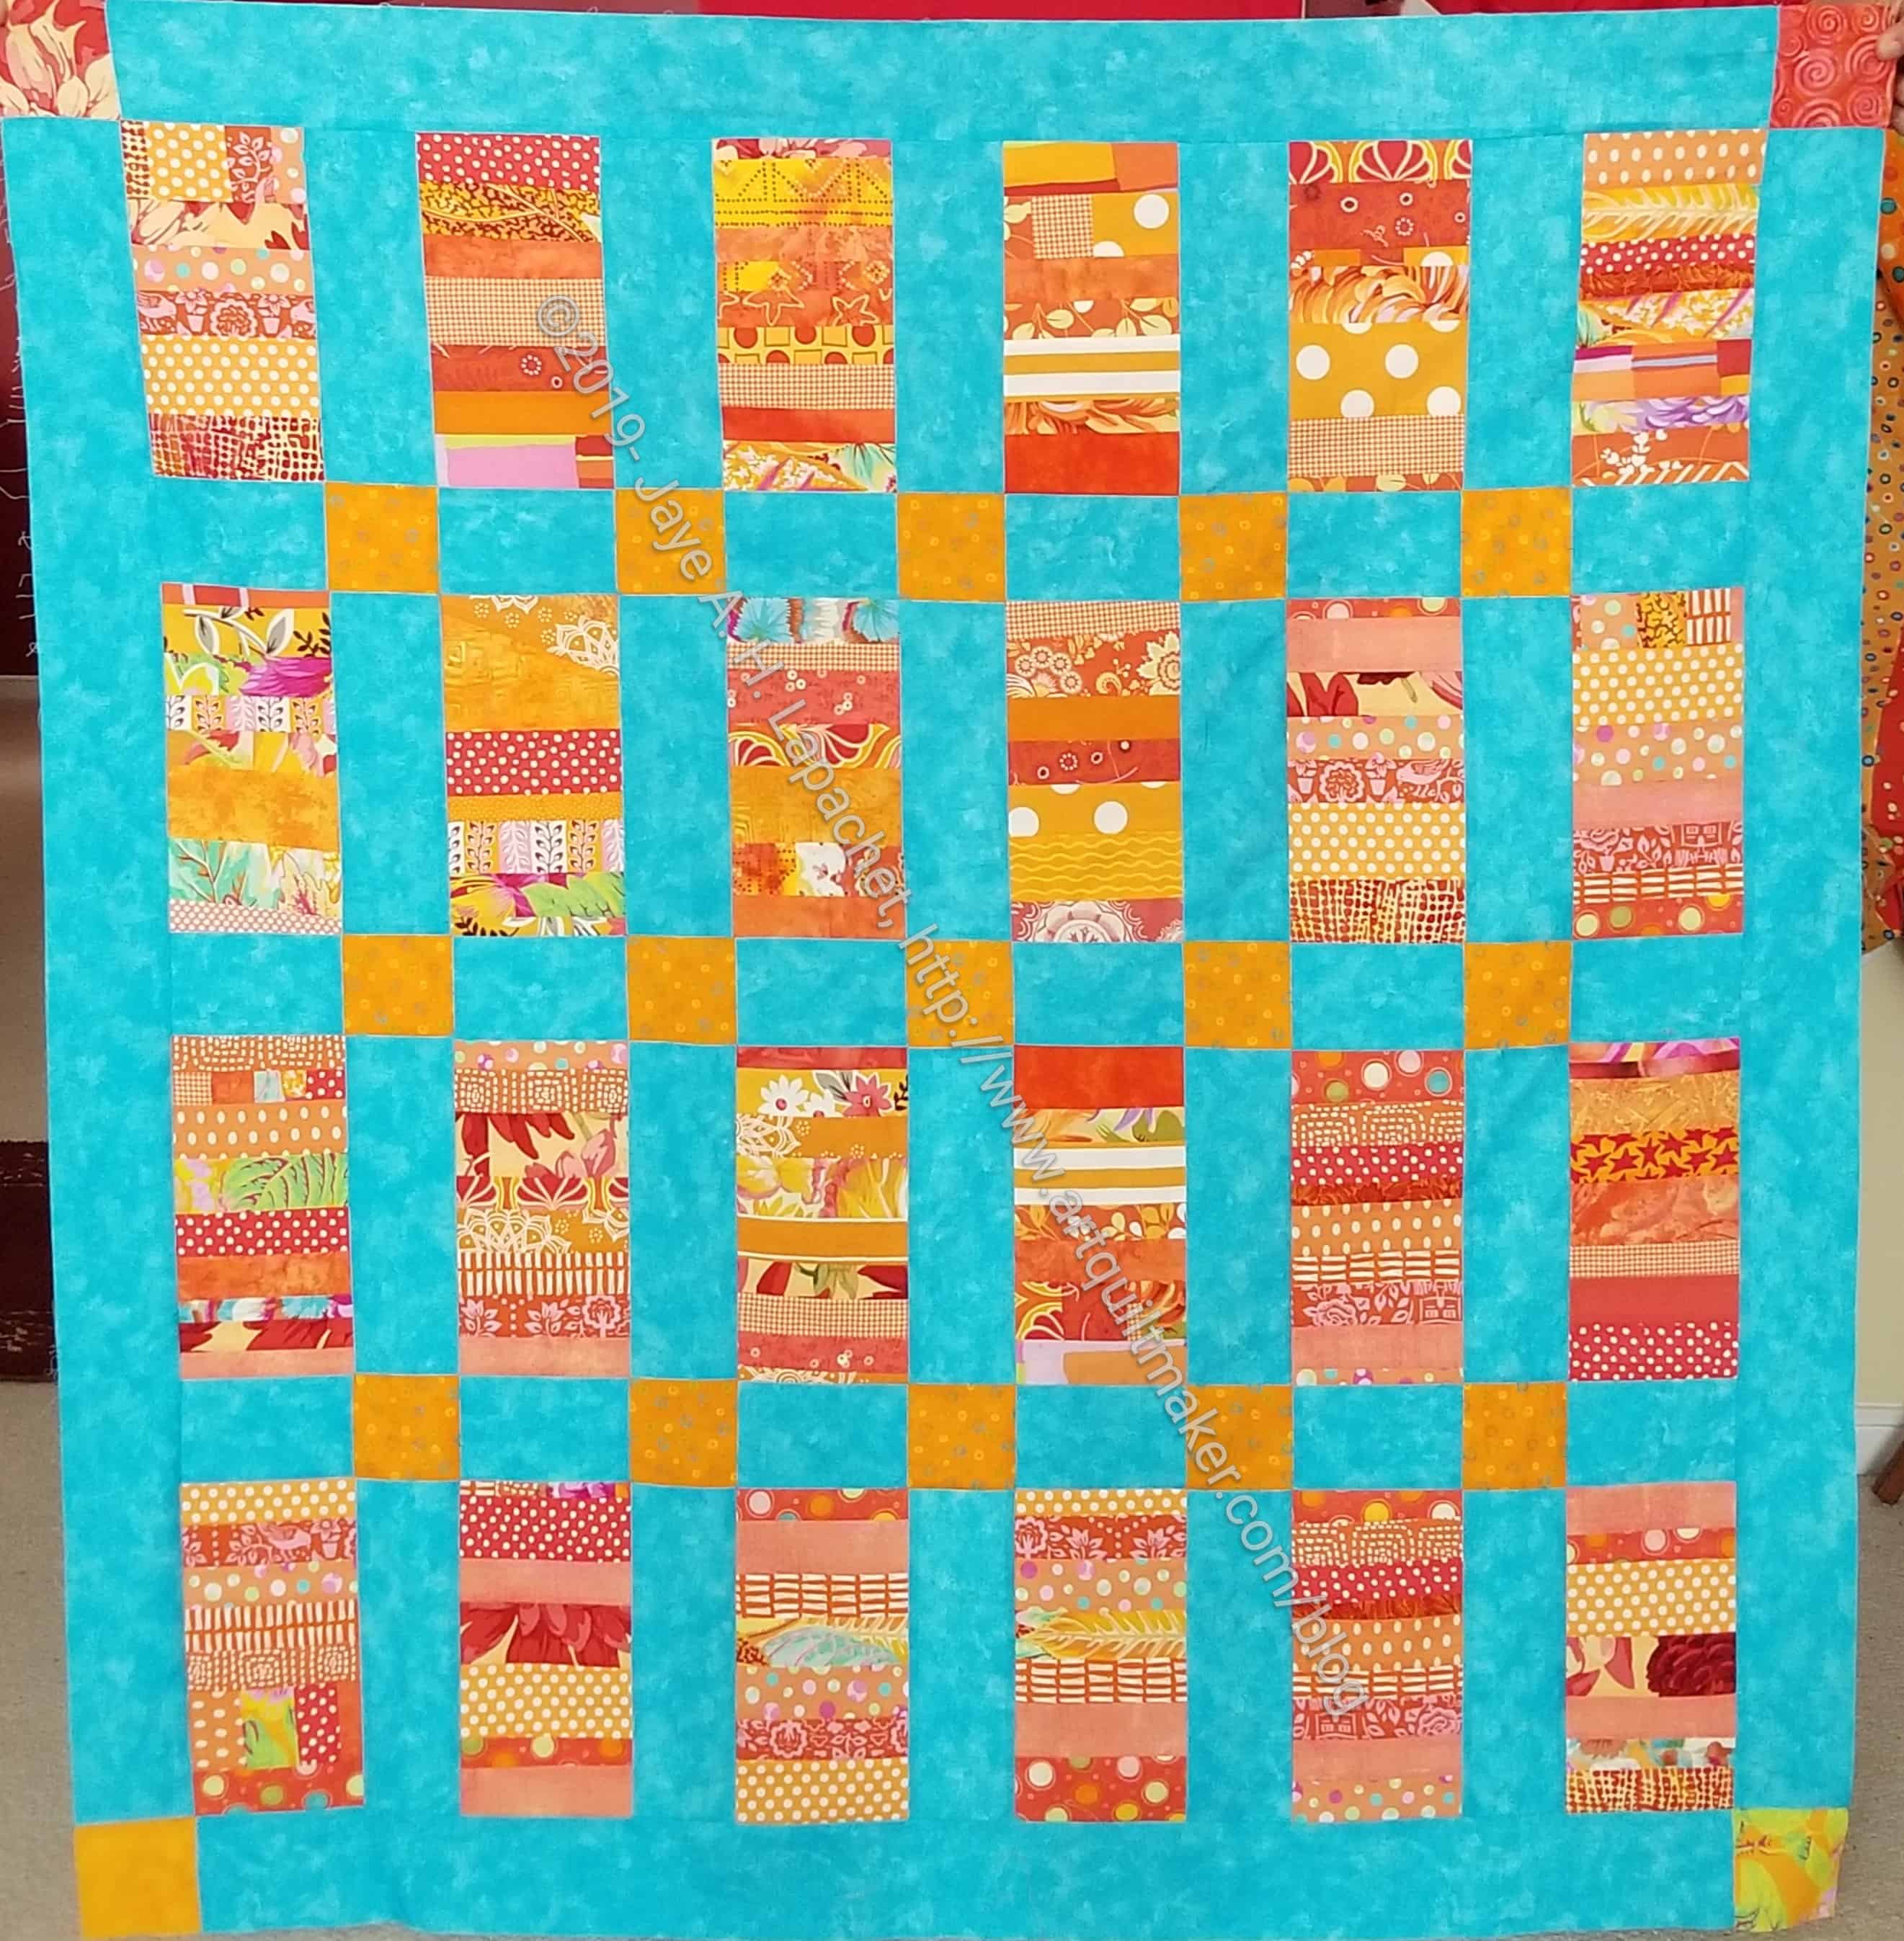
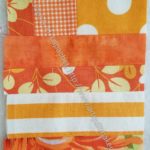
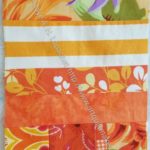
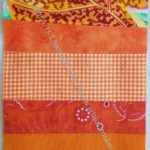
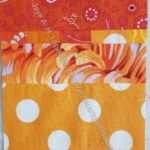
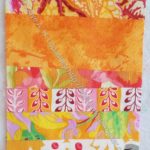
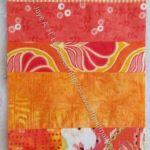
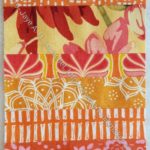
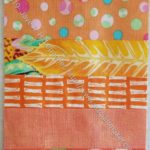
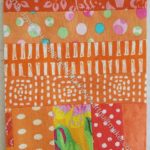
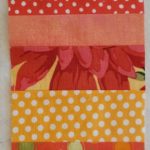
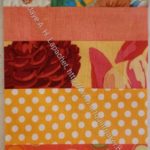
My favorites in the book are Serpentine Web (pg.22-25), which reminds me of my Spiderweb quilt re-imagined in a new and fun way. The yellow is a bit much, but also may make the quilt. Straits of Mackinac (pg.26-33) is my absolute favorite in this book. It has the feel of En Provence, with a new,  different twist. I wouldn’t make it with the strips in the Peaky & Spike blocks like Bonnie does (too lazy?), but I would use a variety of fabrics. I also like Indigo-a-Go-Go (pg.84-89), thought not in those colors. The chain effect is a good use of 9 patches.

The patterns have a photo of the quilt flat so you can see the whole quilt along with some text that explains Bonnie’s inspiration or the fabric, which I like. There are also extensive materials lists, which do not include notions, machines, etc. These lists are for fabric, batting, etc. Hunter references tools, such as her Fast2Cut Essential Triangle Ruler in various places. Each pattern has some tips and tricks boxes, extensive construction notes from blocks to quilt assembly. As per usual, the finishing instructions are brief. The ‘At a Glance’ section in each pattern gives visual instructions for putting the quilt together.

The book ends with some foundation piecing patterns readers will need for various patterns. I recommend this book for a few projects you can sew as leaders and enders.

View all my reviews

Supporting Young Artists

SF View towards Coit Tower

A few months ago, a college friend contacted me and told me her daughter was coming to San Francisco to attend a summer art program. We made plans to see each other while she was in town and I offered to be emergency mom, should the need arise. Wouldn’t you like to go to school at a place with that view?

Identity by Jillian Taylor

A few weeks (or a month?) later, I got another call inviting me to the young artist’s reception. I drove over with my BIL to view the art. The art was very interesting. Some good, some not to my taste. My friend’s daughter’s art was very appealing to me, though it wasn’t all sweetness and light as I usually like.

Her work has a mystical quality that invites the viewer to come closer. I told her about my attempt to reward viewers with surprises if they come close to my quilts and she said she does something similar.

Jillian’s work is definitely worth walking up closer and looking at carefully.

Visions of a City by Jillian Taylor

The students were given assignments and one was about buildings. I forget the basics of the assignment, but I thought her interpretation was fun and interesting.

She talked to us about wishing the cat that ran away was still in the picture when she took the photo and then delighted in describing how she realized she could add a cat even if it wasn’t in her reference image. I was delighted as well! Sometimes we feel we have to stick to the truth when doing realistic work and that just isn’t true.

Strings by Jillian Taylor

The students explored all media, including sculpture. I haven’t really ever done much sculpture. I was fascinated with the airy, flying/breaking out of the wall quality of the Strings piece.

As you know, I am fascinated by 3D in quiltmaking. You have seen some of my bags, right? And the textured cube? Jillian’s piece is a whole different thing that I don’t think I could ever achieve with fabric and thread. I suppose something like this wouldn’t be the same with fabric in and thread.

Obviously, there were other works by other students as well. I looked at some of them and enjoyed them as well. I love the 3D aspect of the white vase. I don’t mean the vase itself, but the flowers and vines.

Hellish and Full of Heartache

The first piece the young artist did when she arrived was a directed painting. The professor told them what to paint and they interpreted the directions in their own way. This painting started off with three triangles.

There is a lot going on in this painting. One thing I thought was interesting was that I could not see the three triangles. They were pointed out to me, so they are still part of the painting (an aspect of the assignment?), but I couldn’t tell you where they are now.

Finally, Jillian had an installation piece. I have to admit that I didn’t understand it very well, but it had that same mystical quality that some of her other work had. Her mom was pretty distressed when it was taken down – all the work had to be removed so it could be shipped home.

Diego Rivera mural at SF Art Institute

The San Francisco Art Institute not only has a great view, but it also has a Diego Rivera fresco. The information said that it was painted in 1931 and was a gift of William Lewis Gerstle when he was president of the SF Art Association. There are other works by Rivera at City College of San Francisco.

This exhibit was outside of my normal daily ramblings. It was good to get out and see something different. I encourage you to do something similar.

FOTY 2019

FOTY 2019 Summer Squares

I am moving slowly on gathering fabrics for FOTY 2019. It might be a small quilt! This slowness is because of working with the scraps for the strip and improv donation projects and also because of how long it is taking me to piece Flying Around.

Most of these are light and I know you can tell what I have been working on from what you see. This is sort of the beauty of the Fabric of the Year projects. I can remember the fabrics I bought and used that year. It reminds me of various projects and trips to great shops.

FOTY 2017 Finished!

FOTY 2017 Finished
FOTY 2017 Finished

After having to redo the sleeve (too long), I spent some time away from the half hexie project stitching away on the binding and sleeve of FOTY 2017. The piece is finished!

Others were able to see the skyscraper/tall buildings that I was intending when I created this layout. I am pleased that it is finished.

FOTY 2017 back Finished

For once I also photographed the back. I know I have been slack on that lately.

Orange Strip Donation Top Finished

Orange Strip Donation Top: finished

I finished the Orange Strip Donation top & back yesterday. It came down to finishing the back, which took longer than expected in a busy week.

My quilt holders were around so I was able to get some photos in a timely manner.

The blue is an unexpected choice, but I talked about it before, so I won’t go into it again. I kind of wish I had more orange strips so I could do a version with a white background. I don’t, though, so I’ll have to do that next time I get a plethora of orange scraps.

Orange Strip Donation Back

I used some odd oranges for the back. These are nice fabrics that I don’t think I will use for something else. I had a hard time curating the fabrics for the back as I really like 90% of the oranges I have left. I guess I had better use them for something if not for donation quilts.

Using up fabrics makes me wish I hadn’t stashed so much fabric when I did. On the other hand having so much fabric on hand means that I can put my hands on almost any color I need for any project. It also means I can make almost any quilt I want without going to the store.

Recent Donation Blocks

I have been remiss about posting donation blocks lately. I have also not been making the standard postage stamp blocks that my guild collects. Here are a few I have made recently.

Tuleberg Community Quilt Day

Tuleberg Finished Pillowcases

On Wednesday the YM and I went to Stockton to spend the day making pillowcases with the Tuleberg Quilt Guild. My mom is a member. She told me about it and since we haven’t had a chance to get together alone this month, I decided to go. When I found out the YM would be home, I convinced him to tag along. He wants to learn to sew, so this was a good opportunity to start.

It is a far drive for us, so we go there a little late and, after setting up, he went off with my mom to get something to eat. Is tarted cutting up fabric to make the first pillowcase and quickly realized that he wouldn’t be able to make a whole pillowcase on his own. I decided to do the cutting and have him sew.

YM Sewing Cuffs to Bodies

It has been a long time since he sat in front of a machine, so this was a good decision. He carefully guided the fabric through the machine, encountering the stop and start problems of the feed dogs not grabbing the fabric, thread bunnies and backstitching. We used the pillowcase tutorial I have cobbled together from experience and a variety of sources. He chain pieced the cuff/body burrito together. I also had him turn the burritos inside out and do a little pressing when I got behind. By the end, the three of us were all working together to finish the pillowcases.

Mom working on pillowcases

I brought some yard sized pieces of fabric I didn’t think I would use, but cutting bits out for other projects does help with this. Fortunately, I have realized this and started cutting up the side of yardage, so I have a chance of having enough for a body (yard sized length) and cuff (half yard sized length). Newer fabric is easier to use, but so far I still like it enough to not want to use it for community quilts/projects. I suppose that is something I have to work on.

As a team, we made 5 pillowcases in about 3 hours. This is probably a bit slow, but I do French seams so everything is enclosed and that takes longer. I don’t have a serger, so this is the best way for me to achieve my goal.

They also had an ice cream social, which was make it yourself sundaes and banana splits. I love banana splits and made myself a small one. They brought real glass sundae holders, which was really classy.

Tuleberg Pillowcase display

The guild ended up with 121 pillowcases for the day, which I thought was a good effort.

Inspiration Lake Street

I spent the other day picking up FOTY 2017 from Colleen and having lunch with a friend. It was the kind of lunch where we solved the world’s problems.

Steps near Katherine Delmar Burke

On the way I drove down a different street and ended up at a dead end that continued up these stairs. Aren’t they gorgeous? It makes me wonder why we can’t, aside from the cost, incorporate this kind of beauty into new, modern building projects. I know there are a lot of reasons aside from cost, but it seems that seeing beauty in our daily life rather than an unrelenting landscape of depressing concrete would make the world a better place.

Evolution of Strip Tops?

If you have read for any length of time, you have seen the various color strip donation tops I have been working on.

I am really liking the way they are coming out, the slight variations I have explored and the way the shift in colors makes the top look different. Also, Tim’s quilting adds a whole additional dimension.

Julie Sefton's Inspi(Red) quilt
Julie Sefton’s Inspi(Red) quilt

My mind was slightly blown the other day when I looked a a post from Quilt Diva Julie. she covers a lot in her posts and I was just about to click away when I saw her quilt, Inspi(red). I love the little sparks of color that show up against the red. This quilt gives me another idea for these color scrap quilts on which I have been working.

Julie was kind enough to give me permission to post her quilt here. She writes “INSPI(RED) is the red quilt on the blog today with inserts that are the trimmings from the center strips of Luminous.   Inspi(red) is my own interpretation of a pattern named Bright Birch Trees by Amanda Jean Nyberg (Crazy Mom Quilts)”.

N.B. Crazy Mom Quilts is no longer being updated and some of the links no longer work, including the link to the Bright Birch Trees pattern. 🙁 If you are patient you can see the Bright Birch Trees image, which uses a variety of different colored backgrounds.

Thin Orange Strips
Thin Orange Strips

I never really know how images out on the web will hit me. I am so grateful that people are still posting on blogs and talking about their work. This quilt made me think of the thin strips of piecing that come out of the strips quilts after I trim. I can add them to larger pieces to make them useful, but they are little gems on their own and get lost, to a certain extent in the improv piecing of the larger donation tops where I mostly use them. Julie’s quilt makes me think of add them to larger blocks as a featured element in the block.

I don’t have enough in scraps to make the blocks as she has done, but I do have yardage that would be well used by people in need.

I don’t think I have enough orange to make a whole quilt in this design after I finish the Improv version. I’ll have to see. I have a lot of blue and pink scraps so those colors might be my test bed.

Apparently, I now have about a million more ideas for donation quilts. It is so great to have that outlet as I can try as many quilts as I want without my house being floor to ceiling with unused quilts!

Stay tuned!

Orange Strip Donation Top Finished

I thought I would finish this top before the meeting, but I didn’t. the last few weeks have been harrowing. Nothing bad. Just a lot. That means I haven’t taken much time to sew. Some, but not as much as I would like.

I did work on Sunday. I worked on Flying Around a little, fixed the sleeve for FOTY 2017, finished this top, worked on the Orange Improv Donation Top and started on the back for this piece. Not bad, but not as much as I wanted and not a lot to show here.

Orange Strip Donation Top

Still, I am pleased with this piece. I like the blue and hope it doesn’t overshadow the orange too much. Ever since working on the Wonky 9 Patch, I have been unconsciously looking for an excuse to use this color combination again. I am really glad Friend Julie and AQ reader Sherri mentioned it.

BAM Meeting

The meeting was Saturday and it was a raucous and fun meeting. Kelly was visiting and she came to the meeting to hangout. SIL #2 and I went to lunch with Kelly and Angela, so we had a bit of extra time to catch up. At the meeting, Kelly gave a slideshow about her life in Scotland. I forgot what a fantastic quilter she is. She showed some of her recent quilting and it is amazing.

We also had a great show and tell. Maria brought a two sided quilt, which had really effective quilting.

Tri Valley Modern Quilt Guild Charity Quilt

I loved the Tri-Valley Modern Quilt Guild’s QuiltCon Charity quilt. Alison brought it for us to see and the colors really spoke to me.

Sheila's 3D Flowers
Sheila’s 3D Flowers

Sheila is a new member and she is showing some amazing work. She showed this vase of flowers. The flowers are made with Peltex so the petals are 3D. they look really great. Her woven background reminded me of my 3 woven quilts. Her woven background is much more controlled than the weaving in my pieces.

Almond Rhubarb Cake
Almond Rhubarb Cake

Finally, I brought this cake. It is a recipe from Allrecipes.com that I saw on Friend Julie’s website. I am always saving my rhubarb for pies, so I used cranberries and blueberries. It took a long time to bake – maybe 3x as long as the directions say, but when it finally finished it looked delicious. It wasn’t as sweet as some cakes I have made. I brought it to the guild meeting and only brought home one piece. Sue wasn’t there so my cake didn’t have to compete with her delicious brownies. I am pleased it was mostly eaten.

Another Chicken Dinner

I feel so lucky lately. I won at the Fair and yesterday I won a prize at the guild meeting.

July BAM Raffle Prize

Every month there is a very generous raffle prize given out. I haven’t ever won, that I can remember. I never expected to win.

I am pretty pleased with the items, especially the book, because it has some patterns I have gotten out of magazines. Now they are all in one book. It’s great! The colors aren’t really mine, but they aren’t horrible either. And I like the little pouches and portfolios.

July BAM Raffle Prize - open
July BAM Raffle Prize – open

Lynette is the genius who puts together the prizes. She is retiring at the end of the year and I have agreed to head up a committee to create the raffle prizes. I have some ideas. With a team I think I can do it.

It’s All About Orange Right Now

Orange Improv Journal Cover

Because you have seen the Orange Strip Donation Top and the Orange Improv Donation Top in progress, you know that it is all about orange around my house right now.

As I rummaged through my orange scrap bin, I found a shard that was really great. It was made from some of the same fabric as my Fresh Fruit quilt. I decided that it would make a perfect journal cover for my AQ business notebook.

Orange Improv Journal Cover -inside front cover

Since I had a big shard already, it didn’t take long to make as I use a really basic version of the tutorial. I used interfacing and no flannel for the inside, so it came out very slim. I am trying different things to find the best way to make the edges of the journal cover easy to sew through. Without anything (like batting) in between, the maker is already sewing through at least 8 layers and that doesn’t even take the seams from the piecing that might hit the edge. I don’t know about your machine, but that is a lot of layers through which to sew.

Orange Improv Journal Cover -inside back cover

I still haven’t quite figured out how to center exactly what I want on the front. I did a pretty good job on this one, but would have preferred to have more of the front inside cover on the front.


Orange Improv Journal Cover -whole cover

Orange Improv Donation Top Start

Orange Improv Donation Top start - mid July 2019
Orange Improv Donation Top start – mid July 2019

While I was vacillating about the sashing color, size and fabric for the Orange Strip Donation Top, I still needed some leaders and enders. I started in on the Orange Improv Donation Top.

This part of the project is also coming out quite well. I am starting to think that I pick my oranges carefully and they go together well.

I really like the orange dot at the bottom of the left hand photo. However, it really stands out in real life. I might have to use smaller bits of it, so it doesn’t dominate.

Orange Improv Donation Top start 2 - mid July 2019
Orange Improv Donation Top start 2 – mid July 2019

The top piece (in this post) is about 8 in x 10 in right now. I have some sewing to do to get it to a larger size.

The smaller piece will be added on to the larger piece when it gets to the right length or width to fit. I am at the point now where I make smaller pieces fit together to attach to the larger ones.

Book Review: Dessert Roll Quilts

Dessert Roll Quilts: 12 Simple Dessert Roll Quilt PatternsDessert Roll Quilts: 12 Simple Dessert Roll Quilt Patterns by Pam Lintott

I have a dessert roll of V&Co Confetti. One morning I got a bee in my bonnet wondering what to do with it. I went online looking for patterns, then had a brainwave that the library might have a relevant book. I looked at a local library catalog. I was able to check out a Kindle book early on a Sunday morning from my kitchen while wearing my bathrobe. It was awesome!

This book is basically a project book. There are 12 projects. The work, however, starts with the table of contents and a brief introduction. The introduction covers what a dessert roll is (roll of 5 inch strips). The authors explain that most of the patterns use one dessert roll and some background or border fabric. They also remind readers that the requirements of each pattern are clearly stated. The book also includes recipes for baked goods, because, apparently, working with these 5 inch strips made the Lintotts hungry. 😉

“Getting Started” follows the introduction. The authors state, again, the definition of a dessert roll and remind the reader, which I appreciate, that you can always cut ‘pre-cuts’ for yourself. Take a look in your fabric closet (or shelves) and select a group of fabric you like, then cut your own. You can do it! They also state that the patterns assume your 5 inch WIDE strips will be 42″ long. This is good to know if you are using FQs or something else.

Seeing as how The Quilt Room is in the UK, the authors address the Imperial vs. Metric dilemma. They provide some information on converting from Imperial to Metric. The Imperial vs. Metric section is followed by the 1/4 inch seam allowance discussion. The discussion is a short paragraph pointing readers to a seam allowance test at the back of the book.

Pam and Nicky use Creative Grids rulers, which they discuss in the “Tools Used” section and later in the back of the book. Any ruler will work as long as you are familiar with how to make HSTs. If you don’t know, check out my Triangle Technique tutorial. This tutorial makes 8 HSTs at a time and includes a chart (be sure to download it), so you can make a set of HSTs almost any size.

There is a CYA section, which includes quilt sizes, information about diagrams, washing and something called “Before You Start”. All of these ensure that the authors can’t be blamed for reader mistakes IMO. If you have made a few quilts, skim these, but I am convinced you already know the information.

After the basic information listed above the projects start. There are a selection of very basic patterns, including Weekender and Orange Squeeze. Other patterns look harder, but the directions seem to be clearly explained. I didn’t make any of the quilts, but I looked at the patterns pretty carefully.

Each pattern has a lifestyle image of the quilt and an image where the quilt is laid flat, where readers can see the whole quilt. The patterns are several pages long (remember I was looking at this on my computer and phone and there were no page numbers, so YMMV). The pictures of the quilts are excellent and I thought various steps for making the quilts were illustrated appropriately and well. Most of the patterns show pictures of the quilt projects made up in alternate colorways. In at least one pattern there was also an alternate layout. For example, Afternoon Tea shows an X layout for the pattern, but also has a diagonal set in different colors and fabrics at the end of the section.

Pam and Nicky provide ‘Vital Statistics’ for each quilt. This provides the block size, sashing size, number of rows, etc. This is very helpful information when making a quilt.

I don’t agree with their method of putting most of the quilts together. You know, if you have been reading my blog for very long, that I like to ‘chunk’ quilts together to keep them straighter and to give myself a better chance of matching up seams along a whole row. Seventh Heaven, for example, is a quilt that could definitely be chunked together. Remember: you don’t have to follow the exact directions for a quilt from beginning to end. If you know of a way to put a quilt together that works better for you, then use that method.

There are some bold color choices as well. The alternate colorway for Orange Squeeze uses a fabulous violet for the background.

I really like the Afternoon Tea design. It is another lozenge quilt and I have a soft spot for them. I also like the Orange Squeeze alternate colorway. I might use if for a different quilt, though, such as the Pavlova pattern. Marmalade Cake is a design I would consider making. The blocks are a bit large for me, but I could downsize it and make the overall pattern repeat more. I also like Seventh Heaven, another lozenge quilt. I guess I’ll have to get back to that shape at some point.

There are a few patterns including Marmalade Cake and Paradise Quilt that show the Creative Grids non-slip Multi-size 45/90 ruler. Looking at the images, it is easy to see how to use this ruler. I have a Fons & Porter Half & Quarter ruler to make HSTs as well as the Bonnie Hunter Essential Triangle Tool, so I don’t think I can justify buying yet another ruler that does the same thing.

The patterns are followed by a ‘General Techniques’ section. Within this section is a ‘Tools’ subsection. The authors talk first about mats and rotary cutters, then tell the reader their favorite rulers are Creative Grids. They show, what they consider, their basics. The Lintotts say you need the Creative Grids non-slip Multi-size 45/90 ruler. With the Vital Statistics section and my Triangle Techniques tutorial, you will not need that ruler. Still, buy it, if you think it will help or, like me, because you love specialty rulers.

The ‘Seams’ subsection goes over the quarter inch seam allowance again and is followed by a ‘Seam allowance test’ subsection. The latter is a useful trick and will let you know where you are with your seam allowance. It also gives basic tips on how to fix any problems.

The ‘Pressing’ subsection is also useful. Pam and Nicki go into a lot of detail on pressing, especially pressing strips. I like the way they describe pressing strips. The section includes other subsections such as ‘Pinning’, ‘Chain Piecing’, ‘Removing Dog Ears’, ‘Joining Border & Binding Strips’, and ‘Adding Borders’. The Borders subsection talks about mitered and straight borders. The information is pretty good for mitered borders. It doesn’t really go into keeping your quilt square when adding borders, so look that information up somewhere else. A couple of paragraphs on quilting and a section on binding, with illustrations, are also included.

The end of the book talks a little about some common questions, backing fabric and labels.

If you need a project book, there are some interesting projects here. I liked a couple of the patterns. I also liked that the patterns included alternate colorways.

View all my reviews