I am making progress. It’s frustratingly slow. At least I am making some kind of progress.
Finished 2018 Quilt Projects
I am still at five quilts in 8 months. I know that Colleen has three, but I would still really like to have more off my UFO list. They don’t magically get done. I know the key is not to add anymore to my UFO list.

- En Provence Quilt – finished 3/22/2018
- Fabric of the Year 2016 – finished 5/11/2018
- Mostly Manor Lozenge Quilt -finished 1/1/2018
- Planned Improv – finished 3/2018
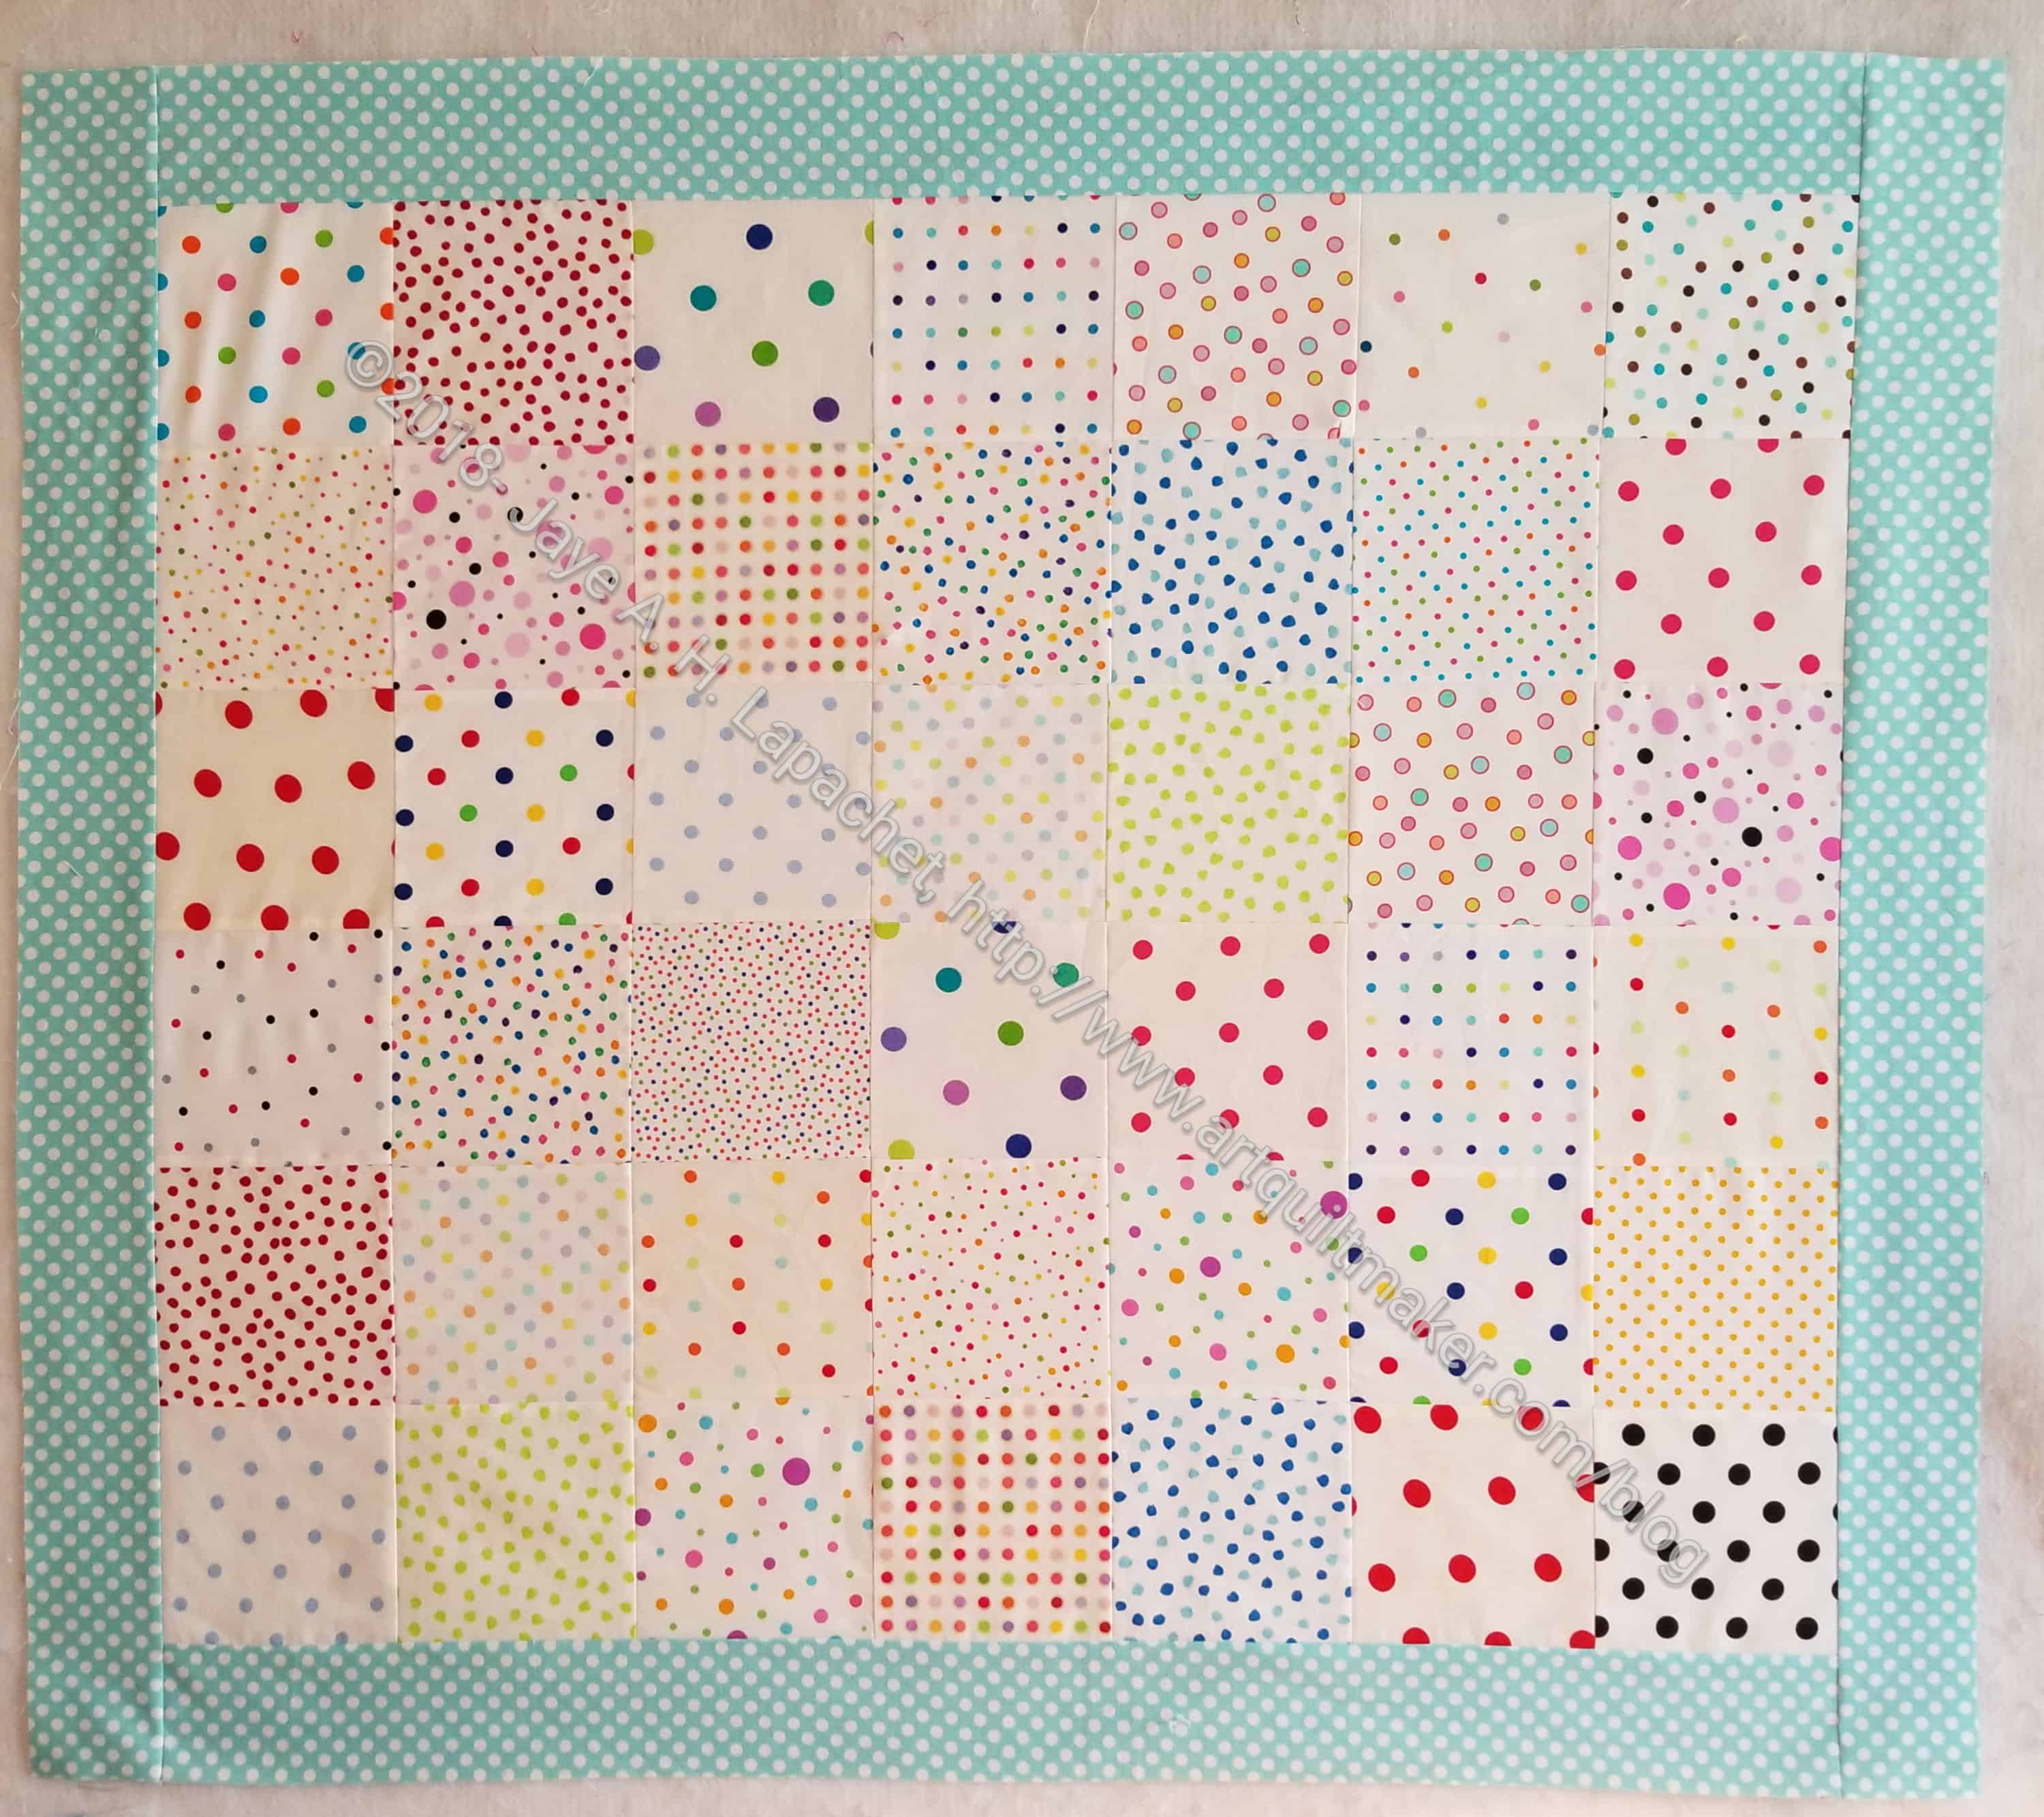
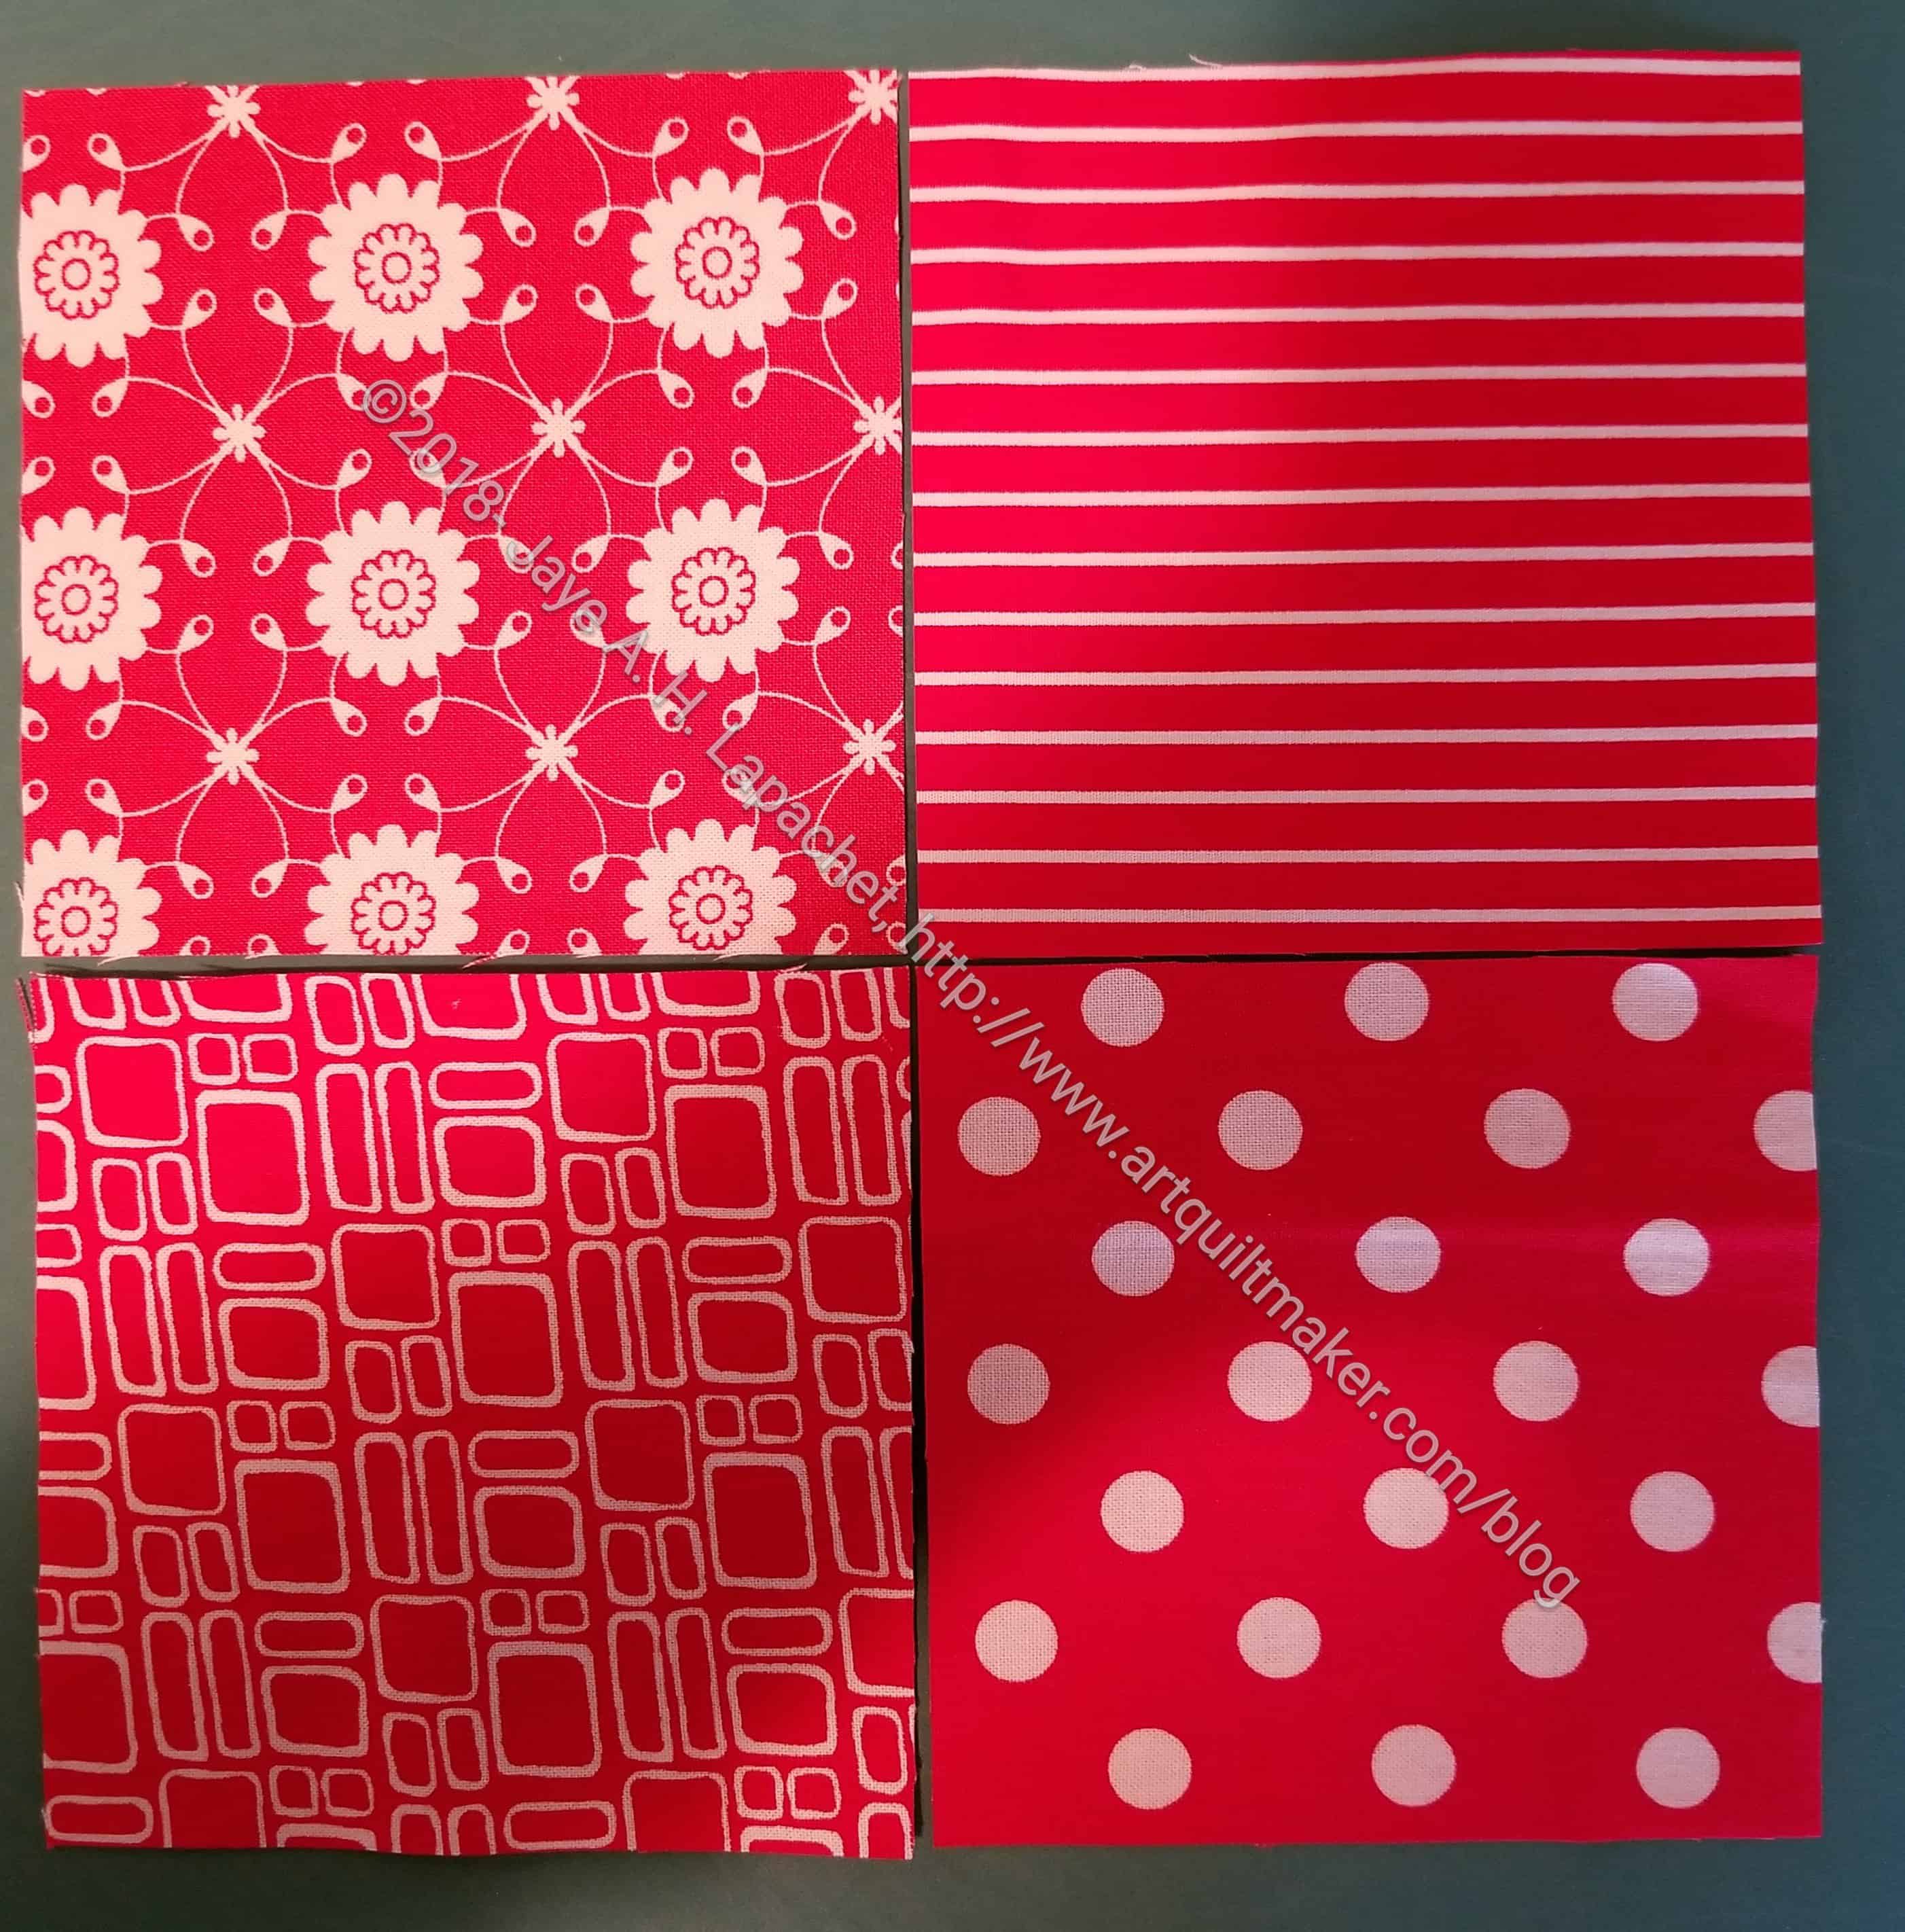
- Ta Dots & Stripes – finished 3/2018
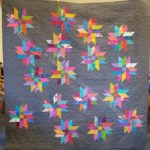
- Triple Star – finished 4/2018
Finished 2018 Non-Quilt Projects
- BAM Exchange Pillow Cover – finished and exchanged.
- BAM Boxy Bag – finished 9/1/2018
- YM’s hat – finished and sent
- Cowl – finished and presented
- EPP Travel pouch gift
- Flapper Apron – finished
- Green Scarf – finished
- Hansel and Gretel dolls and accessories for my little niece.
- Merit Hexie pillow cover – finished 4/4/2018
- Roadtrip Bag – finished 3/2018
- My new Sew Together Bag – finished 3/18/2018
- SIL #2’s Sew Together Bag – finished 3/20/2018
- SIL #4’s Sew Together Bag – finished 3/25/2018
- Sewing Machine Mat – finished 5/25/2018
- Superhero(ine) Apron – finished 3/23/2018
- Tool Tote – finished
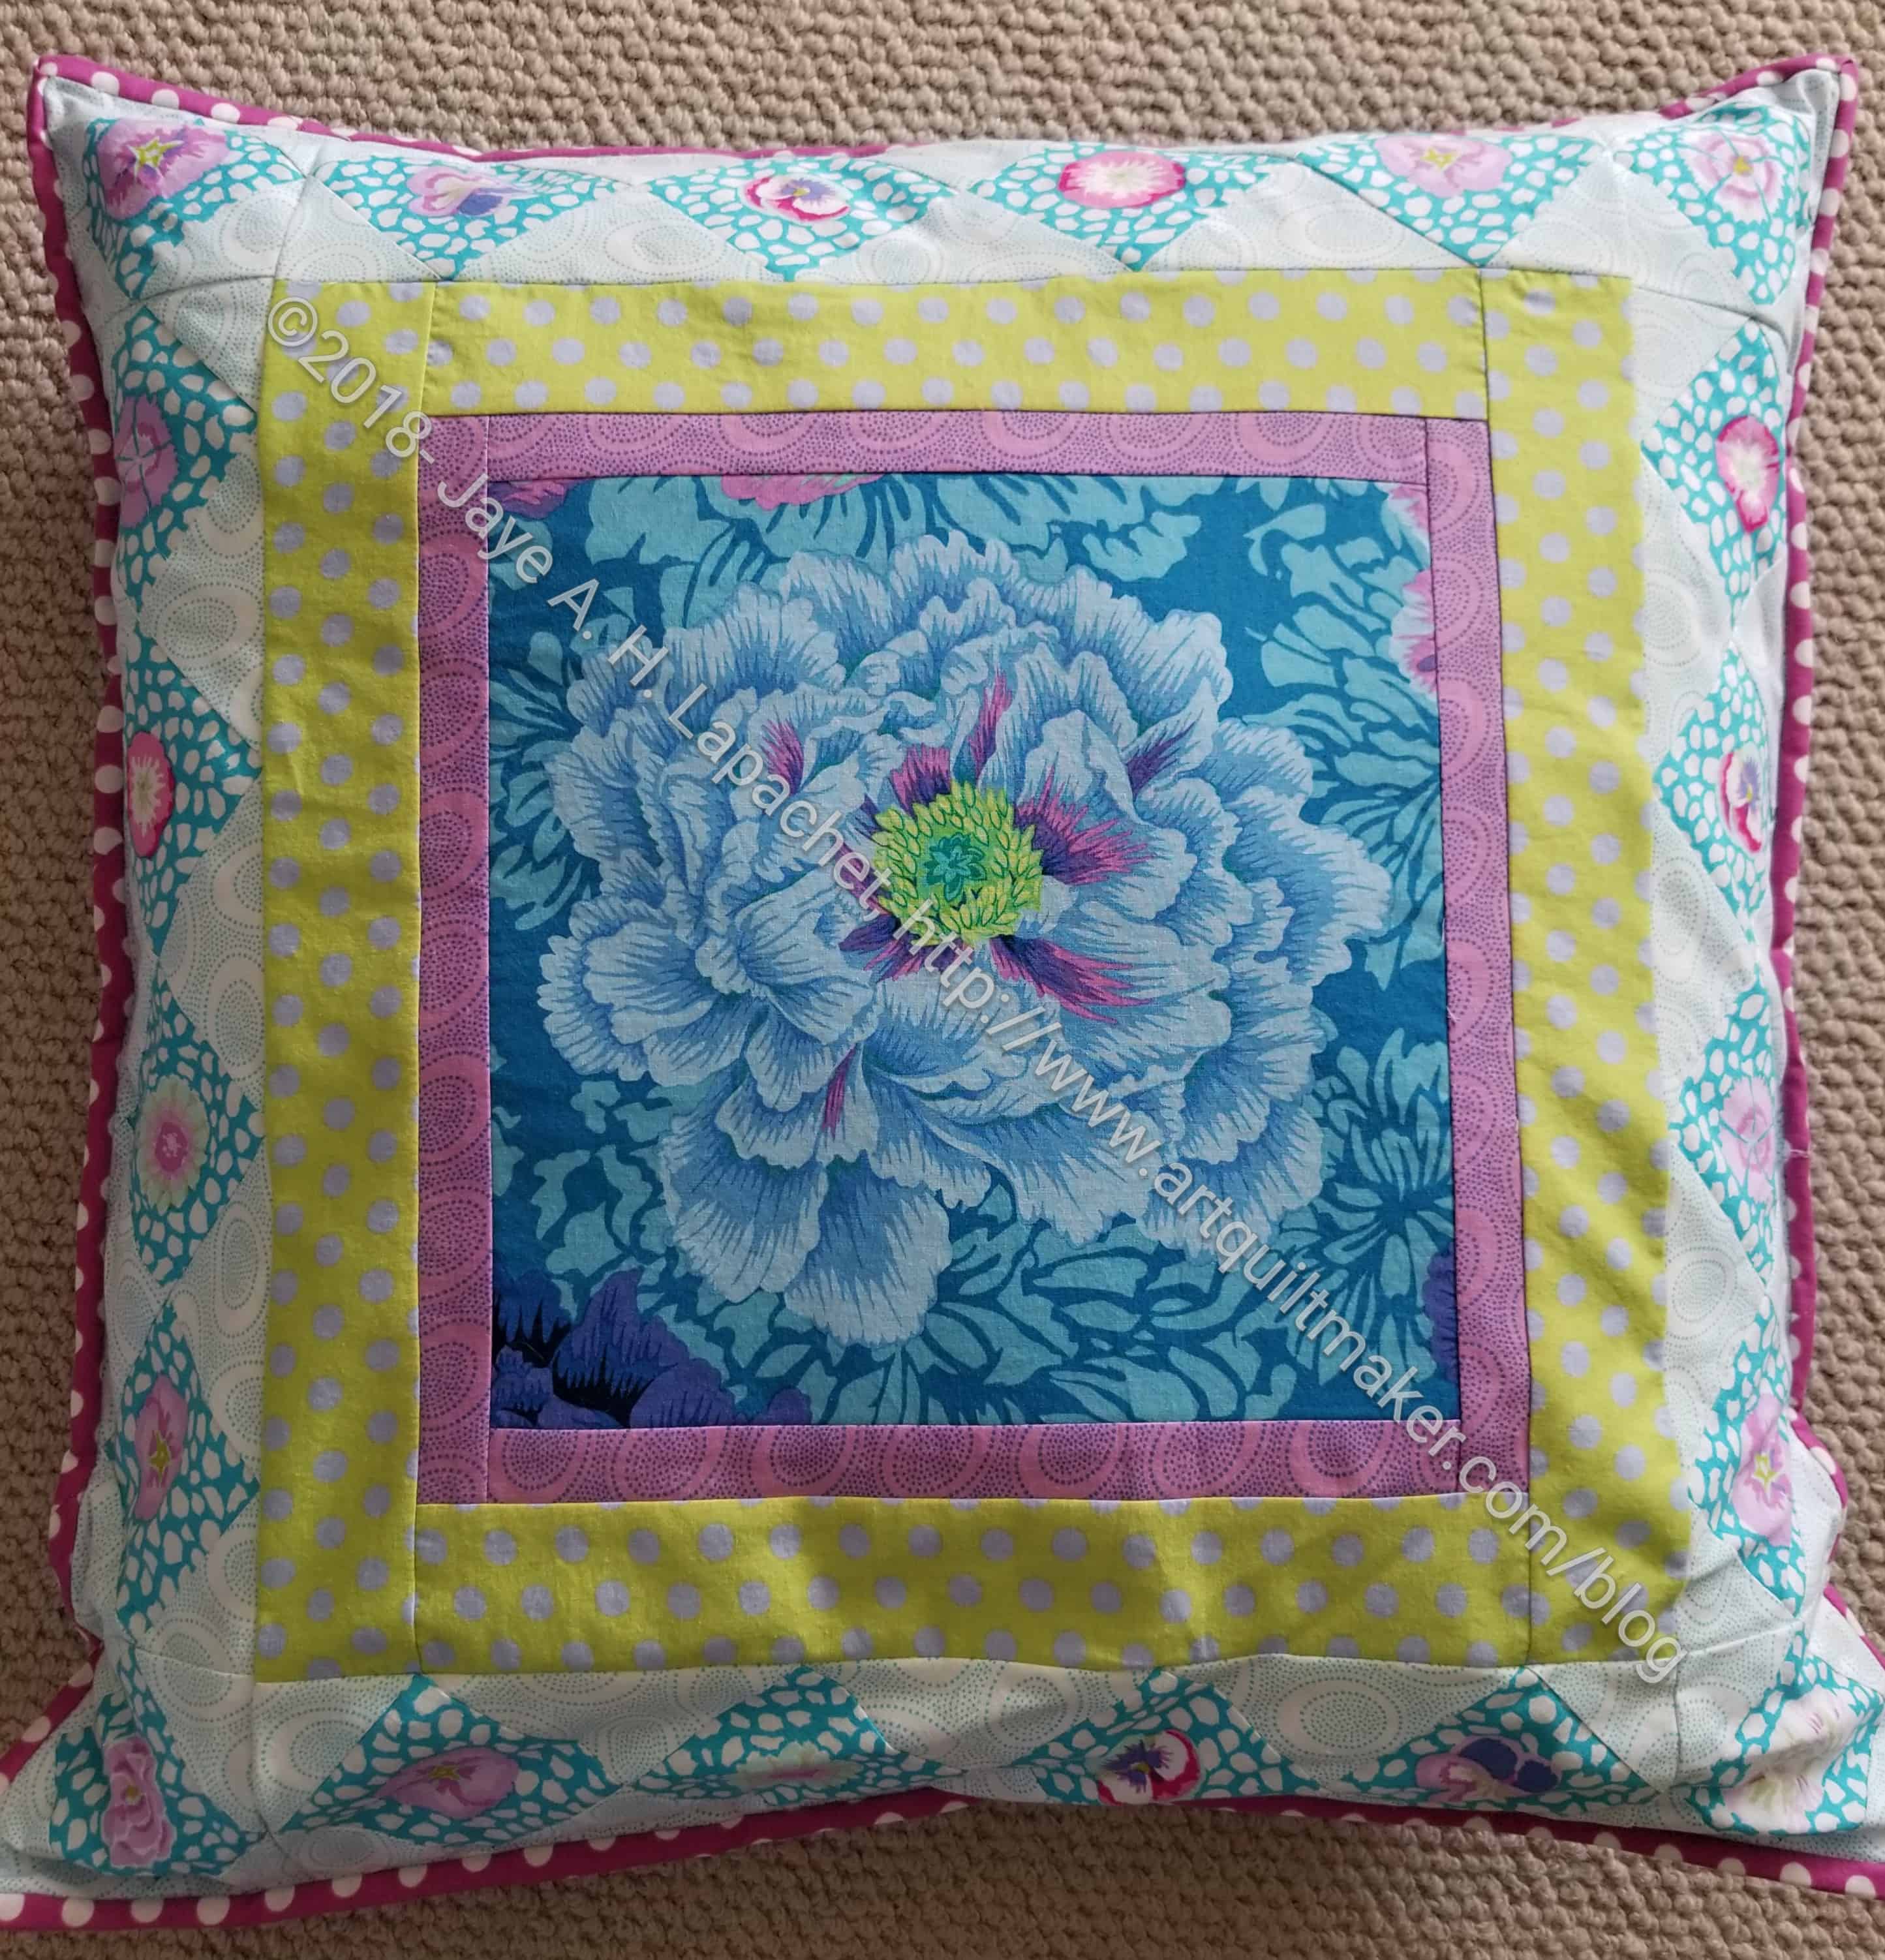
- Walking Foot WOW pillow cover – finished 3/24/2018
- Zip Away Organizer – finished 3/31/2018
Doing Good
- 16 blocks: January Donation blocks
- 24 blocks: February Donation blocks
- 5 blocks: 2018 Donation blocks
- 5 blocks: New Year Donation blocks
- 4 blocks: March pre-meeting donation blocks
- June Blocks
- August Donation Blocks
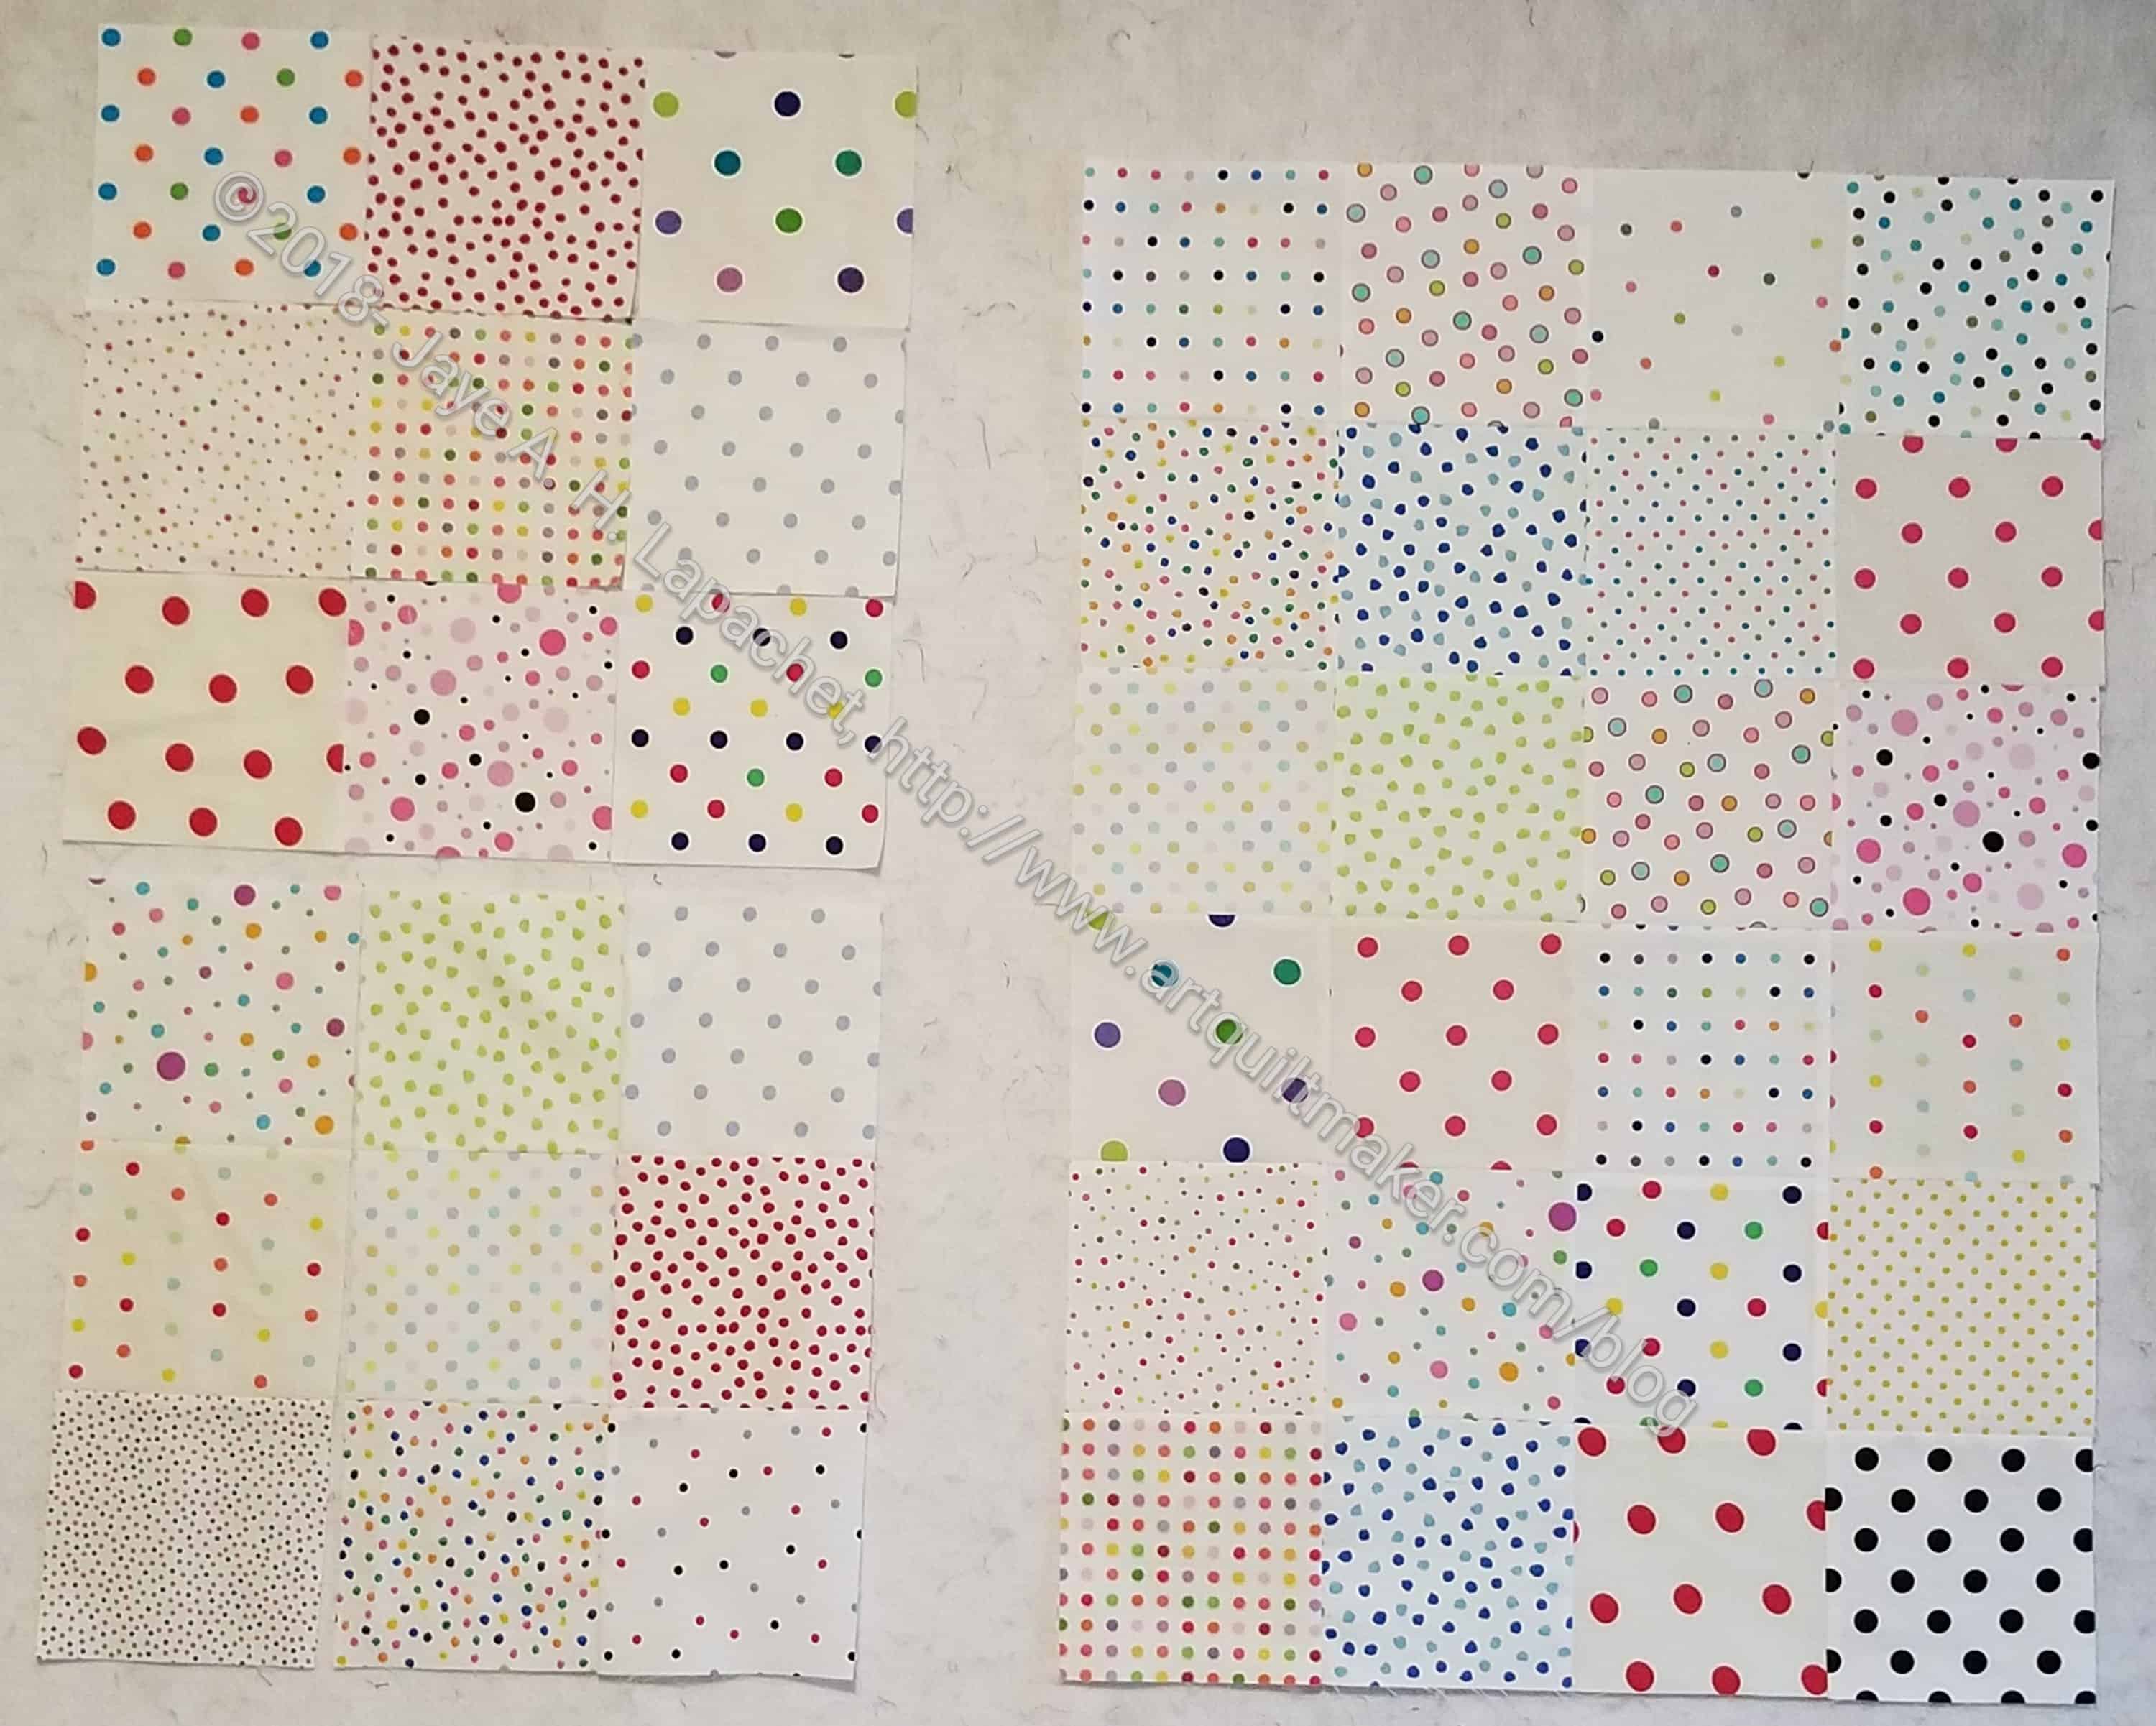
- Dots Donation Top
- Ends Donation quilt n.3
- Ends Donation quilt n.4
- Ends Donation quilt n.5
- HRT Donation top and back
- Michael Miller donation blocks pt.1
- Michael Miller donation blocks pt.2
- Terrain quilt – SIL and I made the top and back and Tim quilted it. He put the binding on at March’s Sew Day
In Process
The ‘In Process’ is used to denote projects on which I am actively working or pretending to stitch. I try not to put away projects, because that will ensure I never work on them
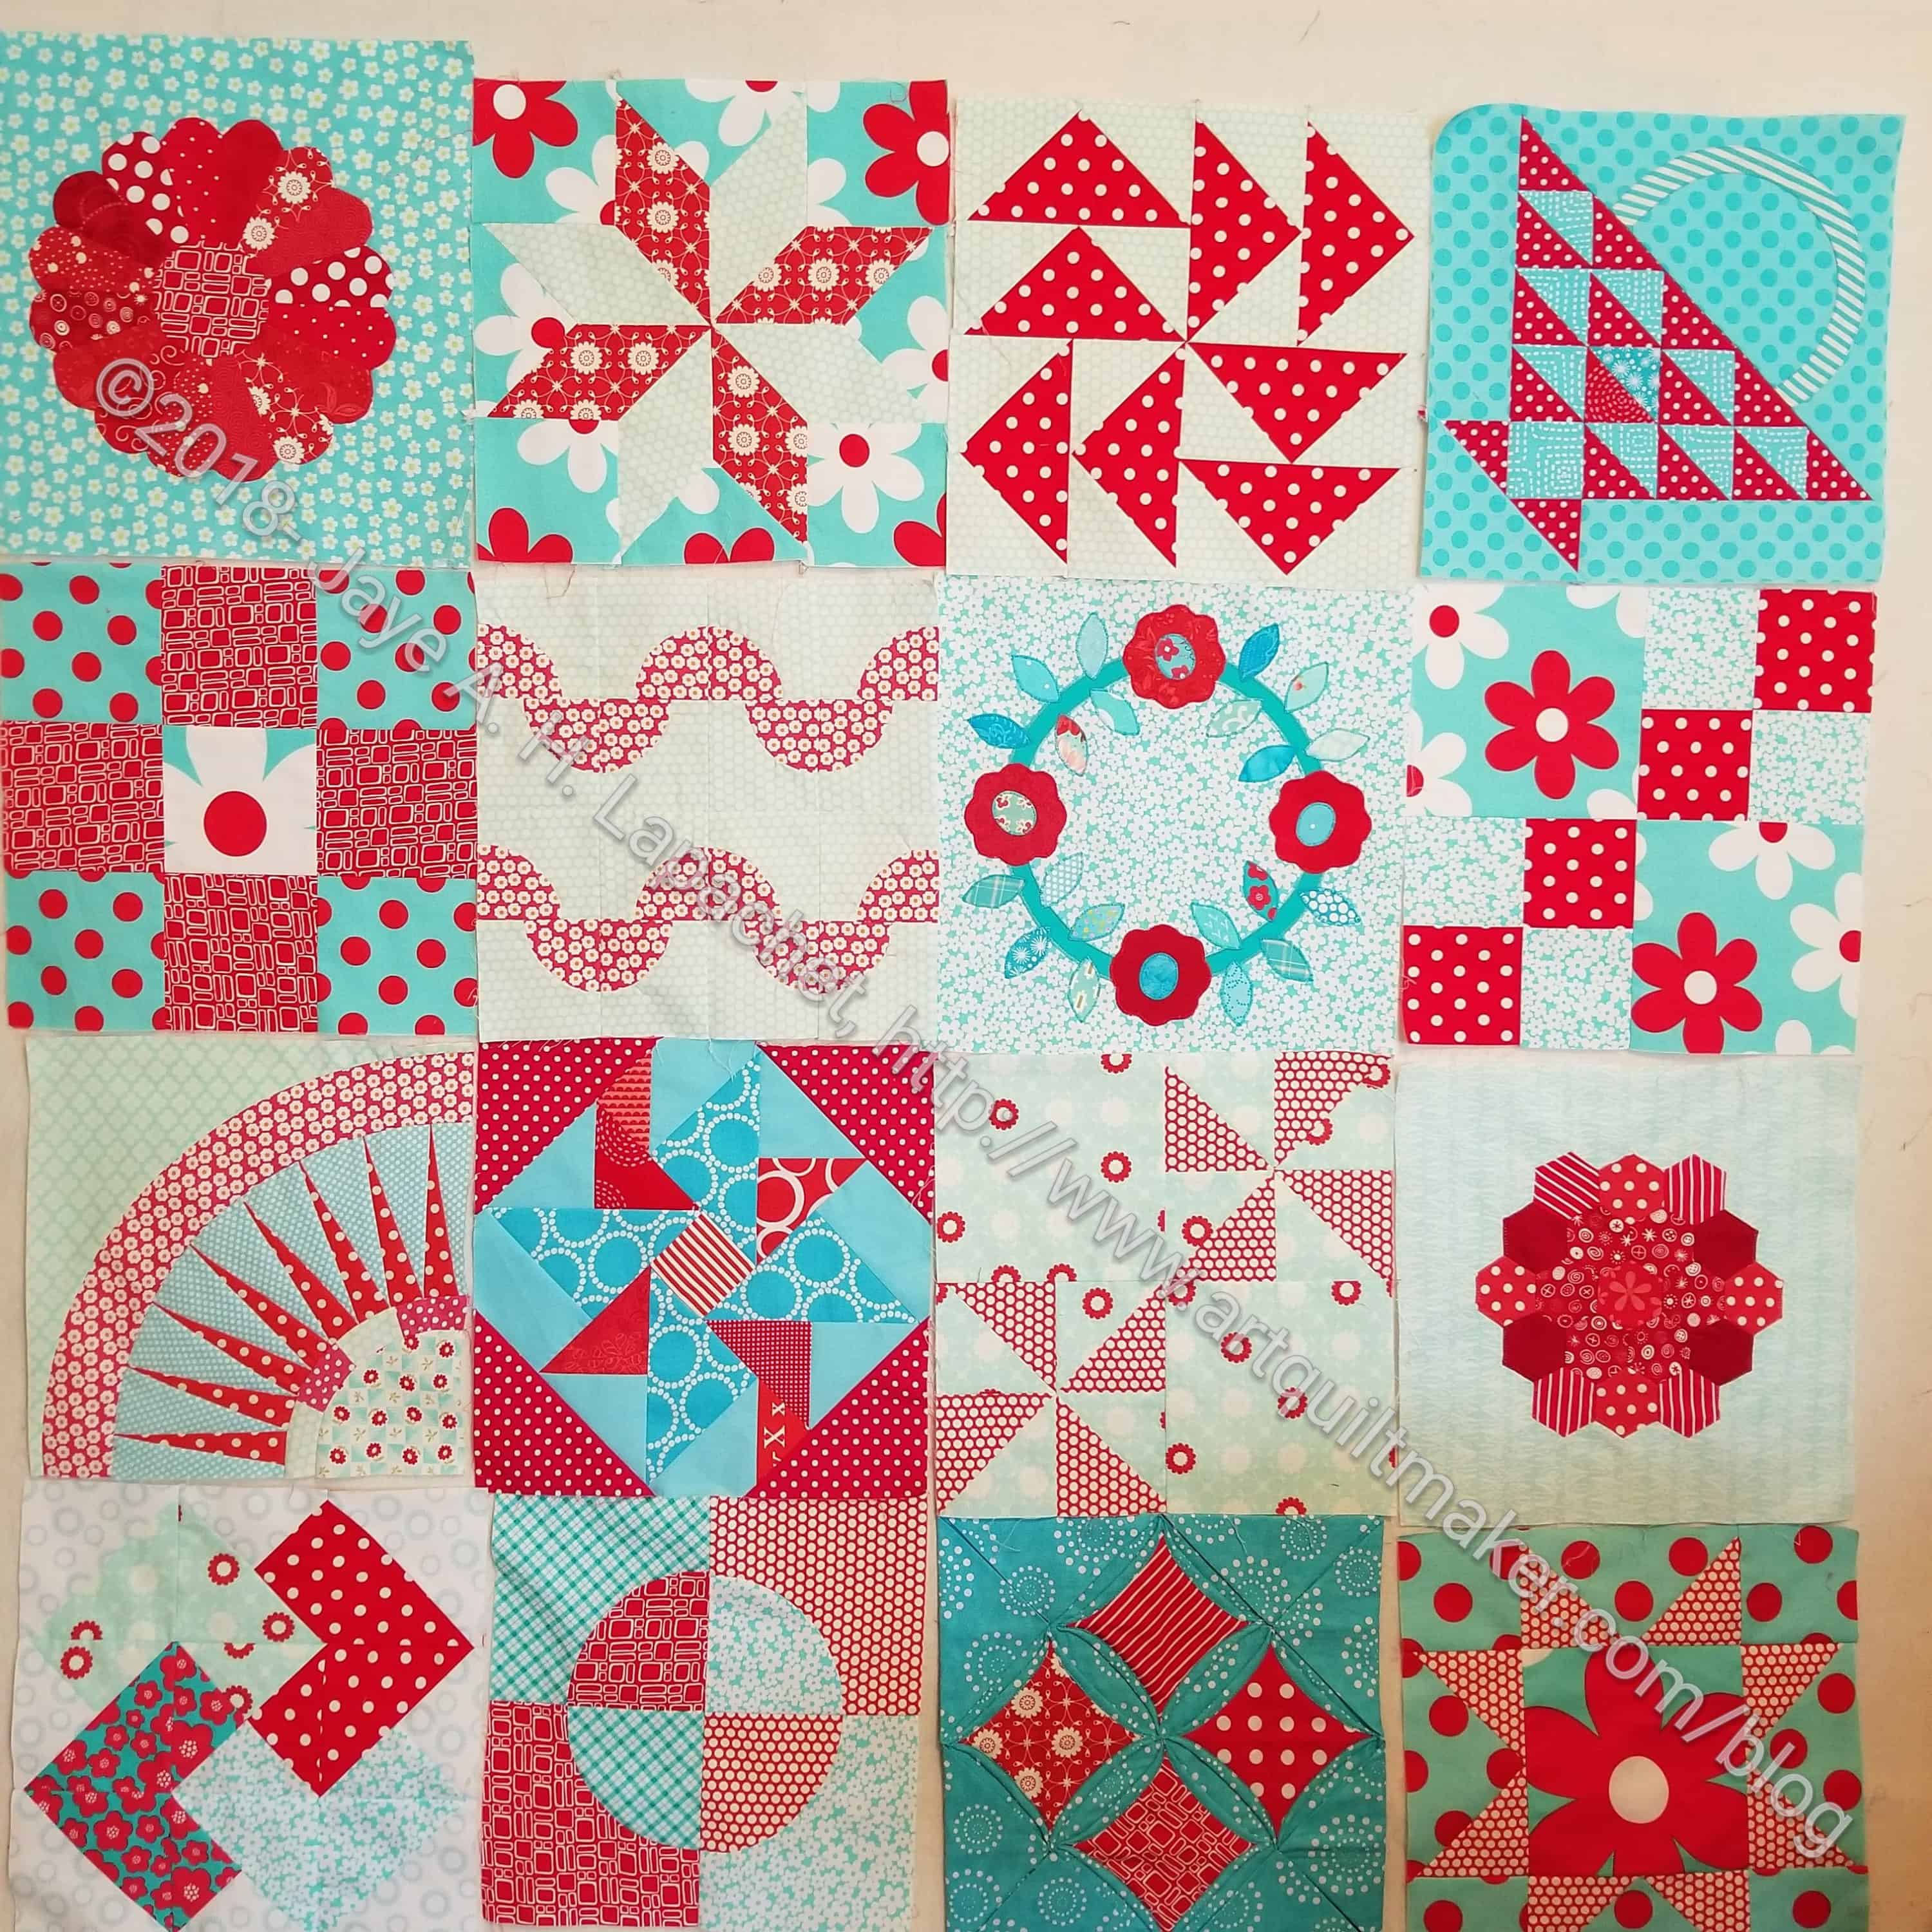
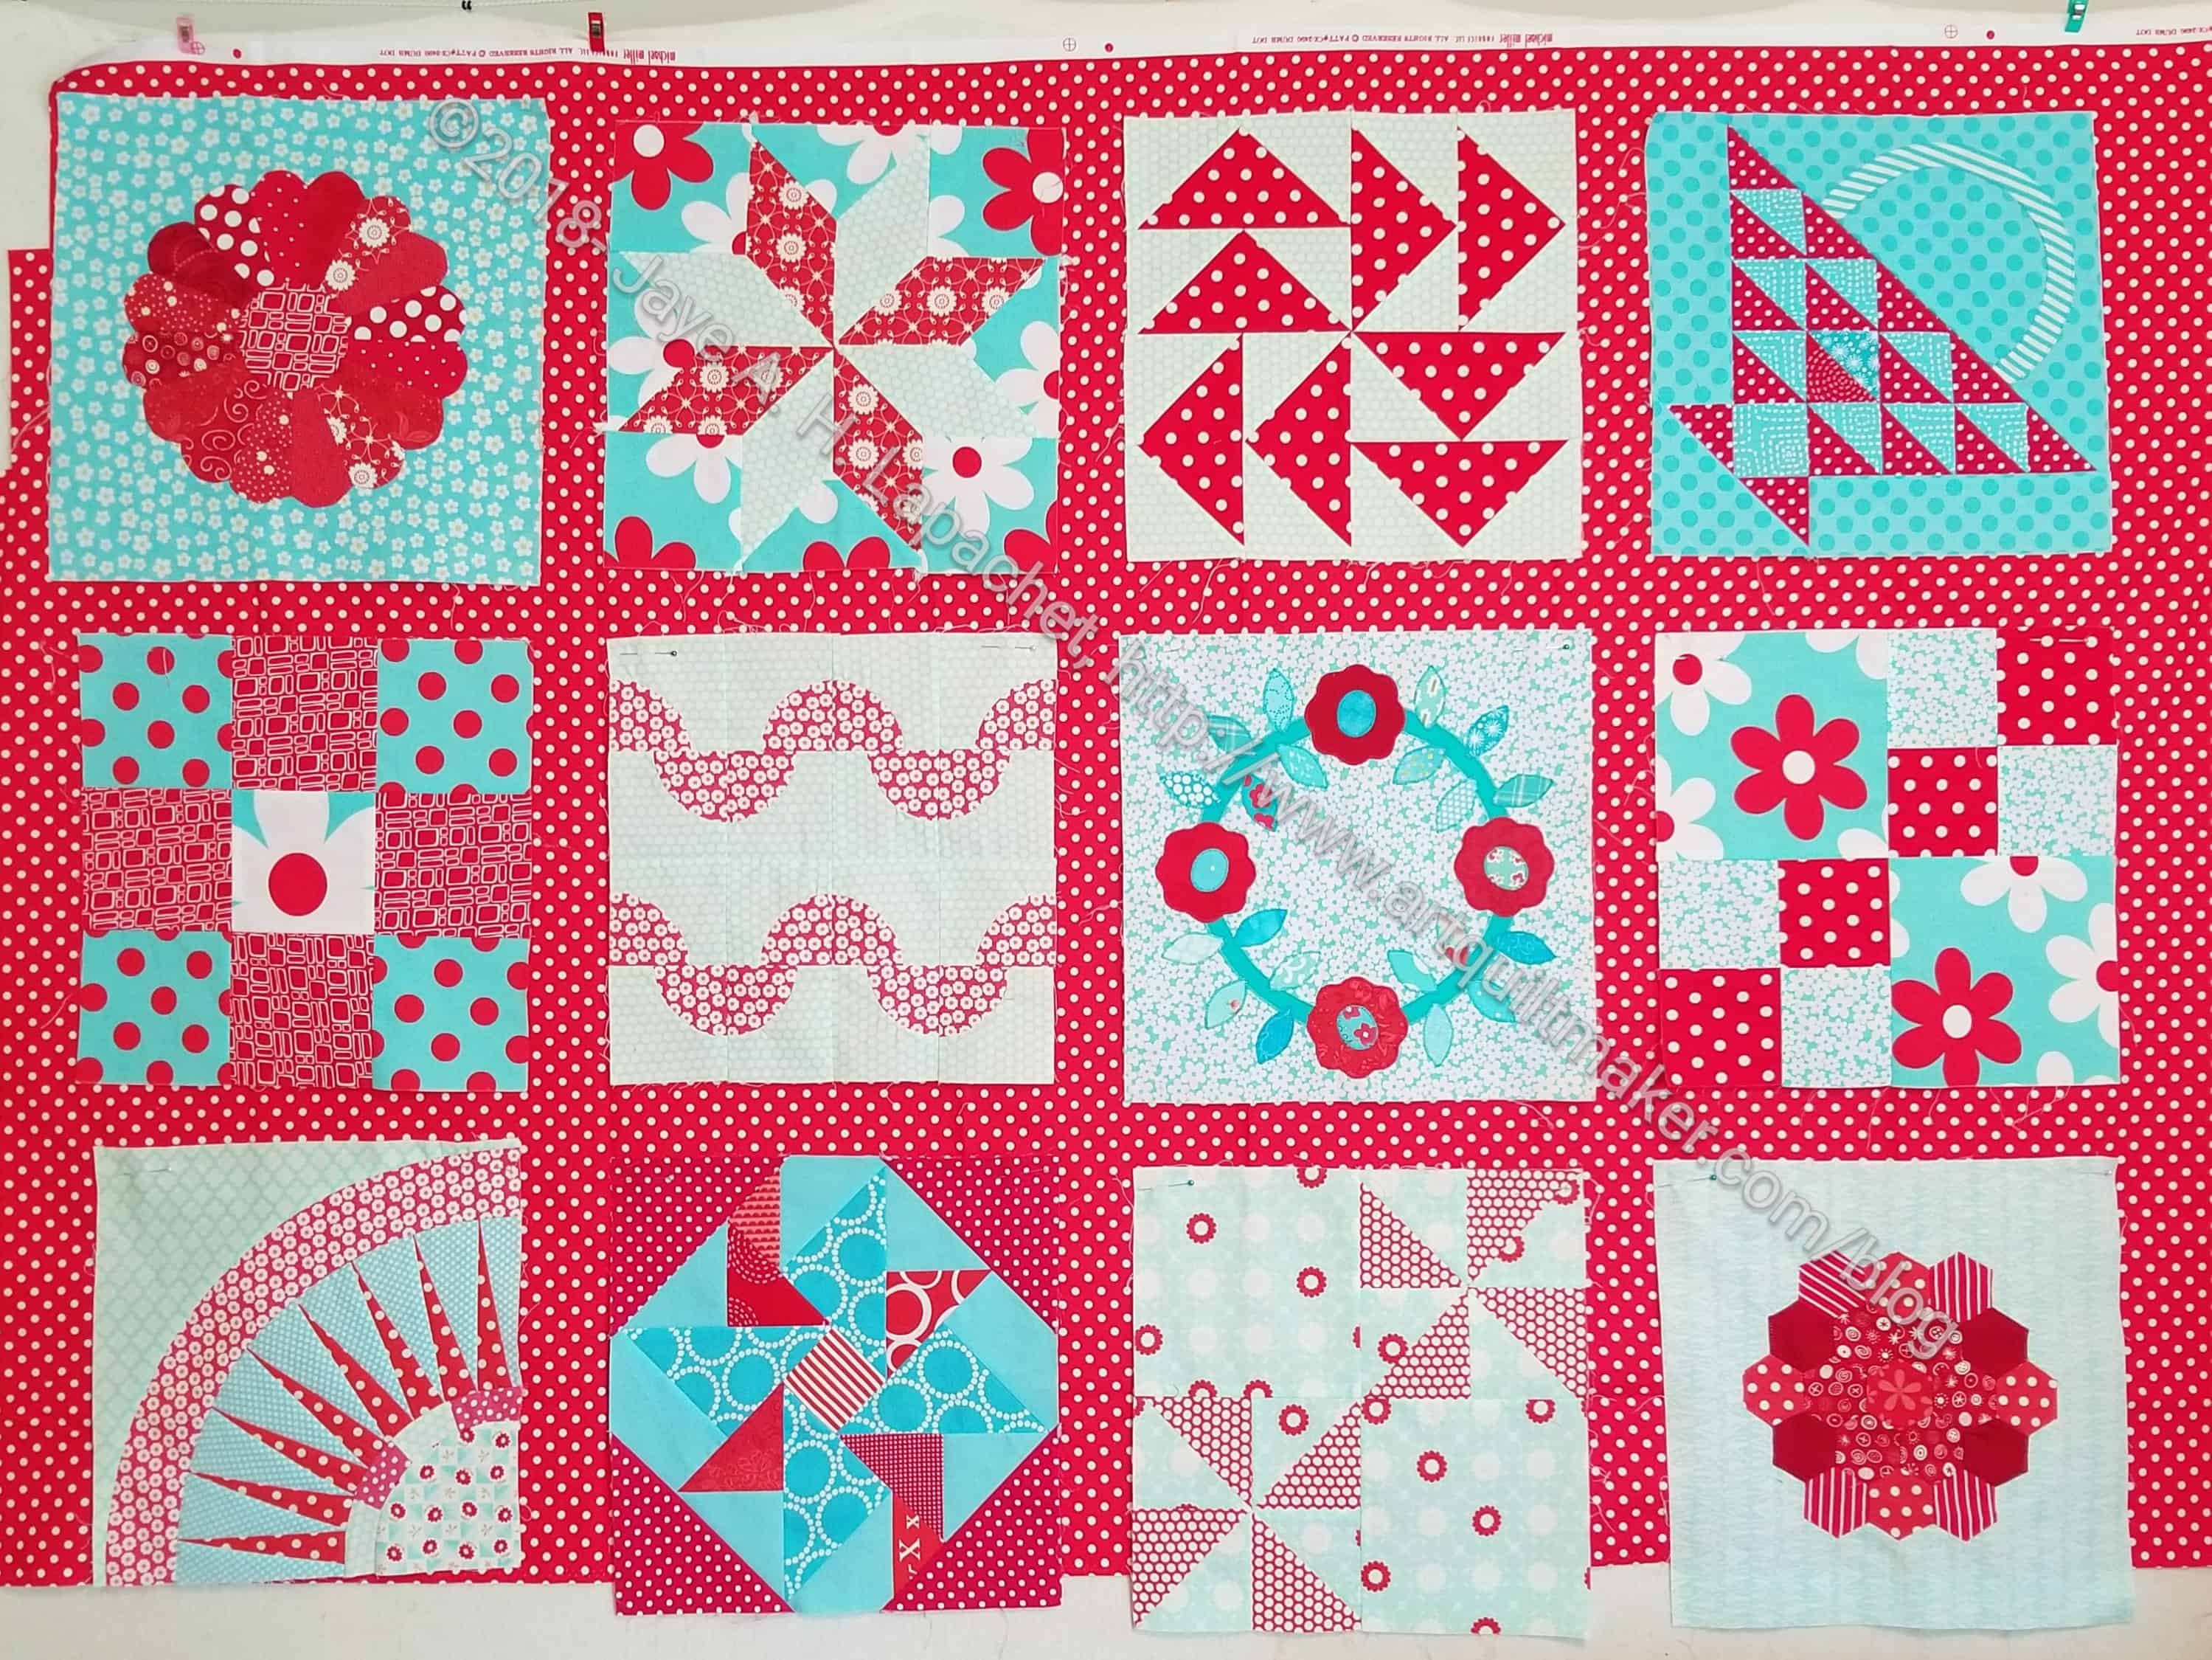
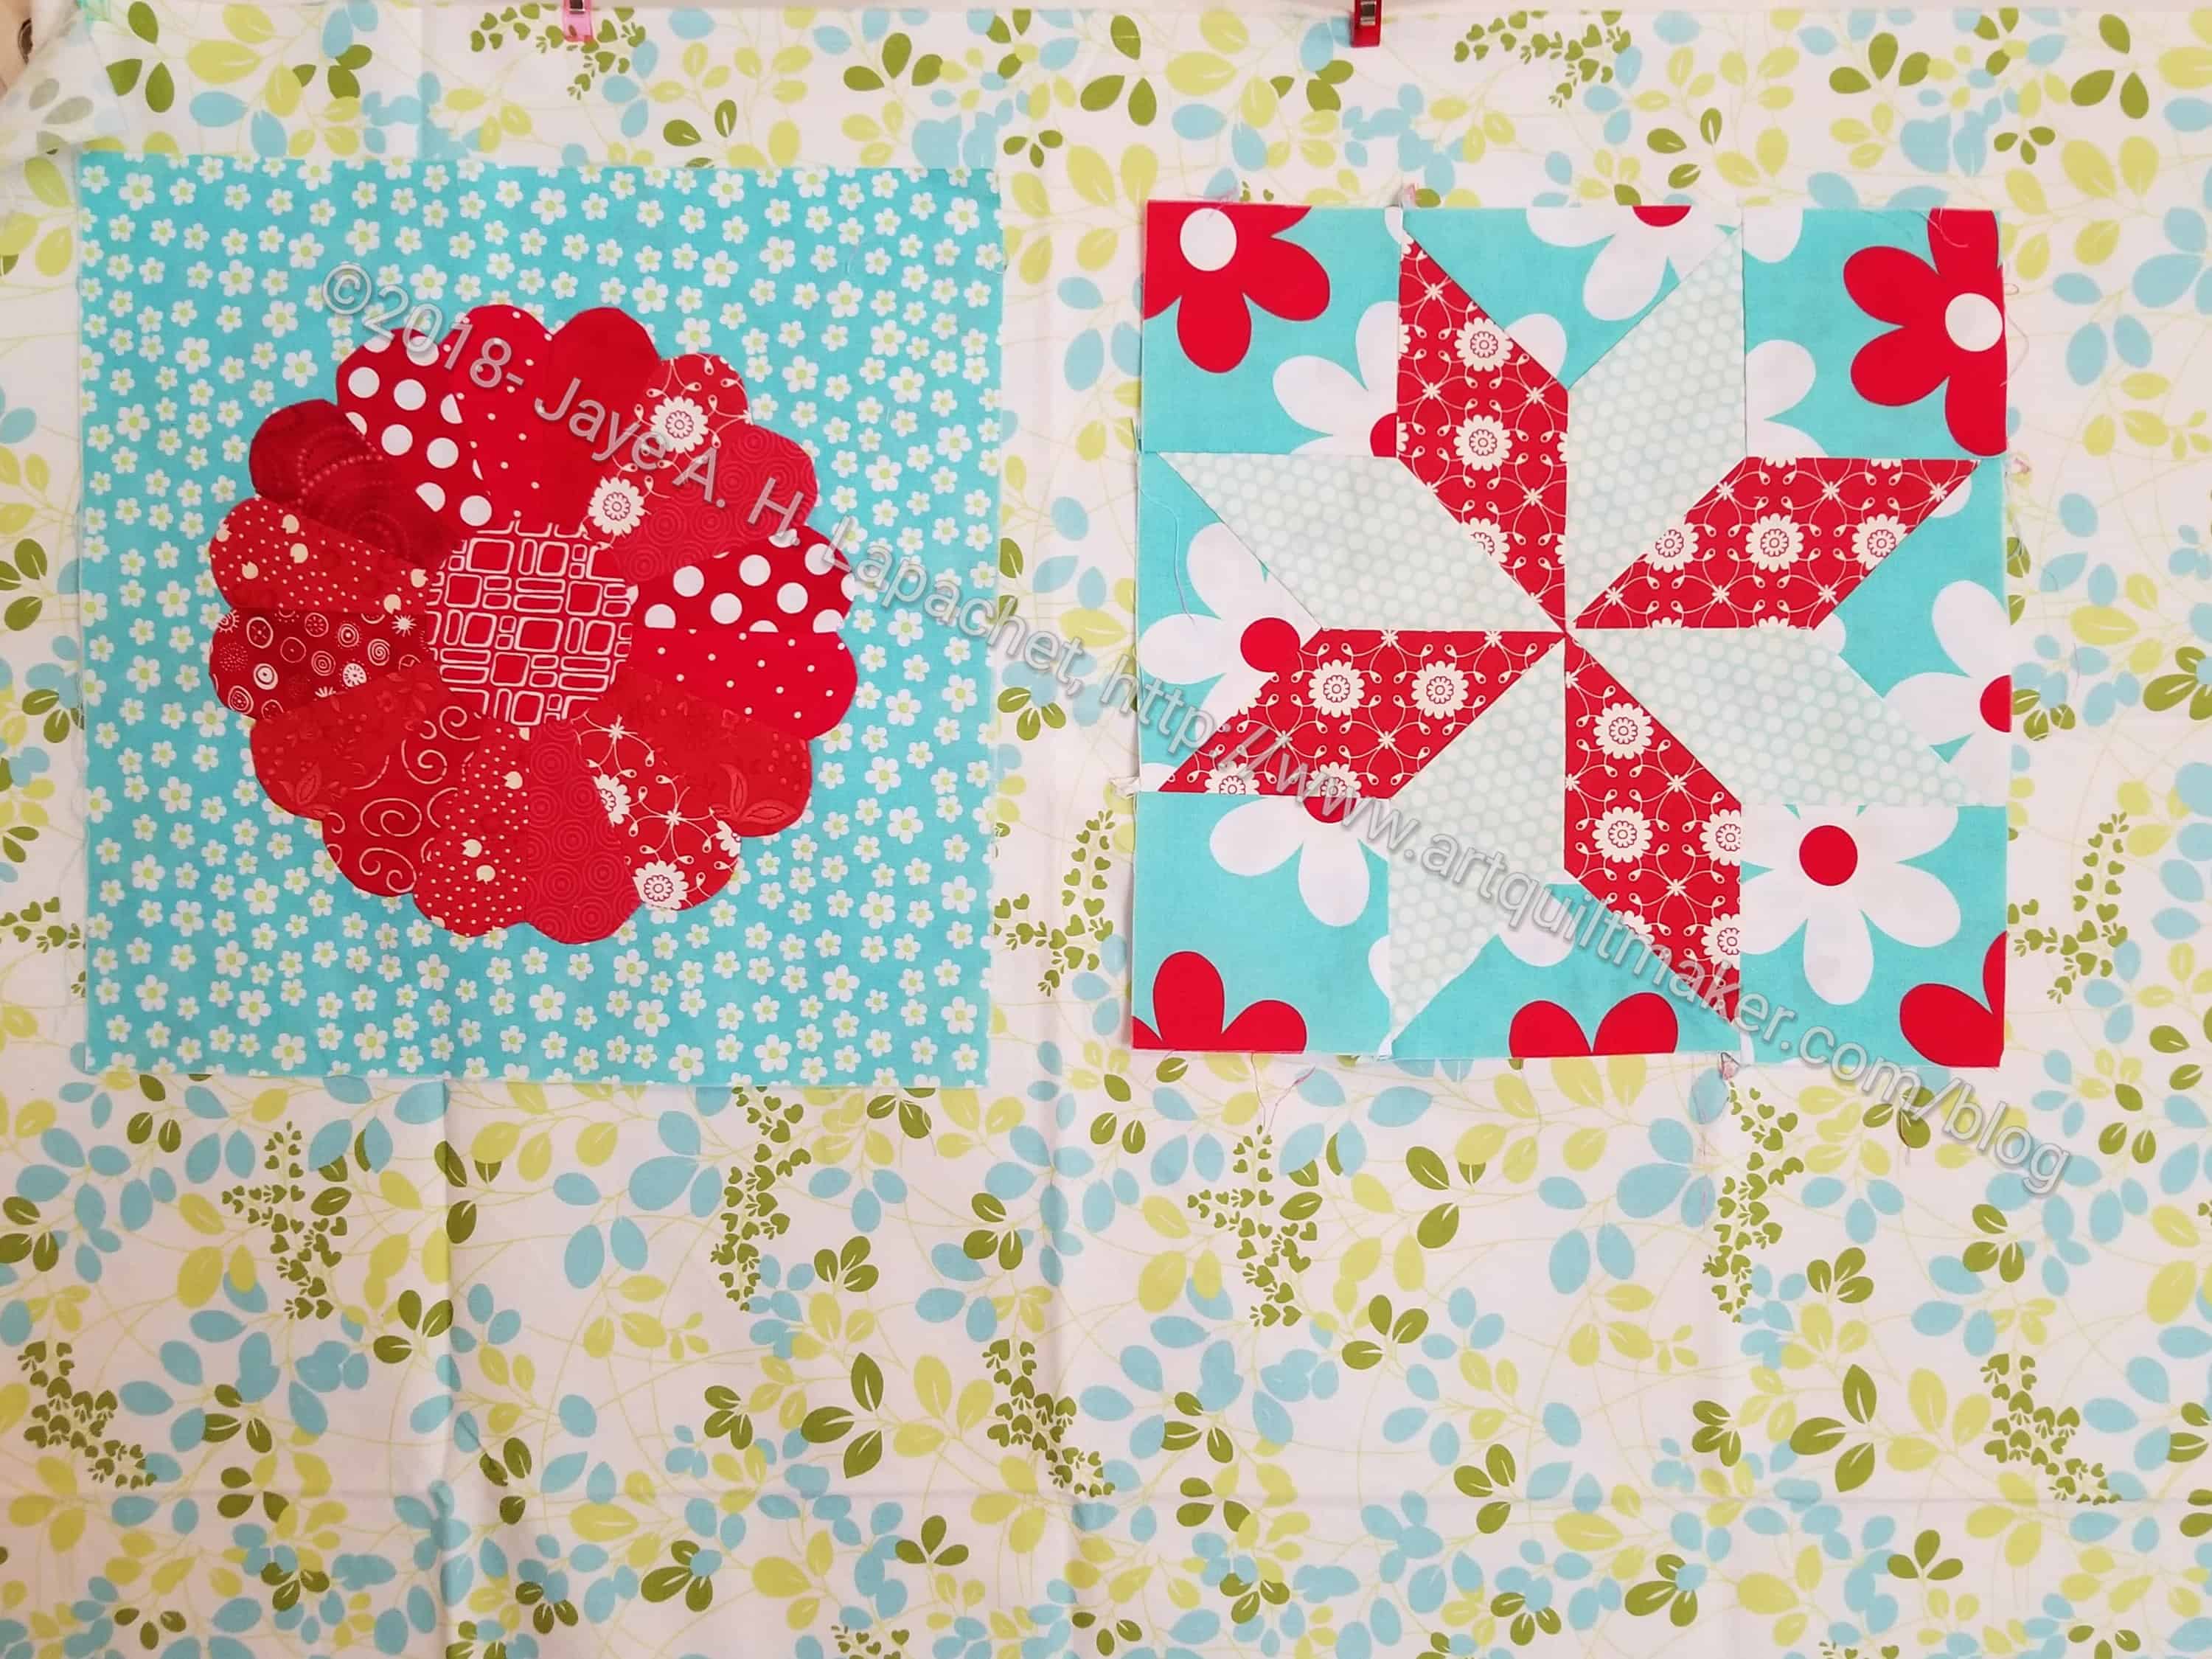
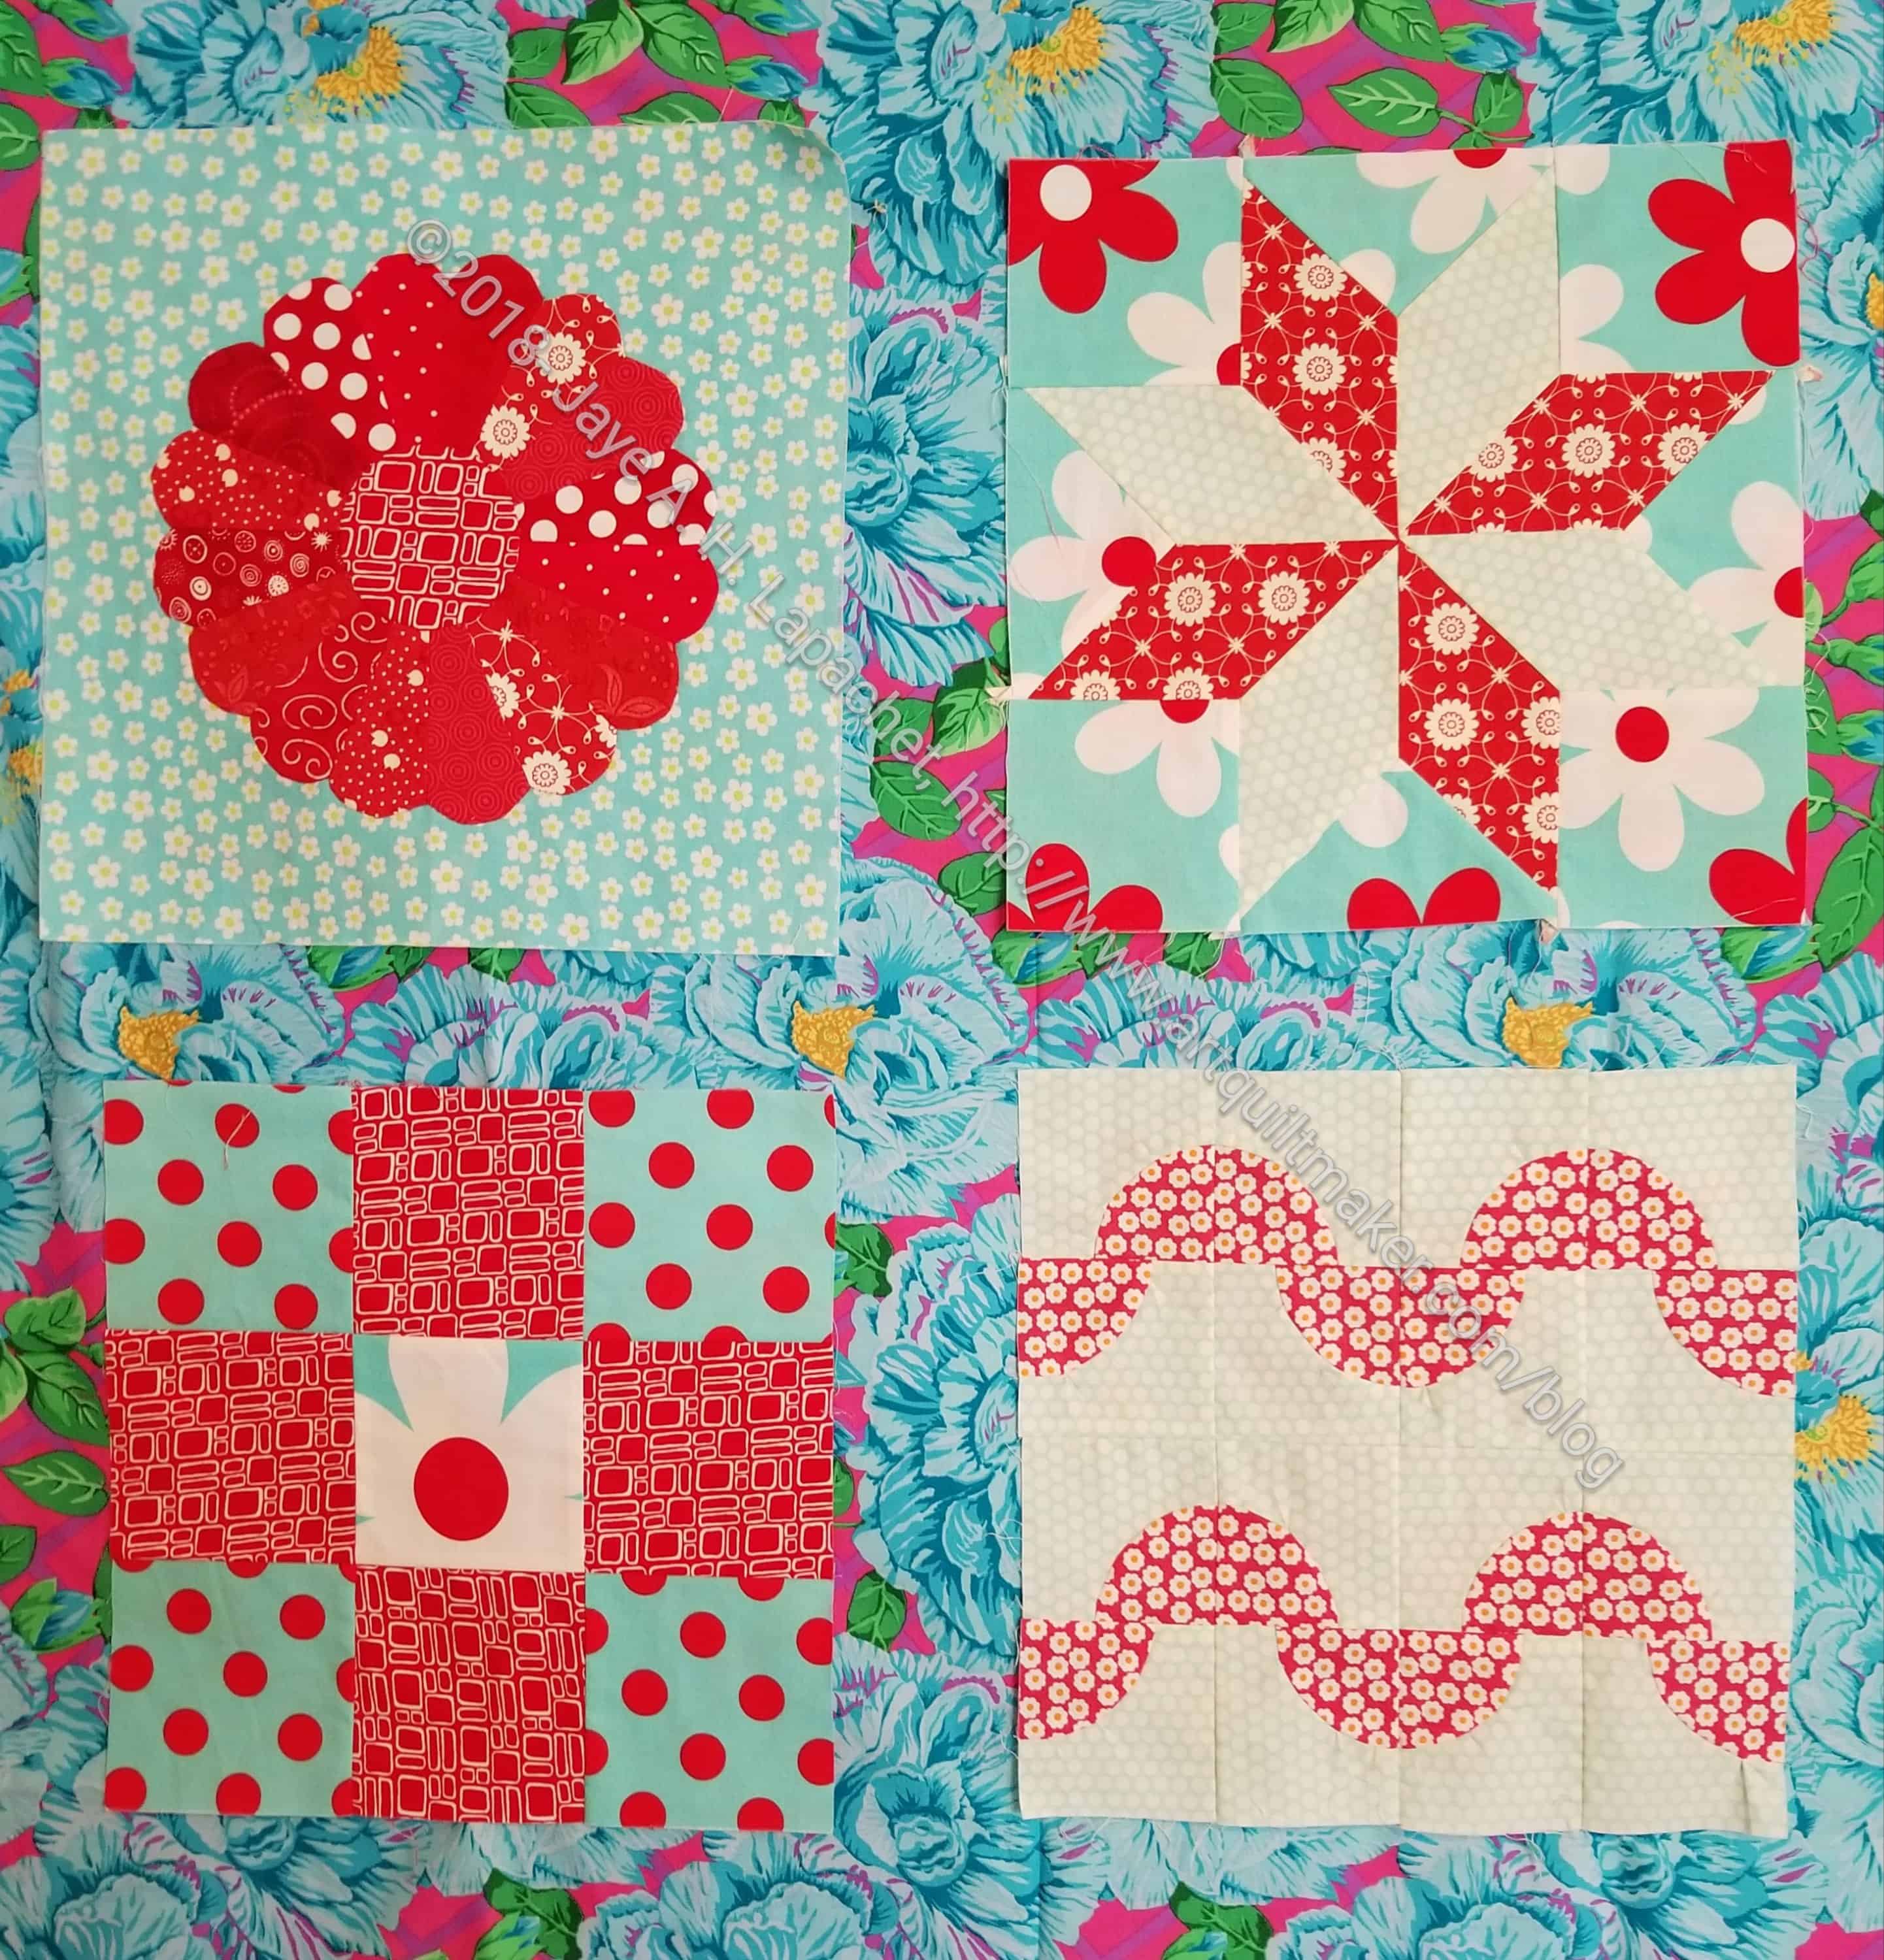
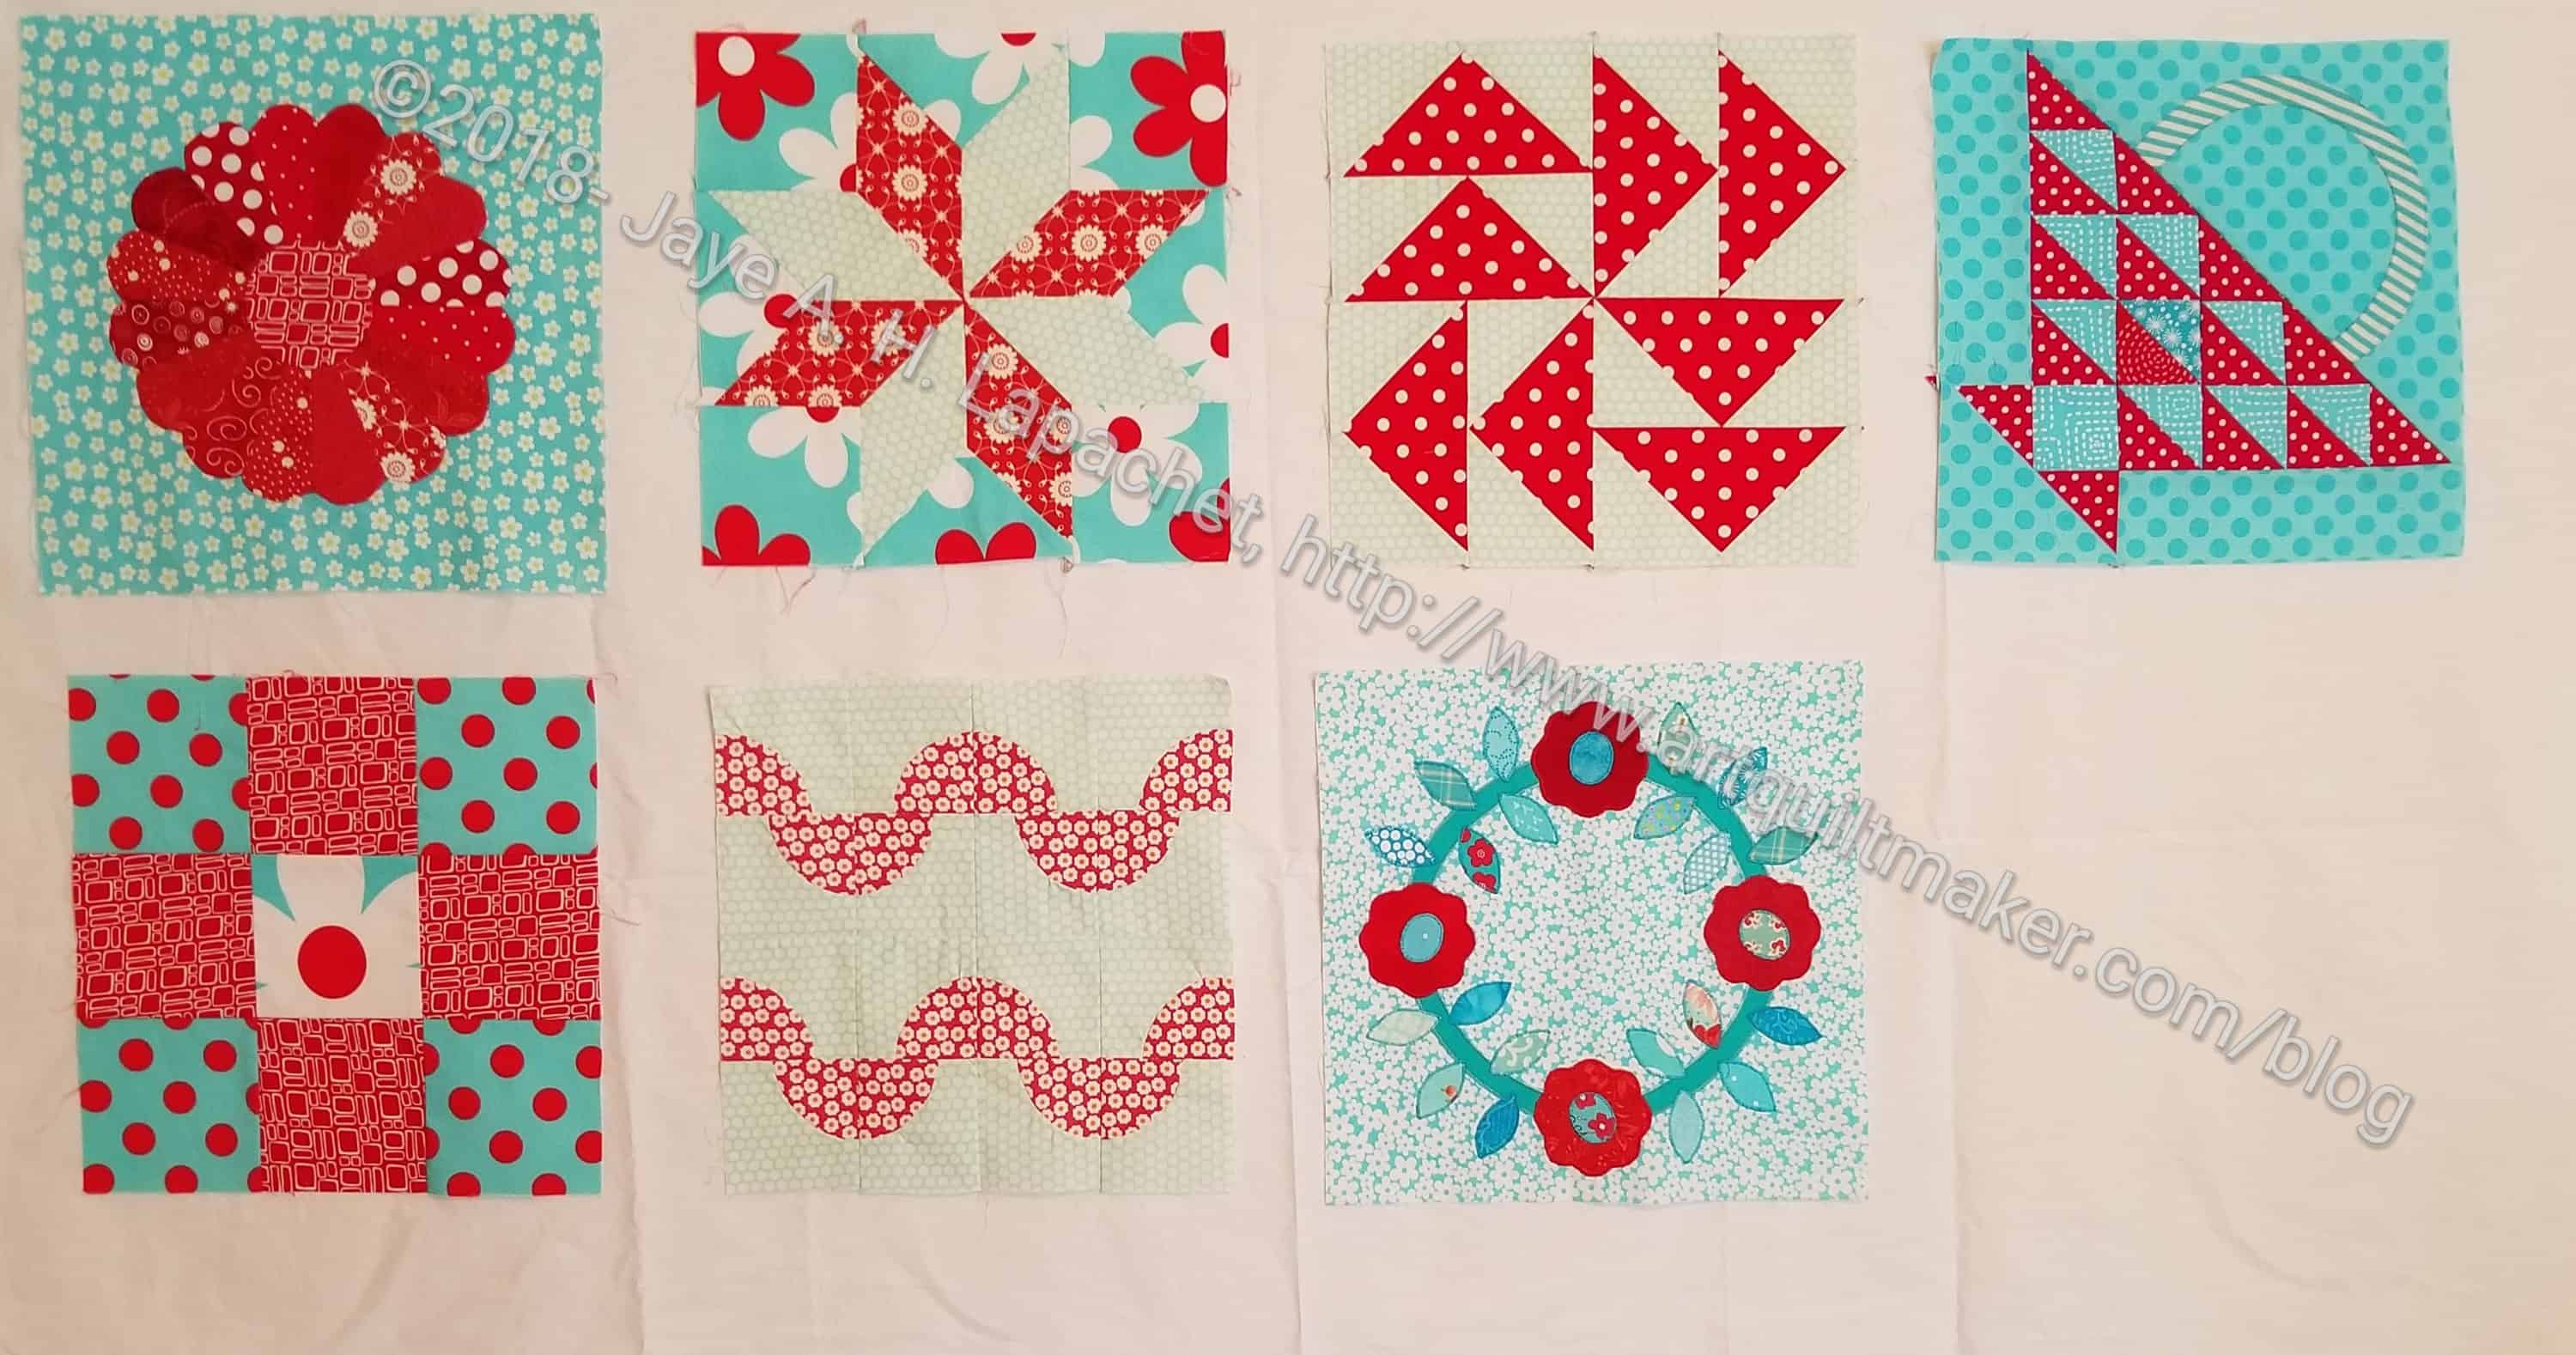
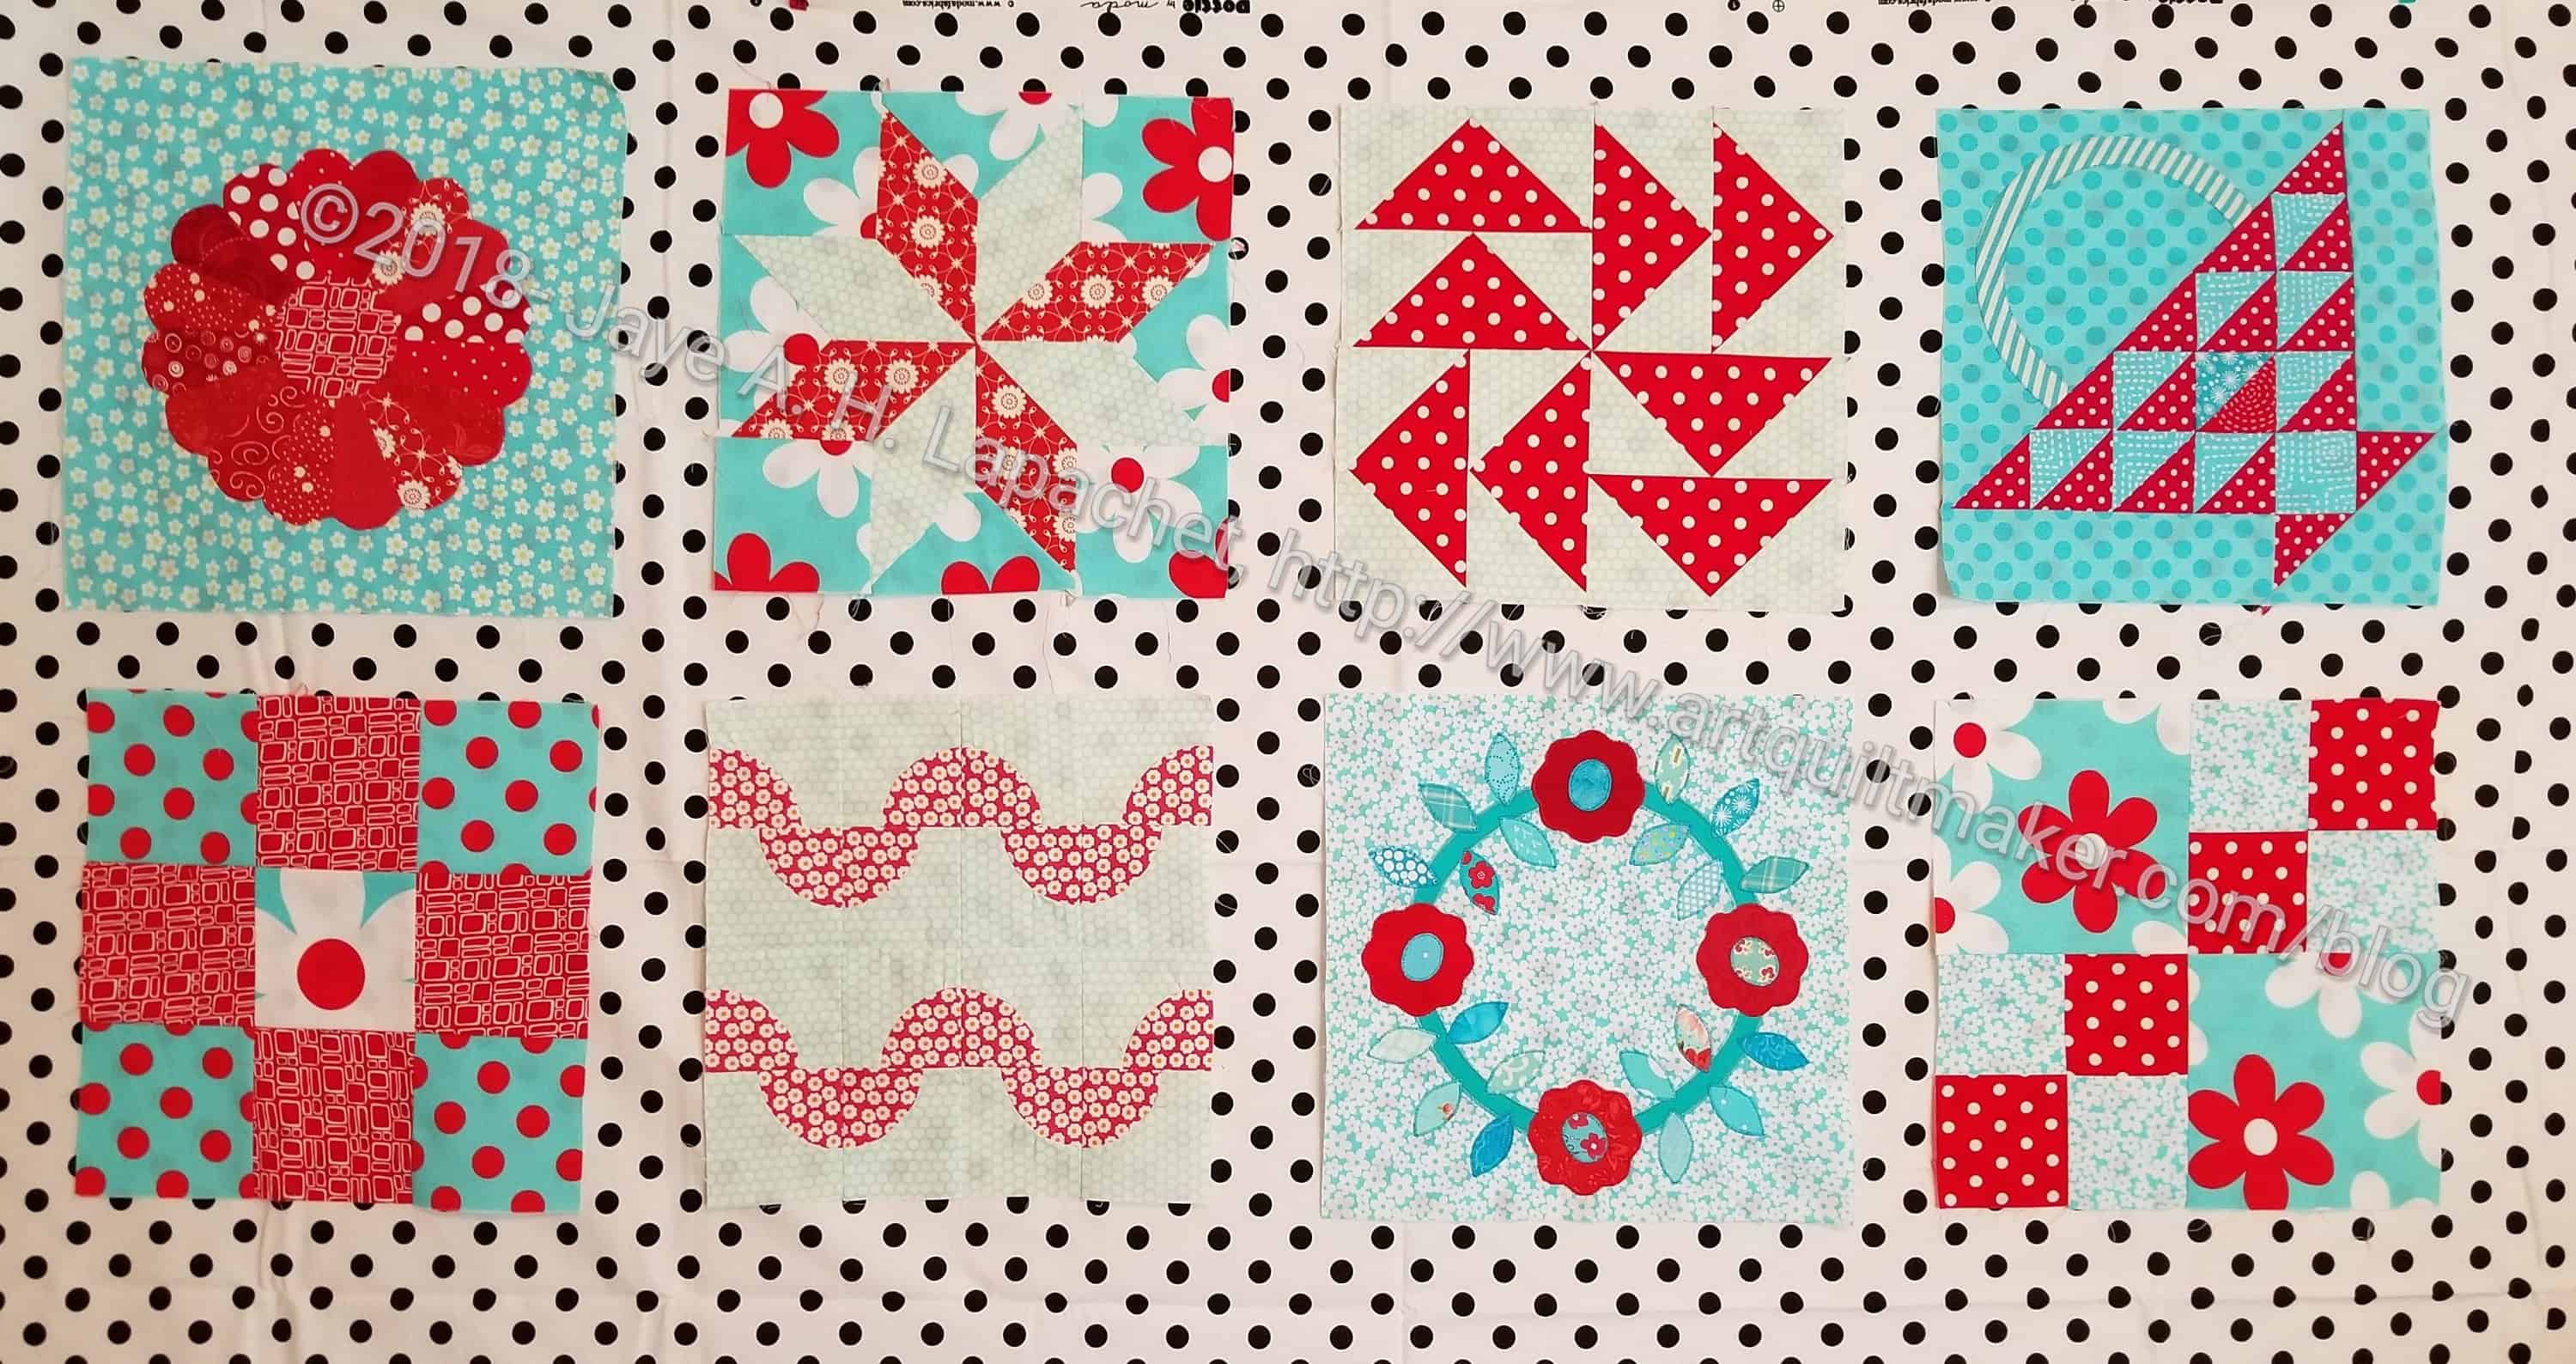
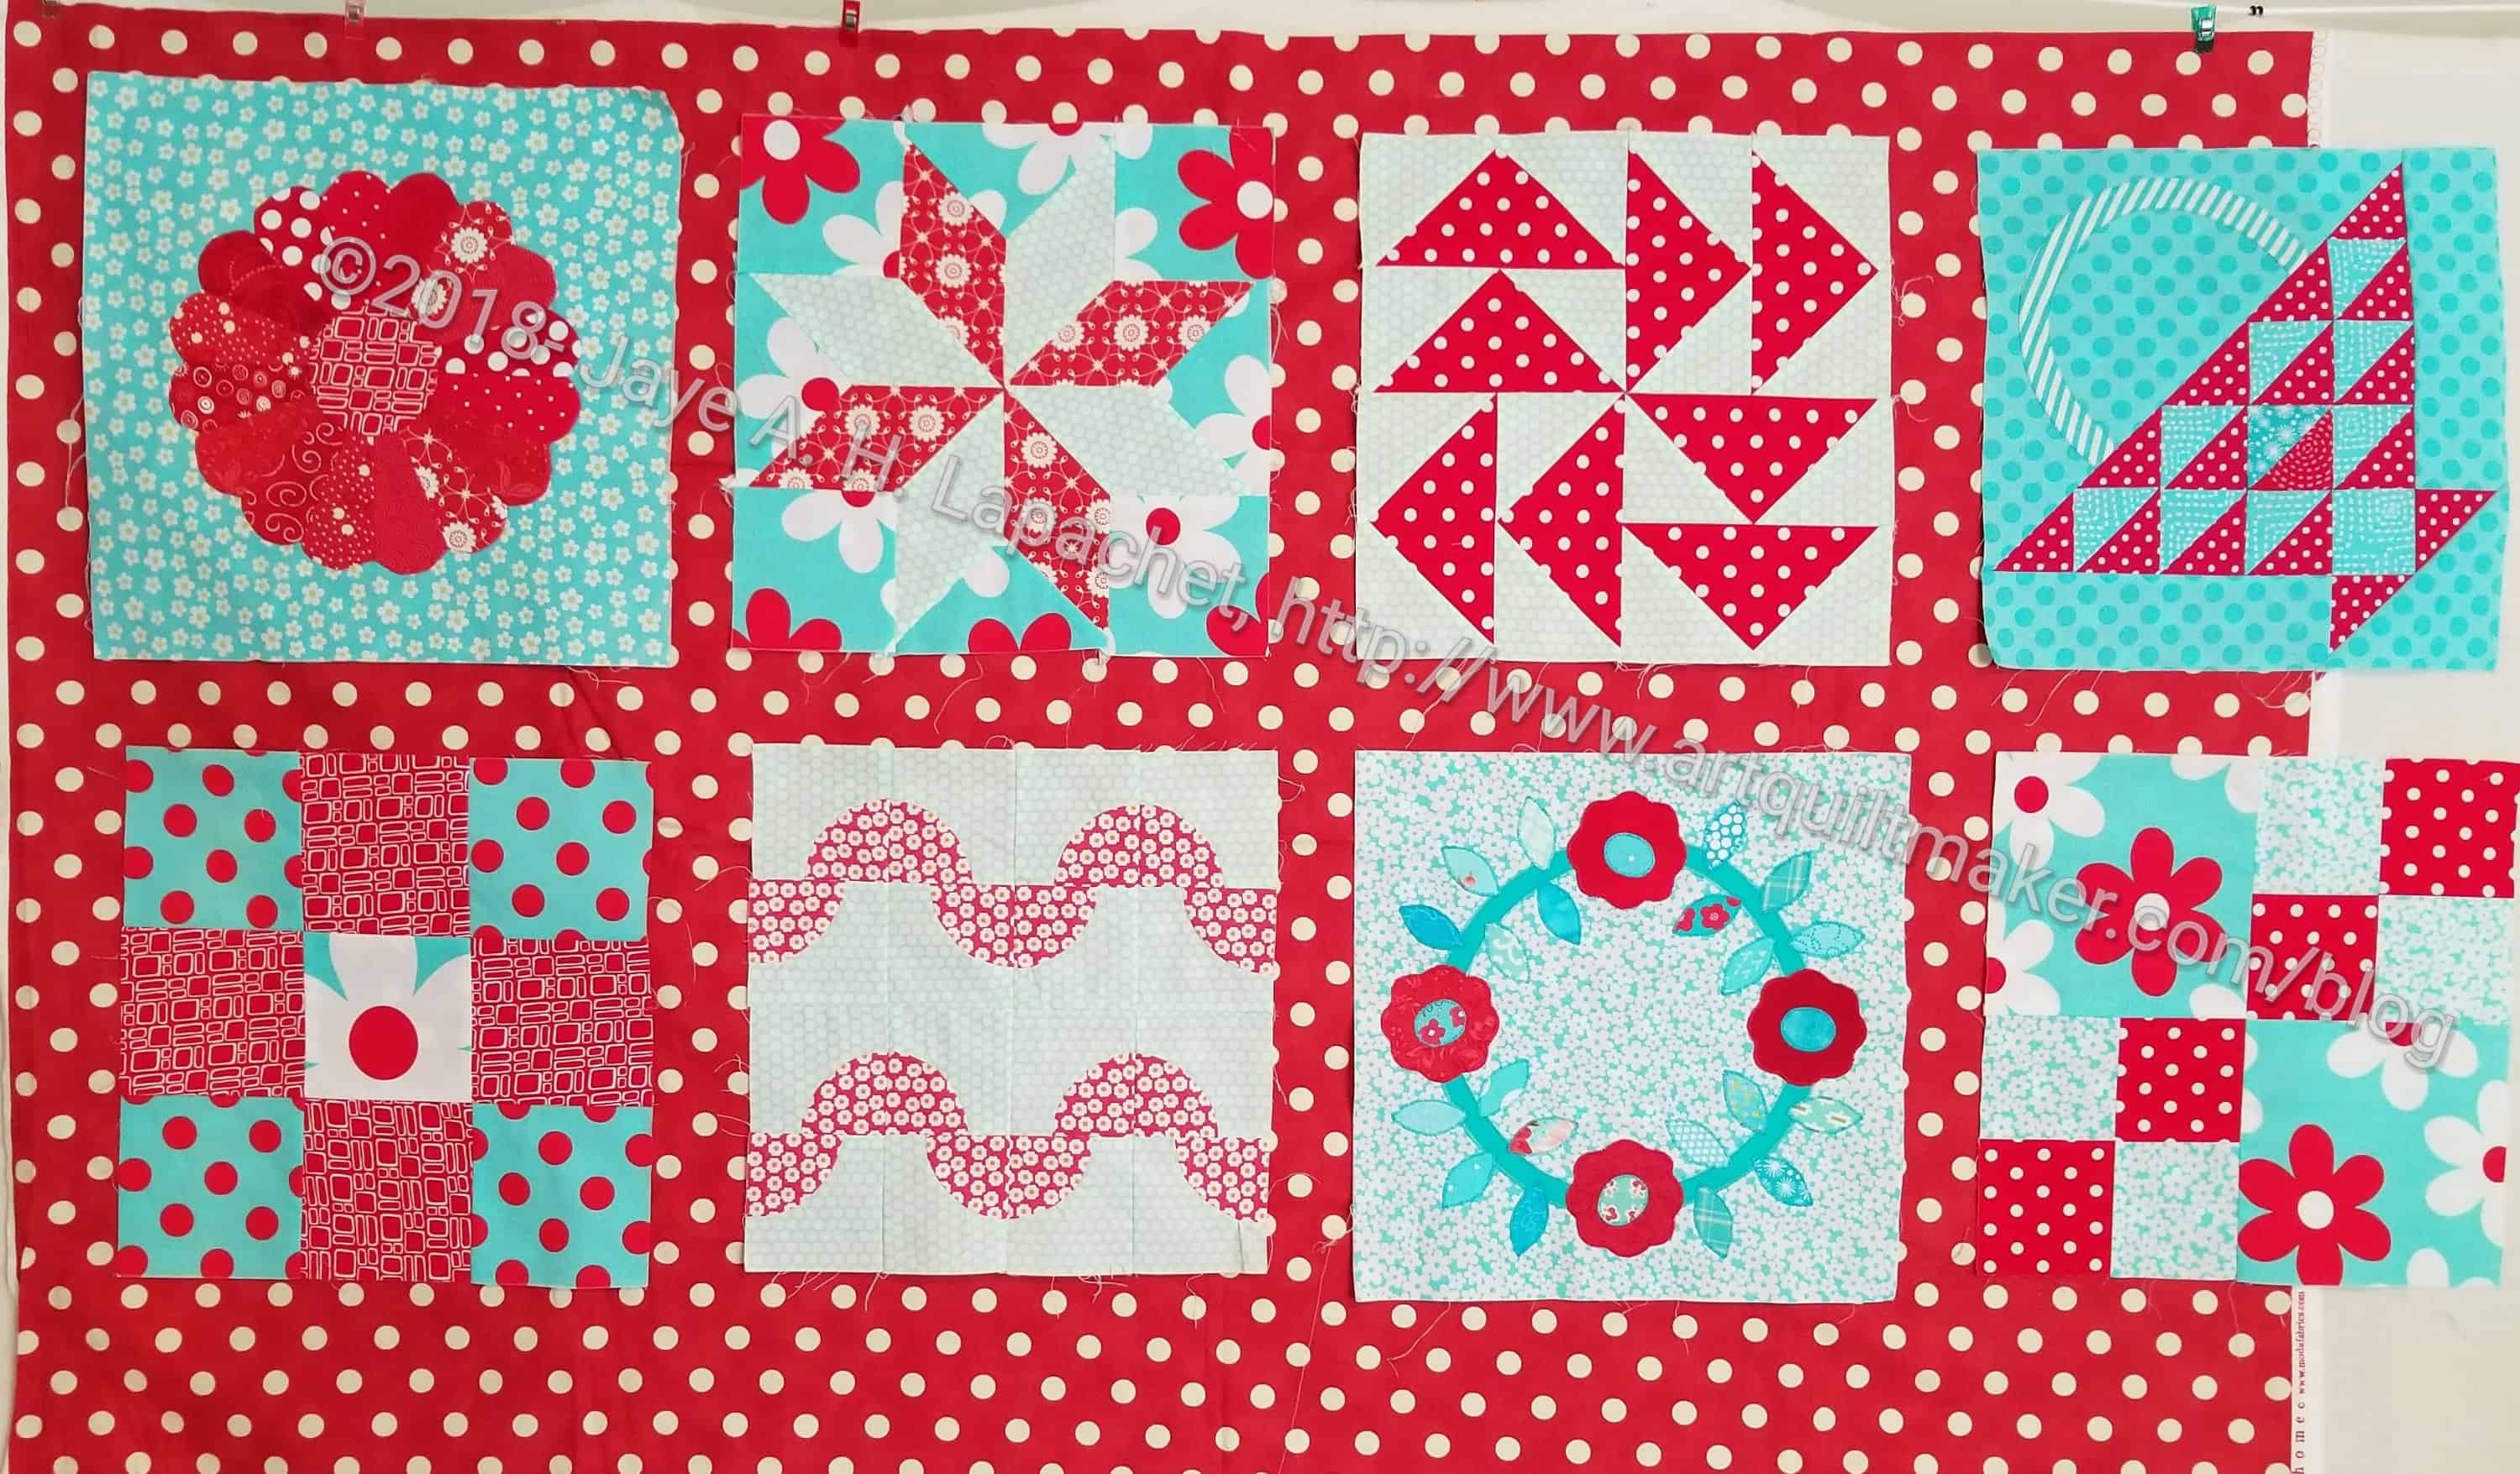
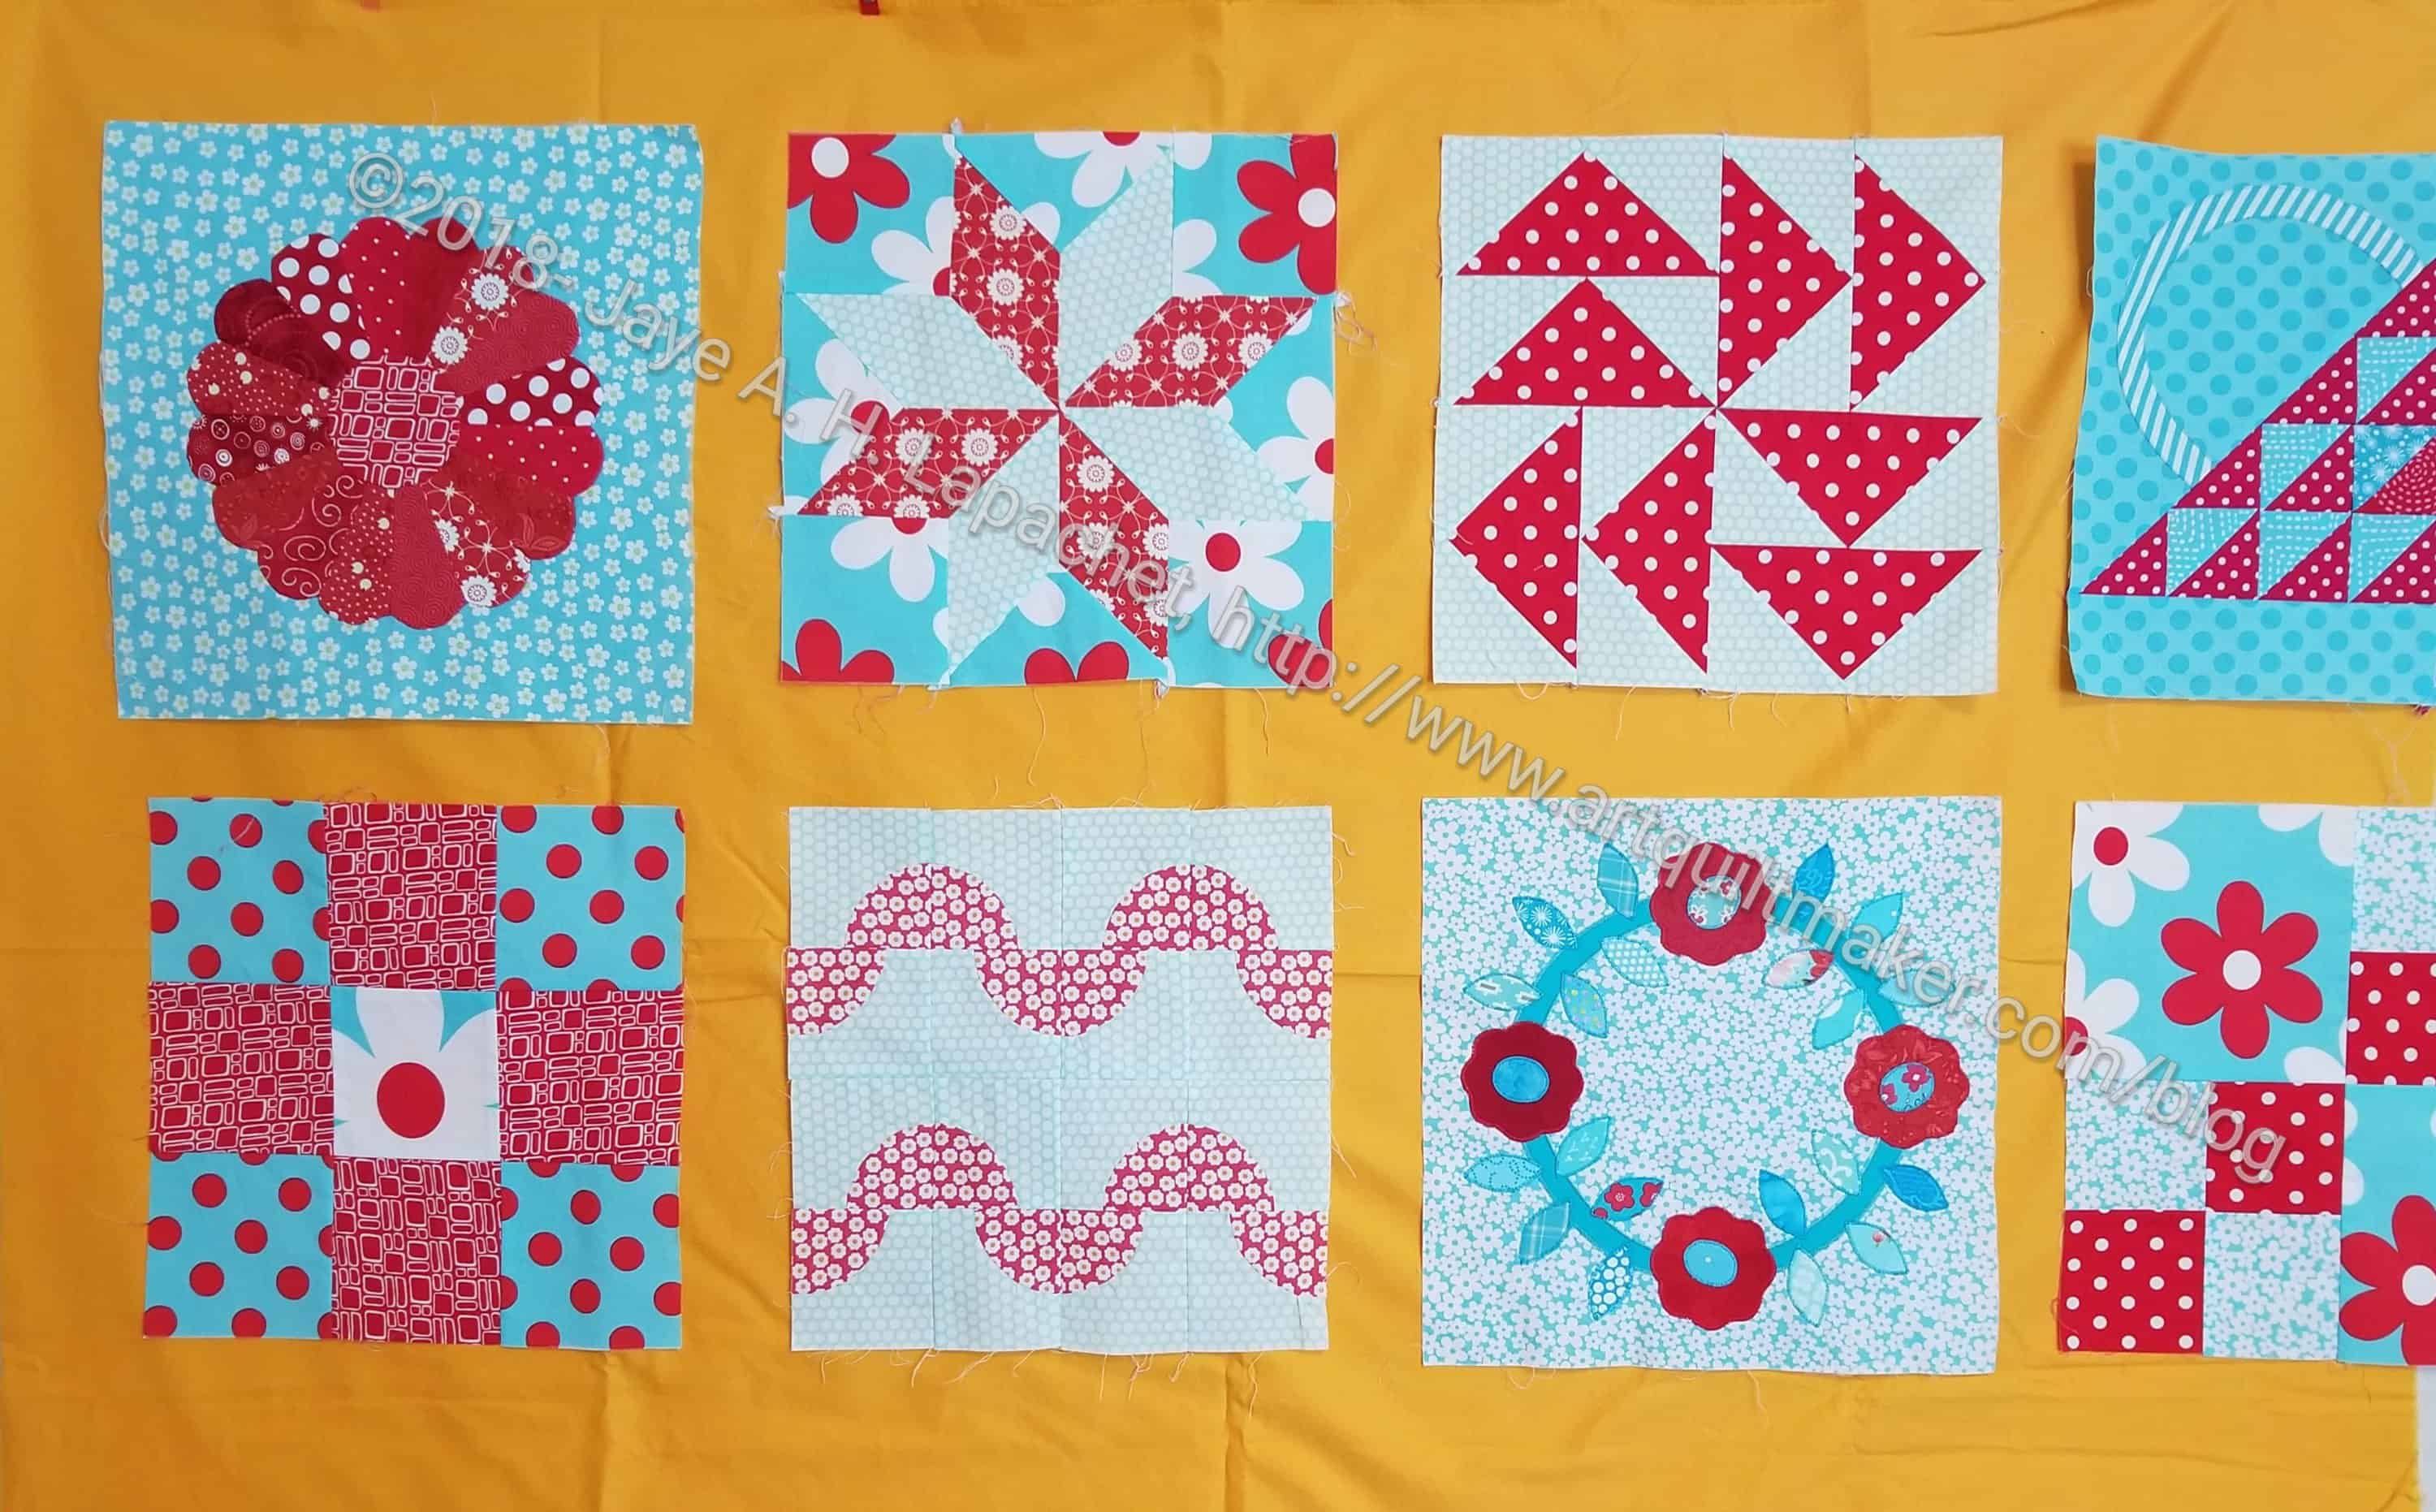
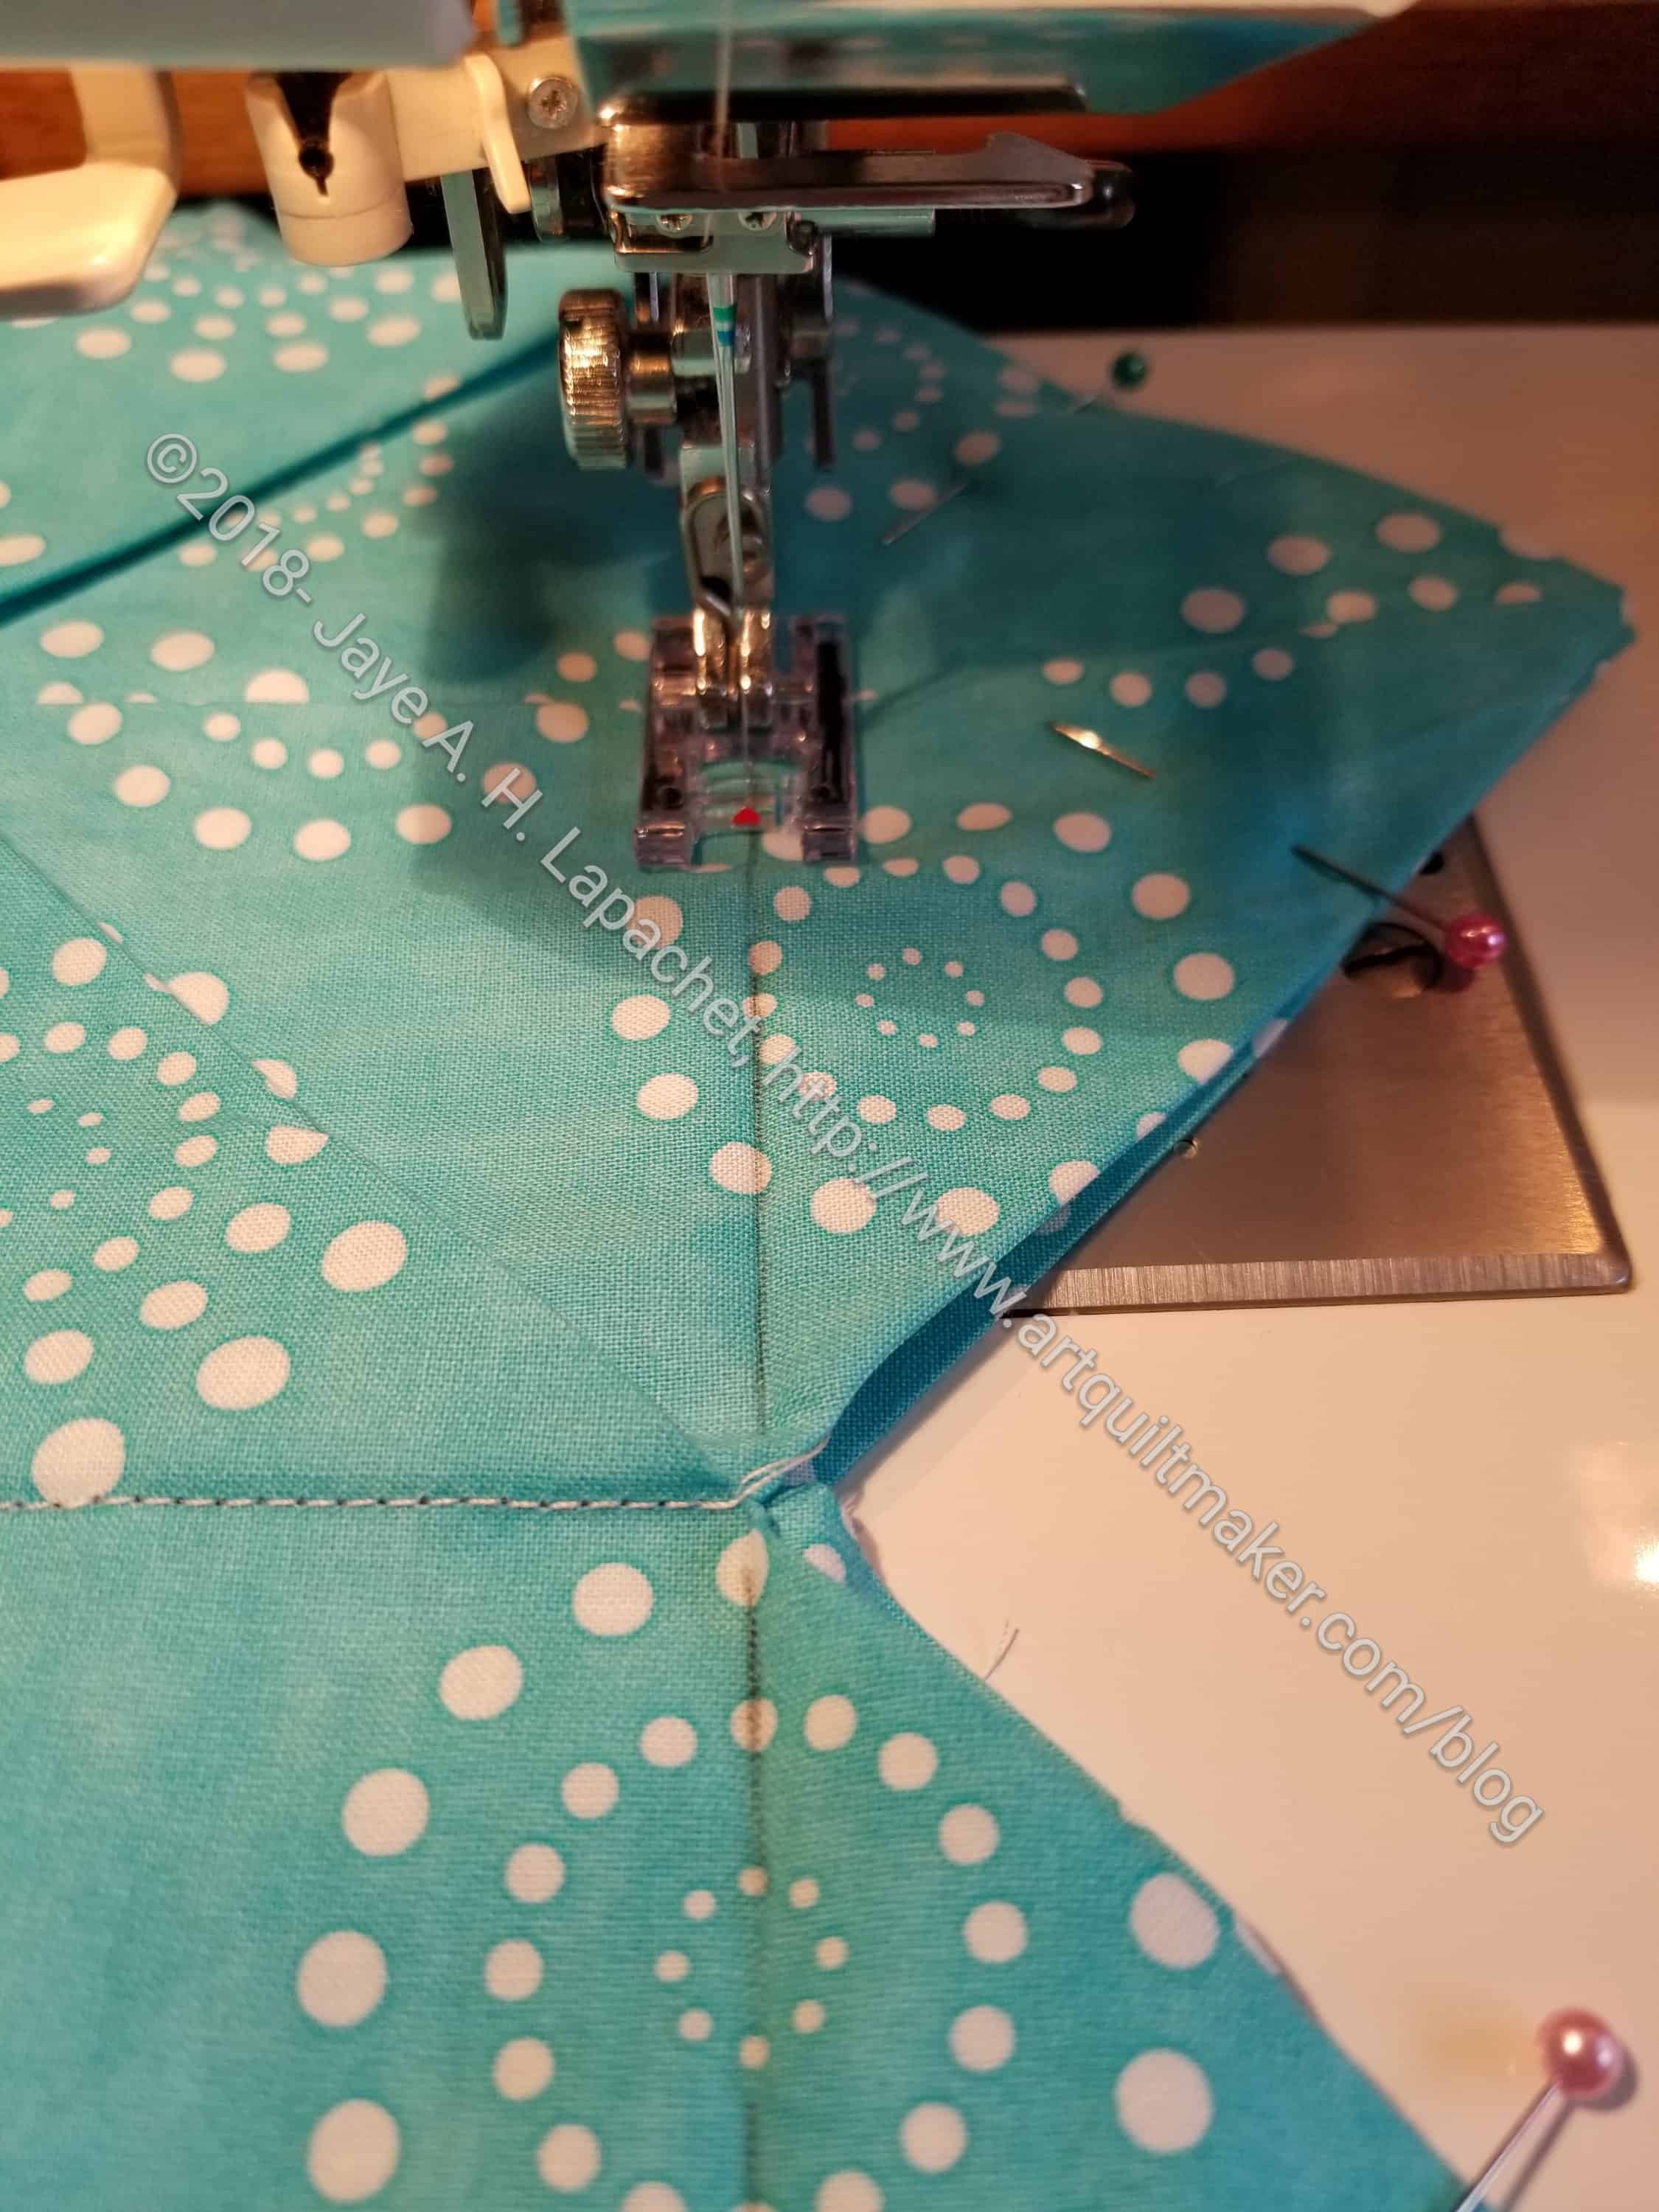
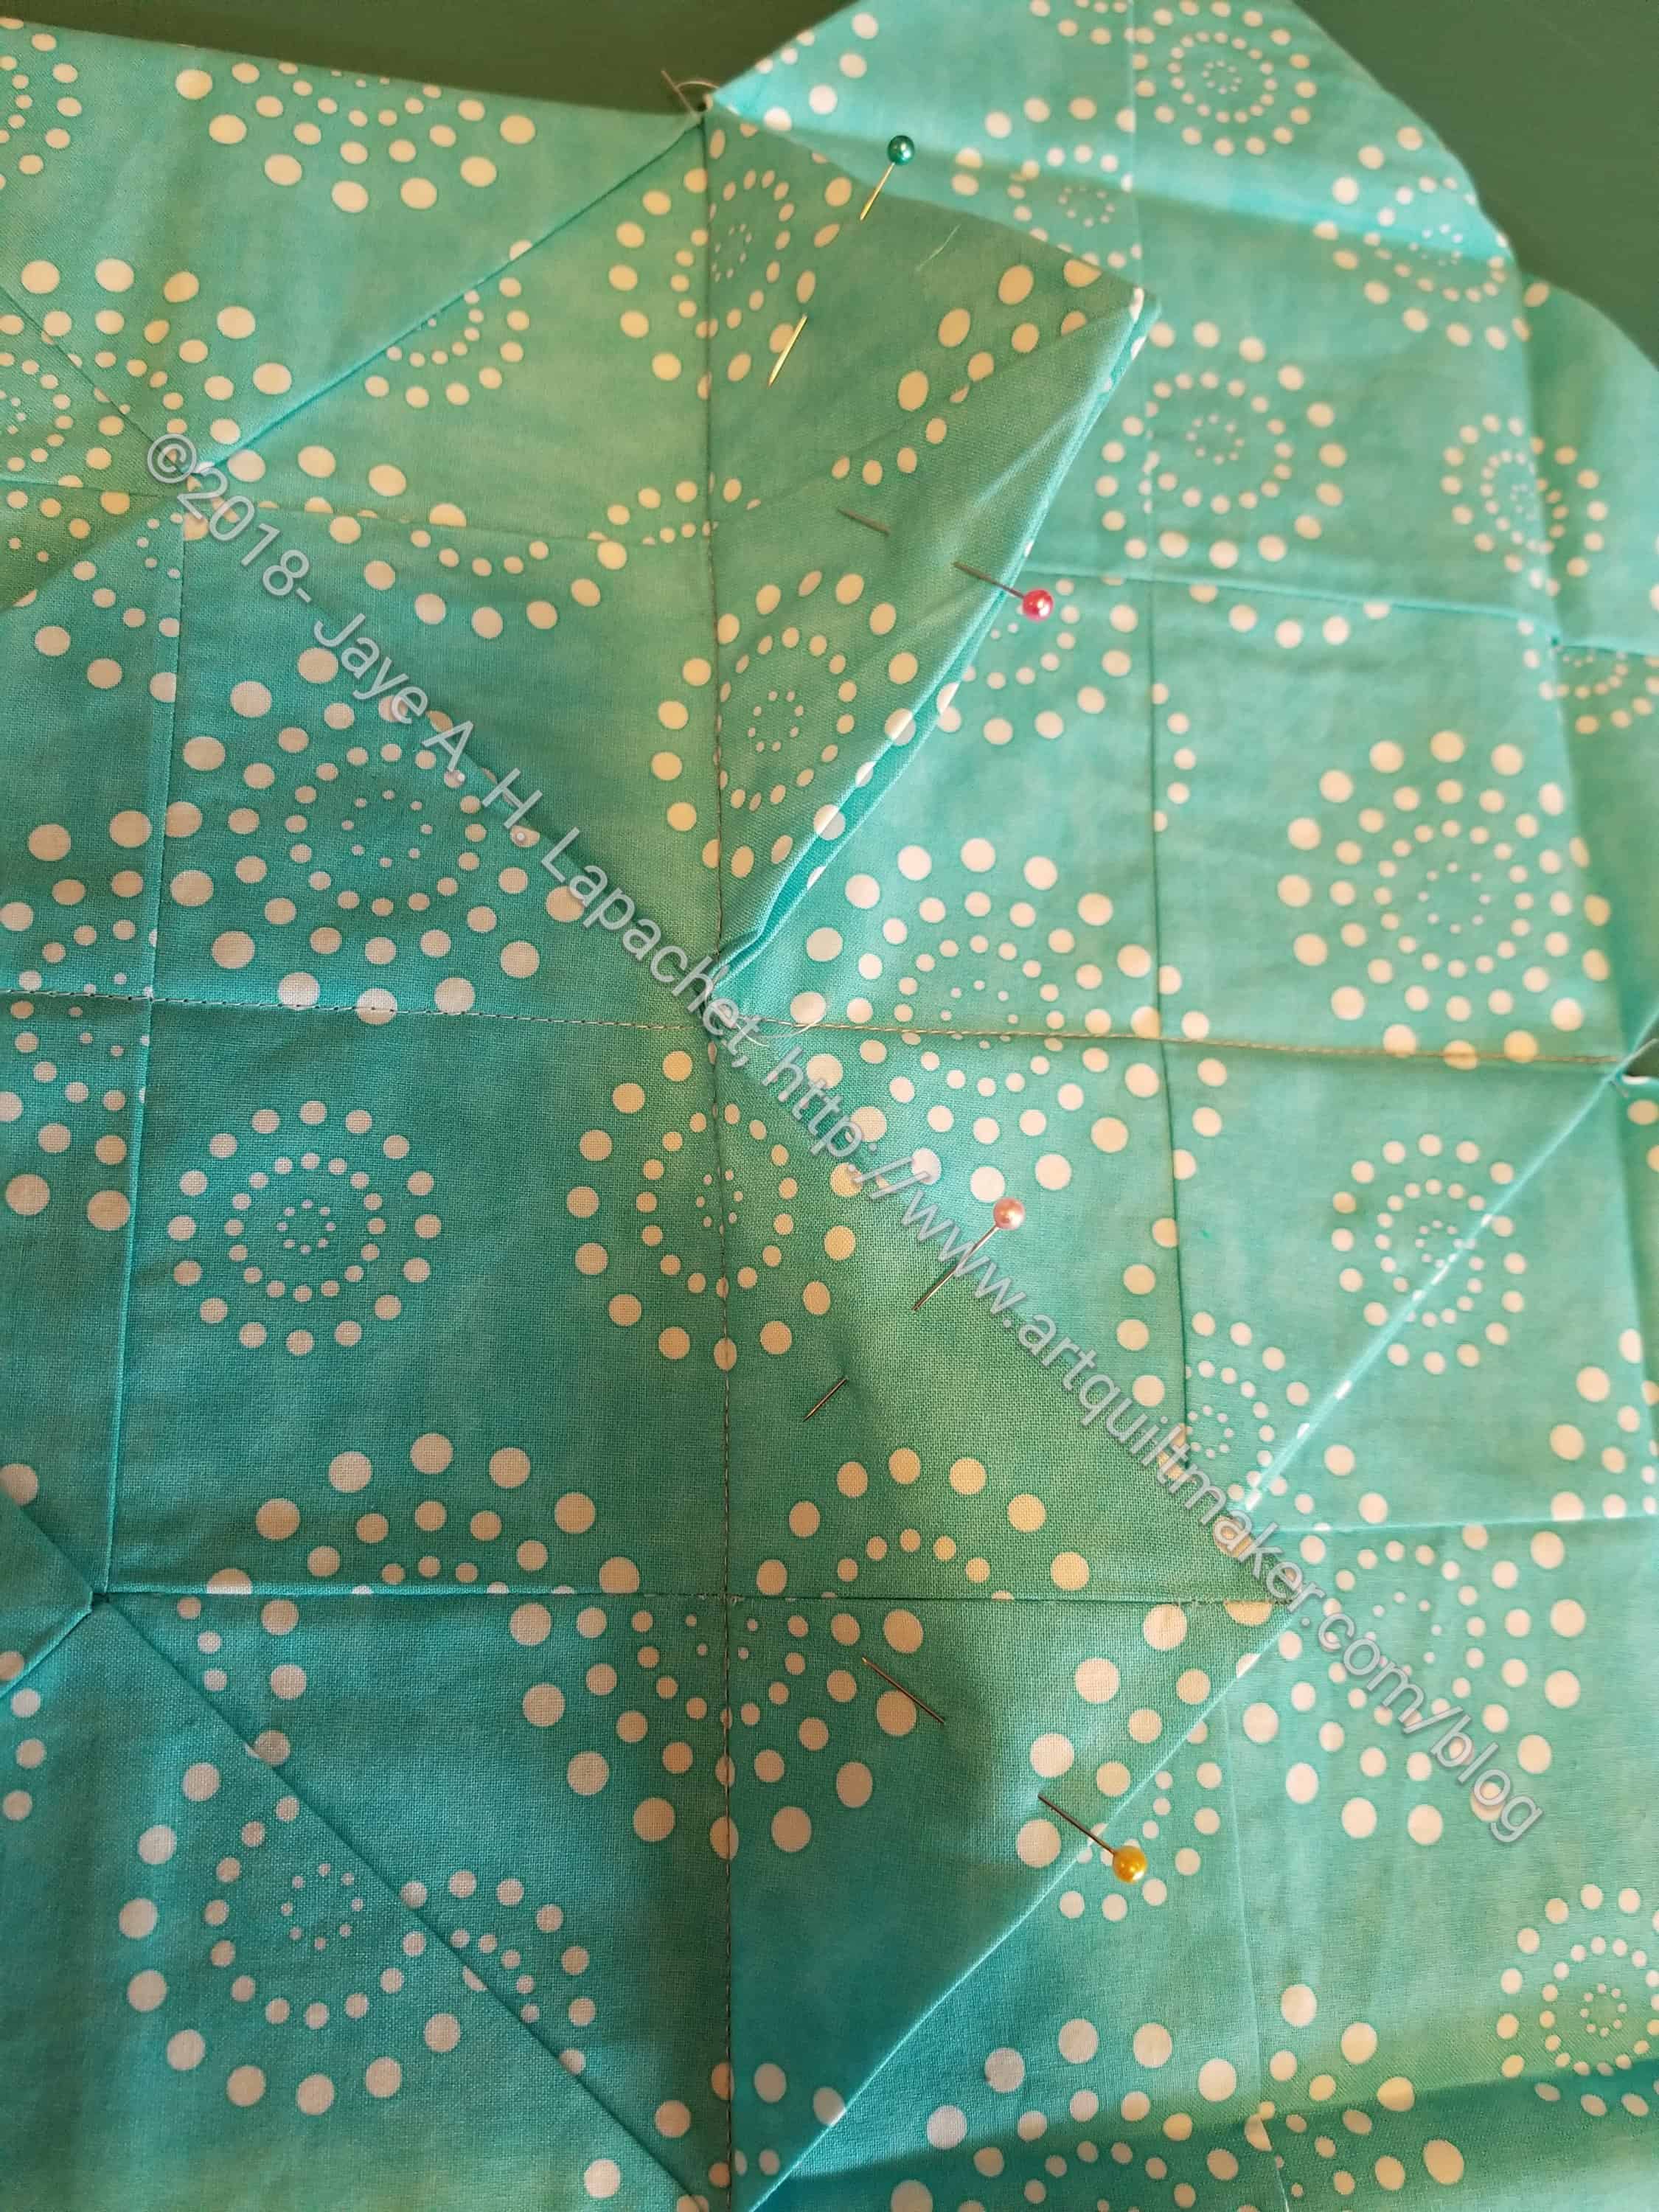
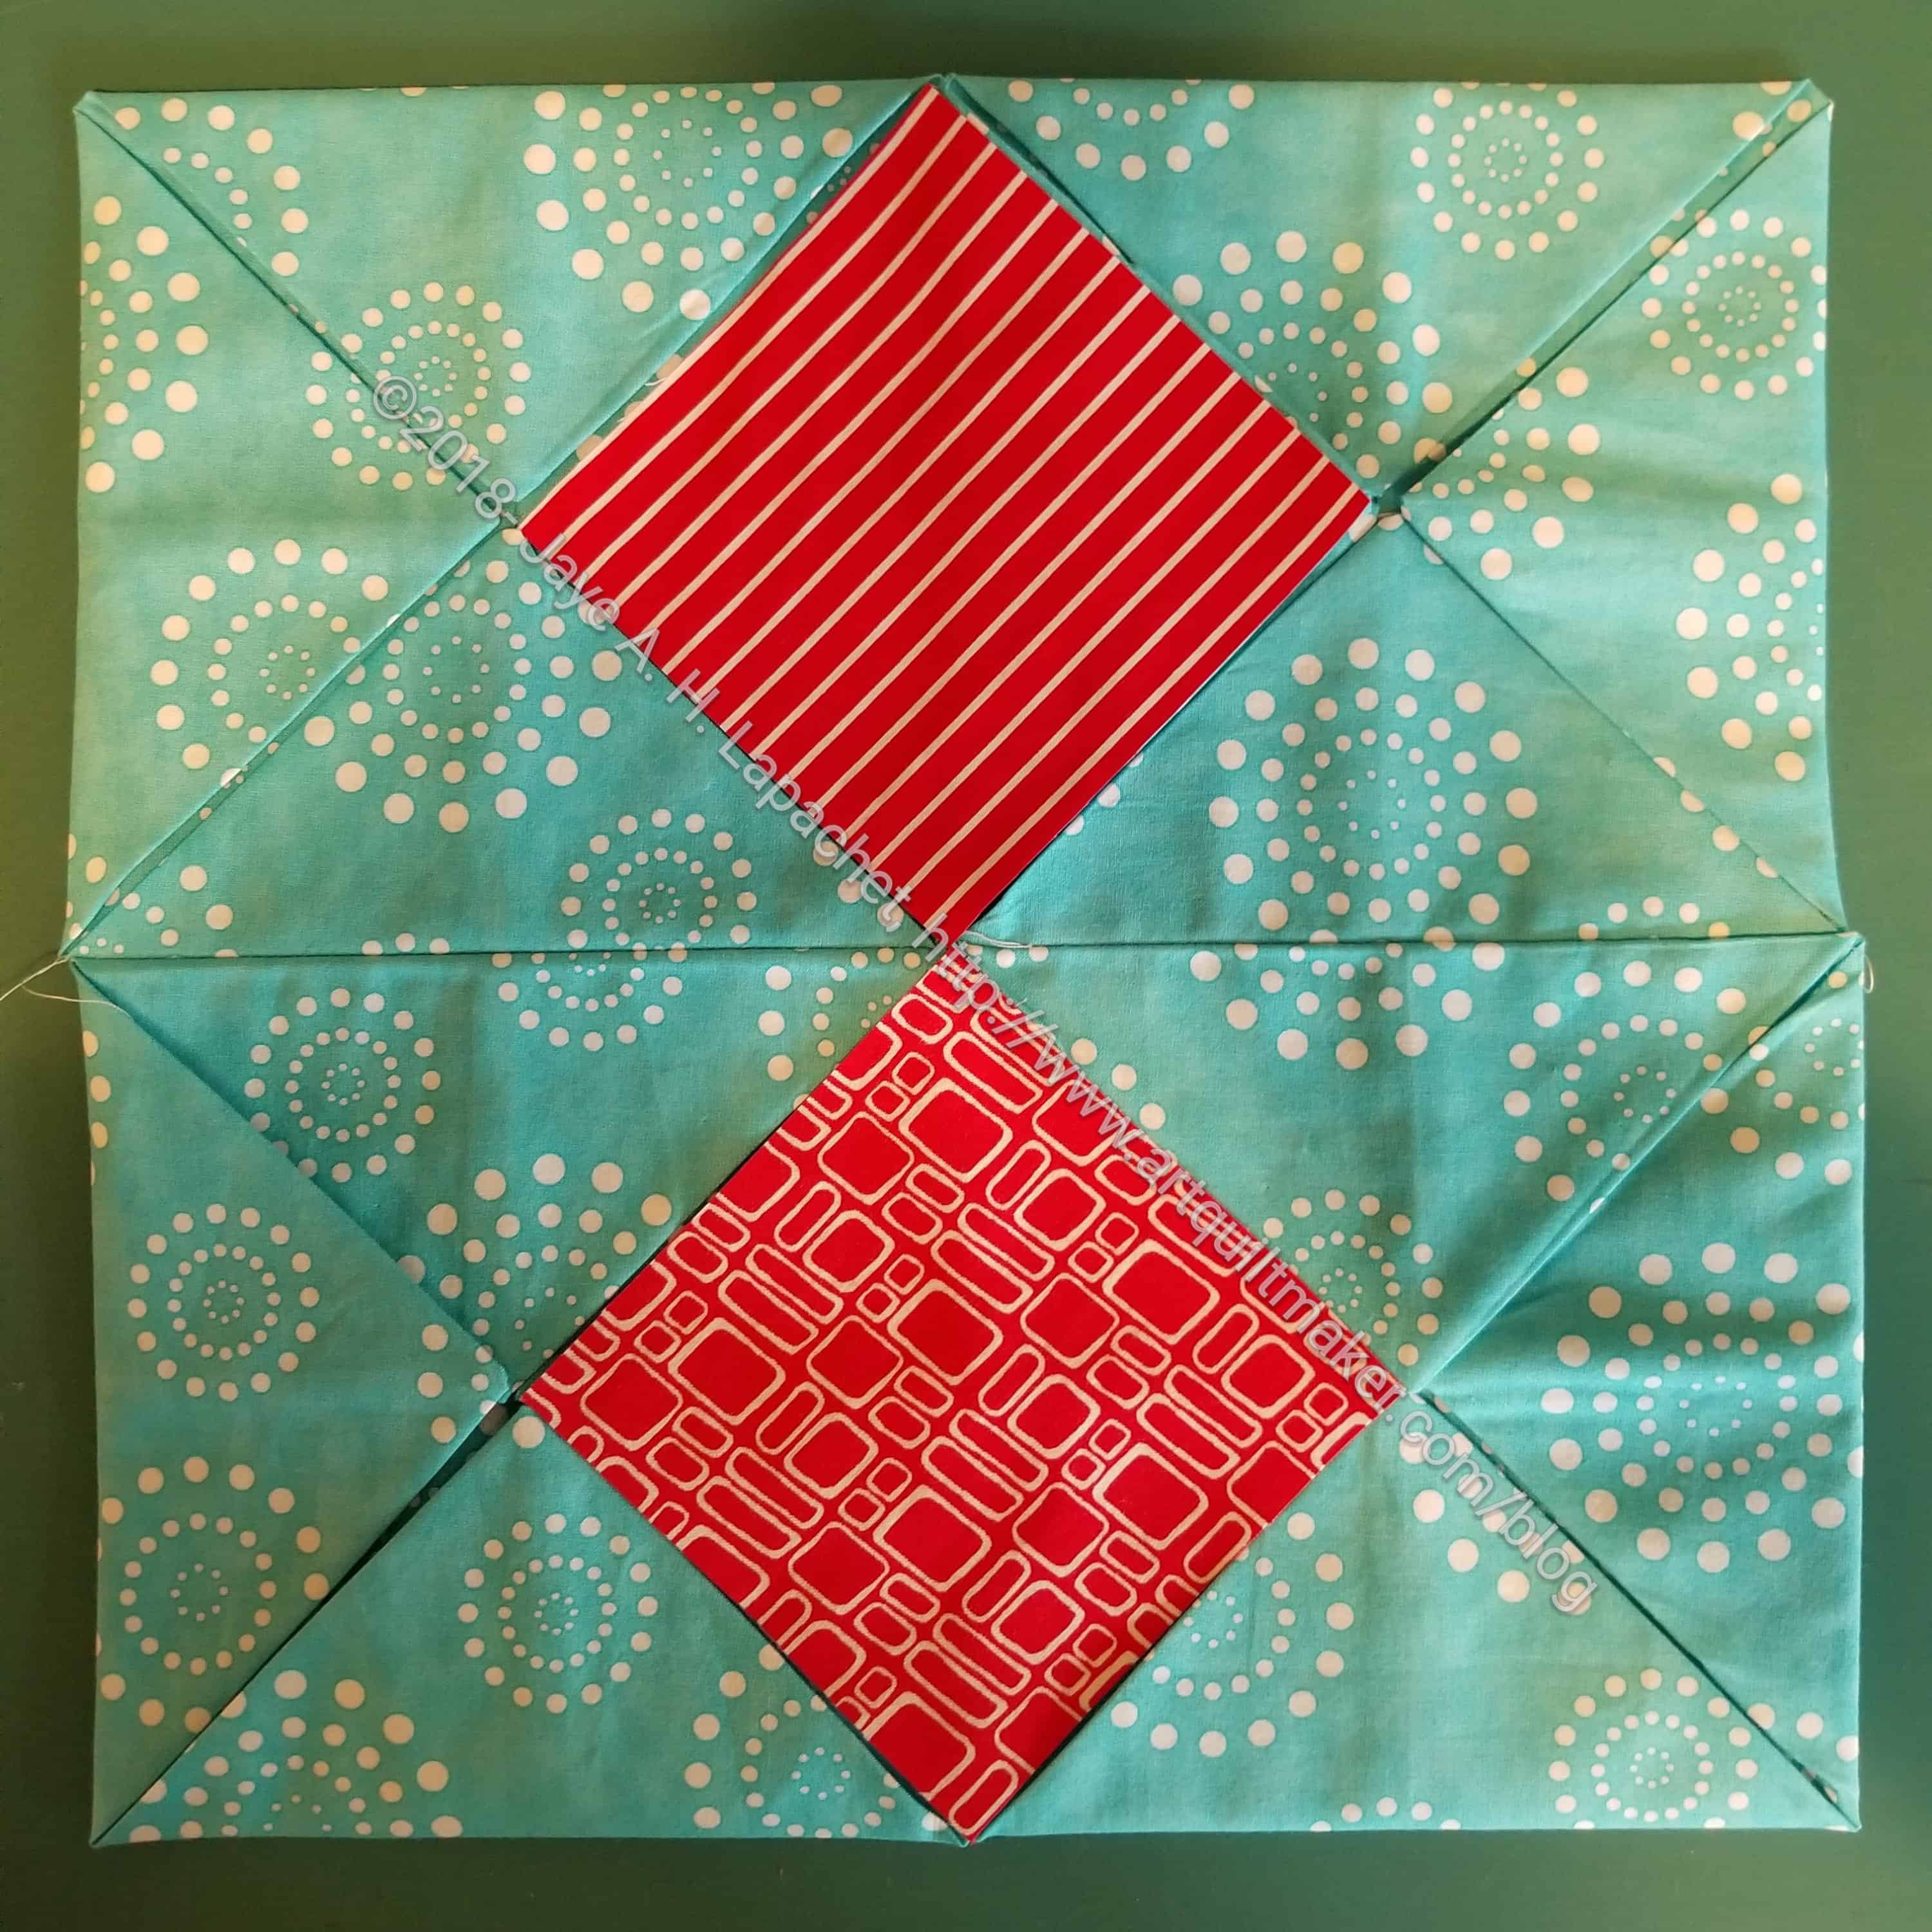
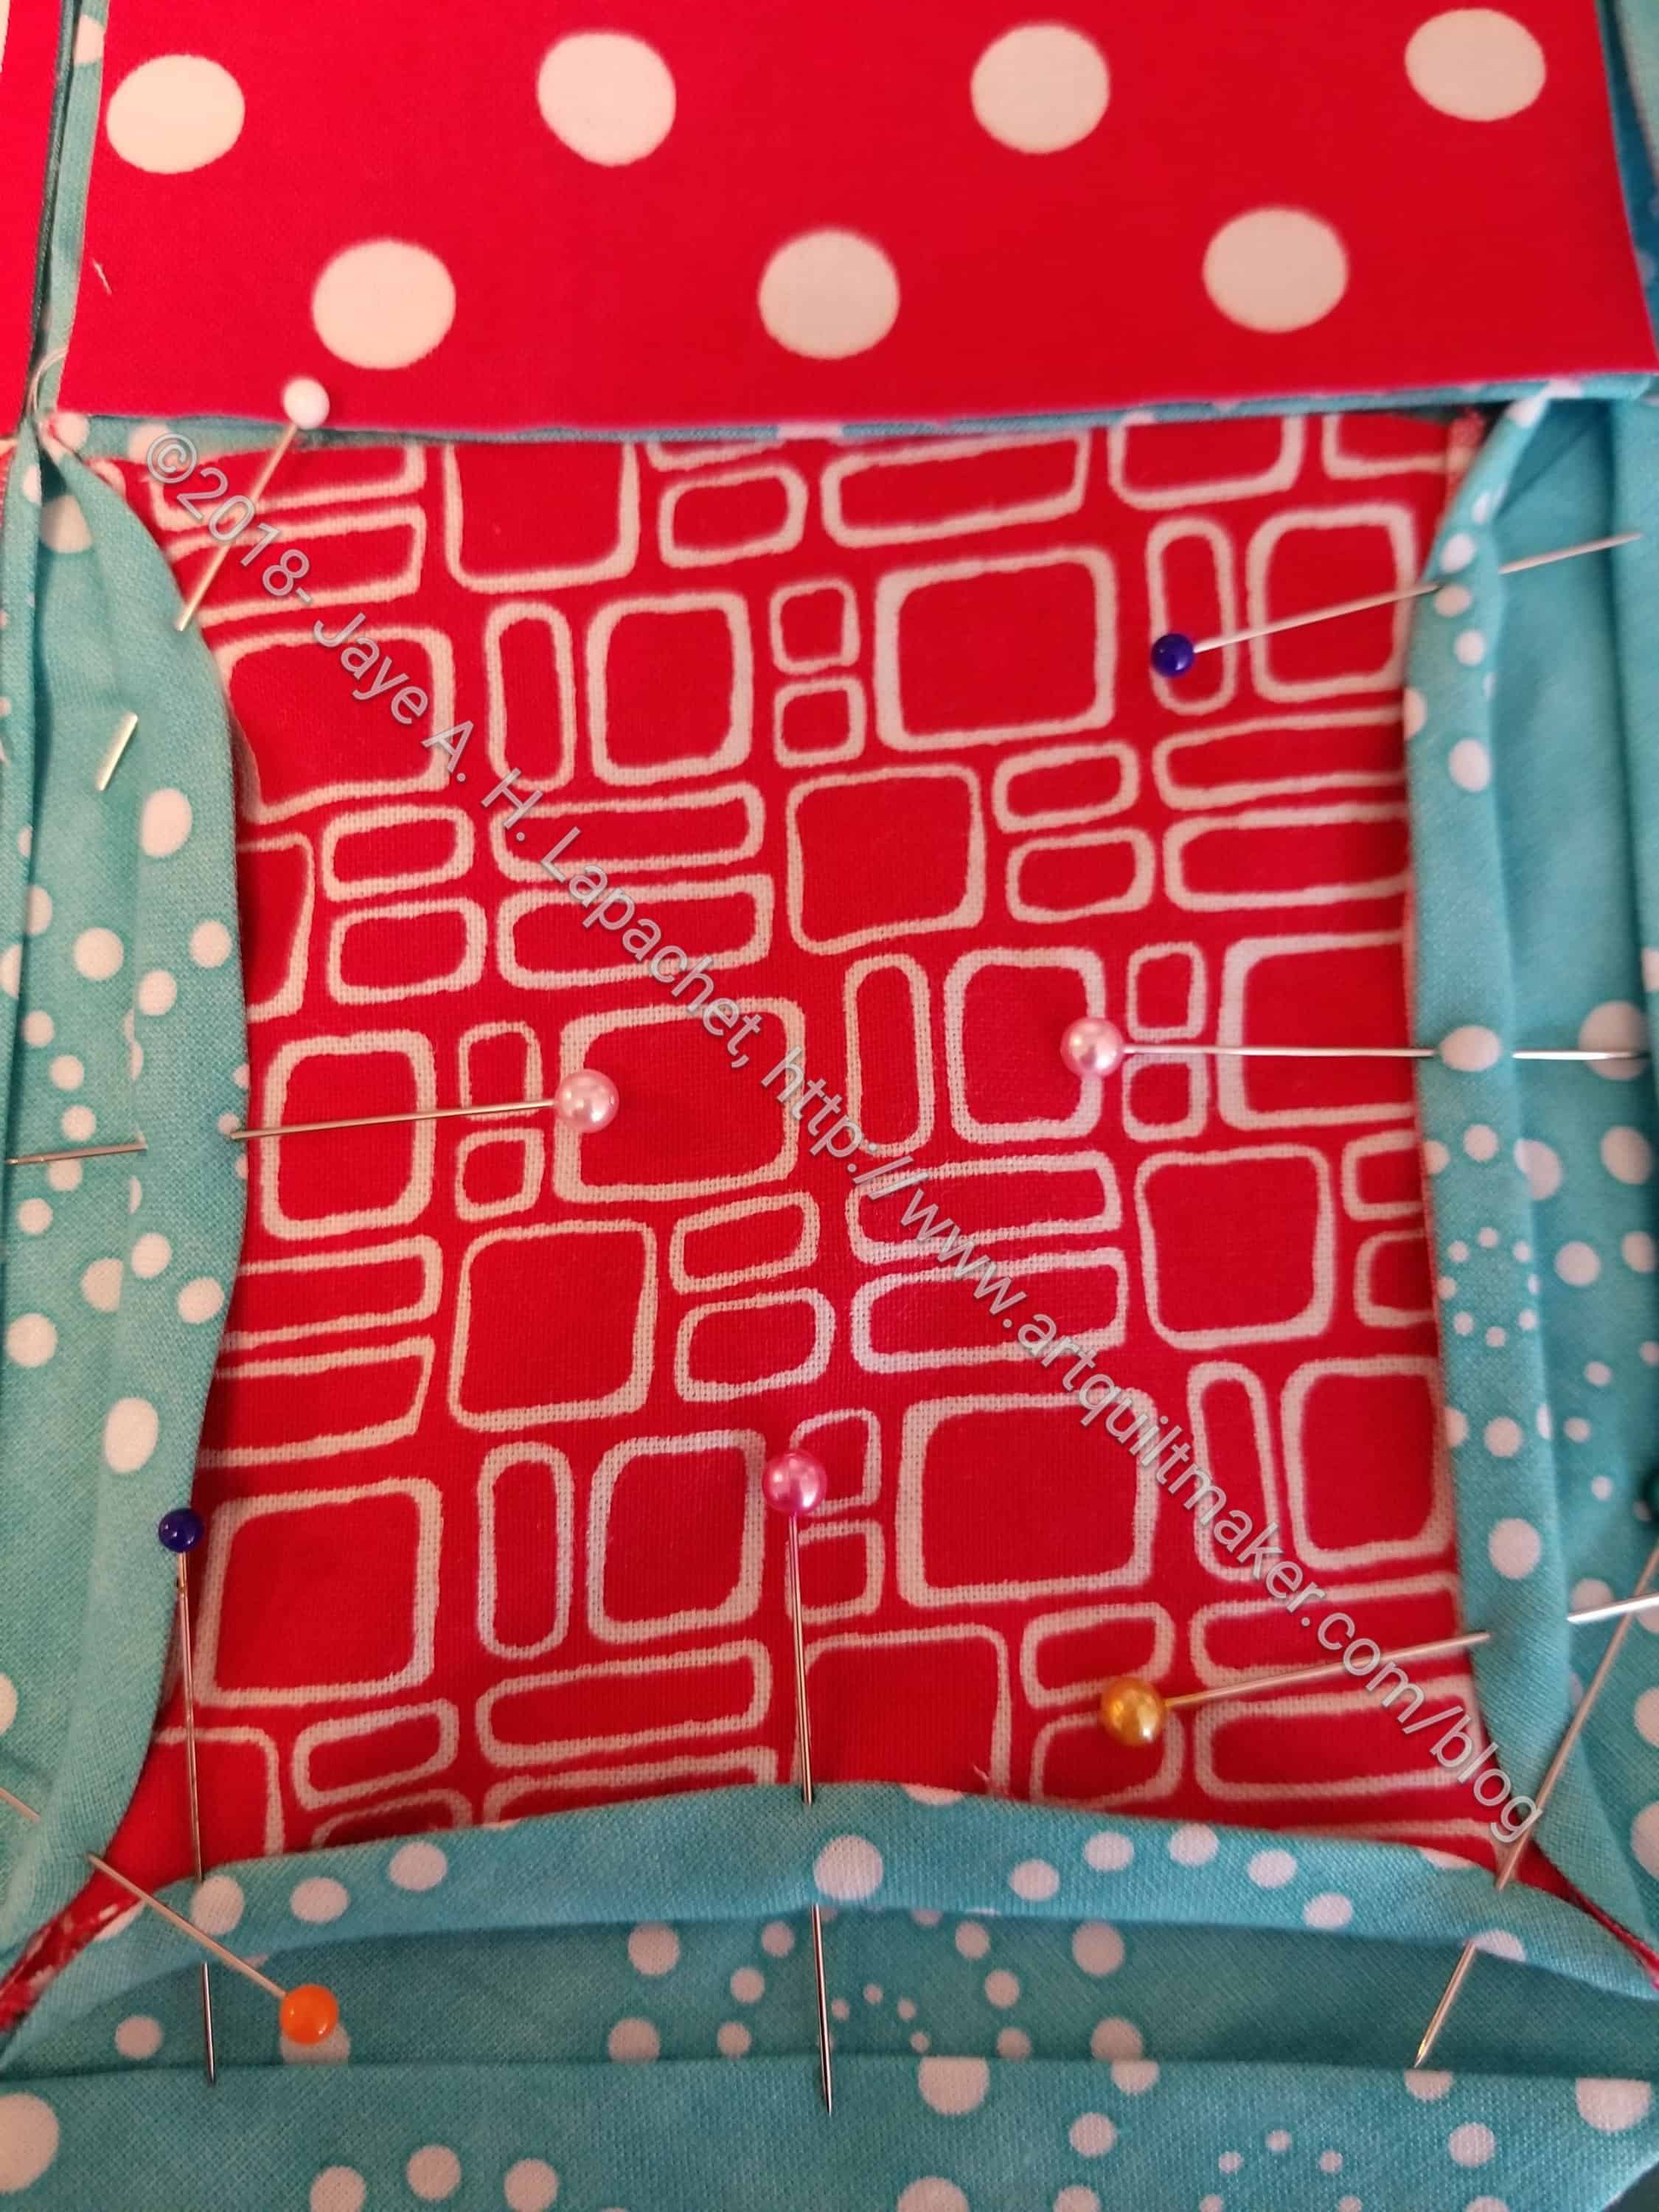
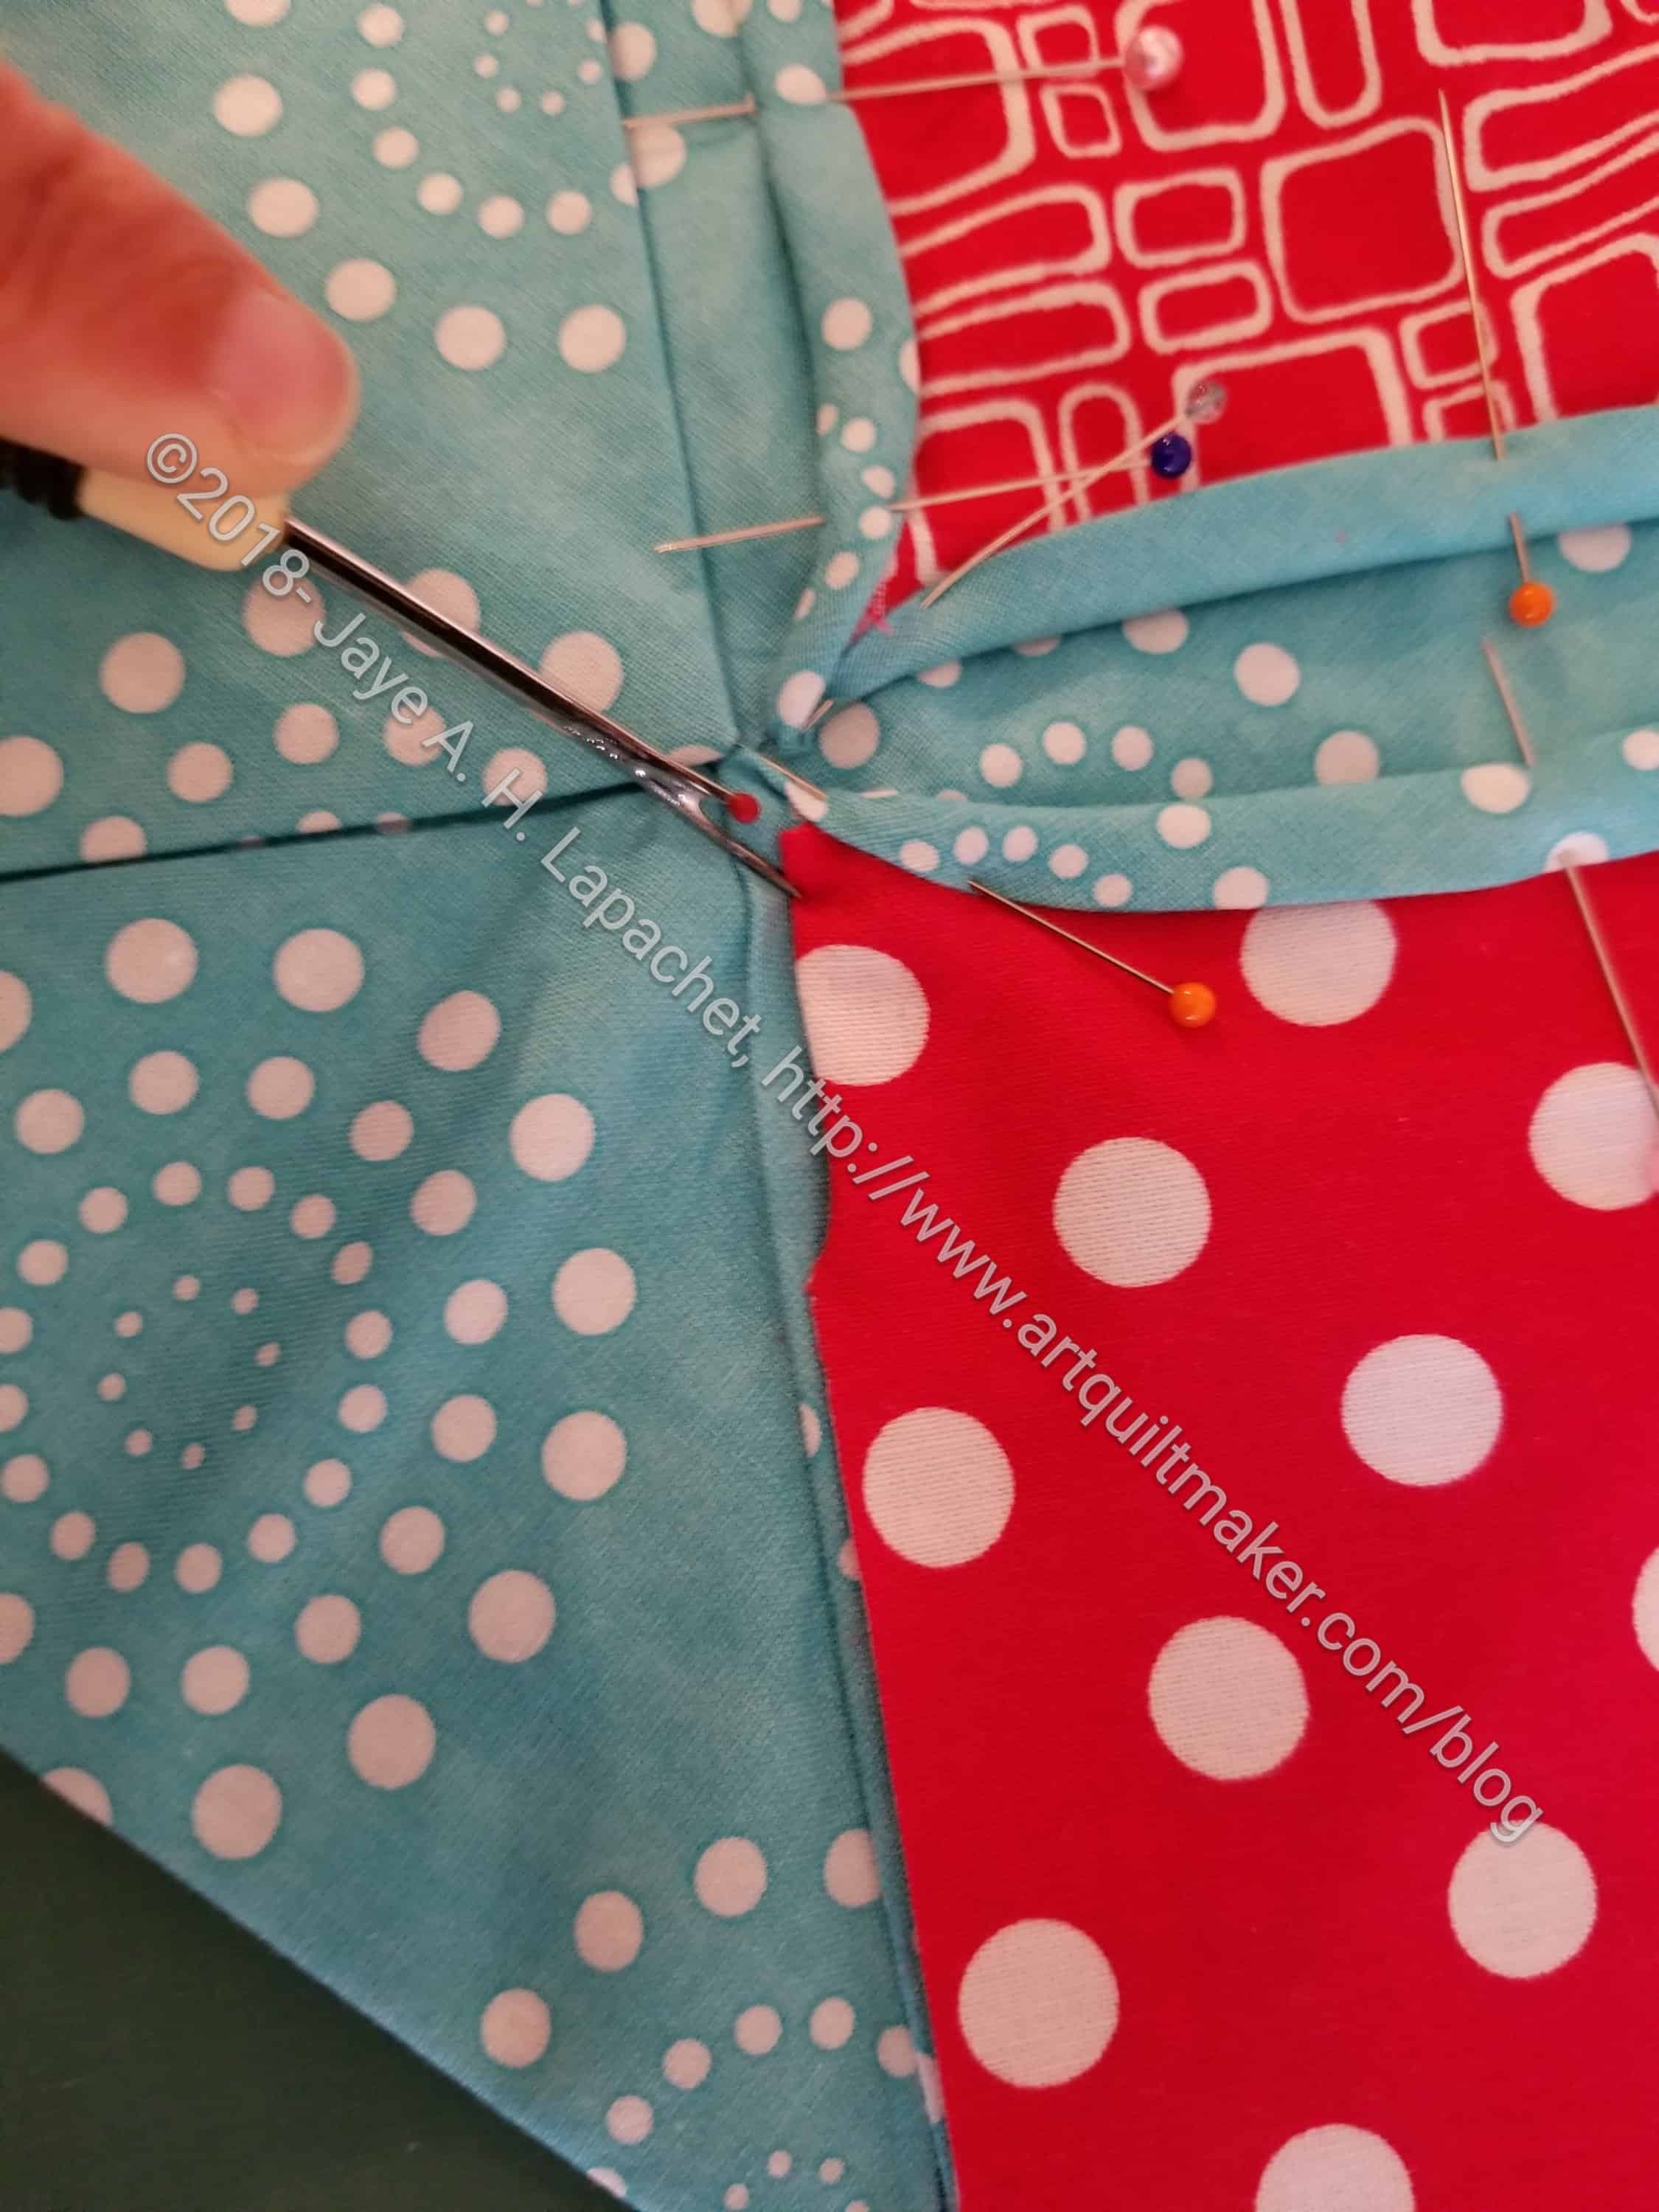
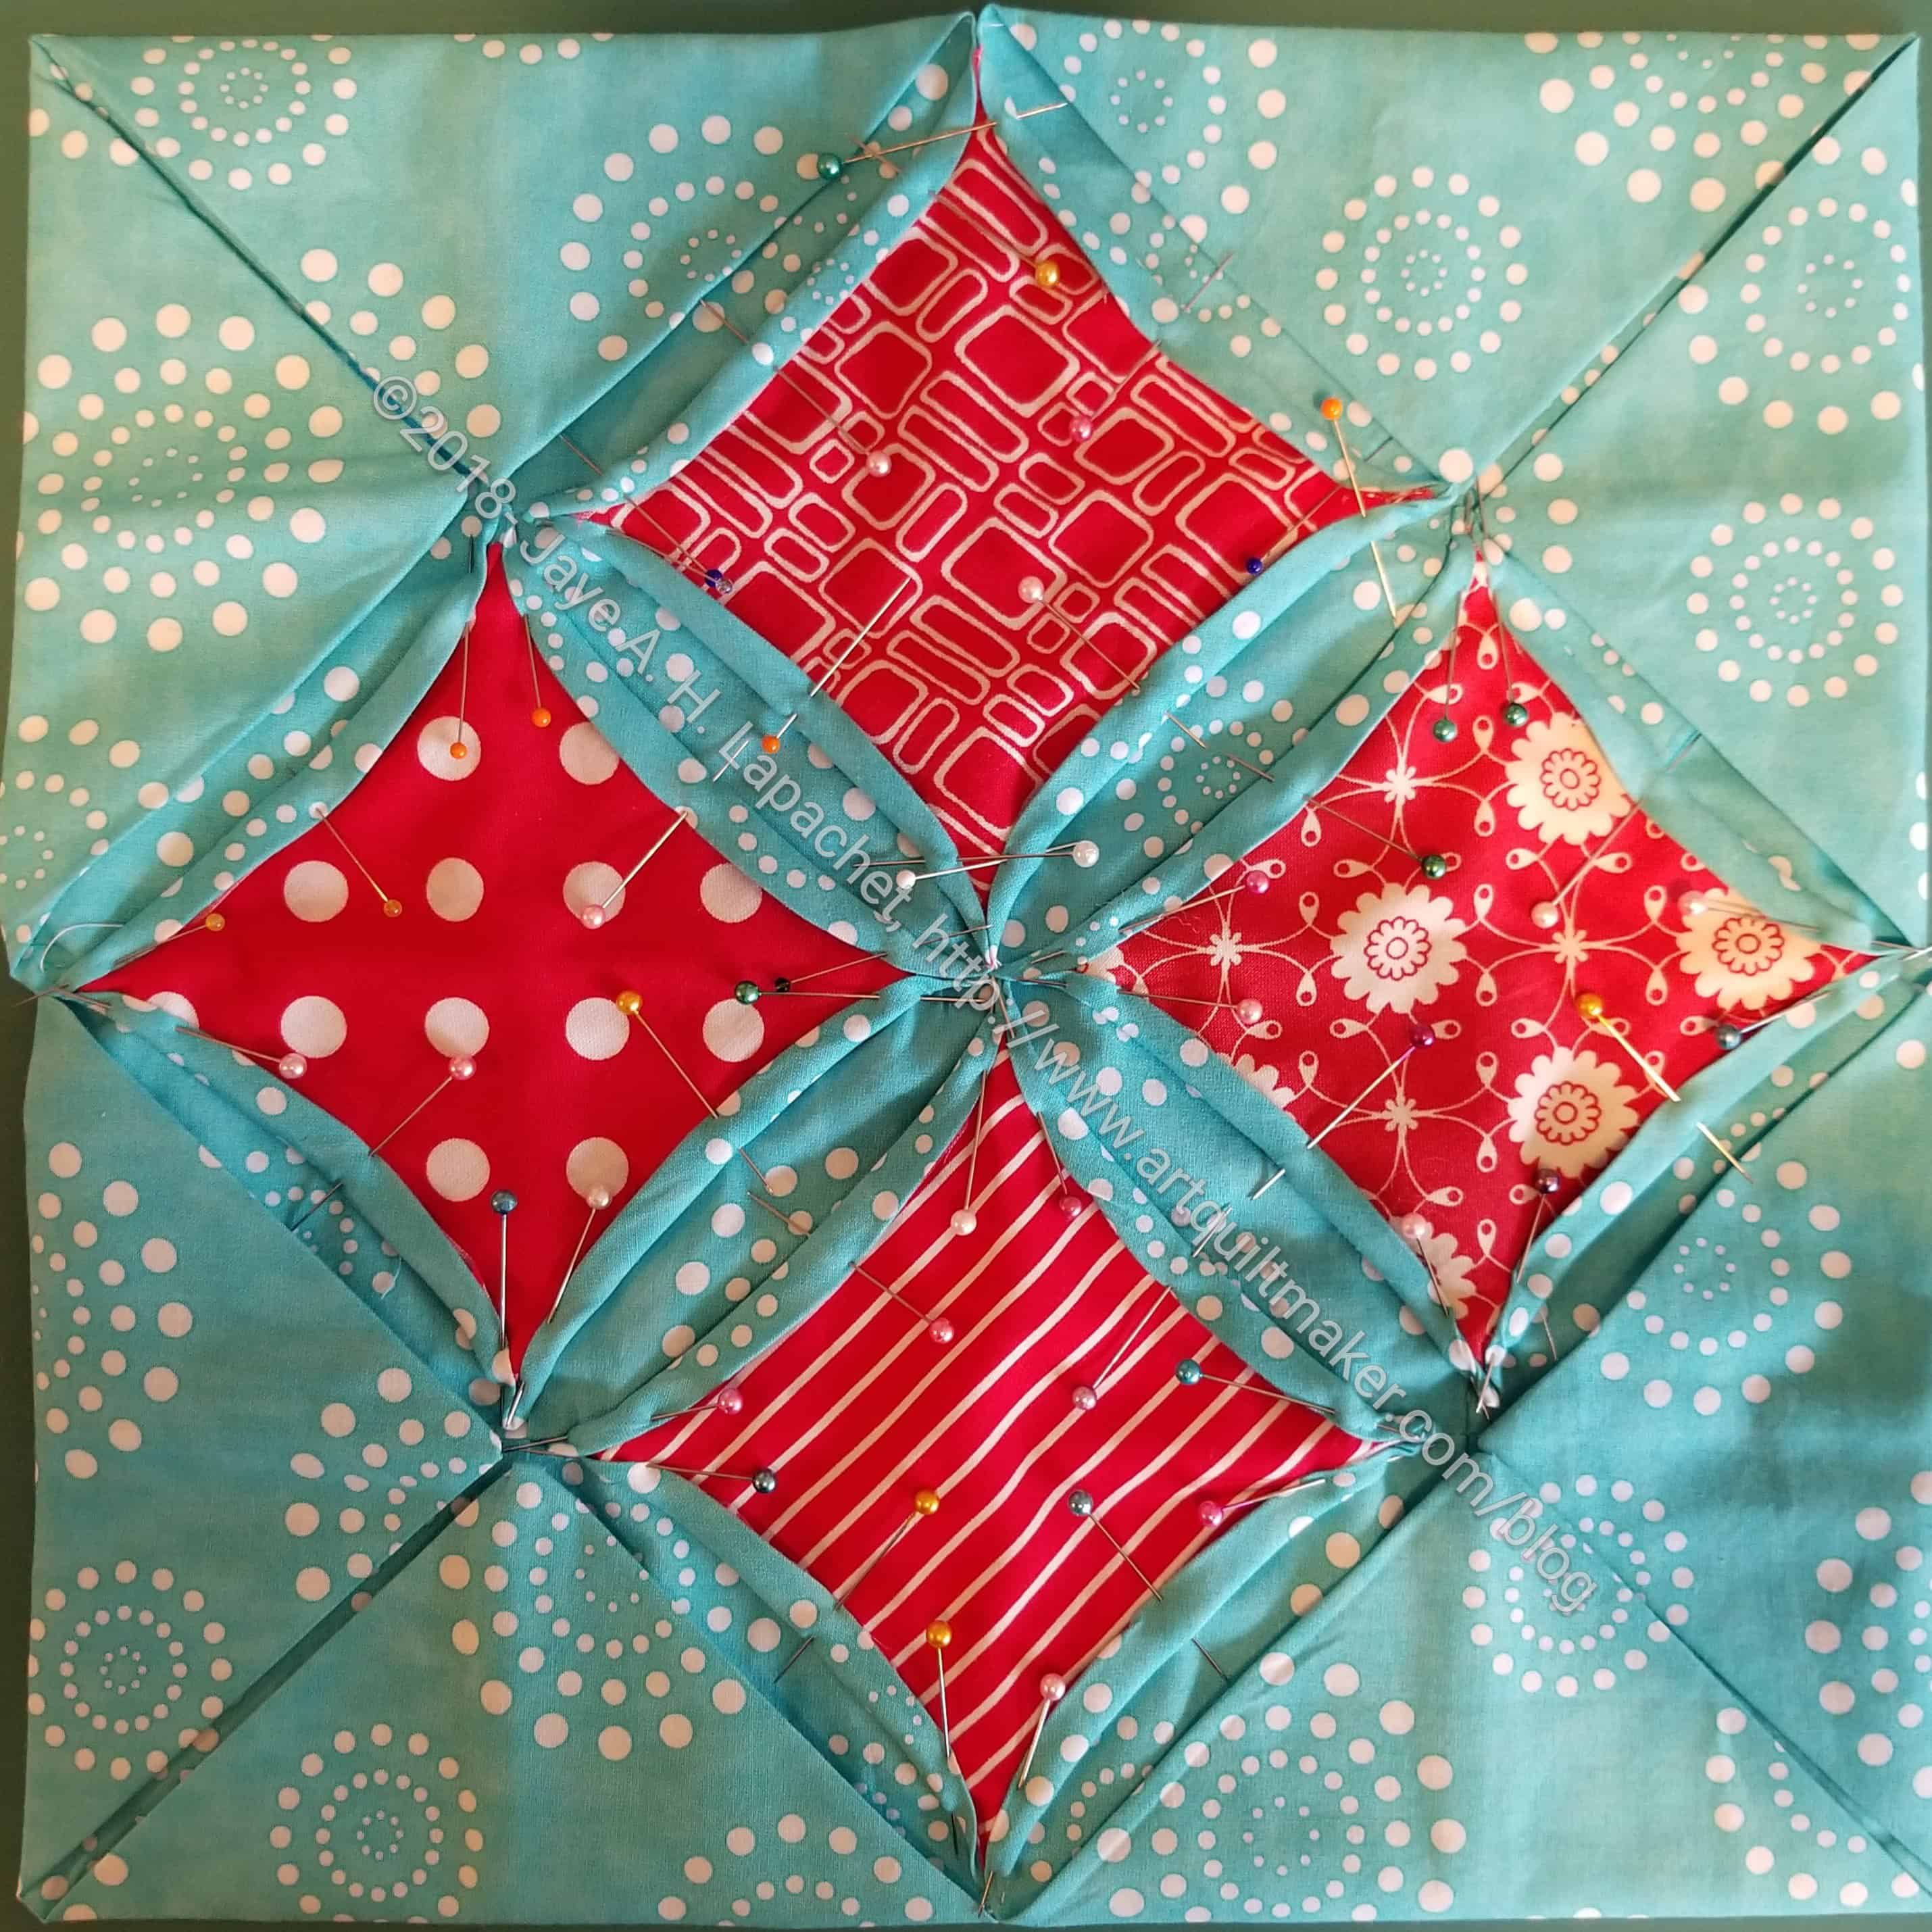
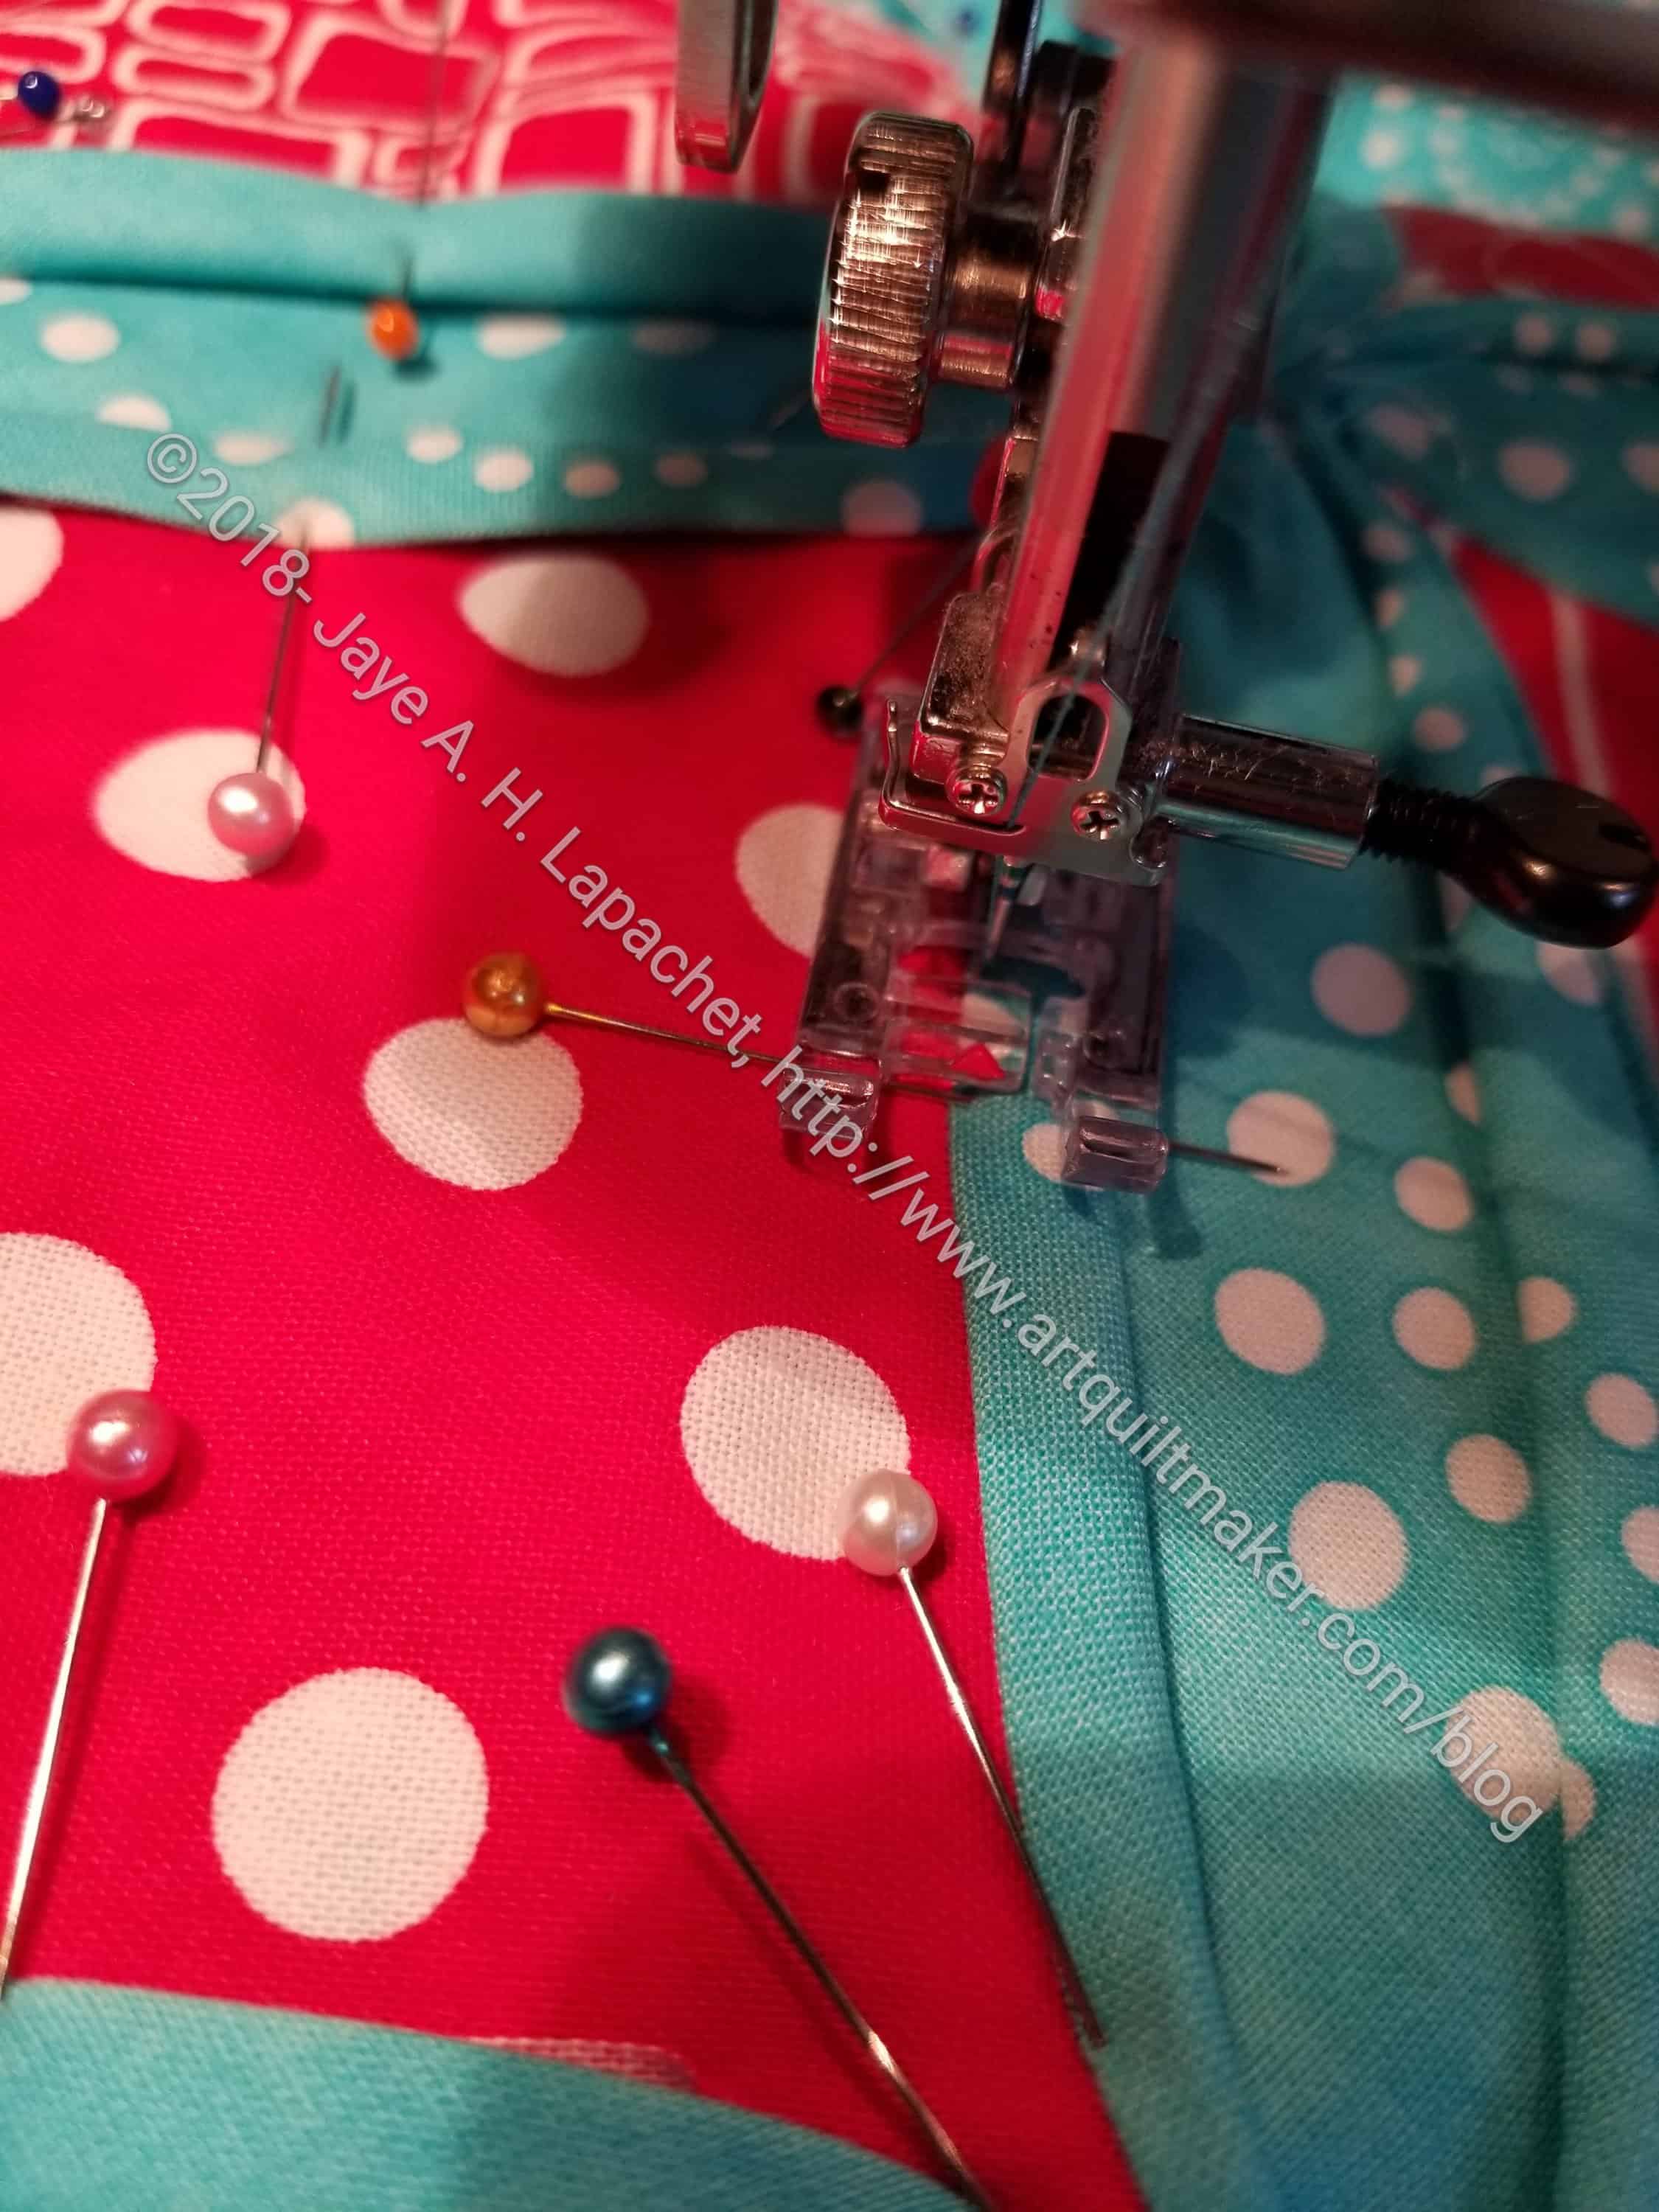
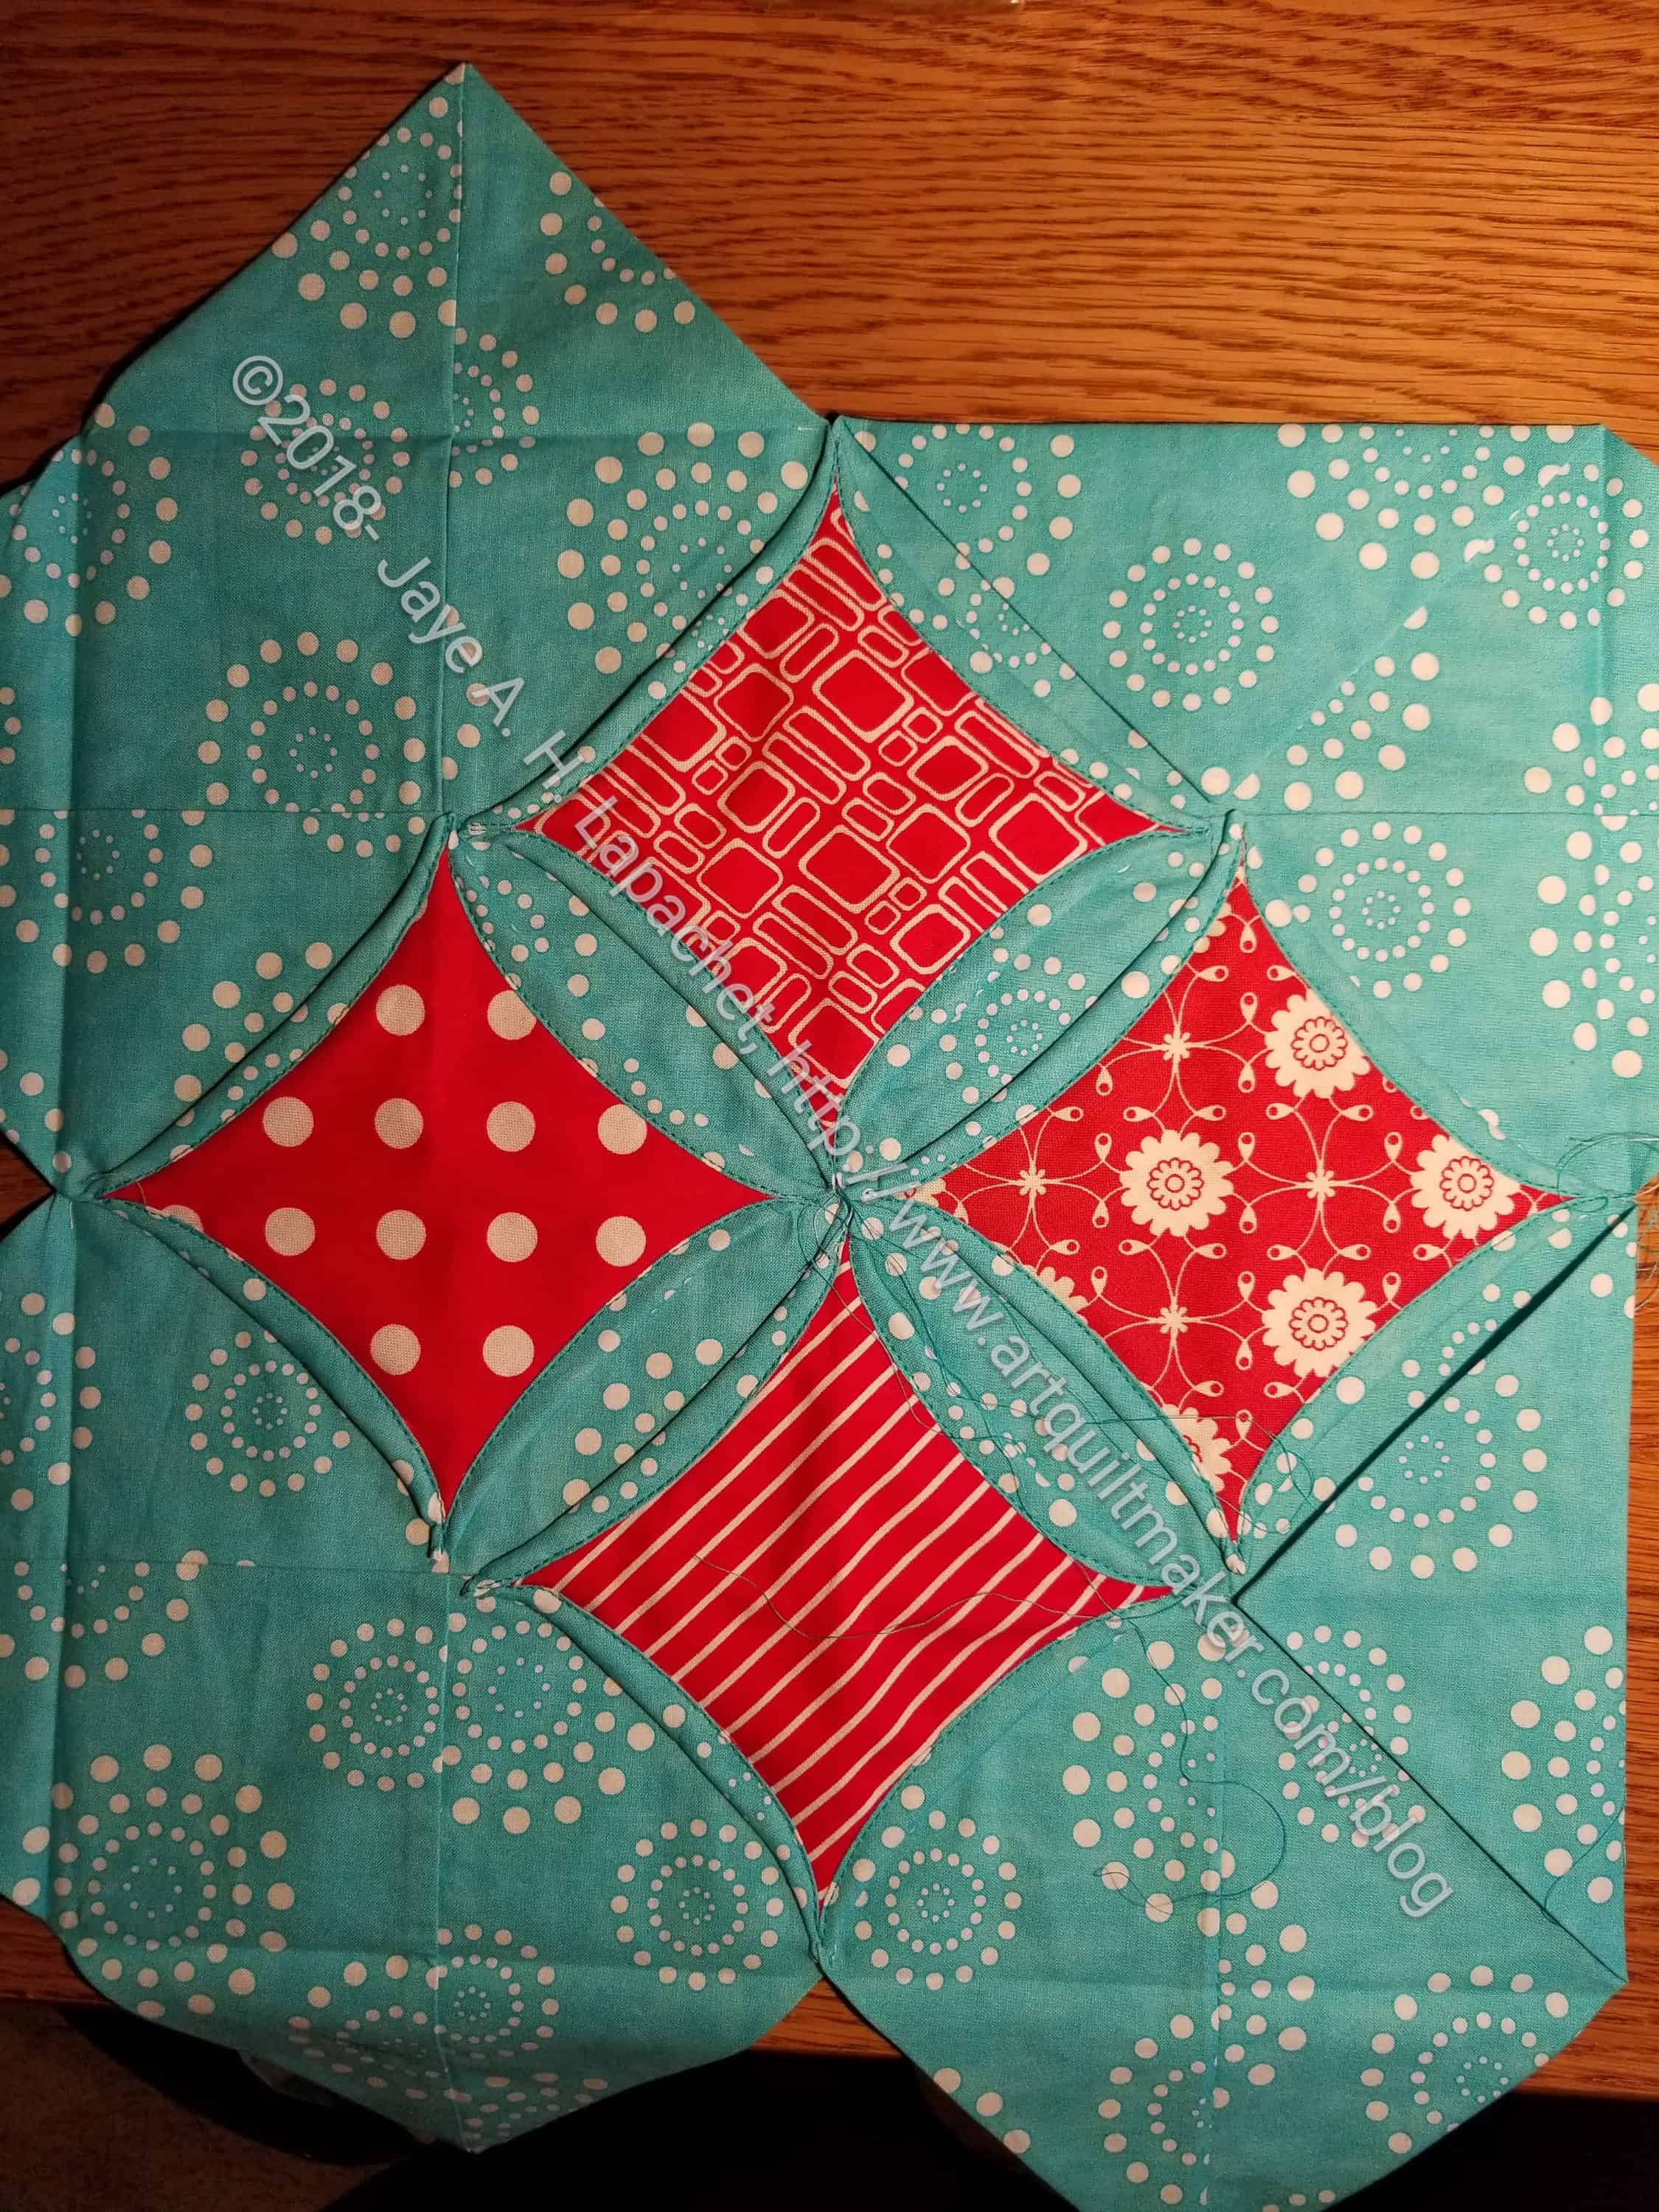
- Aqua-Red Sampler –This is on the design wall. I finished the last block, then decided it wouldn’t work. I have been fighting to get this quilt together, but I hope when you read this, it will be close to finished.
- Pies and Points from 2016 Victoria Findlay Wolfe class. Julie and I had a playdate towards the beginning of April. I brought this piece with me so I could cut more elements (Julie has a Sizzix). I am more excited about this piece now. I thought I had done more, but I couldn’t find more than 2.5 sewn together pieces.
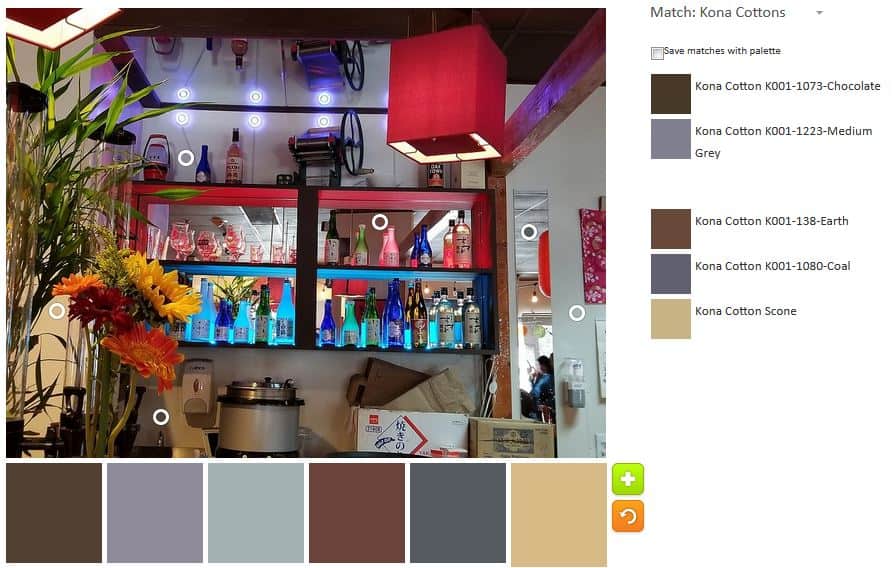
- English Paper Piecing Project– half hexies – I have added about five stars. I also found some grey (did I buy it for this project or on spec?) that will be perfect for the border. Remember last time when I said I couldn’t find the diamond papers? I gave up and bought more. I haven’t actuallly made a border yet, but I have all of the supplies. I bought a template to go with the diamond papers. Joann at Paper Pieces was very helpful.
Still WIPs
I still have WIPs. Who doesn’t, after all? A project in the ‘UFO’ category means I am stalled. A nicer way of saying UFO is a WIP. The list is a lot shorter and the projects are newer, for the most part.
- City Sampler – blocks all made. The long term goal is to sash the blocks and put the top together. In the meantime, due to some seam allowance issues, some of the blocks are smaller than others, so I will have to adjust them in some way – either ripping and resewing, adding a piece or two to the block, or with sashing. I edfinish measuring all of the blocks so I can move on. My new sticking point is that I just need to deal with the problems. Sigh.
- FOTY 2017 – pieces cut. Need to layout and start piecing. No new progress.
- Handbag Sampler – this is a project about which I had forgotten. The blocks were teaching samples when I taught a sampler class the time before I started writing the quilt class sampler tutorials. I found one block recently, but otherwise I actually don’t know exactly where the blocks are hiding. I have an idea and will crawl up in the far reaches of my fabric closet soon and see if I can find them. I haven’t even found a picture of all the blocks.
- Lobster – I still have more stitching to do and then I need to quilt it.
- Pointillist Palette #4: Fourth is a series of 6 quilts; needs tiny square patches sewn together. No progress.
- Self Portrait: started in 2006 at a class at Quilting Adventures in Richmond, Virginia. I am still stalled on this again. As my oldest (I am pretty sure) UFO, I put it on my blog and out into the Twitterverse and Diane suggested that I not consider this as a self portrait. I think that strategy is a great idea. I am now trying to think of a new persona for her.
- Serendipity Lady Quilt: no new progress.
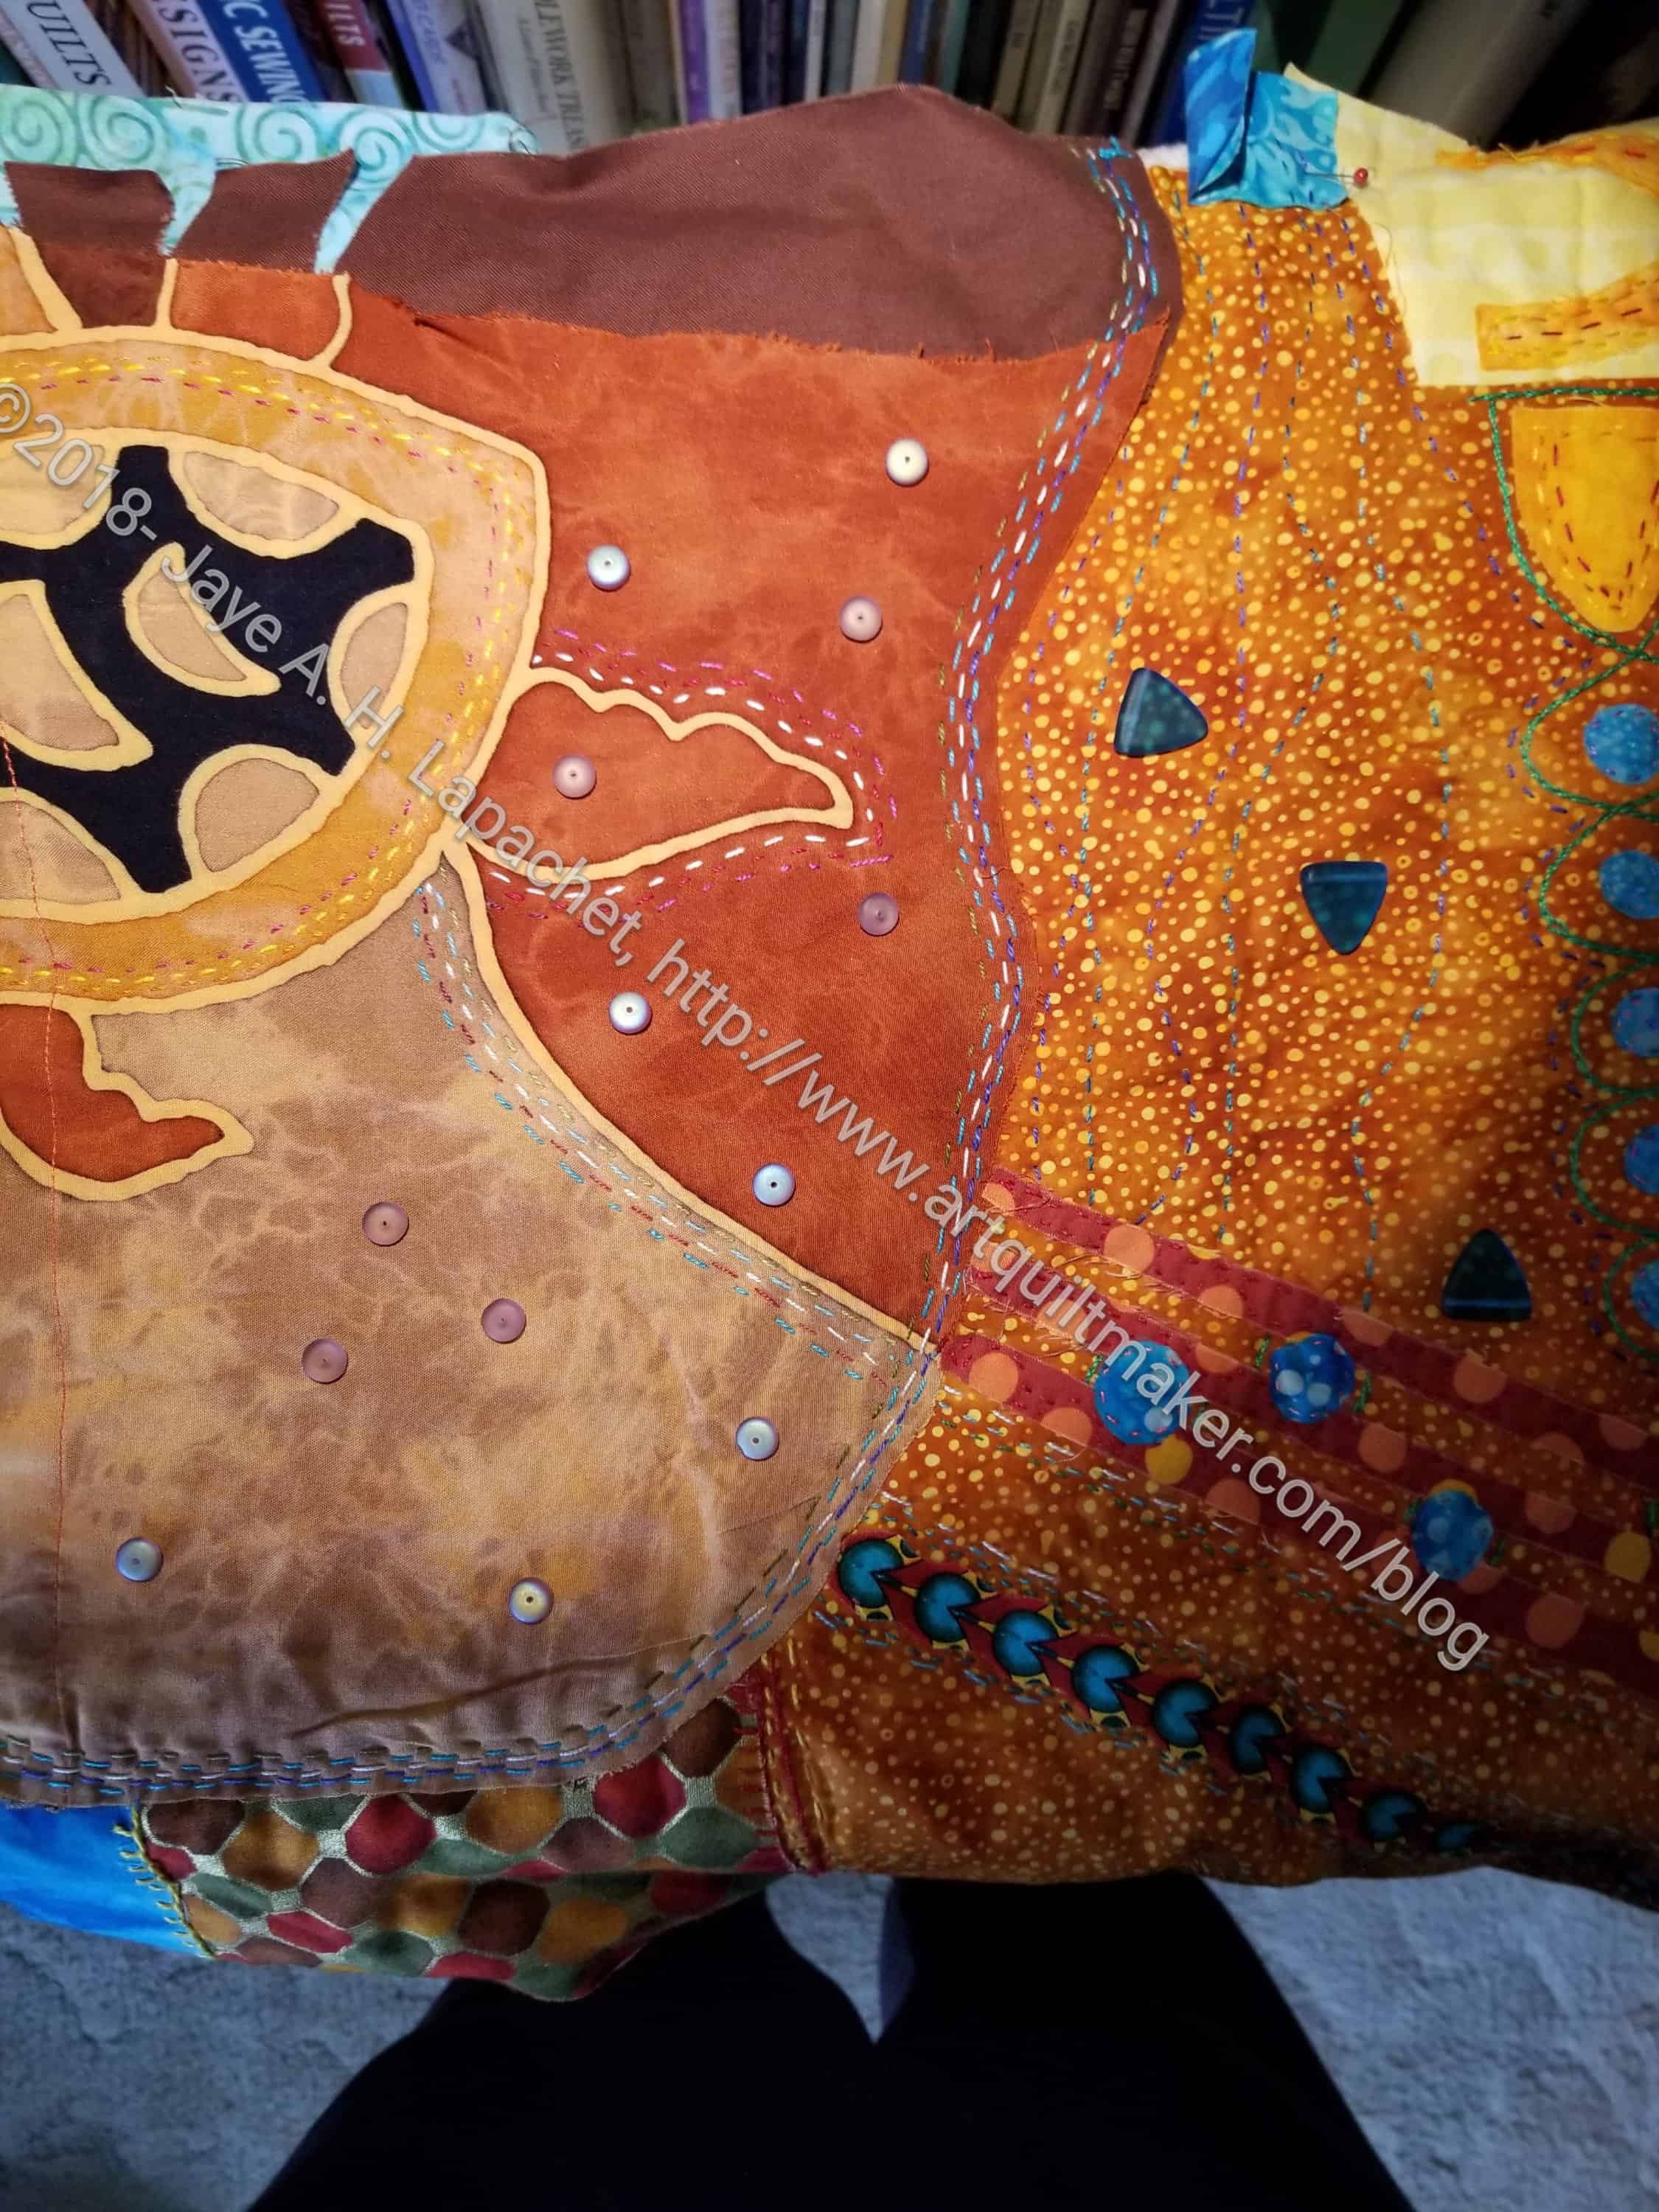
- Under the Sea: class project; like the design and am happier with the colors. I worked on it a couple of nights during Craft Night and am nearing the end of the stitching.
- Black and Red quilt – This came about because of two other projects. I made a whole bunch of bias tape as part of my failed attempt at doing the Mighty Lucky Club a few years ago. Another part of the inspiration came from my class with Tina of Little Blue Cottage fame. This was going to be for a nephew, but I think it will be for one of my SILs and BILs. I have rectangles cut and some bias tape ready. My next step is to sew the bias tape to the rectangles like pickup sticks. I don’t have any photos of this, so you’ll have to trust me.
Small Projects in Process
Most of my progress involves thinking or just cutting.
- All Rolled Up Tote – part of Crafty Gemini Organizer Club. I started cutting out the pieces yesterday at Sew Day. I made some progress, though I didn’t get it all cut out.
- White on black dots cell phone wallet – need to find the fabric and cut out the pieces
- Solid black cell phone wallet – need to find the fabric and cut out the pieces
- Chubby Charmer with Good Fortune charm pack – gift
- 4-Zip Organizer – part of Crafty Gemini Organizer Club. It is on my list, but I haven’t actually started
- Retreat Organizer – another project from the Crafty Gemini Organizer Club, also on my list, but not yet started
- Ultimate Project Organizer – another project from the Crafty Gemini Organizer Club, also on my list, but not yet started
Ready for Quilting
- None at this time.
In Quilting Process
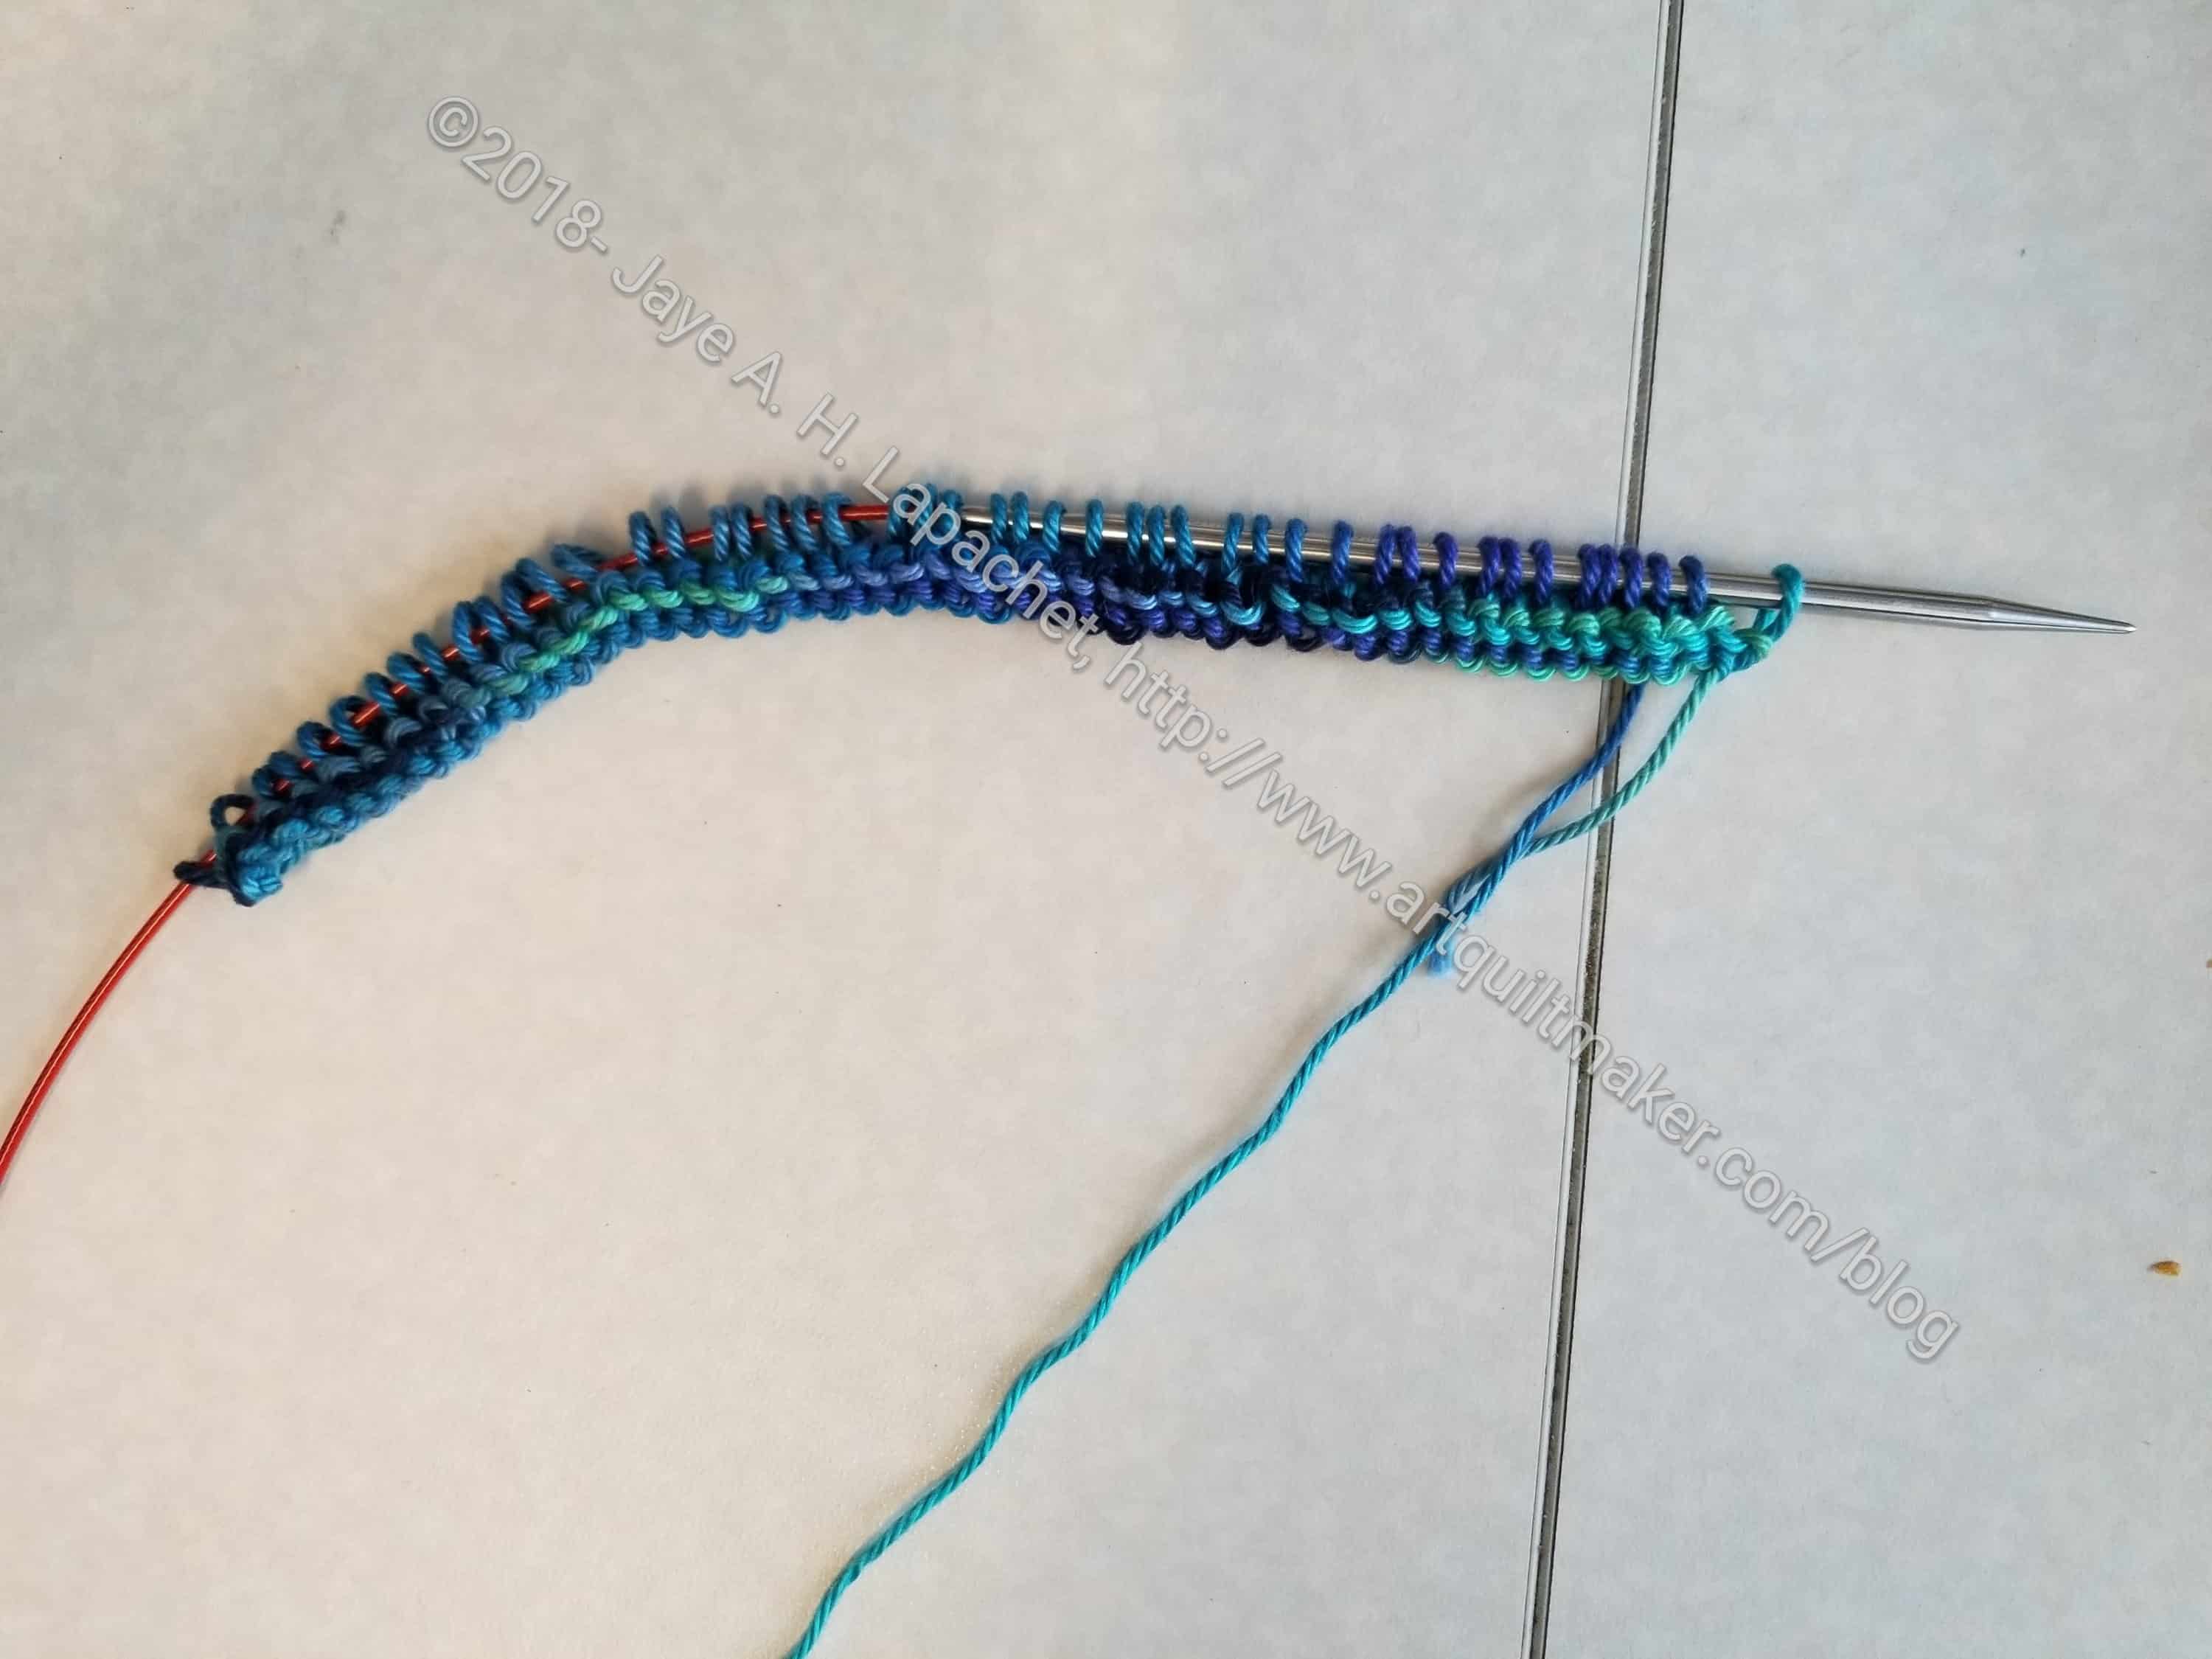
- BAMaQG Color Round Robin– I took this to Colleen on my way to Sisters in July.
- Octagon 9 Patch: I took this to Colleen on my way to Sisters in July.
- Stepping Stones #2 – I took this to Colleen on my way to Sisters in July.
- BAMaQG IRR –The sandwich has been basted. I machine quilted a couple of lines to stabilize it. I am making slow progress on hand quilting it using Big Stitch.
- Thanksgiving tablemat – I have the correct feet and just need to get busy.
- Theoretically, the Tarts Come to Tea is in the quilting process, though I haven’t worked on it in a while. See above.
Binding
- nothing at the moment
Hunting and Gathering
- 30 Something: I continue to cut 1.5 inch squares. I am pretty sure I have the 800 I need, but I am not ready to sew them together yet, so whenever I have a chance to cut more I cut more. It will give me choice when the time comes. I’ll have to think up a new name for this quilt, too. My next step is to figure out if I need to cut other sizes of squares and switch from cutting 1.5 inch squares to cutting the new size.
- Blue Gradation Quilt: cutting 2.5 inch x 4.5 inch blue rectangles. It has to end sometime. I wasn’t sure I was ready to put this together, but I think I might be. I might do a couple of gradation quilts in a row just to get the practice.
- Blue Lemonade: cutting blue, green, purple 2 inch squares. I used a lot of these squares for En Provence, so I am slowly cutting more.
- FOTY 2018: I have started cutting 2.5 inch squares for the 2018 version.
- Pink Gradation Quilt: cutting 2.5 inch x 4.5 inch pink rectangles
- Spin Wheel: really not started, but supplies gathered. I might have to cut some more background fabrics. I probably have enough fabrics and just need to decide to start.
- Windmill quilt: Still hunting and gathering. I am supposed to be cutting a variety of greys for the background, which required the purchase of a new template. Cutting is very therapeutic, so I should try and do it when I have a few minutes.
Other
- Stepping Stones #3 using the Macaron pre-cuts from Hoffman. I have all the fabric in pre-cuts and am just waiting for space (and desire) in my schedule.
I bought some fabric at Sisters and the Tula Pink dots and stripes after Sisters, so I am down significantly on net usage. Still gross usage is just over 130 yards. My net 40 yards. I would still be ecstatic if I could make it to 100 yards NET used by the end of the year, but I don’t think that is possible. I do have three quilts out at the quilter that could make my net number jump up, but 100 yards is a lot. It is good to have goals!
What’s on your list?