I saw a photo of this doll when I was looking at my previous anniversary post as I was writing my recent 15 year blogiversary post. I didn’t remember the doll until I saw the photo. I had no idea where the doll was. Then, like magic, I found her.
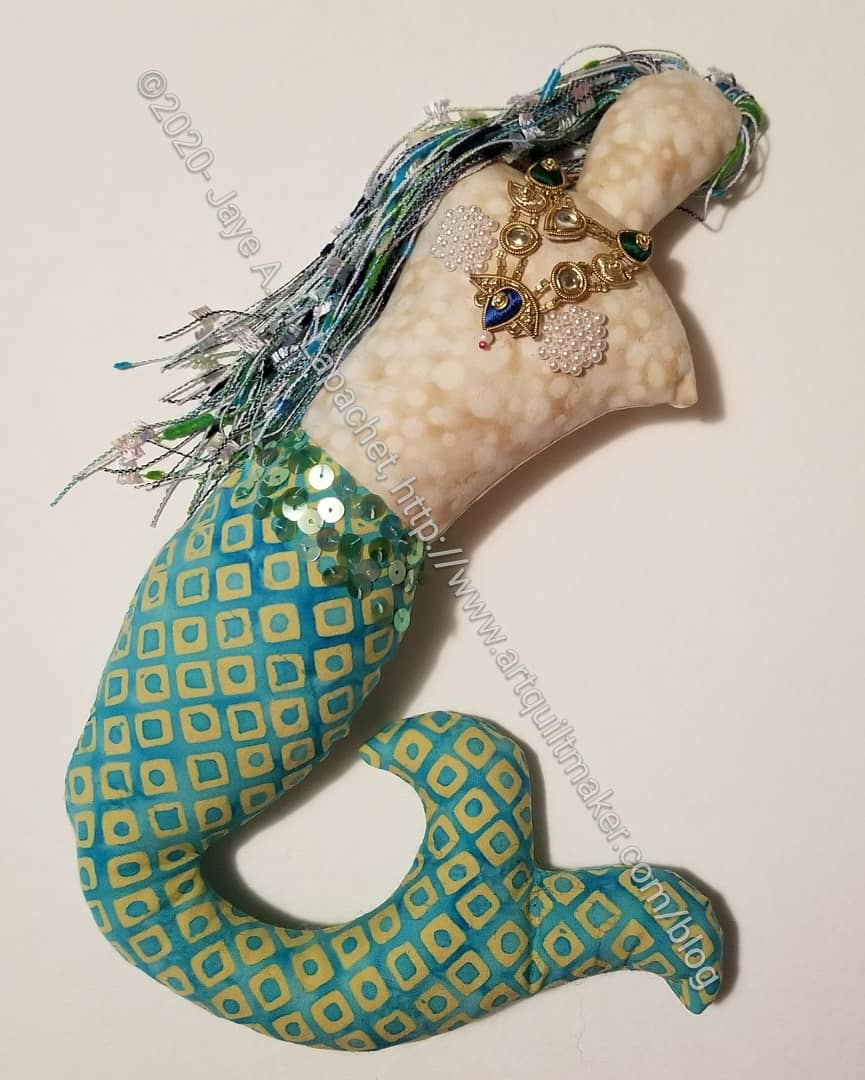
She was started in a doll workshop at CQFA in 2013. From the post, it sounds like I made her pretty quickly. Then, apparently, she languished and was forgotten.
When I found her, I decided that I didn’t have much to do to finish her. I decided to just get her finished. I could see any additional embellishment that was needed. I am marveling at the job I did with the sequins and the bikini top. It is really good!
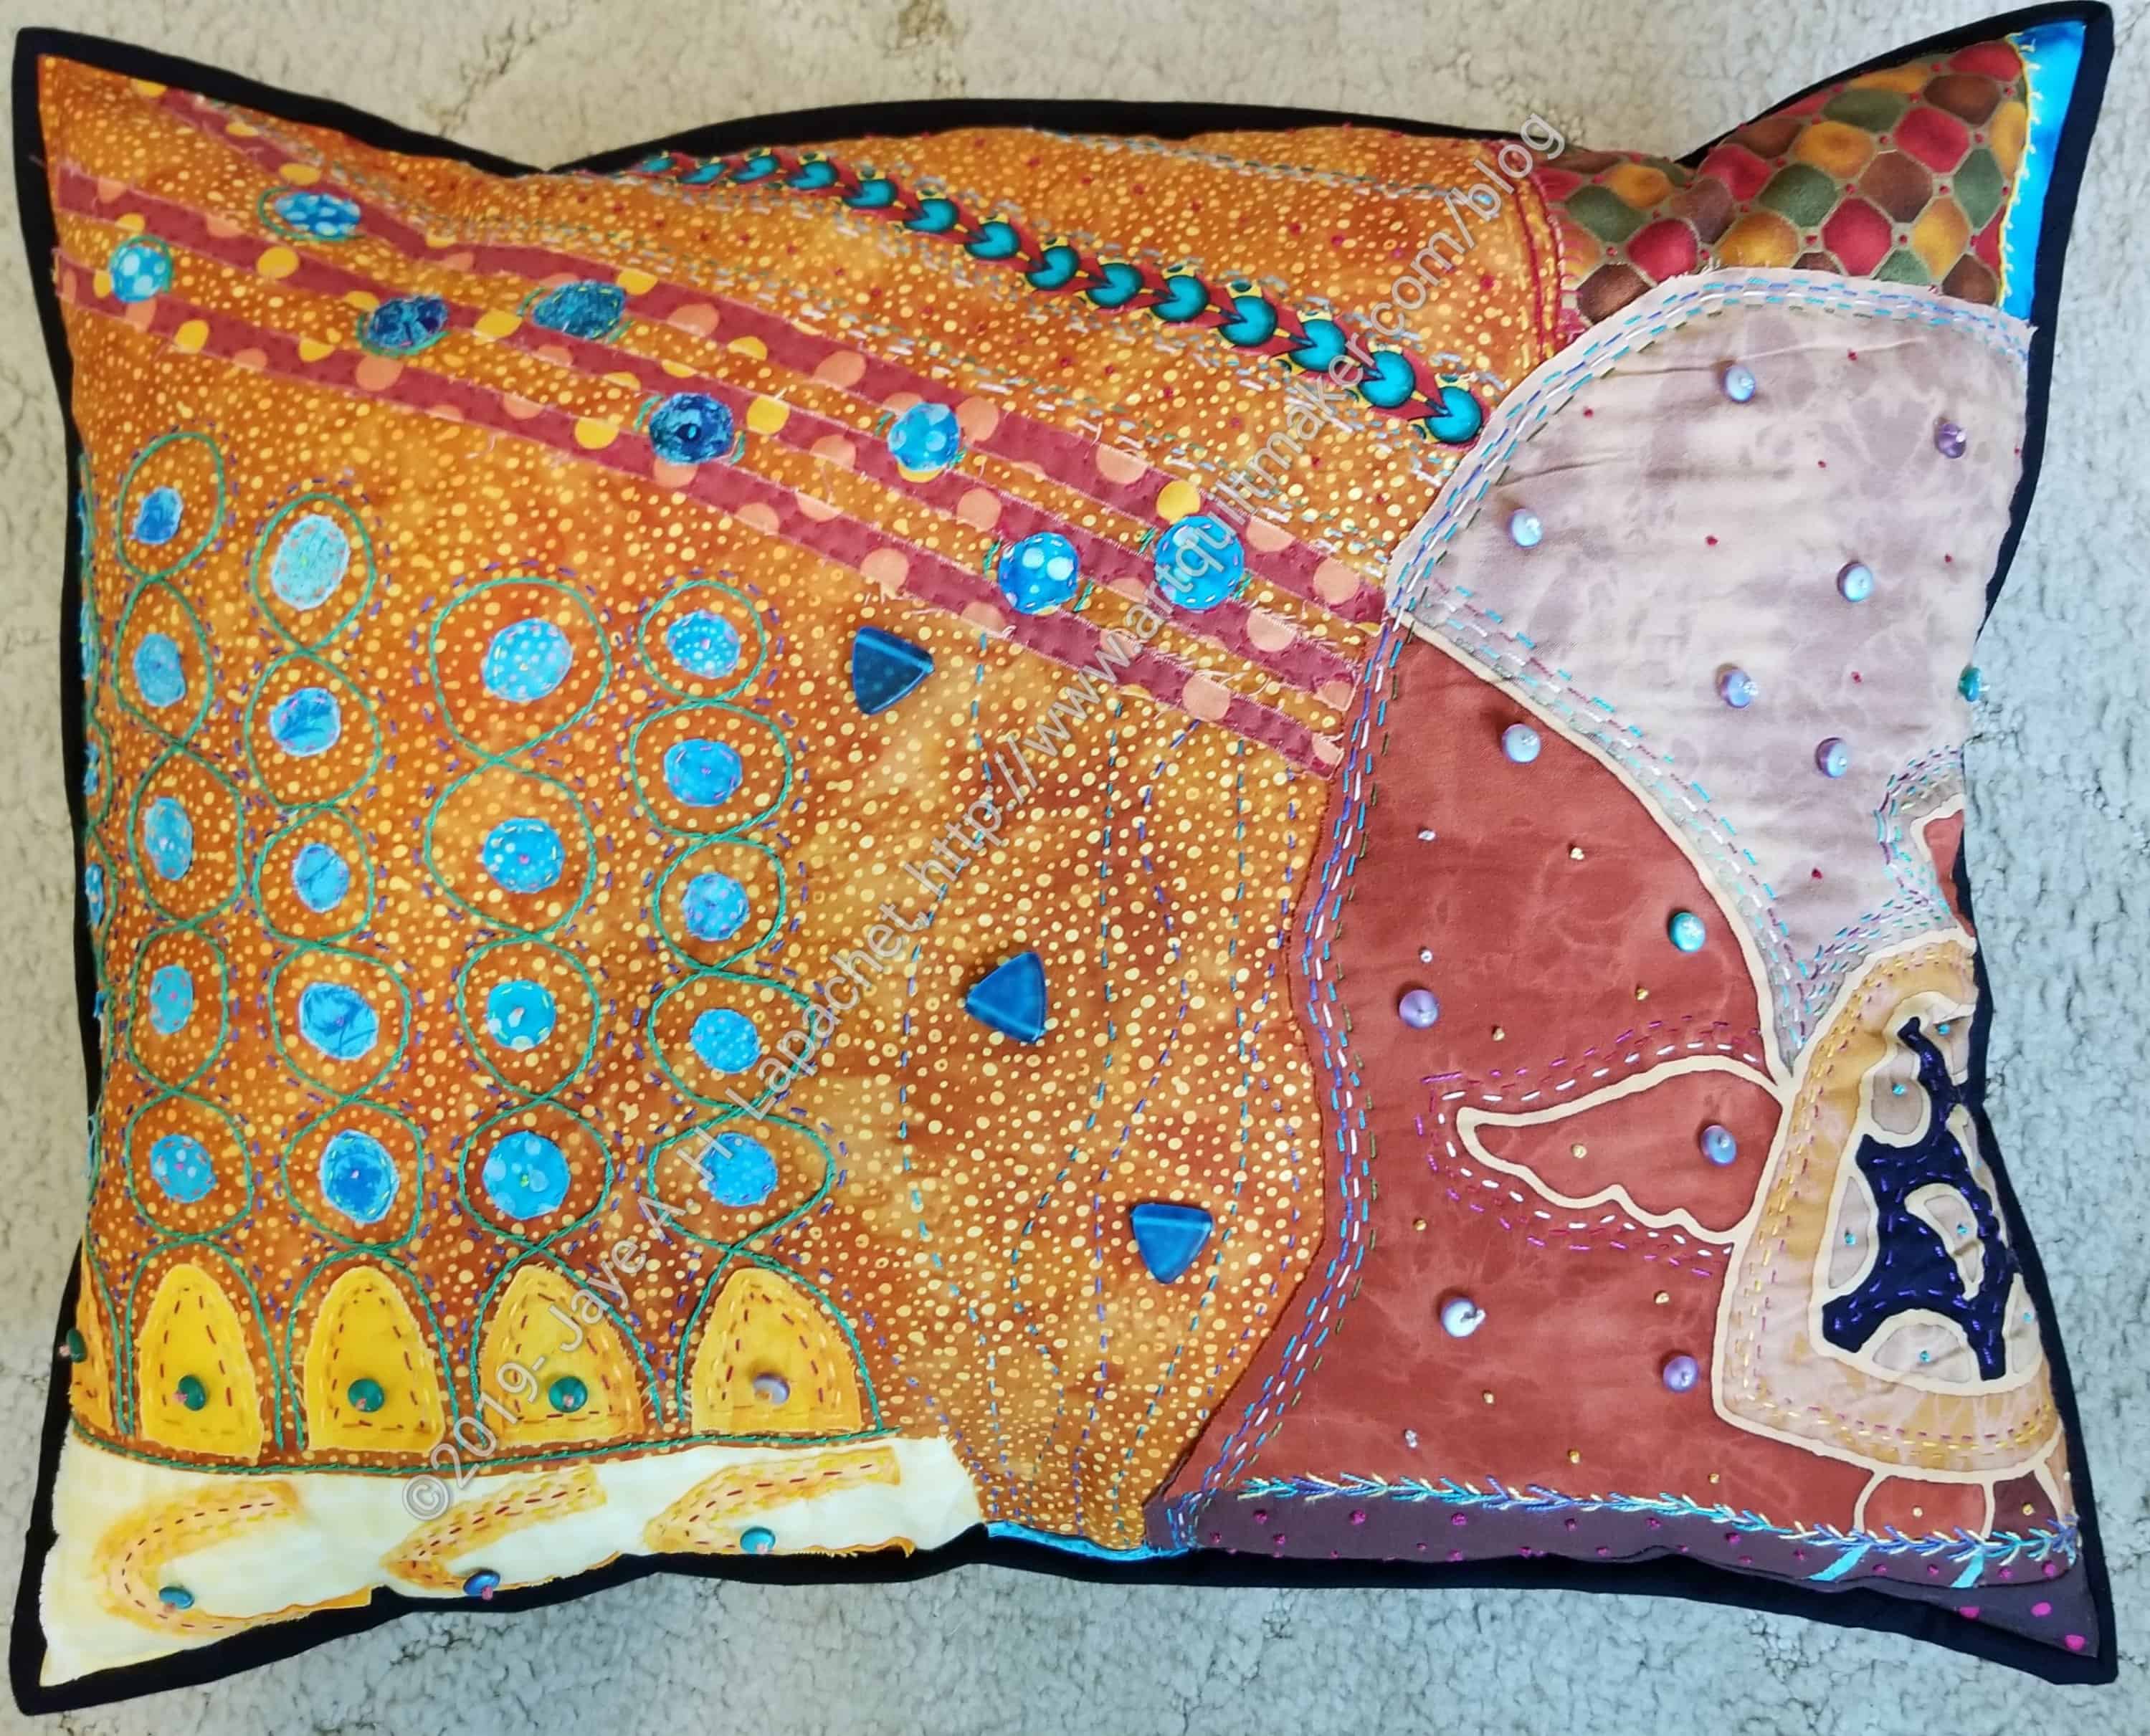
Yep. It’s true. I have finished the Under the Sea piece after many years of working on it. I can hardly believe it.
I am so thrilled that I have one hand project that is finally done. Granted, I could have just said “this is done” and moved on, but projects speak to me and this one was very chatty. I finally feel like it is really and truly done – enough embroidery, enough embellishment, enough stitching.
The London Portfolio fabric seems to fit the front pretty well and I am pleased with the black binding.
This was not an easy project to finish and included a lot of ripping out, but like Beach Town and the Flower Garden, I am pleased with the style of working and the results. Pamela Allen is a design genius and if you want to learn to design quilts, she is a great teacher.
I wanted to finish Under the Sea by now, but I had to backtrack and do some repairs, so finishing will take longer.
I made the piece into a pillow. To do that I used up the polyfil I had leftover from the dolls I made for my little niece. I didn’t have enough, so I cleared out my batting scraps and used bits of batting for the rest of the stuffing. I would have preferred all polyfil, but as a lot of this project was from reclaimed materials, I thought the batting scraps were fitting.
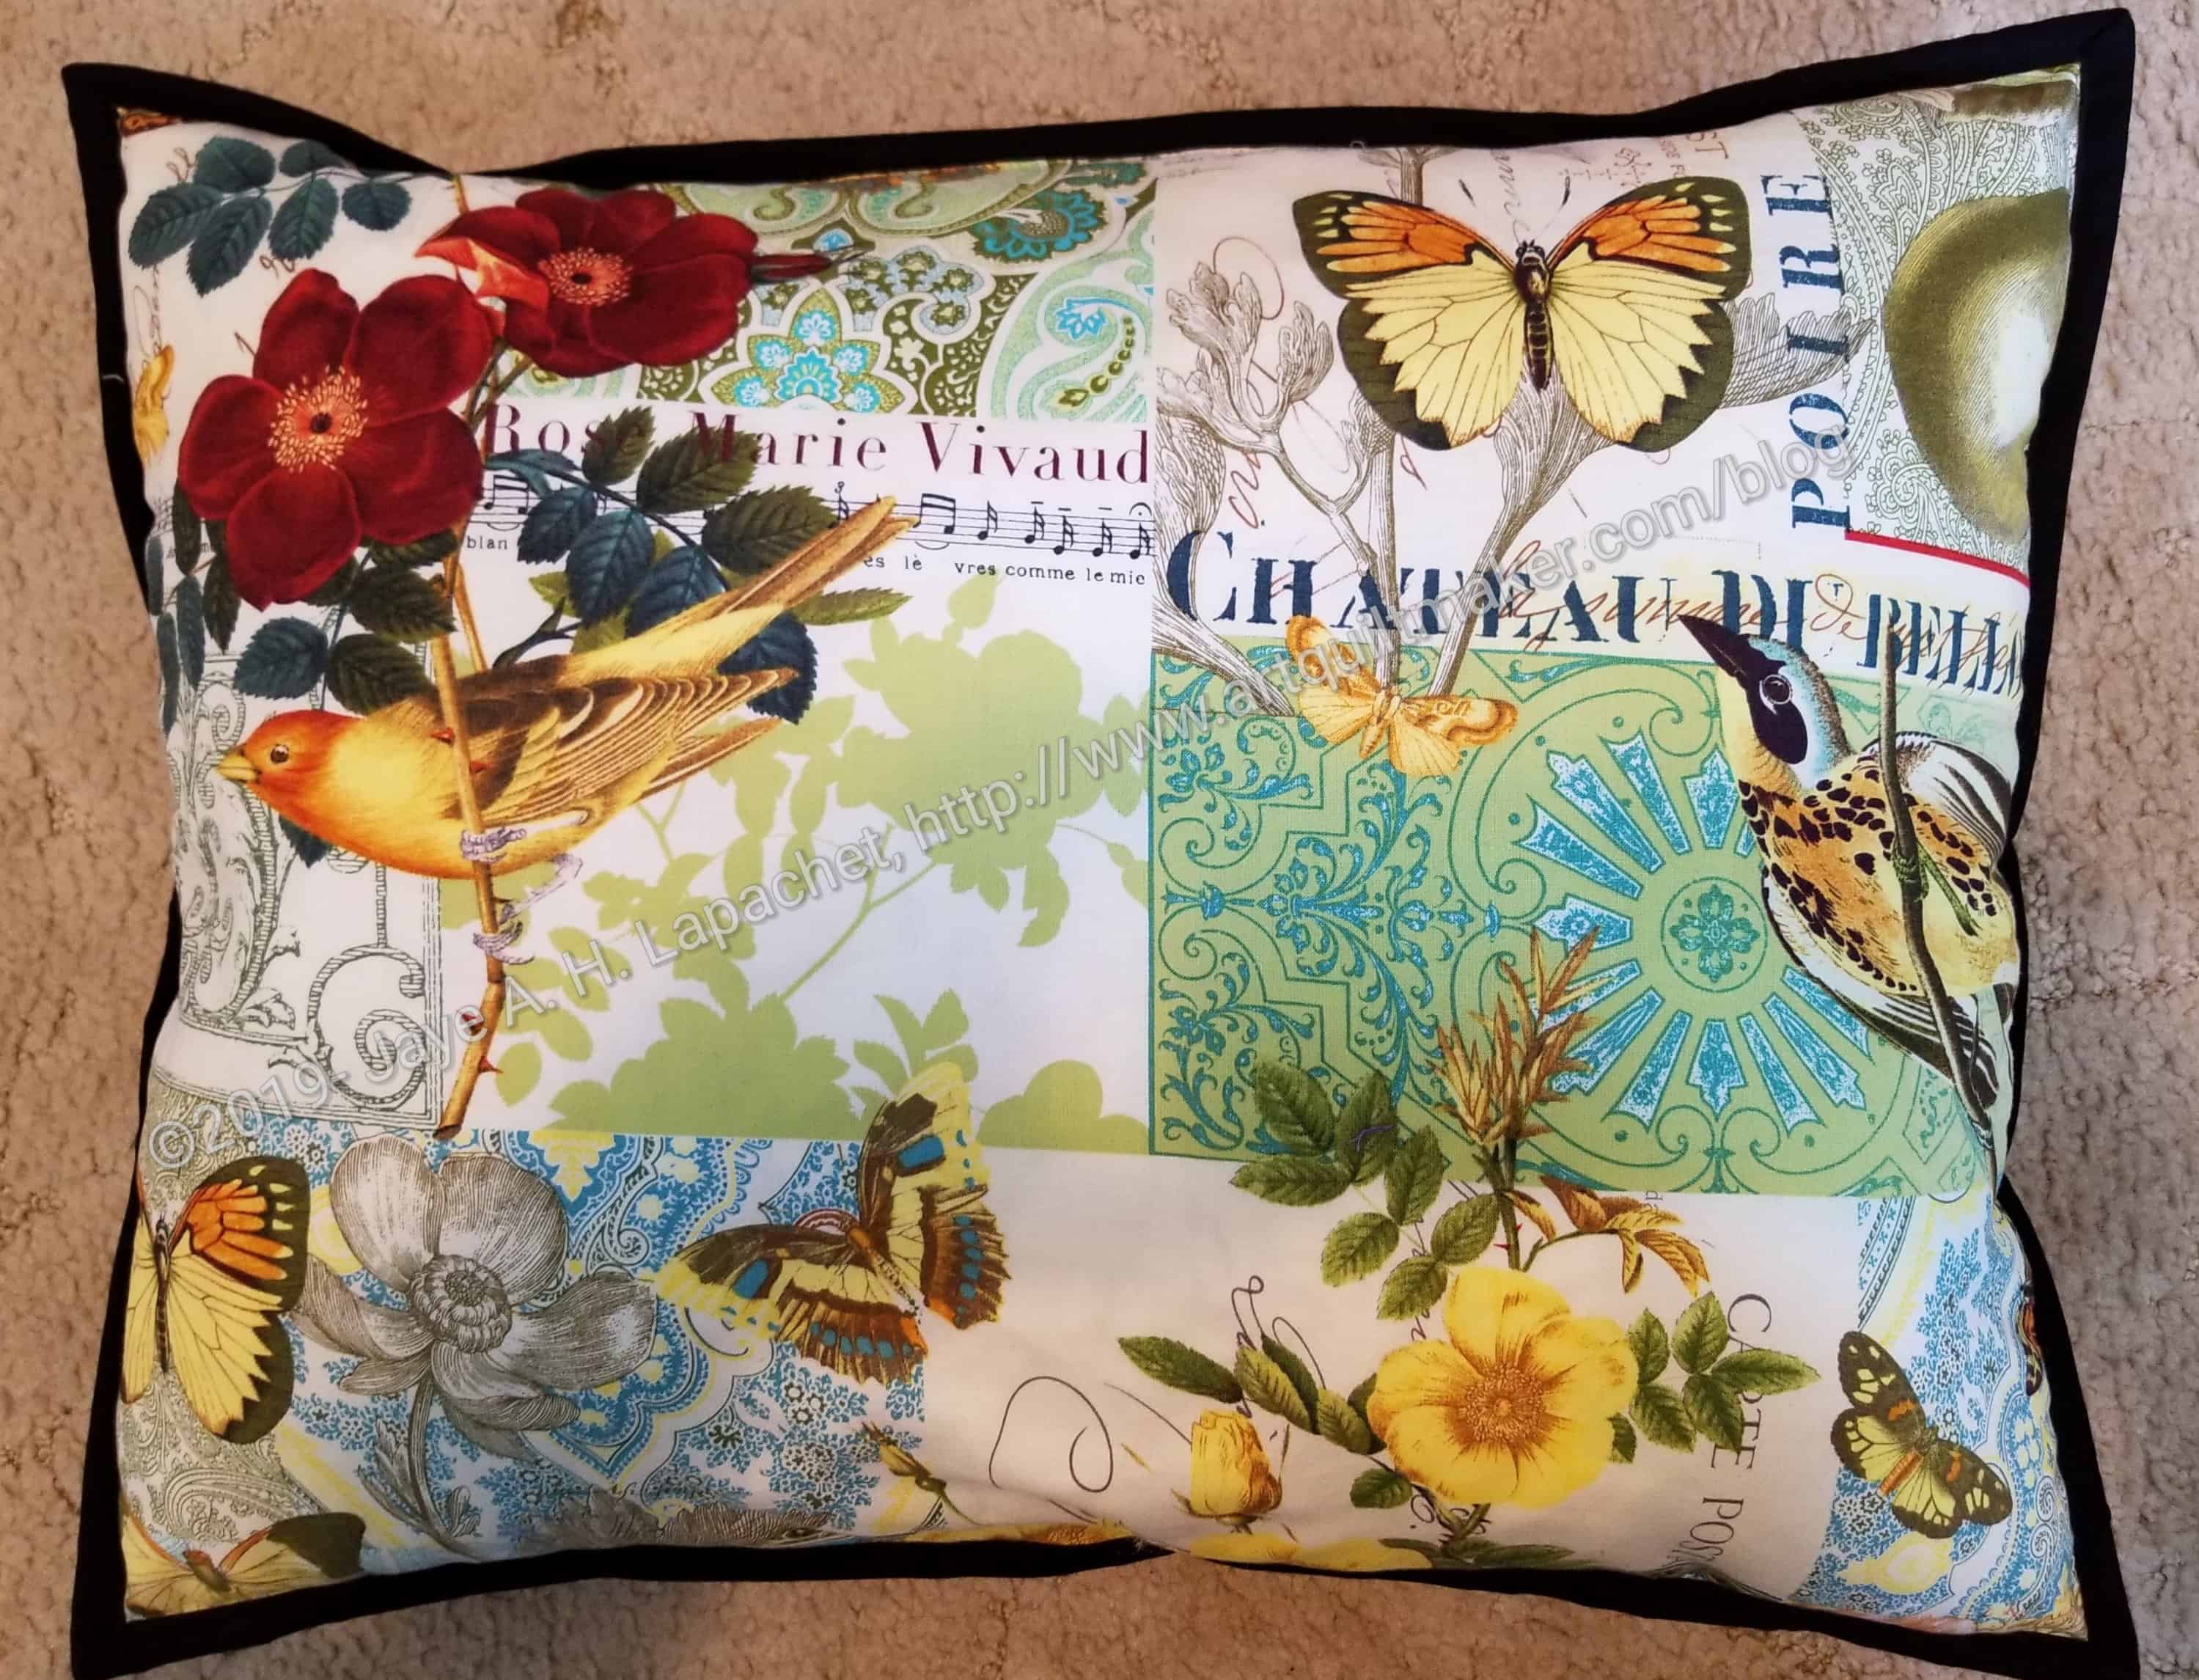
Under the Sea back – Michael Miller print
I wanted to control where the stitching went, so I didn’t plan on sewing right sides together and turning the piece. I sewed wrong sides together, then left an opening I could use to fill the pillow.
The backing fabric is from the Michael Miller London Portfolio collection. This particular print is called Anjou Pour Vous. I don’t know why it would be called that if the collection is called London Portfolio, but I am sure the designer has a reason. I have a number of these prints and will have to use one for a backing.
I also wanted to put a black binding on. I did that to cover the raw edges, then machine sewed the back down. I ran into problems with the black thread catching some of the pillow top and also showing in the corners where it didn’t quite match up with the top binding. Again, I ripped and replaced the bobbin with Aurifil monofilament and restitched the binding so the mismatched binding front wouldn’t have a black line around the corners on the actual top.
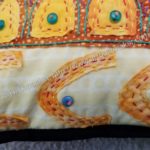
Also the larger glass beads are coming off. For some reason, my French knots are not strong enough to hold them with the stress of handling. Again, I am using Aurifil monofilament to secure the beads and not disturb my overall design. The Aurifil monofilament is a hassle to use, so that is also a thankless task.
I will be so glad not to see this project on my to do list when I am finished. I know I will like it again, but right now I don’t.
After several false finishes, I am really done with the top of Under the Sea. This is a HUGE, because I started it in April of 2009 and getting it done has been on my list for awhile. One less handwork project to do can’t be bad either.
I want to make it into a small pillow. Some of the embroidery and beading are close to the edge, so I have to worry about that a little bit. There is still work to do on this piece.
Since this was heavily embellished, I will enter it in the fair in the embellishment category and hope for a prize.
I am determined to finish this piece soon. I want to enter it in the fair in the embellishment category. I also want it finished. It won’t give me much in the way of used up fabric on my spreadsheet, but it will be off the To Do list and that is good.
Making visual decisions visually
After working on it last week, I thought it was done. It wasn’t done. It needed some beads. So, I laid some out to see how they would look. I thought they looked nice so I worked on it again at Craft Night on Monday.
After analysis of the divisions and categories with the least number of entries at the Fair, we decided embellishment was one to target. Craft Night was Monday and I decided I needed to work on this piece.
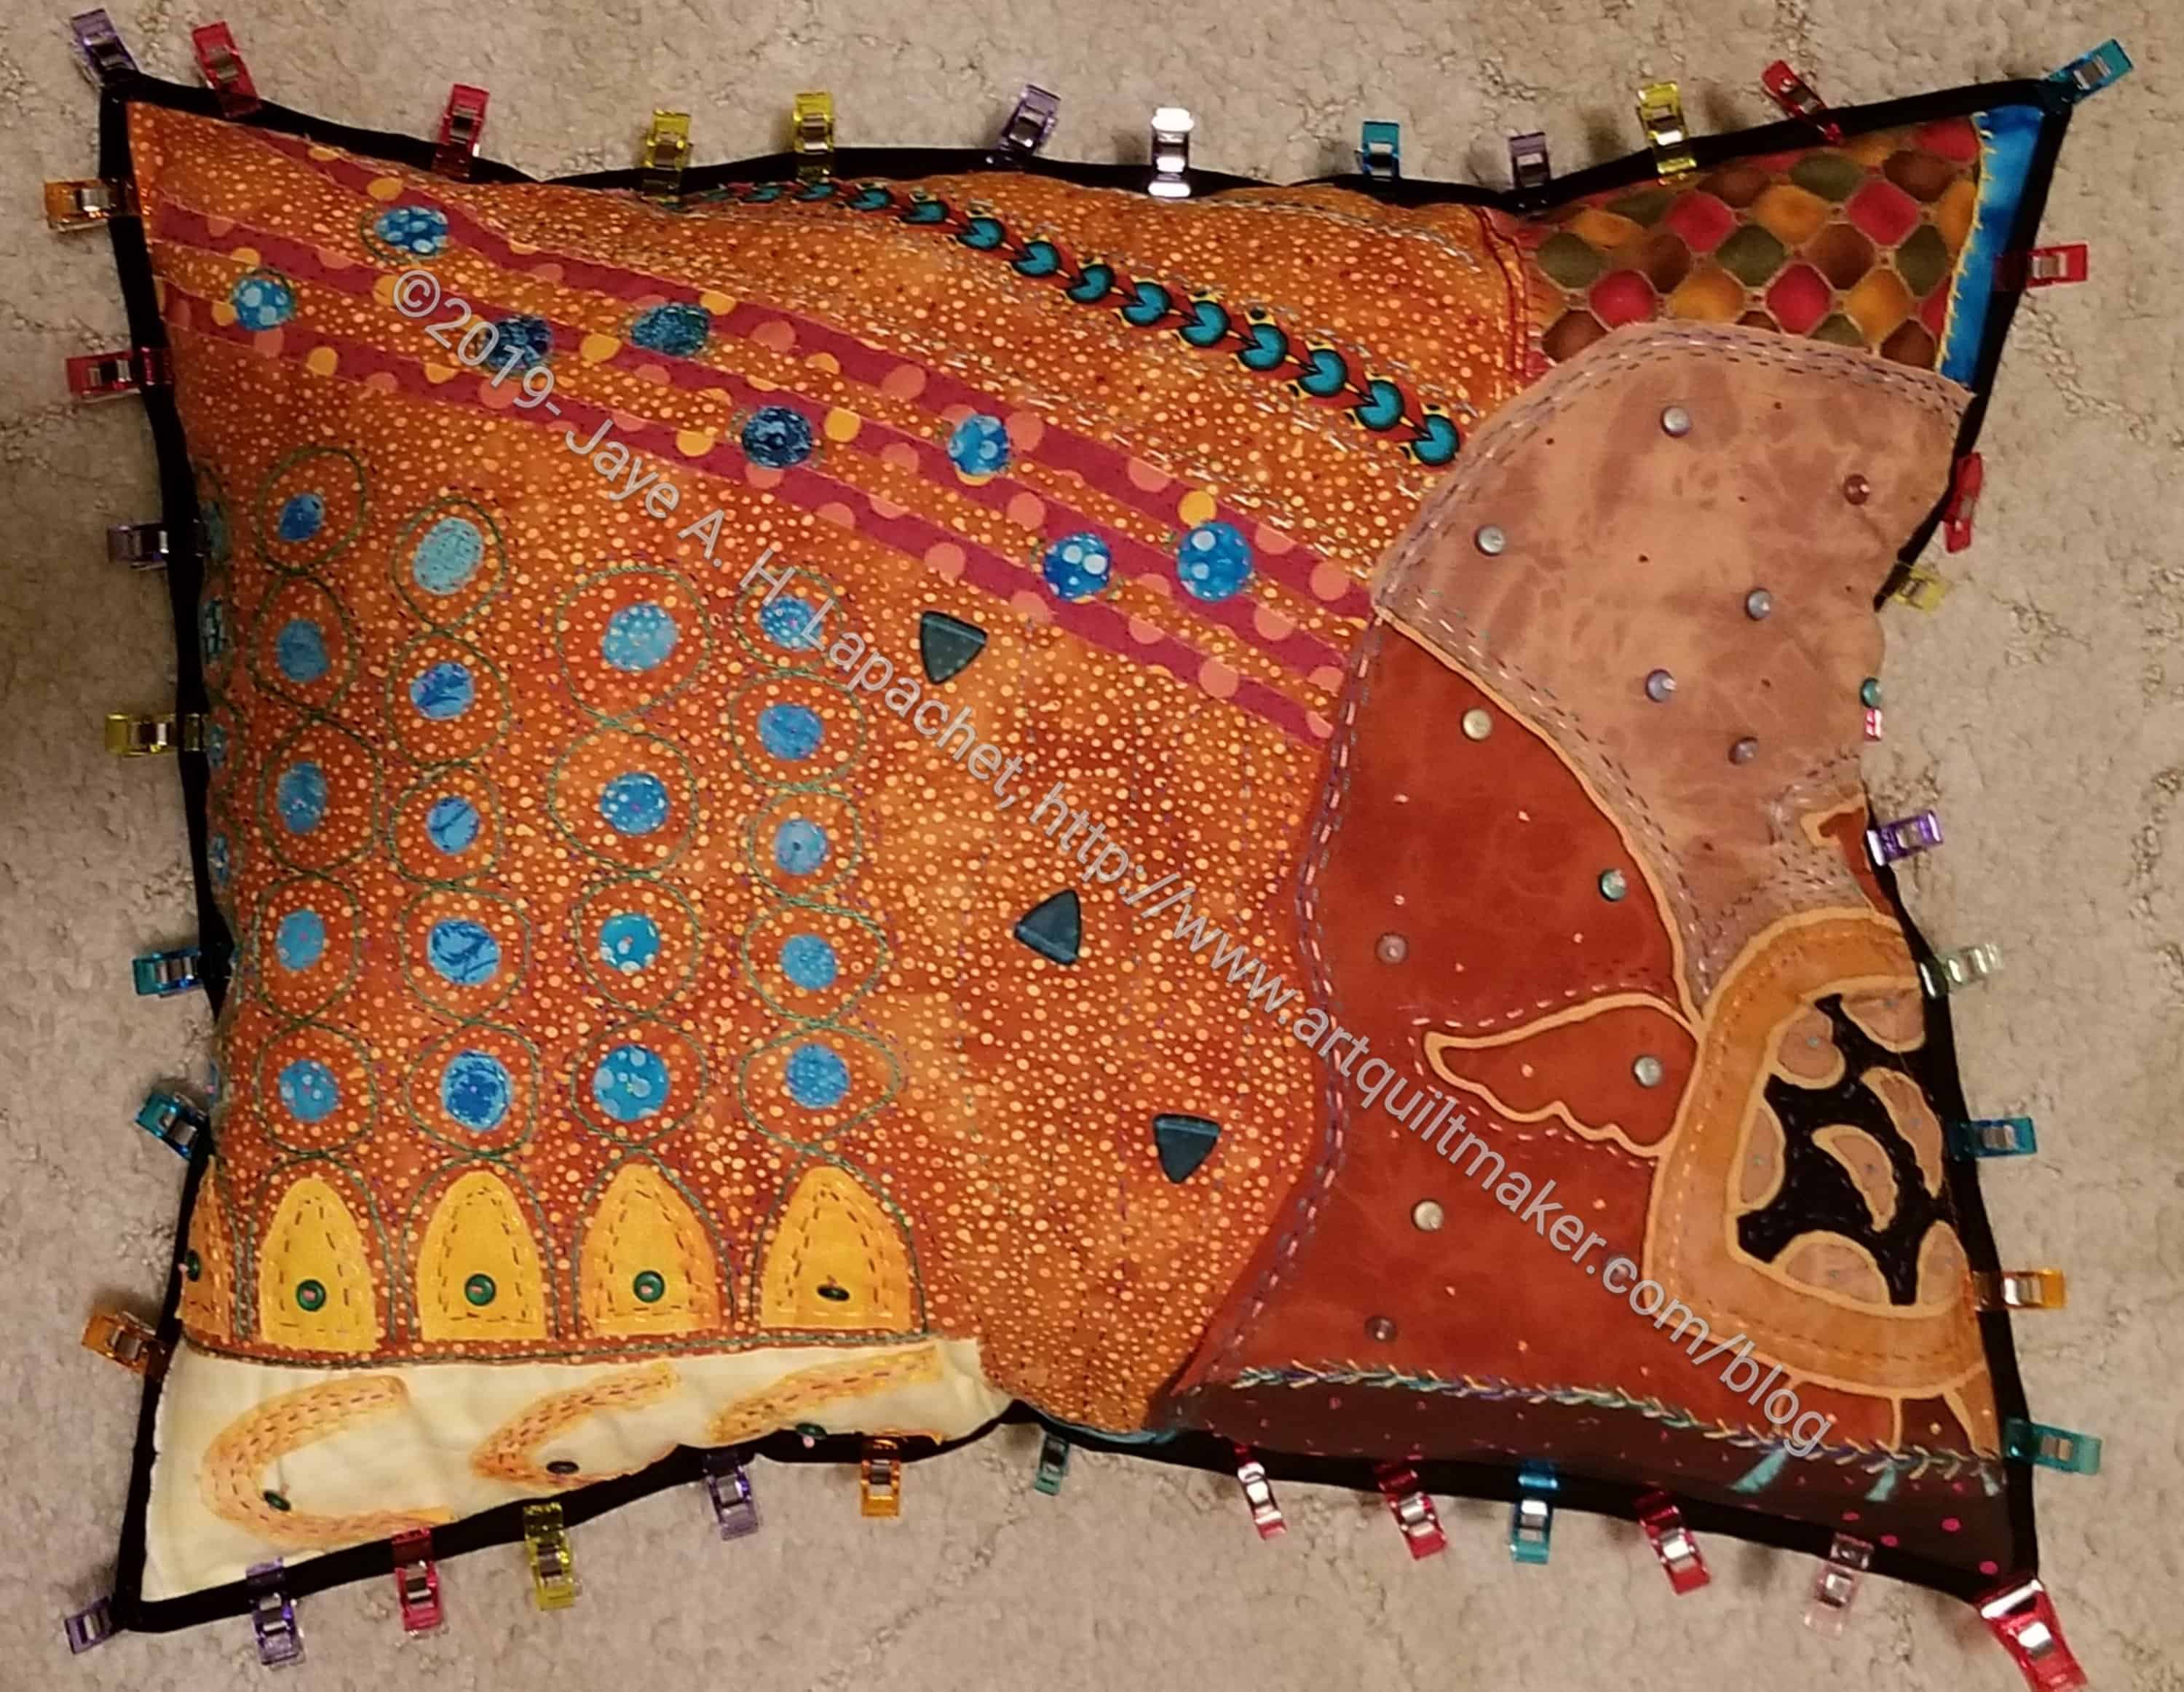
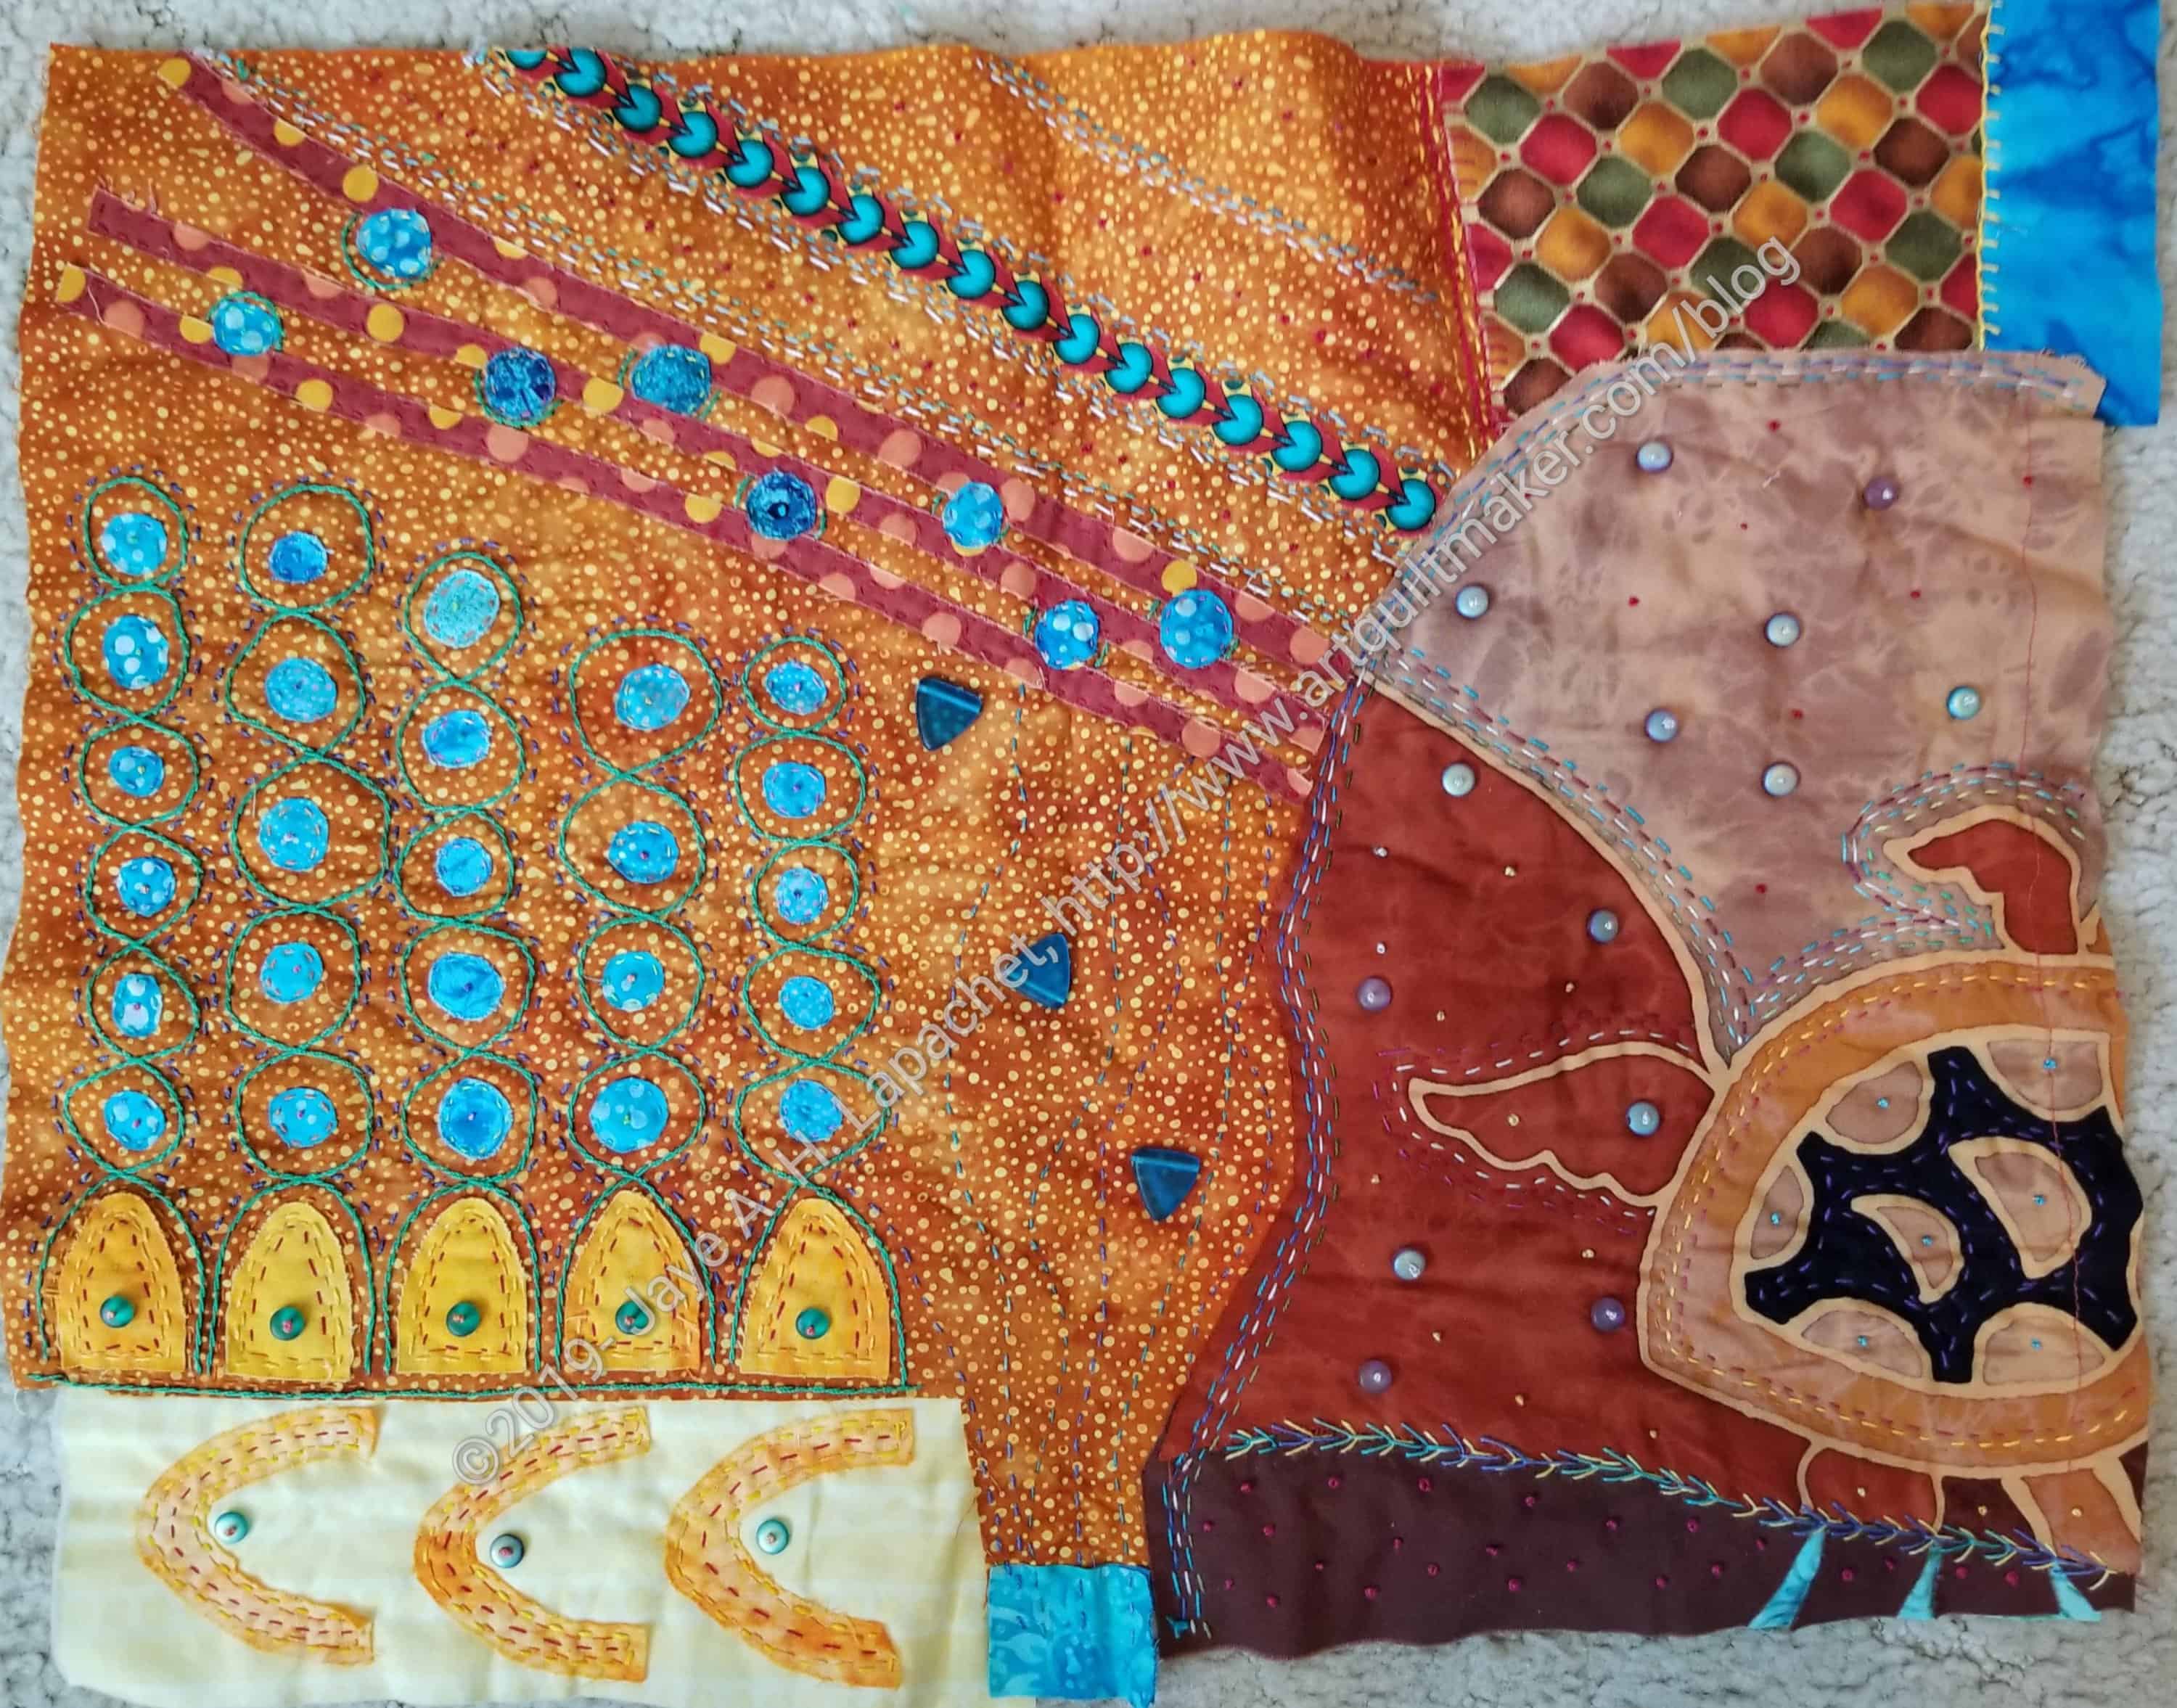
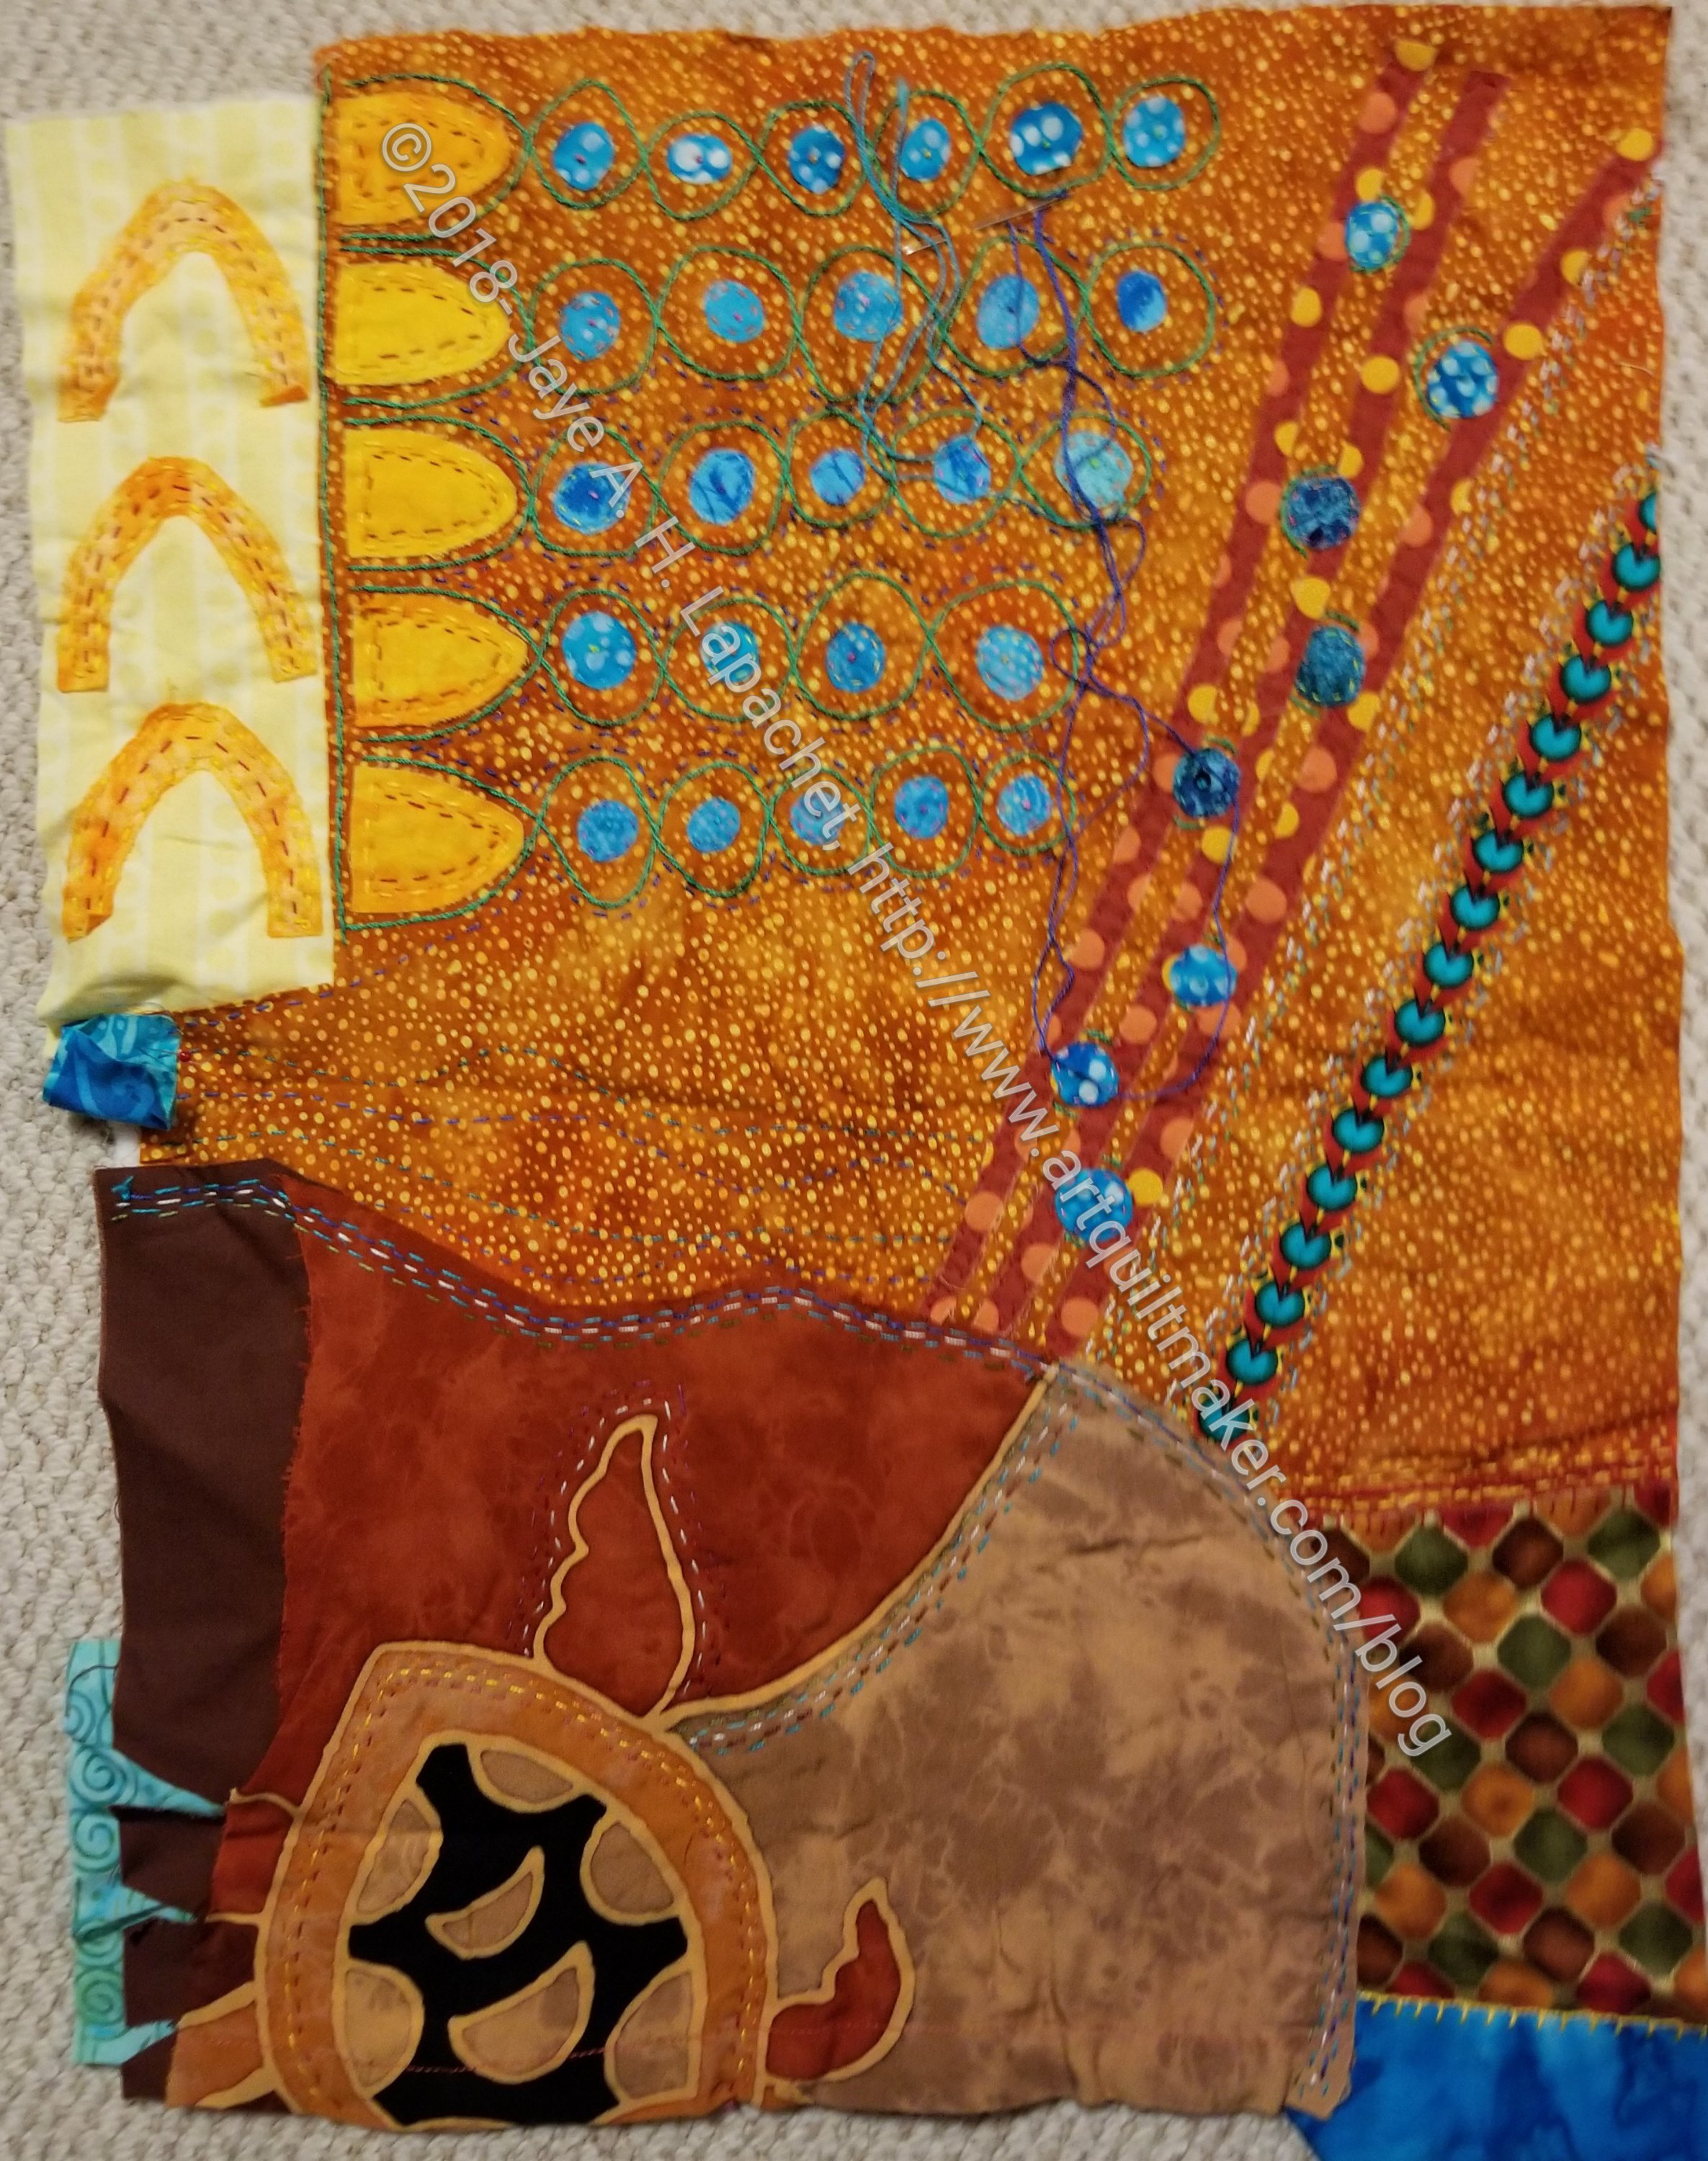
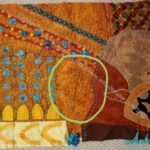
Under the Sea has been underway for awhile (uh, 2009!) I decided that I will make a pillow out of the piece and enter it. That means getting it done. I took it out and got reoriented as I don’t know the last time I worked on this piece. I had a bit of thread left so I finished a section with that thread (see purple arrow below) and then did a few more lines of stitching in the center.
Under the Sea -finished section 1
Under the Sea -finished section 1
I feel like it might need a few beads in various places, but we’ll have to see. I have to lay some out and look at it, otherwise I am going with done.
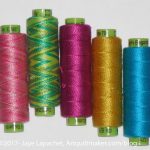
I am a sucker for embroidery threads. Not really the floss that comes in hanks, but the Perl Cotton balls, the Aurifloss and, now, Sue Spargo embroidery threads.
I admire Sue Spargo’s work, because of the cheerfulness and liveliness of the designs. Her book, Stitches to Savor: A Celebration of Designs, is a favorite. I admire her work with the simple shape of the cups and want to do something similar with cakes. Can you imagine how fabulous a cake quilt would look with embroidery designs applied to it to simulate frosting and cake decorations?
Sue Spargo Threads from Stitch
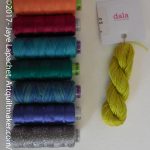
Sue Spargo Threads from Thistle Dew
Of course, given the colors I bought, the cakes would be cheerful, and, possibly, unappetizing. 😉
You may noticed that I have mentioned Sue Spargo embroidery threads a few times recently. After visiting Thistle Dew and Stitch quilt shops, I was hooked. Both shops had these threads and it was the first time I had seen them. I have a lot of Perl cotton, etc, but couldn’t help indulging in a few spools. I want them all.
I have used them on Under the Sea and they were great to use. I need to get inspired by Gerre and use them more.
I am making some progress on Under the Sea. It is a shock, because this piece has been on my list and a UFO for YEARS. I really never thought I would finish it and here I am.
Under the Sea – Late August 2016
We went to Southern California for the weekend, so no sewing machine and I missed the BAMQG meeting. My DH better know I love him. 😉 I did take Under the Sea and my EPP project to work on. I didn’t do much in general – no sewing, no EPP, no quilt shop visits, but I worked on Under the Sea a little on the way home in the car.
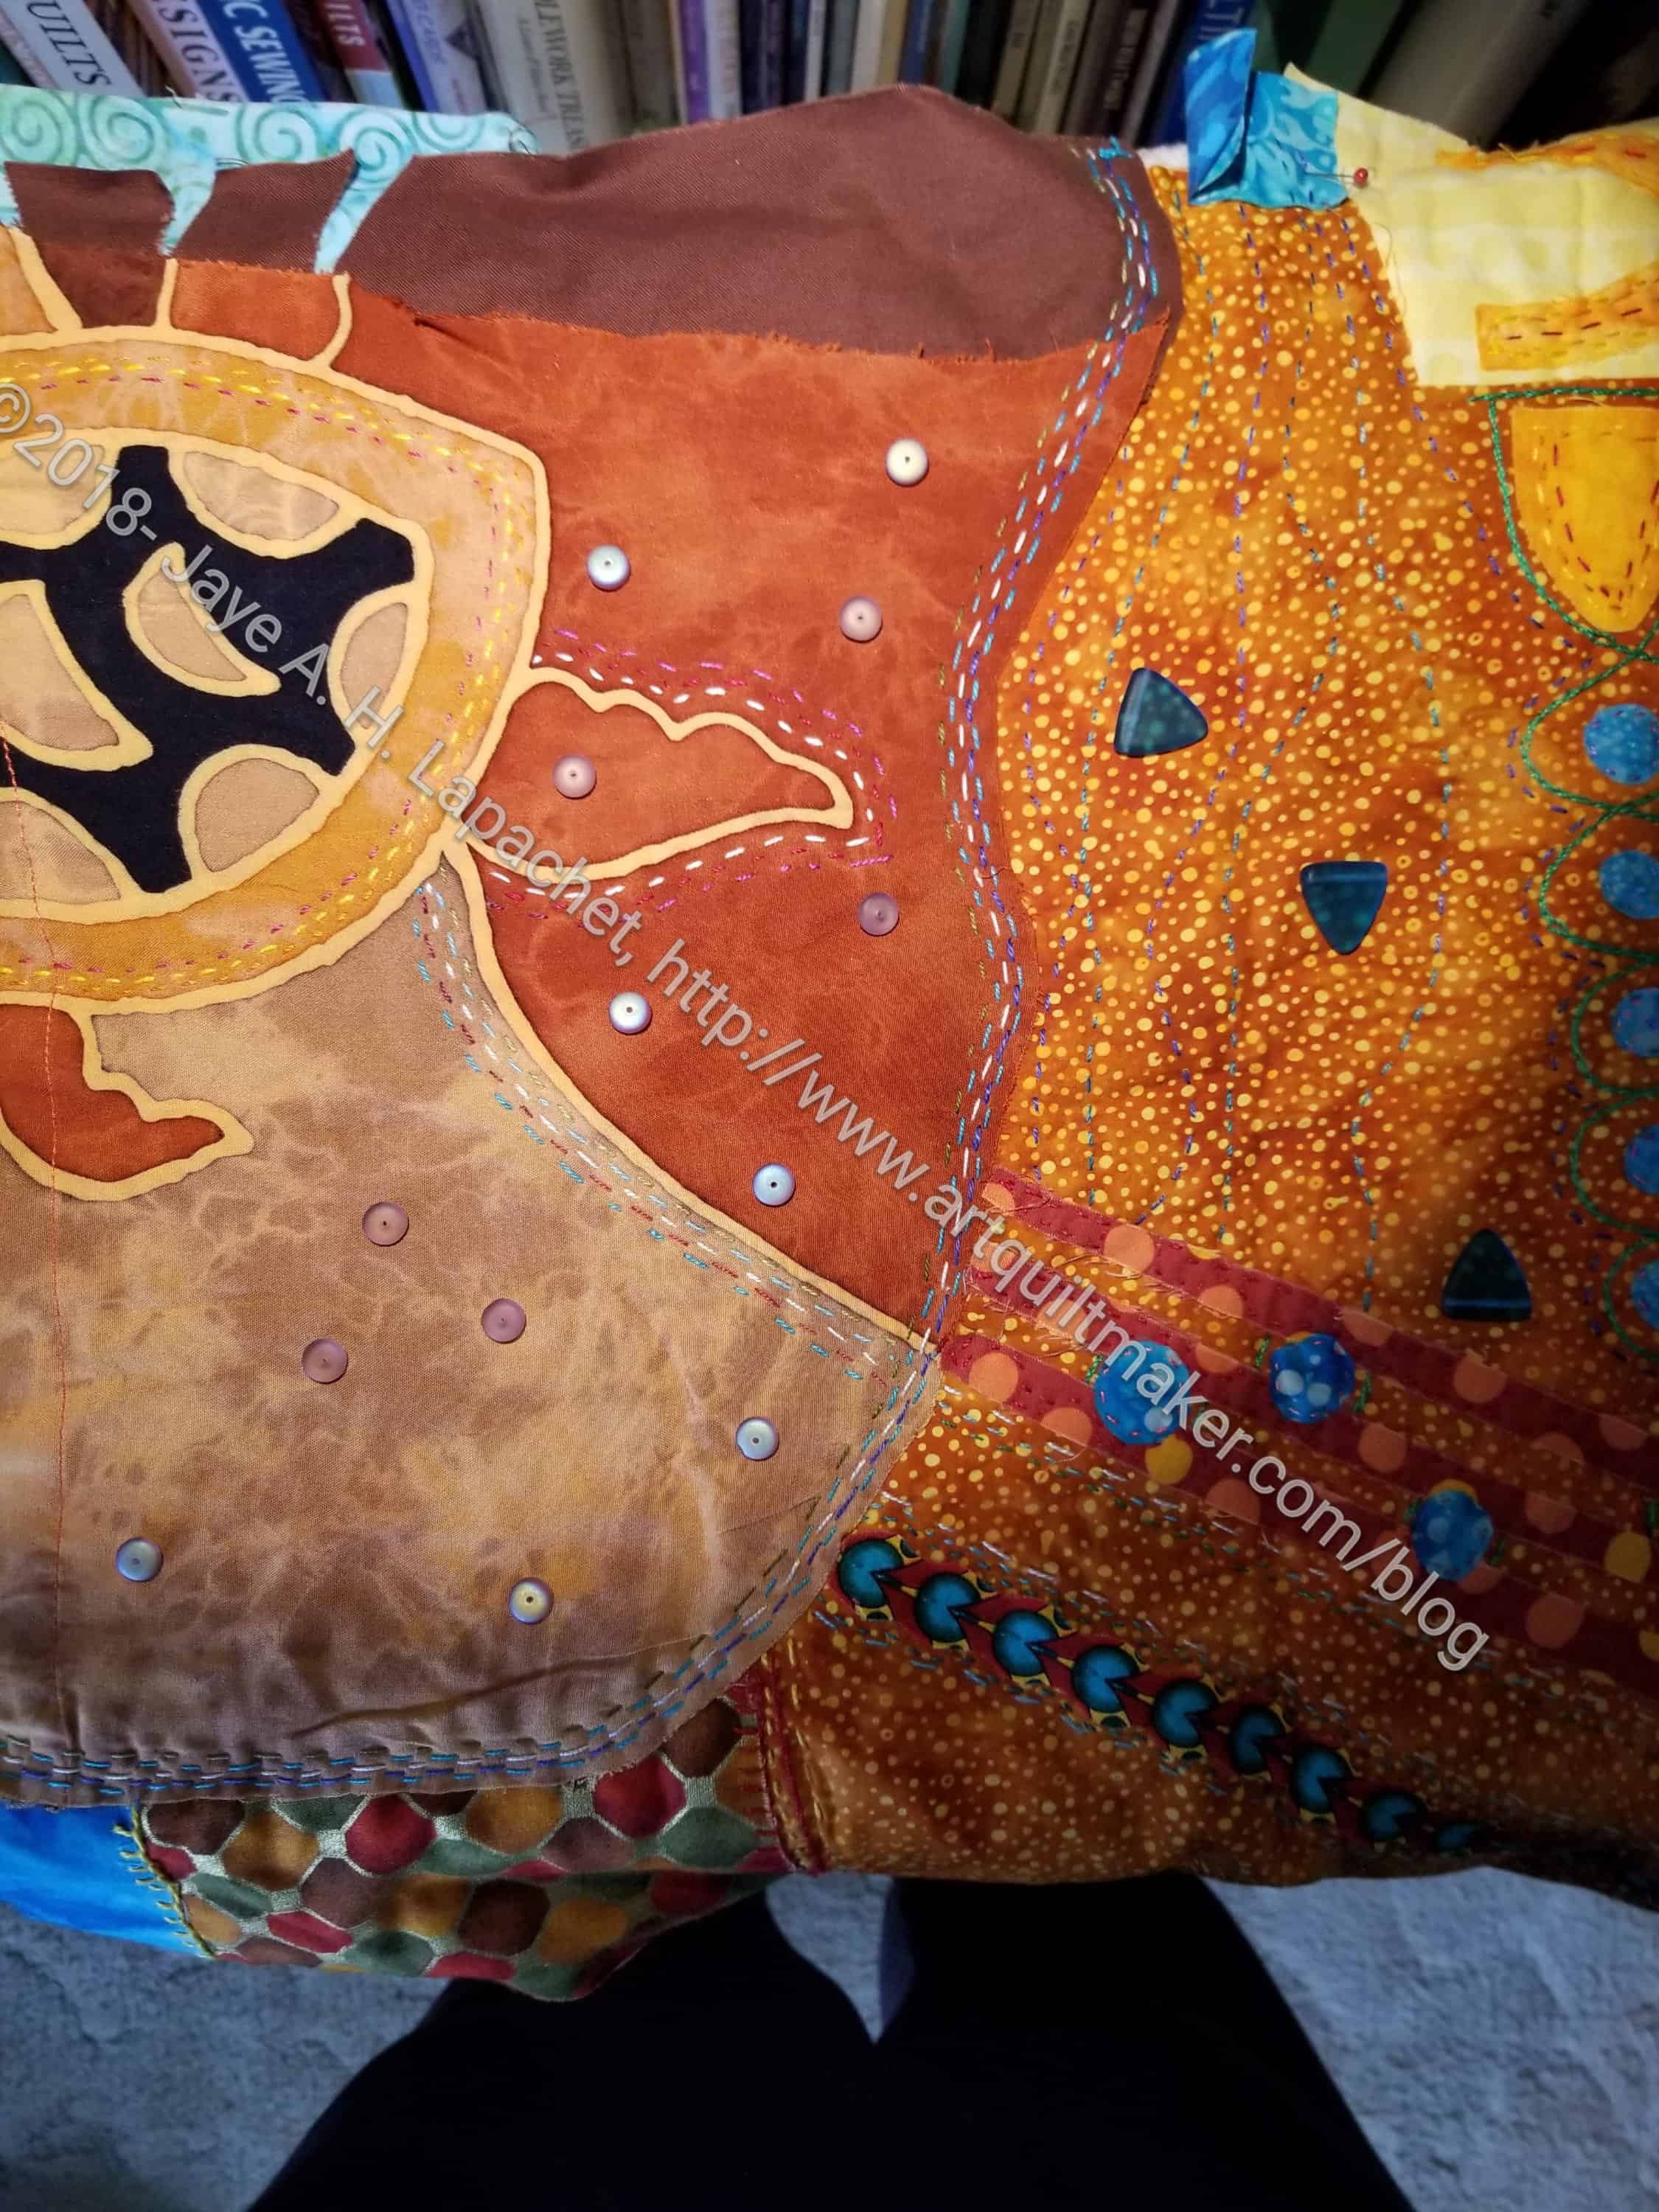
I bought some 12wt Aurifil and have used a little of it along with the Perl Cotton that I have had laying around. It is fun to add layers of texture to this piece. The stitches are adding interest.
Under the Sea (detail) – Late August 2016
I am not sure about the green circles. I like them as a motif. I am not sure I like them around the turquoise dots. I don’t want to disrupt that bubble like effect.
I am hoping that the viewer won’t see them until they get closer. We’ll have to see.
I finished writing all the cards on my list last night. That means I get to work on embellishing the stockings. It is kind of a reward.
As I explained previously, these are simple felt stockings. Every year I try to embellish them a little more so they are more interesting and more special.
Tonight I worked on DH’s stocking, the Noel stocking. I thought about adding joyeux, but I don’t think there is enough space. I am not going to change anything major, because I want to focus on the embellishing.
I went around the Noel in a blanket stitch, but I did it wrong. Still, I think it looks more interesting now than before.
I had already done the blanket stitch on the bottom, but added some to the top, which was a little tricky.
I am not sure what to add next, so I may move on to another stocking.
I said previously that I thought this piece was finished. I took it out on Friday in order to decide for sure and decided to put a facing on it and prepare the piece for finishing. The photo, left, shows the front with the facing applied by machine. I am sad that some of the edge detail was lost in the seam allowance. I’ll have to remember to plan better next time.
This piece didn’t need as much beading as the others I have done. I am not sure why. Laziness might be a factor, but the riot of color and fabric definitely draws attention to the elements of this piece. I don’t think it needs much detail to draw the viewer in.
I am a little sad about these small pieces. I really don’t have anywhere to display them, but would really like to have wally large enough to hang all of them.
Garden back
I am particularly fond of the back. I used different colors to quilt and intended to cover up the back with a fake, but it looks so nice that I could barely stand to cover the edges with the facing.
Now I need to stitch down the facing and make the sleeve. I have a lot of cards to write for Christmas, so I don’t know if I will be able to finish this before the end of the year, but that is definitely my goal.
Now I feel like I can work on some of the other smaller pieces on the 26 Projects List. Perhaps I will do a blog post about each one as well?
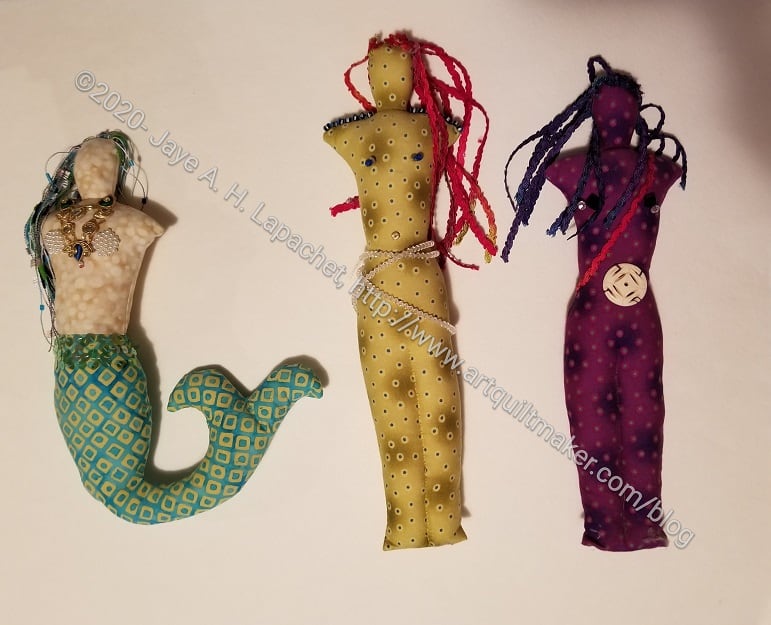
My little sister (taller than me, BTW) is back from France. With her came some presents. I have a nice sister. 😉
The black Eiffel Tower print is the one I picked out when I bought my Kindle cover off of Etsy. I like it.
I have an idea for a quilt that I want to make for Lil Sissy, but haven’t found the right fabric. I don’t think Eiffel Tower fabric would work, but we will see. I almost used Hello Luscious, but she is not much of a pink girl and that line has a lot of pink.
A few years ago we remodeled part of our house (bleah! what a process). In the course of that months long nightmare, which was worth it in the end, much of our non-essential stuff went to storage. Since the contractors promised the project would be finished by Thanksgiving, our Christmas stuff went, too. HA! The Christmas stuff returned, but the original stockings have never been recovered. I have no idea what happened to them. I suppose they will turn up eventually.
As stockings are part of our Christmas tradition, I whipped up some felt “beauties,” which have become what we use.
As you know, my quilter is out of commission and Kissy Fish is done. I find myself frequently without handwork to do in the evenings. When I saw the stockings, I remembered the embellishing I had done on the card holders a few years ago and was inspired to embellish the stockings a bit.
Felt stockings detail
I started out with a few buttons, though I did use all the good and interesting white ones on the cardholders. I used some Oliver Twist silver thread to sew them on. I also started to do a buttonhole stitch around the bottom edge of a couple of the stockings to make that edge look more interesting. One of the stockings has a tree on it and I definitely see some sequin ‘ornaments’ in its future! I think, as Anne Shirley would say, “there is a lot of scope for imagination.”
Of course, I have a lot of cards to write and gifts to assemble, but I see this little project as a nice respite between the craziness. It could be ongoing as I am inspired to add more. It is also a good way to try out different techniques, stitches and embellishments.
Yes, boys and girls, I finally finished Beach Town. You can read about starting it in the post about the Pamela Allen class from last year. I liked looking at the piece in that post (one of the things I LOVE about blogging!), because I could see the differences including all of the handwork I have added.
Beach Town Back
I made a smaller version of the Robbi Joy Eklow sleeve (from her book Free Expression) for this piece. I don’t know if it will ever be hung using a rod, but it is ready if someone wants to hang it that way.
One of the things I need to think through when I use this technique in the future is the back and the label. I like to include the label as a part of the back. As you may have noticed, I often piece the back and include the label in that piecing. This allows me (or my quilter) to quilt over the label so that it cannot be removed if the quilt is stolen. Jill, one of the creative prompt participants, talks about this in her recent blog post.
Another reason I piece the back is that I have the fabric, so I might as well use it.
Smaller quilts, and particularly this Pamelala technique are free form and quick. The maker usually lays down the back and batting first with no opportunity to piece the back or make a label. When I take a Pamela Allen class again, perhaps I should just put down the batting and work on the back later?
Back in the Quilting Arts Dark Ages, they showed some embroidery stitches over a series of pages. Somehow those embroidery stitches combined with a viewing of quilt artist Susan Carlson’s work on Simply Quilts inspired me to get started on Kissy Fish.
As an aside: I am not getting back to the bleary photos, this piece is really, no REALLY, hard to photograph with the equipment I have.
This piece is covered with shiny things that reflect the light: beads, french ribbon, thread with metallic bits. It is on the list to be professionally photographed. Anyway.
Kissy Fish, detail 1
The stitches I used most frequently on this piece are called Feather Stitch. It was highlighted in Quilting Arts #1. It was really fun to see how the stitches added to the piece and helped it develop. It was fun to see how I could make each bit of kelp different with beads, varying widths of thread, etc.
Kissy Fish, detail 2
One of the things I knew about this piece was that it wasn’t intended to be a masterpiece. It was intended to be a test. It has turned out much better than a test.
I also never intended it to be hung as a quilt is hung. I always intended that it would be framed and hung like a piece of traditional art. That is still my plan.
I think the hand embroidery is mostly done. As I do on many of my Pamela pieces, I went about the process backwards. I did the embroidery first and now am thinking I need to do more quilting. Machine quilting. I’ll have to seriously think about it, because I don’t want to break the beads or my careful stitching.
I have a number of tote bags with different projects in them. The idea is to be able to “grab and go.” The Big Game (we won, in case you needed to know) was this weekend. It is, generally, the family kickoff to the holiday season. I needed a project. Since I finished the handwork on Beach Town, I had nothing on the front burner. I grabbed an old project bag and found Christmas!
Really, I found a project called Kissy Fish. I haven’t worked on it seriously for awhile. I was pretty close to being done, so I brought it with me to the game. I’ll talk about Kissy Fish in another post some day.
The bag was a pit. It was obvious that the last few times I worked on it, I threw stuff into it willy nilly. Unearthing it was fun! I found great stuff that I had forgotten I had, like 8 packs of Oliver Twist threads! Who knows how long they have been in the bottom of the bag, but they are out now. I also found a bunch of beads and other stuff I haven’t seen in ages. There were a bunch of spools of Aurifil, Madeira and Perl cotton.
It is really like an early Christmas gift. I can’t wait to get my hands on those Oliver Twist thread.