We are going to talk about partial seams. Partial seams are a way to create a more complex looking block without using truly difficult piecing techniques. Even a relative beginner can navigate partial seams successfully.
Supply list:
- rotary cutter**
- rotary cutting ruler large enough to cut 4.5in squares. I use a Creative Grids ruler that is 8.5 inches by 4.5** inches
- rotary cutting mat**
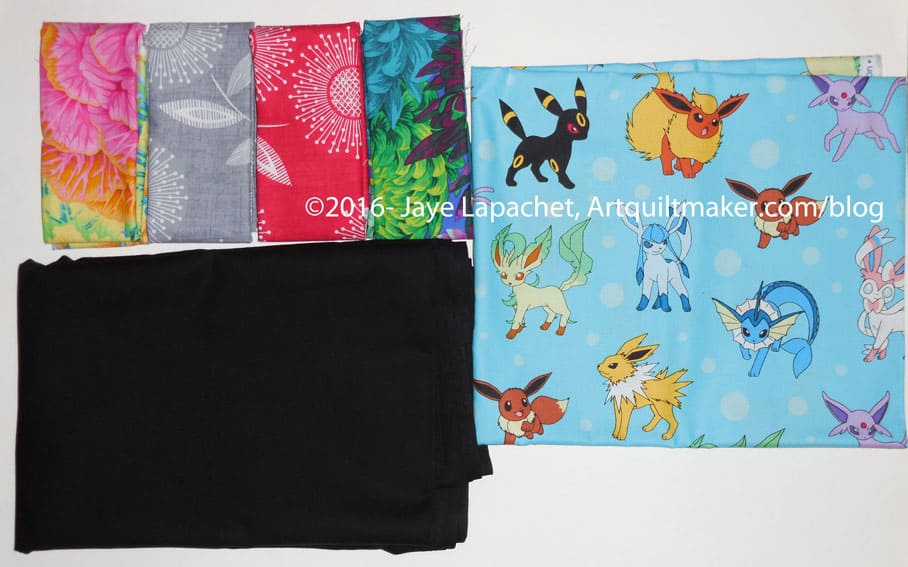
- fabric (10-12 different)
- Optional: Mary Ellen’s Best Press** (or similar)
- pins
- sharp trimmers or scissors
- thread for piecing
- sewing machine
- Iron
- ironing surface
- Design wall or floor
- Optional: Judy Martin’s Point Trimmer** or Marti Michell Deluxe Corner Trimmer**
Directions:
1. Prewash and press fabric
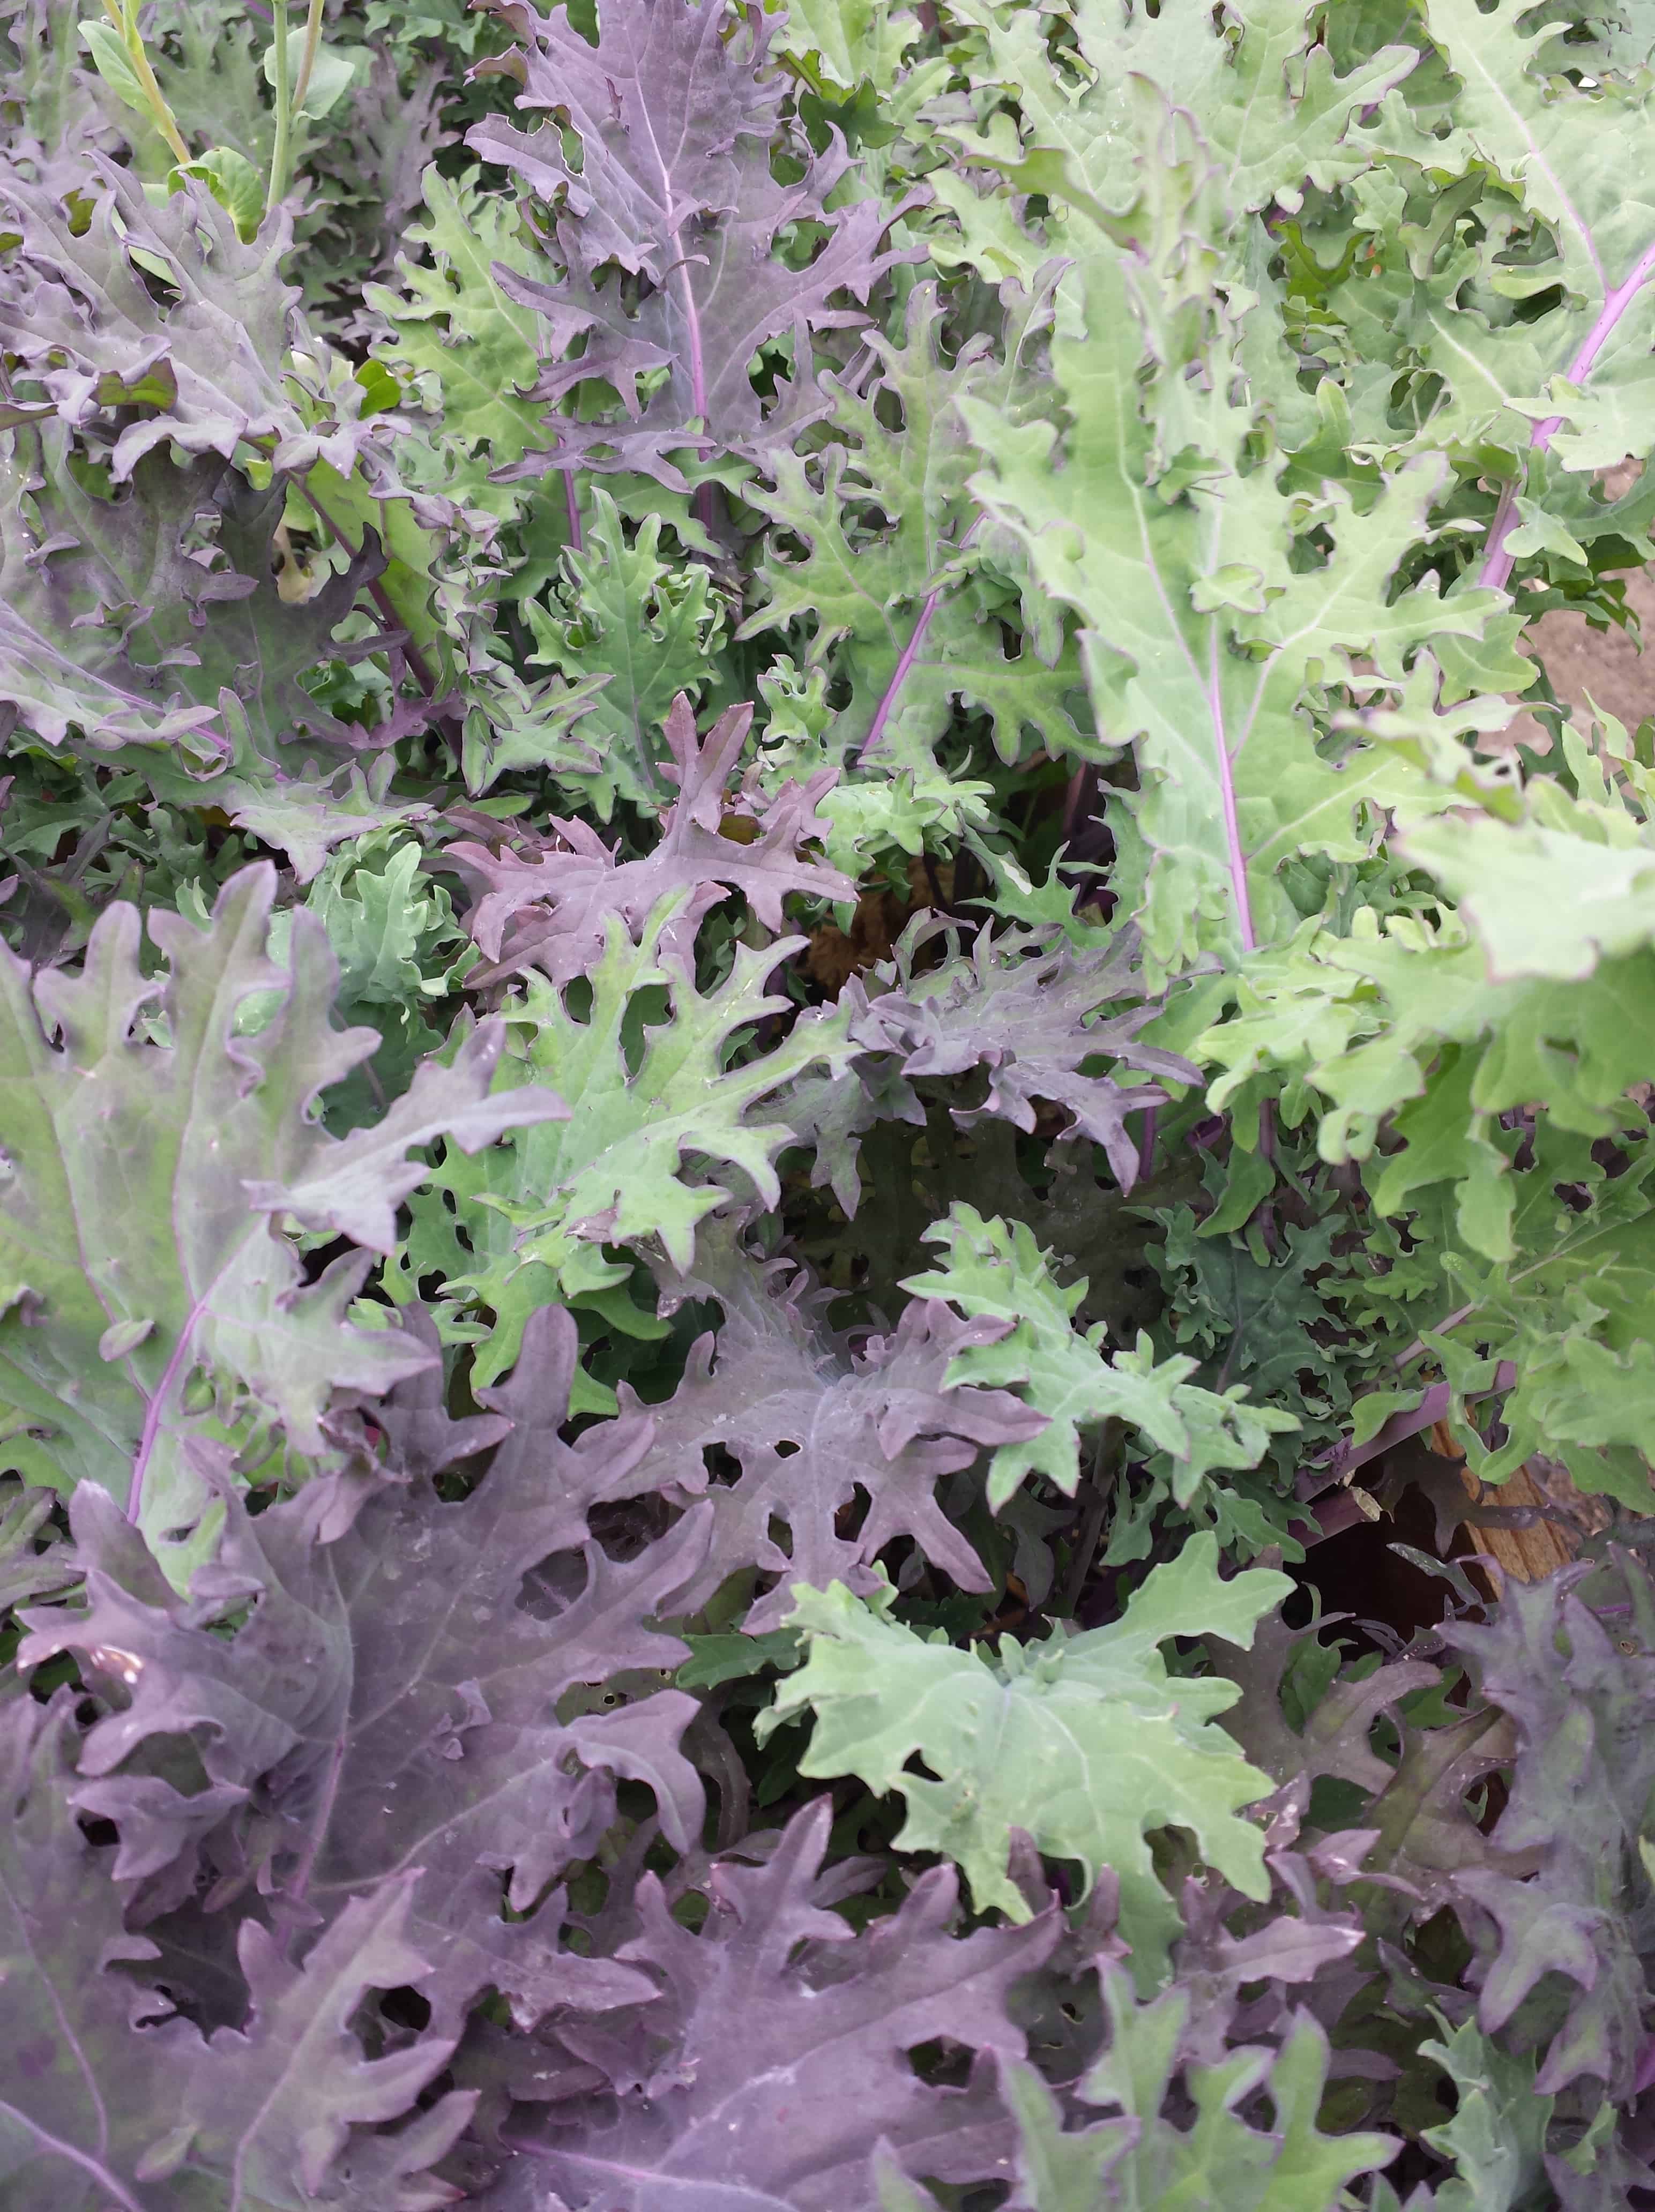
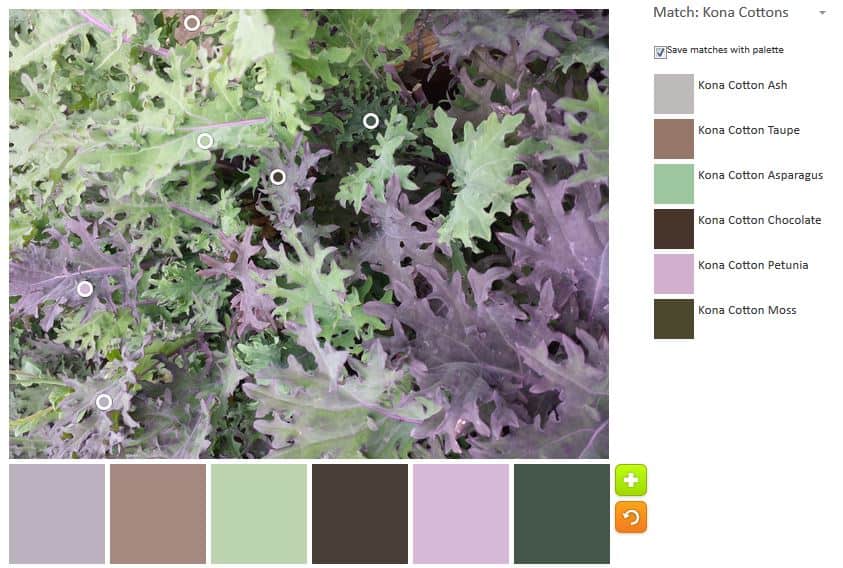
2. Select fabrics to fit the color scheme of your other blocks. You need contrast between the various pieces.

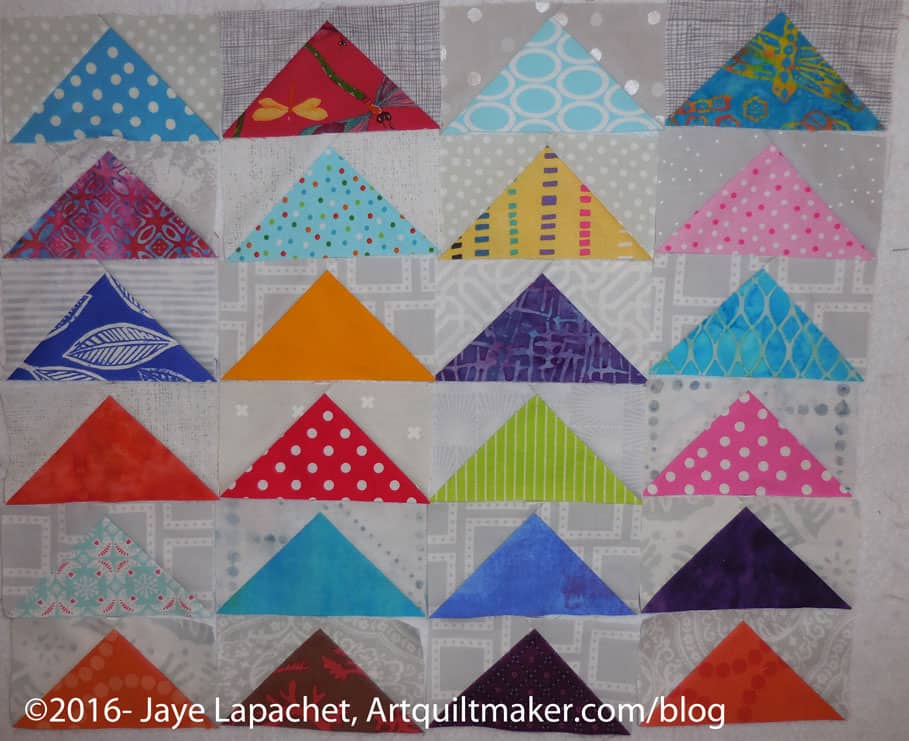
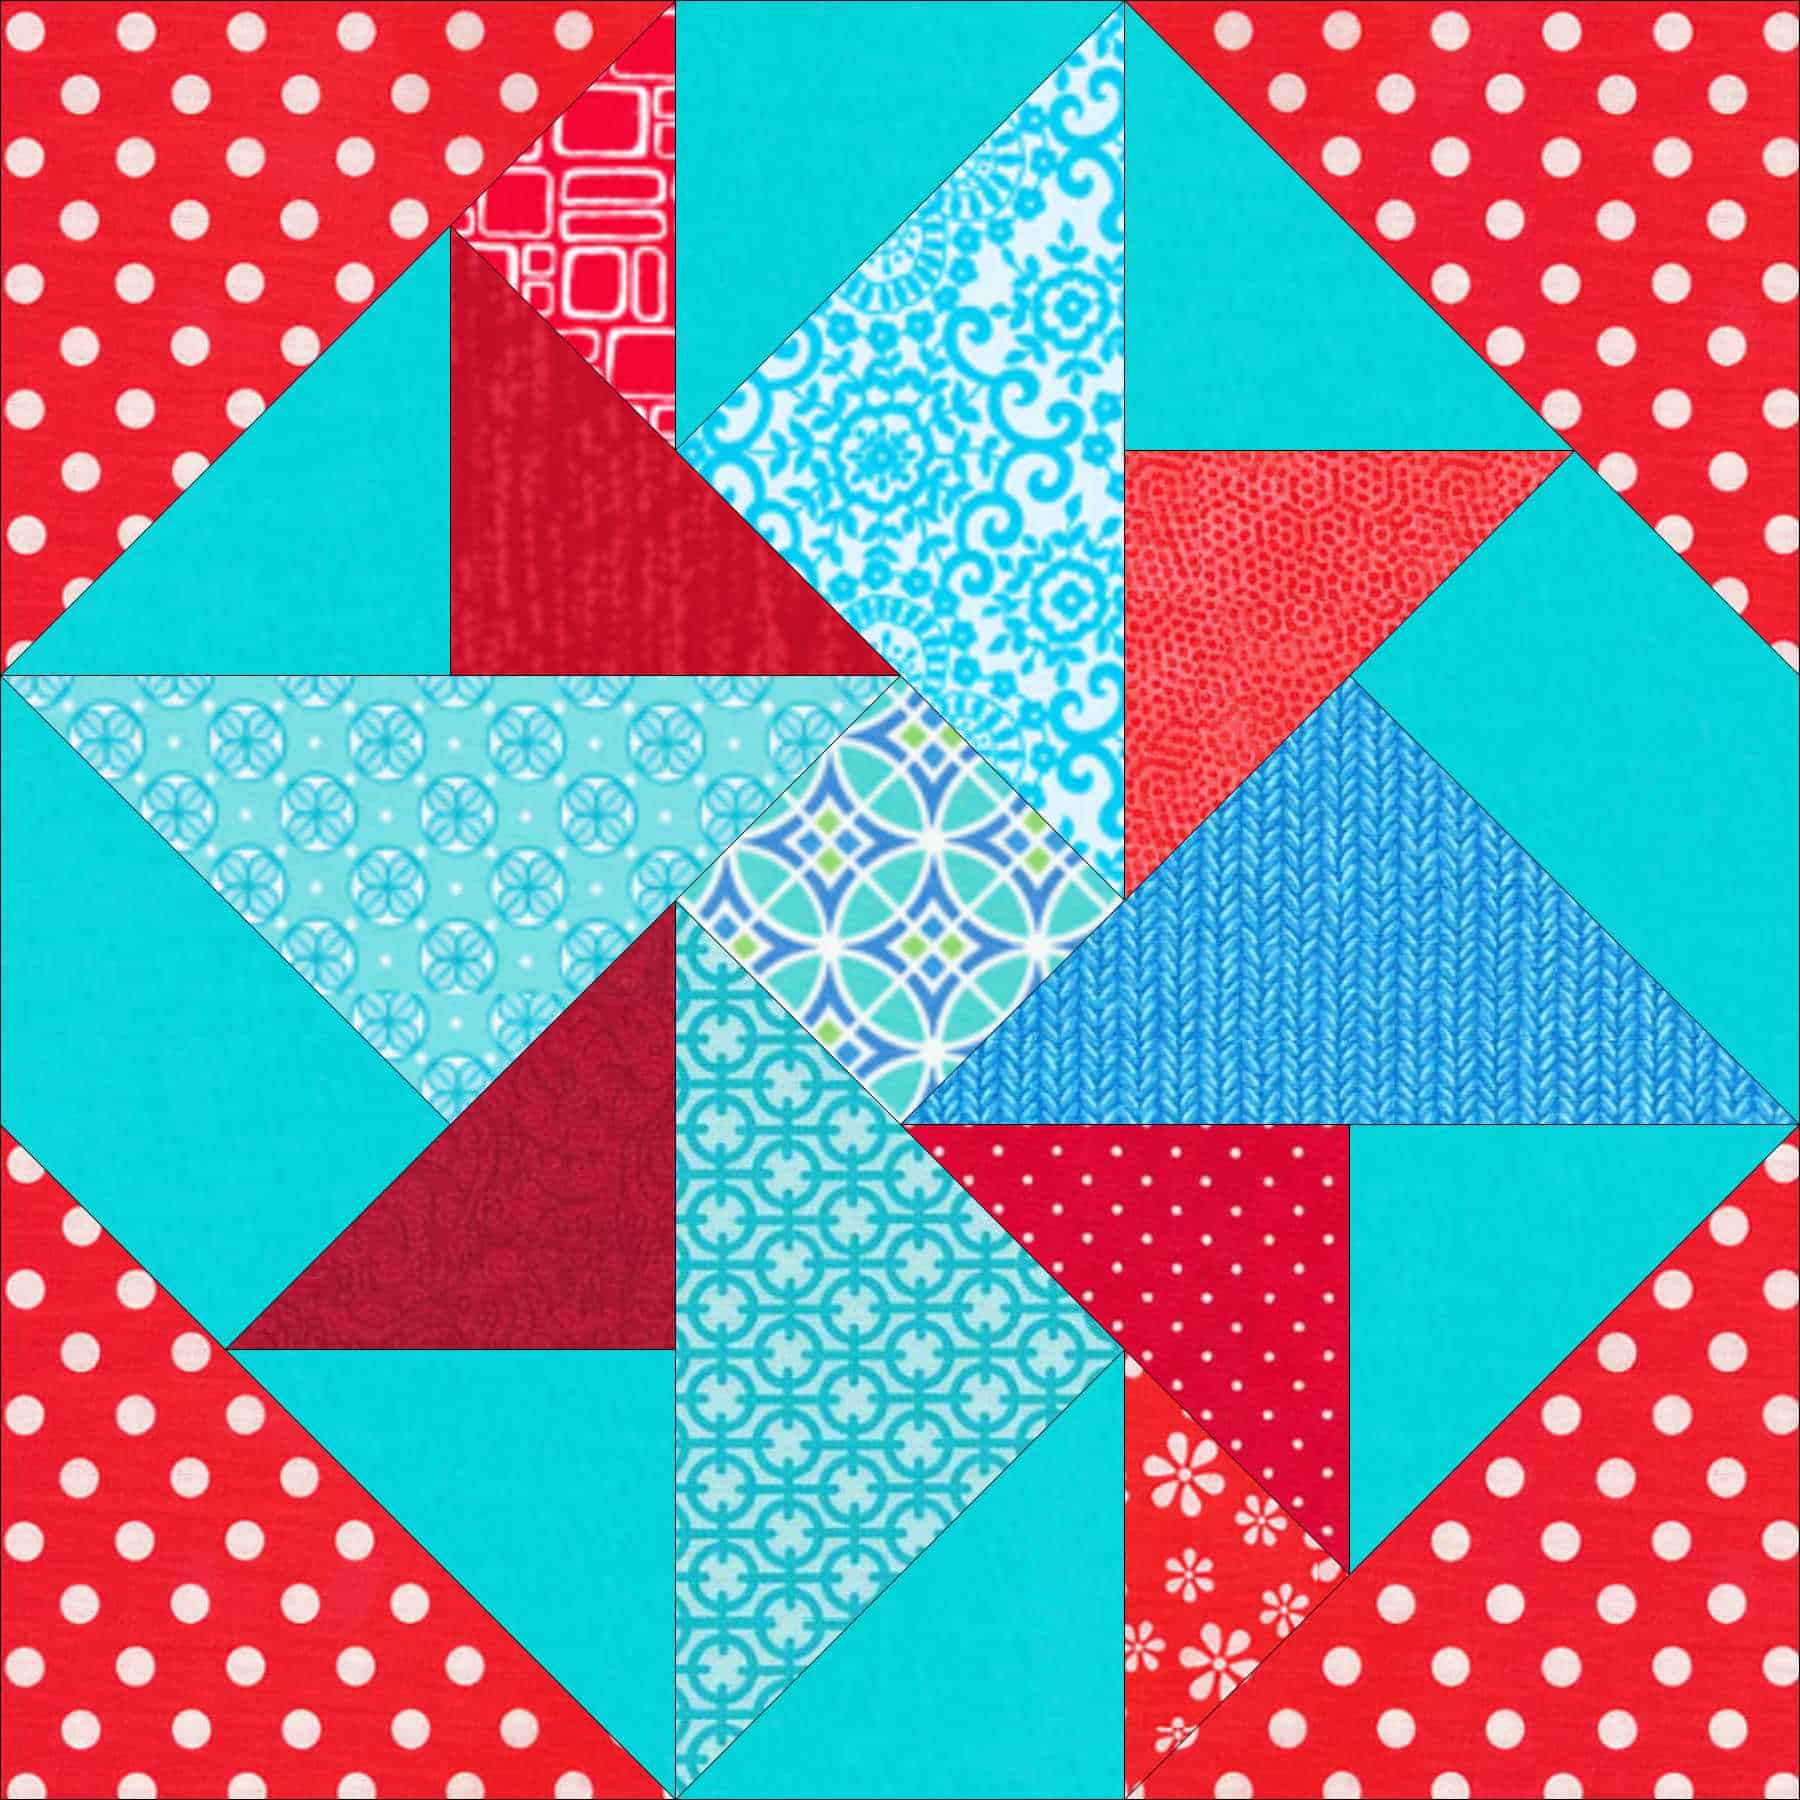
The one red triangle with the white curves might not be exactly right, but it will look fine in the overall quilt.
3. Cut out pieces using the chart. Press as you cut if necessary.
4. As we discussed before, sew smallest to largest. I started with the matching small triangles. Sew carefully without yanking the bias.
5. Press flat and then press to the red. Press carefully without distorting the bias.

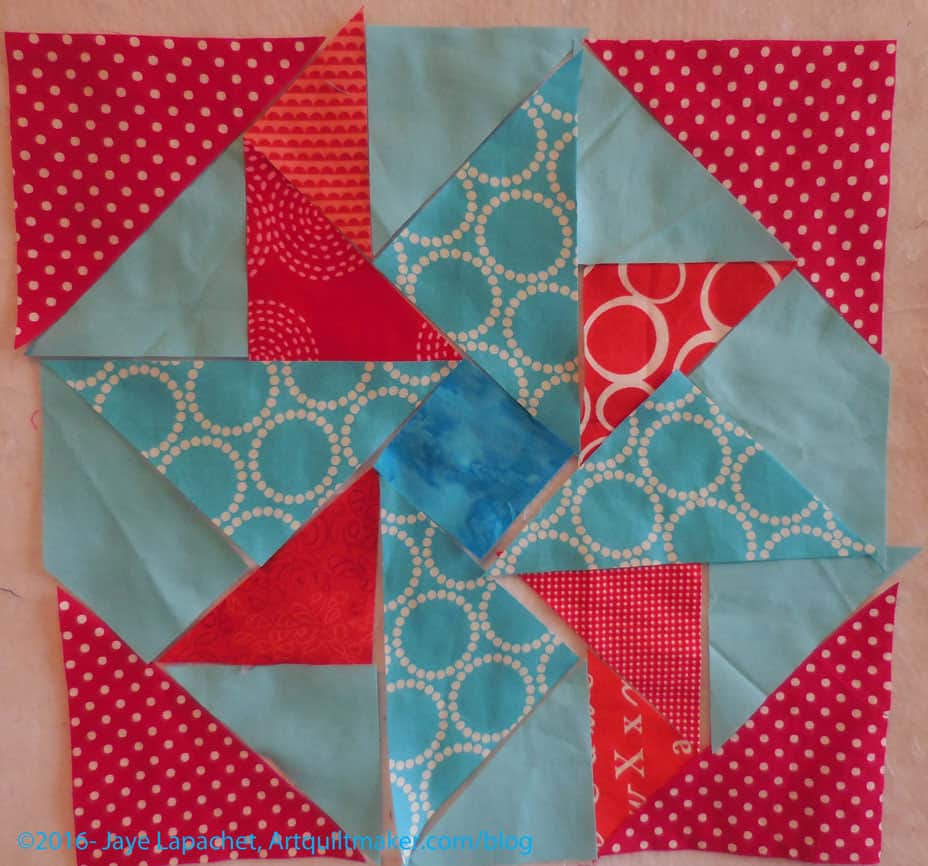
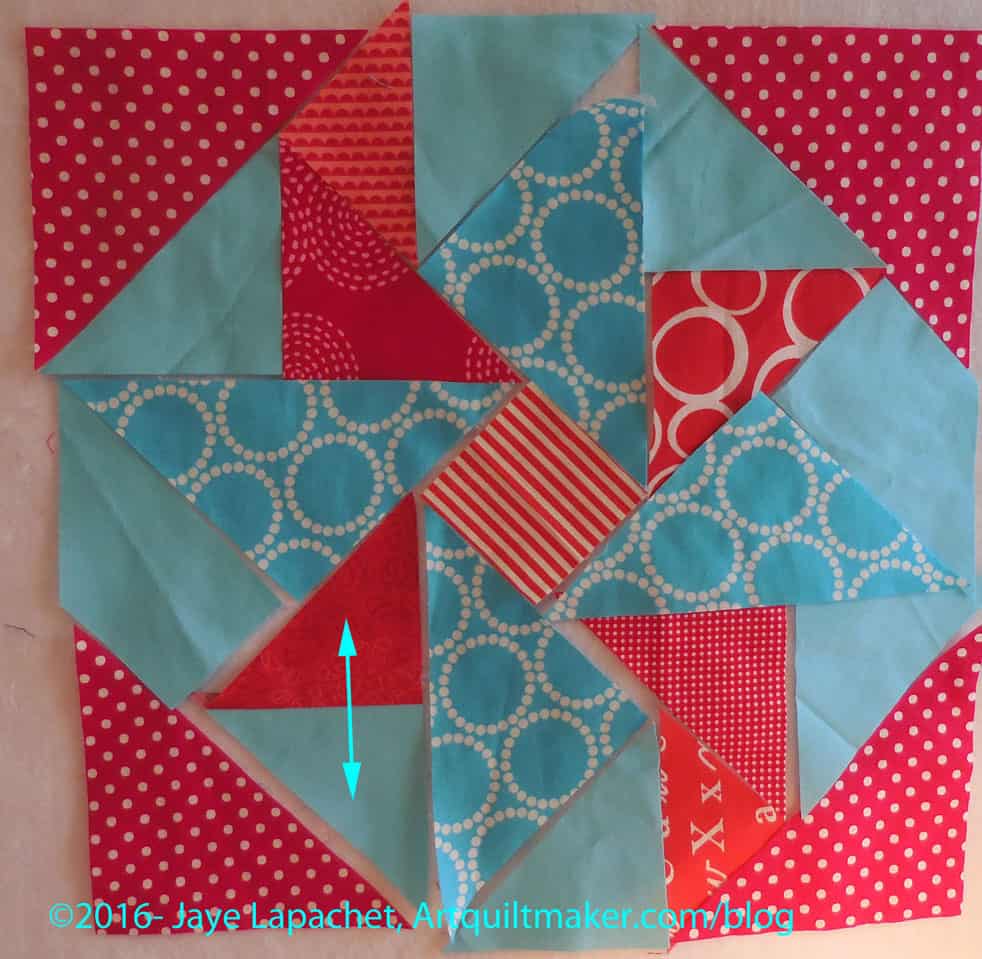
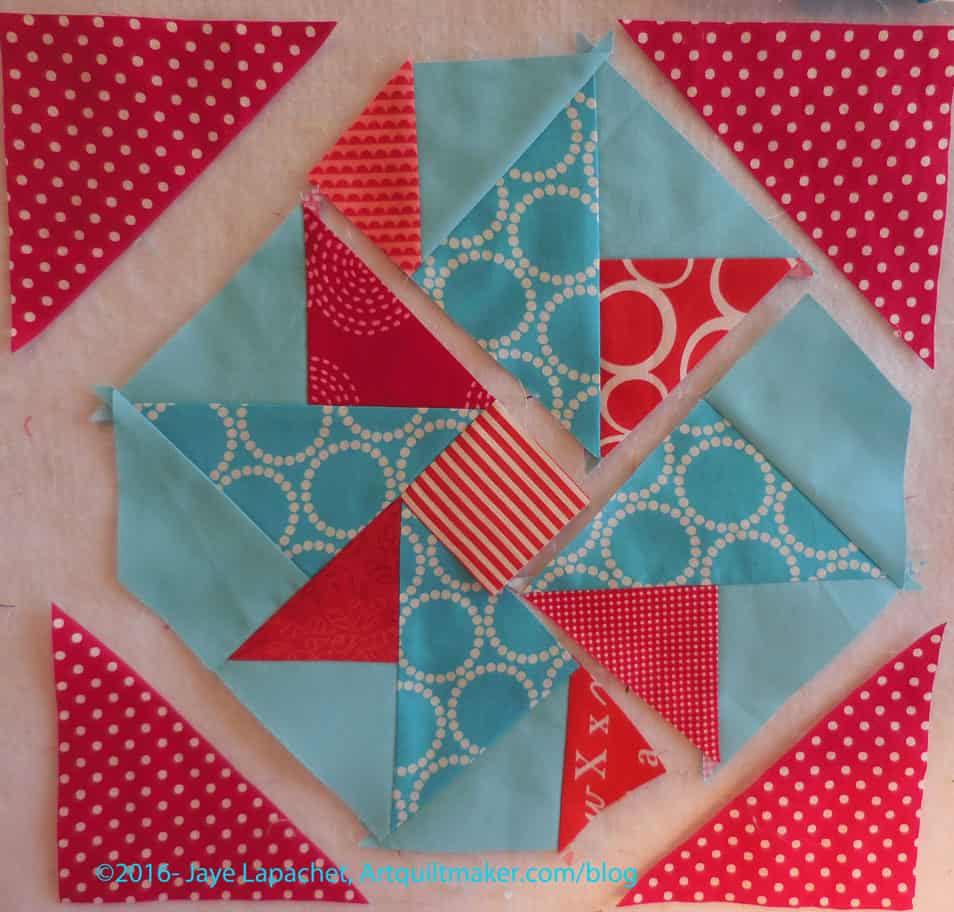
6. Place the newly sewn triangles back in position on your design wall.

7. Sew the similar triangles, press and place back in place.
Remember, you are sewing from smallest to largest. This means that you are creating larger and larger sections until the whole block is done.
8. Once the newly sewn patches are back in place, it is fairly easy to see the next logical step. The large turquoise triangles (mini-Pearl Bracelets fabric in the example) should be sewn to your two triangles. This will make a square.
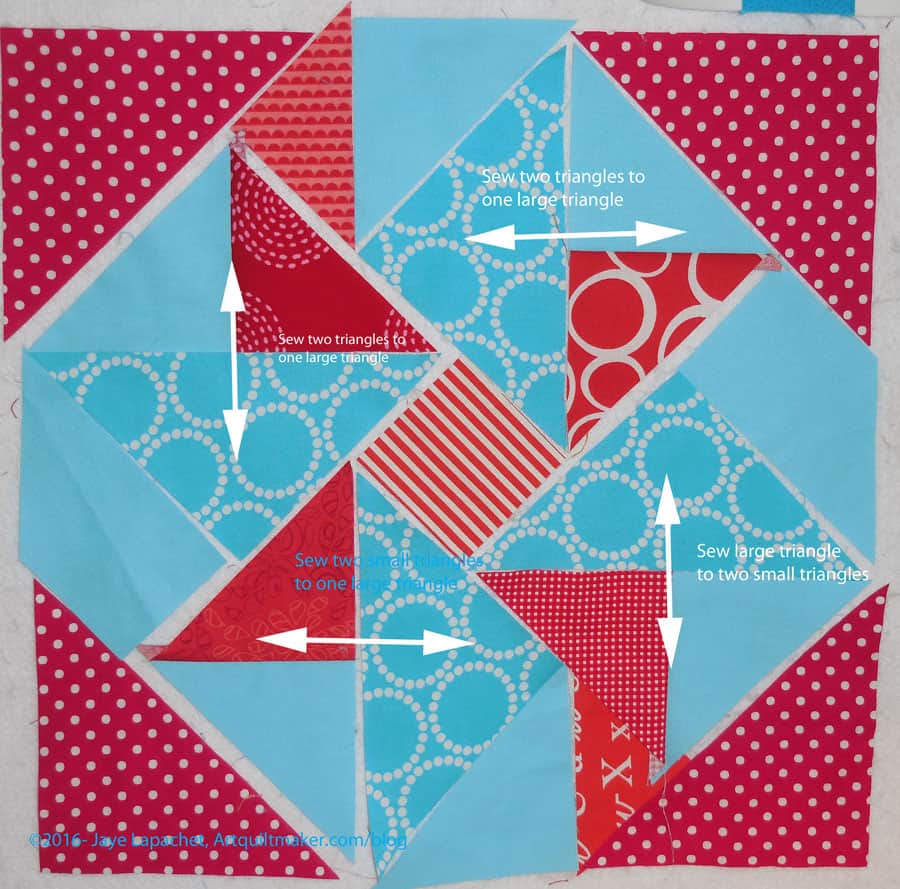
9. Sew the two small triangles, which are now sewn together (step 4-7), to the large turquoise triangle. This step makes the triangles into a square.

10. Press flat and then press to the larger triangle. Press carefully without distorting the bias. Place the squares back on the design wall.
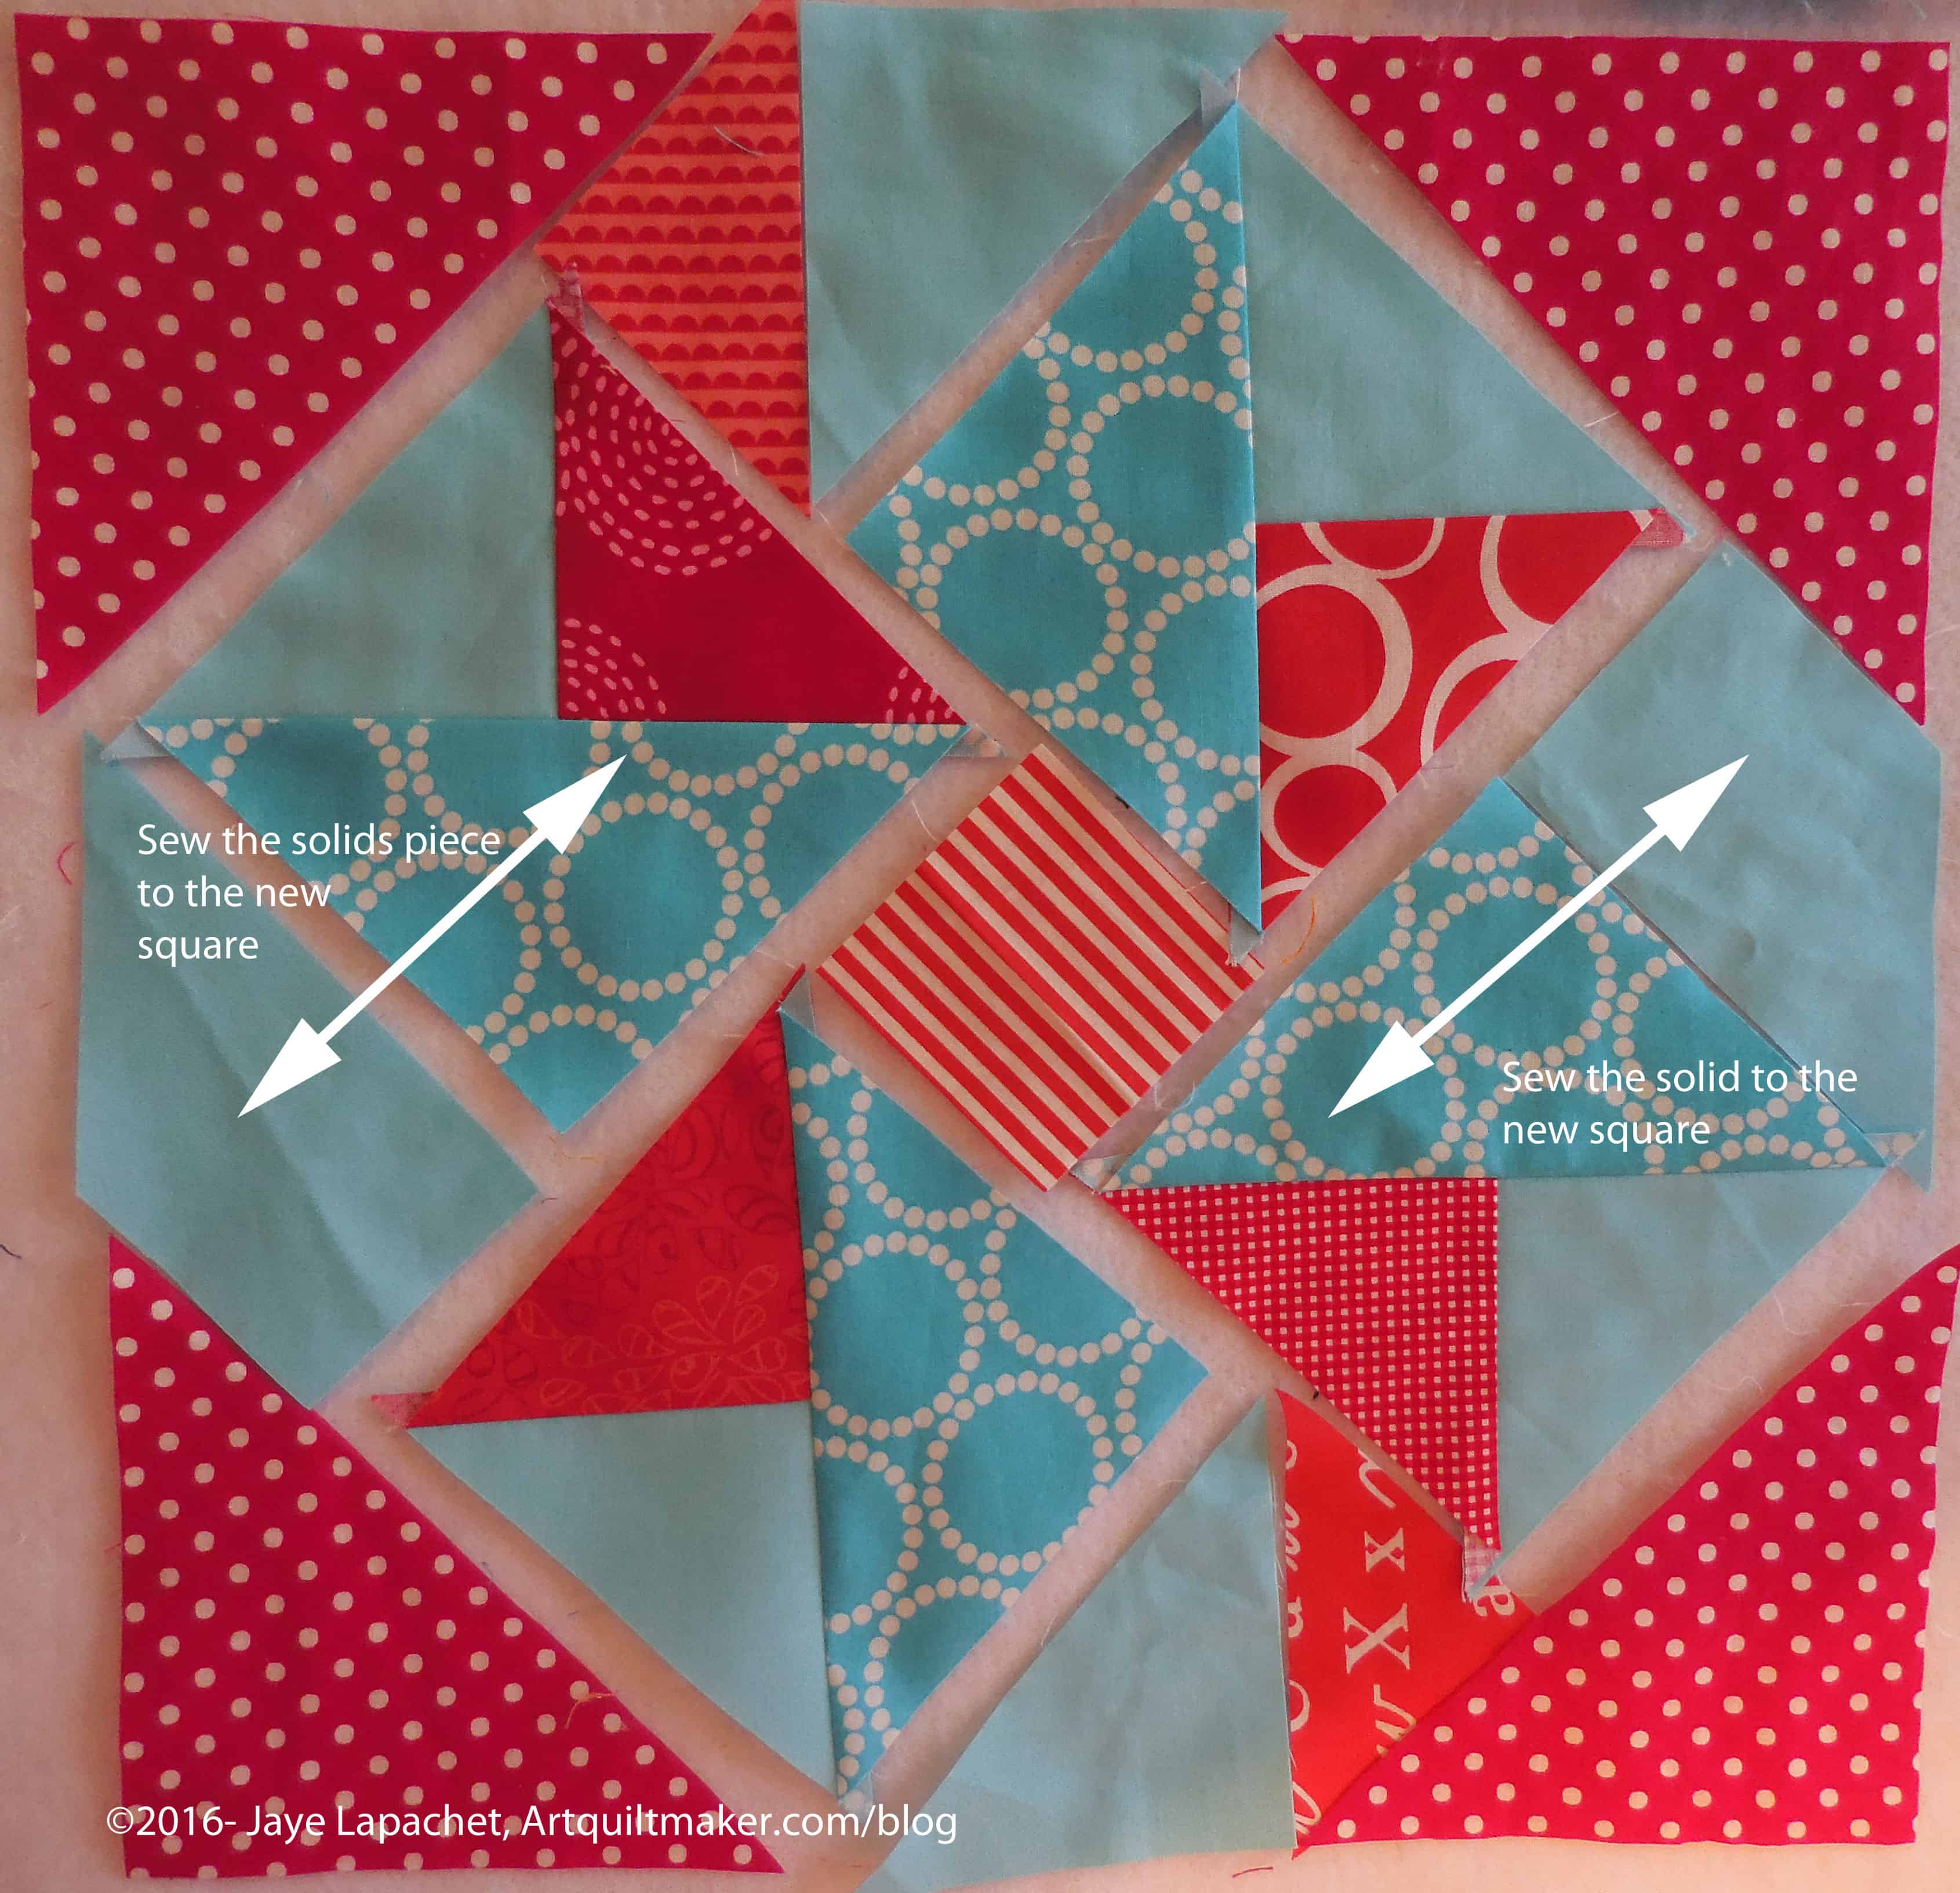
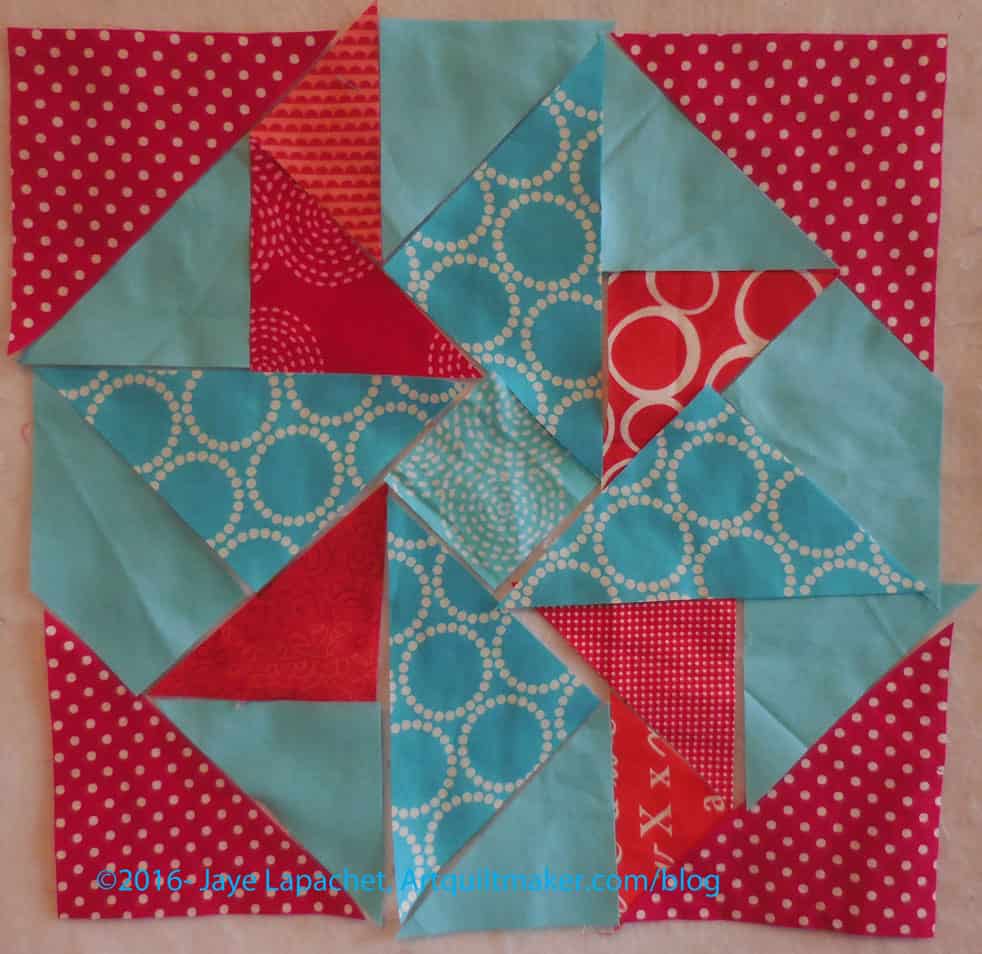
11. Sew the solid, rectangle-ish pieces to the squares you just sewed.

12. Place the sewn sections back on the design wall.

13. Sew small red triangles to solid triangles
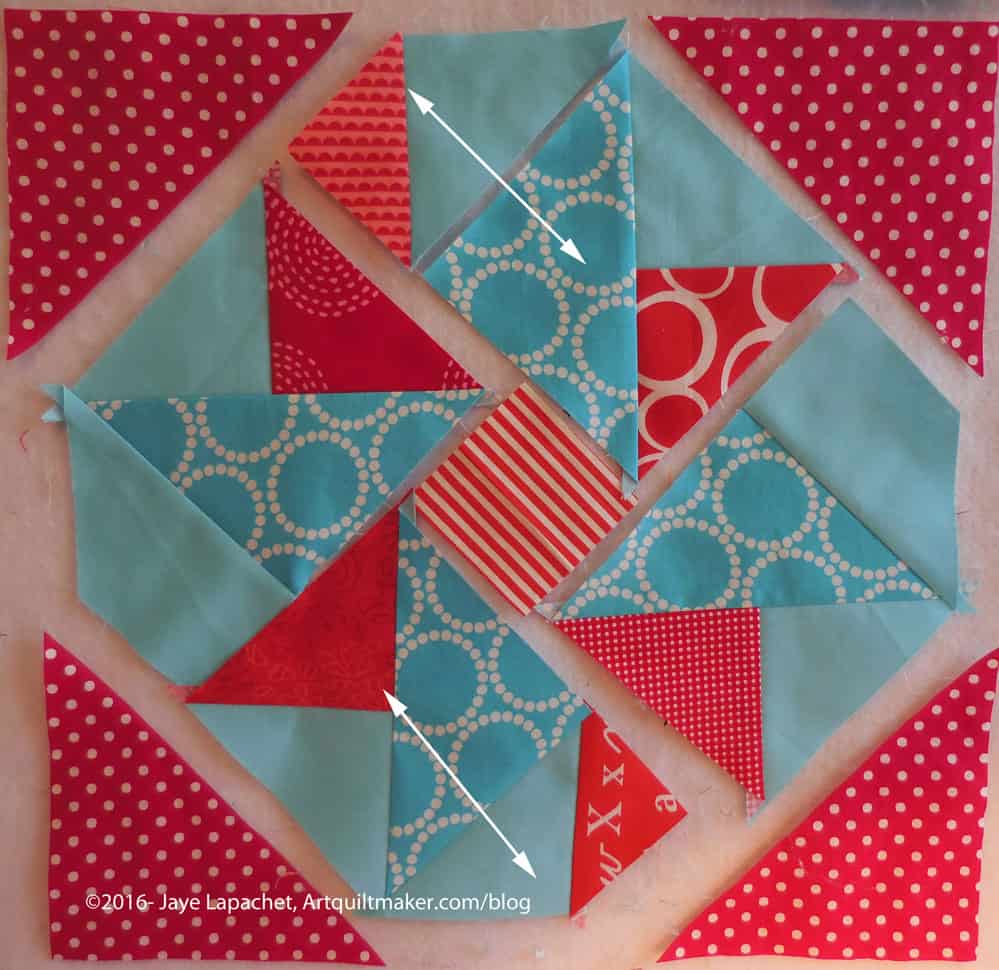
14. Sew new section to your squares.
15. Place the sewn sections back on the design wall.
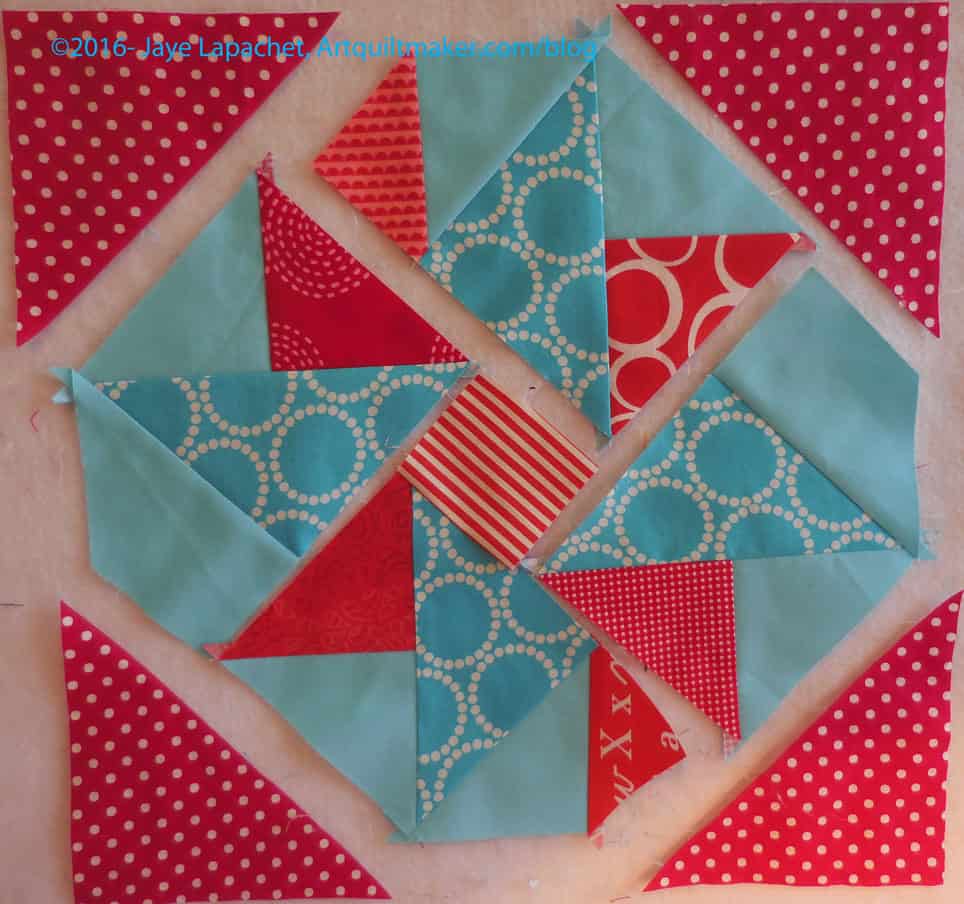
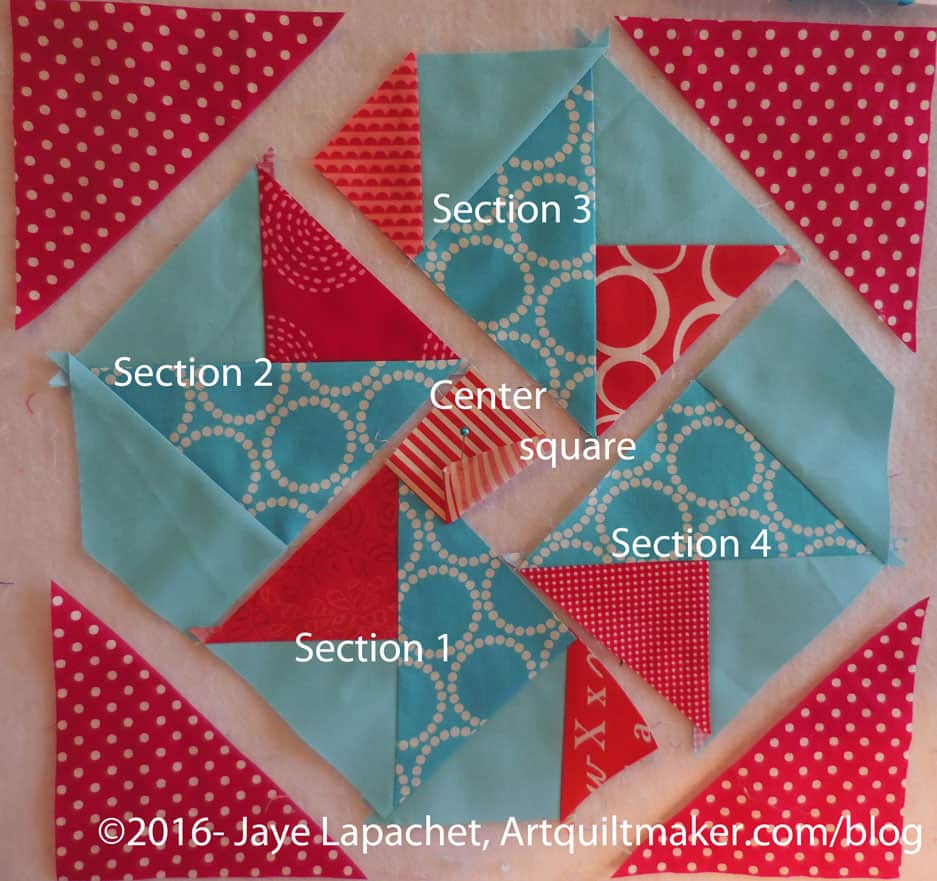
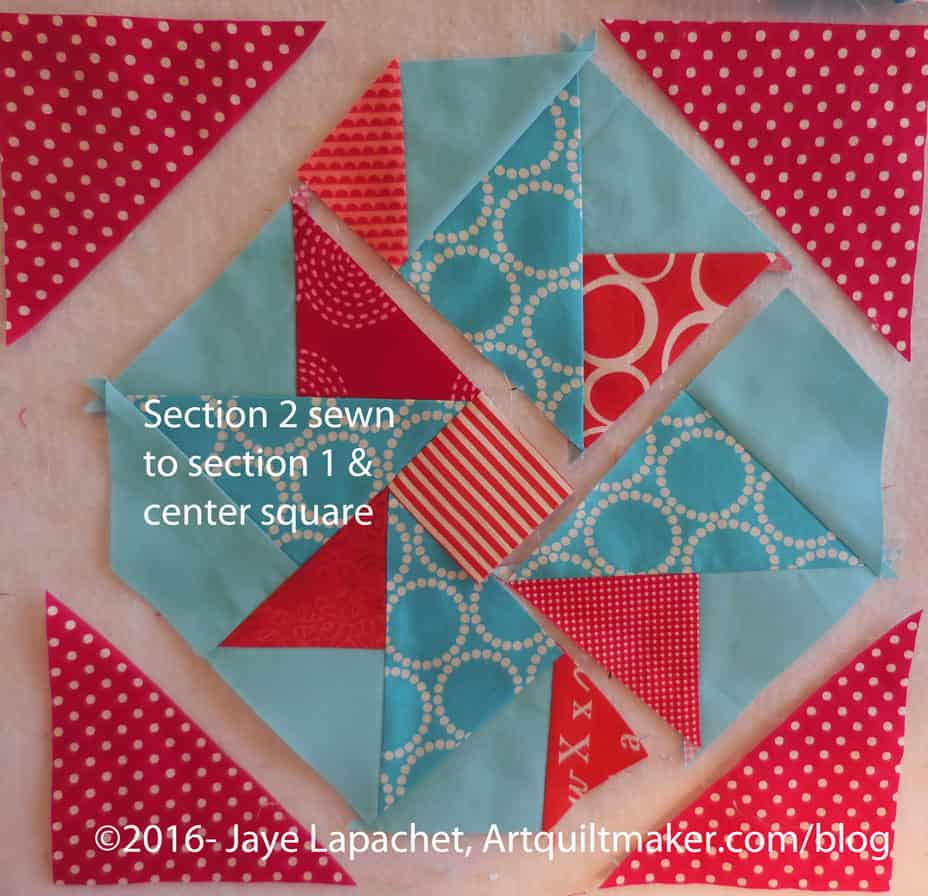
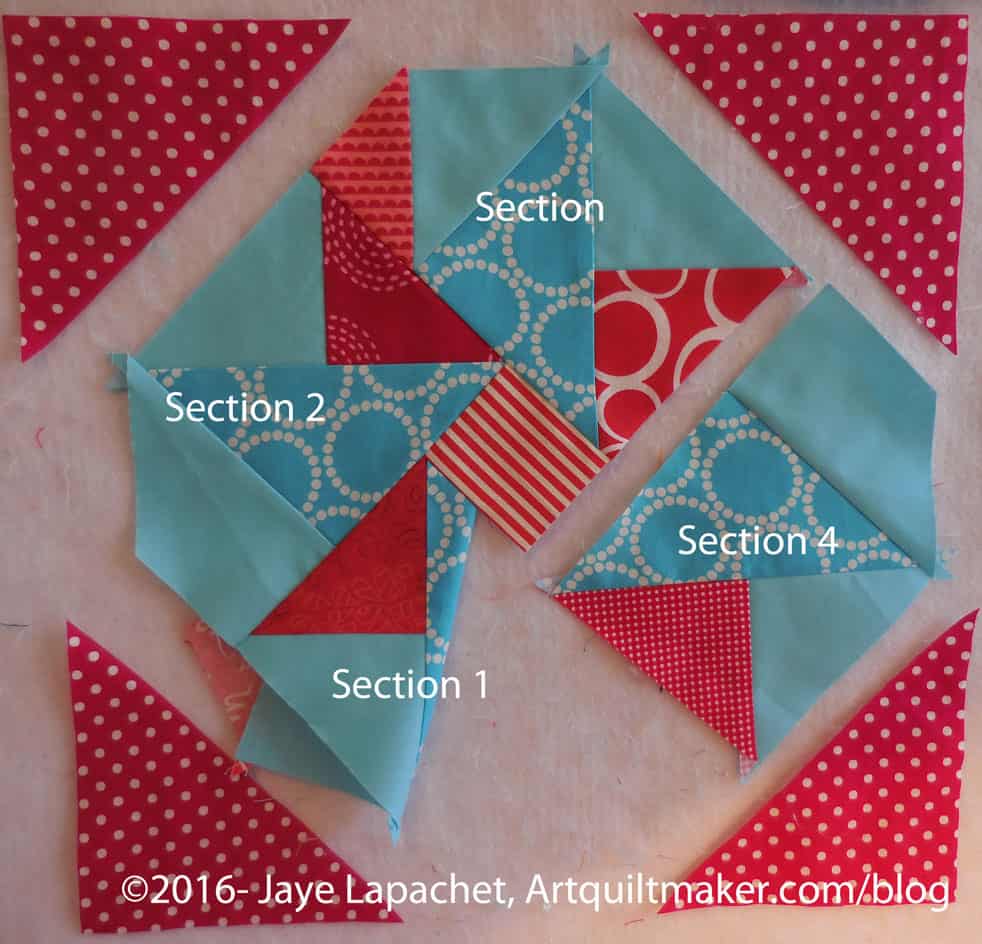
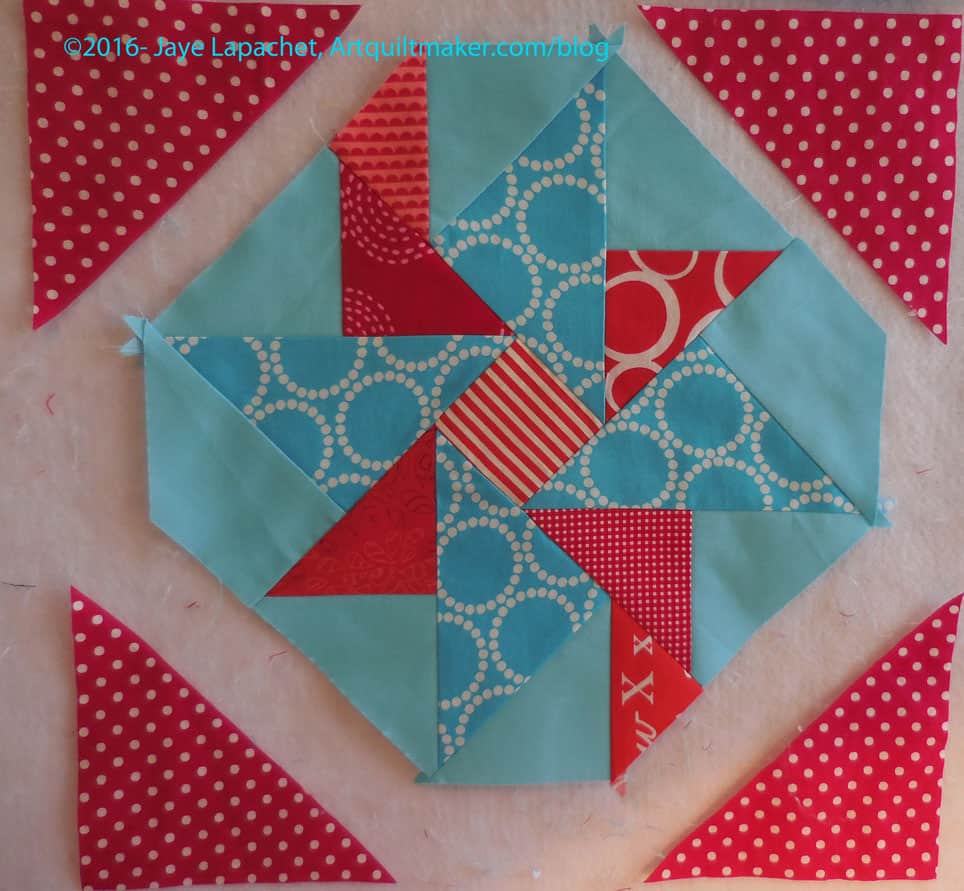
Now you have 4 major sections plus the center and 4 corner patches. Now we are going to get serious with partial seaming.
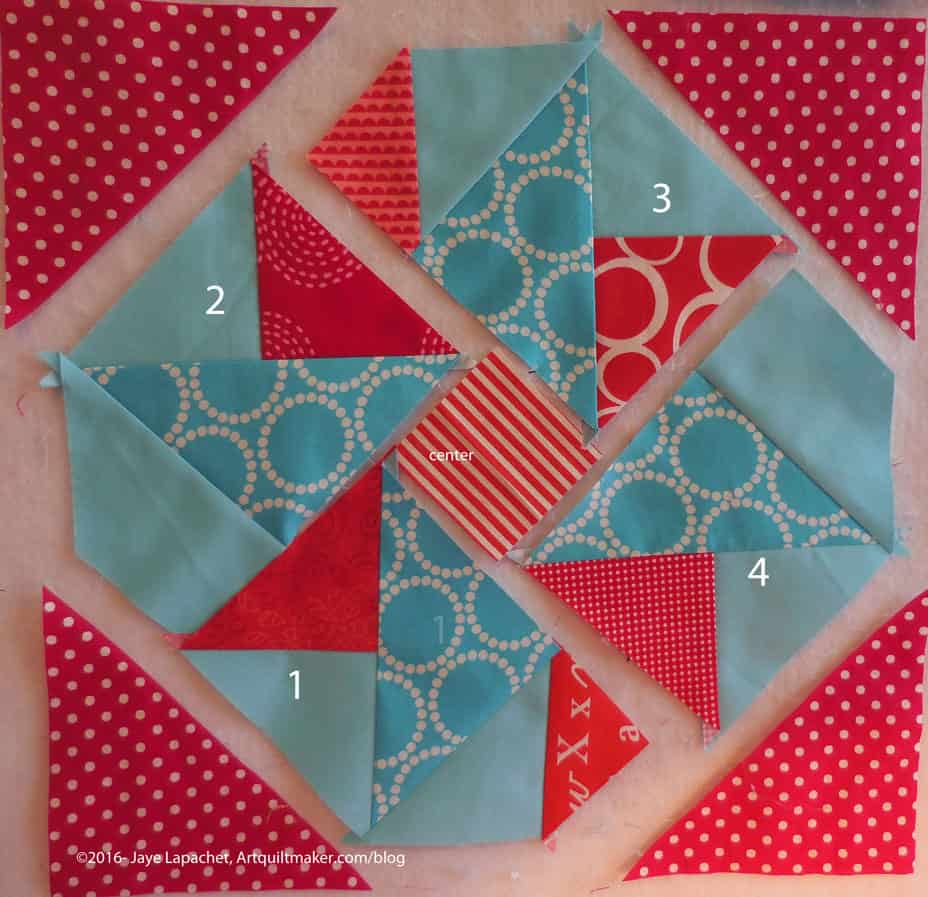
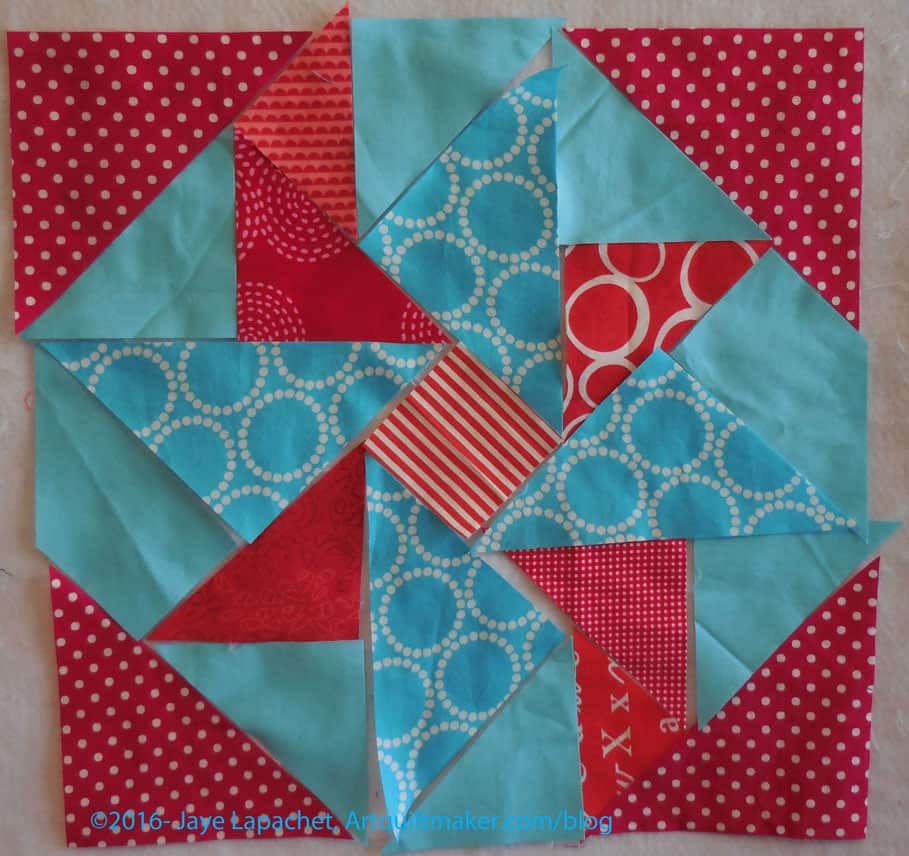
16. Take the center and section 1.
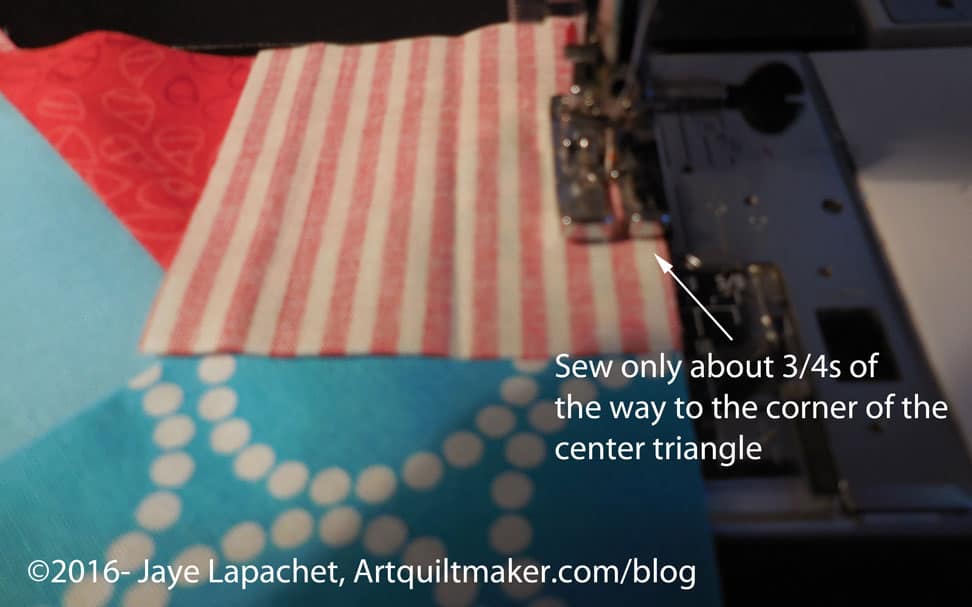
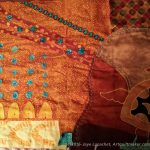
17. Put section 1 under the needle with the center square on top. Line the center square up with the intersection of the red triangle and the Pearl Bracelets triangle (my fabrics used as a guide).
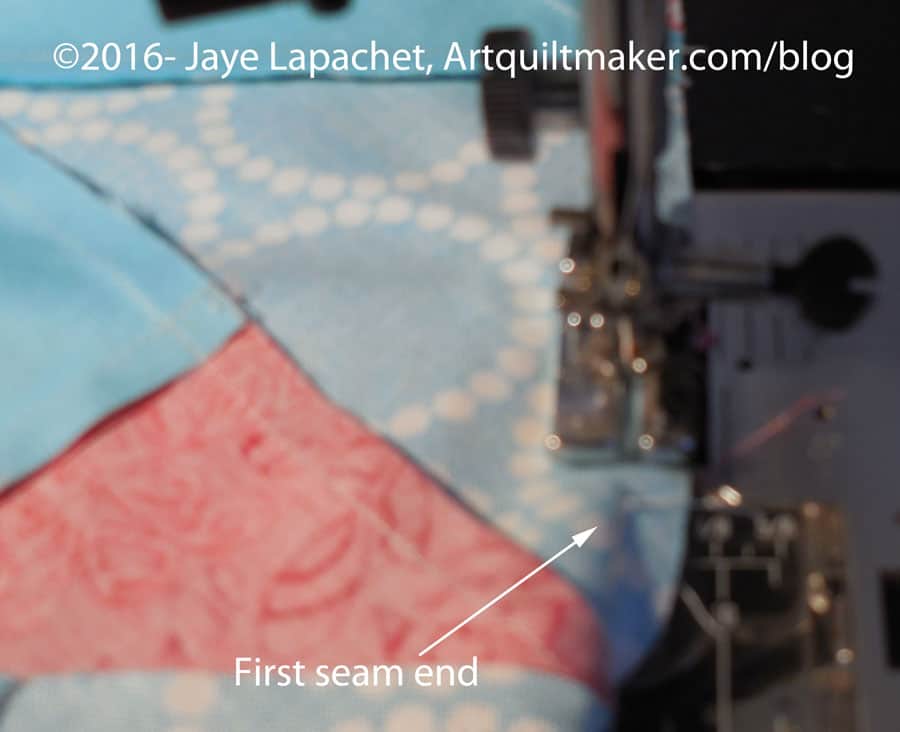
Backstitch at the end of the seam to secure the seam since you will be playing with it.
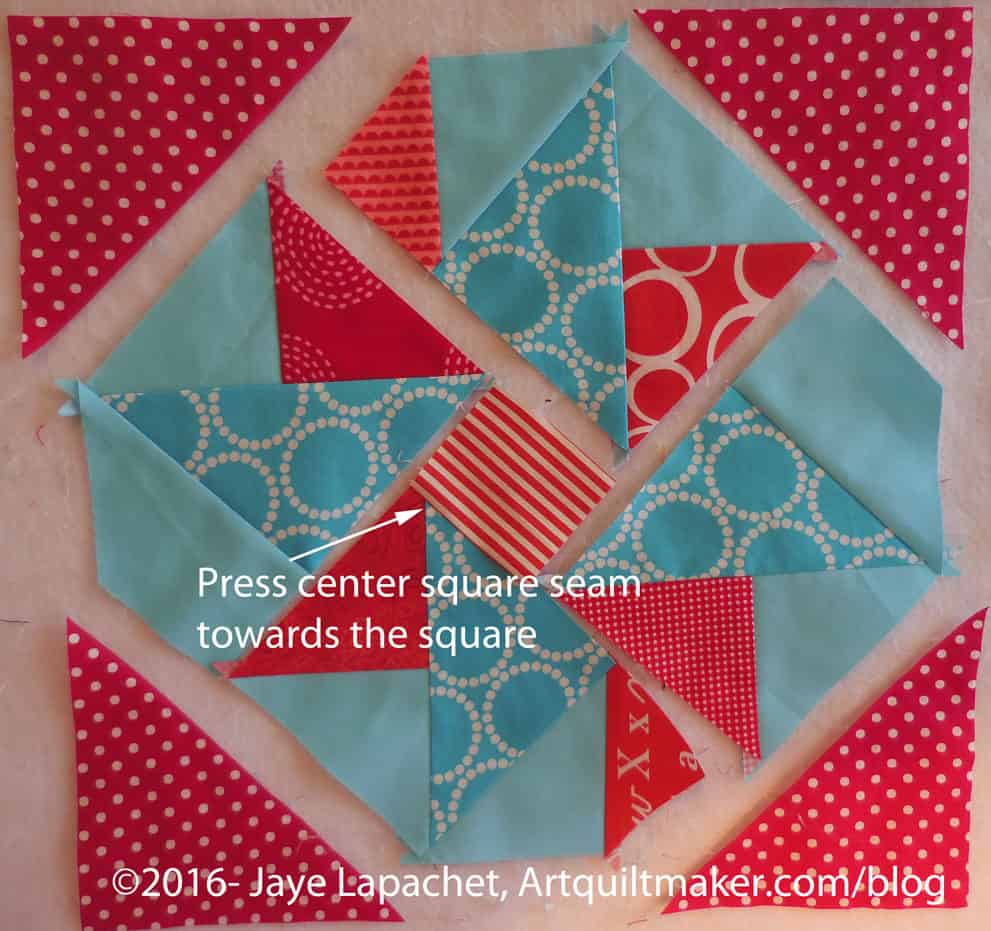
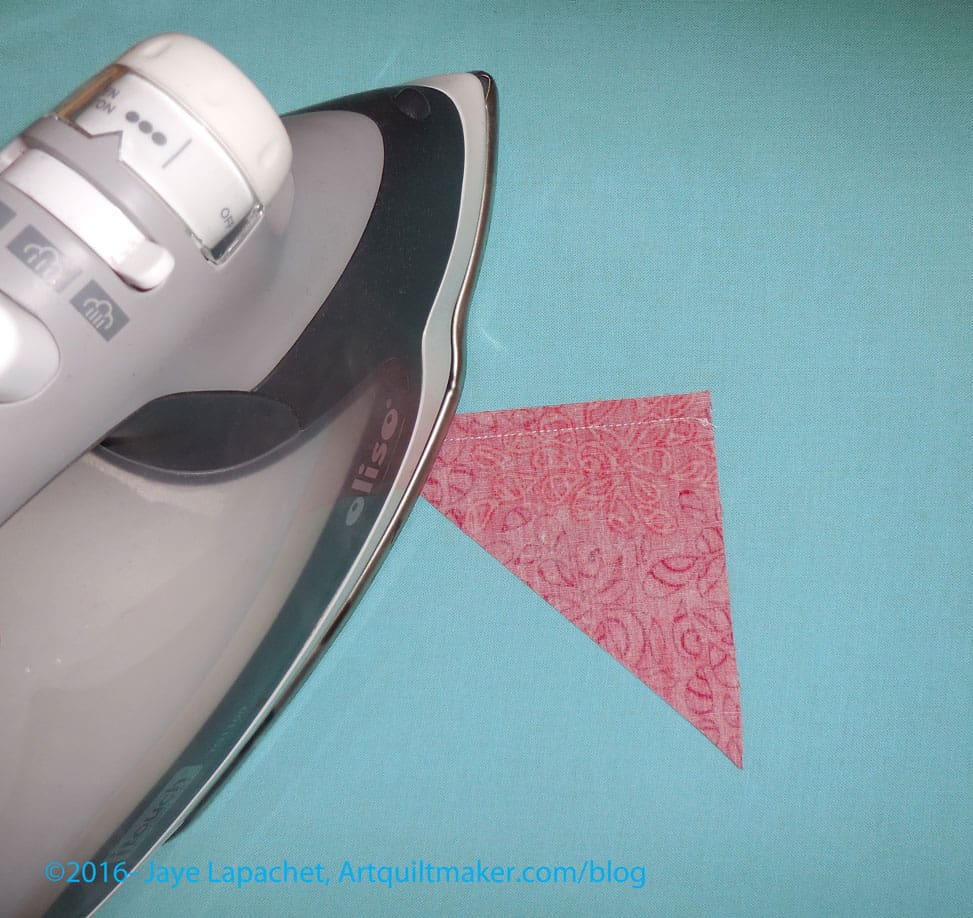
18. Press seam towards center square. Press carefully since the whole seam isn’t sewn.
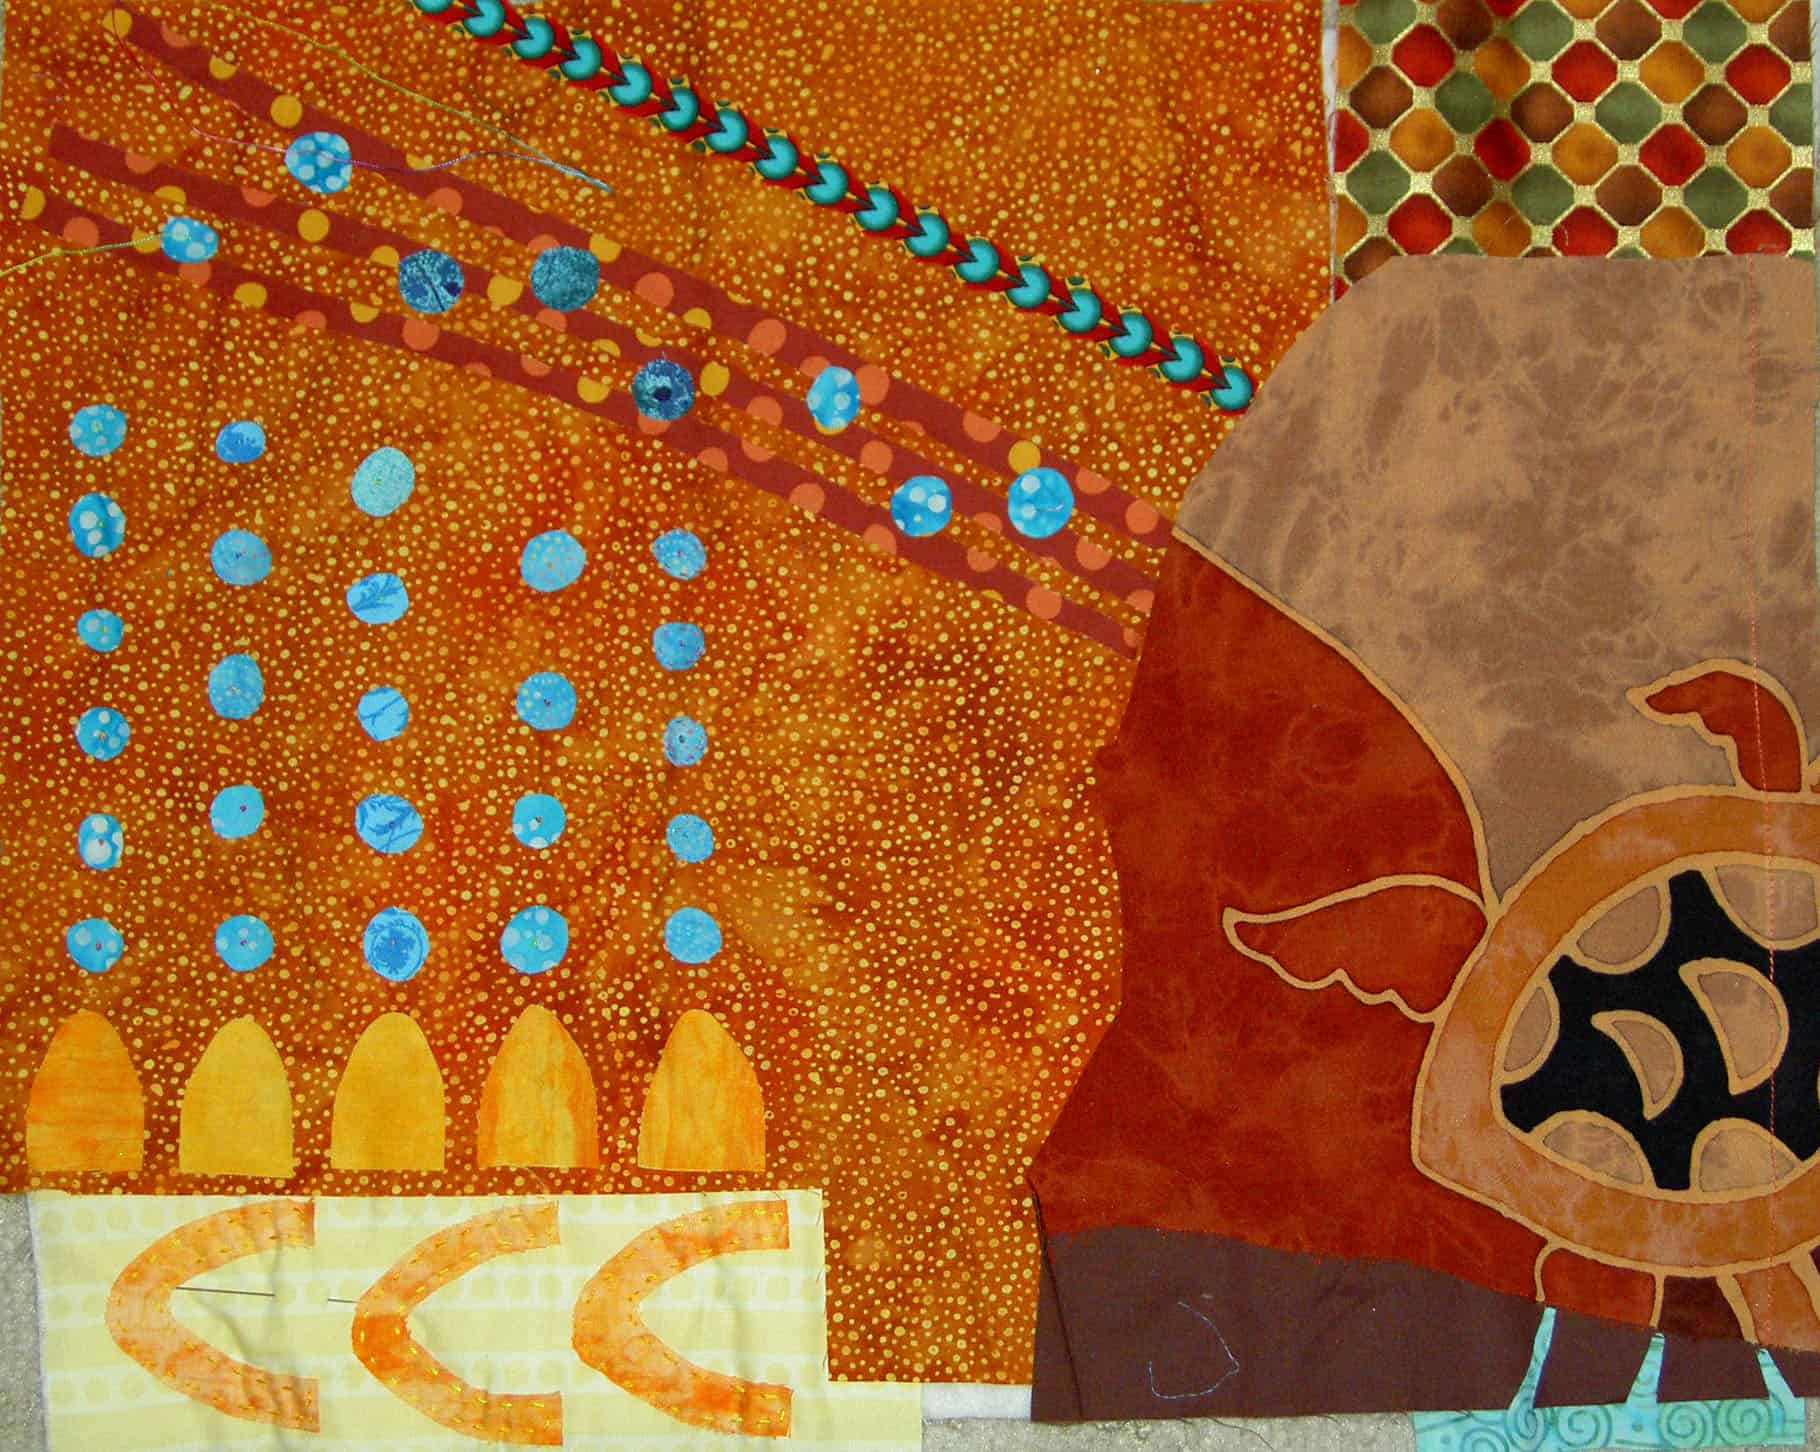
The sewn piece will flip up. You can see about how much to sew in the picture above.
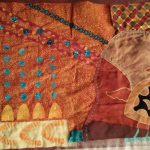
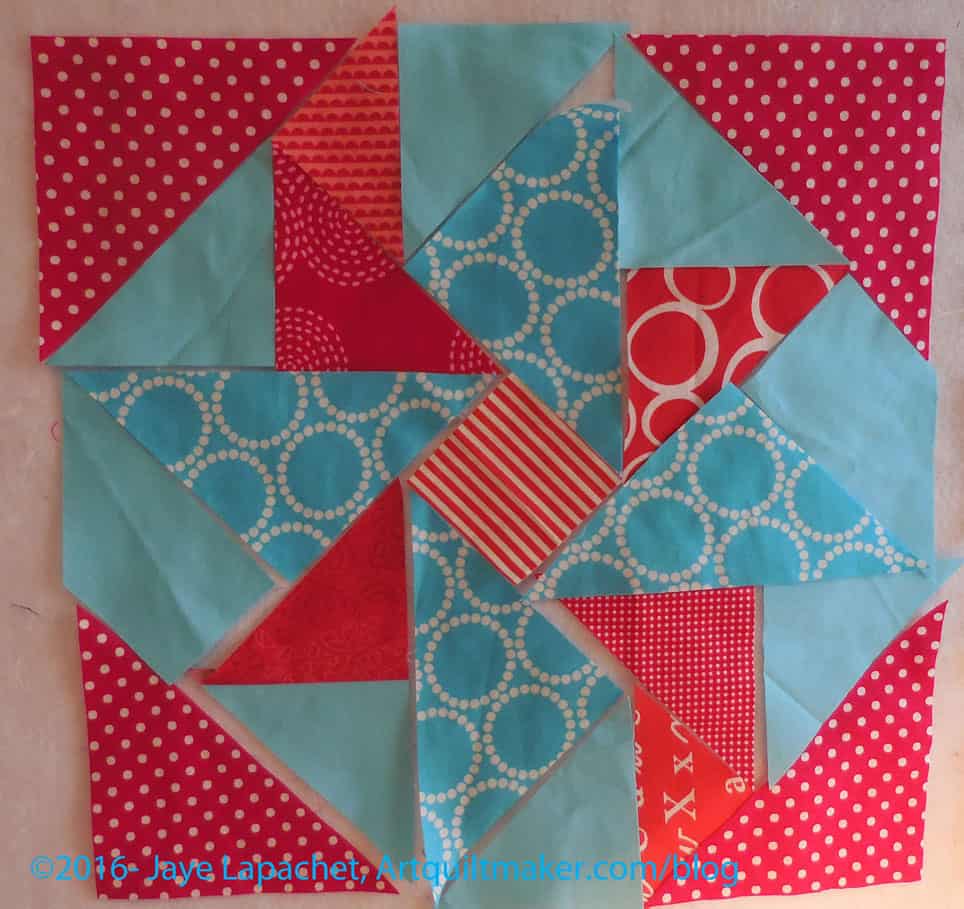
19. Take section 2 and lay it over section one and the center square with right sides together. The lengths should be about the same.
Completing the sewing of section 2 makes the section look like it is possible to sew on section 3.

20. Lay section 3 over section 2 and the center square. Line up the edges so they are event.

Now your center section is almost done.
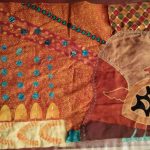
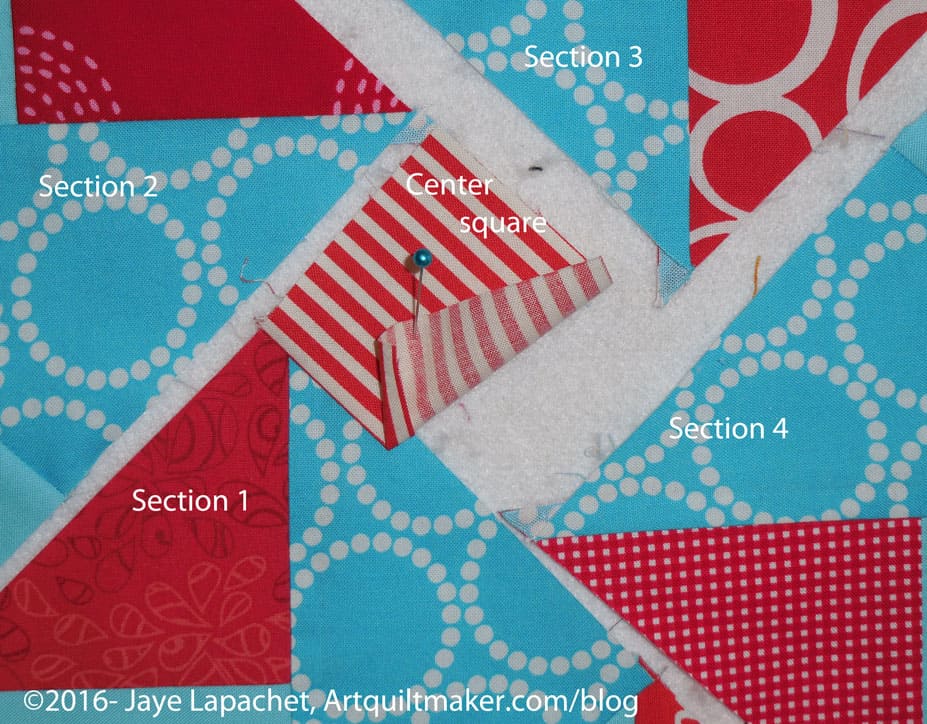
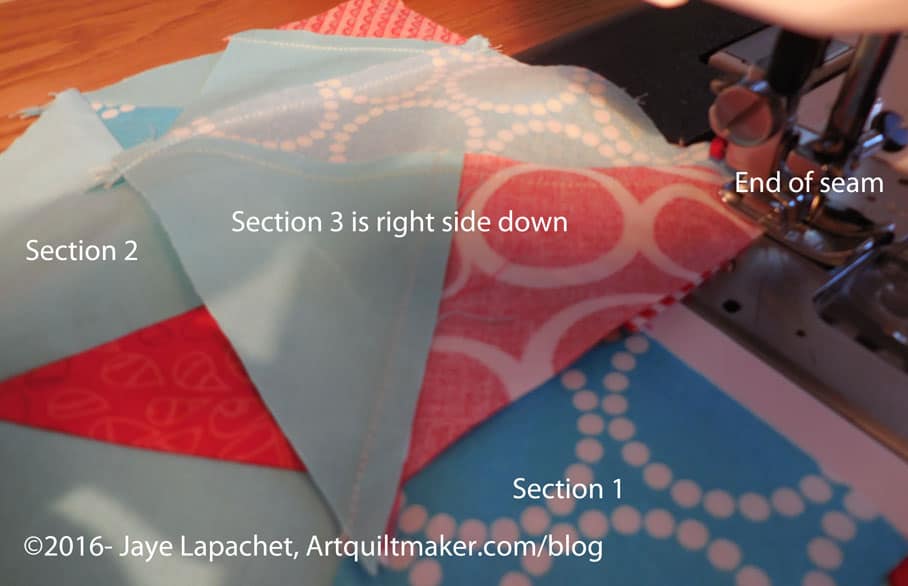
21. Prepare to sew section 4 to the larger piece you have made by tucking section 1 under section 2. You might want to use a pin to keep it out of the way.
22. Lay section 4 over section 3, right sides together.

Section 4 is sewn. Keep section 1 tucked under and out of the way for the next step. Get ready to complete your partial seam.
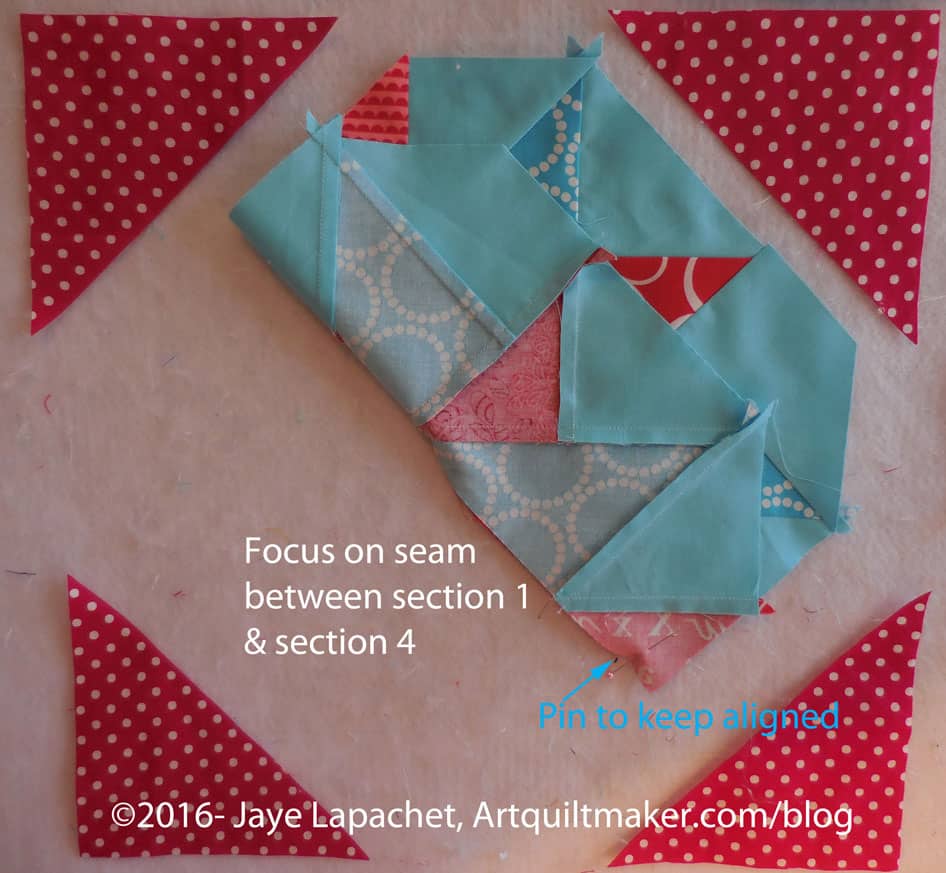
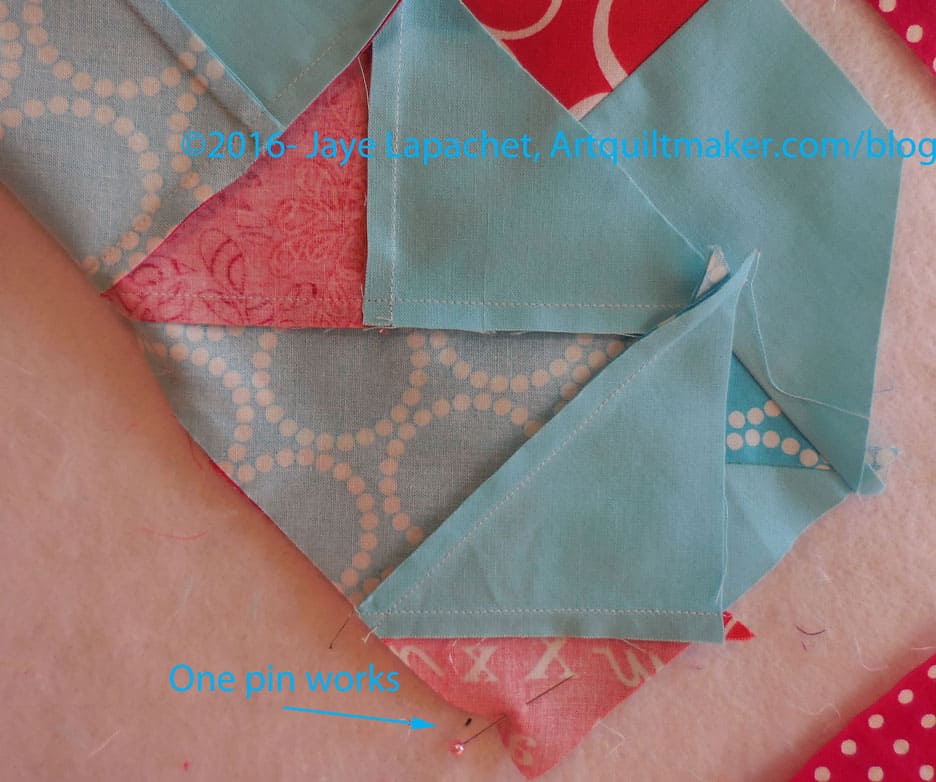
23. Fold the raw edges between section 1 and section 4 up like half of it wasn’t sewn. Use a pin near the end of the seam (edge of the section) to keep it in place.
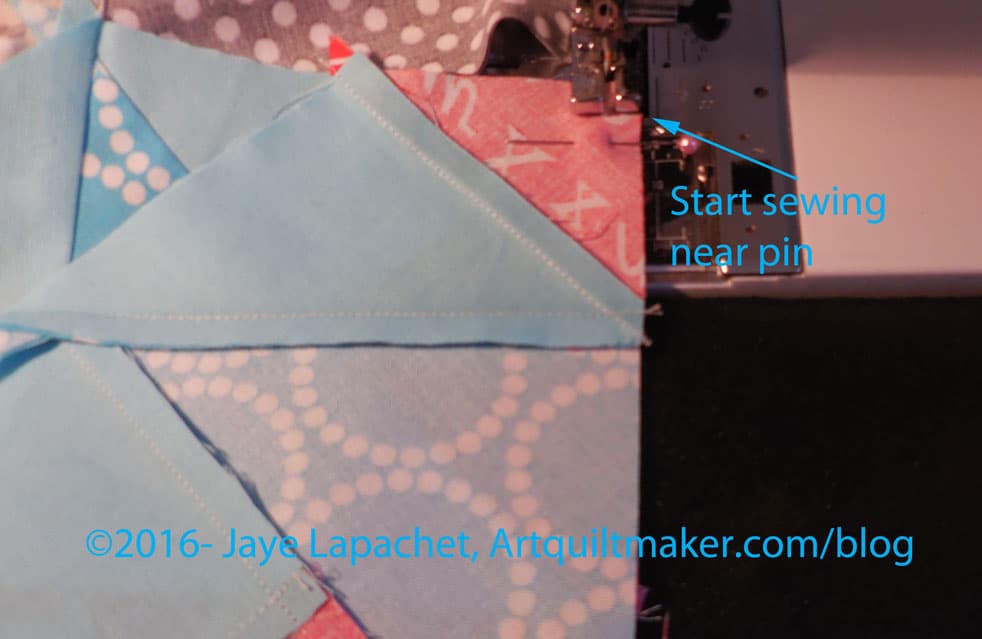
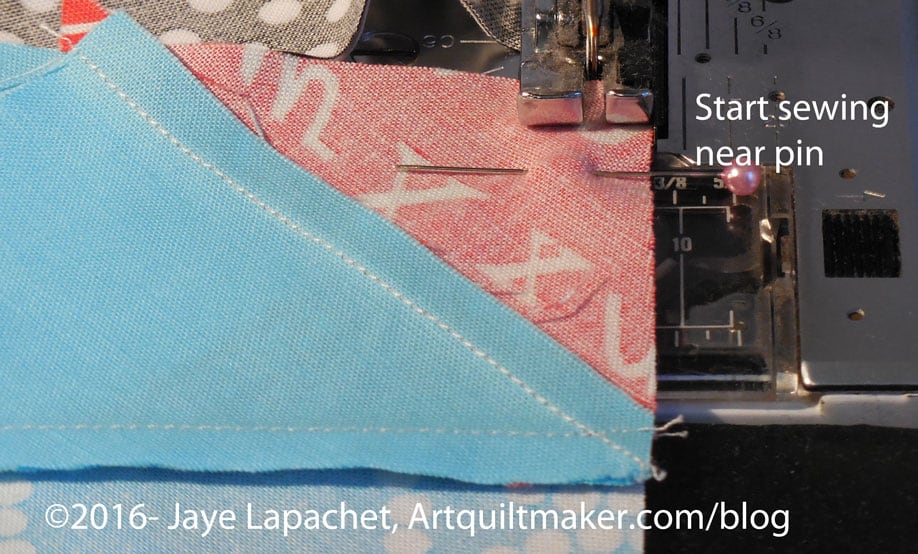
24. Position piece so you start sewing near the pin.
Now you will sew the partial seam.

25. Once you start sewing from the pin (noted above), you will see the end of the first seam you partially sewed. Sew slowly to the end of previous seam line. To avoid a lump in the middle where the two seams meet, you can tug VERY gently towards your body as you sew. Do this only if necessary.
Hooray!!! You have finished the center section
Now you have to sew the corner triangles to the center section to finish the block.
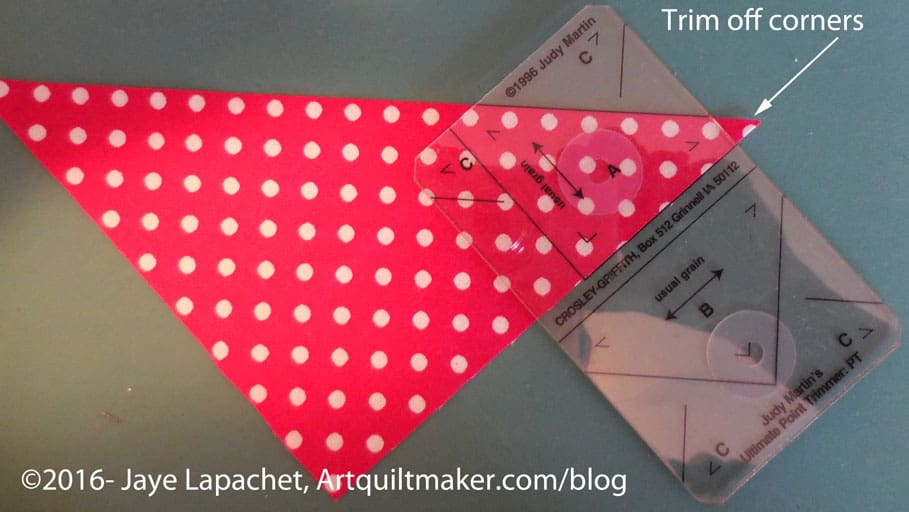
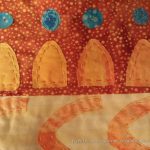
26. Trim off corners of large corner triangles before you sew them on. You can trim them all at once or one at a time, which is what I do.

27. Lay triangle on the sewn section, lining up trimmed corners even with edge of sewn section.
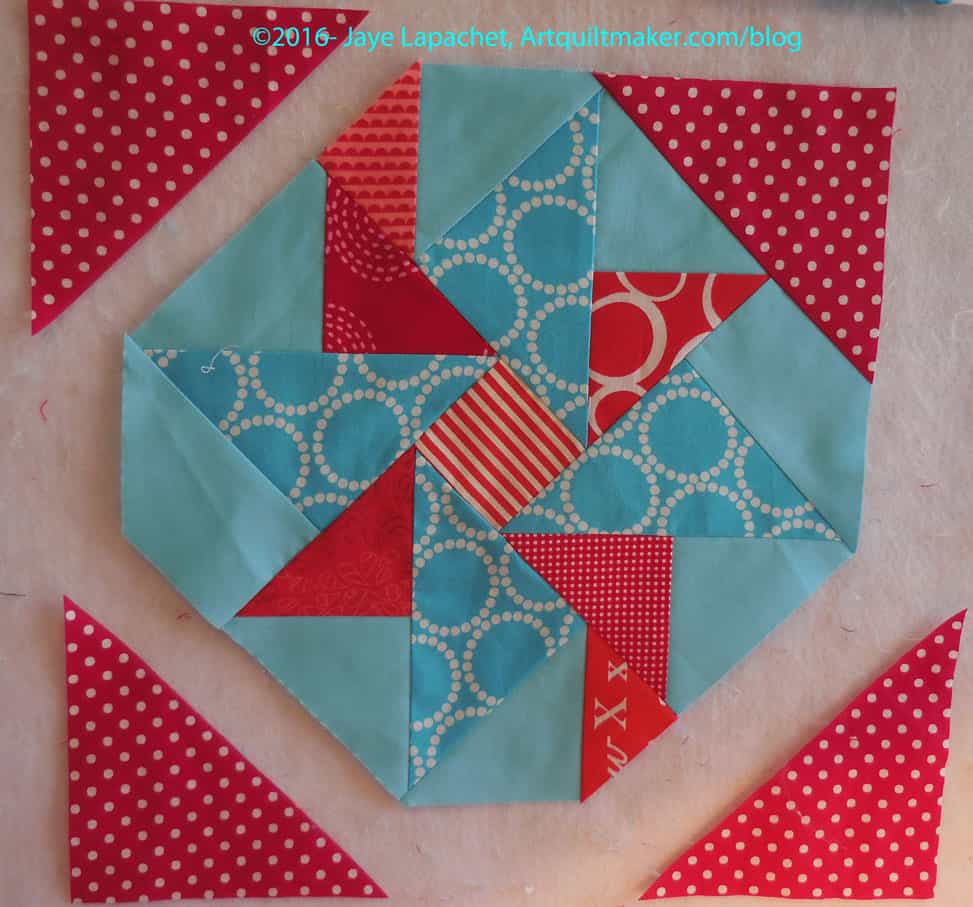
Your piece will look like the above image. Follow steps 26-27 for all corner triangles.

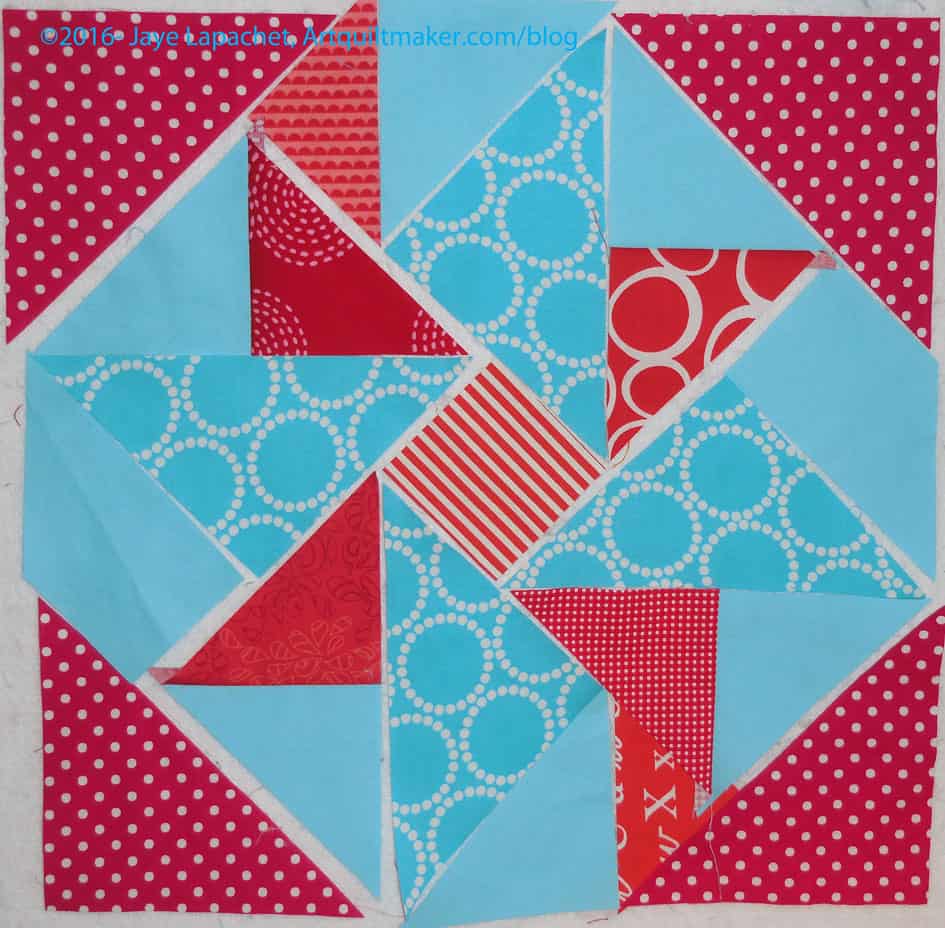
You are now finished! Great job!
___________________________________
Other resources and patterns regarding partial seams:
- Chain Link from Link to the 30’s: Making the Quilts We Didn’t Inherit (That Patchwork Place) by Kay Connors and Karen Earlywine. I saw it on the Patchwork Play blog made with a great red background. The maker calls it Shelburne Tartan on that blog.
- Double Windmill block. I saw an example on the Swim Bike Quilt blog.
- Kate Colleran partial seams tutorial
- Laura Nownes tutorial on partial seams. Good tip about avoiding puckering on the last seam. I don’t agree with not pressing the seams until the end. Avoid pressing the first half seam, but press all the rest.
- Jinny Beyer tutorial. Not sure I can compete. 😉
- Quilting Daily Partial Seam Tutorial
**Obviously, you should shop at local quilt shops and small businesses. However, if you are too busy or can’t find what you need there, I use Amazon affiliate links and may be paid for your purchase of an item when you click on an item’s link in my post. There is no additional cost to you for clicking or purchasing items I recommend. I appreciate your clicks and purchases as it helps support this blog.