Poolside Tote

Remember when I cut out all of those pieces for the Poolside Tote? Remember when I laid it out on the floor to look at it? Well, now it is done.

Poolside Tote
Poolside Tote

This past weekend was the weekend when I sewed the whole thing together. Tim and I sewed ours at the Retreat. He got busy first and I followed his lead. I had to rip a bunch, so I got behind. It was a great to have a buddy and Diana L acted as mentor to us with some tricky parts.

I love the fabric that Tim used. He fussy cut birds for certain parts of the tote.

Having all the pieces cut and fused was awesome! It made the tote so much easier to put together. Yes, I did have to cut them out at some point, but not having to cut them out and them sew them at the Retreat made everything go much more smoothly.

Poolside Tote facing

I am not sure about making this bag again, though I have the fabric to make a pink version. It wasn’t difficult, but it was fiddly.

The sides have rounded centers, which are kind of a pain. There is a piece of facing that is sewed around the top edge to cover all of the raw edges. In general, I thought it was a good way to cover the raw edges, but it was difficult to sew on. I pinned a lot and still got puckers. It might be useful to fuse down parts of it.

The facing was large enough so I wasn’t sewing right on the edge where the bag was thickest, which was helpful. I sewed slowly and used a walking foot for most of this project.

It would not have been possible, or perhaps convenient is a better term, to use the add on style of walking foot. The 6600 has the integrated walking foot and, while not perfect, that thing is awesome. It was great for bag making, especially after I adjusted the foot pressure to the correct number.

Poolside Tote - inside
Poolside Tote – inside

I sewed the inside smaller than the directions said (using a larger seam allowance) and it was still really large. You can see the extra fabric really well. I am not sure how much more to adjust it.

I forgot my zippers and swivel hook, so I made slip pockets for the outside and put a metal loop on the inside. The inside has no pockets, which is kind of a design fail, so I think I will make a zipper tote in the same fabric with a swivel hook and clip it on. Either I, or my giftee will be able to put items in there securely without worrying about someone reaching their hand in and easily grabbing them.

Tim & Jaye
Tim & Jaye

I am not sure how I feel about this tote. The lack of inside pockets or a pen pen makes it more for carrying large items rather than everyday use. I guess Poolside Tote is a good descriptions because it would be great for towels and swimsuits.

26 Projects – October 2017 Edition

Finished 2017 Quilt Projects

Finished 2017 Non-Quilt Projects
While finished quilts are thin on the ground, as you know, I have been sewing and I have finished a lot of small projects. I am working on quilts and t I plan to make more small projects this year.

Shockingly, the above along with donation blocks and tops is about 70 yards of fabric this year and I am not in the black in terms of usage.

Doing Good

In Process
The  ‘In Process’ is used to denote projects on which I am actively working or pretending to stitch. I try not to put away projects, because that will ensure I never work on them.

  • City Sampler – blocks all made. Need to sash the blocks and finish putting the top together. Due to some issues I had with my seam allowance, some of the blocks are smaller than others, so I will have to adjust them in some way – either adding a piece or two to the block or with sashing. I did actually put the sashing and the blocks in my bag for Sew Day yesterday. I just didn’t get to working on them. I need to press the VERY large piece of backing fabric and it was just too hot.
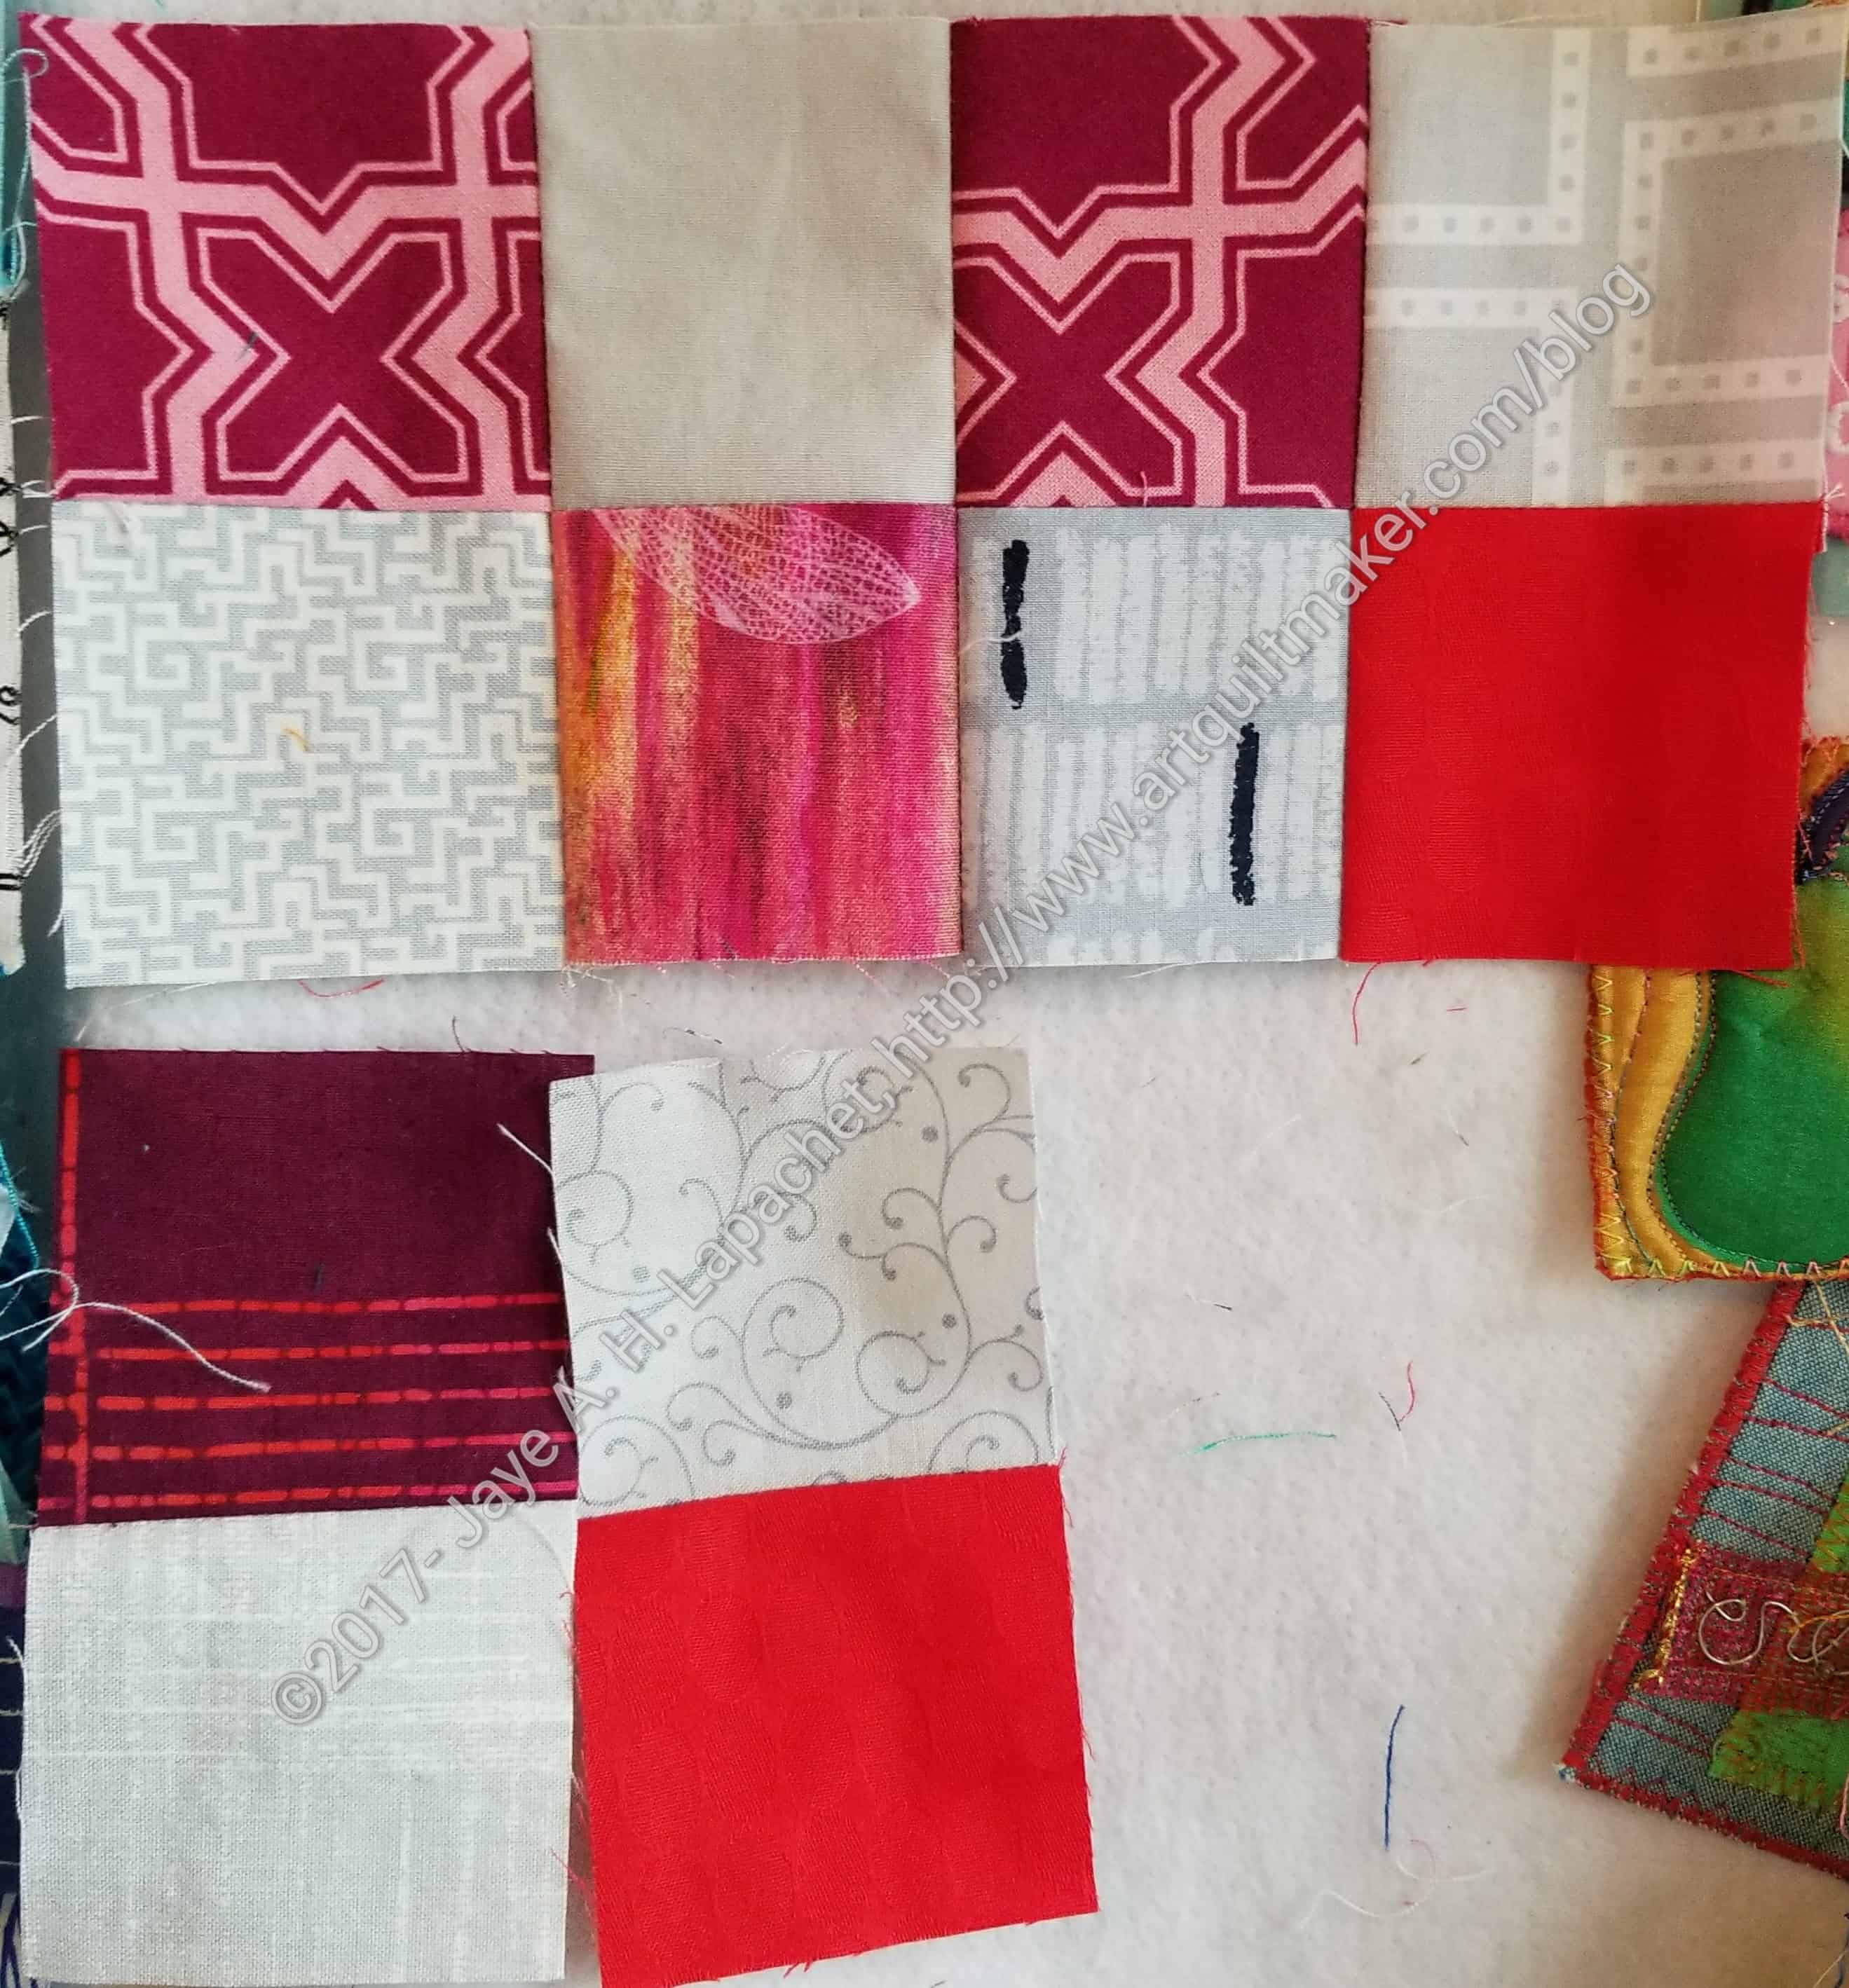
  • Dots & Stripes HST Quilt (or Something) – half square triangle blocks are made. I laid them out and see what is what with them.
  • English Paper Piecing Project– half hexies – I am still making stars. I am still using the big stack of fabrics I cut over Thanksgiving to make them, though I am starting to run out and I will need to cut more. I am filling in the weird shape I talked about last time. Next up, adding a border to one side to keep me from making it a weird shape again. I need to find the triangle papers and the fabric I planned to use.
  • En Provence – I finished the the fifth and sixth clues. I am on Clue 7, which is starting assembly, but I still have some blocks to make. I am using HSTs instead of plain blocks to make the quilt flow better. For the same reason, I am making more Peaky and Spikes and using them instead of QSTs. I have some more work to do.
  • FOTY 2016 – I didn’t capitalize on my excitement after seeing the Ellsworth Kelly exhibit and now I have lost that rush. I still need to get on it. 9 months into the year and I am still not done. 🙁
  • Lobster – I still have more stitching to do and then I need to quilt it.
  • Triple Star: I am sewing the pieces into blocks as leaders and enders between  other projects.
  • Under the Sea: class project; like the design and am happier with the colors. I had an idea for it, but got another idea last week at Craft Night that might be better.

Still WIPs
I still have WIPs. Who doesn’t, after all? A project in the ‘UFO’ category means I am stalled. A nicer way of saying UFO is a WIP. The list is a lot shorter and the projects are newer, for the most part.

  1. Aqua-Red Sampler – I need to lay the blocks out and put the piece together.
  2. BAMaQG IRR – this was never on the list before, but I have clearly been working on it for a long time. I think the last time I even really thought about it was in June of 2016 when Ruth returned it to me. The last post has some good ideas about what I need to do next.
  3. BAMaQG Color Round Robin – this was just returned to me and I think I will just finish it and send it off to a friend who has a 1 year old.
  4. Octagon 9 Patch: It is ready to put together. I could have used it as leaders and enders for a number of different projects I have going. I didn’t, mostly because I have a lot I can use as leaders and enders. Not sure what I am waiting for. Do I want to lay out the blocks more carefully? I actually have a plan for it, so I should get on it. I should do a lot of things.
  5. The Tarts Come to Tea: I still haven’t worked on this since April 2011, though, I did bring it to the 2017 CQFA Retreat as a potential project. It is still in a prominent location so I have easy access. I plan to bring it to the BAMaQG retreat.
  6. Pointillist Palette #4: Fourth is a series of 6 quilts; needs tiny square patches sewn together. No progress.
  7. Pies and Points from Victoria Findlay Wolfe class. No further progress. I did wash the background fabric I found when I went to Portland, so I am ready to cut. I need to focus on this and it is not up high enough on the list yet.
  8. Self Portrait: started in 2006 at a class at Quilting Adventures in Richmond, Virginia. I am stalled on this again. Again, I didn’t capitalize on the excitement I got from my career counselor and now the feeling is lost.
  9. Serendipity Lady Quilt: no progress.
  10. Stepping Stones #2 – I am still ready to make the border blocks , but haven’t gone beyond designing them yet.
  11. Lozenge quilt – Blocks are trimmed. Need to sew them together.
  12. Stripes & Dots HST quilt – need to sew blocks together.

Ready for Quilting

  • Nothing at the moment

In Quilting Process

  • Carpenter’s Wheel is being quilted– I took this to Colleen’s a few weeks ago and am waiting for her to get back to me.
  • Thanksgiving tablemat – I started quilting this piece at the 2017 CQFA Retreat. I made good progress, but it isn’t finished yet. It will be another BAMaQG retreat project.
  • Theoretically, the Tarts Come to Tea is in the quilting process, though I haven’t worked on it in a while.  See above.

Binding

Nothing at the moment

Hunting and Gathering

  • 30 Something: I am still cutting 1.5 inch squares. I am pretty sure I have the 800 I need, but I am not ready to sew these yet, so whenever I have a chance I cut more. It will give me choice when the time comes. I’ll have to think up a new name, too.
  • Blue Gradation Quilt: cutting 2.5 inch x 4.5 inch blue rectangles
  • Blue Lemonade: cutting blue, green, purple 2 inch squares. I used a lot of these squares for En Provence, so I will need to cut more.
  • Pink Gradation Quilt: cutting 2.5 inch x 4.5 inch pink rectangles
  • Spin Wheel: really not started, but supplies gathered. I probably have enough fabrics and just need to decide to start.
  • Windmill quilt: Still hunting and gathering. I am supposed to be cutting a variety of greys for the background. I bought a new template, so I should be able to get going again

Other

  • Stepping Stones #3 using the Macaron pre-cuts from Hoffman. I have all the fabric in pre-cuts and am just waiting for space (and desire) in my schedule.

What’s on your list?

Book Review: Creative Quilt Challenges

Creative Quilt Challenges

Creative Quilt Challenges: Take the Challenge to Discover Your Style & Improve Your Design Skills by Pat Pease

I like quilt challenges, but almost never take the time to participate anymore. I am almost always in the middle of an important piece of my own and don’t want to disrupt my flow. I also have a long list of dream projects.

However, occasionally, I will take part in a challenge. I did the A-B-C quilt as part of a challenge and the Whole Cloth Quilt as well. I am very pleased with both of them.

I saw the challenge exhibit at PIQF last year and that exhibit made me buy this book. I thought the outcomes were really interesting and beautiful.

This is a dense book. There is a lot more to it than a few ideas and a bunch of pretty quilts. The book has seven different challenge ideas (pg.3). The challenge ideas are supported by a long list of special techniques (pg.86-103). Each challenge section includes the following sub-sections:
-About this challenge
-Make it your own
-Description of quilts made
-Description of techniques used
-Color and design decisions
-Under construction
-Why it works

Tips are sprinkled throughout.

Many of the sub-sections are repeated for each quilt. The challenges are varied as well. The way this book is written makes me want to do them all:
-Reimagine an old block with a new twist (pg.6-7)
-The Value of Value (pg.18-27)
-Unlikely Materials (pg.28-39)
-Pass it Back and Forth & Do Not Speak (pg.40-49)
-The Collection (pg.50-59)
-Invent Your Own Challenge (pg.60-71)
-Mix It Up (pg.72-85)

The Table of Contents is full of detail information on the quilts made and the tips and techniques demonstrated (pg.3). The introduction includes a line that I use often to explain my fabric purchases. “When we look through our fabrics at home or go fabric shopping, we don’t see yards of whole cloth. Instead, we imagine finished quilts (pg.4). This is absolutely true for me and when I read that I decided I like these authors. They followed it up with “when we go about our day, we don’t only see the world around us – we see potential pattern, colors and ideas for future quilts (pg.4). If you follow my Instagram feed you will see what I post and will know that I am always looking at the world around me in hopes of being inspired for my next quilt idea. The first paragraph of the Introduction (pg.4) could have been written by me.

The rest of the Introduction explains how the book came about, how the authors differ in their work style. They characterize this book as an invitation to “enter the ‘Land of Color, Design and Imagination’ ” (pg.4). They make it clear they want you to explore, but aren’t giving the reader a map. They are also clear that they want you to use their challenge themes. Why buy the book, otherwise? LOL!

The authors acknowledge that there are many ideas for quilt challenges on the Internet. They “selected the ones you see in this book because we found them appealing, inspiring and focused enough to have cohesion but open-ended enough to allow us to run with the idea” (pg.5). They also sketch out basically how a challenge works (pg.5). Then they dive right into the challenges and the quilts.

Each section talks about the parameters of the challenge or includes a brief description or inspiration. Next they talk about making the challenge personal (pg.6). I think the latter is a very important aspect to this book. This is what will help readers grow. Books that tell the maker what to do step by step with no space for improvisation add to the store of quilts, but not to growth as a quiltmaker.

In the first challenge they answer the question “what did we learn” with “Exploring the anatomy of a familiar block allows you to go in new direction while being grounded in a foundation that you already understand. Starting with something you understand frees you up to try new things without getting overwhelmed” (pg.6).

I liked the skillbuilding included in each challenge. As I have made clear, learning new skills contributes to growth as a quiltmaker. The first challenge includes a visual tutorial on partial seams (pg.9). Partial seams* aren’t often taught, even in sampler classes, but they are very useful skill for modern design as they facilitate the ability to sew asymmetrical designs together.

While this book is published by C&T and it makes financial sense for them to promote some of their other products, their inclusion of the Ultimate 3-in-1 Color Tool by Joen Wolfrom is not gratuitous. This tool, along with the Studio Color Wheel and the Design Ratio Tool are three of the best color and design tools I own. As the authors say the 3-in-1 Color Tool helps to “visualize color progression, such as chartreuse going to yellow-green, then to spring green” (pg.11). I find both color tools help me find what color is missing in a quilt and give me ideas for color combinations.

The second challenge (pg.18-27) is about value. I know value is an important aspect of color work, but I don’t like the idea that it is more important than any other aspect of color work. This book has the right attitude for me. The authors express this sentiment well when they write “color is a visual language that goes hand in hand with value, the relative lightness or darkness of a color” (pg.18).

The authors include technique demonstrations or lessons in each section. These demonstrations show how to make units or parts that make up their quilts. The technique in Wendy’s quilt is the Reversible Double French Fold Binding (pg.24). I am always interested in learning new ways of binding, especially when one works on reversible quilts.

The other challenges are interesting and useful as well. Unlikely Materials (pg.28-39) gives permission to move beyond ‘regular’ quilt fabric. A maker could use decorator fabrics to introduce texture into their work. FabMo fabrics would work very well.

Pass It Back and Forth and Do Not Speak (pg.40-49) is a pretty common challenge concept. It is difficult, however, because there is a level of trust involved. Your partner can add to your piece in a shocking way. S/he could cut the whole piece up or cover it with fabric stitching in an unexpected manner. This challenge requires that you play and limit your expectations

“The Collection’s” (pg.50-59) intent is to provide an opportunity to use a favorite group of fabric. While useful in general, the challenge is especially fun if you and a friend collect the same type of materials (fabric, embellishments, etc).

There are a number of things to like about the challenges. The authors provide many step by step photographs to illustrate and help explain the various techniques. There is scope for change and evolution in all of the challenges. Also, these are all techniques and ideas rather than step-by-step projects. Your pieces will come out much differently than those the authors created from the same directions.

Towards the back is a section called Special Techniques (pg.86-104). this section helps make the quilts successfully. There are two machine binding techniques (pg. 86-87) as well as a Facing Finish (pg.88-89), if you don’t like my facing tutorial. 😉 The authors show how to make inset squares (pg.92-93), which I want to try. I liked that they talked about pressing in a sensible non-dogmatic way (pg.94), though they don’t discuss the benefits of matching seams when seams are pressed to the side. The various pages on stitching techniques will help the art quilt makers among you (pg.99-104).

The book includes a gallery at the back with more colorful and interesting pieces.

There is no index, which is a shame because it would be really useful with all of the techniques the book includes.

Making art quilts is not in fashion right now. Many of the art quilts being made are being lumped into the modern category, especially the political quilts. This book is the closest I have seen to an art quilt book recently. I like for that and also for the skill-building aspect.

*Check out the tutorial on sewing partial seams.

View all my reviews

New Knitting

Cosmic Wonder Dust Scarf

This is the new project. The yarn is called Cosmic Wonder Dust. I think it looks like a party. I really love the colors in this yarn.

I really wanted this yarn. They didn’t have the weight that uses n.6 needles. These particular skeins use n.9 needles and it feels really thick. Still, it knits very quickly. I started this project last night and already have a lot completed.

Cosmic Wonder Dust initial work

Before this morning, I had just a few rows of the scarf done. Three conference calls and I have a lot more done.

Also, my process must be progressing, because I only ripped the cast-on off once. I was happy with my progress after the second cast-on.

This might be the last scarf I need for Christmas gifts for the YM’s friends. We’ll see. He has roommate who wasn’t there, but found the house and I may make one for her just so she doesn’t feel left out. I think I will have the time.

I want to make one for the YM as well, but I have to find some yarn that is even softer than the merino wool.

Lichen Scarf

Lichen scarf
Lichen scarf

I finished the Lichen scarf. It was finished yesterday, a little later than I wanted, but I didn’t carpool last week, so I didn’t have as much time to knit.

The deadline was because I went to the knitting store on Monday and bought yarn for the next scarf. I don’t want to stash yarn.

The tightness of my stitches was a little off at the end, but I am pleased with how the scarf came out.

Quilting in the Garden 2017

Quilting in the Garden 2017

It is really fun to have another quiltmaker around the corner. SIL and I went to Quilting in the Garden out in Livermore on Sunday and had a good time.

Last time I took BART, I think, and Mrs. K picked me up and drove me to the show.

Quilts were hanging right out front of the main nursery building, so we didn’t have to wait to get our fix.The Halloween quilt reminded me of a mixture of two friends: Julie and Gerre. If they made a quilt together, it would look something like that Halloween quilt

Cherry Featherweight

While most of the quilts, in general, were much more traditional than other shows I attend, I was excited to see so many quilts. Many of them had aspects I enjoyed. There were also vendors. I bought some new rotary blades (can you believe I ran out? Shocking!) and a ticket to win a cherry red Featherweight. I absolutely don’t need it, but it was very cute.

Edyta Sitar was the featured artist so many of the quilts on display were her quilts and used her color palette: blues and beiges. She had a booth with all of her books, patterns, thread, everything! Otherwise, I didn’t really see her wandering around chatting with people.

Ms. Sitar’s quilts have a traditional feel to them, but there is generally a twist. She uses a lot of different fabrics in the same values to add interest. She often seems to use intricate piecing or applique’.

The three quilts above are three of Ms. Sitar’s quilts that I really liked. I am not fond of her colors, but I can see adding a white or charcoal background to any of them along with some brighter foreground colors. They would make wonderful quilts in my style and colors.

If there was a theme, I would have to say Hunter’s Star. There were a number of Hunter’s Star quilts. SIL noticed them first as she has been making them with the die and ruler she has. They are super fun to play with in terms of colors. We saw probably half a dozen, which was amazing since I don’t think I have ever seen one at a show. Lora Zmak and Lisa Norton of Material Girlfriends had patterns for Hunter’s Star quilts and many of their samples were clever, bright and cheerful.

Confetti Star by Material Girlfriends- quilting

The version on the left had really fabulous quilting. Though the fabrics were all solids, the quilting made it look like the fabrics were patterned. Zoom in to look at the full effect of the quilting on the left quilt.

The quilting really worked with the blocks and didn’t take away from the overall design. A+!

My favorite quilt was also by Material Girlfriends. They call it Radiant Star. It is a version of the Sawtooth Star and you know I love almost all Sawtooth Stars. Remember my donation quilts and my Star Sampler?

Radiant Star by Material Girlfriends

The Radiant Star had good colors, great quilting and I loved the grid on which the blocks were placed. Look how regular the lines of blocks look horizontally, but once you look at them ont he diagonal, something new and different happens. Genius!

I also like the way the maker arranged the blocks from light to dark.

Heard Museum, part 3: Silver

Last week, I talked about the Katsina collection at the Heard Museum. I really could have taken a photo of each Katsina, but I tried restraint instead. The week before, I talked about the Kahlo / Rivera Exhibit. This museum is well worth a visit. There is a lot to see, so if you go to visit, plan to spend some time there.

Phillip Honanie, Hopi, Necklace, 1970s

In addition to the Kahlo / Rivera Exhibit and the Katsinas, the musem has a collection of silver pieces that are quite beautiful. They make me want to be part of an organization that has rituals that use such beautiful items. The necklace, though more modern, has really gorgeous designs adorning it.

In quiltmaking, I can see using this necklace as inspiration for handquilting or applique’. I don’t know if it is the metal, but the designs also remind me of the metal grates and grilles I saw at the Art Institute of Chicago in 2012.

One of my favorite pieces was a vessel. Enlarge the pictures so you can see the lovely lines on the lid and the droplets, or pussy willows, on the side of the container. I also like the hexagonal shape. The top could be used as machine quilting inspiration.

There were a number of other lovely pieces that were inspiring to me.

En Provence – Almost a Quarter

En Provence - almost a quarter
En Provence – almost a quarter

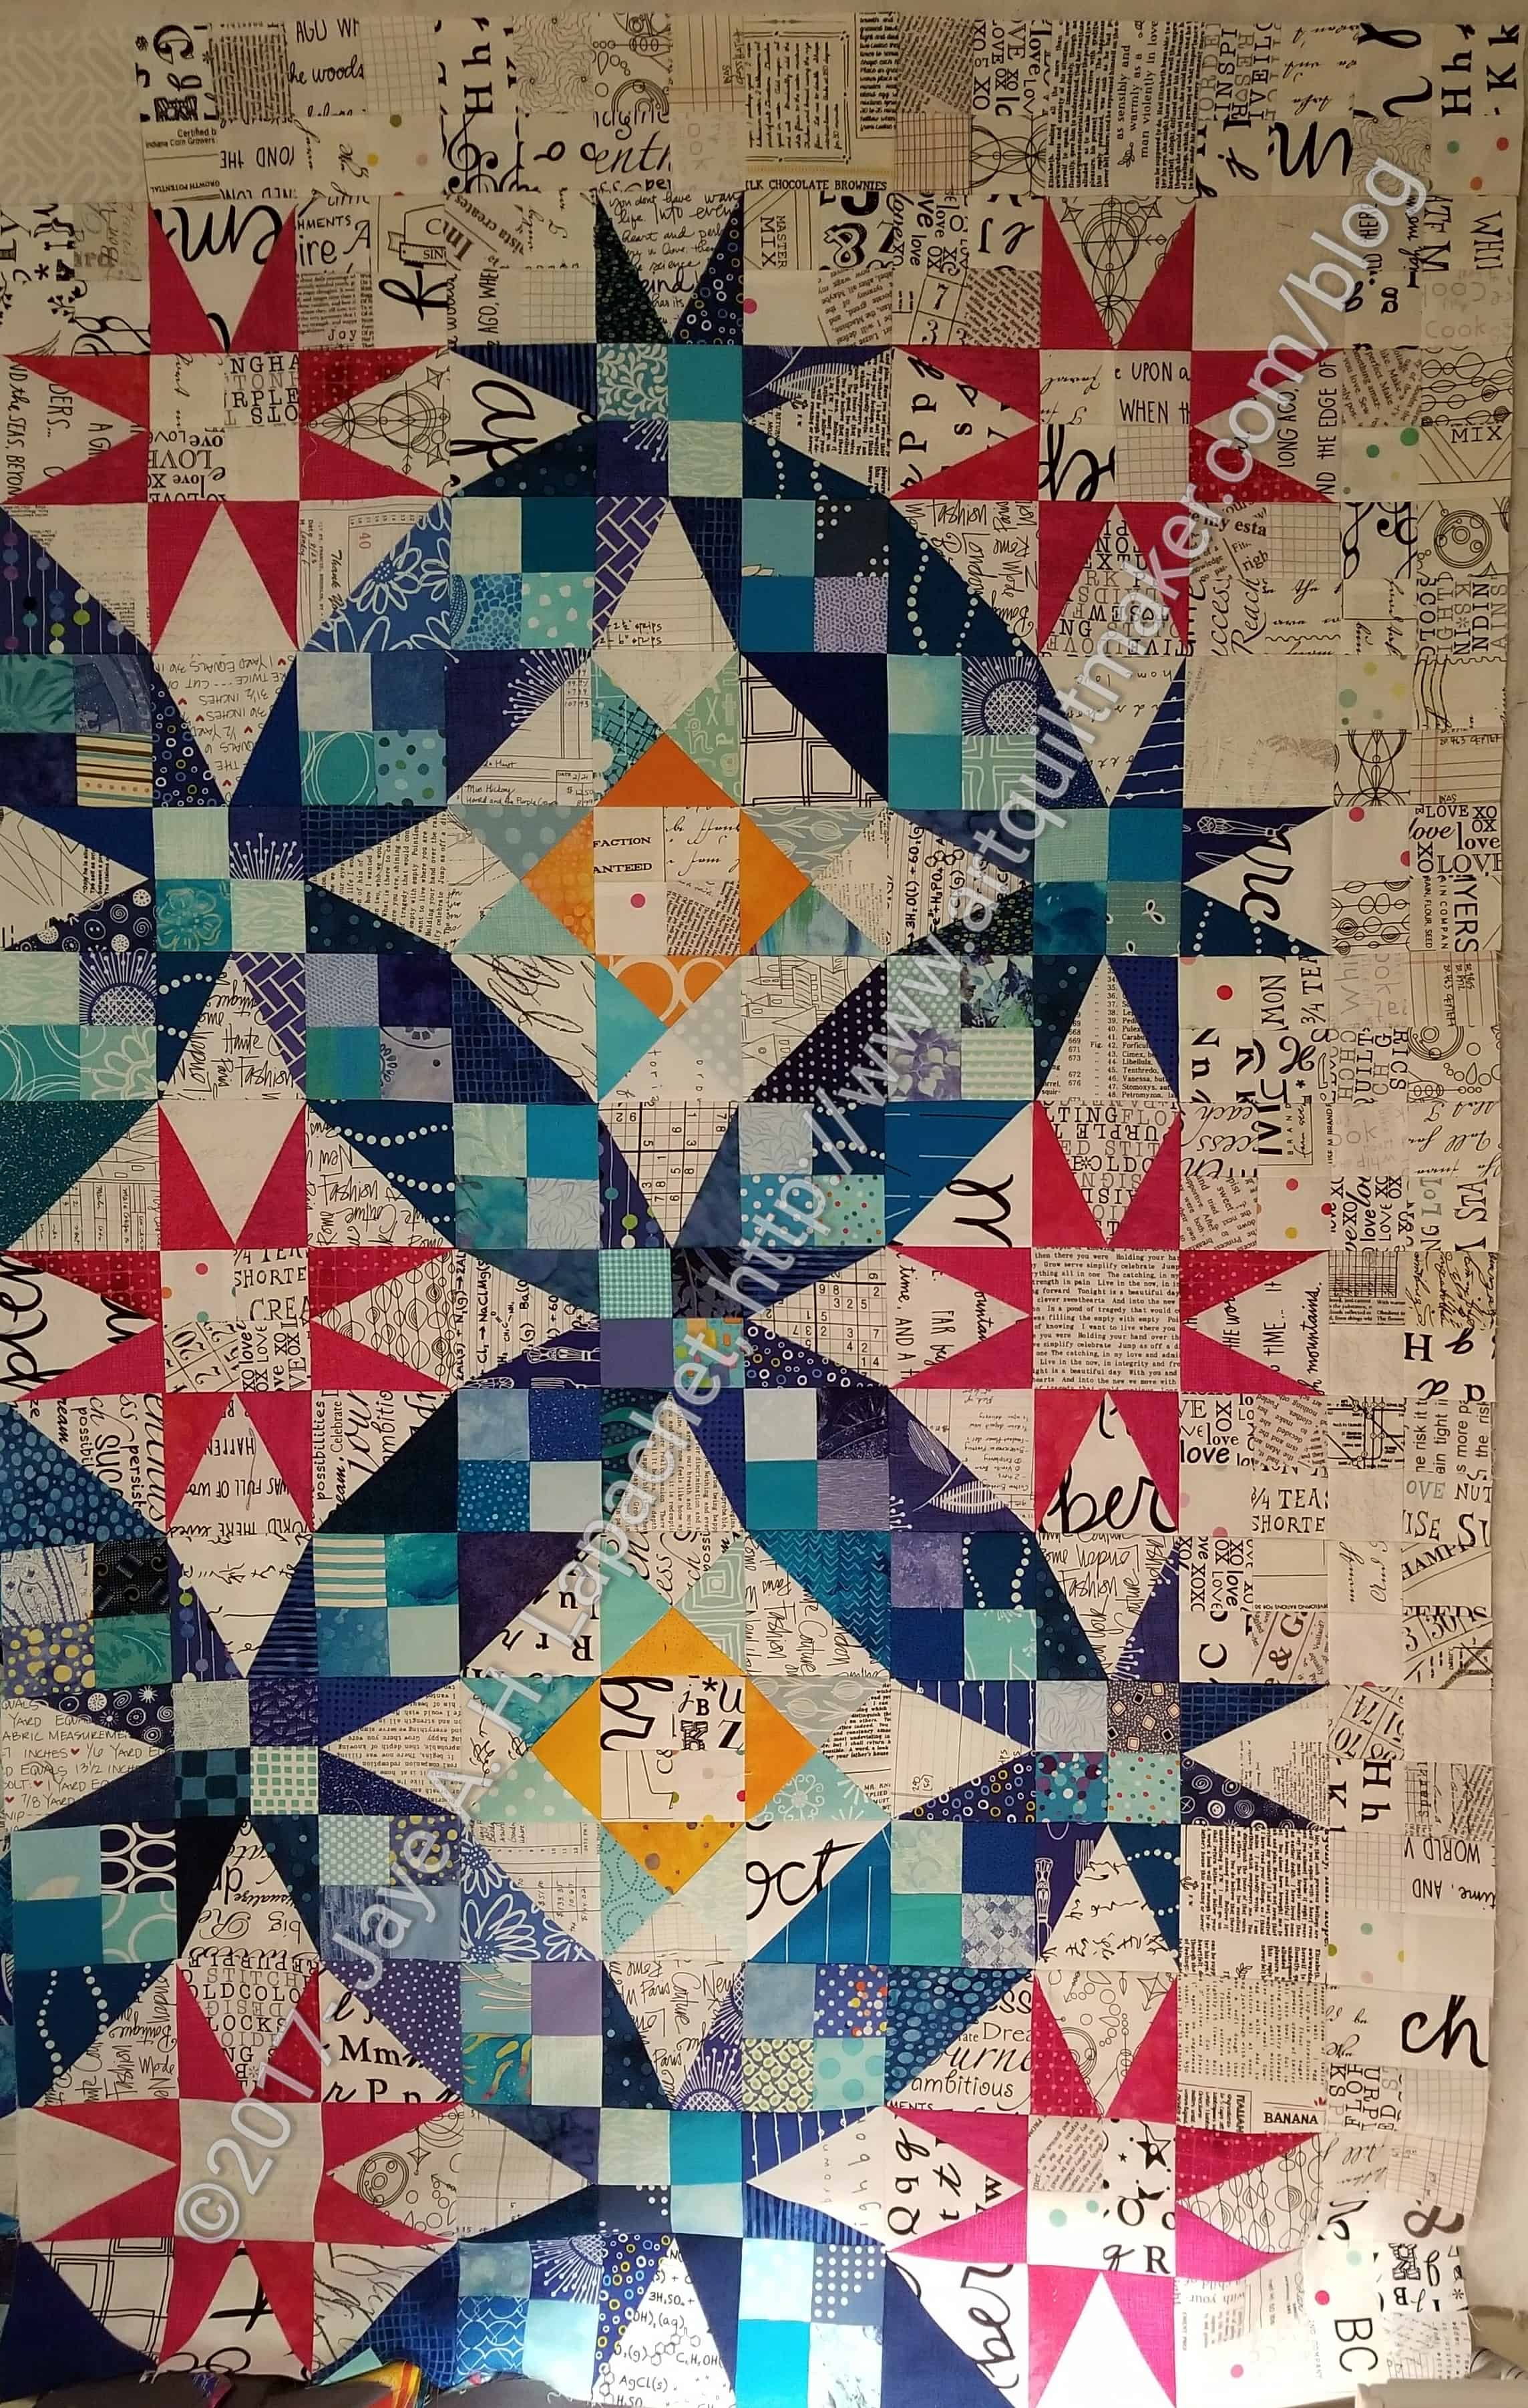
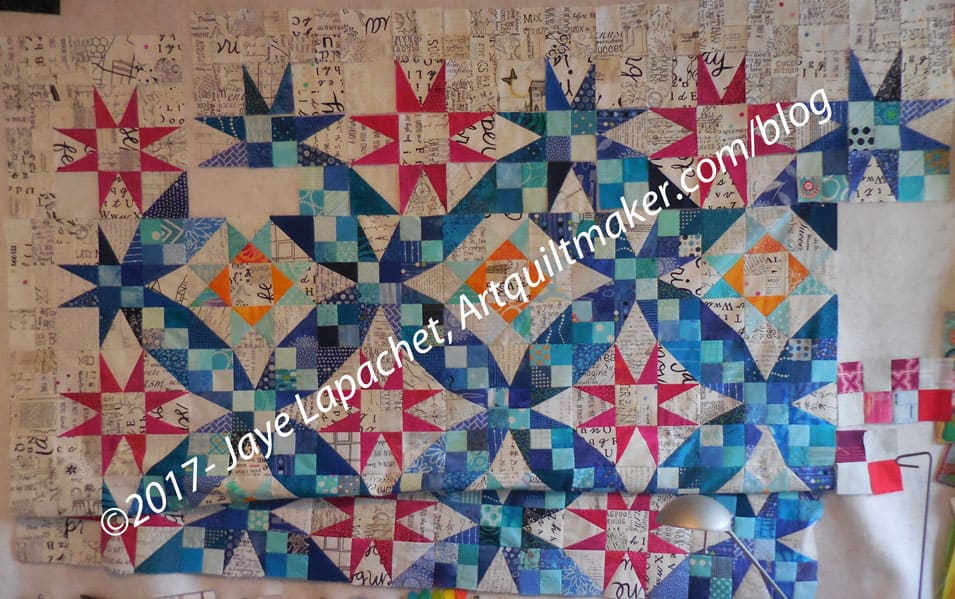
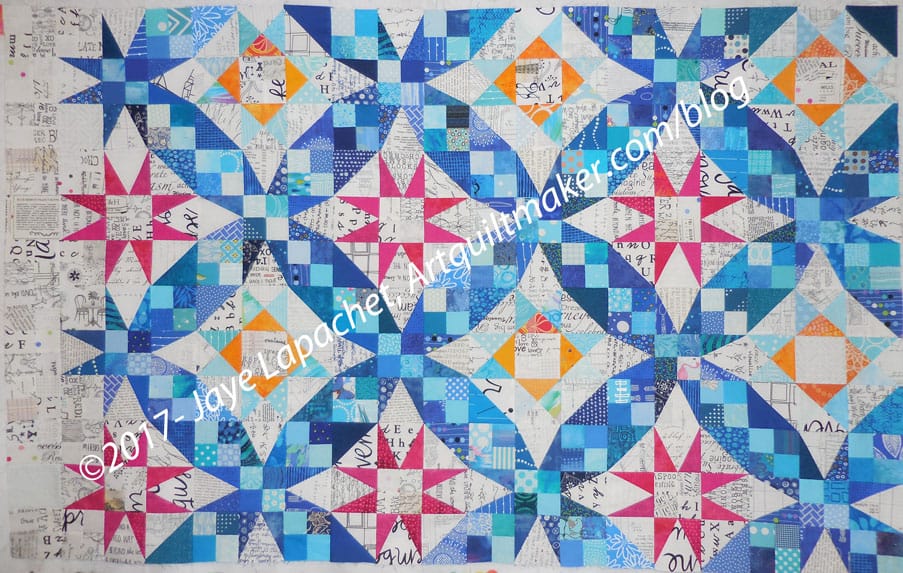
I made good progress on Saturday. I have nearly a quarter of En Provence sewn together. I probably need another row of the pink stars on the top and one the side to have a full quarter, but progress is being made.

I am pleased with the way it looks. I think it is turning out well. some of the light blues are a bit light and do blend with the text fabric background. I hope that will add interest. The larger squares I am adding in are working well. I am very pleased I decided to use a controlled scrappy palette. I think it gives the quilt a cohesion it wouldn’t otherwise have.

I am not sure when I will get to this quilt again, but I hope to finish it soon. I have to day that I kind of just want this piece done. I REALLY like, but I just want it done.

Triple Stars Again

In between putting together En Provence, I made some more Triple Star blocks. I have about six done and have to cut some more pieces to make more. I have ten more to make. They are sewn together pretty quickly with all the pieces cut.

This pattern is from Scrap-Basket Beauties by Kim Brackett. Frances turned me on to this author. There is at least one other scrap quilt in this book I would consider making.

Unintentional Collaboration

You might remember that I used the flippy corners method to make the weird shapes needed for the Triple Star. This left me with a whole bunch of matched HSTs to be. I didn’t want to have them laying around, because I don’t want to be tempted into another project, but I also didn’t want to toss them out. They would make for a nice donation quilt.

Flippy Corners Blocks

I ended up giving them to SIL and sewed them into blocks within, what seemed like, five minutes.

They came out really well, I think. The colors are wonderful, as I already knew. It is nice to see them in another format as successfully as in the Triple Stars.

Gift Bags

I had some Christmas fabrics laying around. They finally got on my nerves enough for me to cut them into the correct sizes for gift bags. I knew my MIL needed some larger ones, so the ones I made went to her. There are two shown above, but I made about 8.

Decorative Stitches
Decorative Stitches

The 6600 has some great decorative stitches. One I chose for the Hot Drinks gift bags were bells. They look festive,though I am not sure anyone will notice. *I know,* and that is what counts.

As I have said, gift bags are a great way to try out your decorative stitches and a great way to use up fabric. None of those reasons bring up not having to wrap gifts with paper and ribbon. You can find the tutorial for making gift bags on the tutorials page.

I still have the napkins I prepped at Sew Day to make and those are next on my list.

En Provence Clue 7

Clue 7 of the En Provence Mystery Quilt is a cheap date. It is 4 clues in one. Bonnie Hunter explains carefully why she wrote the last clue that way, so I understand. That doesn’t make me happy about it. I wish the additional QSTs/Peaky & Spikes had been clue 7, the squares/HSTs had been clue 8, the additional 4 patches had been clue 9 and the assembly had been Clue 10. I know she didn’t have 4 additional weeks, but still.

When I realized what was going on, I gathered the fabrics I wanted to use and took them over to SIL 2’s house for Craft Night. I pressed and cut the shapes I needed for HSTs and Peaky & Spikes. I only needed to pin and the HSTs were ready to be sewn.

Cutting Peaky & Spikes

The Peaky & Spikes required more work. I was planning on cutting the actual shapes using SIL’s Accuquilt die. I only got the rough shapes cut and then was too tired to continue. I borrowed the die and cut them out over the weekend.

Over the weekend, mostly Sunday since Saturday was the BAM meeting, I ran the Peaky & Spike rough cuts through the Accuquilt and sewed those together. I was short on some of the Peakies and will wait to cut more until I see how many I need.

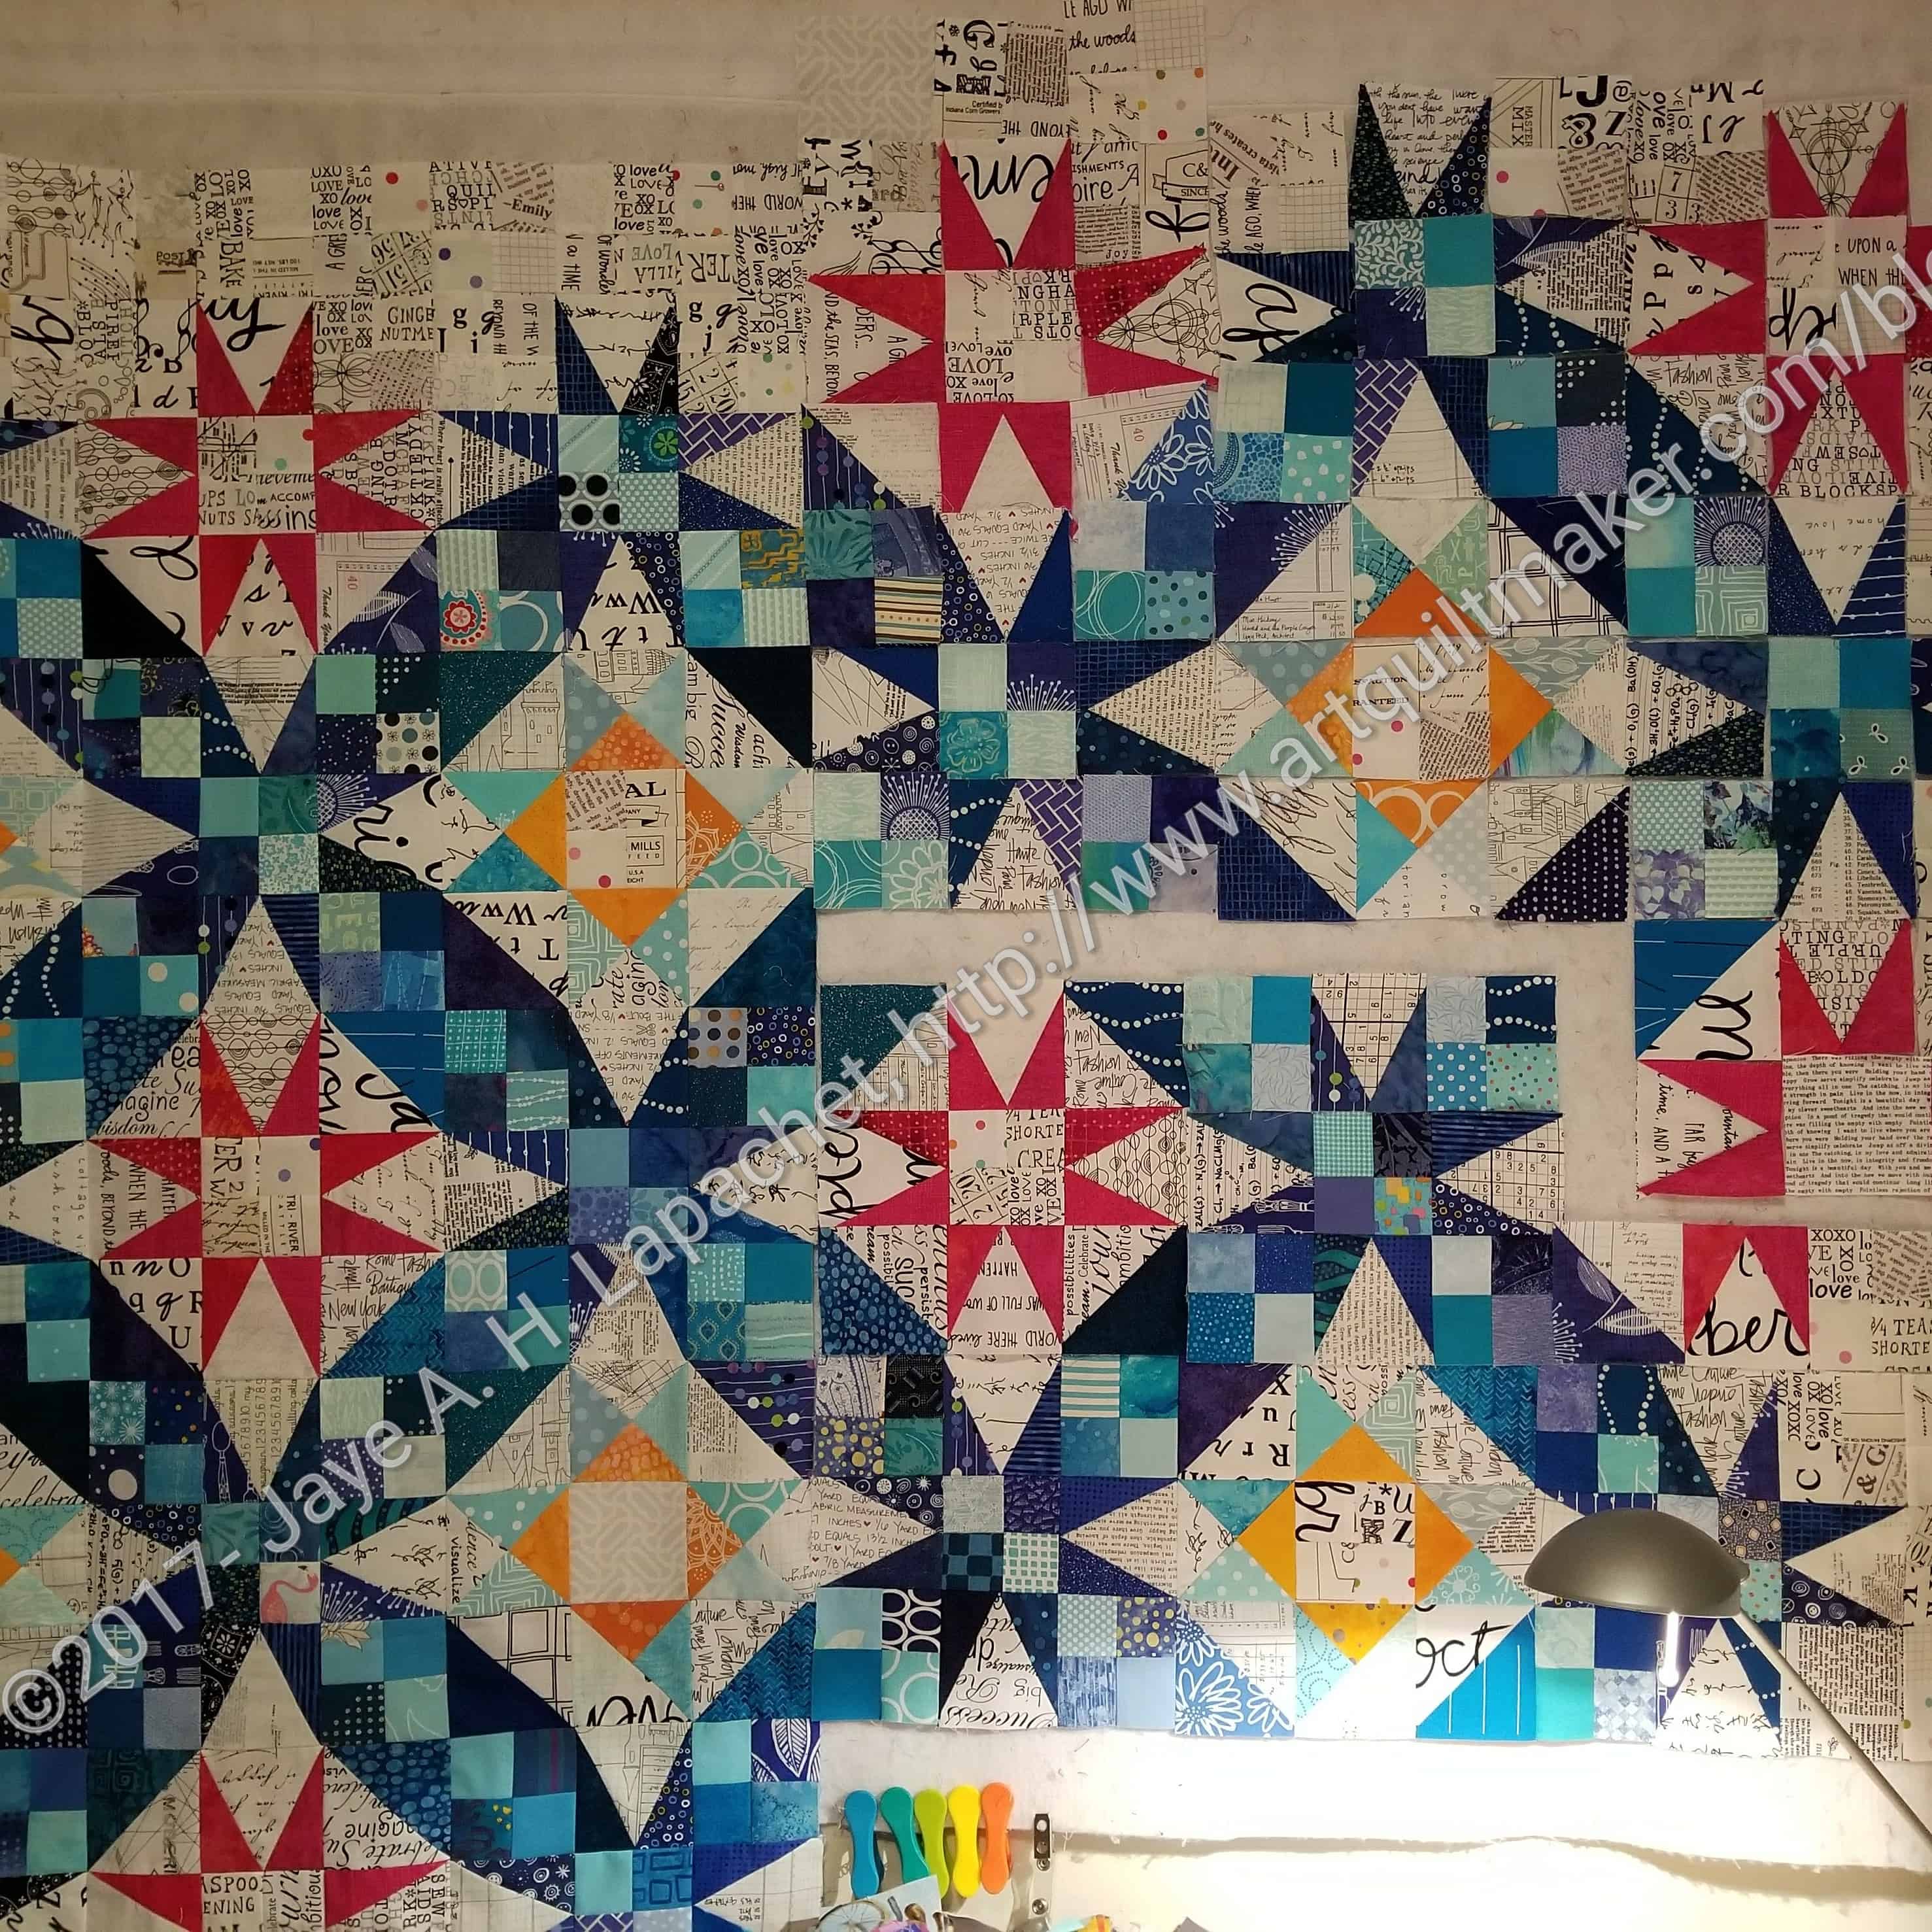
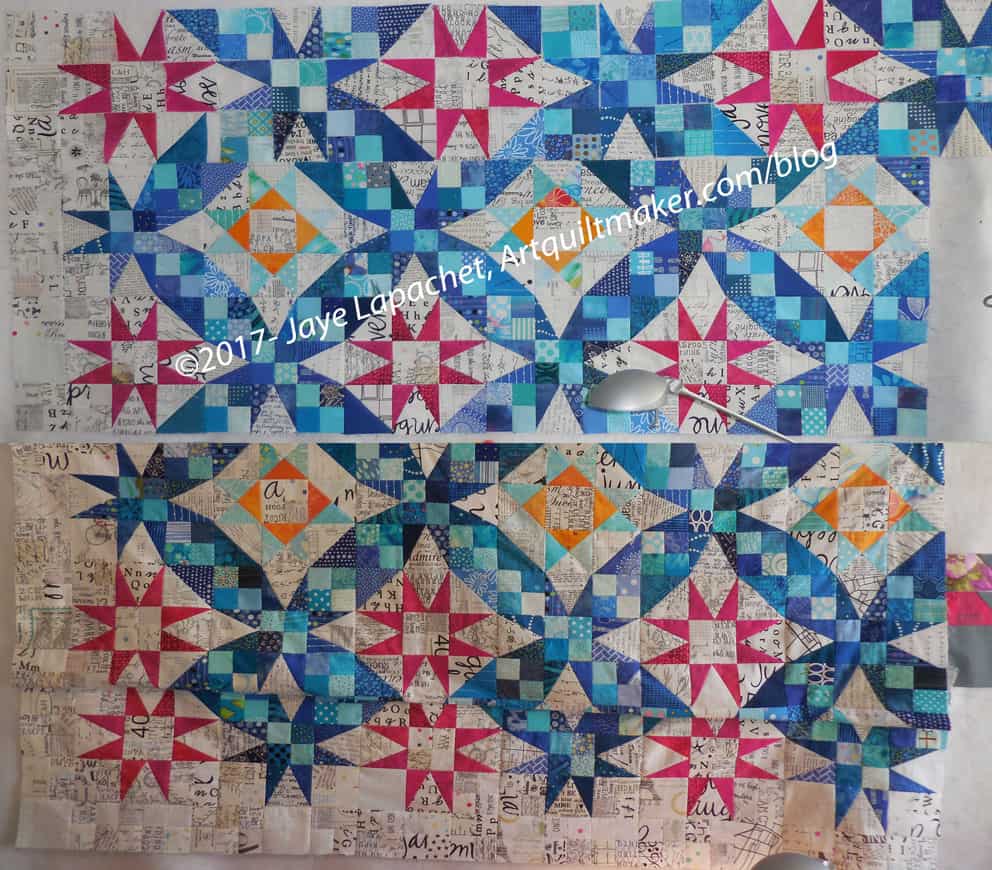
I couldn’t really complain too much because I had the directions for putting the blocks together. I decided to put some pieces and parts up on the design wall to see what I had.

WOW!!!

I really like it. I actually couldn’t stop myself from starting to sew the top together. The images above, from bottom to top, show the bottom left hand corner. I have sewn the bottom pink, corner block and the blue star to its right. They look great and I was tempted to just put the whole thing together last night. Of course, it will take me awhile to put the whole top together, so I slowly backed away muttering soothing noises to my hands, which were itching to sew like a mad woman.

I thought about the quilt a LOT and wonder if I should change the pink stars for orange stars. Yes, it means re-cutting and sewing a bunch more Peaky & Spikes. I might try a couple and see what I think. I like the orange I used in the QSTs and wonder if it isn’t too little.

Background Chaos
Background Chaos

One of the sub clues for Clue 7 is to make more background 4 patches. Sigh. I wonder why she just didn’t have us make all of them in the beginning? This does give me the opportunity to change up the look of my quilt. I sewed one corner and the four patches are great, but I think they would look better with some larger squares interspersed. I think all of the four patches look a little chaotic with everything else that is going on in the quilt. It will also take me less time to cut them.

I have lost the prepped HSTs from Craft Night, which is frustrating. I went on a frenzy of tidying, which is never a good thing. I wanted to have them sewn together, so I could intersperse the previous HSTs I made with the new fabrics. As it stands, I will need to prep more to finish the quilt. Sigh.

I am really liking this quilt so far. I am glad as mystery quilts are always a crap shoot.

ColorPlay: Freeway View

Freeway View
Freeway View

The weather this week has been good. It has not been deathly hot and there have been some lovely clouds. I took a photo while out on a lunchtime walk, which I decided to use for this week’s ColorPlay.

We are using Bella Solids instead of Kona Solids this week.

I tried to click the shutter when there were few cars, but you can still see them through the trees. I liked the green in front with the hills in the back. I prefer green hills, but still thought this was a lovely view.

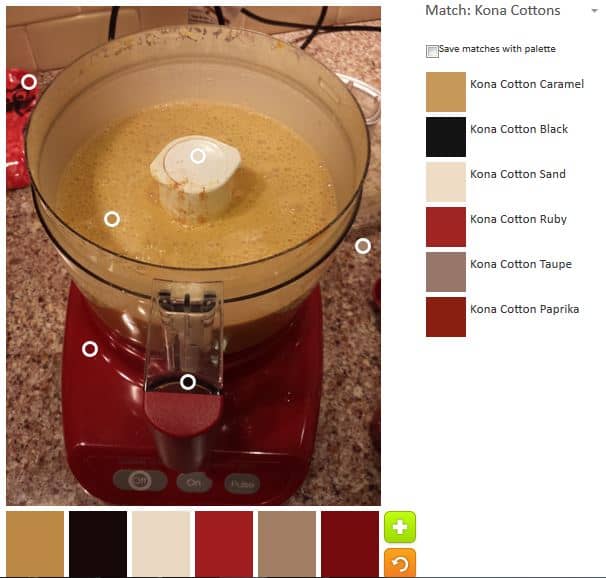
ColorPlay Sept 22 default

The default, as we have discovered is normal, was heavily neutral. This palette looks like a 1970s decorator showcase house palette.

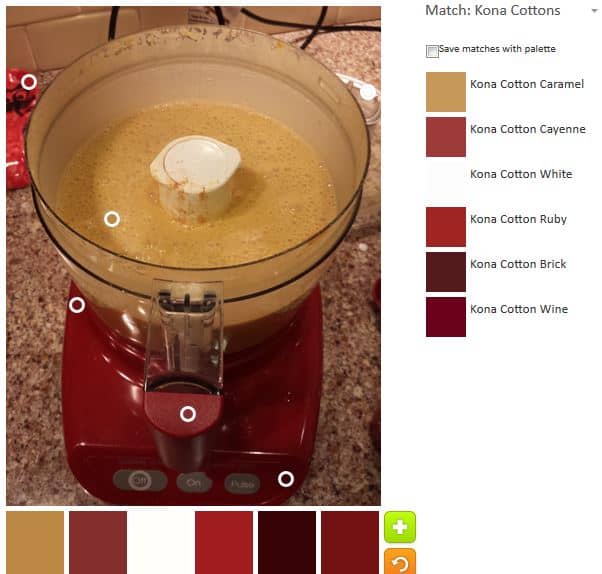
ColorPlay Sept 22 n.1

I decided to try a monochromatic palette next. I was able to find six different blues in the photo. None of the colors are the bright turquoise I love, but the Little Boy Blue and Robin’s Egg aren’t bad.

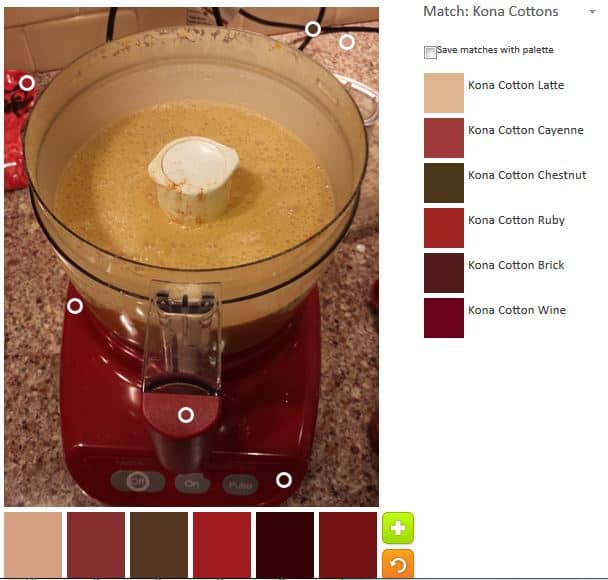
ColorPlay Sept 22 n.2

I decided to see if I could create another monochromatic palette and was mostly successful with green. I find the greens to be good greens for nature, but not bright enough for my quiltmaking.

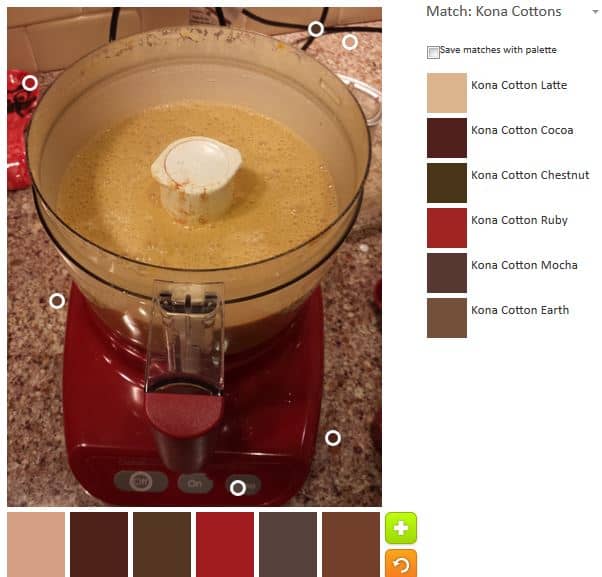
ColorPlay Sept 22 n.3

While really not my thing, I decided to try and make a palette with darks. I think I succeeded and I do like that dark blue. Otherwise, the palette looks more like the dresser of teenage boy than a palette I would use for a quilt.

ColorPlay Sept 22 n.4

Next, I looked at combining the two monochromatic palettes to see if I could get something that I might actually use in a quilt. This is a nice palette. I really like the Dark Teal color. That makes this palette for me. I am still not much of a fan of the Avocado. The Leaf color is ok, though it takes on some of the qualities of the Avocado when sitting next to it.

ColorPlay Sept 22 n.5

Finally, I wanted to see what I could do with the hills that wouldn’t produce a deadly beige palette. There is that Dove, which looks more beige than grey to me. This might make a nice soft boy baby quilt. It doesn’t have the contrast that people insist babies want/need, however.

Have you made any interesting palettes lately? Please share.

TBT: She Had to Have Her Latte

Well, best laid plans. Life, I guess, got in the way of me posting old quilts every Thursday for awhile. I really did intend to do it and here I am again.

She Had to Have Her Latte - 1999
She Had to Have Her Latte – 1999

She Had to Have Her Latte was my favorite quilt for awhile. It looks a little dated now, but I still like it.

She Had to Have Her Latte was one of the first Improv quilts, but done in a different way than people commonly understand Improv quiltmaking today. In this quilt, I cut novelty fabrics into shapes with the primary focus being to showcase the motifs. Other pieces were put in between those focus pieces so the quilt fit together. There was no free cutting or rulerless cutting.
I made this with a friend and we had a whole story around the quilt about a woman who had to have a latte every morning. We discussed why and what it meant. I intended this to be the first in a series of quilts, but they were never made.

Dream Projects #7

The last time I wrote on this subject was February. As I mentioned in that post, it had been a couple of years before that. it is always interesting for me to look at this list and see if I still want to work on the projects

Art Institute of Chicago Fusible Applique’ (Ticker Tape Style) Quilt

  • Status: Dream state
  • Pattern: Original, I do have a version of the pattern I used for the Whole Cloth quilt and I will use it as starting point.
  • Fabric: Turquoise and red, mainly, but other colors for the leaves and flowers, perhaps
  • Steps: need to fuse a bunch of turquoise to some piece of fabric in the ‘ticker tape’ style so i can cut it up into small pieces. I am thinking of making it similar to the Whole Cloth Quilt and using red, again, for the background.
  • Thoughts: I might make another one with turquoise on top of red with just two pieces of fabric.

Art Institute of Chicago Fusible Applique’ Quilt

  • Status: Dream state
  • Pattern: Original, I do have a version of the pattern I used for the Whole Cloth quilt and I will use it as starting point.
  • Fabric: Turquoise and red, mainly
  • Steps: need to fuse a big piece of turquoise to SoftFuse or similar, then cut out the image and fuse it to the background. I would satin stitch all around the image. I don’t know that I can make one continuous piece, but will try. The image would be similar to the Whole Cloth Quilt and using red, again, for the background.
  • Thoughts: I might make it with turquoise on top of red with just two pieces of fabric.
  • Added: 9/14/2017

Basketweave Baby

  • Status: Dream state
  • Fabric: Scrappy
  • Pattern: Fons & Porter, series 1000, episode 1005
  • Thoughts: I like the challenge of piecing this quilt and using a lot of partial seams for the piecing

Blue Rectangles Gradation Quilt

  • Status: Hunting and Gathering
  • Fabric: blue 2.5×4.5 rectangles
  • Pattern: similar to FOTY 2008
  • Thoughts: I can’t decide if this is still a dream or if it is already started and I just need to arrange it and start piecing. I have done a lot of cutting, so I think I have started it, thus it may not be a dream anymore. The original idea stemmed from the FOTY quilts. I just decided to do a monochromatic version – using just blues, in this case. I probably have enough patches now and just need to slot the time to work on it into my schedule.

Blue Lemonade

  • Status: Hunting and Gathering
  • Fabric: blue, purple and green scrappy
  • Pattern: inspiration from TFQ’s Pink Lemonade quilt
  • Thoughts: I probably had enough squares to make this quilt, but then I used a bunch of them to make En Provence. Now I am working on cutting more. I hope to slot the time into my schedule int he not too distant future.

Easy Street

  • Status: have pattern/ dream state
  • Fabric: pinks
  • Pattern: Easy Street by Bonnie Hunter
  • Thoughts: I really liked Daisy‘s version of Easy Street, which she calls Cherry Bomb (she thinks of the best names for her quilts) in terms of color and feel. I don’t want to copy her, but if I do this quilt, I’d like to have the same pinky-red feel to it. One challenge about a mostly monochromatic quilt is getting enough contrast. I look forward to that challenge. Not sure this will become a reality.

Feathered Star Block

Good Night Irene Quilt

  • Status: dream state
  • Pattern: Good Night Irene from the Missouri Star Quilt Company’s Block magazine, Spring issue v.2, issue 2, pg. 54
  • Fabric: I decided not to use a layer cake and will use the scrap 2.5 inch squares I have been cutting. I love the cheerfulness of Scrapitude Carnivale as I say over and over and am not done with that combination yet.
  • Thoughts: I thought about using dots on a white background, as I did with the Scrapitude Carnivale quilt as the background. It makes the Scrapitude quilt look so cheerful. I probably wouldn’t call it Good Night Irene.

Interlocking Triangles Quilt(s)

  • Status: dream state
  • Pattern: This is an idea that I designed myself. I made two quilts and have variations on the pattern to make more.
  • Fabric: I have a few different collections of fabric I want to use. Most are rainbow colored; I also have a lot of stripes to use
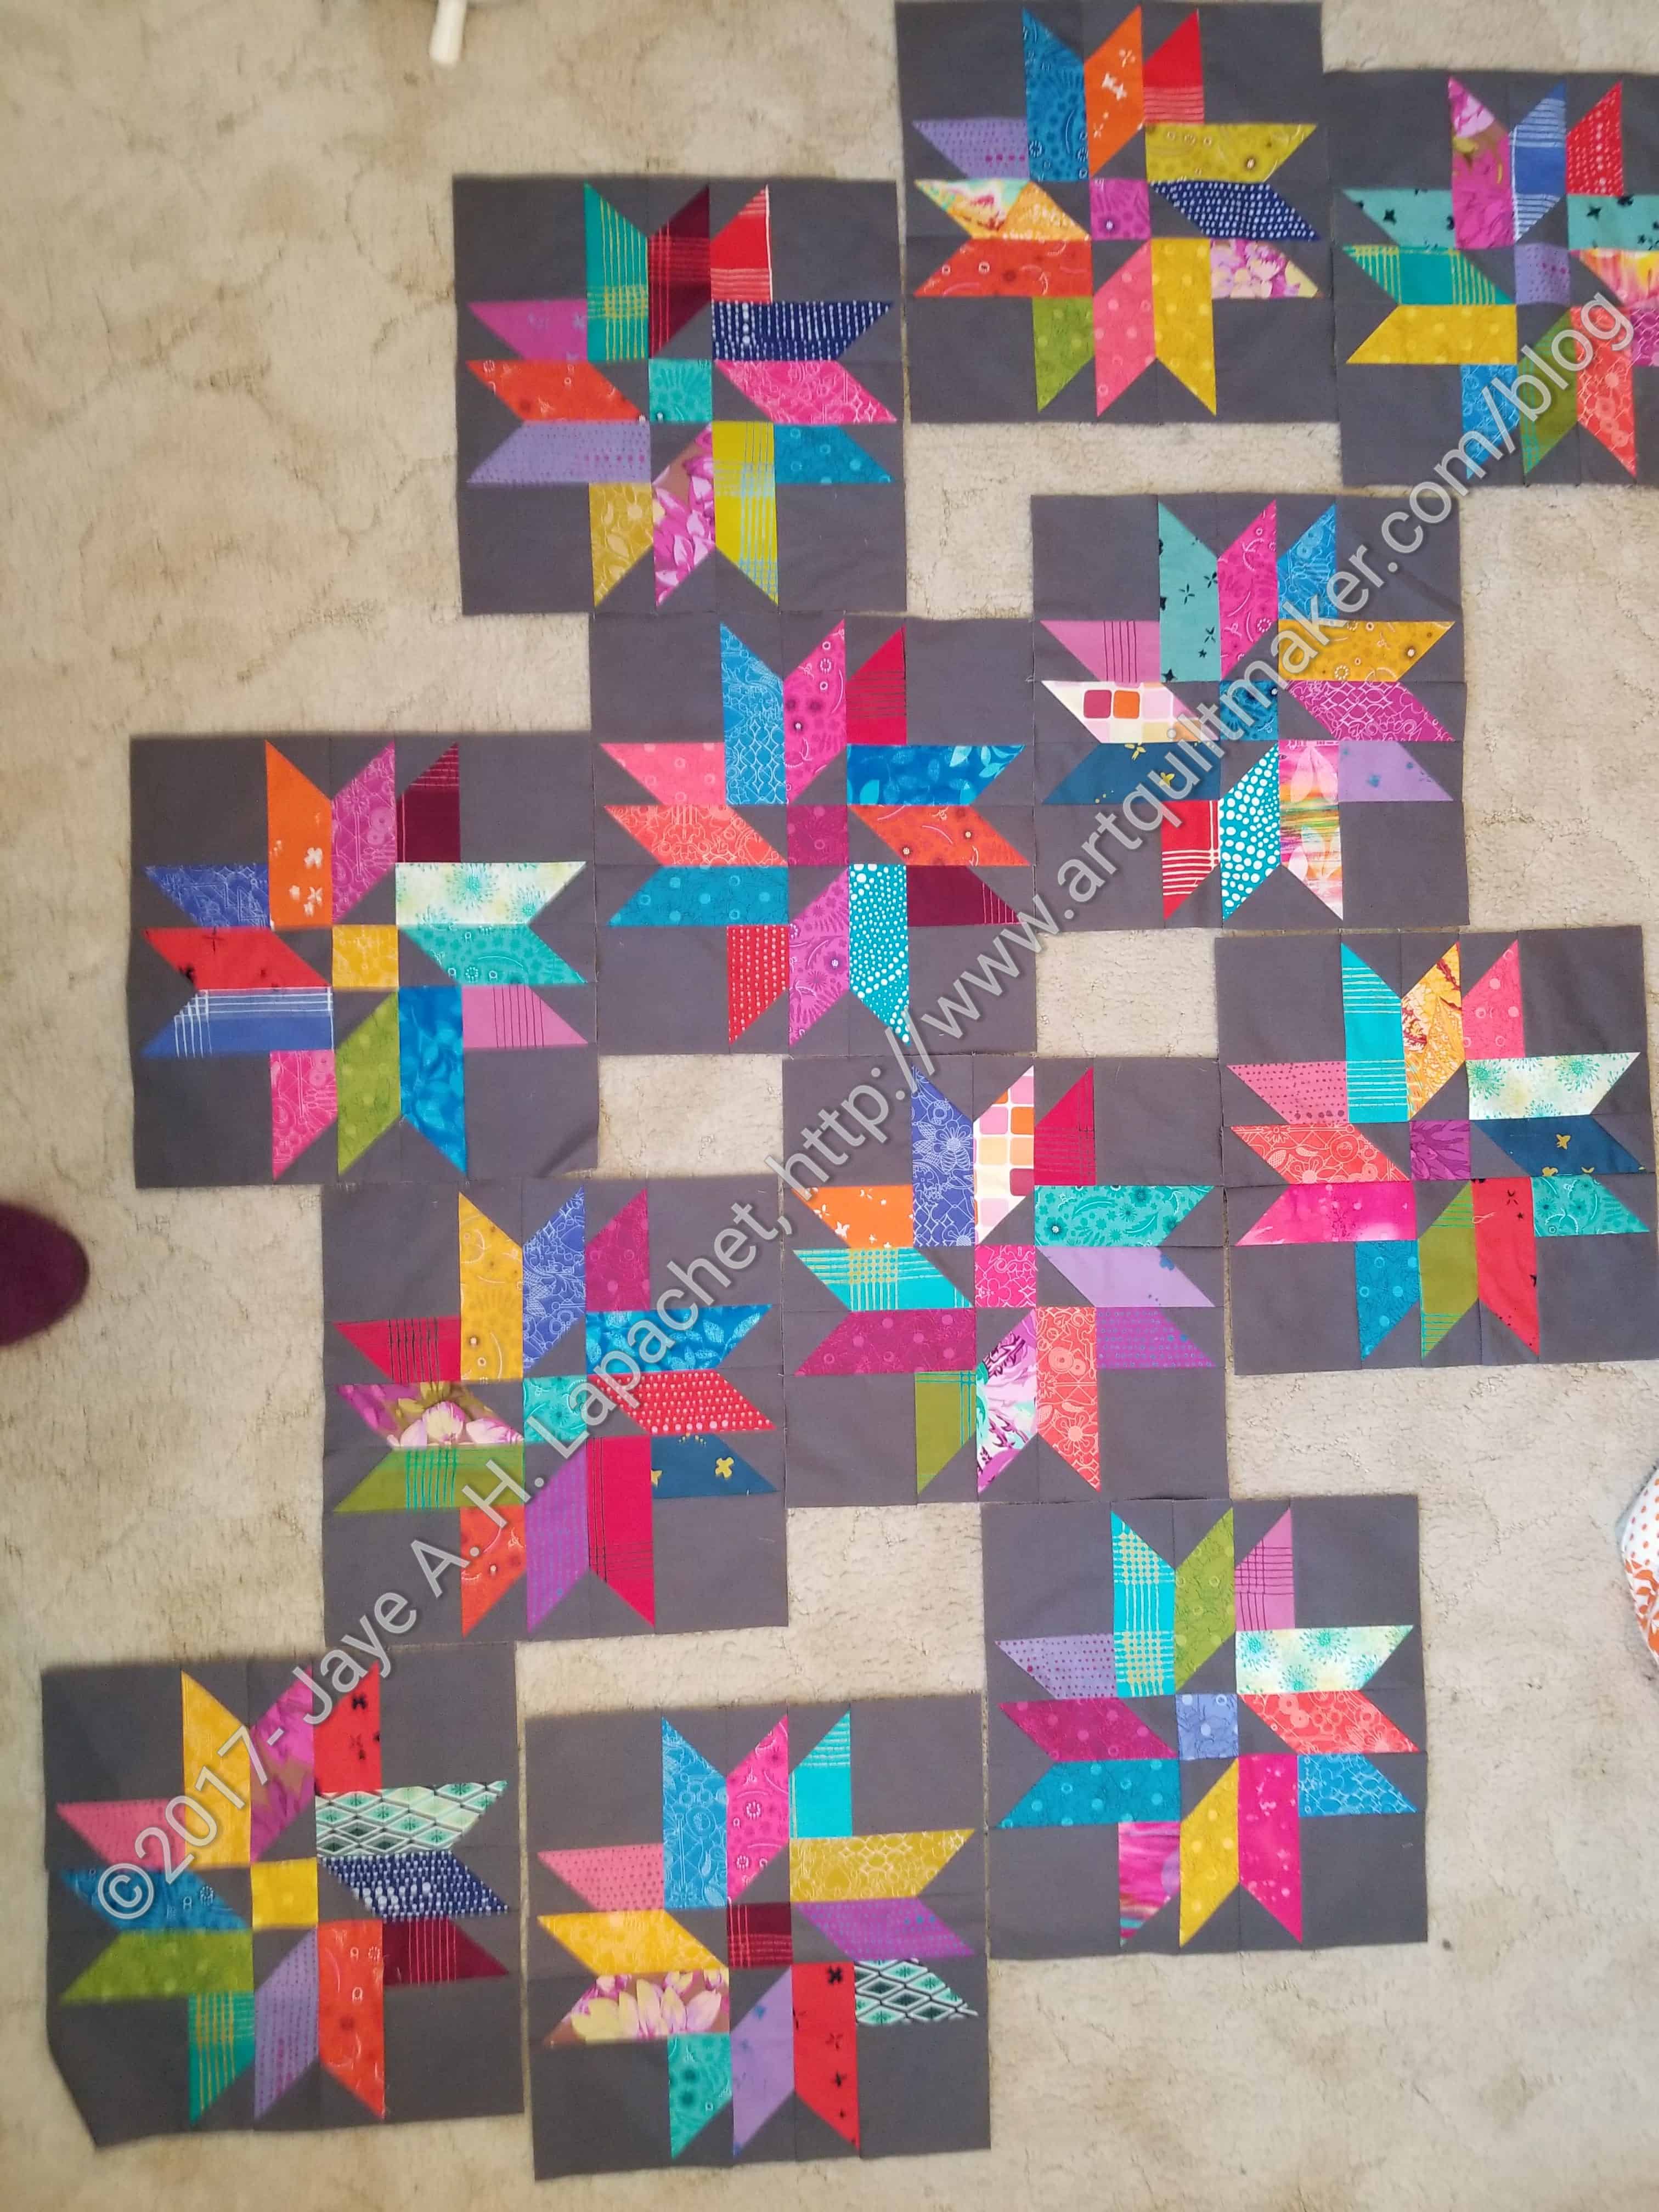
  • Thoughts: This is a quilt from which I get a lot of bang for my buck. The visual impact is tremendous. The easiest way to do the spiky triangles is with paper piecing. I am not that big of a fan of paper piecing (read my laments about the Spiderweb‘s paper piecing). I made Spiky Stars using templates and that was meditative and won a prize, so it is doable.

Jack’s Chain Quilt

  • Status: dream state
  • Pattern: Jack’s Chain, a continuous pattern
  • Fabric: bright scrappy, consistent centers
  • Thoughts: This is one of the first quilts I saw hanging in a quilt store and thought of making, after I learned to quilt. I have seen a number of variations lately using different hexagons in the center. Making the nine patches would be a good leaders and enders endeavor. As if I don’t have about a zillion leaders and enders opportunities.
Music Quilt

  • Status: dream state, but not very inspired
  • Pattern: Top will have a piece of music the Young Man can actually play. That will probably be applique’
  • Fabric/Colors: music prints and tone-on-tones with a little red
  • Thoughts: The Young Man has requested this quilt as his high school graduation quilt. I missed that deadline. He has sent me a piece of music, which I printed out. Now I need to make into an applique’

Neutrals and Red/Scarlet Quilt

  • Status: some cutting of black rectangles done.
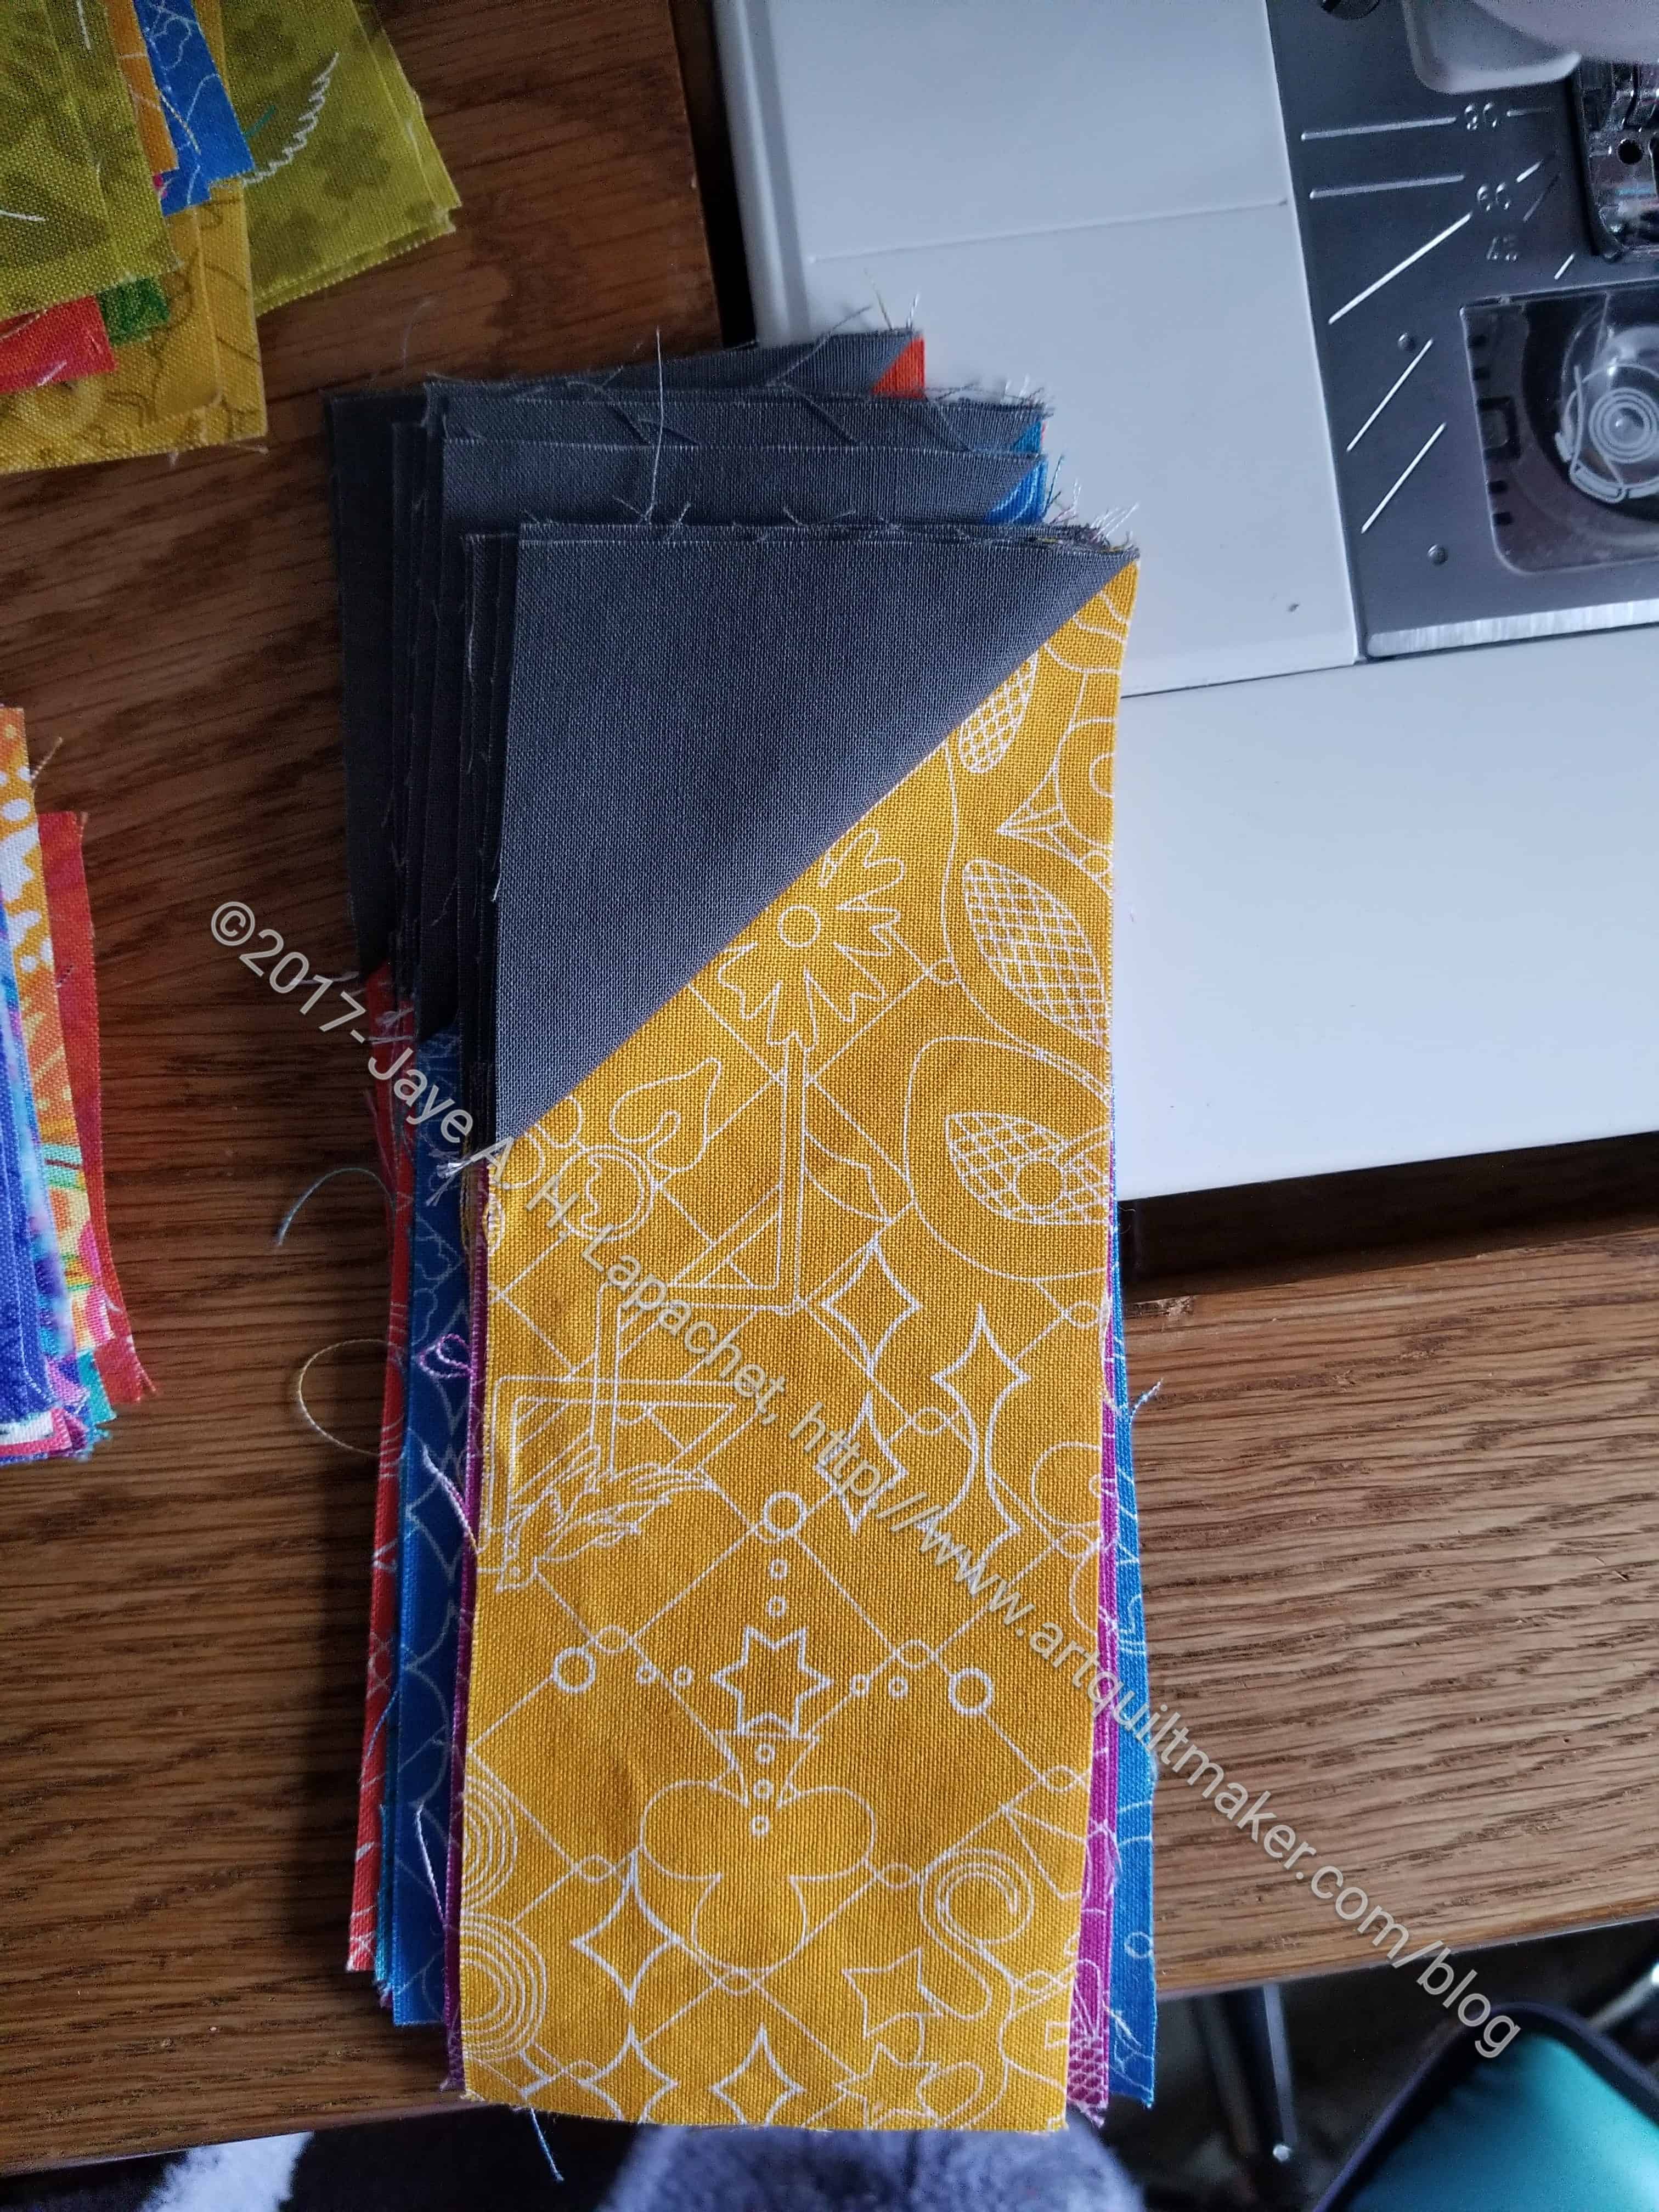
  • Pattern: Slice a approx. 4 in x 7 in rectangle on the diagonal and insert a red strip, resew and set into columns.
  • Fabric: red, black and whites. I
  • Thoughts: gift. I have black fabrics cut and am just waiting to slot this into my schedule (sounds like the story of my life). I could use the bias tape I made for the Mighty Lucky January challenge from last year

Pineapple (Hunting and Gathering)

  • Status: I have strips cut.
  • Fabric: dots. Have most of the strips cut. Will be much more selective about which strips I use.
  • Pattern: Pineapple log cabin
  • Thoughts: I haven’t given up on a Pineapple quilt despite my frustration with the previous attempt. I bought a different ruler: a Creative Grids Pineapple ruler in hopes that it will work better for me.

Pink Rectangles Gradation Quilt (Hunting and Gathering)

  • Status: same as Blue Rectangles quilt above
  • Fabric: pink 2.5×4.5 rectangles
  • Pattern: similar to FOTY 2008
  • Thoughts: How many gradation exercises does one person need?

Silk Colorblock quilt

  • Status: I have the fabrics and the plan
  • Fabrics: silk dupioni and cotton in brights (of course)
  • Pattern: Similar to Colorblocks 2
  • Thoughts: I have made a couple of, what I call, Colorblock quilts over the years. One was the Kona Challenge in 2011, another was my 1990 Colorblocks 2 and the first one, Colorblocks, also made in about 1990. I bought the silk fabrics at the Marin Needlearts show about a zillion years ago and they have languished waiting for me to learn to back them so I can use them. I think I have that covered now and there is nothing stopping me except time and will.

Spin Wheel  

  • Status: Hunting and Gathering
  • Pattern: Fons & Porter Spin Wheel, 1200 series, episode 1201
  • Fabric: Scrappy with controlled scrappy background
  • Thoughts: I like the construction of this quilt and am convinced that I will make it. Another one just waiting for time and will.

Stepping Stones #3

  • Status: waiting.
  • Fabric: Macaron pre-cuts from Hoffman. It isn’t started, but I have lots of pre-cuts and think they would make a really fun version of this quilt.
  • Pattern: Stepping Stones by the Lintott girls
  • Thoughts: Hmmm. This is less exciting to me now. I think I need to finish #2 and then decide. It is just as likely as not that I will make this.

Windmill  (Hunting and Gathering)

  • Status: half cut; need more greys for the background
  • Fabric: Scrappy. I will use a grey for the background, because if I use more of the cut fabric patches, the pattern will be lost. The pieces are too oddly shaped and I don’t want to lose the pattern in a mass of scraps.
  • Pattern: Come Quilt with Me Rotary templates
  • Thoughts: I think I will buy the Sizzix template and cut grey windmill pieces with that instead of by hand

Out of the Dream State:  Below is a list of projects that were on this list at some point that I actually made or am working on: