The deadline is looming and I am slowly making progress. I have come to terms with not finishing this bag before the deadline. However, I think the main thing is that I started it.
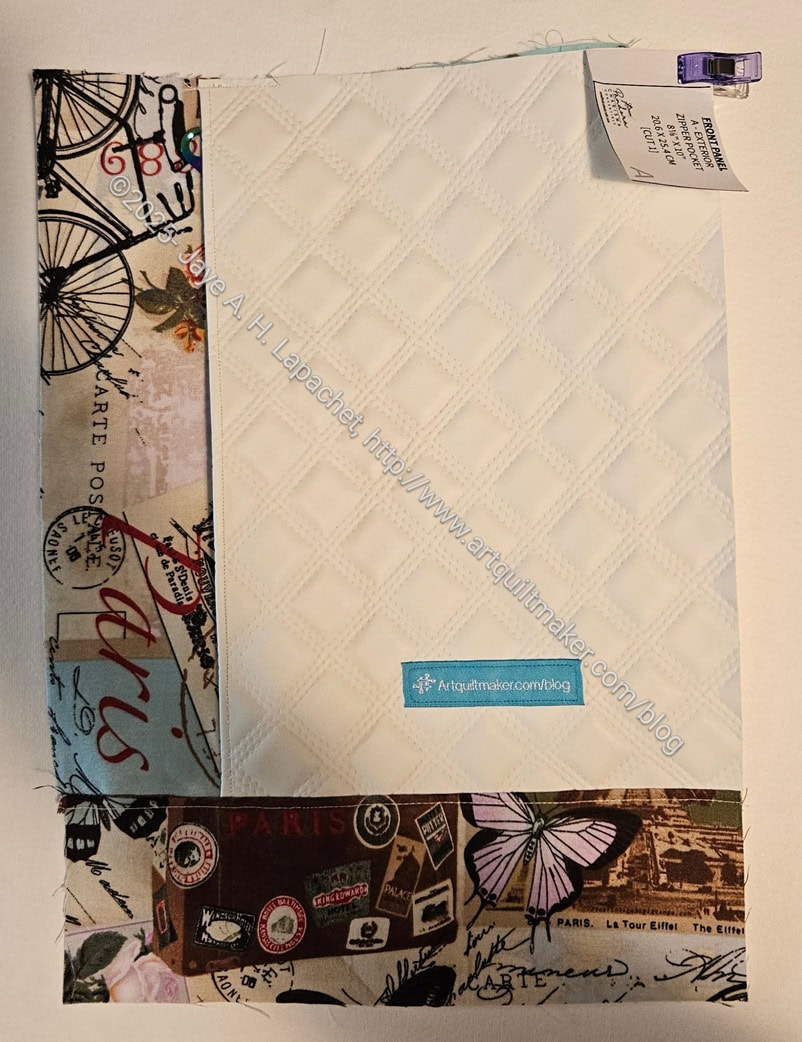
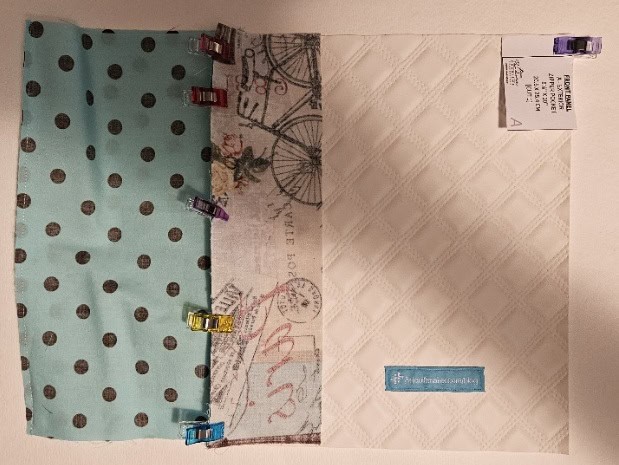
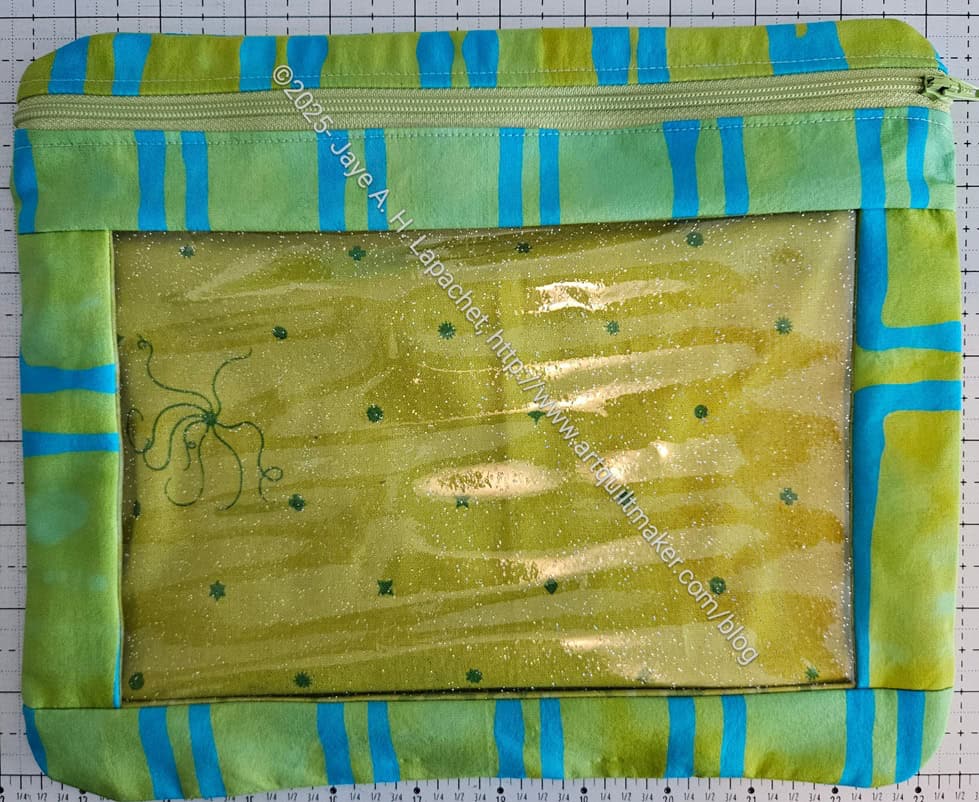
Pandora Charisma front panel pocket
The other day I finished the front panel pocket. There were some confusing bits, but I found a video that showed me what I needed to know. I don’t think it is an official Sewfisticated video, but it did the job.
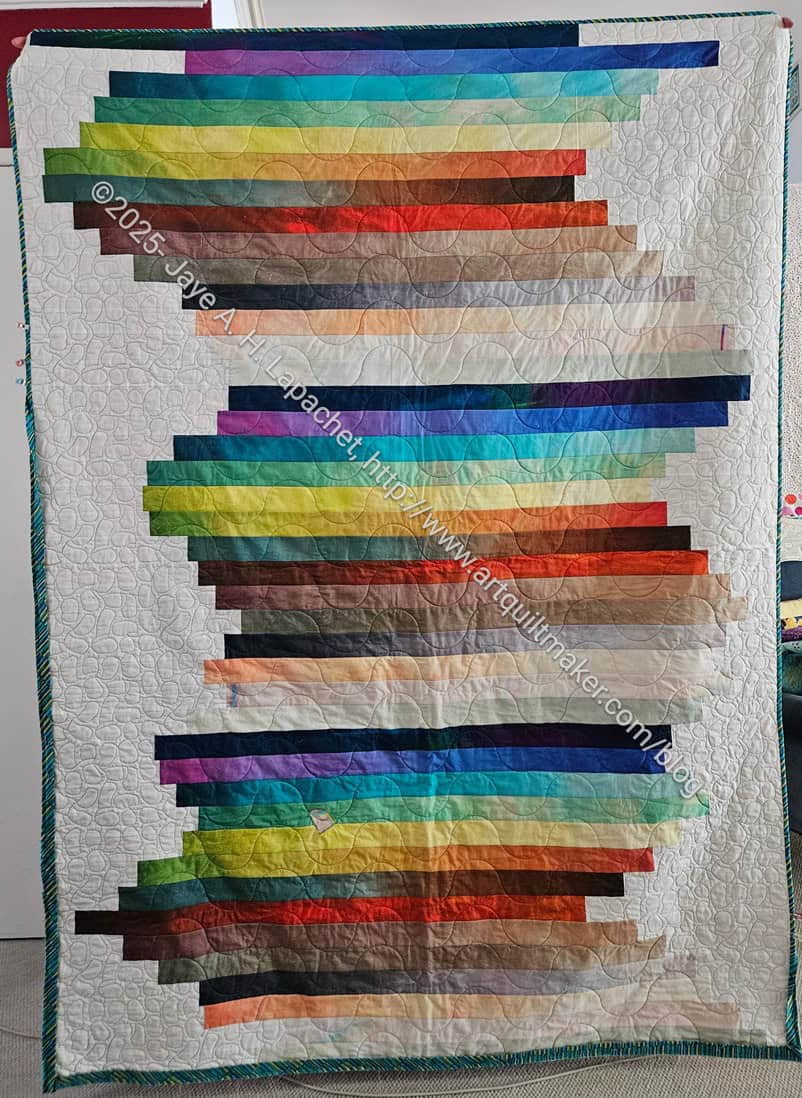
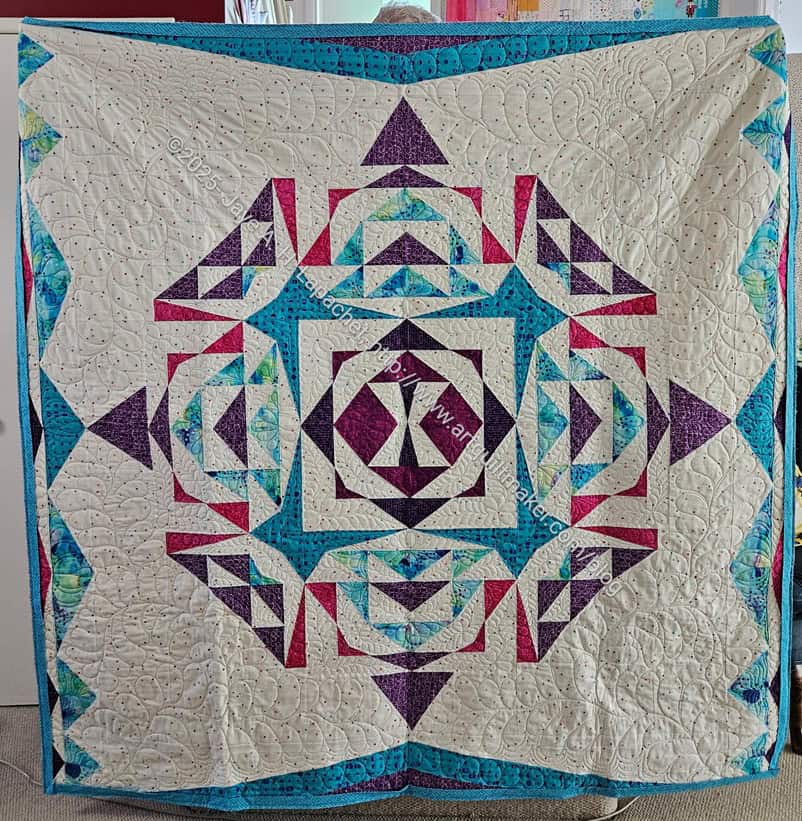
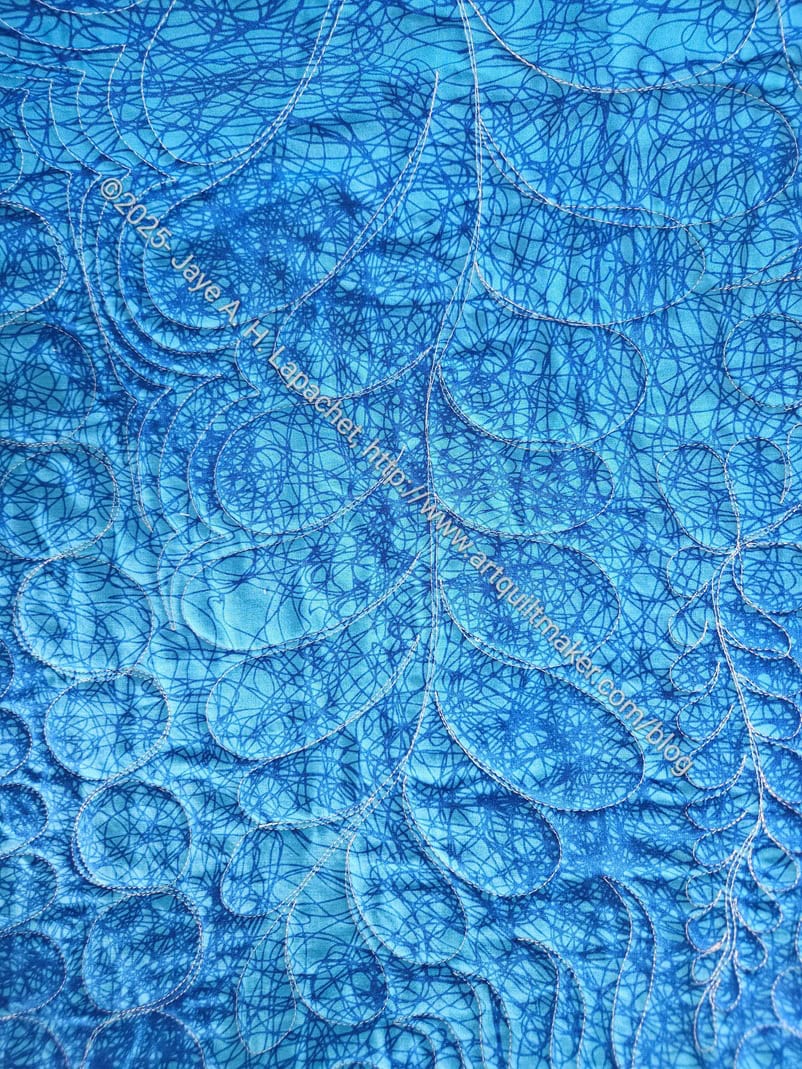
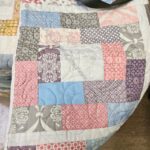
I was surprised to get get Gelato #2 back so quickly, but also pleased. I got it back at the same time I got Triumphant back. I was surprised and really pleased to get it back so quickly as I only took to Colleen about a month ago. I think it was easier to quilt than Old Town and will definitely be easier to quilt than Patchwork Palooza.
I have a sick friend who is going to be the recipient of the quilt.
I am in the process of binding it now so I can send it off to her ASAP.
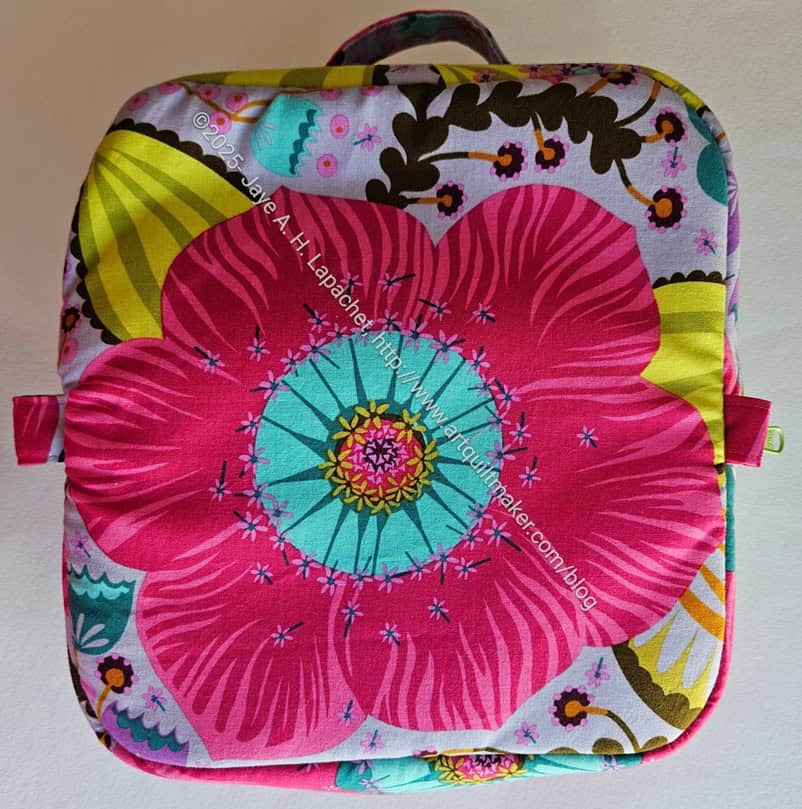
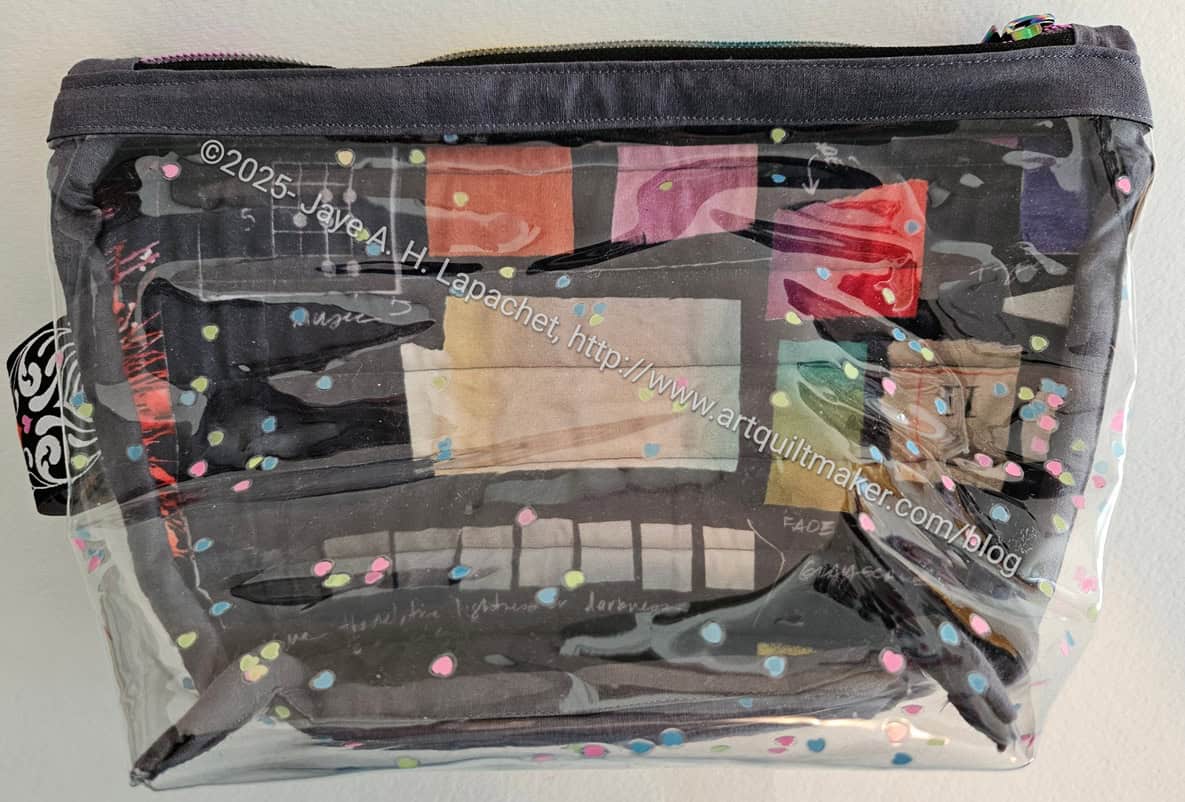
This is my first finish of the year! Finally! The Enigma might be my bag of the year as I feel excited about this bag and am eager to make two more.
I started this, because I had another one on my to do list and thought making two at a time would be quick and efficient. I also thought (and really hoped) it would, maybe, be chosen as the UFO project for the first month of the guild UFO challenge. As mentioned, no such luck, so I held off making the one on the list and just worked on this one.
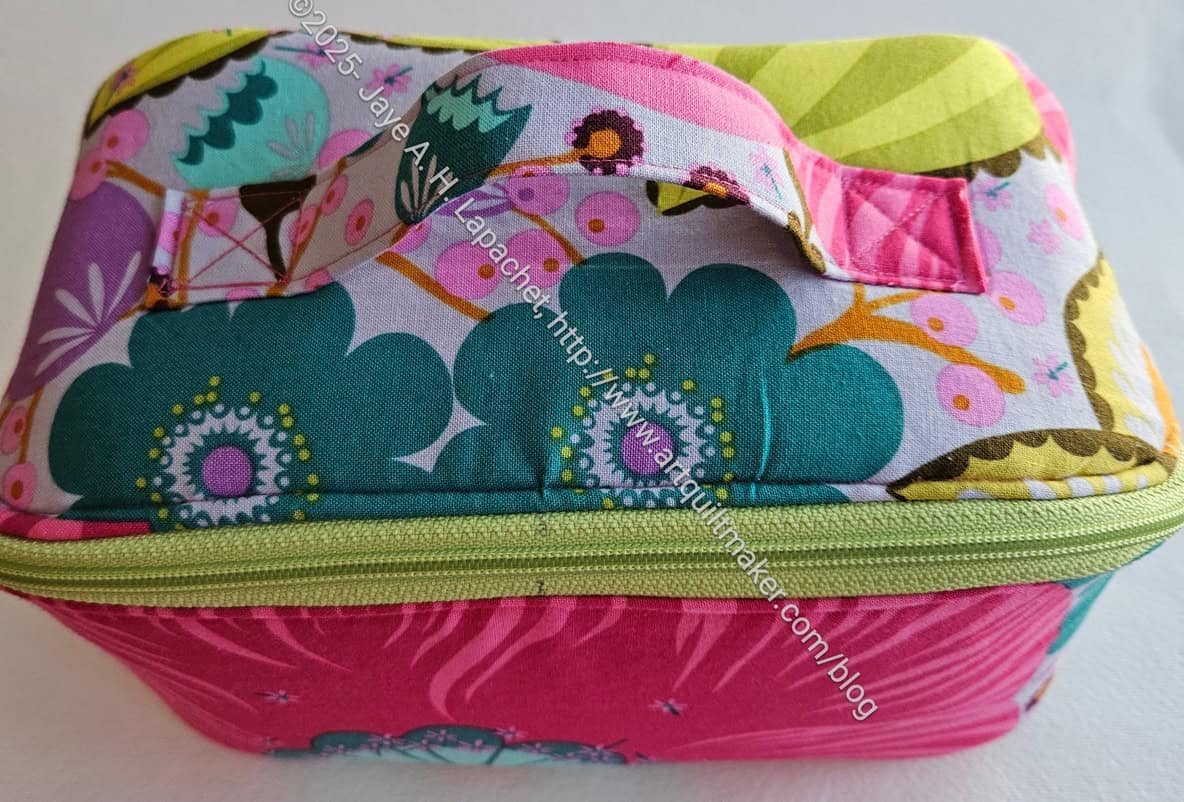
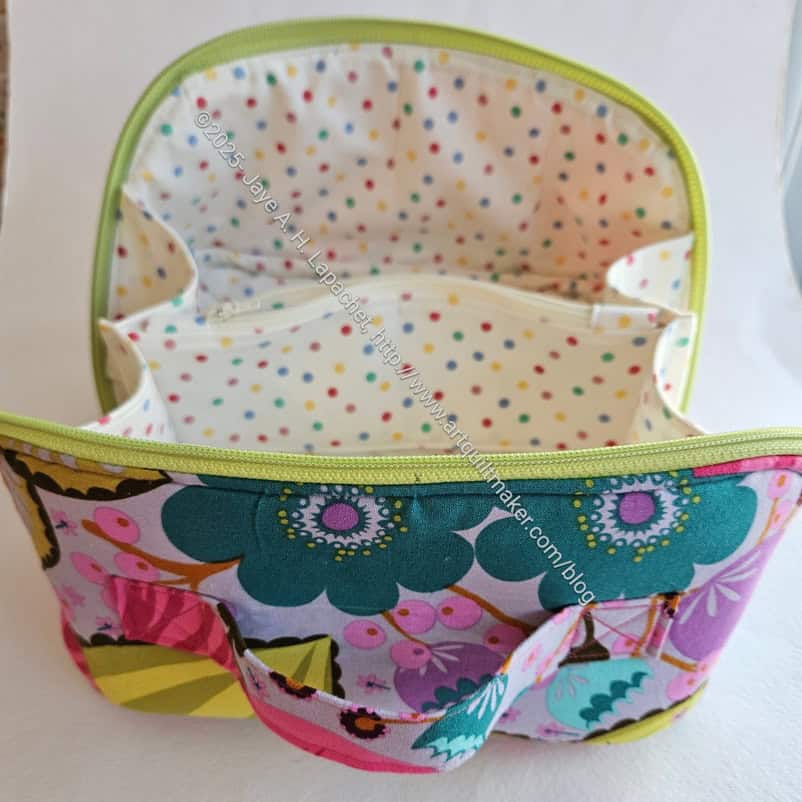
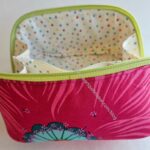
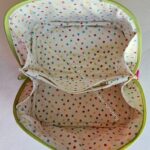
Diana’s Enigma – open, side view
I made this bag for the Angel Mother, and my birthday twin, Diana. I have made a Day Trip Wallet and two Dogwood pouches using the same fabric. I have no idea if she likes it, so I’ll just keep on making bags for her until I run out.
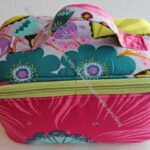
Diana’s Enigma bottom
I wanted to fussy cut the front so it looked a bit better than mine. I ended up fussy cutting the bottom, which ends up being one side. It looks good, but you can’t really see it.
I really like that big flower.
The more times I make this bag, the easier it becomes, but the more I like the construction. I watched part of the video and there were some helpful hints in it. The video is totally worth the purchase when you buy a Sew Sweetness pattern.
Of course, the Enigma is part of a 12 pattern bundle. While Minikins Season 3 is probably my favorite, I have also made several of the patterns from Season 4. See the various projects and decide which season you like best.
I do not have a UFO category on this blog. That is intentional. I really do not want to let projects languish as I tend to not like them, or remember what I was thinking, if I stop working on them. This doesn’t happen so much with quilts since I cleared off the 26 Projects list. The first post was a list of all of my UFOs at the time. The second was a post on my thoughts on UFOs. I also included some resources. Many are probably dead links, but there might be a few you can use. My category is ‘Works in Progress’.
The guild UFO challenge is making me work on bags that have been on my list for awhile, or started and never finished. This seems to happen more with bags than quilts these days.
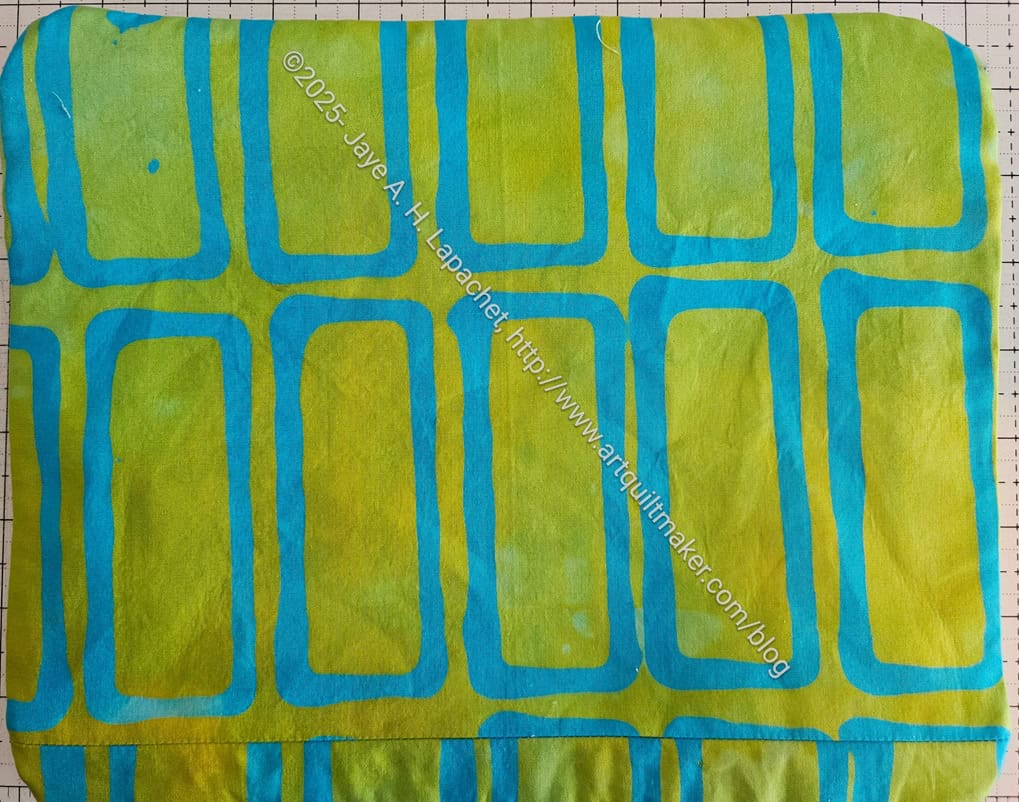
Pandora Charisma front pocket
I had made a very small start on the Pandora Charisma before the challenge. The other day I really got started on the sewing.
OMG, the Sewfisticated Quilted Diamond Vinyl in White Quartz was awesome to cut. I was talking with my mom, step-dad and DH about the bag and trying to explain this substrate. I described it as pleather. I didn’t remember that it was vinyl. It doesn’t feel like vinyl. It doesn’t feel like the glitter vinyl I love or the star vinyl I used on the Cosquilla pouch. The quilted Diamond vinyl is very soft and buttery. It feels like a very expensive leather.
I am struggling a tiny bit because I have to get used to a new pattern designer/writer, but in general the project is moving along well. I didn’t want to stop working on it last night and am excited to have another go tomorrow. This is due on February 7, if I want to get credit in the challenge. Fingers crossed I can do it!
I have a few bits and bobs still to cut, but I decided I had enough pieces to put a few blocks together.
“Lupine Alternate block” is kind of a sad name for this great block. The pieces from Clue 7 are so cleverly incorporated into this block. While the pieces were a little fiddly to make, they make the corners so much easier than other methods of construction. Also, using the Simply Folded Corners ruler** makes the cutting and sewing easy peasy.
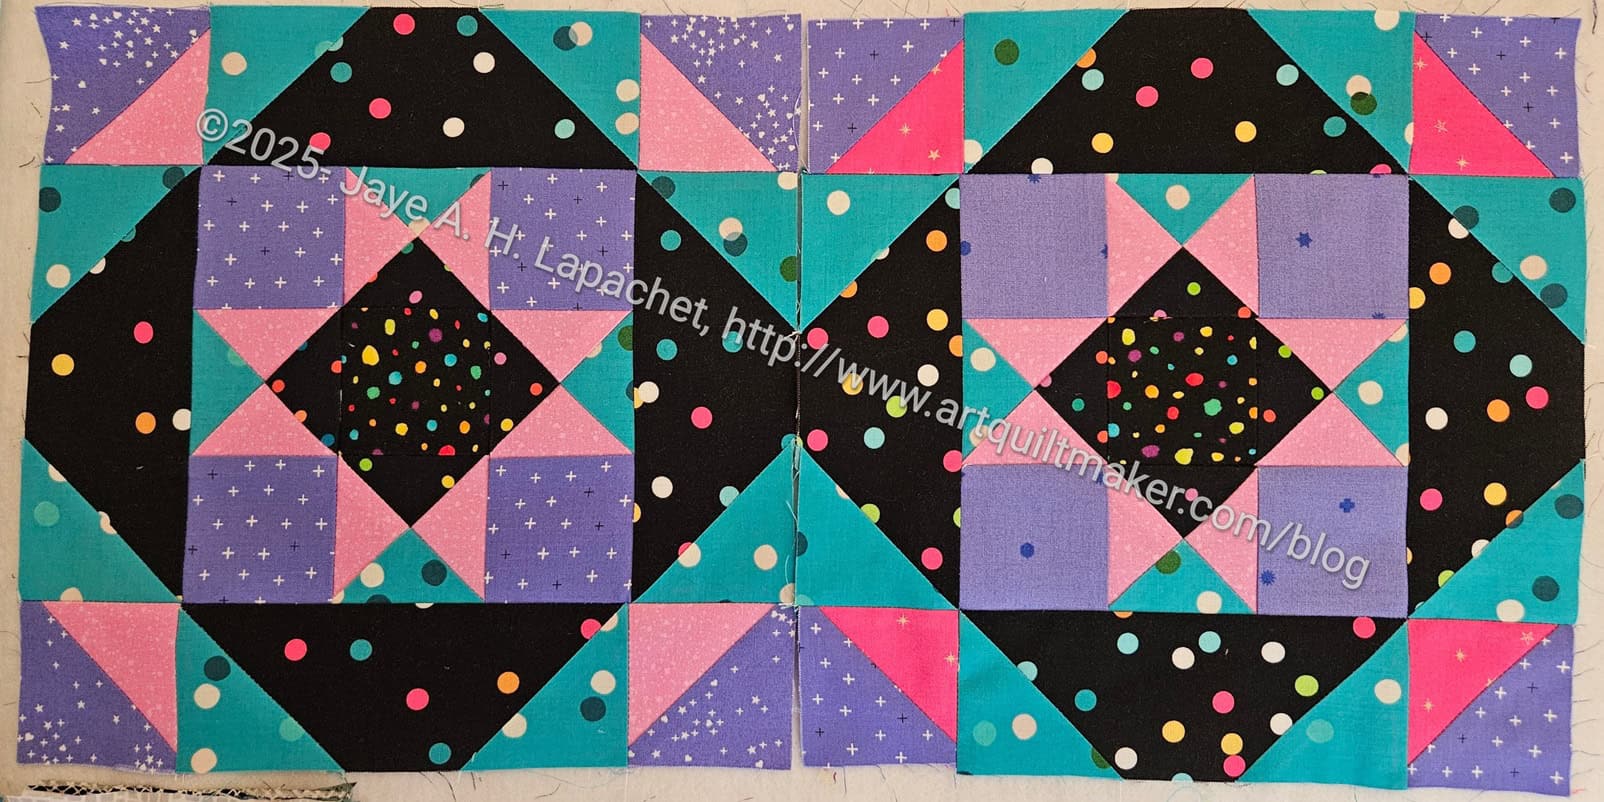
Two Lupine alternate blocks
I thought I would just make one to see where I was doing, but like the Potato Chip blocks, I couldn’t make just one.
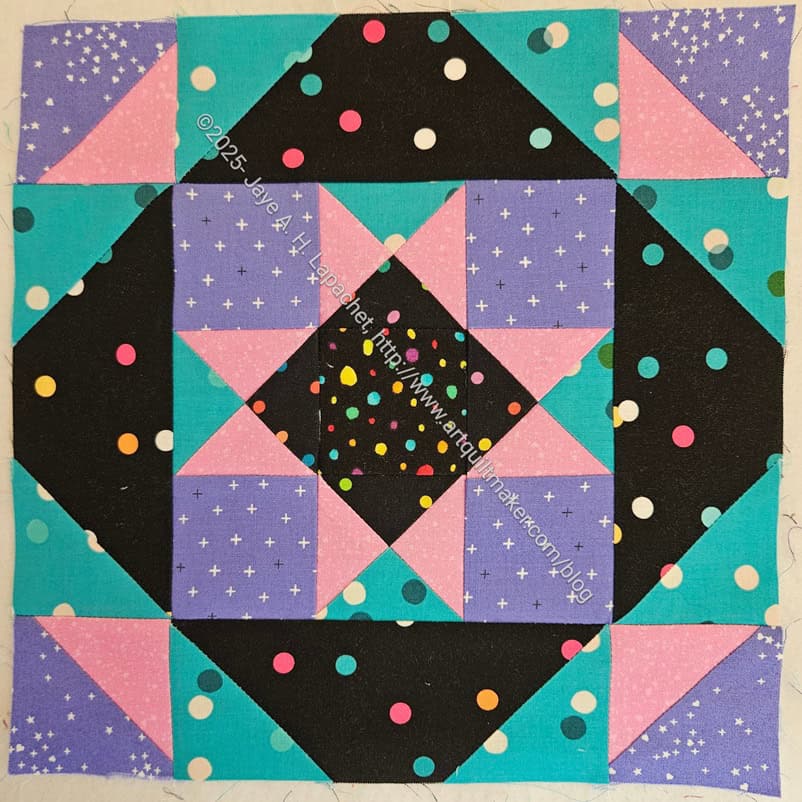
Lupine Star block
Once I saw two of the alternate blocks together, I had to make some of the Lupine Star blocks. I had cut the center strips with the last of the Melody Miller Carousel blue, so I made a couple of blocks from what I had.
I had decided that I wanted to use more of that fabric, so I went looking for some and found a couple of yards at the Bloomerie. The fabric was in the washer as I was making some of the alternate blocks.
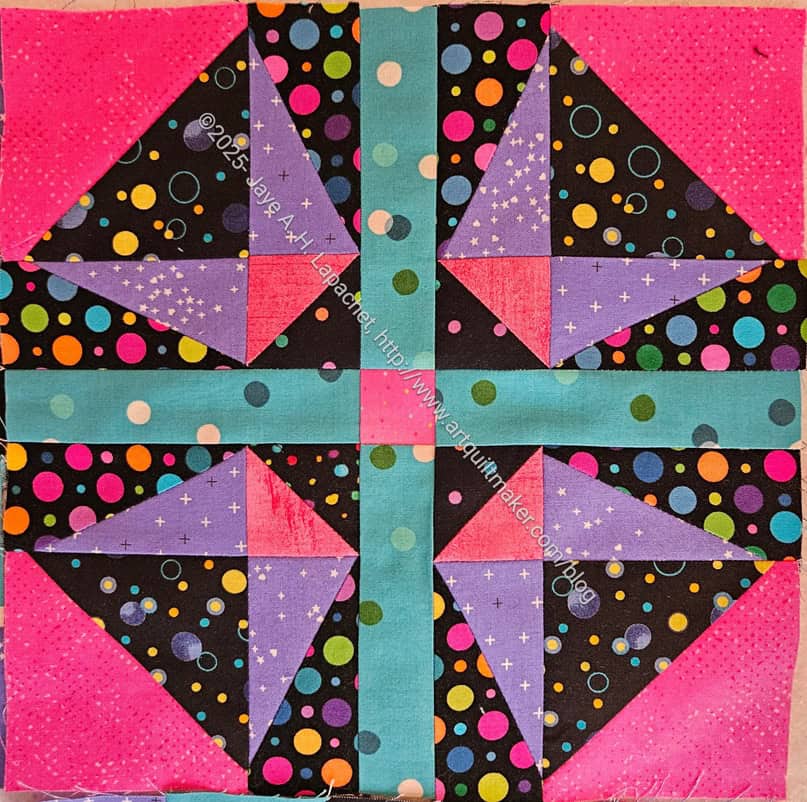
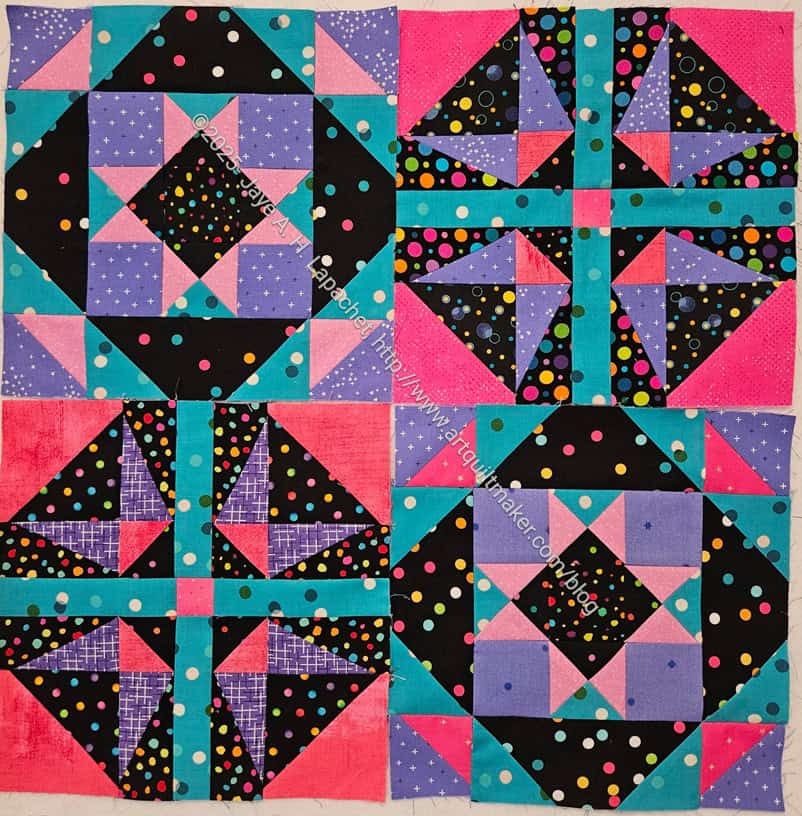
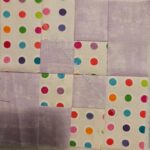
Lupine block combination
The pink I used in this one is darker than the pink I used in the alternate block above. I was a little concerned about that, but once I had a few of both blocks sewed together, I thought the variation was fine.
I used only a few fabrics and am trying to vary which are sewed to which others. It won’t be 100% possible since this isn’t as scrappy as Old Town, for example. However, I think the block combination is looking good so far.
N.B. Bonnie will remove the posts to which I have linked from her blog sometime in February 2026. Download or save the clues now if you want to make this quilt.
**Obviously, you should shop at local quilt shops and small businesses. However, if you are too busy or can’t find what you need there, I use Amazon affiliate links and may be paid for your purchase of an item when you click on an item’s link in my post. There is no additional cost to you for clicking or purchasing items I recommend. I appreciate your clicks and purchases as it helps support this website.
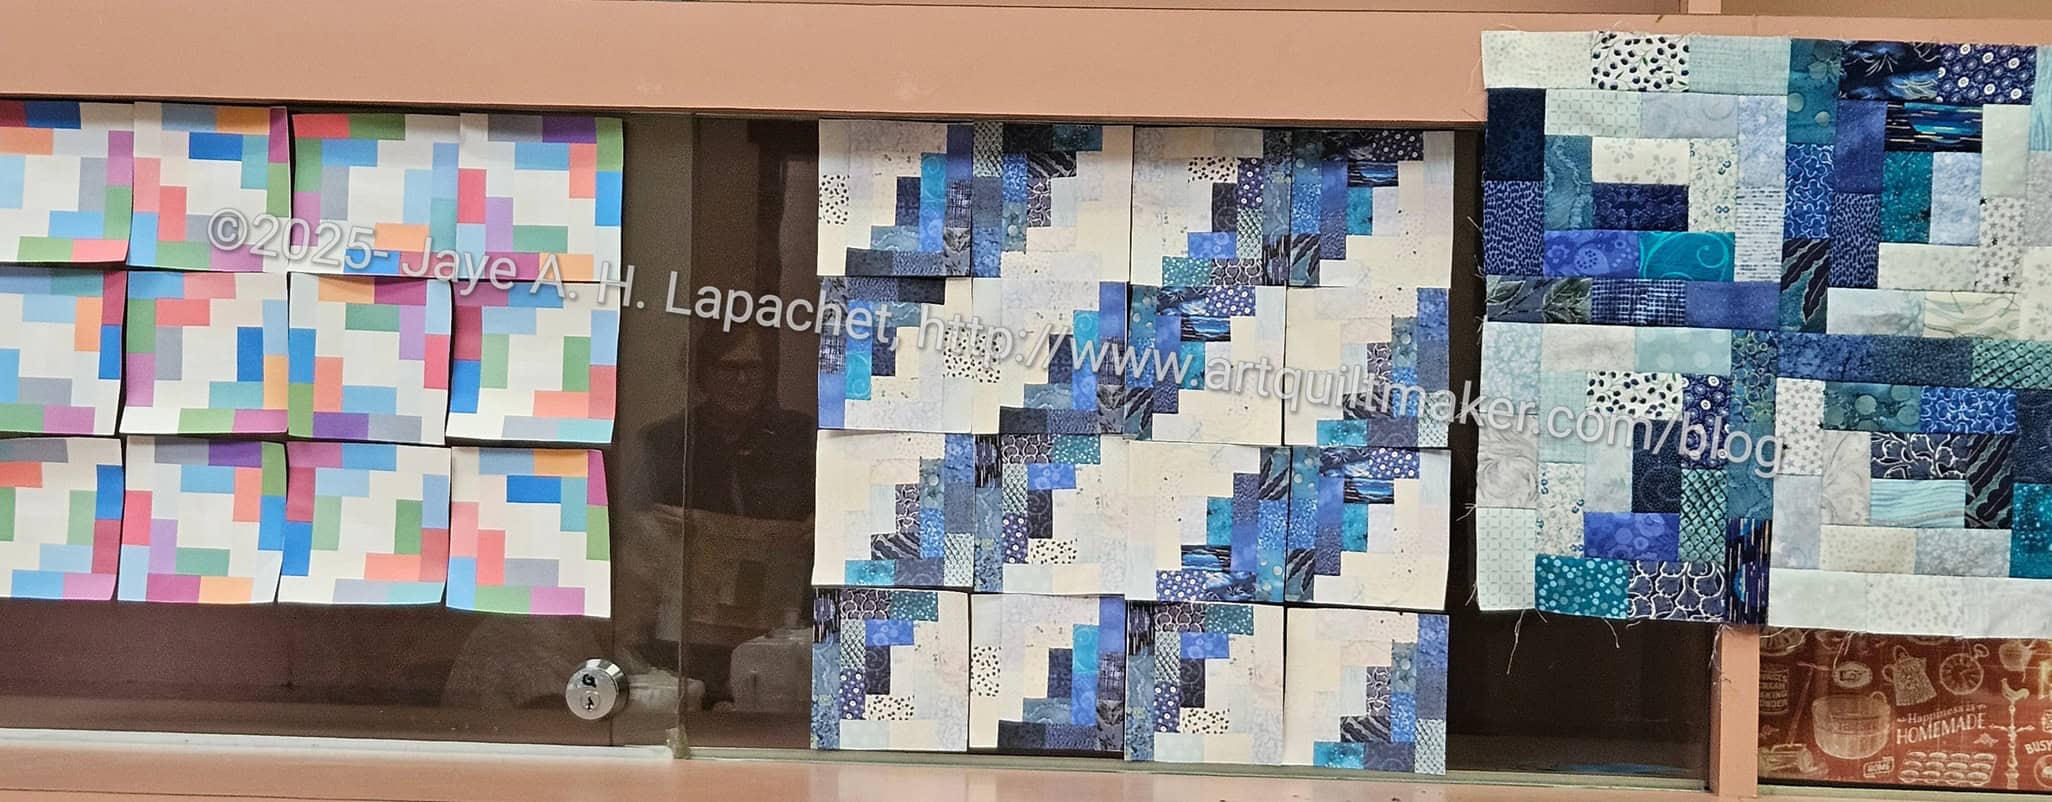
I went looking for a post about the end of Four Patch Fun on Bonnie Hunter’s site and couldn’t find anything. I have several more blocks cut out, but think I might start making the Four Patches as described in the post about the Judy Martin find and work towards finishing this quilt.
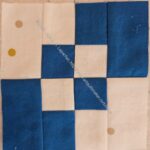
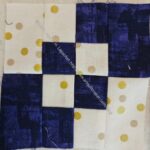
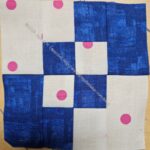
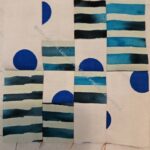
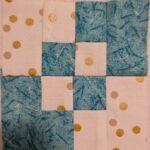
Medium Blue Four Patch Fun
Dark Blue Four Patch Fun
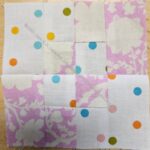
Light Pink Four Patch Fun
Variegated blue Four Patch Fun
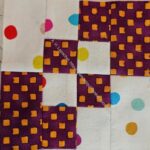
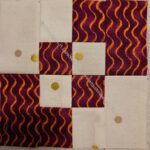
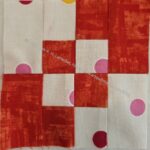
Red Violet checkerboard Four Patch Fun
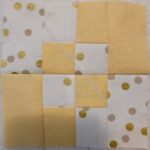
Yellow Four Patch Fun
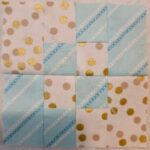
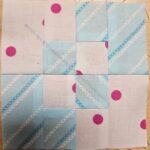
Blue diagonal #2 Four Patch Fun
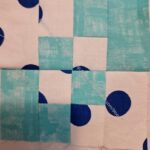
Blue Four Patch Fun
Lavender Four Patch Fun
Red Violet stripe Four Patch Fun
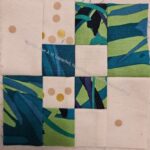
Leaf Four Patch Fun
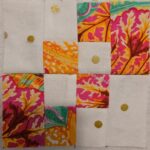
Palm Frond Four Patch Fun
Rusty Orange Four Patch Fun
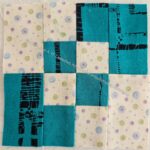
Blue & Black Four Patch Fun
Blue Four Patch Fun
Blue Four Patch Fun
Dark Blue Four Patch Fun
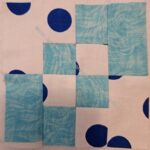
Blue diagonal Four Patch Fun
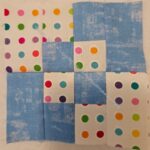
Blue & Pink Tula Four Patch Fun
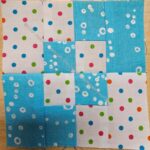
Blue Bubble Four Patch Fun
Blue Stitch Four Patch Fun
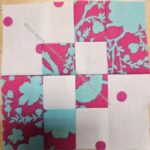
Pink Tula Four Patch Fun
Blue Stripe Four Patch Fun
Blue Four Patch Fun
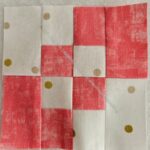
Pink Four Patch Fun
I have made quite a few as leaders and enders during the time since my last post. I cut some pieces for more when I was scrap processing at the last Sew Day. After that was when I decided to sew up what I had and move on. I have other leaders and enders I want to use and I need to clear the decks a bit.
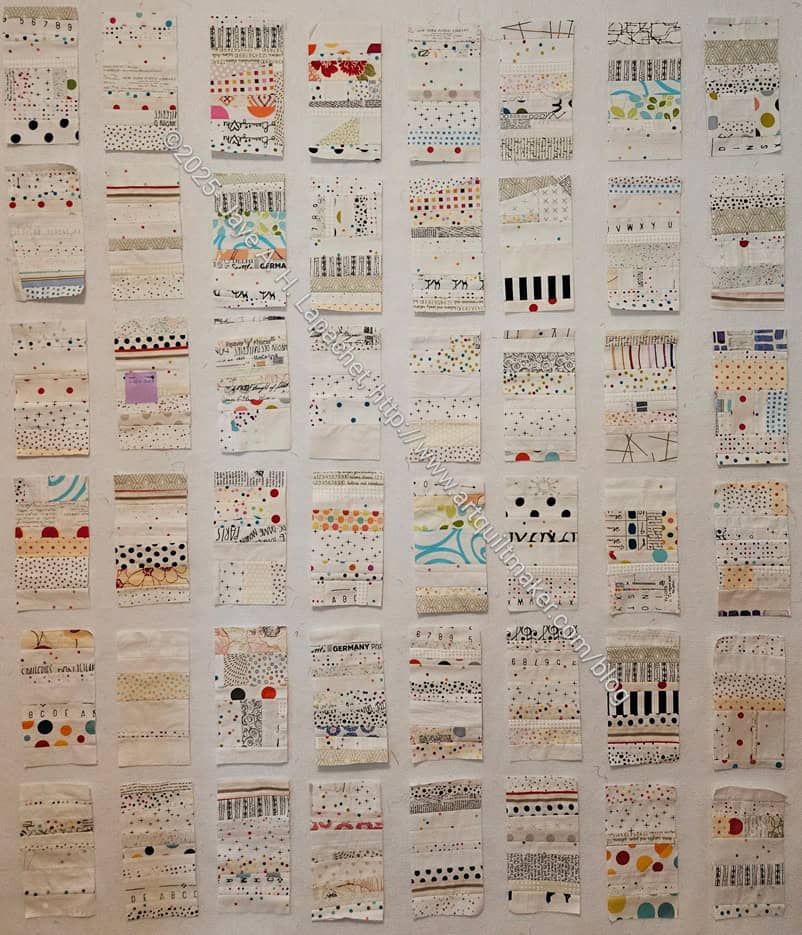
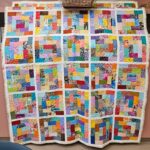
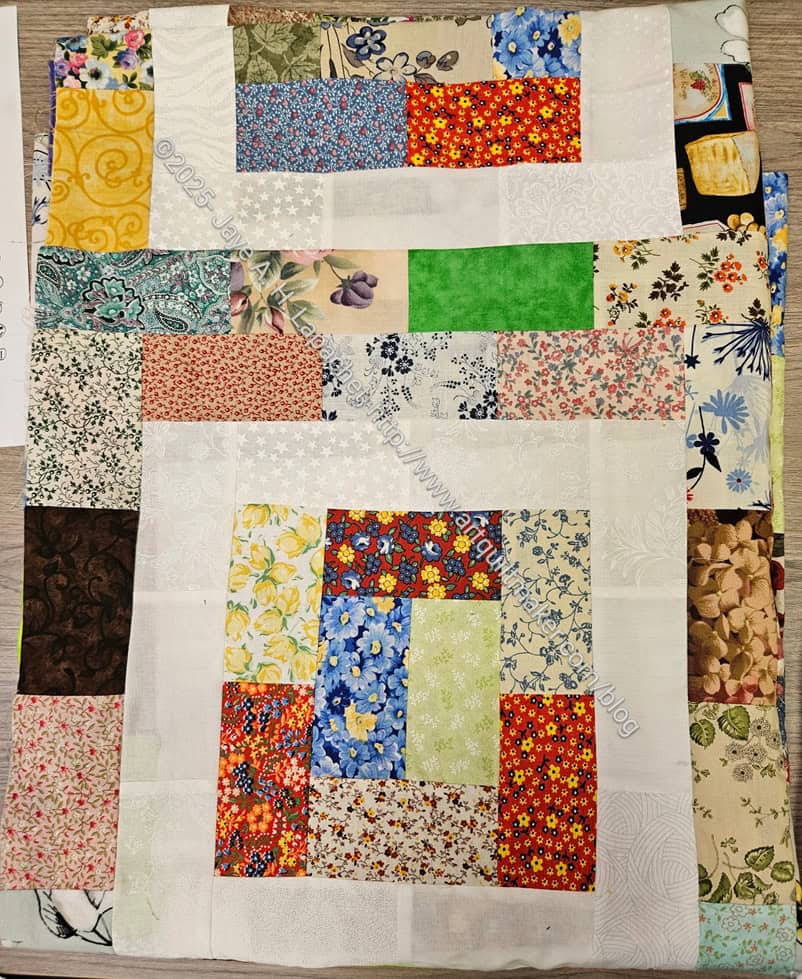
I finally dug out the white strips blocks I made last year and put them on the design wall. With the Patchwork Palooza no longer taking up valuable design wall real estate, I am able to work on this project.
I haven’t started on sashing yet, but did decide to just make my normal strip quilt rather than another Sidewalk quilt. However, since I haven’t started the sashing yet, that could change.
I am thinking about red sashing as I have at least two bins of red fabric. I could use more by making a Sidewalk version. We’ll see. I know I don’t want to make another white on white strips quilt.
I haven’t really decided to make 12 quilts for the guild this year. I am giving enough time to the guild. That doesn’t mean I won’t make donation quilts. It just means I don’t (yet?) have a goal.
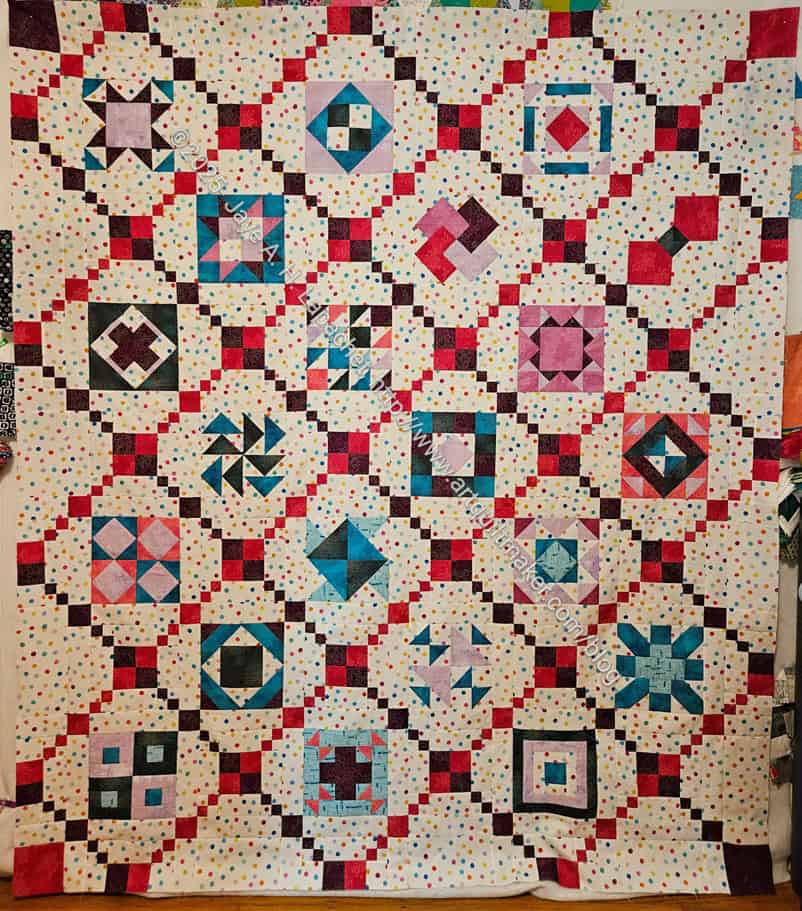
I finished the Patchwork Palooza top, back and binding last weekend and took it to Colleen yesterday. That is one project off of my overcrowded plate.
I started this project in September. I was late to the scene, but caught up. September-January isn’t too bad for piecing a quilt.
What I found annoying was that I had to receive a lot of marketing emails along with the patterns for the blocks. I don’t mind exchanging my eyes for a few marketing emails, but there were many, or what seemed like many, per week and it got old. I unsubscribed after not receiving the finishing instructions promptly and went my own way. I am pleased with the edge, which is comprised of ‘finishing’ off the Irish Chain bits of the design.
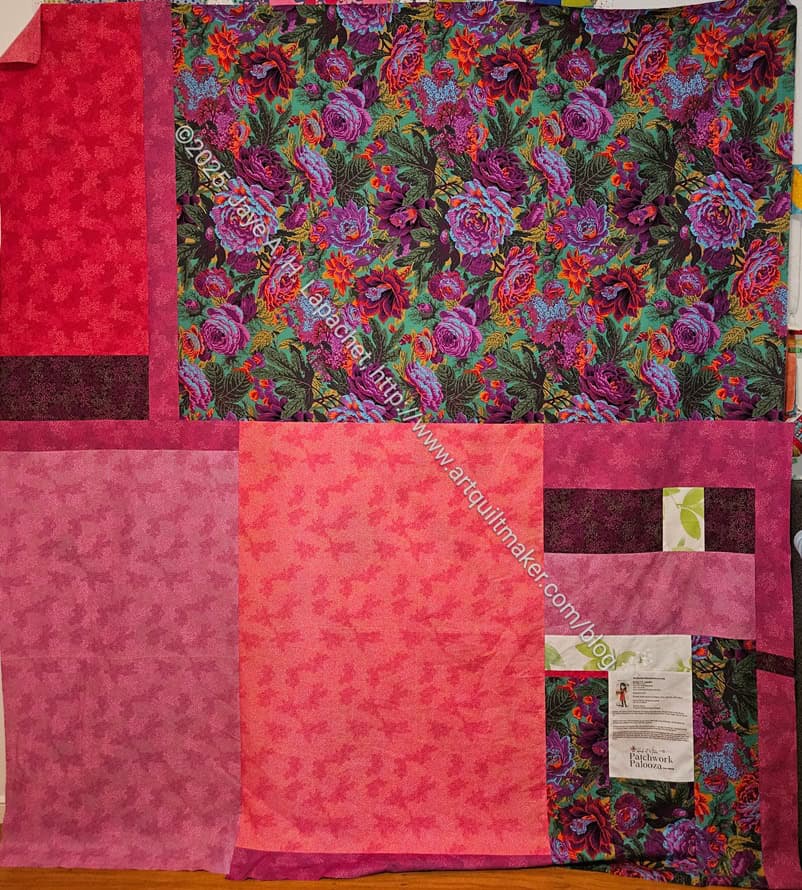
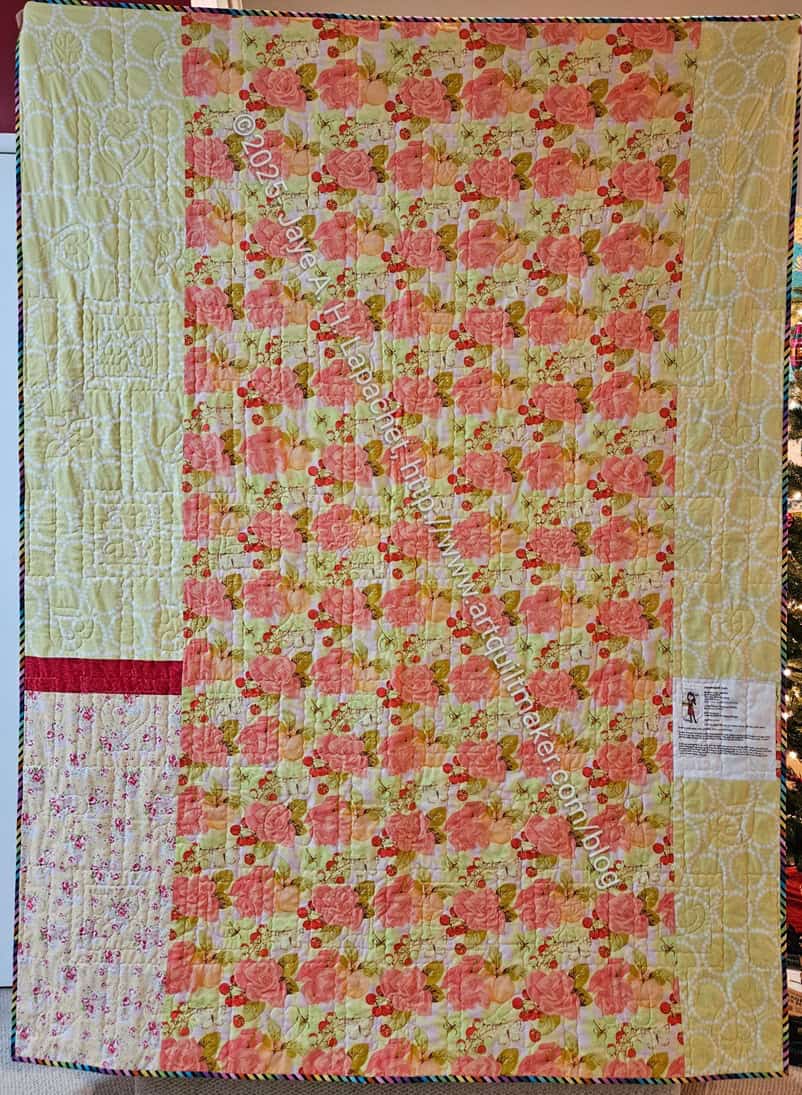
Patchwork Palooza back
I made the binding right after I finished the top, which was a good move on my part. The back took me longer than I expected and I am sure I wouldn’t have had everything ready when Colleen contacted me if I hadn’t done that.
One thing I need to do is collect ideas for quilting as I go along or before I go to Colleen.
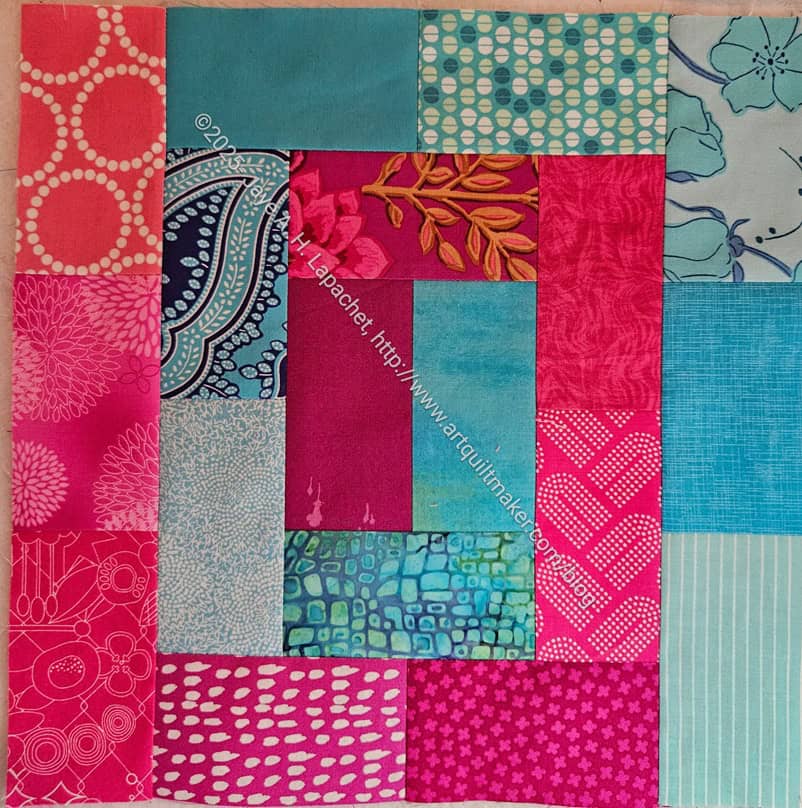
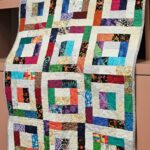
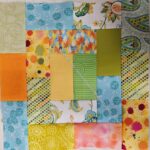
I made a Potato Chip block based on my discussion with DH. I used the pieces I had cut awhile ago.
I picked out certain pieces from both caches in the medium range and used his idea for a spiral layout. I am pretty pleased with the overall result. The colors look really nice together. I could make the block larger with another round. That would make a finished quilt come together quicker. While the block is finished, it is not too late to make it larger.
One thing that I was reminded of was that the construction revolves around patches that are twice as long as they are wide. This means that while I am using 2.5 x 4.5 inch patches, 1.5 x 2.5 inch patches will work as will 4.5 x 8.5 inch patches. All are easy to cut with the 4.5 x 8.5 inch Creative Grids ruler** that is my favorite.
This is a block that only takes a few minutes to make, but I have a lot going on and am not sure I want to commit to this at the moment. Of course, It is just piecing, because there is a lot cut.
**Obviously, you should shop at local quilt shops and small businesses. However, if you are too busy or can’t find what you need there, I use Amazon affiliate links and may be paid for your purchase of an item when you click on an item’s link in my post. There is no additional cost to you for clicking or purchasing items I recommend. I appreciate your clicks and purchases as it helps support this blog.
One of the patterns I used to make holiday gifts was the Stella Pouch from Center Street Quilts. I have made a couple of these before. One was for a swap and one was my contribution to Laura’s gift basket. I got excited about this pattern when I saw the video with a half vinyl version. I also like the ability to see the fabulous prints used for the lining.
Stella Pouch for Carrie
I made three of these for the holidays. There are no specific directions for using vinyl or adding a Flying Geese strip, as Katrina shows in the version linked above. It isn’t difficult to change substrates or add some Flying Geese, but I forgot the Flying in all three pouches! I’m annoyed because foundation paper piecing, in general, takes me forever and I worked hard at getting these strips done for these specific gifts. Oh well. I’ll make some more of these pouches and add the Flying Geese to them.
Stella Pouch for SueG
The other thing I did just to add a bit of flair was use some of my Renaissance Ribbon as the pull tab. I am not sure how practical it will be. I need to start using my ribbon and this was as good a start as any.
The one thing I need to do differently was the zipper end. It was very thick and hard to turn. I talked to Mary about it and probably need to trim more around the zipper. Another good reason to make more of these.
I finished the Chain Link just in time for Christmas. All I had to finish was the binding. It required hand stitching, which seemed to take forever. As DH was holding it up for the photo, he commented on how large it is. I guess that’s why the binding seemed to take forever.
Chain Link back
I don’t mind. I like having some hand stitching to do in the evening.
I made the back as cheerful as I could after digging into my backing pile.
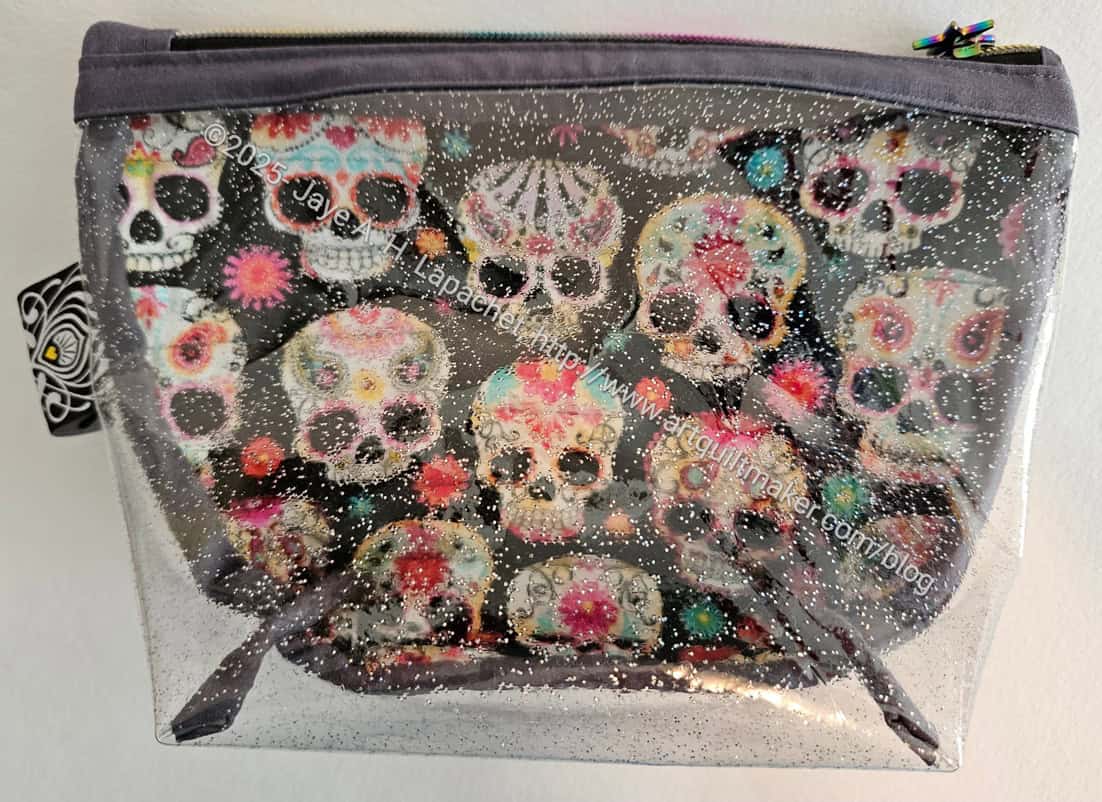
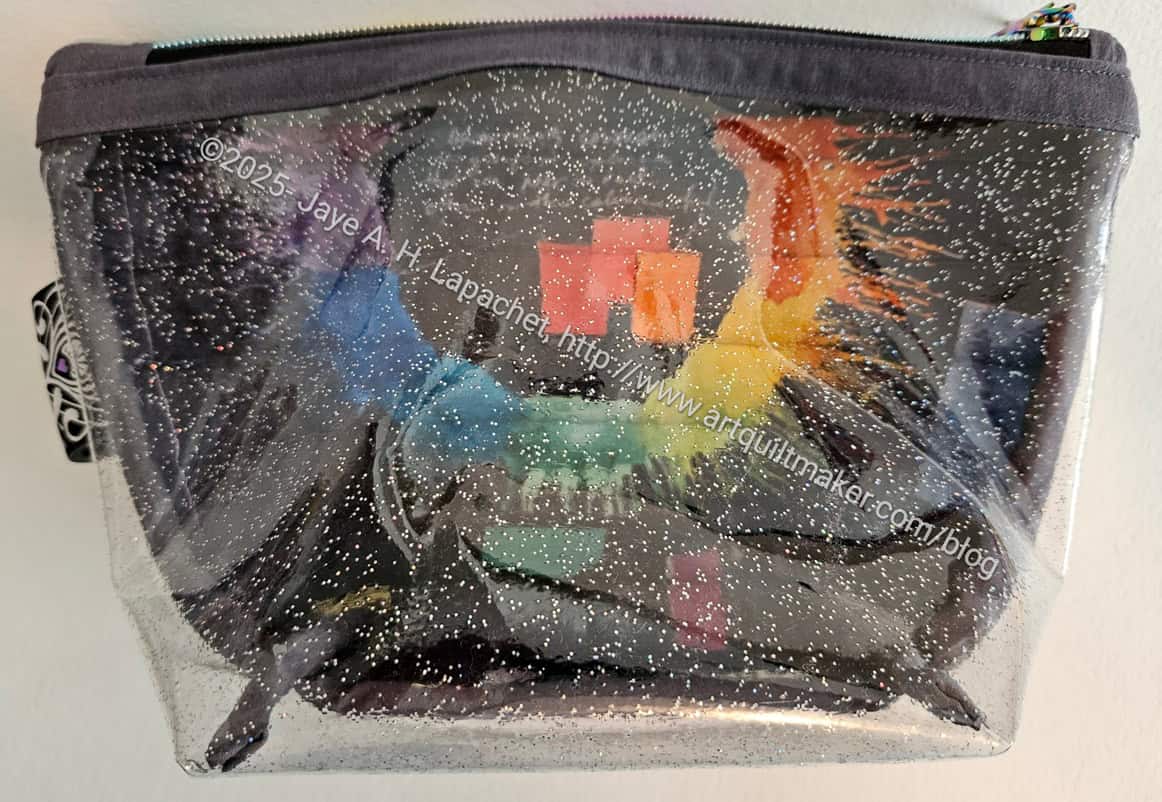
I quickly made this pouch for Tim as a gift. I usually make him a gift, but for some reason I didn’t plan ahead for him. I will in 2026.
I rounded the corners of this version as it was easier to sew. I also used some great hand-dyed fabric that Sonja made for me a long time ago. It is precious so I save it for special projects.
Green I Spy for Tim-back
Tim loves everything green and he uses the bags I give him, so I decided to use some of this precious fabric for him.
I went to a workshop on Thursday with the Pacifica Quilt Club. I mentioned them a few months ago. I did join and have been to one meeting. This was my first workshop. I went because I am interested in the Potato Chip quilts and wanted to see what they had to say.
I talked a little bit with Lynette about Potato Chip quilts at the Retreat, so I knew about them, but have never made one. I have to say that I am excited to try one with some 2.5×4.5 inch piece I cut for another project I will never make.
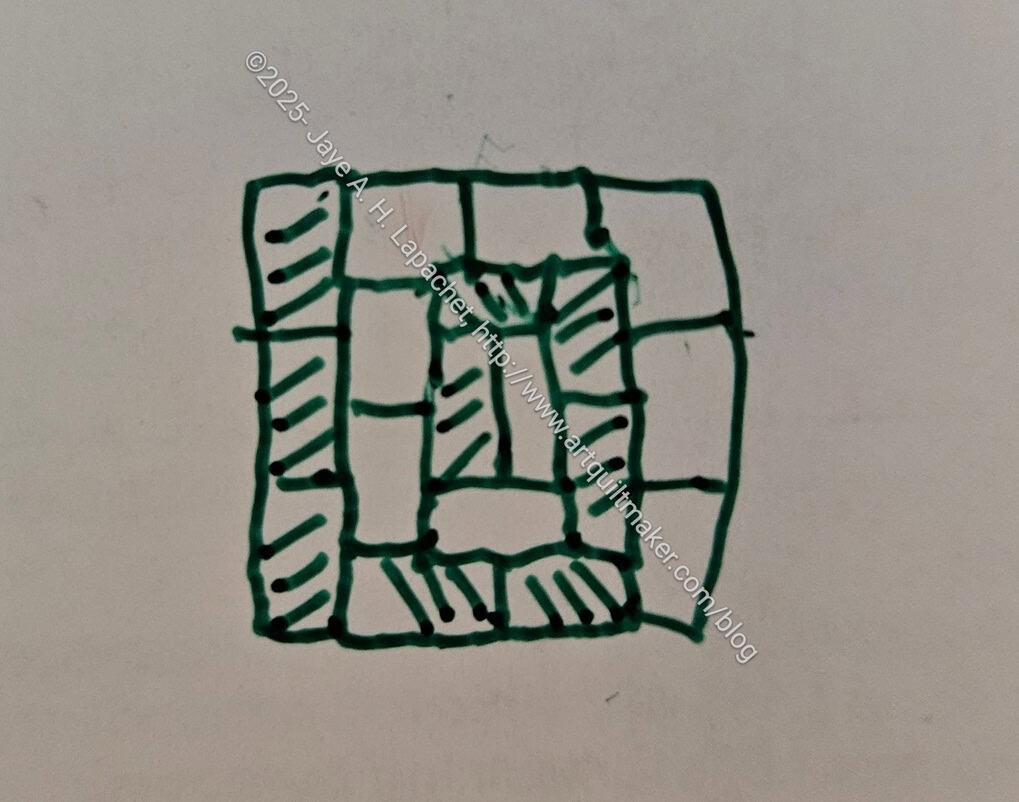
Spiral Potato Chip block drawing
DH and I talked about the workshop at dinner and I did a little drawing of the block. He added on to it to make a spiral and I think I will start with that idea. I already have some pieces of the right size I was doing to use for another project whose time has passed.
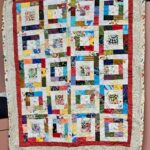
Potato Chip example by Jaysa
Potato Chip example
Potato Chip example – detail of block layout
Potato Chip example by Julie C
Potato Chip example -great fabric choices
Potato Chip example
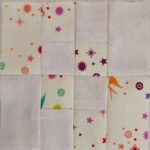
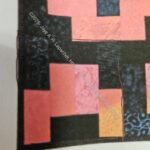
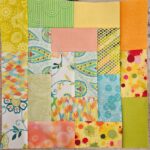
There were a number of examples, which show the versatility of the idea. The first example is a mini quilt (maybe miniature). It uses 1.5 x 2.5 inch pieces, but the same piecing applies.
Potato Chip example -flower block with self-sashing by Kay
One block I particularly liked was by Kay. She made a quilt, but I just took a picture of one block. It is larger and the white strip with another ’round’ of pieces makes the blocks ‘self-sash’ when you put them together. I love this kind of concept.
The blocks end up large, too, so you can quickly make a quilt.
In this example Kay has used all different kinds of flower fabrics, which shows how well loose themes work for this quilt design.
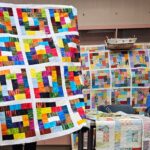
Potato Chip example -in paper by Jaysa
Jaysa made some paper examples showing additional layouts. These layouts look like Log Cabin blocks, but are Potato Chip blocks.
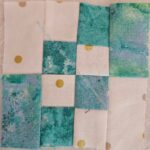
Potato Chip block 1
Potato Chip block 2
While learning this technique we all made blocks to contribute to a community quilt. I made two blocks during this short workshop. Julie C cut all the pieces, so we didn’t have to bring fabric or spend time cutting.
I used my fabulous wagon for the second time and got a lot of compliments on it.
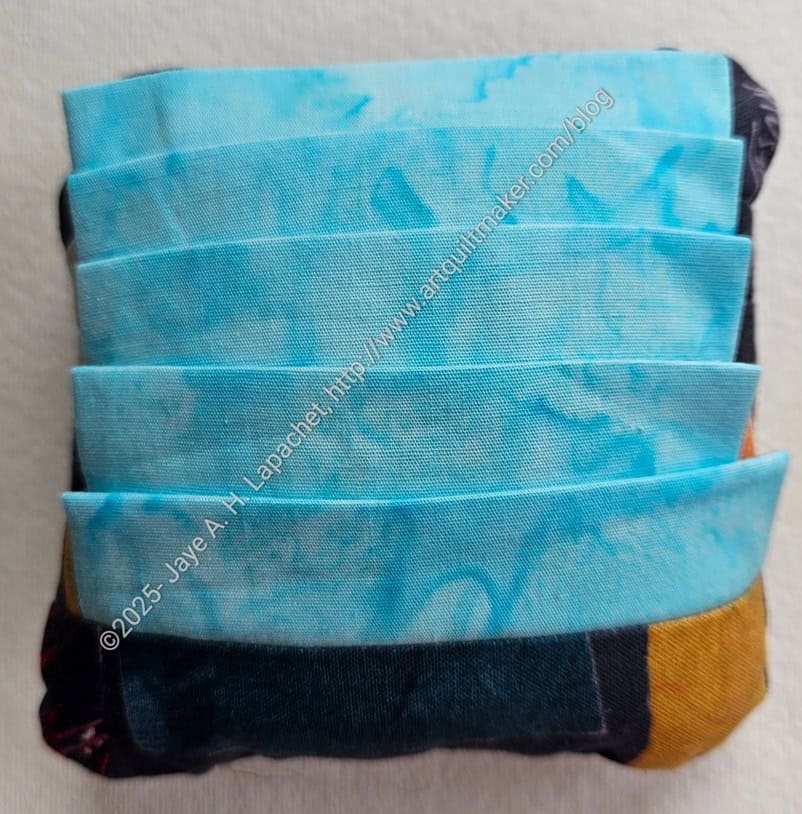
Sue has mentioned a few times that she loves my Clippy Pincushion.
I decided that it was time to make a couple for her and Carrie. I hesitated because the pins have to go into the pincushion almost horizontally in order not to get stuck when you grab the item. I have never figured out a way to prevent that. Of course, I haven’t lined the largest pieces with foam or something either. Maybe I’ll try that.
**Obviously, you should shop at local quilt shops and small businesses. However, if you are too busy or can’t find what you need there, I use Amazon affiliate links and may be paid for your purchase of an item when you click on an item’s link in my post. There is no additional cost to you for clicking or purchasing items I recommend. I appreciate your clicks and purchases as it helps support this blog.