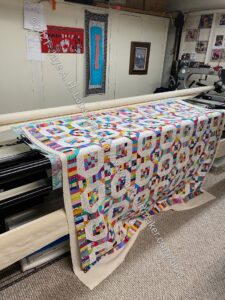
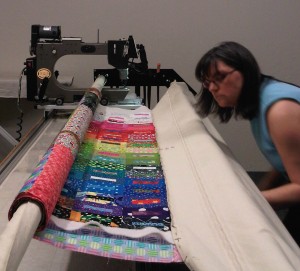
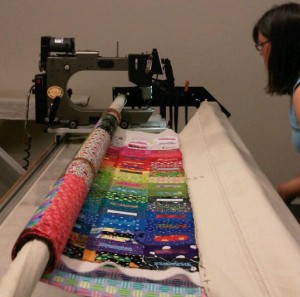
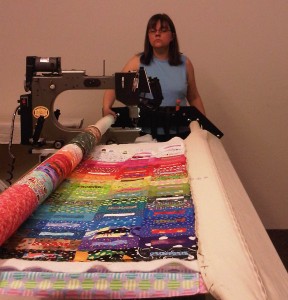
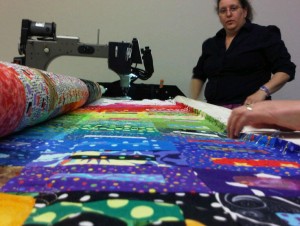
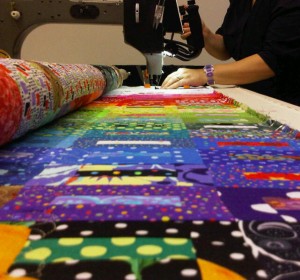
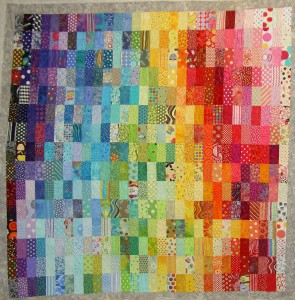
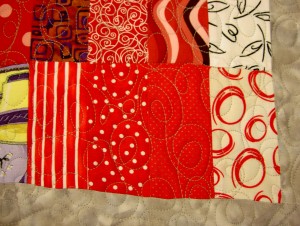
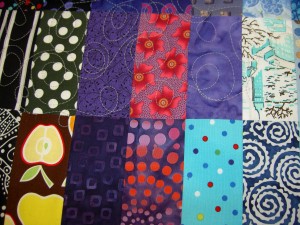
If you, mostly, do not quilt your quilts yourself, then part of your quiltmaking process should be preparing your quilt for your longarm professional. You can read my longarm rant which implies things to think about when choosing a longarm quilter, but regardless of who you choose, you will still have to prepare your quilt.
To be honest, when I get to the “YAY! I have finished my top” stage, I am done with the quilt. However, I also don’t want a bunch of tops laying around, so I am working on finding the Zen or meditative qualities of finishing my quilts.
For the top, don’t worry much about pattern or block design when thinking about the longarmer. I am more interested in what I want for the top.
Back
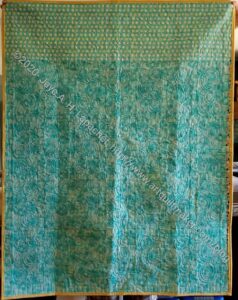
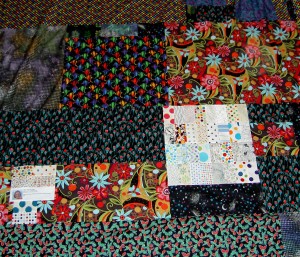
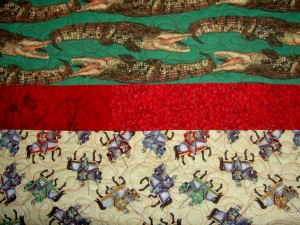
However, when I get to the back, I do try to be nice. Part of the process or creating the Zen or meditative space in my head of finishing my quilts deals with the back. I no longer piece tiny squares together to create a coordinated back. I try to use very large pieces of fabric, which not only enables me to finish the back quickly, but also lessens the number of seams on the back for the longarmer.
My personal, fabulous longarmer has never complained about seams, but I also don’t want her to become frustrated with me. I make pieced backs. That is just what I do. I see no good reason to buy additional fabric for the back when I have perfectly good fabric in my fabric closet that is not being used.
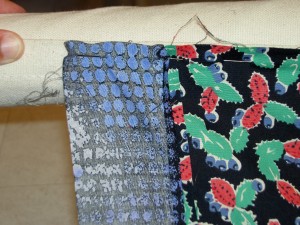
Lately, I have started to try to remember to piece the seams open on the back. It doesn’t really matter in terms of construction, IMO, but it lessens the number of layers that the longarm needle has to punch through. My personal, fabulous longarmer has never said one way or the other, but I figure that it can’t hurt.
If I know that the end of the seam will be on the outside of the quilt or NOT crossed by another seam I will also backstitch. I do this on the front also, so that the threads don’t pull apart as the quilt is being stretched on the longarm machine. Of course, I don’t always know, but I do my best.
I try to make the back at least 8″ larger (4″ on each side and 4″ on top and bottom) all the way around than the size of the top. To do this, I lay the top on my design floor and build the back on top of it.
Post-it Notes are your Friend
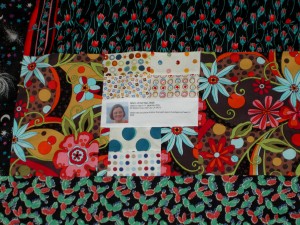
I measure the top and the back and pin a post-it note to the quilt saying what the sizes are. I use hot pink post-it notes. My quilts are generally square, but usually not perfectly square. They are often off by an 1/8″, but not much more. If I put the post-it note on, the longarmer clearly knows what s/he is dealing with and can’t blame me later for lousy piecing (Well, s/he can, but I can just look at him or her sarcastically and not feel bad).
Top and Bottom
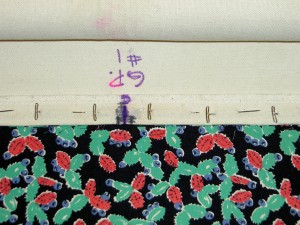
You might think that any idiot could tell which is the top and bottom of your quilt, but that is not always the case. I had a quilt where the back was really large – much larger than the 4″ all around that I normally make it – and my personal, fabulous longarmer put it on sideways, because I didn’t mark the top and the bottom. She is not in my head, though she is in my fantasy life, so now I put a post-it note with the word ‘top’ on both the top and the back. Top on the post-it note means “dude, this is the top of the quilt.”
Pins
I take them out as I piece. There is no later. If my personal, fabulous longarmer runs over a pin I left on the quilt, I pay to have her machine repaired. My fault, my problem.
Embellishments
I embellish with anything 3D AFTER the quilting is done. If there is some reason that I put a button or beads in a section of the quilt, then I pin a very bright post-it note to that area. I also point it out to her when I bring the quilt to her. If my personal, fabulous longarmer runs over an embellishment on the quilt, because I didn’t warn her, I pay to have her machine repaired. My fault, my problem.
Press, Press, Press
As much as I despise pressing the top and the back I do it just before I take the quilt to the longarmer. Then I hang the top and the back on a pants hanger. The pants hangers have to be tough and have really strong clips, because those quilts are heavy. If I don’t press the wrinkles will not ‘quilt’ out.
This is the last step. Once the quilt is on the hanger, it is ready to be taken to the longarmer.
Keep in mind that your personal longarmer might have different requirements for how you prepare your quilts. Make sure that you know what those are before you take your quilt to be quilted.
