I spent some time away sewing this past week with Friend Julie. I didn’t get to sew as much as I thought I would because I had some social and professional obligations to conduct as well. Still, I made progress and that is a good thing.
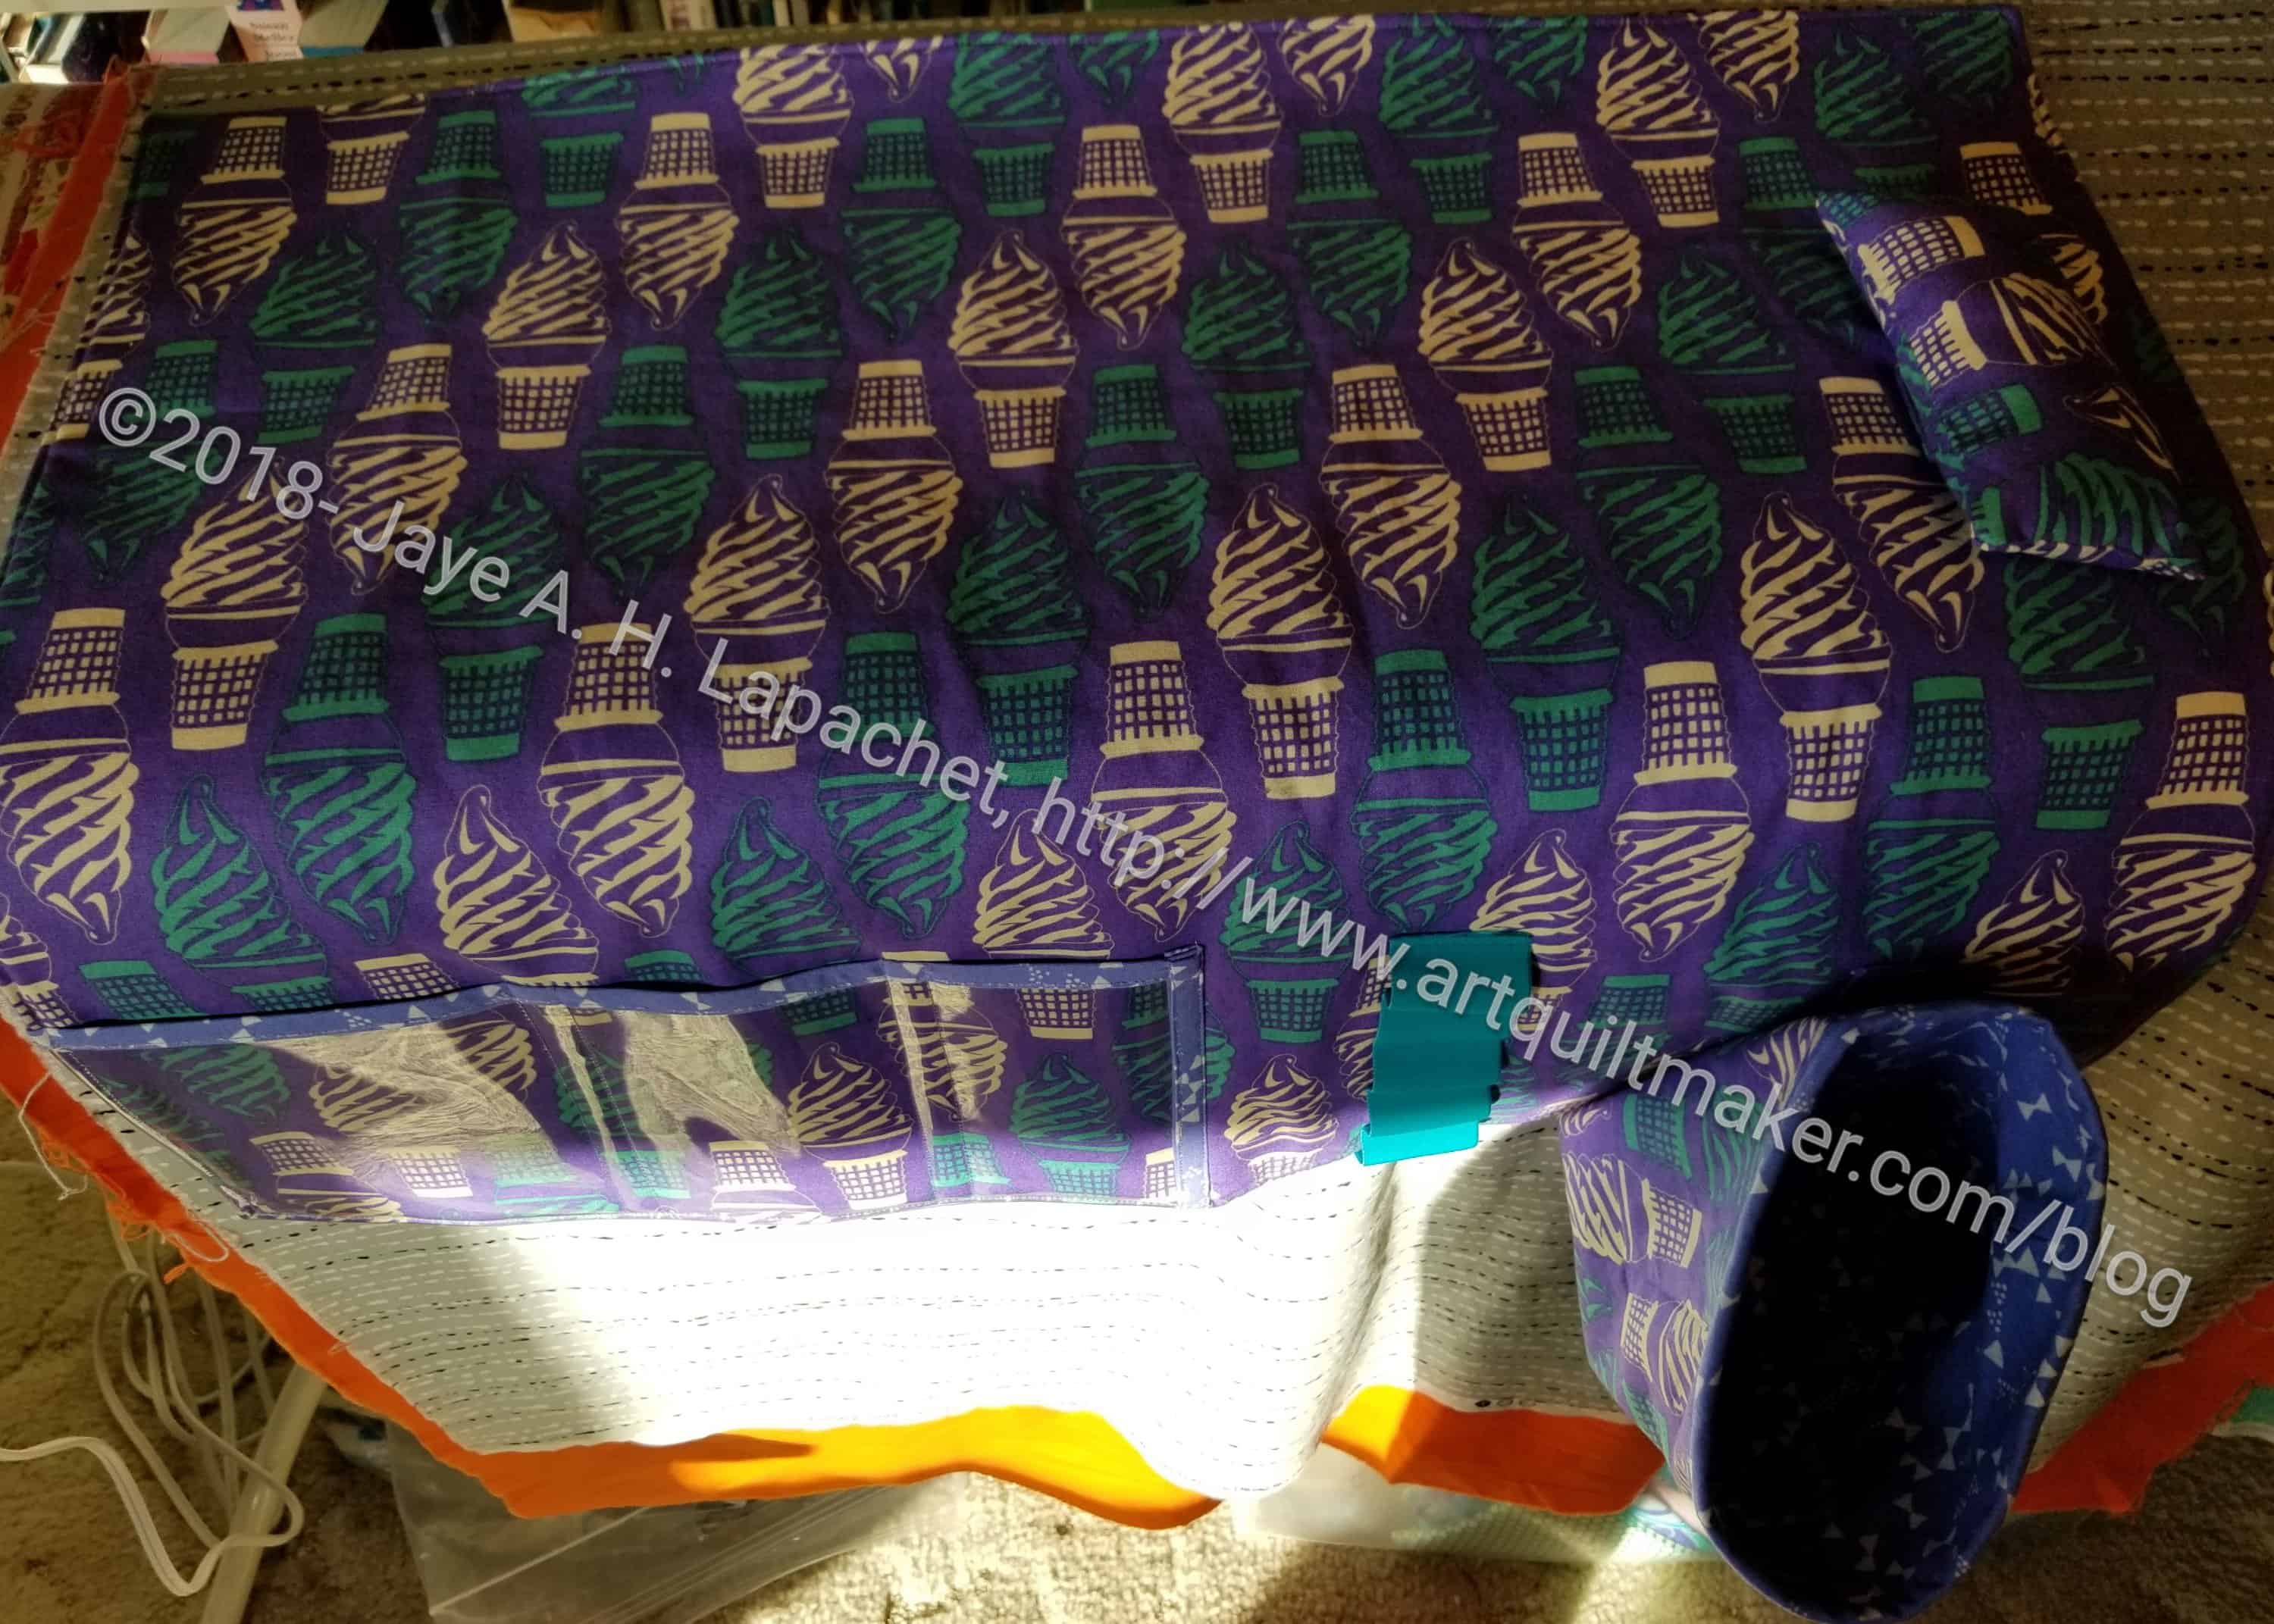
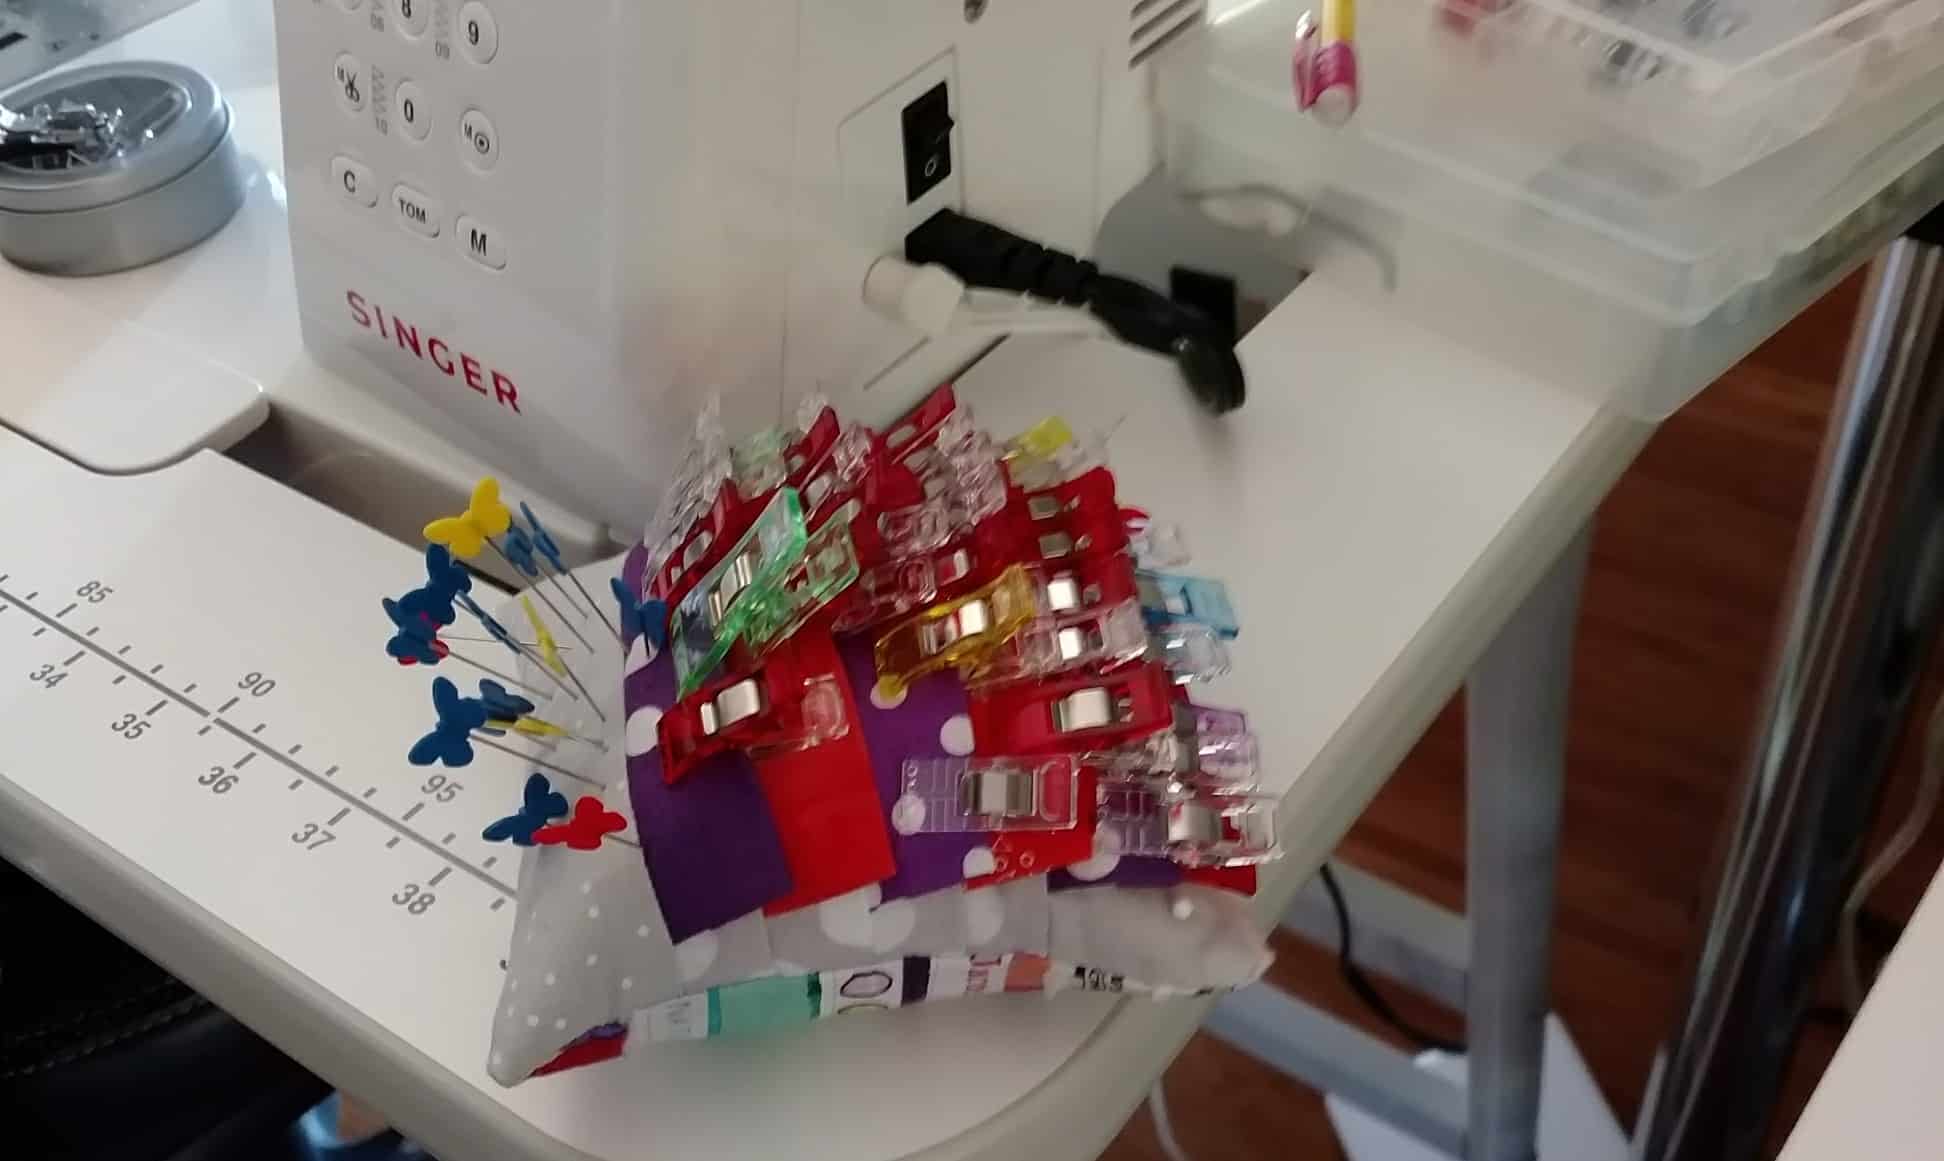
As mentioned the other day, I started the Undercover Maker Mat along with the sew-a-long going on @Lillyellasworld. Julie worked on it, too, and spurred me along. I always feel discombobulated when I sew somewhere else, but I got myself together and started working on the pockets.
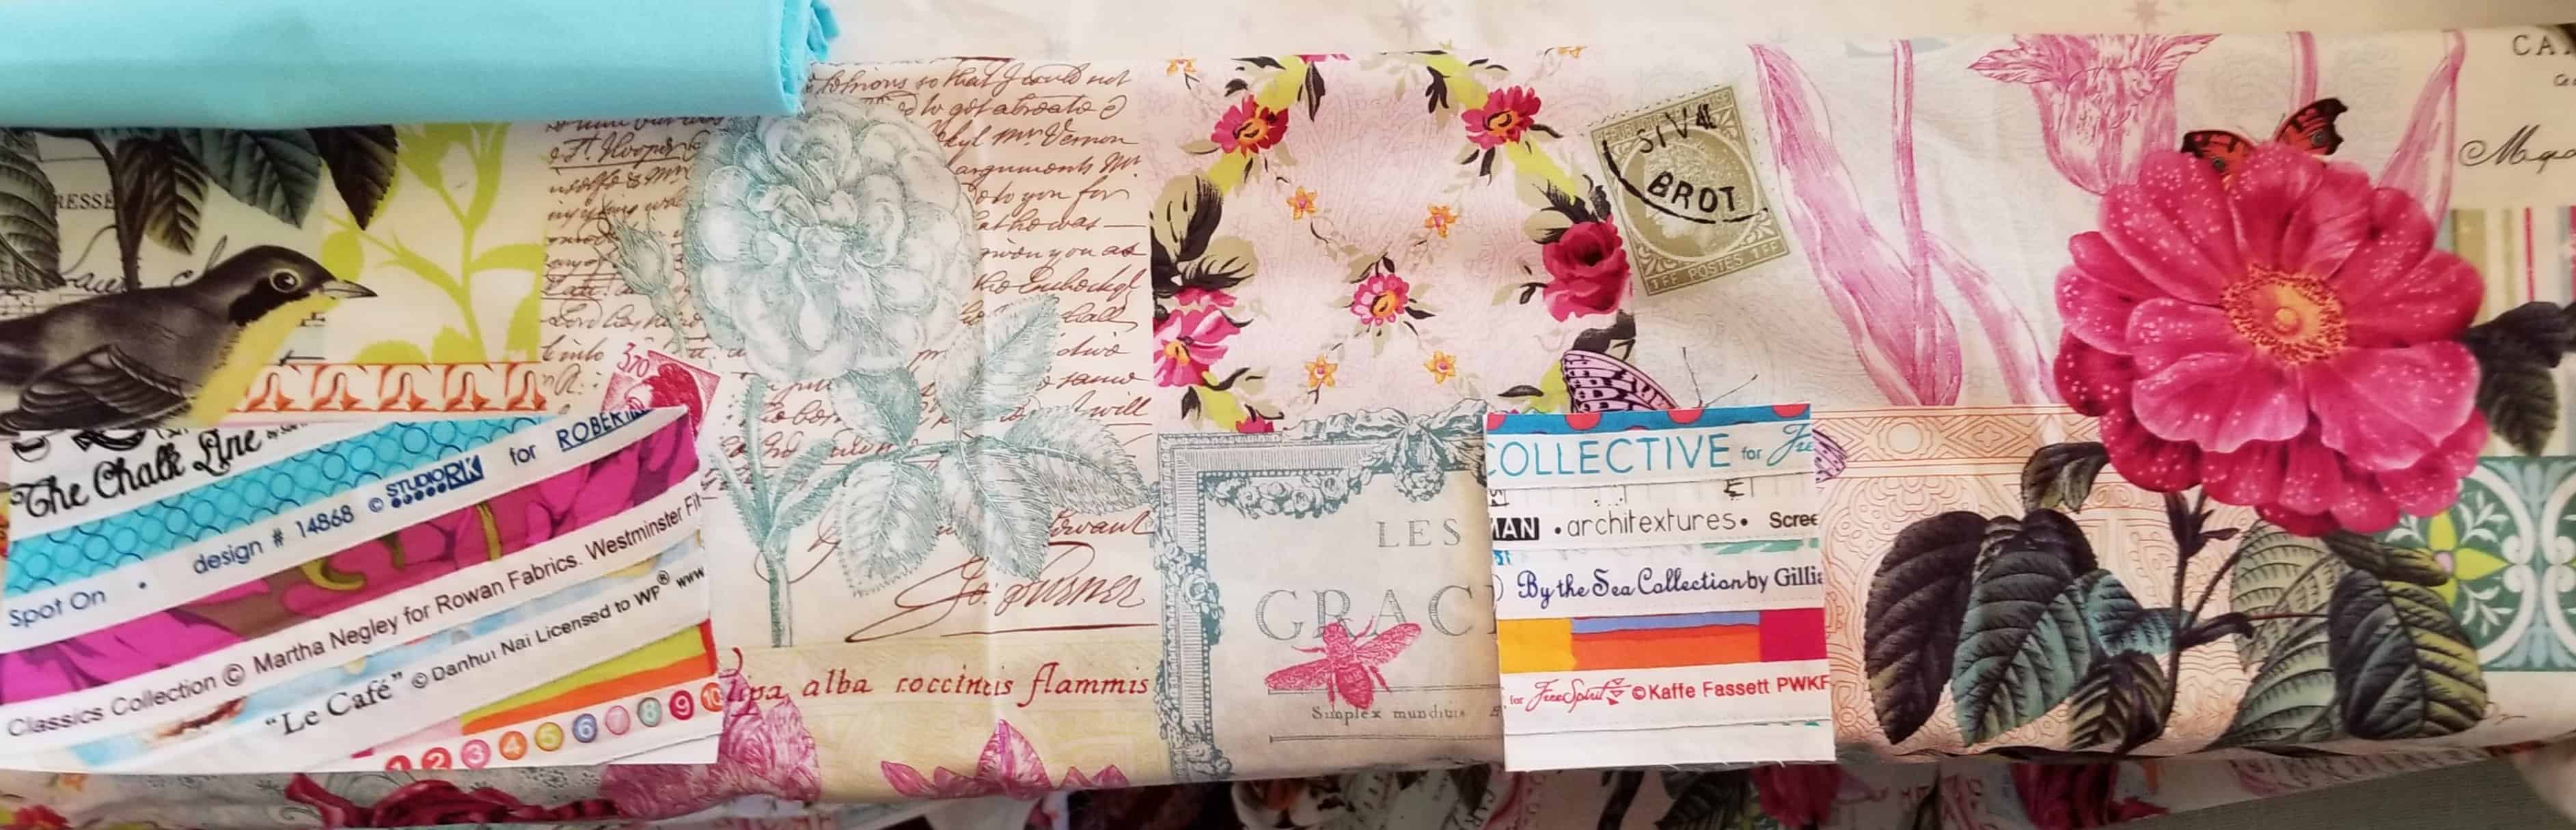
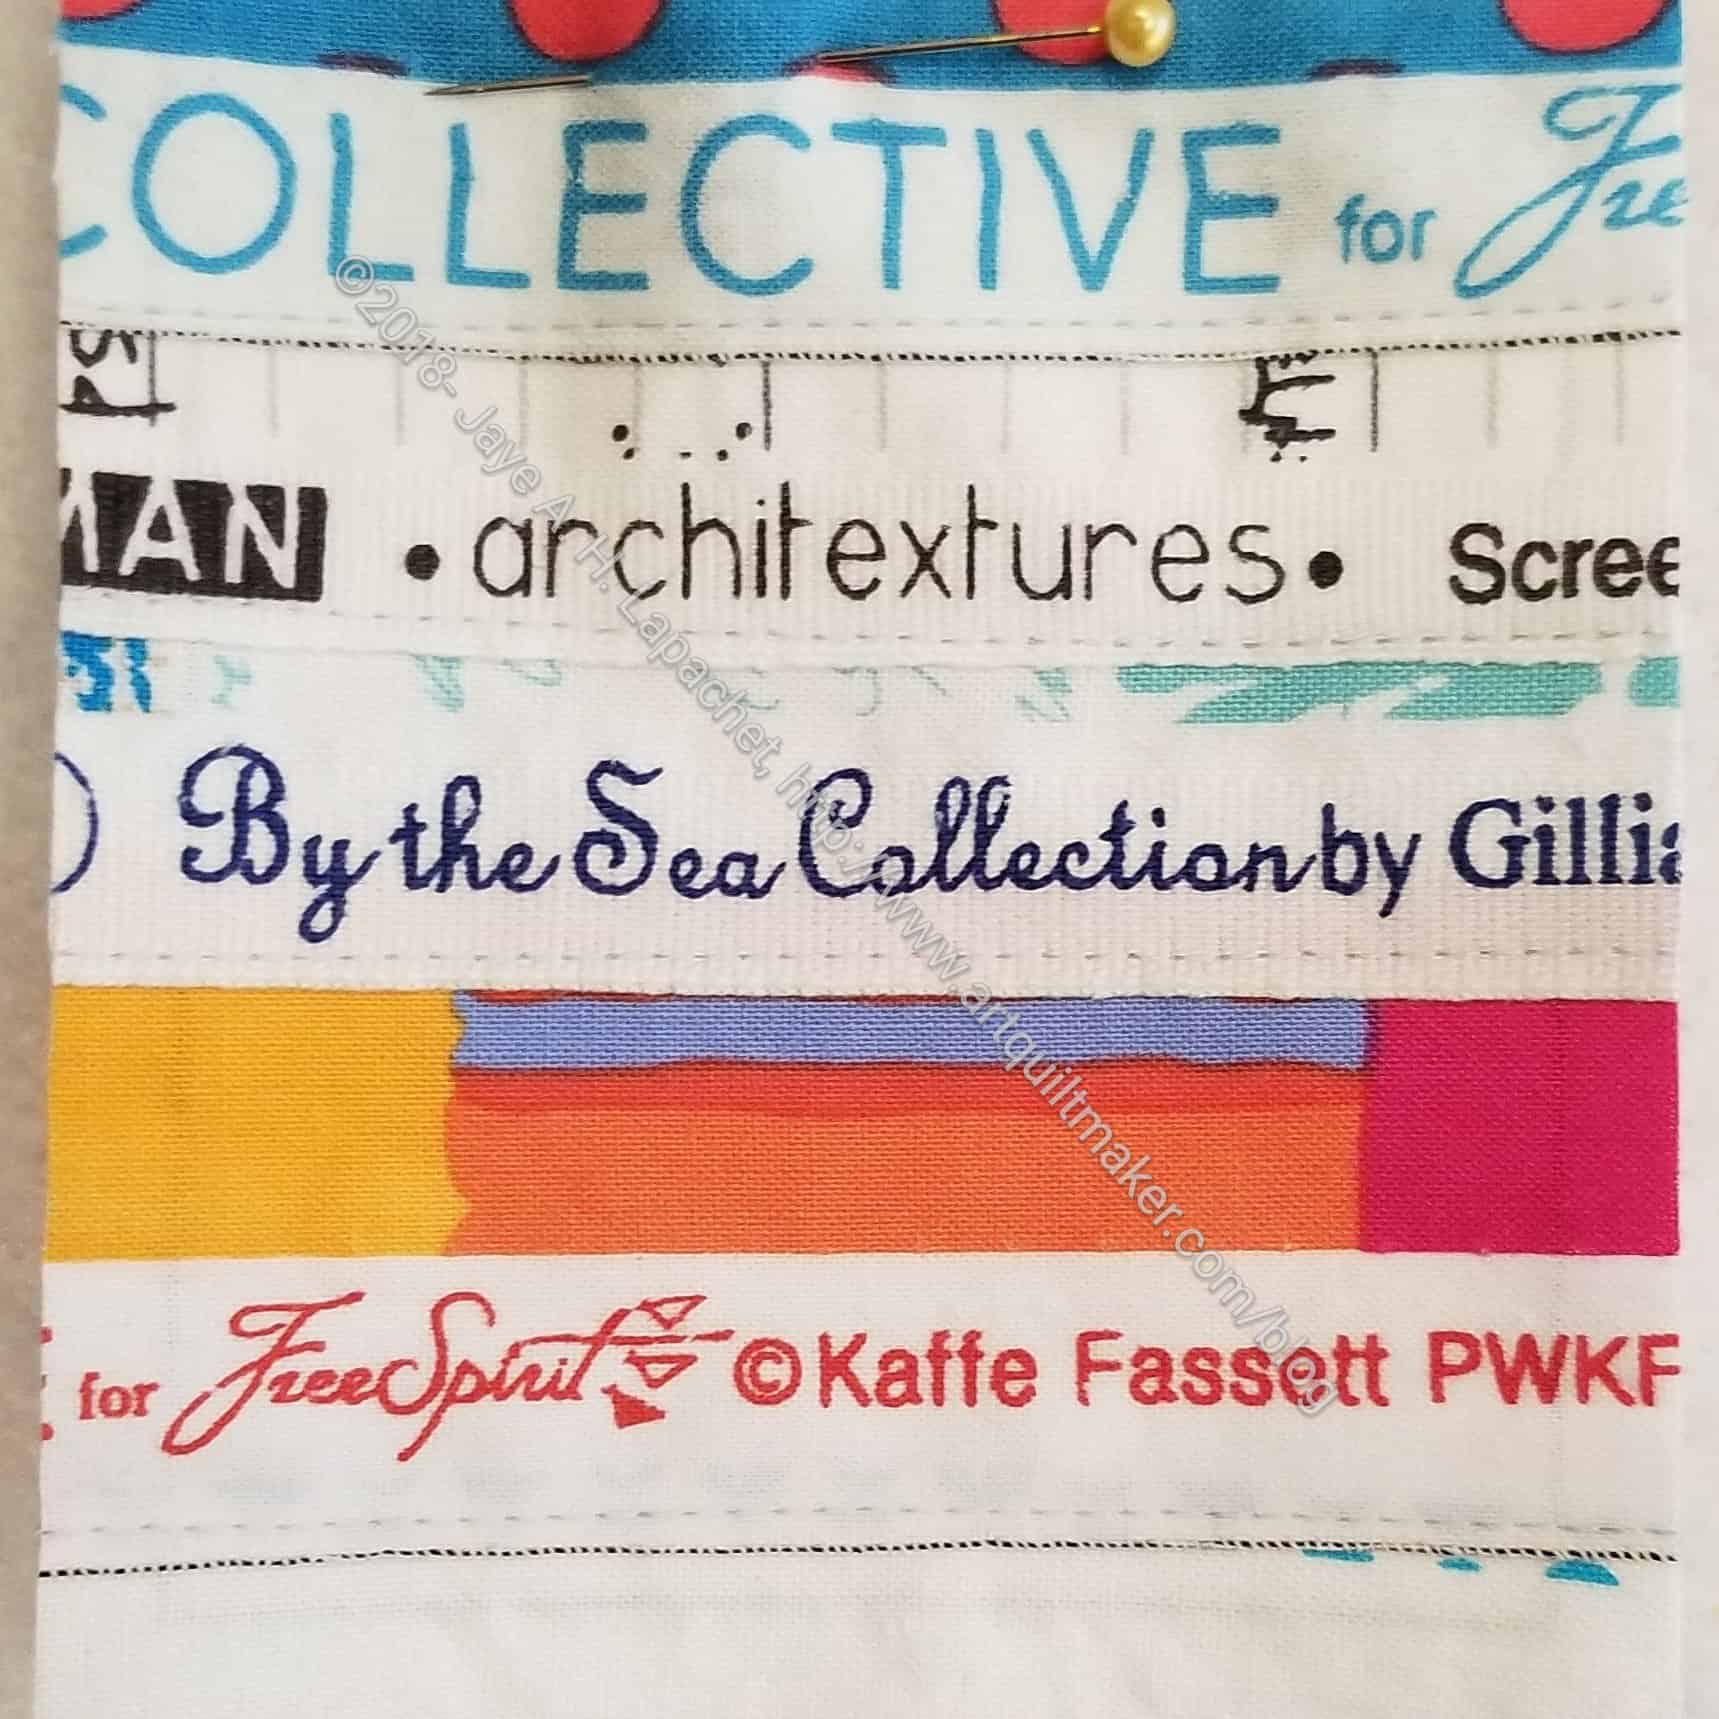
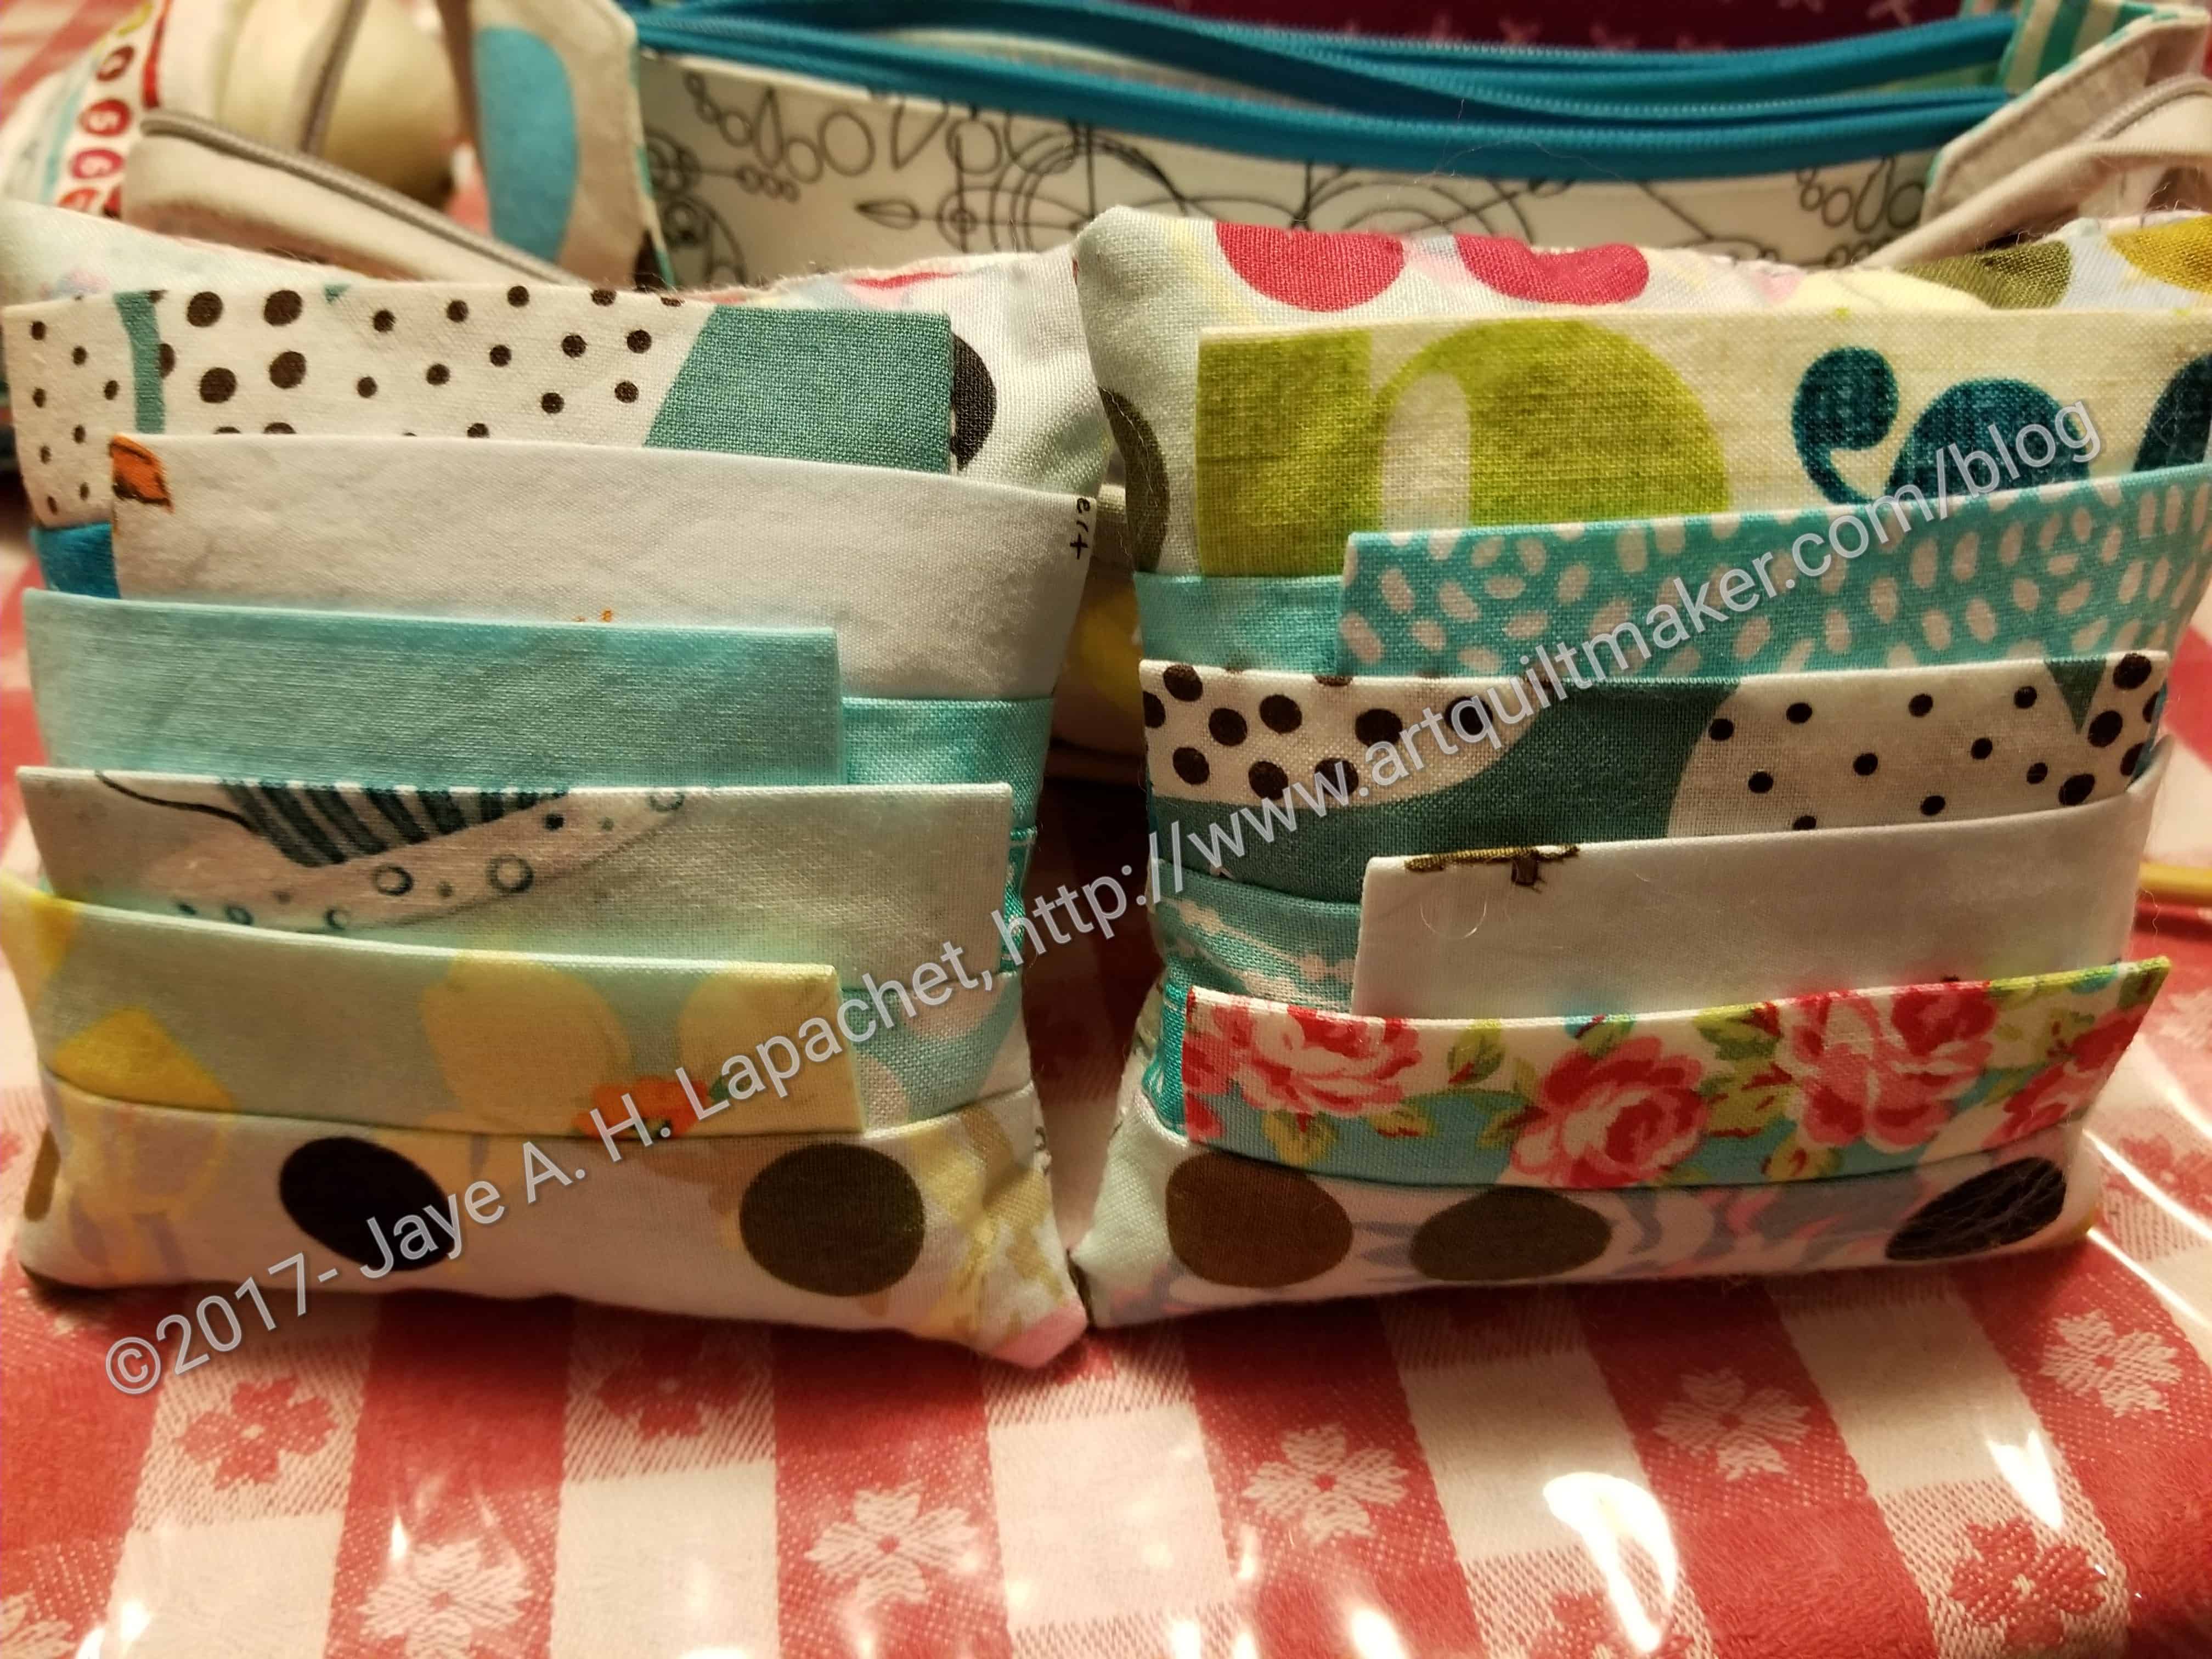
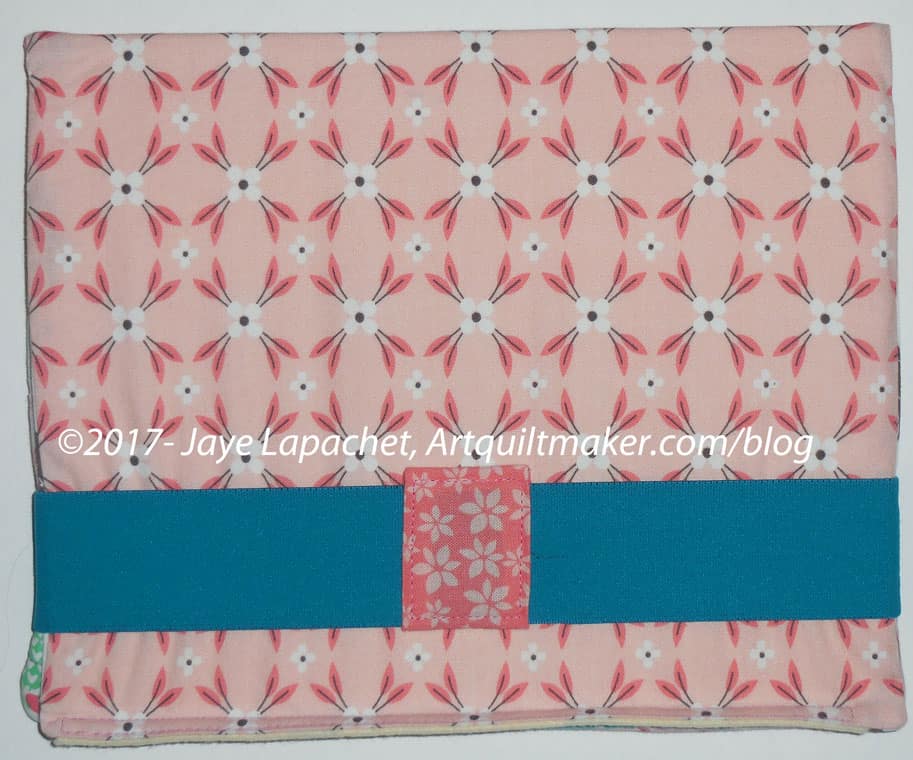
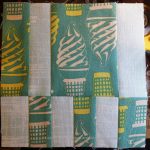
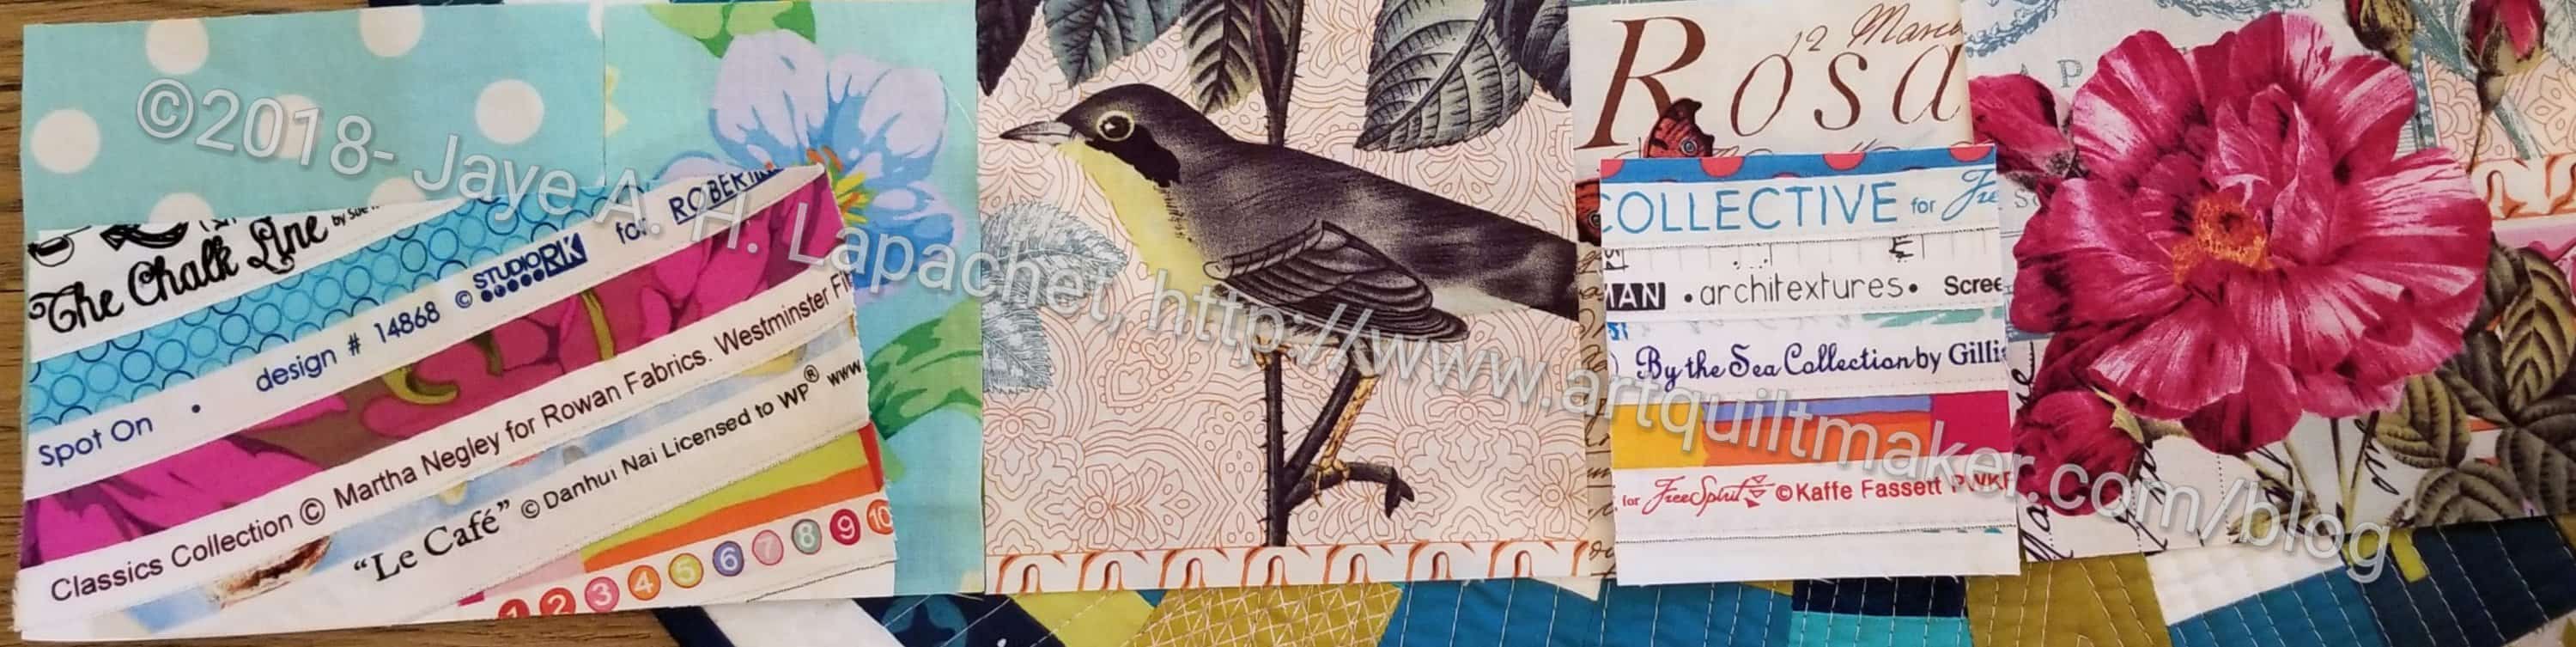
I had dome some work on them, but hadn’t finished the big pocket piece. I threw in a bunch of fabrics, so I would have some options if what I thought would work didn’t end up working. That was a good idea as I had to play around with fabrics until I got a combination I liked. My first group of fabrics is shown above. Somehow I found it to be too light or too much of the Michael Miller London Portfolio fabric. I also wasn’t sure about the turquoise binding.
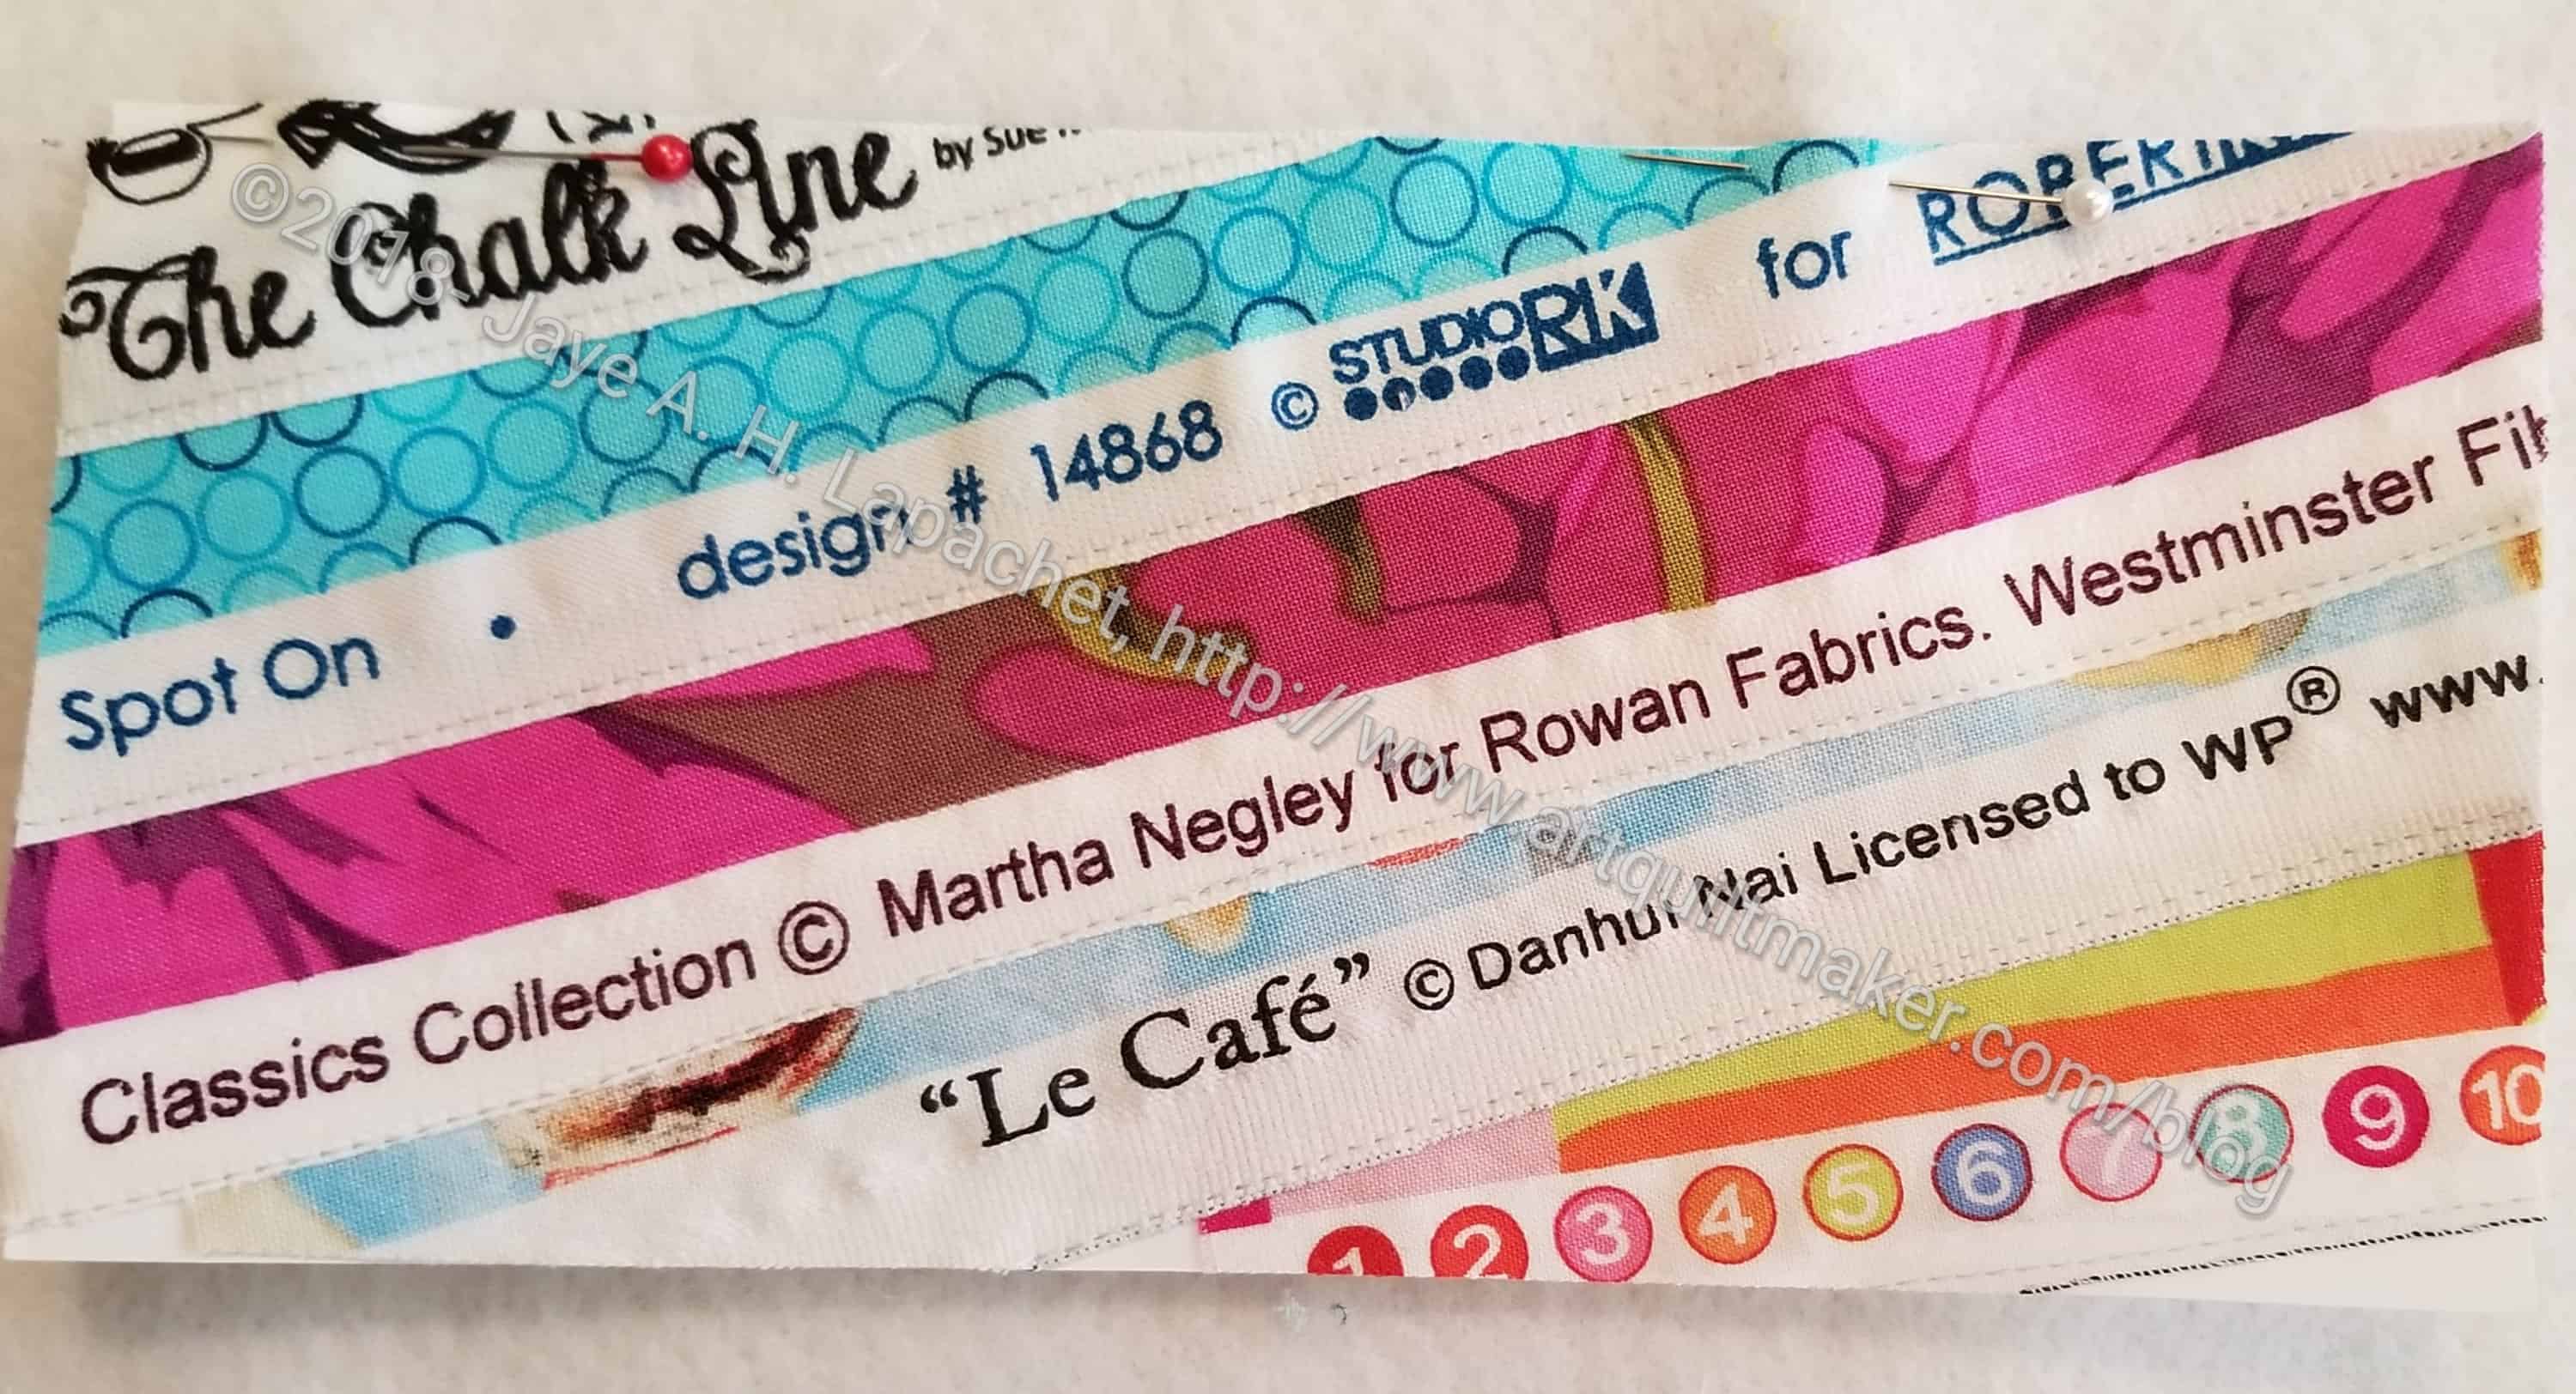
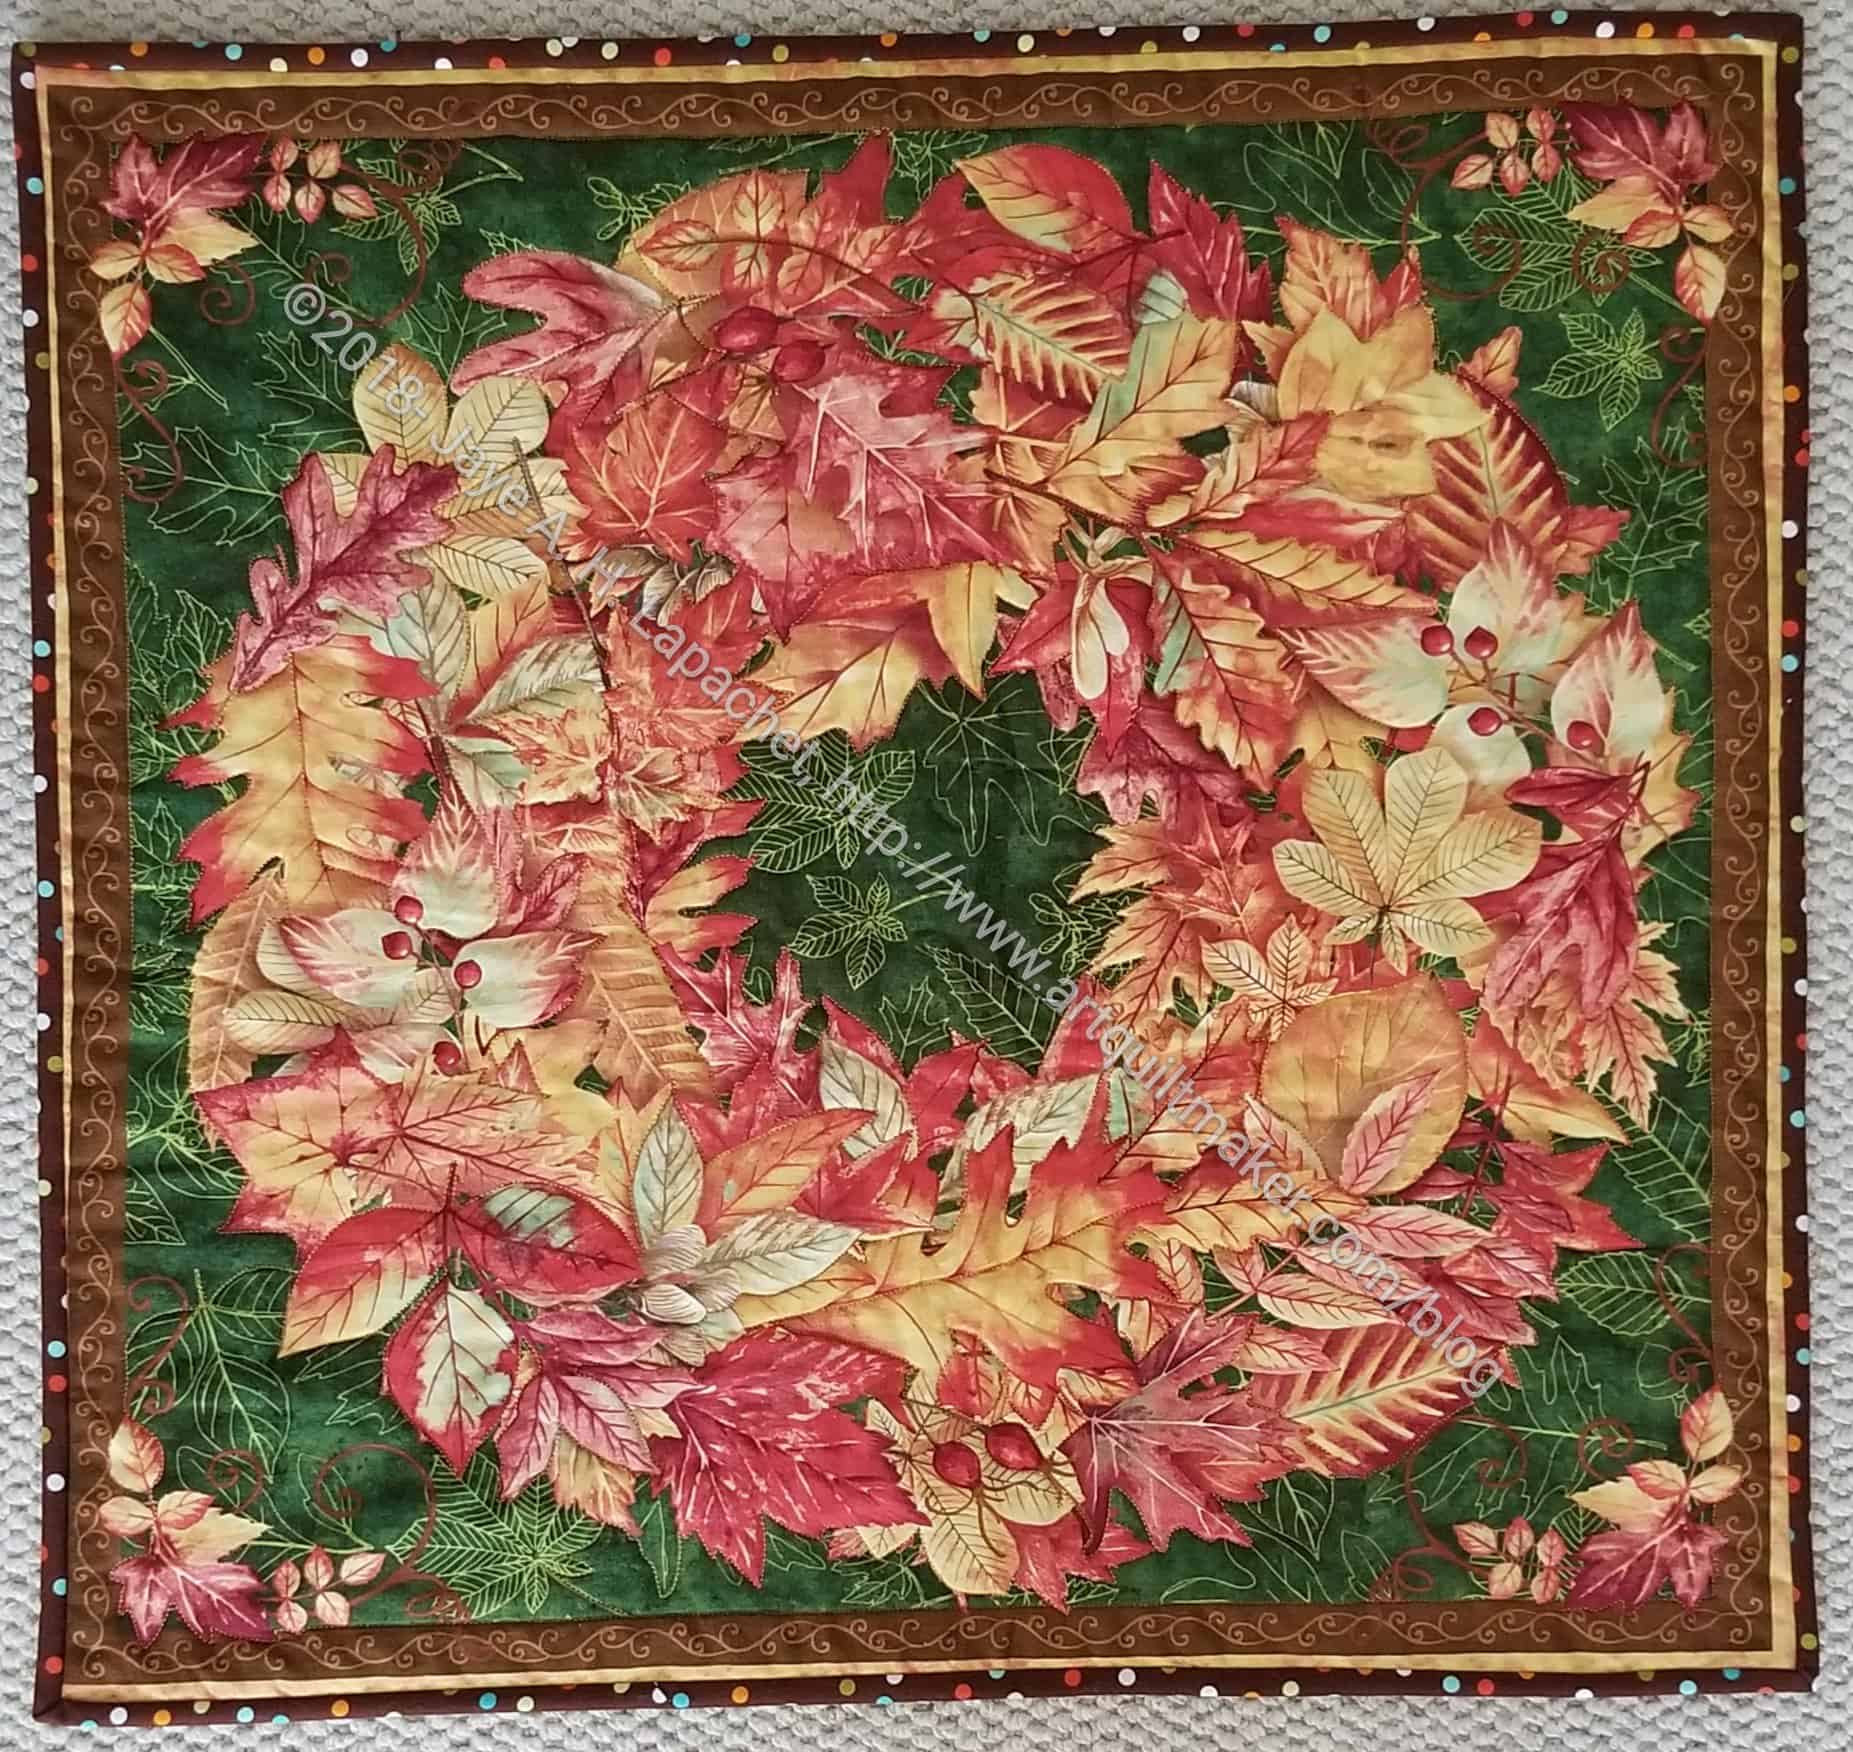
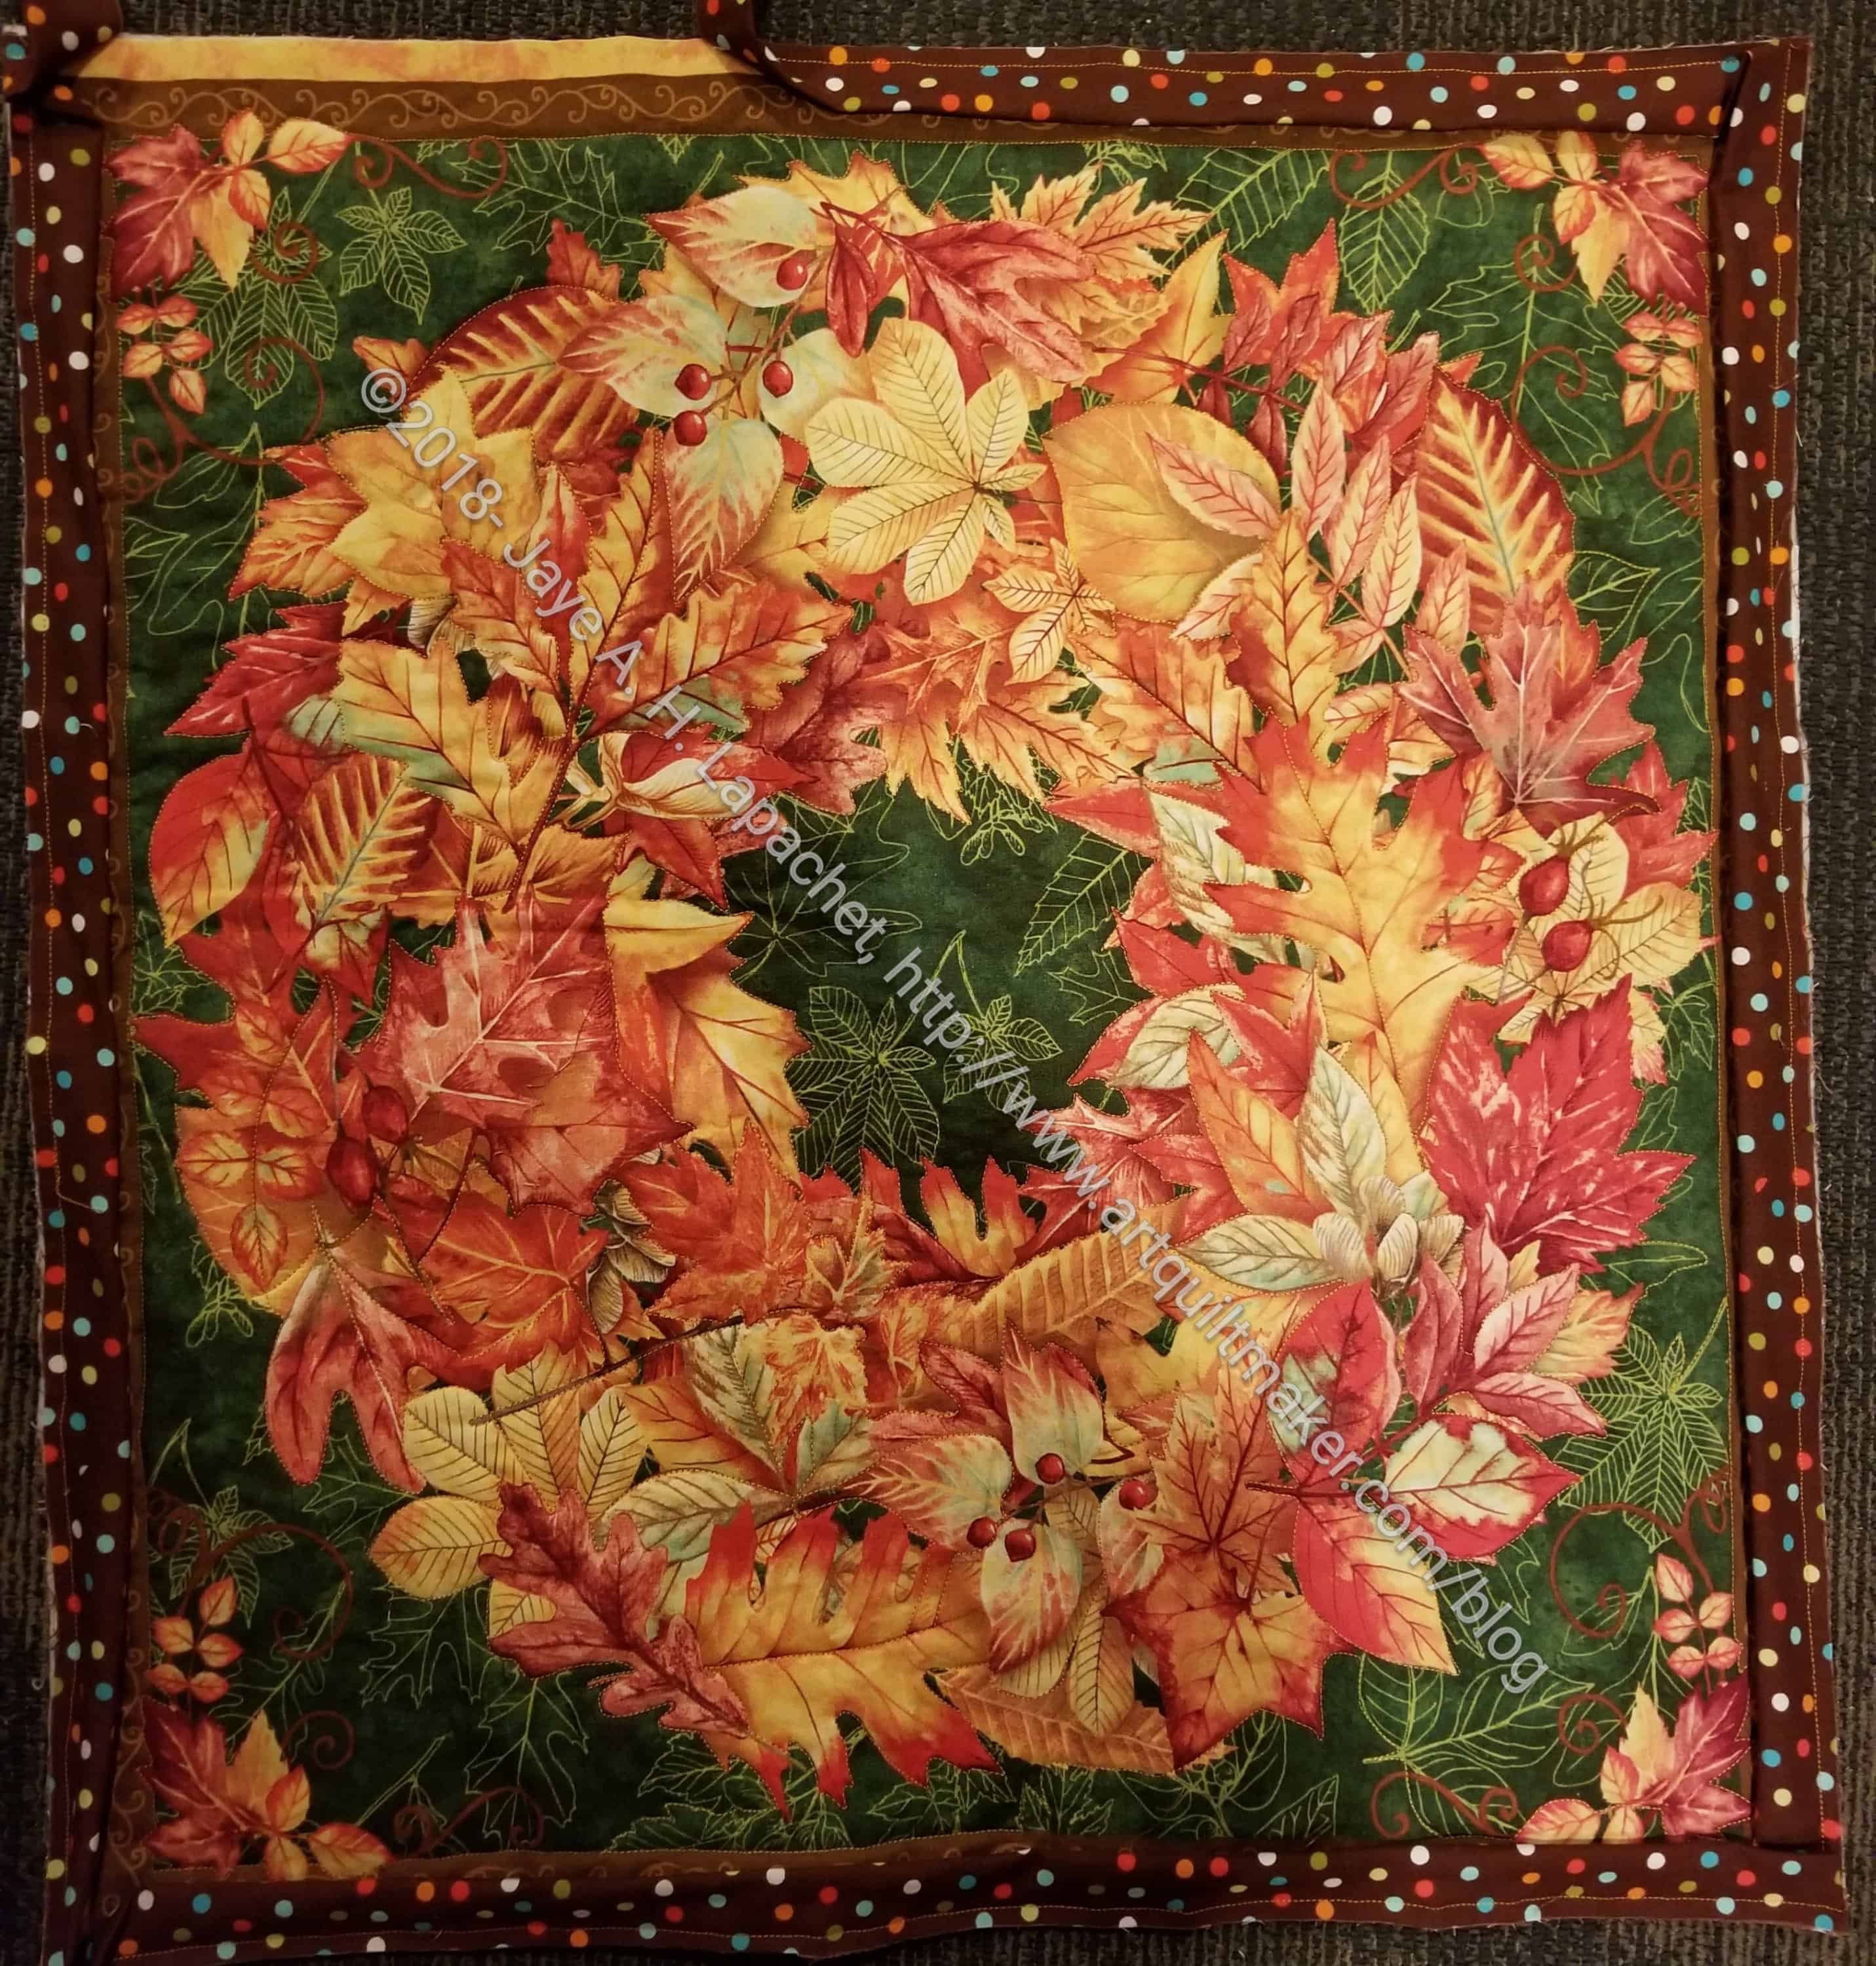
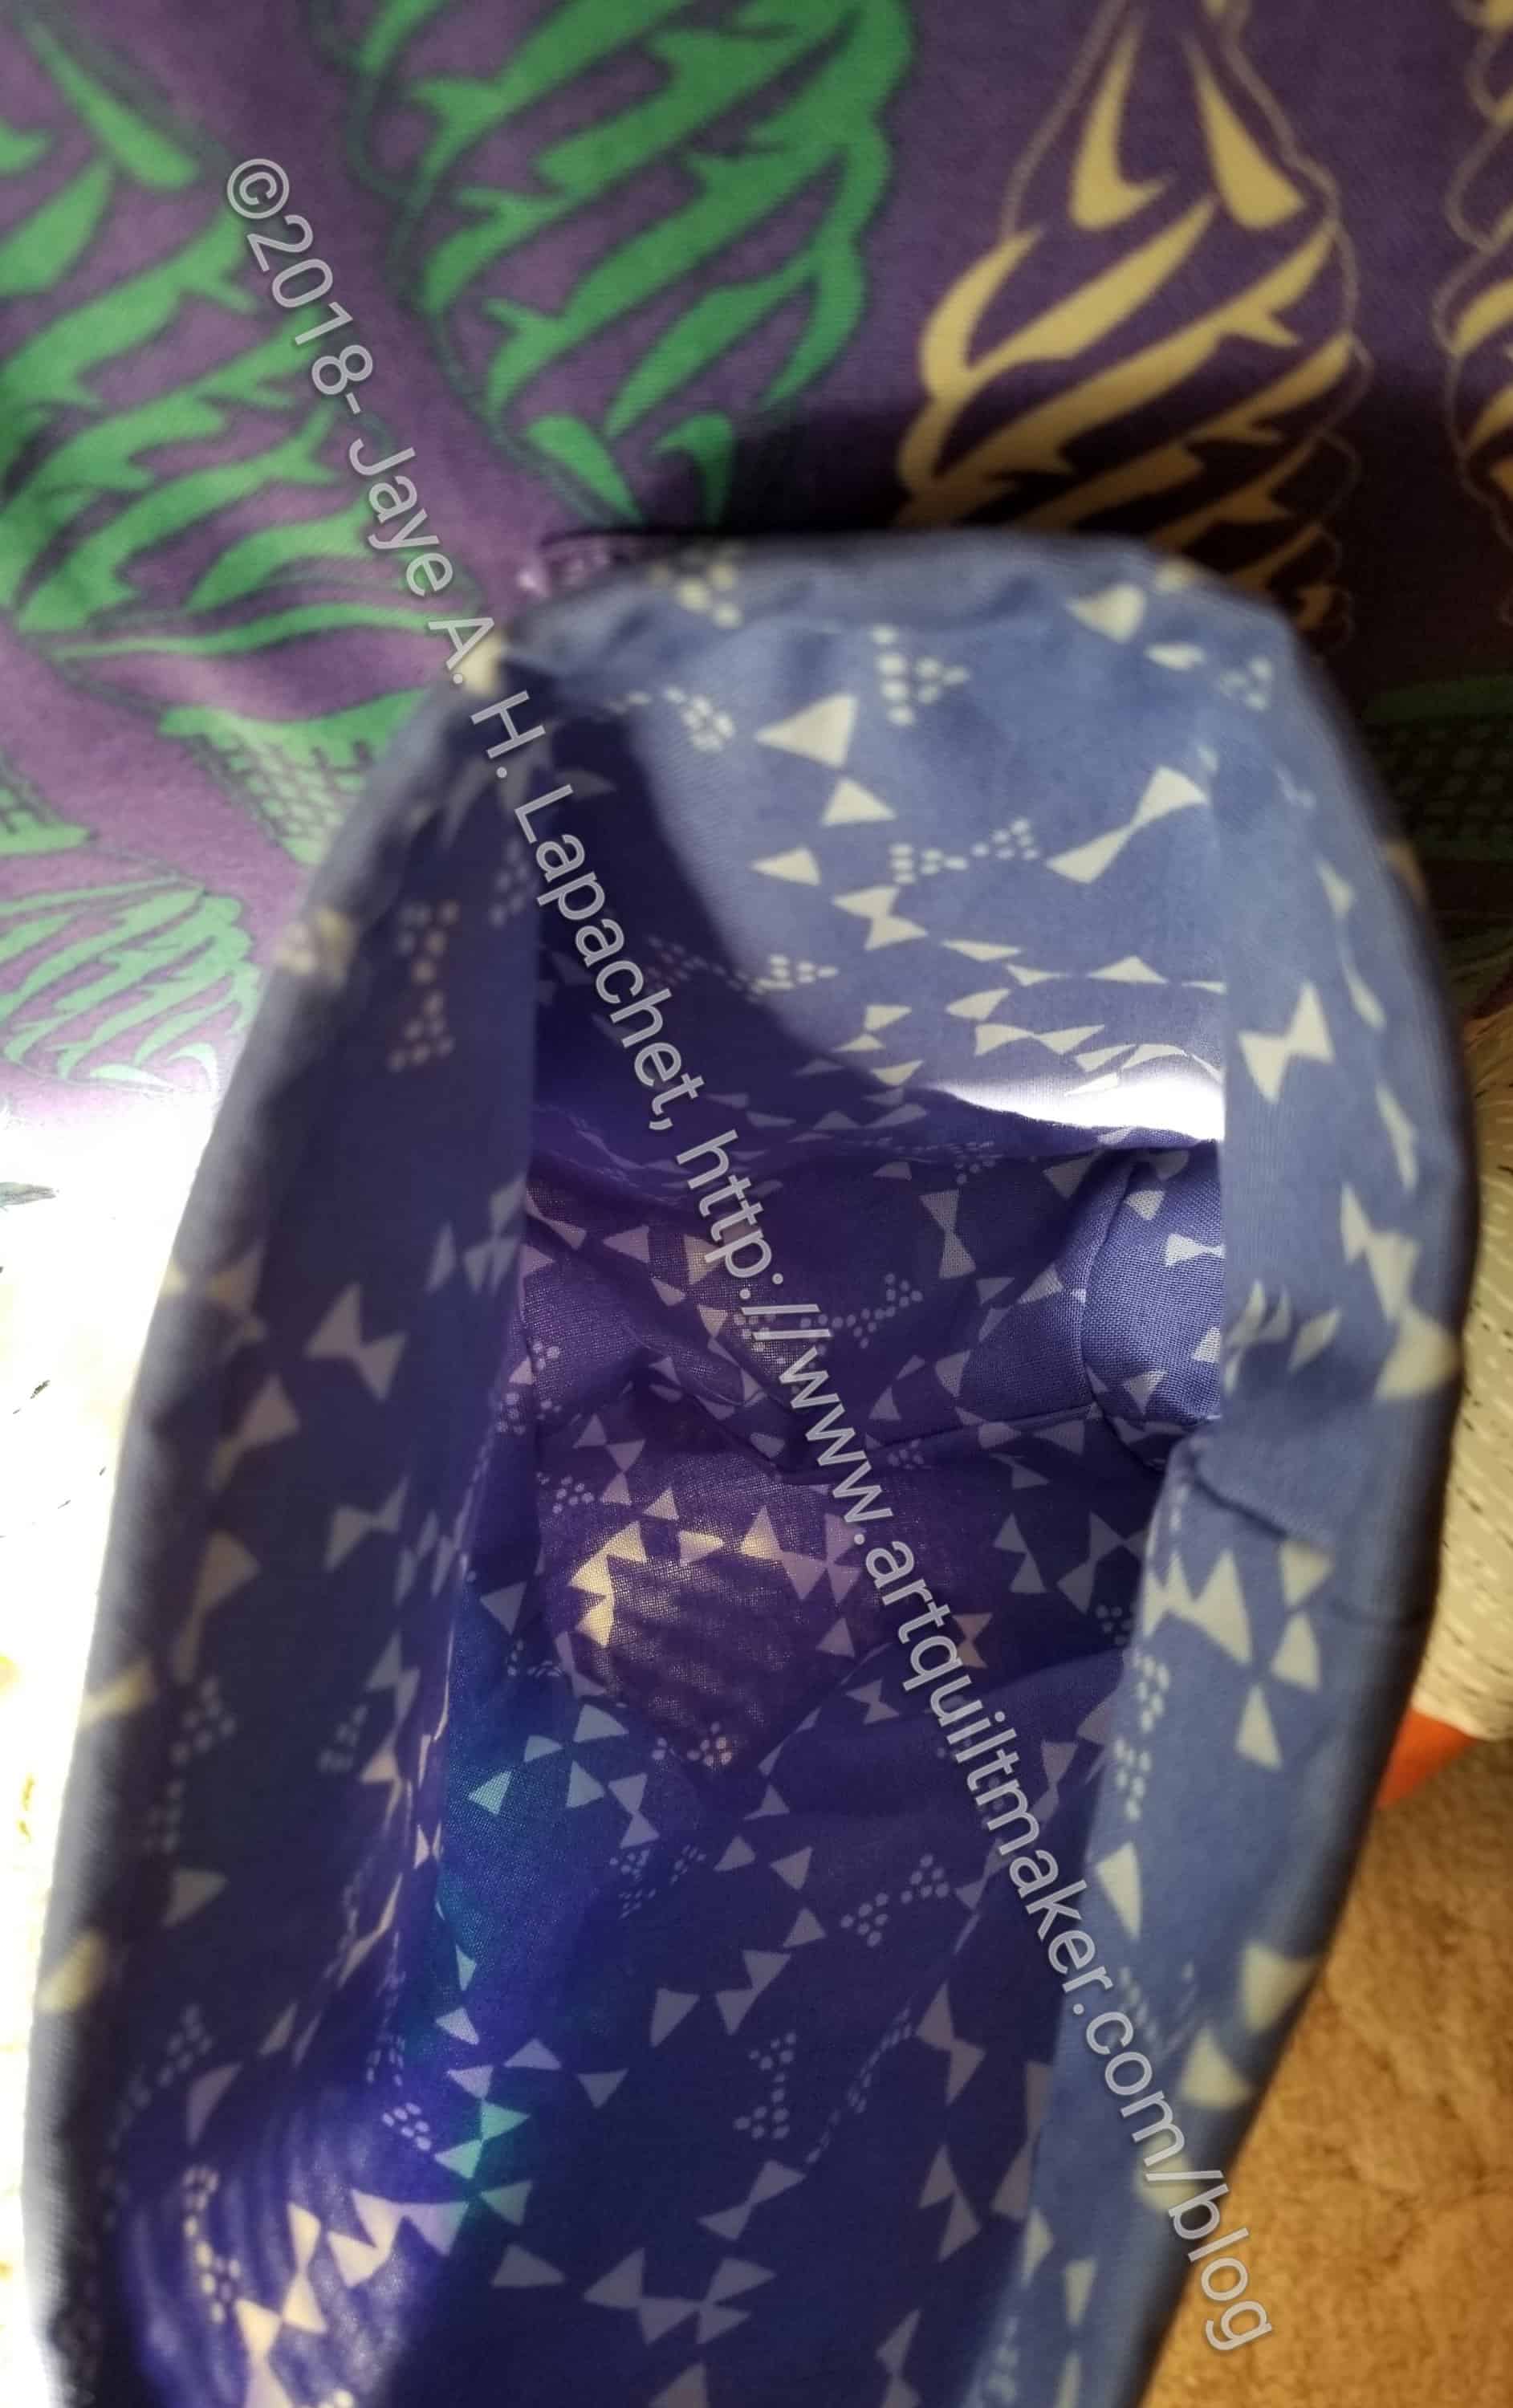
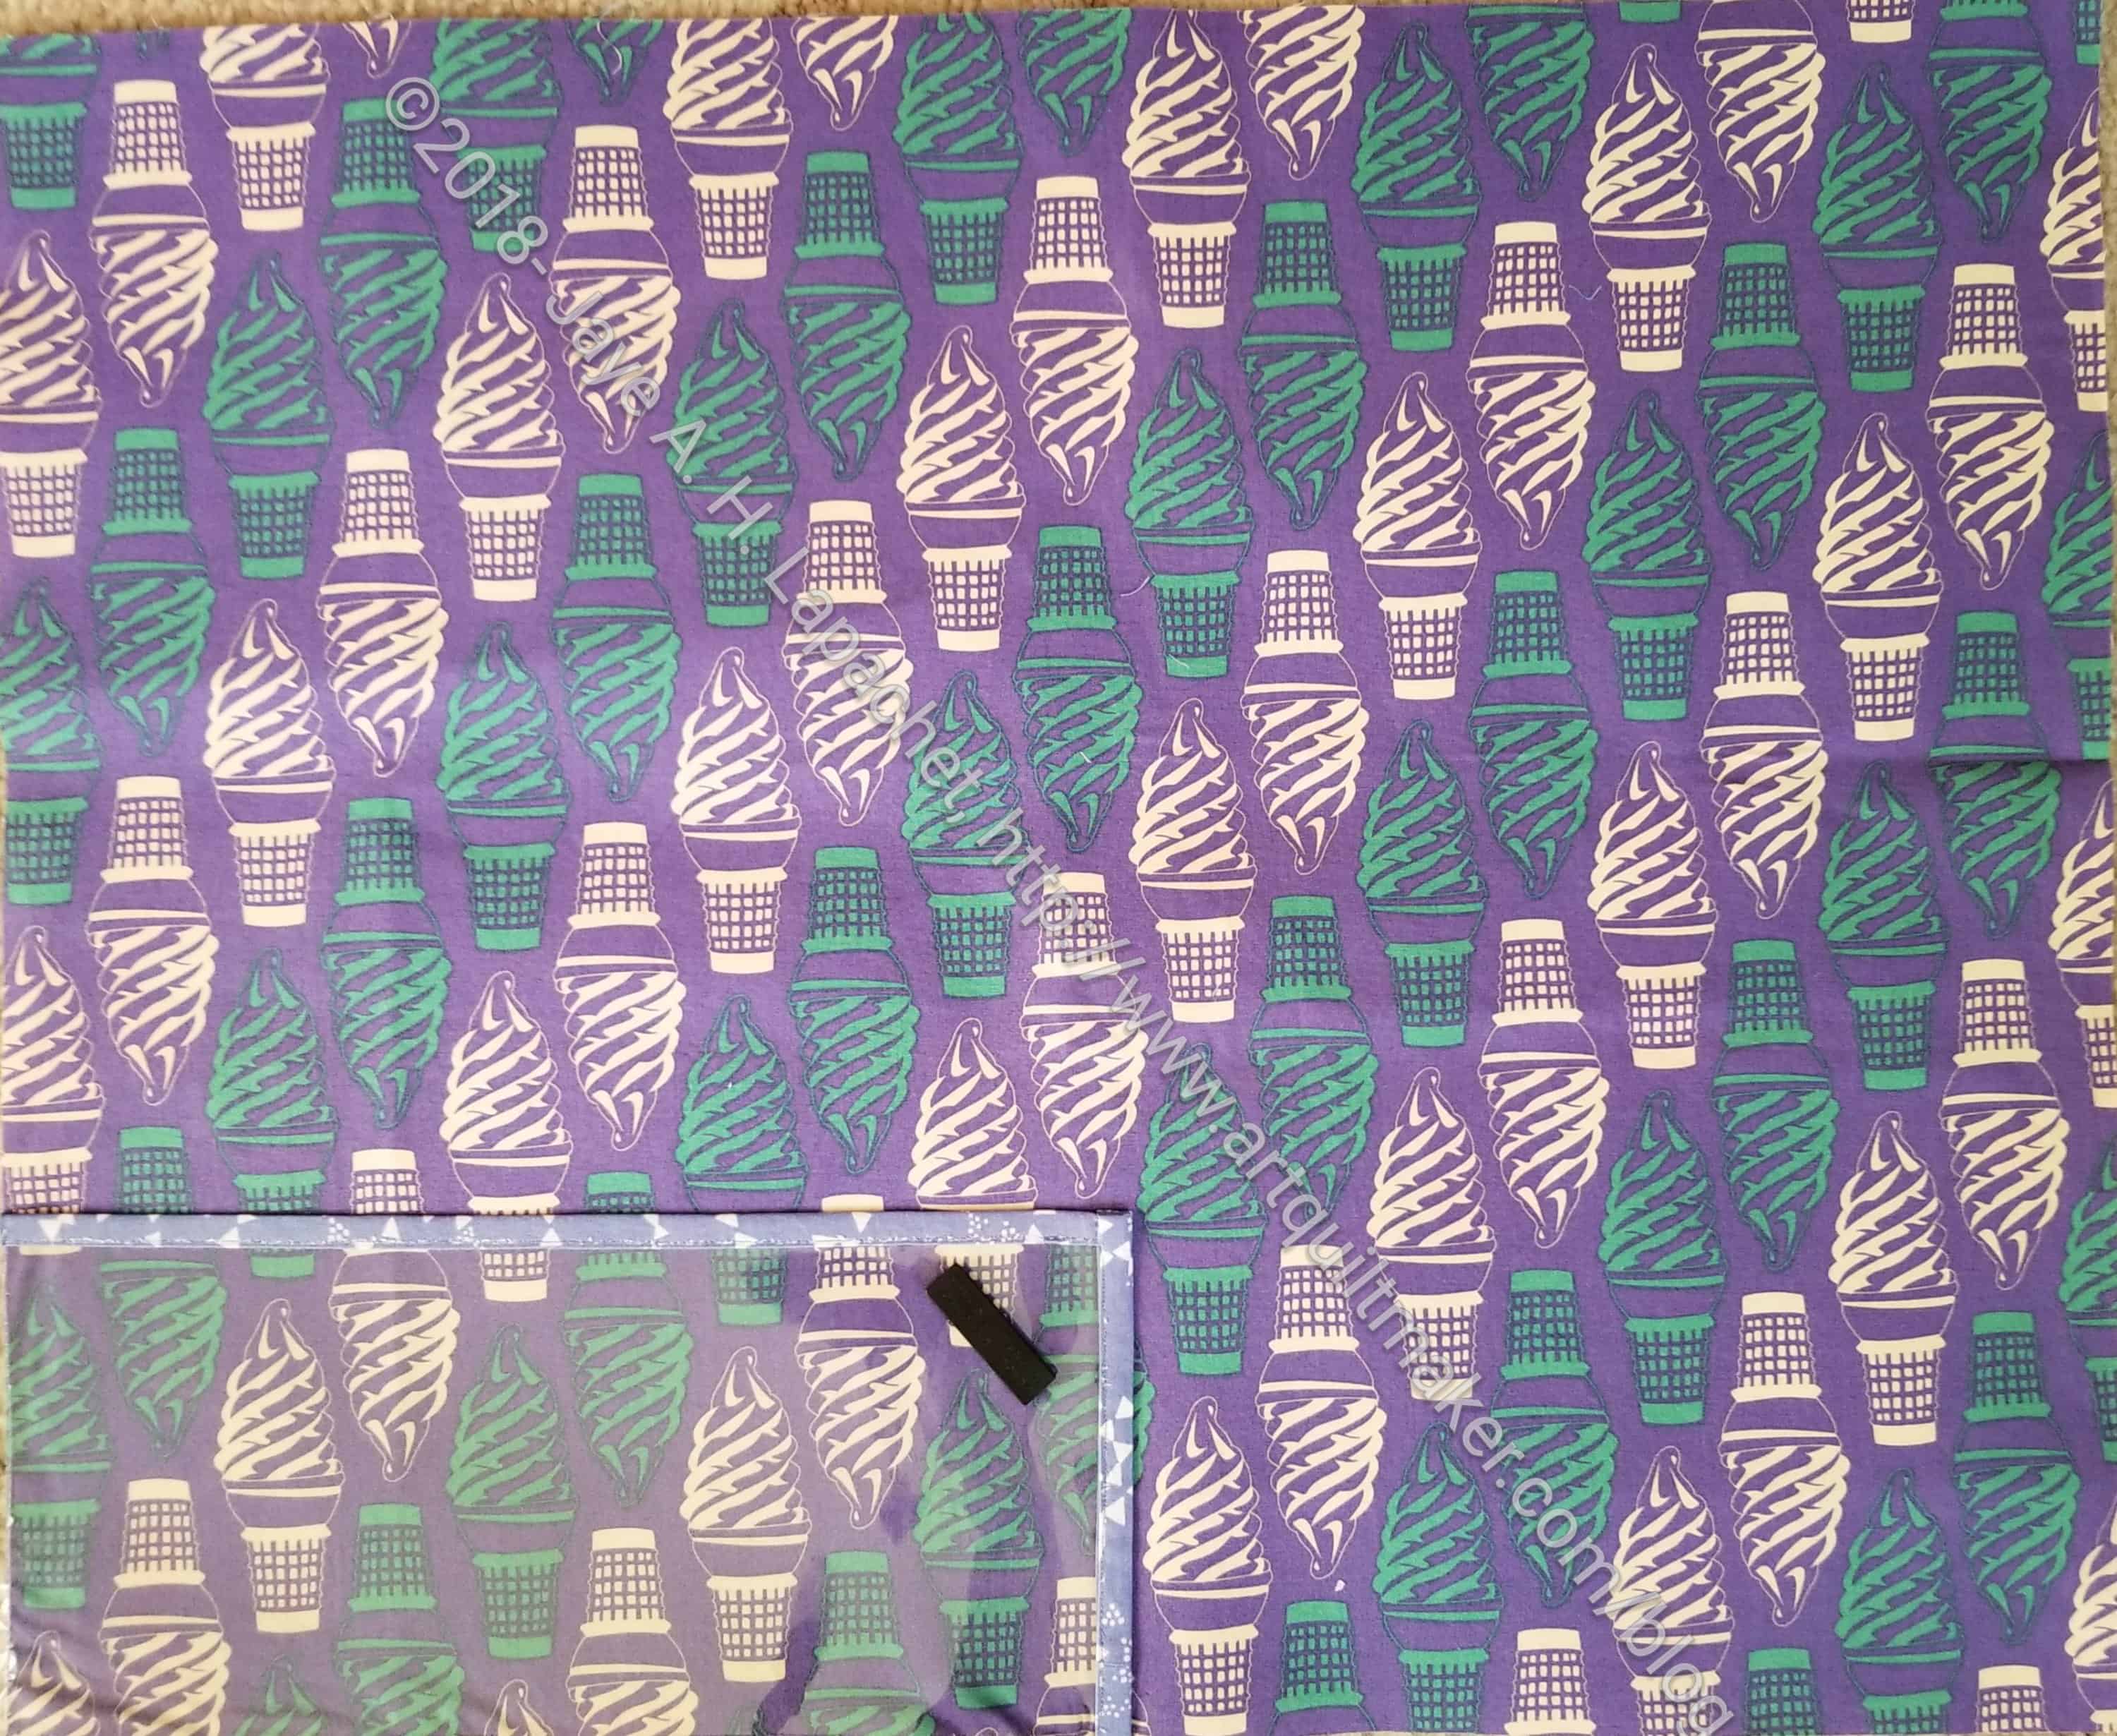
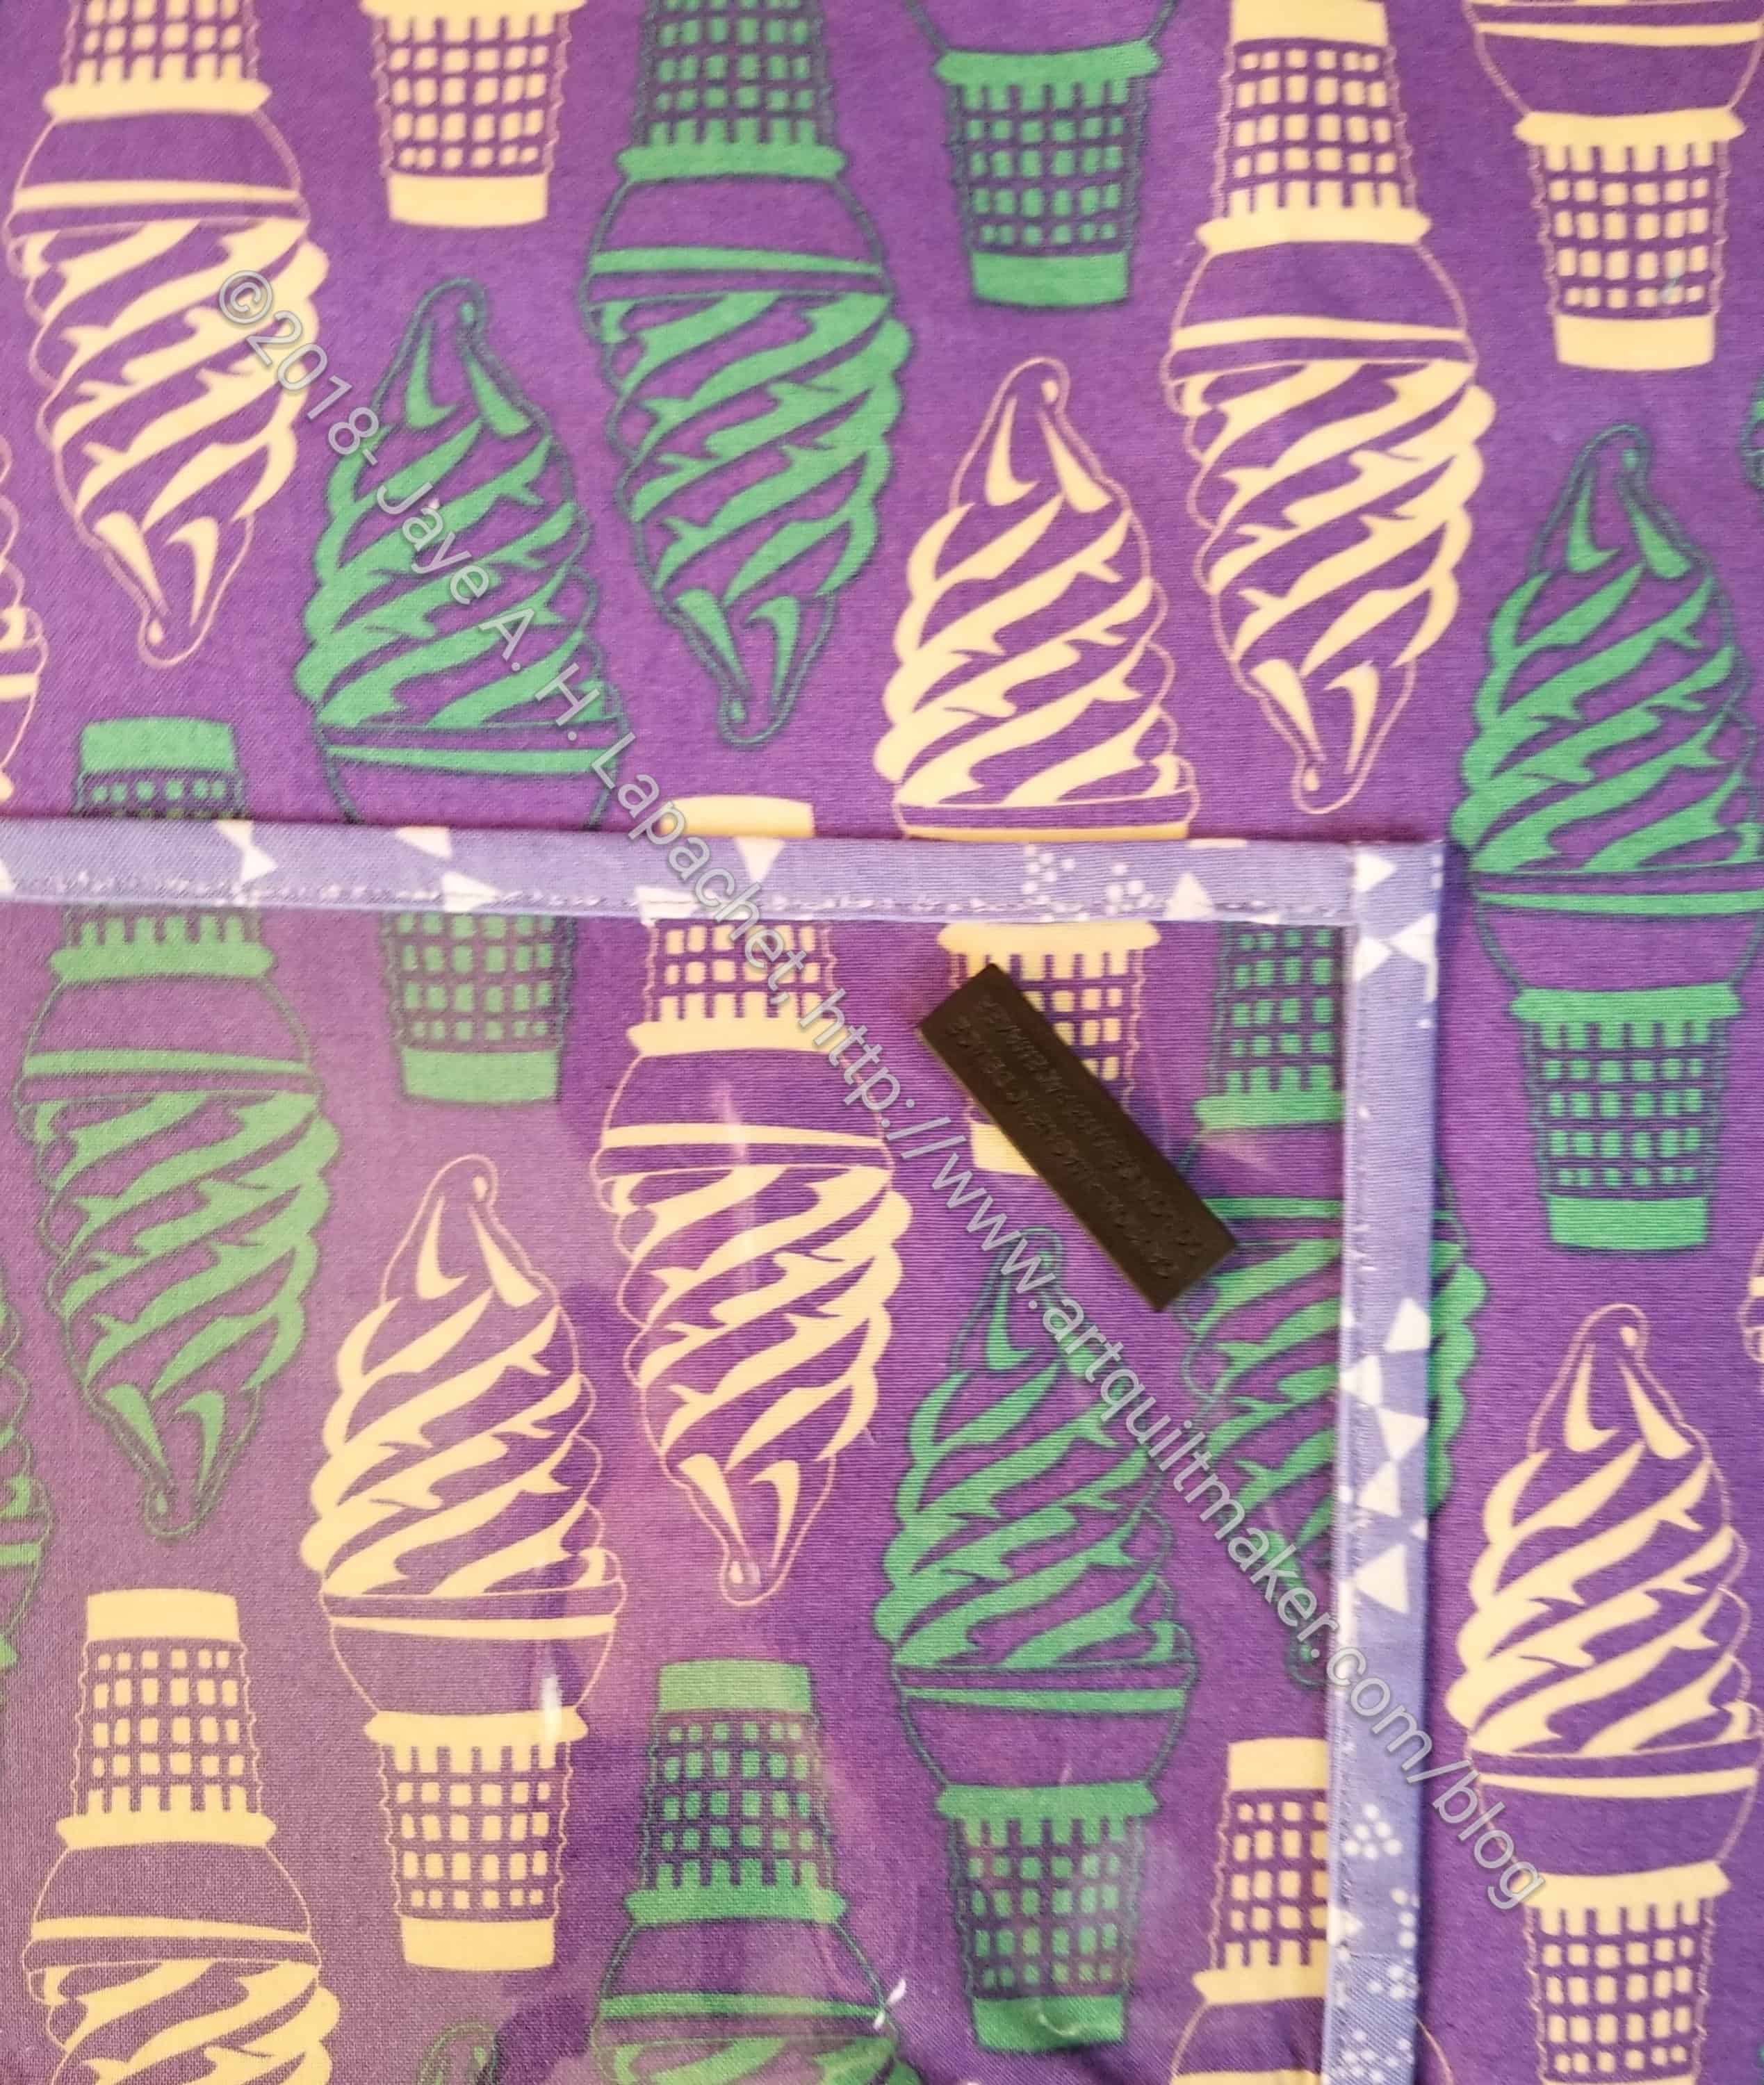
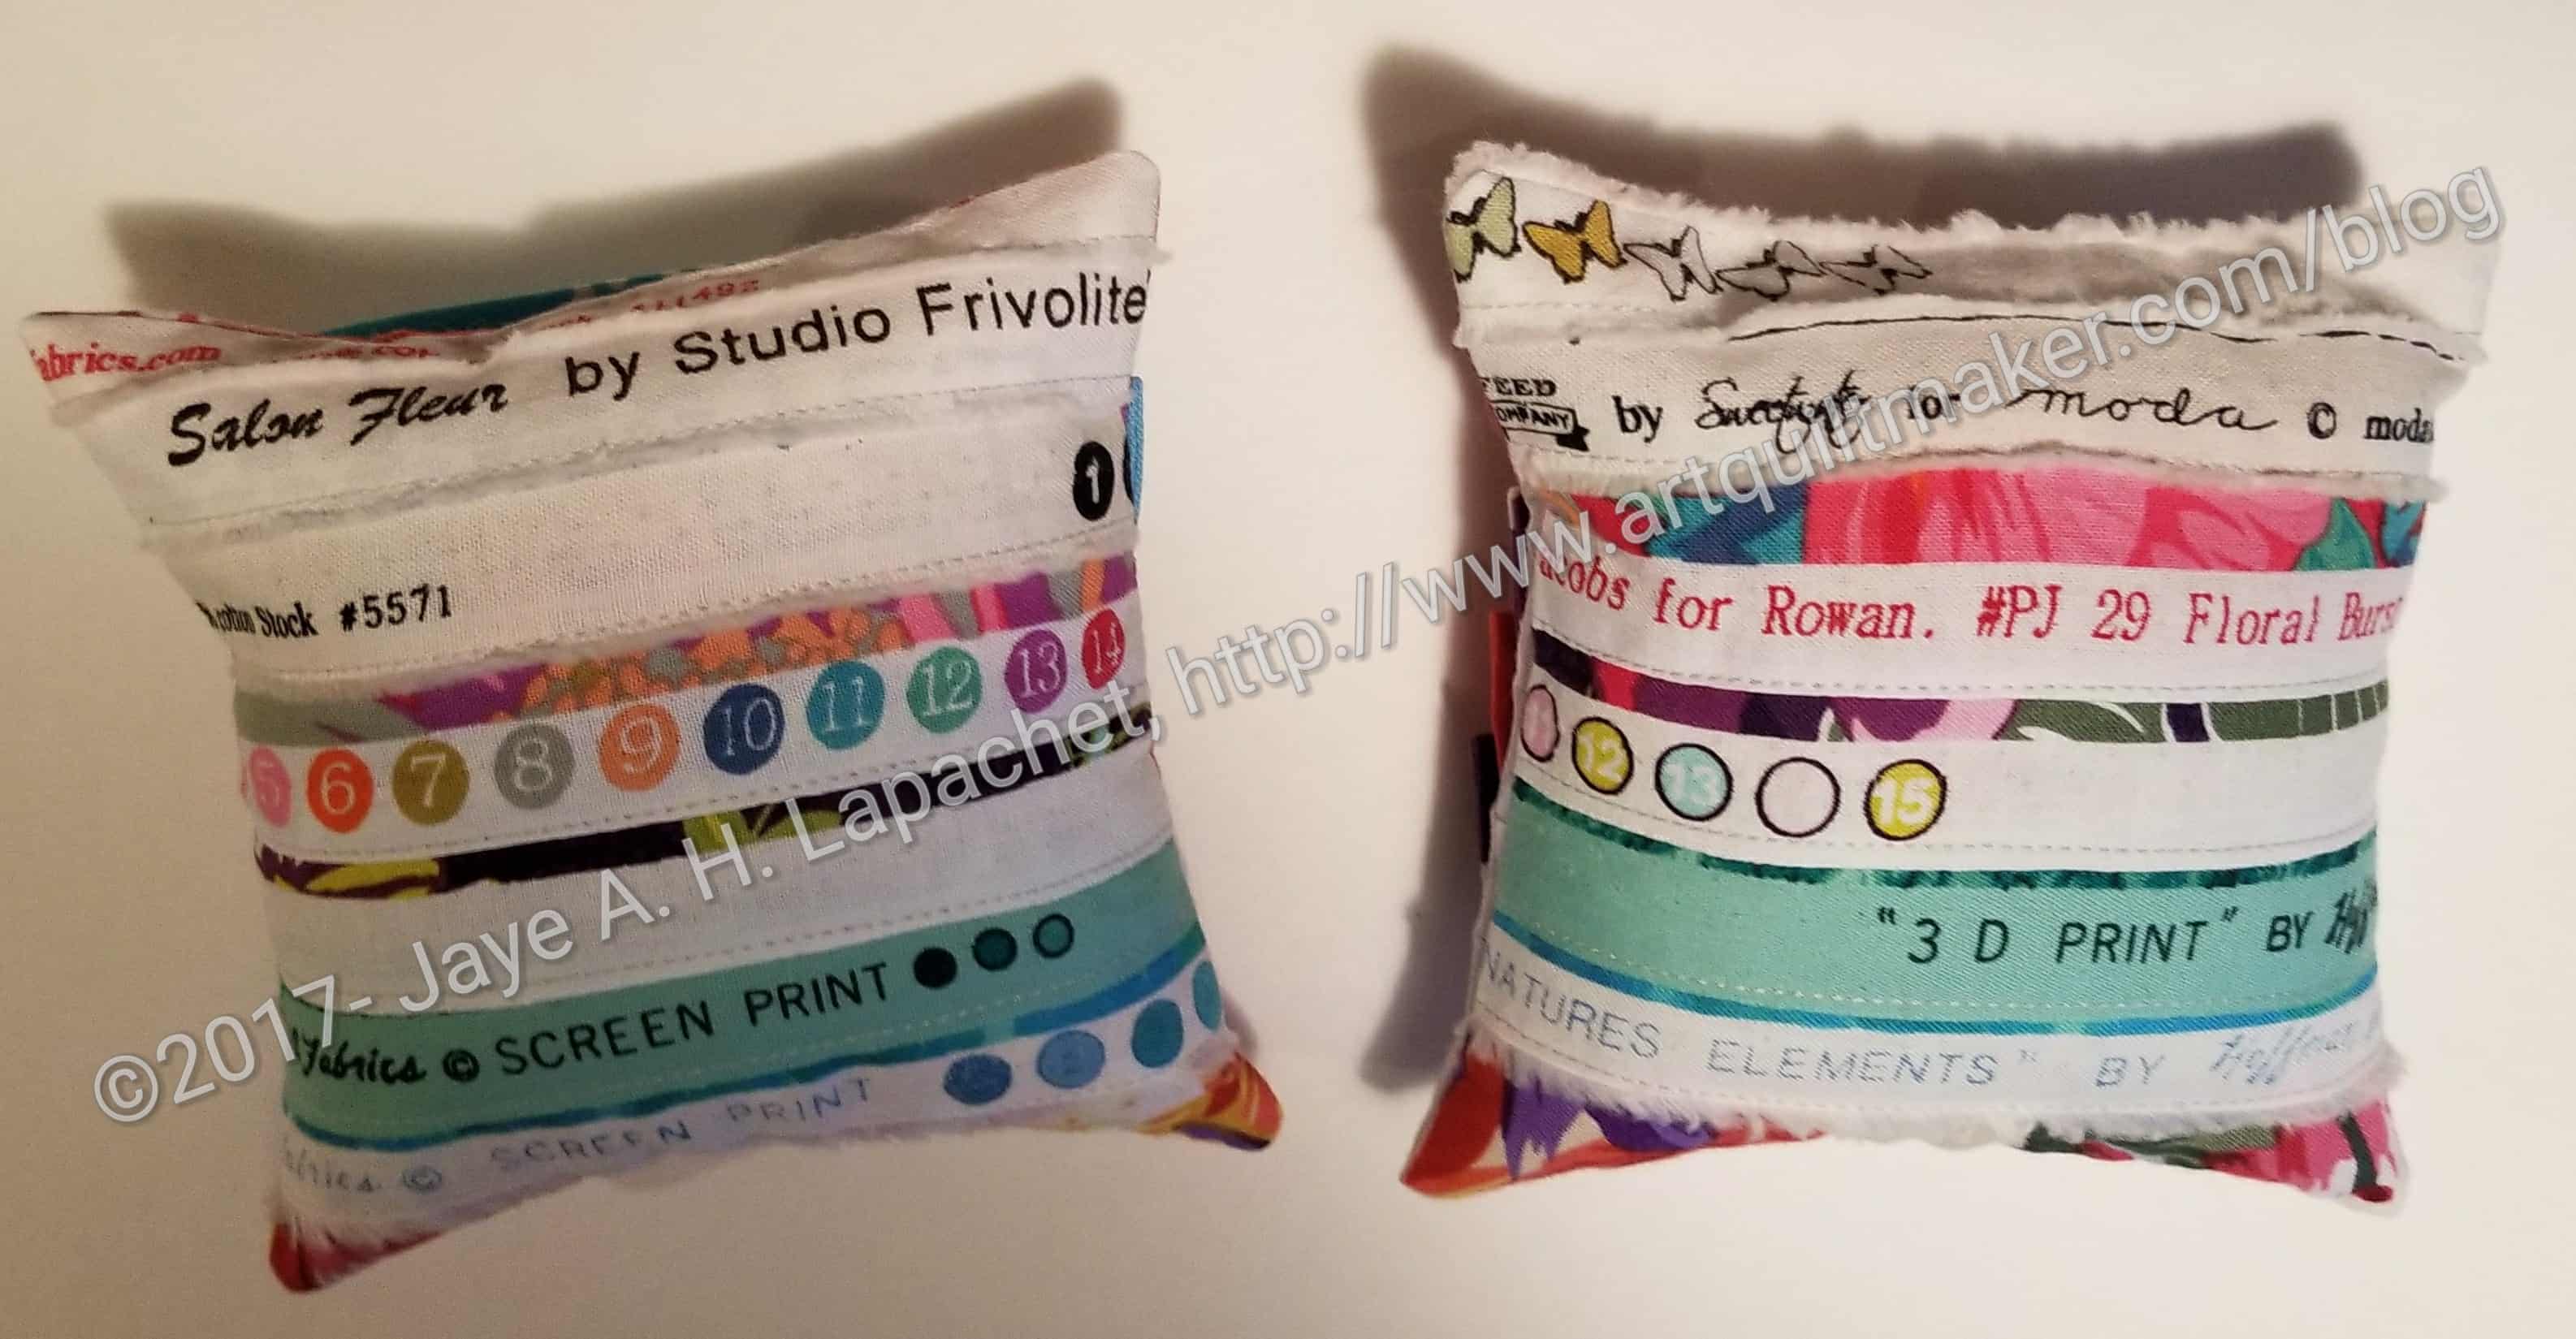
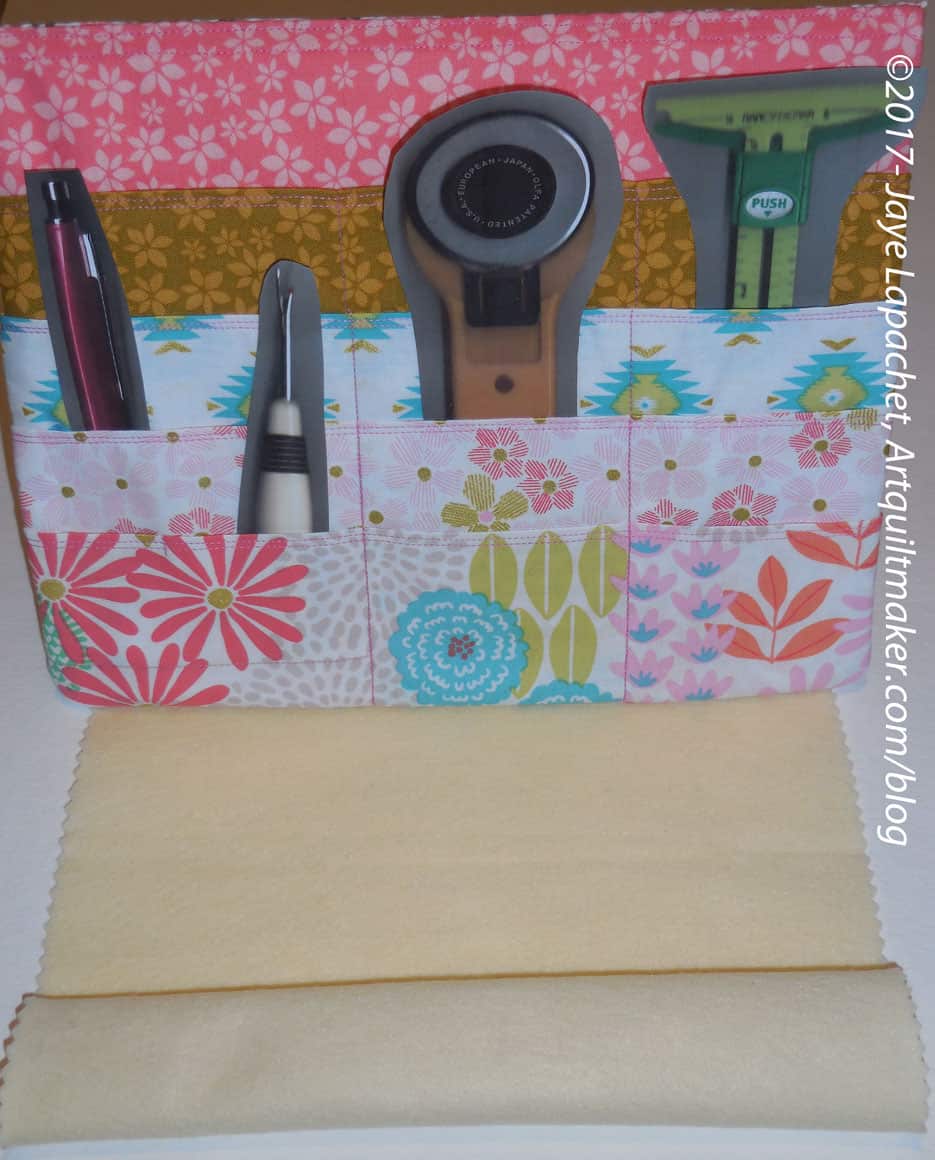
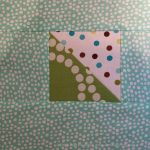
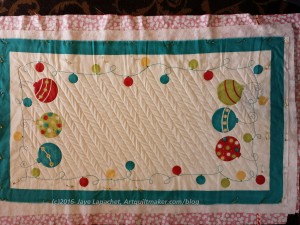
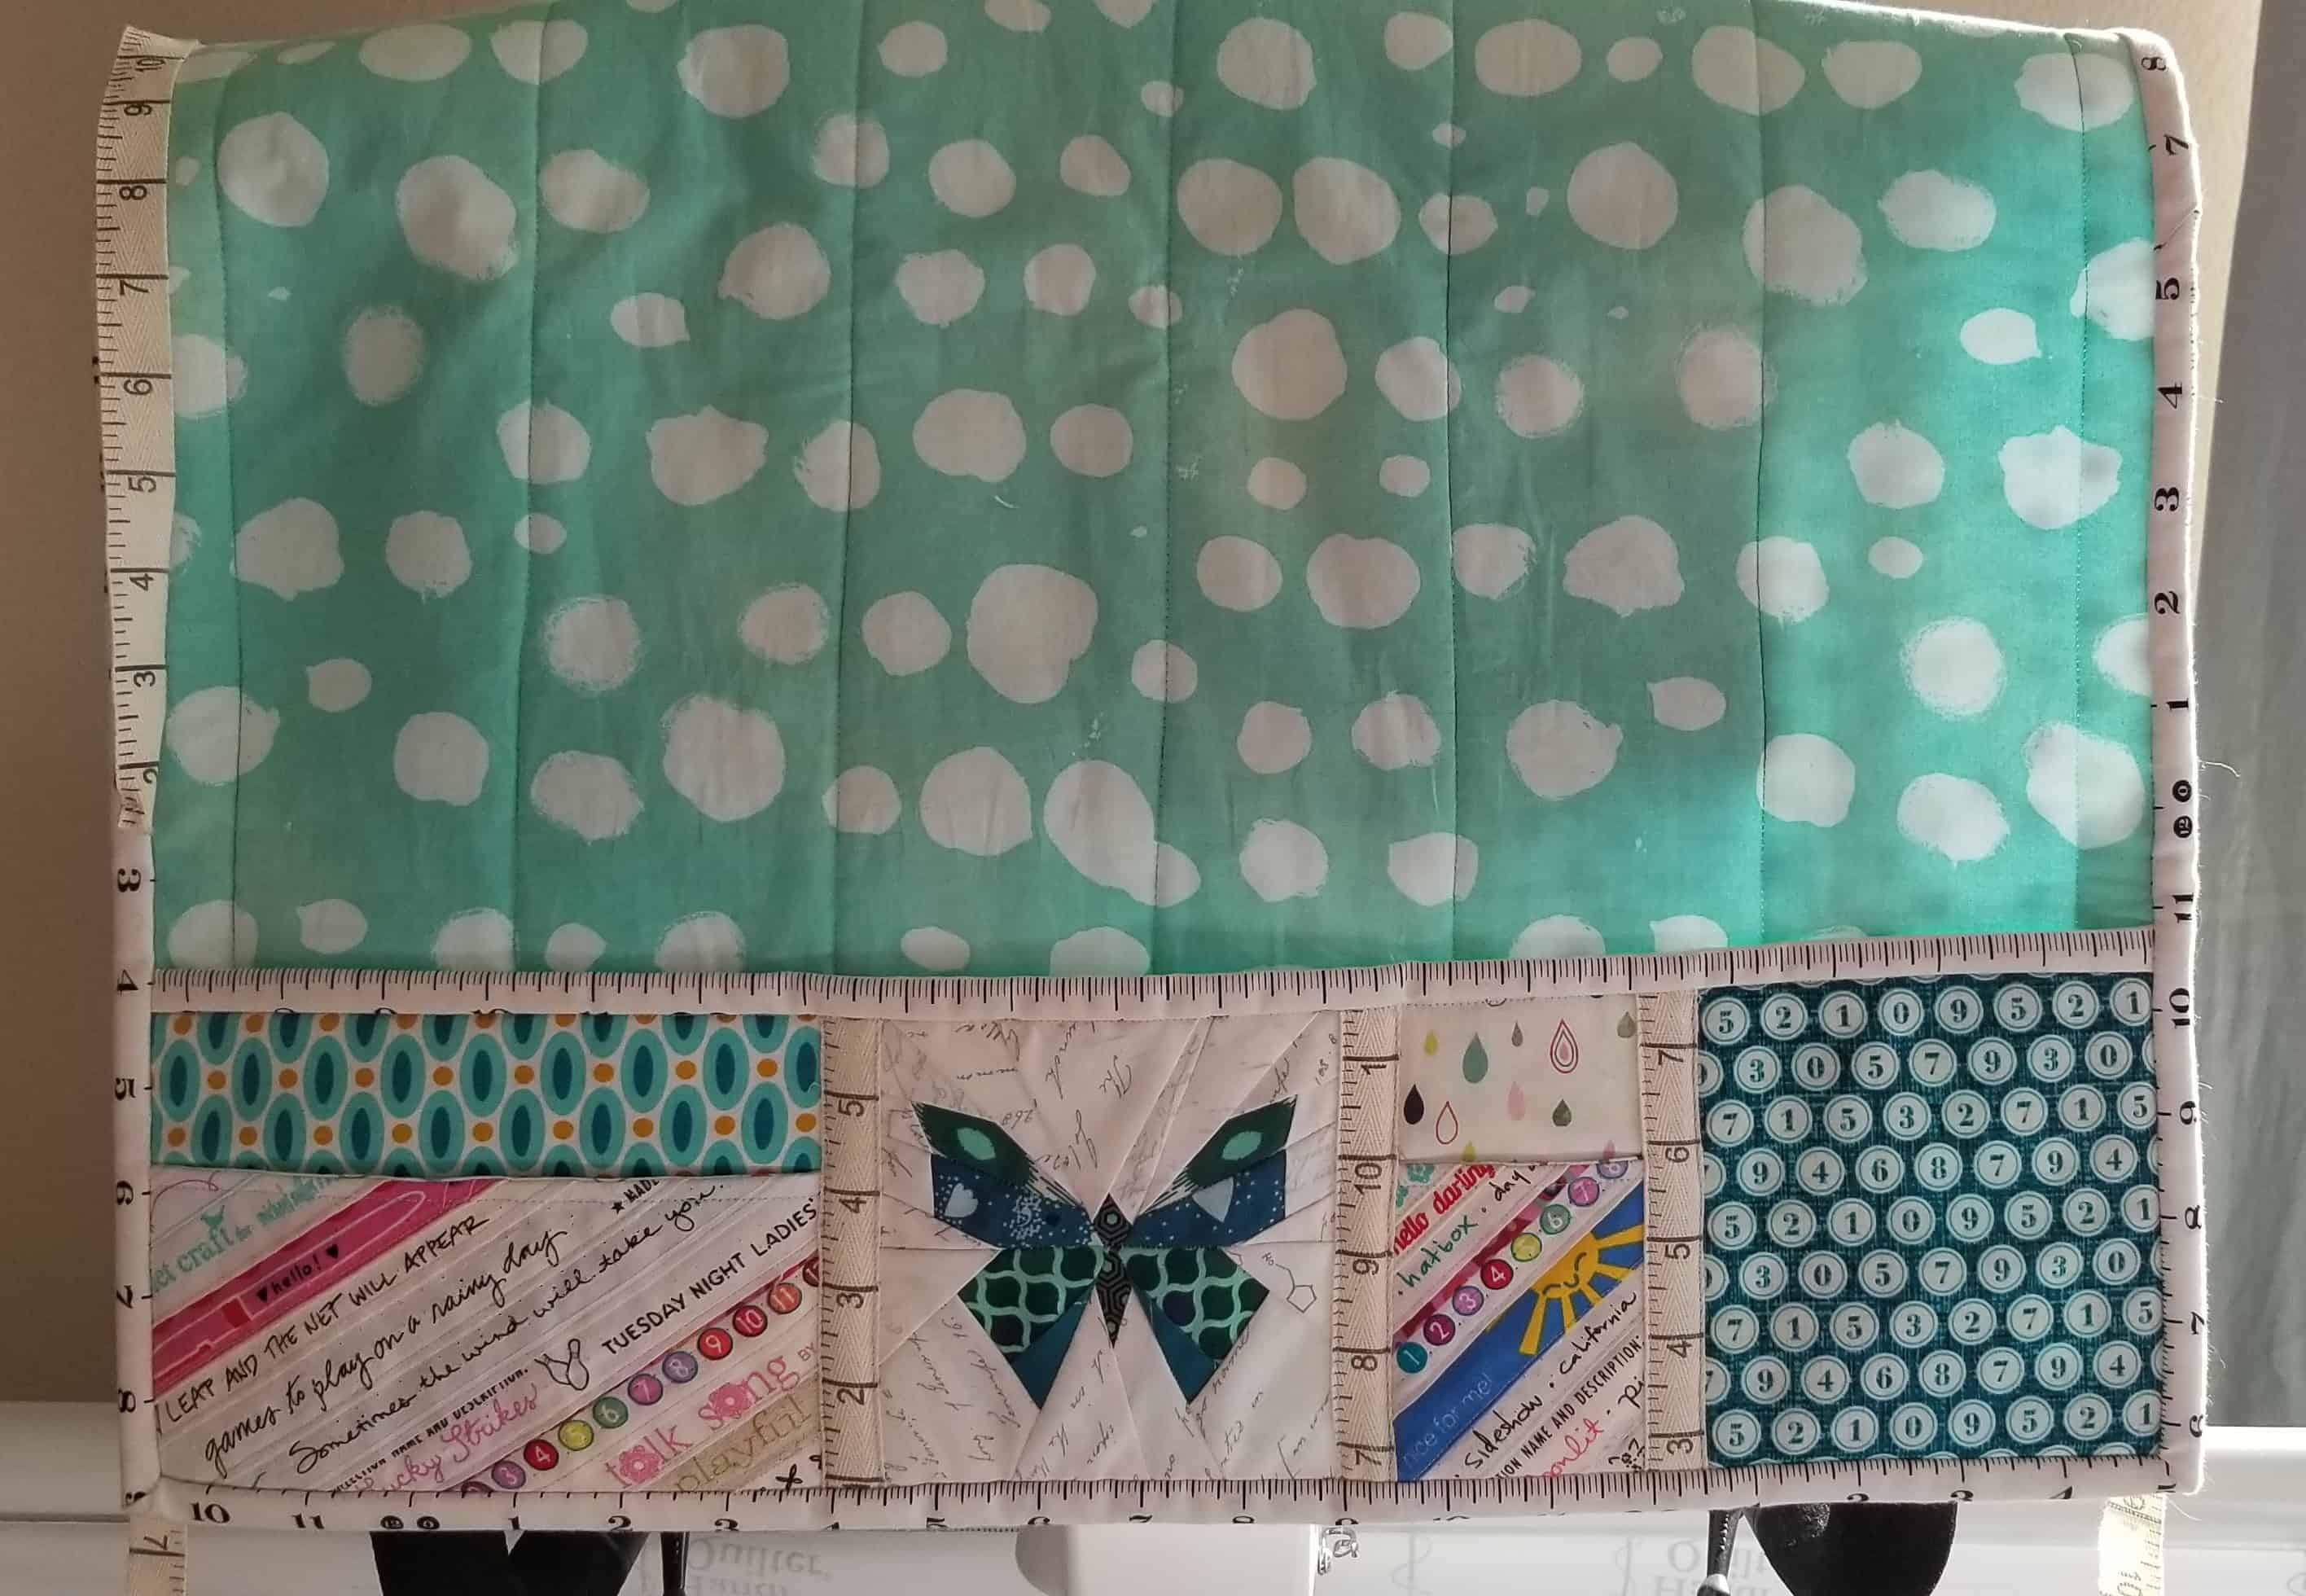
I decided on the above combination. It has a good amount of London Portfolio, but some dots and Martha Negley as well. I did not make the foundation pieced center. I forgot to make it at home and don’t really like foundation piecing anyway, so it was easy to decide to fussy cut instead.
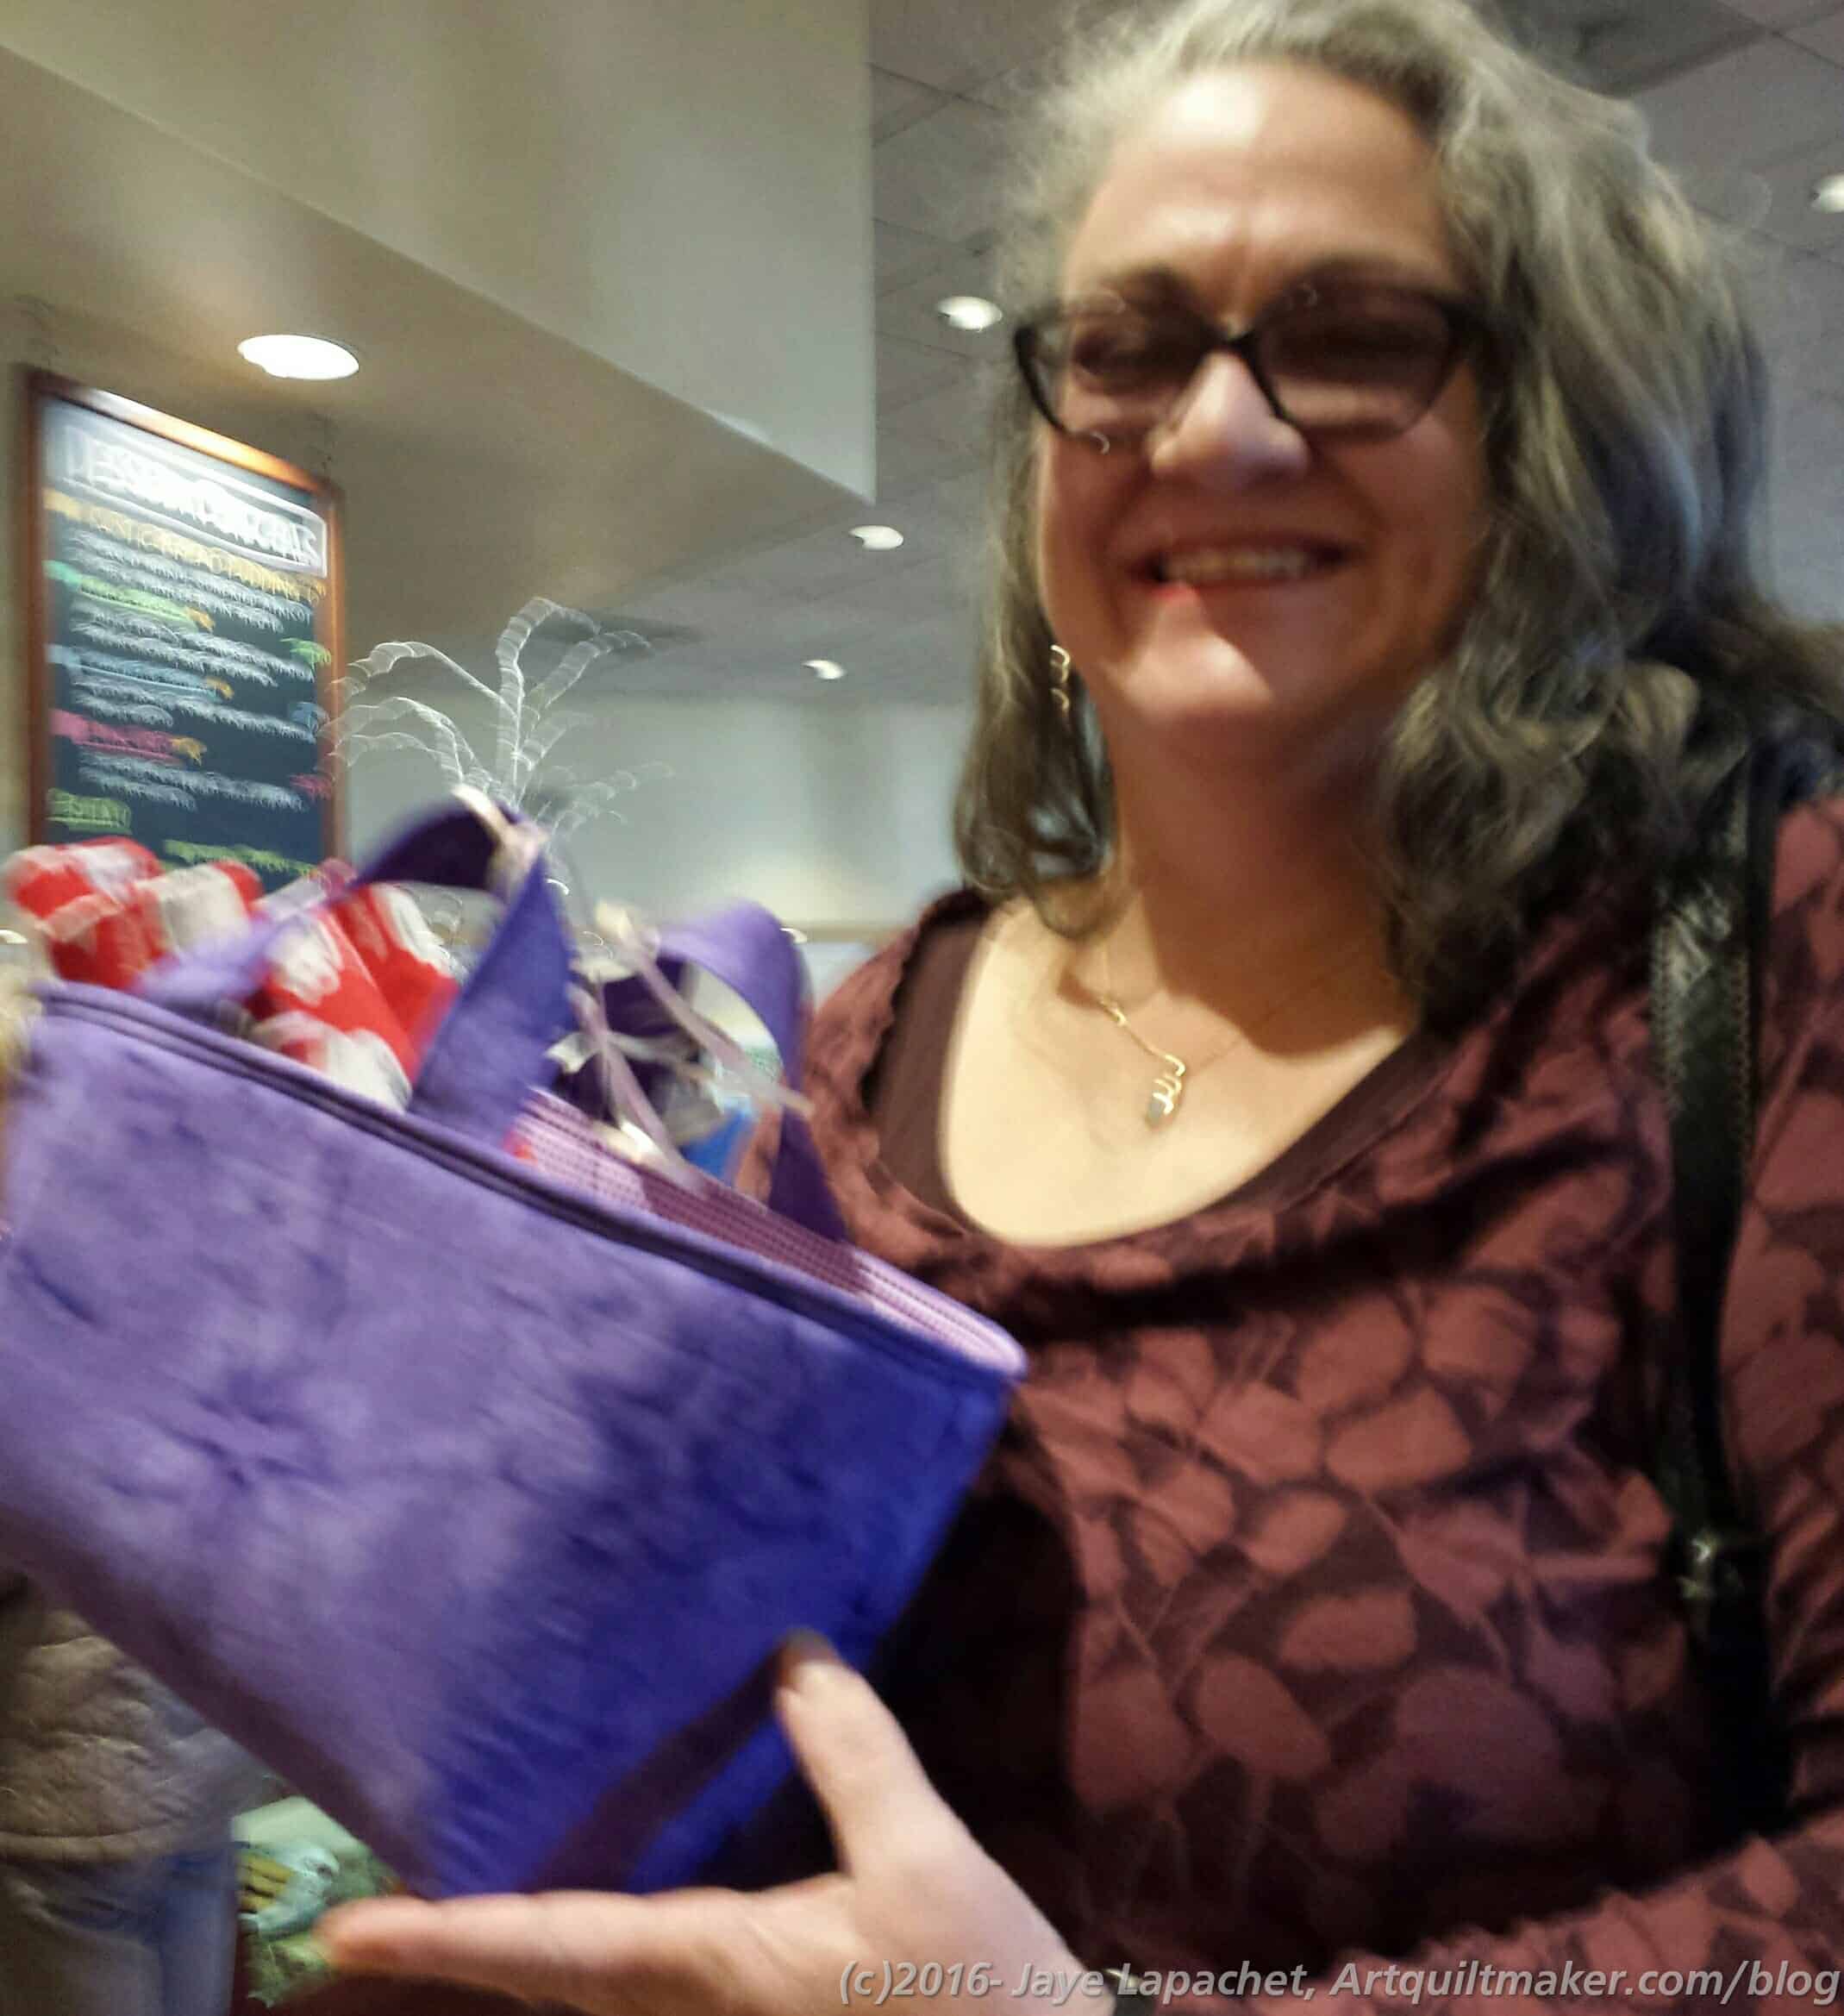
I was surprised that Kathleen knew the pattern, but she had made one and was using it for her longarm head. I shouldn’t be surprised She knows and makes all of the most popular modern patterns. She used some really nice fabrics.