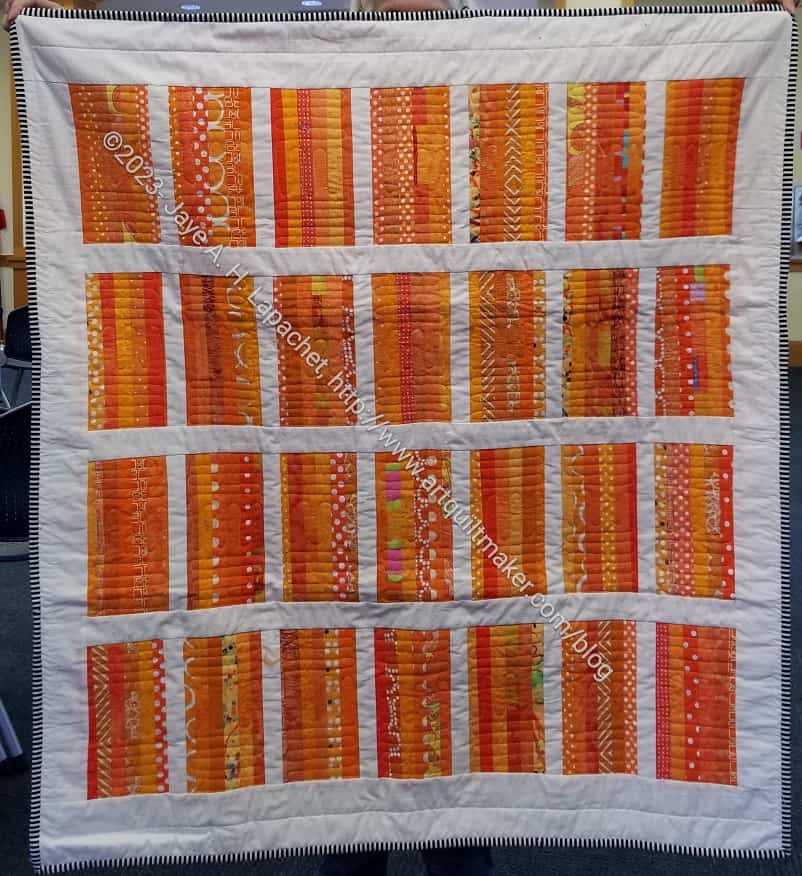
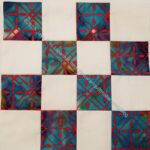
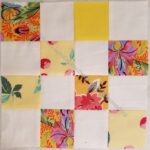
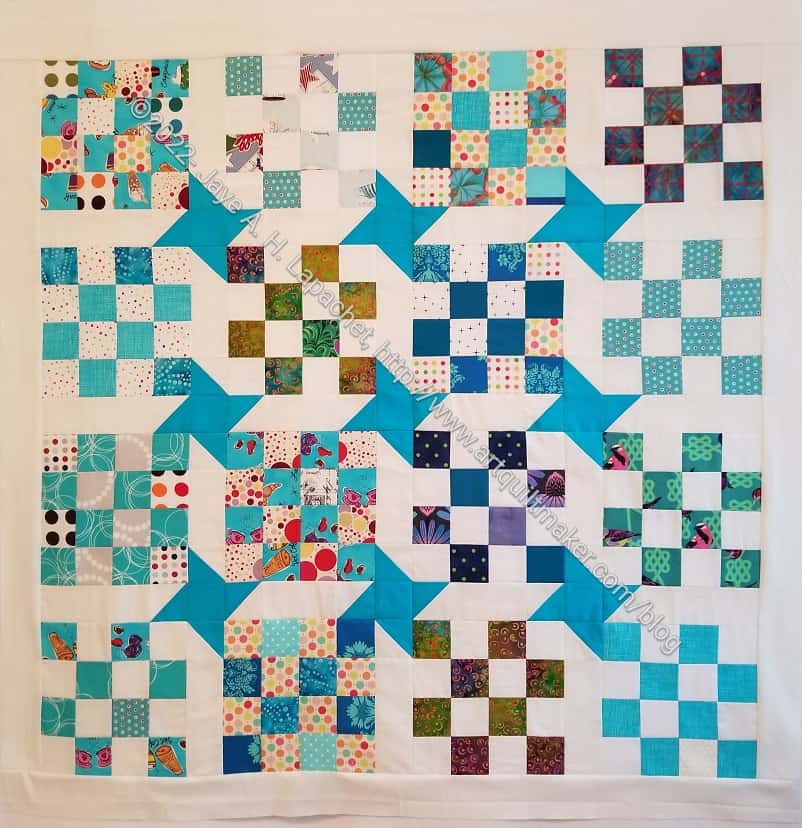
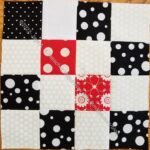
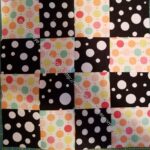
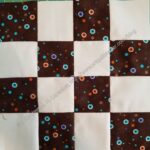
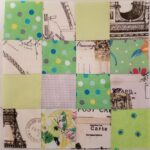
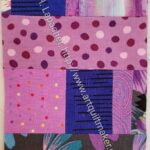
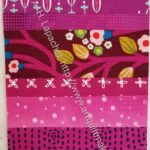
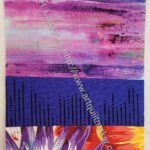
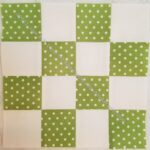
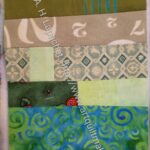
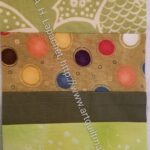
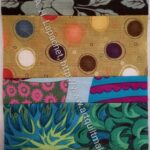
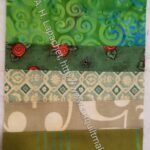
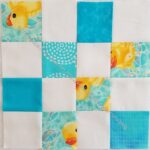
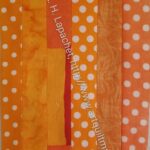
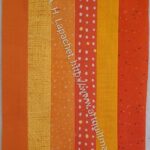
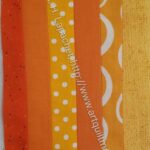
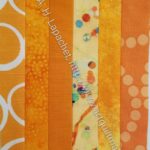
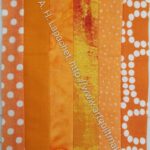
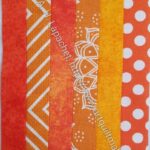
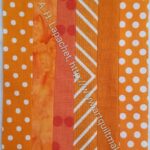
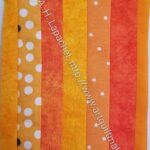
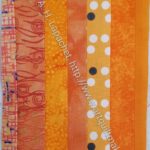
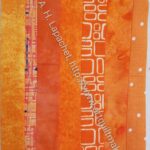
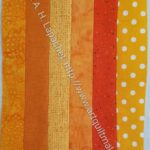
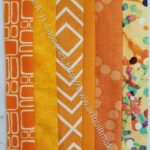
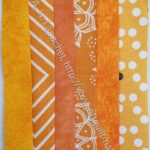
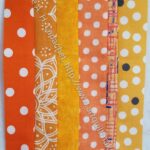
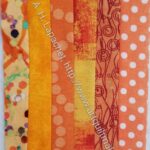
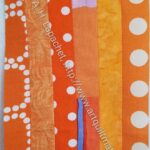
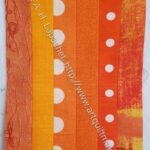
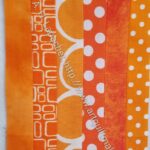
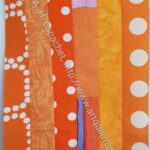
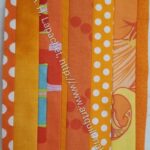
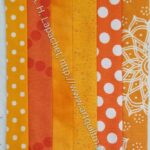
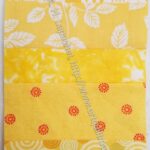
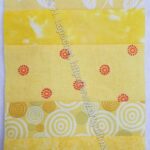
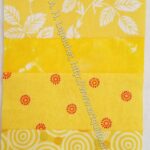
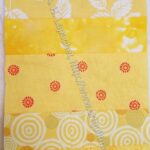
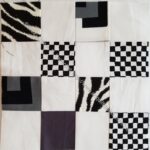
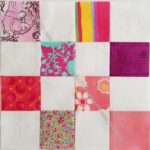
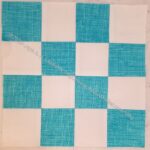
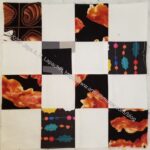
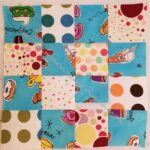
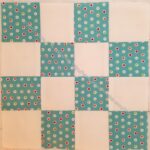
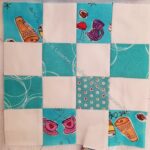
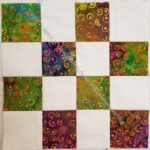
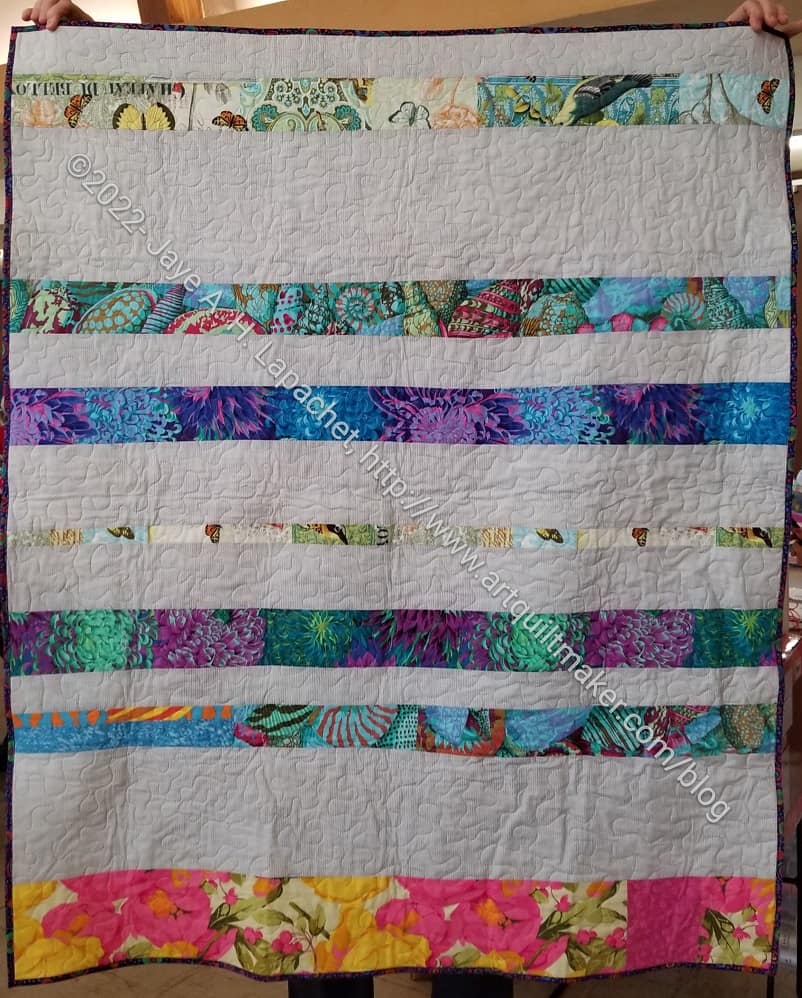
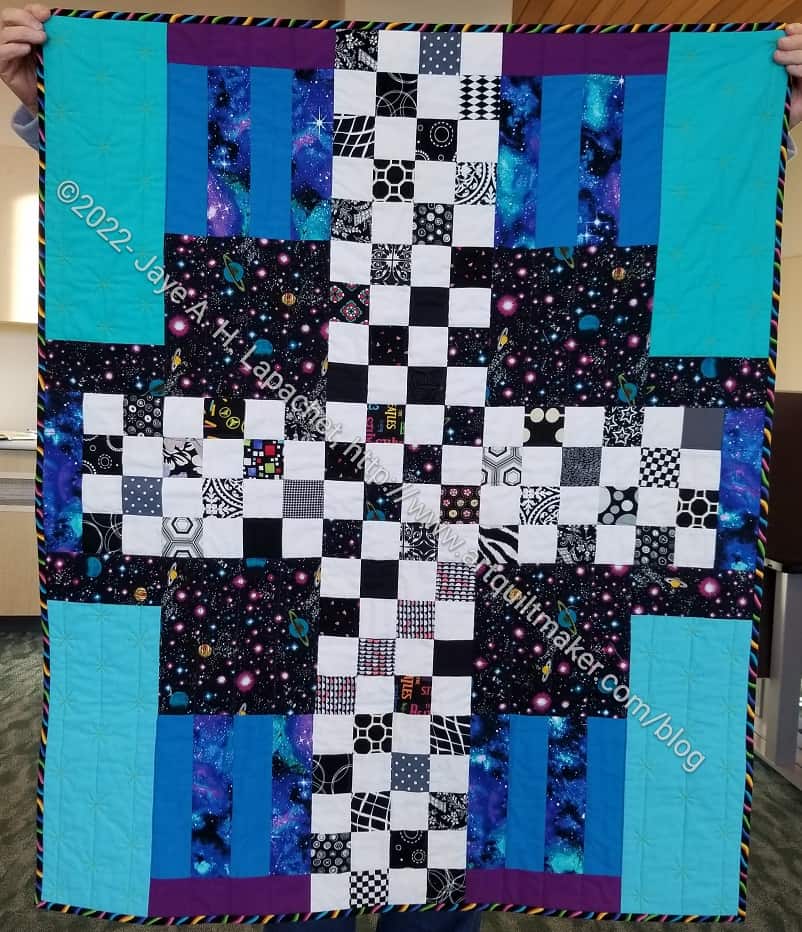
This quilt came back to the guild last week at the meeting. This is the quilt I made from the trimmings off the Orange You Glad blocks. I couldn’t find a post about it, though I am sure I must have taken photos when I finished it, though maybe not.
Anyway, I don’t know who quilted it, but they did a great job. Roz bound the edges and it looks great. I love a striped binding.
This is another quilt that I had returned to me for finishing. This has been a long time in coming. The start of the project was in 2015! I know Rhonda, who was also in my group, was working on hers recently as well.
I probably won’t keep this one, but for the moment I don’t have a recipient. I’ll need to check my Niece-phews list and see if it would be appropriate for anyone on it. I have an idea, but would need to make another for a sibling.
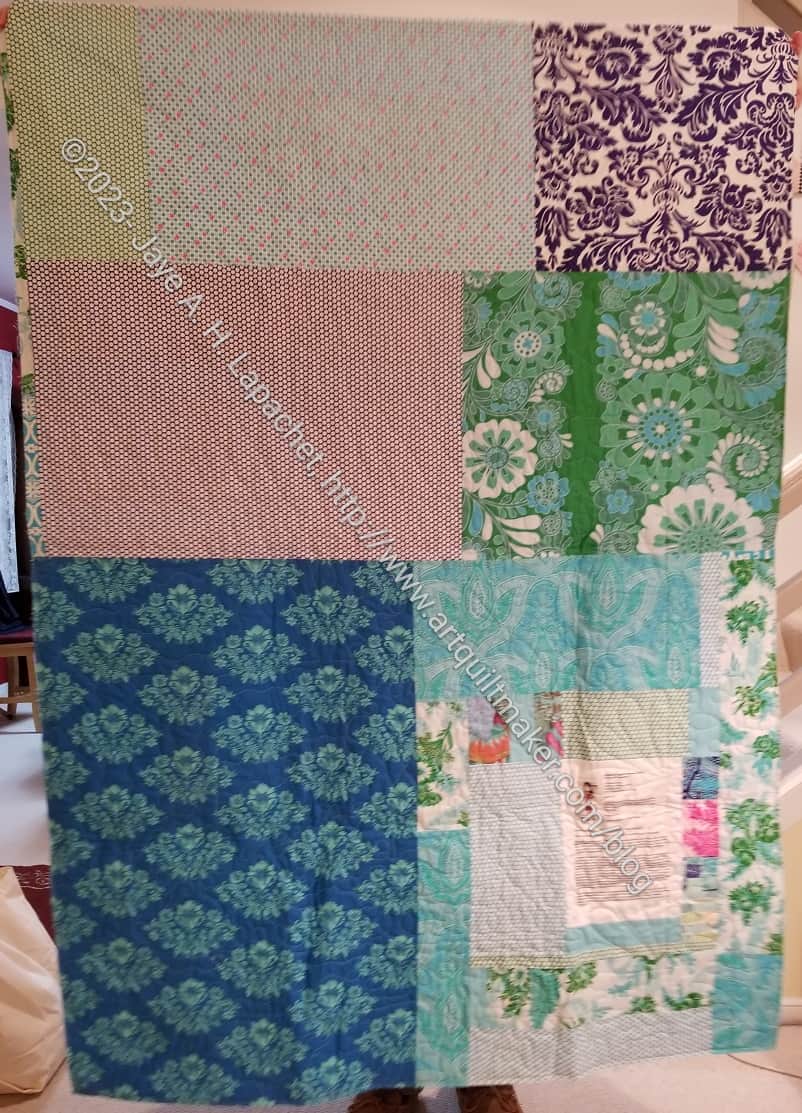
BAMQG IRR back
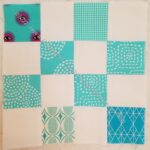
I remember my excitement at using the Queen Street fabric in this quilt. I think the solid turquoise dominates more that Queen Street, though the Philip Jacobs shell fabric is no slouch either.
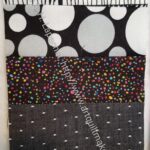
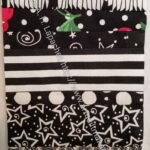
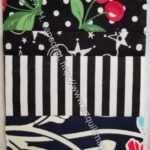
Queen Street really shines on the back. You can see all the prints, but they aren’t highlighted by piecing.
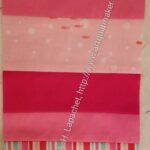
I haven’t had much time to sew lately- just a few minutes here and there. Still, I finished the grey Color Strip blocks and made a couple of pink blocks for the latest Color Strip donation quilt.
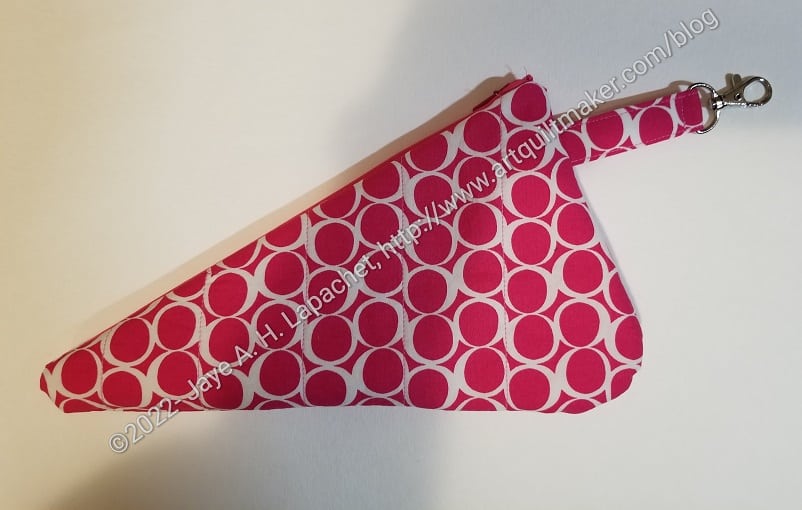
I wanted to show you more of the details of the scissor cozies I made last month at the request of SueS. I wrote a little about the reasons and showed all of the cozies together in a previous post.
Cyndi’s Scissor Cozy
First, I wanted Cyndi’s to match the Oslo tote I made her in a swap a year or so ago. I rummaged around and found some similar fabric.
I couldn’t remember if I added a D-ring to the Oslo tote and I didn’t see one in the photos on the post about that bag. Too bad, but I am sure she can find something on which to clip it.
Cyndi’s scissor cozy – Wunderlabel
Next, I wanted to use my Wunderlabels, so I got those out and figured out placement.
As an aside, I really like those Wunderlabels. They are elegant and as long as I remember to sew one on, they work great. I am pretty sure I will buy more when I run out.
Cyndi’s scissor cozy – Advent label
Third, I wanted to use the Advent labels as well. Pouches are the perfect project for these fun labels and I think the recipients would appreciate them.
I did a lot of prep, which you know I think seems like a waste of time. The day I worked on these, however, I tried to have a different attitude. I tried to think of the prep as another step in getting the pouch finished. I finished sewing that day in a much better mood and feeling like I had accomplished something rather than being frustrated that I hadn’t accomplished enough.
The cozies in general came out very well and I am pleased.
Not the 31 donation blocks I would have liked to make, but a fair number. Yes, I have added to the number of pink blocks for the next Color Strip donation quilt, which I talked about a few days ago. Stay tuned for more on that piece as it develops.
SueS asked me to make scissor cozies, as mentioned. I decided to make her one as well. She has done a lot of work int he past couple of months with a couple of extra projects in the works.
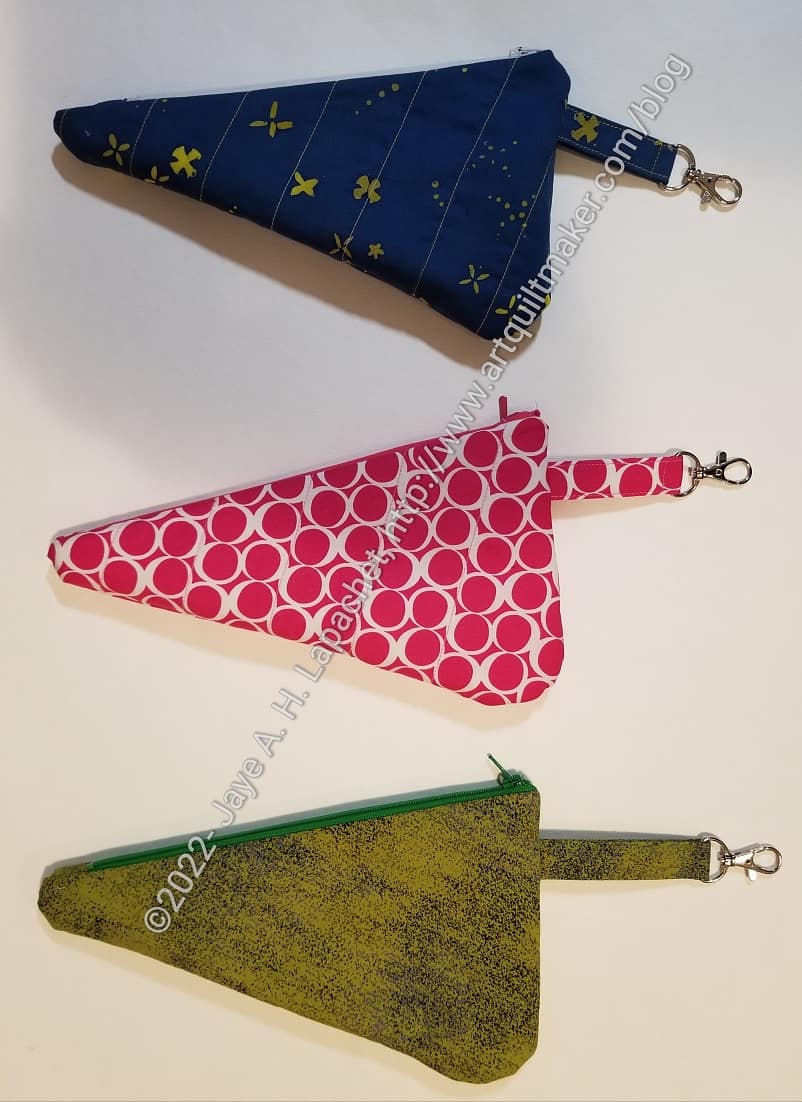
The annoying thing was pulling fabrics, but once that was done, it was just as easy to make 3 as it was to make two.
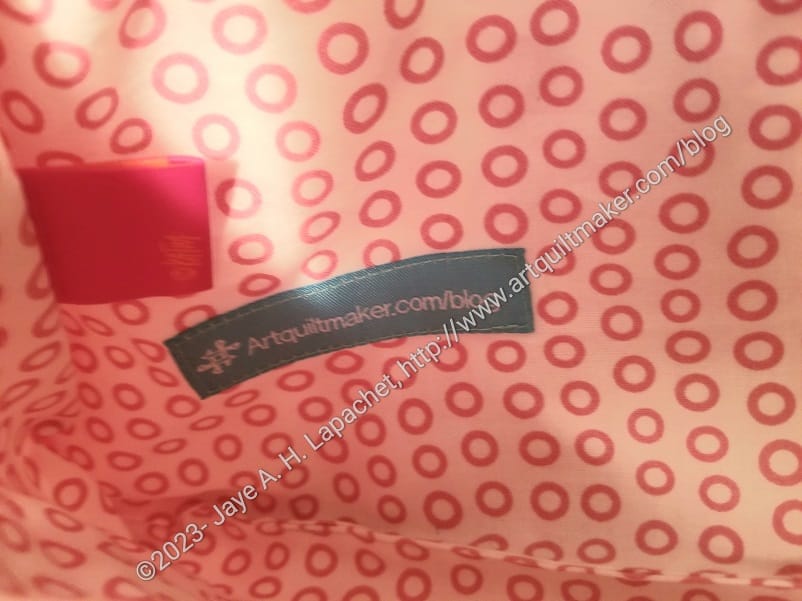
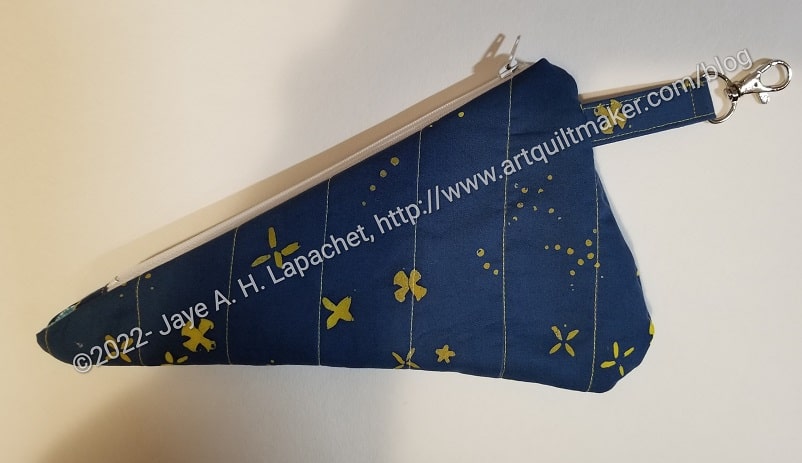
Sue’s Scissor Cozy – inside
I wasn’t sure what color to make so went with a blue, which I, then, cut wrong and didn’t have enough yardage to cut another piece. I chose the above Allison Glass fabric and was more careful about cutting. I also chose a light blue/turquoise inside. I liked the fabric, though I probably should have gone with a white as I can see dark corners in the piece already.
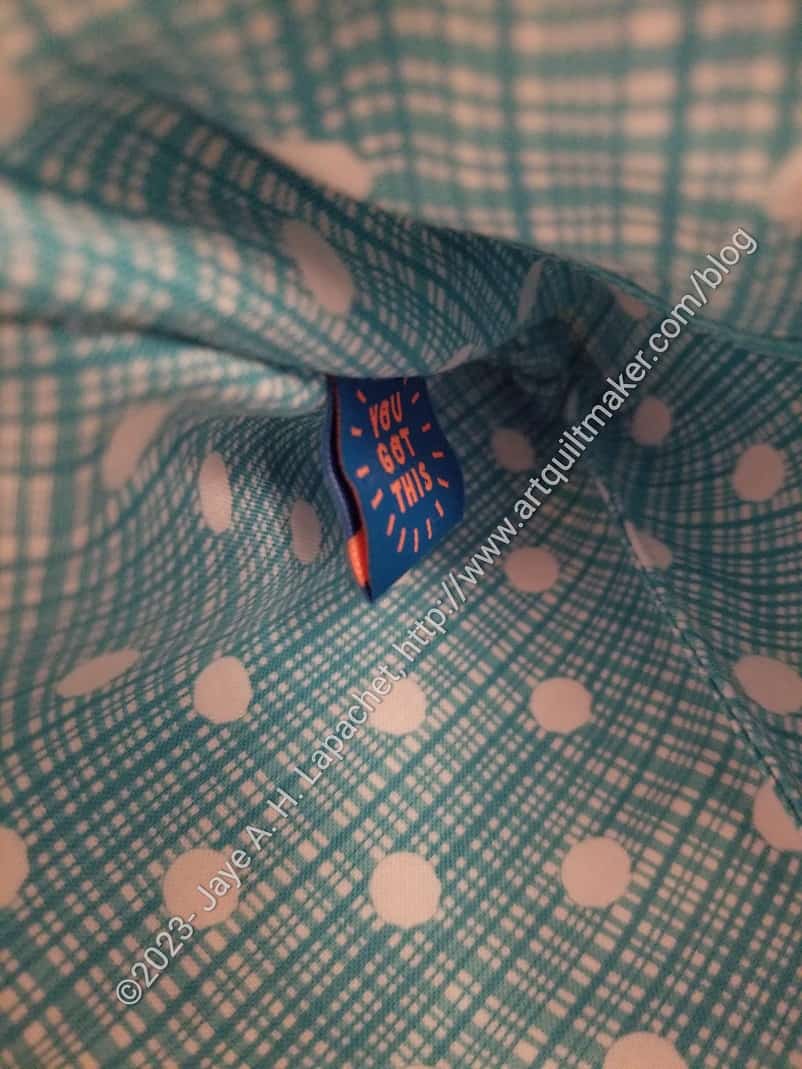
You can see my Wunderlabel on the inside right side of the pouch.
Sue’s Scissor Cozy -label
I also used one of the Advent labels to add a little fun tot he piece. I really chose the label because of the color. It matches. Maybe next time I’ll think about the message as well.
SueS asked me to make scissor cozies for a couple of the officers. She bought them scissors and had them engraved. The two really went above and beyond during COVID. They entered a difficult situation, before COVID, and stepped up magnificently.
This is a Sotak Handmade pattern. Again, I watched a little of the video, but mostly read the directions and my notes on the directions. I made some additional notes to make these easier next time. I have to print some photos to keep with the directions.
I’ll write more about the specifics of each cozy later.
I have some leftover yellow color strip donation blocks on my design wall. They were leftover from the Rainbow Strip donation quilt. Apparently, they were lonely, because I started making more in different colors. I started with the green ones, because I had some green strips laying around. I suppose I intended to make another Rainbow Strip donation quilt, but then I started in on pink. Now I think I’ll make a pink Color Strip donation quilt. I haven’t made a pink one and my pink scrap drawer is full to bursting. No surprise there.
It’s a good start for my 2023 donation blocks effort.
Finishing a donation quilt first in the year has to be good karma, right?
Friendship Star donation top
I had been saving some 16 patches to make a donation quilt and decided that New Year’s Day was the day. I combined the 16 patches with pieced sashing and cornerstones from an article in Today’s Quilter issue 91. The information was in the Essential Guides sections, which is great for tuning up your skills.
I wanted to try the technique out, so I took out those donation blocks and got to work. I, mostly, used up some Pure Elements Linen for the sashing background and used a solid for the cornerstones and the back.
It felt so good just to do some easy piecing and I am pleased to have a donation quilt to bring to Sew Day next week.
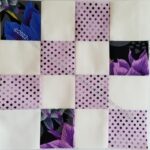
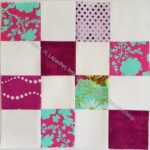
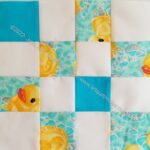
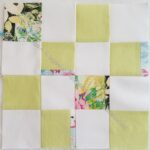
I started off the year finishing a couple of blocks I had started in 2021. Then I just started making blocks as I had time. I didn’t make as many as in previous years, but as I have said before, every little bit helps, right?
A lot of guild members are sick of these simple blocks, but I still like them. They are easy to make and work really well, as I have said a million times, for leaders and enders.
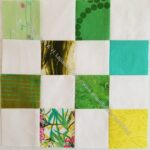
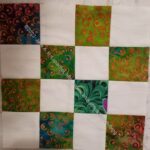
Green batik donation block
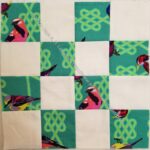
Tula birds donation block
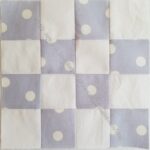
Dusty Blue Dot donation block
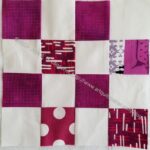
Pointillist Purple donation block
Turquoise latte donation block
Turquoise & Big Dot donation block
Turquoise with leaves donation block
Green batik donation block
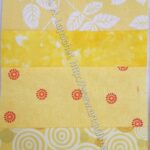
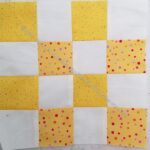
Yellow donation block
I am keeping some of these blocks to make a donation top. I haven’t made one in a long time and need to get back to it.
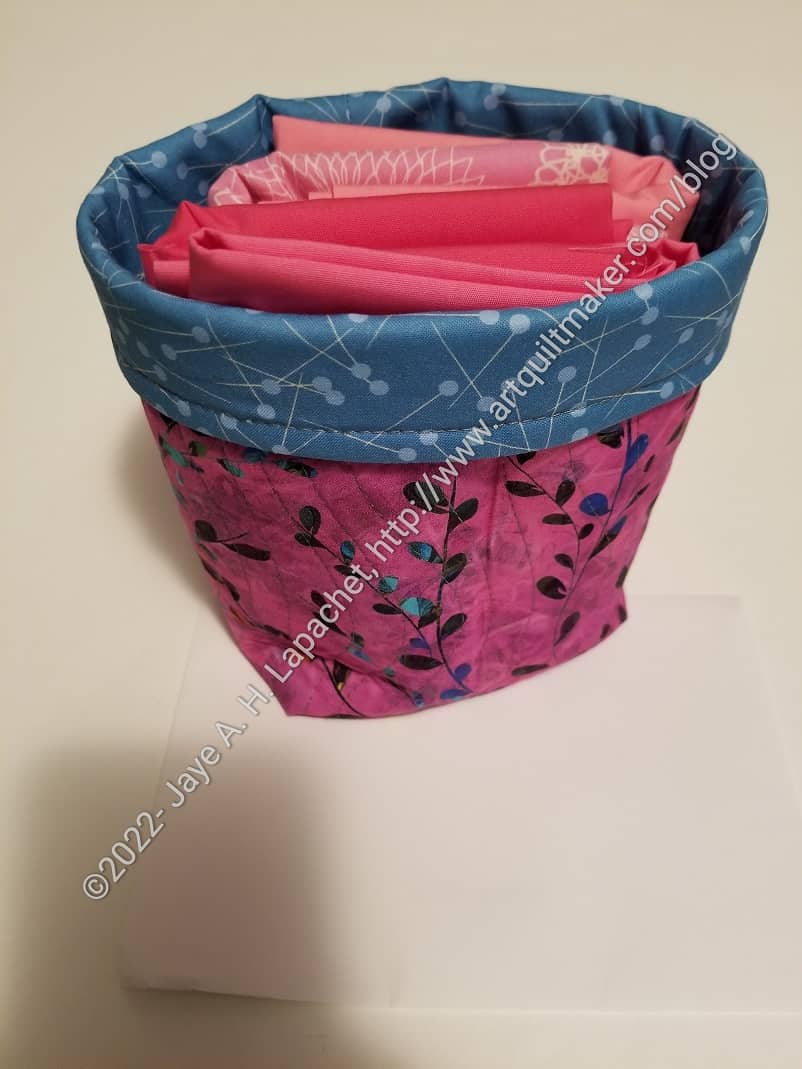
I was so pleased to receive a really nice swap gift from Sue G!
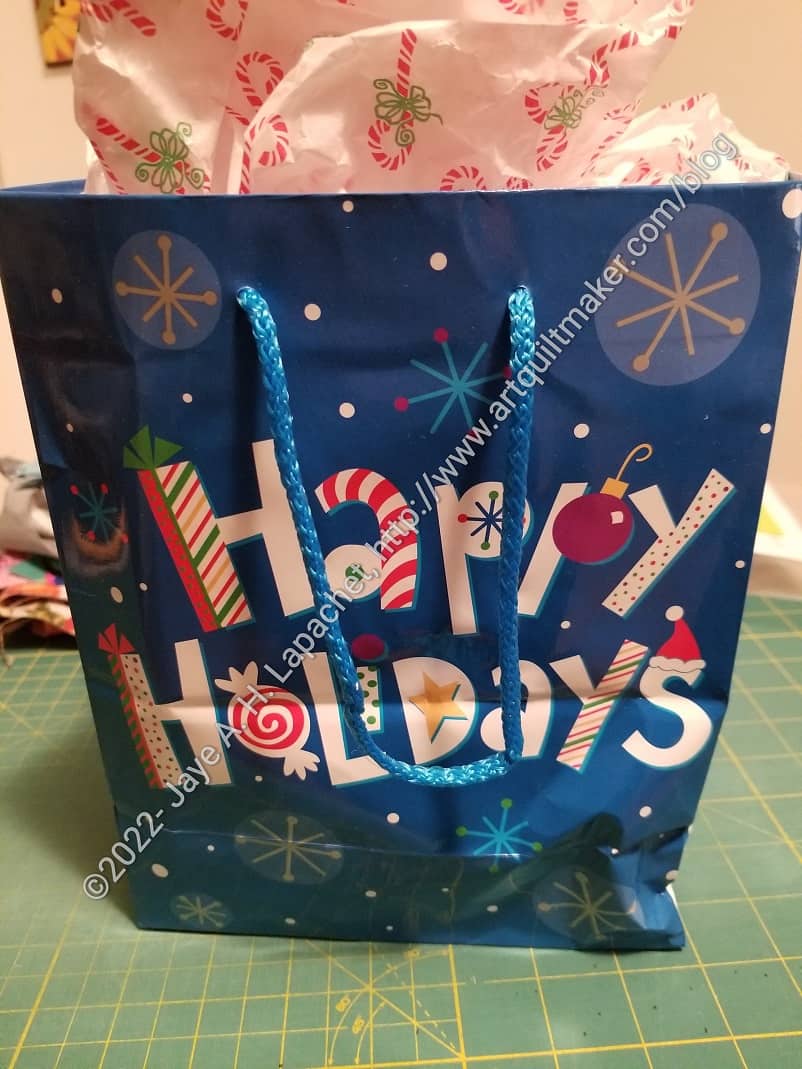
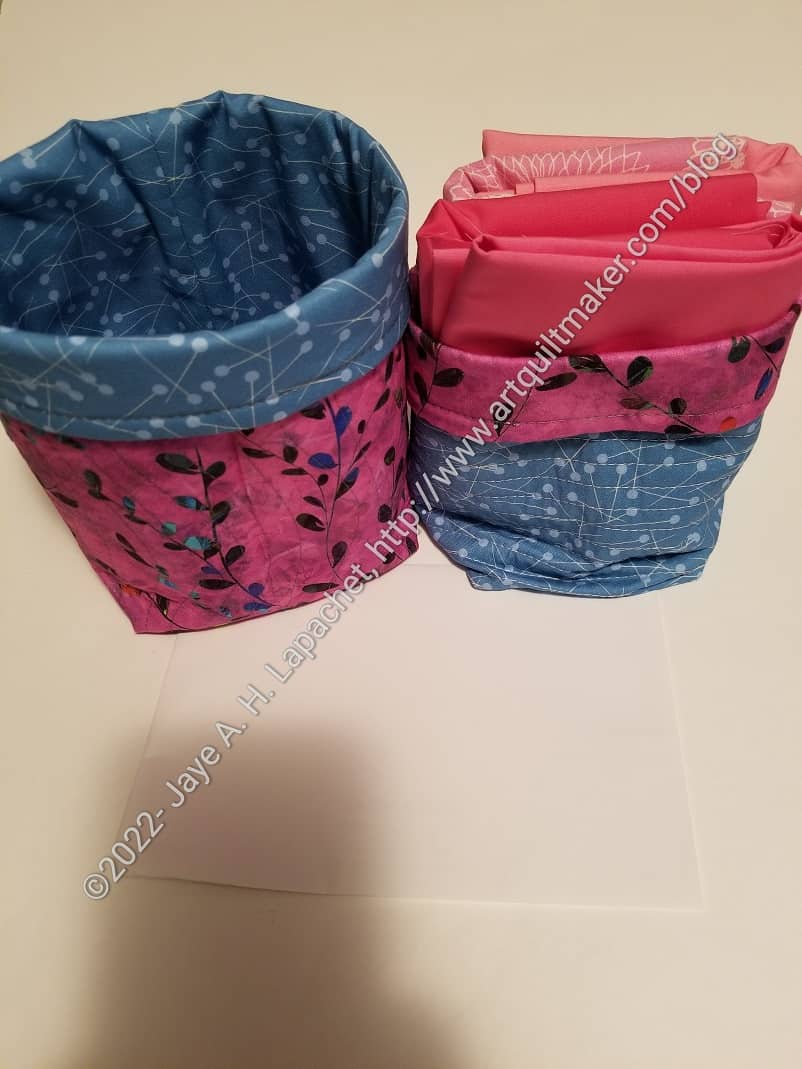
Not only did she sew some scrap bins/thread holders, but she gave me some of my favorite Art Gallery fabric as well. All of it came wrapped in this bag filled with festive tissue paper.
On the form we had to fill out, Isaid my colors were turquoise and red. Sue knows that I like my red to be more towards the pink than the orange and she did a great job choosing fabric.
All the gifts
The large thread catcher, or soft bin, isn’t huge, but everything else fit inside. In the bin is another bin and four half yards of fabric. I didn’t realize there was another bin inside when I opened it, so was very surprised when I opened it.
Two swap gift bins
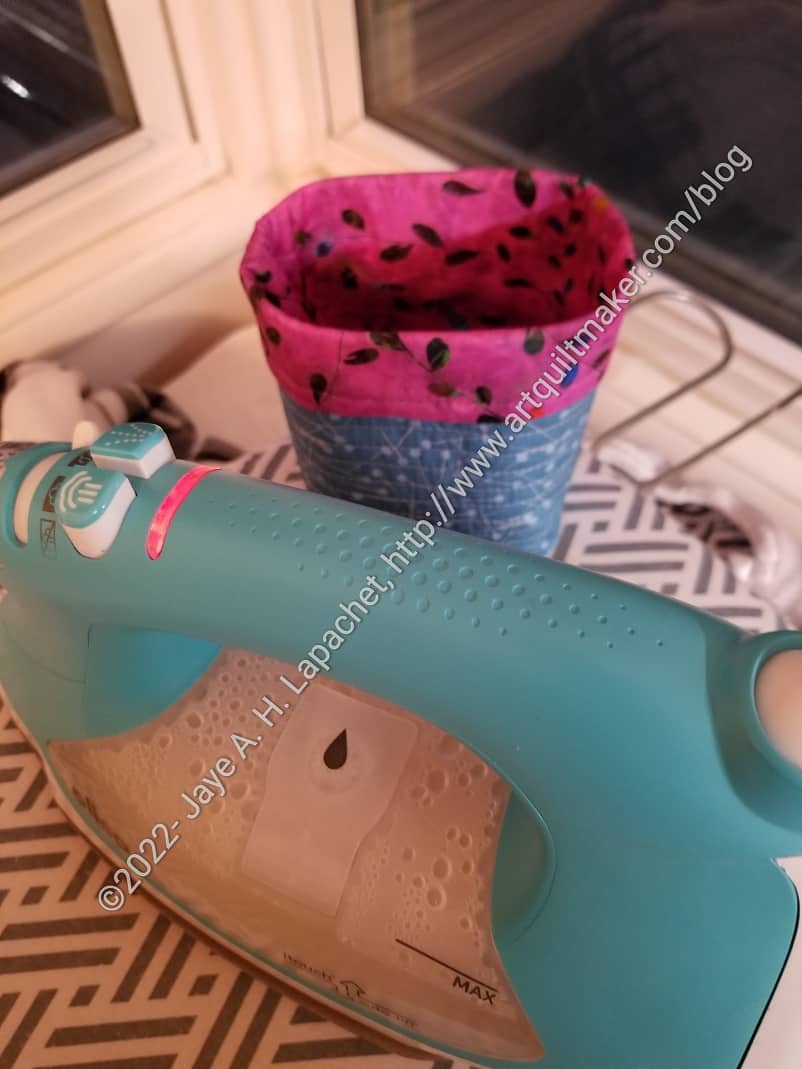
The small bin will go very well on my ironing board. Normally, I just pile up threads as I iron fabric until the wad gets to big or falls on the floor. I think the small bin will look much nicer.
Bin on ironing board
I haven’t quite decided how I will use the larger bin. The mini-charms falling out of the 1 hour basket in the fabric closet might fit – or some of them might.
Ends n.11 was handed in at the December Sew Day, finished. Melinda quilted it as an exercise on her longarm. I was very pleased to see it again finished.
As I have said so many times, I am so pleased that we work on these quilts as a team.
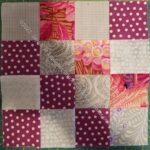
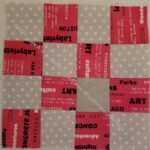
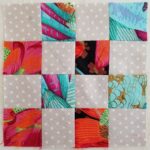
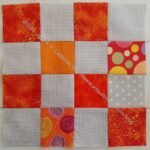
I was super pleased to see a quilt show up made from blocks I had donated. I made a number of these blocks this year, so they didn’t hang around very long, which is nice.
LeeAnn finished this quilt and showed it at last month’s meeting. The corner fabrics she chose make the quilt look like a night sky quilt.
I love seeing what other people are inspired to make from my blocks.