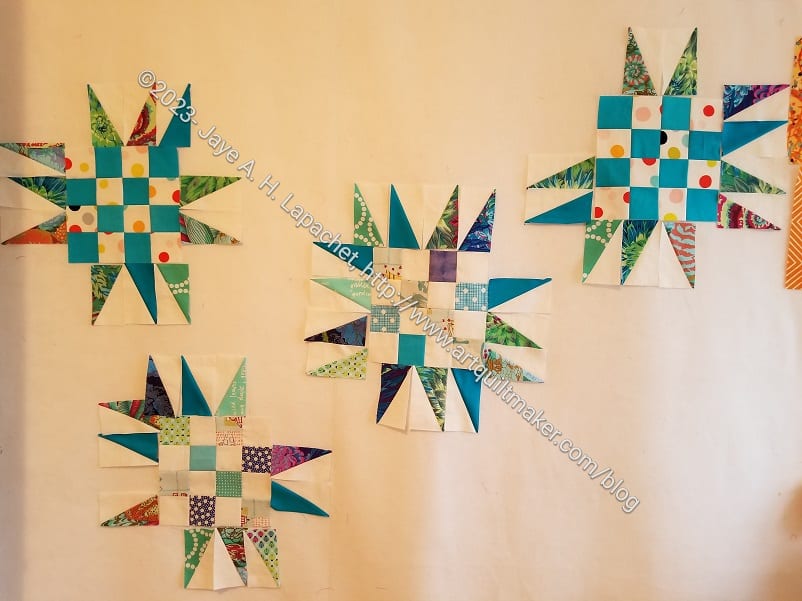
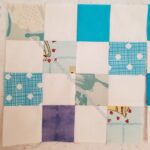
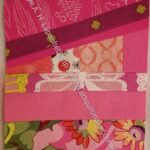
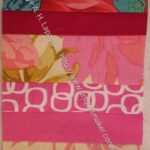
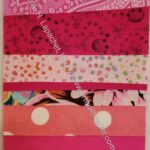
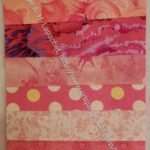
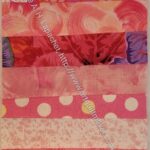
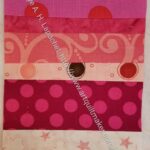
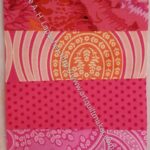
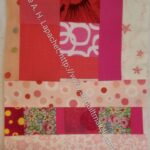
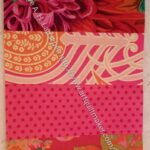
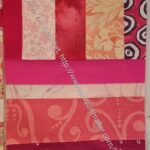
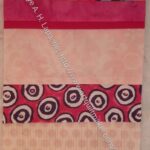
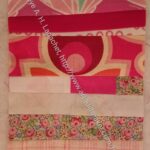
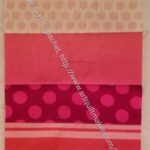
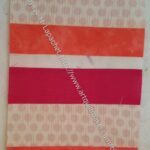
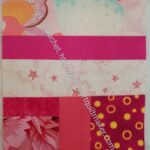
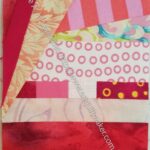
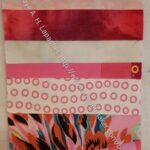
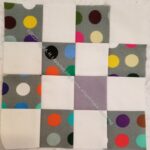
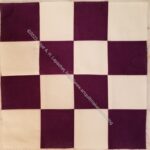
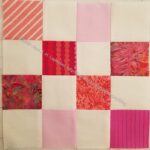
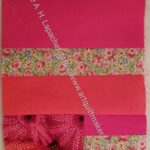
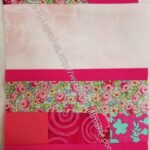
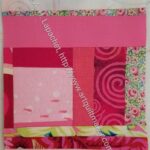
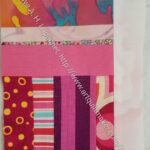
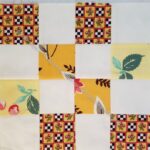
I wanted to try the HuRTy, so I grabbed some scraps and started working on another Spiky 16 Patch.
I I have to admit that I mostly ended up using my Split Rects ruler. The HuRTy isn’t bad; I just haven’t gotten the hang of it yet.
I got inspired, partially, because of the blocks with the solid fabrics and the dots. They look really good and I decided I wanted to make something good with them.
Will this be good? I hope so, but if it isn’t great, I know someone will like it.
My current problem is that I am running out of background. I am not running out of ALL backgrounds – just the particular background I chose for this project. I’ll have to select something else to use to finish the quilt. I have time.
A long time ago, I promised Alison a bag to give away as a prize at the retreat. I thought I would finish the Brocade Peony Ultimate Carry All Bag and give that to her, but I ended up not doing that.
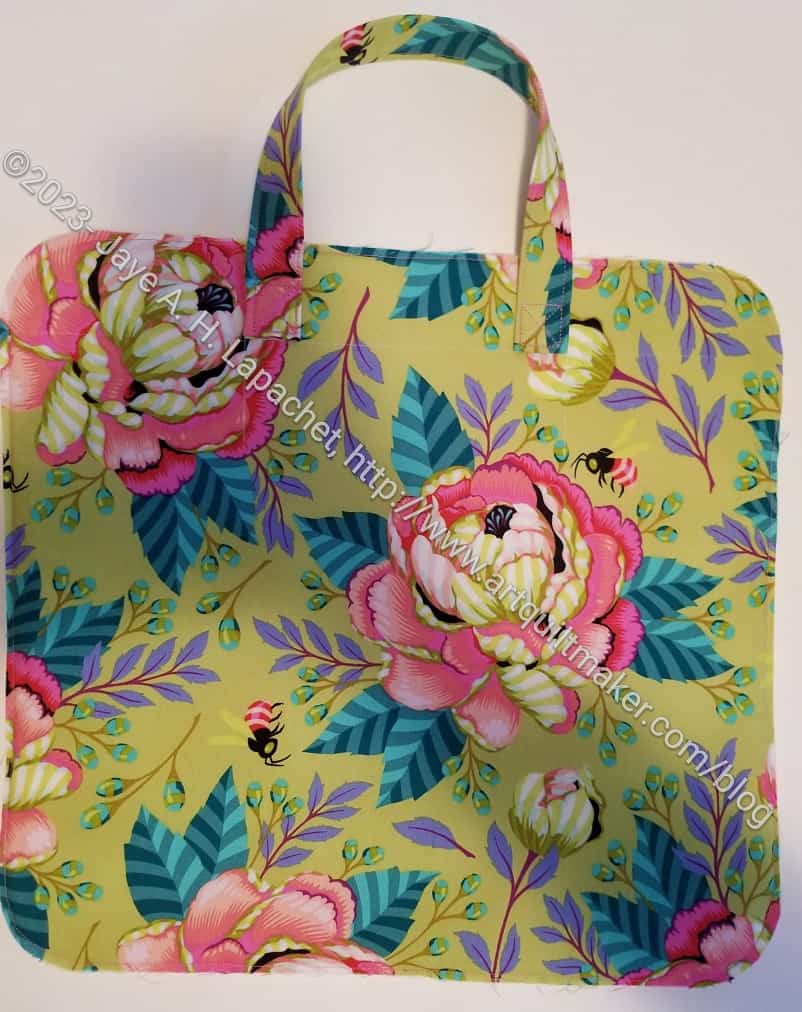
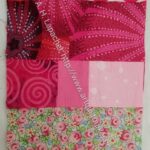
Amethyst Case – process – top
Finally, I decided to make an Amethyst Project Bag. This is a bag you can put pieces of a project into and keep them all together. It isn’t huge, so you can’t put yards and yards of fabric in there, but templates, most rulers and cut pieces would fit very well.
It is not a Minikins project, but it is a Sew Sweetness pattern.
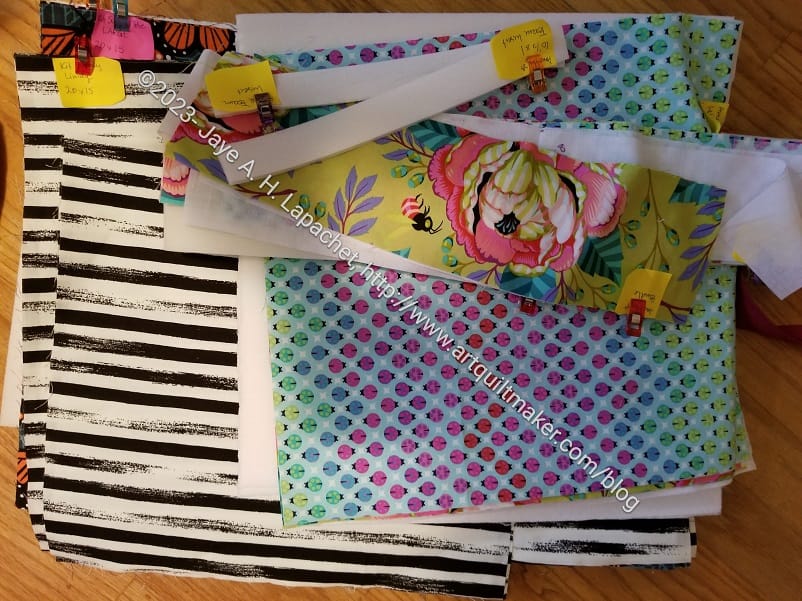
Cutting bags at Sew Day
This is one of the projects I talked about cutting out at Sew Day. It is pretty amazing, to me, at least, that a project can move from a pile of cut pieces to something that is starting to look like a bag in a few hours.
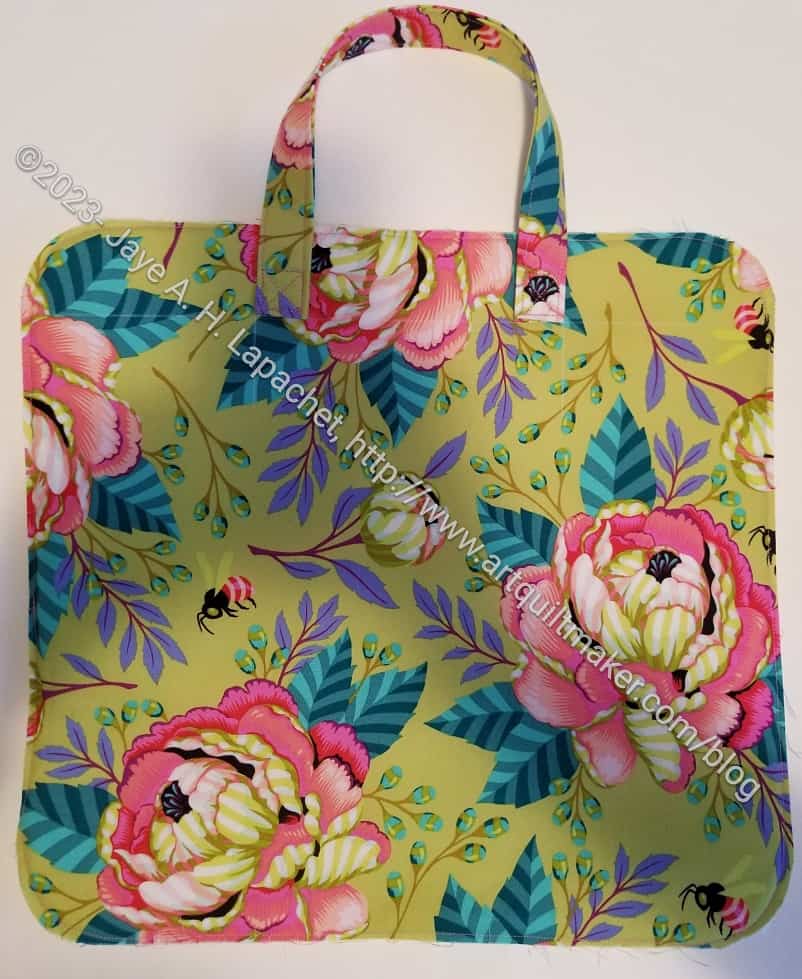
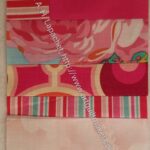
Amethyst Case – in process – bottom
I haven’t finished. In fact, I have only made a start. I hope that I will have enough time to finish it before the retreat. Yes, I waited until the last minute, but I have had deadline after deadline I have been trying to meet. I know they are self imposed deadlines, but they are still deadlines for bags I wanted to give as gifts.
The bag is not exactly square. It is 14.5 x 13.5 x 3.5 (depth). I could only orient those giant peonies in two ways. I chose the other main panel for the top because one of the peonies was close to the center.
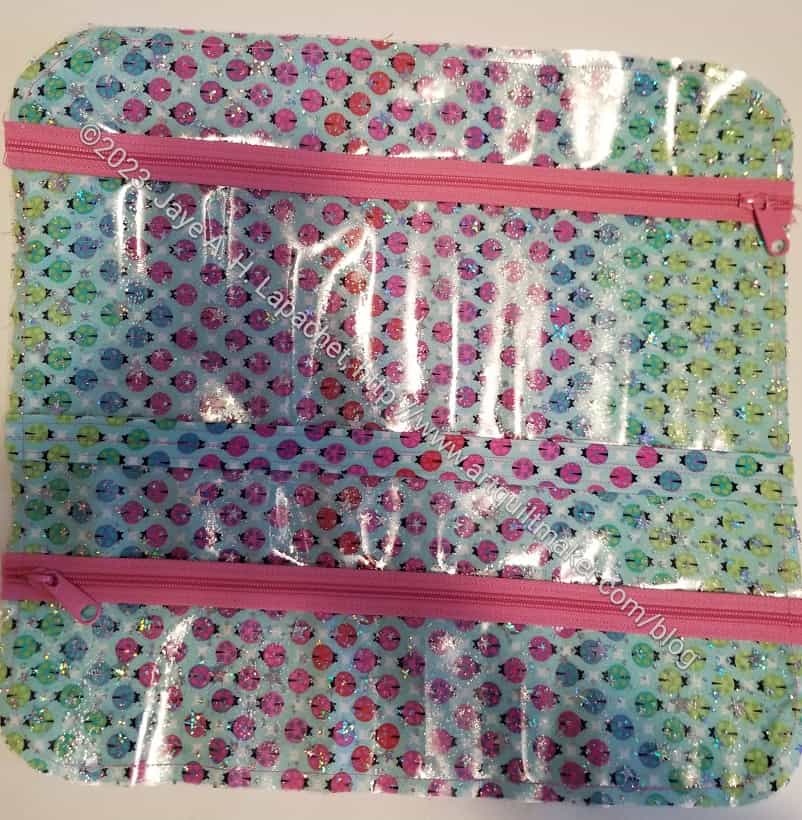
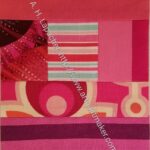
Amethyst Case – in process – inside pocket
I wanted to make a bag that would be appealing to the guild members. I hope this Tula Pink fabric appeals to many of them. I had planned to put some piping around the edge, but decided I needed to make one first before I started really messing around with the design.
Speaking of messing around with the design, I did make this inside front pocket instead of the short mesh pocket and the two pouches called for in the pattern. I like to see what is in my pockets. I am not sure this came out 100% perfectly, but I think it will work. I used the directions for the pages from the A Place for Everything v.2 bag as guidelines for this pocket.
I normally like to make the bag at least once first, but I don’t have the time.
It took two of us to be Mary at Sew Day. She was out of town and we had to fill in. Good thing I have done it a few times otherwise I would have been lost.
Cutting bags at Sew Day
Of course, I spent the time cutting out the pieces for bags. I am making the Amethyst Project Bag by Sew Sweetness and the Kit Supply Tote by Aneela Hoey. I cut out all of the pieces for both so I can start sewing.
Designing the SJSA quilt
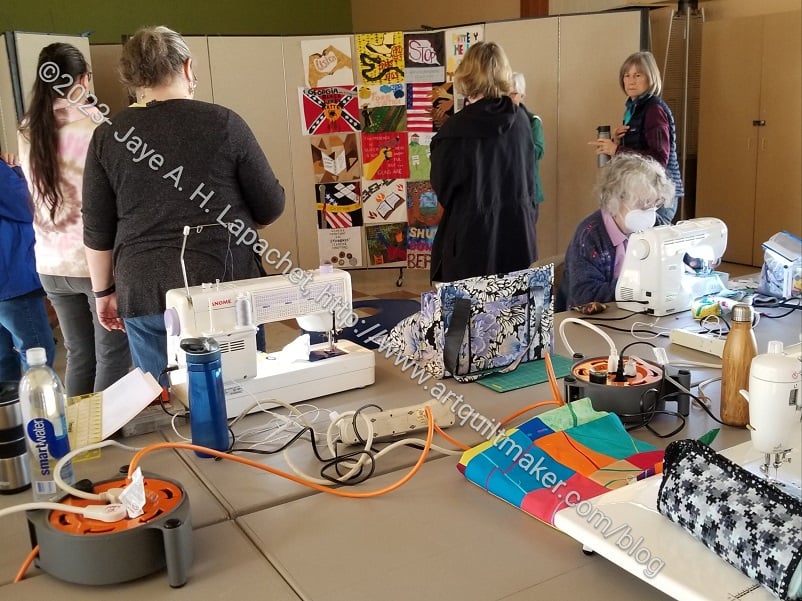
Sara from the Social Justice Sewing Academy was there with more blocks to make into a quilt. Members of the guild had done the embellishment on a lot of the blocks. It was really a group effort.
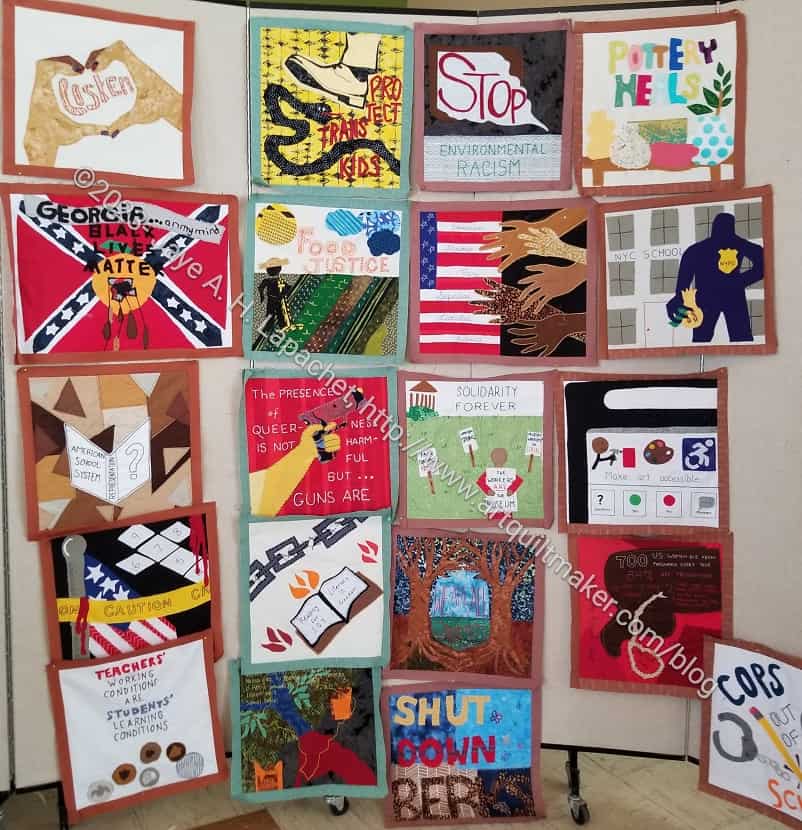
The first part was deciding how the blocks would go together. They usually go together in a 4 x 6 grid with sashing, which is what happened this time. Still the blocks have to be placed in the right location. In this case, there were some strong designs that had to be dispersed.
SJSA Quilt – April 2023
As usual, I didn’t participate. I kept an ear open and chatted with Sara and the others who were working on the project. I brought the Pink Strip Donation quilt, so I felt like I had been doing good. I also brought several donation blocks. I am doing my part.
I found out that the quilts are given to schools and libraries where they are displayed. I think they are given to the places where the artists come from. What I mean is that if an event was held at a school, then the quilt goes back to that school for display. A good idea, I think.
SJSA quilt sashing
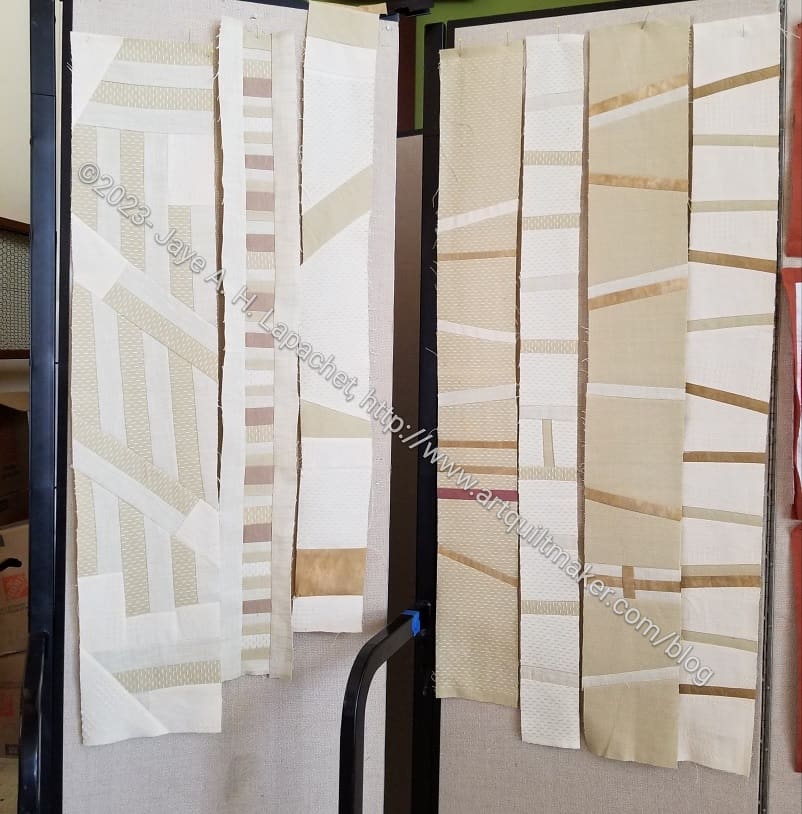
The fabric used for sashing had an interesting texture, but it was difficult to use and shredded easily. Still, the sashing strips they made look really nice.
You know I am not a fan of beige and brown, but these strips are very appealing.
They didn’t have time to finish putting the quilt together, though several people worked really hard for most of the day. I am not sure what happens if the quilt isn’t finished. Maybe some others will finish it?
Julie has a great post with more information about the SJSA quilt.
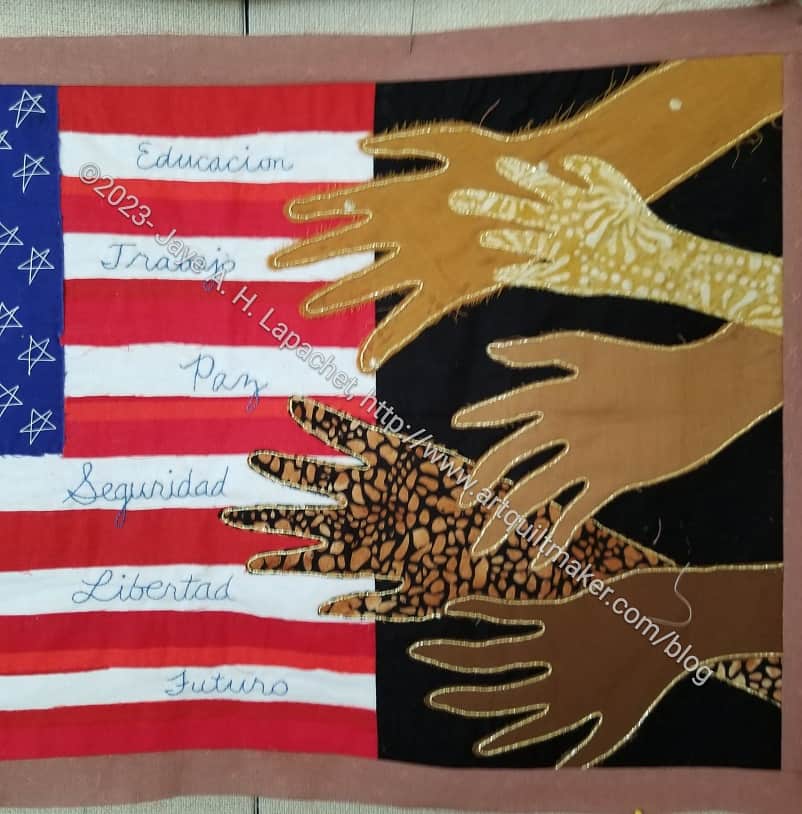
Melinda’s embellishments on the SJSA block
I also saw Melinda’s finished block – or the block that Melinda embellished. It looks really great! It also got a great position in the quilt.
She added some gold metallic thread around the hands. She also added the stars and the words. It looks really good! The design is also very appealing.
BAMQ Thin Strips quilt
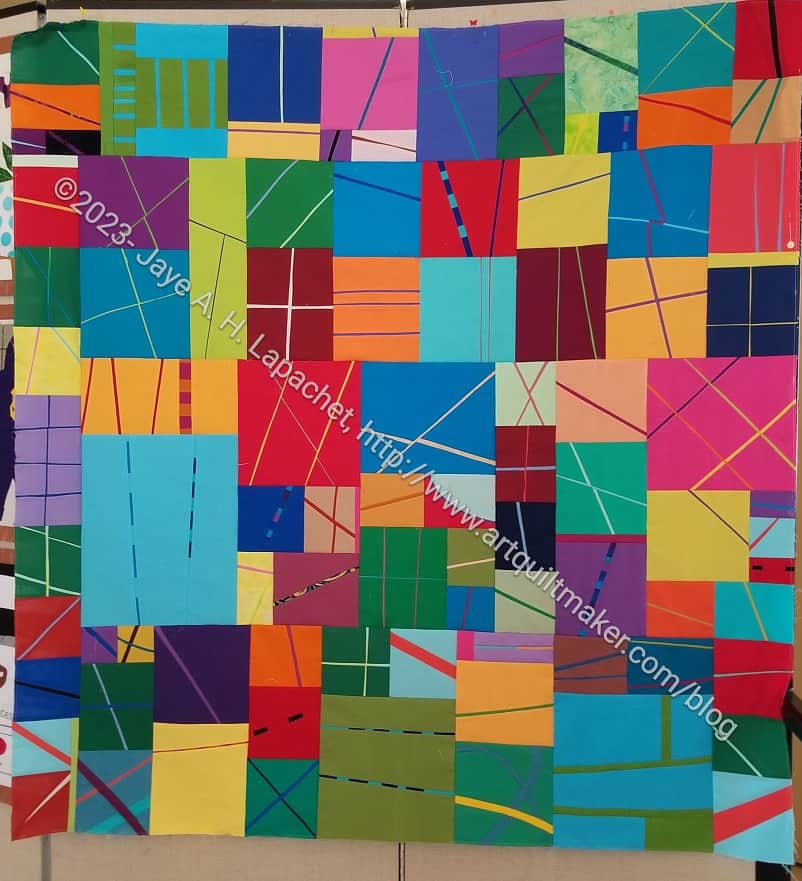
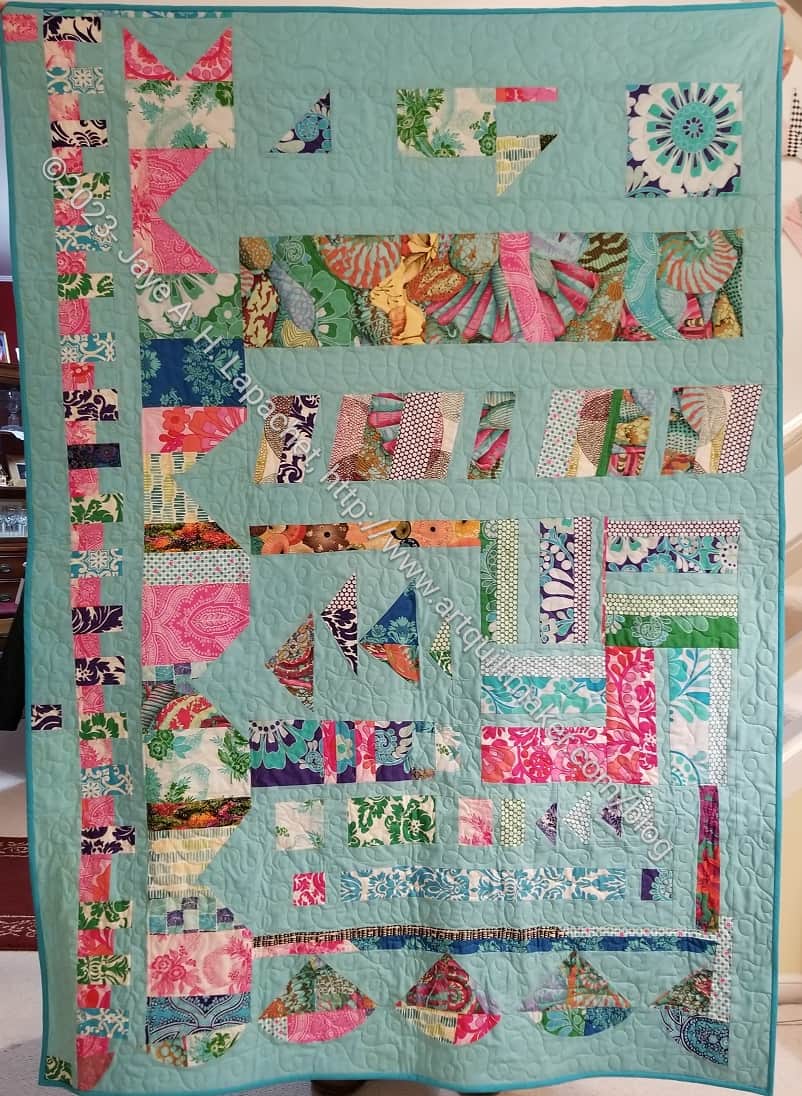
Joelle brought the thin strips quilt as well. She did a FANTASTIC job! The quilt is wonderful. I looked for mine and thought she hadn’t included them, but I saw them scattered across the bottom of the quilt. See the one in the bottom right hand corner?
Sara saw this quilt and wants to incorporate the idea into the sashing of the next SJSA quilt. Interesting idea! I am so thrilled when synergies like this happen.
I was really pleased to see a bunch of quilts that Peggy made for donations at the meeting the other day. She called them her “Jaye collection”, which I thought was very kind. I was confused until she talked about how she made them out of bits and pieces I sent to her. I sent her a couple of stacks of HSTs during the pandemic as well as many 16 patch blocks and she turned all of them into great quilts.
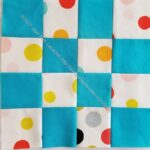
Turquoise dot donation block
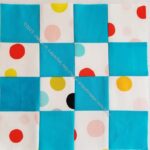
Turquoise dot donation block #2
Turquoise donation block
Pink color strip #17
Pink color strip #18
Pink color strip #19
Pink color strip #20
Pink color strip #21
Pink color strip #22
Pink color strip #23
Pink color strip #24
Pink color strip #25
Pink color strip #26
Pink color strip #27
Pink color strip #28
Pink color strip #29
Pink color strip #30
Pink color strip #31
Pink color strip #32
Pink color strip #33
Pink color strip #34
Pink color strip #35
Pink color strip #36
Pink color strip #37
Pink color strip #38
Pink color strip #39
Pink color strip #40
Yellow dot grey donation quilt
Purple donation block
Pink donation block 2023 #2
Pink donation block 2023 #1
Grey dot donation block #2
I made a bunch of donation blocks this month. Some are 16 patches and some are the pink strip blocks. As a result I am feeling better about my contributions to the guild.
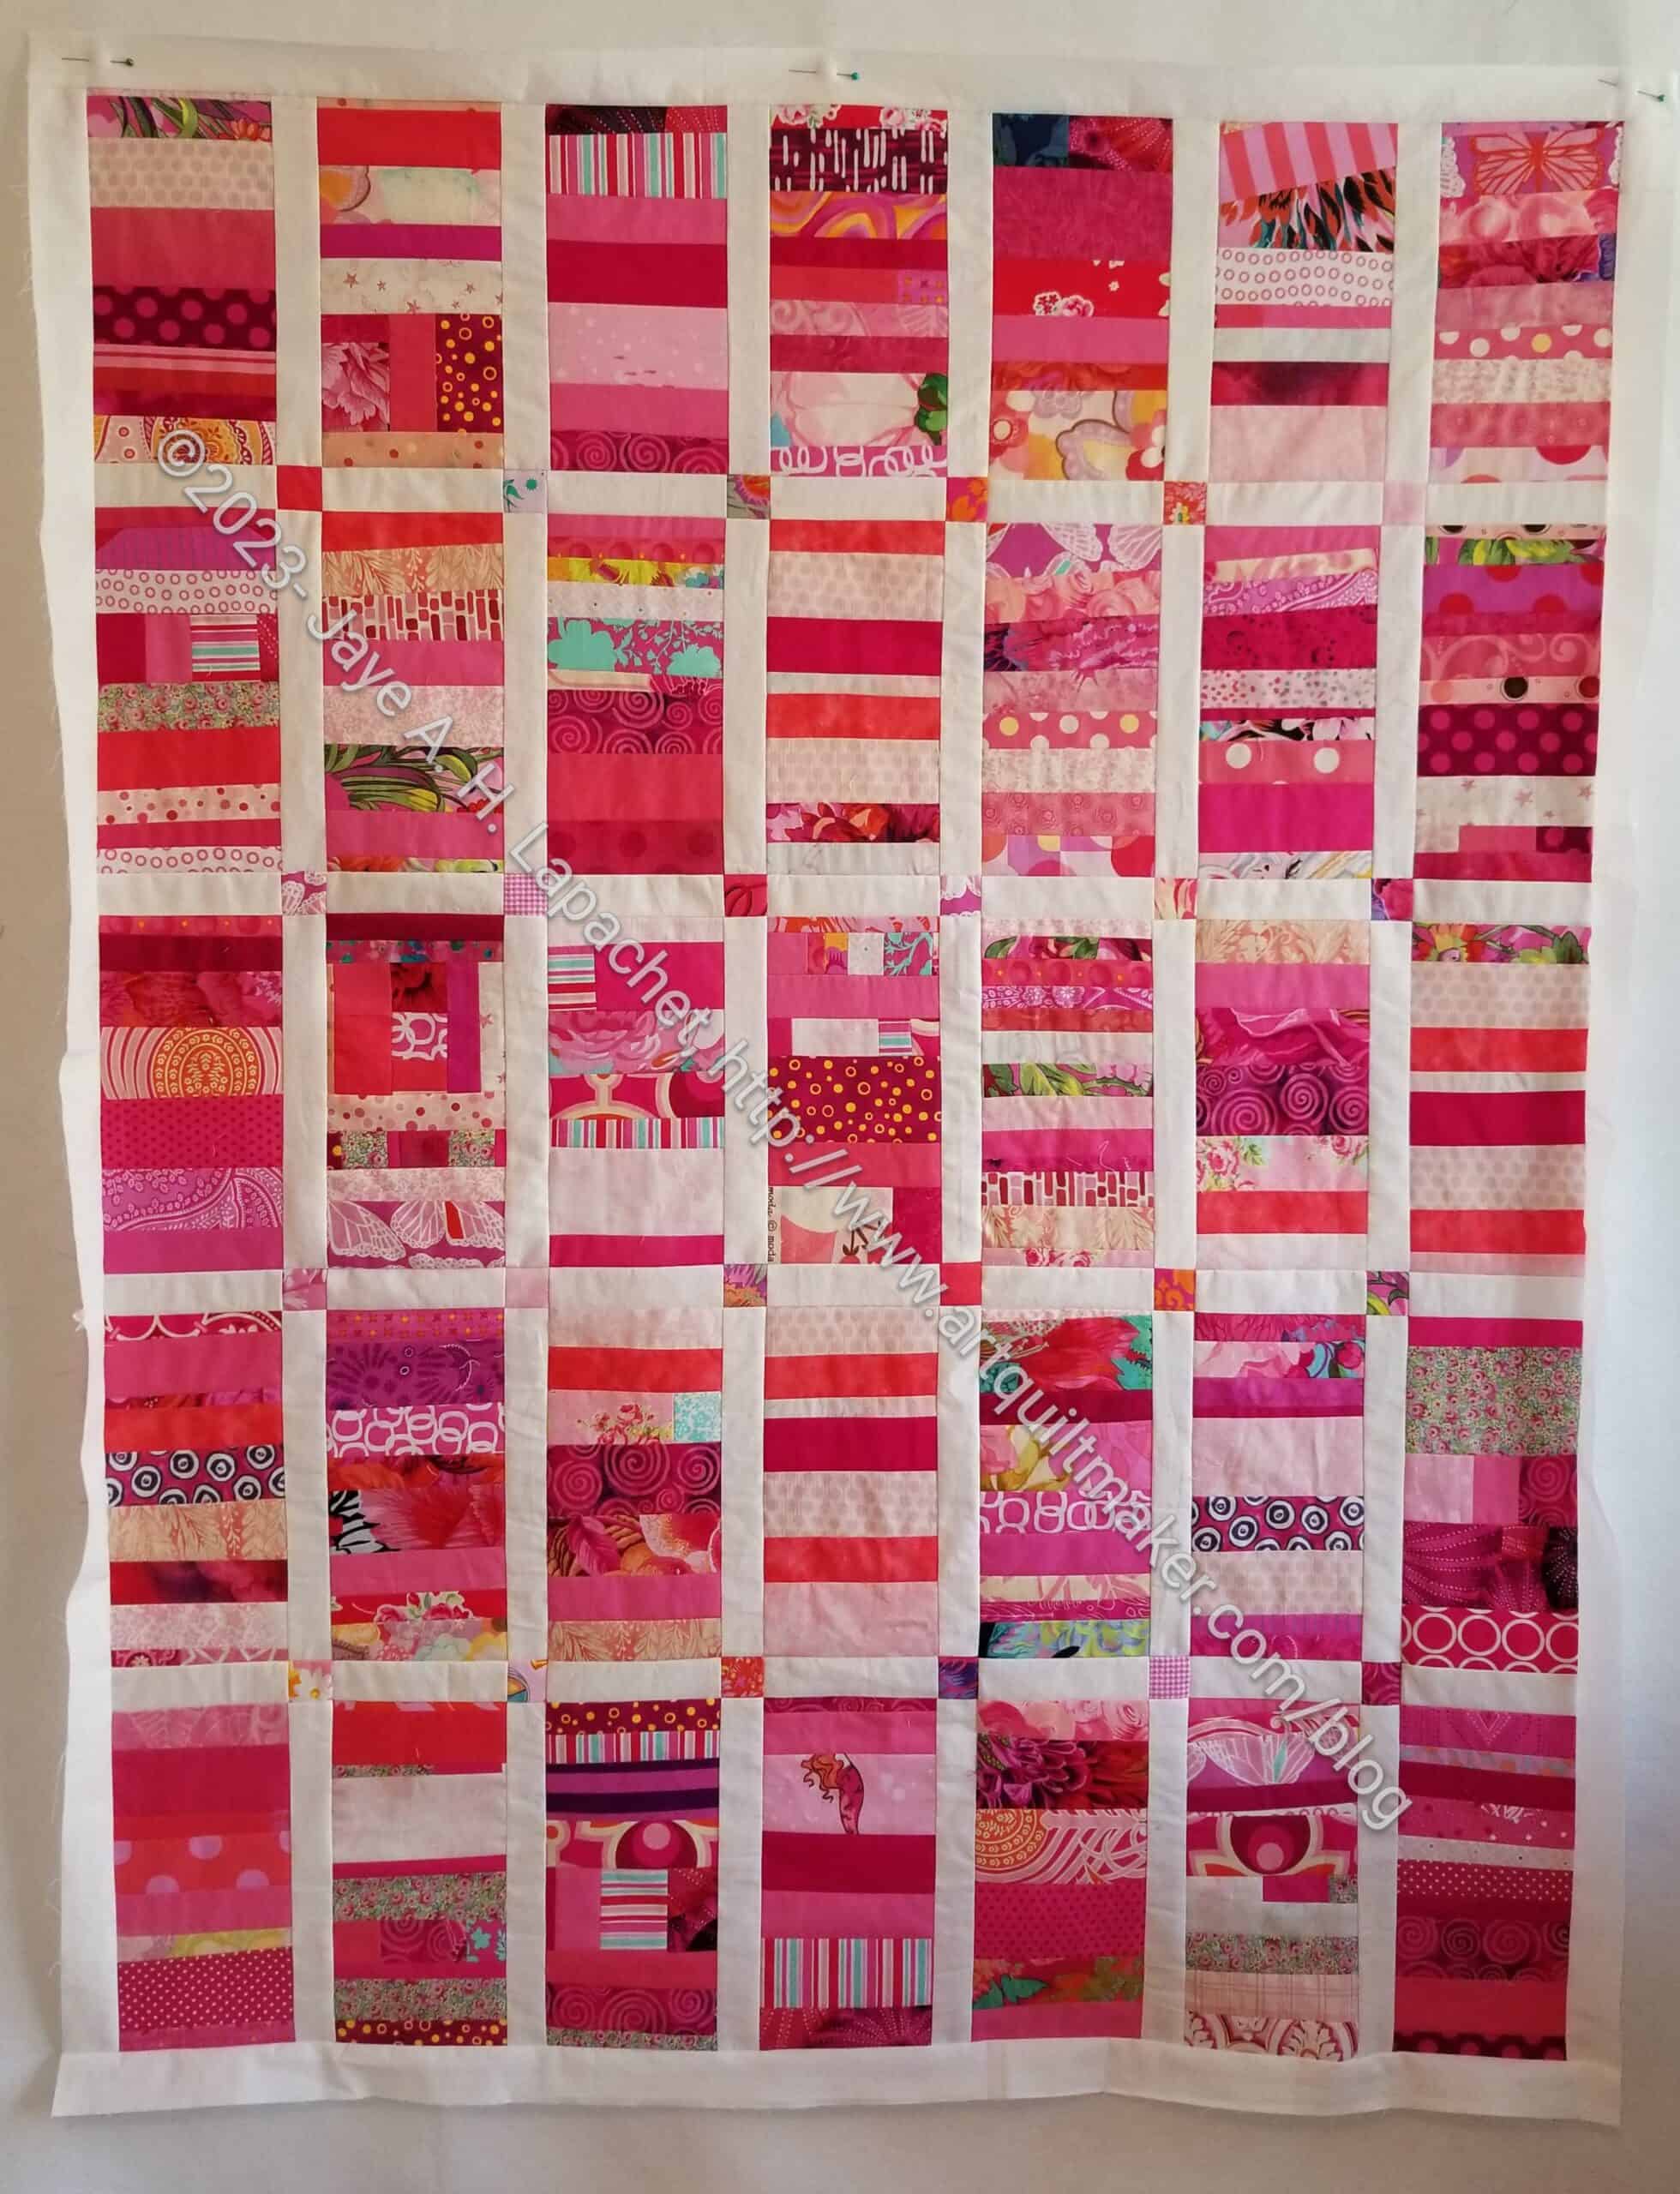
I moved all the blocks to my larger design wall after Who Am I? went into the ‘to be quilted’ bag. While I was little lazy about walking across the room to use the donation blocks for leaders and enders, I finally put the quilt top together and put the borders on.
I got inspiration from the Red Strip donation top I made a few years ago. I really liked the cornerstones and the way the white sashing separated the blocks so viewers could see each one distinctly.
This one is larger than the Red version. I did end up adding a column to the quilt, but I still think it is a weird shape. I didn’t do any of the ratio math I suggest my students do to make their quilts the right shape. I plan to put more borders on, so maybe I will make the vertical borders a little wider than the top and bottom borders.
So far so good and I am on track to bring it to Sew Day or the next meeting.
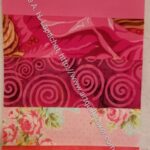
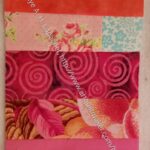
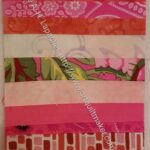
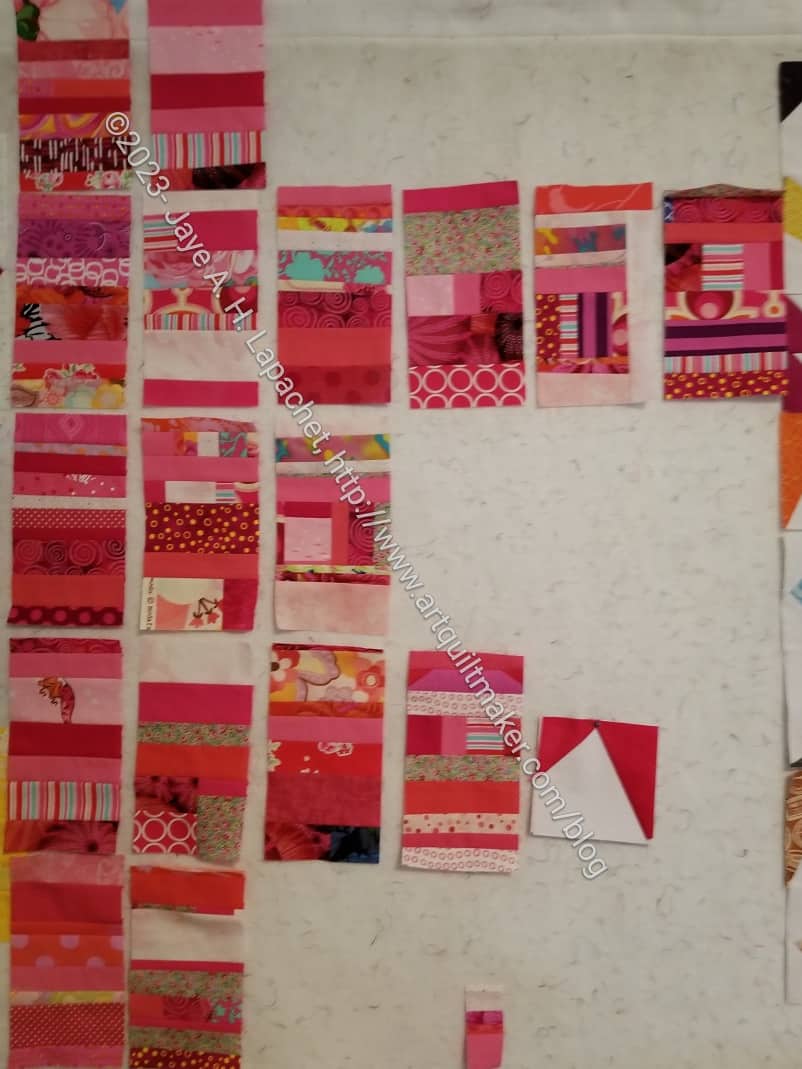
I am making good progress on the Pink Strip Donation top. It is VERY pink. I am enjoying working on it. It doesn’t feel like a must do project. I do want to get it done, however the pink is so cheerful that it is a joy to work on. This one will definitely not be gender neutral.
I did a big clean out and organization of the scraps in my pink bin, which was required to finish enough blocks to make a reasonable sized quilt. It looks a little skinny, so I am debating adding another row.
I finished the second 2-in-1 Case pretty quickly and this one looks good enough to give as a door prize. The first one was a good learning experience.
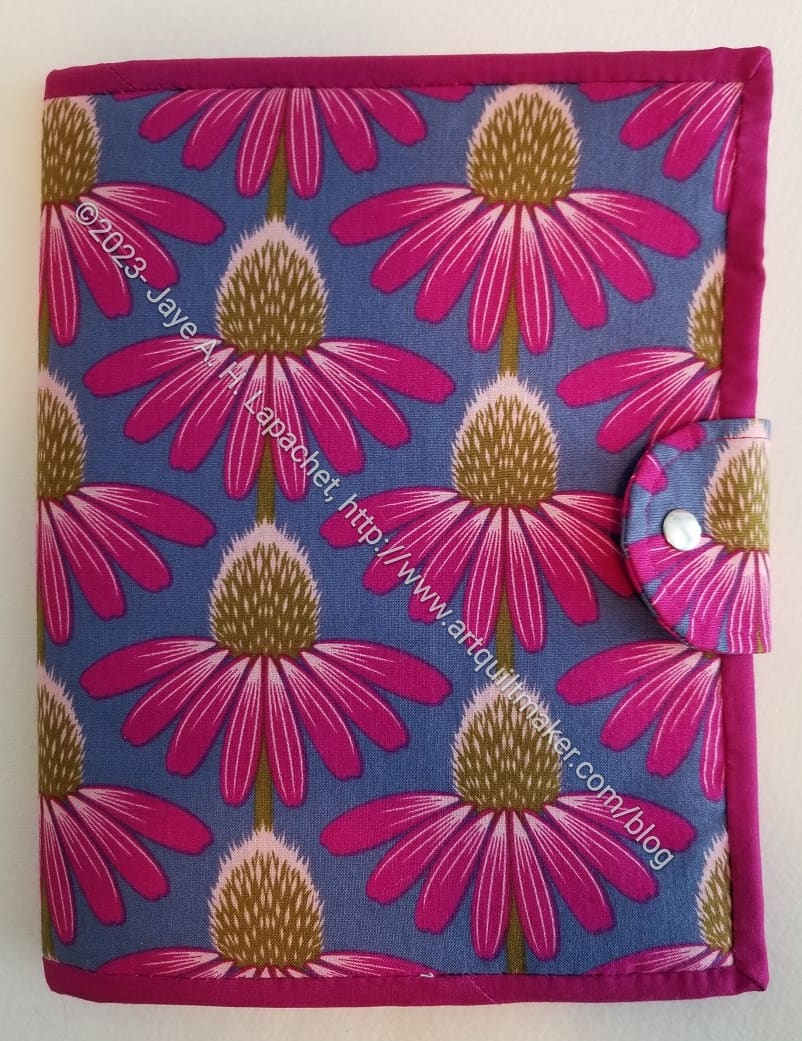
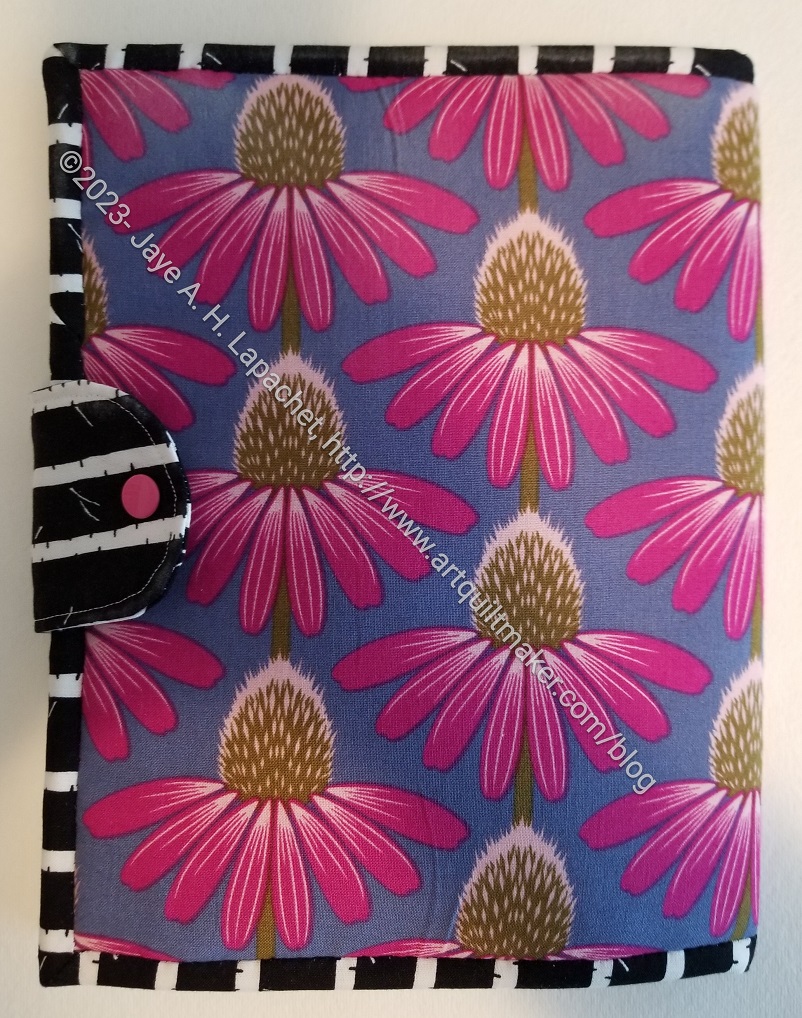
Yes, I am using a lot of that coneflower fabric lately. I like it despite the brown in the print. I am not sure what is so appealing about it to me.
This time, you can see that I was much more careful and attentive to the closure. I thought about using one with a pointy tip, but decided against it in the end. There is a pattern for a project with the pointy tip closure in the book**, but I thought I would try it a different time. I was on a bit of a deadline and didn’t want to mix up the process until I had gotten it right.
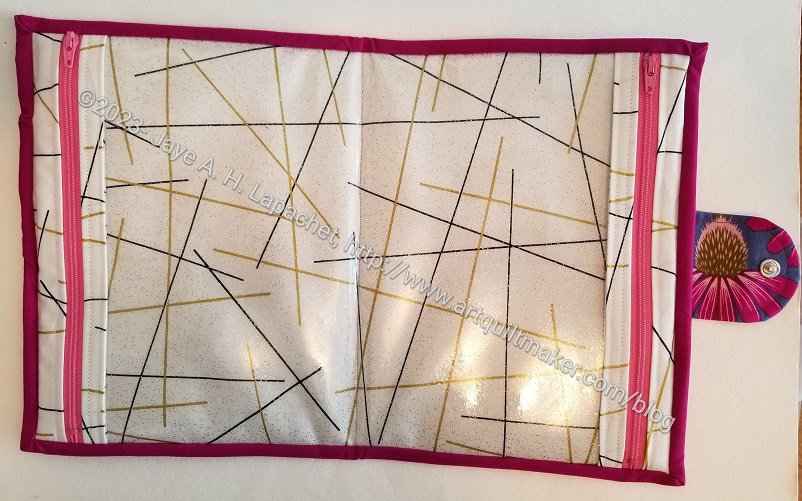
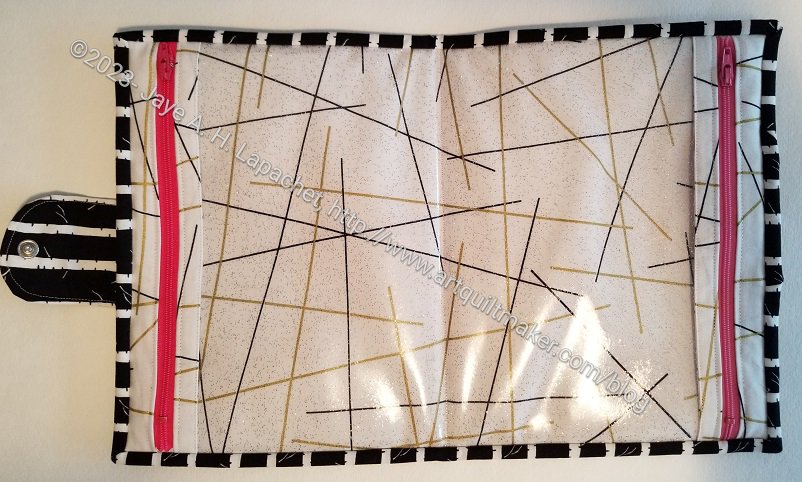
2-in-1 Case #2 interior
I used the same interior fabric, as mentioned. I thought it looked nice and it was on my cutting table, so why not?
I used longer zippers this time, as I said I would. I know I said I might use even longer zipper next time. I don’t think the project needs the zipper stop. also, I like to being able to get the zipper head as close as possible to the binding. I think it looks better.
As before, I used some foam to give it a little more heft. I wonder if that makes the pouch less useful? I wonder if the recipient can put in fewer items, because the pouch has more structure?
2-in-1 Case #2 exterior
I am pleased with the binding. I think less contrast looks better.
So, another project finished and this one has been sent off to Carrie for the door prize assembly for the guild.
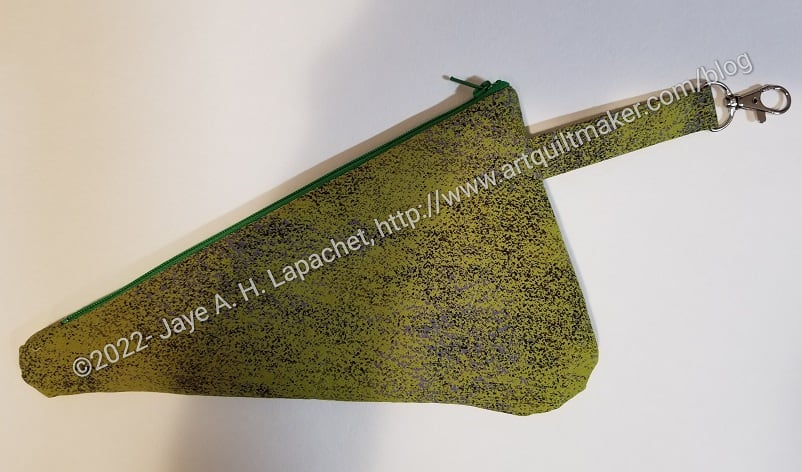
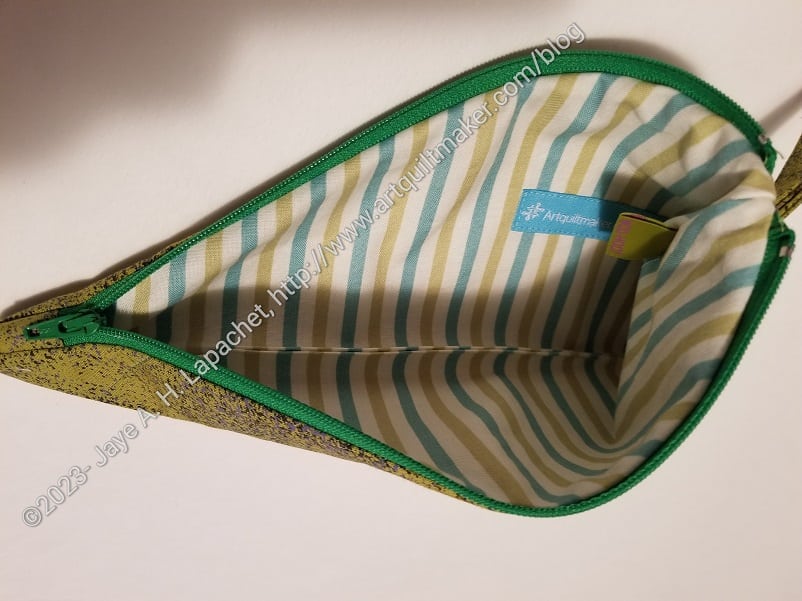
SueS asked me to make scissor cozies, as mentioned. I forgot to post about Maria’s. I made one for her before. I didn’t have the same fabric, so I picked out some coordinating fabric, so the two would go together.
Maria’s Scissor Cozy #2 – interior
I am really pleased with the interior of this one. It came together very well and the stripes look nice.
I closed the bottom with a machine stitch. The handstitching looks better, but I didn’t want to spend the time
I started another 2-in-1 Case almost immediately after finishing the first one. As mentioned, this is an easy bag and I wanted to get it right. This one looks a lot better and is more functional.
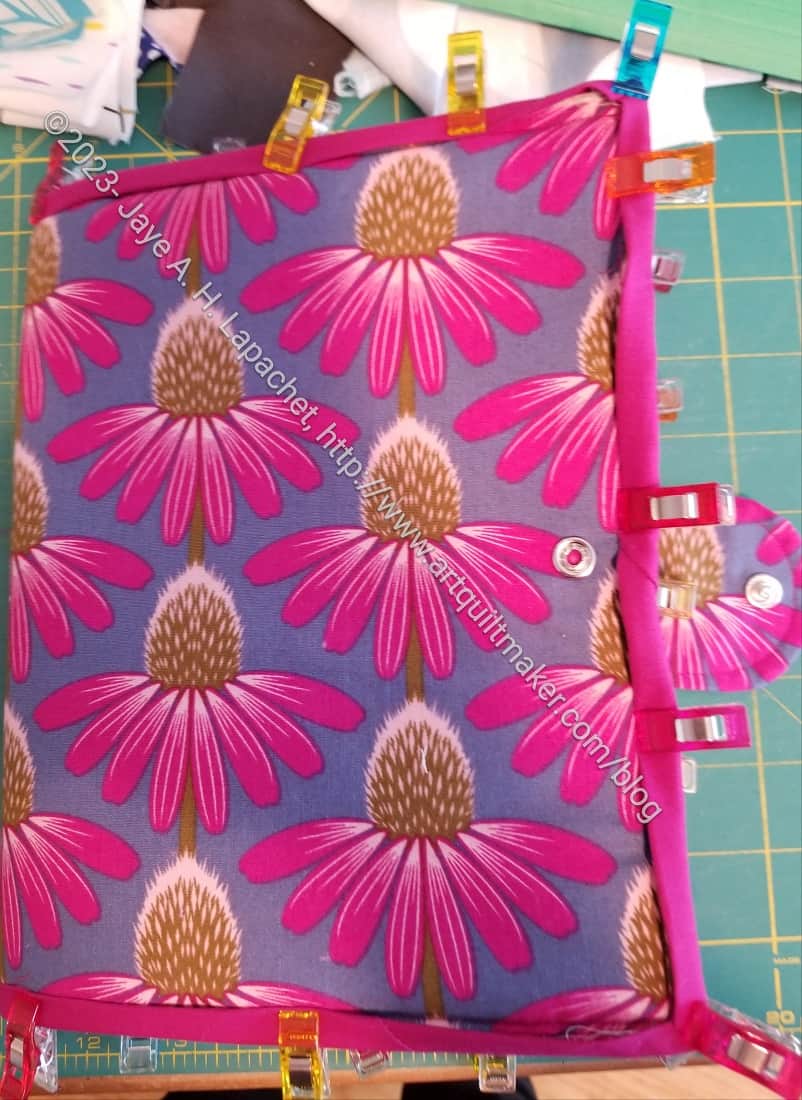
I was pleased with the fuchsia binding. I thought it was a less distracting choice than the black and white, though I do like a good black and white stripe.
I made certain to the get the closure in the right place. I used a slight different process to sew it on. I put the female half of the snap in then, before sewing the tab to the back, I snapped it together. This helped me align the tab with the female part of the snap on the front. Then I pinned the tab to the back and sewed it down. Somehow the measurements in the pattern didn’t work for me.
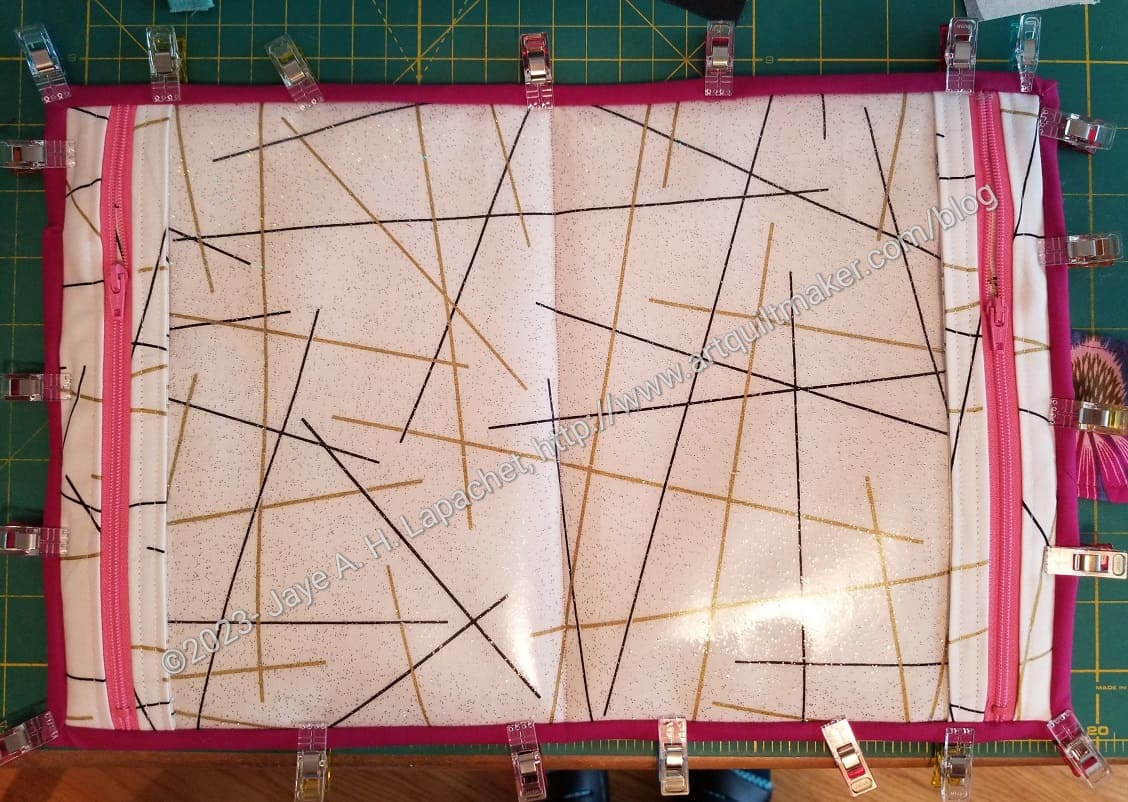
2-in-1 Case #2- open – in process
I used the same fabric for the inside as I did in #1. It’s a nice bright white. I am pretty sure I bought it with Amanda when we were out shopping in Portland one time.
I used longer zippers as well- 9 inch instead of 8inch, as the pattern suggests. I had to be careful not to hit the metal parts, but the zipper was fully enclosed in the tabs and the binding, which looks better. I will probably use a longer zipper next time and cut off the excess. It seems like a waste, but then I won’t have to worry about that metal zipper end. Hitting with a needle is no picnic.
Almost done then I send it off to be wrapped for the guild door prize.
This project started off so well and wasn’t difficult. There was one crucial line missing from the directions that threw me off.
That line was “Remember, this needs to open like a book”.
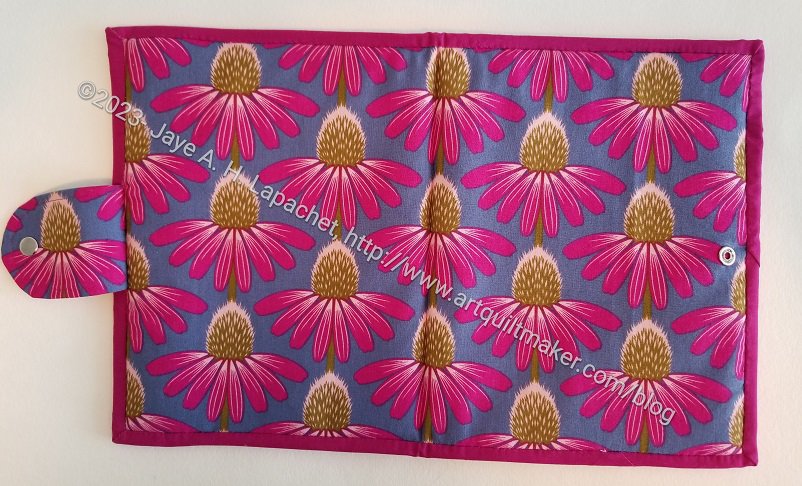
It is perfectly usable. It would work very well for someone who was left handed. As you can see the opening is on the left. If the directions had said “Remember, this needs to open like a book”, I think I would have been able to better picture the directions in my mind. Instead there were a lot of words describing flipping the exterior in different ways, which was confusing.
2-in-1 Case #1 interior
Also, I used a snap instead of the magnetic clasp called for, which I know had an effect.
I also added a piece of foam in addition to the fusible batting. I like the heft. I might try two layers of fusible batting next time. Yes, there will be a next time. I think this is a useful pouch/booklet, but also not difficult, so it is a good item for a door prize.
Despite the problems, I found this a fairly easy project. It also gave me practice in using my Snap Setter. I always wonder what my DH thinks I am doing when he hears me pounding away. I am always amazed that the tool doesn’t break.
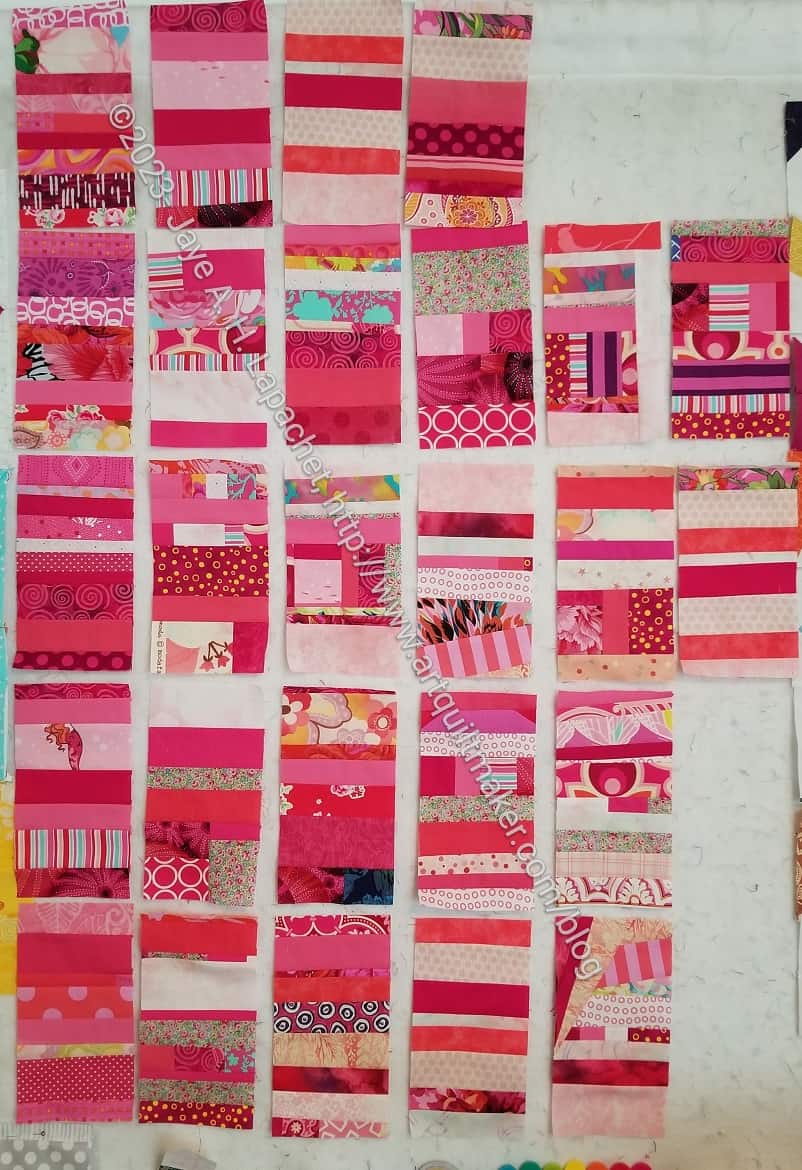
I made significant progress over the weekend on this donation top, as I worked on Who Am I?. Leaders and enders saves the day!
I have been sewing these blocks, but it takes time to build up the strips. It seems like I had so few blocks for so long and then all of a sudden a bunch of them came together over the weekend. I finally feel like I can see the light at the end of the tunnel.
The blocks aren’t all straight strip blocks even though that was my original intention. There are chunks in some of them, because I couldn’t bear to toss strips I had trimmed. There are no rules, but I have been making a straight strip quilt first, then sometimes a block quilt made with chunks and then, finally, an improv quilt. Of course, it all depends on how many scraps I have.
Pink color strip #11
Pink color strip #12
Pink color strip #13
Pink color strip #16
While listening to an International Women’s Day seminar, I went through my scrap bin and pulled out more strips. This type of organization will help me make blocks faster. As a bonus, having busy hands, I was better able to pay attention to the online seminar.
I finished another old project. As mentioned, I started this project in 2015, so it is only eight years old. Still, old enough to get on my nerves.
Someone compared my dislike of UFOs to someone I really don’t like who has no UFOs. That annoyed me, because I don’t think I am like her at all. I just don’t find that **my** projects improve by sitting around. I can’t imagine never having any UFOs, but I think they will be projects for which I have cut fabric, but not started sewing. Once I start sewing, it is pretty easy to continue.
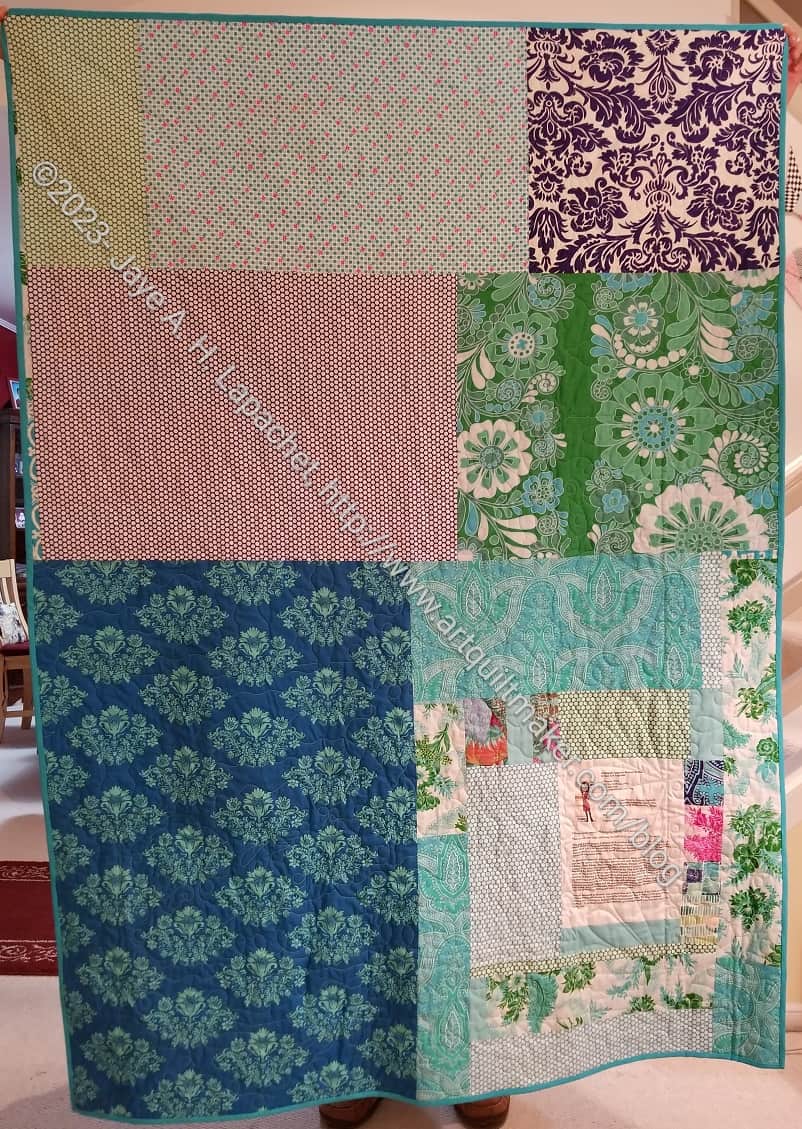
Finished: BAMQG IRR (back)
I zoomed through the binding on this quilt. Using good fabric really helps. I was pleased I remembered not to use a batik in the binding! I didn’t expect to finish it so quickly, but it went really fast.
The recent Sew Day was a Community Sew Day. Most quilts were finished, but a few were taken home to finish. We think there were about 8 total.
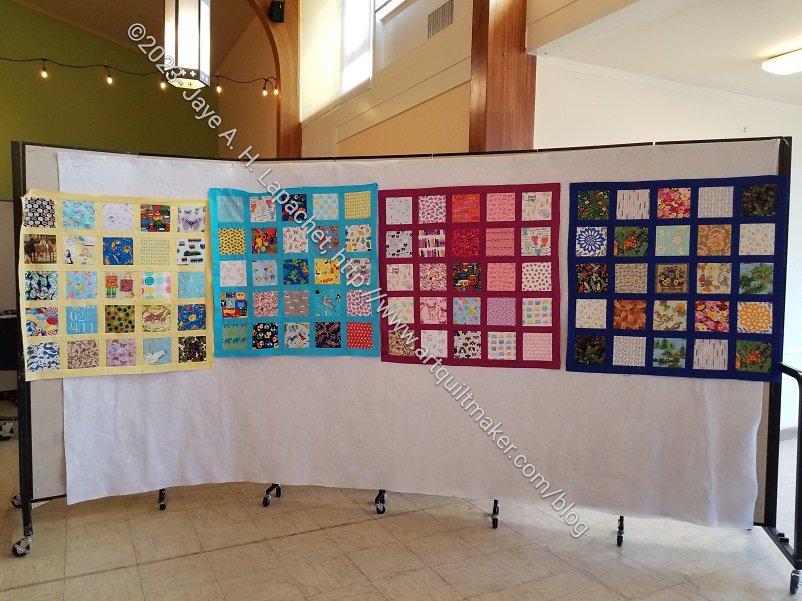
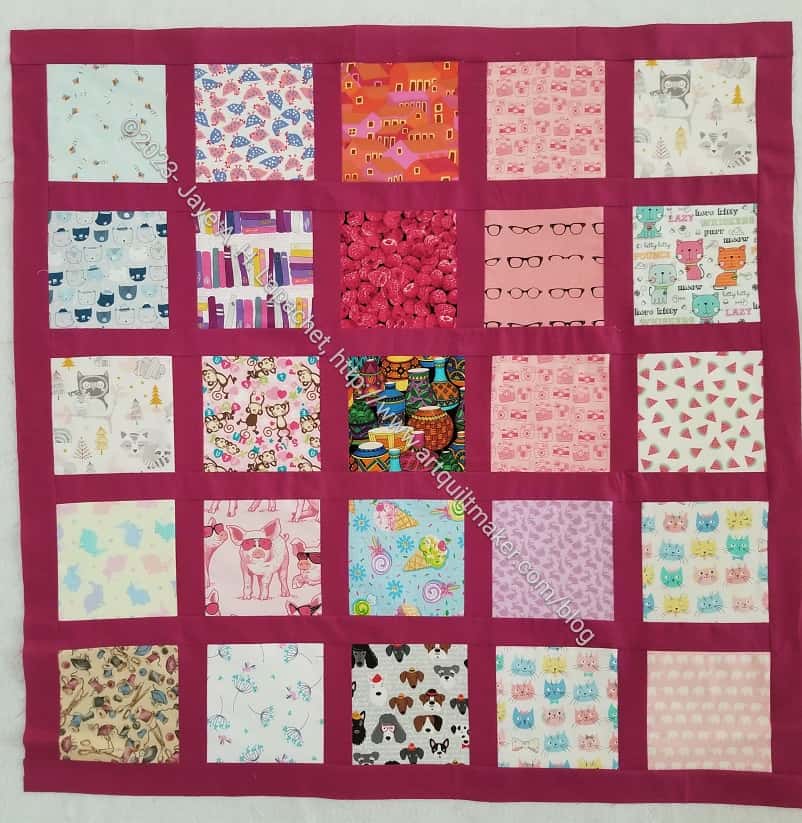
Four Completed I Spy Tops
SueS brought the leftover squares from her I Spy quilt project and most people worked on putting them together to make some community quilts. The quilts really turned out well. The solid sashing and borders really highlighted the variety of fabrics.
Amy’s Pink Community I Spy top
Amy chose a variety of pink, or pink tending fabrics and used a dark pink for the border of her quilt top.
She told me she wanted to make something pink and girly. I would say she succeeded.
We all contributed to SueS’s stash of squares. I think the raspberry fabric in the center of Amy’s quilt is one that I donated.
Yellow Community I Spy top
This yellow top was the first one finished. I think Peggy sewed it, but I am not sure.
I think the blue number fabric in row 4, column 2 is a fabric that I provided as well. It is nice to see my fabrics show up in other people’s work.
I did not work on Community quilts today. I have the Pink Color Strip quilt in process and I needed to cut out pieces to make door prizes. If I had been thinking ahead, I could have worked with Mary, but I have been too busy at work to organize my sewing life very well.
The Door Prize team decided that we would make small, but more interesting pouches and organizers such as those in Aneela Hoey’s Stitched Sewing Organizers** book. I reviewed this book soon after I received it.
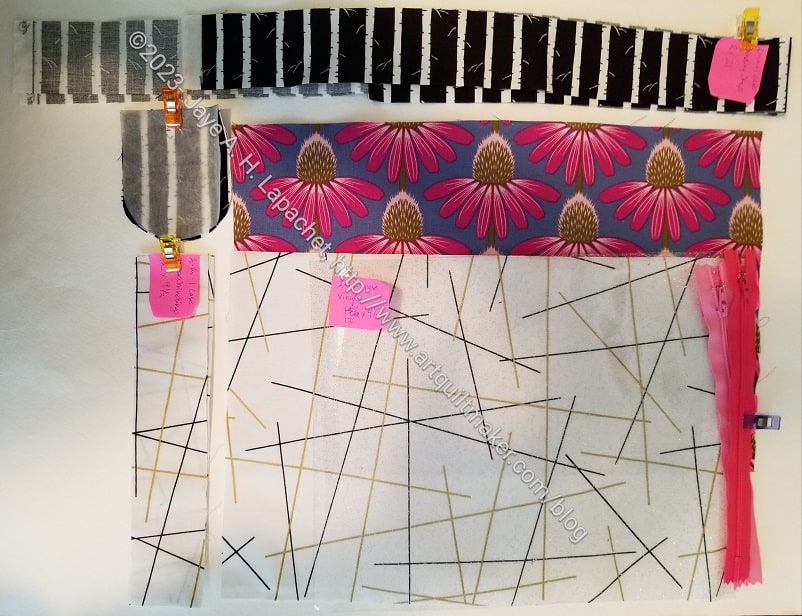
Two in One Case cut
In getting ready for Sew Day, I looked through the book and decided to make the Two in One Case as a door prize. I don’t think I have made anything from this book, though I have made Aneela Hoey patterns such as the Inside Outside pouch, the Boxy Clear Pouch and the Speedy Pouches.
Aside from some strange language for the tab, cutting this project out was pretty easy. There aren’t a lot of pieces so it looks like it will go together quickly.
I thought of making the Fold-up Sewing Folio, but it was a lot more complicated, so I thought I would start with this one.
I need to work on some other projects, but I think I should be able to finish this pouch soon and get it off to Carrie in time for the April meeting.
**Obviously, you should shop at local quilt shops and small businesses. However, if you are too busy or can’t find what you need there, I use Amazon affiliate links and may be paid for your purchase of an item when you click on an item’s link in my post. There is no additional cost to you for clicking or purchasing items I recommend. I appreciate your clicks and purchases as it helps support this blog.