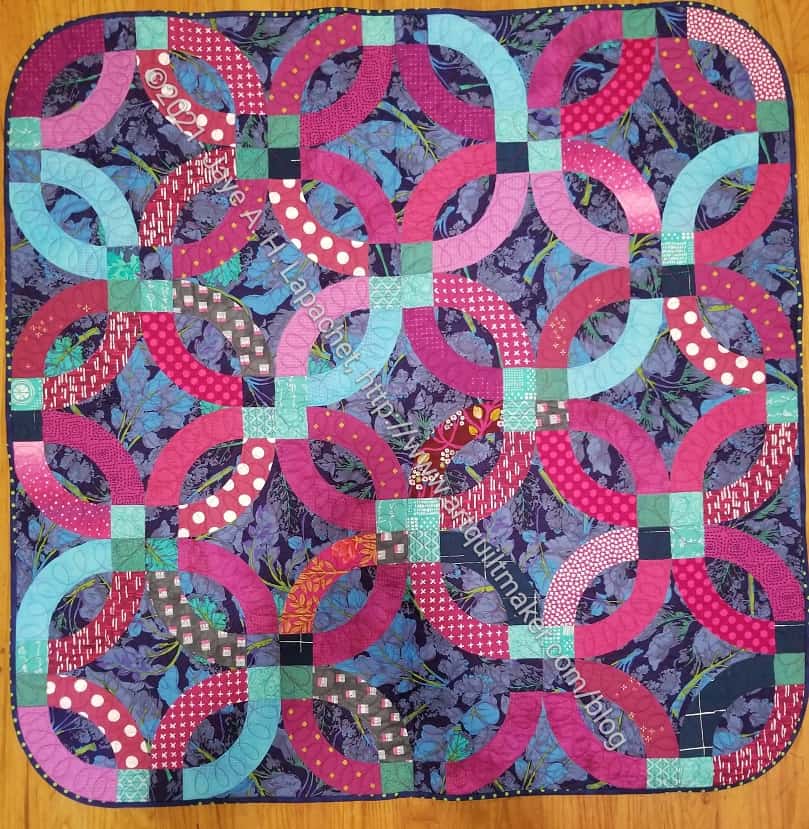
Yes, Put A Ring On It is finished. I have been slowly stitching the binding down. I was able to finish it on July 30, just in time to cross it off my list so I could start La Passacaglia. Hand sewing is about all I can do right now with my workroom still in disarray.
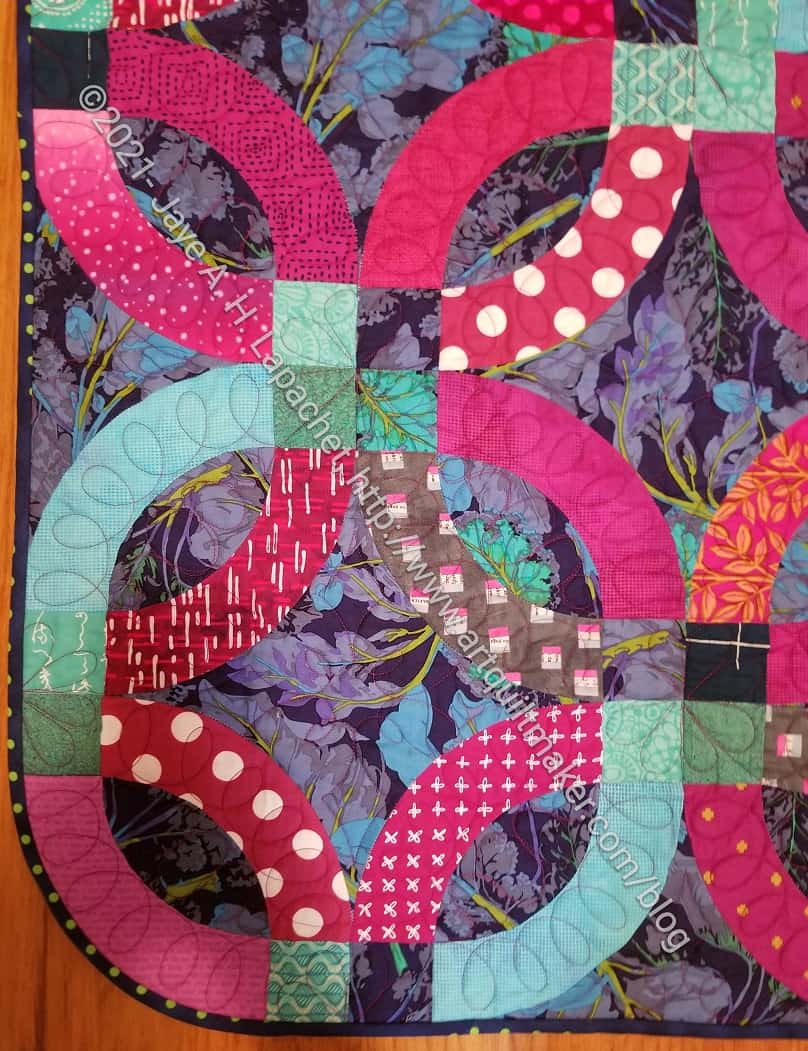
Put a Ring on It corner
This is the first quilt I have made than has round corners…that I can remember. I have a vague memory of using that Katie’s Corner ruler on something, but I don’t remember what. I found it to be great not to have to miter corners. I did have to stretch the binding a bit to get it in the right place, but bias binding works great for that.
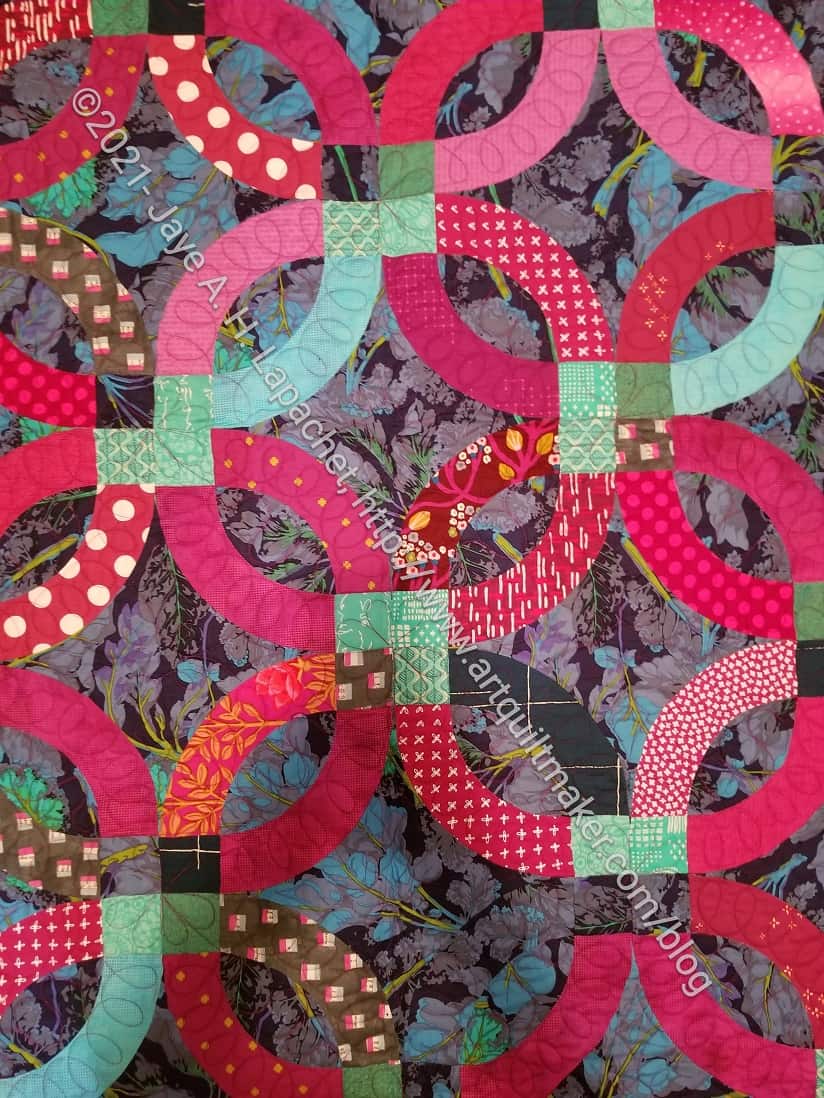
Put a Ring on It detail
Colleen did a great job on the quilting! I like the way she highlighted the arcs.
I continue to work on the Yellow Improv. As I work on other projects, I sew bits and pieces together. The piece is almost 20 inches square now. Not big enough yet, but getting there.
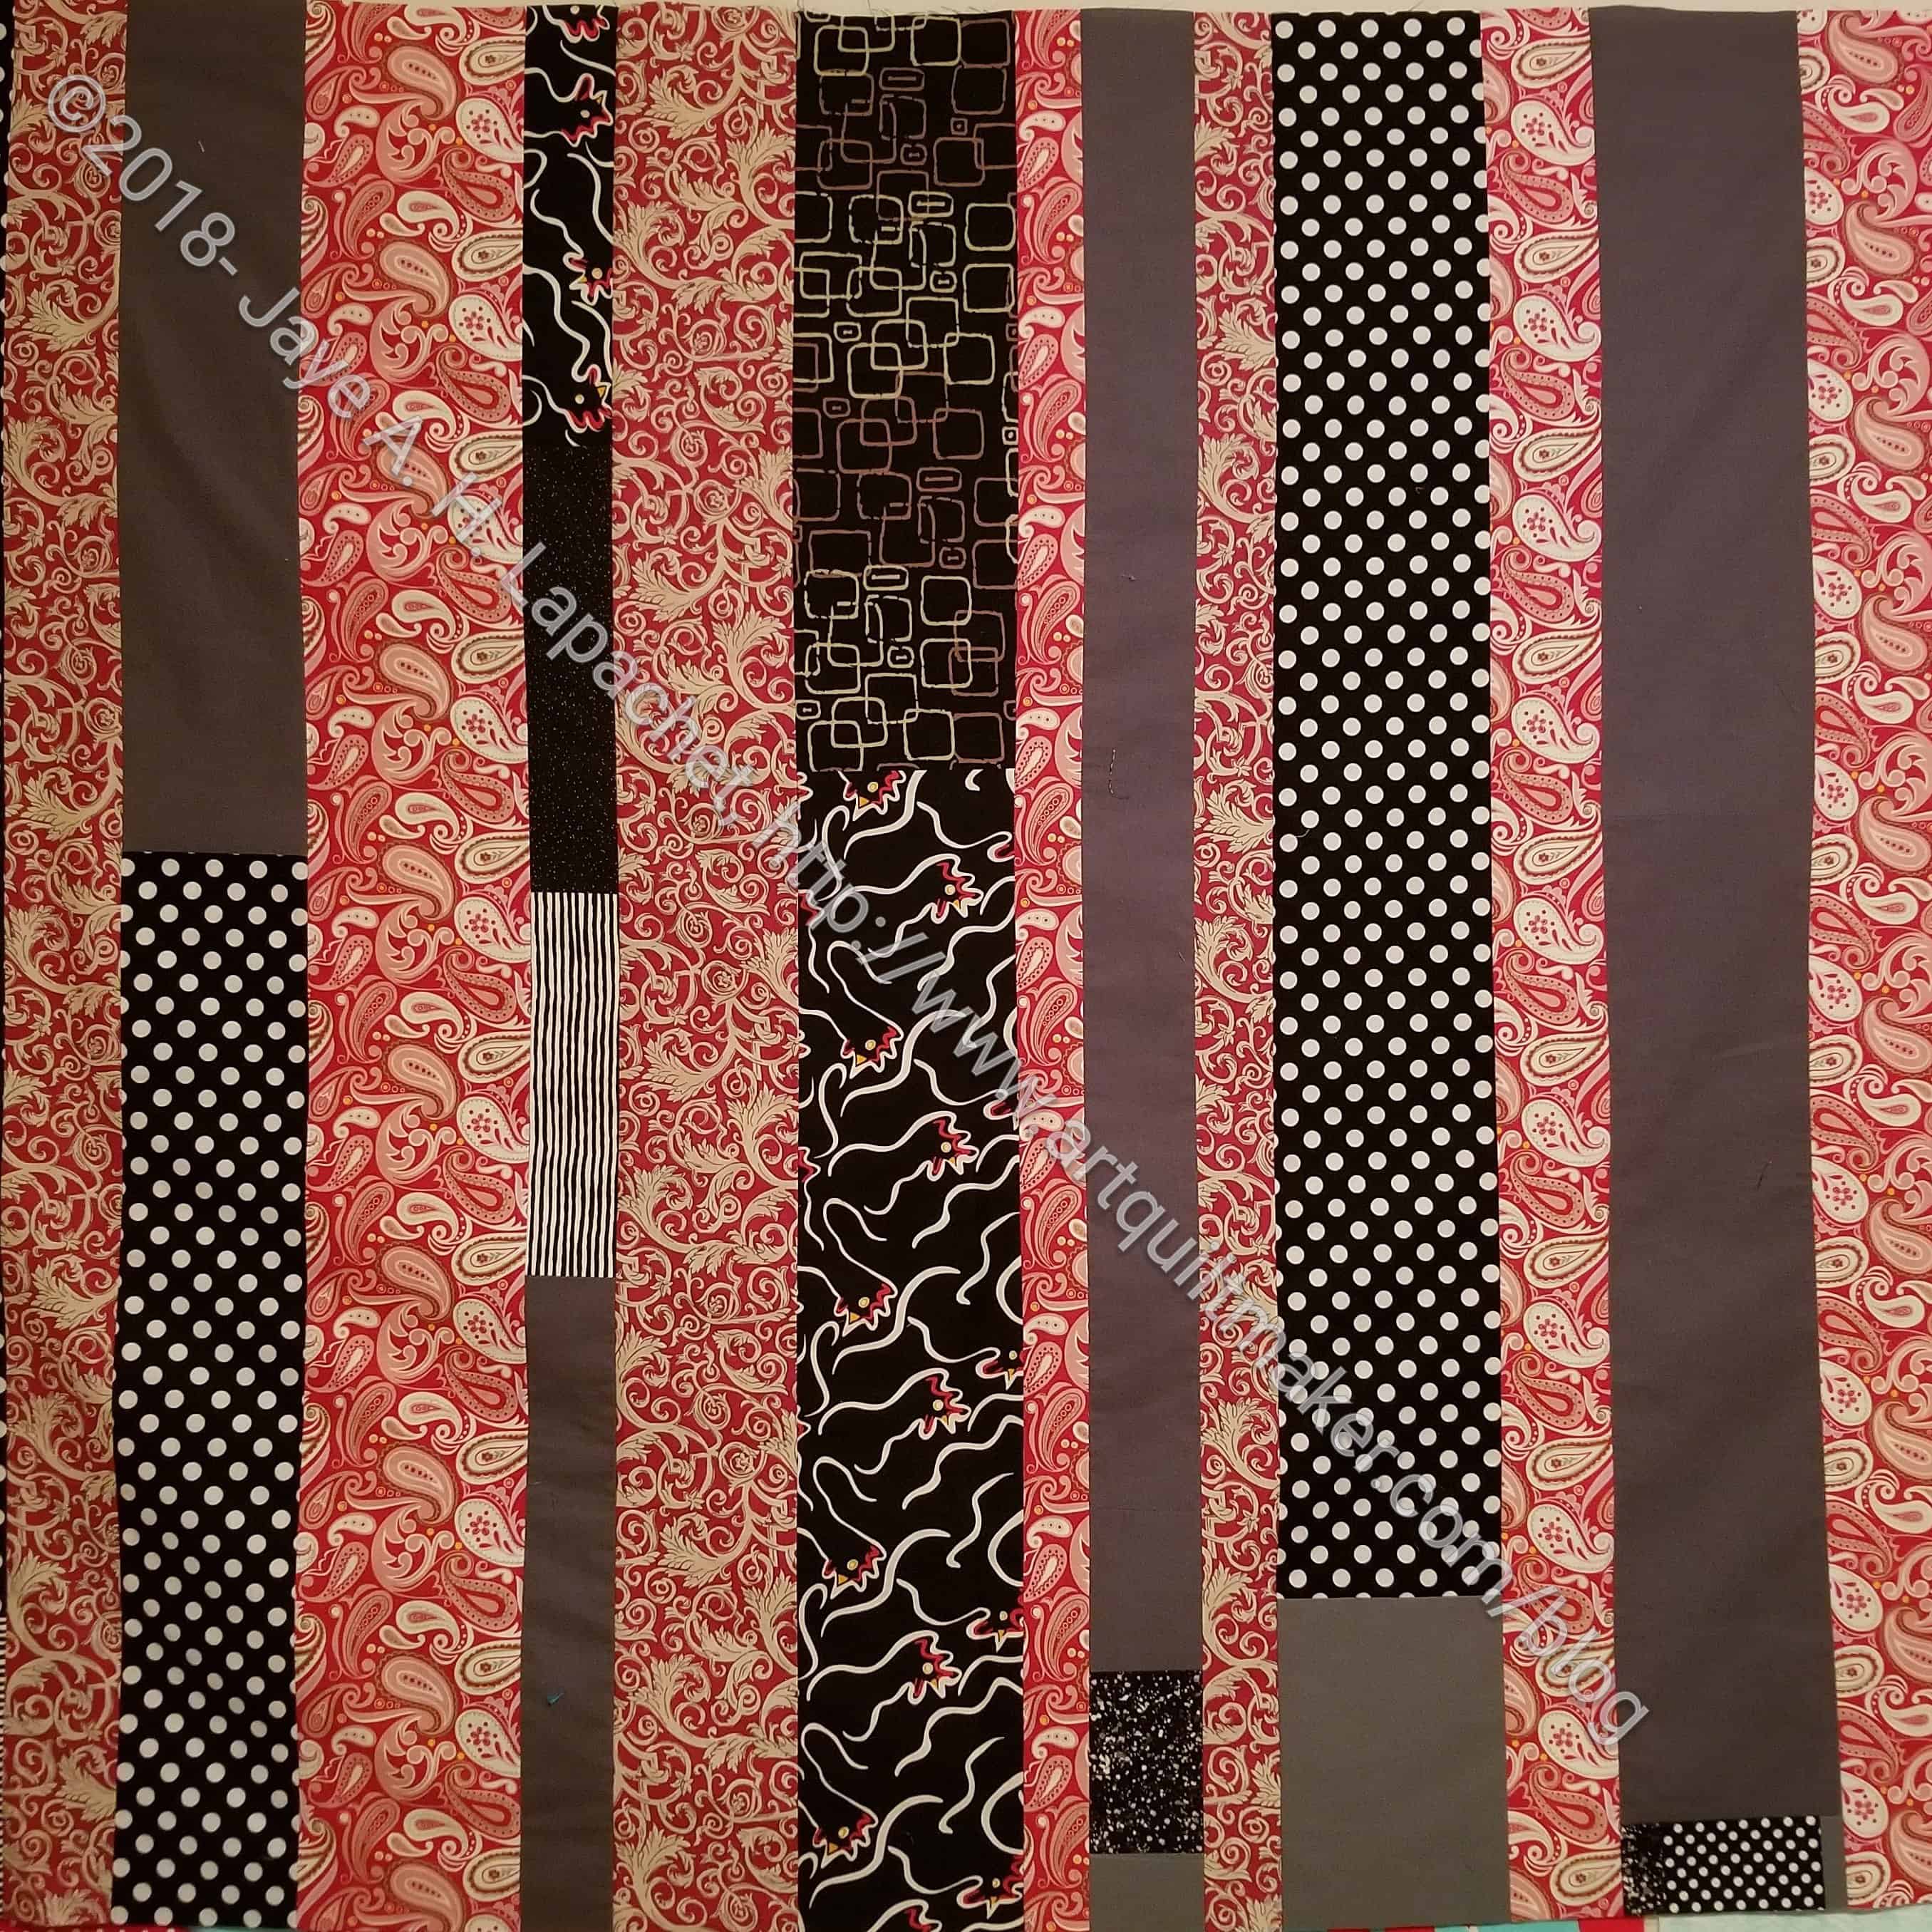
These quilts are all made from the edges that are cut off of other quilts as they are being squared up. Sometimes I make the backs larger than needed so I get some large-ish pieces back. Those pieces are hard to store, so making some donation quilts out of them is a good idea.
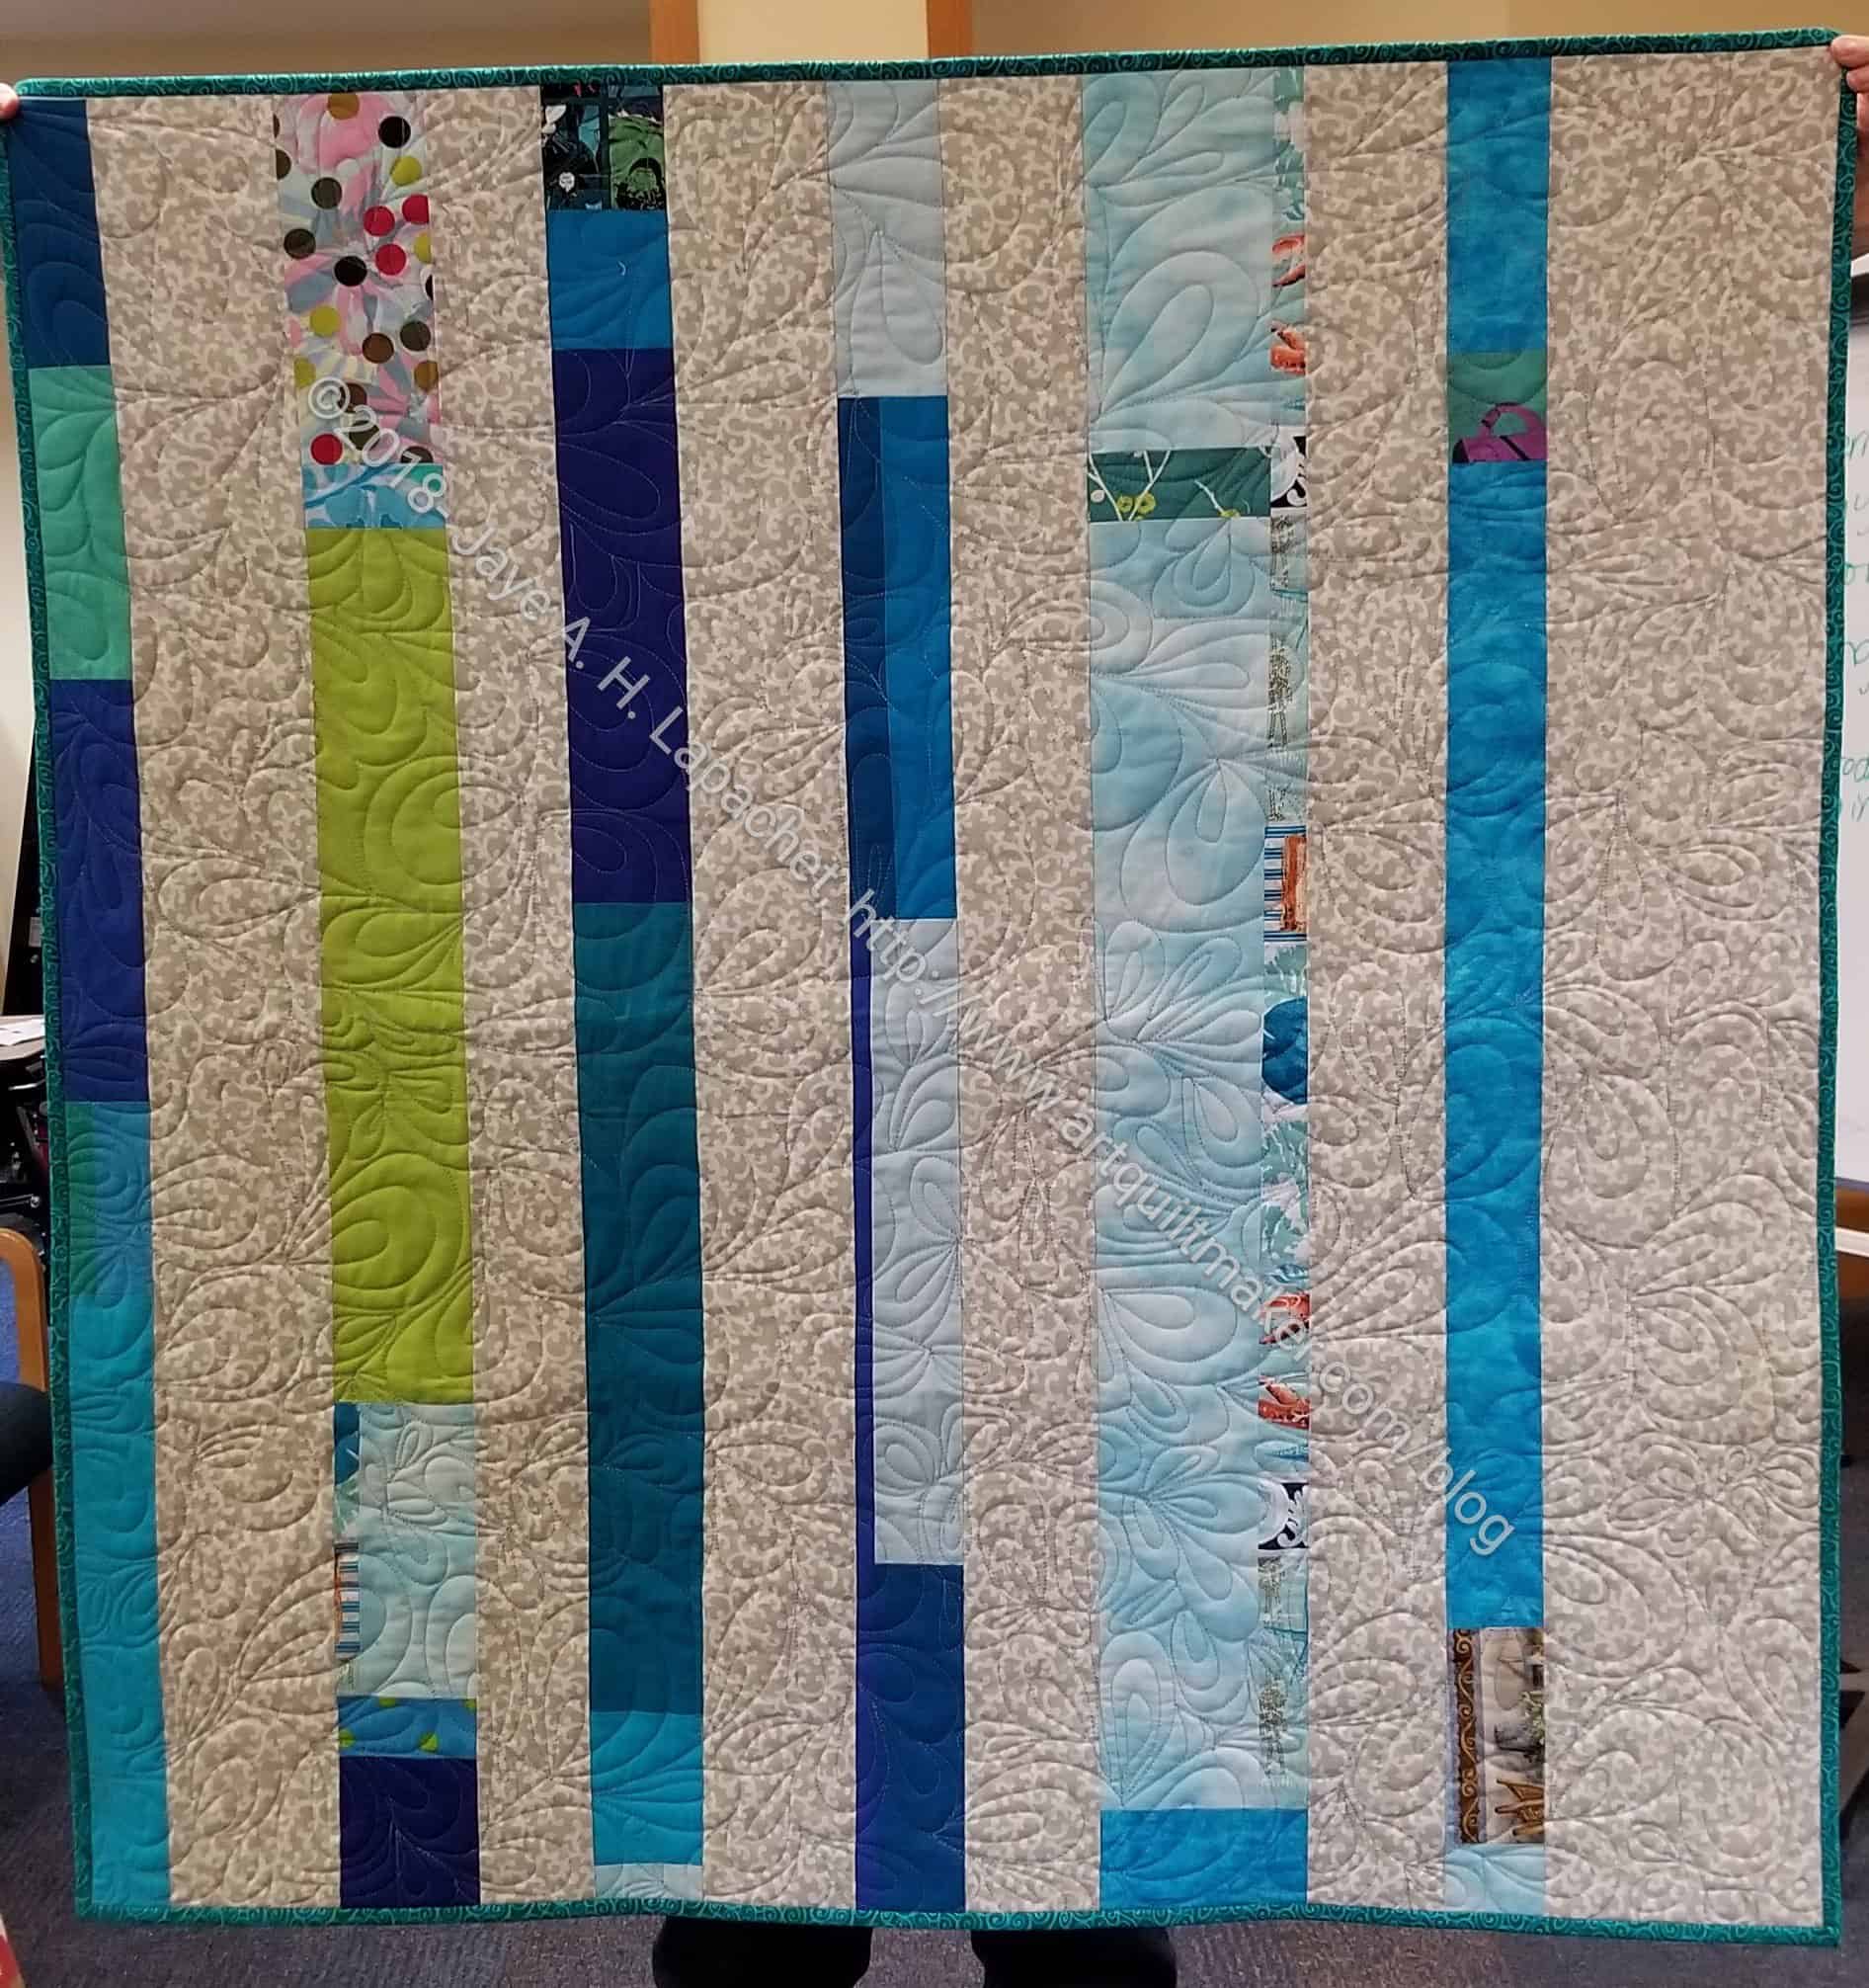
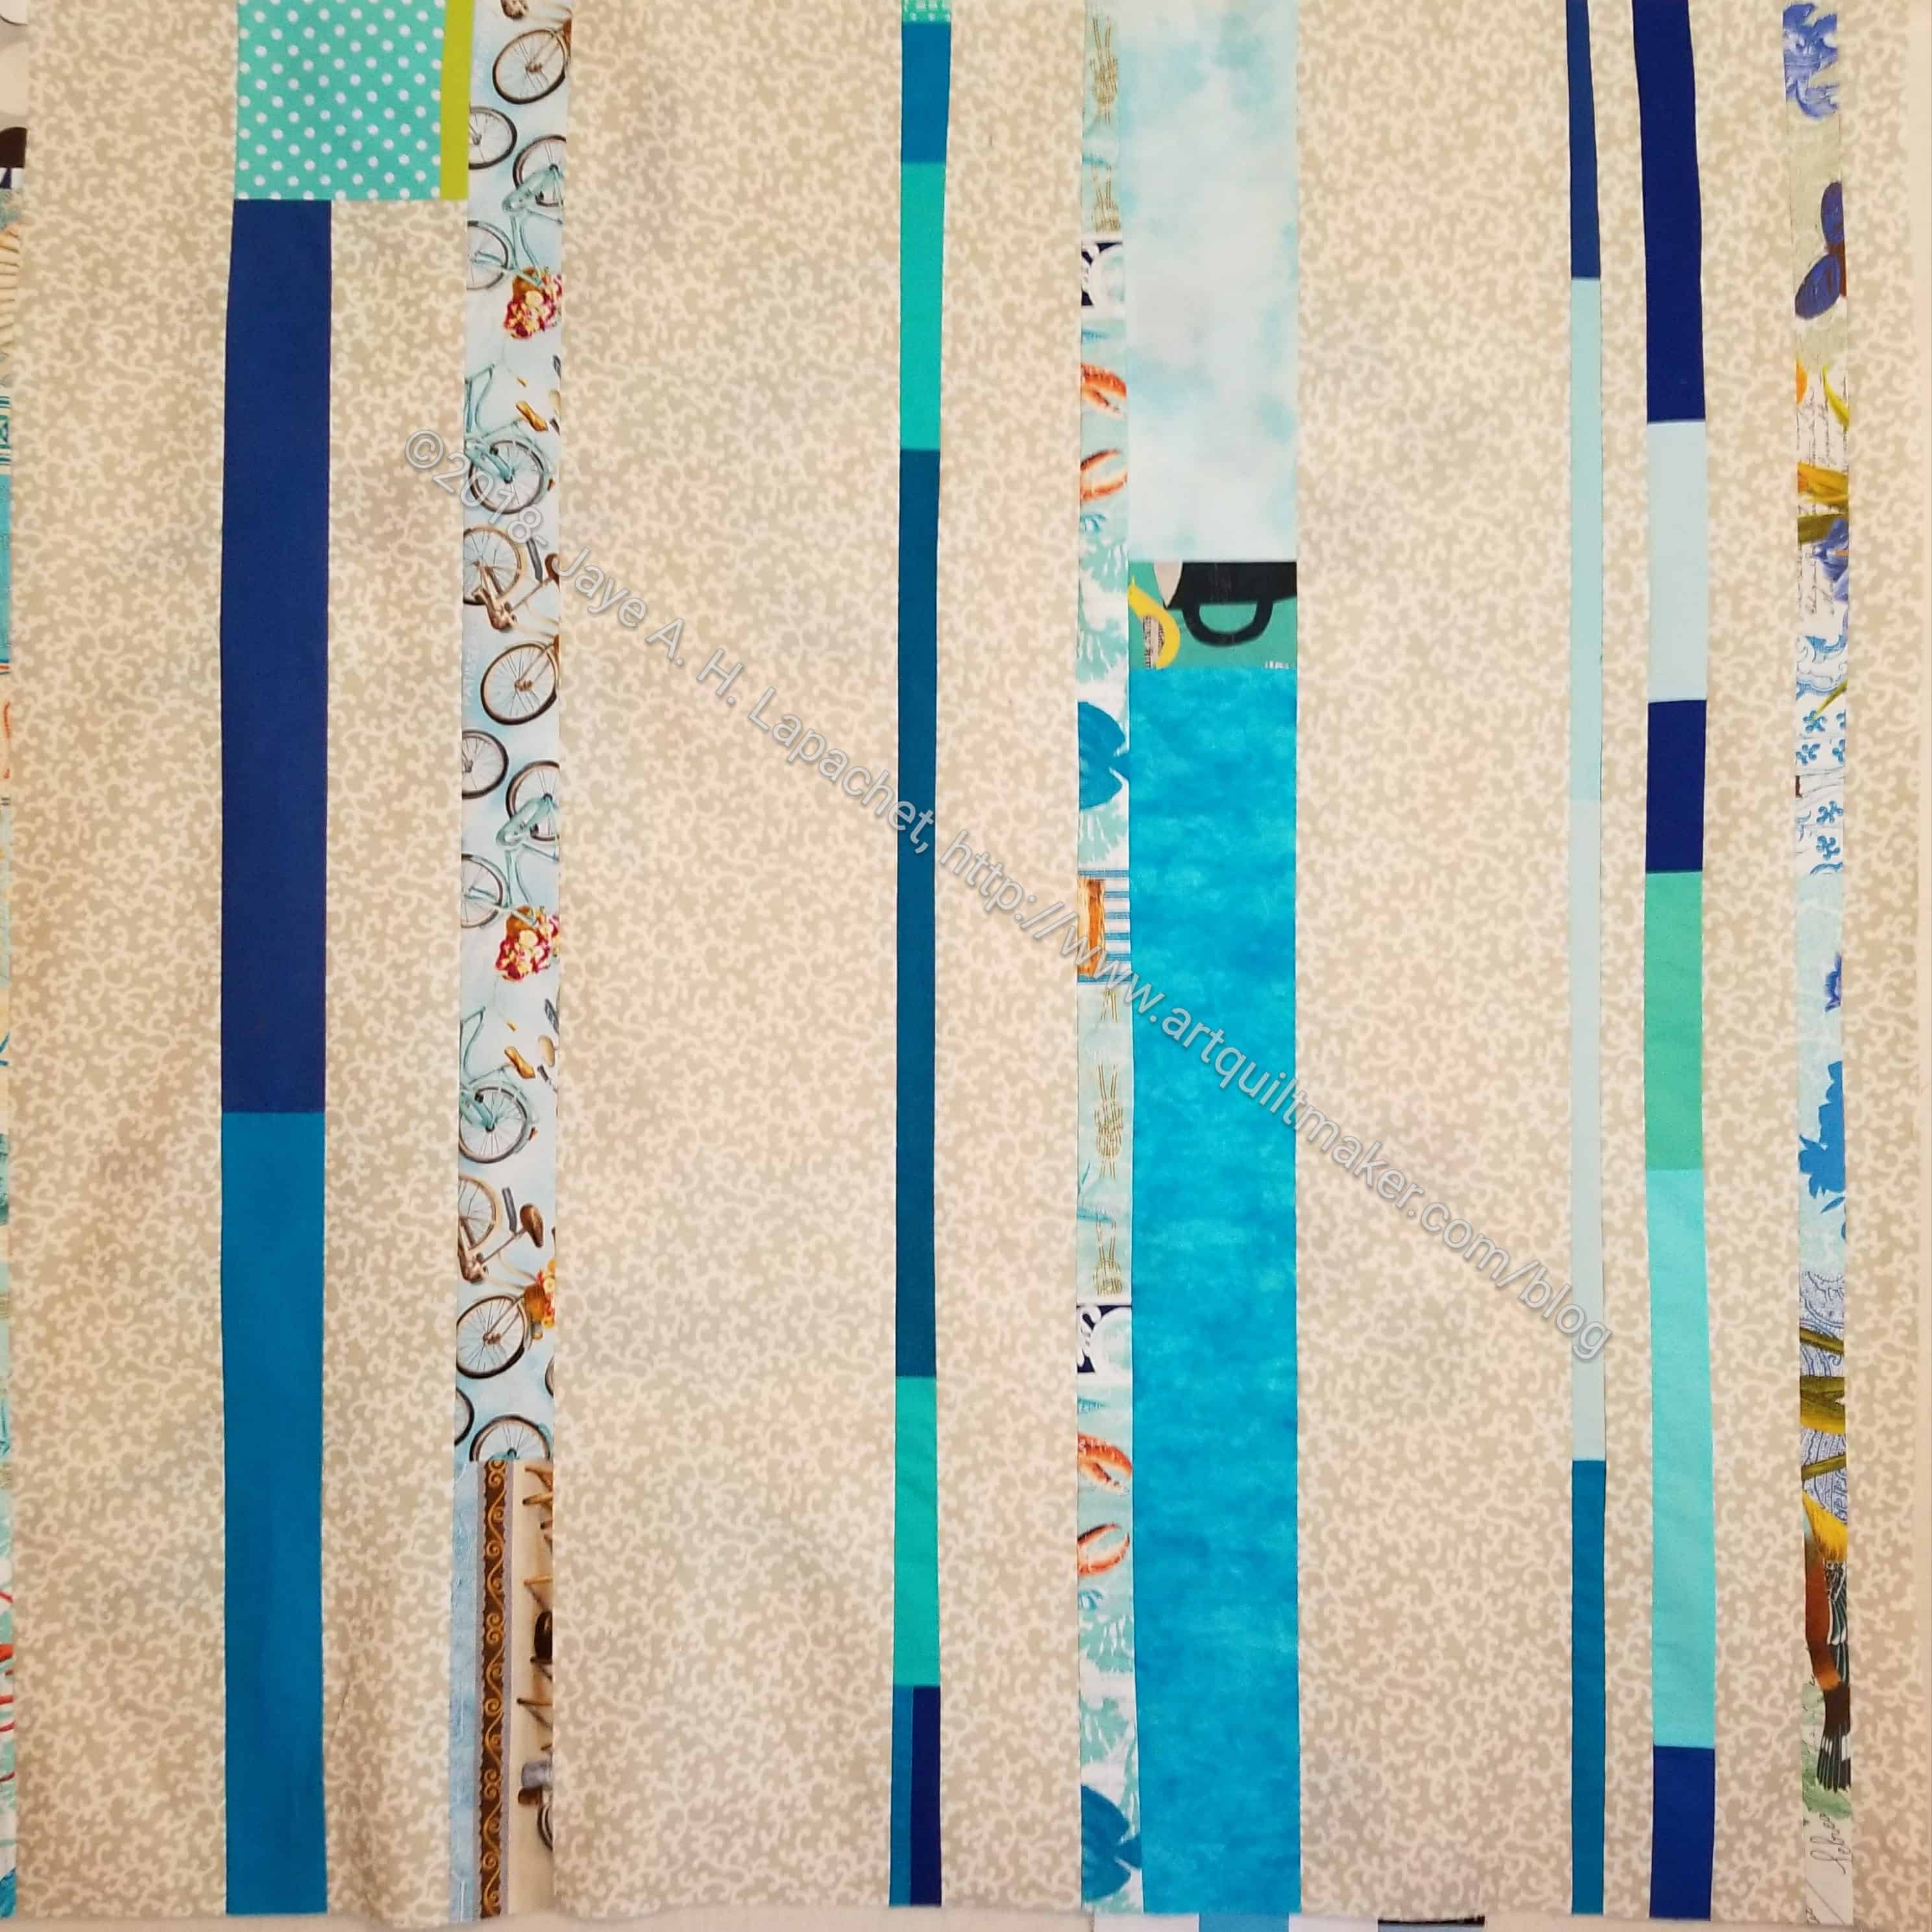
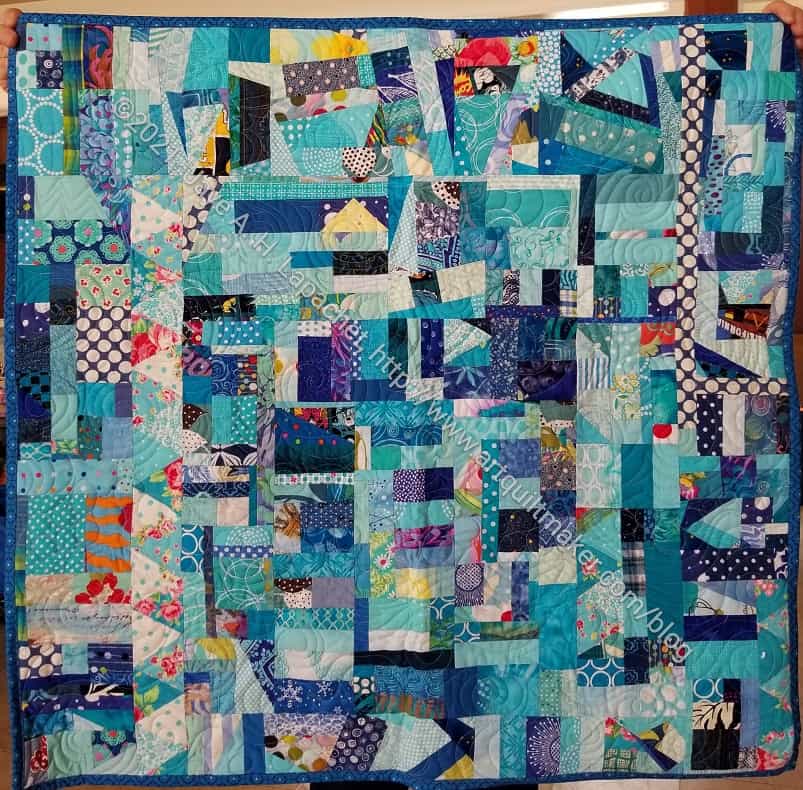
Ends (n.1) – see more information – this is the top that started it all!
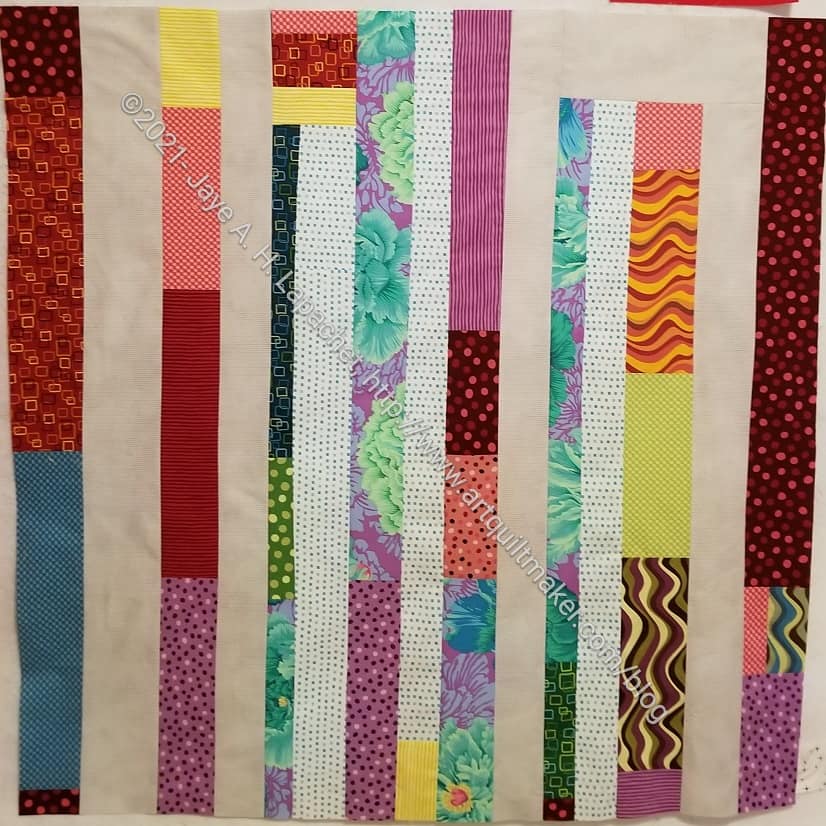
You could also put scraps together into strips, add some background and make one of these. These are very improv-y and there isn’t a pattern. It is a good way to do something good with fabrics I wouldn’t otherwise use.
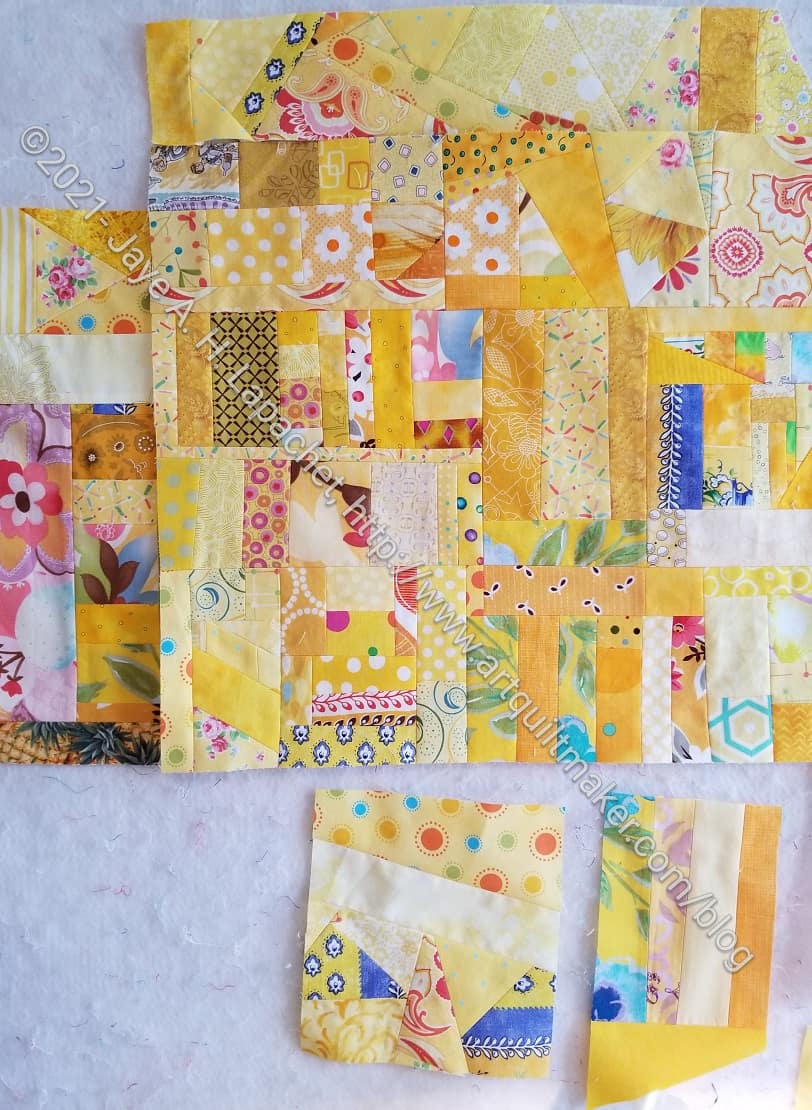
Slowly but surely this piece is growing. The top section, which I think of as the main piece, is about 20×20 now. I am working on growing the bottom piece to fit on to the top piece. At the moment the bottom piece is made up of 3 different pieces.
I find that I need triangles in these pieces to add interest. The additional, non-yellow, colors add interest, but I find that if I have too many squares and rectangles the eye doesn’t move around as much. In this piece, however, there isn’t much contrast and that helps the eye not linger on the squares and rectangles.
I learned this from the Green Thing, the first top in this series. Those bars, which aren’t even really green, provide a focal point, but I find that the focal point takes away from the rest of the quilt. Good thing I’ll have enough green scraps to make another!
In a way the sewing I am doing at the moment is all about getting stuff off the floor so I can move it out of my workroom before the painting starts.
The other day I organized bits of batting and the edges that came back from my quilter after she quilted a quilt. I have at least one more quilt to make from ends.
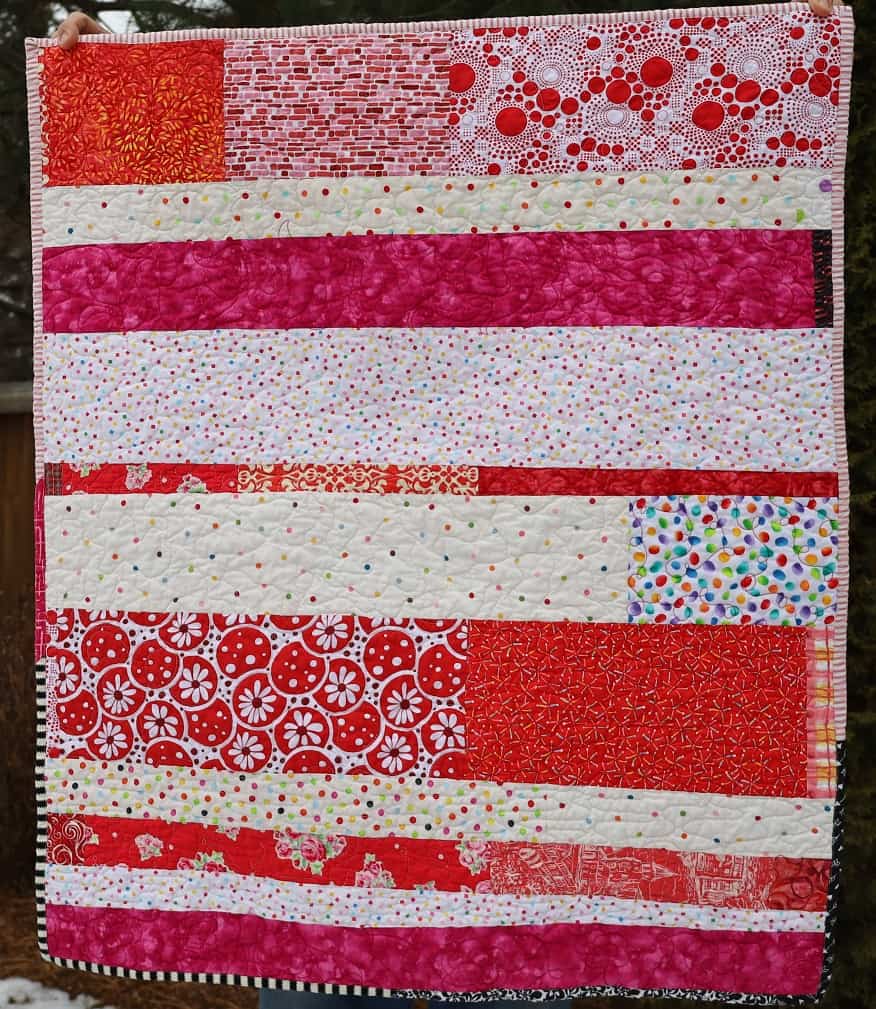
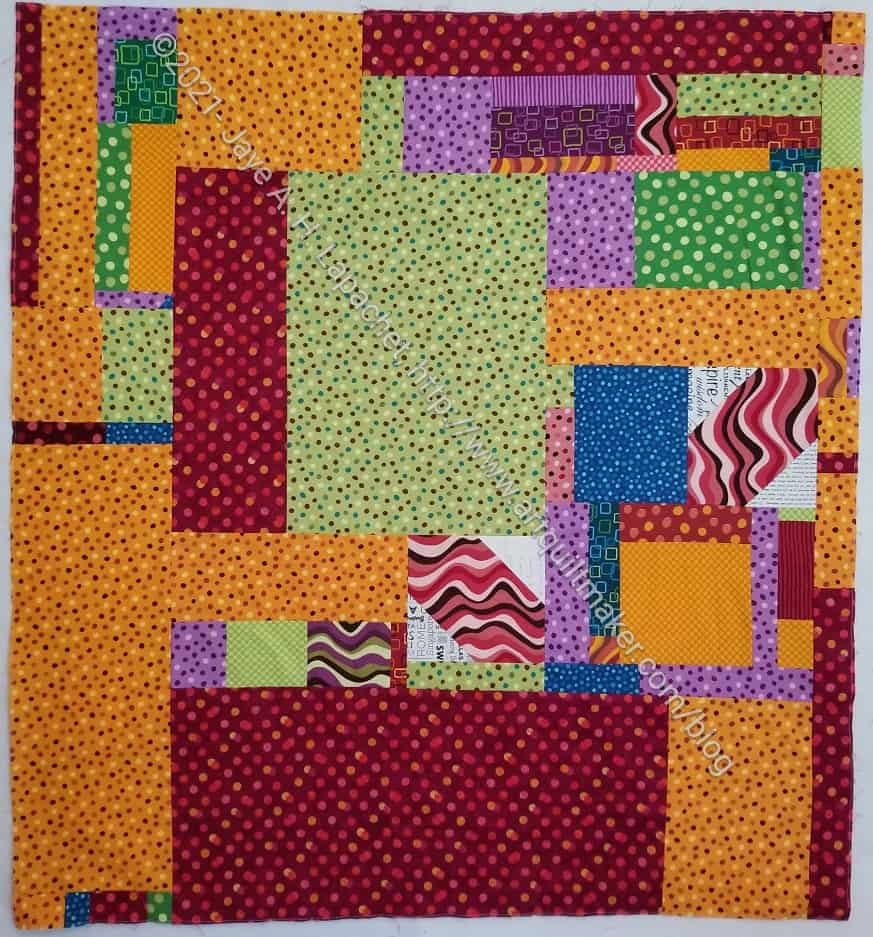
This one is the fourth quilt I have made from the Pop Parade fabric. Most of it is not Pop Parade, but you can see the Pop Parade clearly.
I also used some Dit Dot Evolution fabric for the background. I bought the fabric online and it is the wrong color. I was going to give it away, then I thought I could just use it for donation quilts, so I did. I prefer clear white, but I prefer to use fabric rather than just give it away. Someone will like this quilt. It isn’t at all ugly even if I didn’t use my preferred fabric.
I have to make a back, which I would like to do before I go to the next Sew Day.
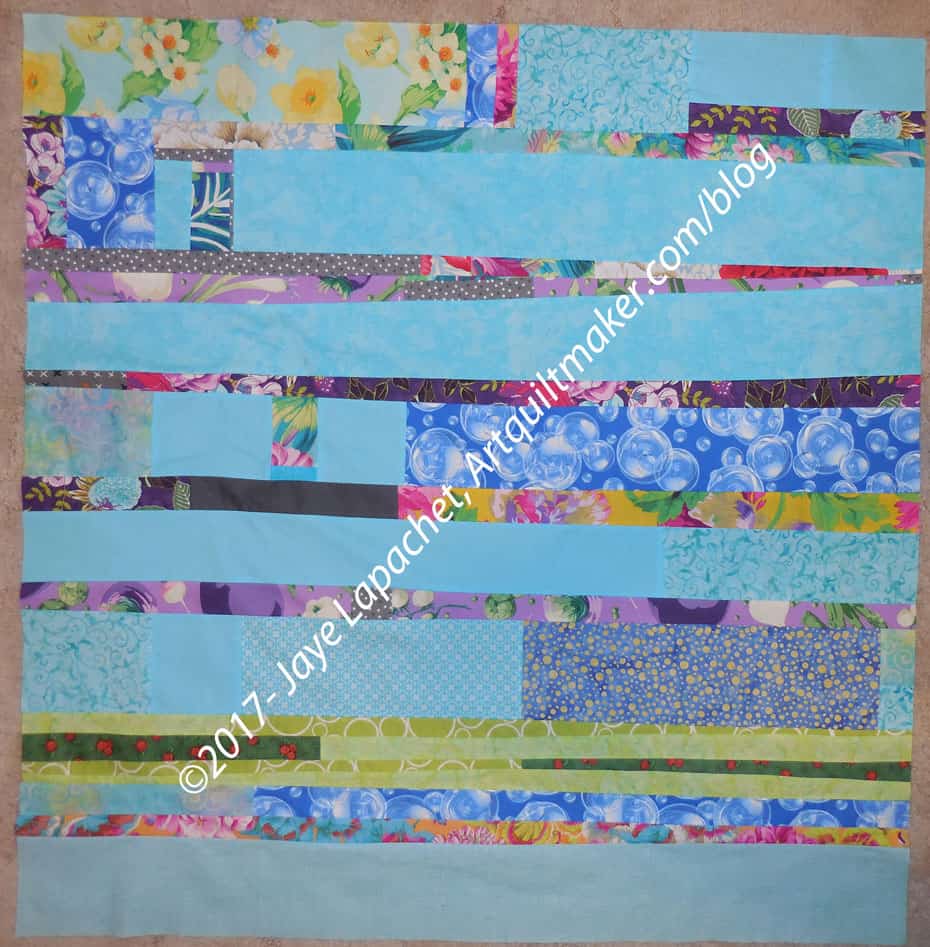
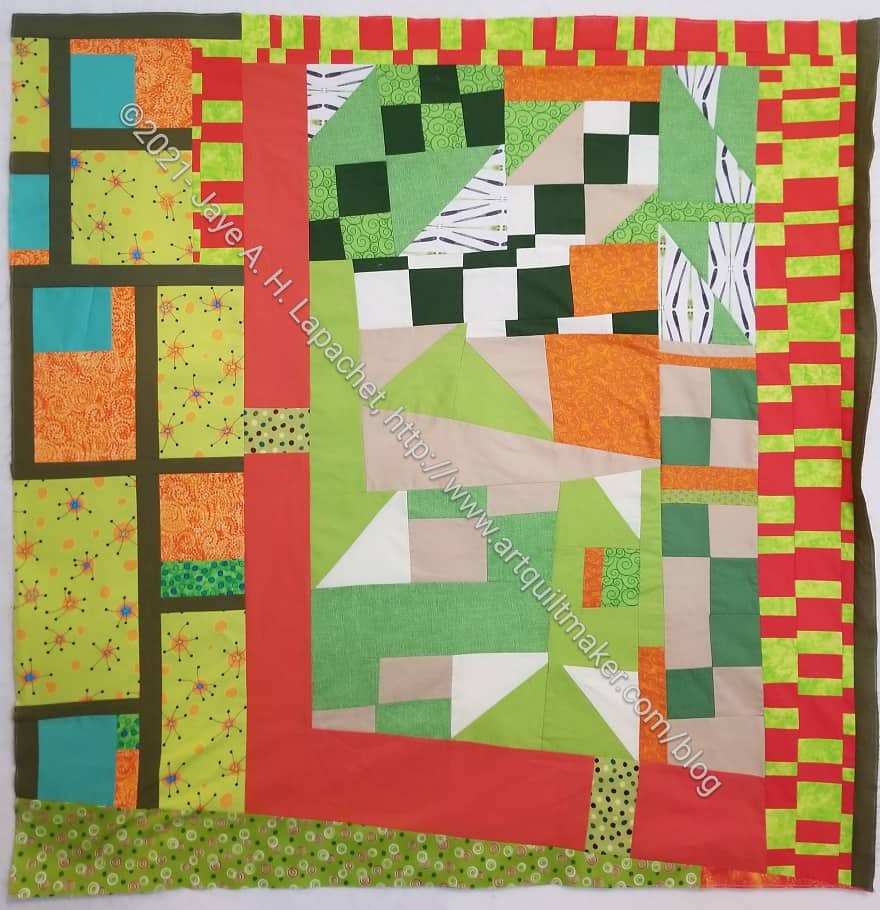
I don’t think this is my best work. there are a lot of disparate elements. Somehow it works. It kind of looks like buildings surrounding a park to me.
I struggled with this piece, because of the green and orange. I don’t sincerely dislike green, but I don’t make it a main color in any of my quilts except the Improv Color quilts. I also like orange, but somehow this was a struggle on which to work.
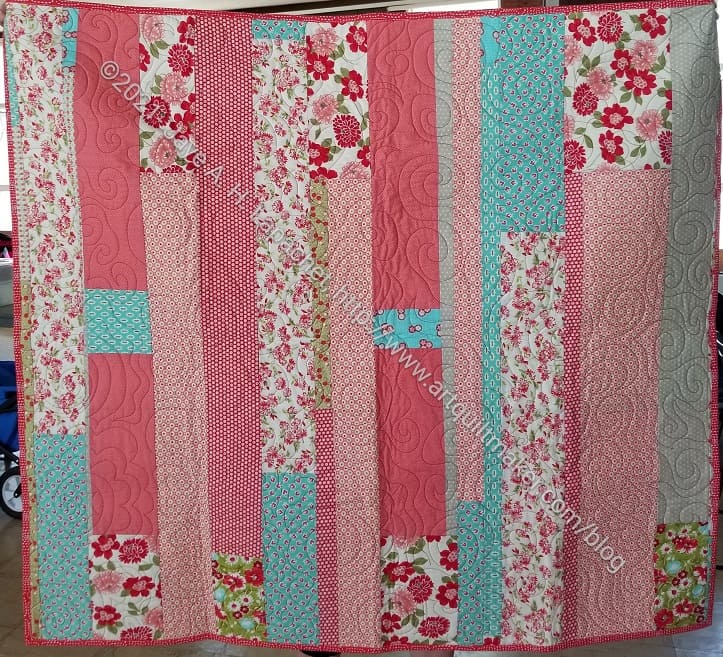
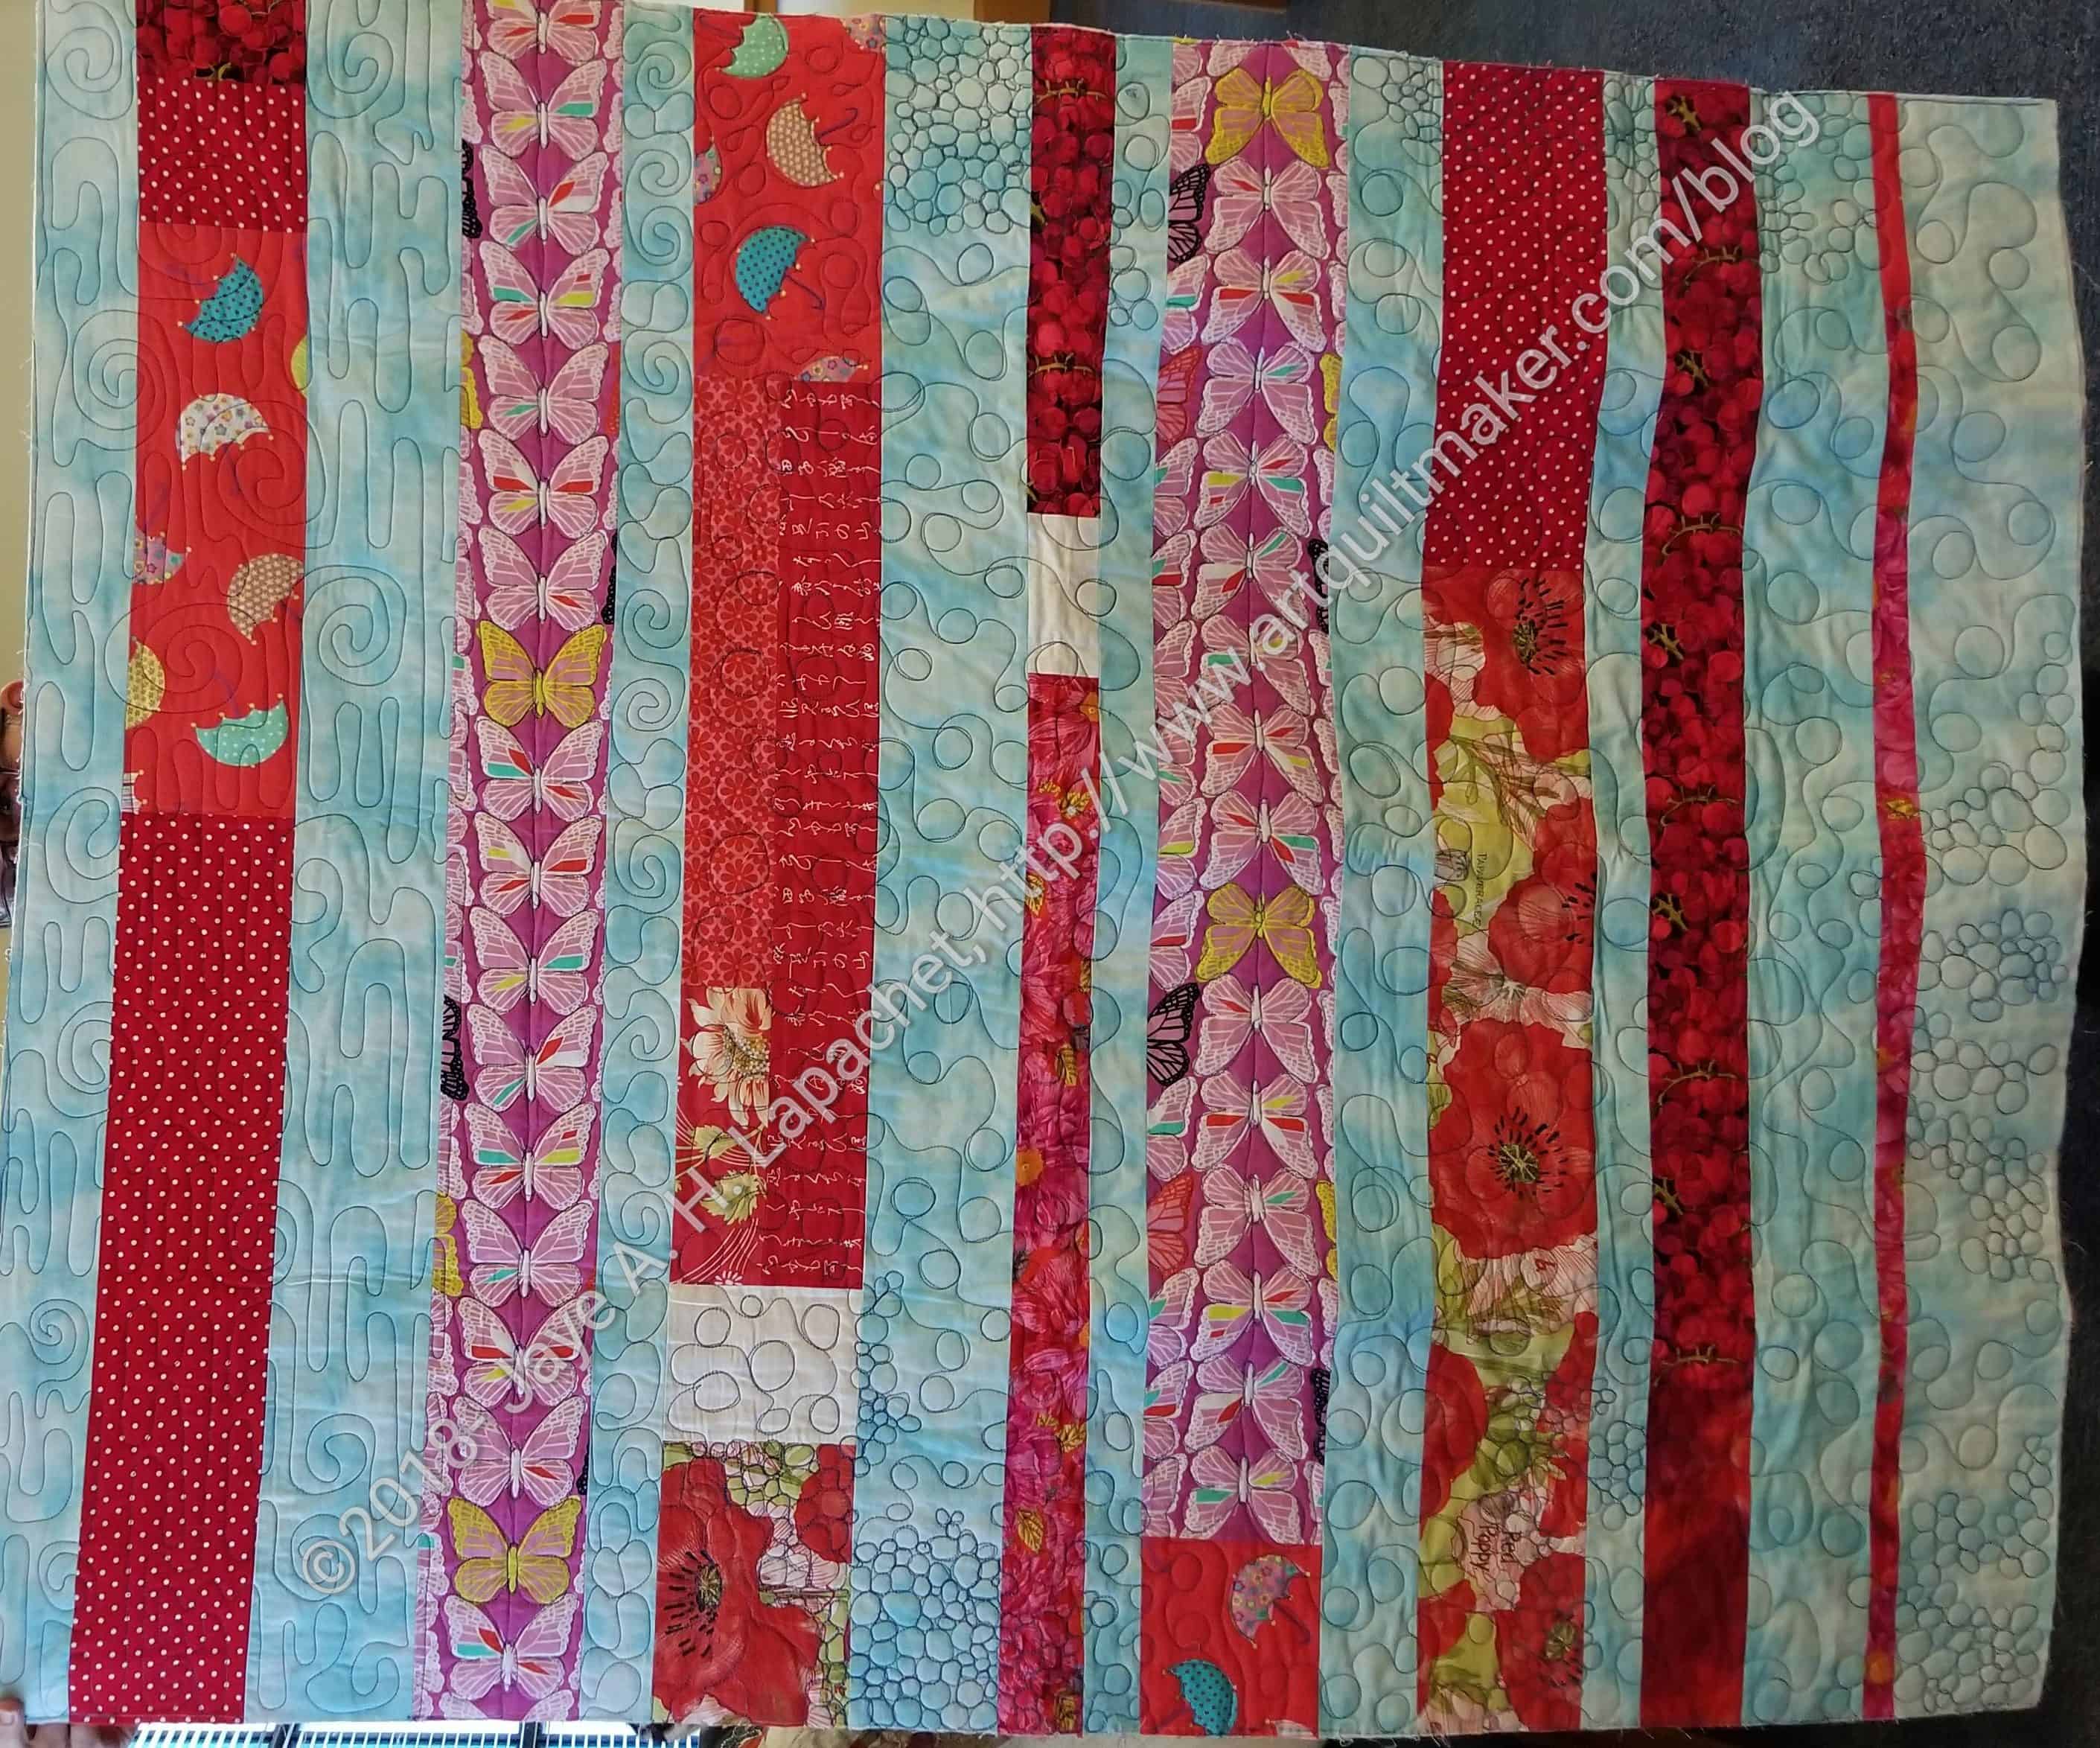
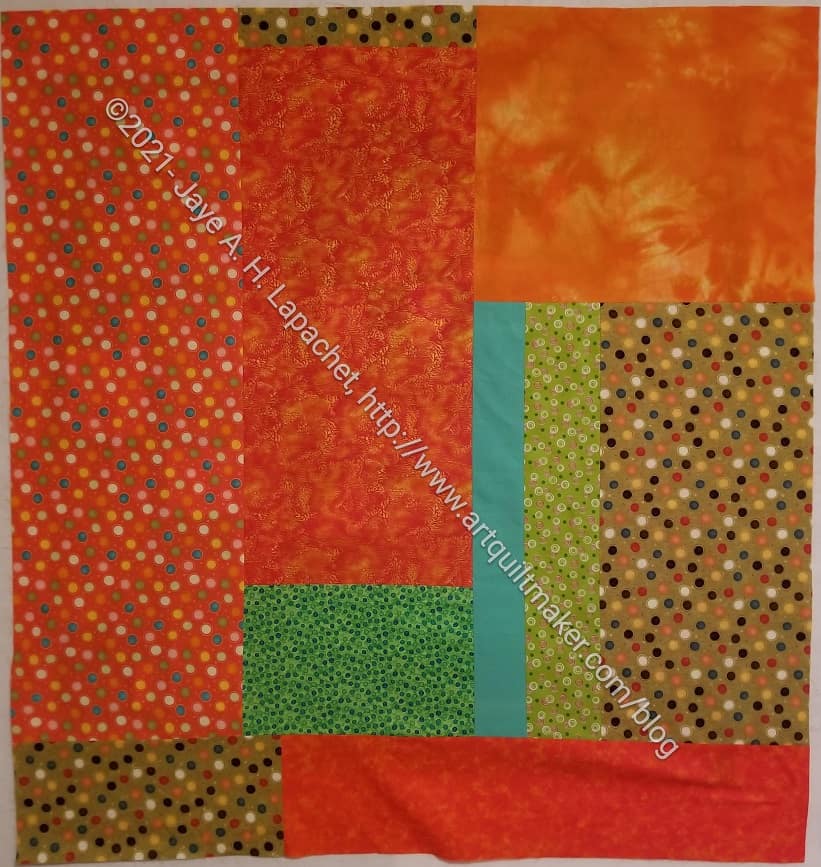
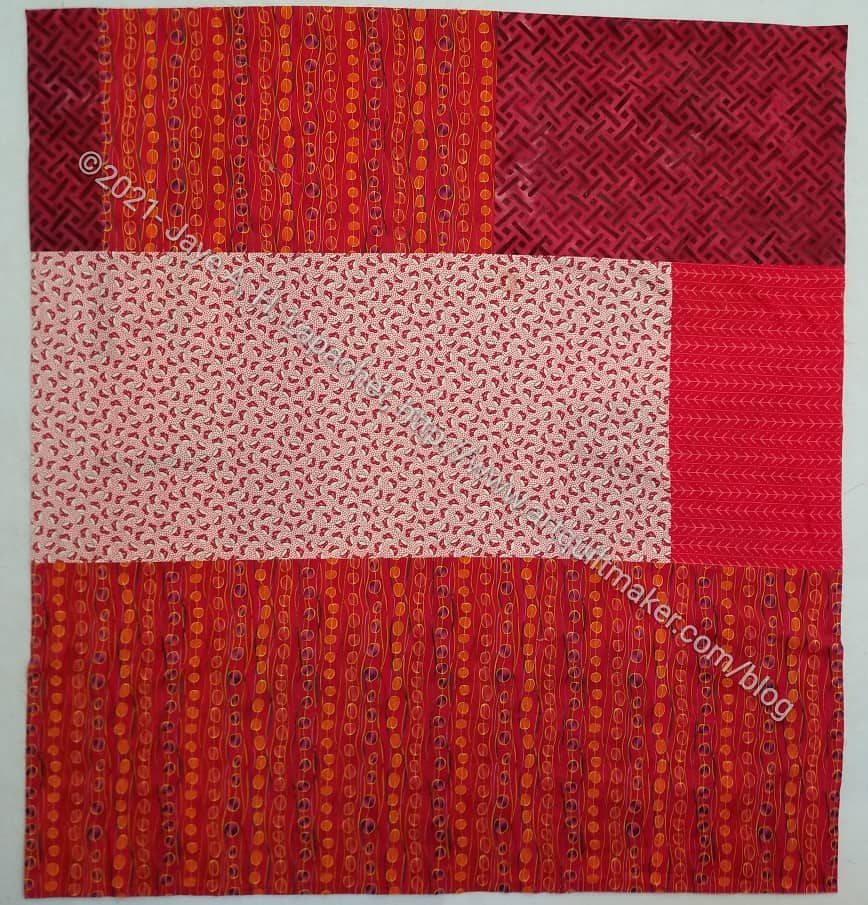
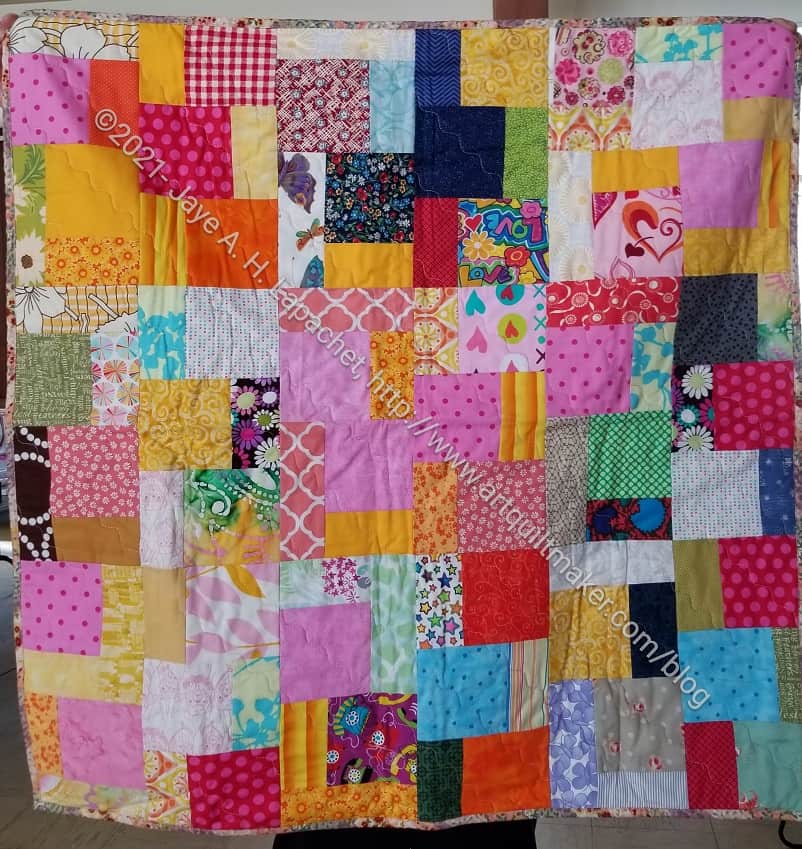
Tim’s Improv Donation Back
The back went relatively fast. I took both pieces to Sew Day and gave them to Peggy and the team for quilting.
I am working hard on my Yellow Improv donation top. I am trying to use smaller pieces so I use up ALL of my yellow scraps. It isn’t working 100% of the time, but I’ll keep trying. Perhaps my default will be to make this top as big as the scraps I have?
This top came about because I cleaned off every horizontal surface in my workroom holding fabric or projects. I found some random pieces sewn together as well as some Pop Parade yardage. I wanted it all gone except a blue (not shown). I started sewing pieces together randomly, using already pieced sections where I could. I had only two unused blocks from the X quilt, which was a shame, design-wise, but ok. I know that someone will like this quilt once it is finished and off to its new owner.
Pop Parade Improv Donation quilt back
My bonus is that I don’t have any random pieces of Pop Parade laying around. I did like the motifs, but didn’t like the colors chosen. I’d love it if they would reprint this fabric in clearer colors. I often think that.
We are now handing in donation quilts at Sew Days, so I will give this to Peggy the next time we meet.
As I mentioned, a dozen quilts were handed in at Sew Day which will go to the community organizations that the guild supports. Many were tops I had sewn in the past. I am glad they are making their way to Peggy and the Community Quilt team.
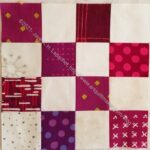
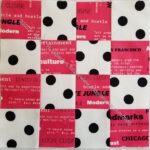
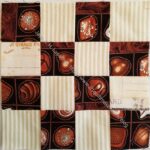
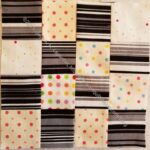
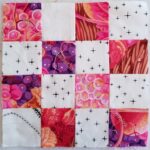
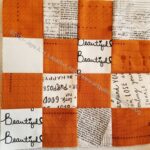
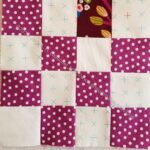
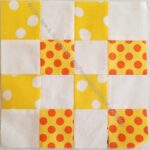
I have started to make donation blocks again. When it isn’t convenient to work on the yellow improv donation quilt, then I work on a 16 Patch block. Both will be used eventually in some way.
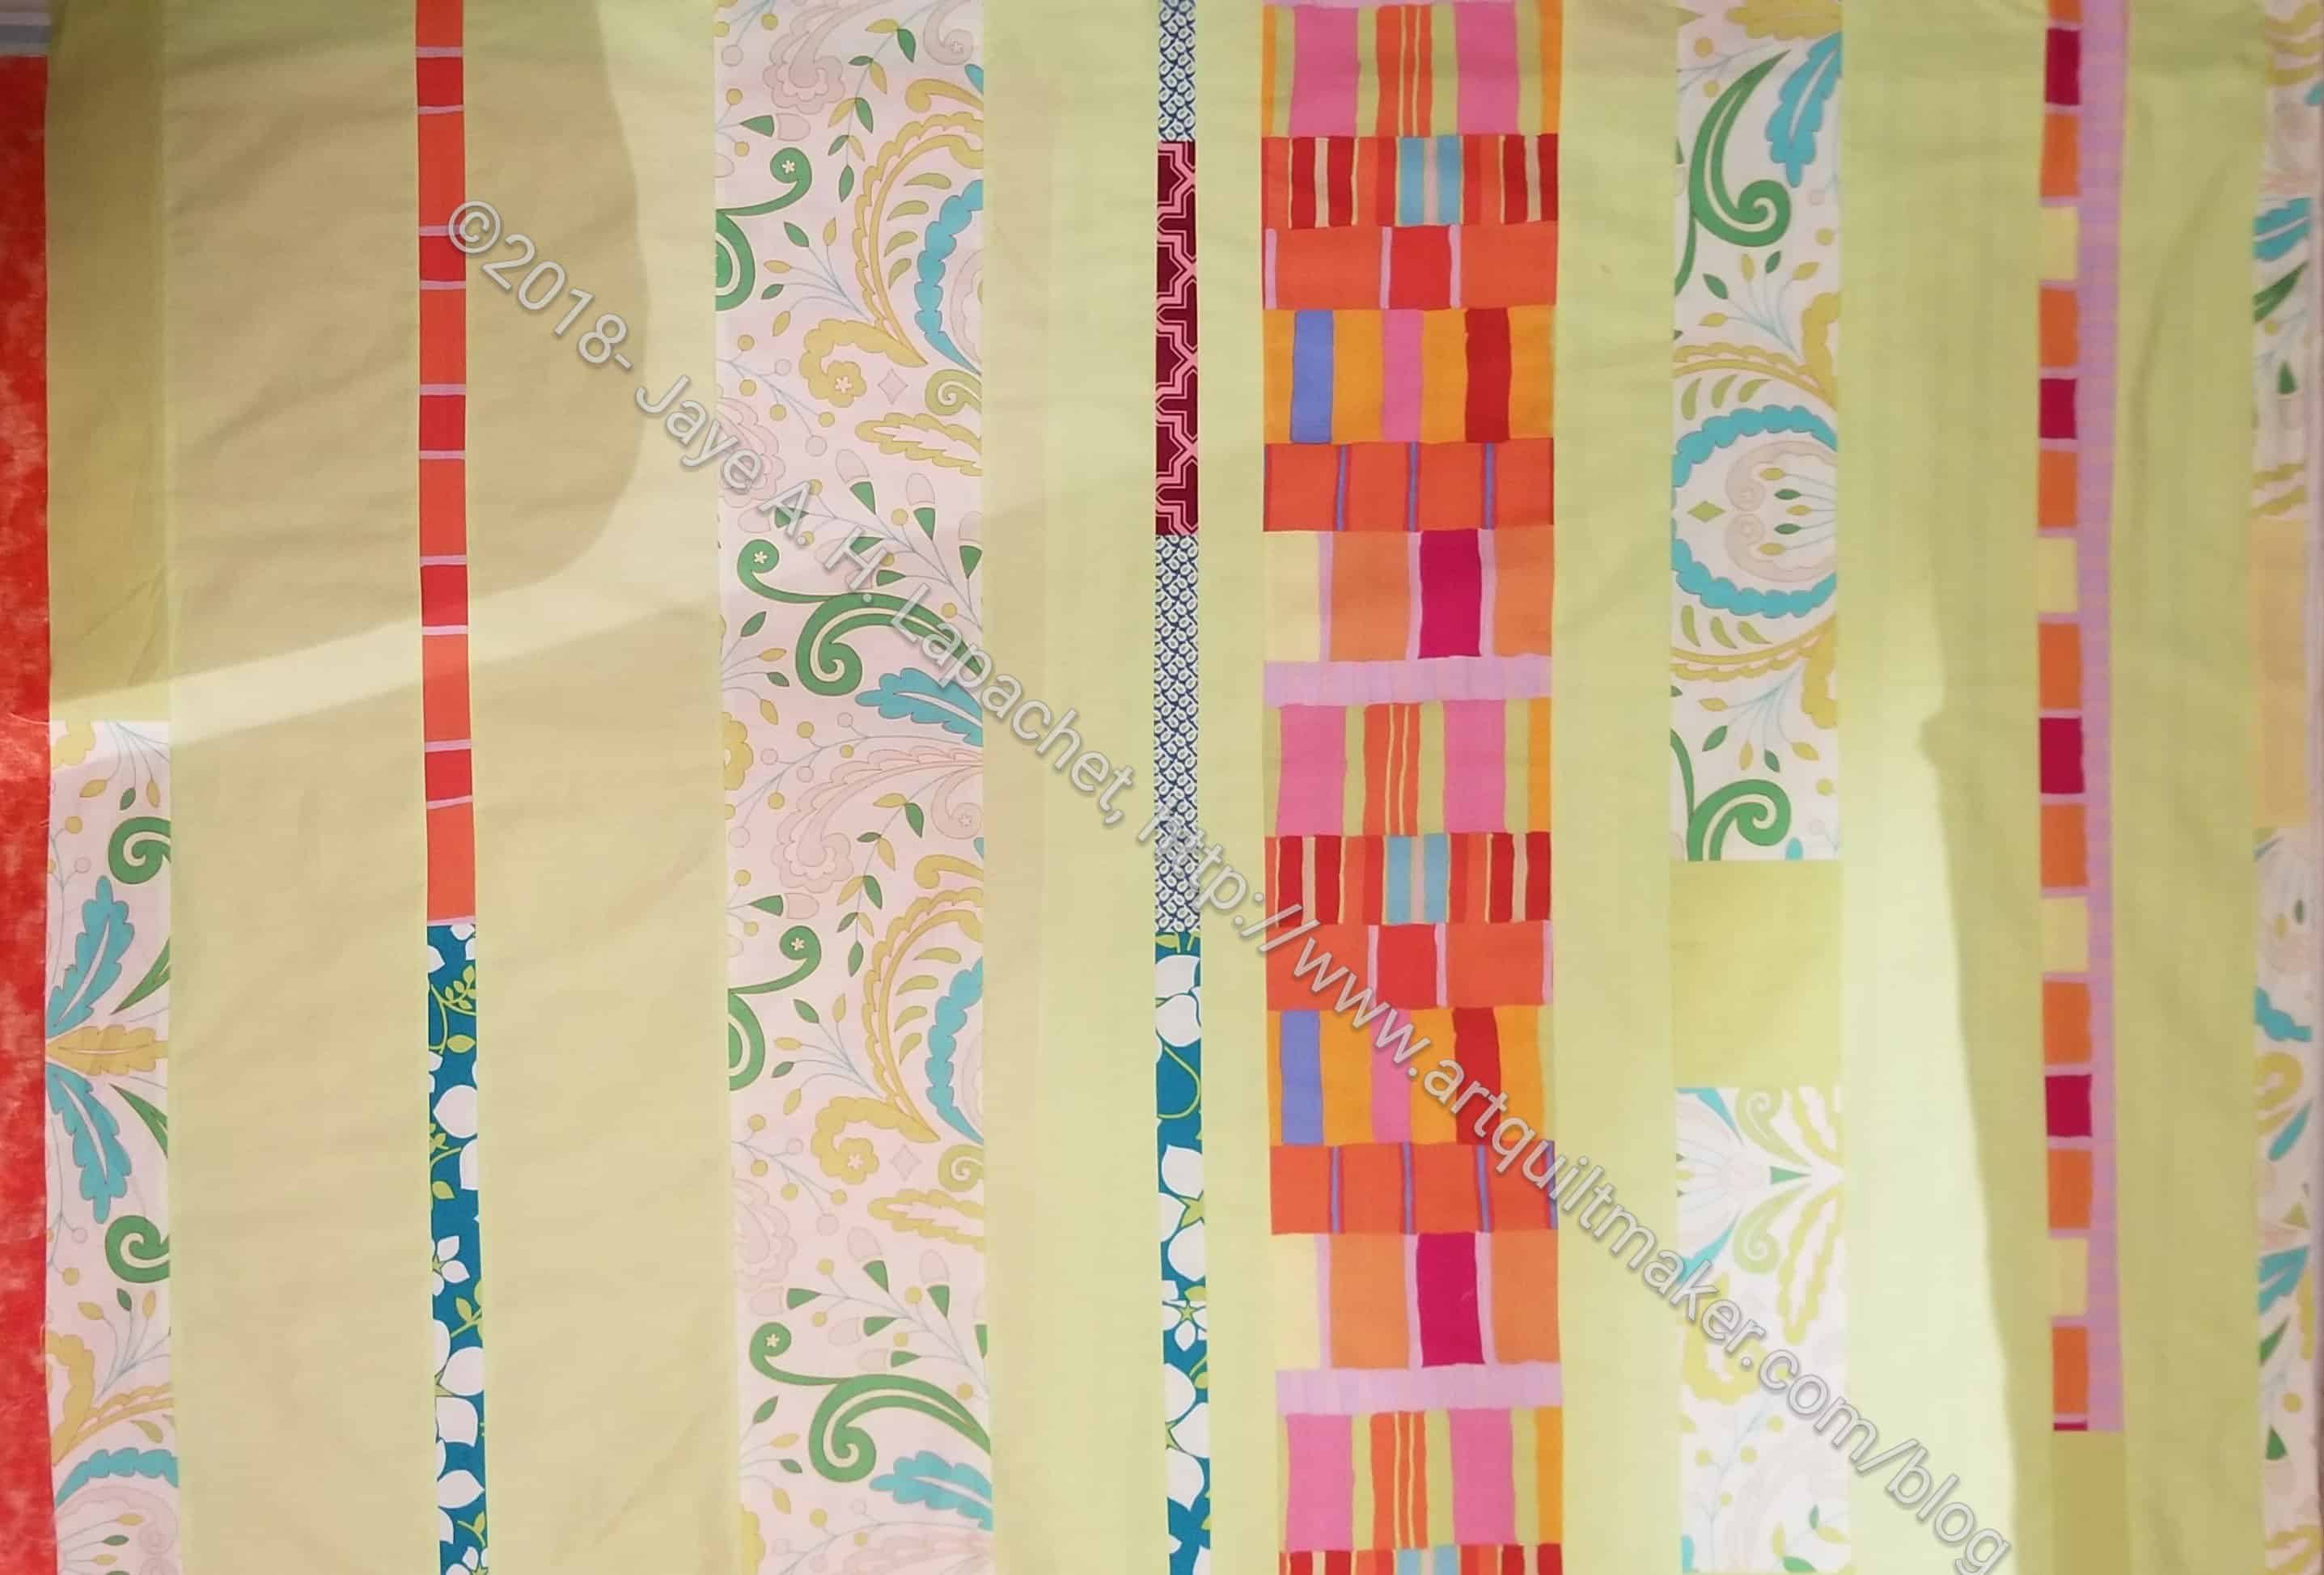
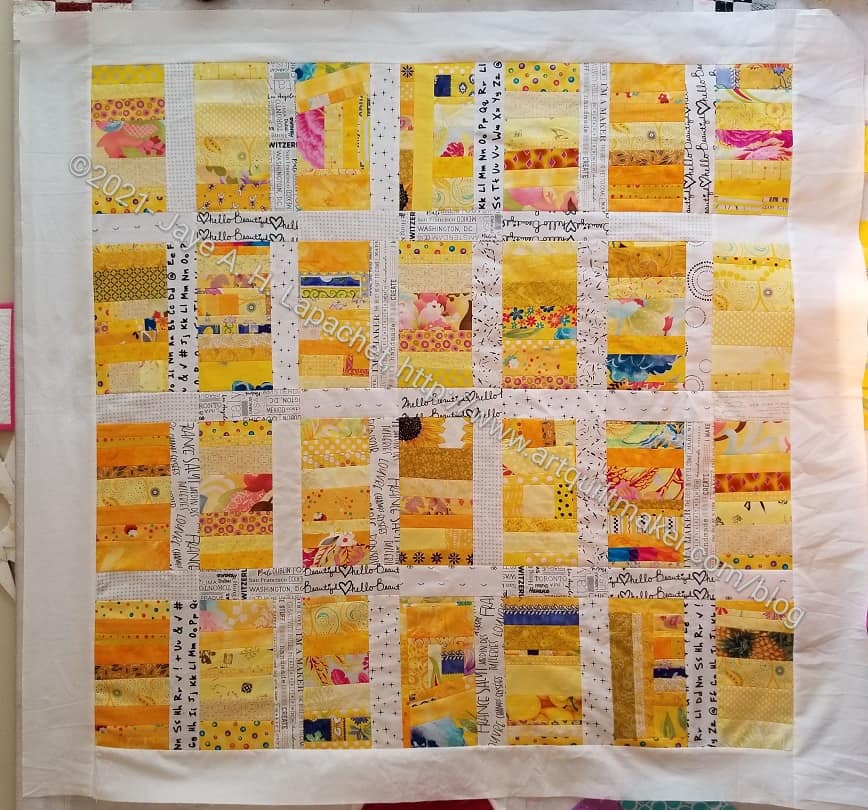
Over the weekend, I finished the Yellow Strip Donation Top (and back and binding). This is another in my Color Strip Donation series.
I did sort of rush this along, but I was piecing like mad on Scrap Dash, so I couldn’t help it, really.
I had to put Scrap Dash on the back burner briefly to add borders, make a back and a binding.
Since I put on very plain borders so the quilting would show up, I decided the quilt needed a dark binding. I made a gold binding.
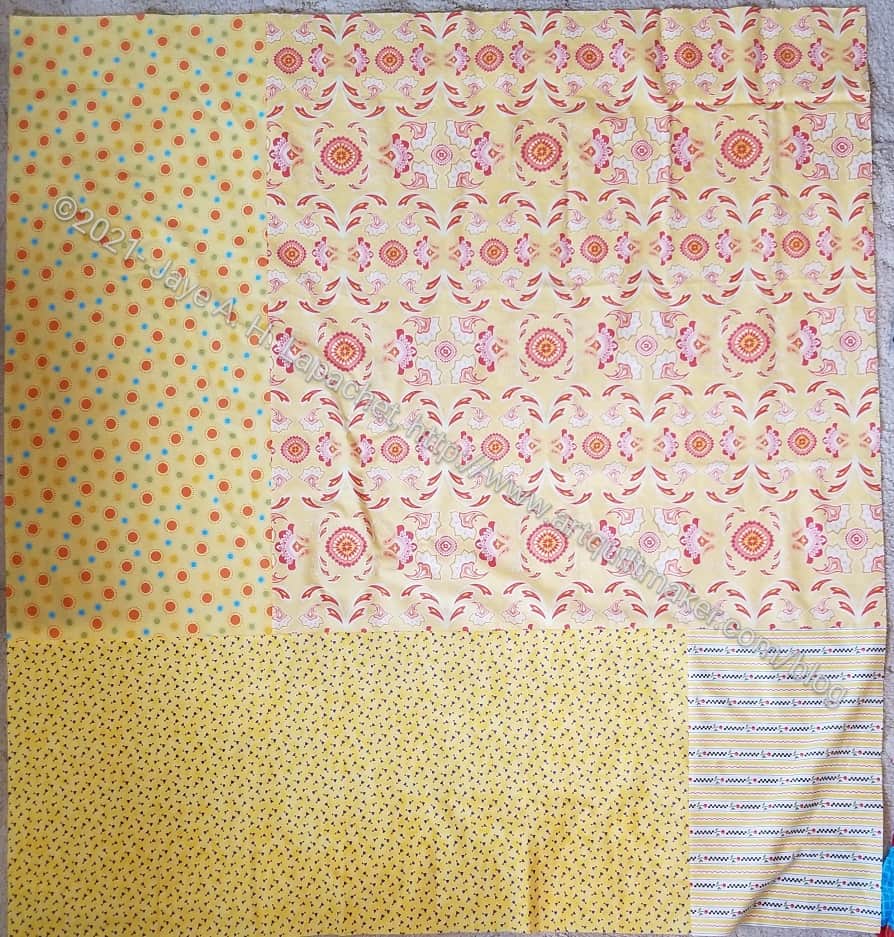
Yellow Strip Donation Quilt Back
I am pleased with the back. I didn’t have to piece too much and I got to use up some prints that have been around for awhile.
I don’t use tons of yellow, so these prints have been around awhile. I think they are good choices: fresh and upbeat. I suppose this quilt could be for a boy, but perhaps not with the flowery back.
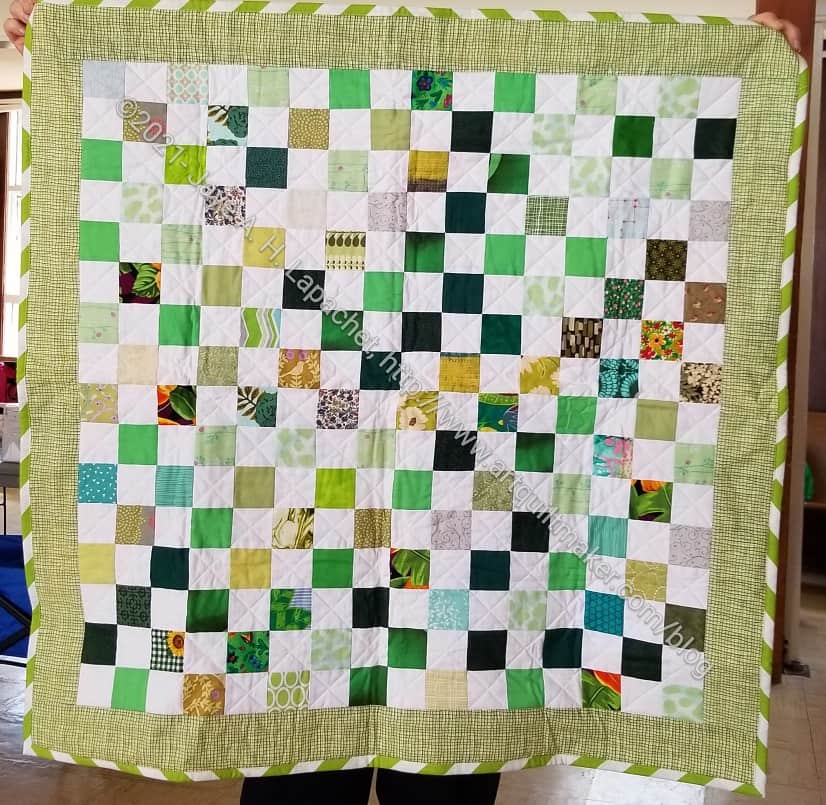
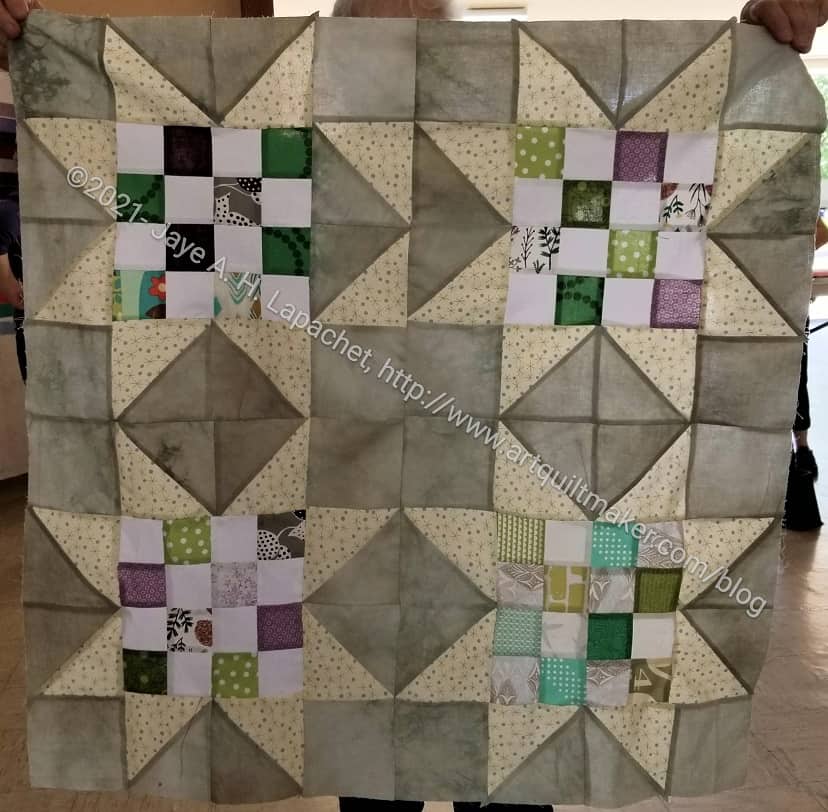
Another quilt that was handed in at Sew Day was made during the February 2020 Community Sew Day. I made a bunch of blocks and may have even sewn them together.
This is a really nice quilt and I hope the person who receives it enjoys it.
I keep thinking of cutting more pieces these sizes so I can make more of these donation quilts, but I haven’t done it yet. It would be better if the pieces were more standard sizes, like 5 inches and 2.5 inches.
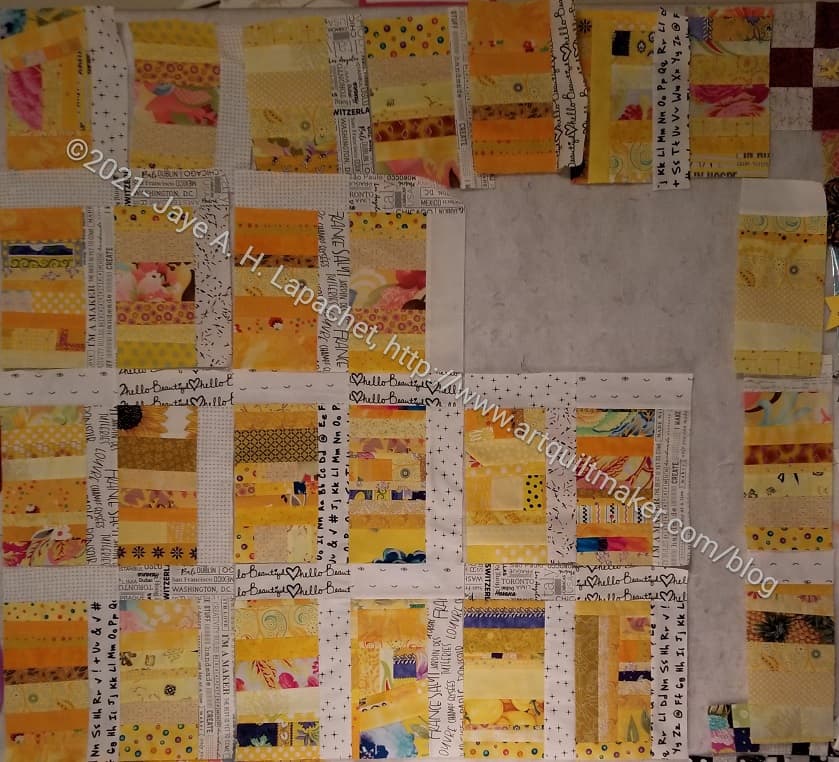
Since I was zipping along with Scrap Dash, I was also zipping along with the Yellow Strip donation top. Leaders and enders really works.
I decided to use some text prints as the sashing. I had some scraps that were about the right size, so I used as many as I could find in the white drawer and then cut some from fabrics I have bought recently. The quilt is really coming together and I am pleased with how sunshiney it looks.
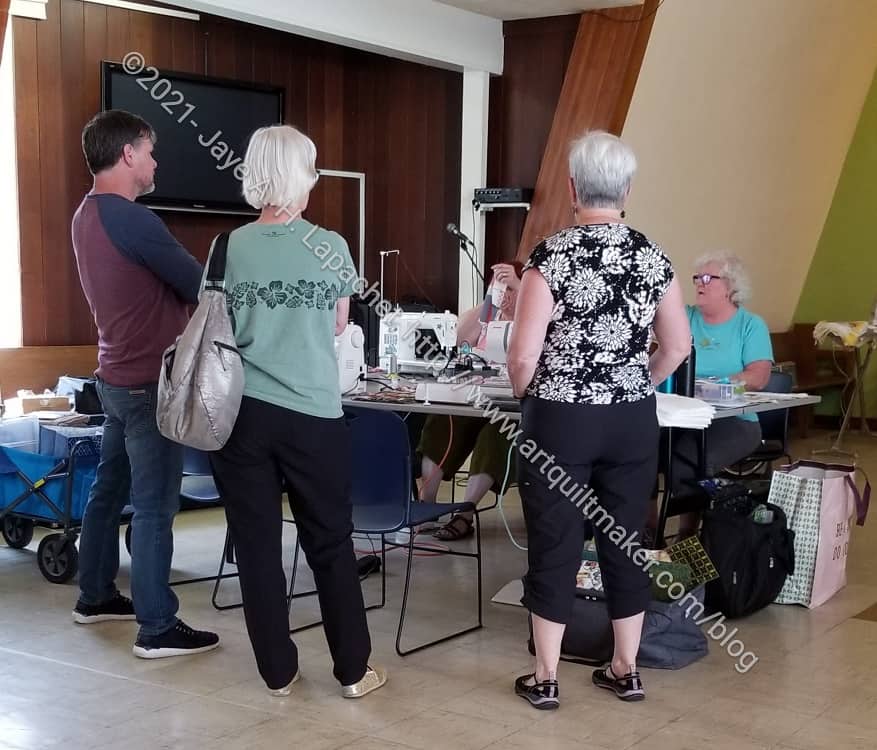
For the first time in over a year, we had an in person Sew Day! It was GREAT. We took special precautions to keep everyone safe and followed the guidelines laid out by the church where we meet.
SIL#2 and I drove down together. We drove my little car and it was filled pretty well. We had a lot of stuff to bring for projects as well as items to hand in or exchange.
I mostly cut out projects. I cut out napkins for the YM, a pillowcase for the YMG (YM’s girlfriend), starting cutting out 3 more Sew Together Bags, which will be gifts, the Westchester Dolman shirt and a few other projects.
BAM Sew Day – June 2021
There was a lot of standing around and chatting. Even though most of us have been in touch over the course of the pandemic, most of us have not seen each other in person for months. Also, there are things people don’t really want to talk about in email. There was a lot of catching up to do.
Amy commandeered a table and everyone at the table worked on a quilt with Amy. She has been making slow progress on the piece for months (or maybe years), which is a gift for another guild member.
BAM Sew Day – June 2021 – Design Walls
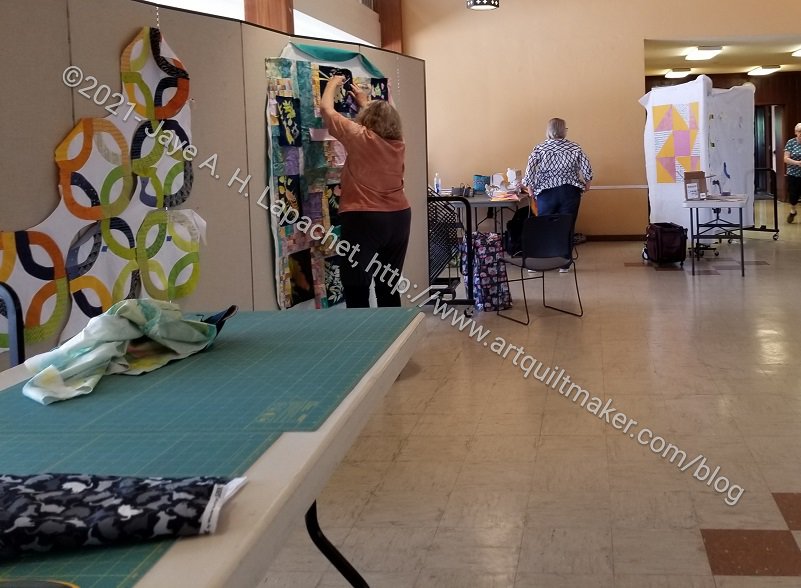
The design walls were put to good use. These large office dividers make great designs walls because of their size even if one does need some pins.
Joy-Lily came a bit late and worked on an improv block piece. I think she was using some of her hand dyed fabrics. A number of people worked on their Put a Ring on It pieces from the class with Latifah Saafir. The one in the photo above is Gerre’s.
BAM Sew Day – June 2021
I believe this was Christine’s first Sew Day. She worked on a quilt using the Quilt-As-You-Go method. The large design walls enabled people to work together to lay out blocks or see problems through fresh eyes.
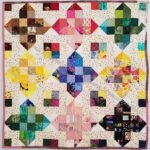
CLW Donation Quilt – June 2021
CLW Donation Quilt – June 2021 -back
Technically, it was a Community Sew Day. I didn’t work on donation quilts as I have Tim’s Improv piece and the Yellow Strip donation top in progress. SIL #2 finished a charity quilt from the last Community Sew Day. I really like the way it came out.
Peggy’s Community Quilt – June 2021
Sue S created a new pattern for the Sew Day and Peggy made one quilt top using the pattern. This is a variation on one design that I have made with the 16 patches before. Just goes to show that nothing is new in quiltmaking. This design is made with all half square triangles rather than including Flying Geese, like mine does.
I might have made a couple of the 16 Patches in Peggy’s quilt. I love the joint effort!
During the pandemic, people have still been working on donation quilts. 12 were handed in at Sew Day, including several of my tops that had been quilted.