I have spent a lot of time working lately and no time on the Pineapple. Bleah! Still, I am trying to keep up and keep you all entertained.
First the inspiration:

This sun can be found in the sidewalk on 30th near Church and I have been admiring it for years. I was finally carrying my camera around this week trying to get a photo of a really stupid bus ad (not successful), so I took the opportunity to snap a pic of this sun. One thing I like about it is the detail in the rays.

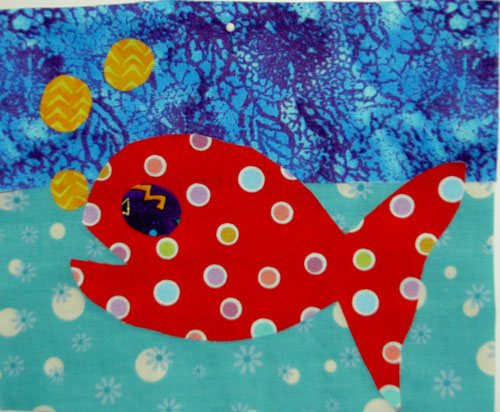
I saw this flower on 2nd Ave near Cabrillo, which looks much better in the photo than in person. I like the way the composition came out. I also thing those little lines (stamen???) are cool. This flower looked flat, but was very 3D when I looked at it.
Now on to the work. Just to warn you the following work is only indirectly mine.
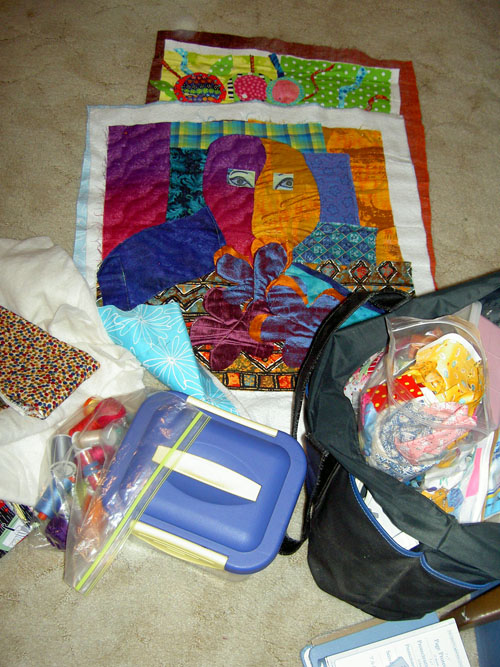
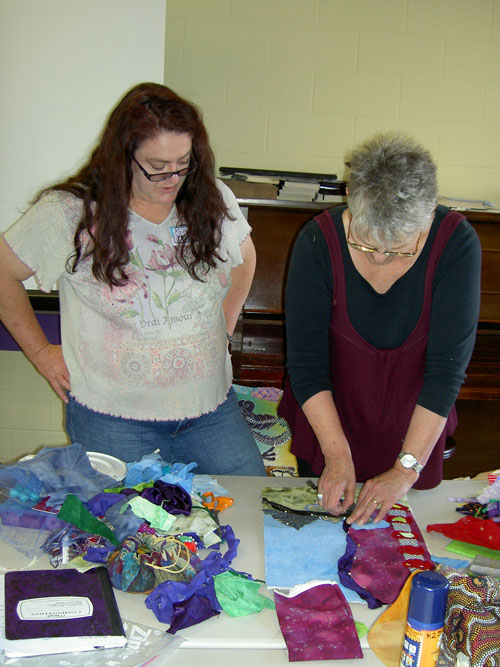
As some of you may remember, I have been teaching a beginning quilt class for the past ~2+ years. We had been on extended hiatus and I finally forced the class to meet in order to see where they were in the process so we could either move forward or agree to give up on the class. Fortunately, they agreed to go on, because I would have been a bit depressed if they just wanted to bag it.
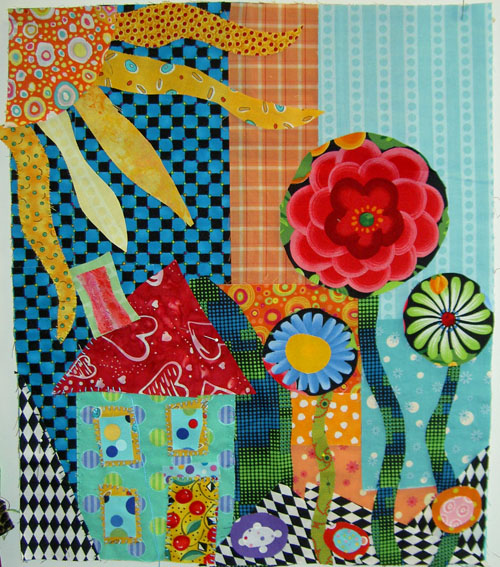
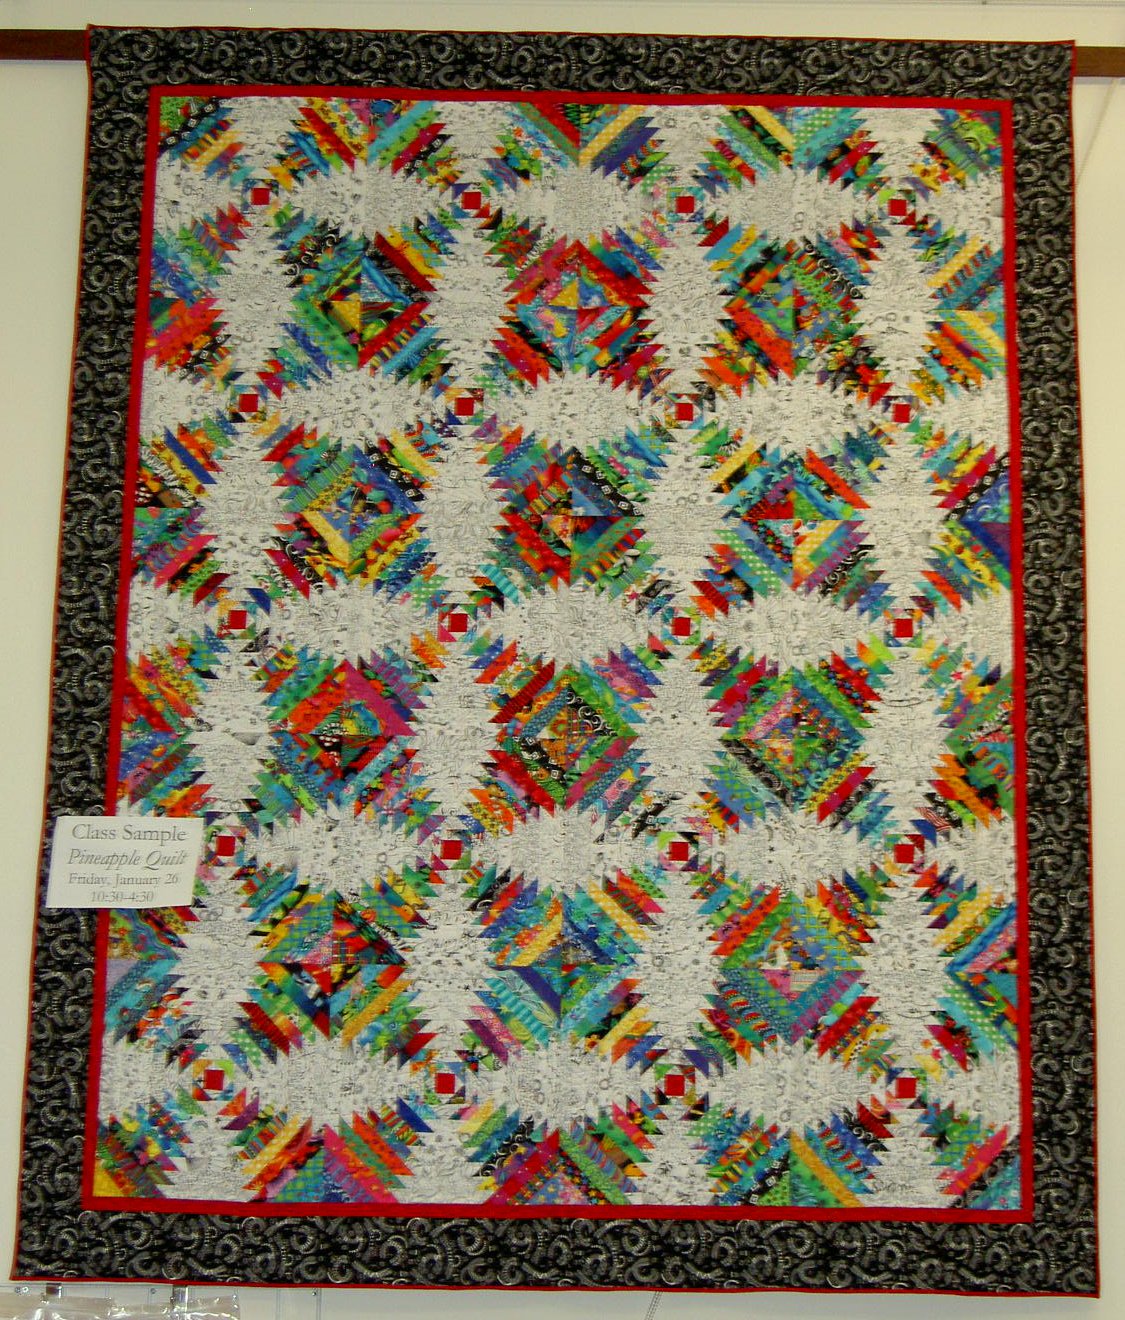
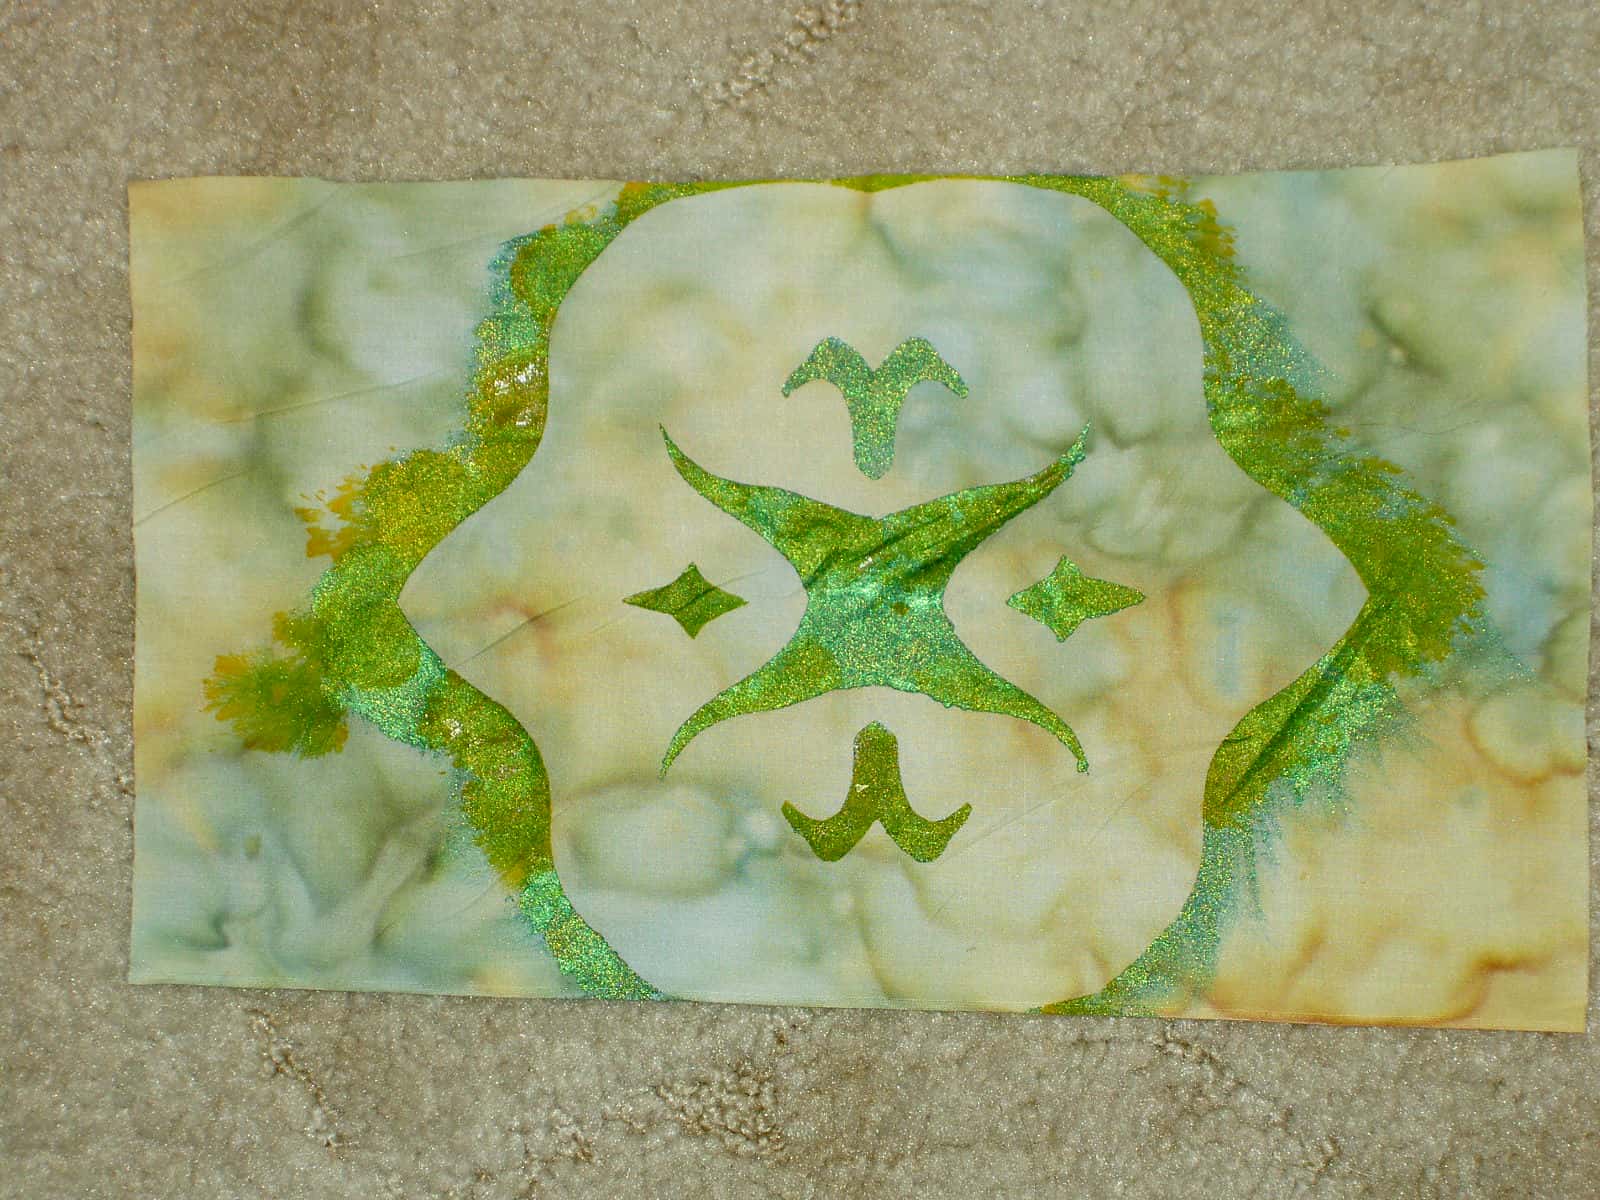
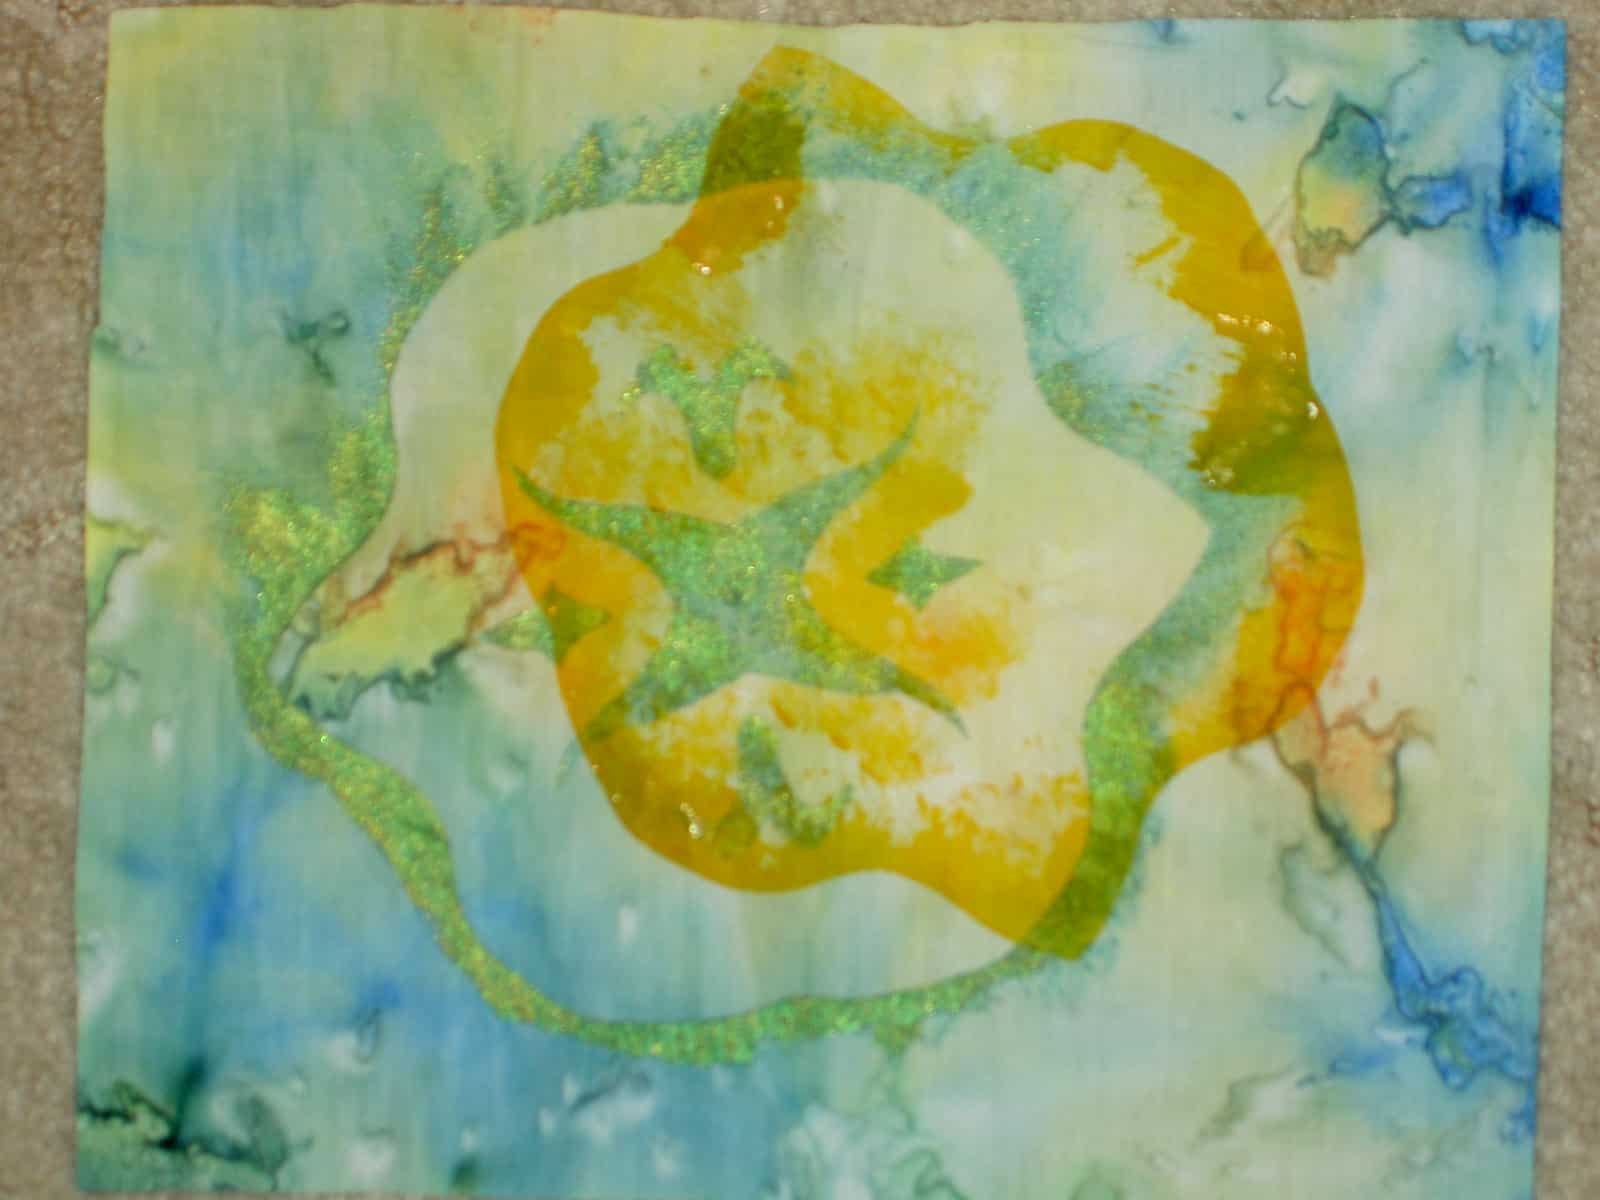
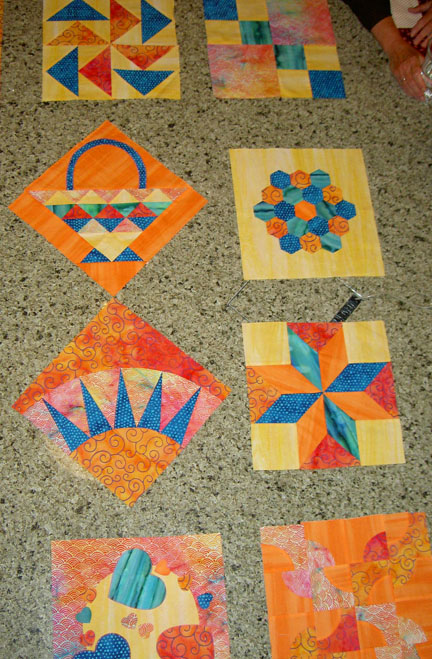
We looked at each of the sets of blocks and agreed to work on machine quilting next. I had another type of machine applique’ on the agenda, but I think the students are done with making blocks.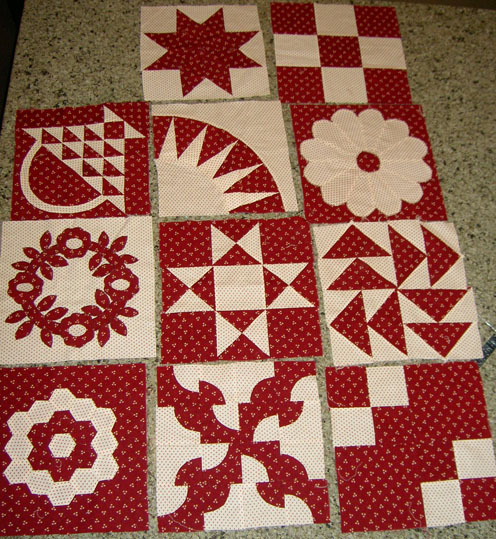 Above are the blocks that Beth has done. She started out making two color blocks, which posed different issues during class. It was good, because we had to discuss issues of contrast and placement of color in the blocks. That is the kind of look that she wanted and her blocks turned out very well. She needs to make one more block and we had a long discussion about the color of sashing. The problem is that a number of the patches in each block will drop out if she uses the fabric she has used. We discussed muslin, navy and black. My advice was to go to the quilt store and lay the blocks on top of a lot of different colors to see what look was best for her.
All of the blocks are supposed to be 12″ finished. One problem both students reported is that their blocks are wildly different sizes, ranging from 10 1/2″ – 13″. I gave them all of the templates, so something happened between then and the sewing. There is a lot of margin for error, but I didn’t have a pat answer for them. I’ll need to refer them to Sally Collins’ book. I’ll have to think about that problem, though, so I can address it in my next class, if I ever teach again. The solution for this class is that they will have to add frames to their blocks to make them a uniform size.
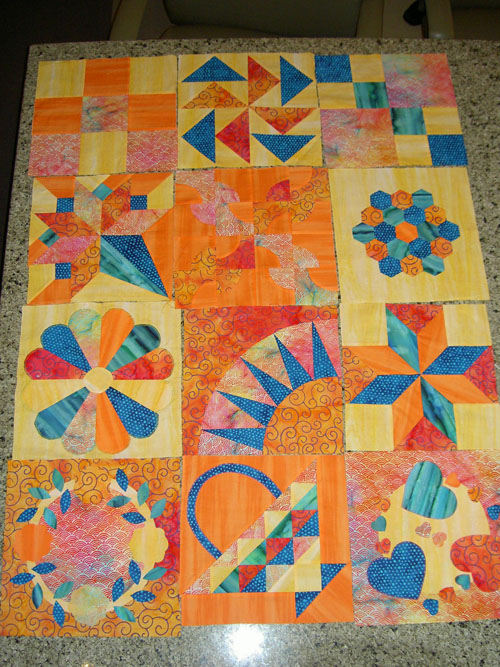
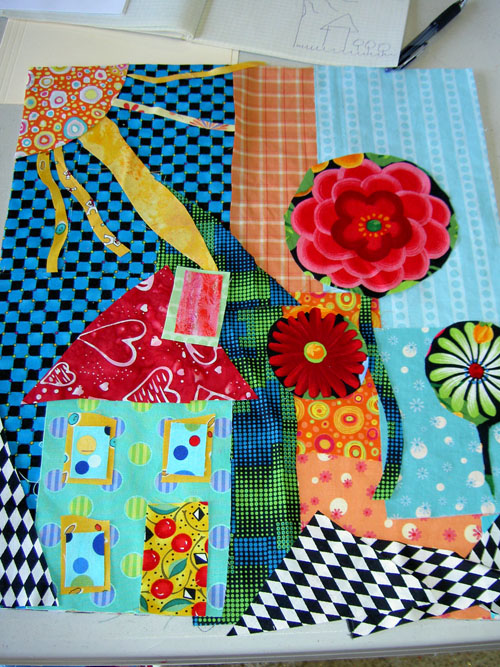
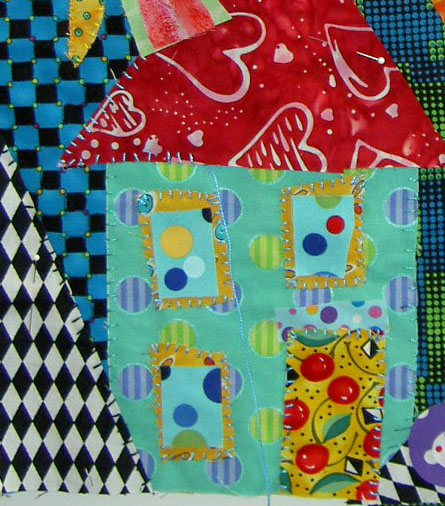
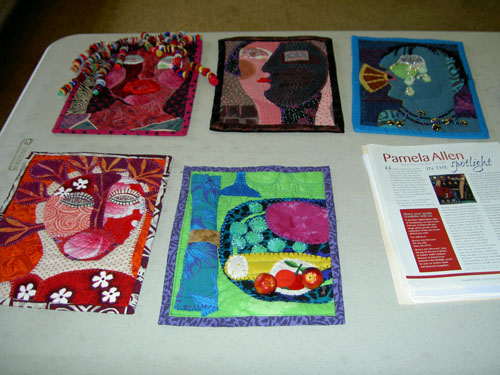
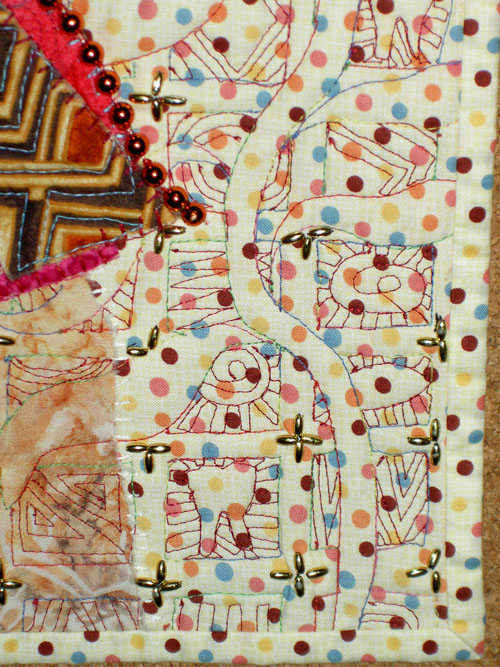
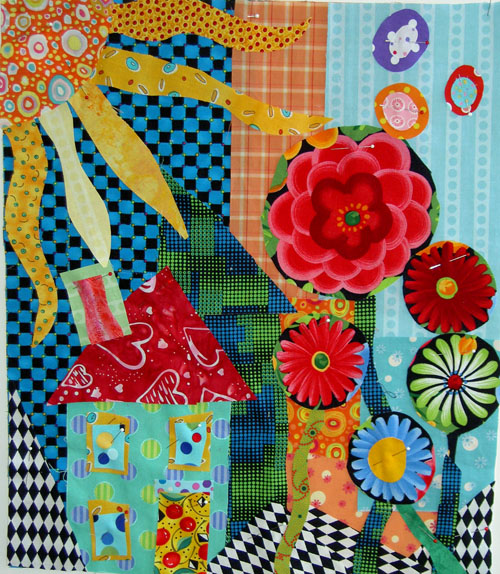
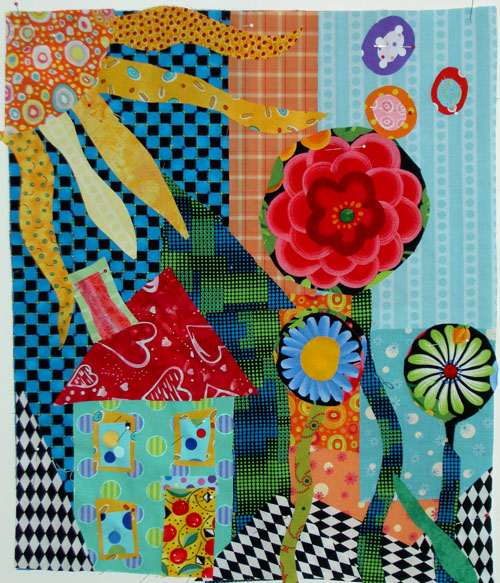
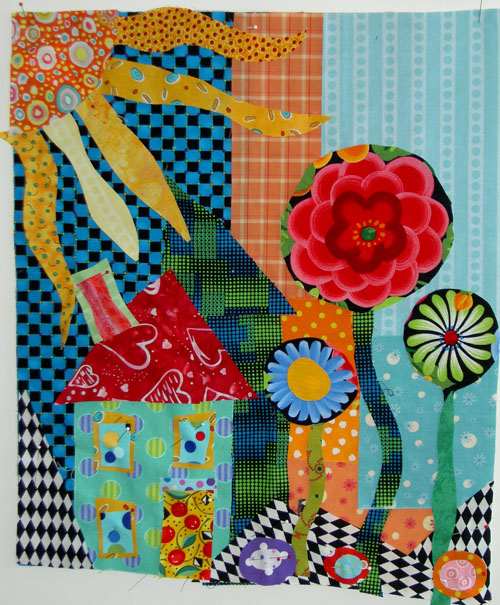
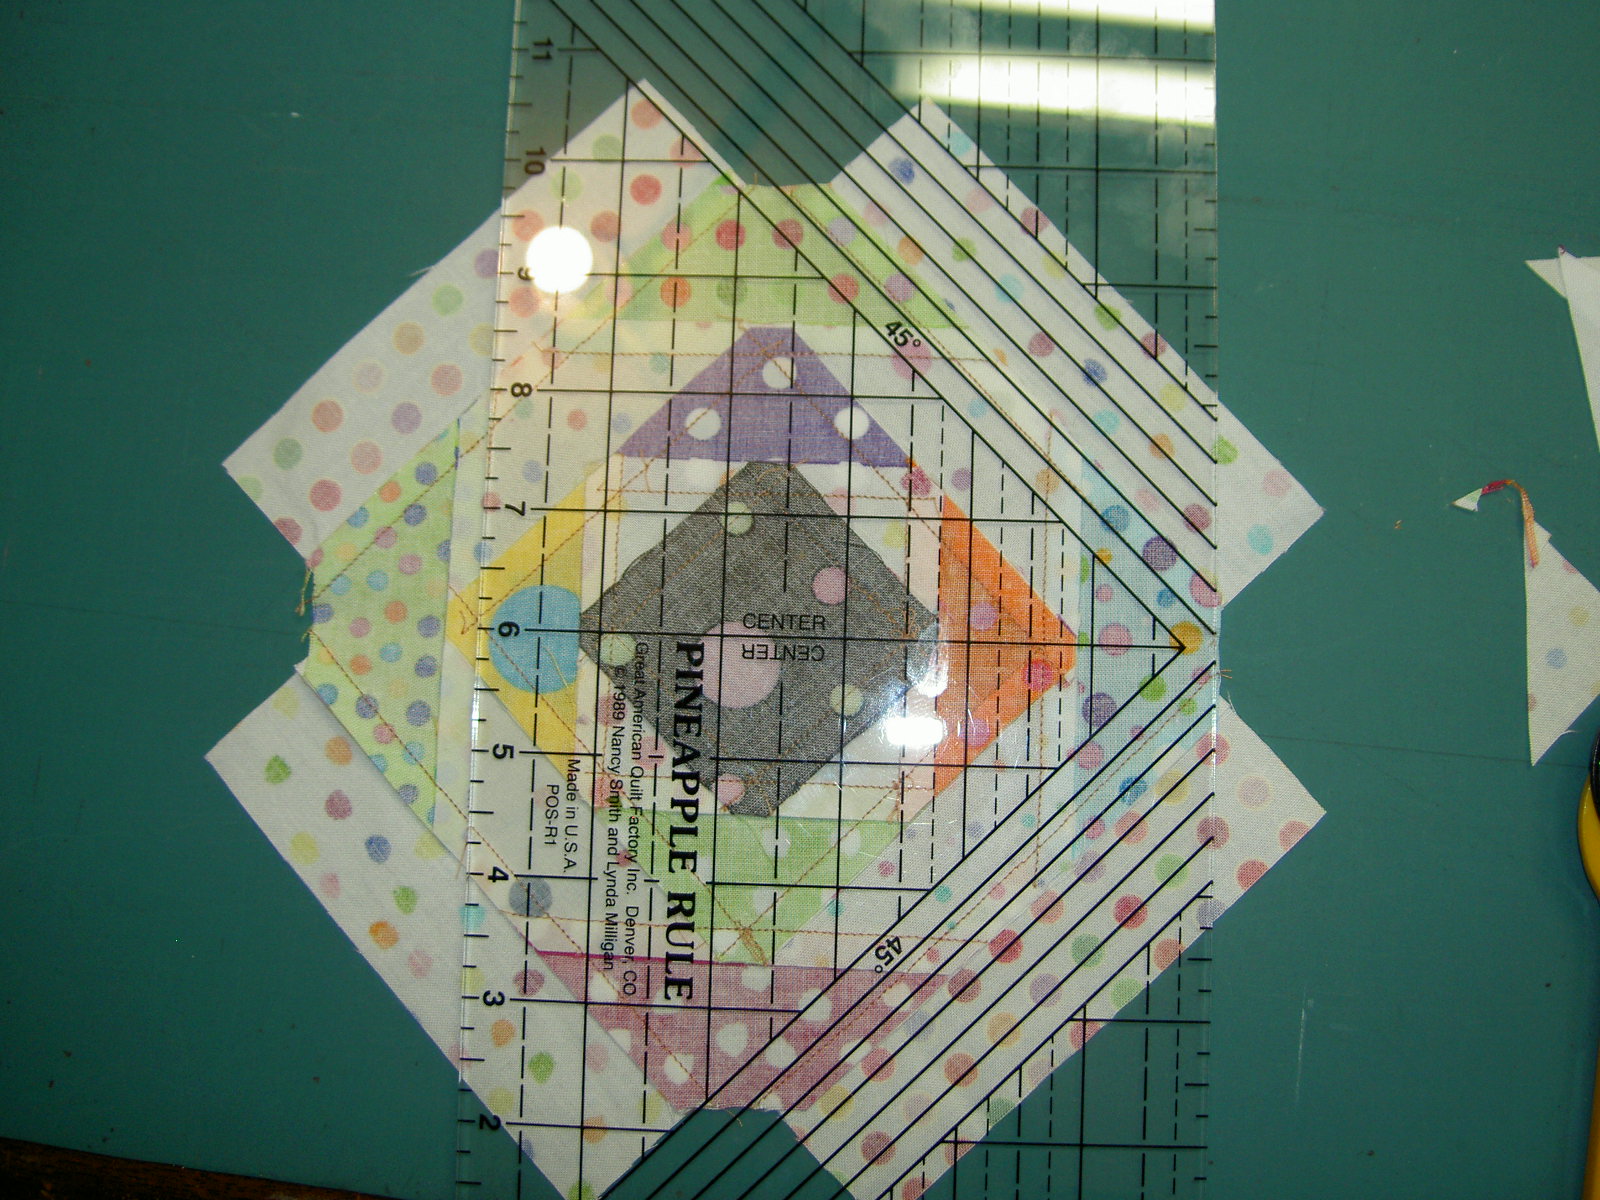
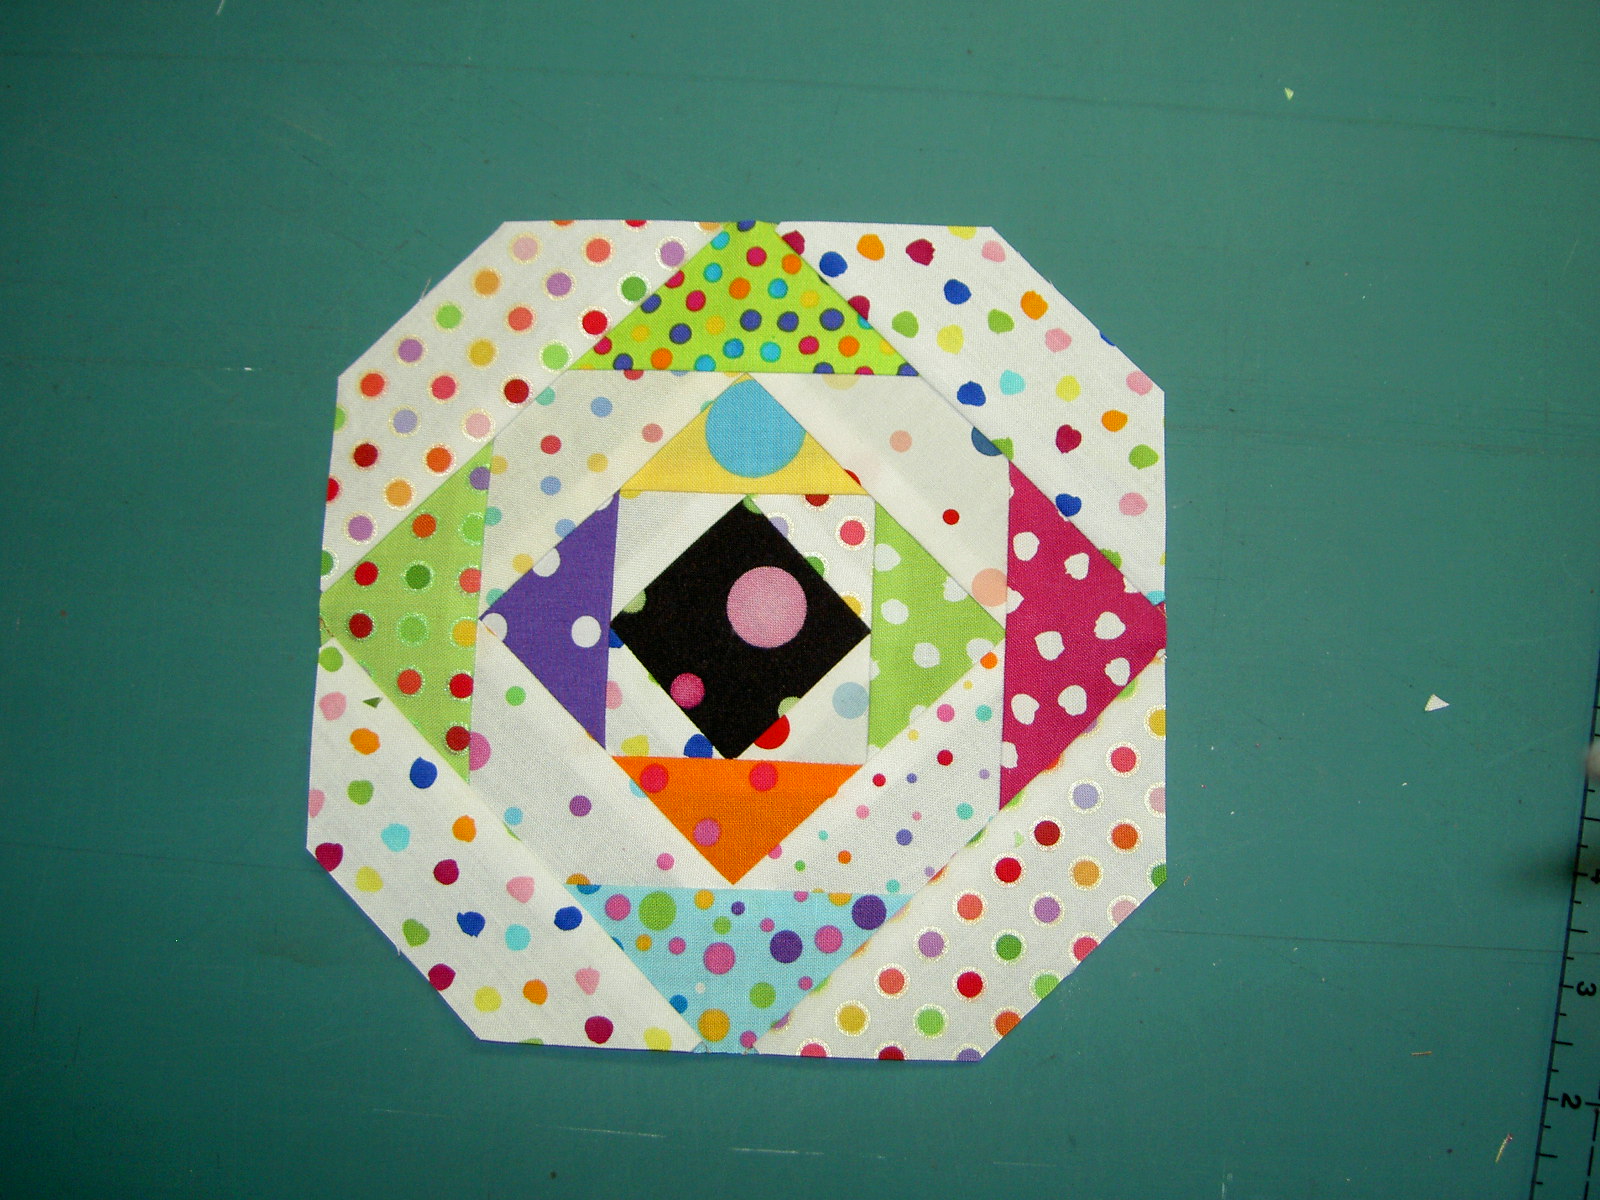
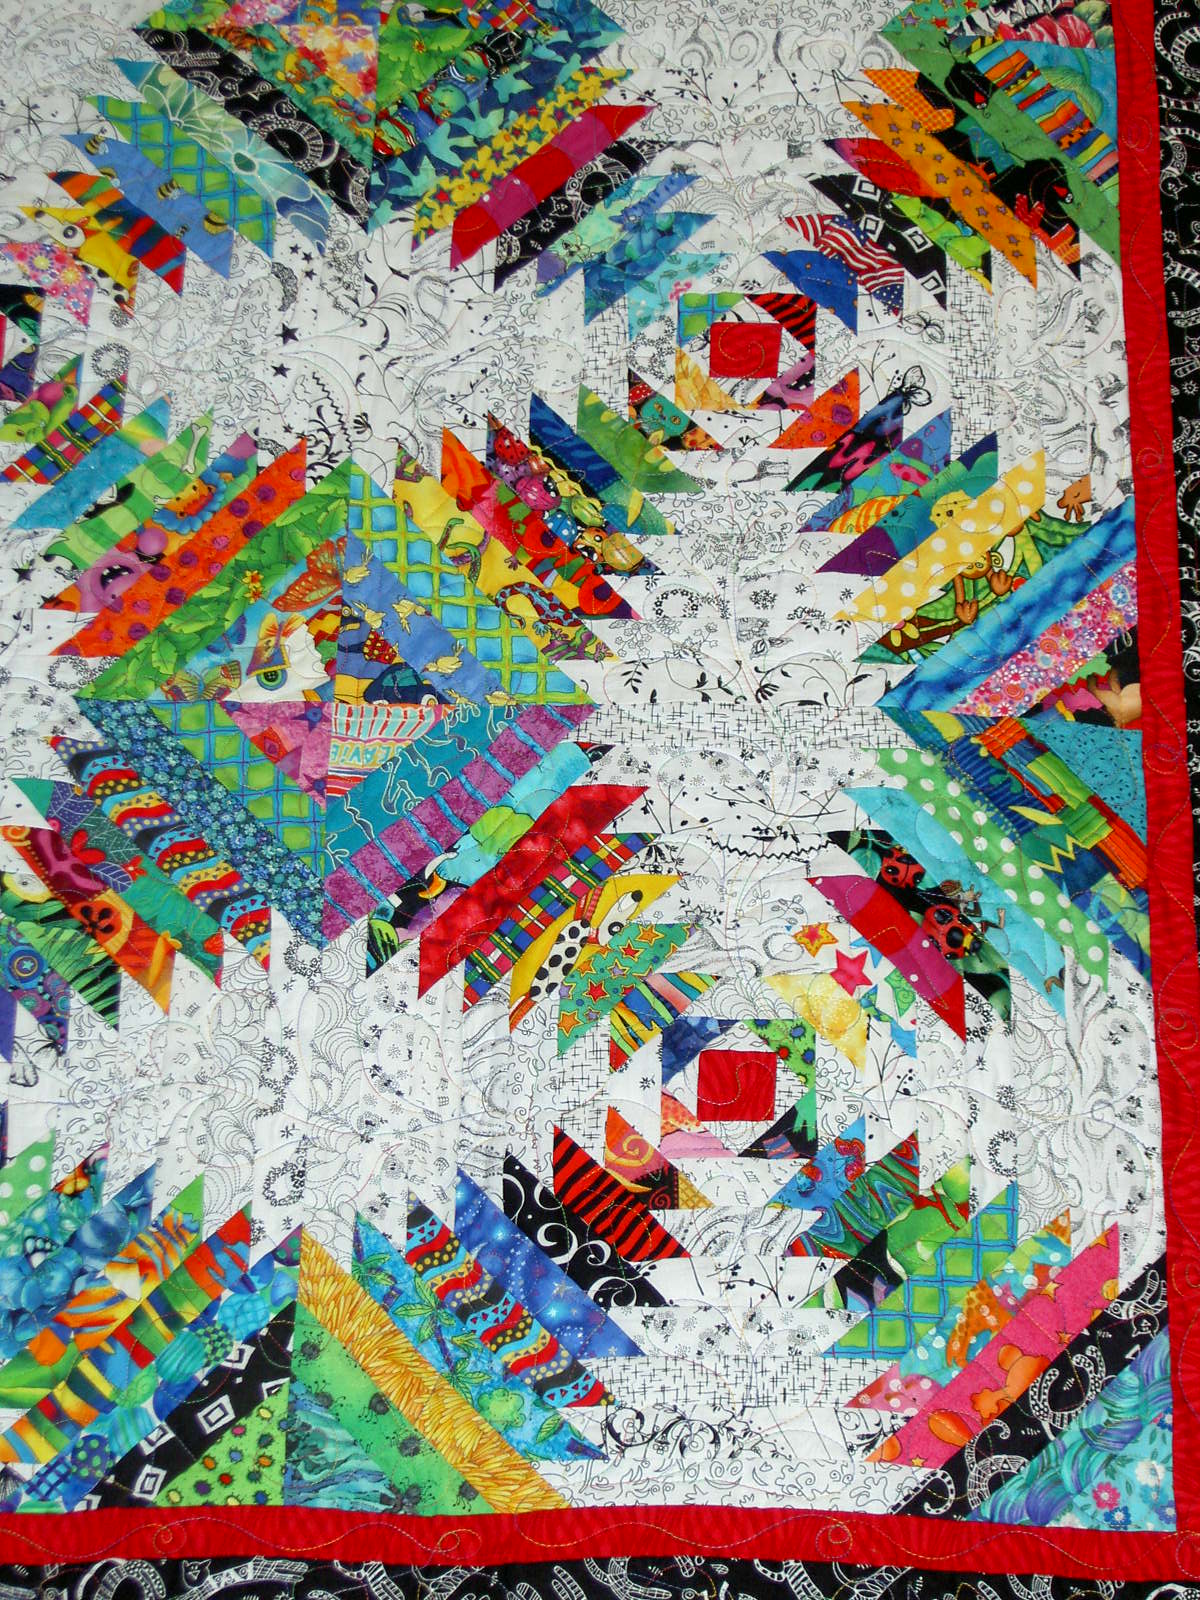
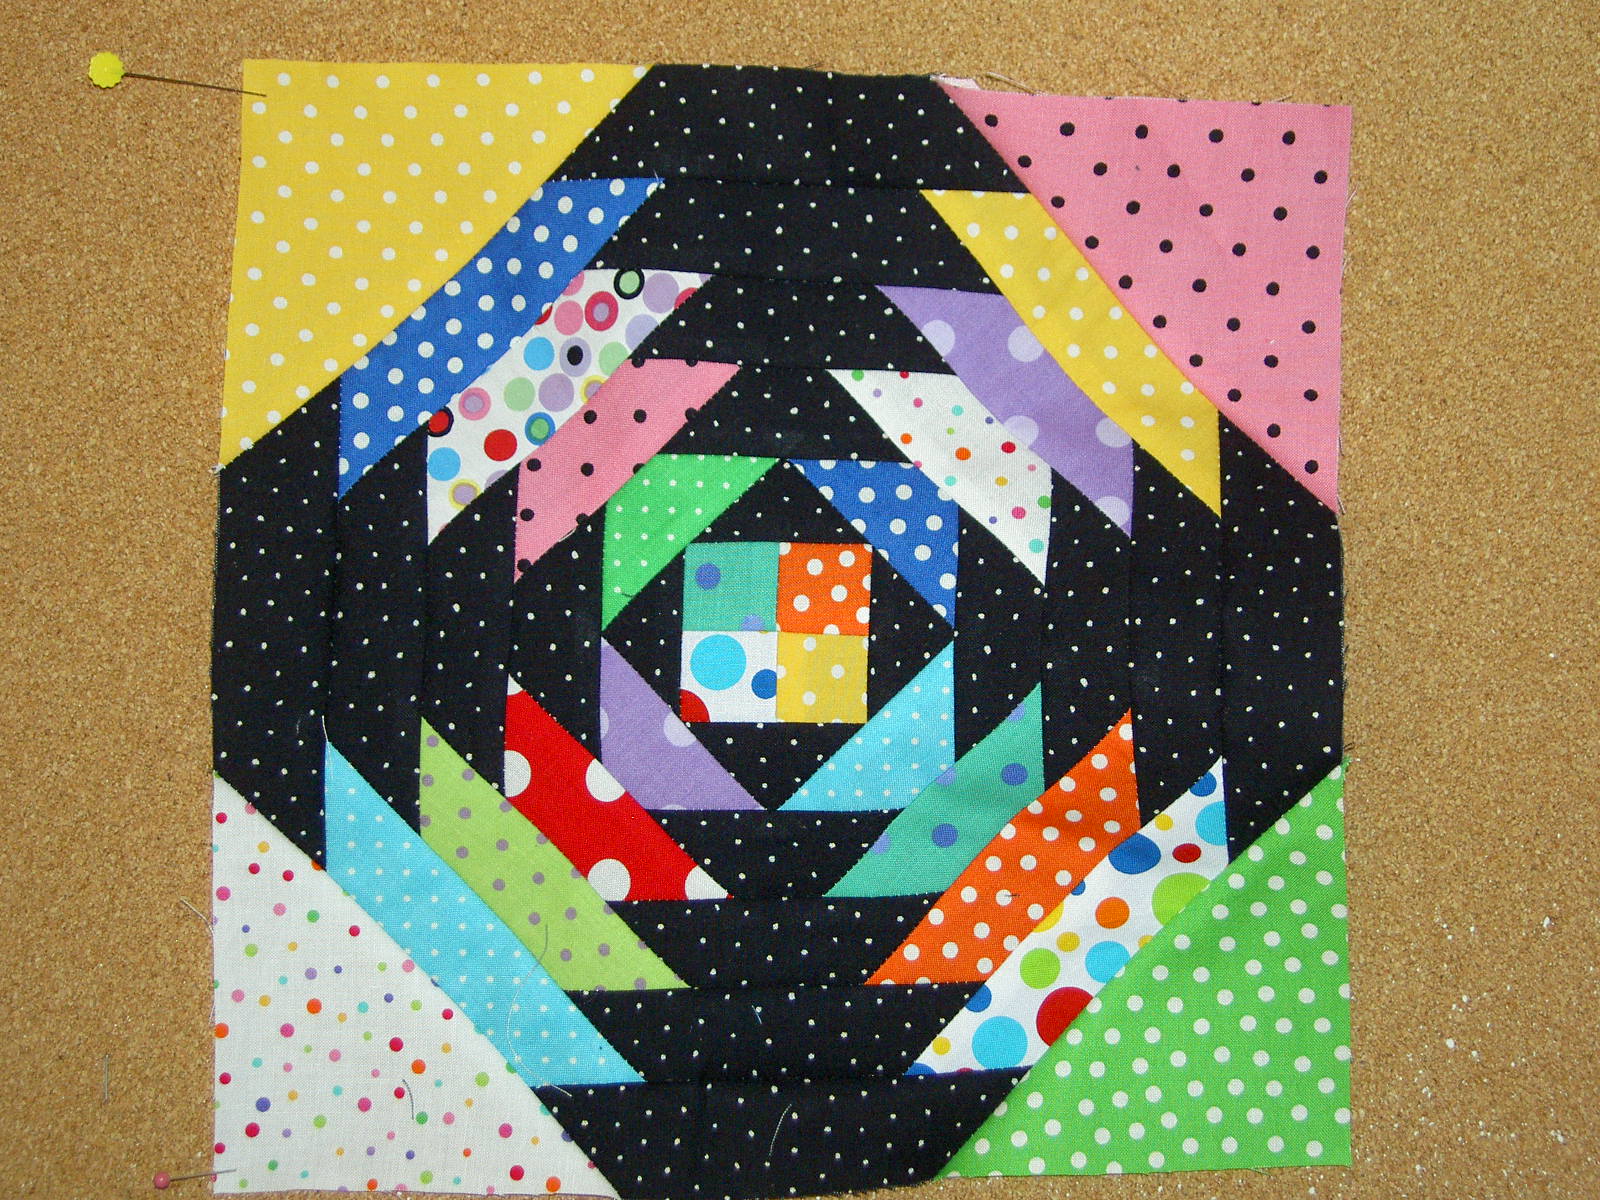
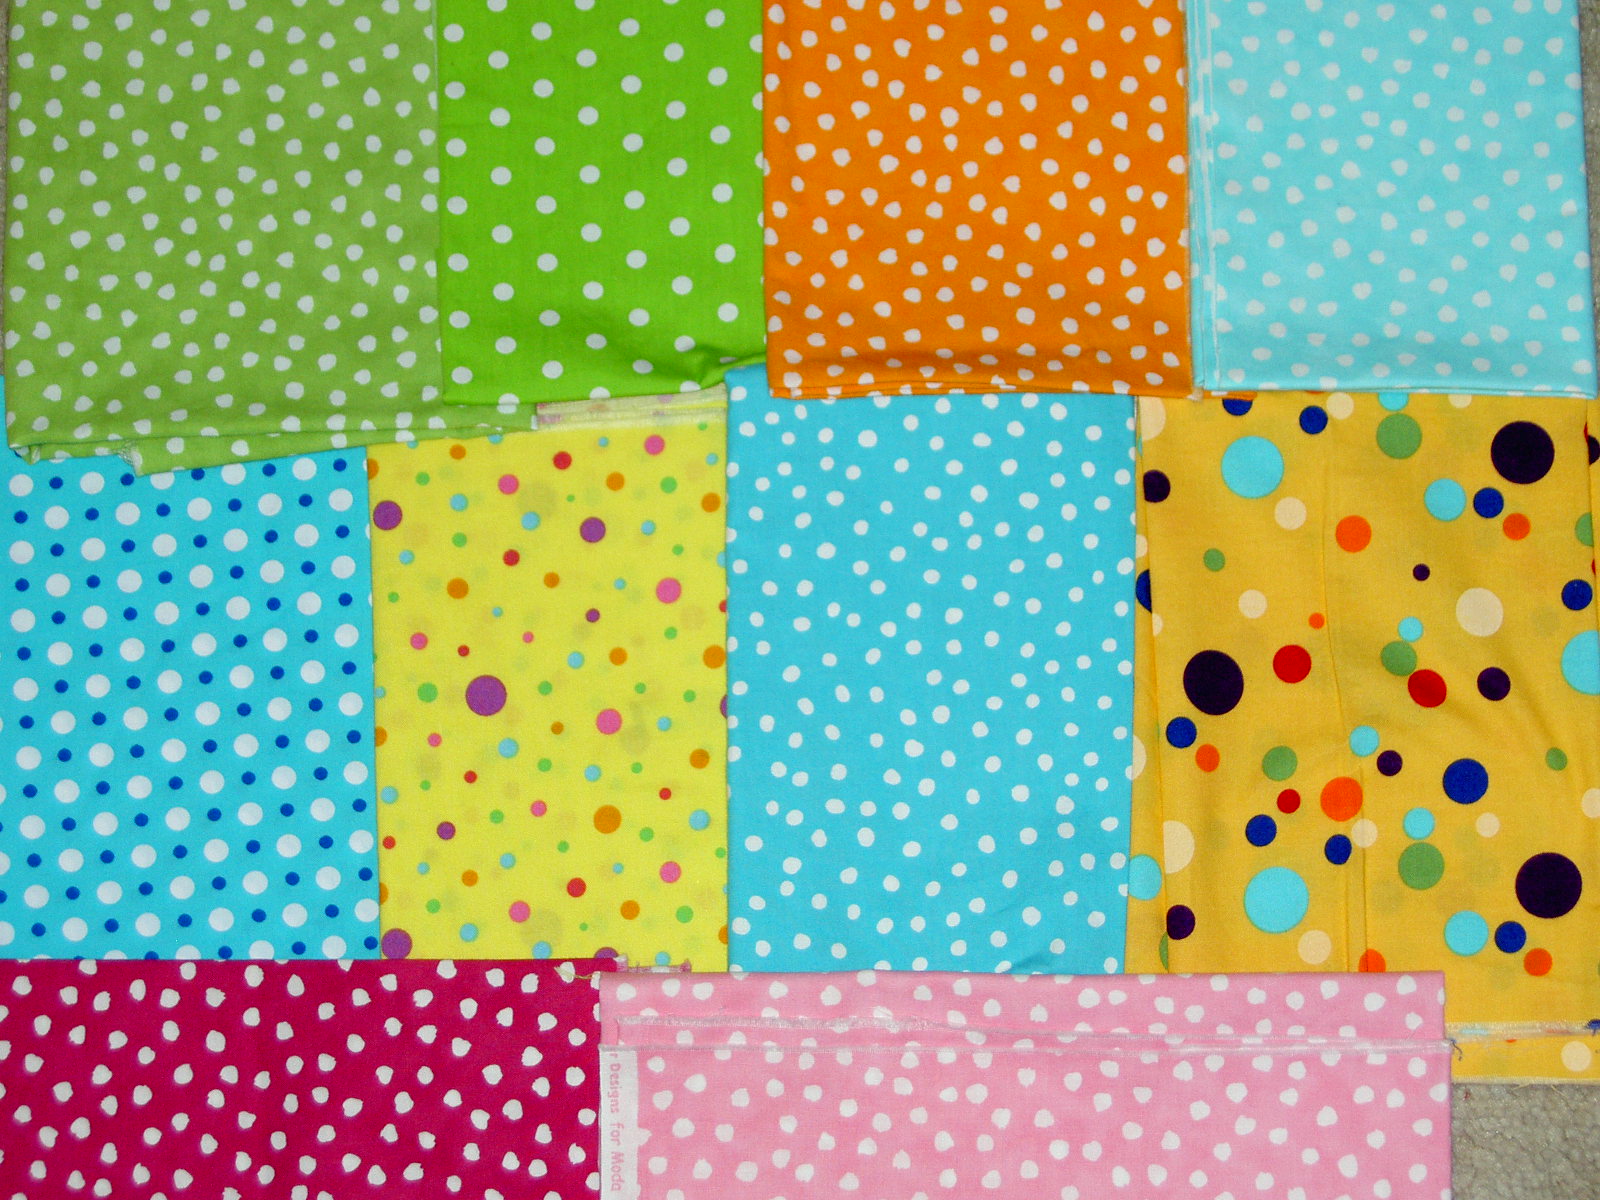
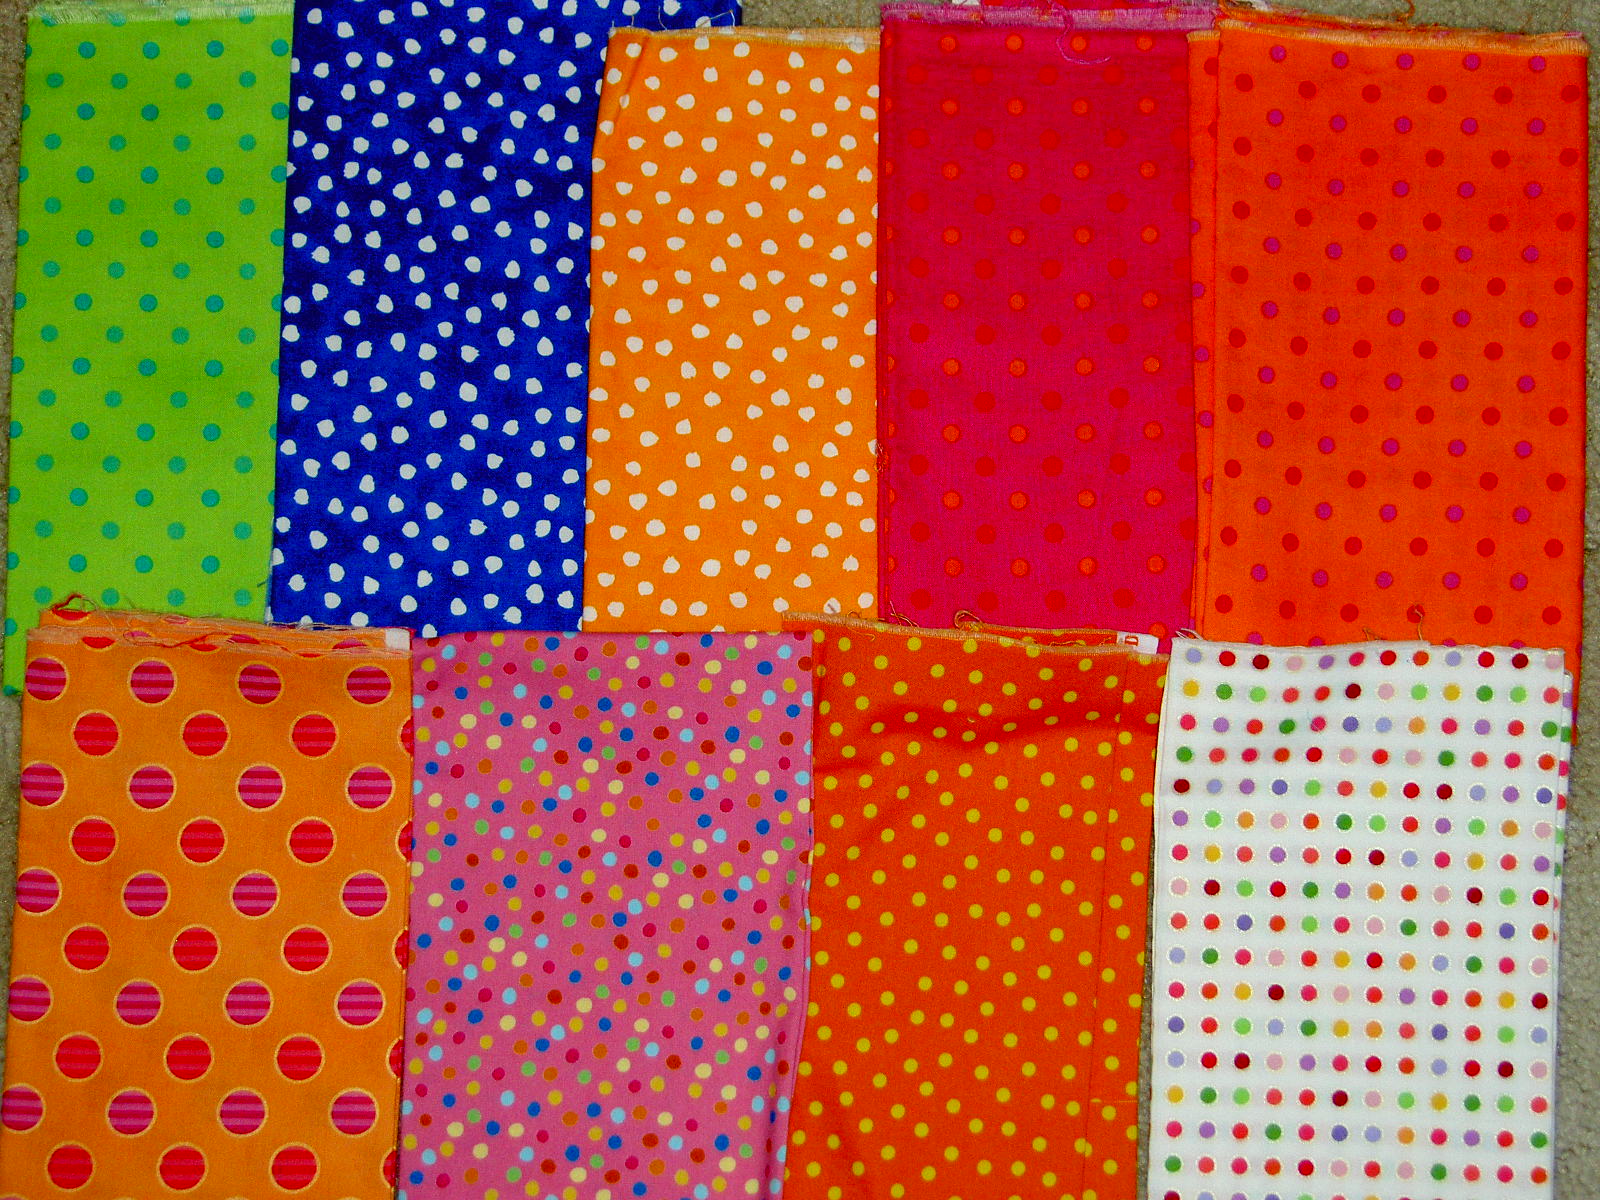
These are Alice’s blocks. Alice is Indonesian and does beading and Indonesian dancing. These blocks really reflect her personality: friendly, bubbly and very creative.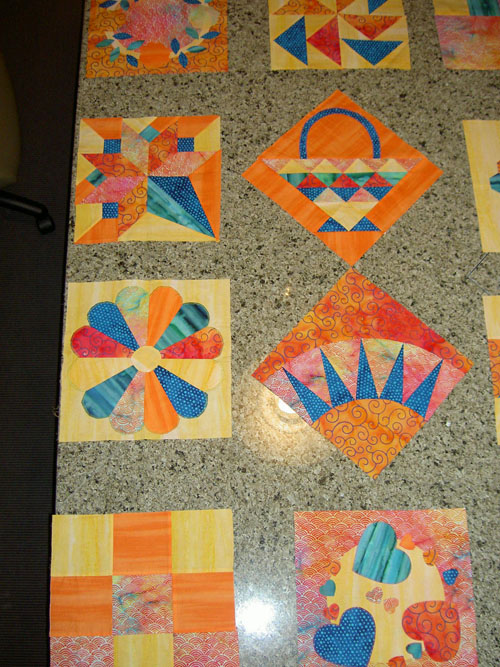
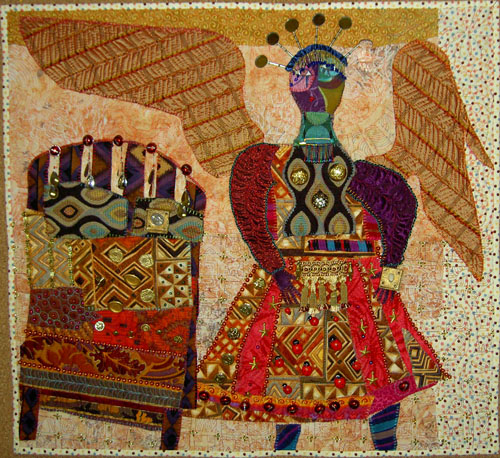
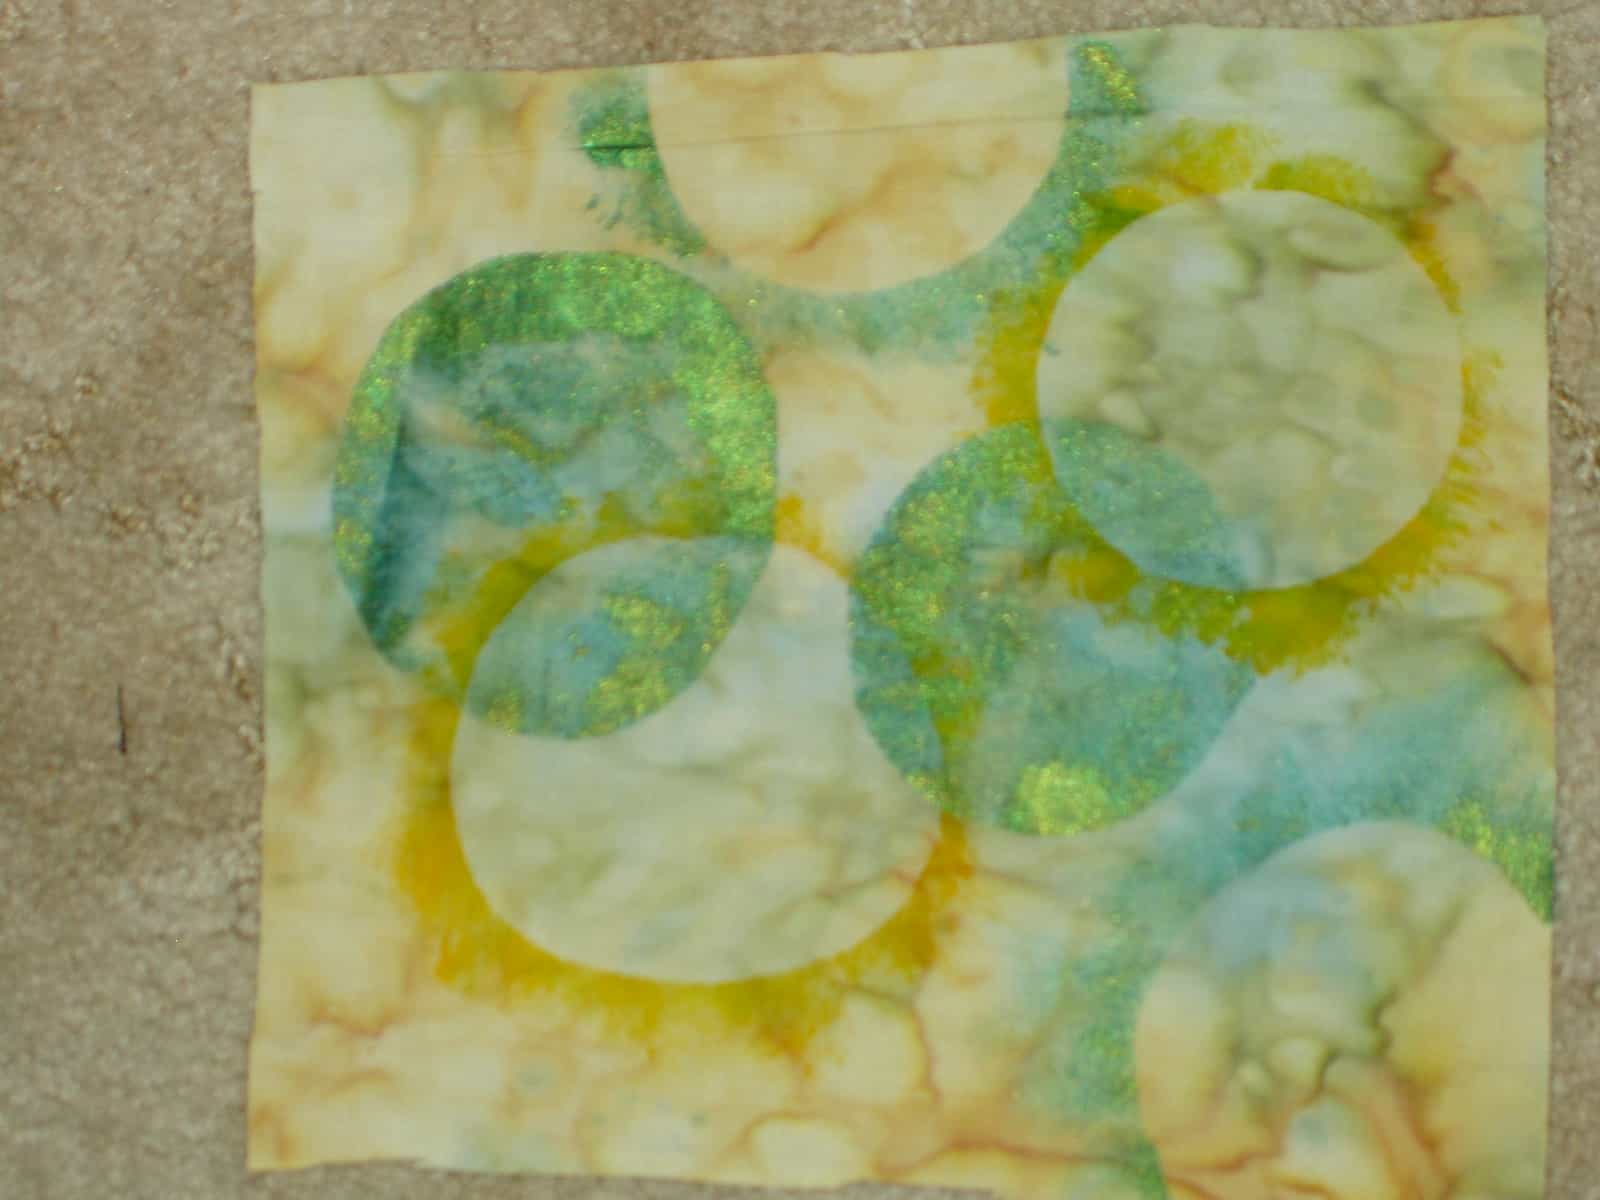
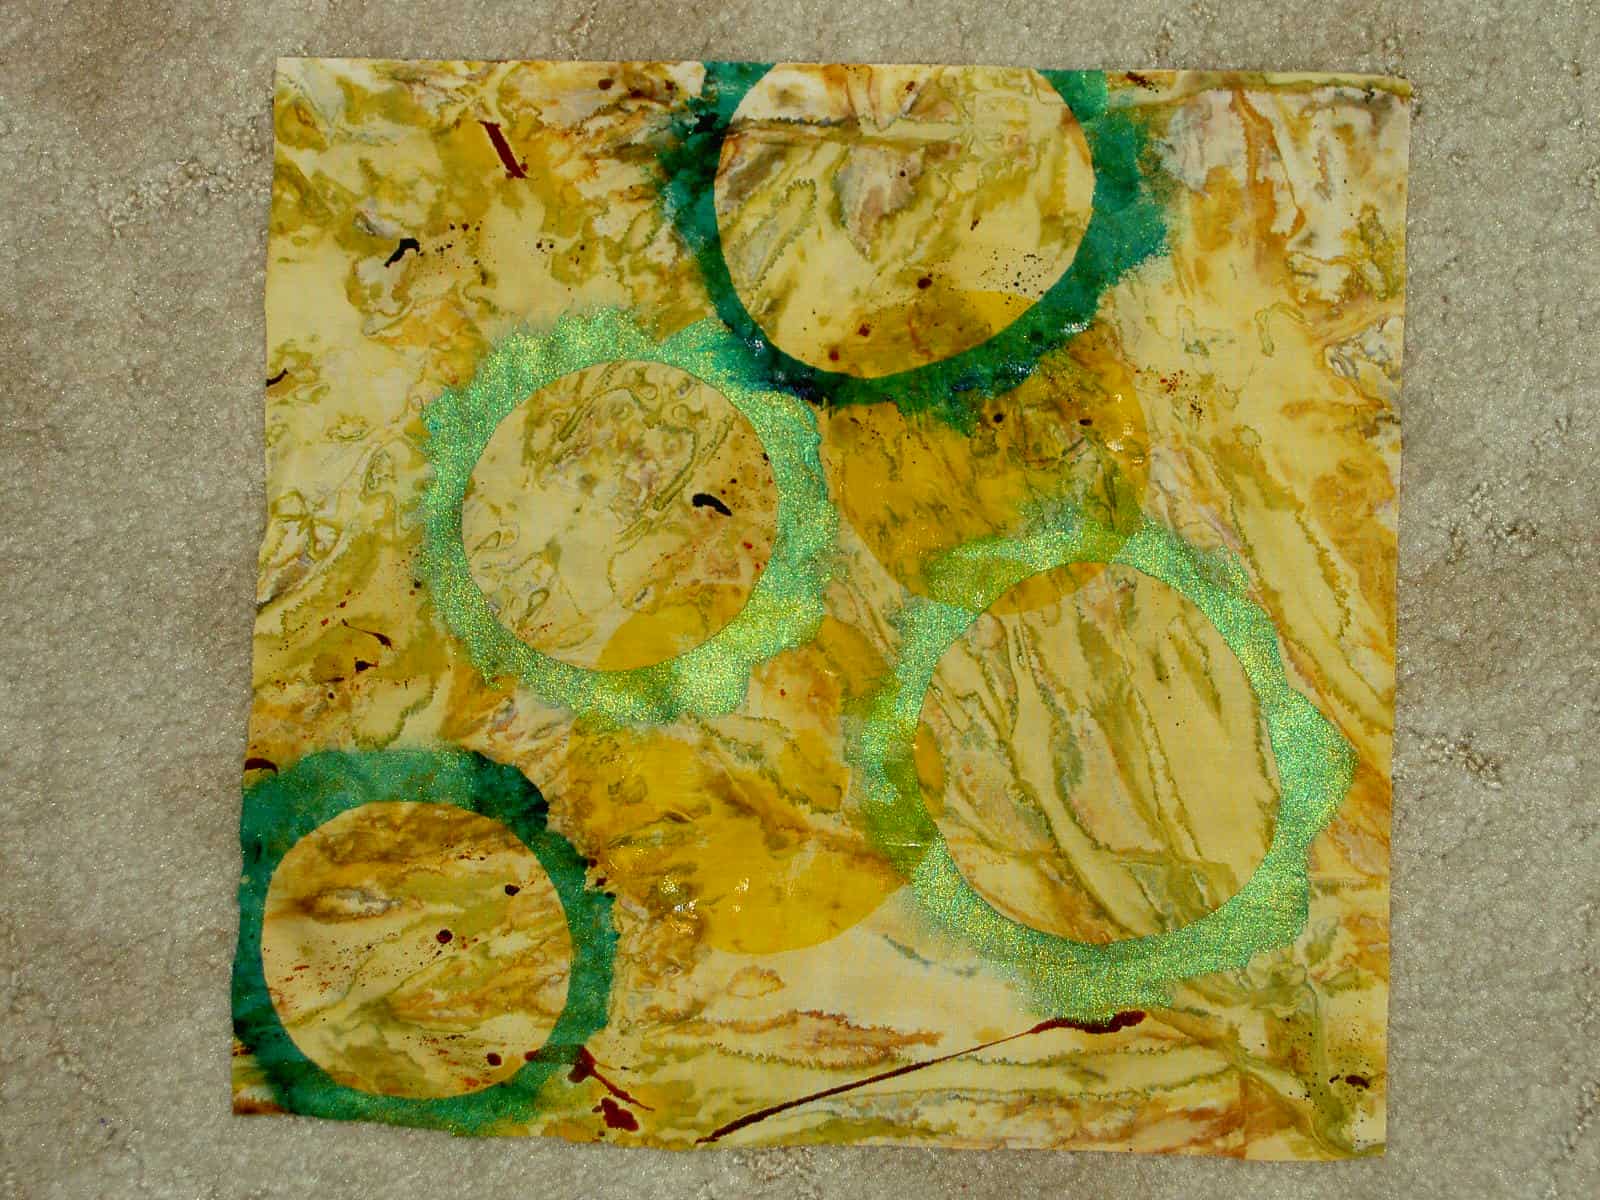
 The two photos above are details.
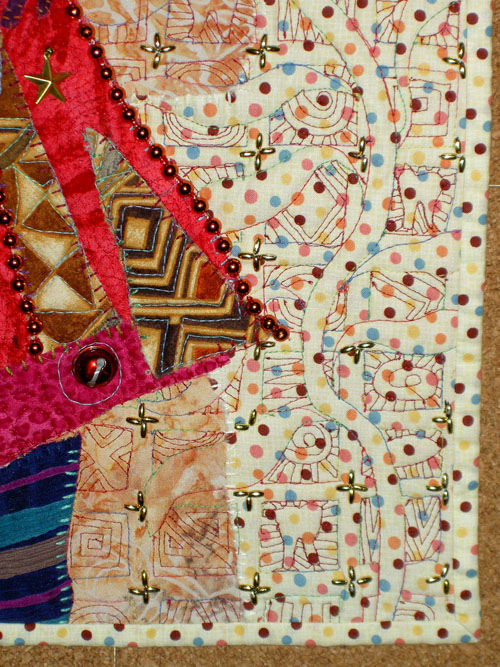

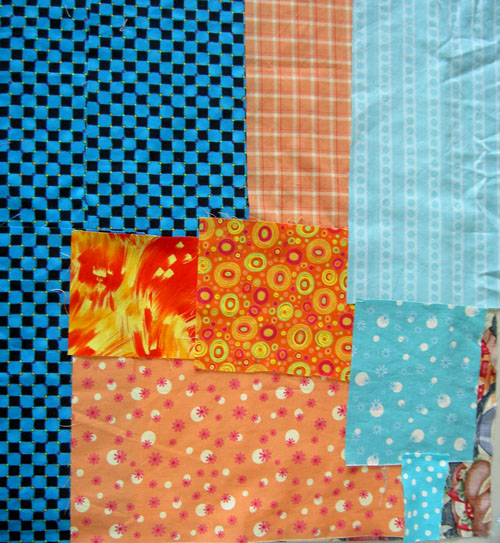
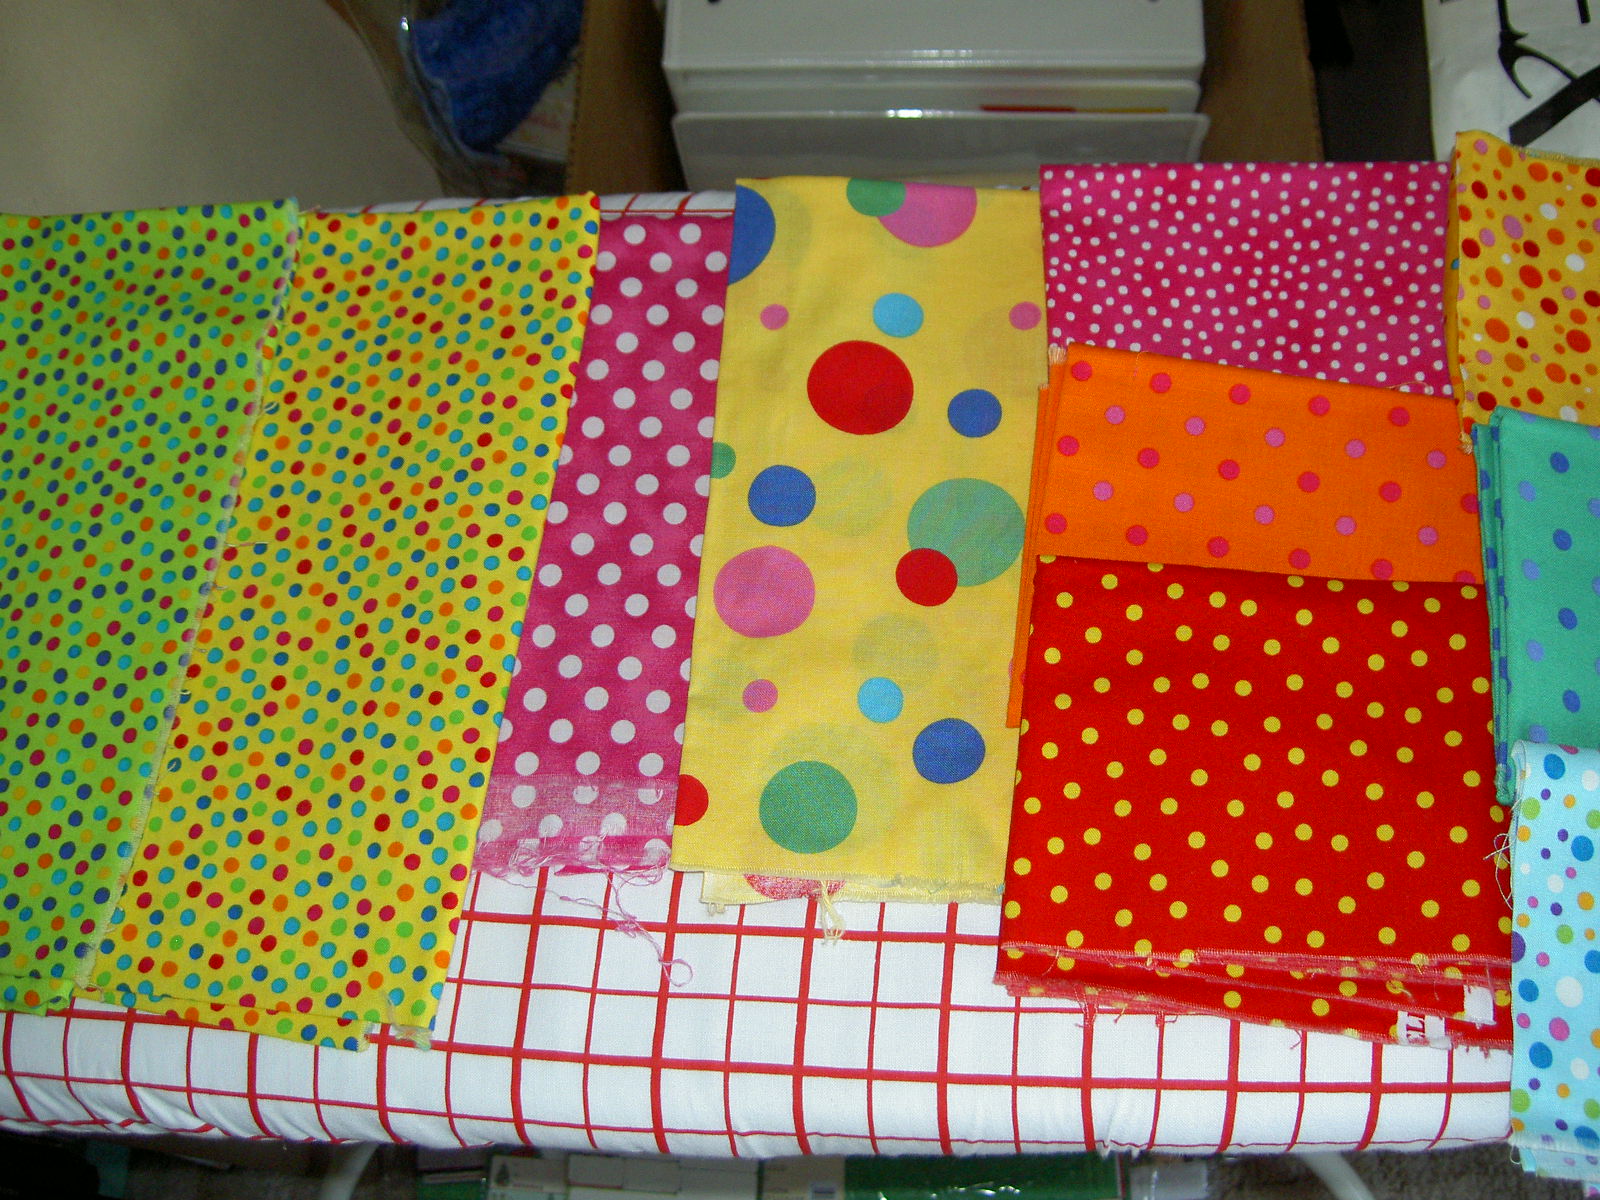
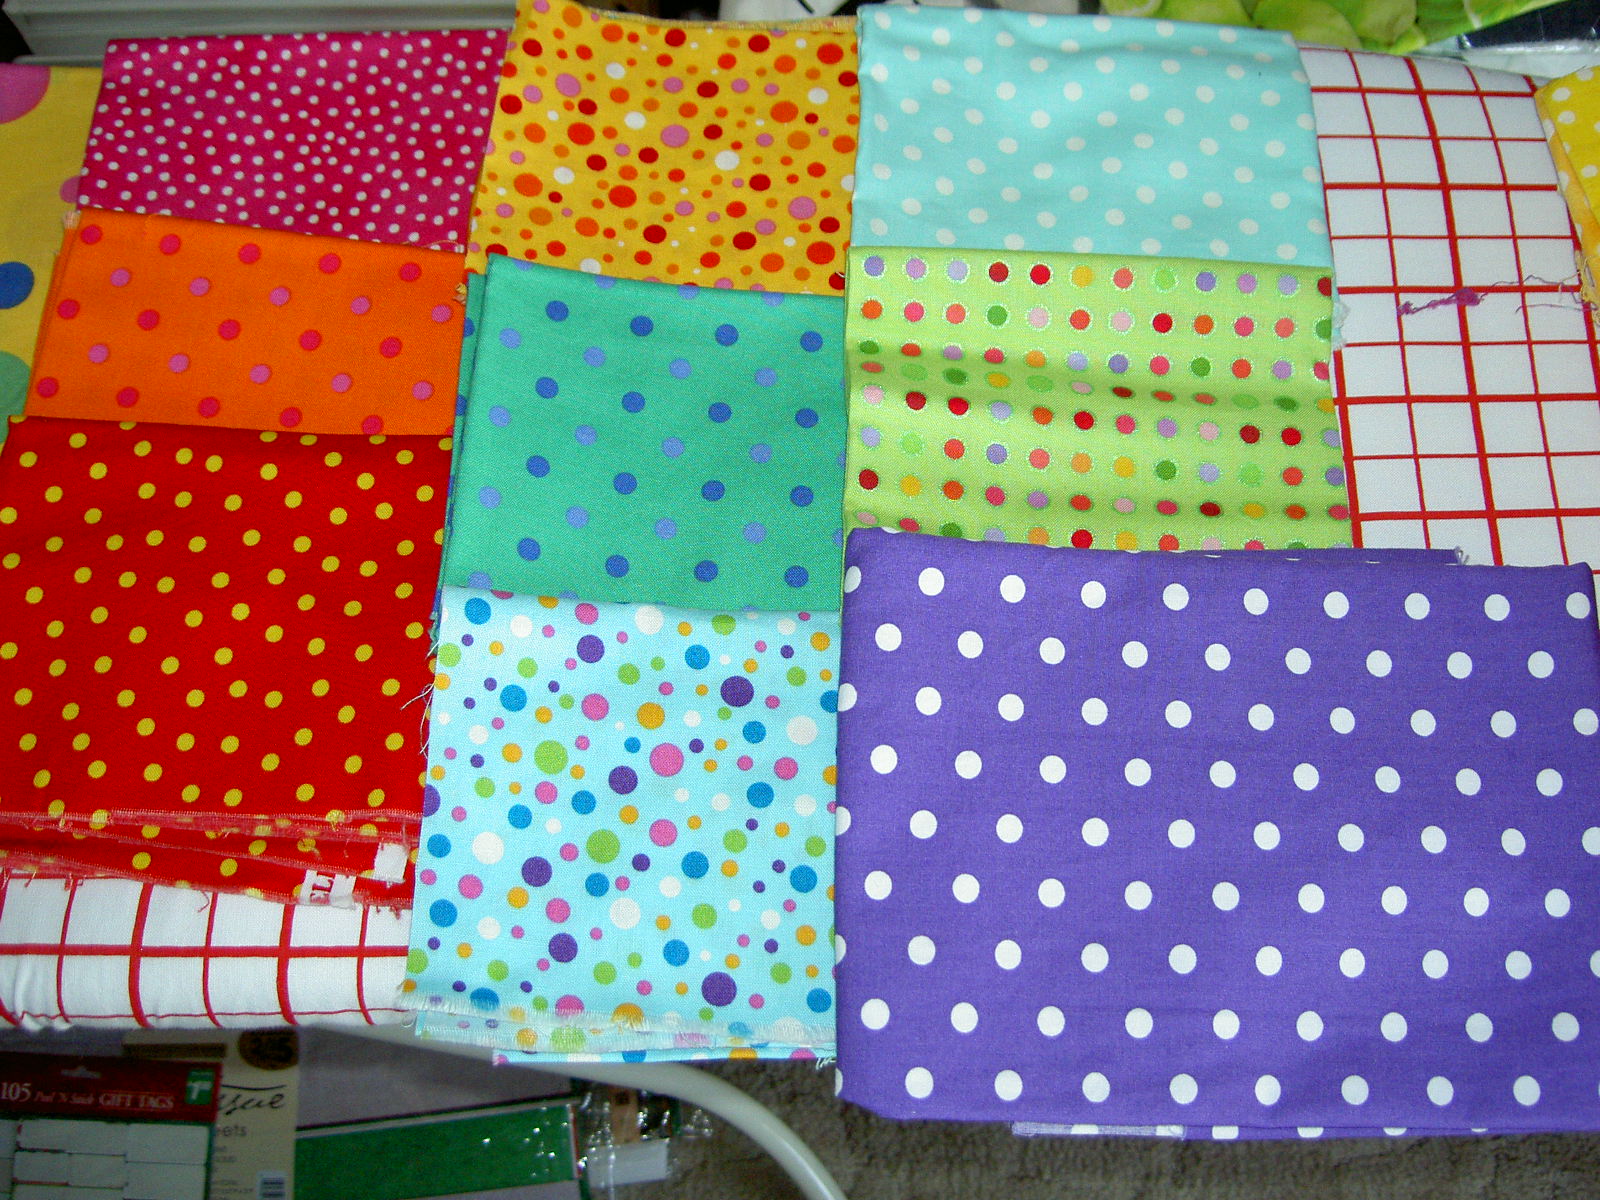
 Alice had a lot of fabric with her so we were able to discuss how to pick out the fabric for the sashing.
For various reasons, only some of which are related to quiltmaking, I have been thinking about commitment lately. I know that people are busy, but it seems odd to me that people give up on activities they enjoy so easily. I have not been able to sew a lot lately, but I have been reading magazines and working a little bit on my hand piecing (photos to follow). I understand that people are busy; I am the queen of juggling. I understand that people have to prioritize and that life intervenes. Still, it is annoying that people will just give up on something and not care if another has spent a lot of time organizing. I wonder if people really value time.