A few days ago, I posted the first part of the tutorial for the first Large Pocket needed to complete the Ultimate Carry All Bag by Natalie Patton.
In order to sew along, you will need:
- Purchase the pattern
- Gather your supplies
- Cut your fabric
- Print the tags
You can find more information at the following links:
- Tour of the bag -Instagram
- Bag-a-Long project post – 9/27/2019
- Thoughts behind the bag – 8/7/2019
- Find all posts about this bag by using the hashtag, Ultimate Carry All Bag
Additional Supplies**
- Creative Grids 4.5″ x 8.5″ ruler
- Sewline pencil
- Large WonderClips
Today we will finish the first of the large pockets.The directions for this step int he pattern start on page 8.
In the first part of this tutorial, we made the P2 pocket. We will continue from where we left off.
Tutorial:
Sew P2 to P1
Take your P1 fabric piece and your P2 pocket.
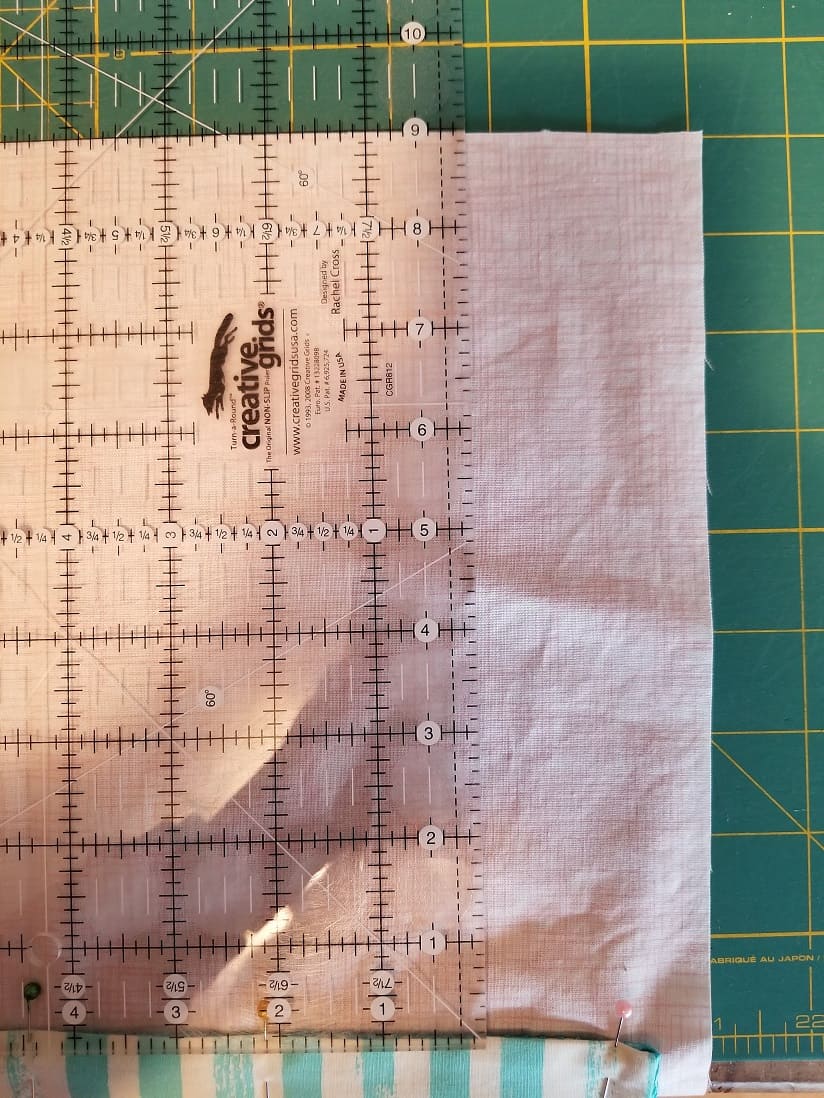
Measure line 9” down from the top of P1.
Draw a light line with a Sewline** pencil. You can leave the ruler in place and adjust the placement of the pocket using the ruler, if you don’t want to mark your fabric.
Place P2 upside down on top P1. Line up the bottom of P2 with the 9″ line.
Pin the pocket in place.
Remove the ruler, if you haven’t already.
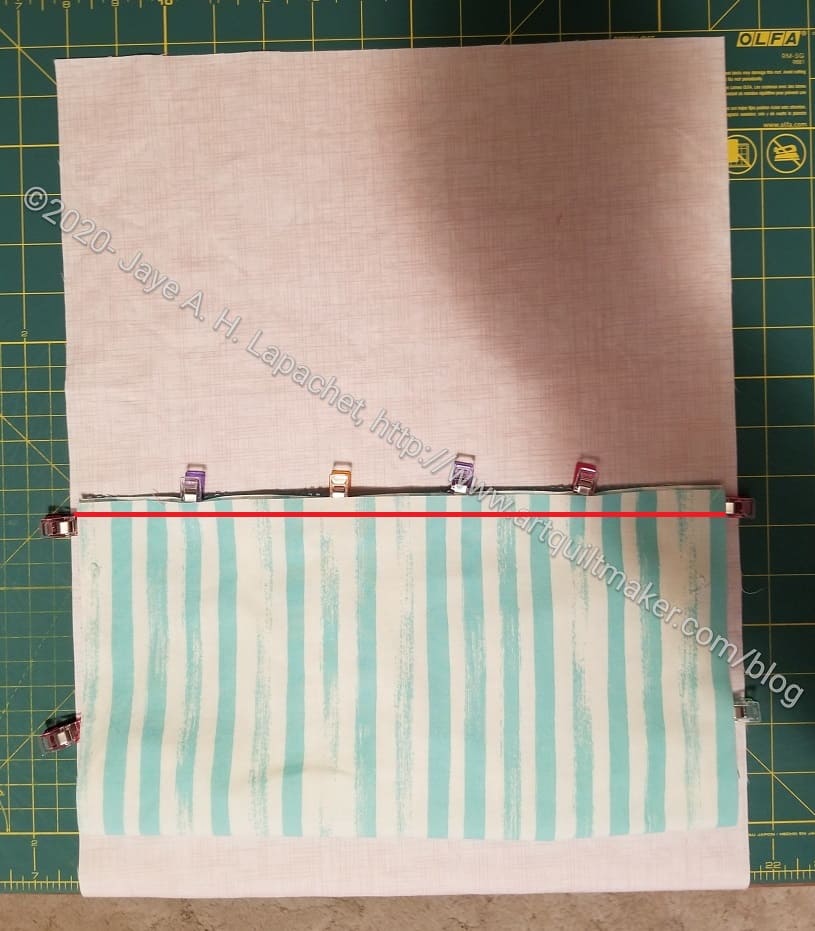
Using a 1/4″ seam allowance, stitch (see red line) across the bottom of the pocket ONLY. You may want to backstitch carefully or tie knots and sink your threads to secure.
N.B. In this picture (right), the pocket is unfinished. On your pocket, you will not need or being using the small clips show on the bottom of the pocket, which is in the middle of P1 in the picture.

Flip the pocket up so you can see the mesh pocket. Clip or pin in place.
Sew down the center of P2 (red line), going over the mesh pocket to secure everything and make the final division in the center of the mesh pocket.
Sew down the sides of the pocket (blue lines). Leave long thread tails at the beginning and end of these securing seams. Pull the threads to the back of the piece and tie the threads off with knots. You can use a backstitch, but tying off the threads will look better in your finished bag.
Add Zipper to Pocket

Lay L1 down face up/right side up.
Lay zipper on top of L1 with zipper pull facing up.
Line up P1 on top of zipper face down/right side down.
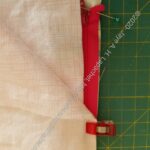
Natalie Patton does something really clever with her zipper. She folds the zipper tape at a 45 degree angle and pins it. This makes it look really neat and tidy.
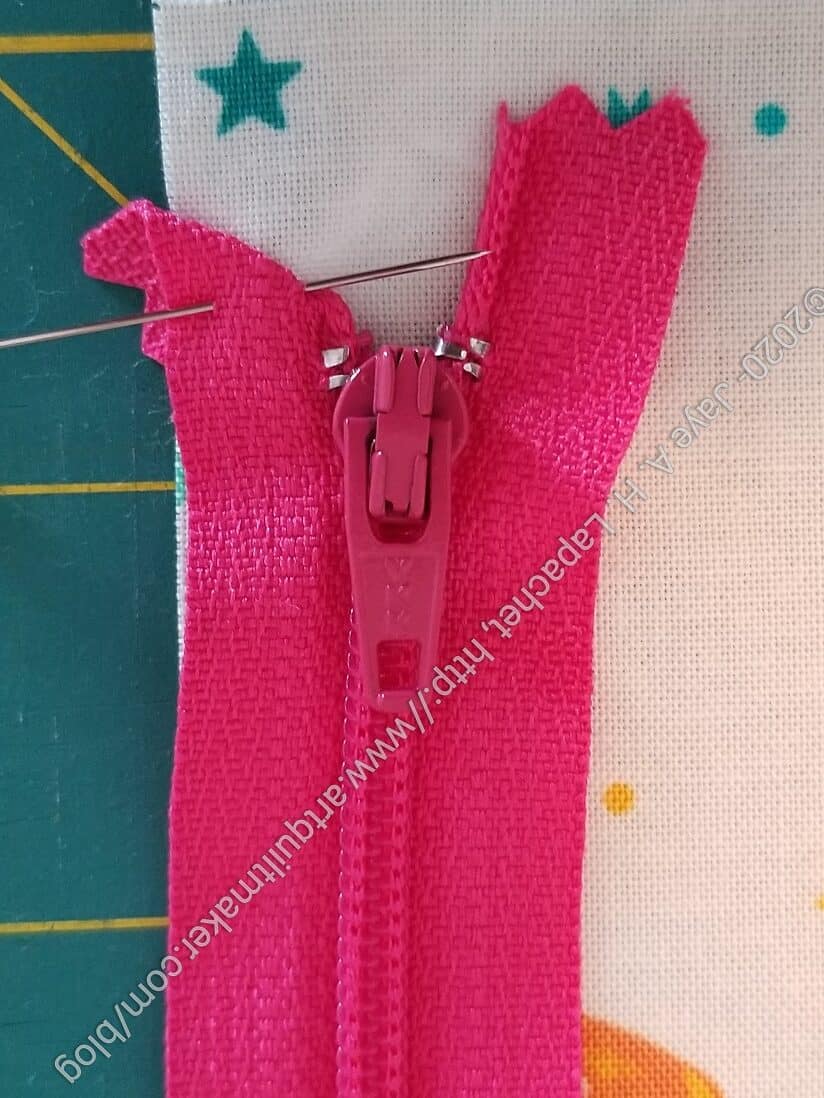
In the pattern (pg.10), she talks a lot about pinning, horizontal pins, etc. I found it to be kind of confusing.
The photo (left) shows how I interpret her instructions. I tried it and it worked for me.
Once you have the zipper tape folded and pinned, continuing layering the last piece of fabric on top.

The edges of the folded zipper tabs stick out a little bit from the side of the piece where you will be sewing. This is ok and how it is supposed to look.
Sew along clipped edge to secure zipper. I use my quarter inch foot, but you can use your zipper foot, if it works for you. Make sure you move the zipper out of the way as you sew so it doesn’t interfere with your seam.
Open up three layers
Top stitch near zipper.
Episode 4 of Natalie’s video is actually pretty good. I like the way she shows installing the zipper.
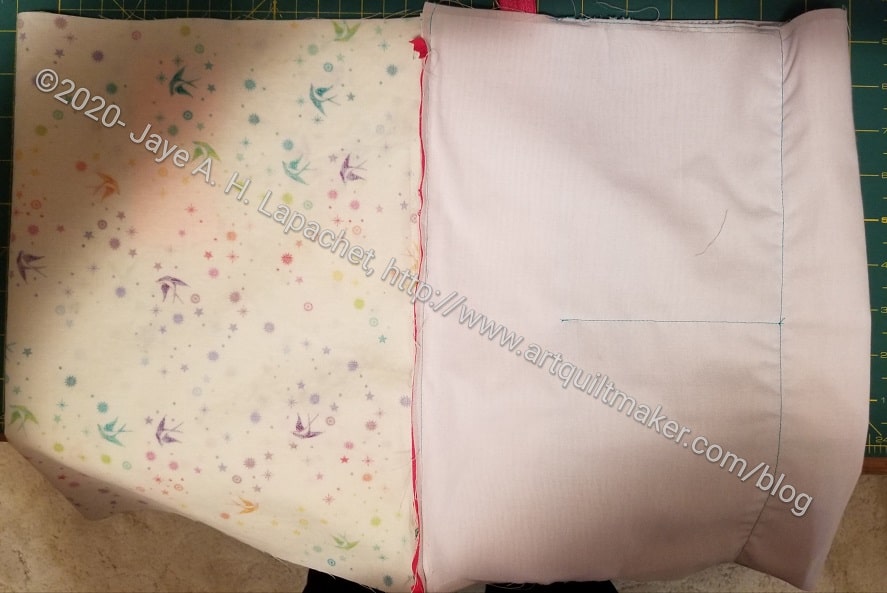

The confusing part is putting the pieces you have already sewn together with the other side of the zipper. The photo above shows kind of how this looks. This is the step where Natalie talks about opening up the first sewn side like a butterfly (pattern pg.10).
L1 face up/right side up.
Zipper on top of L1 face up/right side up.
P1 on top of zipper face down.
Sew along clipped edge to secure zipper. I use my quarter inch foot, but you can use your zipper foot, if it works for you. Make sure you move the zipper -See red line in the middle of the second side? – out of the way as you sew so it doesn’t interfere with your seam.
Top stitch near zipper.
Make Pleated Bottom
The pleated bottom allows you to more easily store items that are 3 dimensional
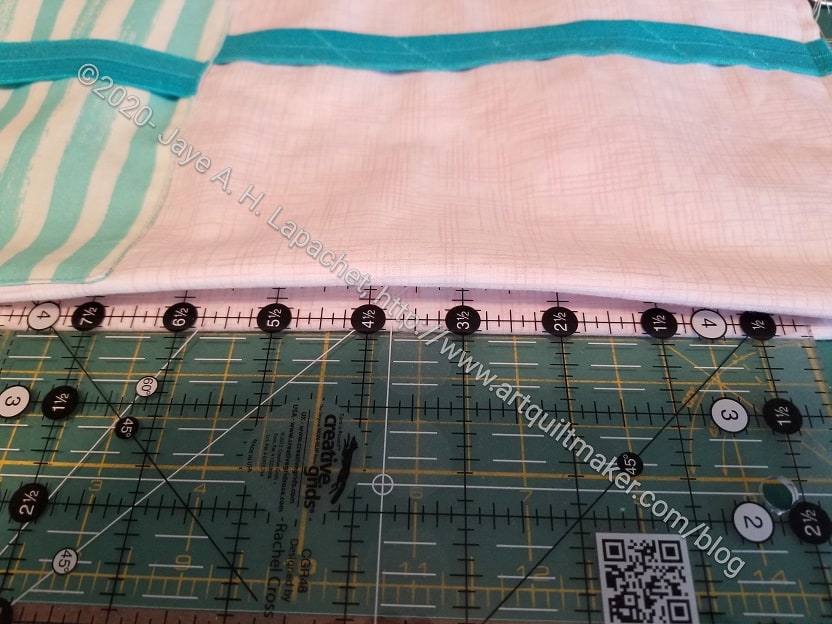
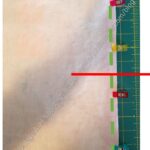
Use 1/2″ marking on my Creative Grids ruler, stick the side with 1/2″ marking into the pleat to measure it.
Clip the sides (the ruler should not interfere) to hold it in place.
Remove the ruler.
This is where I add D-rings. In this case, I used leftover bits of doublefold elastic to stand in for a loop.
Sew up the sides. Make sure to catch the loop/D-ring.
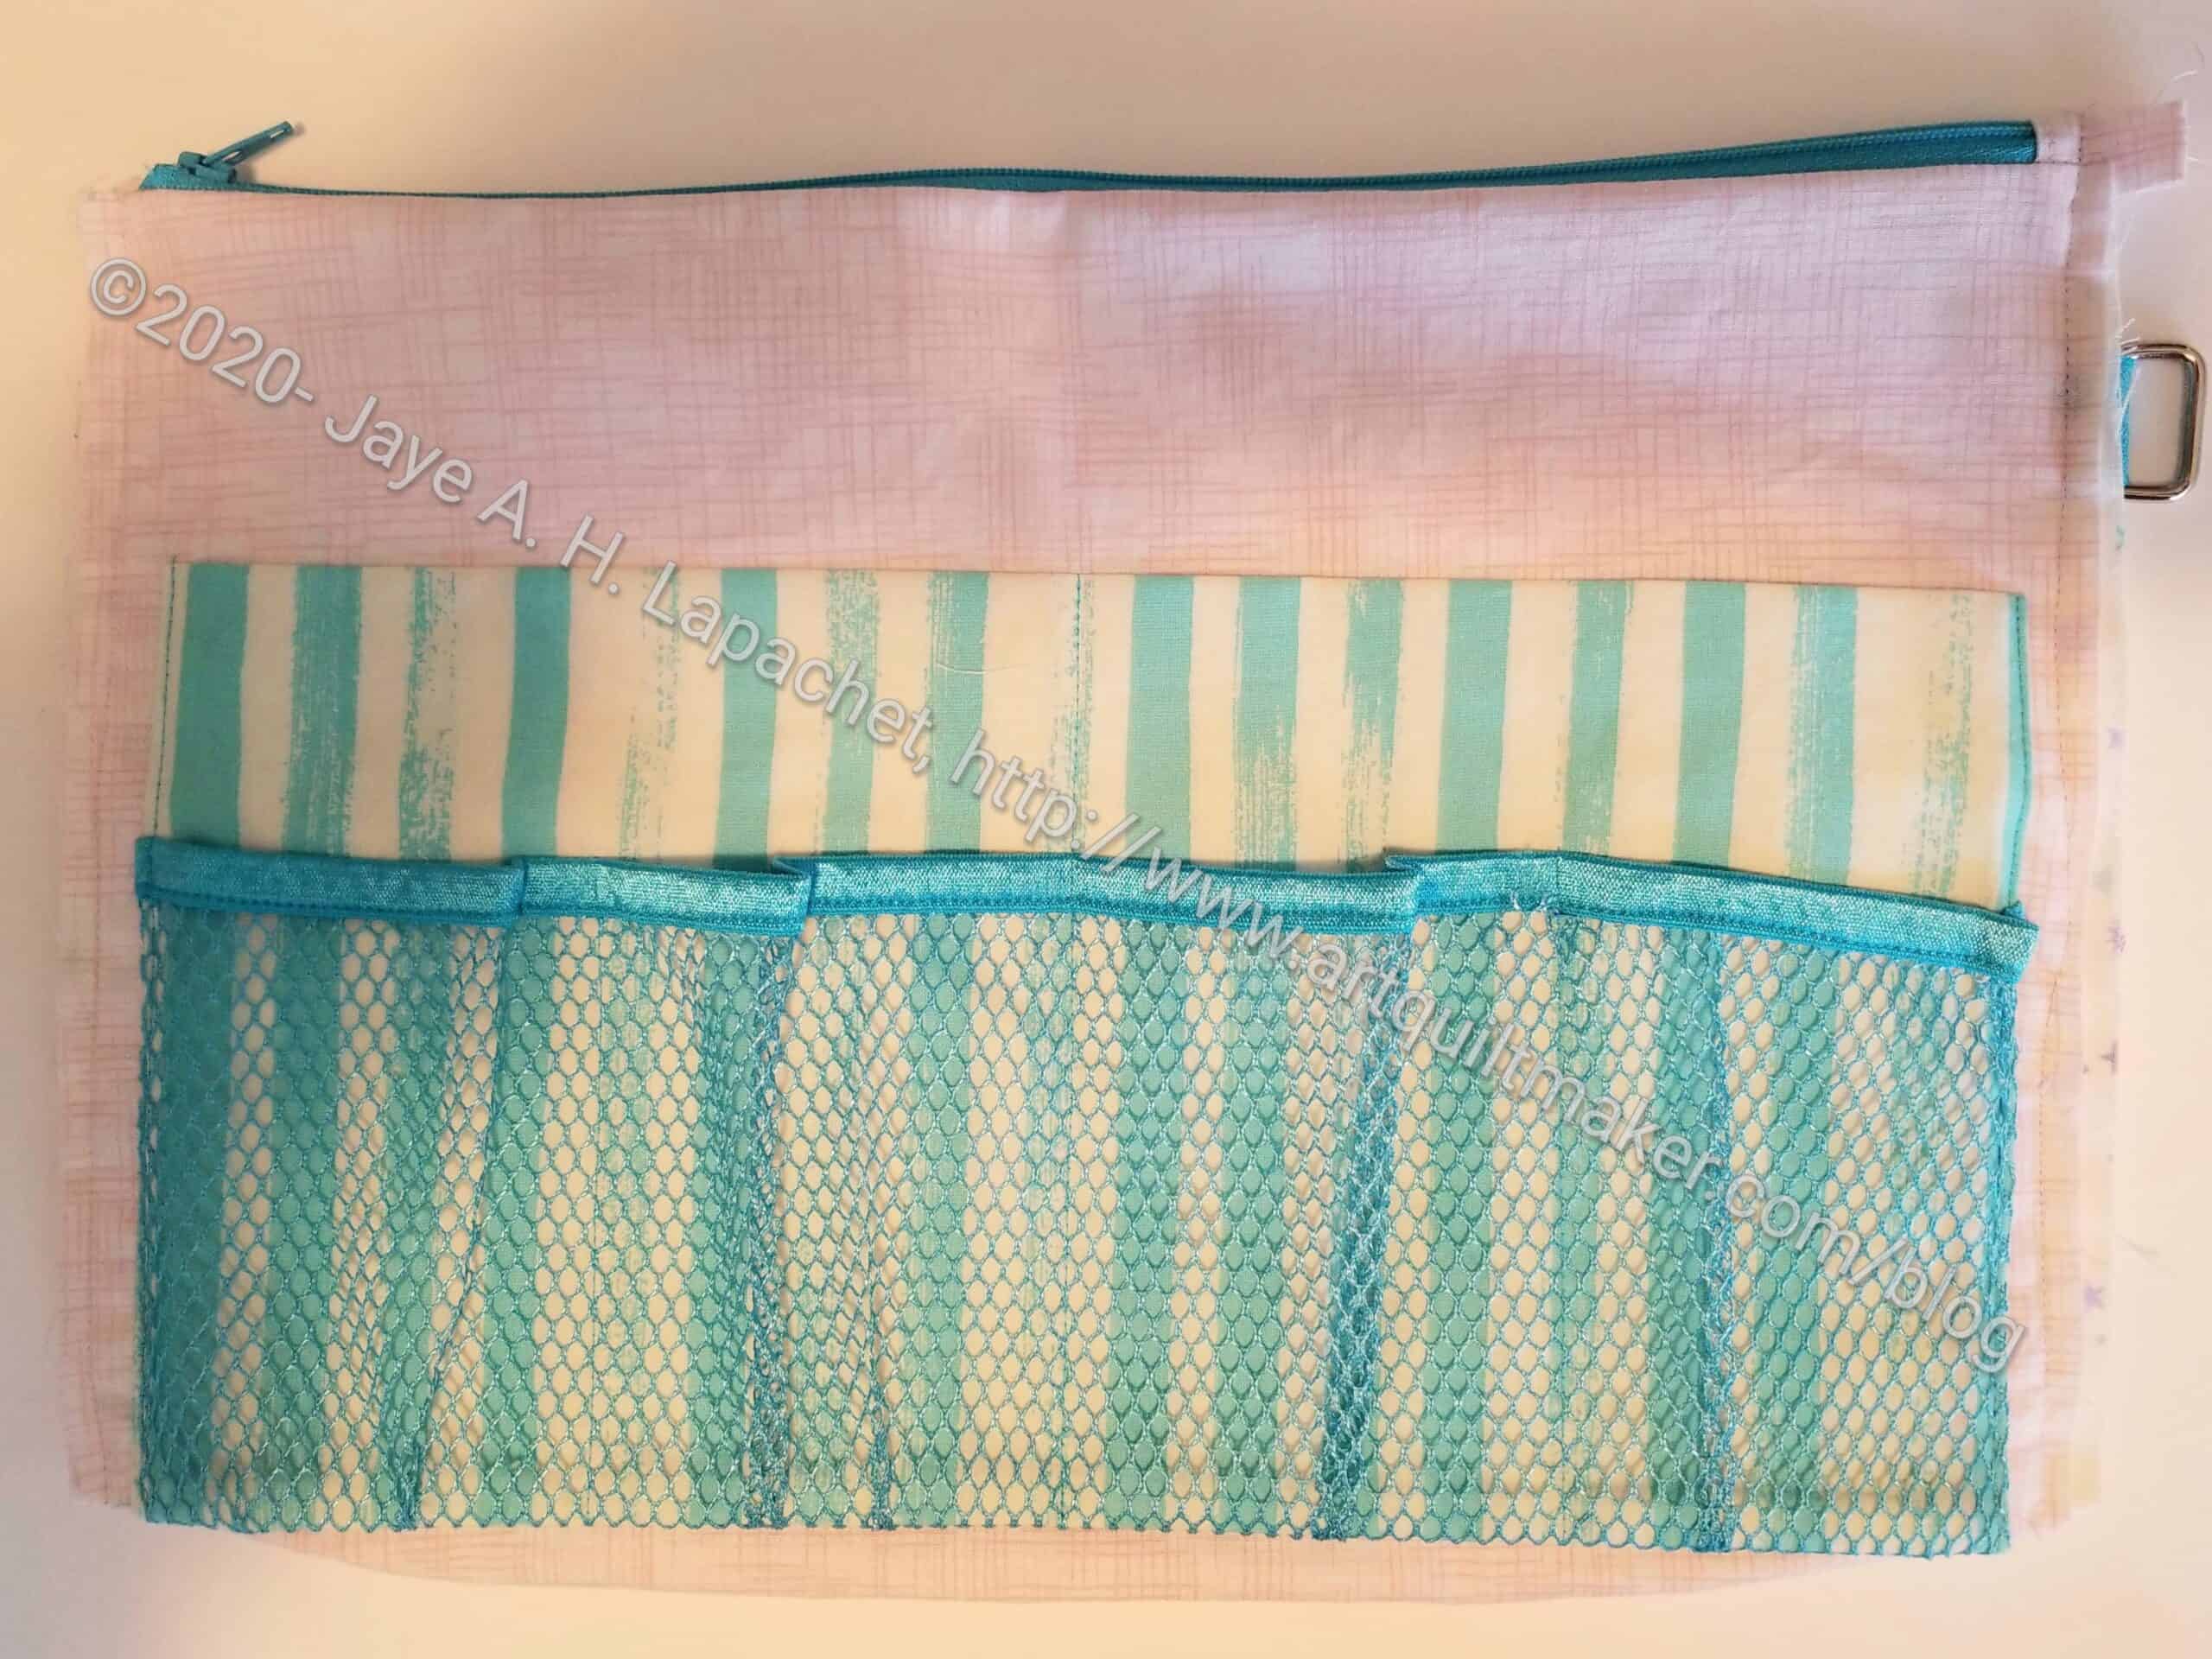
Your pocket is now finished.
Resources:
- UCAB episode 1 : preparing for sewing pockets
- UCAB episode 2 : sewing pockets, discusses thickness of pockets
- UCAB episode 3 :badge holder pocket technique
- UCAB episode 4 : Large pocket, installing zipper
- UCAB episode 5 : installing a swivel hook, front and back of bag, front and back pockets
- UCAB episode 6 : insert pockets into side panels
- UCAB episode 7 : very brief video showing how the piece looks after installing the pockets in the side panels
- UCAB episode 8 :Brief video showing the finished bag. No sewing
**I use affiliate links and may be paid for your purchase of an item when you click on an item link in my post. There is no additional cost to you for clicking or purchasing items I recommend. I appreciate your clicks and purchases as it helps support this blog.