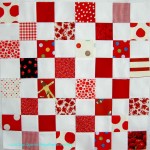
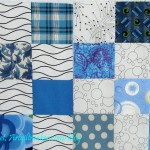
I posted a beginning layout photo to Instagram and one reader (is that the right word for Instagrammers who follow your feed?) asked if I knew it was 2016. I politely explained that I was working with the patches from last year and hadn’t quite started 2016’s version yet. Unlike you, dear reader, s/he does not read the blog and doesn’t know how this project works. ?
I have to admit that I almost gave up on putting this one together. I just felt like I didn’t have it in me, which is why it is April and I am just laying out the pieces now.
There are a few reasons. My design wall is the primary one. It is too small and I have just complained about it in my IRL circles rather than doing anything about it. I AM going to do something about it soon. I have a plan and having a plan means that I can execute that plan.
Next reason is that the project is feeling a bit stale. I don’t think it really is, but it feels that way to me. Part of that feeling probably came from having three of the quilts rejected from QuiltCon. I keep telling myself that clearly the people who did not jury in my quilts cannot appreciate the work that goes into them.
Third, I have a lot of projects on my plate and that I want to make. Doing one that is similar to the seven others I have made seems futile.
However, it is an excellent mind puzzle and color exercise, so I am back in the saddle and I have given myself until April 26 to get the piece laid out.
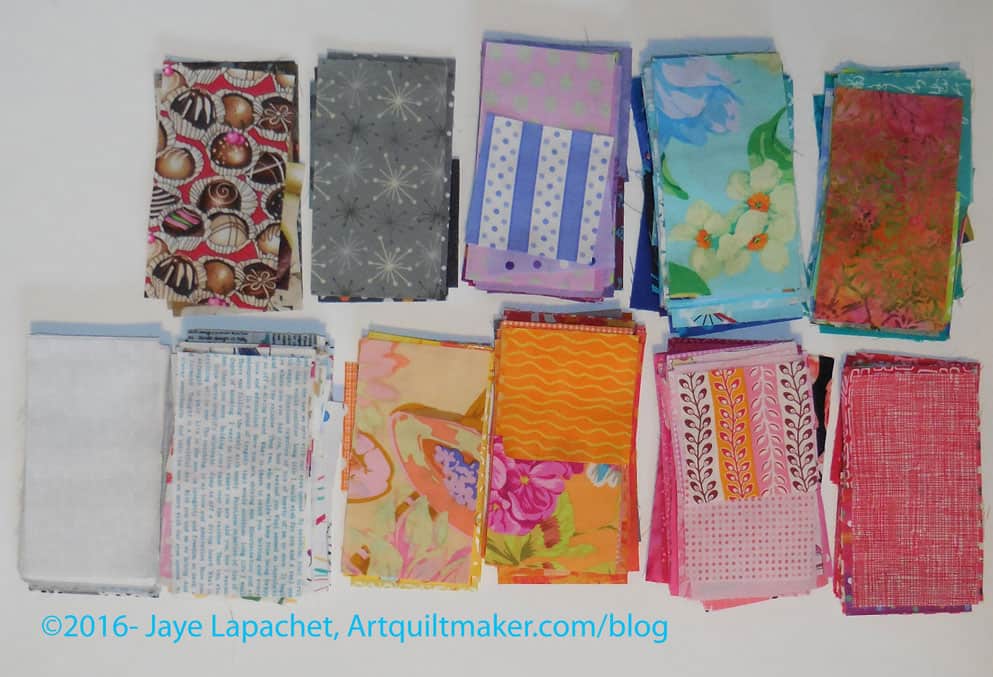
Sorted color piles
The first step is to sort all the pieces into general color piles: all the blues together, all the reds, etc. Normally I have several plastic boxes with patches, but this year, I used a large Recchiuti box and all were in one place. This step gives me an idea of how many patches in each color I have to work with.
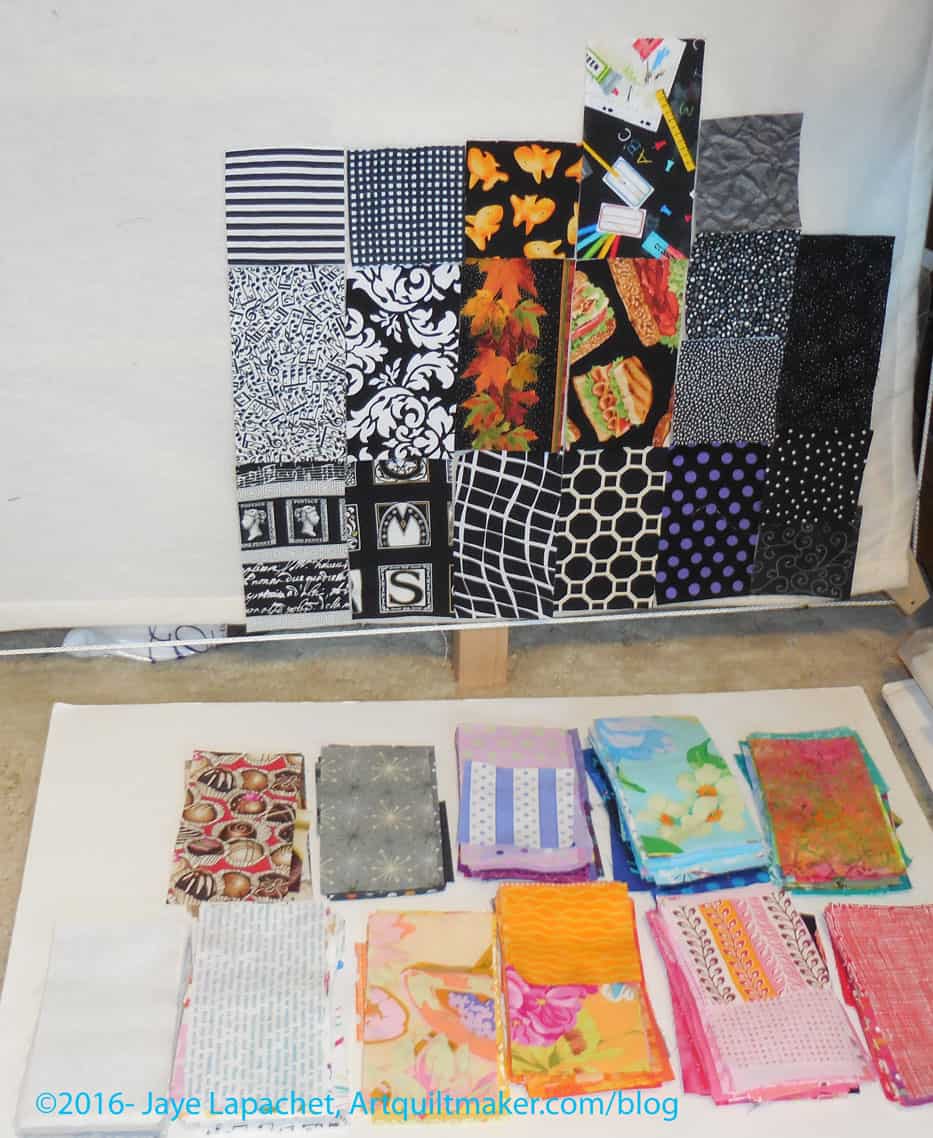
The first challenge is to get all the pieces on the design wall. I can do some basic laying out before all of them are on the wall, but I can’t refine the placement without seeing the whole piece.
Starting the layout
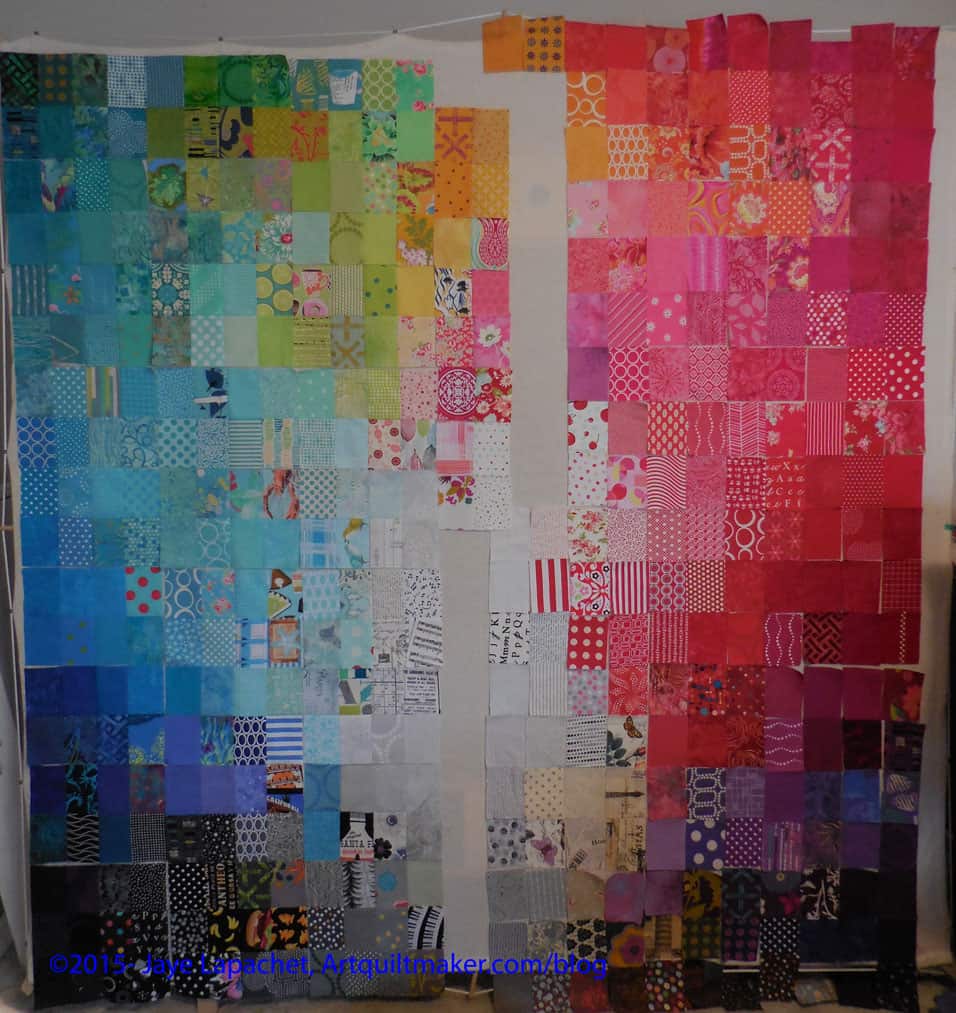
As of this writing, the patches are not all on the design wall. Since time is ticking, I need to work on getting that particular step done. It starts with putting a few patches in one color up and then the next. Making them all fit on this subpar design wall is the key. I am determined not to trim them all this year, like I did last year, even if I have to layer the pieces more than I would usually.
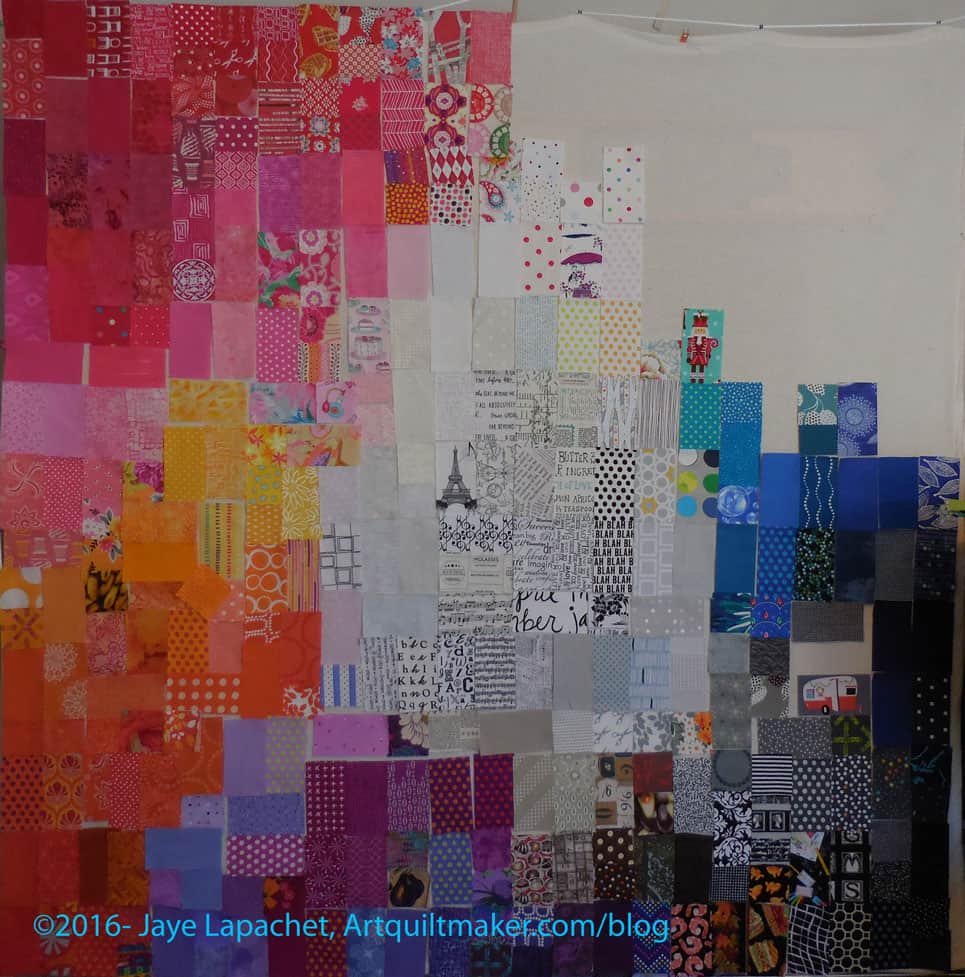
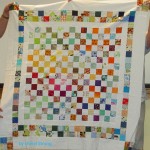
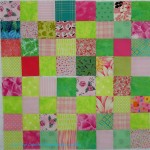
FOTY 2015 – First Pass
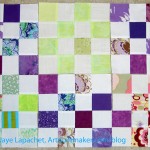
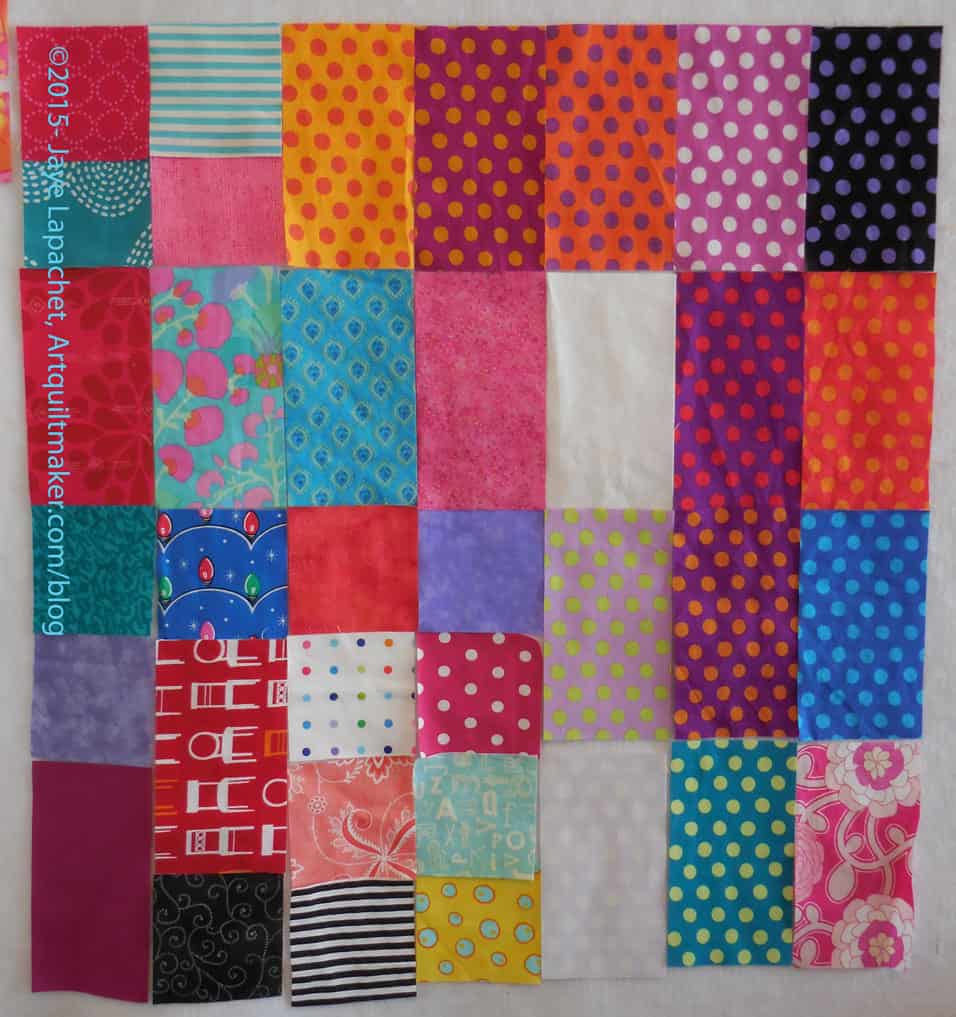
When I finished a good chunk of the layout, the above photo shows my first pass.
My Chubby Charmers (I have two) are full, thus I decided to make another one. That makes sense, right?
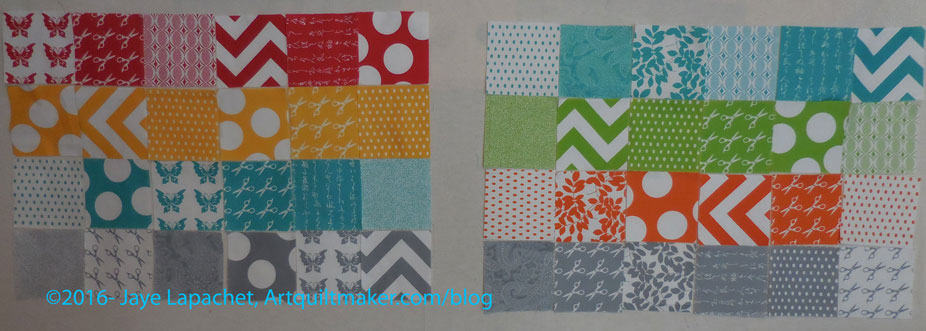
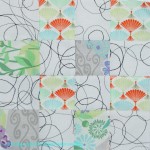
Half Moon Modern Chubby Charmer layout
I started it last week and worked on it a bit this week. I hope to finish it today.
I used a Half Moon Modern charm pack I have had for awhile. I decided that this would be a good use of fabric I have been trying to find a way to use for awhile. This was a good use of the fabric, because it made me delve into my group of Half Moon Modern fabrics. I didn’t have as much as I thought and I had a lot of the same prints.
Half Moon Modern Chubby Charmer parts
The charm pack had most, if not all of the prints and they were fun to work with. I used the yardage liberally and I am pleased with how it is working out so far.
Someone asked in a comment how I select patterns for a donation quilt. This is an interesting question and I am so glad the commentor asked. I never thought of the topic and it is a great one!
The biggest issue to consider for me is what kind of sewing I want to do. I have to judge my mood and my interest level. After that there are a couple of things I think about when selecting a pattern.
First, I have some go-to patterns. I use these patterns over and over. At least I am still using them. Even though I have made several tops using the patterns, I am still interested. One is a 16 patch, which is a basic, easy block that the guild always encourages.
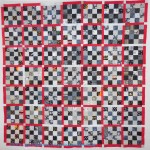
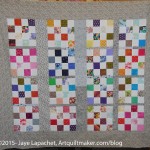
Charity blocks – April 2016
FOTY-made Donation Blocks
Black & Grey Donation Top Complete
Multi-color Donation Quilt- April
Cheryl’s Donation Quilt
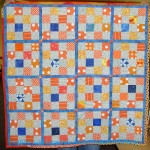
Orange & Grey donation quilt
Donation Blocks – June 2014
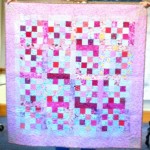
Pink Donation Quilt
Yellow & Pink Donation Top
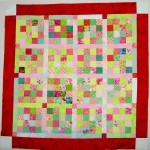
Pink & Green Donation top
4 Pink & Green Donation blocks
Pink Donation Top #2
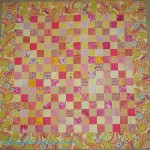
Yellow Donation Top – no borders
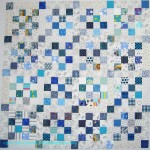
Blue Donation Quilt
February Donation Blocks
Good Fortune Donation block
Donation Blocks – My Scraps
Purple Donation block
Scrappy B&W Donation Block
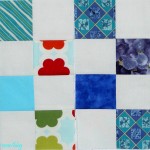
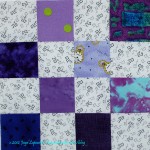
This is a good pattern for all levels of quiltmakers and can be made from pre-cuts. You need 8- 2.5″ foreground squares and 8-2.5″ background squares to make the block. 16 blocks with no sashing make the quilt size we donate to the NICU at Stanford. It works very well with the leaders and enders technique.
There is also a lot of opportunity for creativity and variety. The photos above show quilt tops as well as blocks. There are a couple from the guild that I did not make. Sometimes I have a lot of fabric in the same colors (just finished a quilt), so I’ll cut up the leftovers into a usable size and make a set of blocks in those colors and put it together into a donation top.
I also will just pick random squares in a variety of colors and put them together into a block. I always want to be working on a leaders and enders project as it makes my productivity so much more.
I am also cutting 1-2 2.5″ squares from each fabric I was and press so I have a variety of squares to use as donation block leaders and enders all the time.
These blocks can be set together in a variety of ways as well: sashing, no sashing, on point, straight set, etc. If I make scrappy blocks, I sometimes have a hard time finding a suitable sashing color, so I might use scrappy sashing.
Sometimes I add borders, sometimes I don’t. I don’t think I have begun to explore all the possibilities for setting the 16 patch blocks.
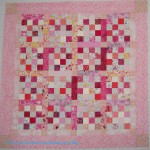
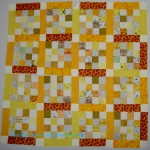
Flower Sugar Donation Top
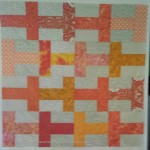
Orange Donation Top
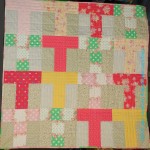
Pink T Donation Quilt
Green T Donation Quilt
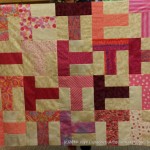
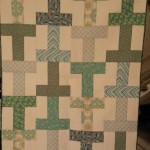
Second, the T Quilt Pattern is another go to pattern that I keep returning to. Peggy, one of the Charity Girls gave us this pattern at a Charity Sew Day. It is easy and it makes a good break from the 16 patches. Again there are quite a few options for variety that can be employed with this pattern. I do think the T design discourages sashing (what would be the point?), but scrappiness works very well.
Cutting Corners Donation Top
Third, as with the Cutting Corners Ruler, trying something new is a good opportunity to make a smaller piece until I feel comfortable or know I want to commit to a larger piece. The Cutting Corners donation top is one of those tops. I wanted to try out the ruler and making a donation top was a good option.
Fourth, very occasionally I will have orphan blocks. If they don’t get used for journal covers, they are donated to the Charity Girls to make into donation quilts or I will make them into donation tops. Most often, I just want them out of my hair.
Black & Grey Donation Top Complete
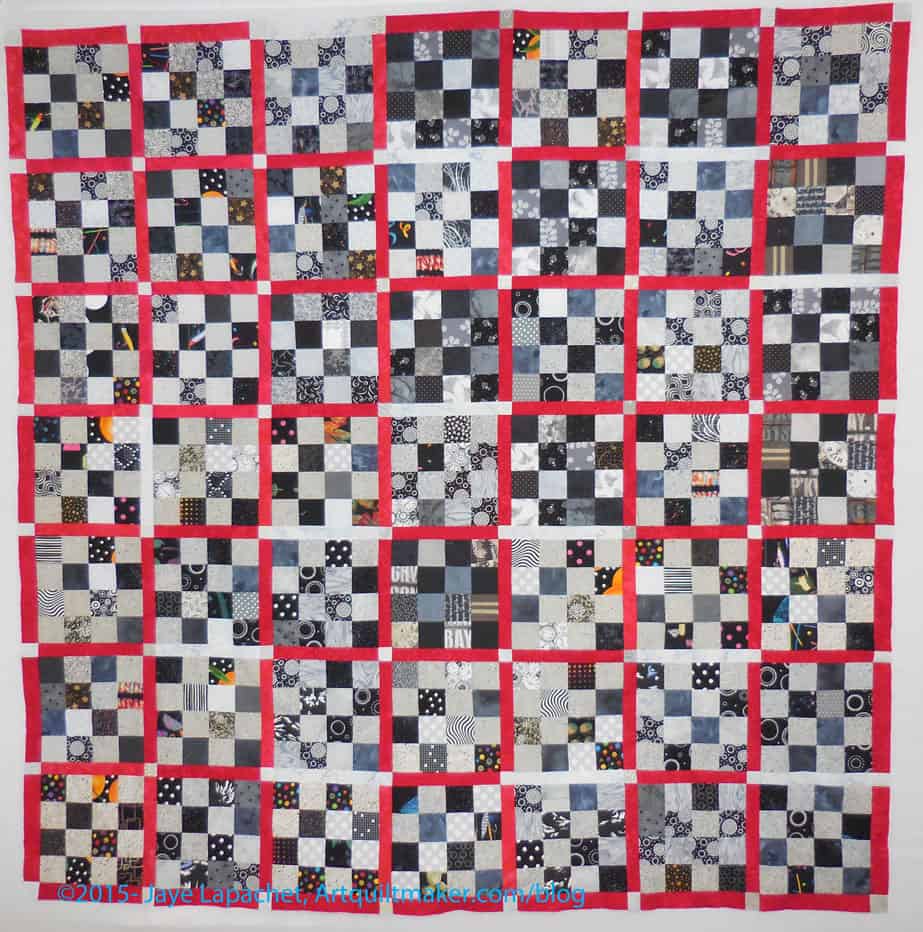
Fifth, rote sewing. Sometimes I need a project that allows my mind to wander into non-quilt territory. The Black & Grey Teenaged Boy Donation quilt was a good example of just sewing something that required few decisions.
BAMQG Mystery Quilt
Sixth, tops or blocks sometimes don’t quite work out. I don’t mean they are ugly or unusable. I meant that they didn’t work out for *ME* for some reason. These pieces can be any fabric, any pattern, any design, any layout. Anything. As I said in the blog post, I like the fabrics in the quilt above. I also like the pattern, but together they didn’t work for me.
Seventh, fabric that didn’t work out. A lot of times I will use fabric to make a donation quilt that I don’t want to use for my own quilts. This doesn’t mean it is crappy or fabric. It might mean that it isn’t my style anymore or the color is just off enough to make it not fit with other fabric choices. It could also mean that I bought a lot of it, because I loved it, used it a lot and suddenly didn’t love it anymore.
Star Donation Quilt
Eighth, periodically the Charity girls will come up with a block of the quarter (or of the month). For a time they will collect blocks in that design and then the group will make a series of quilts in that design. The Star donation top (above) is a great example. I put the blocks together and made the back. I didn’t make the blocks. Although, it has been awhile, I am still inspired to make more of these blocks and put them together in another quilt.
Ninth, too many scraps is a good reason to make donation blocks. They can be mosaic pieced like the journal covers, trimmed to size and then put together in an appropriate size and layout. They can be made into Sawtooth Star blocks or other blocks with a large center. The microscopic scraps I use for journal covers would take too long to sew together into blocks.This works better for donation tops with larger scraps.
I also cut larger or smaller squares into usable sizes and shapes, depending on what I have, and make a top from those. If I use smaller sized pieces, such as a 2″ square, I try make a whole top or enough blocks for someone else to make into a whole top. I try not to leave the Charity Girls in the lurch by making just one block, though I have known Peggy to run with one block and come up with a great top.
Also, if one of my scrap bins (I sort them by color) is overflowing I will cut a bunch of squares or other shape and make some blocks or a top.
Stars & Stripes blocks
Tenth, sometimes I will start a project with great enthusiasm. This often happens with class projects. At some point (too late to abandon) I will lose interest or realize I don’t like the results. It is a good opportunity to turn it into a donation quilt.
It could be that the fabrics are just fine and the technique makes me cringe. The above Stars & Stripes blocks were made using paper piecing. Not my favorite.
I was kind of surprised at the different ways I choose patterns to make donation quilts.
I do my best to use patterns I like and try very hard not to make ugly donation quilts. The beneficiaries of these quilts don’t care about matching points or perfect layouts. I am sure they are looking at the pretty fabrics and softness of the object they have been given. Everyone deserves some beauty in their life.
I know I keep saying that this project is nearing the end of the cutting, but it really is.
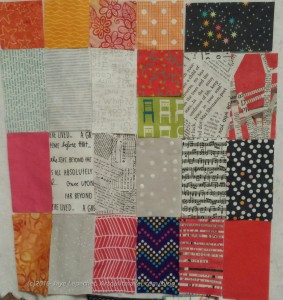
I like this batch. There are some really great fabrics in this batch. I cut them during Darla’s March-a-long on a few afternoons when I only had a few minutes.
Darla, of the Scientific Quilter, is hosting the #March-a-long event. The short version is that you do something quilty for 15 minutes per day. I failed last week, but was doing pretty well especially since I have a lot of ironing of fabric to do. After ironing comes cutting and that means more FOTY fabrics. Yes, I should starting putting FOTY 2015 together. I haven’t quite gotten to it, but soon.
FOTY 2015 Mid-March 2016
I have cut a number of patches for the quilt and it is interesting to see the themes that crop up in my patches.
That purple on the bottom looks a lot better cut into smaller pieces. I pulled it out to cut and wondered what I was thinking when I bought it. Good thing I have no problem cutting up fabric.
I have a lot of fabric to press and cut, especially since I washed several yards the other day. I am determined to get busy on FOTY 2015 early in the year. It won’t be until at least February as I won’t be able to sew on most weekends in January. That means no sewing. I wonder what I will write about?
I digress.
I want to do FOTY 2015 early in the year so there is less overlap with FOTY 2016. I am not sure how that will go as this is all the progress I have made since the November 16 post. I should go and count my patches to see how many I had. I really don’t want a repeat of cutting down all the patches like I did for FOTY 2014.
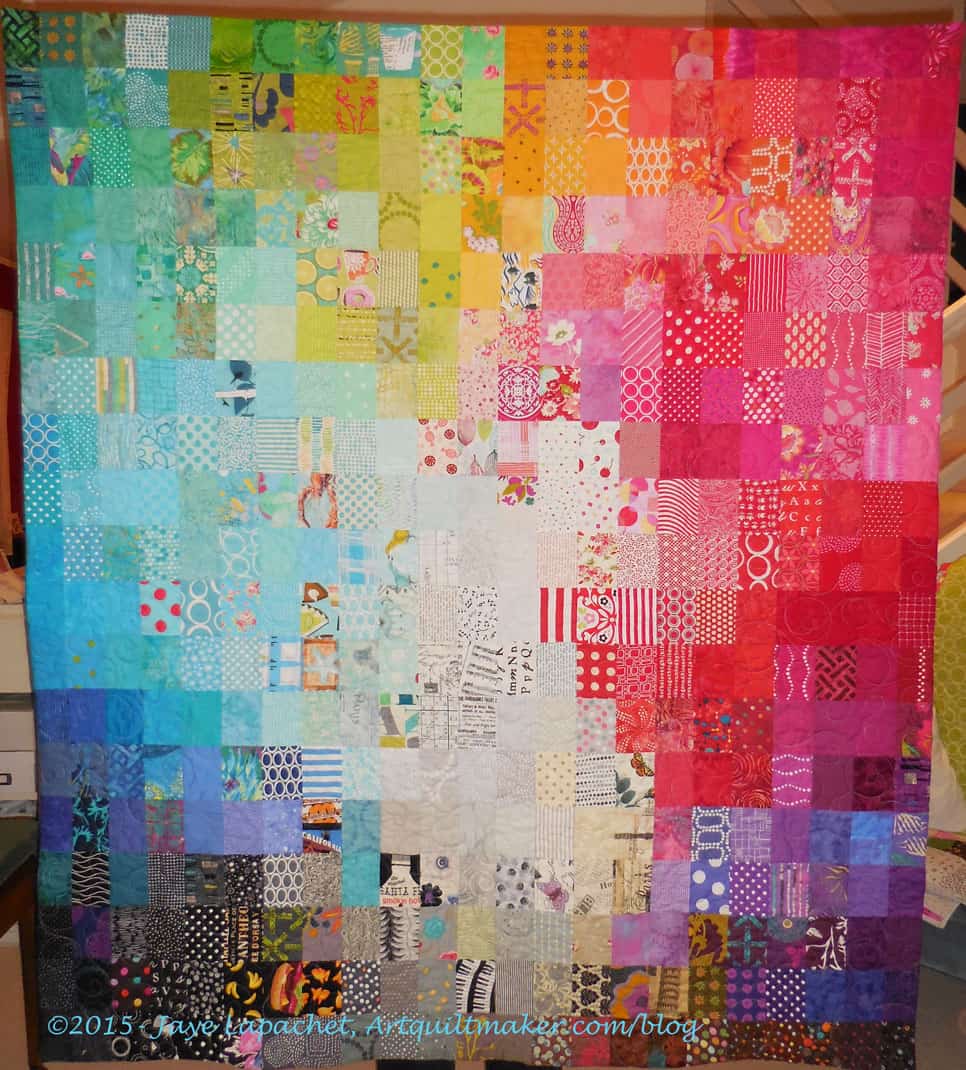
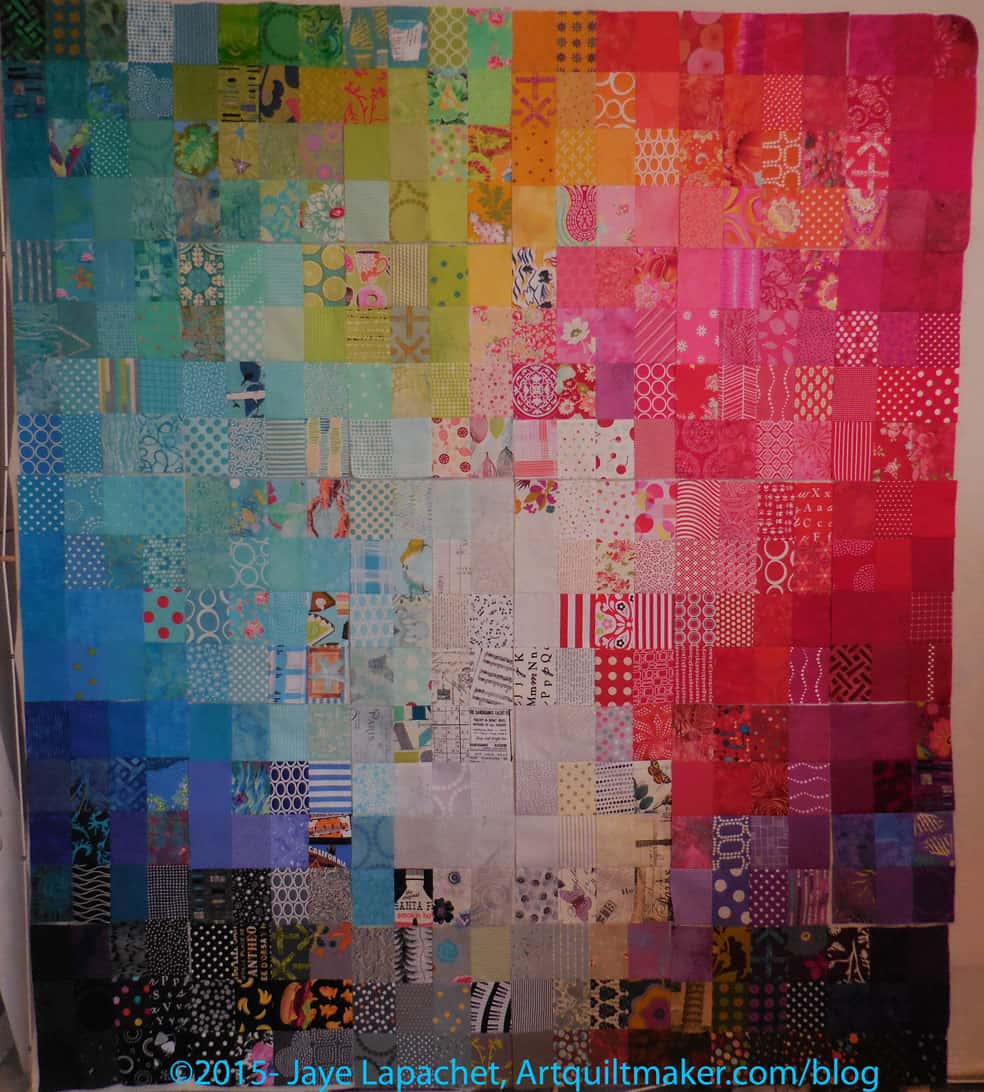
I finished Fabric of the Year 2014 yesterday. I had the quilt done, but took my sweet time in sewing on the sleeve.
It has some similarities to FOTY 2013, namely the light in the middle. I wanted to try to recreate that glowing aspect again.
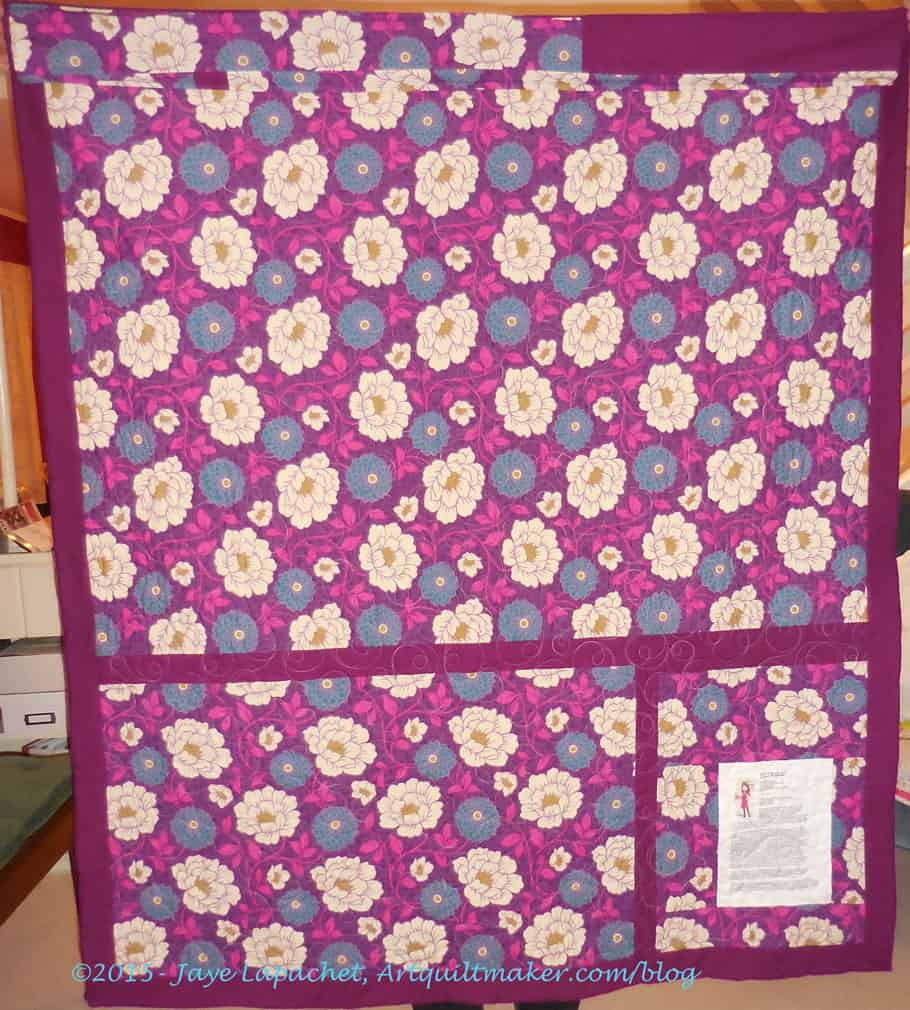
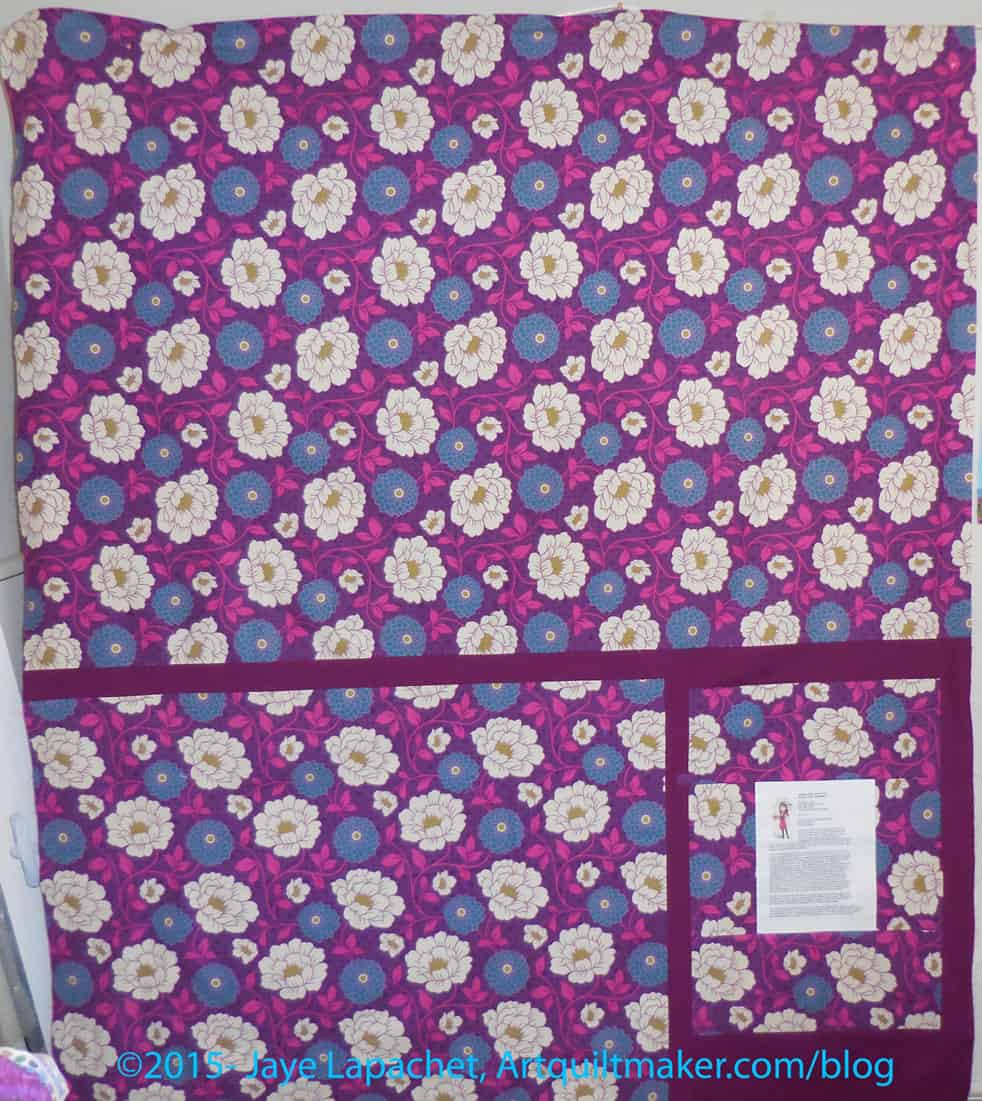
The back was one of the easiest I have made. Almost no drama, especially since one piece of fabric made almost the entire back. I added the solid so that large motifs didn’t run against each other when I sewed them. I thought it would look too jangly.
Fabric of the Year 2014 Back – Completed
I liked pieced backs, but am very happy when I don’t have to piece too much.
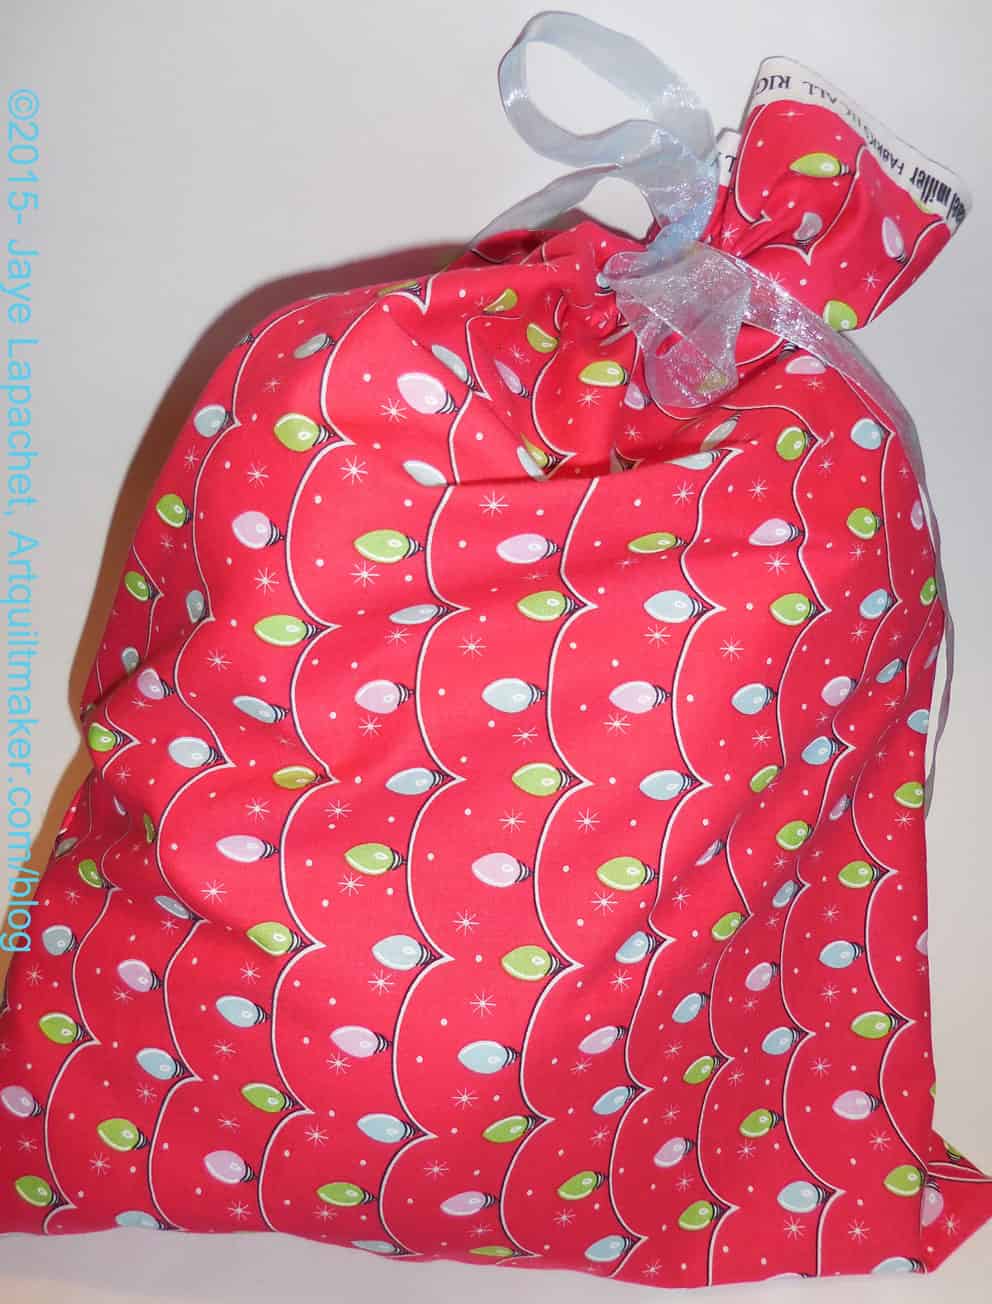
The other day I talked about making some pillowcases. I had enough fabric left to make one gift bag. I am glad, because I like the fabric. I am happy to have at least a bit of it around the house. I don’t really need more gift bags, but I also don’t want to waste fabric. Gift bags are a good use of smallish pieces of fabric.
I have put a tutorial up, as long time readers will know, that tells you how to make gift bags. Save a tree: make a gift bag.
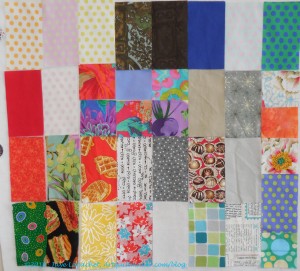
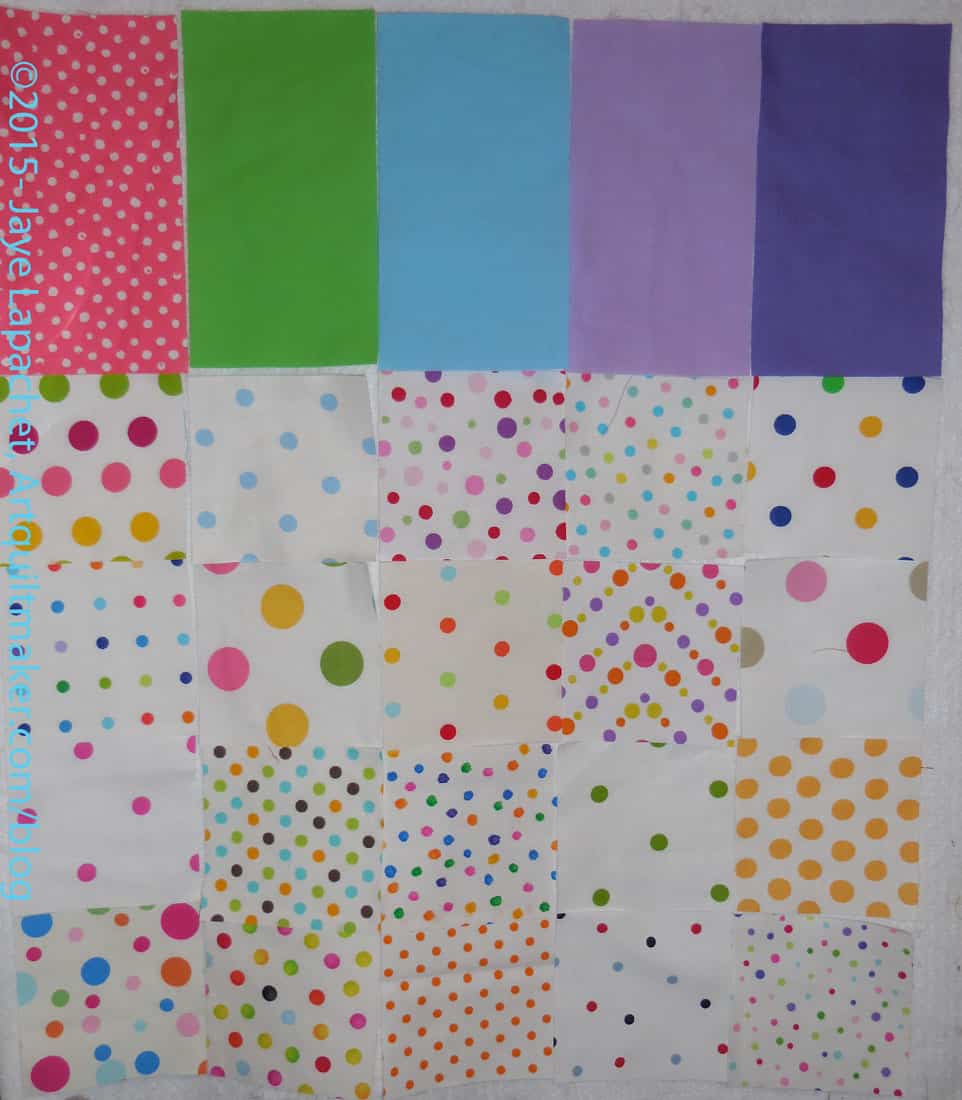
I mentioned cutting some pieces for the EPP. When I cut those pieces I also cut patches for the FOTY 2015. This group is, thus, really heavy on the colored dots on white.
I’ll need more colored dots on white for the EPP project so you’ll see more of these types of fabrics.
My DH actually ironed pants when I wasn’t home and messed up a bunch of my fabric. I had to re-iron some of my pieces. I decided I needed to get busy and cut and file some of those fabrics. Thus, I have also been working through cutting the fabrics from my ironing board.
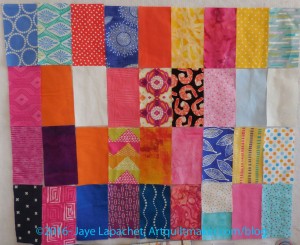
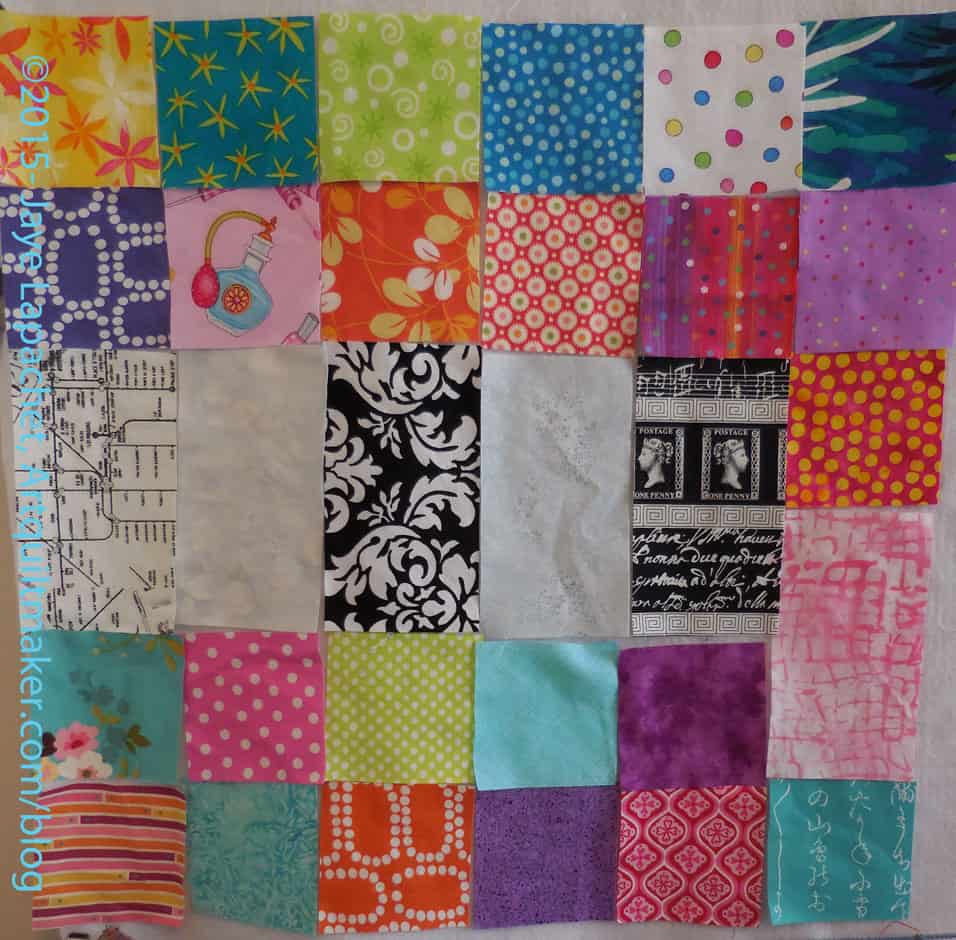
I have been making an effort to cut up fabric I have washed and ironed, so I have another batch to show you.
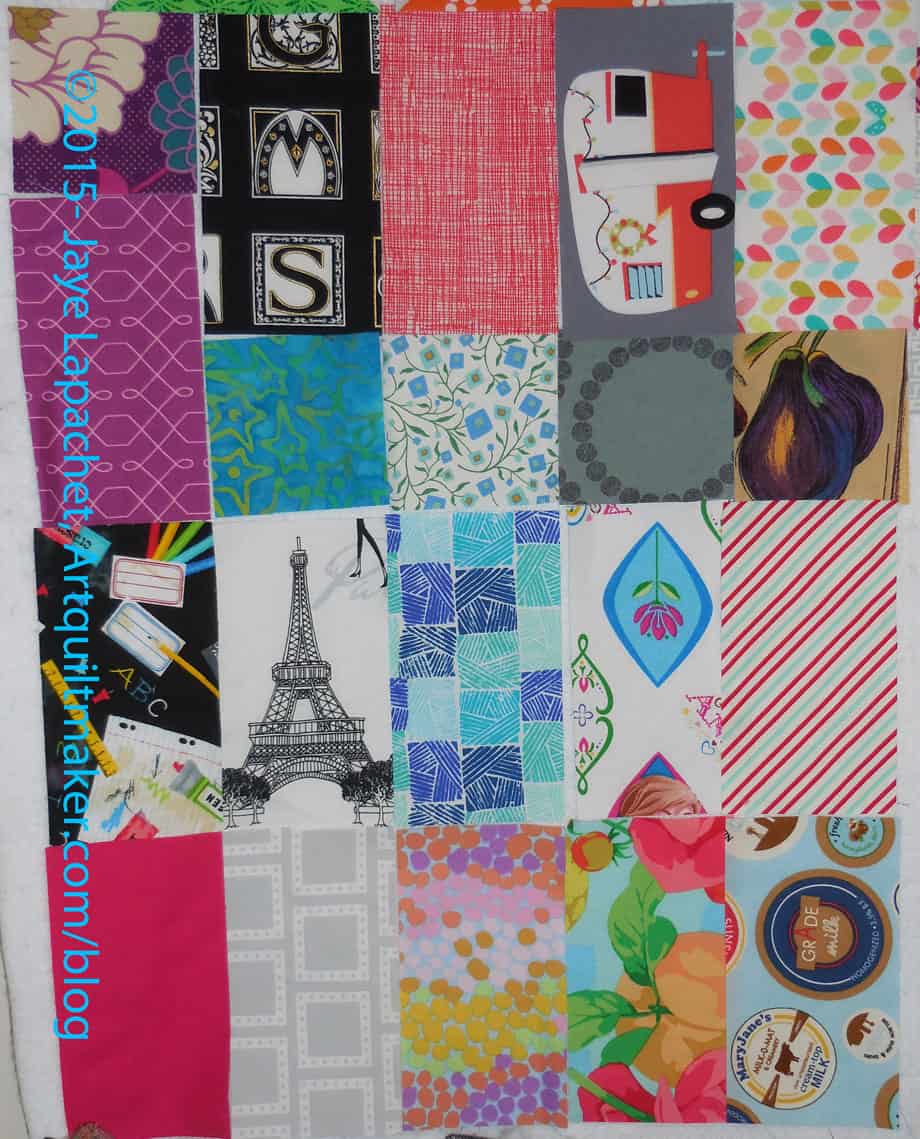
Some of these are from projects. The black/white print in the middle is from a skirt I had made. The black/white print with the Caesar busts was included in the Red & Black Improv quilt.
Some of the colored fabrics are from the Carpenter’s Wheel quilt blocks.
The rest are new.
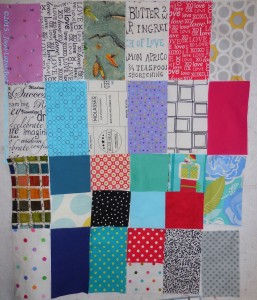
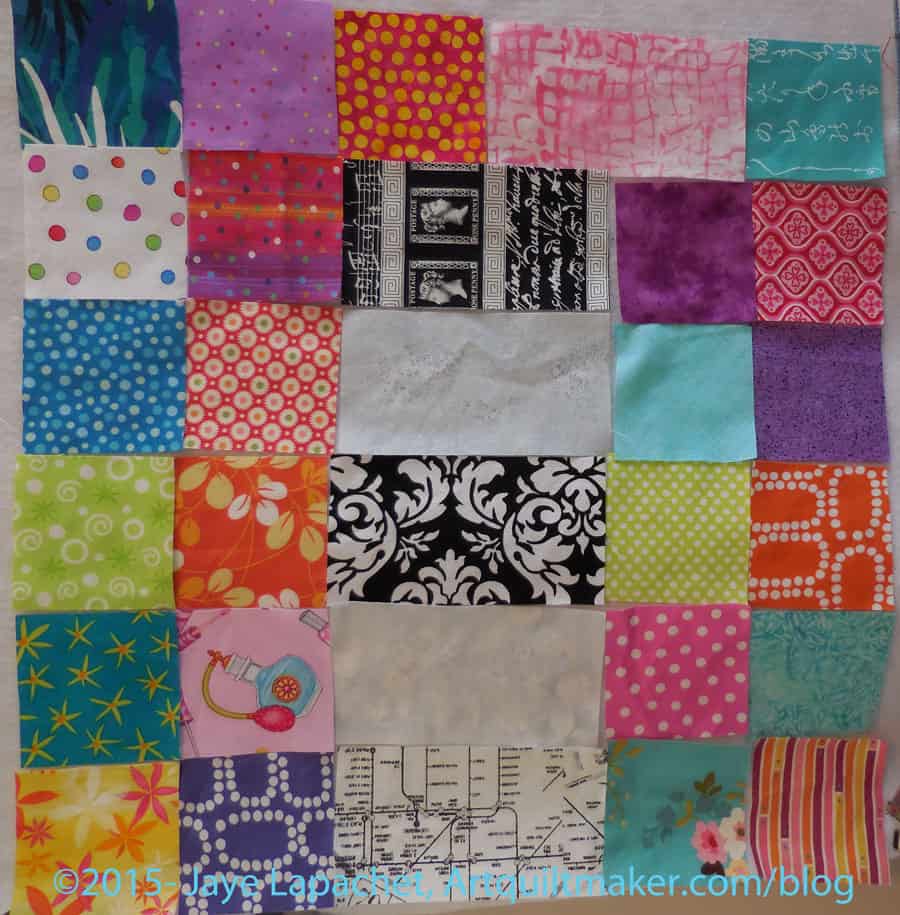
When I was fixing the photo above for posting, I realized that I could put the quilt together with the rectangles arranged in a horizontal manner. What do you think?
Another thing I did on PlayDay was to cut up my Ta Dots fat quarters into 10.25″ squares. I did this in anticipation of making half square triangles. As I did that cutting, I took the opportunity to cut up a lot of FOTY 2015 quilt rectangles.
I am not planning on letting these patches lay around all year next year. I am working on cutting pieces I need for various projects from the yardage I have pressed and plan on working on this piece early in the year.
Note that I said “plan”. We’ll see how it goes.
This plan was set in motion by my need to cut a lot of different fabrics for the HSTs and Flying Geese I needed for the Carpenter’s Wheel. The Ta Dots HSTs were an added bonus. Getting fabric off of the ironing board has made me feel like I am making progress, even if I am just cutting.
The black and white stripe at the bottom is one of the stripes that will be used as the other half of the HSTs.
I finally got down to cutting some fabric, especially working on the pillowcases last weekend. You can see all sorts of different projects in this group. This is a good thing as it means I am actually using fabric. Yes, there are some fabrics that will go into the stash. I am working on using fabrics. I really am.
In between other stuff, I spent a lot of time over the weekend sewing the FOTY 2014 patches together. This quilt top has been languishing much too long. I felt like I had a layout that I liked.
There are over 350 patches that have to be removed sewn and put back in order to keep the piece in order. I put a leader/ender in between each set of patches to make it easier to keep the FOTY patches straight in my head.
In the course of sewing the patches together, I also made 19 Octagon 9 Patches and 14 donation blocks. Not shabby for ‘found blocks’.
FOTY 2014 – Patches in 9s & 12s
I thought it was impossible that I would get it done. I got to the point where all the patches were sewn into sets of 8 and I was very happy with that. The other night I sewed those sets together, which took much less time, but required much more fiddling, because of the nesting of seams.
The piece looks together now, but it is in sets of 9 or 12 patches. I am carefully chunking all the sets in order to avoid those long seams and to nest the seams more precisely. My goal is to get the top done before Saturday, so I can show it off at the BAMQG meeting. Wish me luck!