I started working on the Spiky 16 Patch blocks again. I was really struggling with just getting to the machine and decided that this piece was what I should work on.
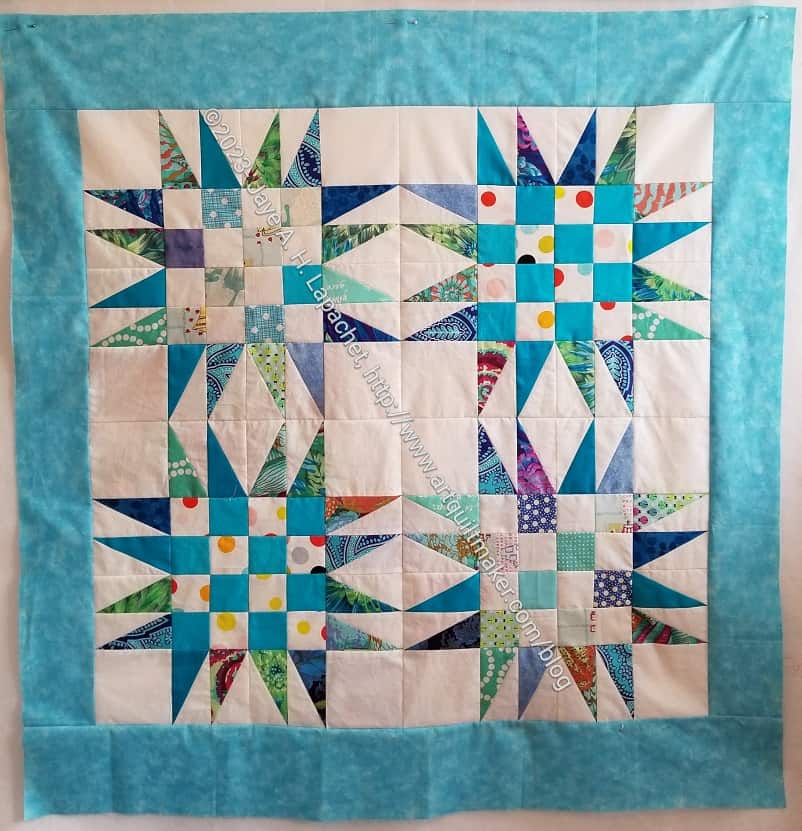
As you read before, I was struggling to decide how to set these blocks. After two weeks, I decided just to do a straight set and a border and move on with my life. I have a couple of donation quilts in progress and it is better to get them finished and out to people who need them rather than have them perfect.
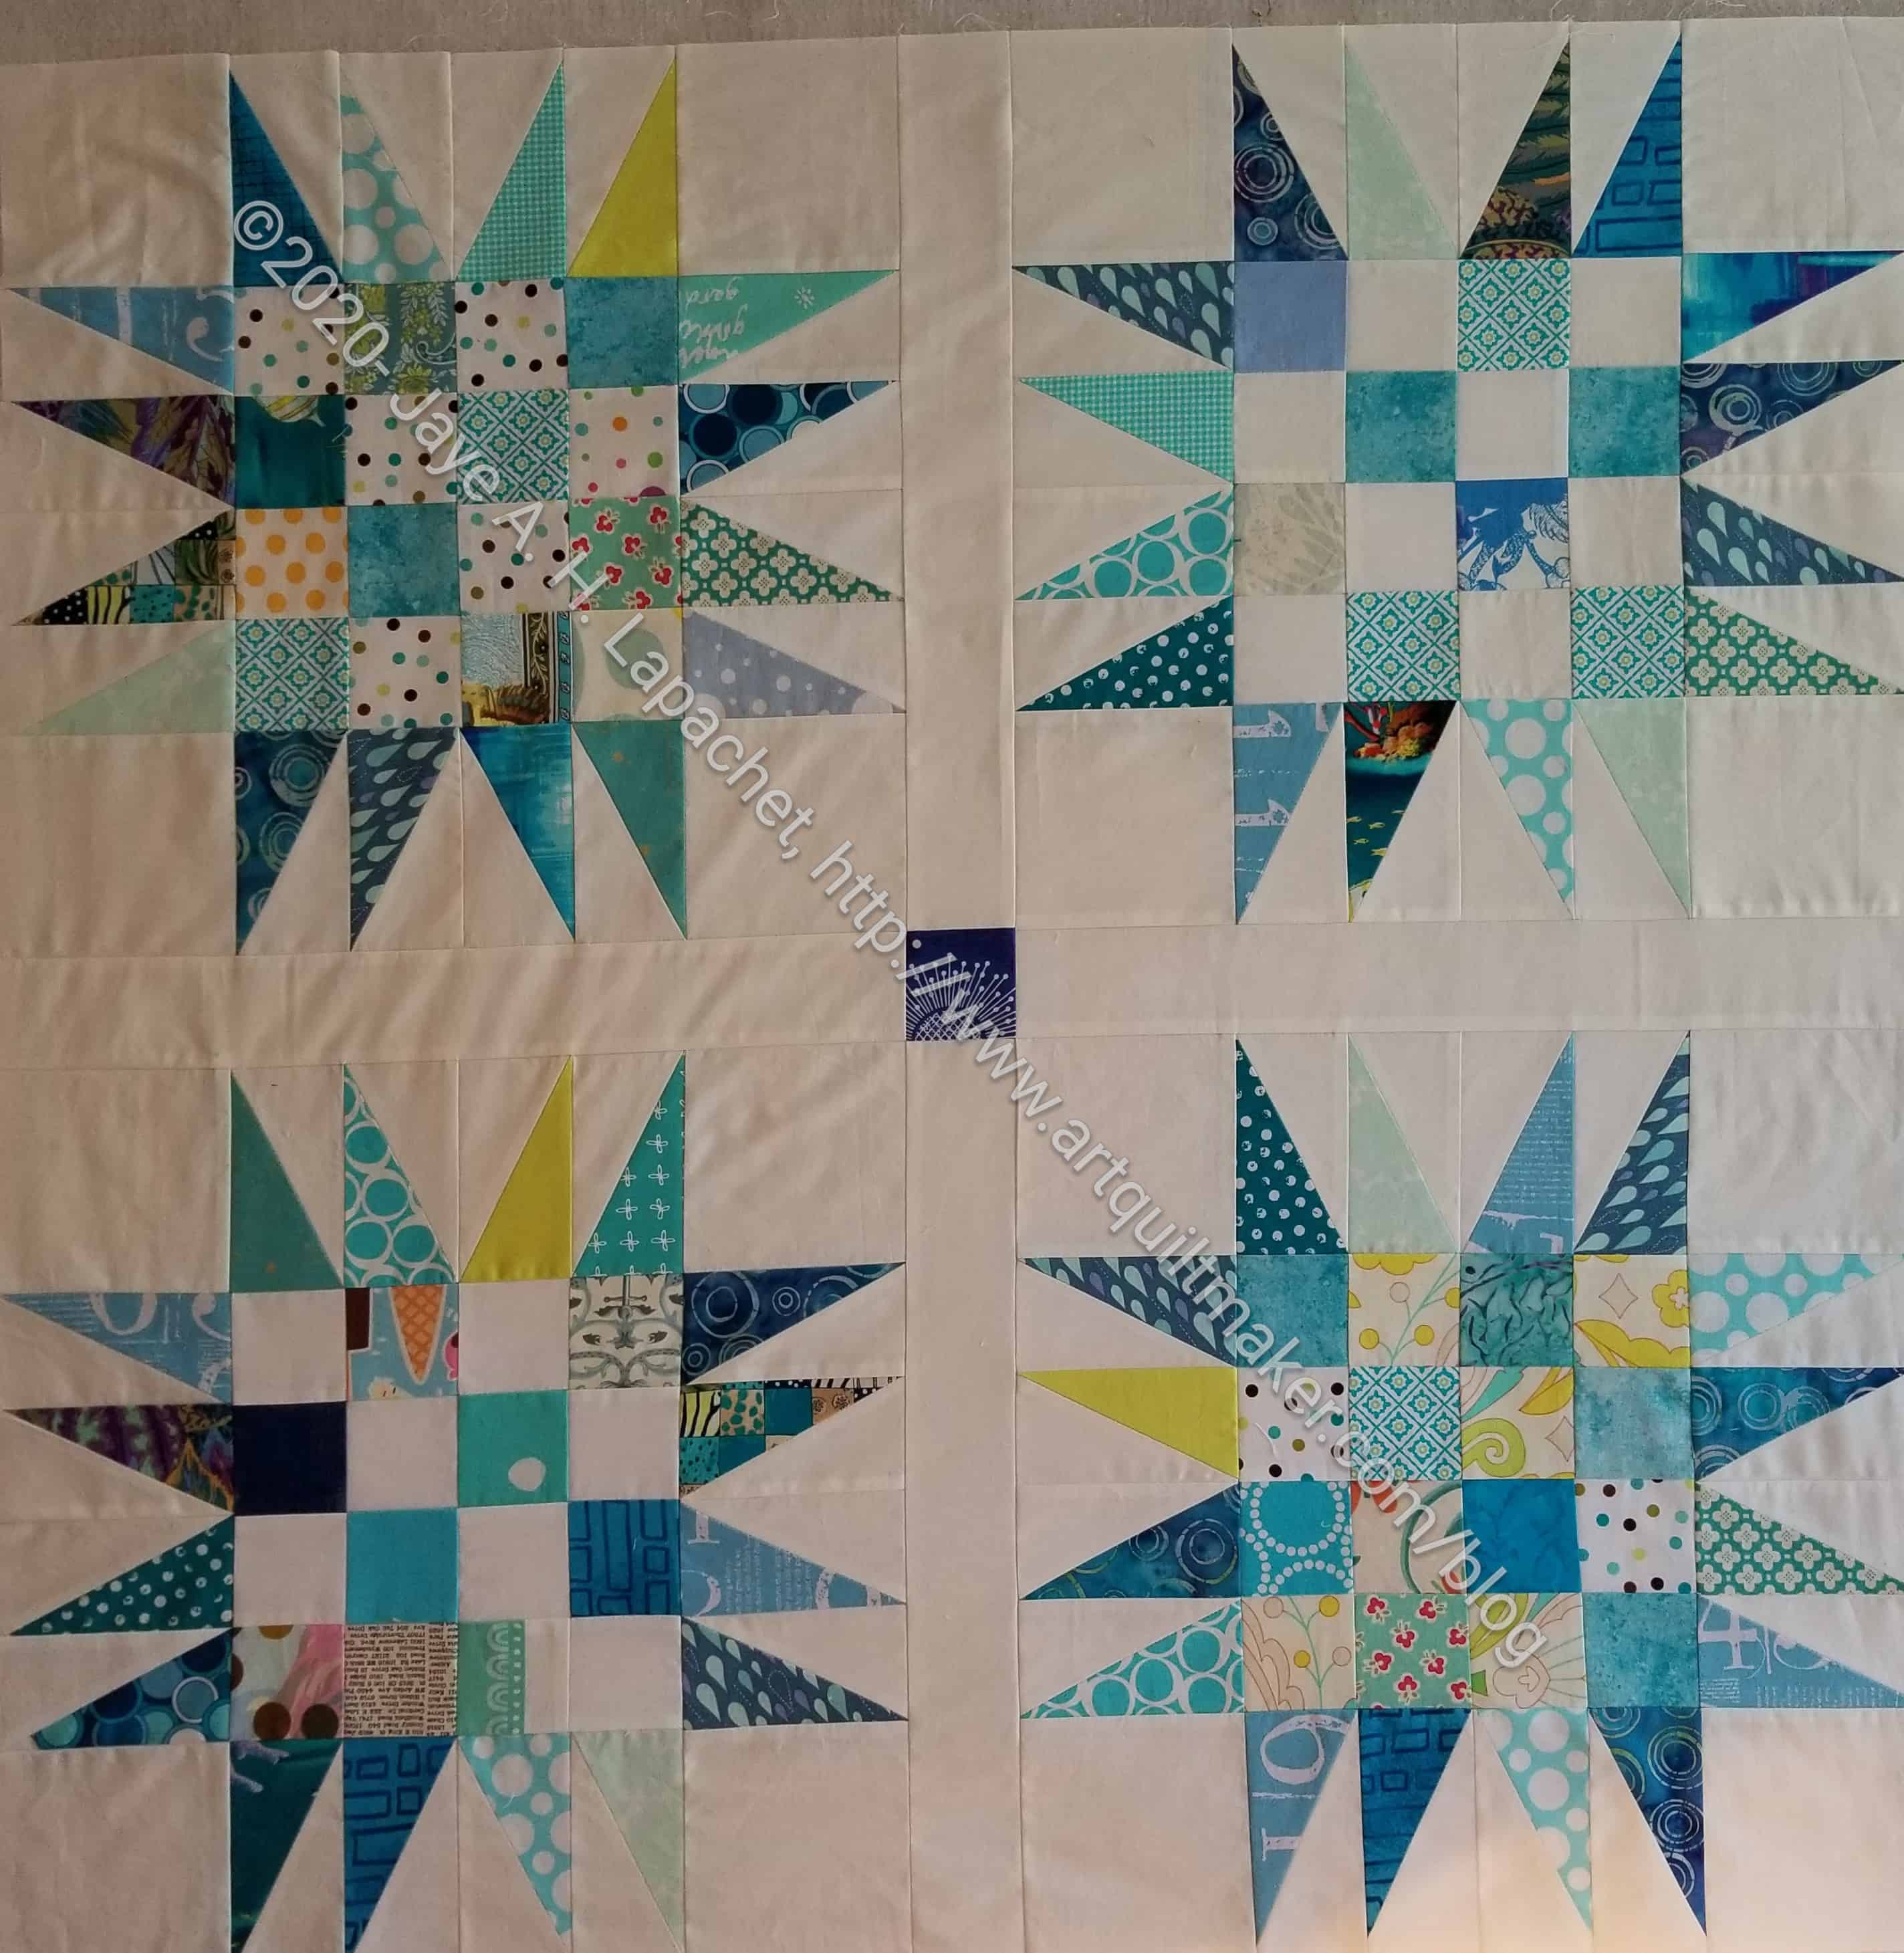
I spent some time yesterday just sewing donation blocks, including these Spiky 16 Patches. I came home to all the pieces on the floor. This is a problem with my new design wall that is making me crazy. I decided to get them off the floor and sewing together.
These will be part of another donation quilt. You saw these blocks unpieced back in April. I hope to have the fourth one finished sometime this week so I can put the top together in time for Sew Day.
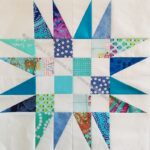
I wanted to try the HuRTy, so I grabbed some scraps and started working on another Spiky 16 Patch.
I I have to admit that I mostly ended up using my Split Rects ruler. The HuRTy isn’t bad; I just haven’t gotten the hang of it yet.
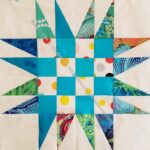
I got inspired, partially, because of the blocks with the solid fabrics and the dots. They look really good and I decided I wanted to make something good with them.
Will this be good? I hope so, but if it isn’t great, I know someone will like it.
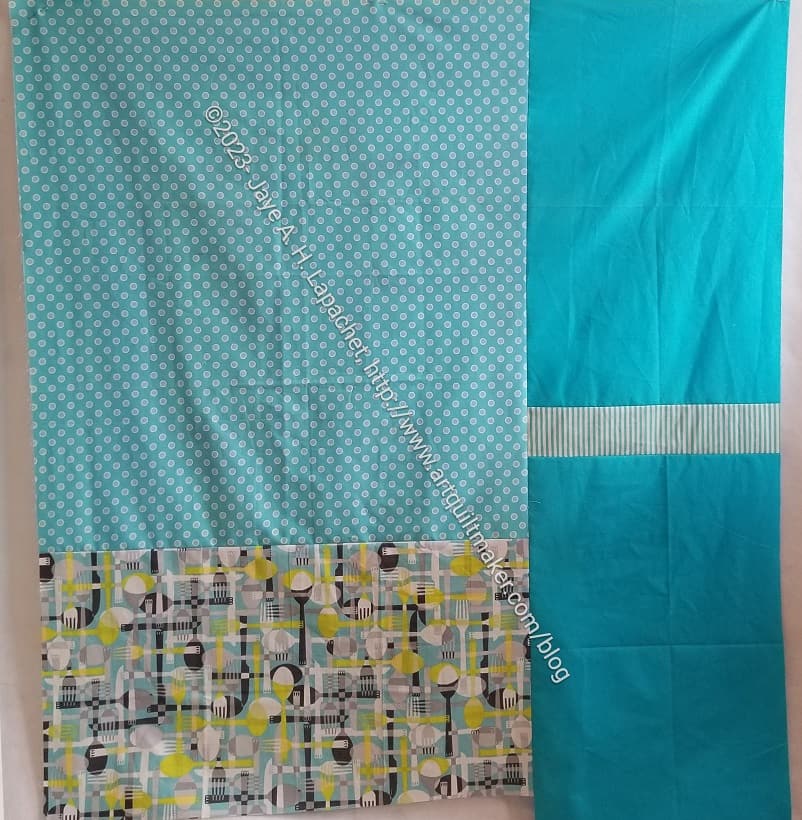
My current problem is that I am running out of background. I am not running out of ALL backgrounds – just the particular background I chose for this project. I’ll have to select something else to use to finish the quilt. I have time.
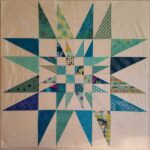
A long time ago, I made the Double Spiky 16 Patch #1. At Sew Day the other day, Lindsay brought it back quilted. I was pretty excited to see it done an in reality it was only February of 2021 that I finished it.
Double Spiky Star #1 quilted detail
She quilted it really well. I love the designs she chose. I am so pleased this was a group effort.
The other day i talked about the Double Spiky 16 Patch that Lee Ann finished. It made me wonder about all the Spiky 16 Patch quilts I have made. I looked back at my media files and decided to put them all into one post.
Double Spiky 16 Patch Quilted #2
Double Spiky 16 Patch #1
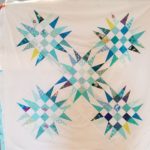
New Blue Spiky 16 Patch donation top
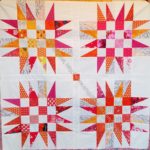
Spiky Star donation quilt n.3
HRT Donation Top – April 2018 (Spiky 16 Patch)
Flame HRT Donation top – April 2020
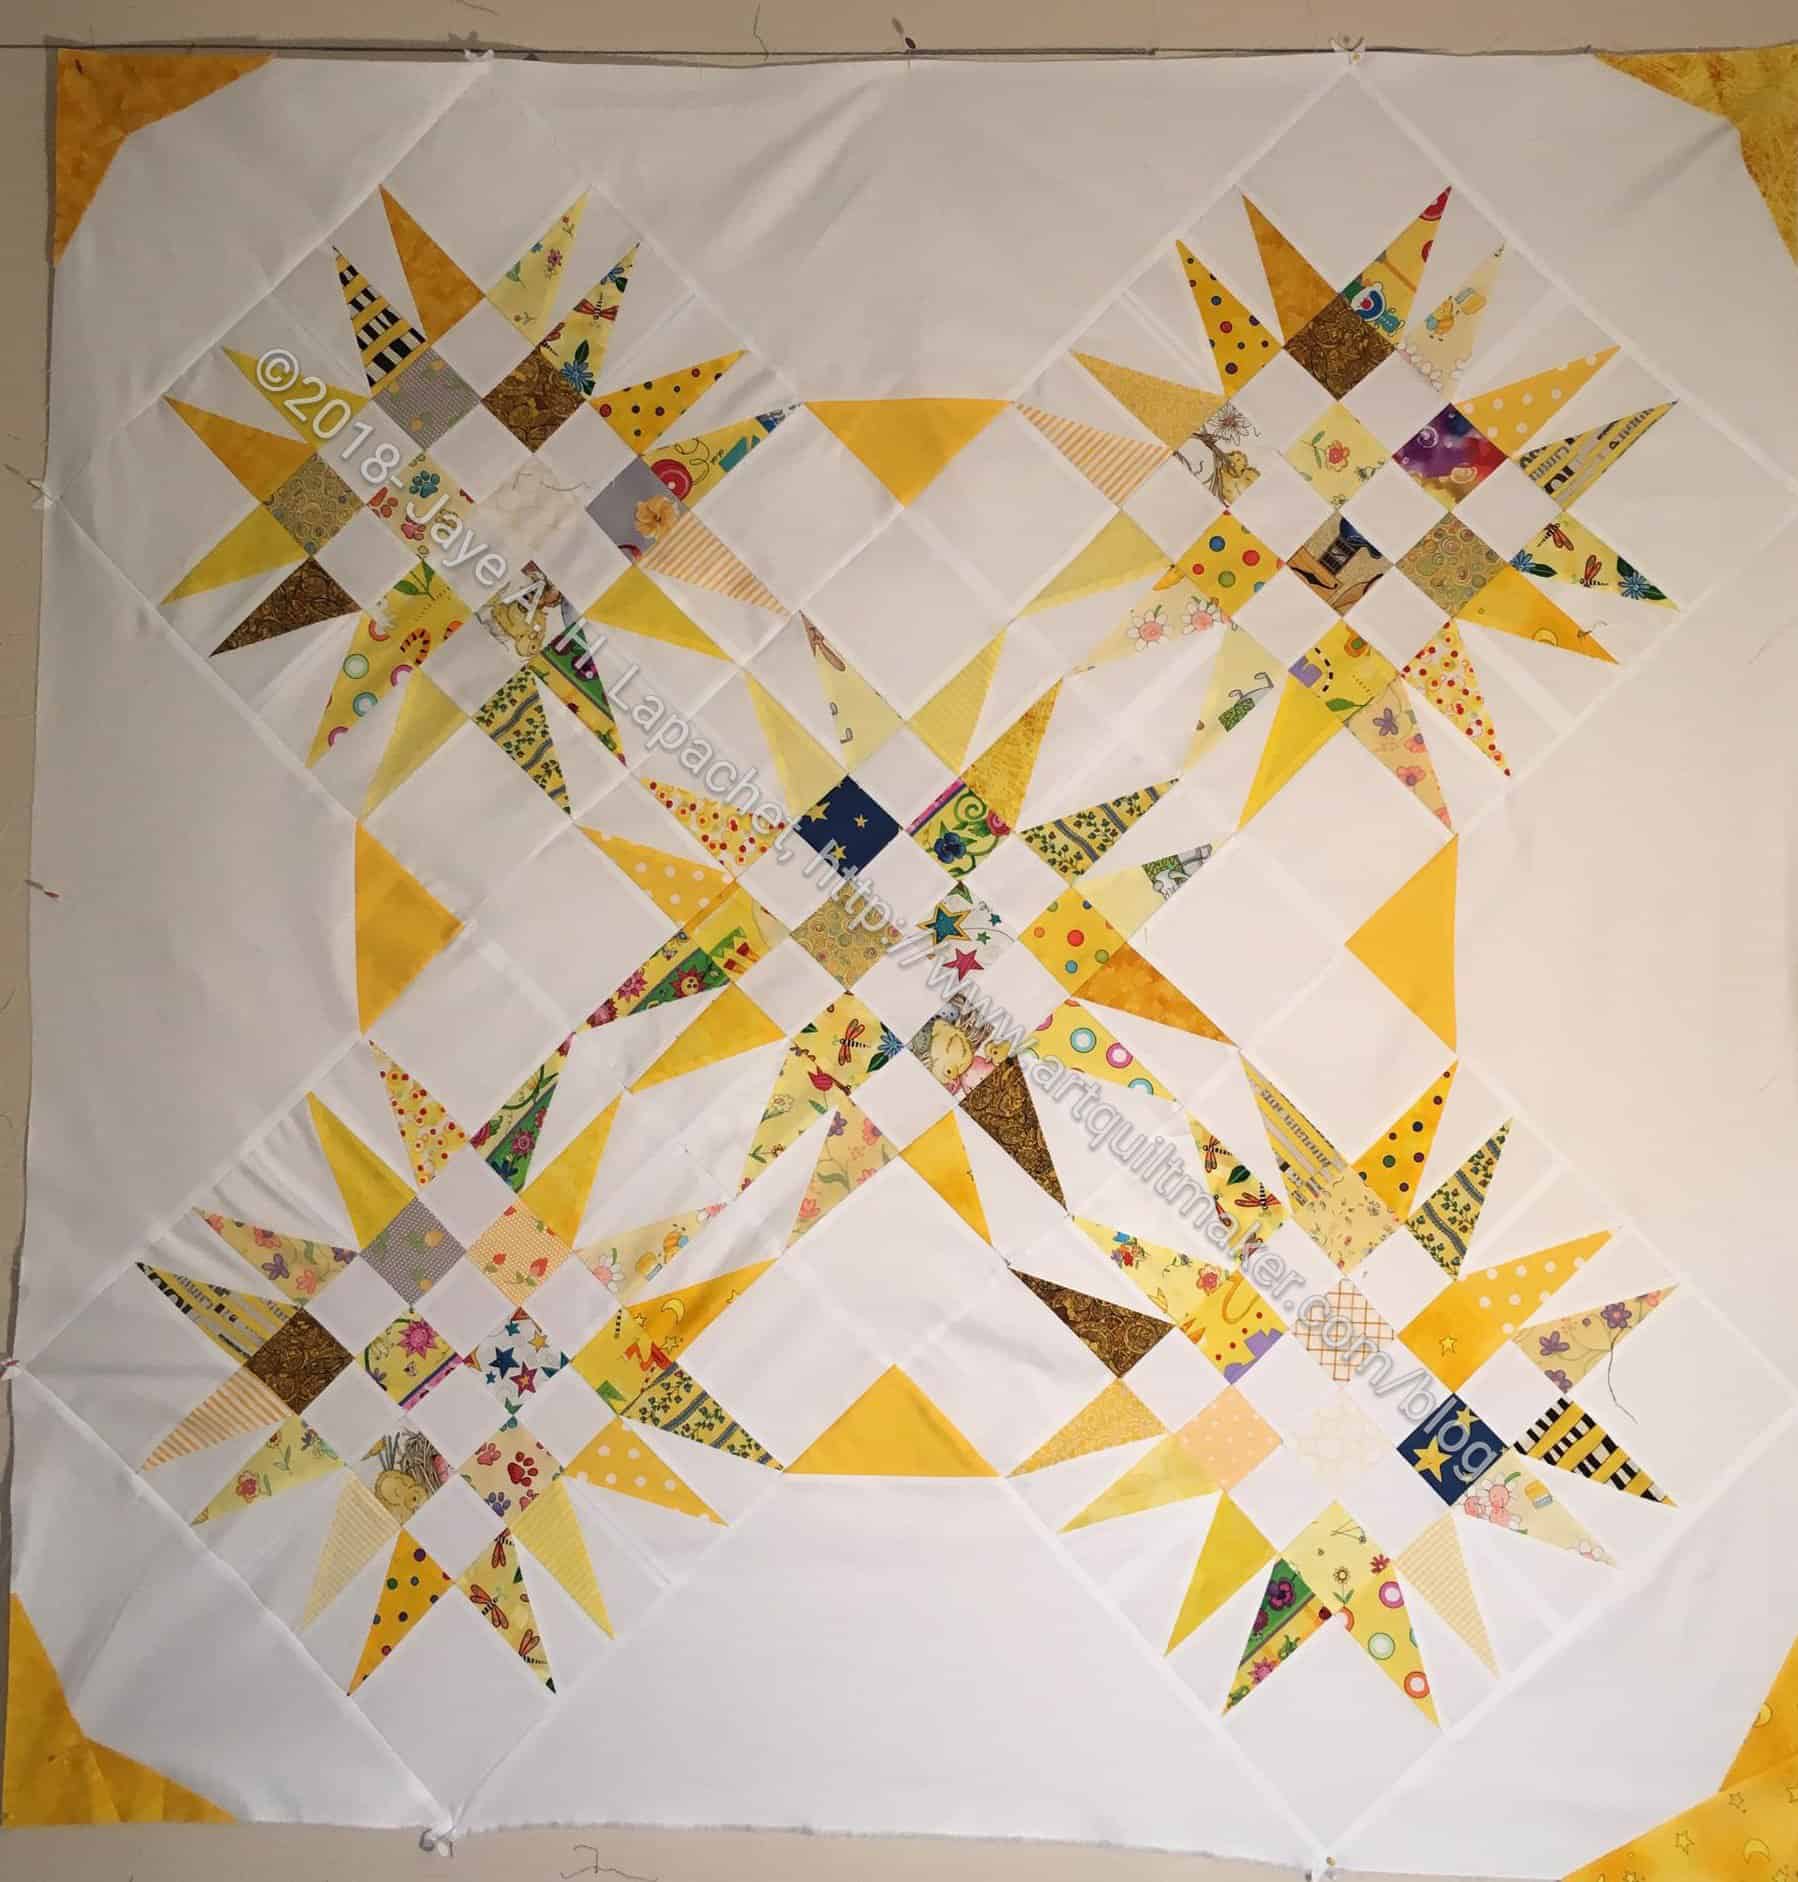
Mrs. K’s Spiky 16 Patch Top
I also inspired Mrs. K to make a top. I love it when you sew along with me, especially if you use one of my tutorials. Hers is great! It makes me think I need to add a yellow version to my list. Look at the corner triangle detail. Isn’t it great?
I always think I have made more of anything I want to show you than I really have. Six tops is not nothing. I want make more of these and now, that I see them, in different colors.
I am sure I will make more of them, so I’ll have to update this post.
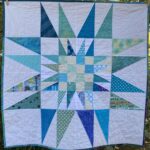
I spoke about my first Double Spiky 16 Patch a few days ago. This is the second one. I am still happy with this version as well. I made two thinking I would make one quilt, but I decided I would leave them small.
This one is also 32″. There is a charity to which my guild donates takes small quilts, so I think it will be fine.
I finally finished the first two Double Spiky 16 Patches. It turned out to be 32″ square and I think I will leave it this size. I just don’t feel like adding anything to it.
I am pretty pleased with the way it came out and I had a lot of fun making the second row of larger HRTs.
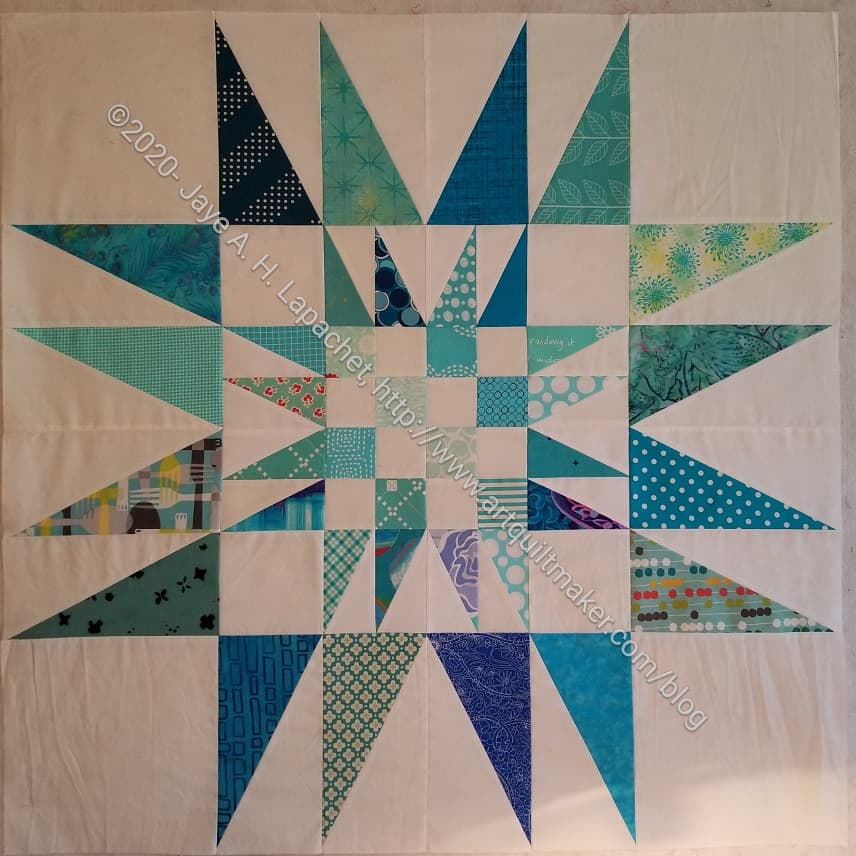
After writing the Spiky 16 Patch Tutorial I decided to try adding another round of HRTs to my regular block to see what would happen.
I am still using the Split Rects ruler** (By Deb Tucker) from Studio180 Designs for this project, so you will still need to review the how to use video.
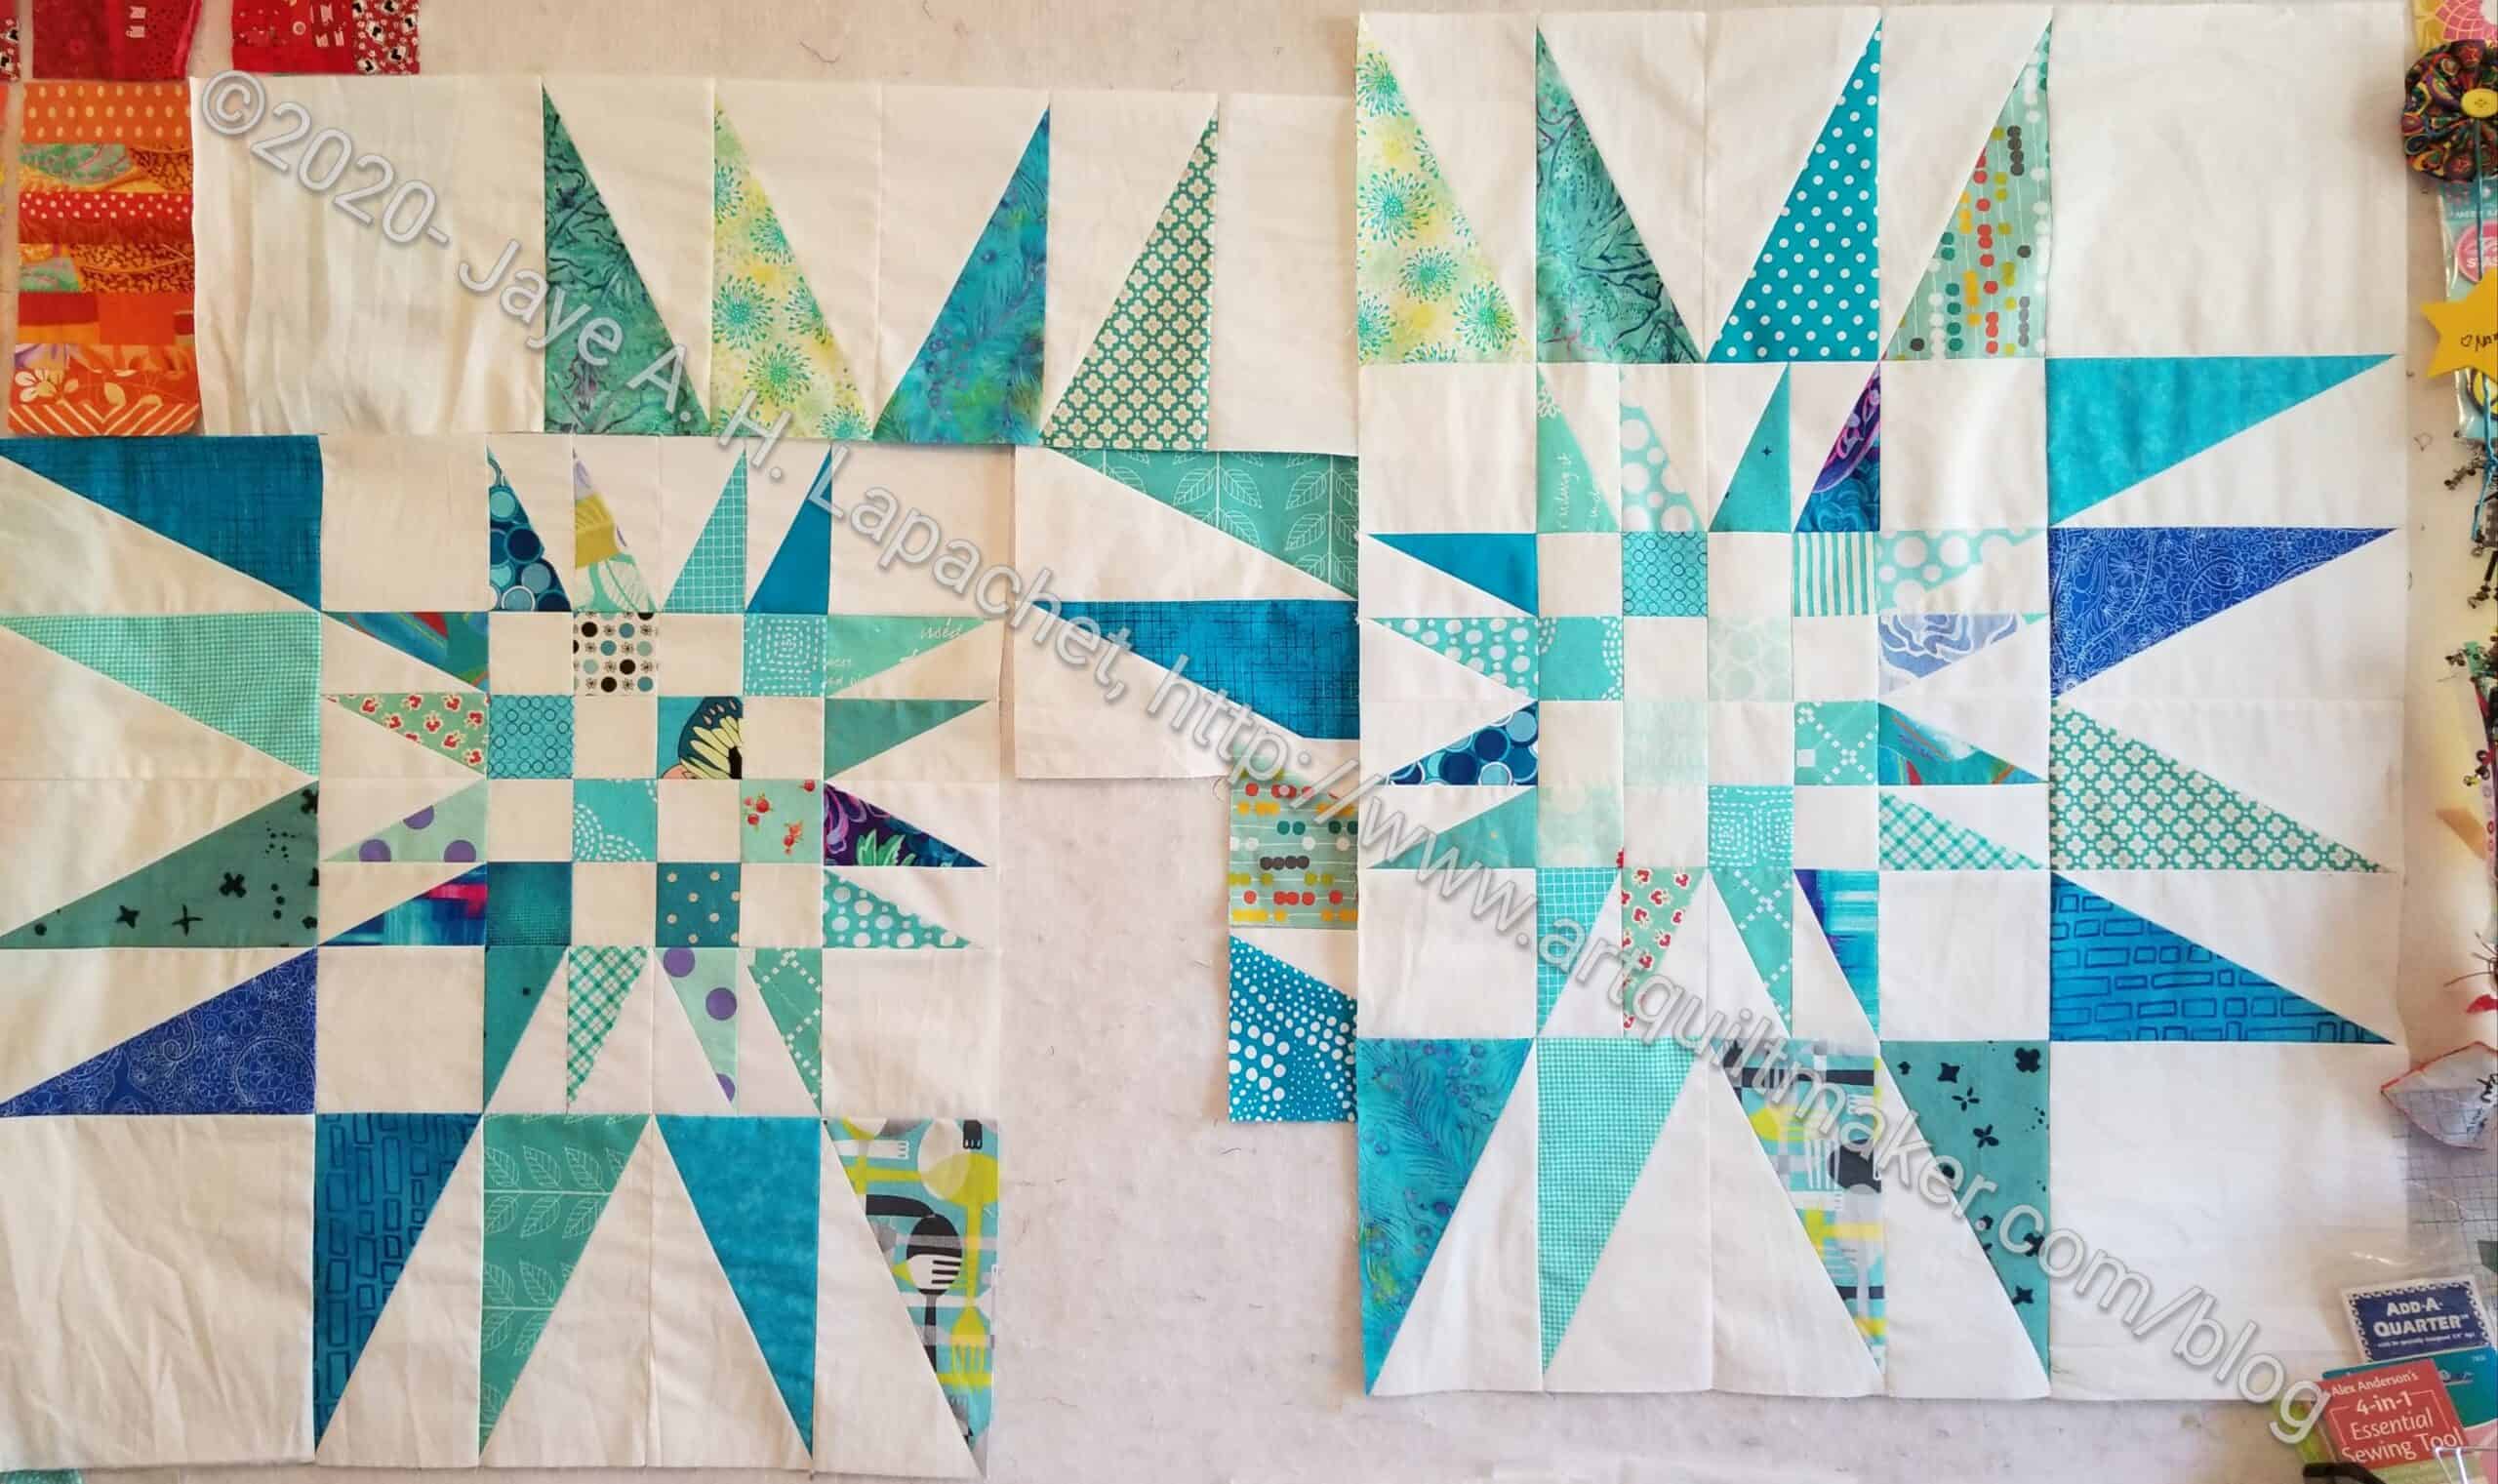
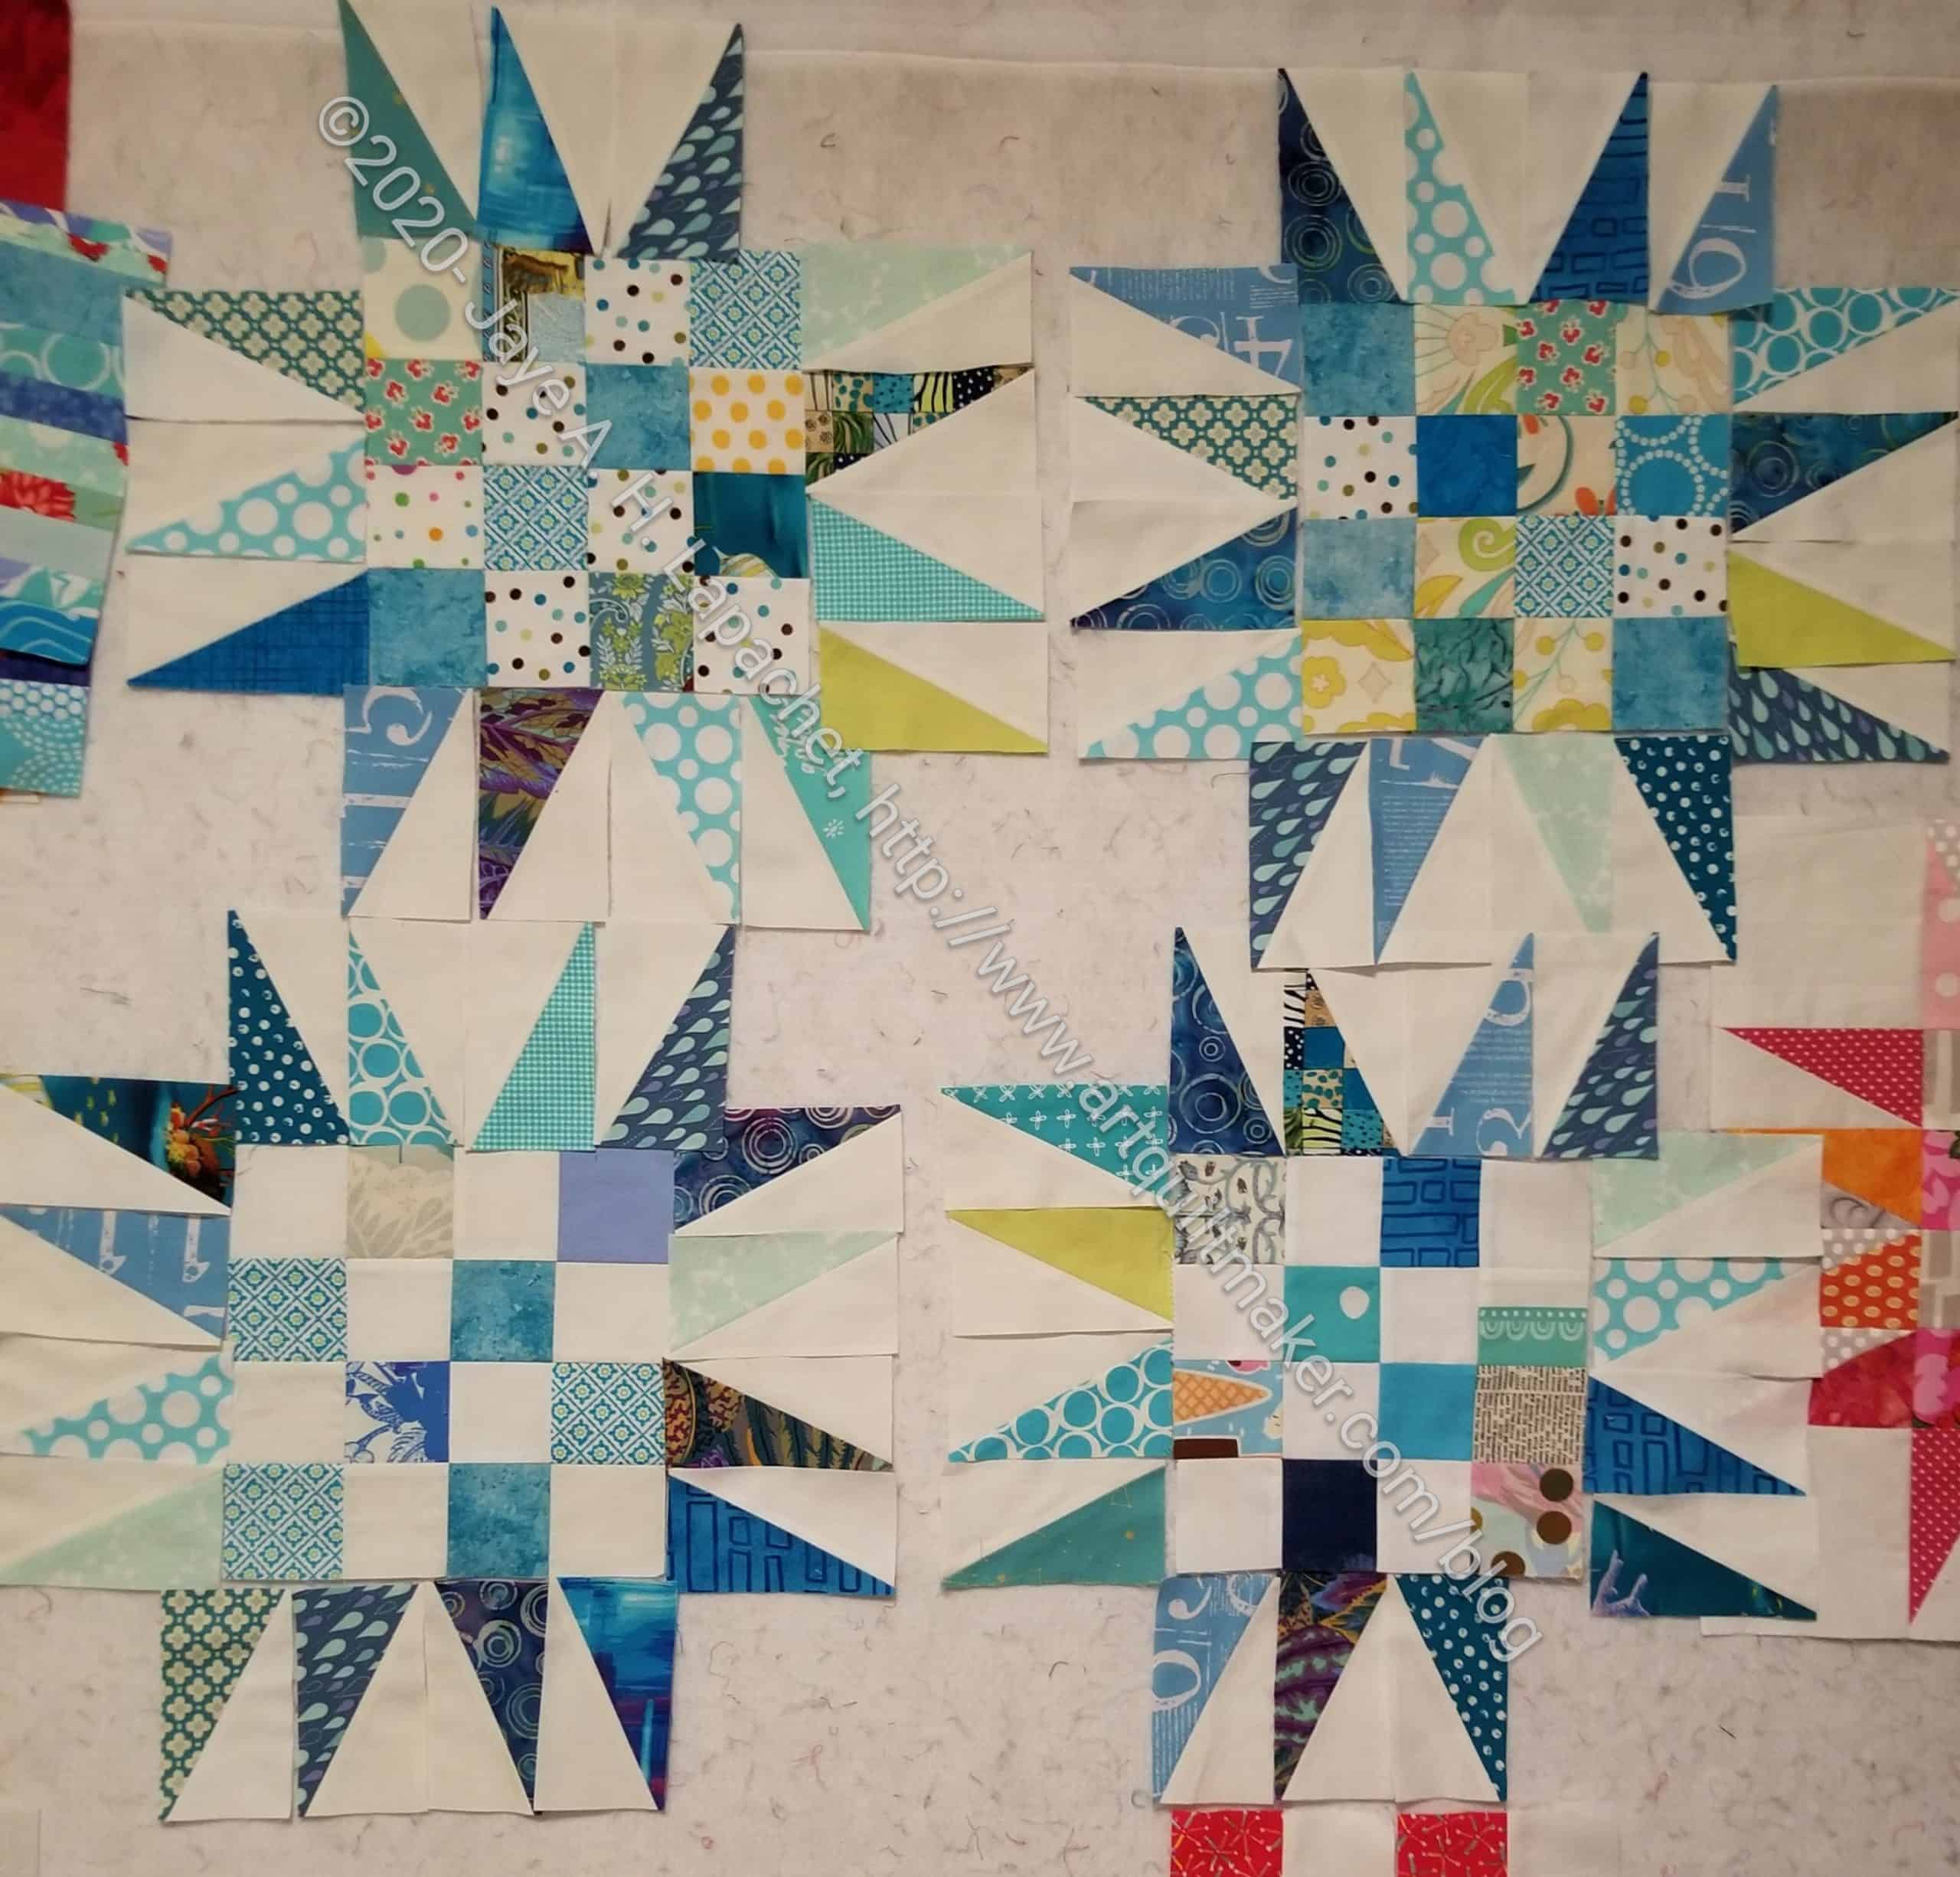
Double Spiky 16 Patch in process
The photo looks like a bit of a mess because the pieces are all overlapping and I need two more HRTs for each block.
I have a lot going on and this has been my leaders and enders project, so I haven’t worked on it in a week or so.
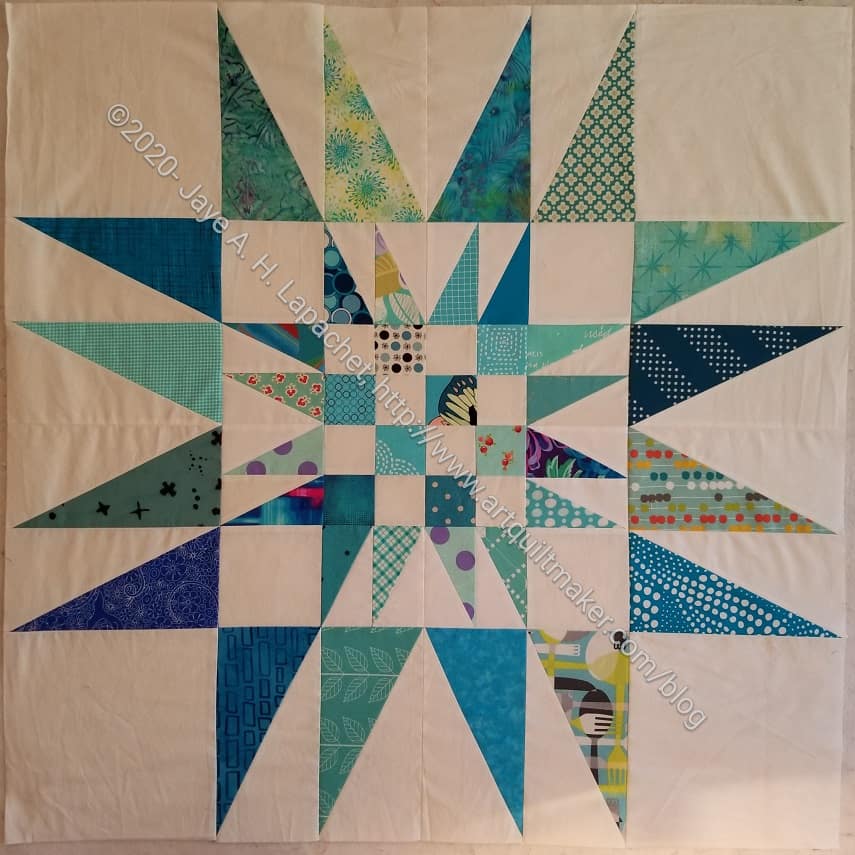
Double Spiky 16 Patch in process detail
I like the look of the double row of HRTs. The outer HRTs are pretty large!
I am not sure if I will make more of these blocks for this project, whatever it is. If it is a donation quilt, I have to make it larger
**I use affiliate links and may be paid for your purchase of an item when you click on an item link in my post. There is no additional cost to you for clicking or purchasing items I recommend. I appreciate your clicks and purchases as it helps support this blog.
This is more of a guideline than a tutorial. It will teach you how to make the Spiky 16 Patch block in a general way. You will need to review the Studio180 video and know how to do basic piecing.
This block is my own design and uses Half Rectangle Triangles (HRTs) and 2.5 inch squares to make a 16 inch (finished) block. I have used these blocks to make a number of donation quilts.
Supplies:
Fabric:
16-2.5 inch squares
8 -2.5 inch squares for foreground
8-2.5 inch squares for background
5 inch strip of foreground – you’ll have to work through what width you need. I use scraps, so I don’t know the exact length
Computer or other device capable of viewing YouTube
Internet connection
Fabric Units Needed
This is a repeat of above, but with, perhaps, some additional information
8 – 2.5 inch squares (unfinished) from background fabrics
8 – 2.5 inch squares (unfinished) from foreground fabrics
8 – 2 inch x 4 inch (finished) left facing half rectangle triangles (half foreground and half background)
8 – 2 inch x 4 inch (finished) right facing half rectangle triangles (half foreground and half background)
4 – 4.5 inch (unfinished) squares from background fabrics
Center of block:
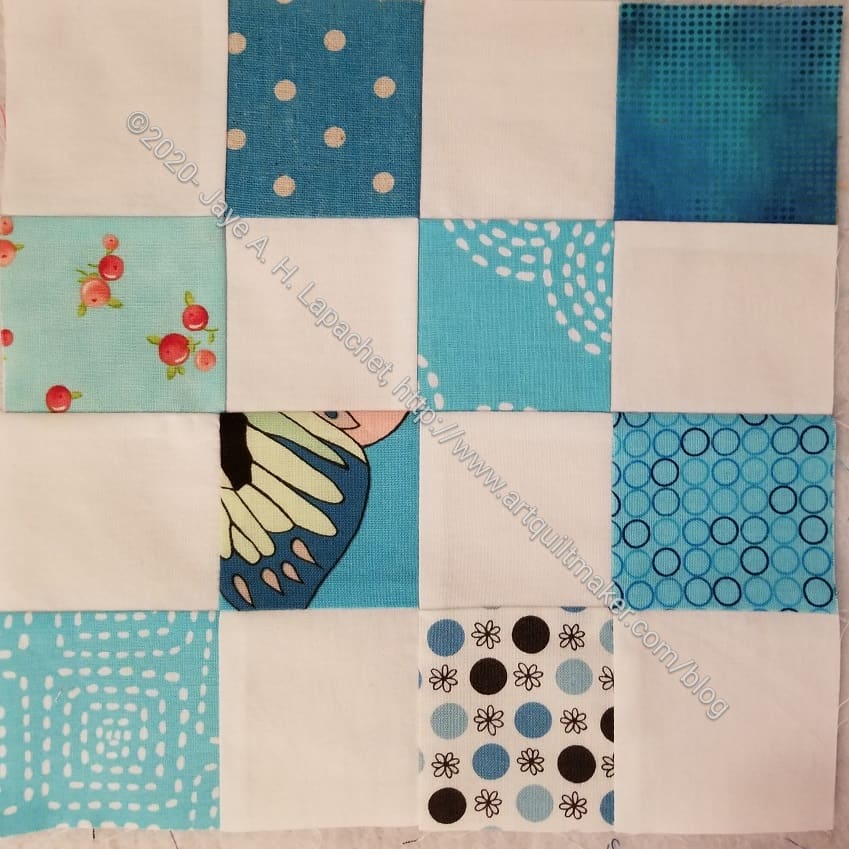
Take your 2.5 inch squares and sew them into 4- 4 patches
Blue Square Donation Block
Sew your 4 patches together into a 16 patch as shown above.
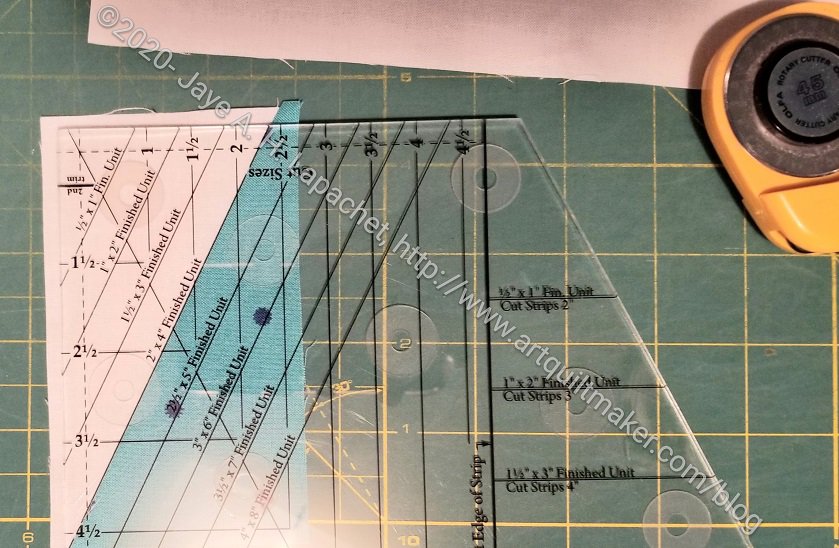
I start with 5″ strips for the 2 in x 4 in (finished) HRTs. Remember: I am using the Split Recs ruler and it uses that size strip for the HRTs. You can make your HRTs using whatever method is convenient. Make sure they end up 2 inch x 4 inch finished.
It is really important to take the time to look at the Studio180 Split Recs video. It will make your life a lot easier.
Cut and trim HRTs using Split Recs ruler
Following the directions in the video, cut, sew and trim your HRT pieces:
8 right facing triangles
8 left facing triangles
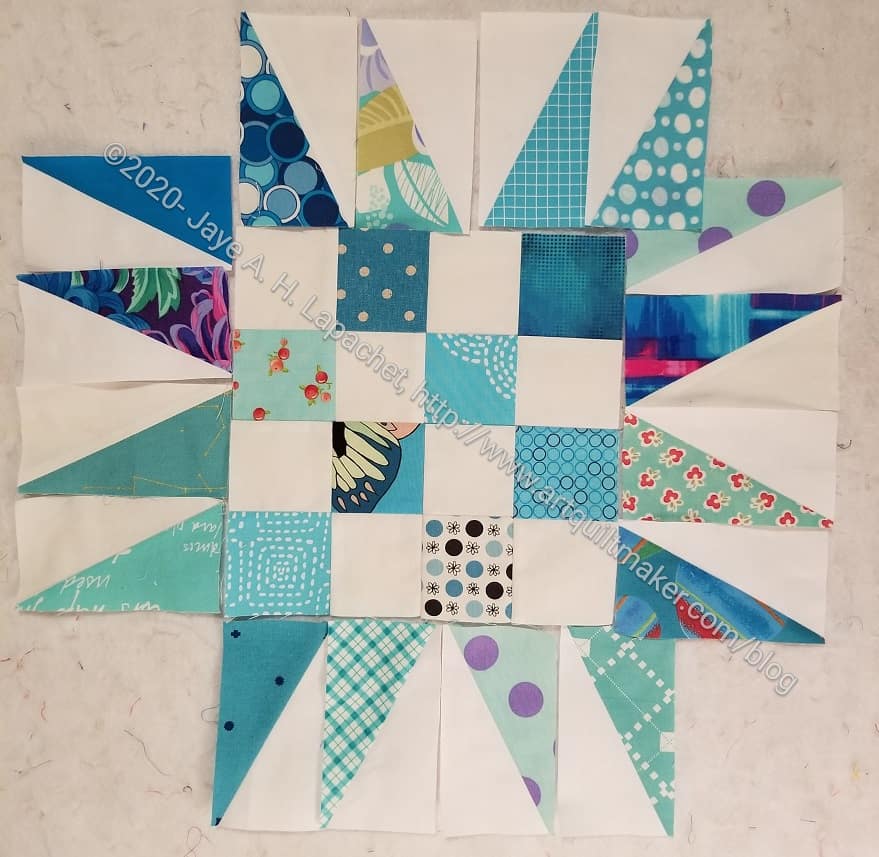
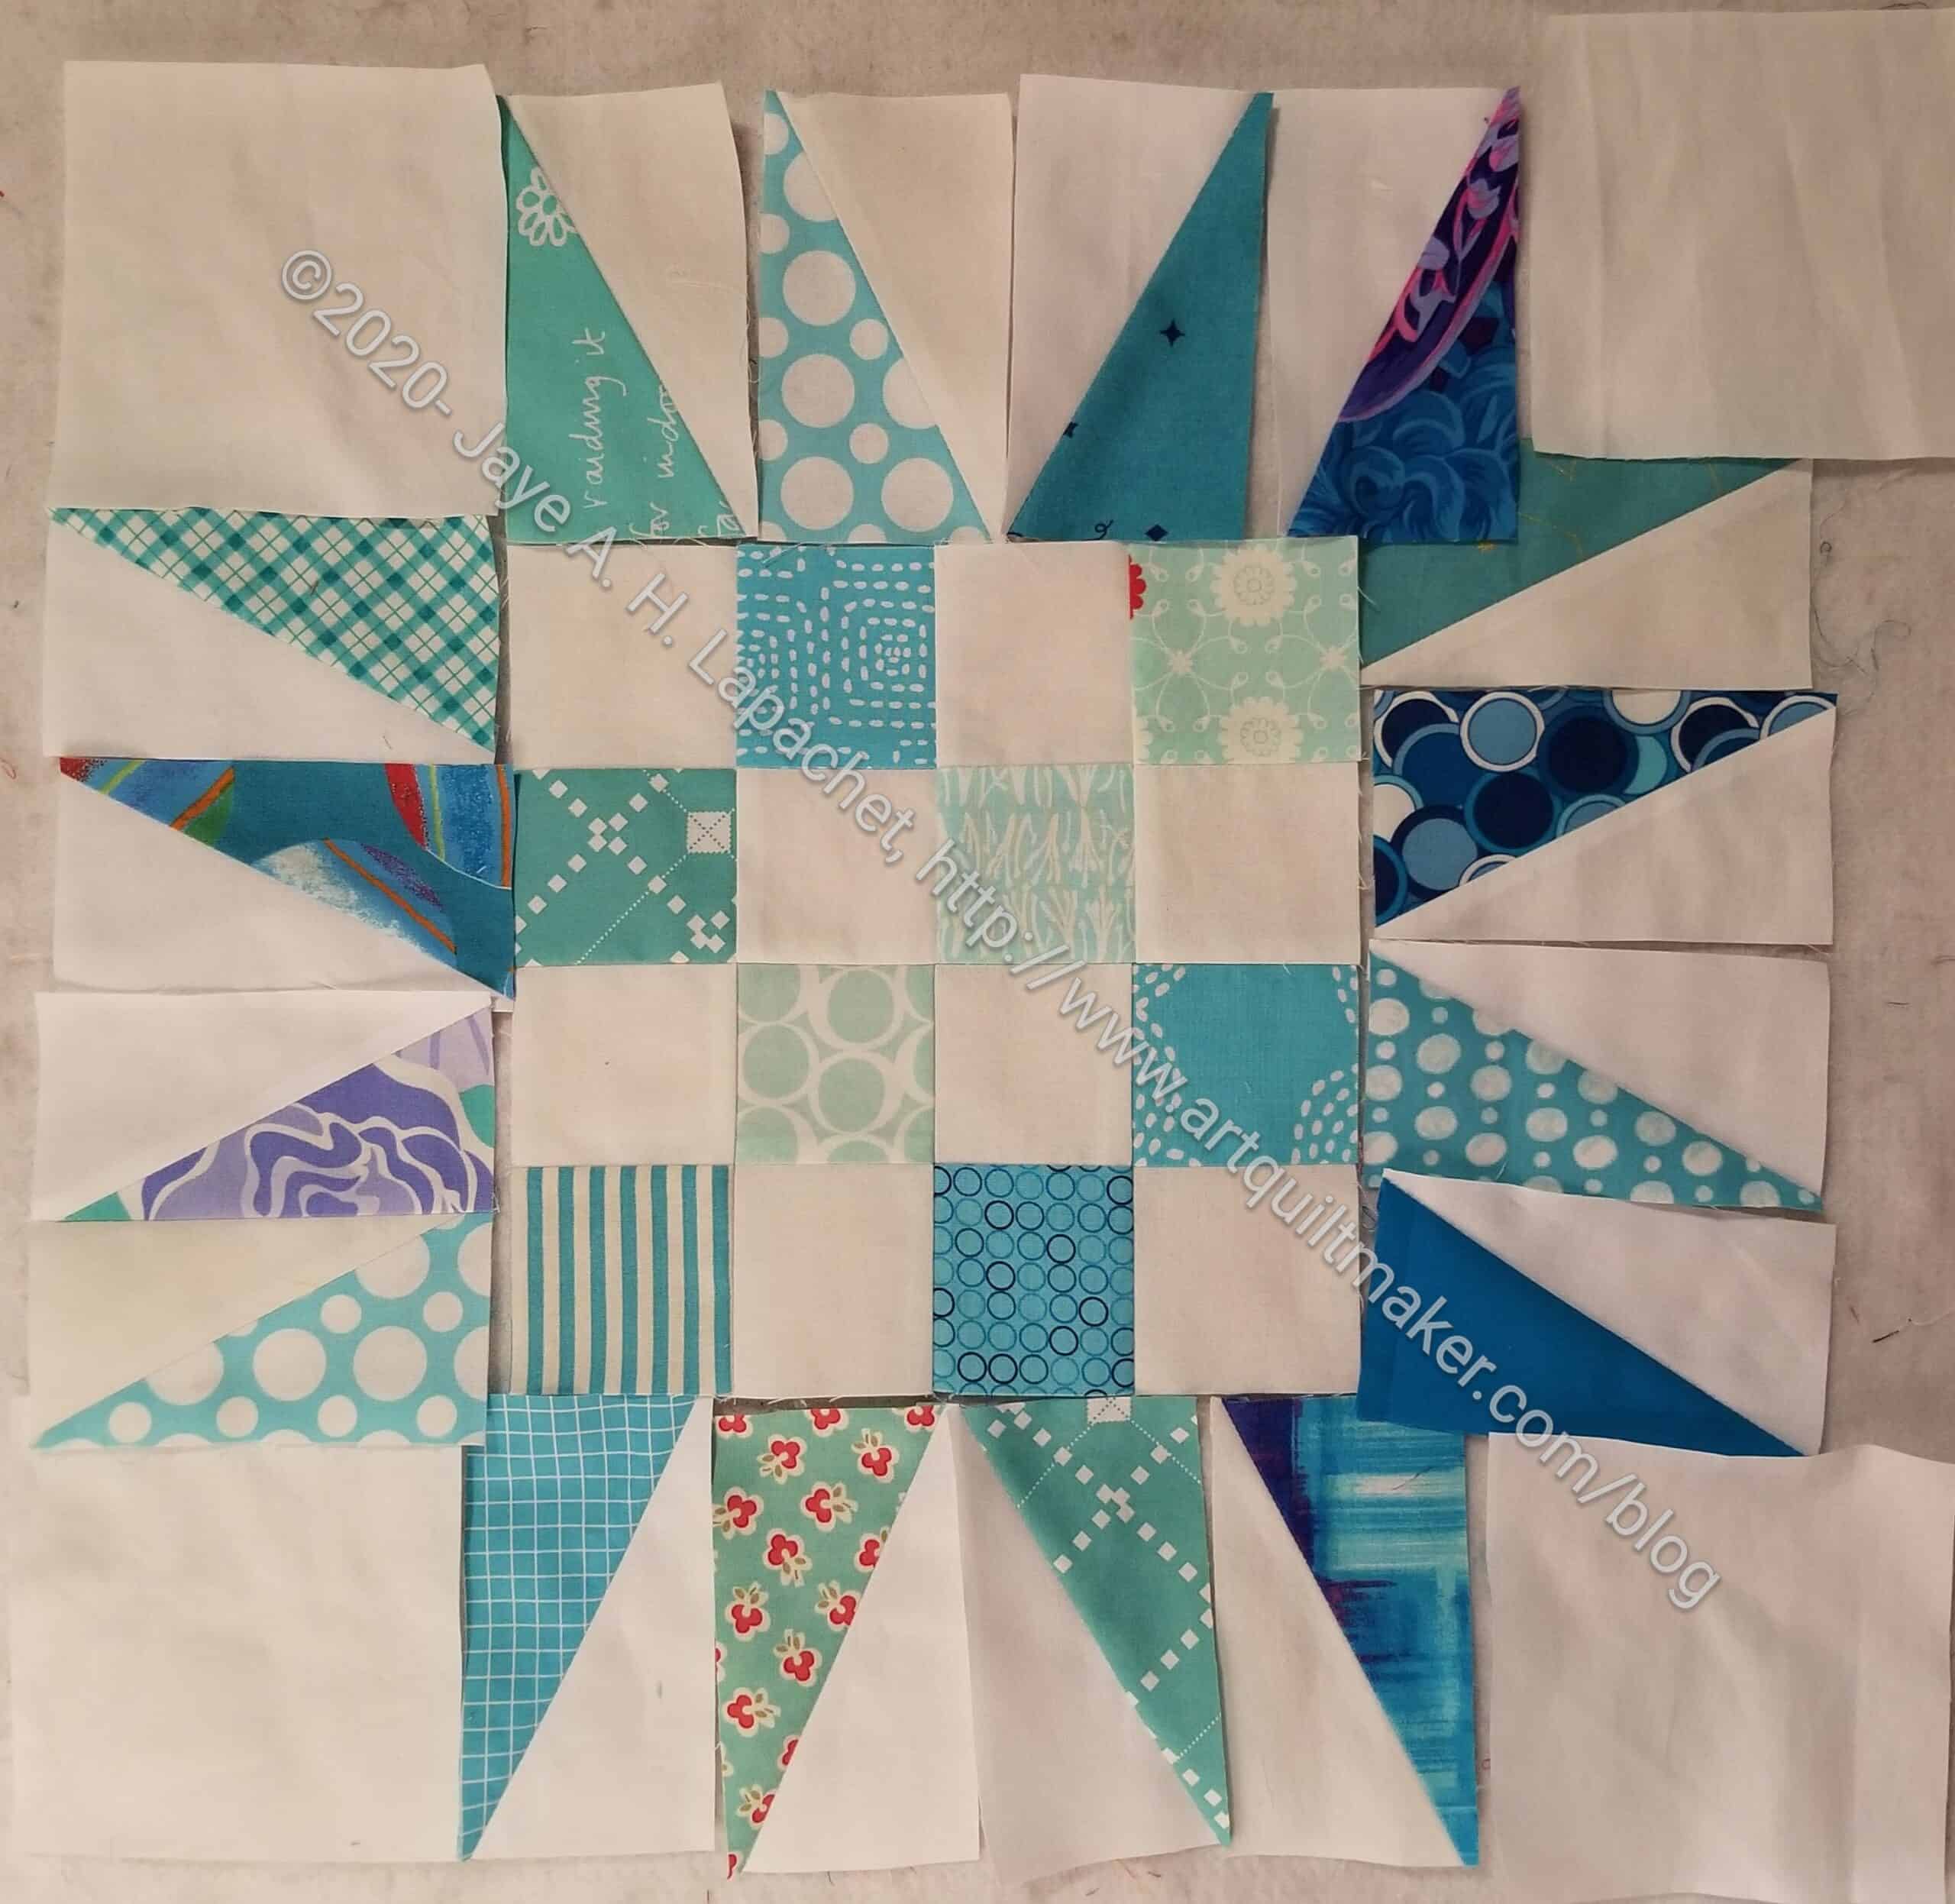
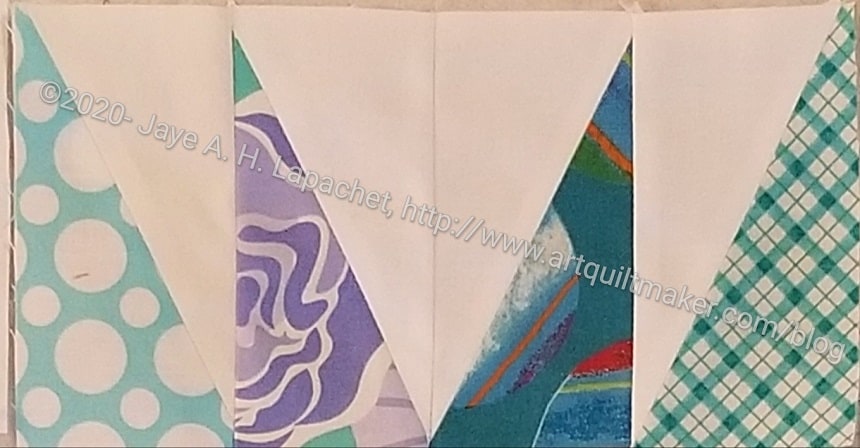
Spiky Star in progress
Once you have sewn and trimmed your HRTs place them with your 16 patch, like the photo above. Note: until you sew the HRTs together, the laid out block will look uneven as my example above shows. The bottom left hand HRTs are already sewn together and you can see how they fit nicely next to the squares in the 16 patch.
Spiky Star laid out
Cut 4 corner squares from background fabric 4.5 inches by 4.5 inches. Sometimes I use a variety of background fabrics when I am cutting from scraps. It adds interest to the block. Just make sure you have enough contrast.
Group of 4 HRTs
Start sewing your HRTs together into groups of 4.
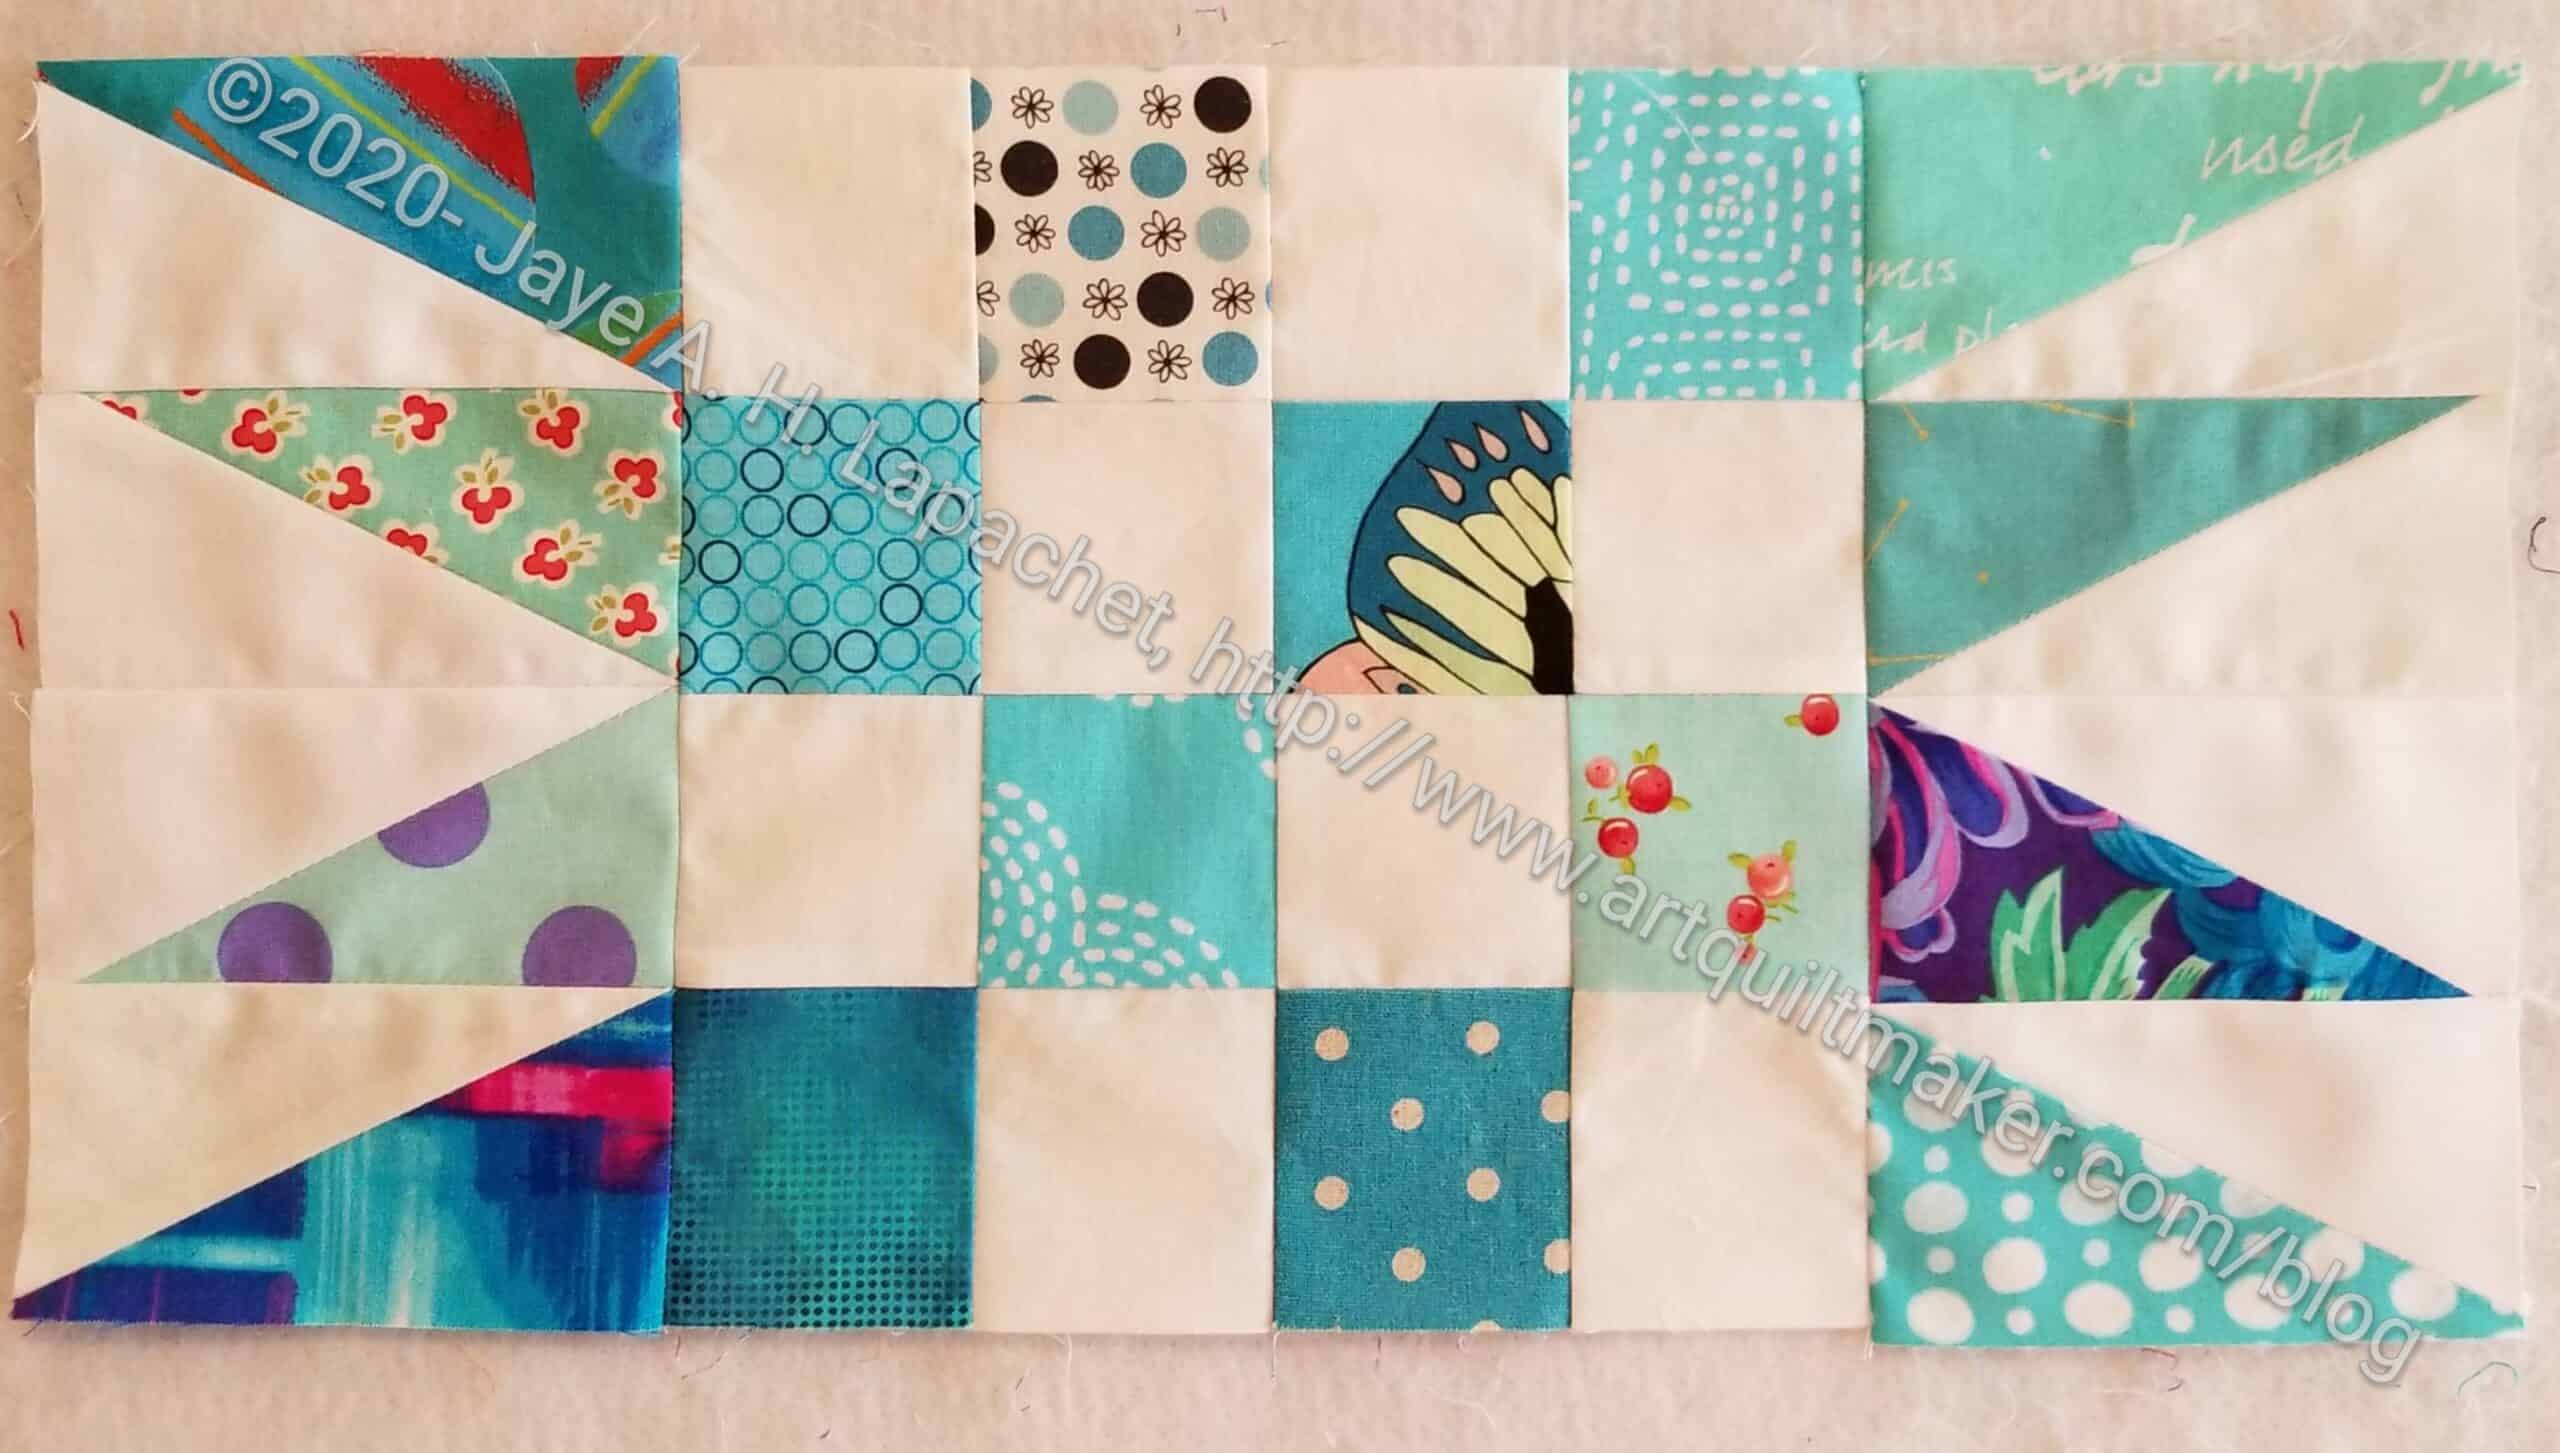
Sew HRT units to center 16 Patch
Once I have the four HRT units, I sew one to each side, starting with the sides. Above shows the center block with two HRT groups of 4 sewn to the sides.
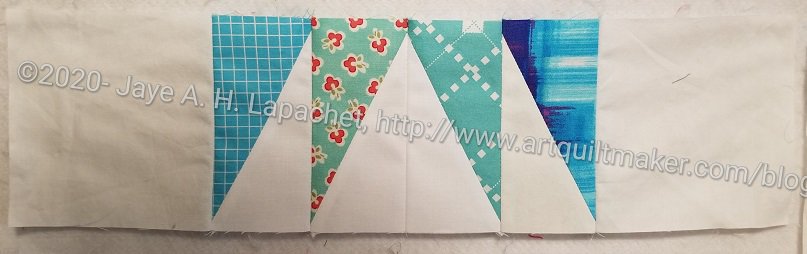
Group of 4 HRTs with background squares
Once part of the block is made, I start making the last two sections, the top and the bottom.
Take one HRT section and sew it to a 4.5 x 4.5 background square. Sew the second background square to the other side of the HRT section. Do this step again for the top.
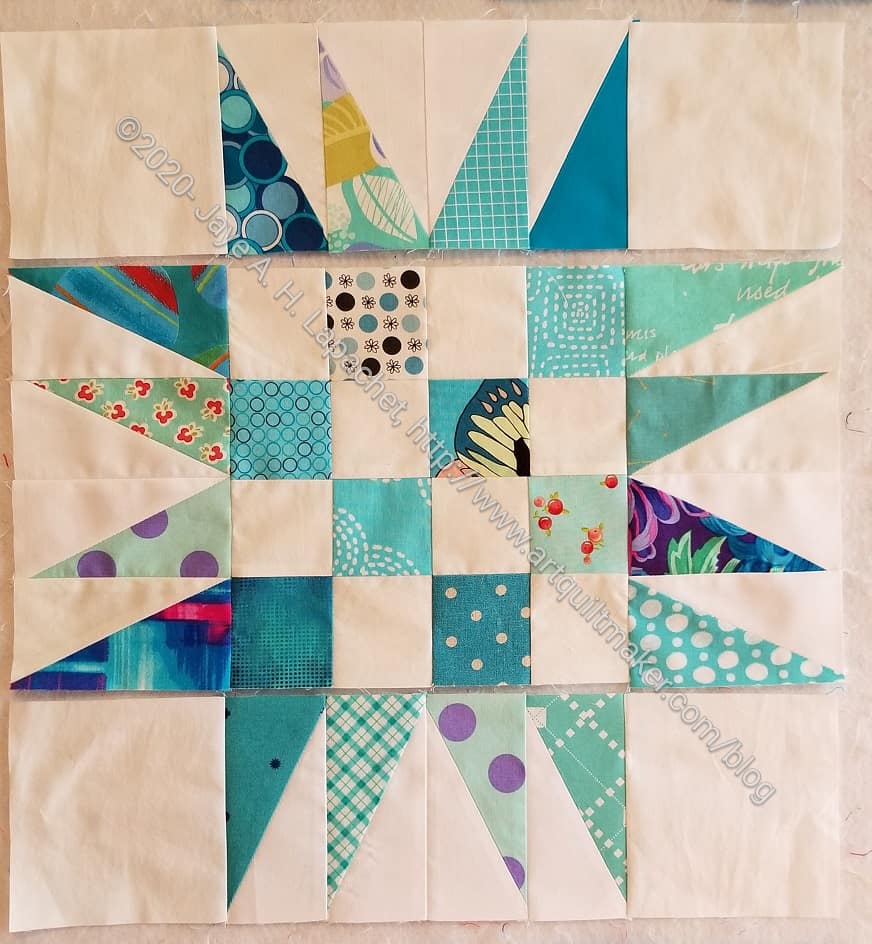
Spiky Star – 3 sections
You will end up with 3 sections.
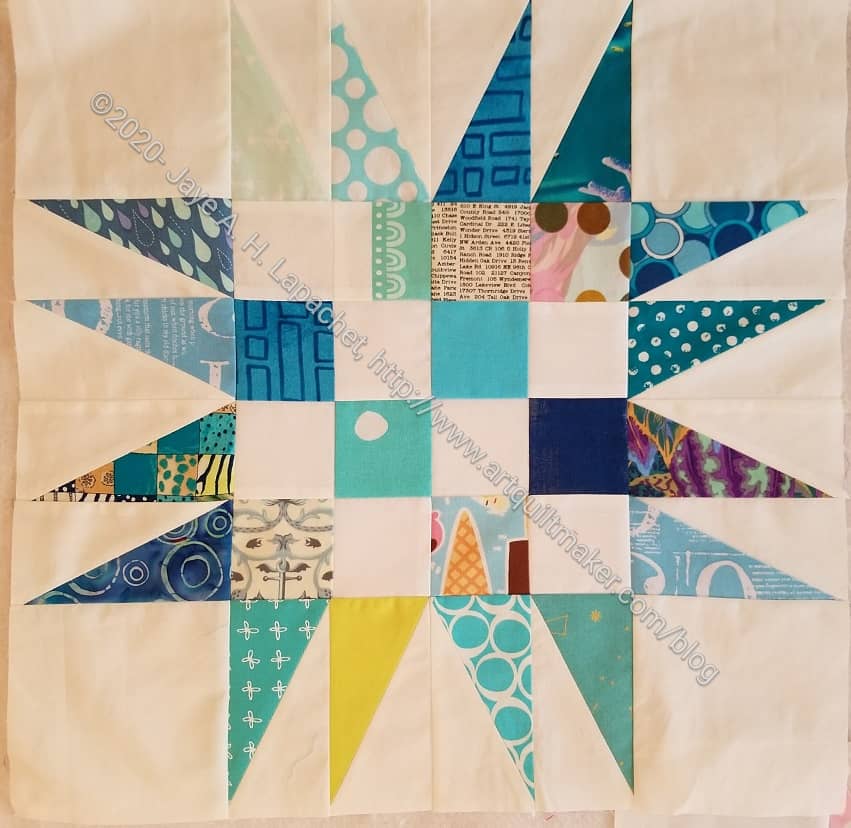
Complete Spiky Star block
Sew one HRT/background square section to the top and then sew the second section to the bottom of the center section. Once you have done this, press and your block is complete.
There are other ways to make the HRTs for this block. This is the method I use. Take a look at the Spiky 16 Patch blocks and quilts I have made using this technique.
**I use affiliate links and may be paid for your purchase of an item when you click on an item link in my post. There is no additional cost to you for clicking or purchasing items I recommend. I appreciate your clicks and purchases as it helps support this blog.
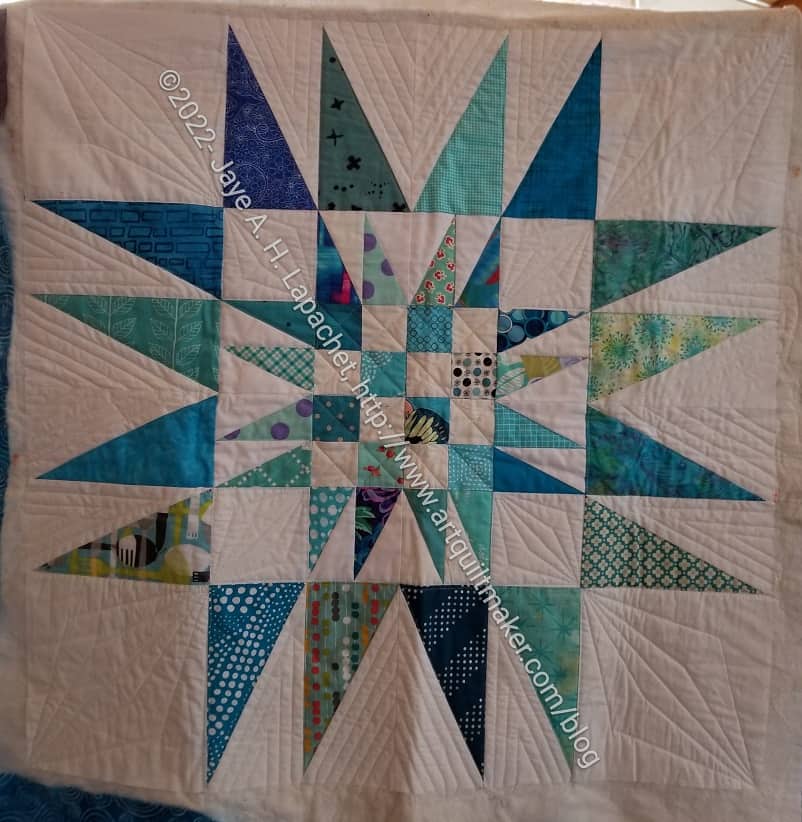
Apparently, I forgot to show you the latest blue Spiky 16 patch. Maybe not, but I couldn’t find a post about it, so I am assuming I didn’t show you this quilt.
I finished this in May. It is made from some of the guild’s 16 patches. I looked at it again the other day when I visited Tim. It is small, but mighty. I’ll see about making a larger one next time.
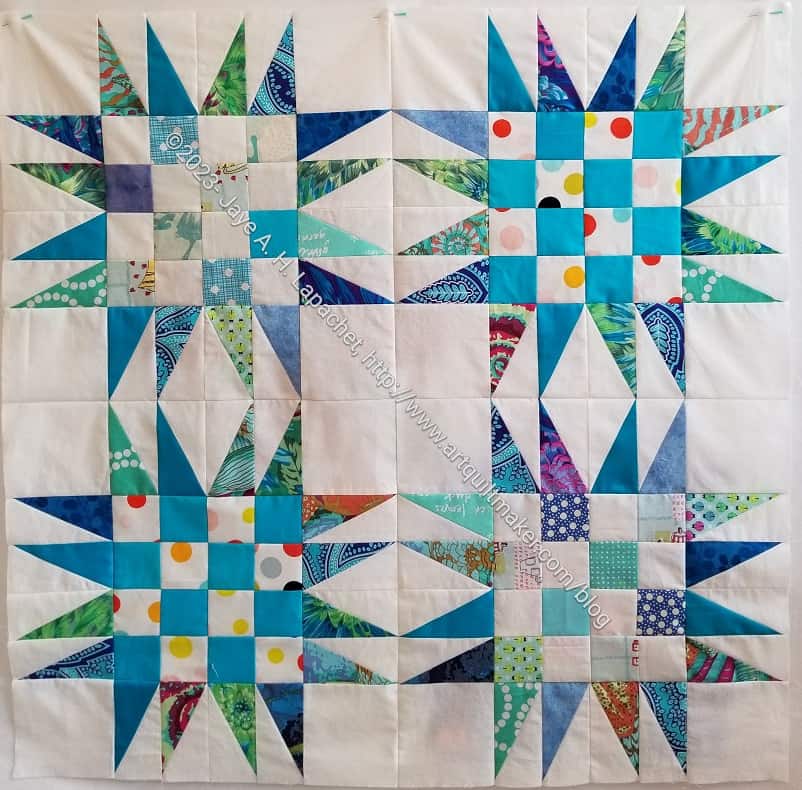
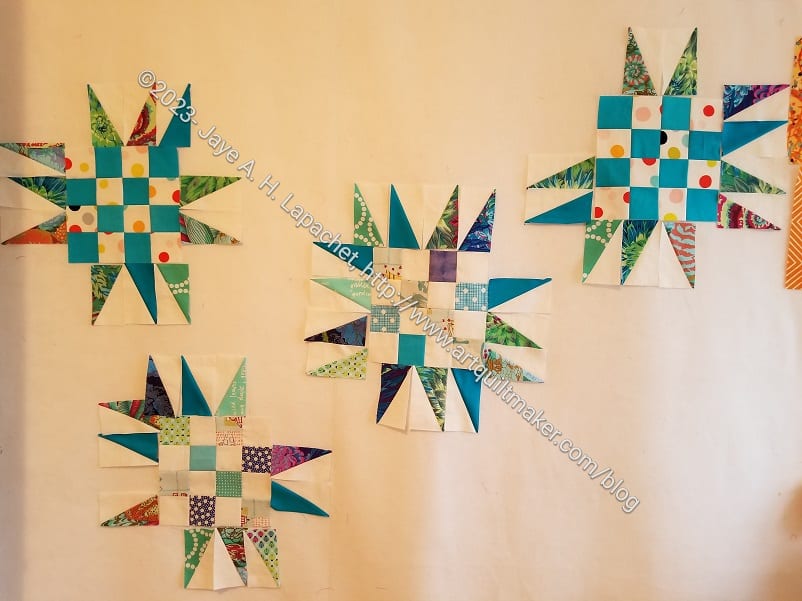
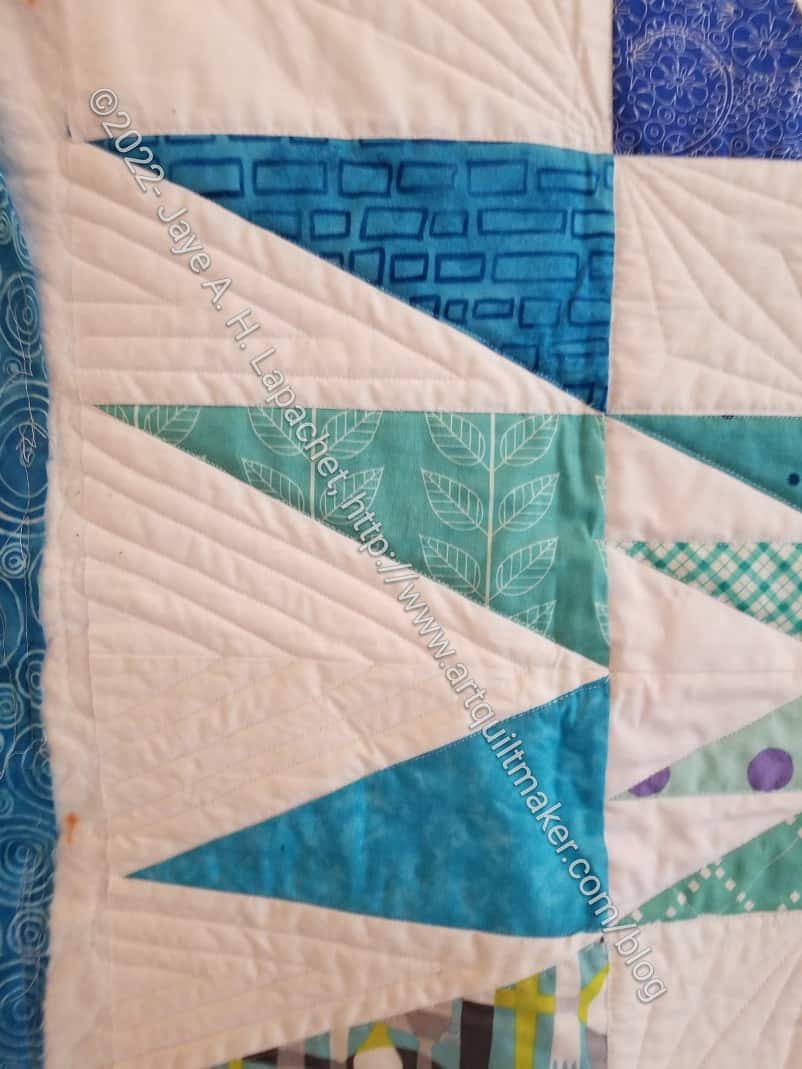
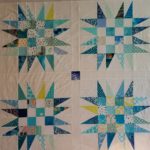
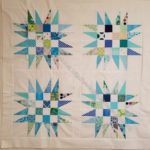
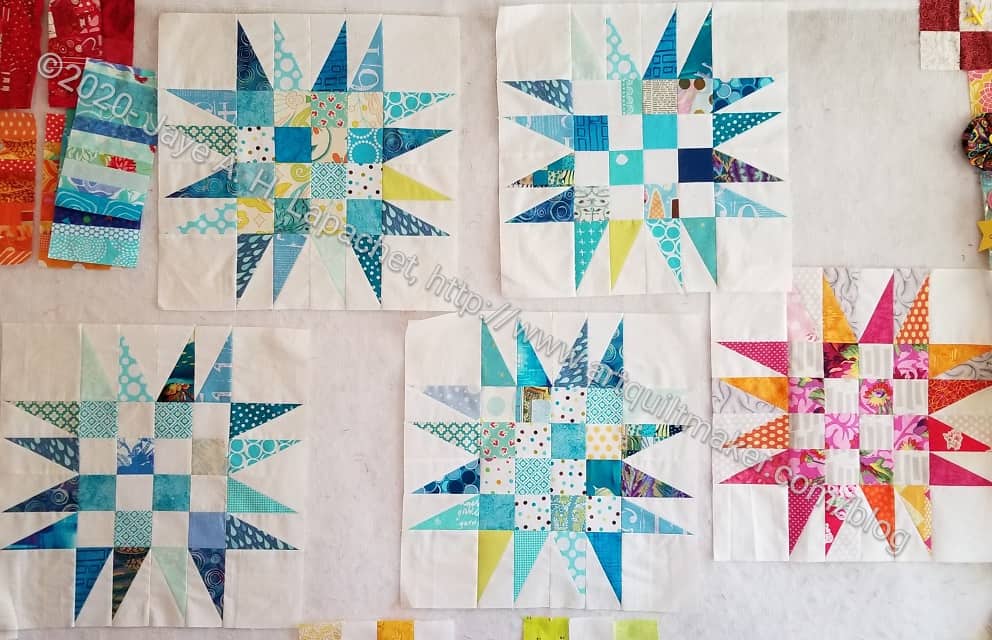
I finished the 4 blocks I need to make another Spiky 16 Patch donation top.
In the image you can see the extra pink/red/orange one I didn’t use in Flame. It is a lone, sad orphan right now. I don’t know what to do with it. I could combine it with the blues and make another 5 block quilt, like Spiky 16 Patch n.3. I can’t seem to generate much enthusiasm for veering away from my monochromatic road. I should lash out, but so far I haven’t.
Another idea is to send the pink/red/orange Spiky 16 patch to another guild member to build upon. That is very appealing. I don’t sincerely dislike the idea of including it with the New Blue blocks.
Since I haven’t done anything with the blues yet, I can still decide.
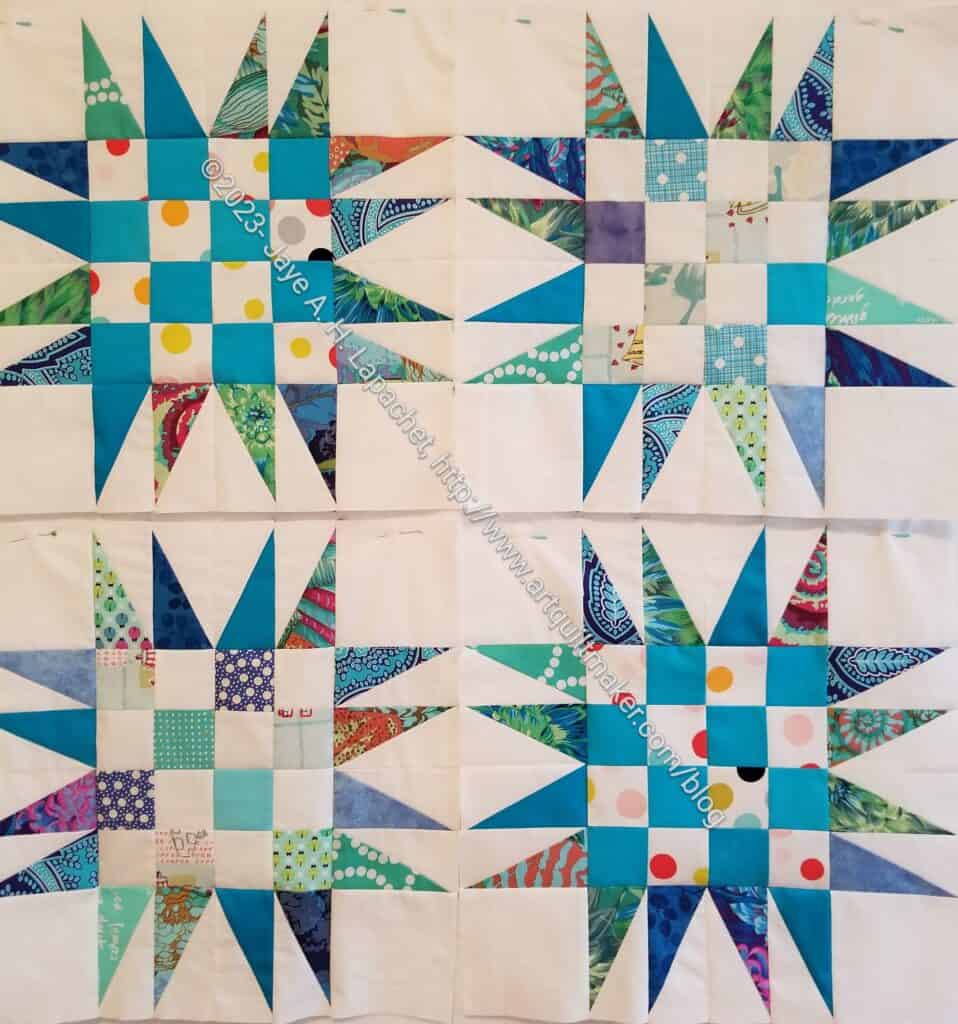
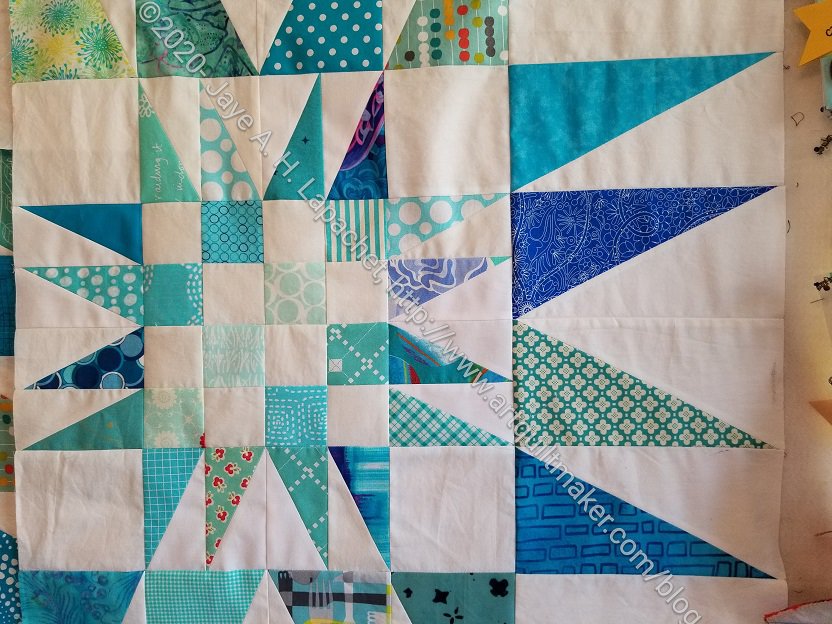
While sewing the Frolic! top together I used the New Blue Spiky 16 patch blocks as leaders and enders. I felt like I had quite a bit of Frolic! to sew together, but I only ended up with two Spiky 16 Patch blocks. I guess the Frolic! top work seemed like more than it actually was because I feel like I have been working on it forever.
I haven’t, of course, but it feels like it.
New Blue Spiky 16 Patch #2
In any case, these Spiky 16 patch blocks are coming along well. They are the same, or similar to Spiky 16 Patch #1 and #2. I’ll probably do the same kind of setting as Flame just to get this top finished. I’d like to try something else with the HRTs.
I am thinking about making a donation quilt with just the HRTs, but don’t think I will do that yet. I think I want to just make another Spiky 16 Patch quilt. I think I want to make the HRT version (no 16 patch) with a variety of different colors – not monochrome or warm/cool.