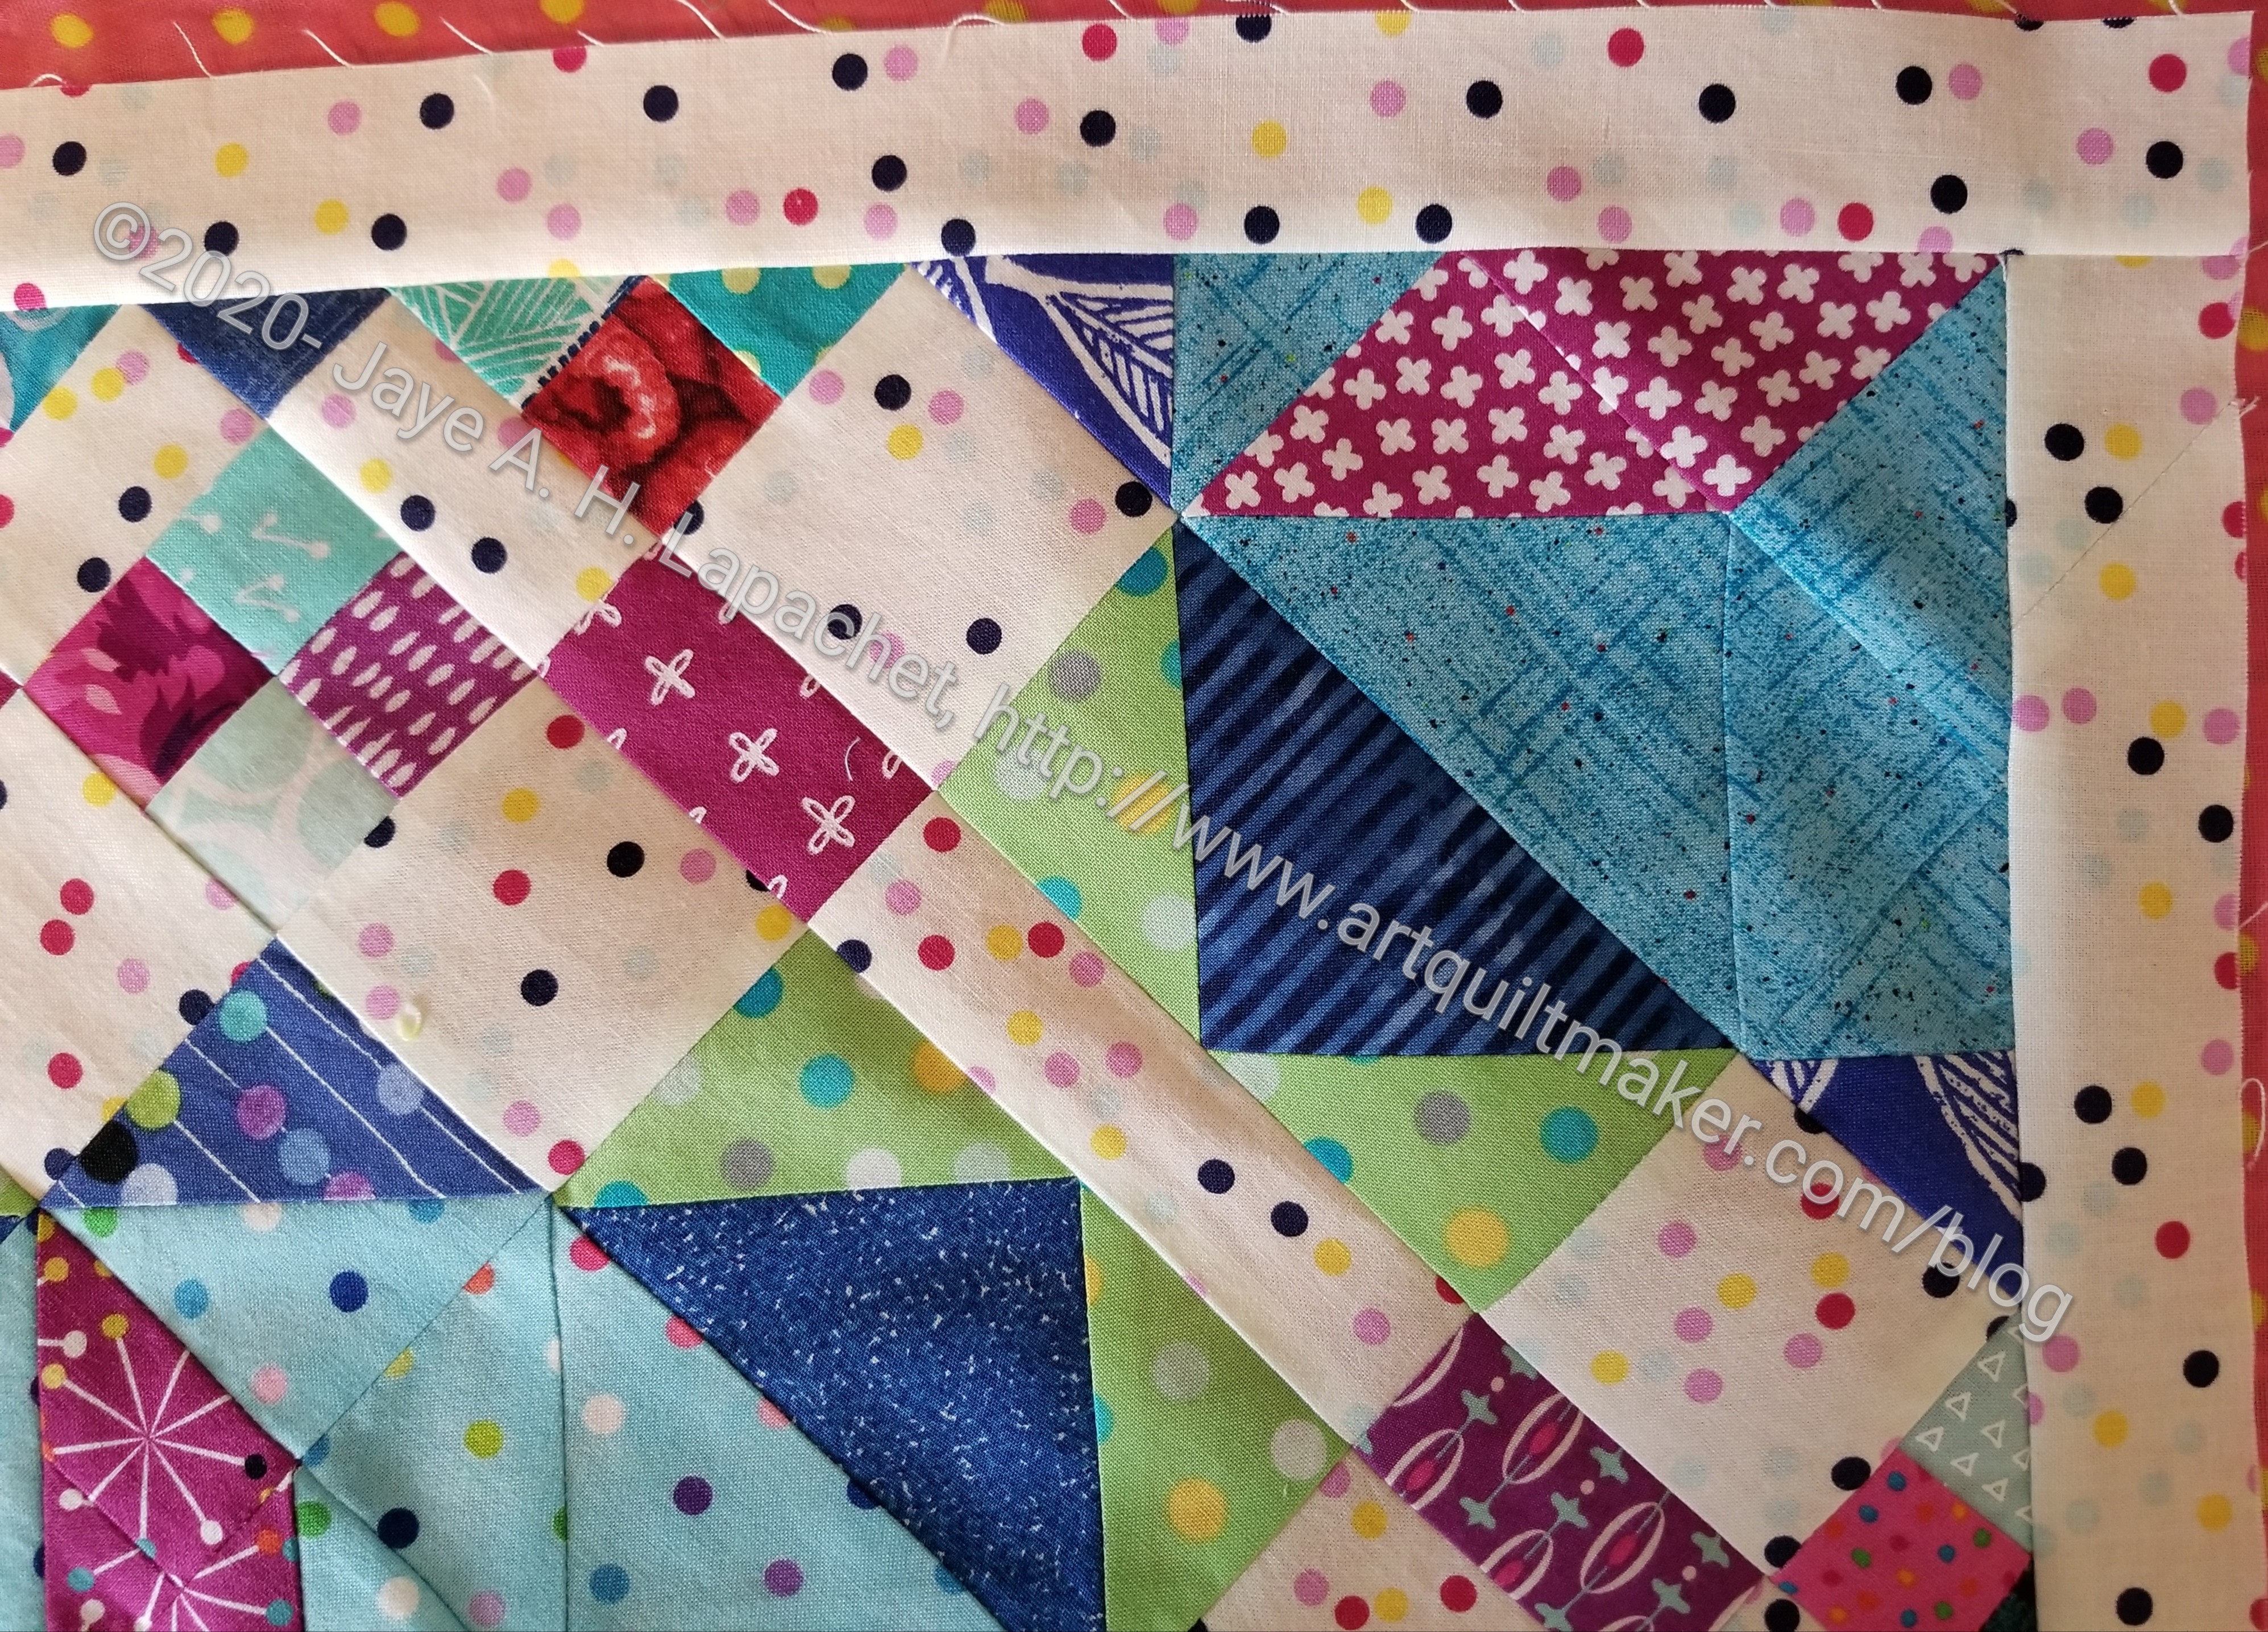
I talked about trimming Frolic! the other day. I spent the weekend working on the pouch, but was able to sew the first border on to Frolic! as well. This corner detail shows the border up close and personal.
It was a BIG hassle, because the entire edge of Frolic! is on the bias. If I have any advice for you it is: DON’T MAKE YOUR EDGES ON THE BIAS. It is doable, as you can see, but a lot of easing went into adding the border. You can’t just sew and extra 10 inches on to the edge and trim it off. Bias stretches. By adding a longer border and trimming it, you will get waves and I didn’t want a wavy border.
N.B. I wouldn’t dare question Bonnie Hunter’s reasons for telling me to make the quilt this way. She had good reason (math craziness) for make the quilt this way. I just suggest that YOU not design a quilt this way.
Also, if I had been thinking, I would have sewed a mitered corner. I wasn’t thinking and I don’t think it will matter in the long run.
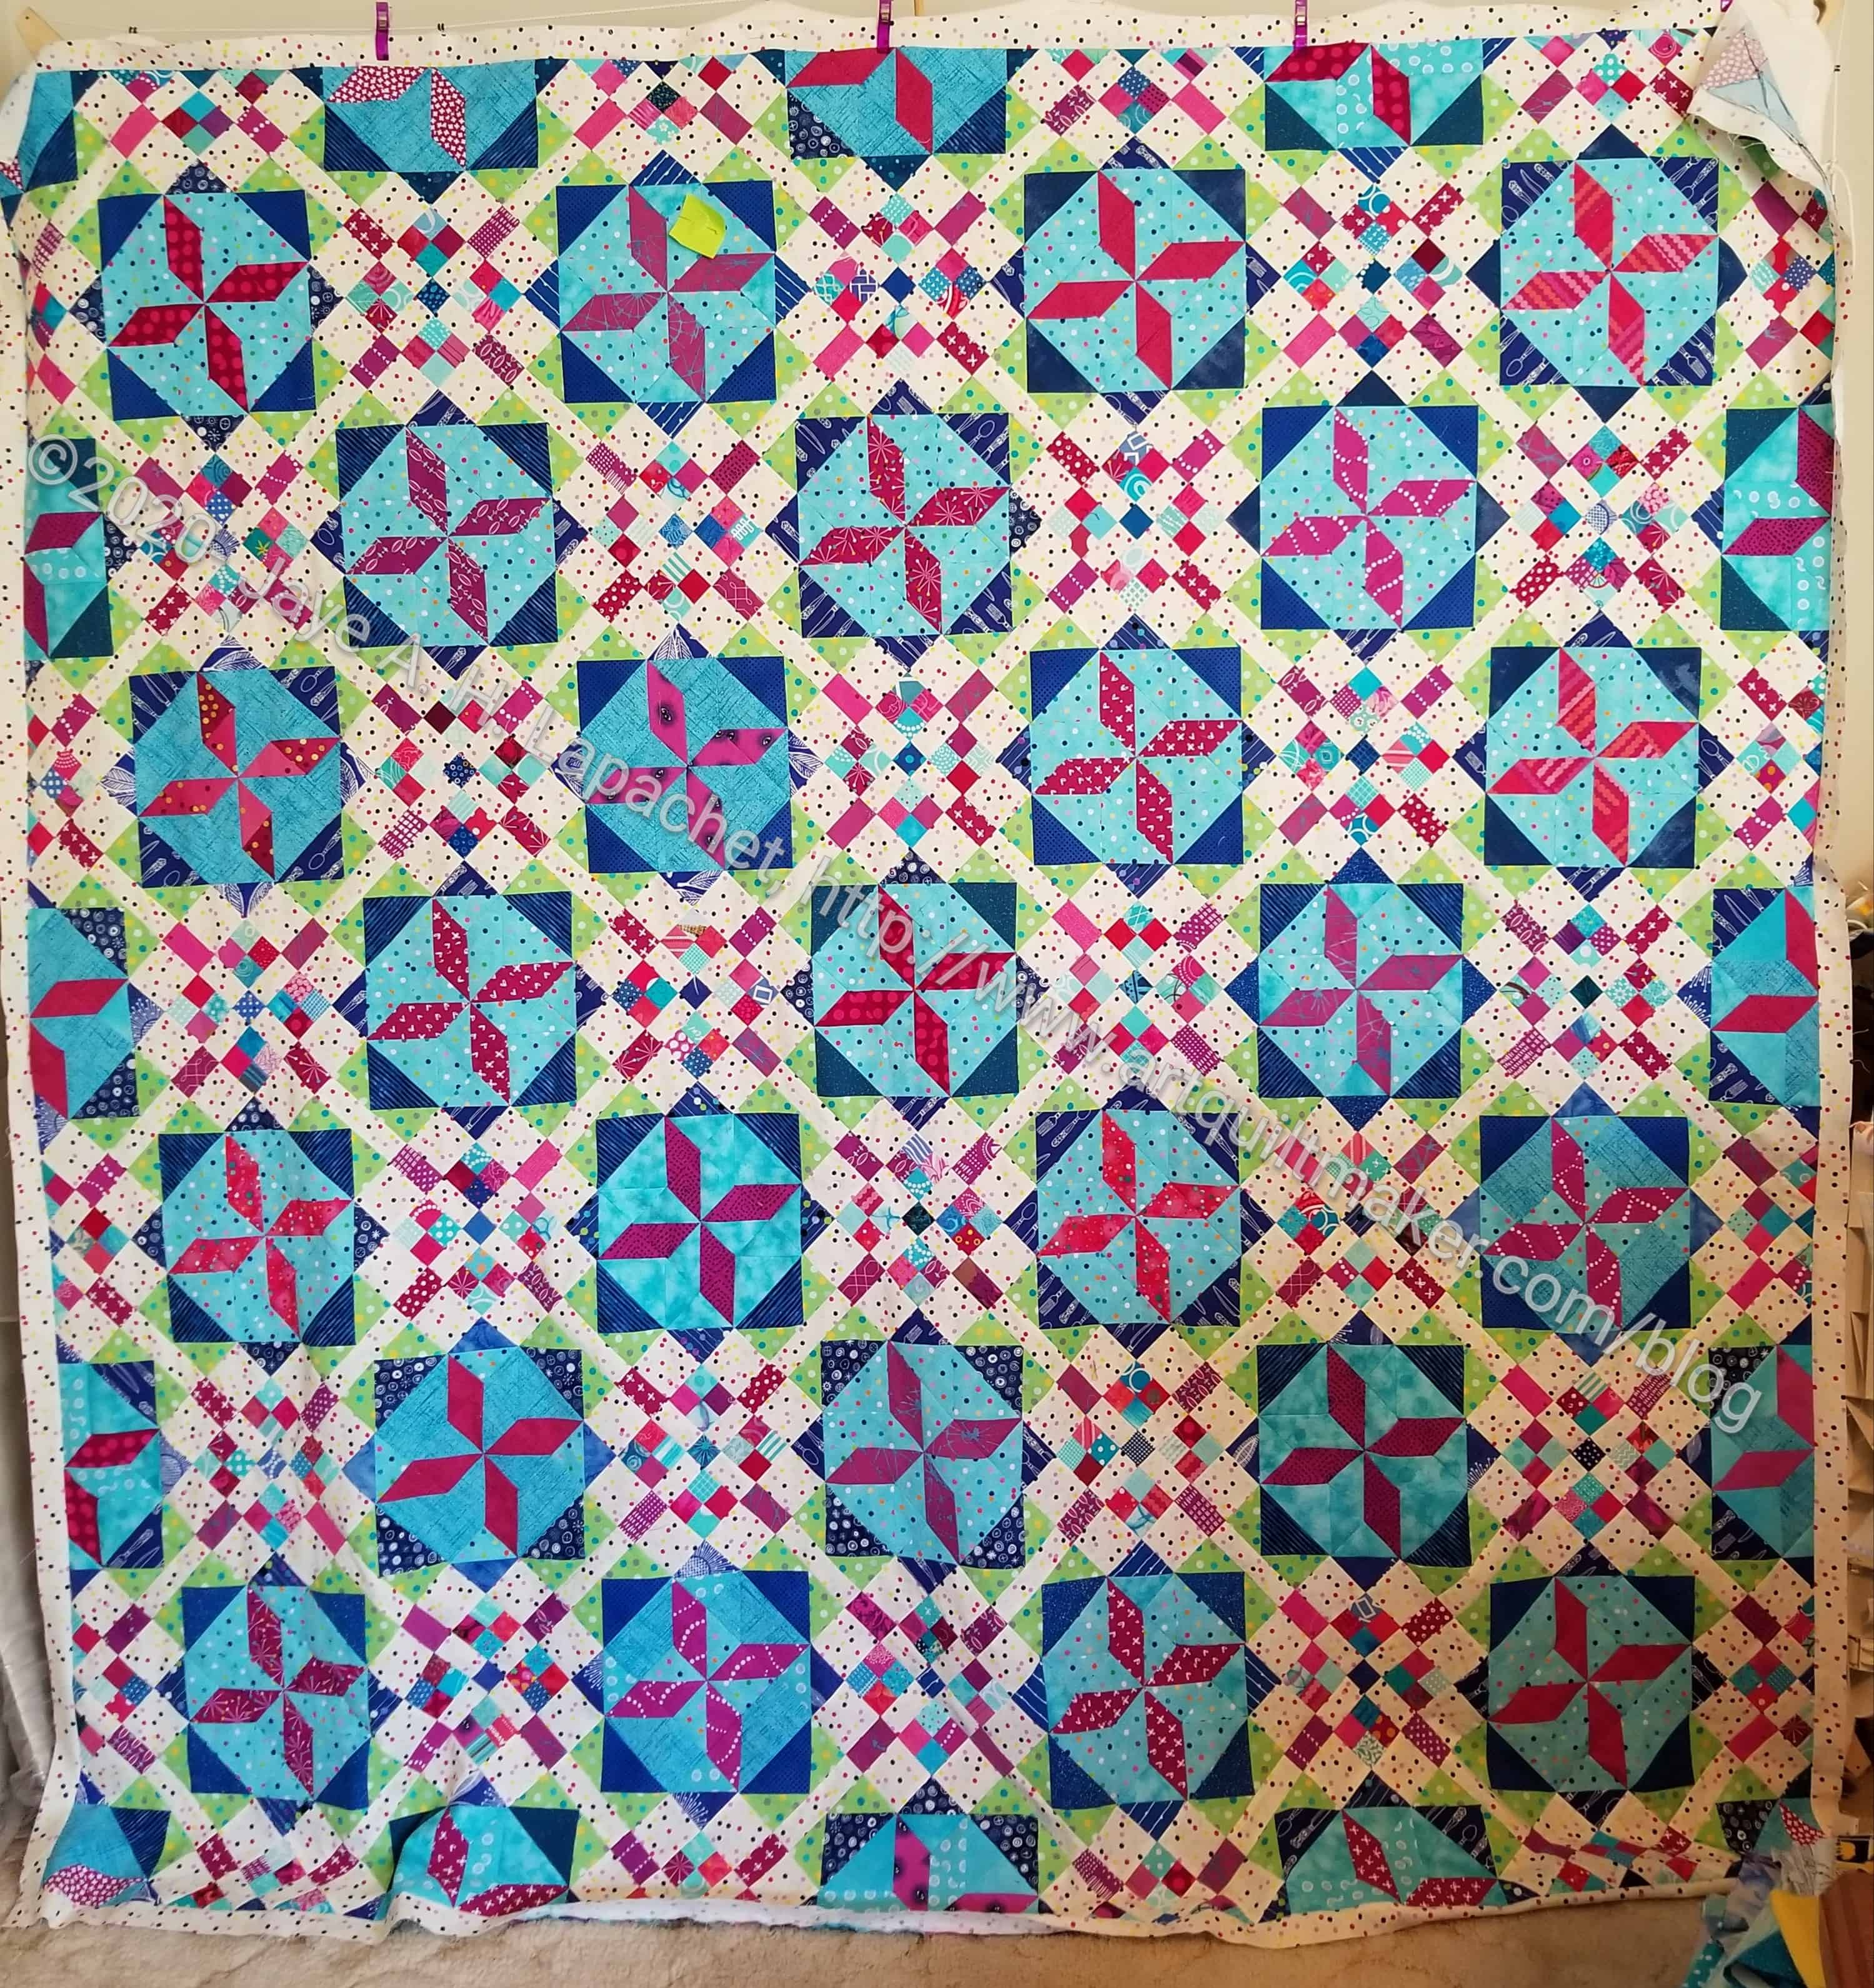
As usual, though I didn’t design this quilt, as you know, this quilt is larger than my design wall. Thus, it is hanging off the design wall a bit and might be hard for you to see in the second photo (right).
I have the HSTs for the next two borders, so I need to get sewing.