
I did most of the work on The Garden in 2012. I nearly finished this before the New Year turned, but I didn’t have enough time.
As a result, this is my second finish of 2013. I am very pleased.
Commentary about works in progress, design & creativity
I did most of the work on The Garden in 2012. I nearly finished this before the New Year turned, but I didn’t have enough time.
As a result, this is my second finish of 2013. I am very pleased.

I said previously that I thought this piece was finished. I took it out on Friday in order to decide for sure and decided to put a facing on it and prepare the piece for finishing. The photo, left, shows the front with the facing applied by machine. I am sad that some of the edge detail was lost in the seam allowance. I’ll have to remember to plan better next time.
This piece didn’t need as much beading as the others I have done. I am not sure why. Laziness might be a factor, but the riot of color and fabric definitely draws attention to the elements of this piece. I don’t think it needs much detail to draw the viewer in.
I am a little sad about these small pieces. I really don’t have anywhere to display them, but would really like to have wally large enough to hang all of them.

I am particularly fond of the back. I used different colors to quilt and intended to cover up the back with a fake, but it looks so nice that I could barely stand to cover the edges with the facing.
Now I need to stitch down the facing and make the sleeve. I have a lot of cards to write for Christmas, so I don’t know if I will be able to finish this before the end of the year, but that is definitely my goal.
Now I feel like I can work on some of the other smaller pieces on the 26 Projects List. Perhaps I will do a blog post about each one as well?

I had it on my list to deal with the disposition of a couple of projects and the Flower Garden was one of them.
Once I pulled it out of the closet, I was a little sorry to see it go as I do like the stitching and the border, but I still don’t like the flowers, so off it goes to a better life. I am going to use the border idea again, perhaps in piecing, definitely in fusible applique’.
Of course I will do stitching with Perl cotton in other pieces.

A few weeks ago, I spent a whole weekend, essentially, machine quilting the Garden quilt. I spent so long quilting it, because I am somewhat obsessive and like densely quilted quilts. It takes forever, but it looks great.
I thought I would get this piece framed like the Kissy Fish piece. On Kissy Fish, I didn’t pay much attention to the back, so the back looked fairly terrible: knots all over the place, long stitches joining sections, etc.
However, I took at look at that back after I quilted it and thought it looked really interesting. I quilt with different colors so the stitches blend into the fabric on the front. I don’t really care about the thread color on the back, because I didn’t think anyone would ever see it. I am in the habit of using the same thread color as bobbin color, so as a happy accident the colors of the quilting on the back look very cheerful.

In looking at the detail, it occurs to me that I now know why people like whole cloth quilts. In a way the back of this piece is like a whole cloth quilt.
BAMQG is having a challenge making a whole cloth quilt and I wasn’t really interested in doing the challenge, but looking at these photos makes me think that I might have an idea for a challenge piece.

A lot of the quilting I do, when I actually quilt, uses a regular foot rather than a walking foot. I haven’t felt confident in the last few years of my free motion quilting skills, so I have taken to using the regular foot. It works pretty well.
I did do some free motion quilting on this piece, as I mentioned, just to test my skills. I didn’t do too badly and have to say, again, how pleased I am at how my machine is performing.

I worked, over the weekend, on the Garden quilt. I am machine quilting it. I hadn’t really planned to work on it since I have a back for the Corner Store to finish, a back to make for the Super Secret Project #2 as well as a binding and some other miscellaneous random finishing tasks to accomplish. I also have some bags and smaller projects I could work on to keep my mind off of things. Still, I sat huddled over my machine and machine quilted for hours.
Yes, I am in avoidance mode over the Corner Store, but at least I am accomplishing something while I am avoiding something else. That can’t be all bad, can it?

This is the first time I have done any free motion quilting in a long time. Admittedly, I didn’t do much on this piece, but I did some and I am pretty proud that a) I am still able to free motion quilt and b) my machine could handle it.
I am really pleased with the servicing the store down south did. The machine works like a charm and I have stopped having traitorous thoughts about replacing it.
I didn’t free motion quilt (FMQ, FMQing) this entire piece, but I did some FMQing in some key areas. In the photo of the sun, I did some FMQing in the ball of the sun.

I have annotated the last photo so I can try and show you the differences in straight line quilting vs. FMQing. You will have to make the photo larger to see what I have written.

It is monumental that I am quilting. I hope you appreciate the momentousness of the occasion. 😉
Really, I do quilt small things, but most of my larger pieces are quilted by someone else. Part of the reason is an old injury, which doesn’t allow the pushing and tugging a quilt through the machine required. I also have an older machine (though I bought it when it was a top of the line machine) and the arm is the old normal size, not one of the super sized free arms that look so fantastic. The other part of the reason is that I quilt very densely. I quilt about 1/8th – 1/4 of an inch away from the nearest line of quilting. I don’t know why, but it takes a long time.
Still this is a small piece, perhaps 18×24″ and I wanted to quilt it myself. I have been working on the background in small increments. I am really nearing the end of that part of the project, which makes me want to jump for joy. There are parts that I would have free motion quilted, but my machine is not up to it, so I just did straight line stitching. I like the quilting to melt into the background so it works for me.

In order to melt the quilting into the fabric, I needed to quilt the sky in three different sections using different color thread.
Another reason I quilt this way is to reward the ardent viewer. If a viewer comes up and puts his/her nose to my quilt, s/he will get the reward of seeing some additional details. I like to try and layer my pieces in an overt way, above and beyond the textural quality of the quilting.
I don’t really use special thread. I have a number of different colors of Aurifil and I use those to quilt with. I like that the they are thin.

I was particularly pleased with the blue background. I used some of Libby Lehman’s Bottom Line purple thread and it just melted into the background. I get good results when I unwind the thread from the spool and lay it on the area where I plan to use it. I find that the color on the spool – when the threads are laying nicely next to each other – is very different than the color of one strand.
I am sure more experienced machine quilters have better tips for you than this, but this post describes what I do and since I am pleased with the results, I thought I would share.
I am pleased that this project, which is on the 26 Projects list is moving forward!

This piece was started in a Pamela Allen class in 2009. I dreamed about it this week which encouraged me to pull it out of the closet (it usually hangs on the wall of my fabric closet, so I see it frequently) and I spent some time working on it over the weekend.

Basically, what I did was start machine quilting the background. I have a very straightforward style for quilting the piece: I start outside of the piece and go straight up and down until I am done with the section, then I move on to the next section.
I have the perfect green Aurifil for the green grass section, so I worked on that and got quite a bit done.
I also decided to use a variegated King Tut thread that I have had for awhile for the orange hand dyed sections around the turquoise flower. Really nice thread! I know I have used it before, because the wrapper was off the spool and I had a partial bobbin. I can’t remember which project, though. It gave me no problems and I really liked the look.
I want the piece to look like it was built in layers. At the moment, I am trying to figure out whether to also closely quilt the foreground (flowers, stems, leaves, etc) or if I will just use the Perl Cotton to quilt it. I have quilted the stems separately and at a slightly different angle to see if it looks different from the background.

Another layer of the piece is the different fabrics I used. Some of them are part of the same area, so I need to try to minimize the impact of the change of fabrics.
I should have quilted the foreground before I added the flowers, but in the course of a workshop, that sensible method just isn’t possible.

Pamelala is Pamela Allen, an artist who has come into her own in recent years using fabric and through quilts. Pamela came from a painting and assemblage/mixed media background. Her background includes classes that many quiltmakers never take: college level design classes. She brought this background and shared it with students at Quilting Adventures on Staples Mill Road in Richmond Virginia.
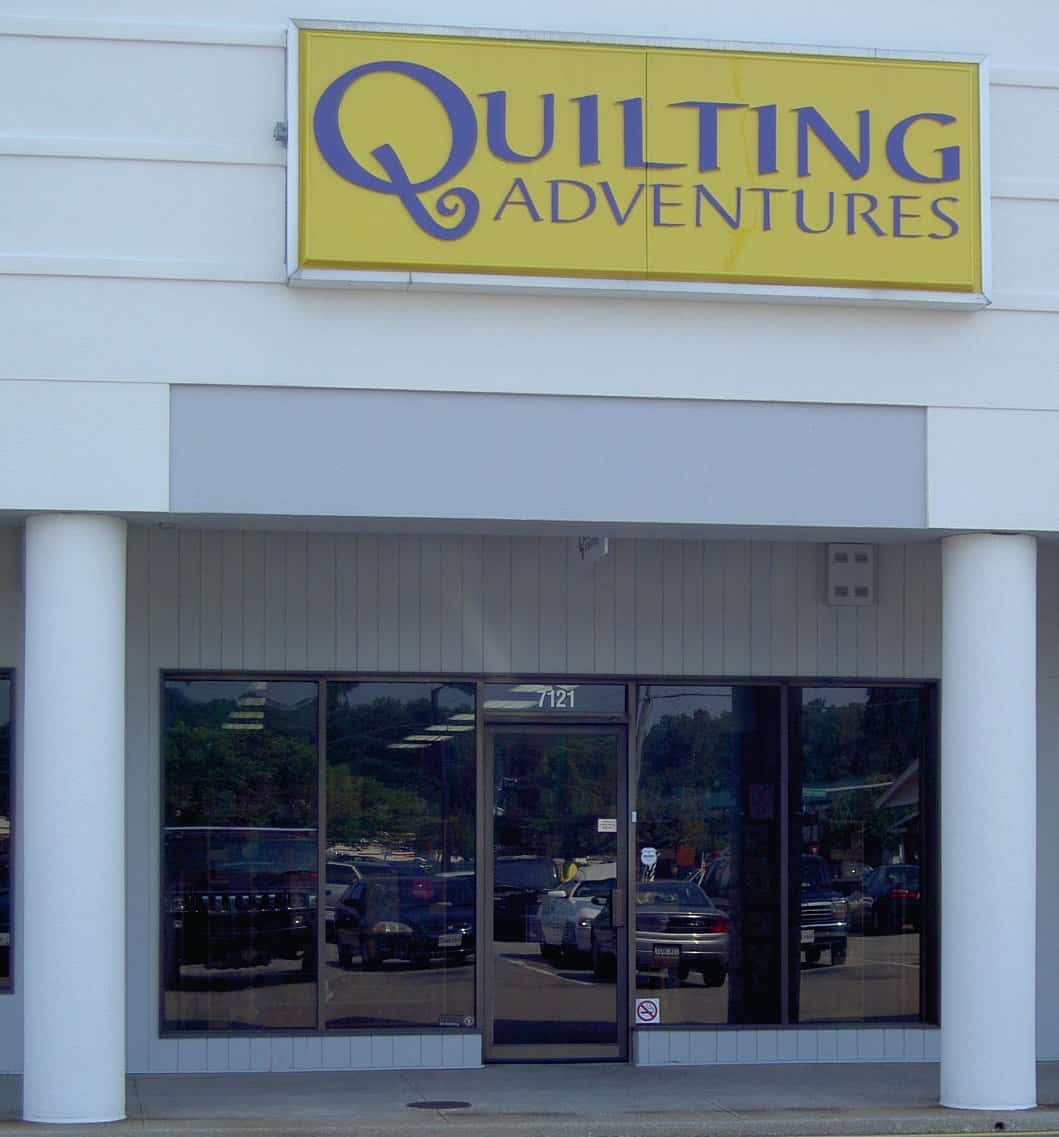
If you haven’t been to Quilting Adventures, make the trek. Joyce and her team have done a fantastic job selecting fabrics that speak to those of us who don’t do reproductions, small calicos or brown. You won’t see these varieties of fabrics at Quilting Adventures. If repros and brown are what you are looking for, Joyce and her staff will cheerfully direct you to other stores in the area that have the fabrics you need. There are lots of bright fabrics as well as many, many tone-on-tones. I could have bought the entire store. I did my best.;-) In addition to fabrics, Joyce also carries a nice selection of fabric alteration supplies: dyes, paints, fabric crayons. She carries the supplies, but also has samples of what happens to the fabric when you use the various supplies.
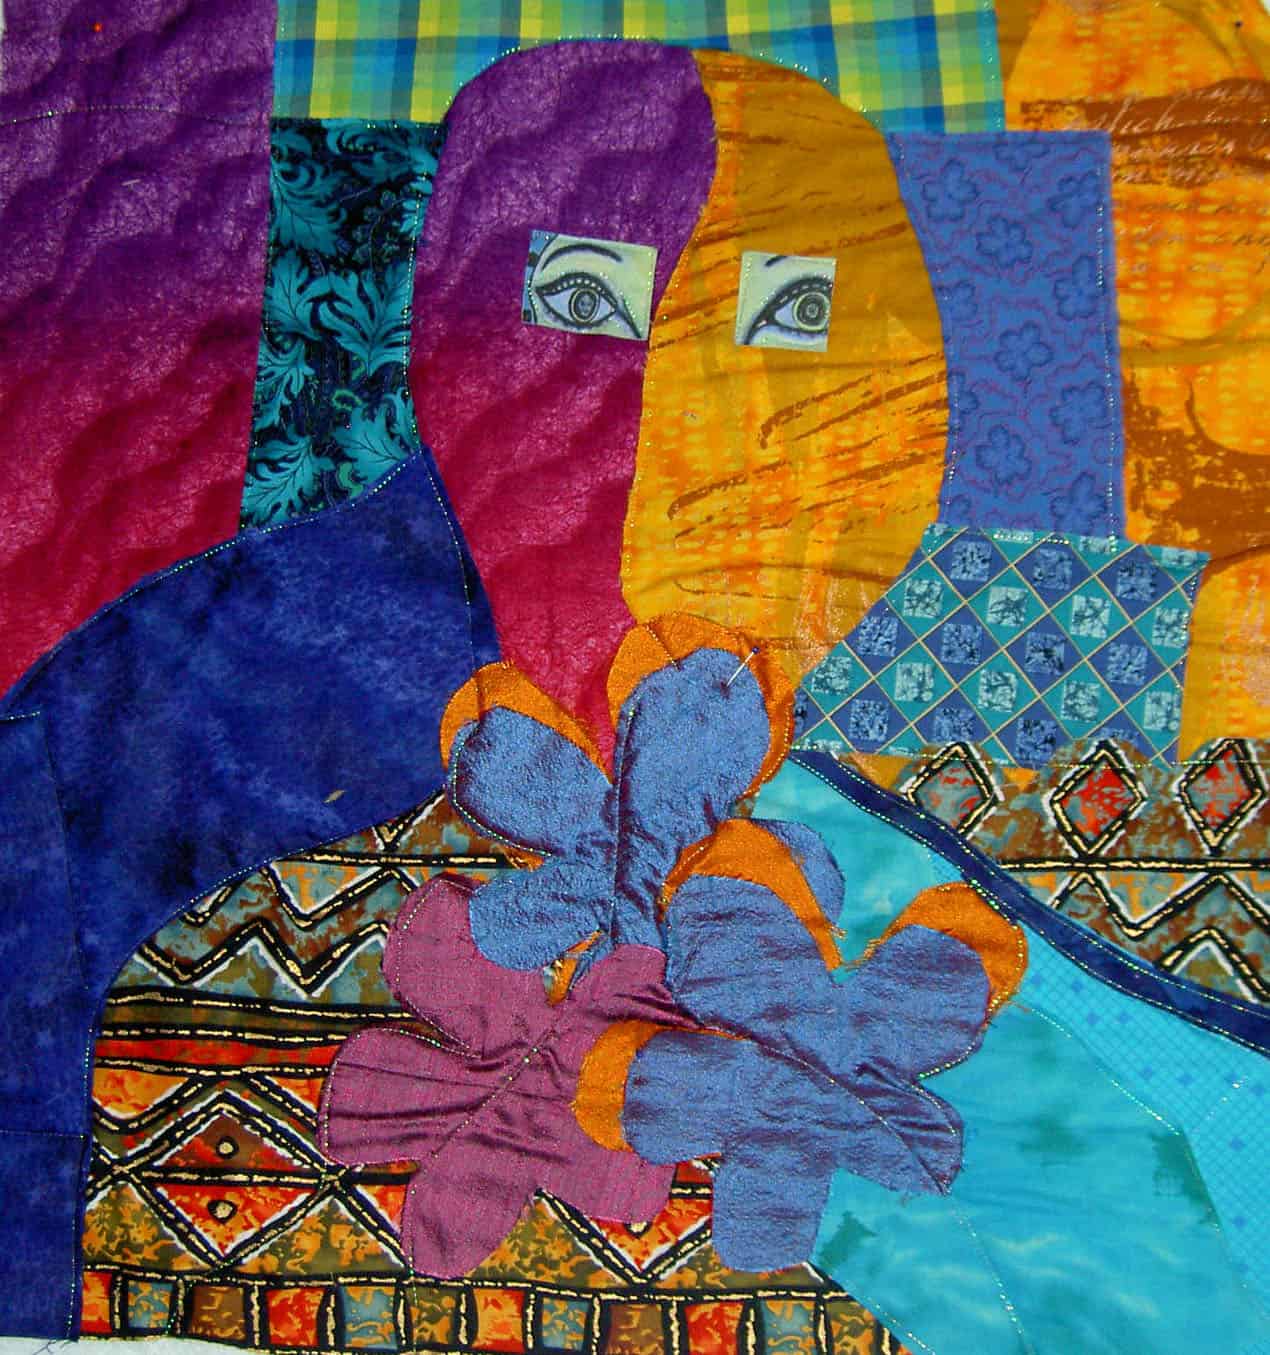
I took two classes from Pamela. The first, a fabric portrait class, was an exercise in negative space. The portrait I made is NOT a self portrait. We were given the assignment of working with the negative space first and later filling in the details. It was interesting to think about the fabric of the negative space defining the portrait. I have a hard time seeing the negative space, but I got some practice in during this class. I was able to use the Glitter thread from Superior on Joyce’s Babylock machine to appliquilt the pieces down. I have to figure out the hair (if any), the mouth and the nose (OH GOODNESS!!!). Pamela has a gentle manner in directing her students without being a doormat. She also has firm boundaries, which I appreciate and takes care of herself. I probably could have spent a week with her working on this piece. Of course, I didn’t finish, but am well on my way.
The second class was a class on composition. My piece is a garden and was limited by the distance I had to travel and the supplies I was able to bring. It also helps to remember to bring your supplies. 😉 Mrs. Kristen, a fellow Mavette, was quite generous in sharing her stash with me, so I was able to make a small piece.
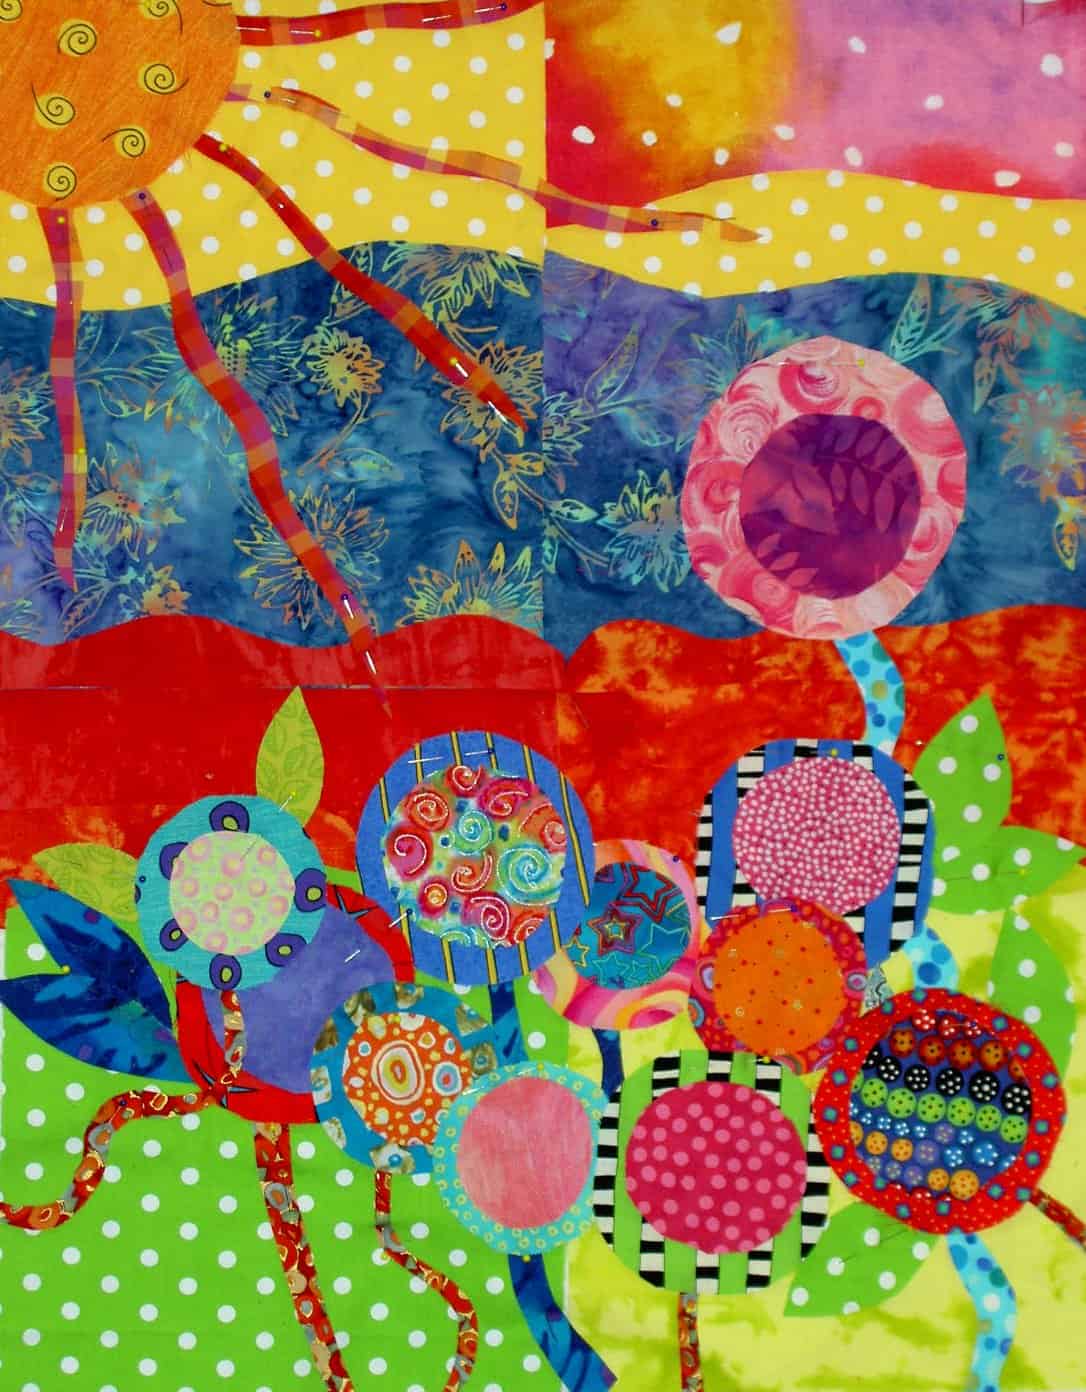
First we assembled the background and then we laid our design on top of it. I used some of the leftover circles from the bullseye quilts and created a garden. This piece lends itself to hand stitching and I hope to be able to do some and complete this piece. During this time when the machine is better left under plastic, the timing is perfect. I’ll try to get to it. The piece is on its way to completion, but also not completed.
I would recommend classes with Pamela. She is a teacher who forces her students to think, is diplomatic about student work and gives the class the opportunity to work in a positive critique situation. She is an artist and also a teacher, not an artist who thinks s/he can teach. You can find more of Pamela’s work at her website.