Another Flapper Apron

The other day I went and sewed with Gerre. A number of small projects and small elements on larger projects, have been bugging me. I brought a number of those things with me and made good progress.
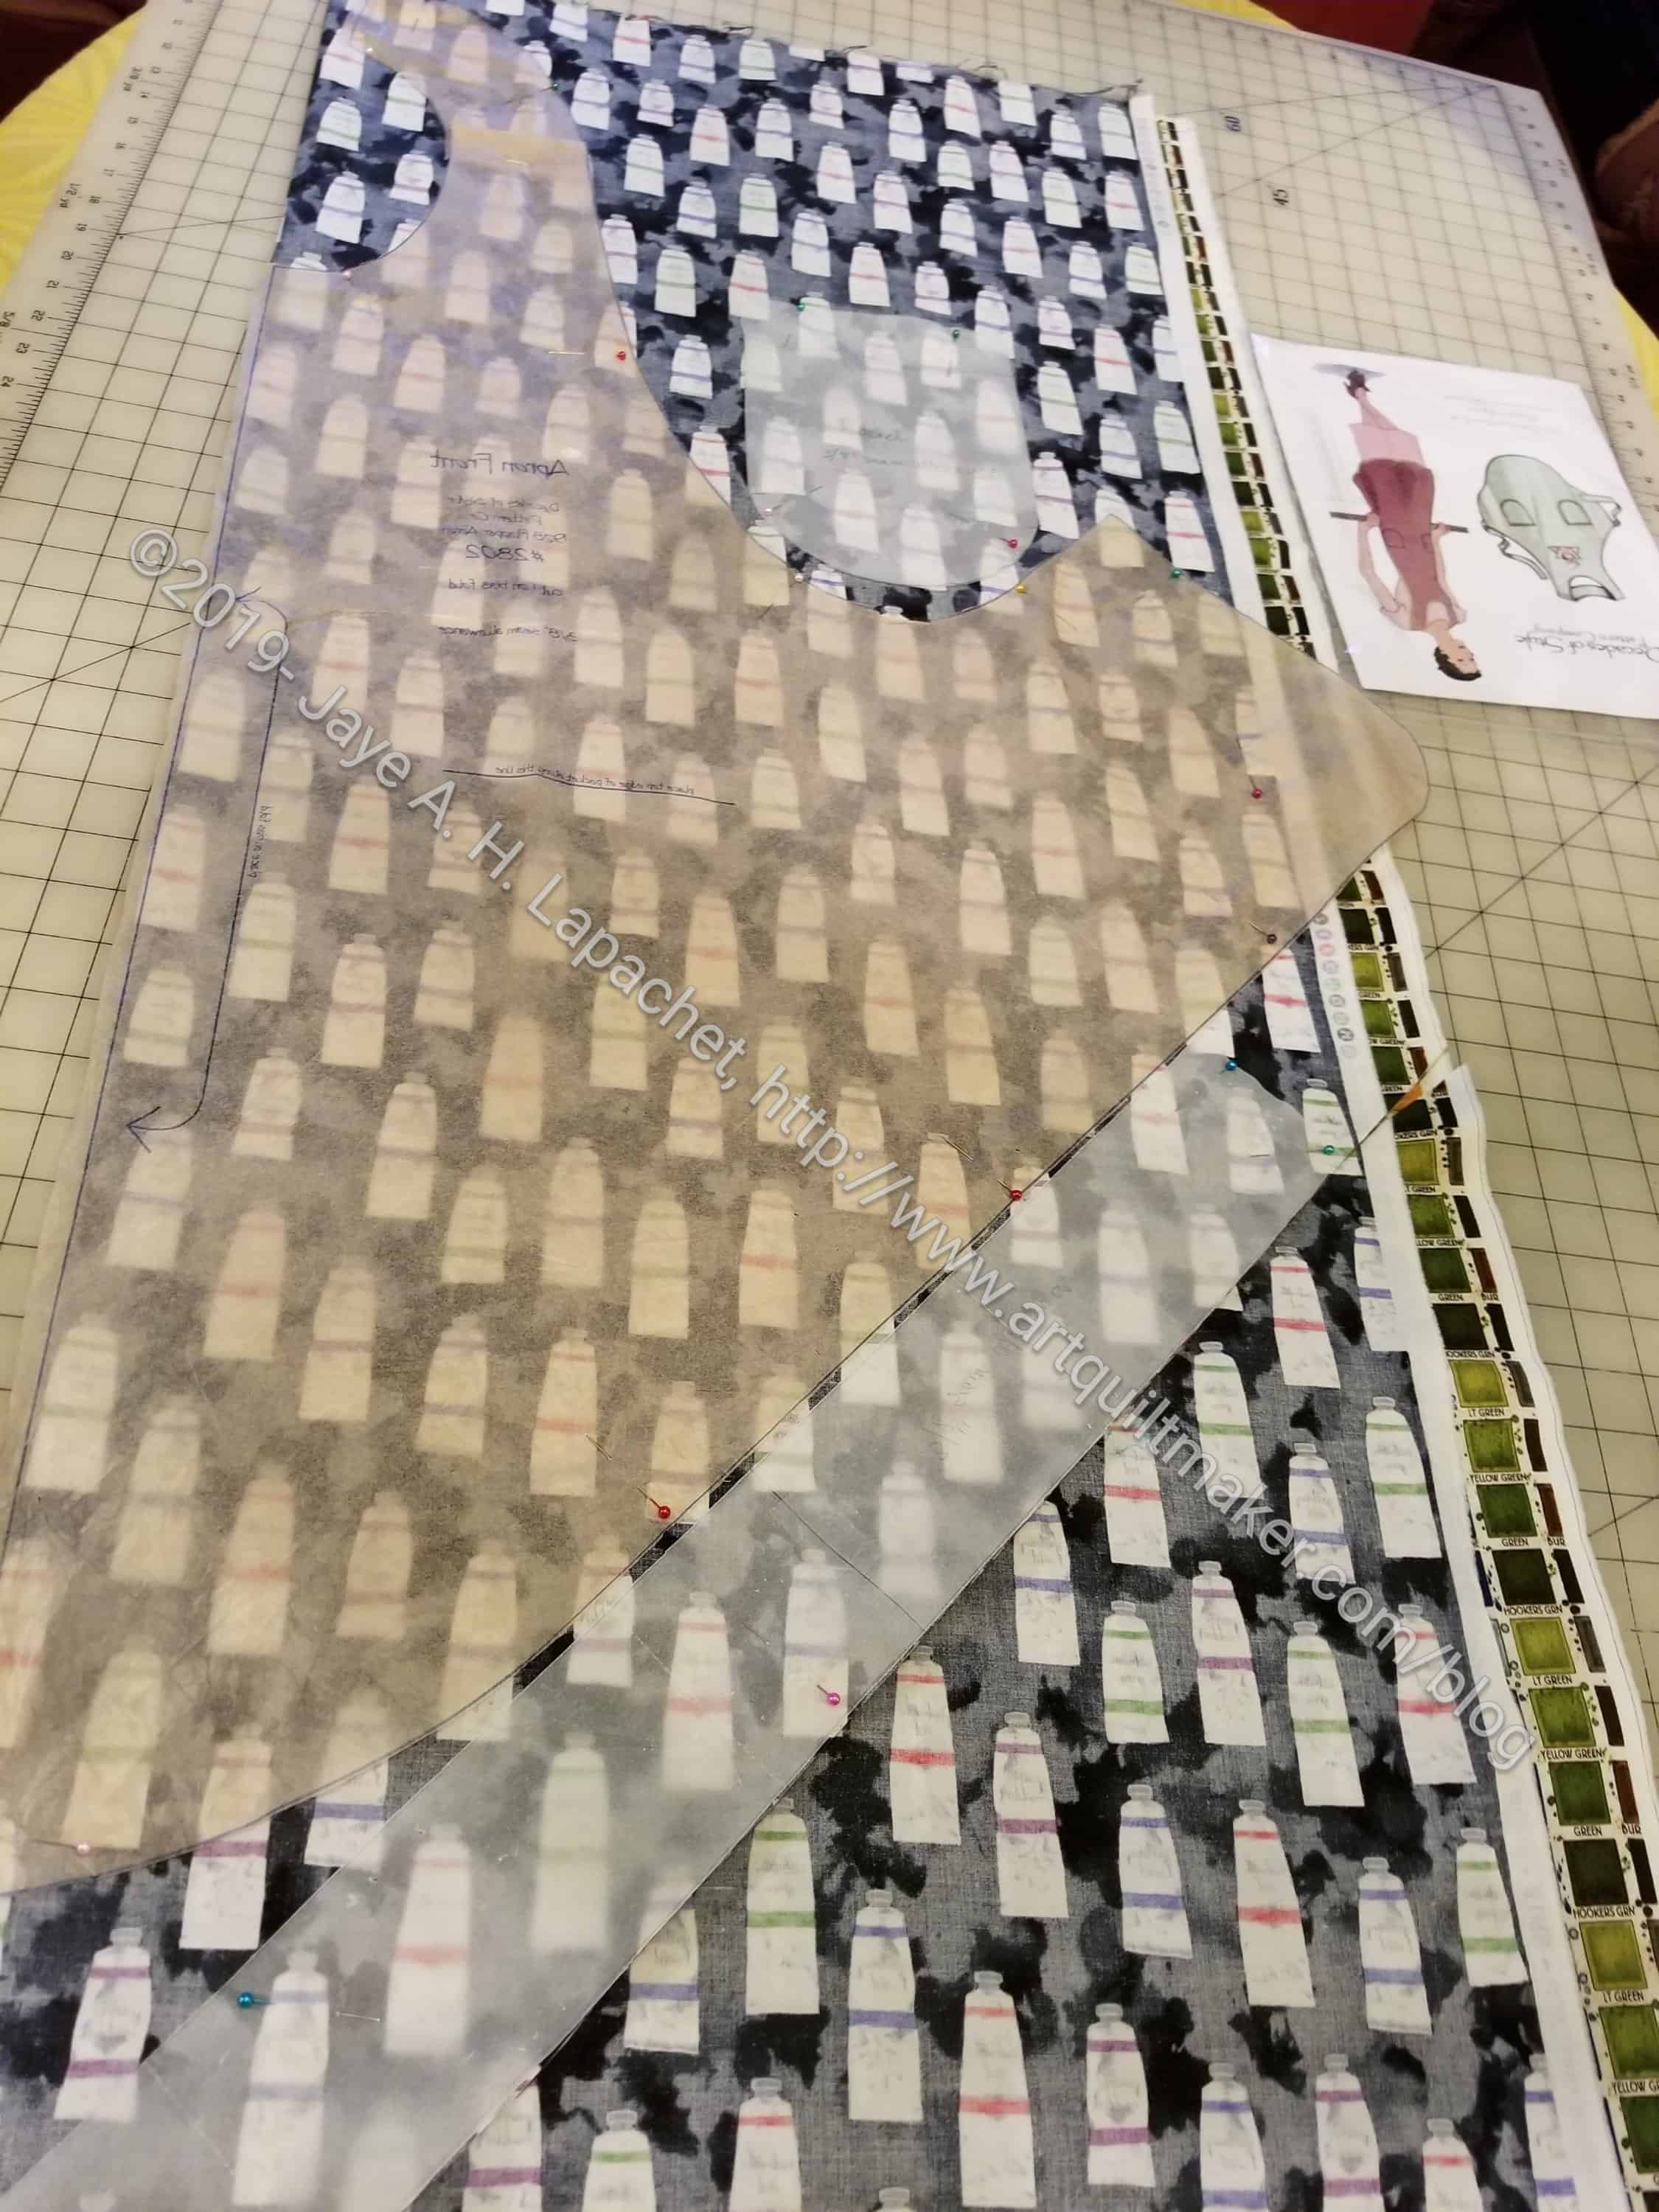
Flapper Apron for Mom-preparing to cut

One project was the Flapper Apron I promised to make for my mom. This is a real garment sewing project, so I had to lay out the tissue and prepare to cut.

One of the things I like about this pattern is that you can lay the fabric out, folded on the bias, lay the pattern pieces out and cut them all from 1 yard of fabric. If you want a reversible apron, you need two yards. Still that is a lot of bang for your fabric buck.

Gerre and I tried a lot of different things to get the paint tubes on the fabric to line up straight on the fabric. We couldn’t figure it out. We decided that since it was an apron, it would probably be ok to not cut it on the bias. If have more fabric if I need to remake it. I am doing it this way so the motifs are oriented properly.

Sadly, there was no information on the pattern focusing directional fabric. The directions are complete, but brief.
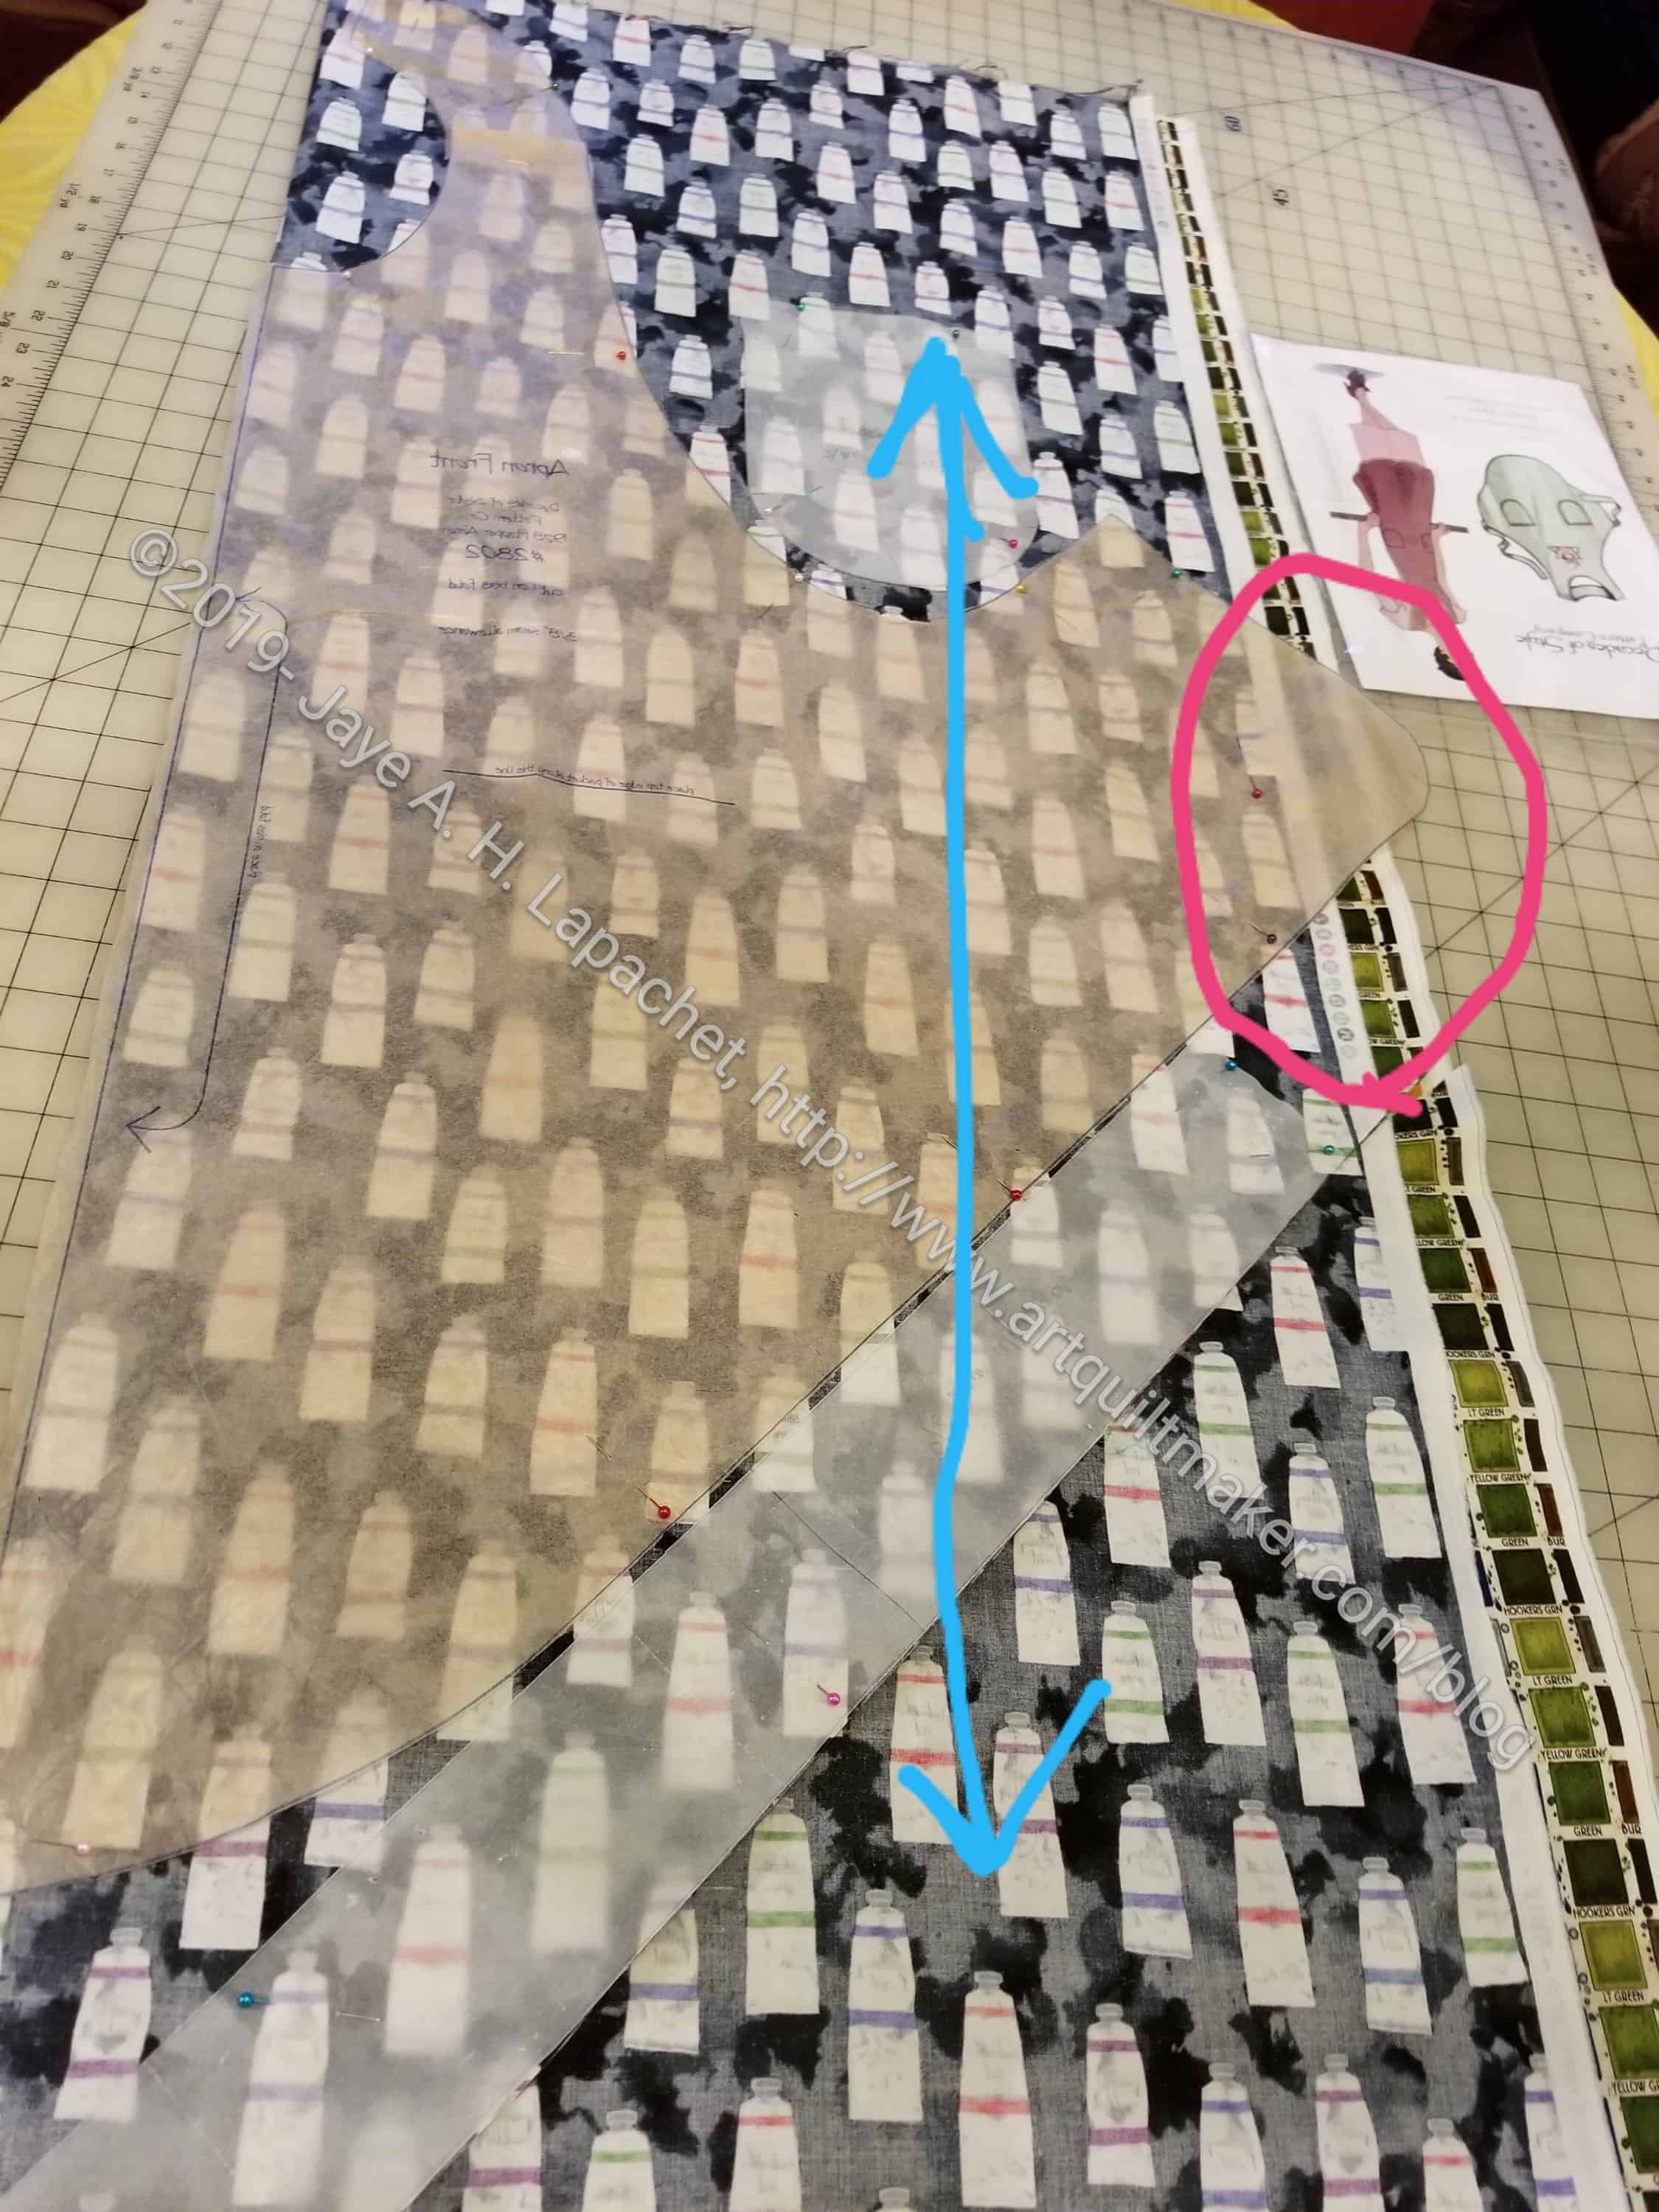
Flapper Apron for Mom-preparing to cut with challenges

Folding the fabric lengthwise parallel with the selvedge posed some challenges. One challenge is that the whole piece is on the straight of the grain. I figured that, since it is an apron, it will probably be fine. I did put the tie on the bias to enhance tying. The motifs will not be straight, but I think that will be fine.

The larger problem is that the folded fabric is not wide enough for the whole pattern. I plan to add some small pieces on, matching as best I can.

I suppose nothing is simple.
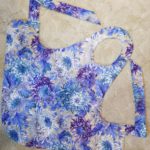
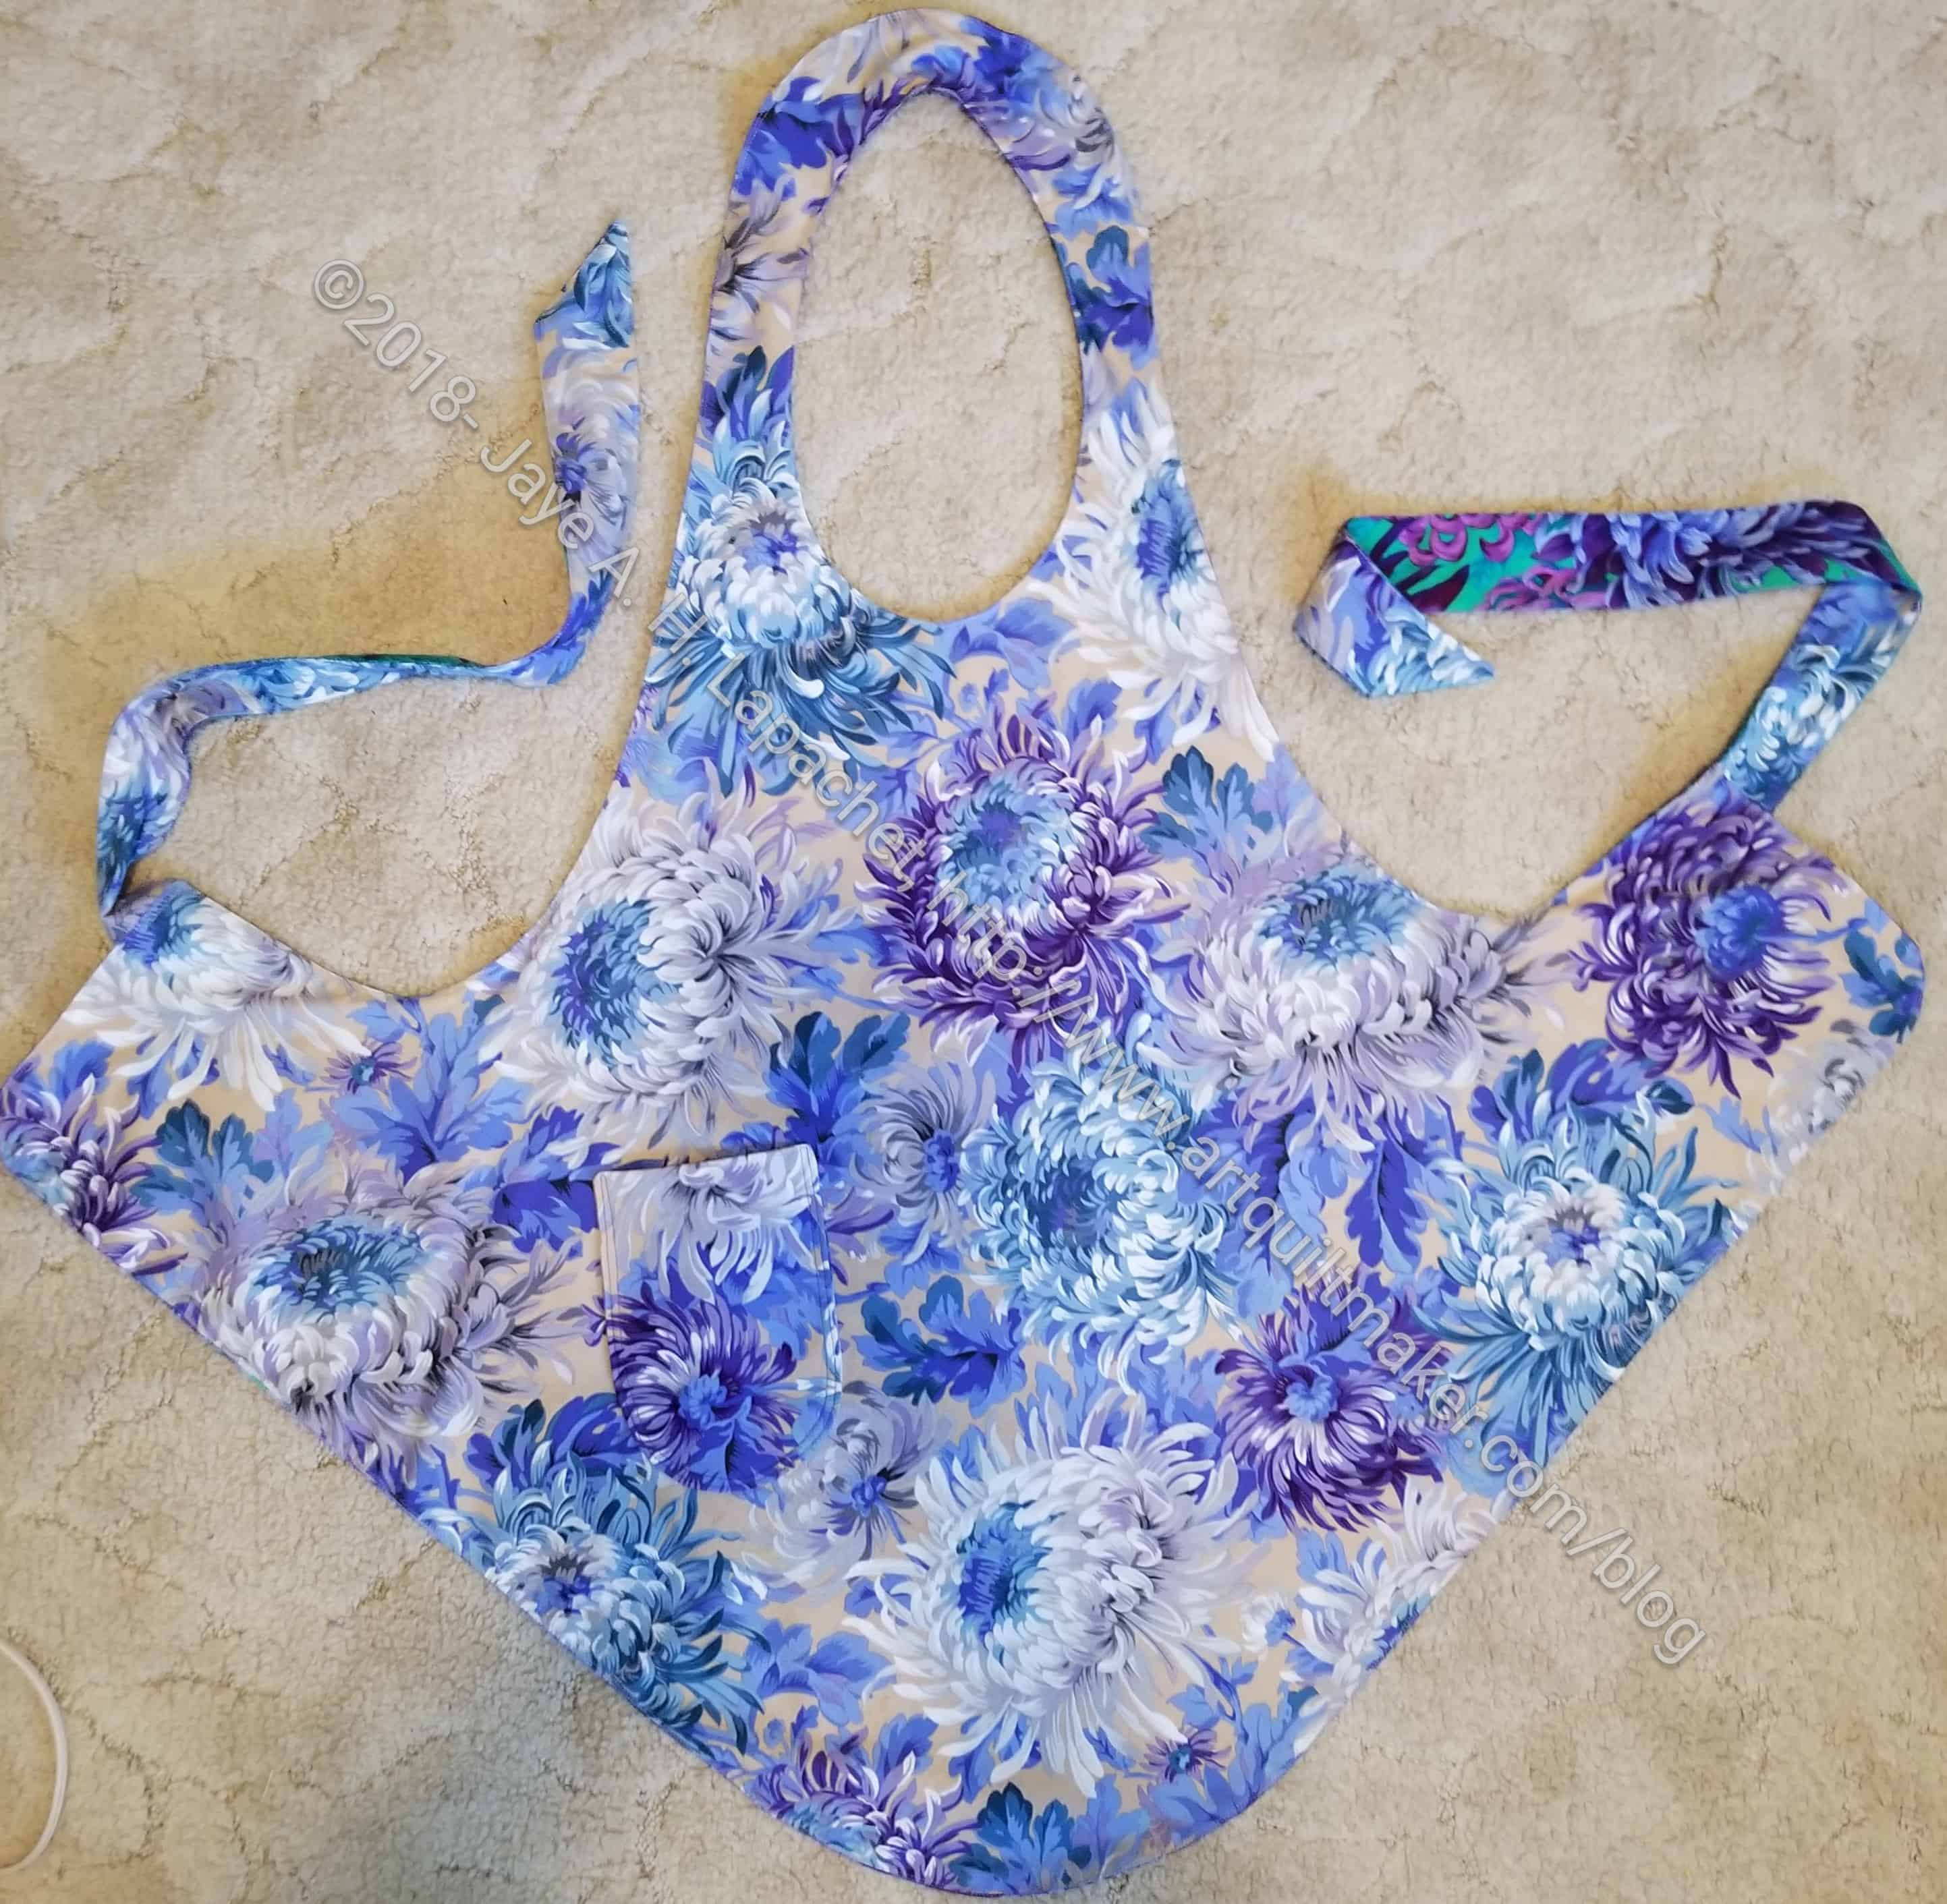
My Flapper Apron – Finished

Every time I type ‘apron’ it comes out as aprong. I am not sure why, but it may mean that I need to stop making aprons.

I finally finished my Flapper apron. I have been using the Church Ladies apron I made awhile ago, though it is not perfect.  I don’t like the interfacing in the handles, because it makes them hard to tie. I also don’t like the construction.

I made a Flapper apron for myself awhile ago. The neckline was too long and gaped, so I didn’t like it for myself. It was the one I put in the Fair last year and was well sewn. It couldn’t compete against the tailored blazer in the same category (ERGH!!!), but I still did my best. I never wore it so I sent it off to a friend who admired it. Why not? She loves it.

I adjusted the pattern a little bit on this newest version and the neckline is much better. Not as long, so it doesn’t gape.

Flapper apron - pocket detail
Flapper apron – pocket detail

When I put the pockets on, I was pleased to see that I had matched up one of the Chrysanthemums! I didn’t do it on purpose, but am so pleased. I know the pocket blends into the fabric, so enlarge the photo to see my triumph. 🙂

I haven’t tried it out, but will soon.

Gift Post #7, Apron n.5

Dee's Apron - Christmas 2018
Dee’s Apron – Christmas 2018

This is the last apron I made from the marathon of cutting I did at Sew Day way back in August.

It took me time to make them all, but repetition is good for projects like this.

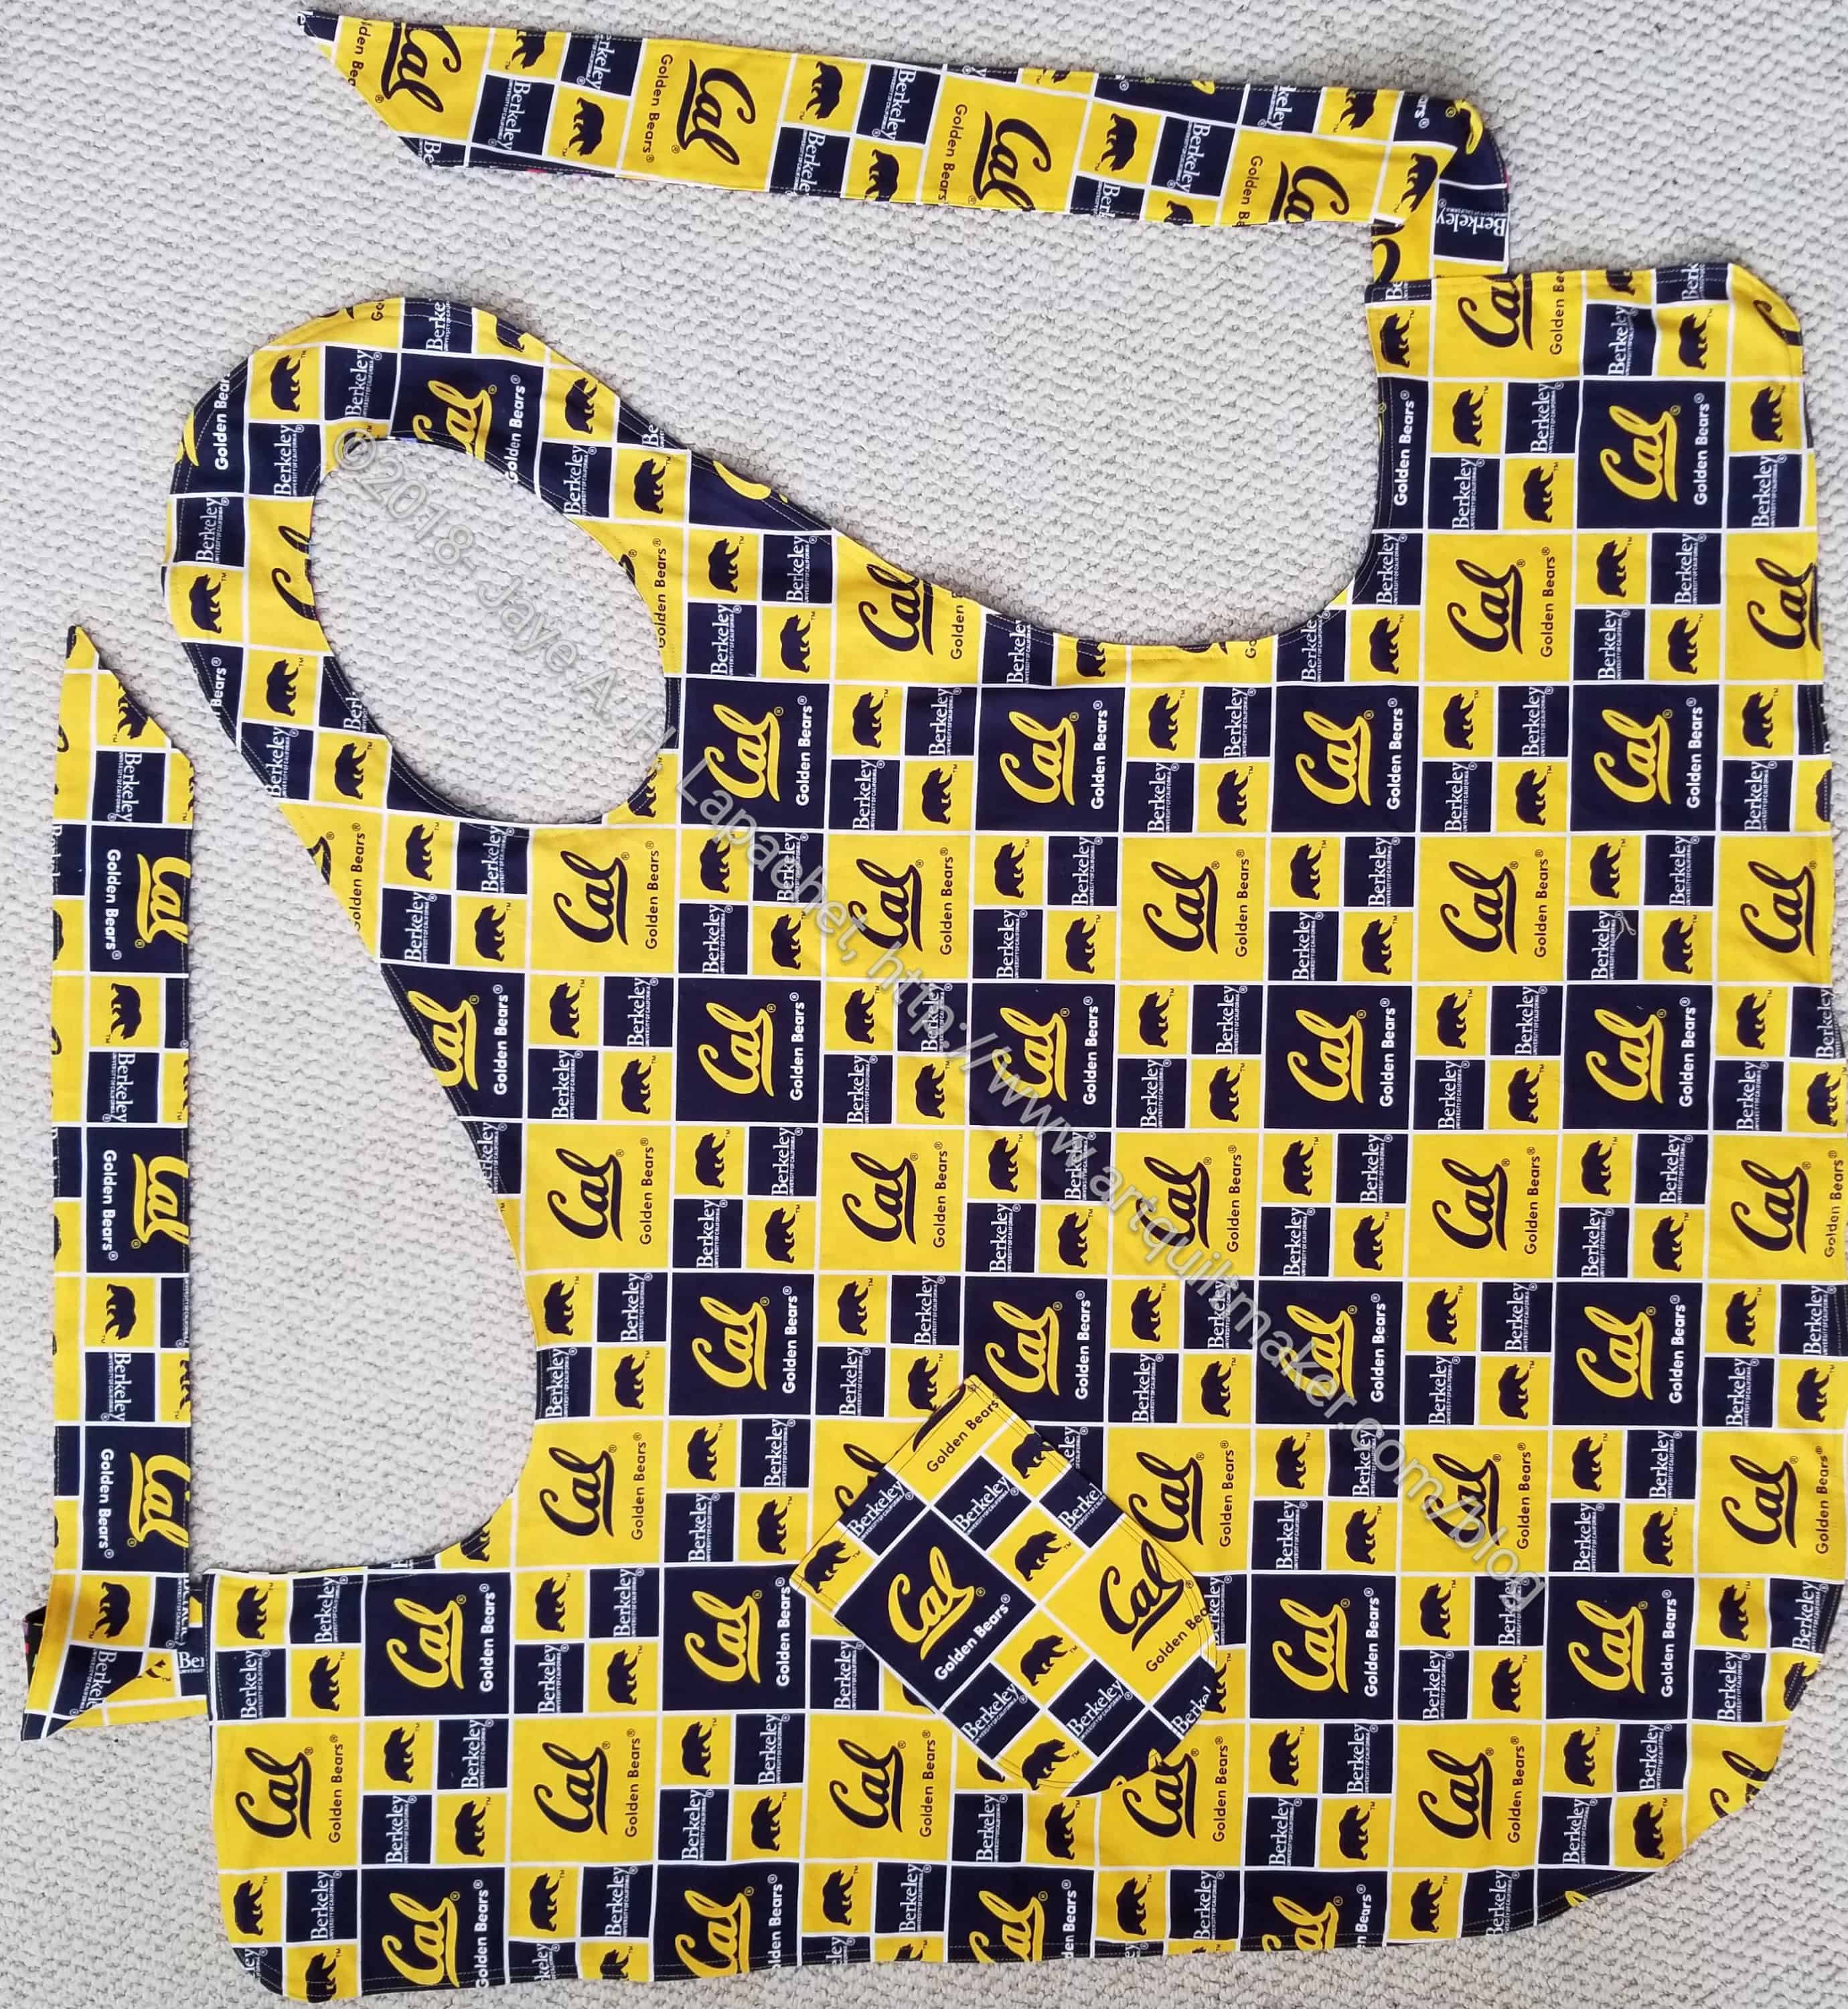
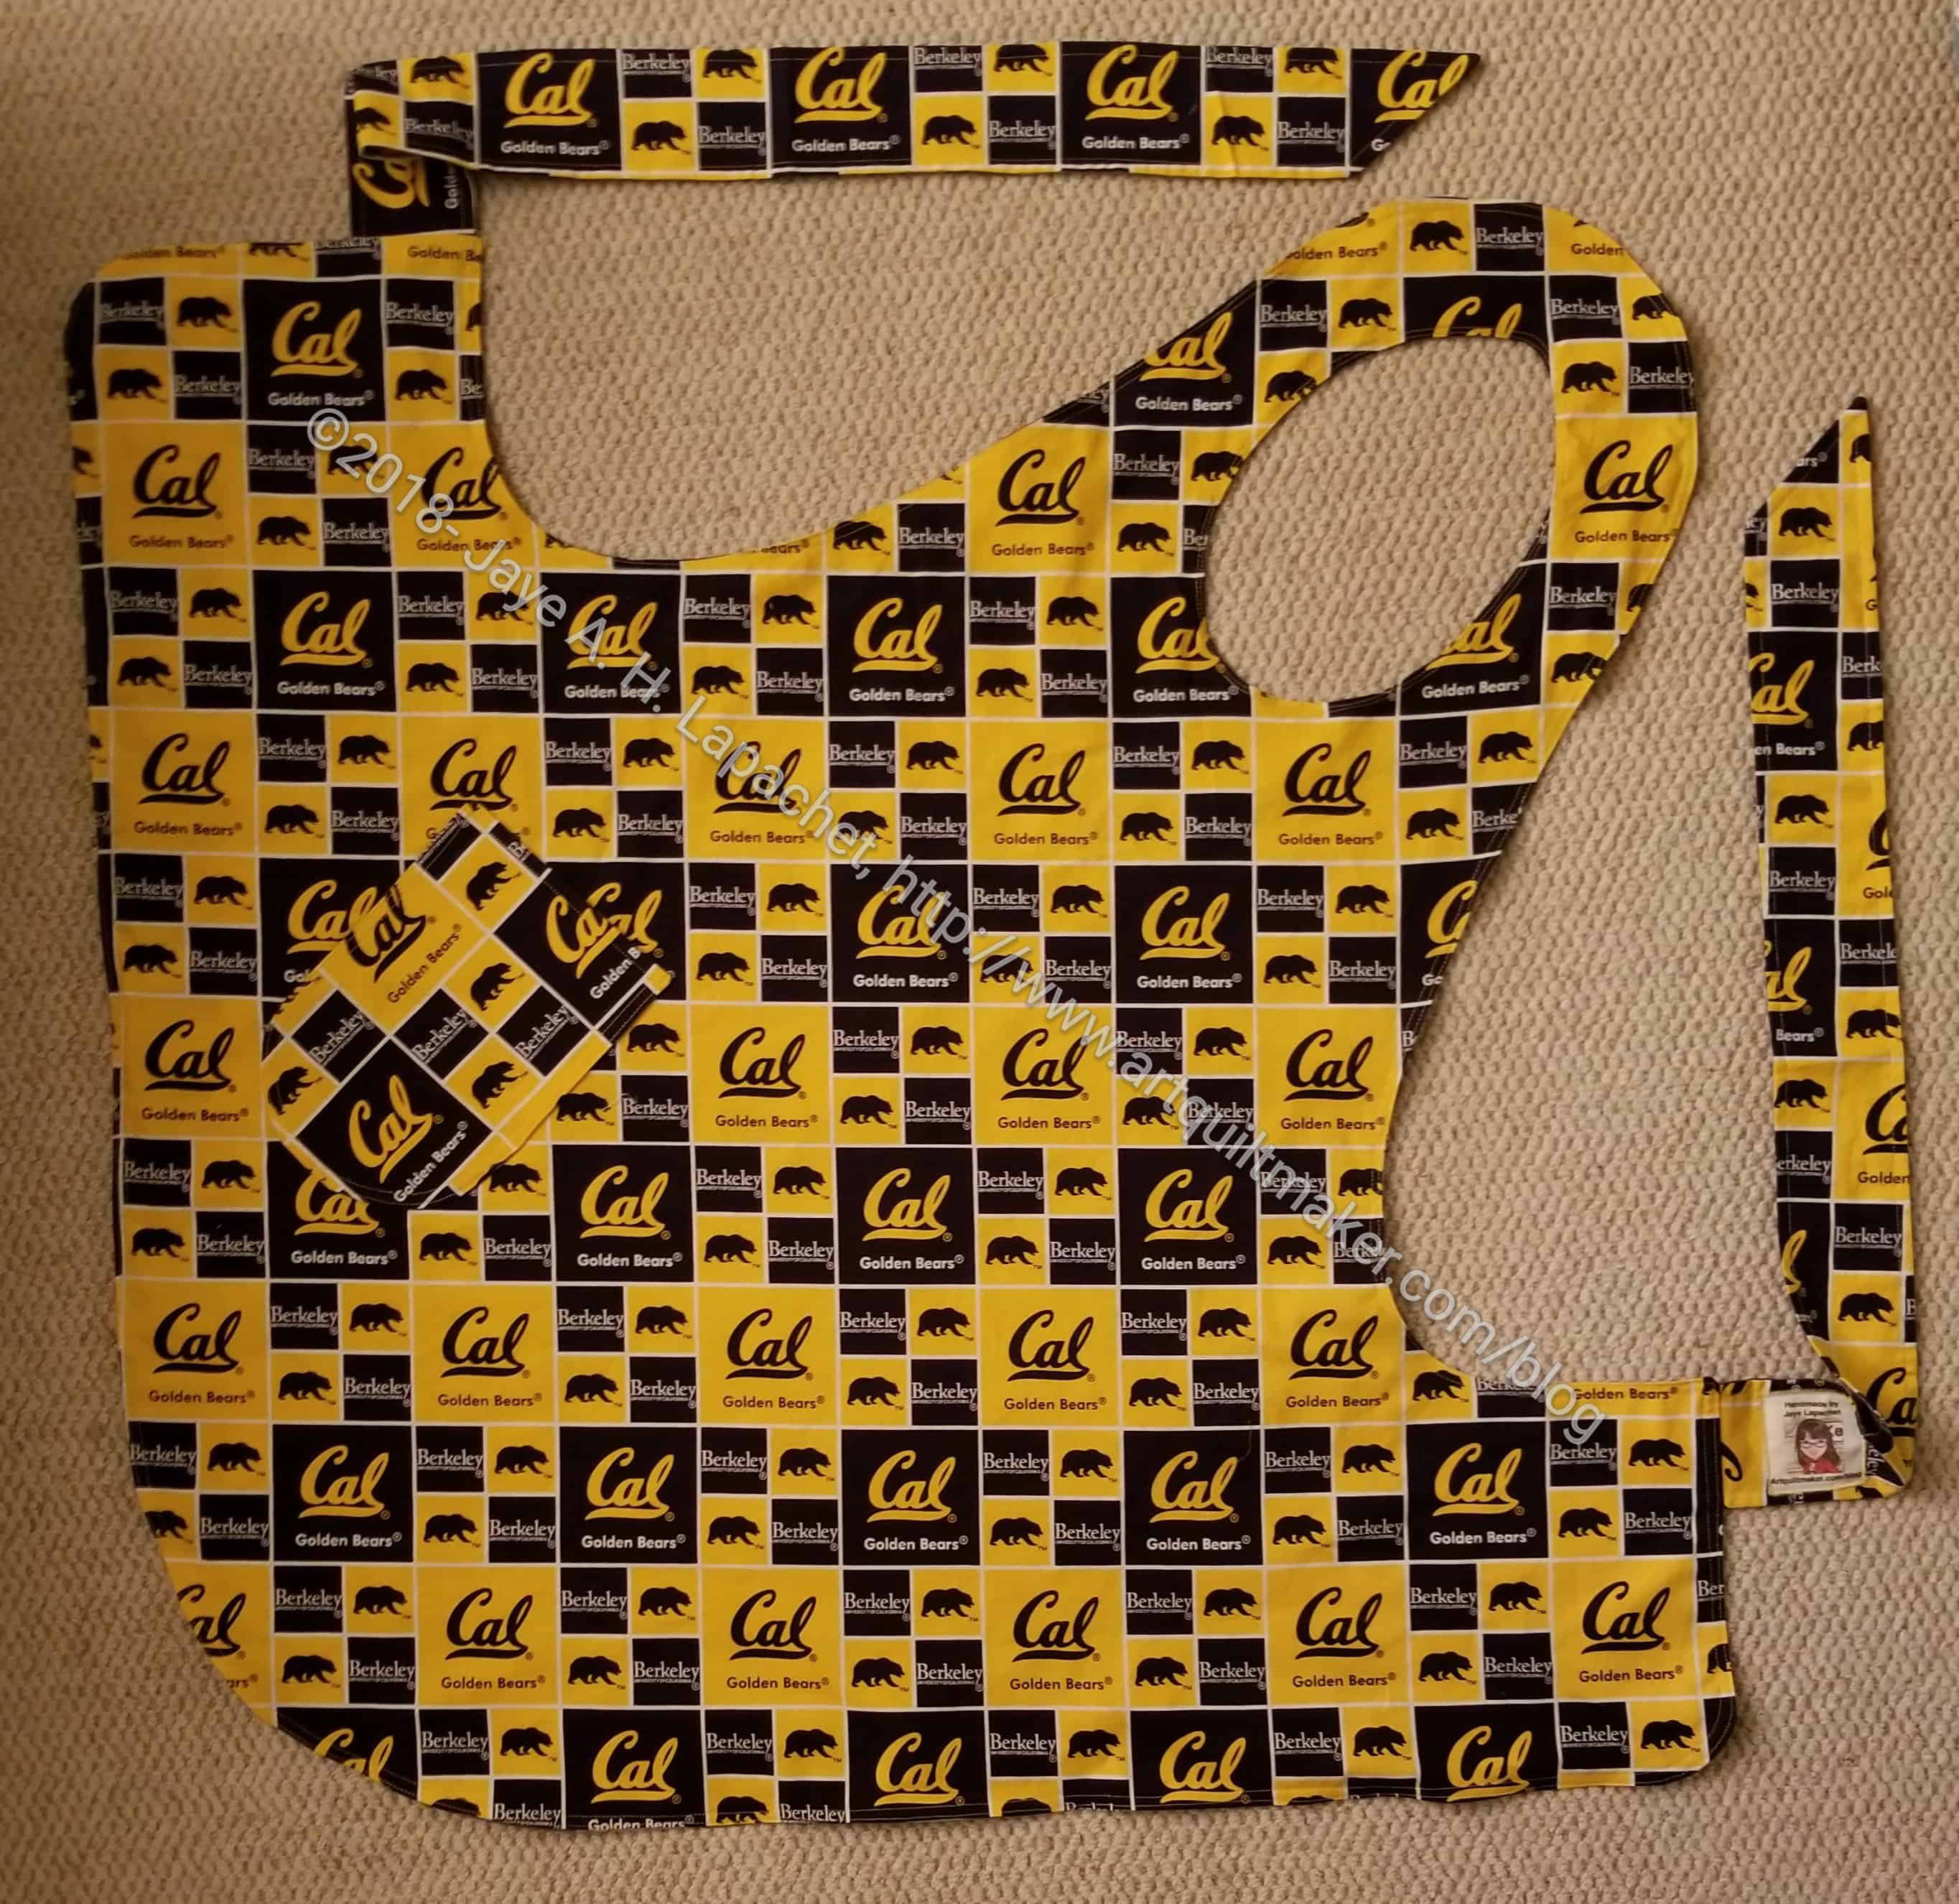
SIL #1 is also a Cal fan and a Cal graduate who attends football games regularly. She got the last of my Cal fabric.

Dee's Apron, front - Christmas 2018
Dee’s Apron, front – Christmas 2018

I learned that the pattern prevents the maker from laying out directional fabric in a certain orientation, but I am ok with the logo being on the diagonal when it is worn.

The front looks good and I hope it won’t show the dirt.

Gift Post #6: Apron n.4

May's Apron - Christmas 2018
May’s Apron – Christmas 2018

I was pleased to finish the last apron well in advance of Christmas. I didn’t work on any of them in a particular order. I picked one up and went to work finishing it and they were all done in time for Christmas.

May's Apron, reverse - Christmas 2018
May’s Apron, reverse – Christmas 2018

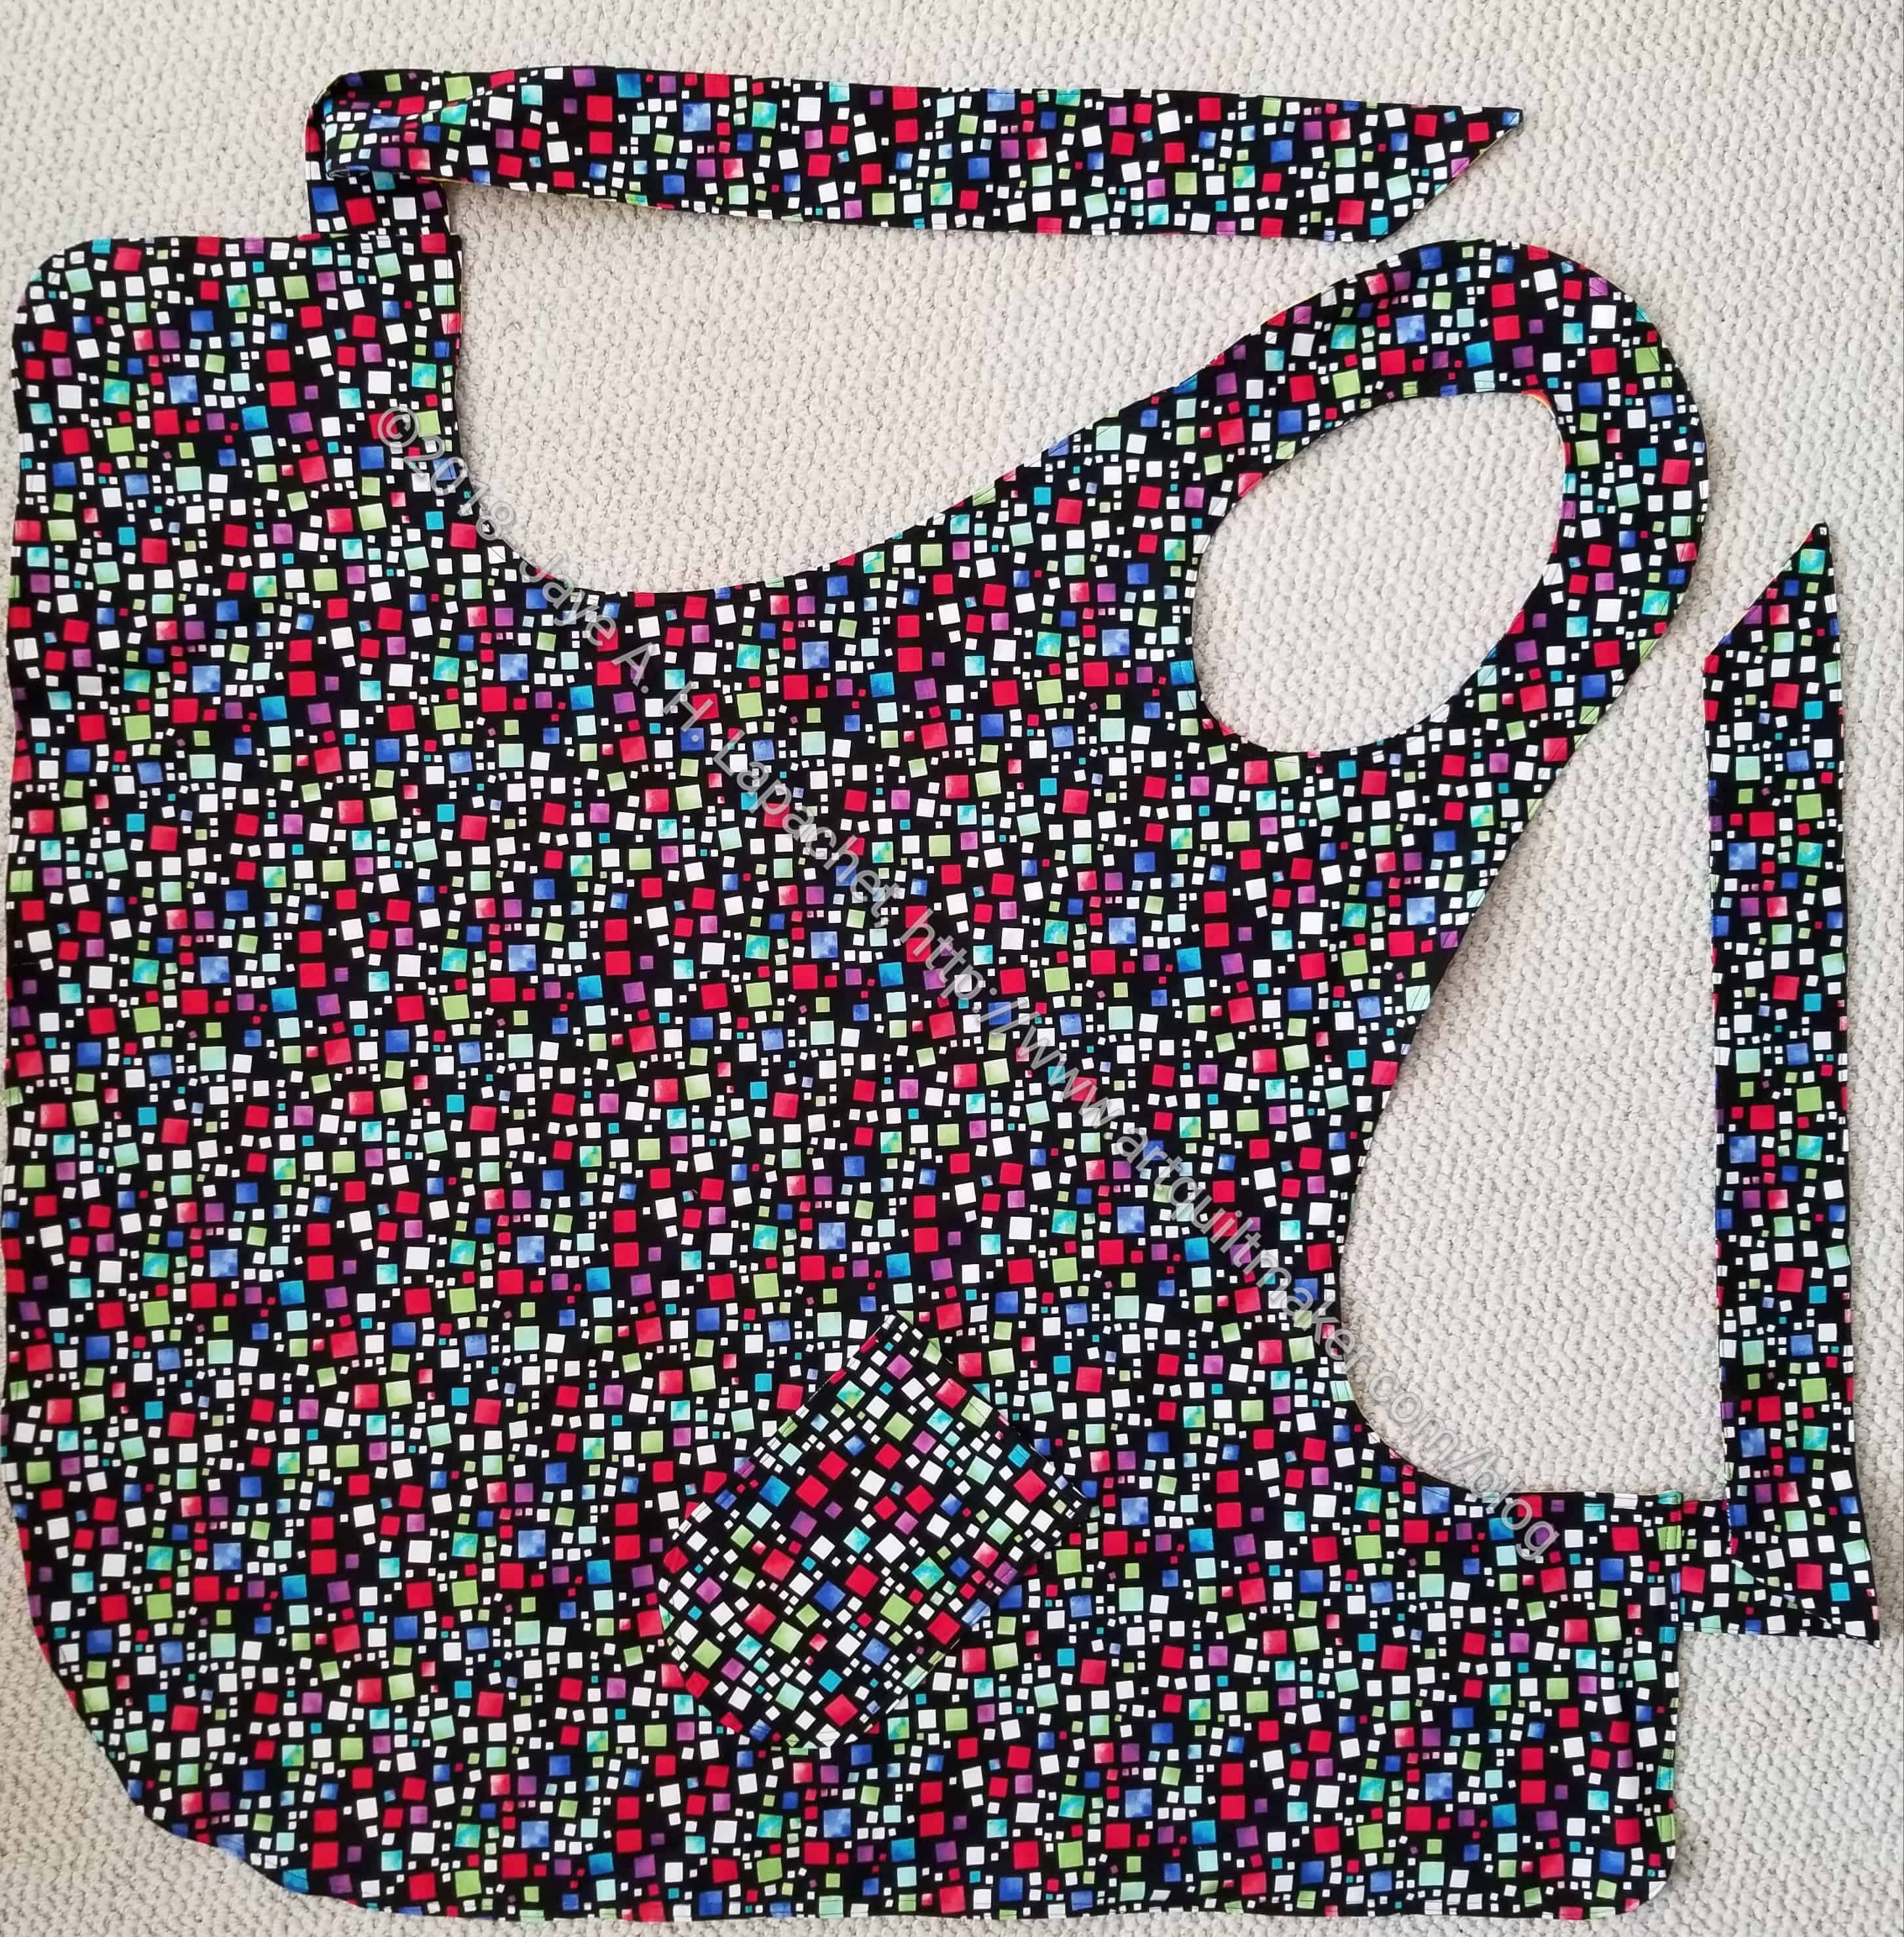
The flowers on this one are really vibrant and I hope SIL #3 likes it. The reverse side is more her style.

Gift Post #5: Apron n.3

Beth's apron - urban chic
Beth’s apron – urban chic

This is the urban chic + Football crazy version of the Flapper Apron. It is for DH’s youngest sister and I know she will love the Cal side. The urban chic side was hard to choose, so I picked something that I liked and thought had a good chance of being on target. I bought the Marsha Derst fabric in Portland at Pioneer Quilts.

I am not sure which side will be the front. I wear an apron often when I am working in the kitchen and I tend to always wear the same side as the outside.

Beth's apron - Cal side
Beth’s apron – Cal side

I have to say that I was annoyed with this pattern when I first started finishing up this project, but as I finished them up, I started thinking of making two more – one for another friend and another for myself.

One thing about this pattern is challenges with directional fabric. I couldn’t make the fabric line up properly to be read horizontally while it was being worn. It can still be read, so I am not too worried, but it would have been nice. Perhaps the slightly off kilter nature of it will look edgy?

Gift Post #4: Apron n.2

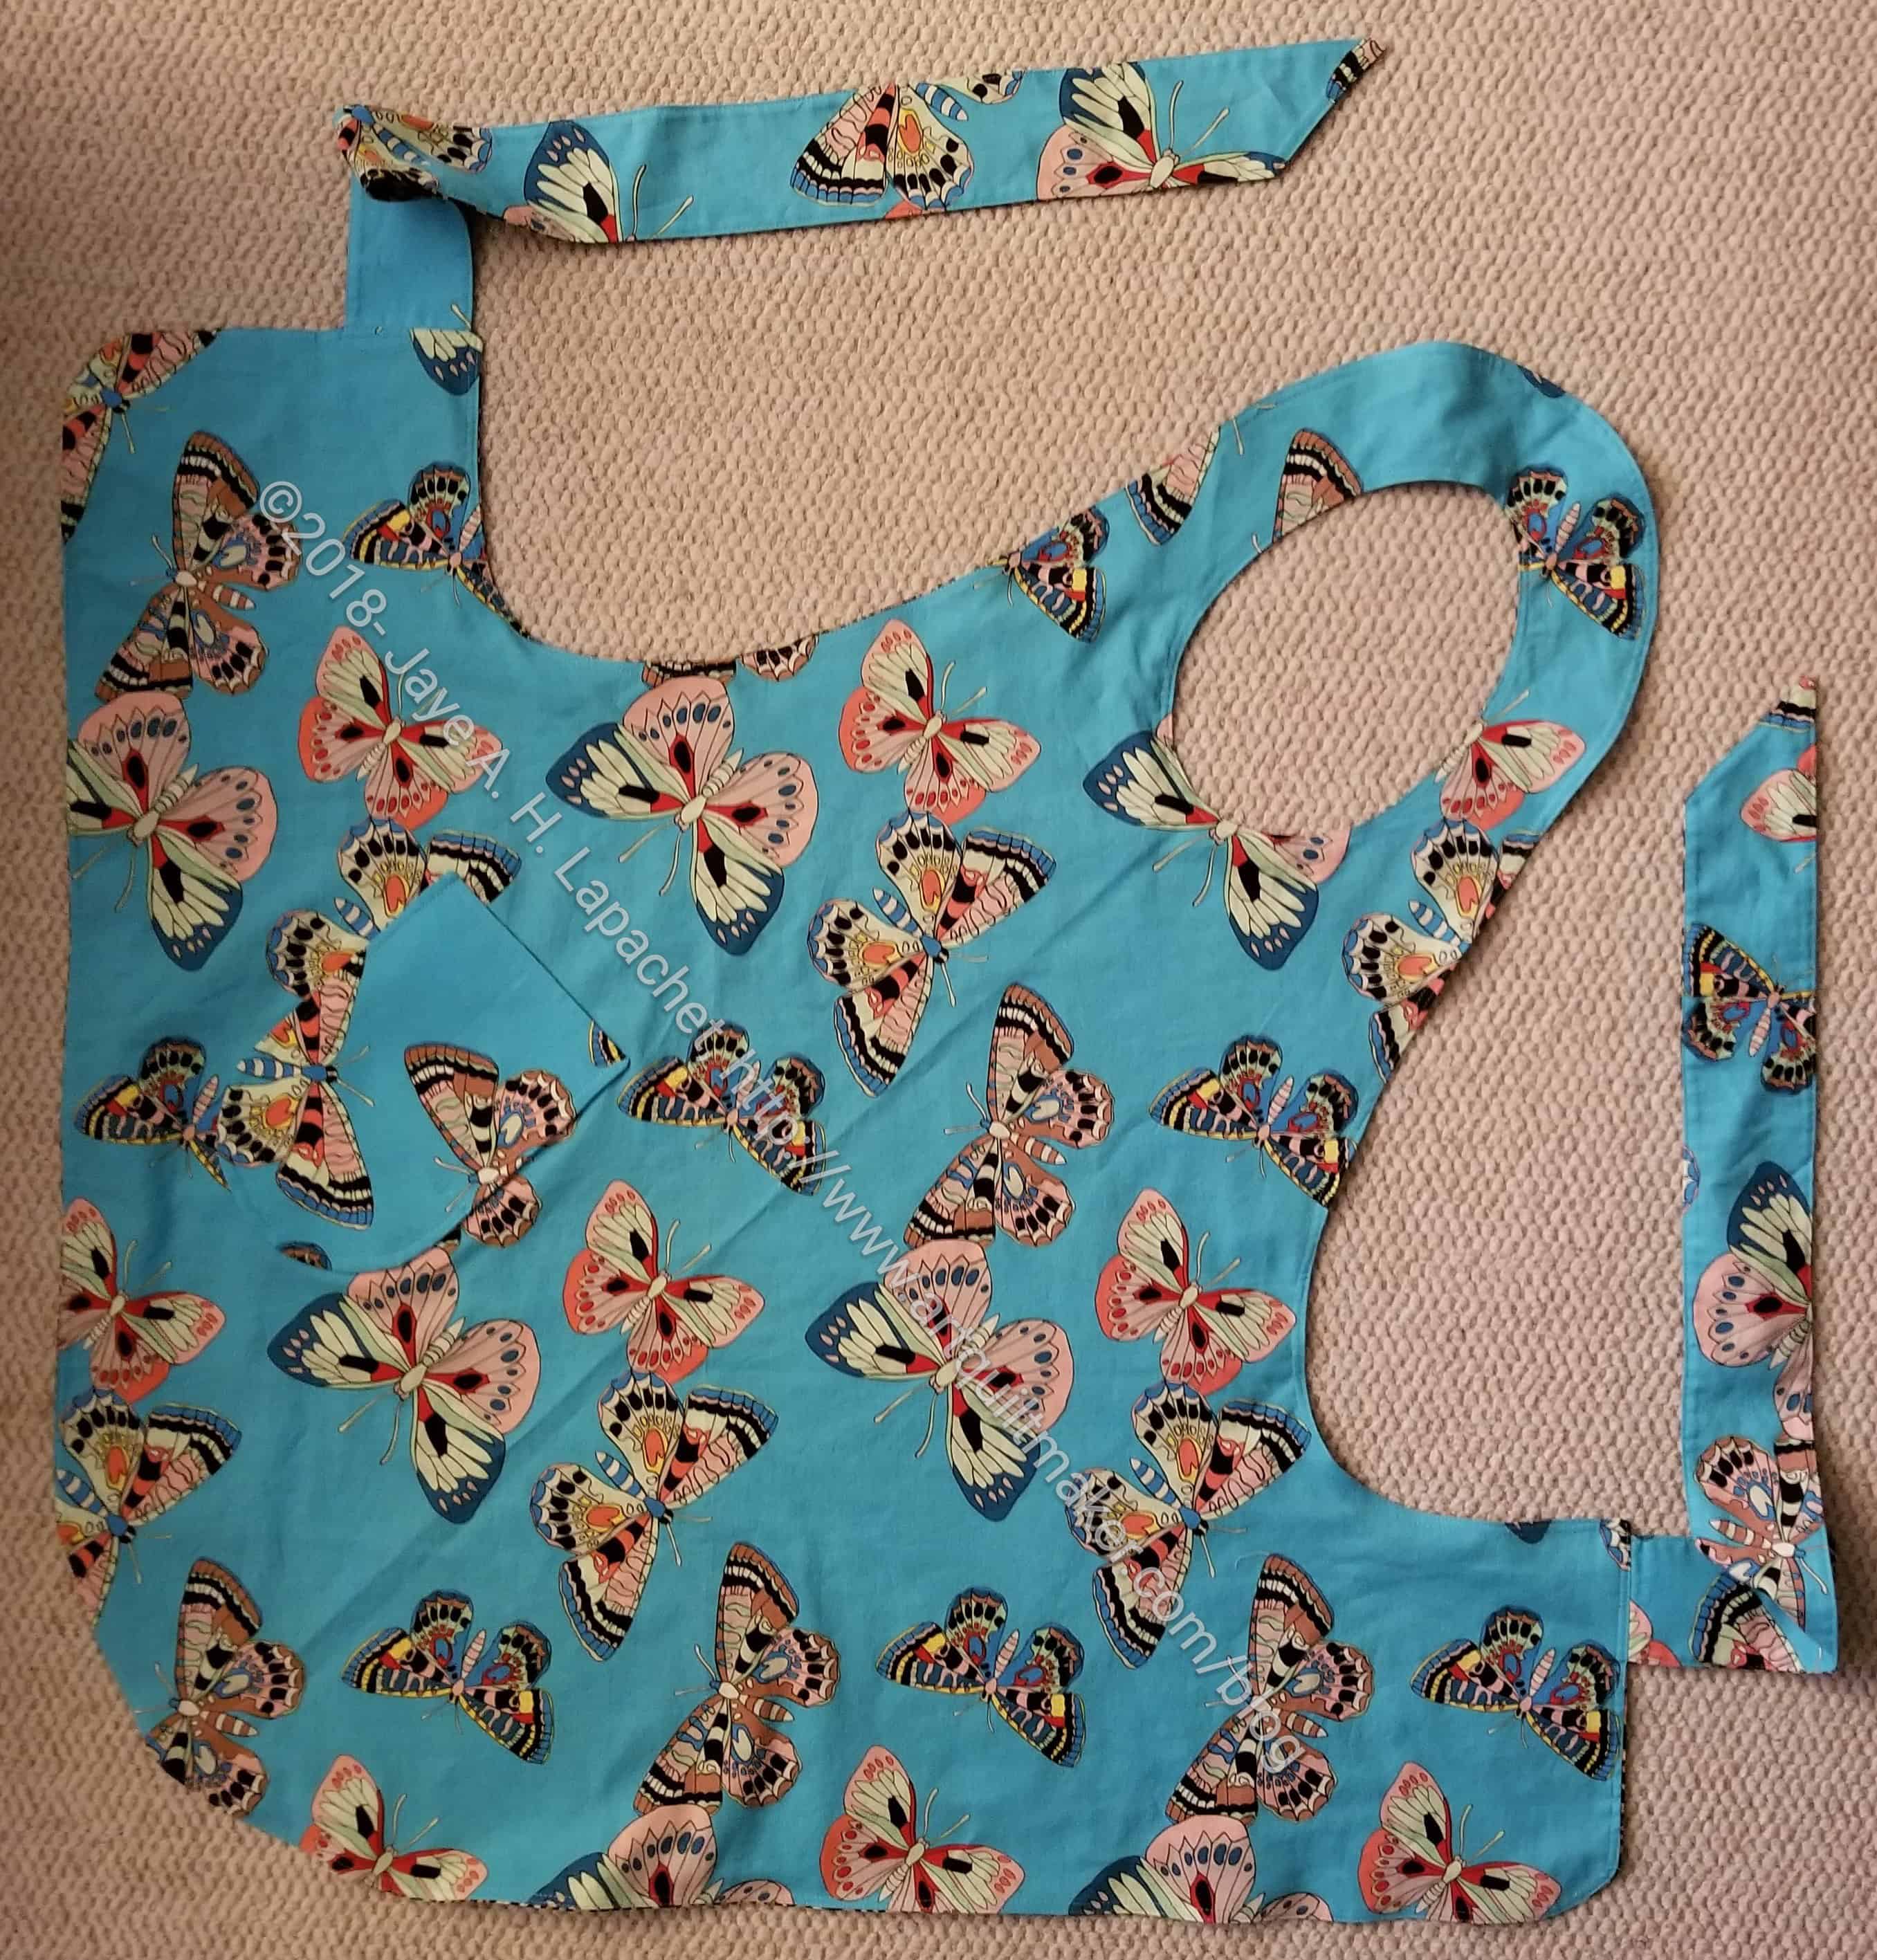
Steph's Apron- front
Steph’s Apron- front

After Thanksgiving, I worked on the group of aprons I wanted to give to my SILs as gifts. Since some of my SILs read here, I couldn’t post until after Christmas. I was also working hard to get to a 100 yards used and each of these aprons is 2 yards.

I fumbled around quite a bit on the first one in this group.  I had already finished one a few months ago, which I posted about a few days ago. I finally got the hang of the process, put all the small pieces together and was, eventually, able to zoom along.

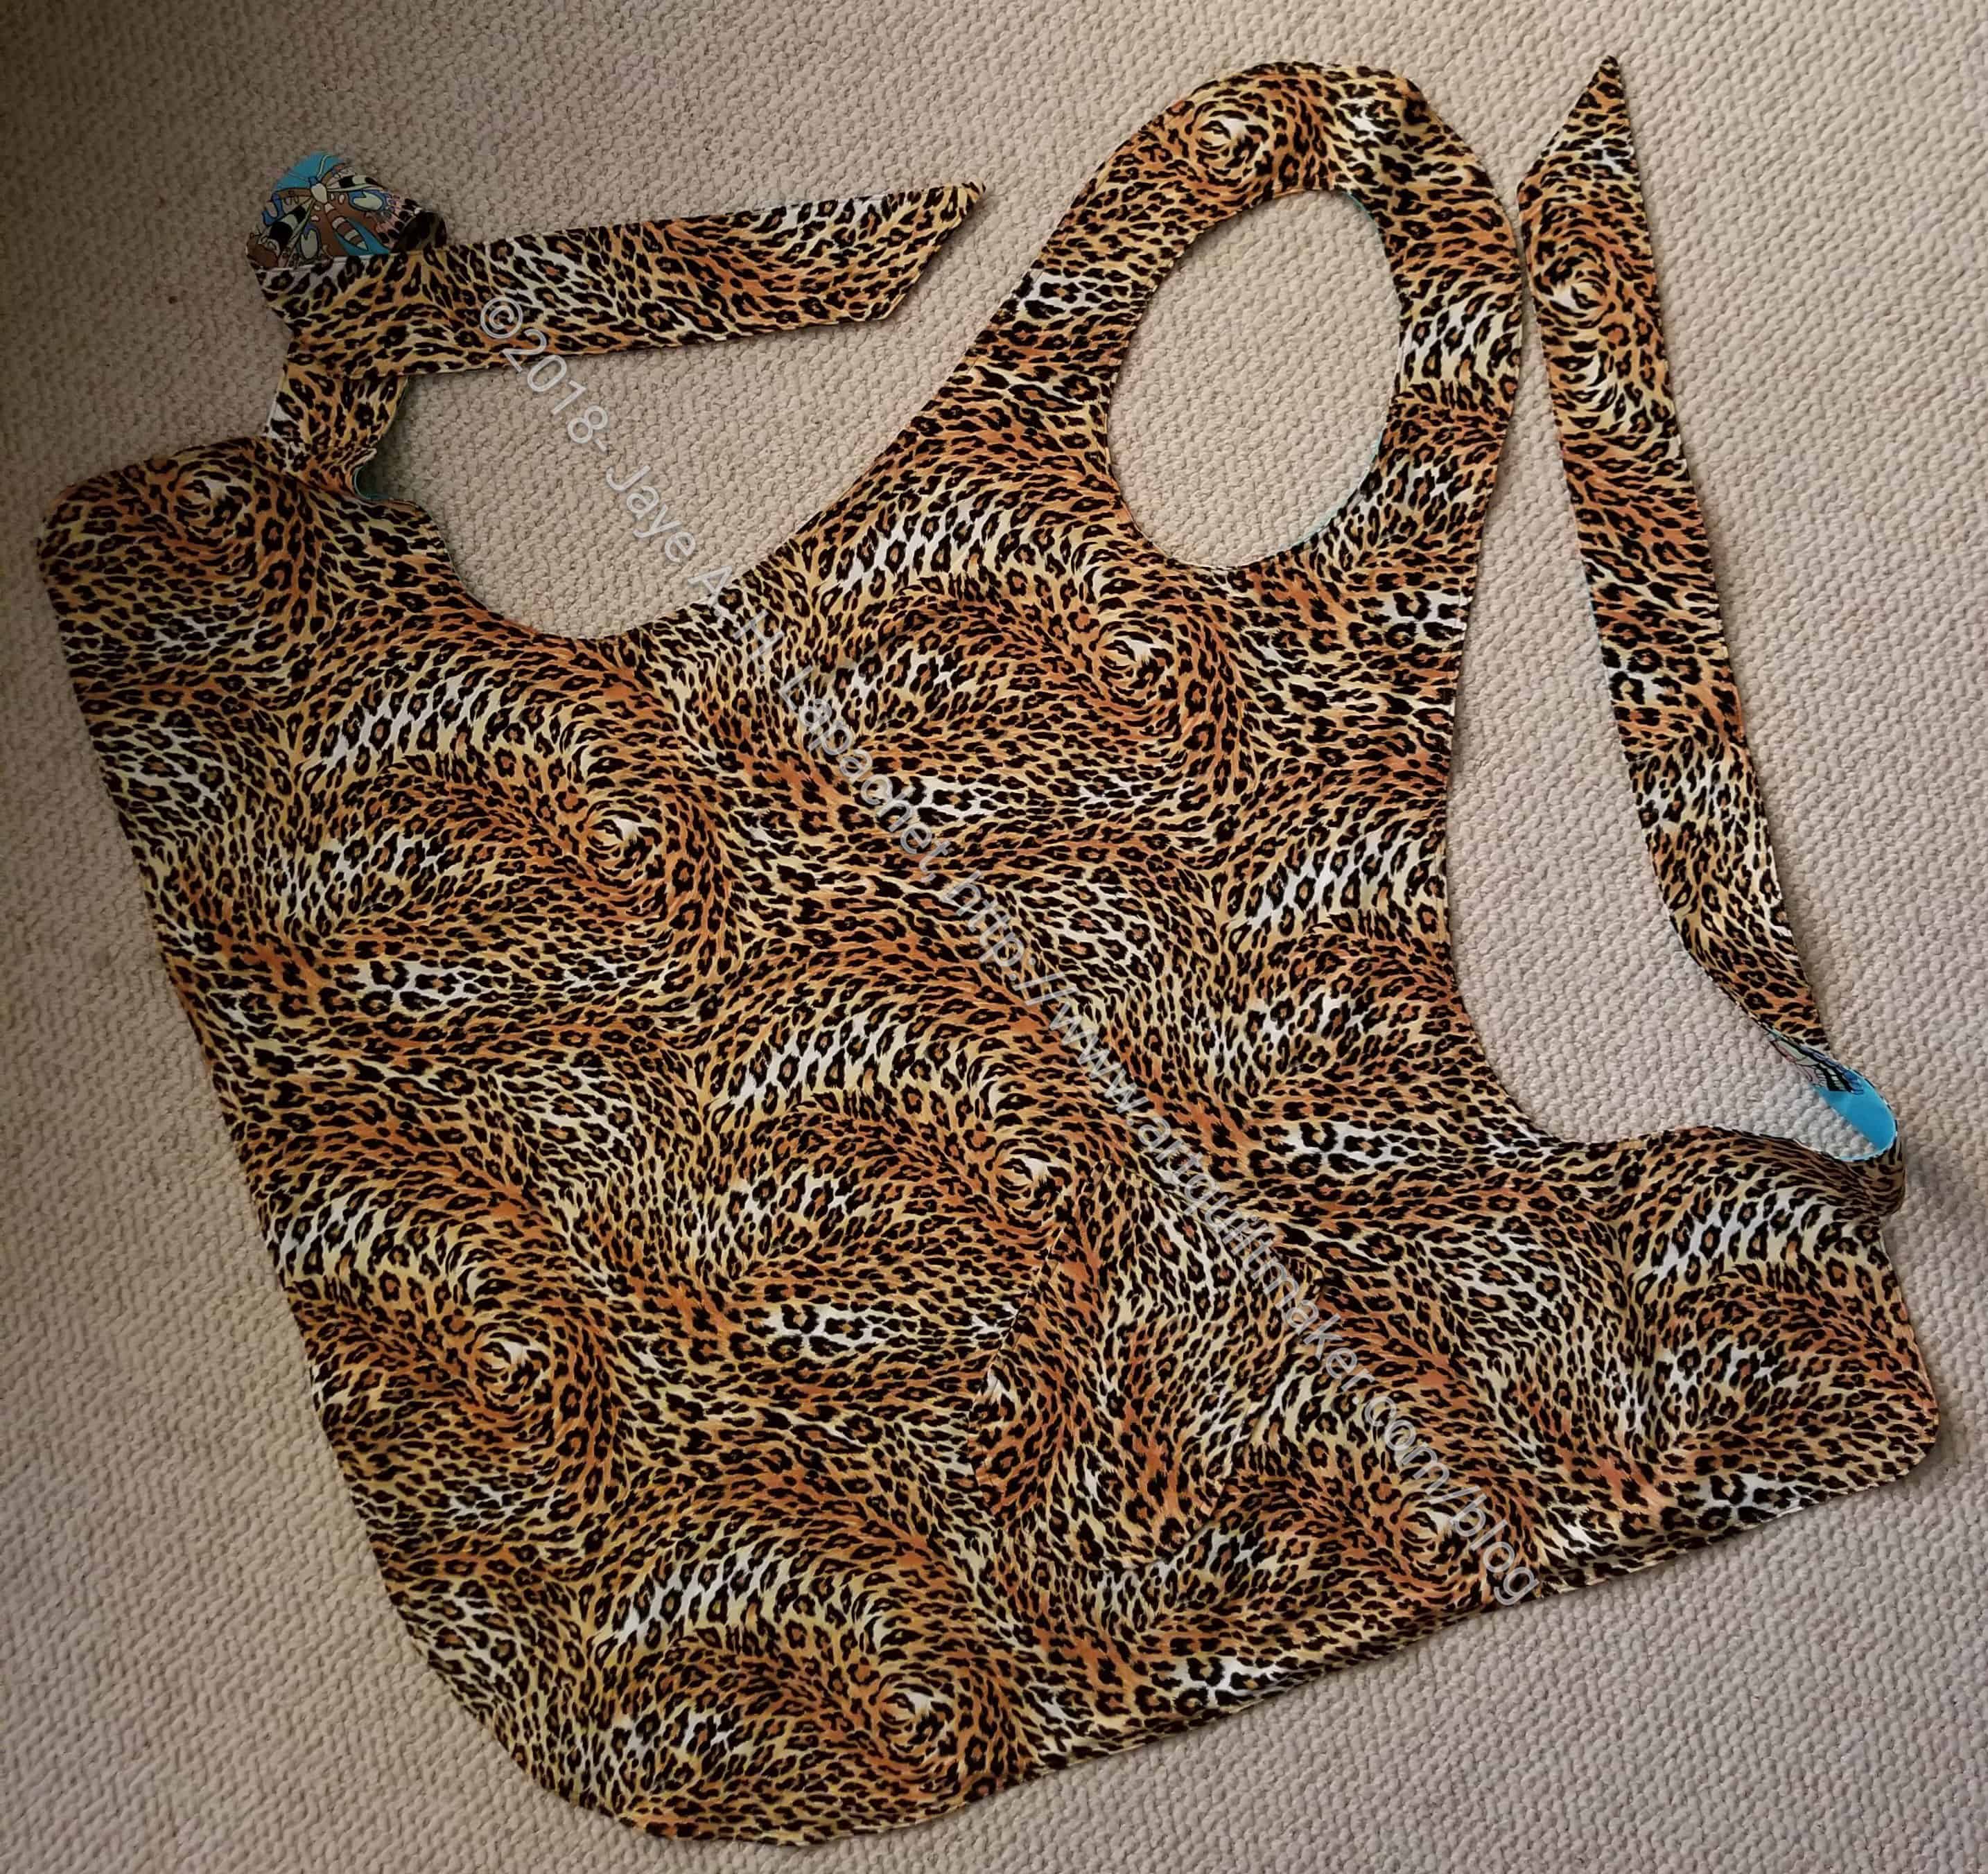
Steph's Apron- back
Steph’s Apron- back

The pattern says “finish the neck as desired,” which is about as useful as ‘quilt as desired’ in quilt patterns. I ended up folding the neck by hand and trying to match both sides so the other side wouldn’t peek through. I decided to double top stitch around the neck and the outside to make sure the raw edges, even inside, were sewed down.

I wasn’t sure what fabrics to choose for this apron as I don’t know very well what motifs this SIL likes. Brown and turquoise go together and who doesn’t like butterflies? This is an apron, not a dress, so I am not going to worry too much. I am pleased with how this one came out.

Gift Post #1: Apron n.1

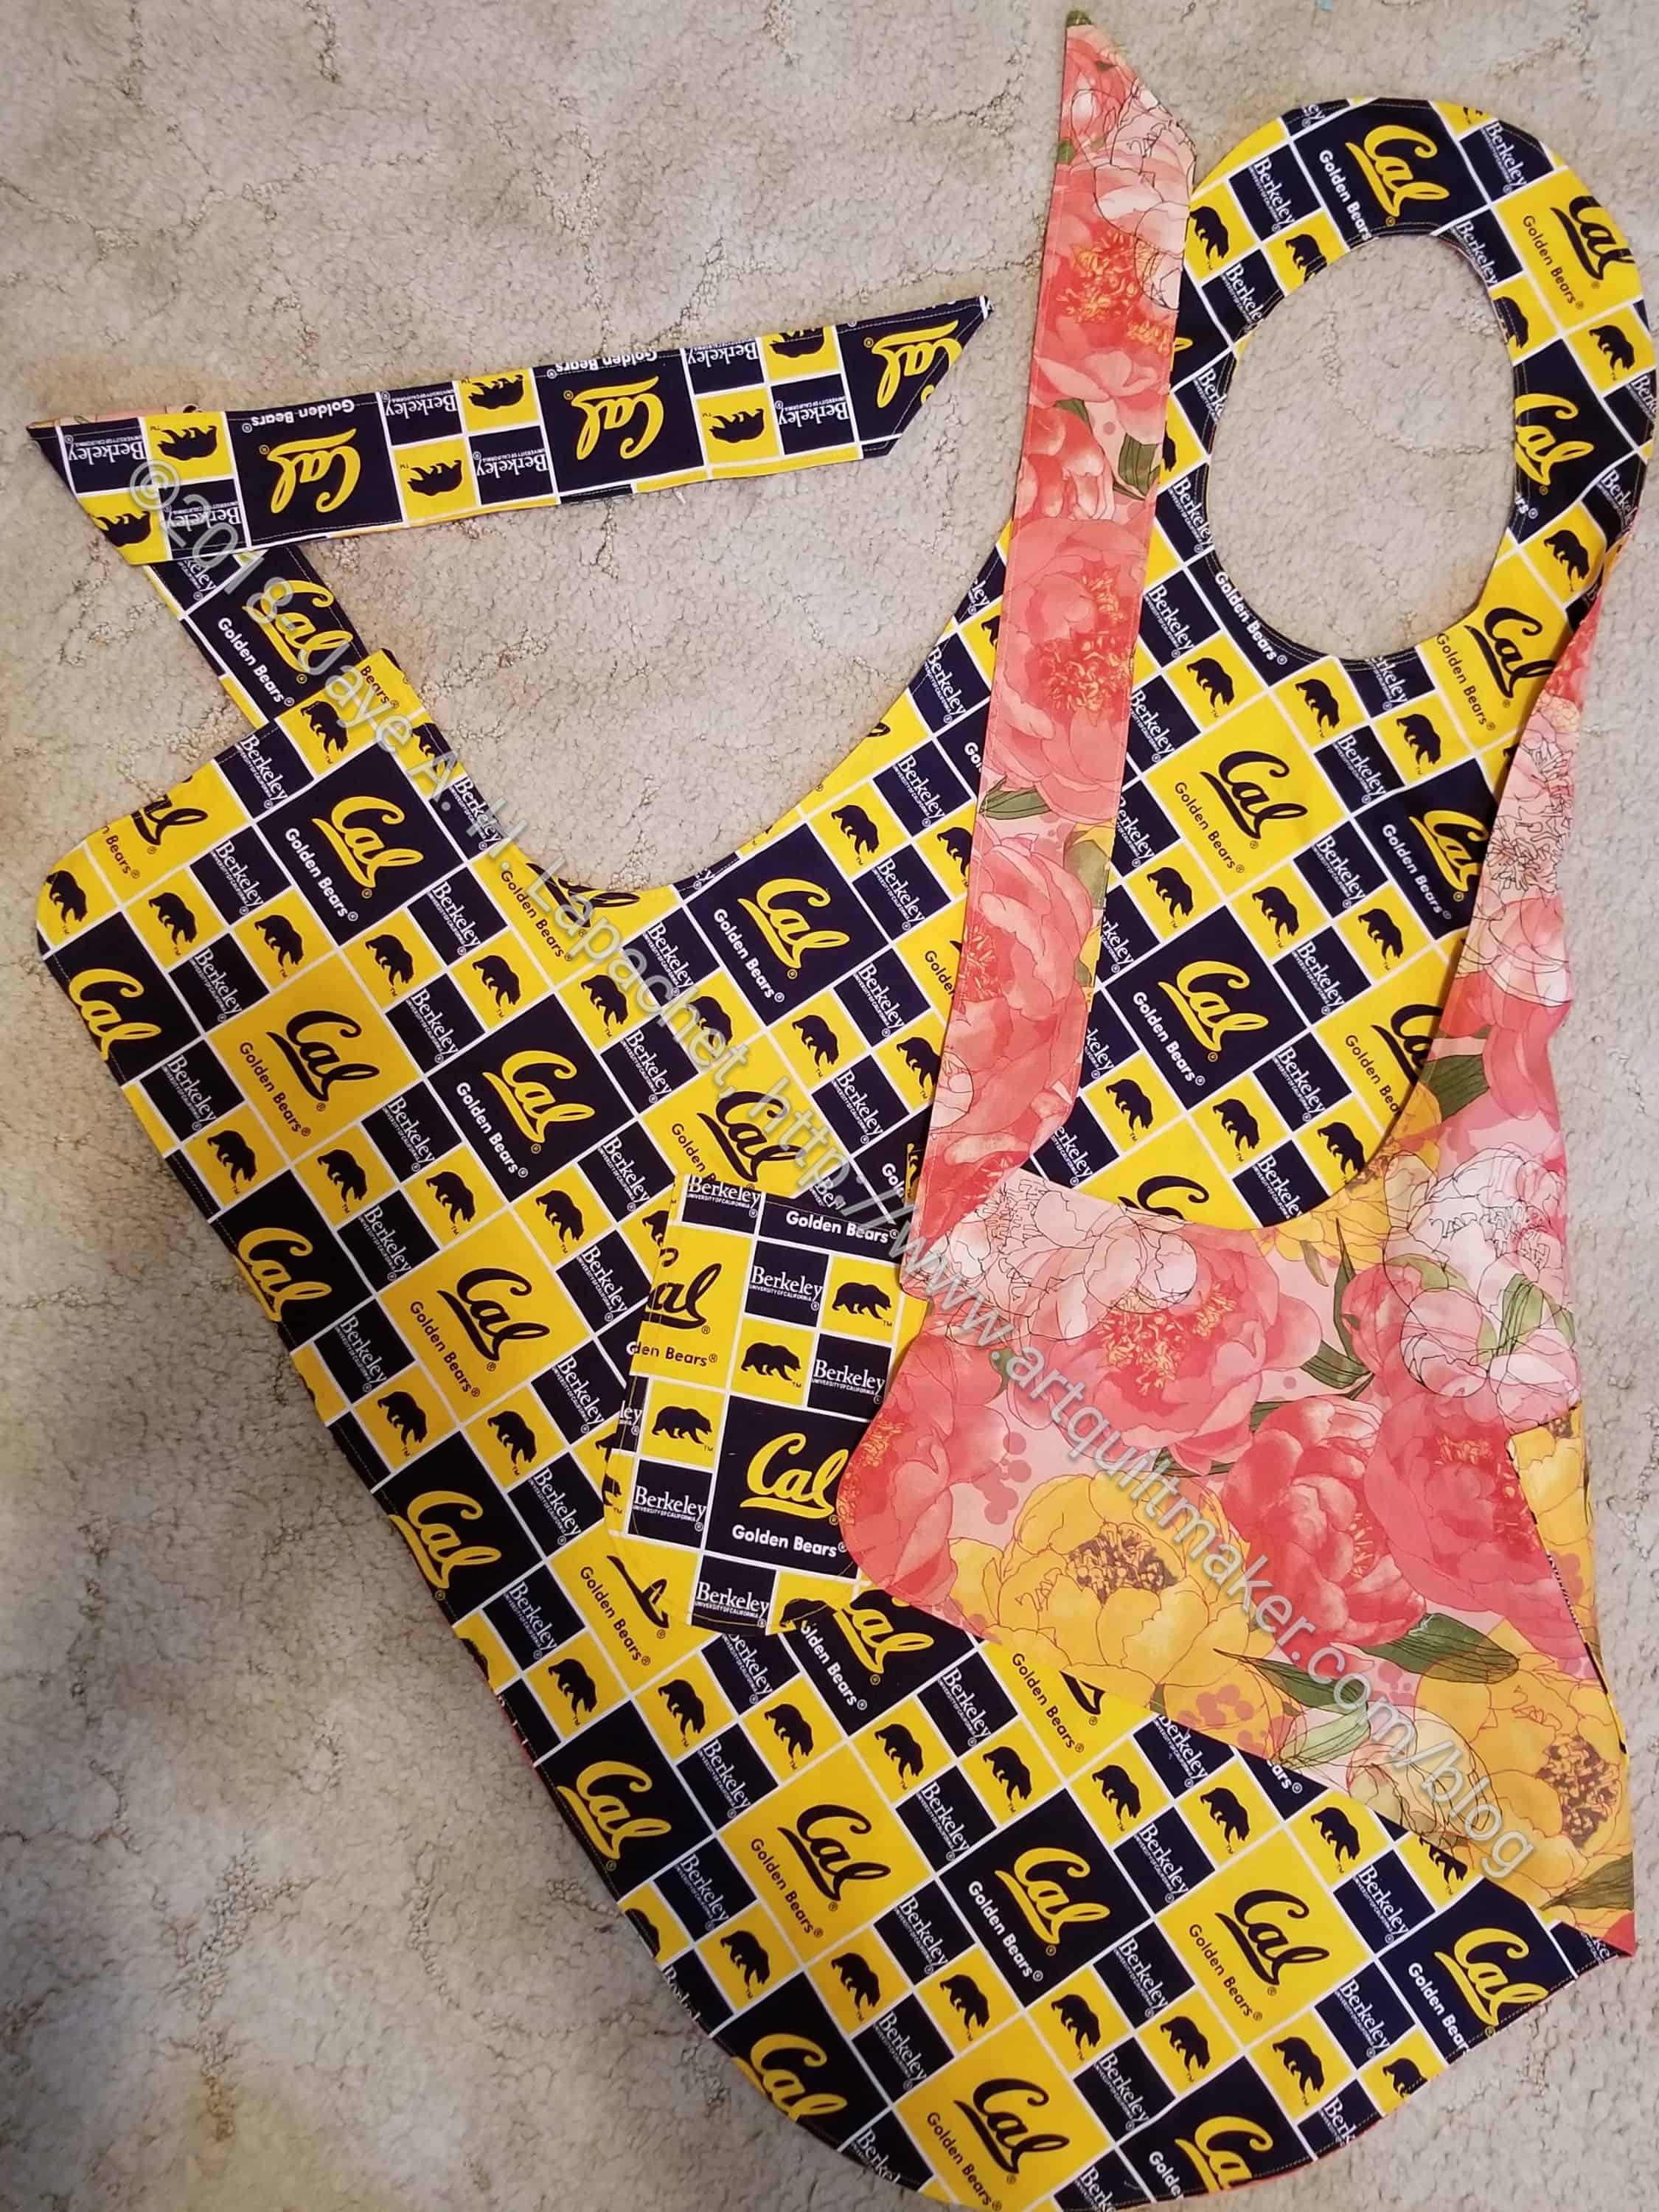
SIL #2 Apron
SIL #2 Apron

I made this apron back in September. I couldn’t show it because it was a gift for one of my SILs.

I cut 5 aprons out at Sew Day. You know I love to cut things out on Sew Day. I cut it out in August and thought it would be hard to get them sewn for Christmas. Over Labor Day, instead of making the binding and sleeve for the Aqua-Red Sampler, I finished one of the aprons.

SIL #2 Apron - Cal Side
SIL #2 Apron – Cal Side

I was so pleased that I got one done. One down four to go.

I used the Flapper Apron pattern I bought in Portland with Amanda. I like this bias pattern and the fact that a person can make it with one yard of fabric. I make mine with a yard and a quarter, because a yard and a quarter folds into a square and it is always good to have a little extra. 😉

All of them will be two sided. These fabrics don’t necessarily go together, but it is hard to find something that goes with Cal fabric. I decided to make a two sided apron that had two personalities. When wearing it people won’t really see the other side from the front. Of course, other people will see the other fabric on the ties.

Flapper Apron

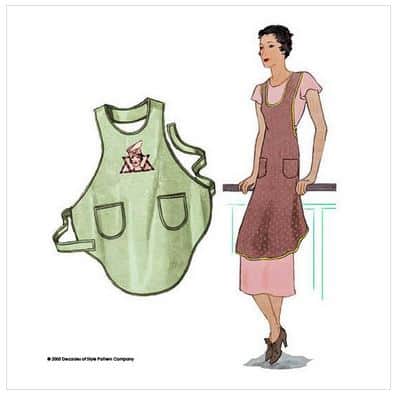
Decades of Style Flapper Apron

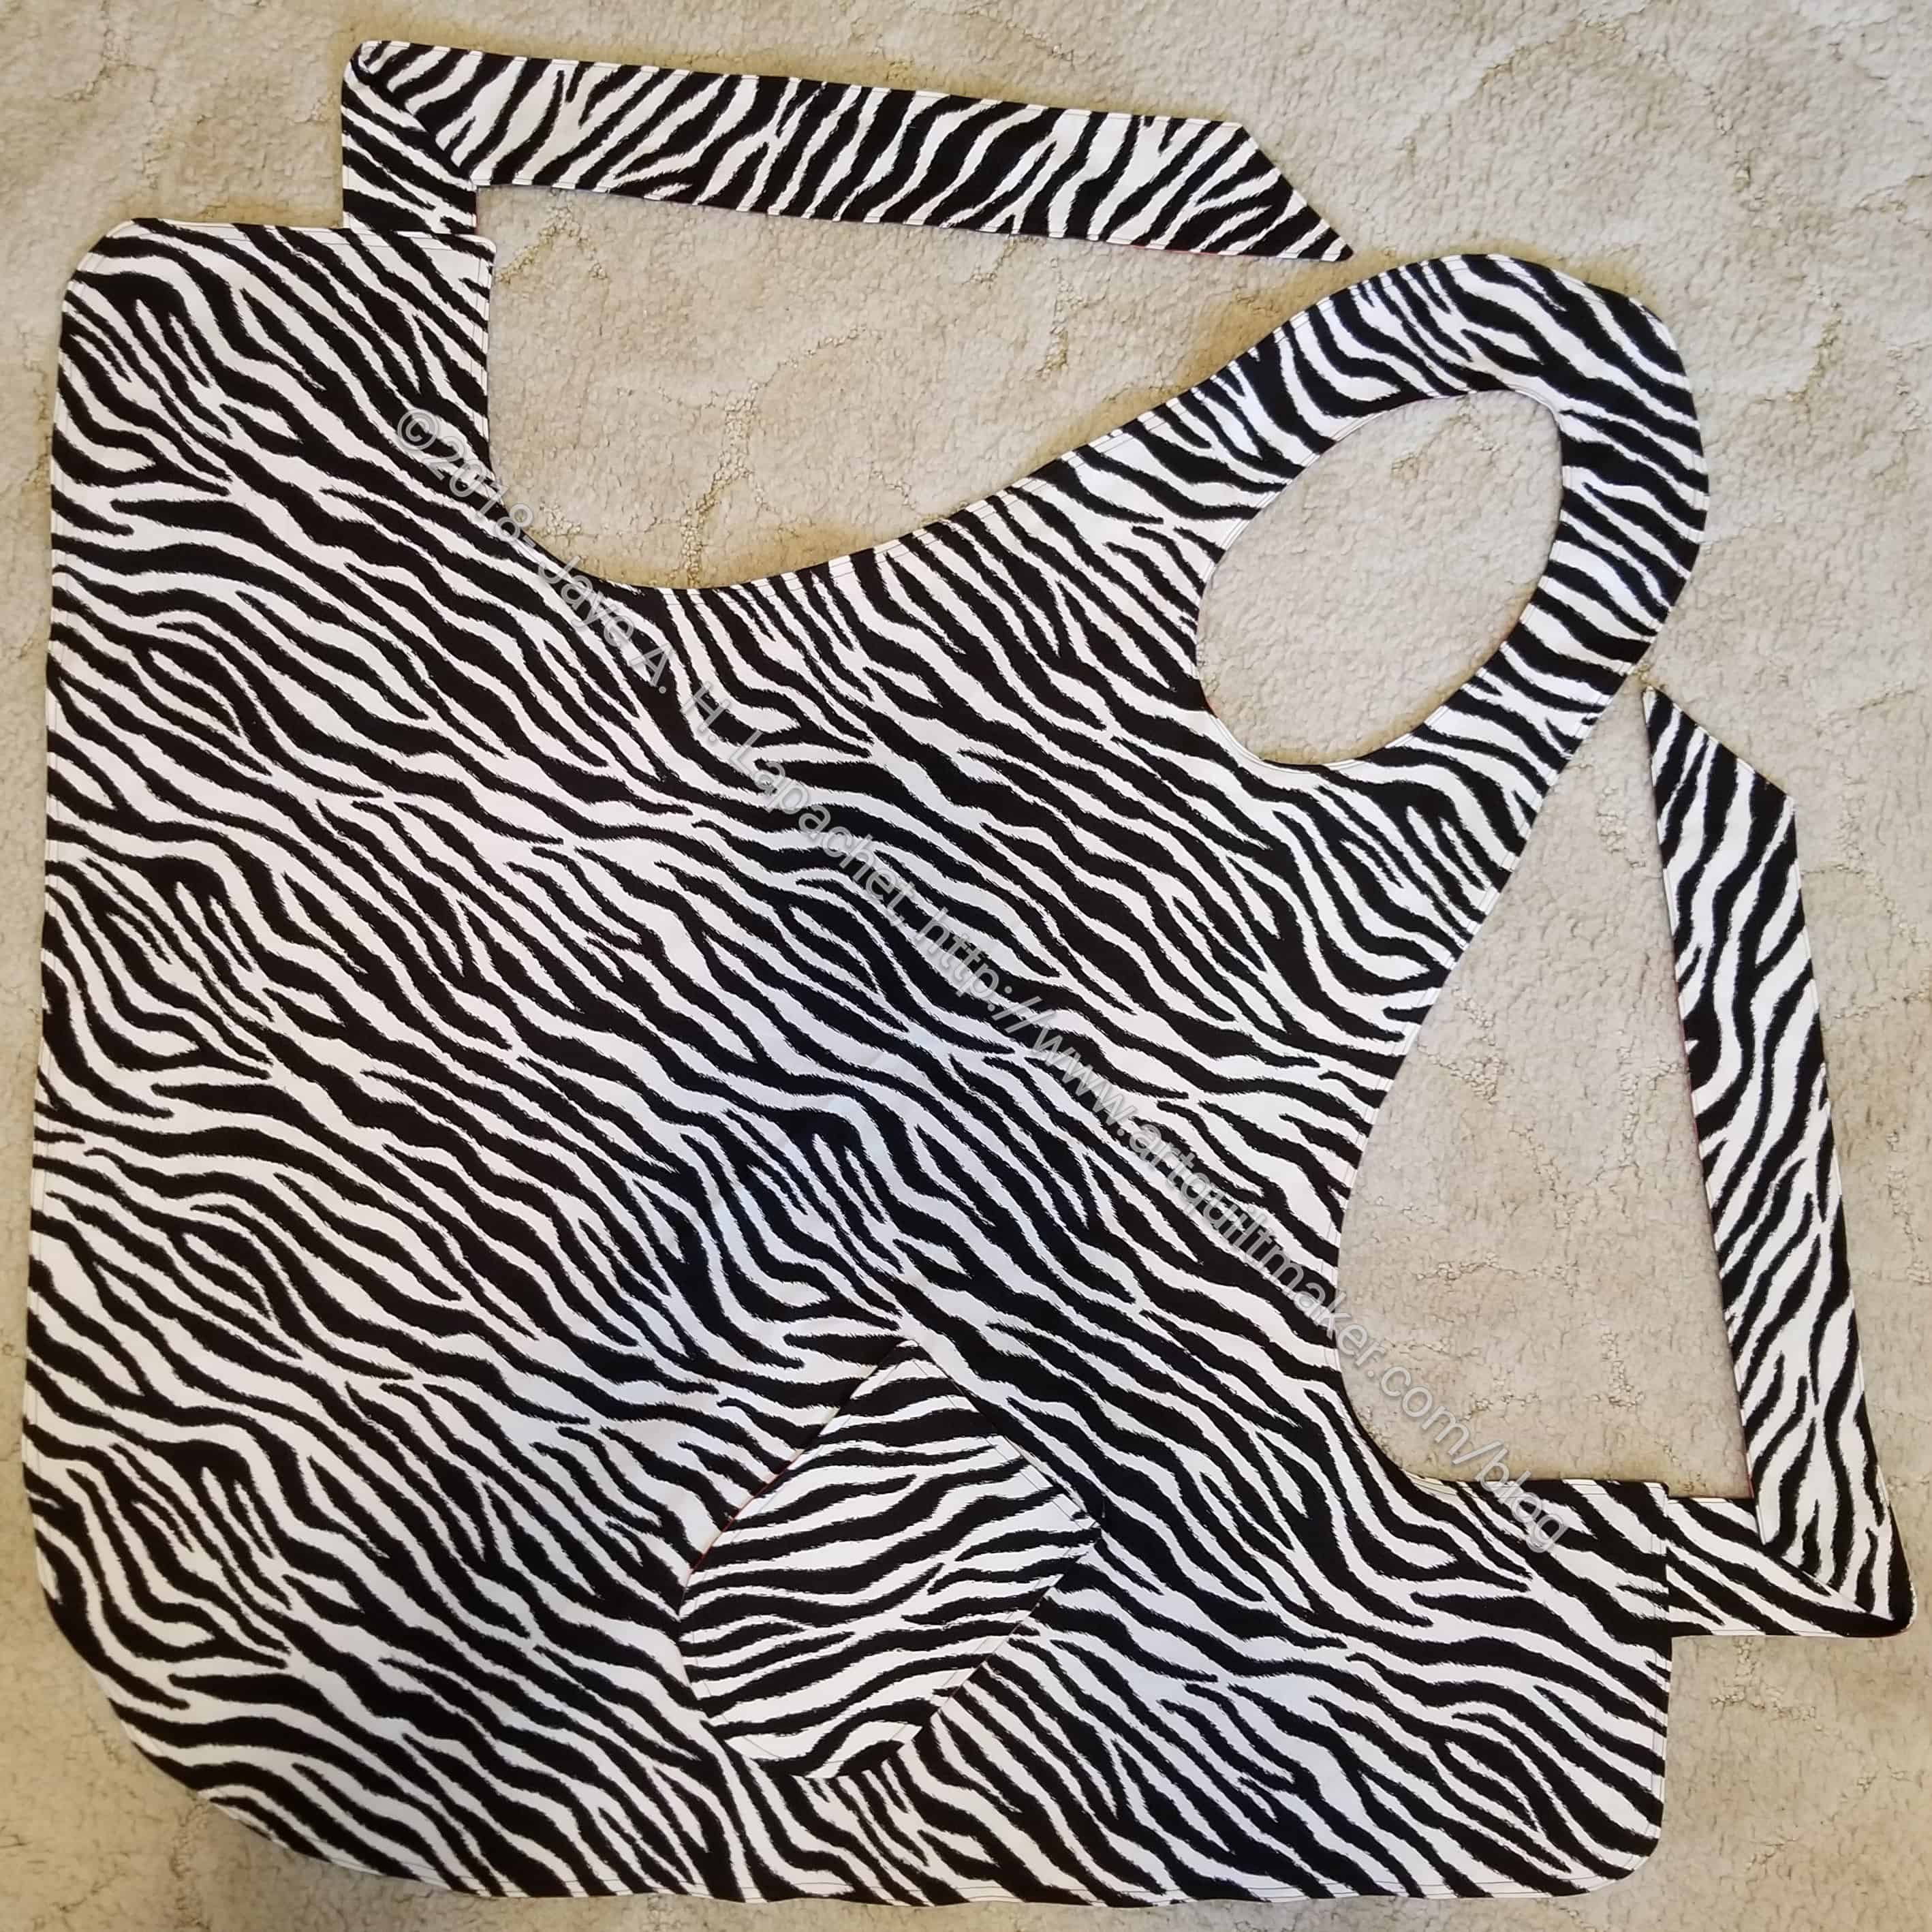
I finally made this Flapper Apron from the Decades of Style pattern company. I purchased it at the Speckled Hen during my shop hop with Amanda in January. Not too shabby, actually. Not that much time has gone by.

Frankly, I am on a mission to use up at least 100 yards net of fabric this year and these aprons take two yards. I have an idea to make a series of them for gifts and this was the first one. It is for me and I used some of my my recent Philip Jacobs fabric purchases.

Flapper Apron
Flapper Apron

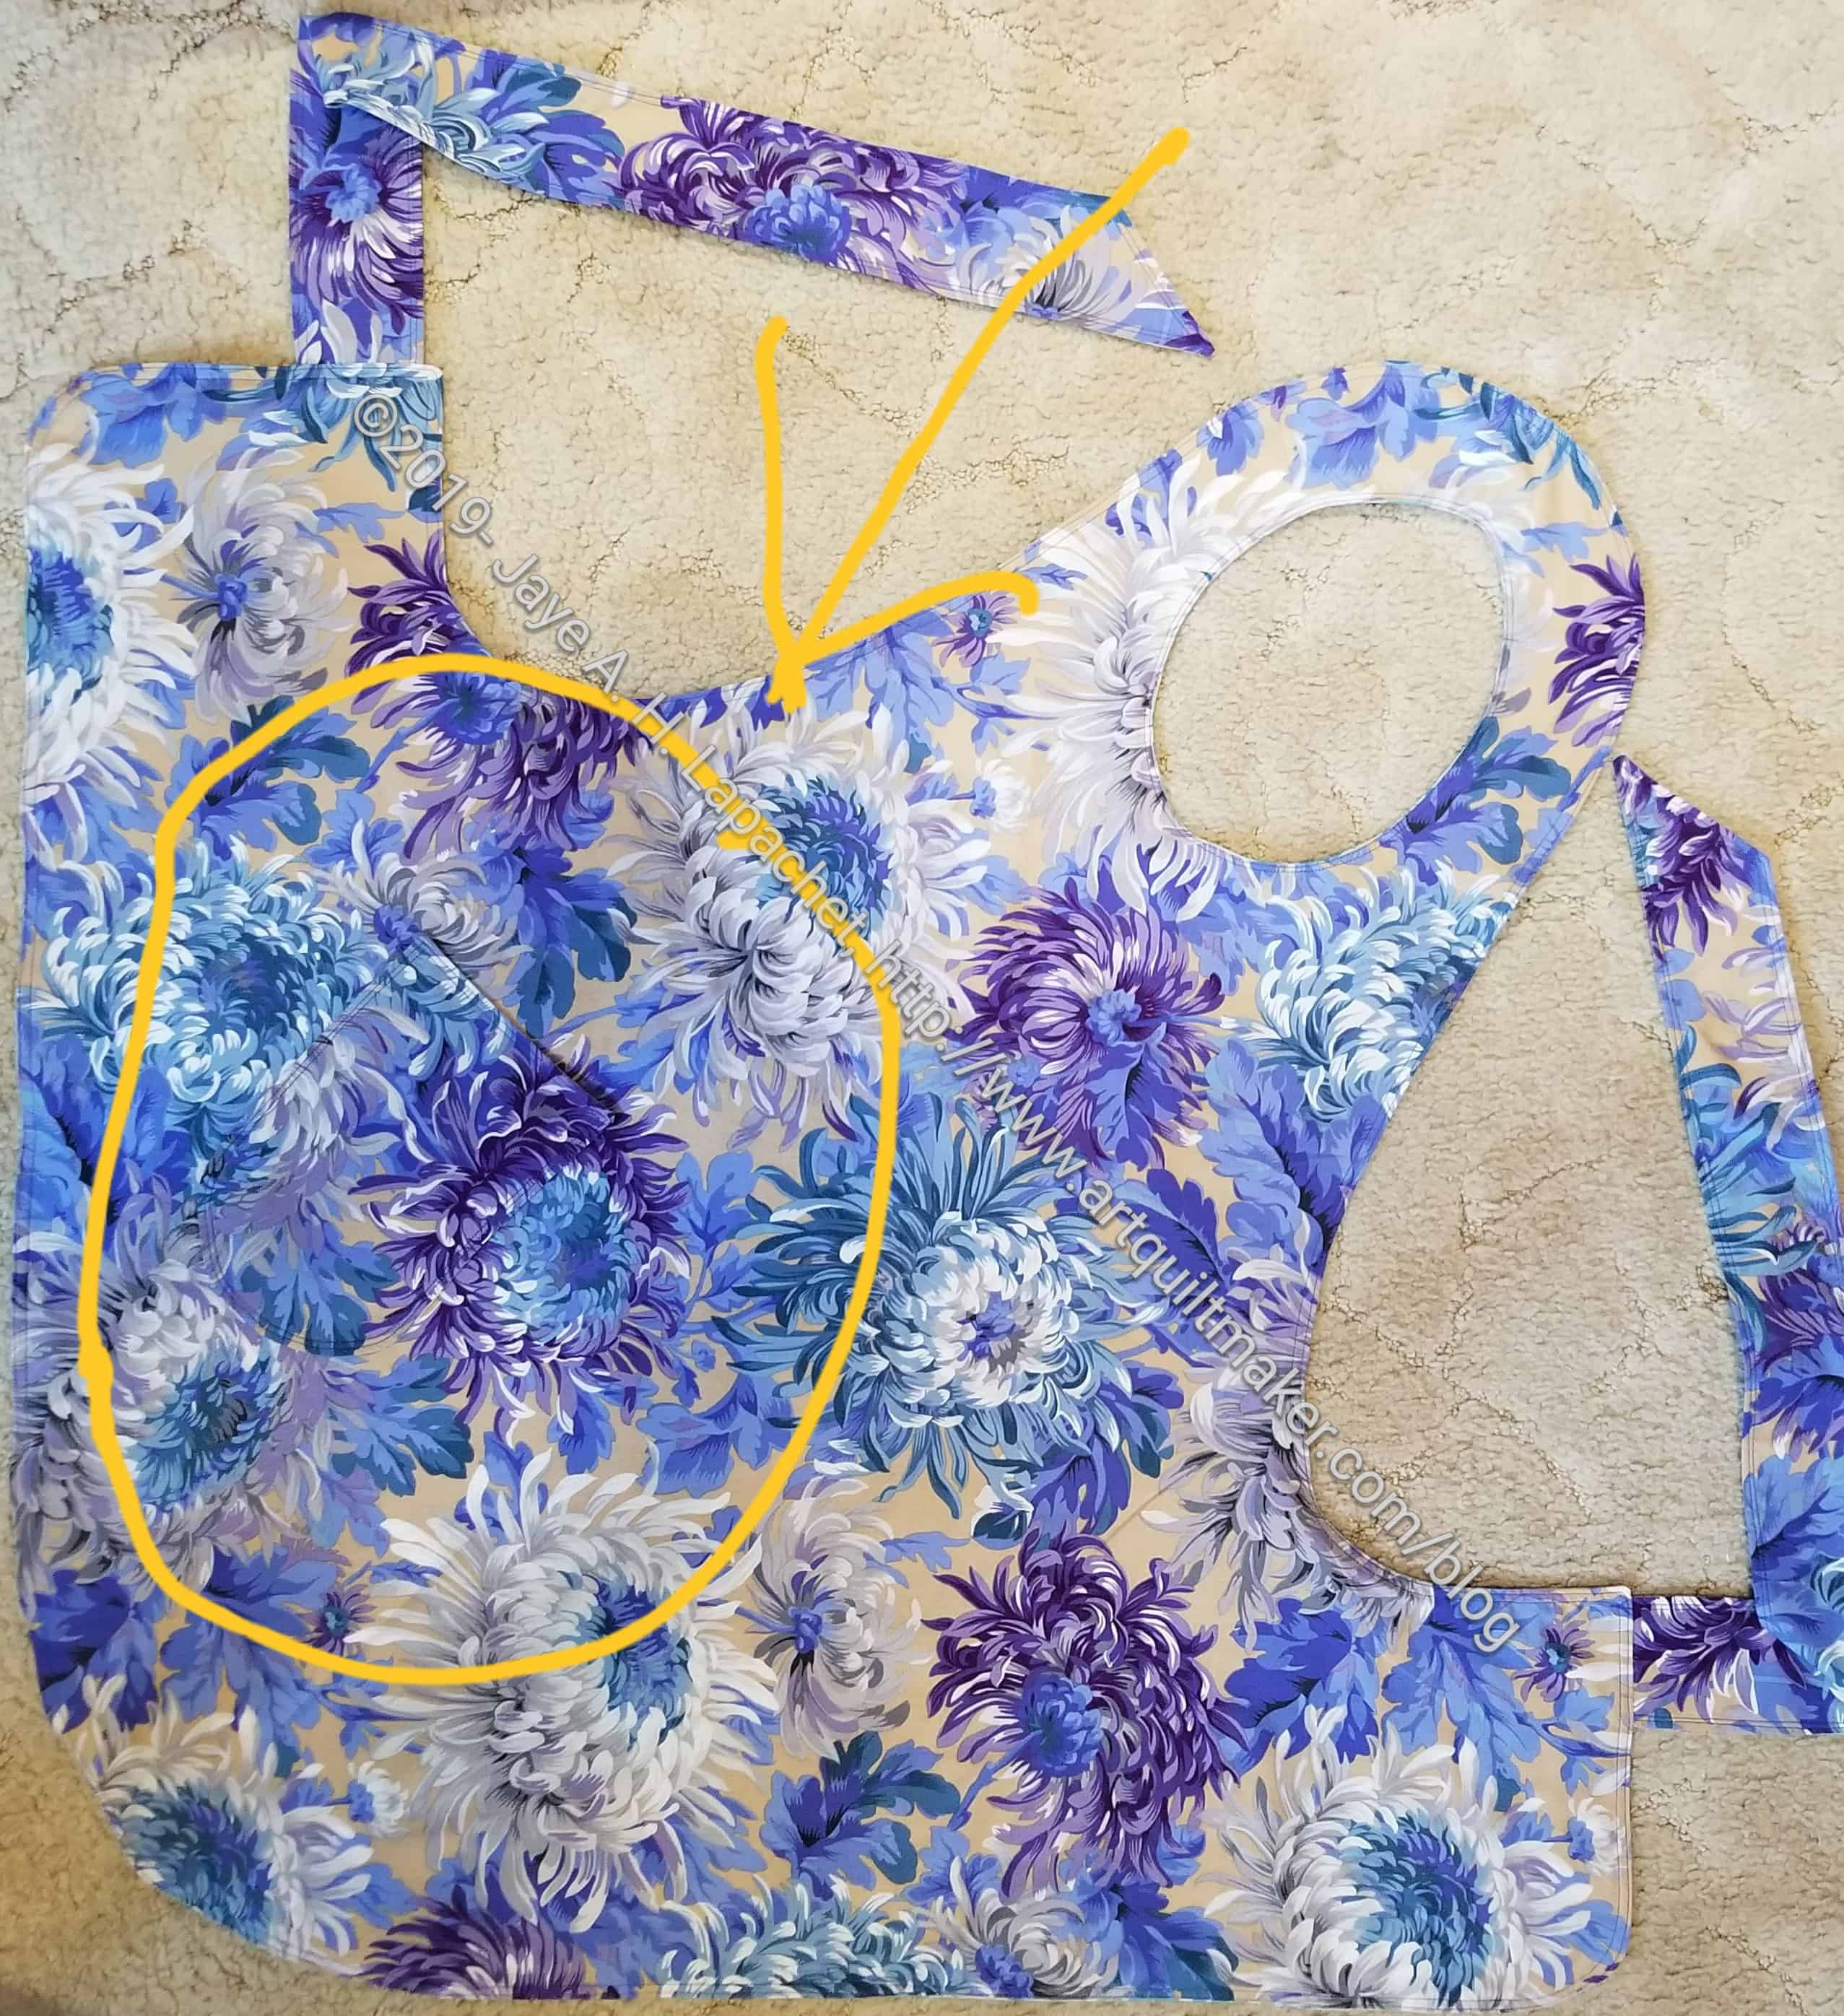
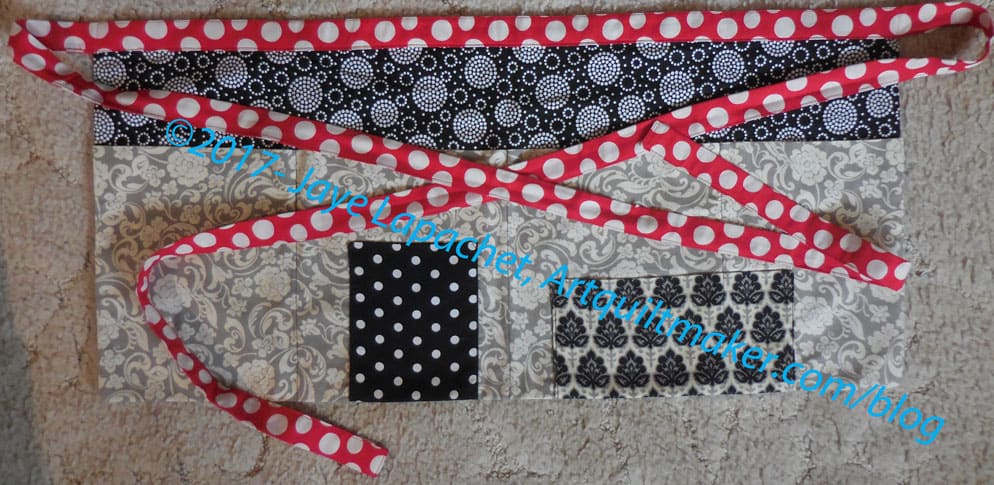
On the Church Ladies apron that I made before and use almost every day, I interfaced all the parts, so it has a bit of heft (stiffness??) to it. Some parts are too stiff. On this Flapper apron, I only interfaced the pocket, so my phone wouldn’t fall out. I am now concerned that I should have interfaced more of it, perhaps with a lighter interfacing than the ShapeFlex I normally use? It feels a little lightweight to me and not able to protect my clothes from wet splashes and drips. (Yes, this is pretty, but I intend to use my aprons)

Flapper Apron - inside
Flapper Apron – inside

I am kind of sorry I used this great fabric to make the first one, a sort of test, but I firmly believe I should use my good fabric. I also firmly believe there is more fabric, so I suppose I have more fabric I love and can make another apron if this one isn’t up to par.

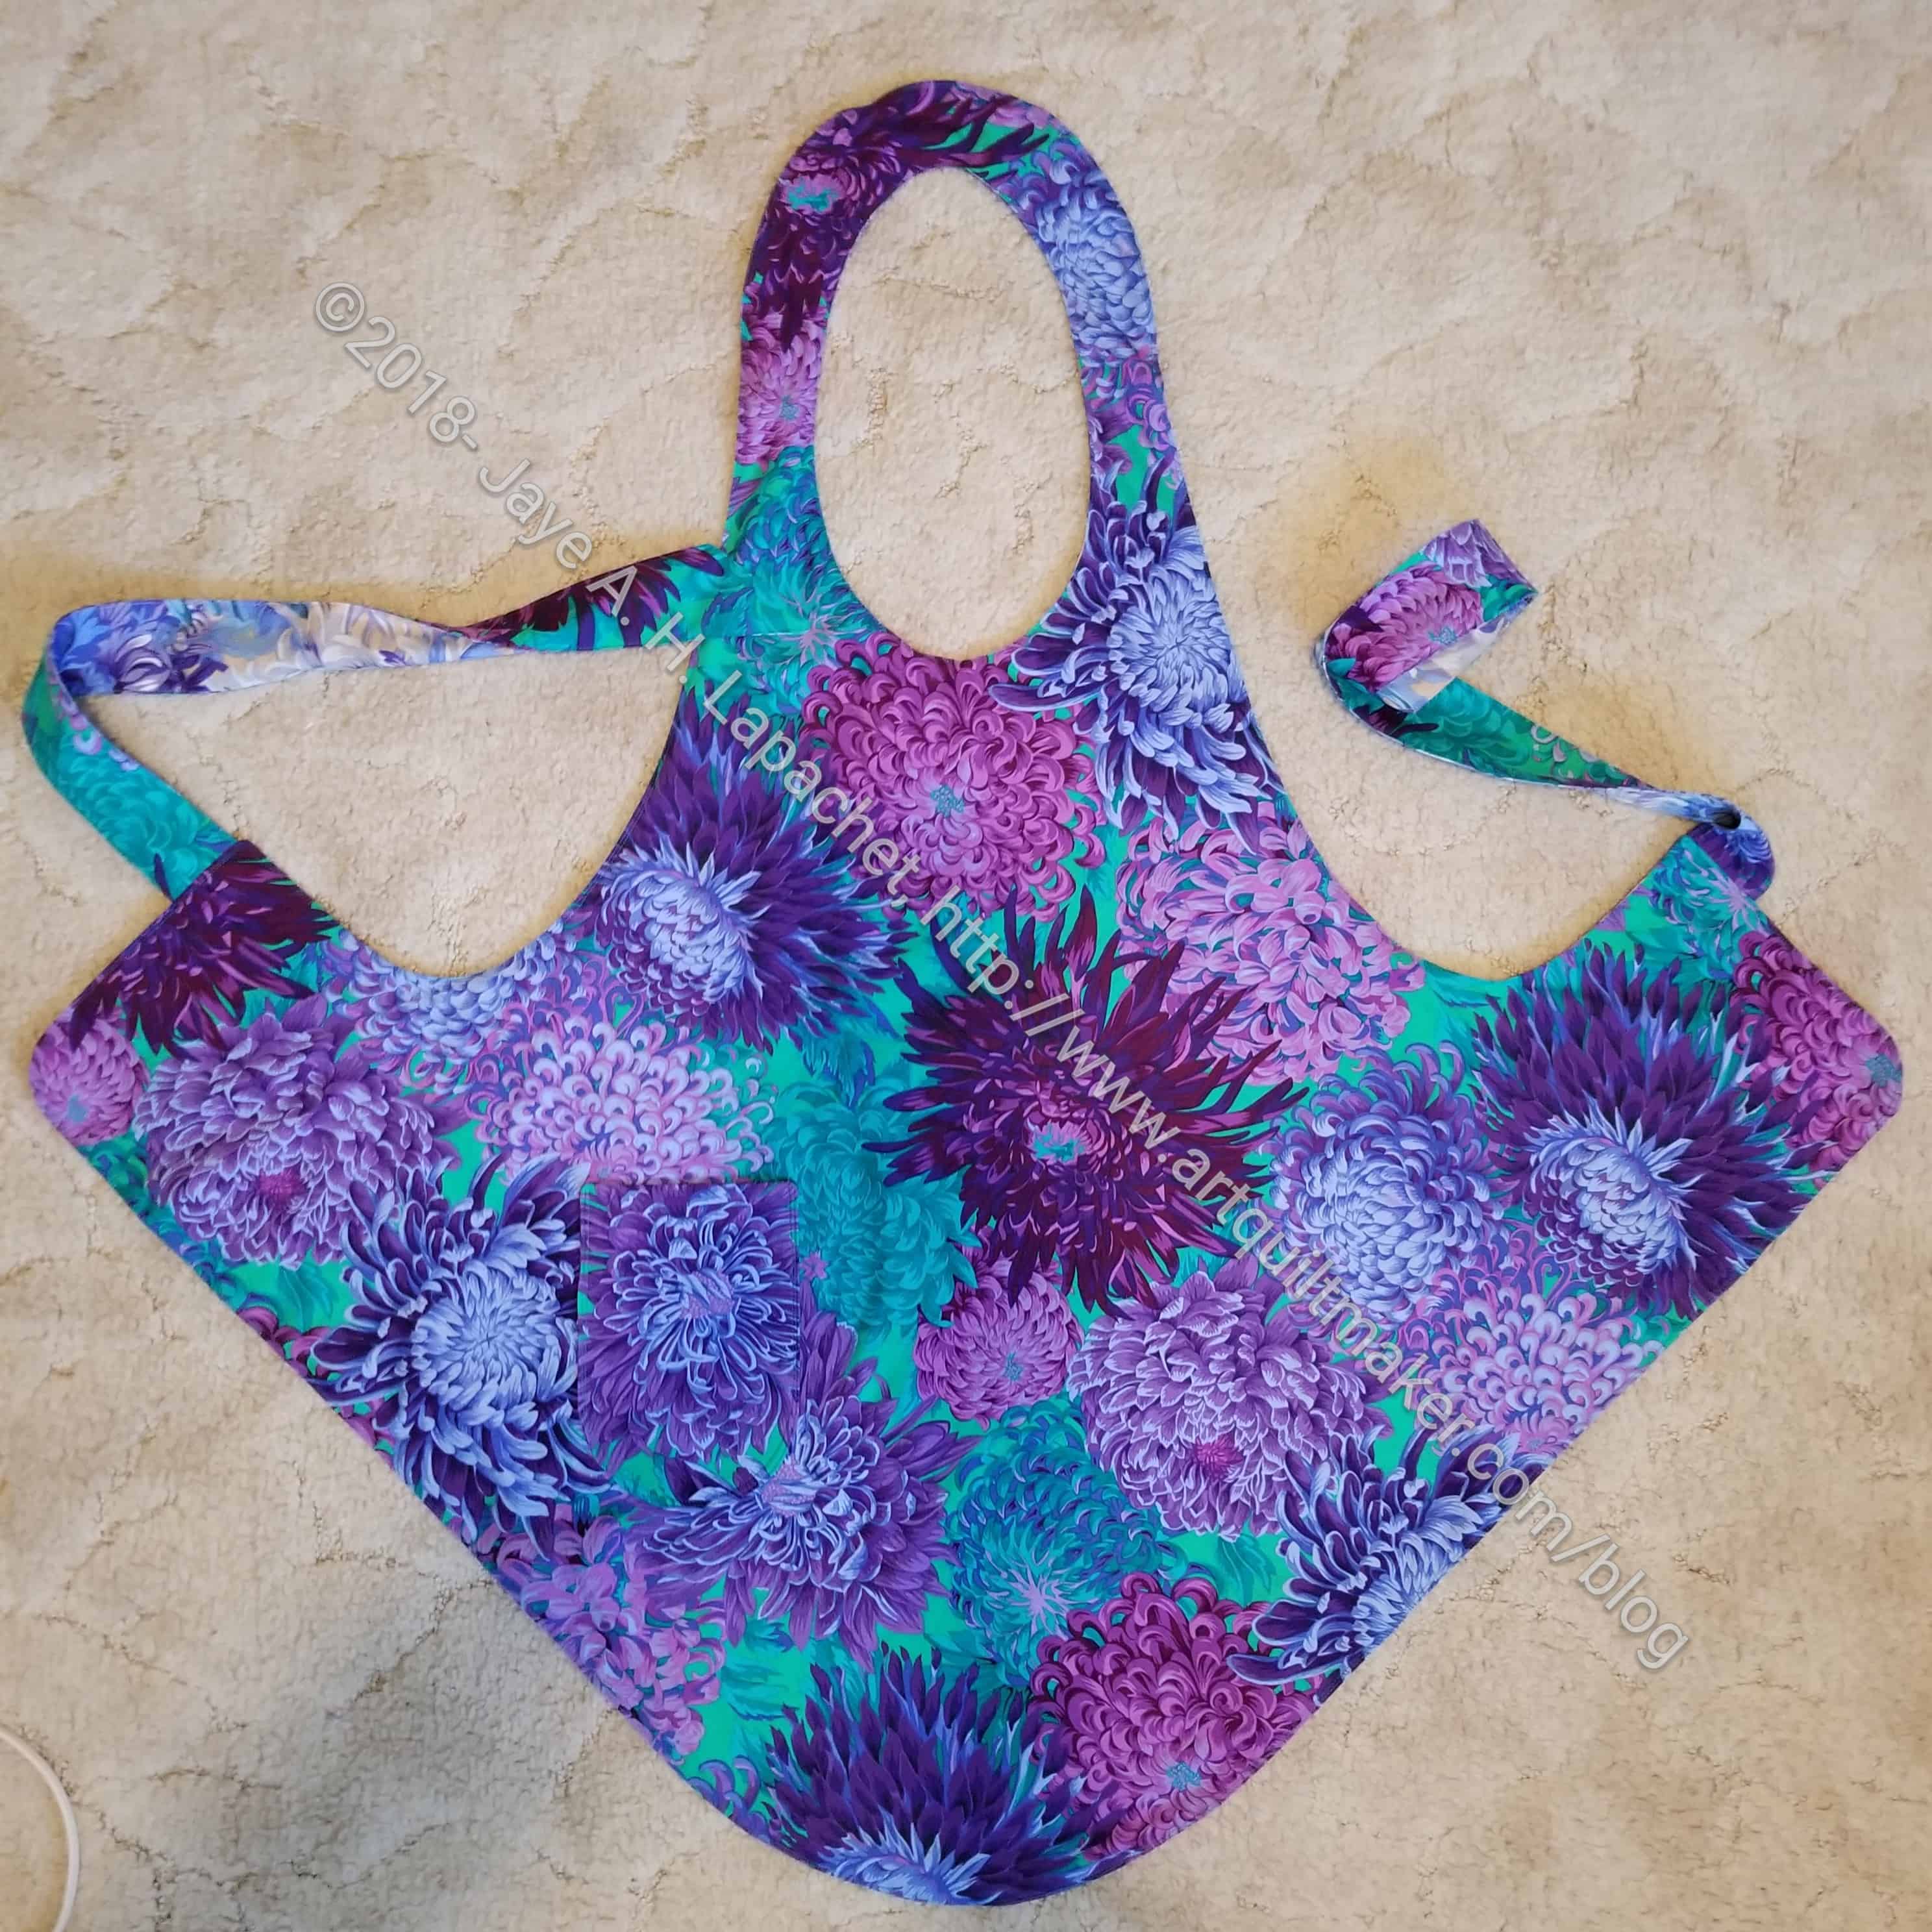
This is two sided, so I can turn the inside to the outside if I want. I put one pocket on both sides. I only need a pocket for my phone as I don’t put spoons and other kitchen gear in my apron pockets.

The other thing I need to think about is the neck. I thought I didn’t need to adjust the circle for the neck, but I like my aprons to cover almost up to my neck. In this case, the top of the body of the apron falls below that. I think this is a case in which I should have had SIL#2 help me do the fitting.

This apron was not difficult to make and I like that you use 1 yard of fabric (though I bought 1/25 yards and that gave me some room to maneuver) and is cut on the bias. I was able to finish it in a few hours during one day. I did make some changes to the construction based on my recent experience making the Superheroine apron.

Superhero(ine) Apron

Superheroine apron
Superheroine apron

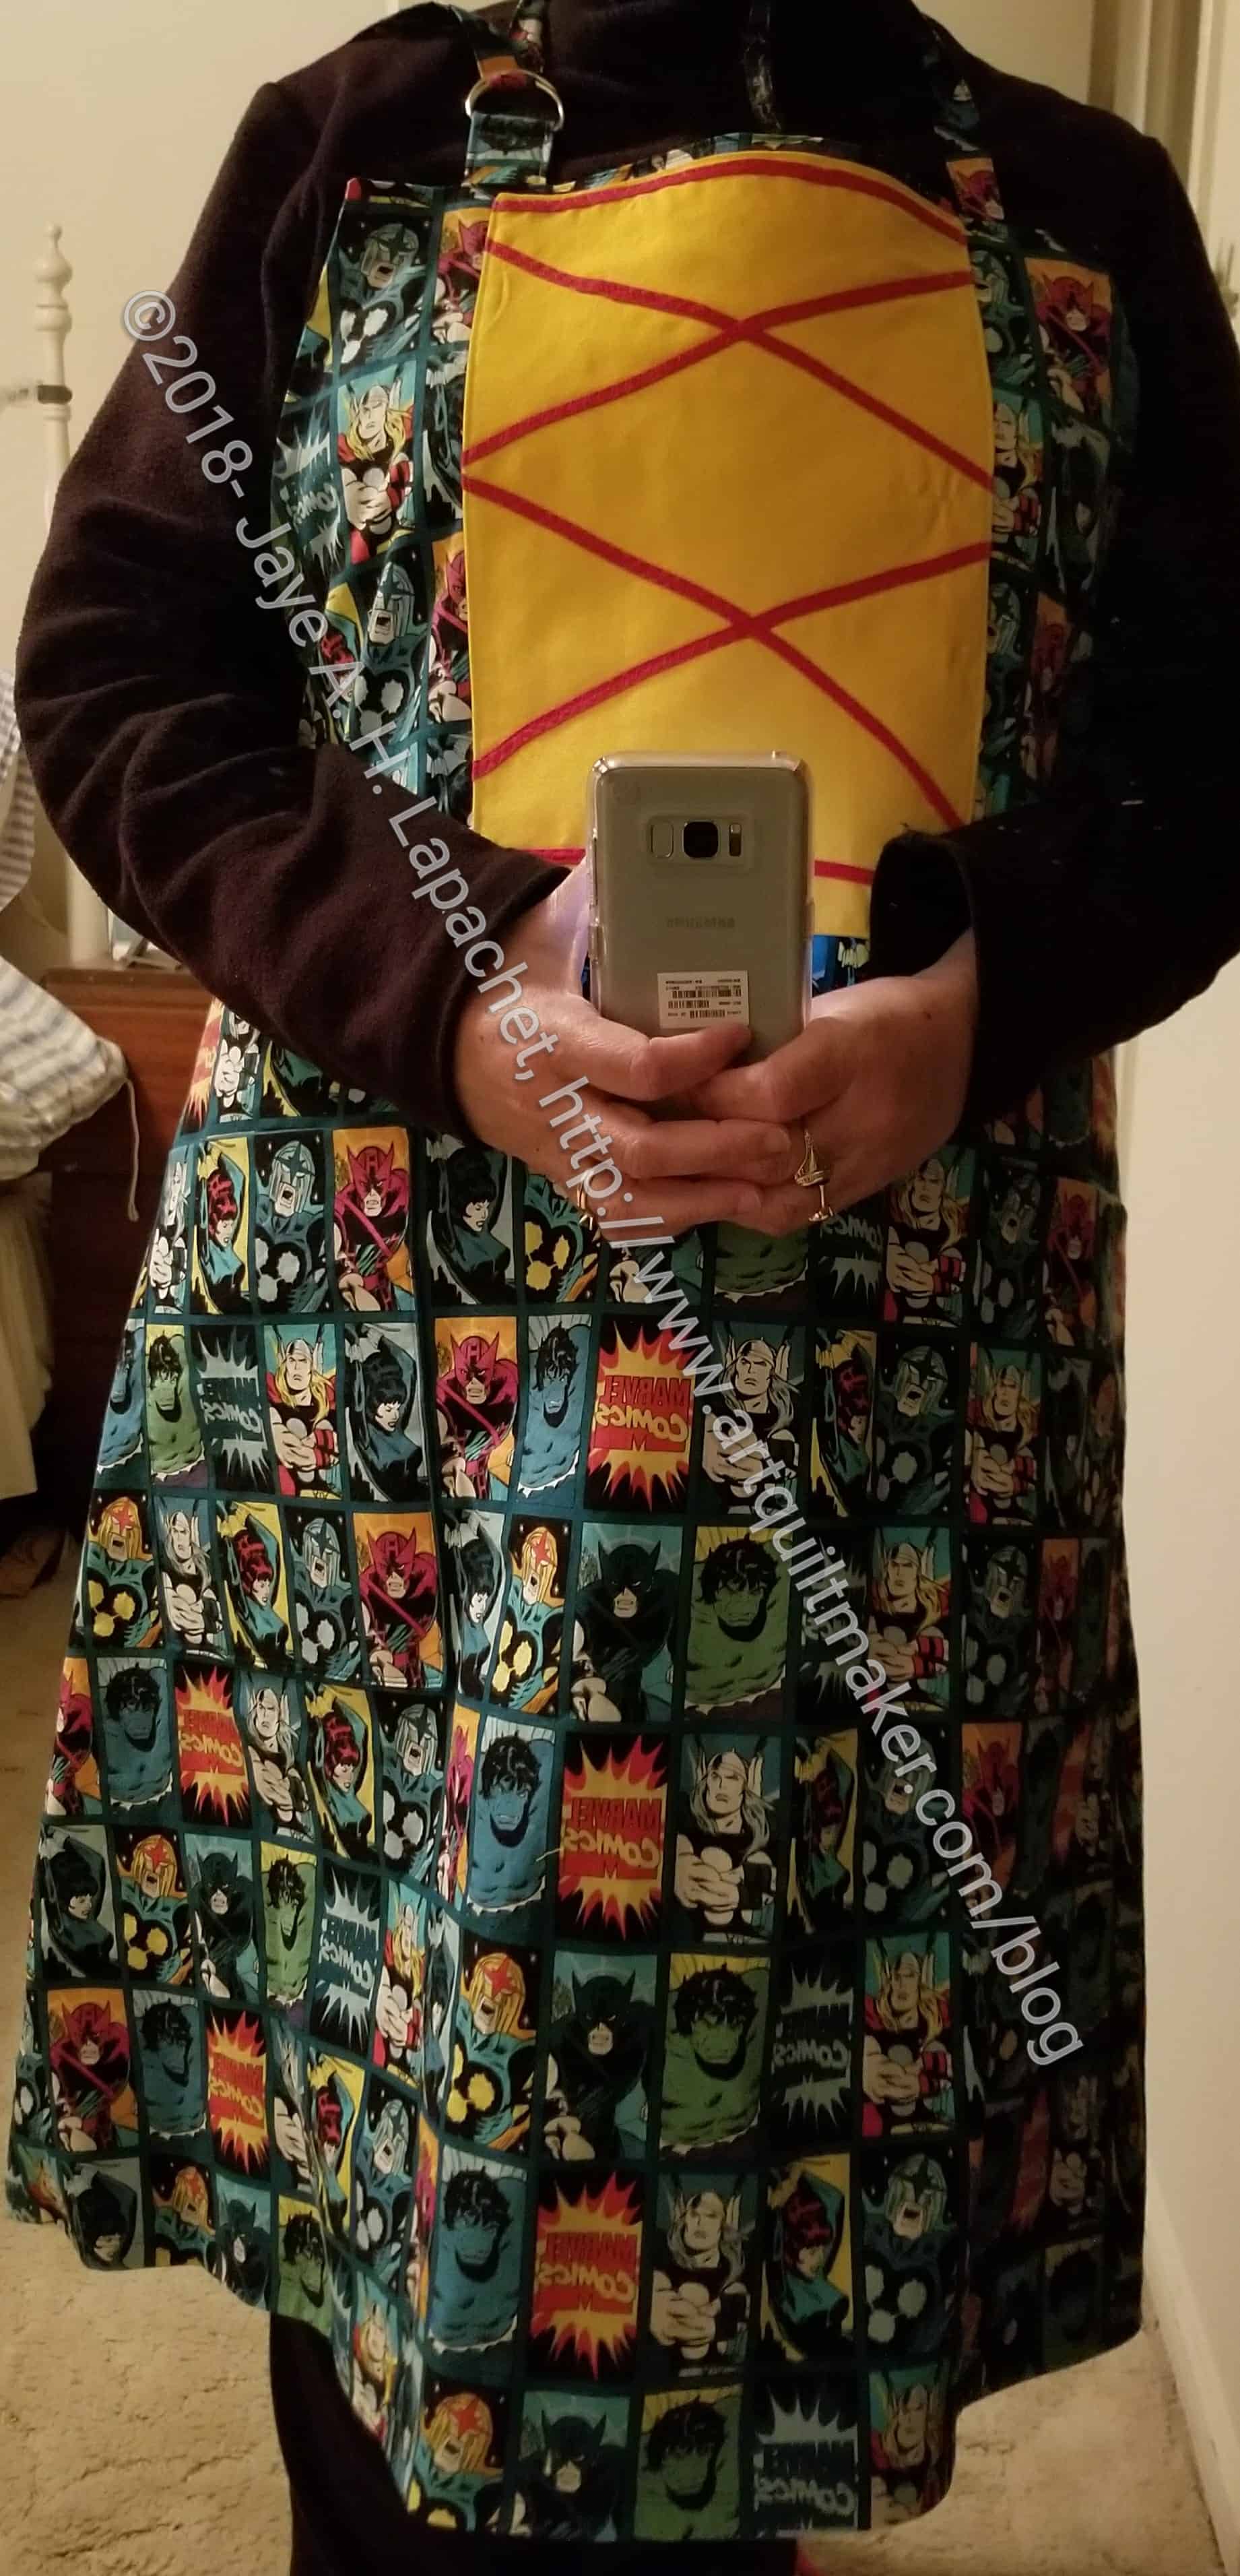
The Superheroine apron is done. This, however is a project that has to be shown at guild, then shown at the fair before it can go to its intended recipient.

As mentioned previously, I had all the pieces cut out. I had started to do little bits and bobs, but Friday, I worked on it in earnest and, shockingly, I got it done.

I was sort of surprised to see how much of me was covered when I tried on the apron. My niece is a bigger girl than me, so I think it will fit just fine.

Superheroine apron - laceup front
Superheroine apron – laceup front

The yellow is an addition that I made that is supposed to look like a lace up front. I am not sure it does, but at least I tried.

I had to recut several pieces, because they weren’t right after I decided to add a D ring at the top. I also made the apron lined by cutting out two body pieces and sewing the RST.

I talked to Mary and then looked up how to make D Rings work on the web. I wanted the neck to be adjustable, so the apron is comfortable.

YAY! Another must-do off the list! Now I am tempted to make the Decades of Style Flapper Apron I bought when I was out with Amanda last time. I want to make them for gifts and now would be a good time. I’d also use A LOT of fabric. We’ll see.

Superhero Apron

Superhero Apron in process

ColorPlay and the Creative Spark will return soon!

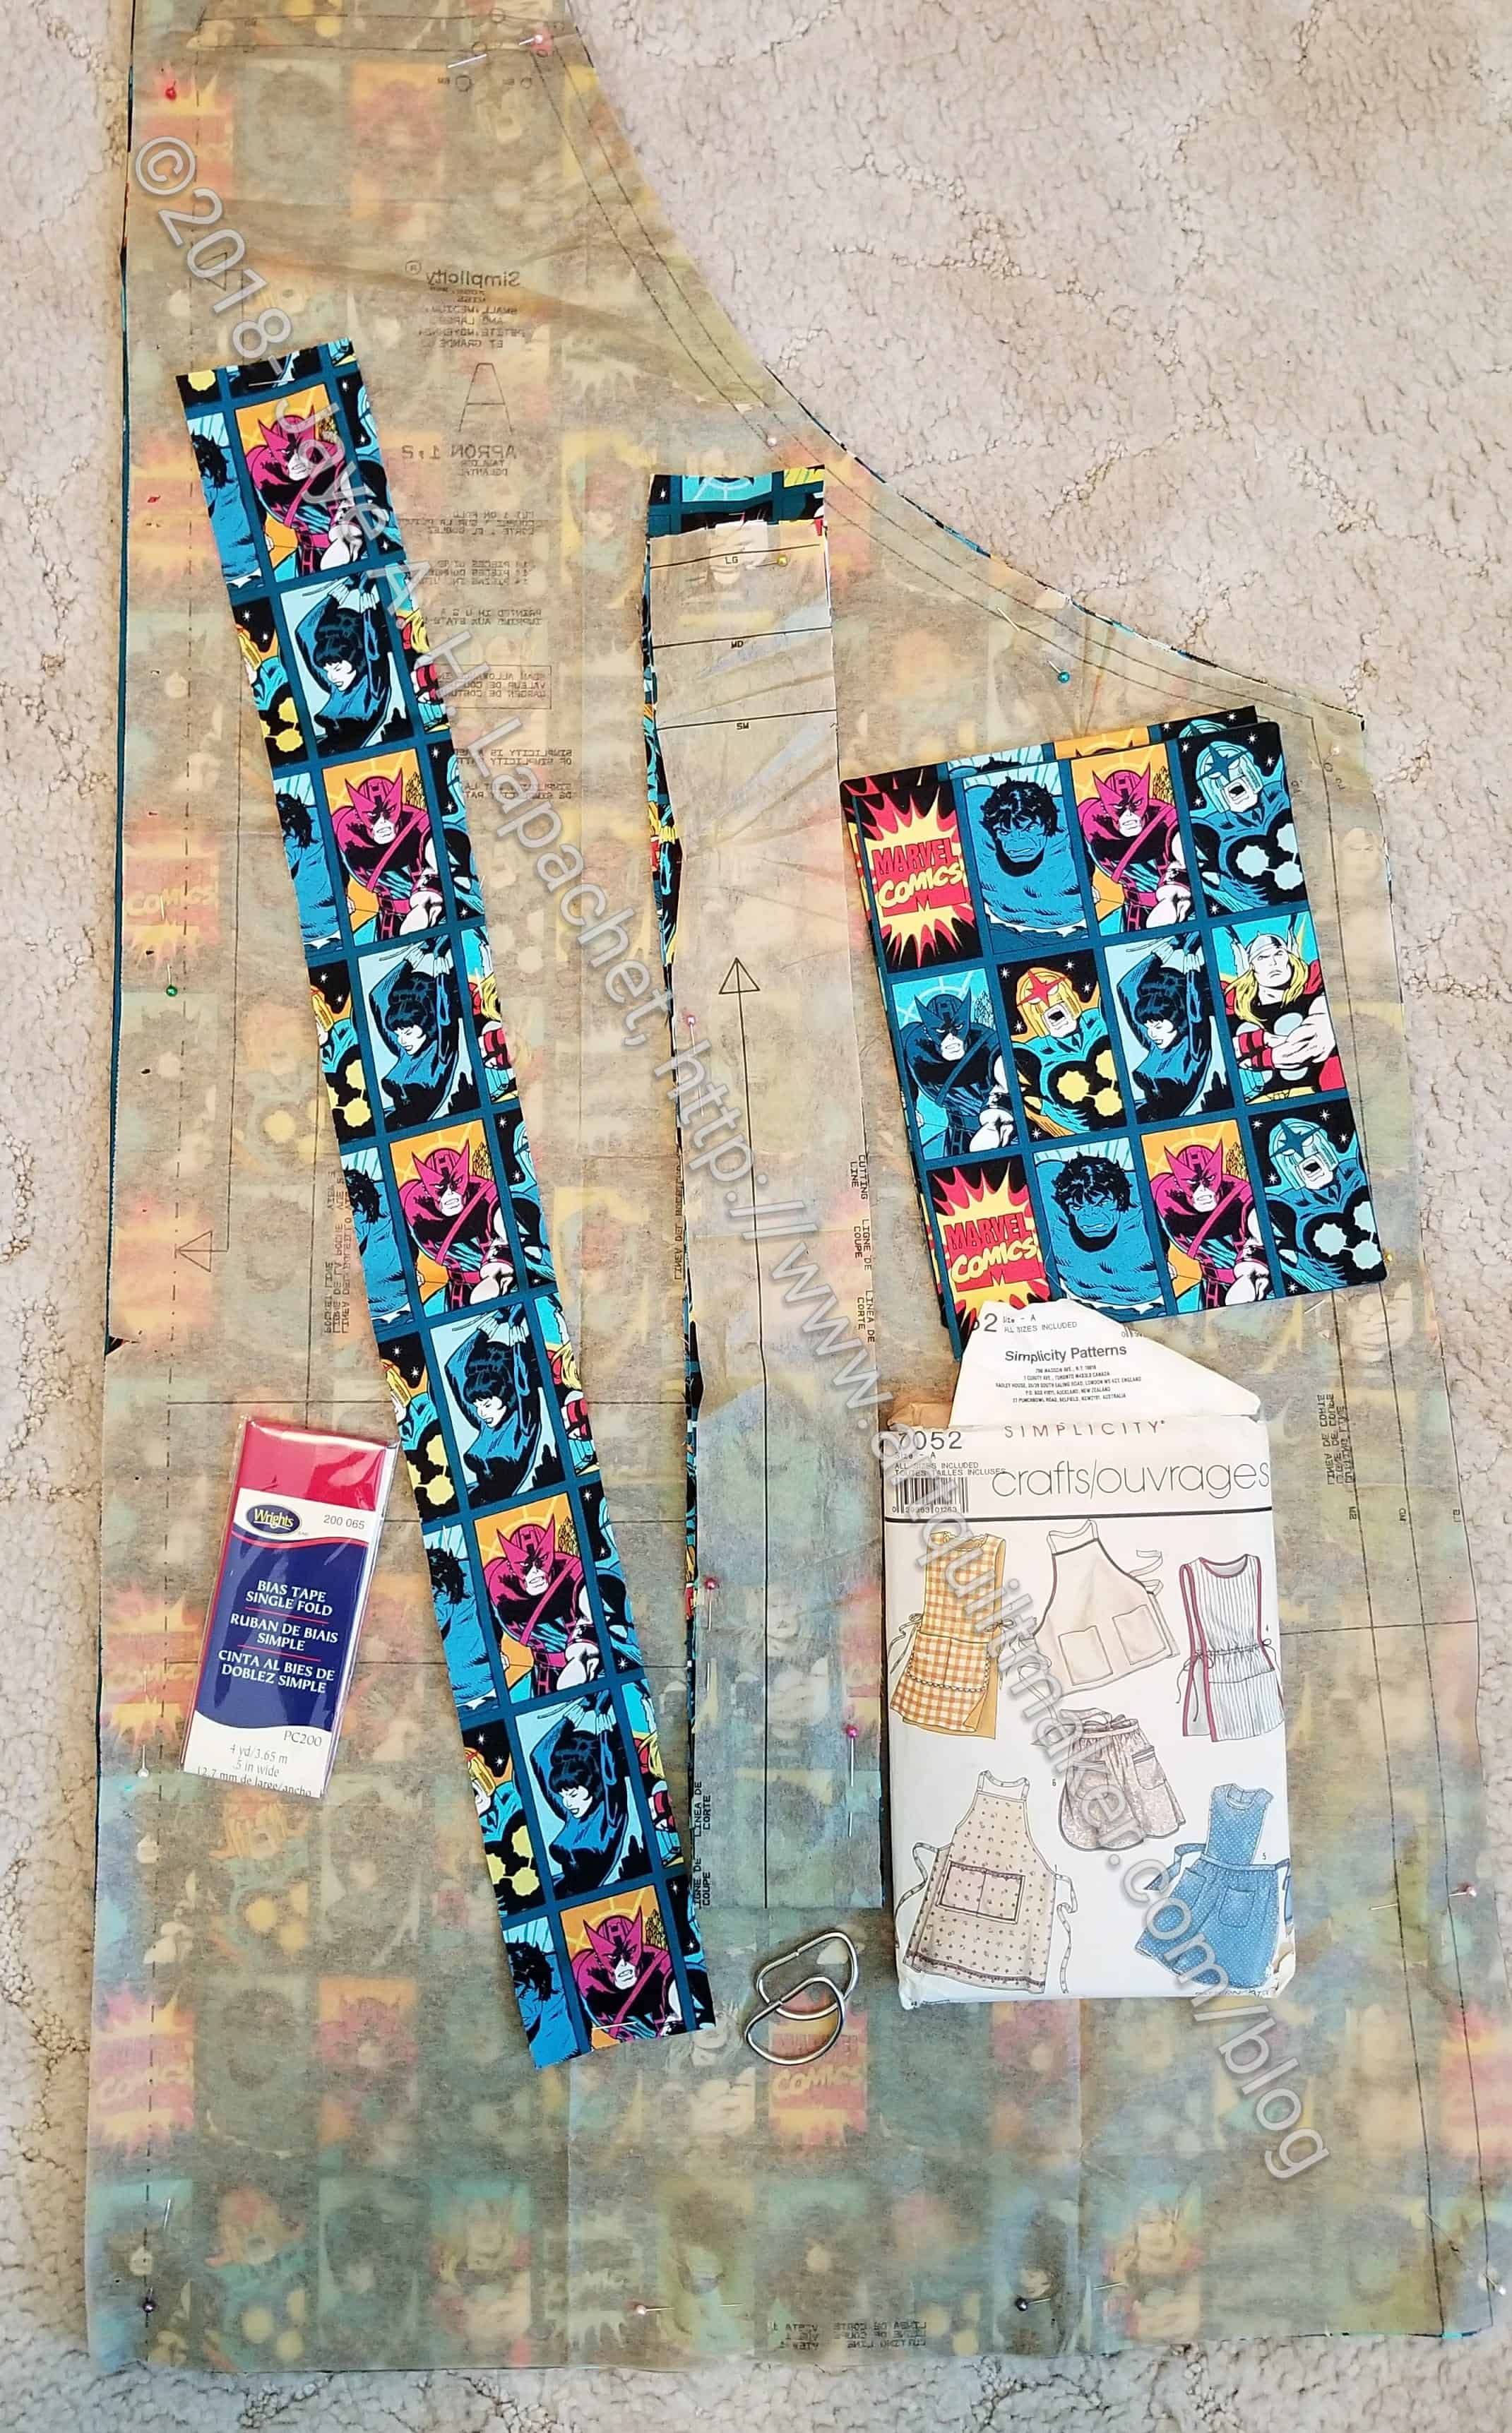
I finally cut out the apron I had in mind for one of my nieces. Not great progress, but a start. The pattern is an old Simplicity pattern. I think I bought it for a sewing class I took after I graduated from college. I noticed the price of the pattern was $3.95, so it had to be a few years ago. 😉

I making a few modifications, but have consulted with Mary about most of them, so I feel pretty confident.

I haven’t done the yellow or the lacing yet, which will accent below the neck. I was inspired by a dress I saw at Bay Quilts. I will get that part together soon.

Superhero apron pockets

I also made pockets. These are a little different than those called for by the pattern. I measured my phone and made pockets from a combination of the size of my phone and the pattern on the fabric.

I have to be happy with the small amount of progress.

Starting a Shirt

Cal Shirt Start
Cal Shirt Start

I started another shirt. The last one I made was the California shirt I entered into the San Mateo County Fair.

Like many of my quilts, I think these shirts are part of a series. The California shirt from last year is the best yet. The judges weren’t 100% happy with my entry and they were correct. I needed to finish the seams. This failure has been on my mind. A series of events made me decide to make DH a Cal shirt. He says he has enough button down casual type shirts, but he is getting this one anyway.

I had some Cal fabric that I used for various things, but I bought some more at PIQF. It turned out that when I cut out the shirt on Monday, I had enough from my previous purchase to cut the pieces.

I also decided that I would use some dark blue solid on the shirt so that motifs would stand out. I didn’t want the overall effect to be too chaotic.

The cutting went really well. I modified the pattern last time and that took a lot of time. I didn’t have to do that this time, so I was able to cut out the shirt and fuse interfacing to the front of the shirt all during Craft Night. I still need to fuse some ShapeFlex to the pocket to keep it from being floopy.


Cafe Apron Returns and Leaves

You might remember the Amanda Jane Cafe Apron? I made 3 or 4 of them and sent them off to new homes.

Lil Sissy's Cafe Apron Repaired
Lil Sissy’s Cafe Apron Repaired

Apparently, my sister loves hers and uses it at her art shows. She ripped a few seams so when I went to visit the YM she gave it back to me to fix. I have been working diligently on the art quilt, so it took me a few weeks to get to it. I took a break from the art quilt and did some piecing. One of the other things I did was fix Lil Sissy’s cafe apron.

I reinforced seams, which I am shocked I didn’t do before. I also backstitched some seams that I thought would get stressed. My sister was very good natured about it and I appreciated that.

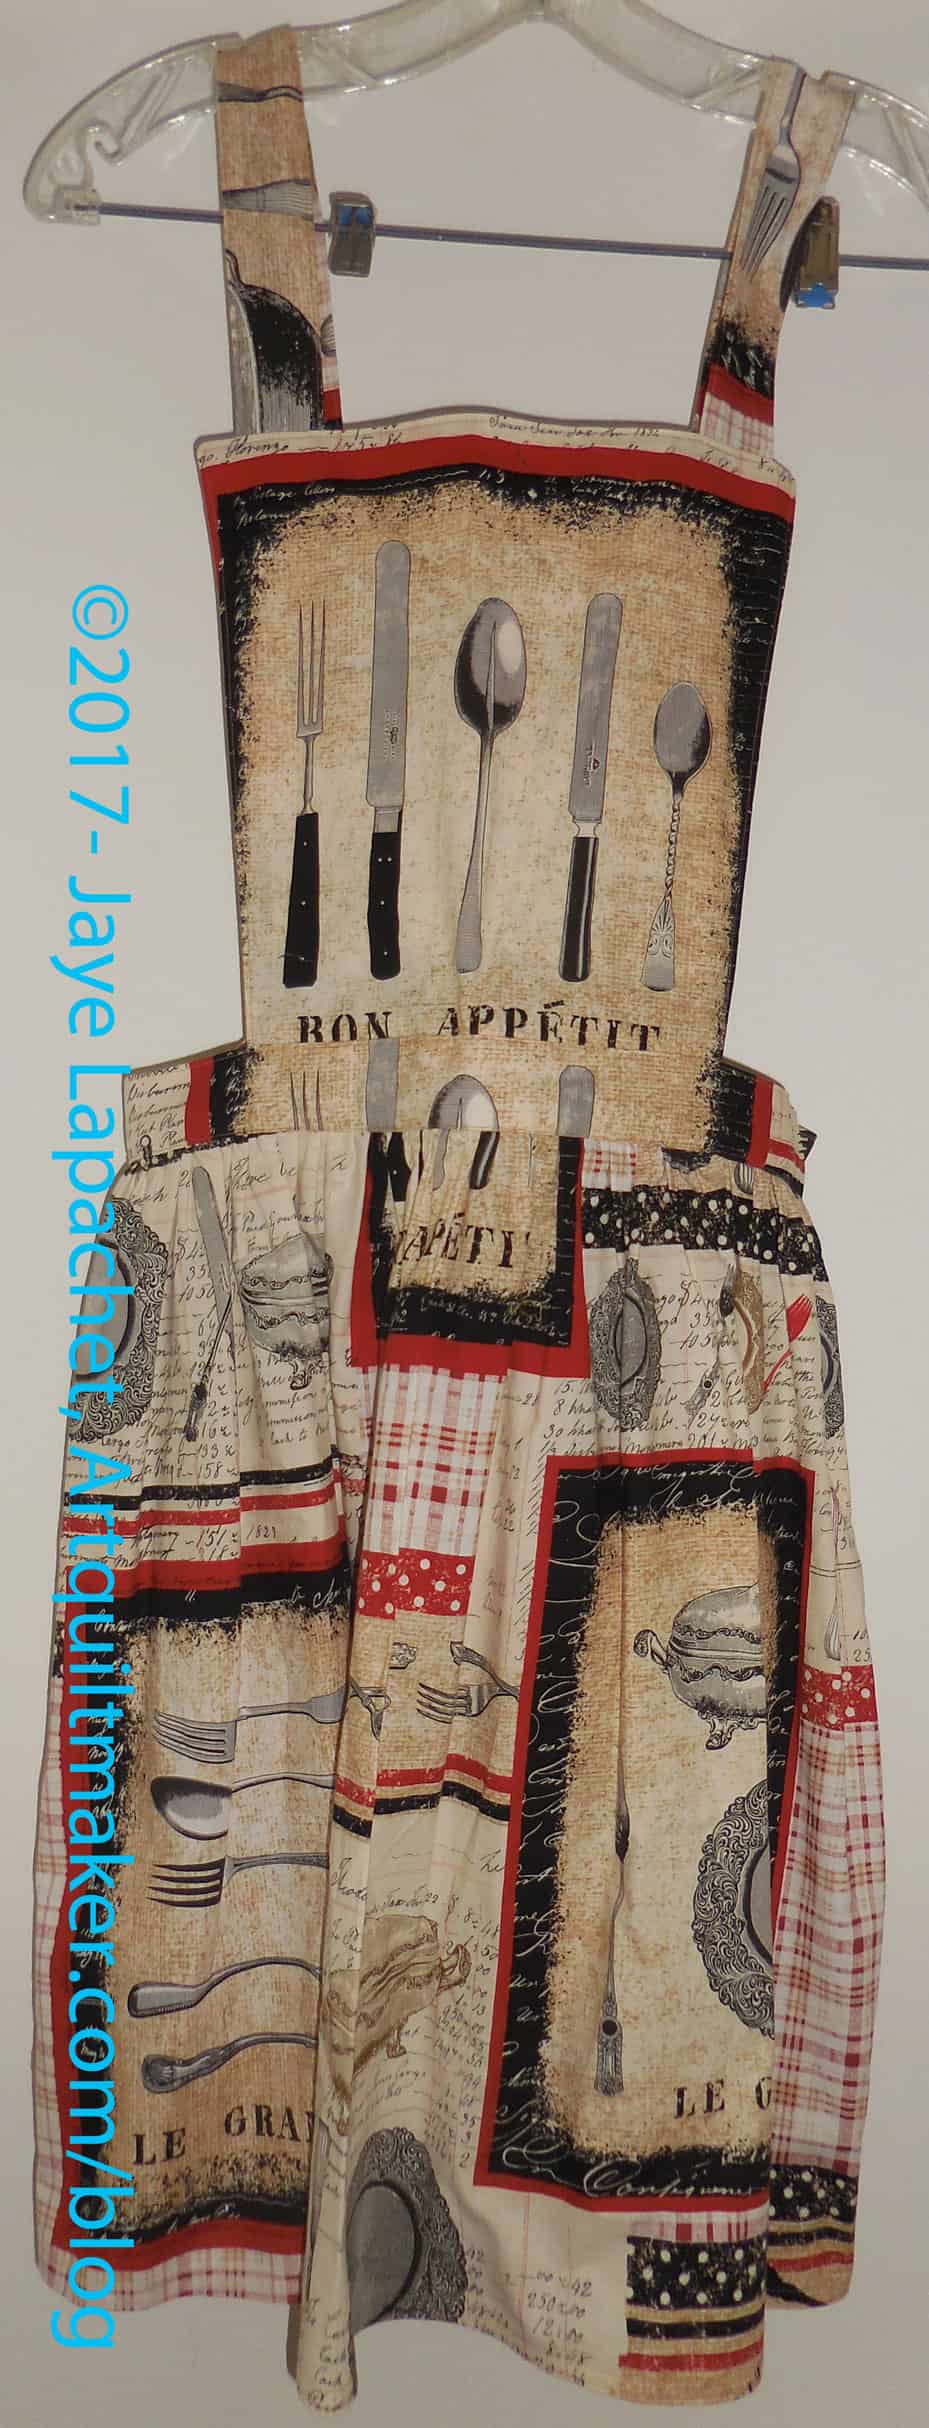
Finished: Apron (FINALLY)

Apron Front
Apron Front

I finished this apron months ago and for some reason could never get myself together to take a photo. I finally gave myself a good talking to and got it done.

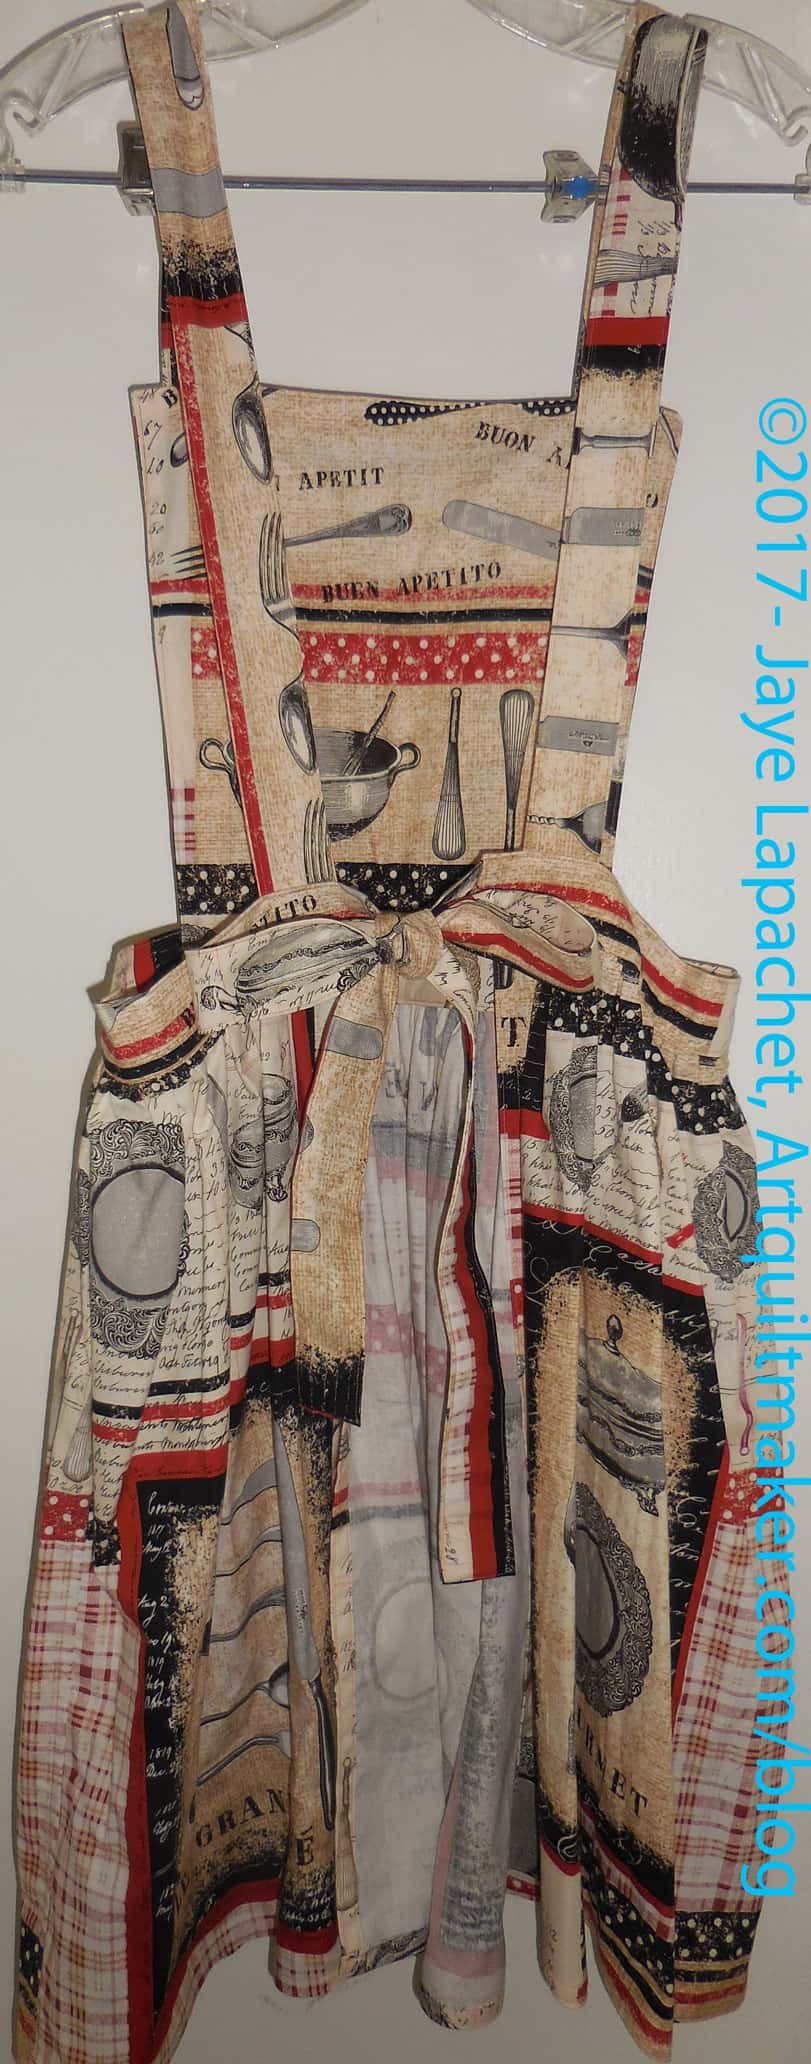
Apron Back
Apron Back

It is still in relatively pristine condition because I haven’t used it. I am saving it to enter in the San Mateo County Fair. SIL and I are trying to enter a number of projects so we can beef up the display area. If you are in the area, please enter something!

After not looking at it for months, I wish the colors had been different. I am not big on that beige or the rust. I really like the motifs and am really happy with the fussy cutting I did.

I had a lot of help with this piece. Kelly helped me cut it out about a thousand years ago and Mom helped me with the gathering, which was just about the last thing I needed to do to finish it.

I decided yesterday that I would give this apron to one of my nieces who needs an apron. I told her she wouldn’t get it until after it is exhibited at the Fair.

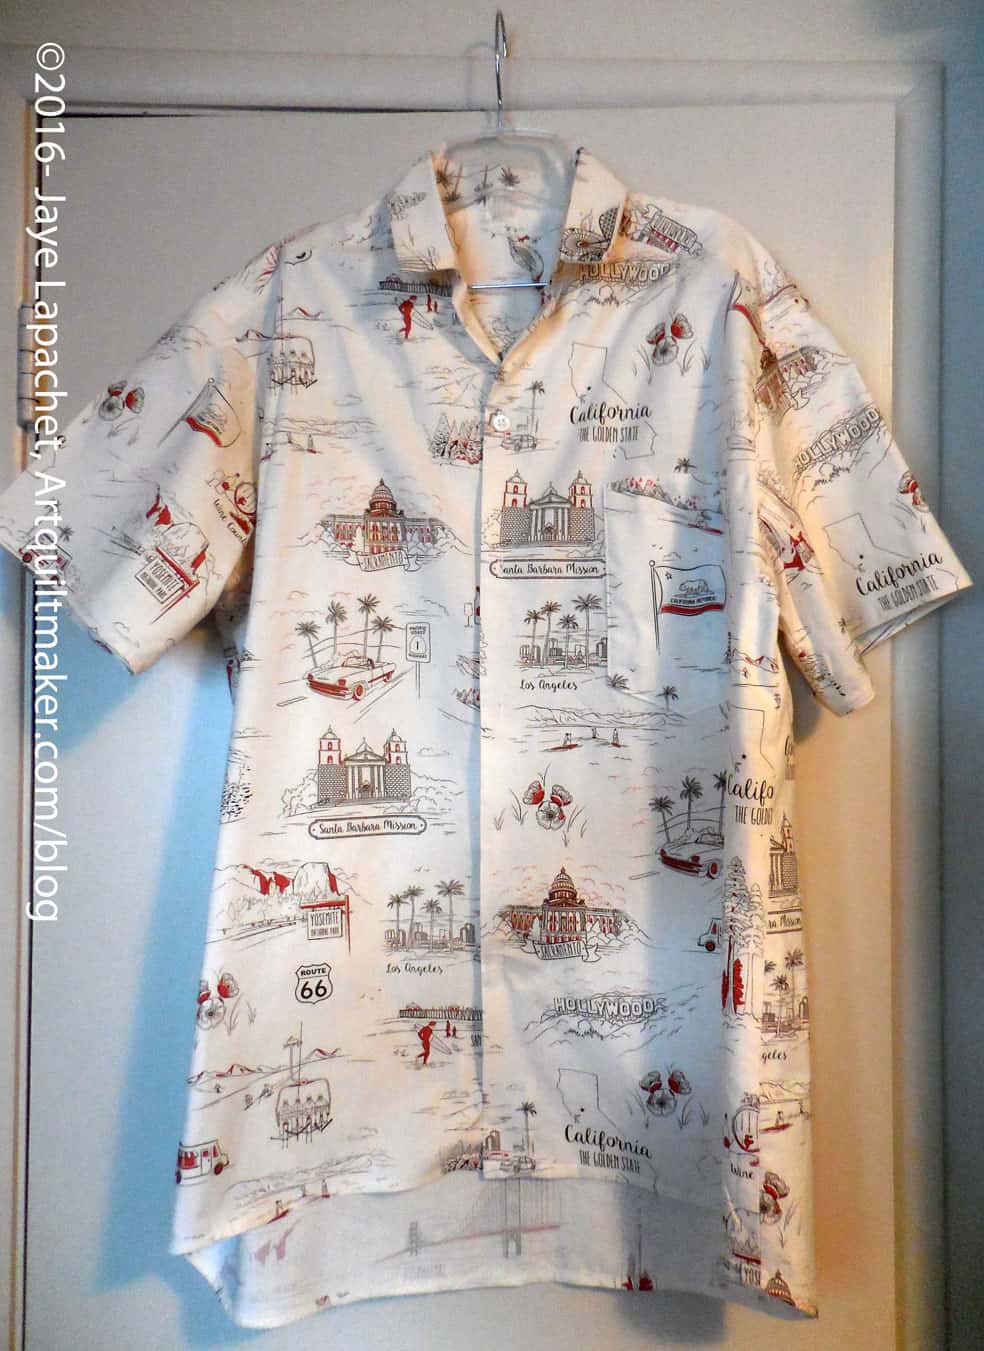
California Shirt detail

California Shirt
California Shirt

The other day I talked about the shirt I made for DH for Christmas.

I  decided I wanted to talk a little more about the details. The motifs lend themselves to fussy cutting and where I could I tried to use that technique to make the shirt more special.

It didn’t always work out. I cut out the collar with the state capital beautifully centered and realized that it would come out upside down. Oh well.

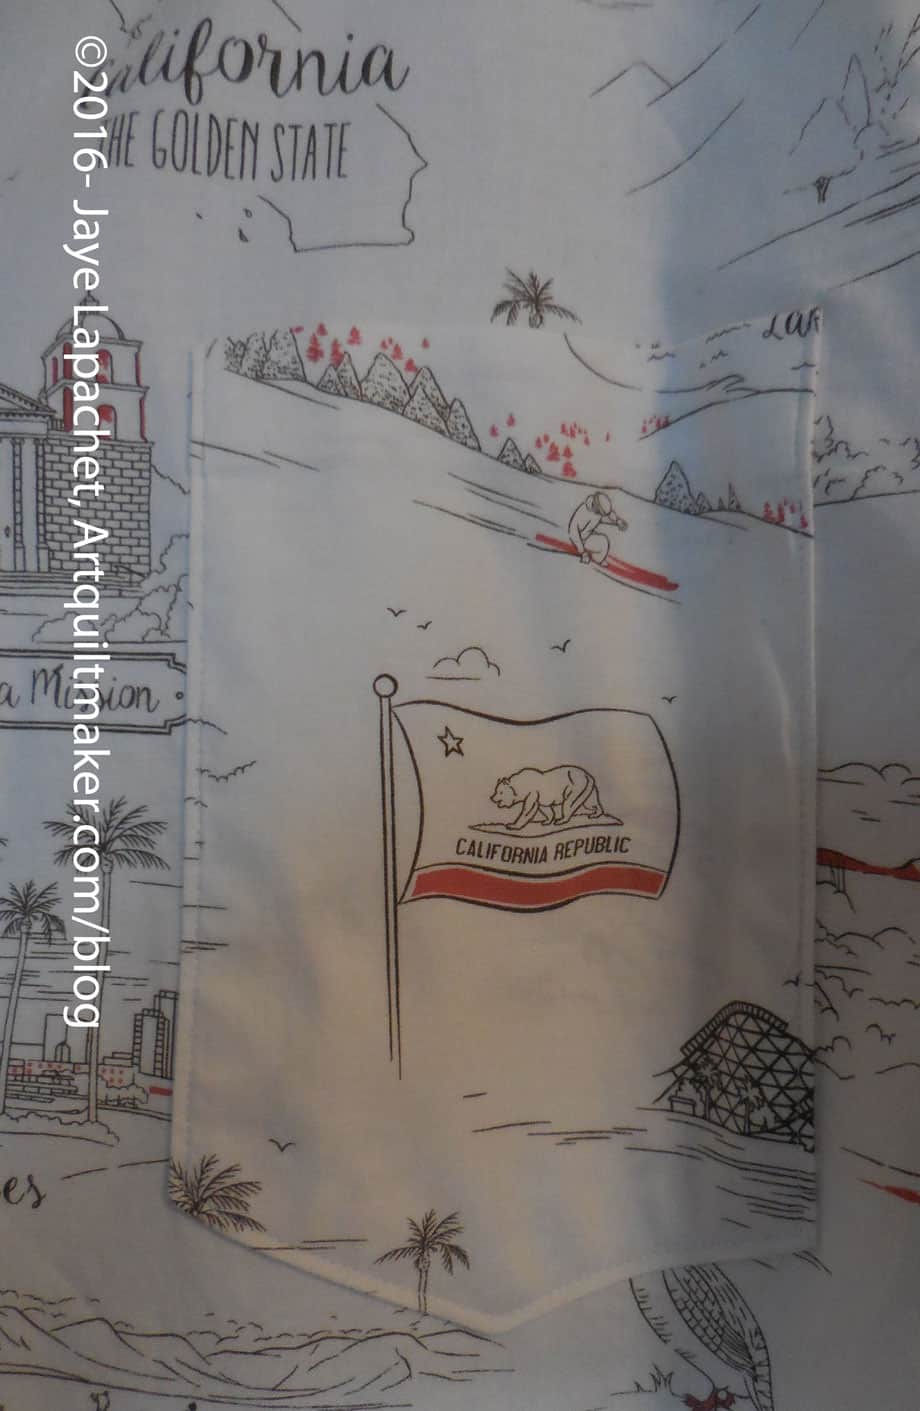
California Shirt n.3 detail

I did succeed on the pocket. I wanted to make the pocket larger since he has a larger cell phone now. Larger pockets can be floopy so I lined the pocket with ShapeFlex to give it some bulk and make it stronger. Pockets aren’t that large so I was able to find a scrap that worked really well. The flag will draw some attention from the Native Sons.

I have successfully made buttonholes I like at TFQ’s house on her Bernina. I have never figured out how to use the buttonhole foot on my Janome 9000. I did get a lesson on the DC5100 and I knew it wasn’t difficult. I hauled that little machine over to SIL’s (the YM came over and carried it home for me when we finished) and used it to make the buttonholes.

I took a prepared scrap over and did a couple of test runs. The test buttonholes came out beautifully, so I decided to go for it on the shirt.

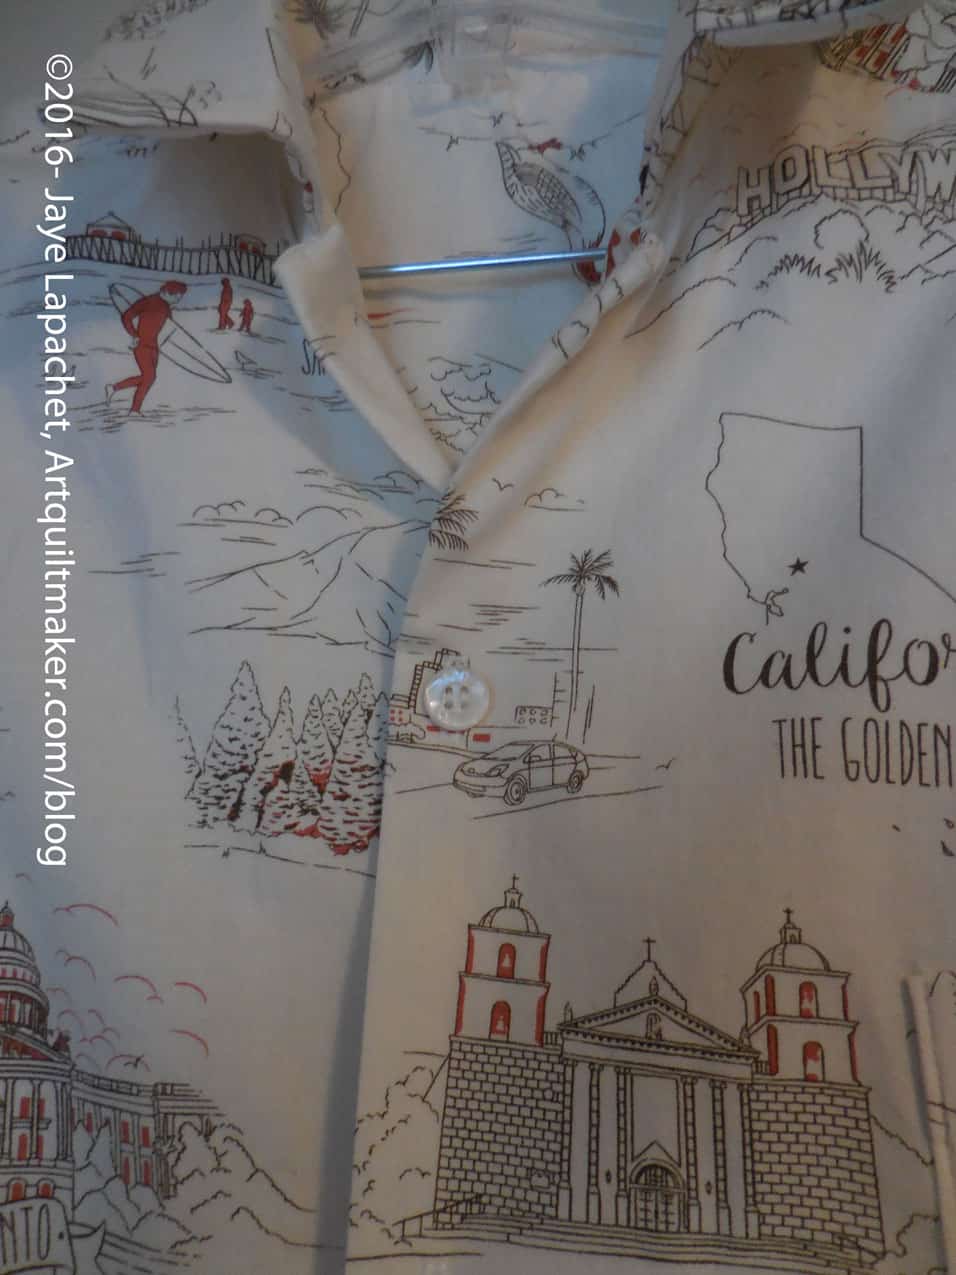
California Shirt button closure

Failure. I got and error message, the start of a buttonhole, then a straight stitch going in the wrong direction. 🙁 SIL said that she needed to make a project with 100 buttonholes in order to feel confident. Very true, for many things, I think.

I eventually made the machine work by turning it off and on again between each buttonhole. It was a pain and I had to reset the settings each time, but I got all of the buttonholes done.

The buttons came out of a jar that TFQ bought for me at Road to California. I really like them and think they fit the look of the shirt very well.

The photo directly above has a great shot of one of the missions on the fabric design.