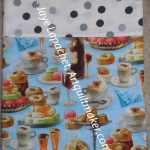
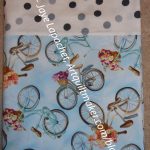
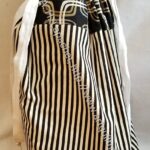
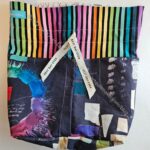
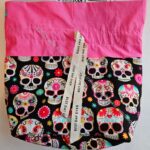
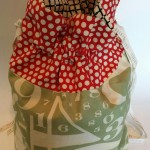
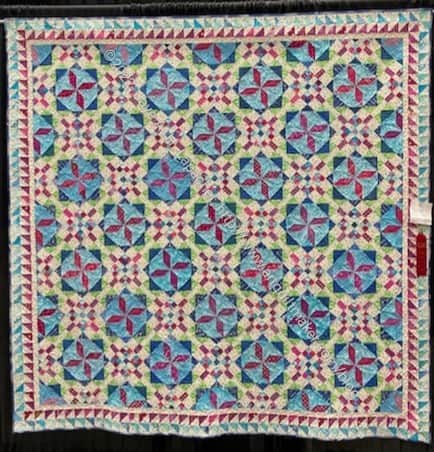
Lil Sissy asked me outright for king sized pillowcases. Apparently, she has giant pillows and the cases I made for her are too small. Initially, I said no, then I found a big piece of turquoise and decided to make some.
These don’t feel as exciting as the other pillowcases I have made for her, but needs must. I have more of the Paris fabric now, so I can make her some more if I find another large piece of fabric to go with it.
My sister is constantly messaging me on IG and FB with cool pouches and great quiltmaking techniques. I finally told her to learn to quilt. LOL!
I do like giving her gifts as she uses them all – well, I have seen her with various pouches and I know she uses the apron and the pillowcases.
Use your gifts! There is always more fabric!
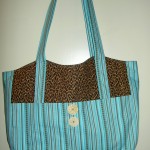
Turquoise Leopard Tote
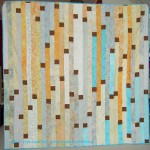
Calm quilt
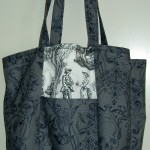
Skull Jane Market Tote for Lil Sissy
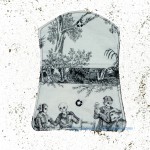
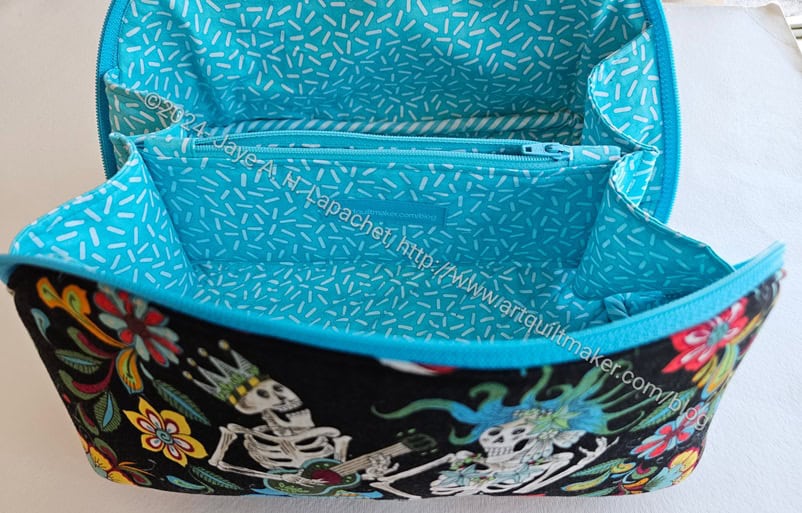
Skull Wallet Open for Lil Sissy
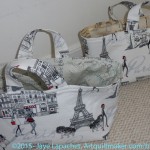
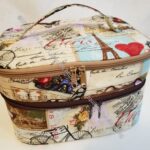
Paris One Hour Baskets
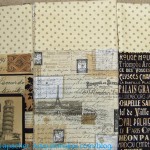
Paris Pillowcases
Le Cafe Pillowcase 2018
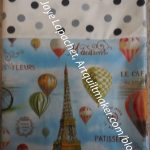
Paris Hot Air Pillowcase
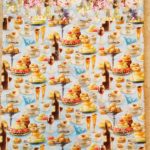
Paris Pastries Pillowcase
Paris Bicycles Pillowcase
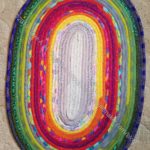
Finished: Jelly Roll Rug
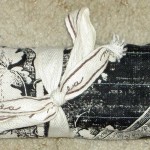
Lil Sissy Pencil Roll Closed
Lil Sissy’s Cafe Apron Repaired
French Cotton Candy pouch
Lil Sissy’s Inside Outside Pouch – 3/4s view
Falabella Pouches
Percheron Pouch (size large): Finished
Disco Double Zip Pouch – finished
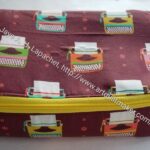
Typewriter Hackney – Top & Front
Paris Enigma Bag (Kim)
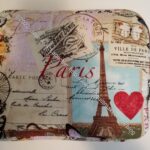
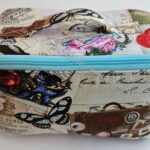
Paris Atlas Zipper Case
3 king sized pillowcases
When I made the Enigma Bag for Lil Sissy’s birthday, I went looking for another ‘Revisiting’ post and couldn’t find one for her. I decided to write one after all the Christmas gifts have been distributed. I went through my older posts a few times and kept adding gifts I had made for her. I kept finding various things I had forgotten about. I was really glad to be reminded.
I had a tough time deciding what to make for Carrie and Sue for Christmas. I don’t want to just make them anything. I want what I make to be useful. Eventually, after considering several Minikins patterns I hadn’t tried, I decided on I Spy pouches.
Is this a cop out?
No.
Sue’s I Spy – back
As I have said before, these pouches are like eating potato chips for me. I can make one quickly. I also really enjoy making them. Because they are fast? Maybe. Mostly because they are useful.
Sue gets a color wheel on the back to help her pick out fabric. I also remembered to put a label on the pouch.
Some time ago I made Carrie and Sue Kit Supply Totes. The Hackney pouches I made for them fit nicely into the Kit Supply Totes. I thought the I Spy would fit nicely in it as well.
I know it’s been a week or so since I posted about gifts, but we are back to it.
I posted last week about Sue’s I Spy pouch. One of the differences I made is that Carrie got a whole color wheel in the front while Sue’s was on the back. One of the reasons I like this fabric is because it means they always have a color wheel with them.
Carrie’s I Spy – back
I found some nice zipper pulls in my hardware bag that I added. They are apples, which have nothing to do with color wheels, Carrie or Sue, but here we are. Zipper pulls, aside from being cute really help to pull zippers open.
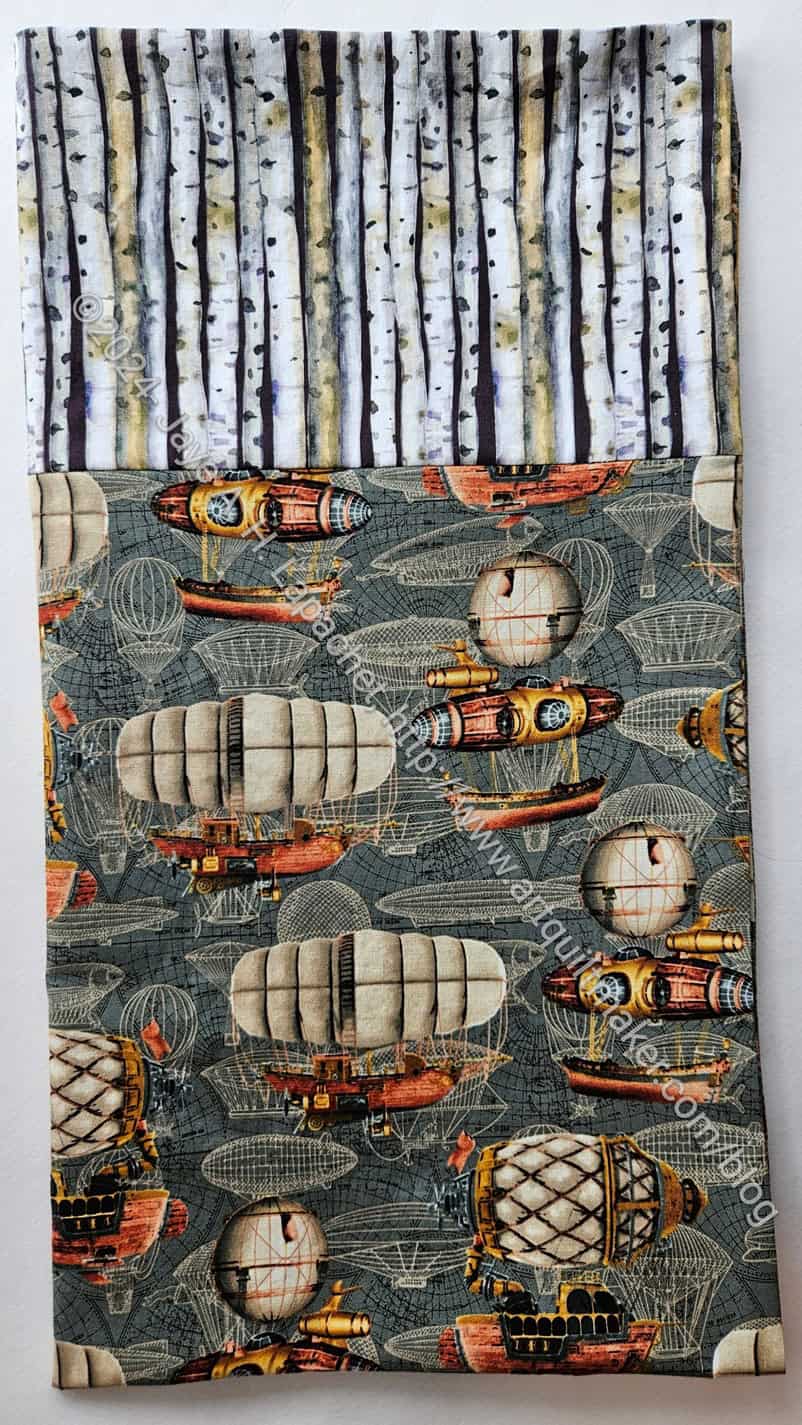
This is the latest travel pillowcase for my youngest nephew. I sent it off a little late as we were out of town for the New Year holiday.
I am still on the travel theme. This pillowcase depicts steampunk travel. I am a fan of steampunk and really enjoy looking at the costumes and artistry. I thought this would be a fun installment in the series.
The colors are not as fun as I would have liked, but at least there isn’t a lot of brown.
I have one more pillowcase from those I made from the fabric I bought on my summer trip before I have to get more fabric.
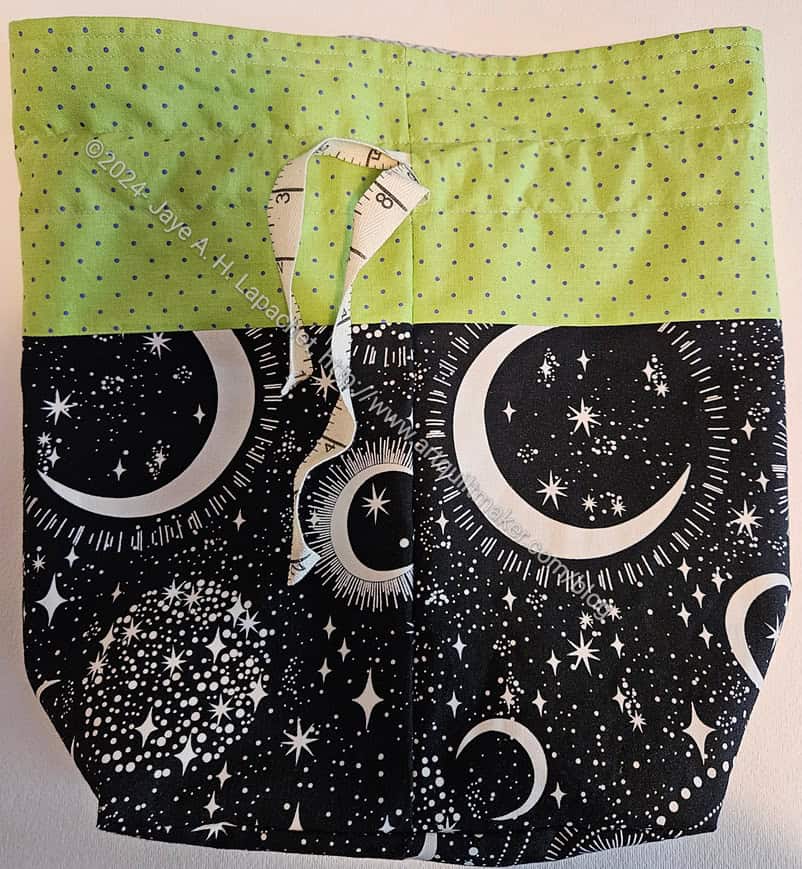
Sometimes I feel like I need to review how many of a certain pattern I have made. I think I have made enough Lined Drawstring Bags to do that now. I also feel like I’d like to see all of them together.
This is a good pattern that can also be used for gift bags. They take more time and fabric than my tutorial, but are more useful as well. I’d like to start making a bag for each quilt I give away, but I haven’t done that yet.
Juggling Balls drawstring bag-3/4 view
Drawstring Gift Bag
Drawstring Bag – Project size
Drawstring Bag – Artist size
Diagonal Nine Patch Storage Bag
Carrie’s Lined Drawstring Bag
Lined Drawstring Bag for Gerre
Sue’s Drawstring bag -end
Lined Drawstring Bag for Julie
2015 Drawstring Bag for Michelle
2015 Drawstring Bag for Peggy
I was certain I had made more, but I think I always think that!
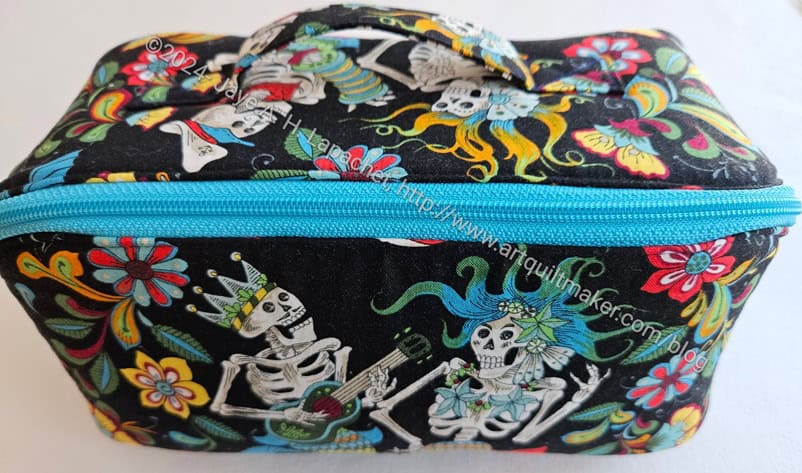
While I was making my sister’s Enigma bag back in July, I also made one for Gerre for Christmas. This is Enigma #6.
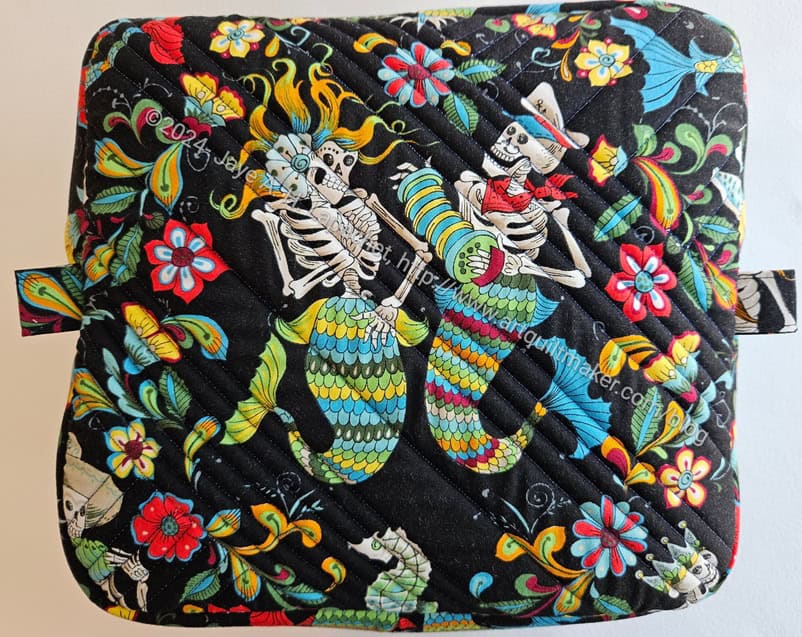
Skeleton Mermaid Enigma – bottom
I didn’t use my ‘regular’ sugar skull fabric for this one. I used a fabric I bought on my trip to and around Portland and I can’t decide if I like it. The key is whether Gerre likes it. I thought the seahorses and some of the ocean life were cool, but the skeletons started to creep me out after awhile. If she feels the same, I will make another one of these for her. I’ll have to see what she says.
I am pleased with the fussy cutting on the bottom. I didn’t have a lot of the fabric and was glad I had enough to highlight the main motif.
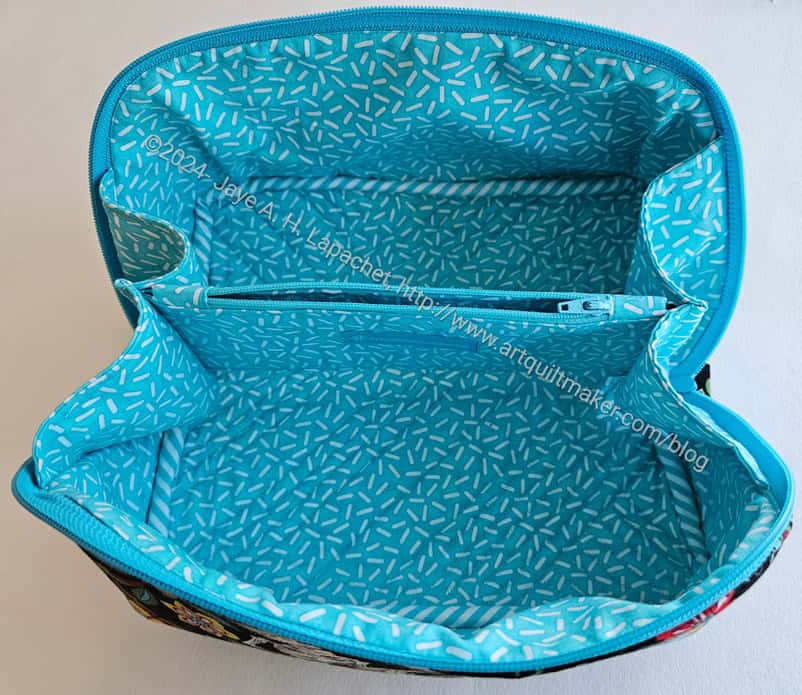
Skeleton Mermaid Enigma open
I am also pleased with the way the inside came out. The stripes I bought at the Granary are perfect for the inside.
The pattern calls for a 2.5 inch wide binding. I made the binding 2.25 inches wide, which is my norm for quilting binding. I had to stretch the binding a bit in certain places and trim seams, but mostly the 2.25 inch binding worked well.
Skeleton Mermaid Enigma – interior detail
I figured out a great place to put my label on these Enigma bags. The label fits well in the middle of the inside pocket. The label isn’t tucked away unobtrusively and I am not sure how I feel about that. I am not sure why I didn’t think of it before as it was also easy to install.
As with my sister’s Enigma bag, this one went together pretty easily. I like making the same bags over and over as they get better each time I do it.
You might remember the pajama pants that the YM made when he was visiting in the spring. Right after he left I was given a robe pattern. Carrie suggested the YM might want to use the pattern to make a matching robe. I decided that I would make him a robe for Christmas. I went out and bought more of the fabric (Tarot flannel from Joann) and started it in October while I was in Portland. I got stuck and put it all away. I needed more fabric, though I thought I had originally bought enough. This is what happens to me when I try to sew garments! Also, I used the pattern Carrie gave me rather than the pattern I used a long time ago to make a robe for my SIL#4. I must have given it away.
Anyway, I got help from MaryC. She basically finished the robe for me in about 2 hours while I entertained her. She is a master garment maker and I always appreciate her help.
There were 34 people at the Sew Day/Meeting the other day, which is some kind of record. I am not sure what generated the interest, but I am glad so many people came. We have four new members and they came, too.
BAM Pouch swap 2024
The swap was really successful. I was amazed that almost 20 people participated!
Some were wrapped and some weren’t. Mine was very popular and got stolen twice. It finally ended up with the guild president.
People did nice work, too.
Swap pouch 2024
I chose a pouch made by SueG. It matches the Poolside tote I was gifted by Angela a few years ago.
I worked hard at posting different patterns on our member forum and trying to generate interest. I guess it worked!
I finished the Holland Pouch while I was in Portland in October. It was a pretty quick sew – ~6 hours from start to finish. I wasn’t feeling my best, so I knew I could make it faster.
Center Street Quilts directional fabric chart
I bought this pattern at Stitch during the July trip home from Portland. The fabric was also purchased during that trip at Sewlarium. It was a great choice for this bag.
The directions show how to position fabric if it is directional, which is the first time I have seen such a feature in a pattern, that I can remember. I’d love to see this type of chart in all bag patterns. I know most say something like “all cutting directions are width x height”, but having the visual makes a huge difference for me. Even before I saw this chart, I drew little pictures of how directional fabric should be cut in my various patterns.
Black Cat Holland Pouch – interior
I used some hippo fabric and hope he remembers visiting the hippo at the zoo when he was young.
This is the first bag I have made for the YM. I hope it is one he likes and will use it. I sent it off to him for his birthday, which was on the 30th.
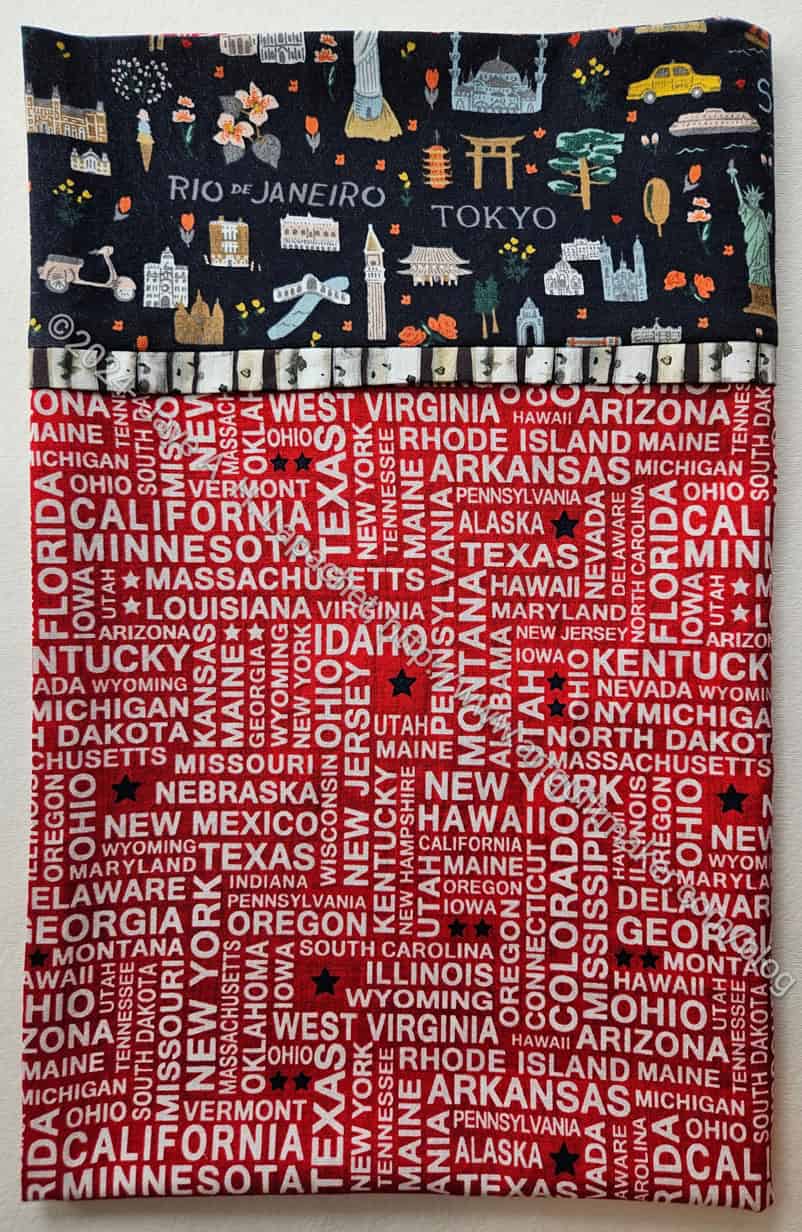
This is not really a Christmas pillowcase, but since it was red, I thought it would be a good one to send off in December.
This one has all the states. I am not sure why some states are in a larger font than others.
Travel doesn’t have to be around the world. There are a lot of interesting things in the states as well as I have found traveling around California with DH. If the youngest nephew can’t quite make it out of the country, perhaps he can do some stateside travel?
Frolic! was received by my friend and she sent me a wonderful text, despite her loss, when she received it.
Frolic! is a Bonnie Hunter pattern. It was one of her Winter Mystery quilts that I actually sewed with everyone else. I was also really happy with my color choices.
This is a cheerful quilt. While it wasn’t designed specifically for my friend, I thought she would like it while I work on a quilt specifically for her.