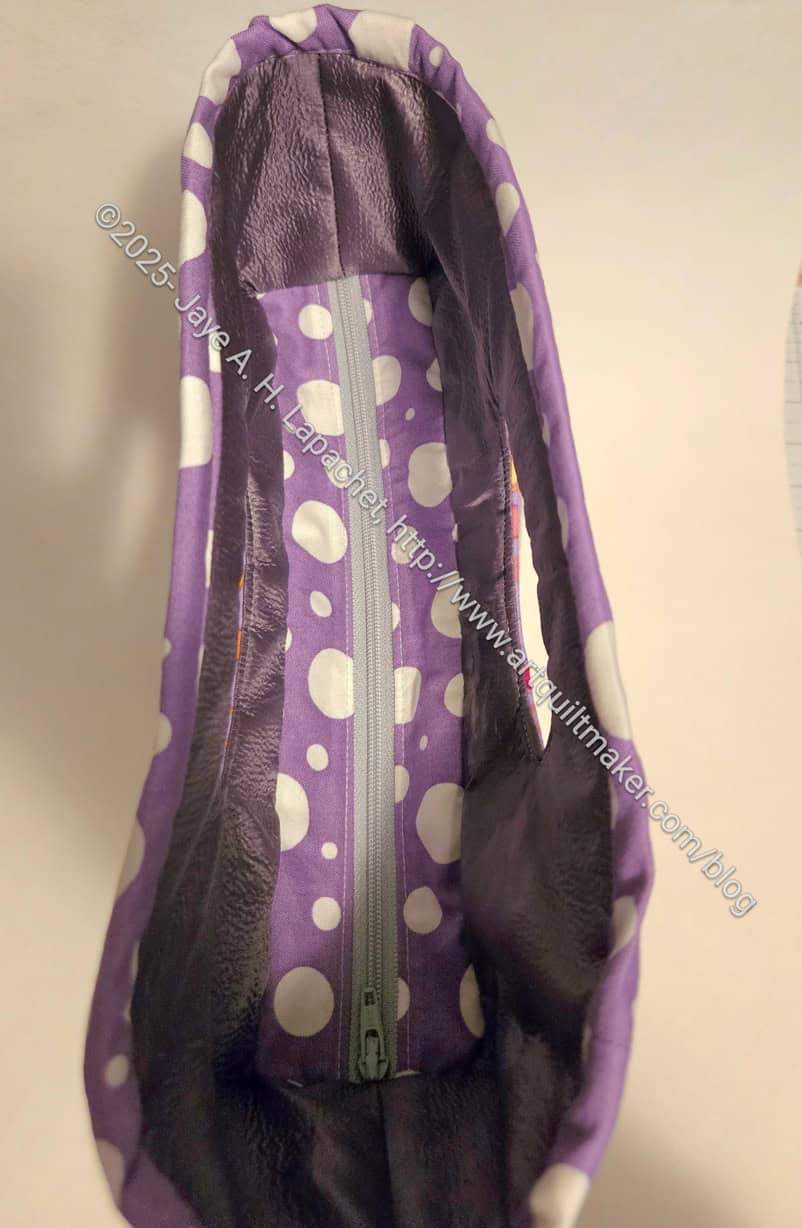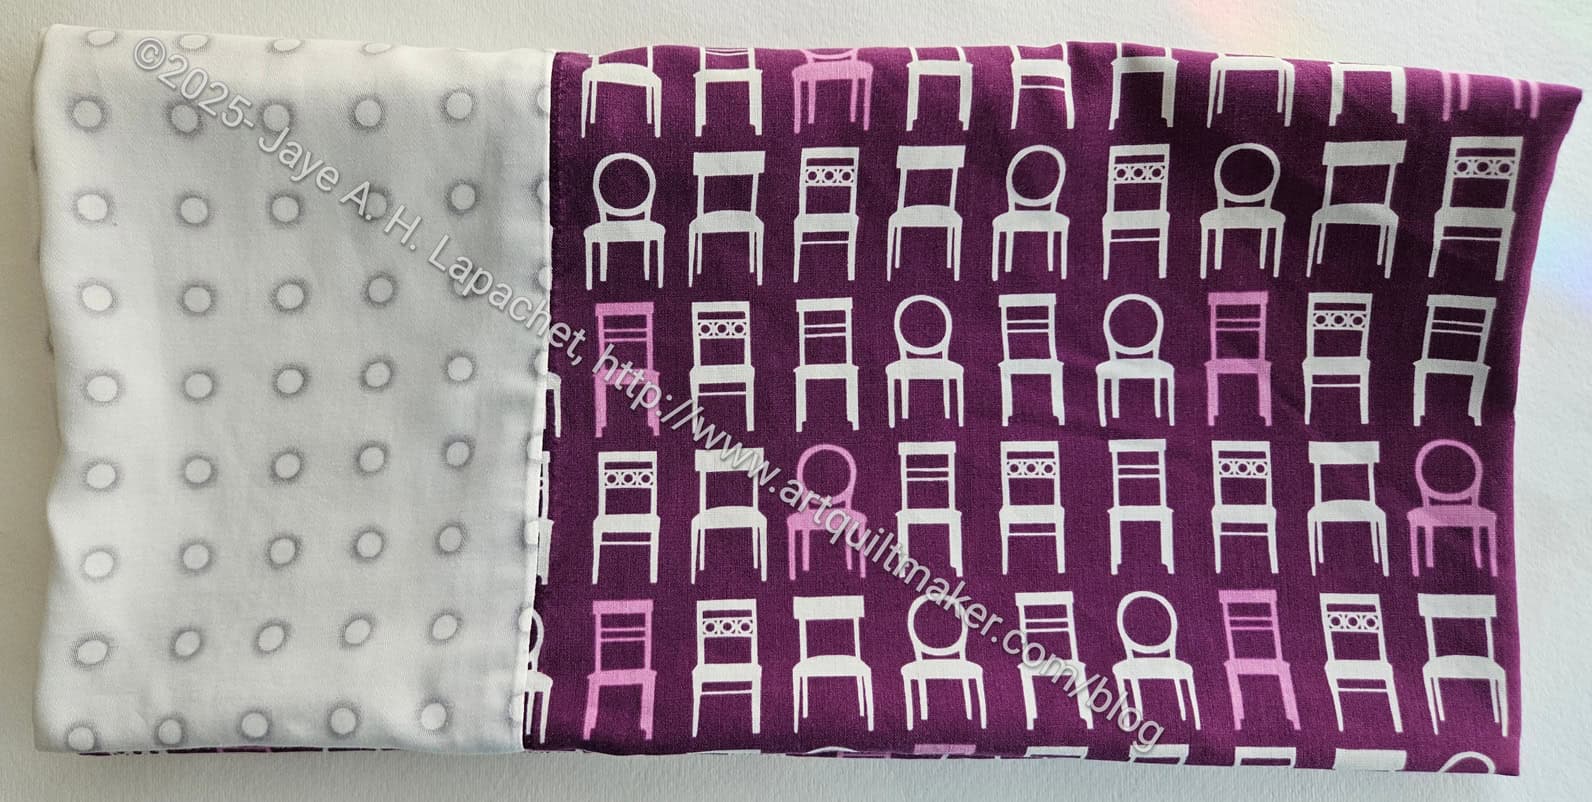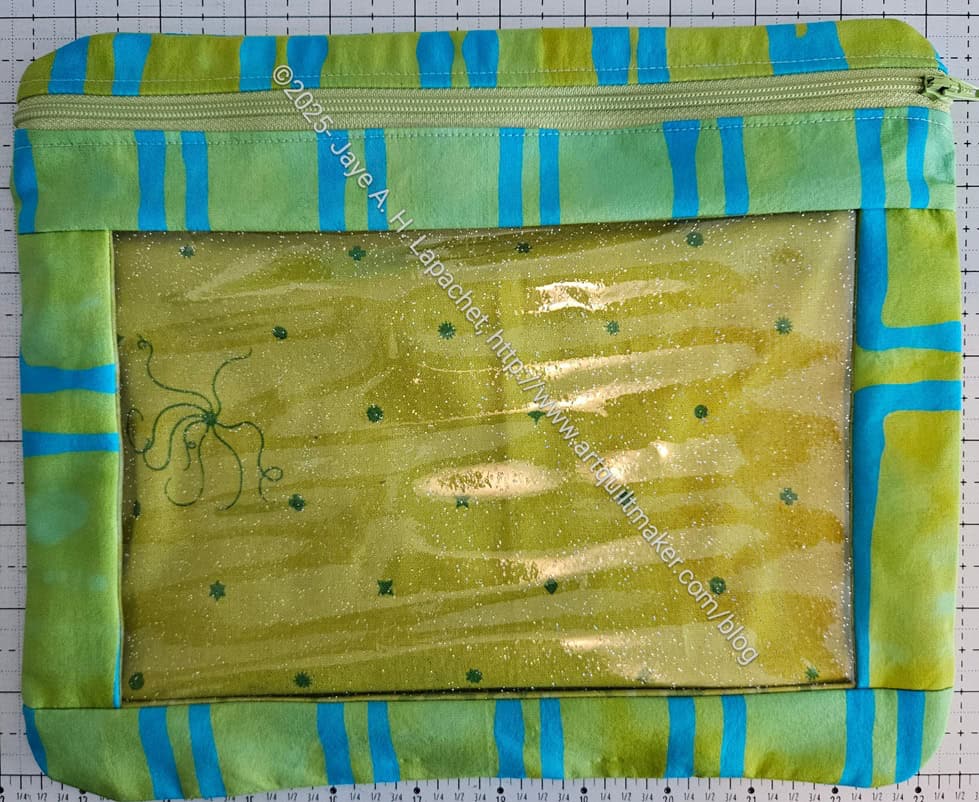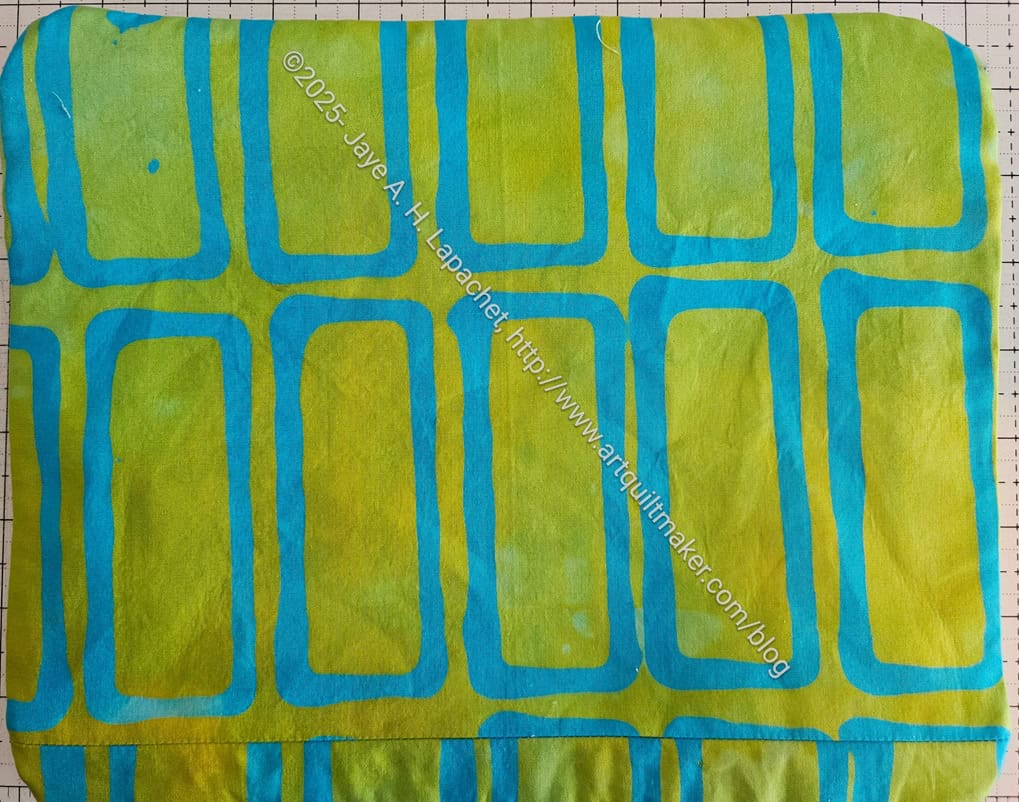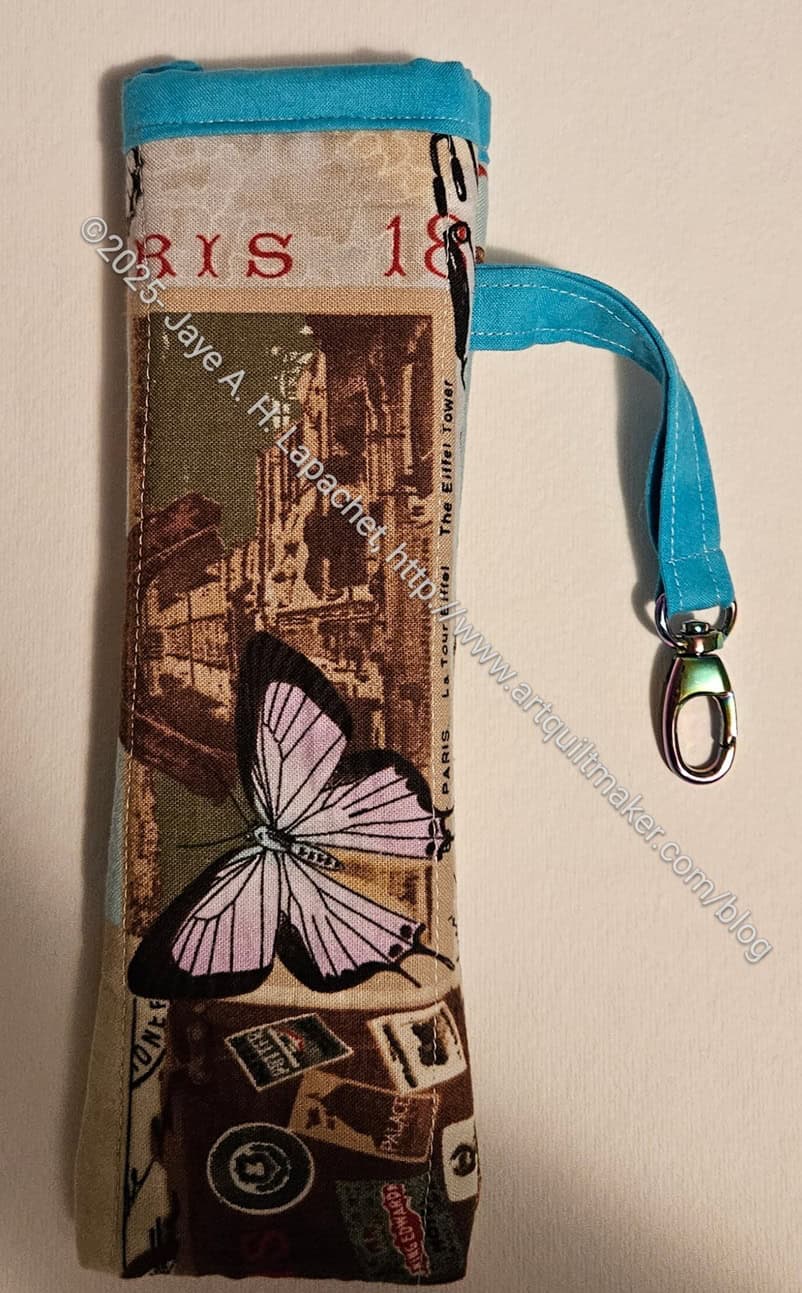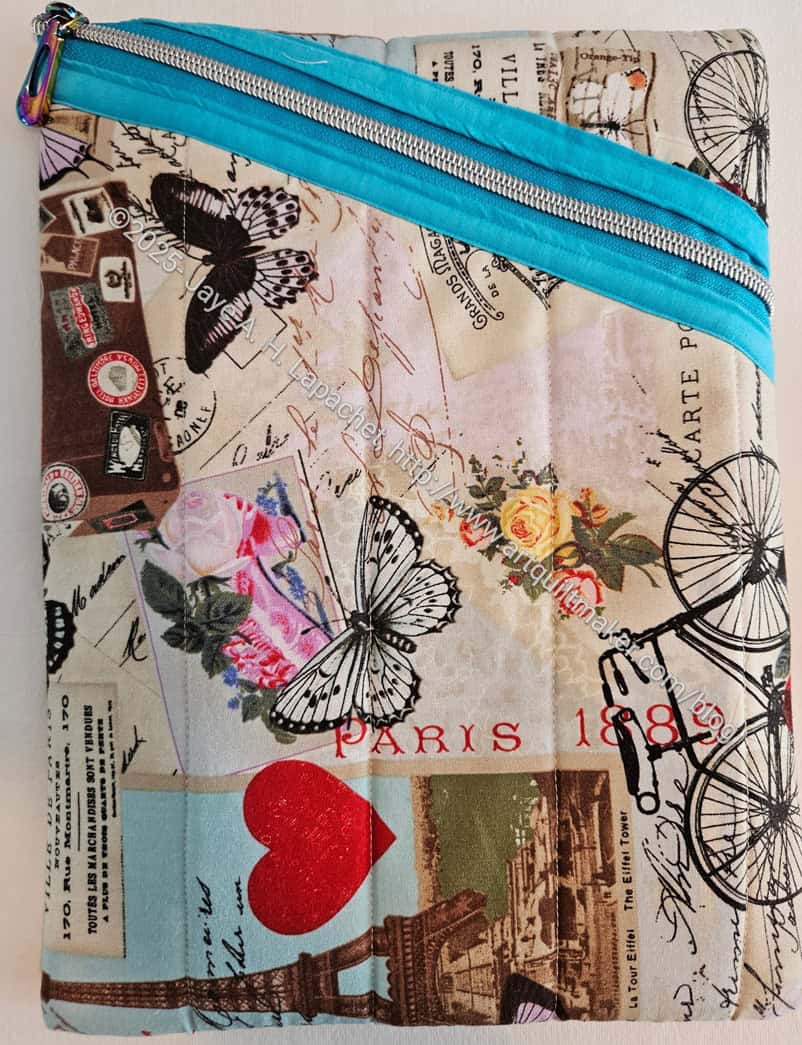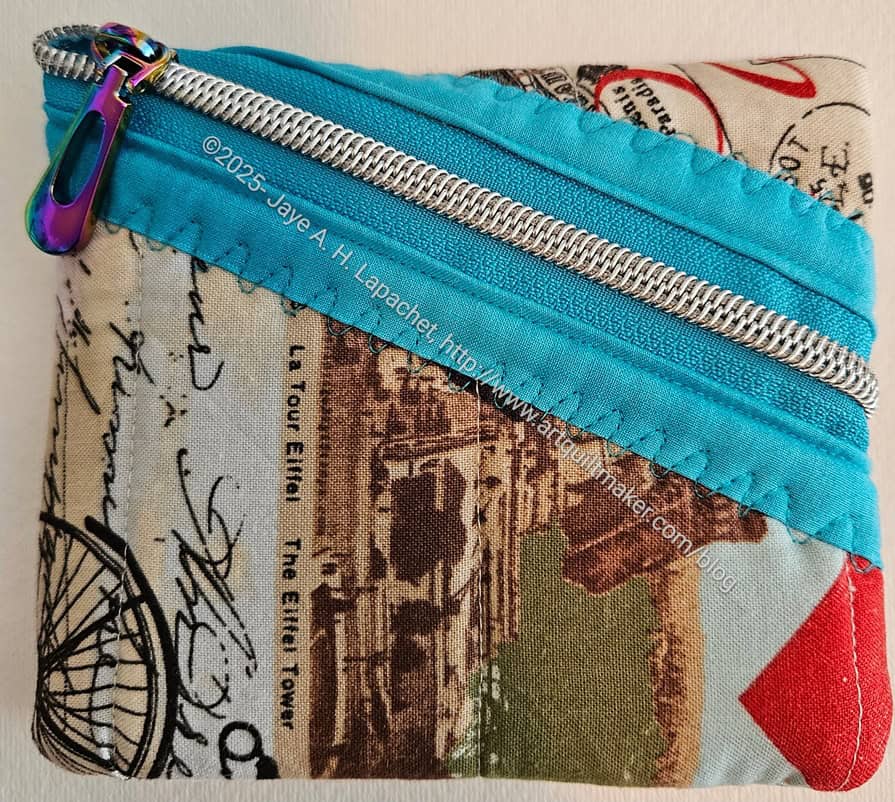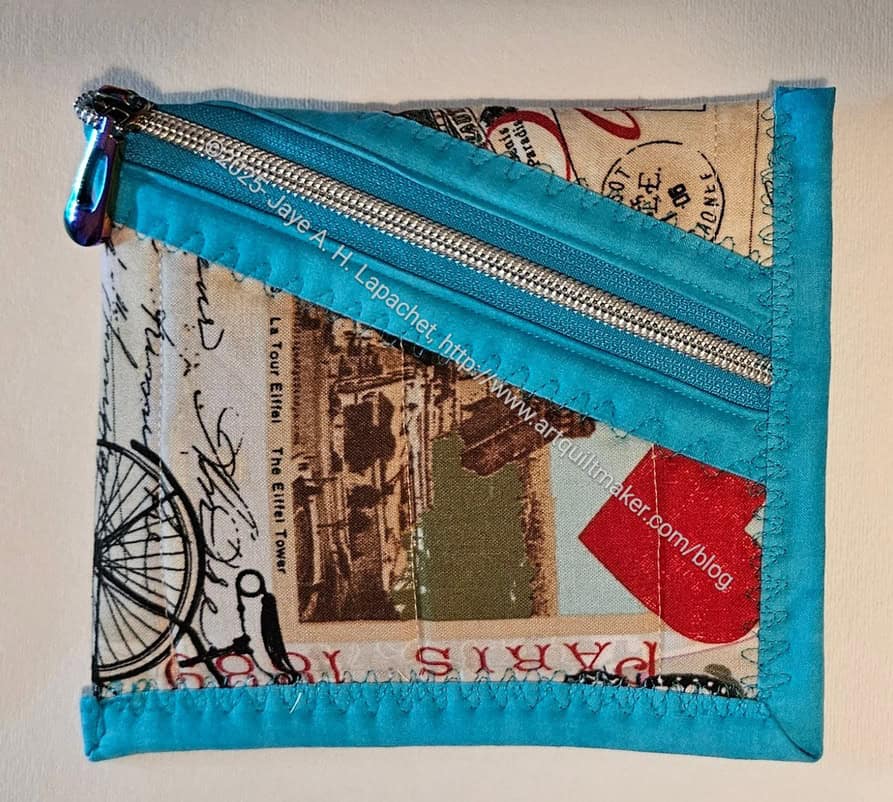
I have been slowly making progress on the Snap Trays I started a few weeks ago after Lynette showed her demo. After the retreat was cancelled, I slowed my roll as the need to get them done* was less urgent.
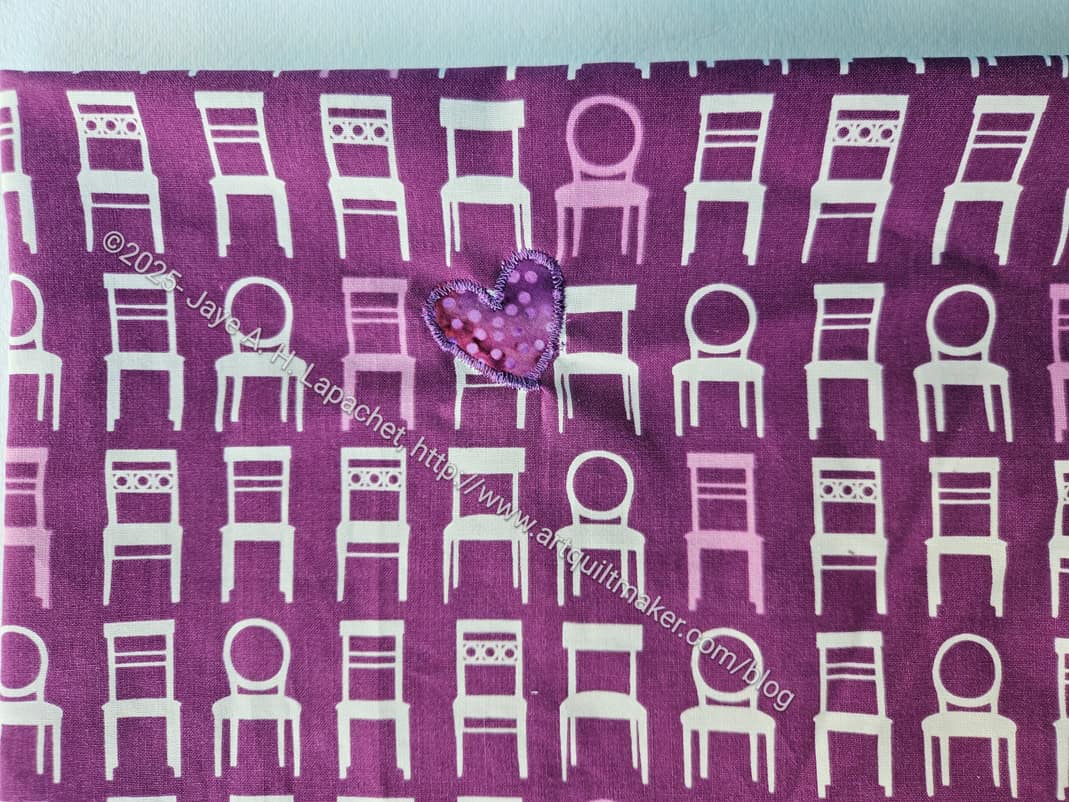
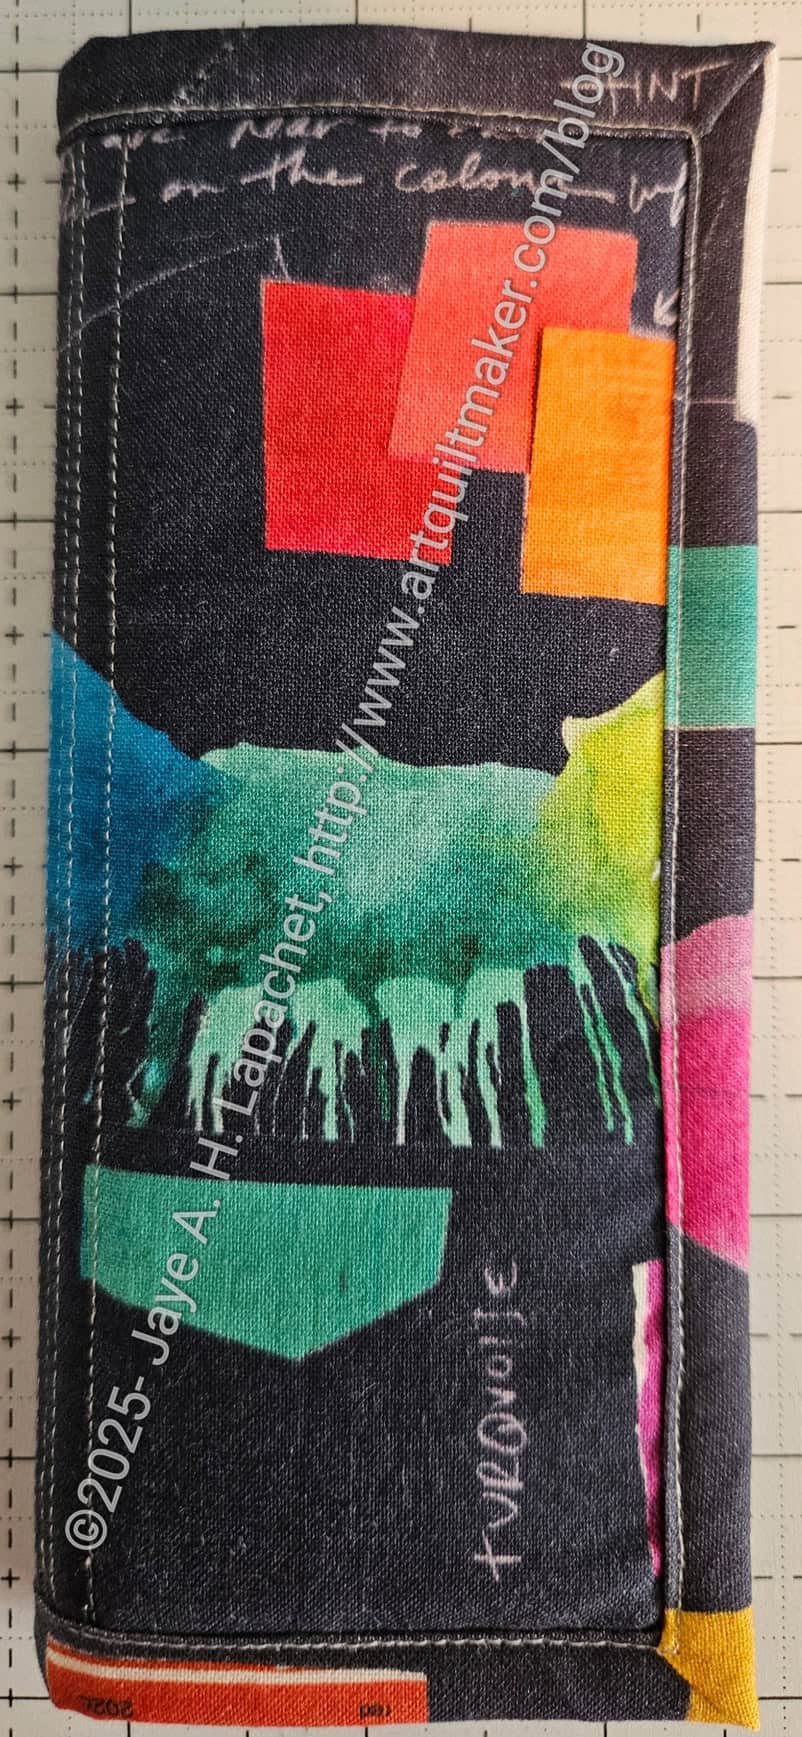
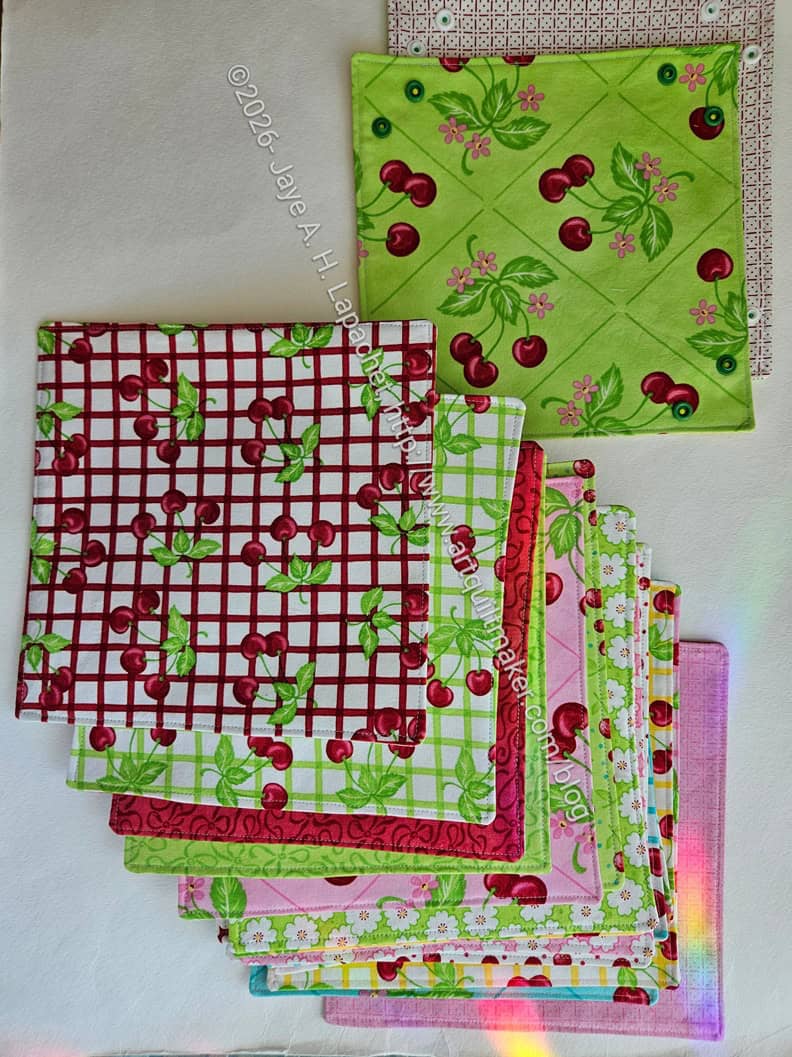
I spent a mini-Sew Day finishing the top stitching on the remaining trays. Most of them are in a flat state now waiting for me to install the KamSnaps.
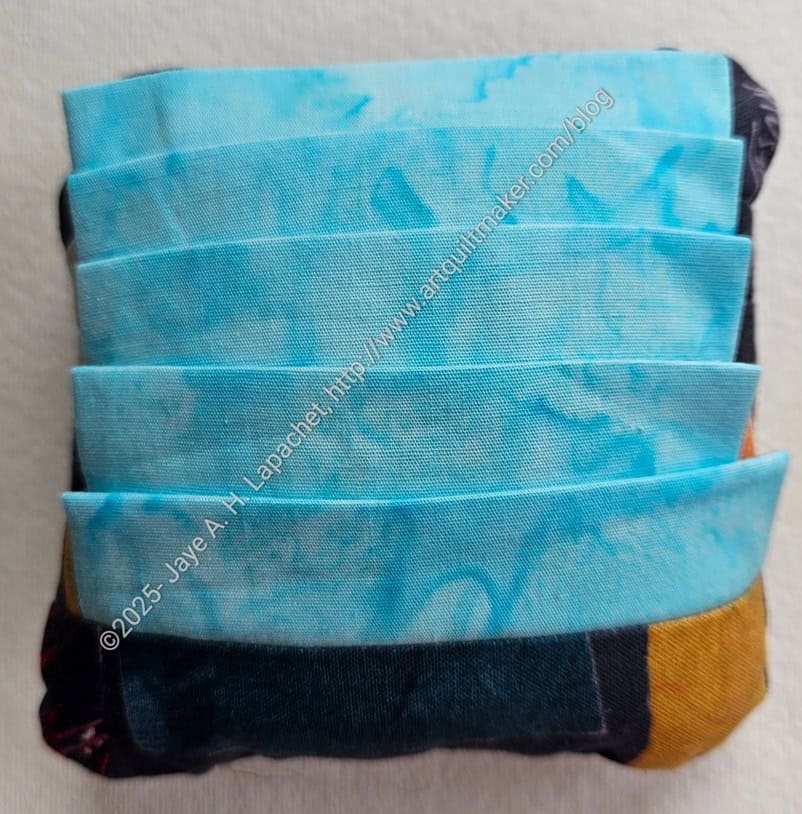
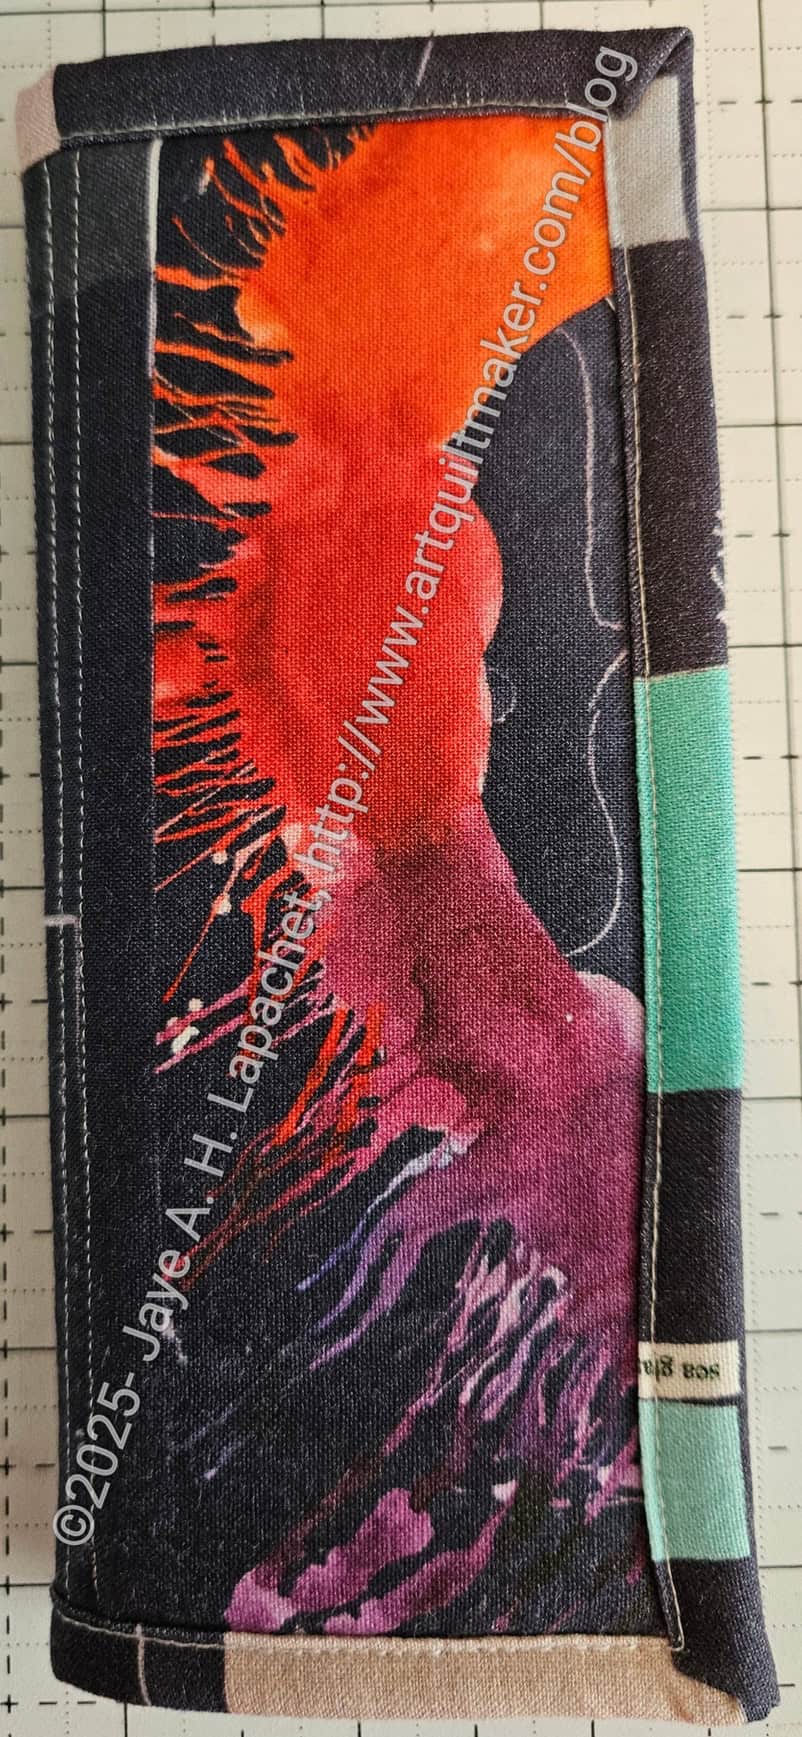
I have installed KamSnaps in a couple of them, using my new hole puncher**. I am still concerned that the KamSnaps will come out of the holes, but I am doing my best to install them tightly.
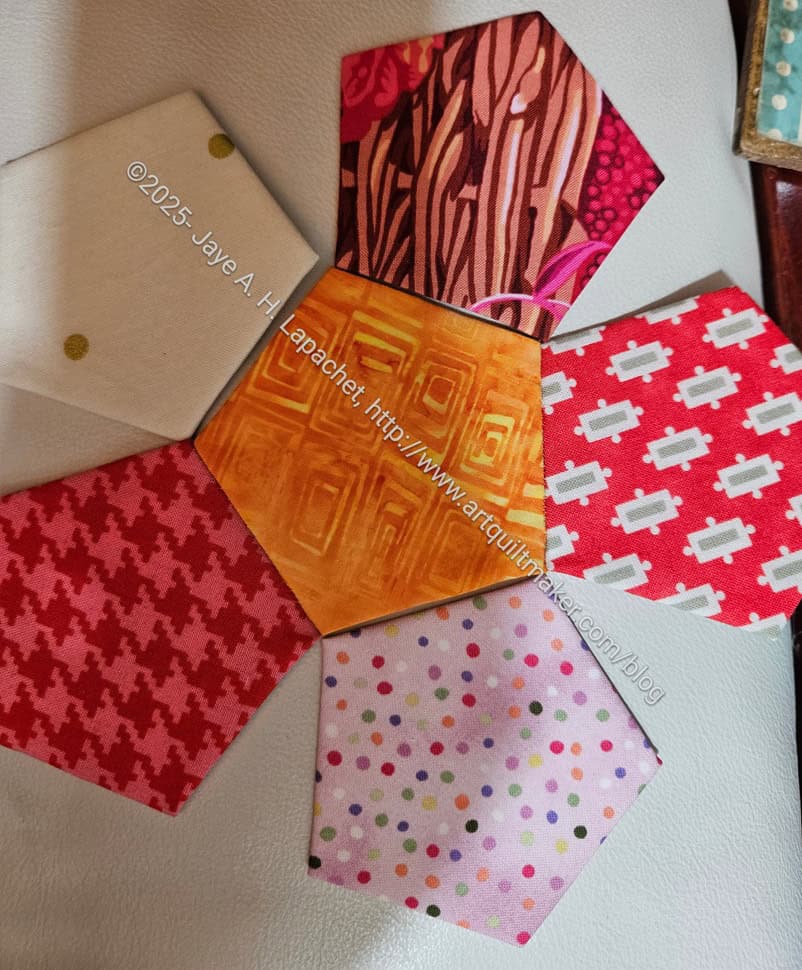
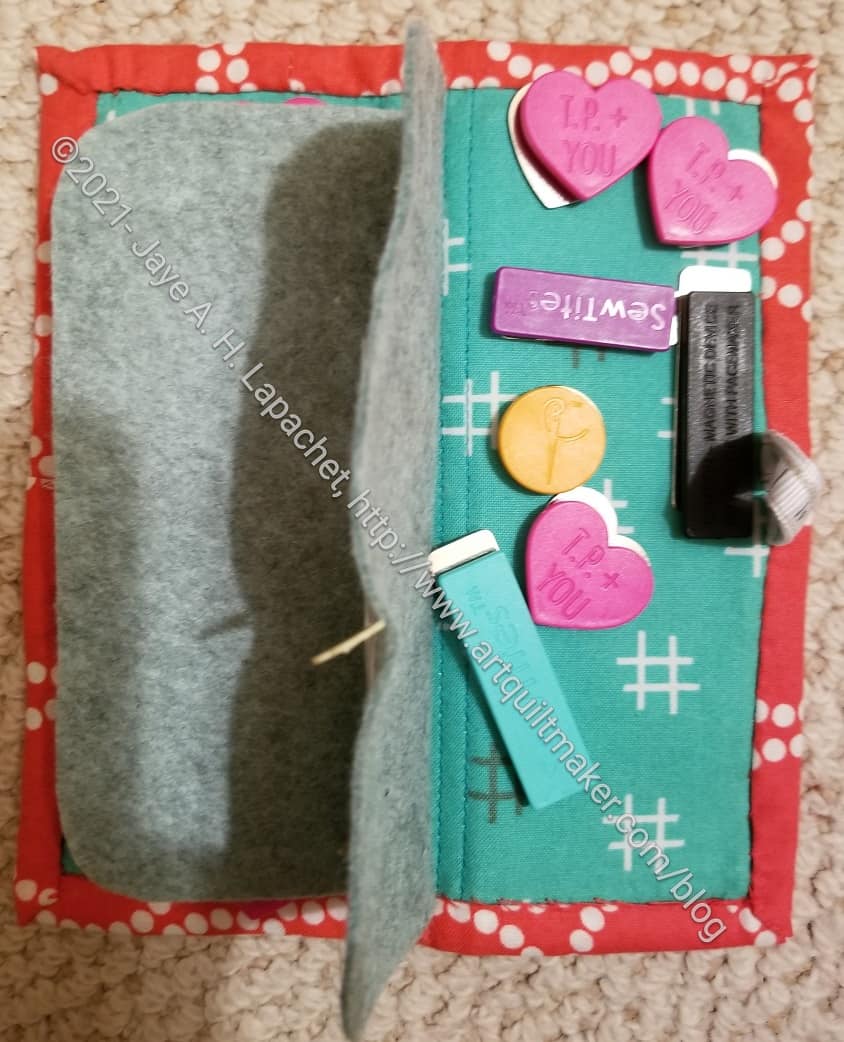
I used the tray that Lynette gave me after her demo at the mini-Sew Day. I am thinking of making a rectangular snap tray that will be big enough for the current tray. I used the current tray as a thread catcher and think a rectangular tray would be good to keep my various tools such as seam ripper and snips close to hand. We’ll see. Let’s finish one thing at a time.
* Nota Bene: I am putting pressure on myself to make these for the next guild retreat. I have not been asked to do anything for the guild, beyond my current duties.