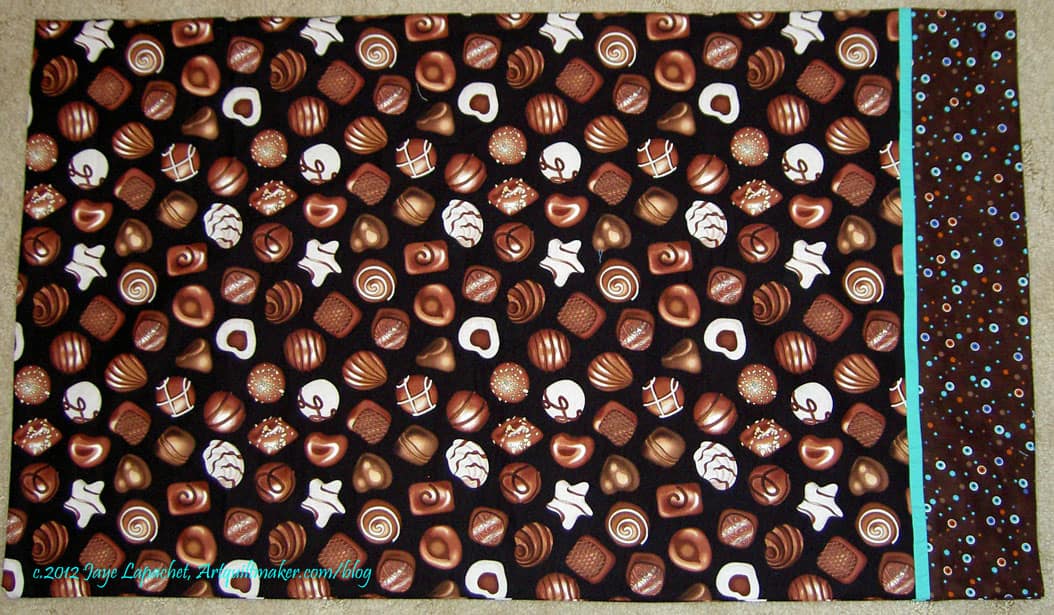
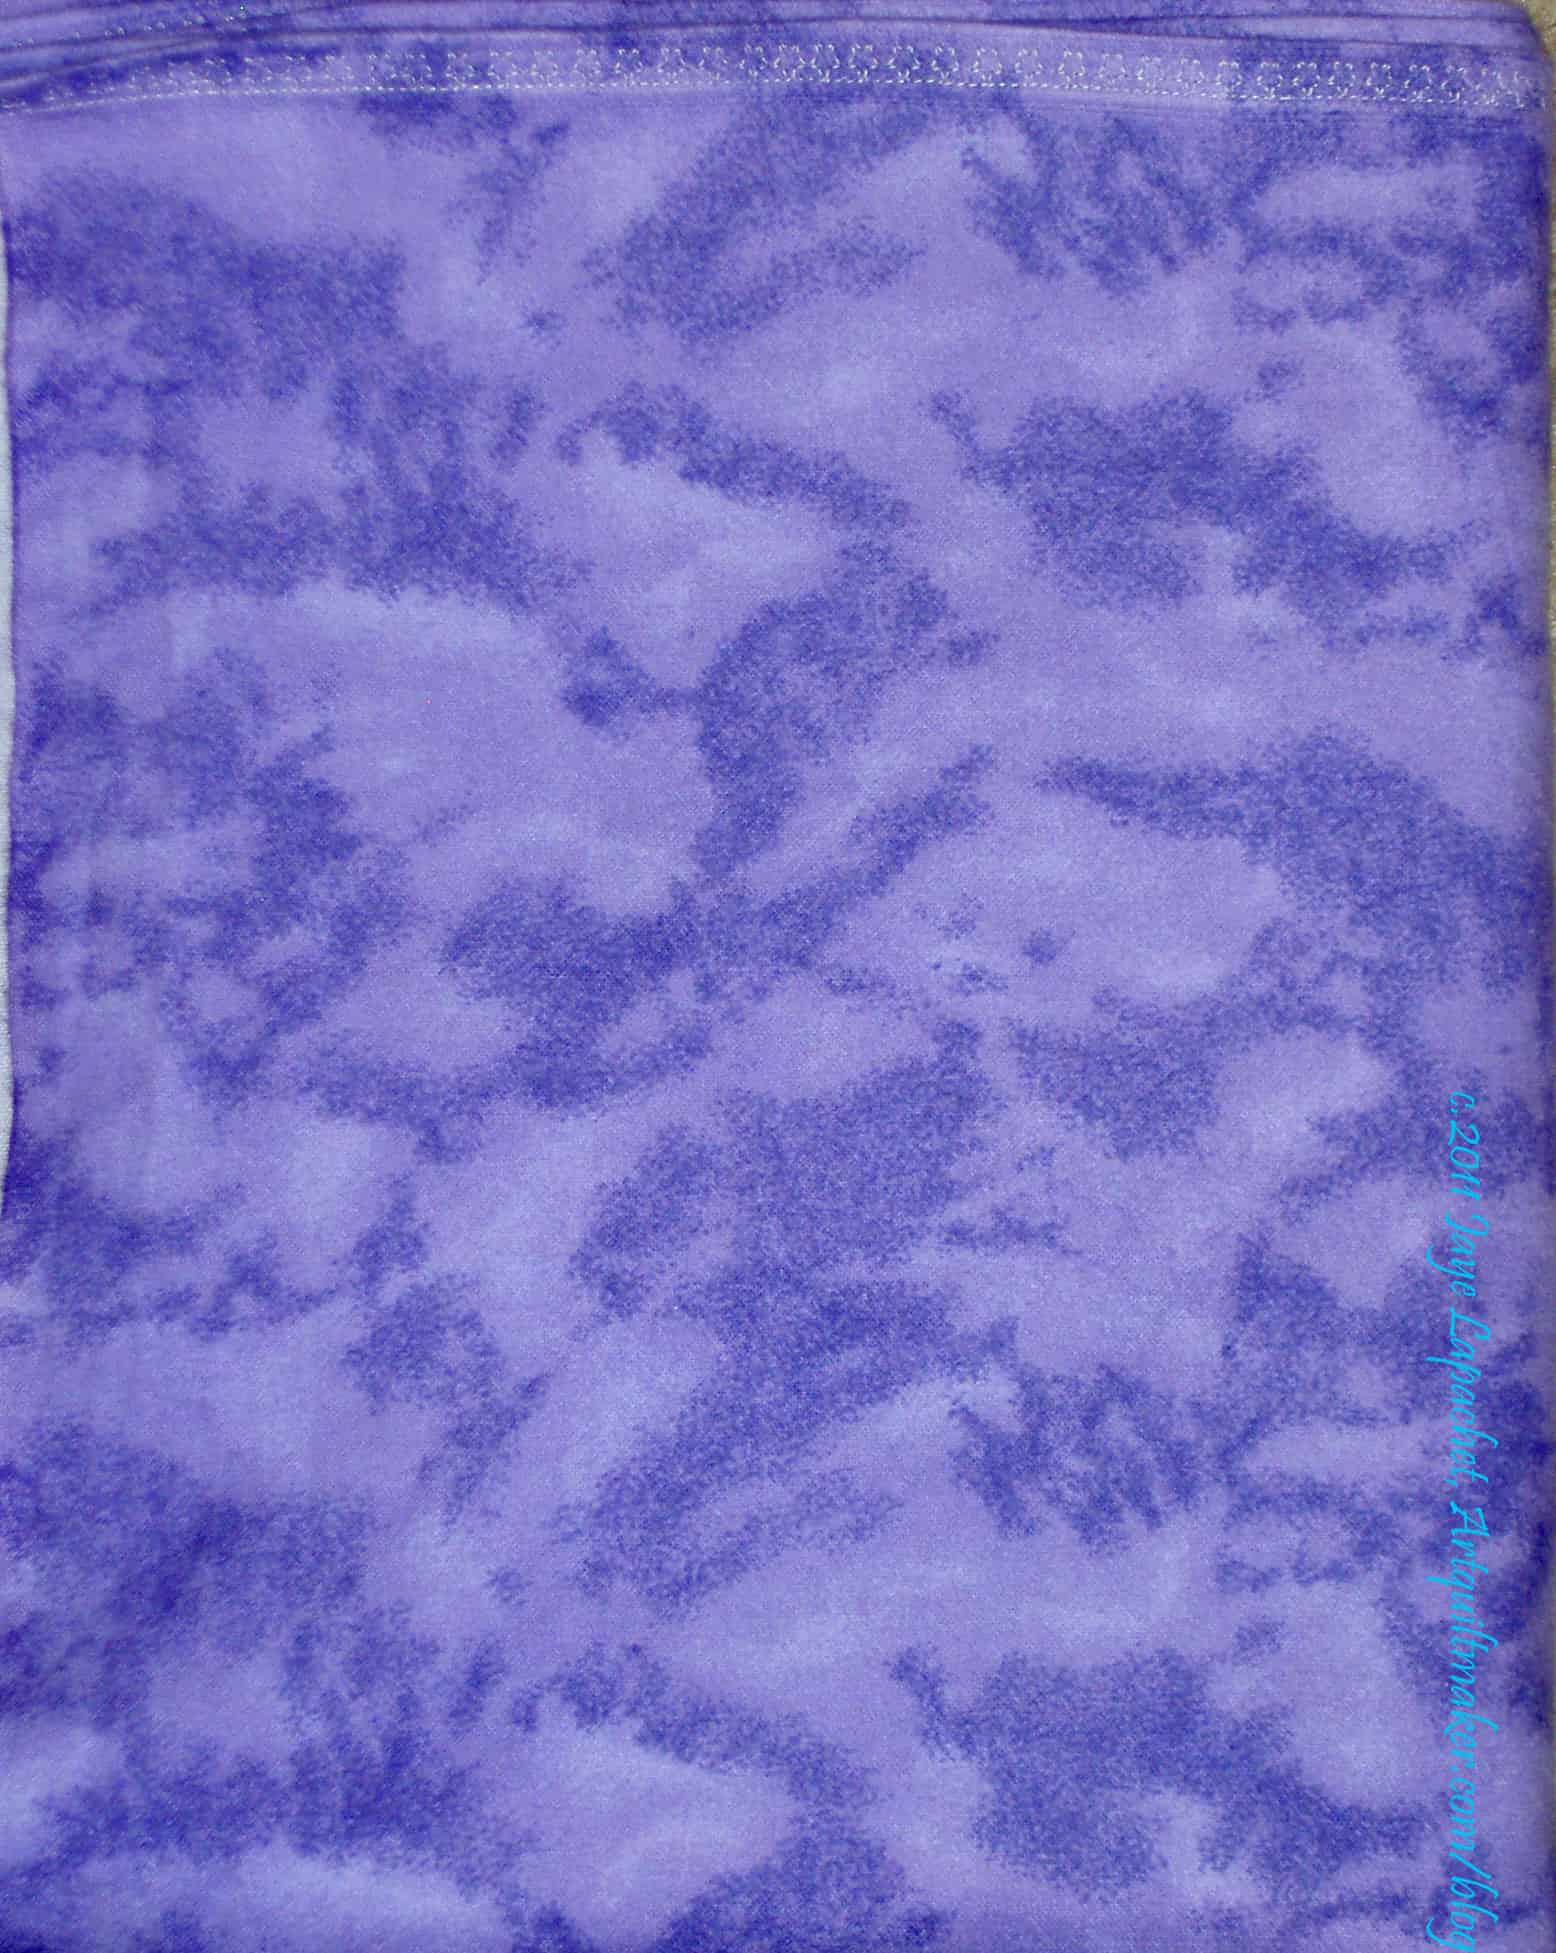
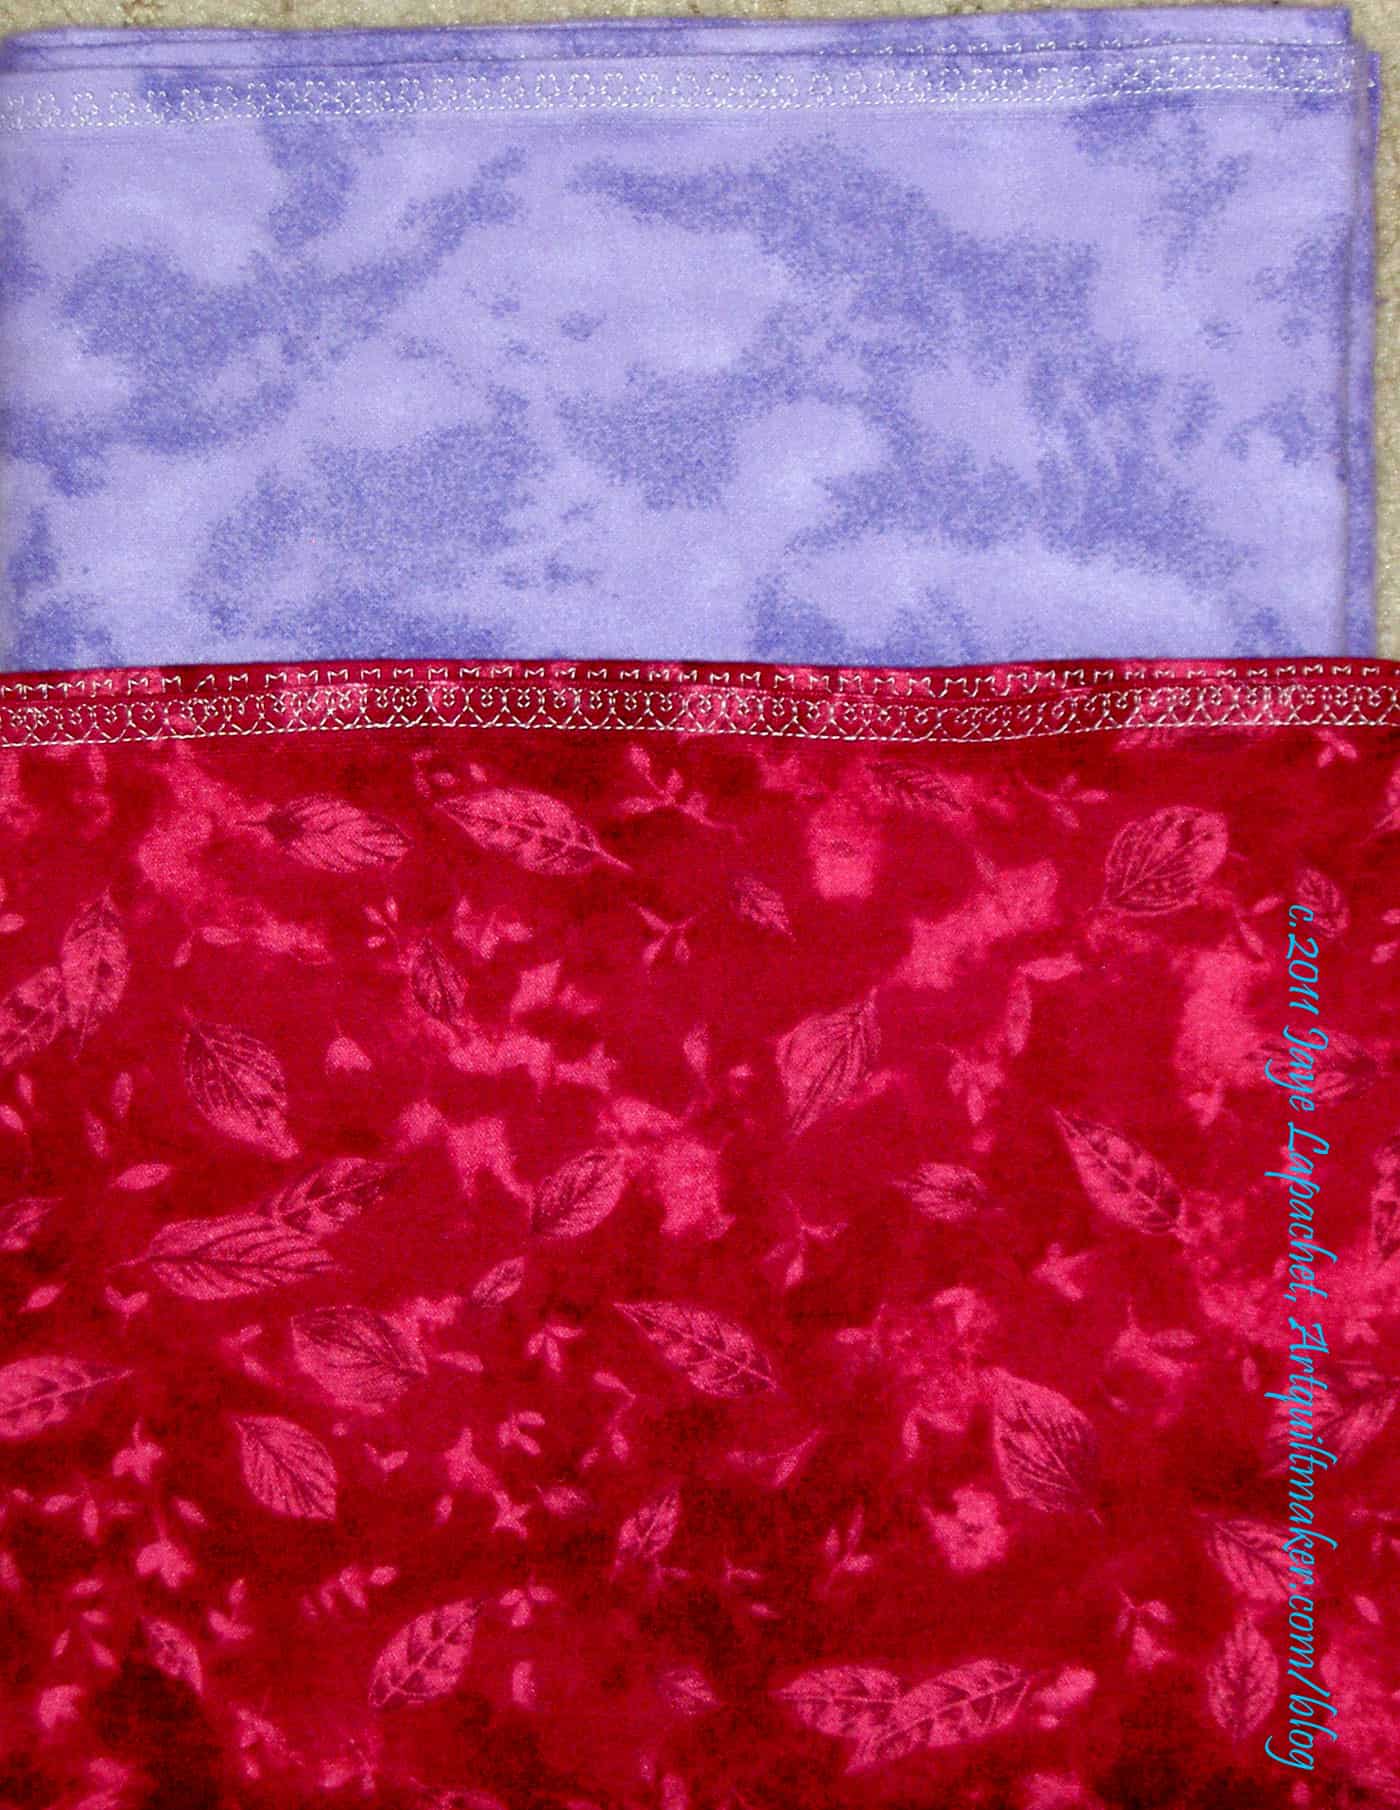
A woman at work is expecting a new baby. She is so pleasant to work with and so helpful. I have been wanting to make her some receiving blankets. As I have said many times, receiving blankets are so useful as playmats, swaddling cloths, capes, etc. She is about to go out on leave, so I finally made them last weekend and gave them to her on Monday.
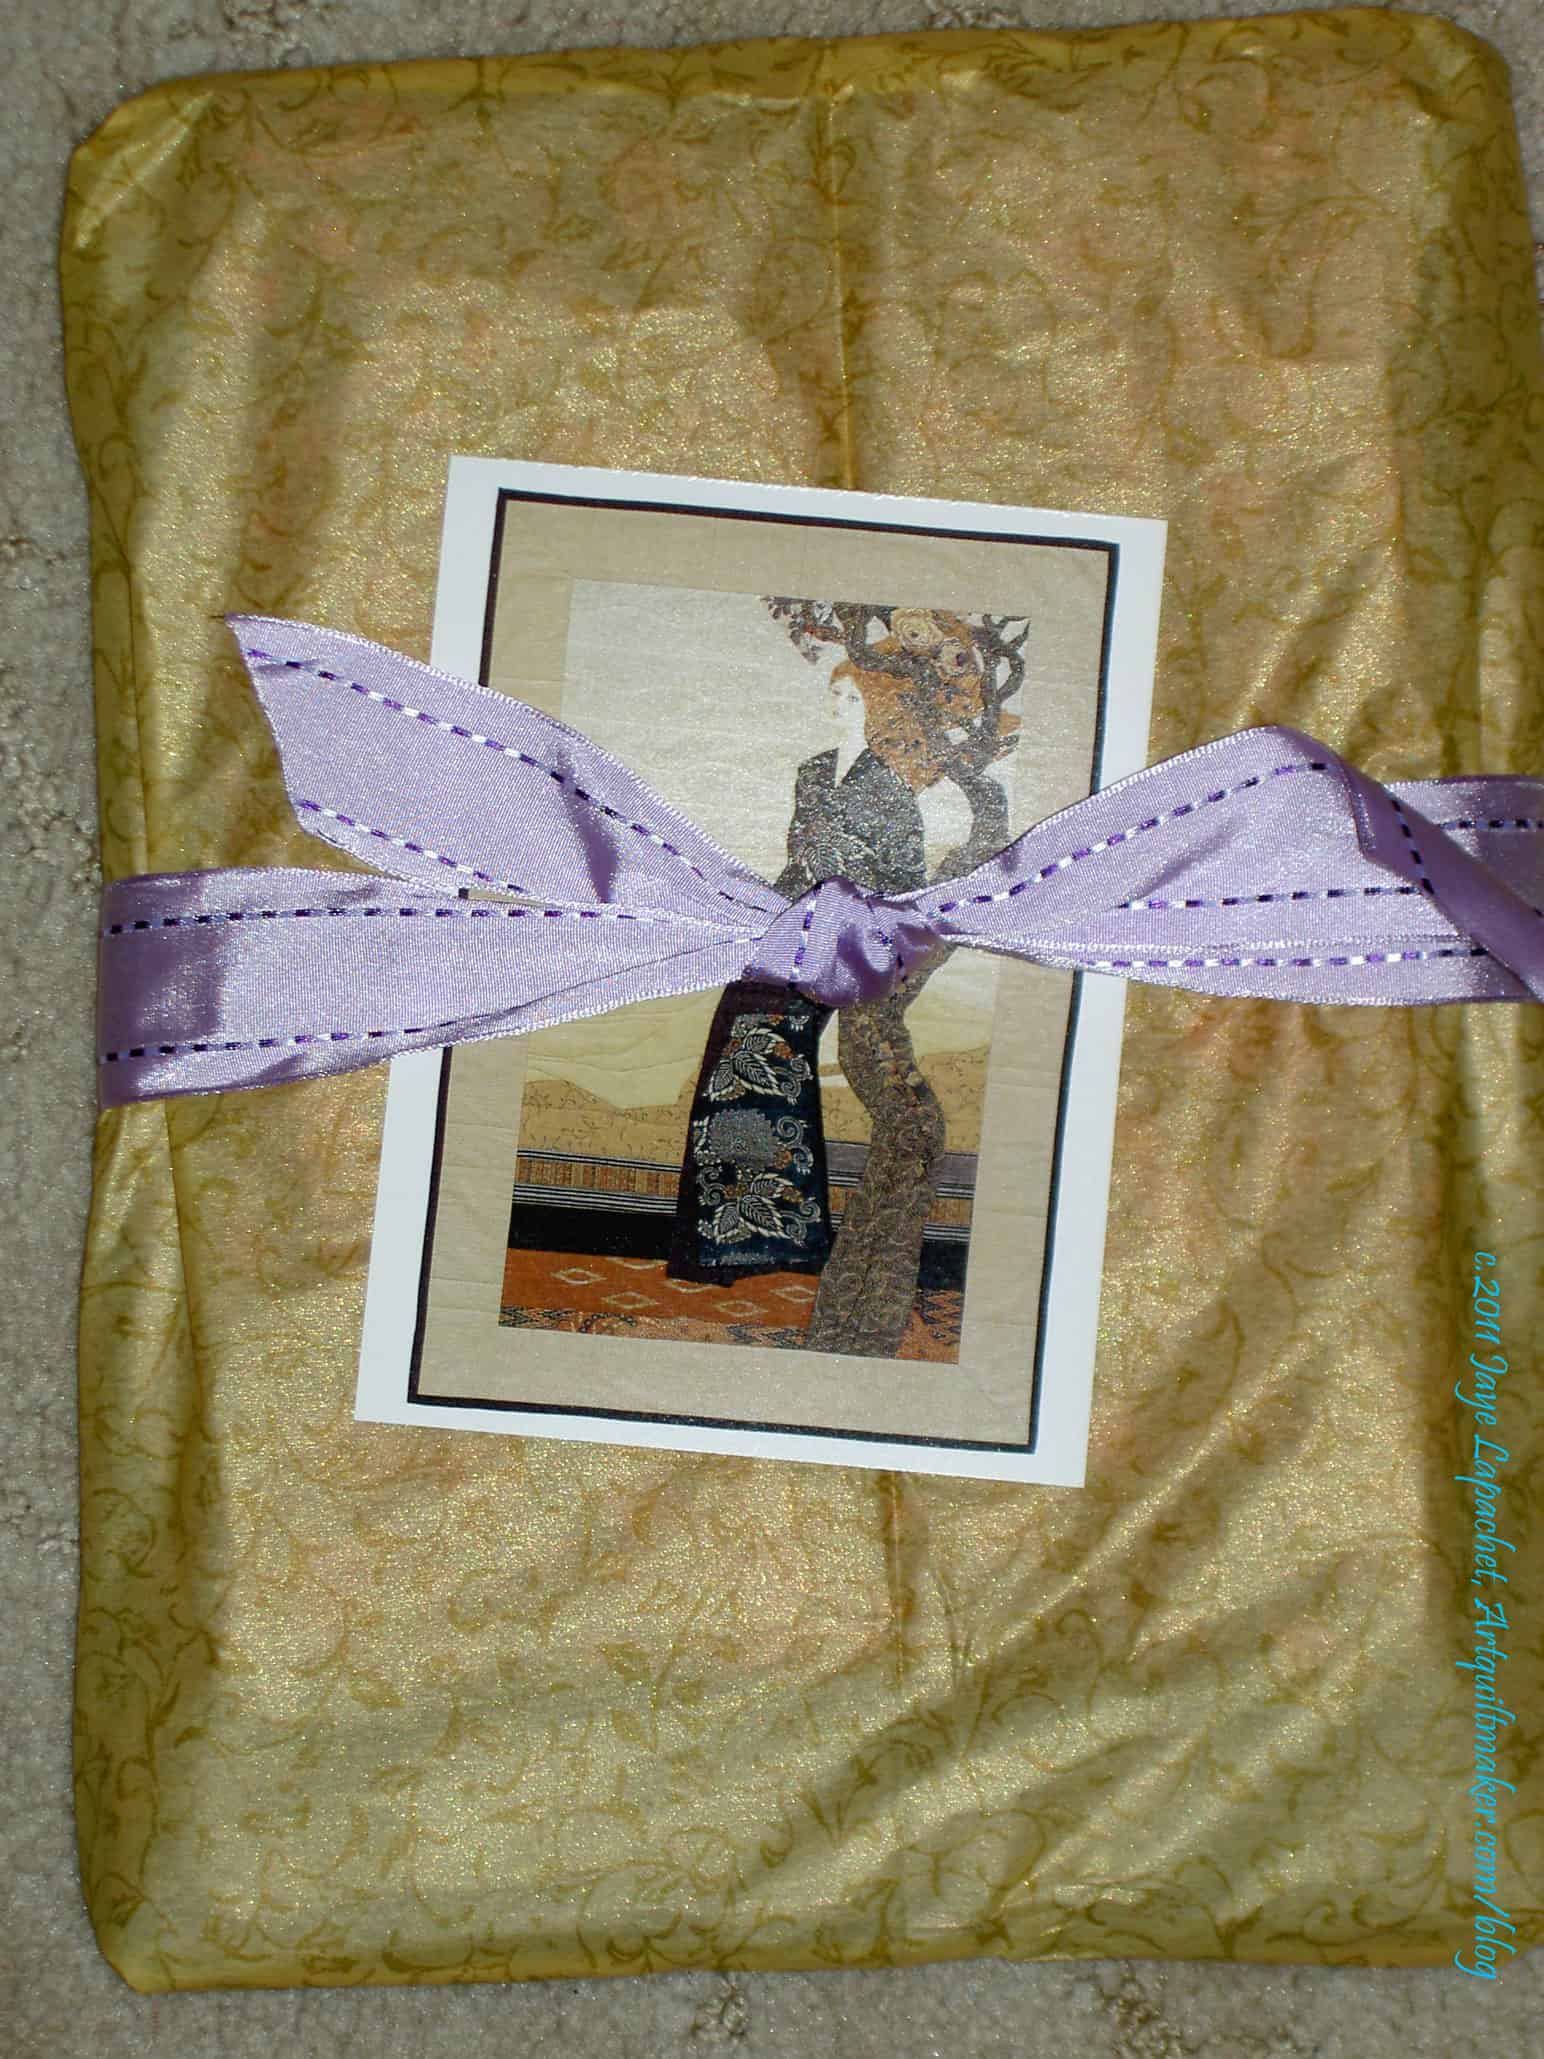
Gift Wrapping
I was particularly proud of the wrapping. As many of you know, I am a very poor gift wrapper, so I was thrilled that this came out so well. I didn’t even plan it!
I started the purple wallet before Christmas last year to give as a gift, but never finished it. I finally got another package of snaps and finished it. I am a little short on handwork right now, so it made sense. It will be a gift, but for whom, I don’t know.
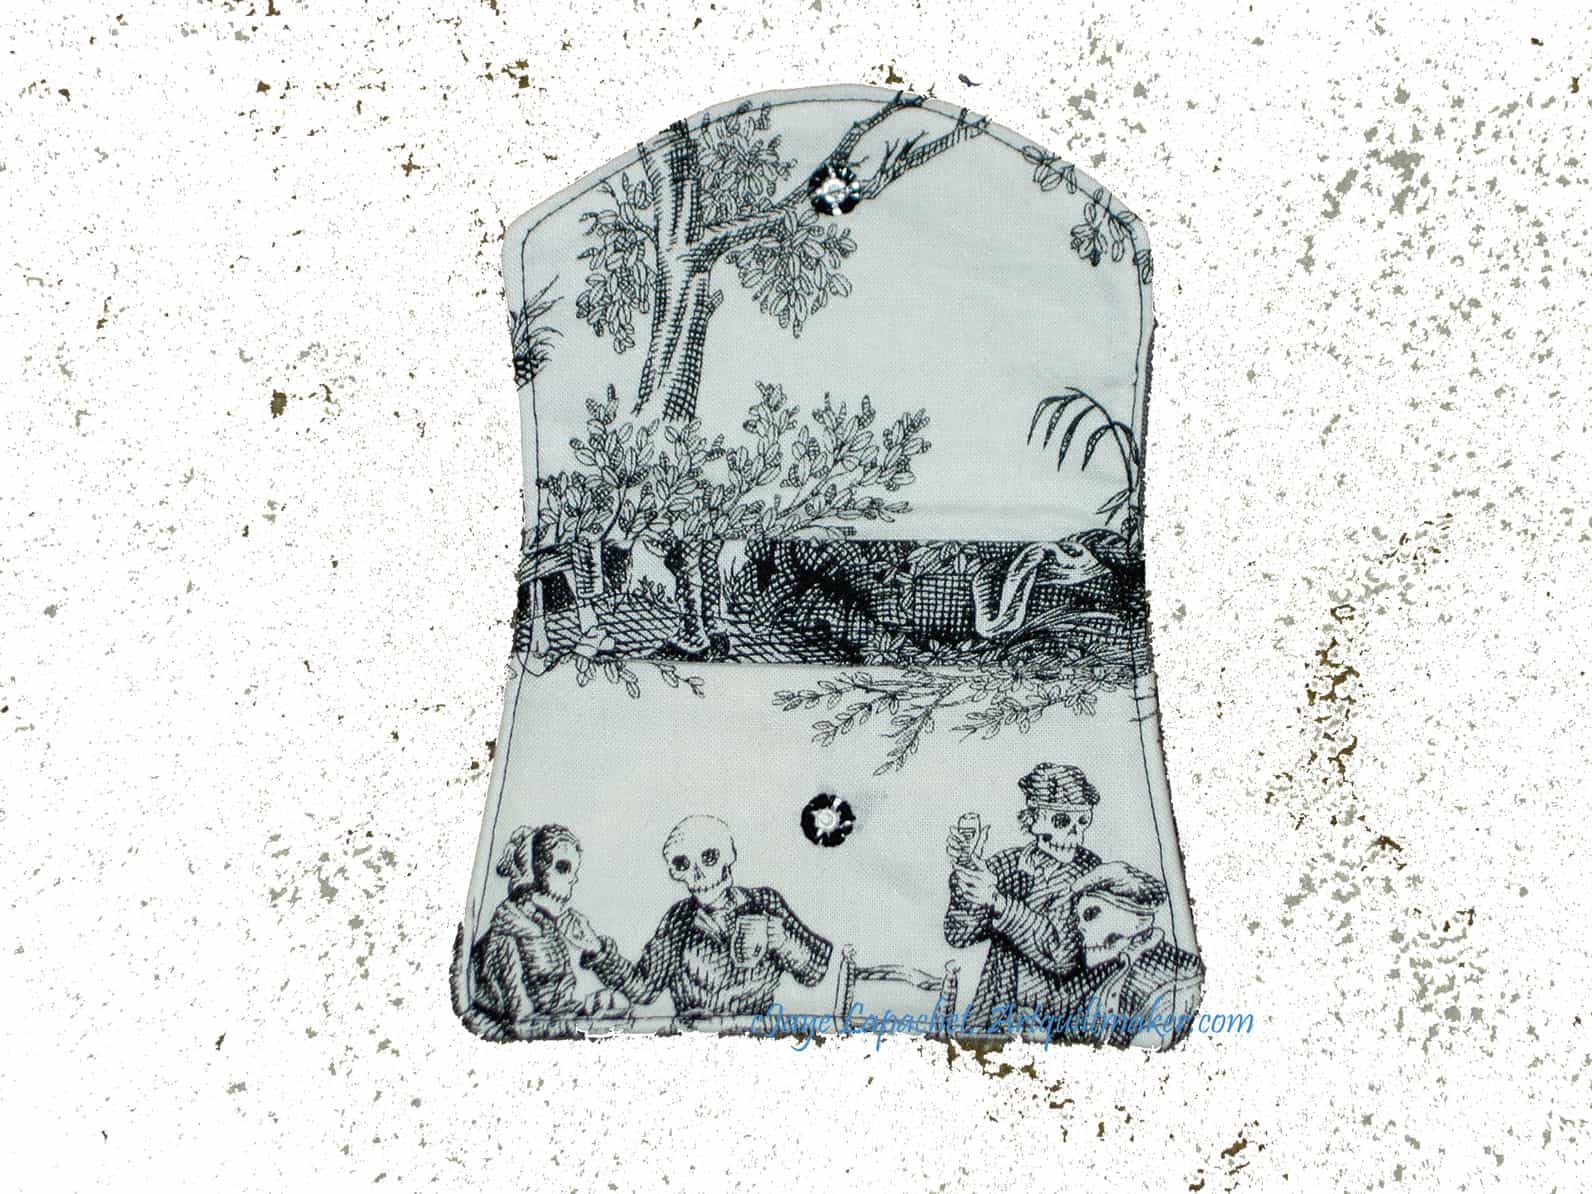
The Skull wallet goes with the Jane Market Tote bag I gave to Lil Sissy. Poor girl. I gave her her gifts over a month rather than all at once, nicely wrapped on the day. All I can say is that I hope the dribs and drabs method made the day last longer.
Skull Wallet Open
That is not one of my new, cool Photoshop Elements backgrounds. That is trying to get rid of the background and running out of time to figure out what I was doing wrong. It looks pretty cool, I think. I tried to center some interesting motifs on the inside, so when she opened it, she would see some skeletons. Hope she likes it.
By the way, this pattern is good for bus passes! I saw one made with a loop and clip on it, which I thought was a good modification.
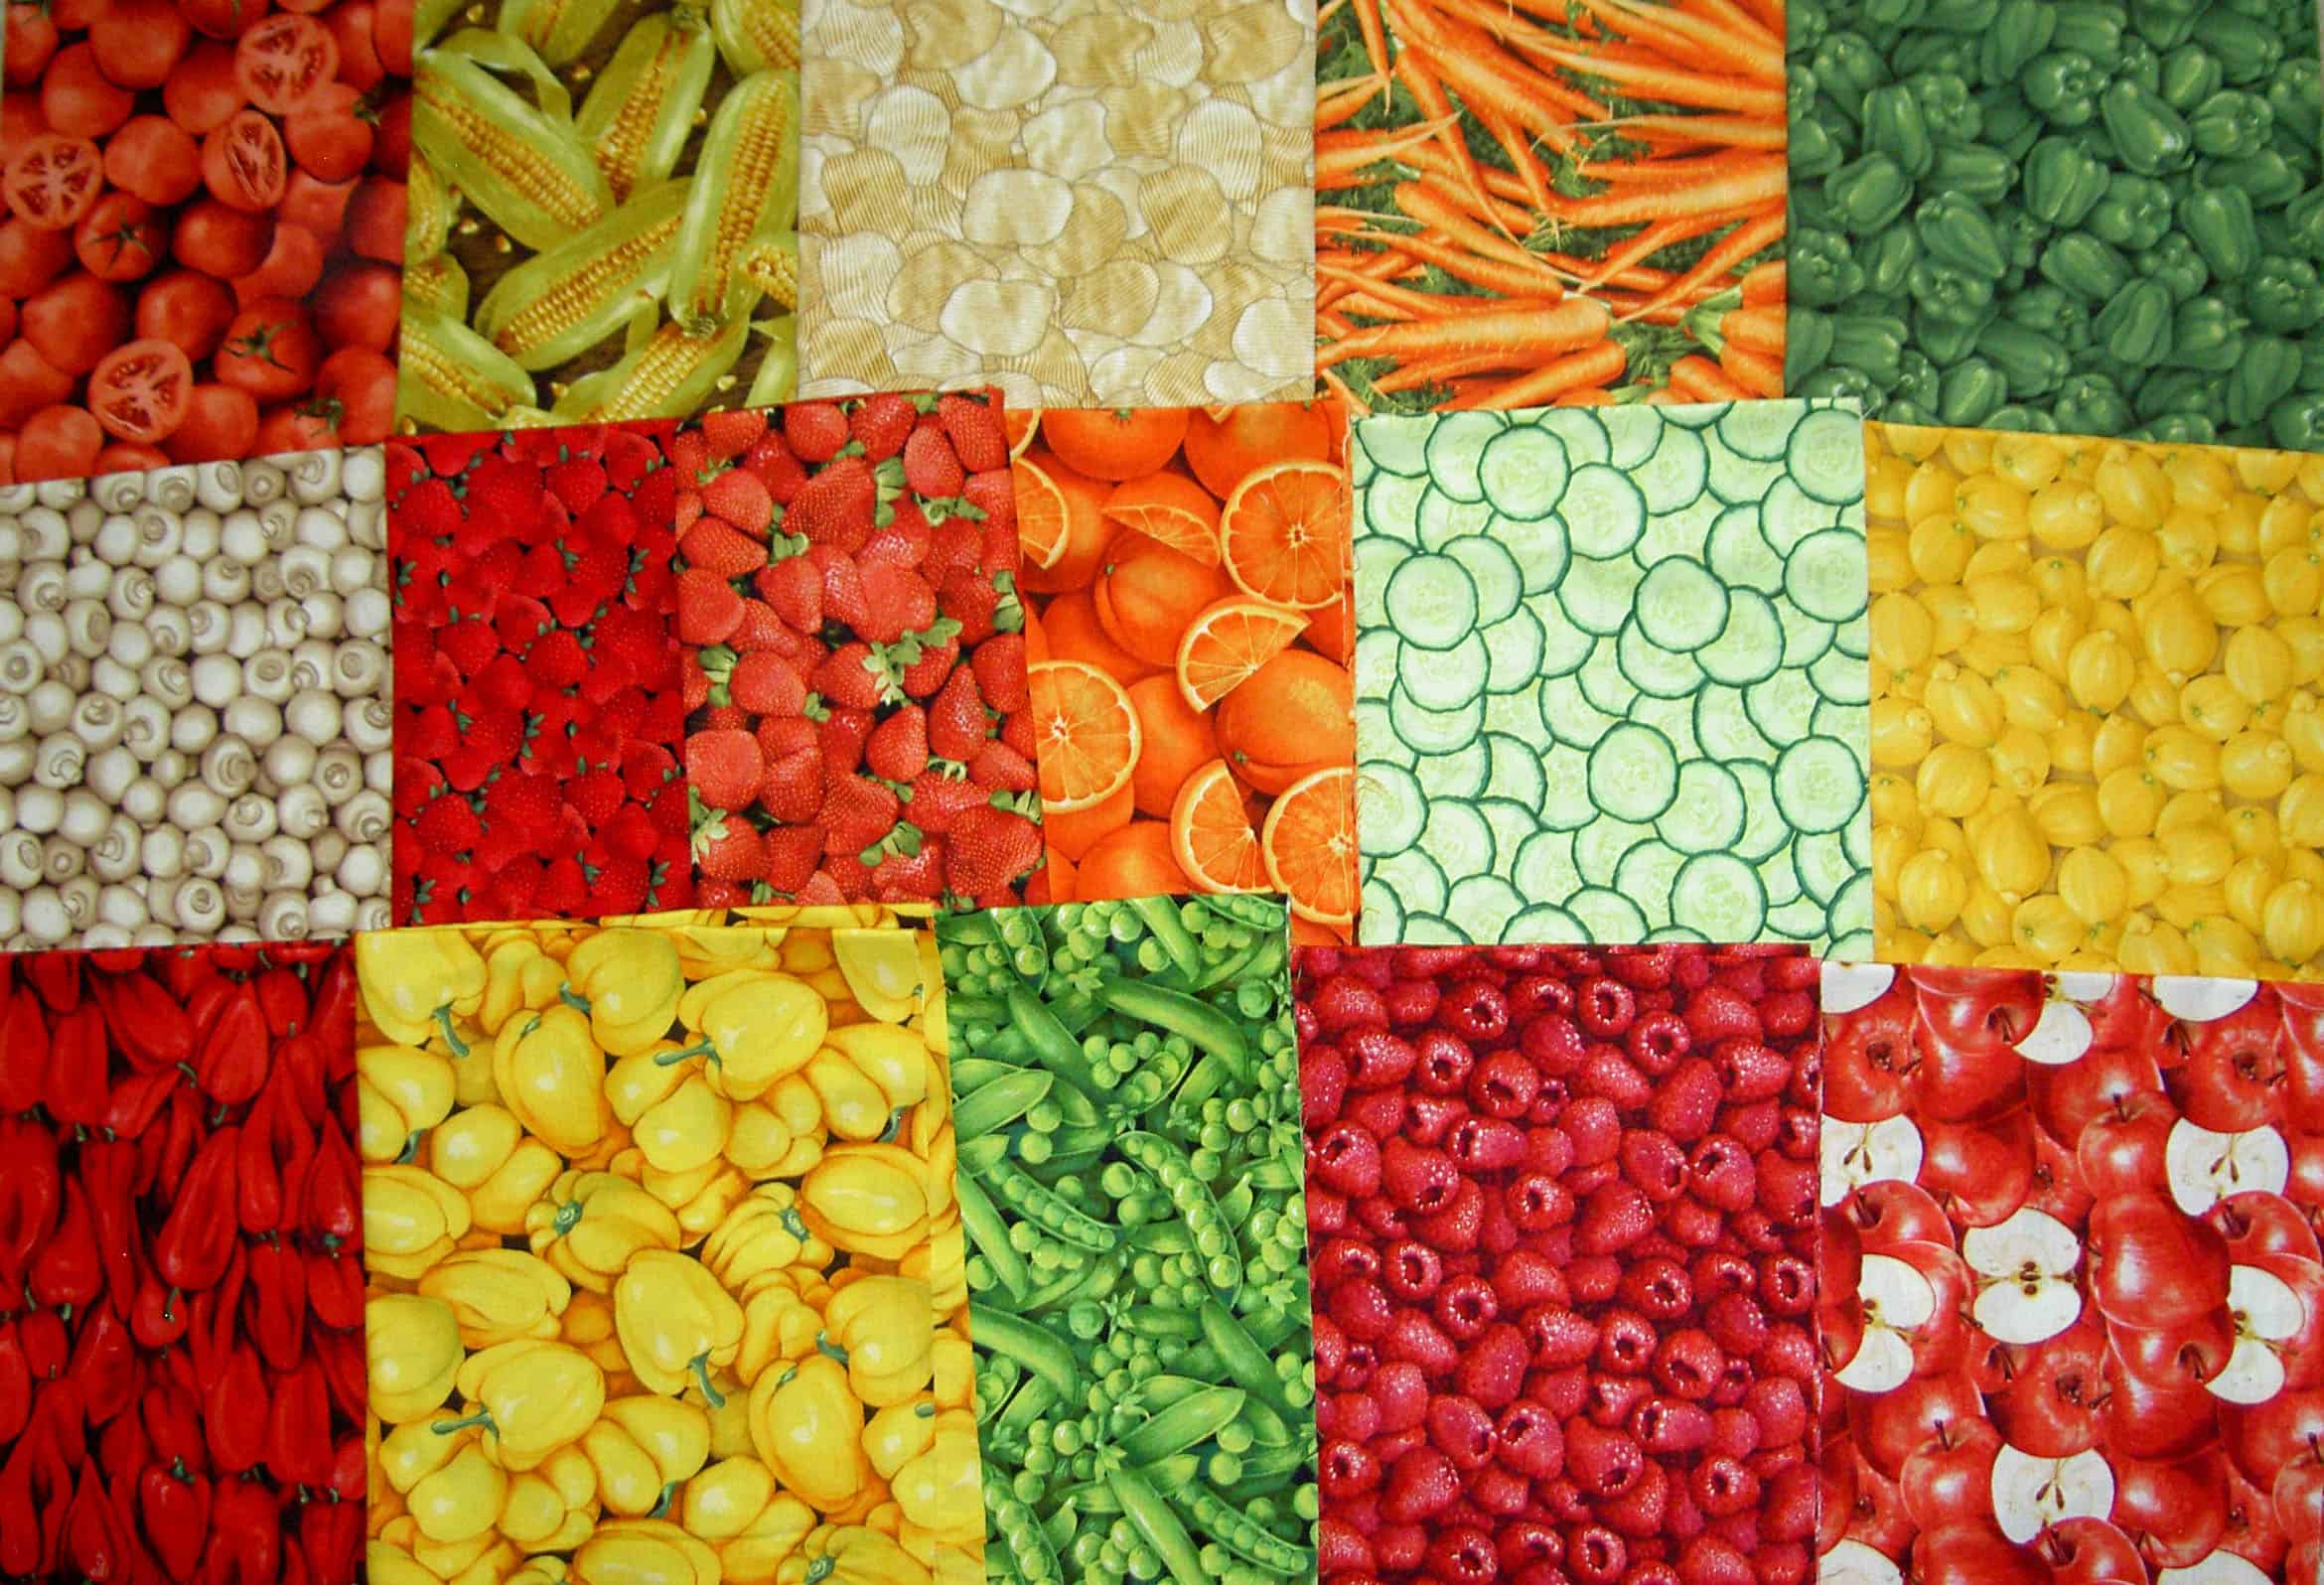
I started cutting when I found myself starting to wash and iron food fabrics AND when I started to run short of leaders and enders.
As you know I made an effort to get the Farmer’s Market fabrics put out by RJR. I was able to buy a nice selection in Pennsylvania. I also scrounged a bunch from my mom when she was done with her food quilts.
After that, it was time to do a test. I want to do a Disappearing 9 Patch. I saw Robin doing one at the CQFA 2011 Retreat and she got a lot of bang for her buck. I want something that won’t take forever, but won’t be boring. First, though I wanted to try it out.
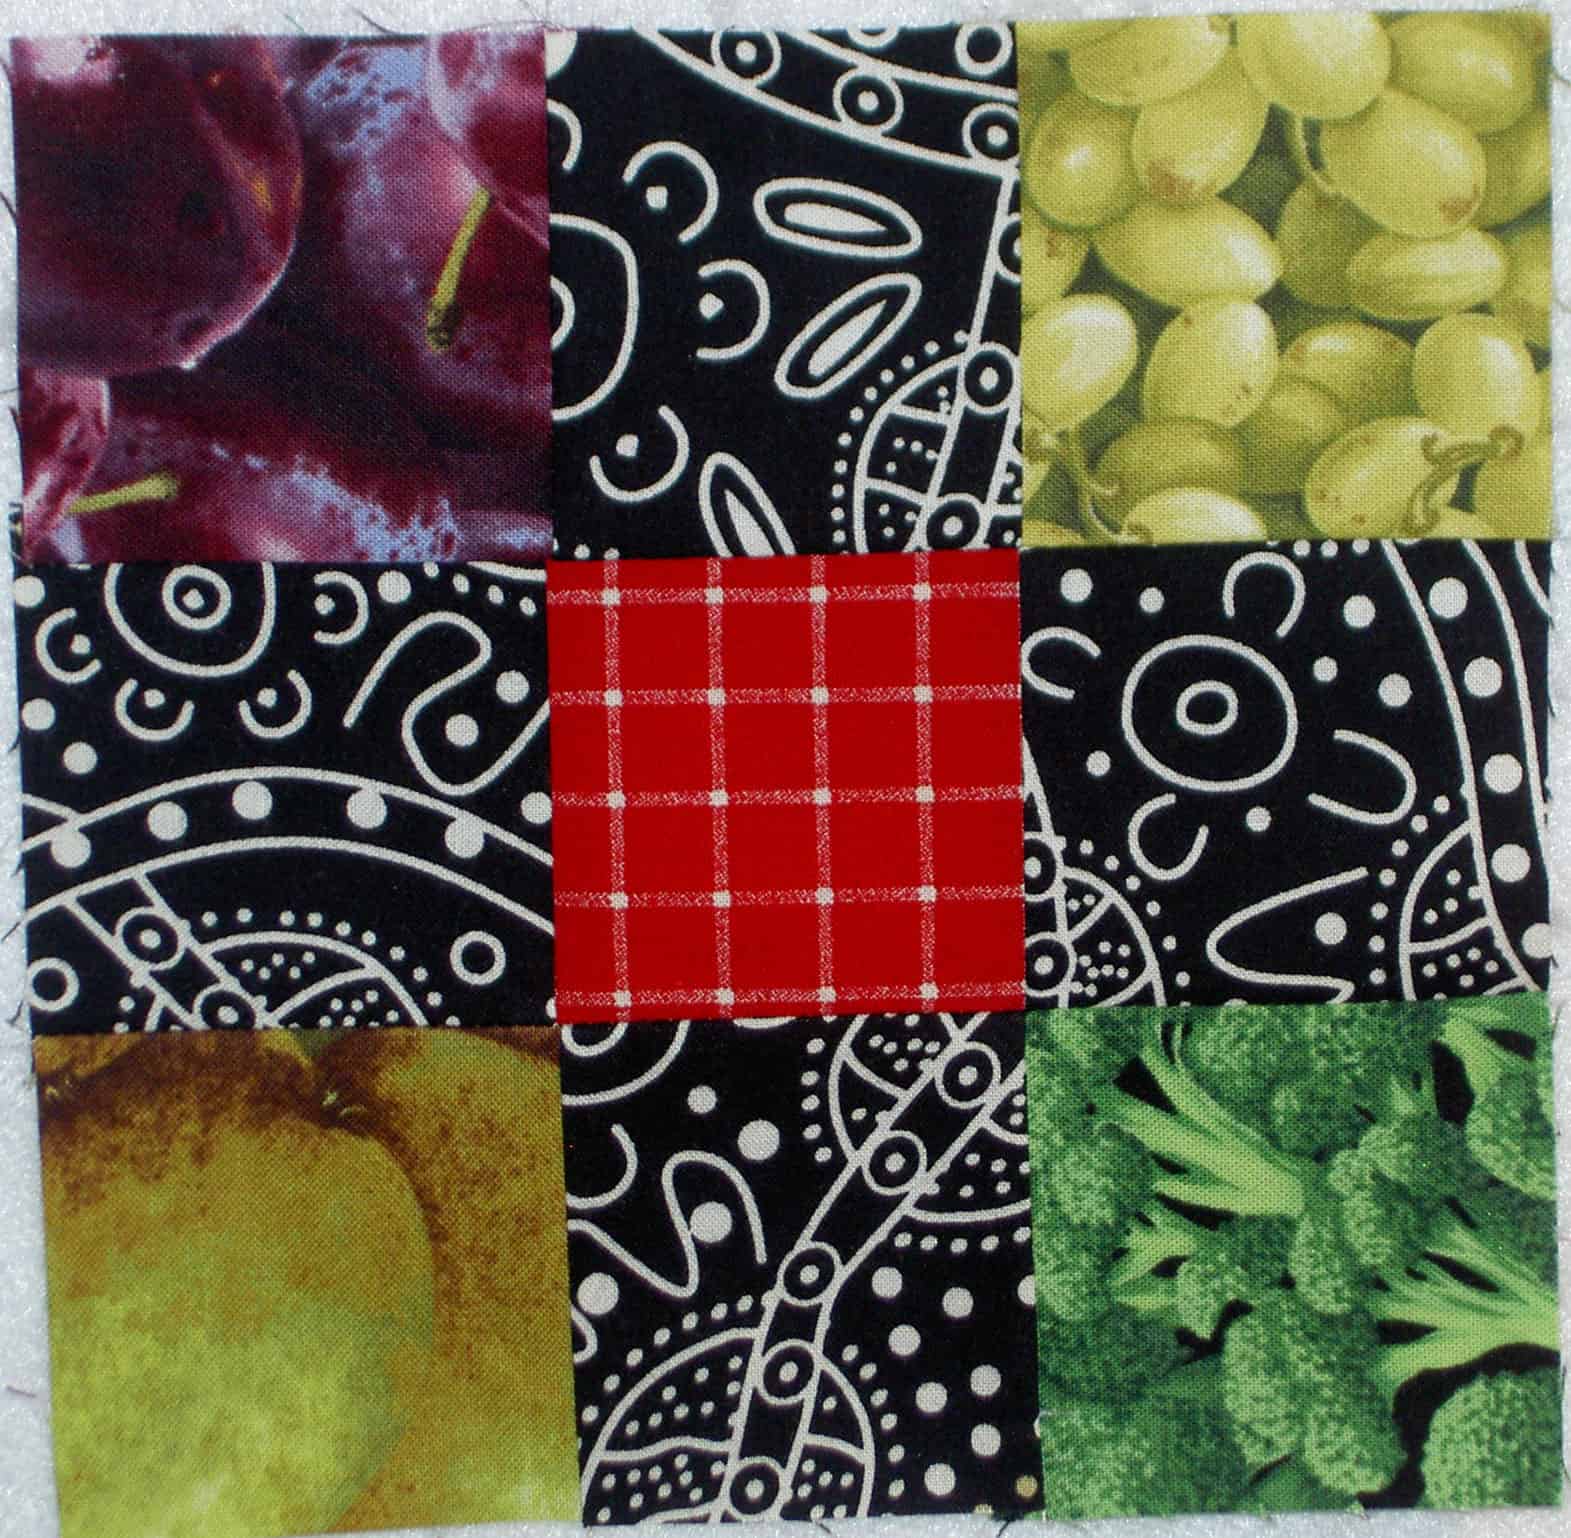
9 Patch Basic Layout
I am thinking I will make the real squares 6.5″. I didn’t want to commit that much fabric to a test, so I made the test group much smaller. The squares for each part of the test 9 Patch are 2.5″ cut. The above shows you the look I am thinking of using: food fabrics in the corners, white on black print on the middle outsides and red in the center. The Young Man gave his seal of approval, though wanted to know where the pizza fabric was, so I’ll have to rethink not including pizza fabric (it isn’t part of Farmer’s Market).
9 Patch Sewn9 Patch Cut & Rearranged
The blocks look good and I think my idea will work. As I said the real blocks will be on a much larger scale. I think that the rearrangement of the blocks in that kind of infinity pattern will look good as well. Things to which I need to pay attention:
not to many green food fabrics in the same block
cut up lots of reds and blacks, if I really want to get moving
9 Patch Alternate
This is another way I could arrange the block parts. It has kind of a self sashing thing going. I don’t think I would want to do this unless I added more sashing to the center, which would be a lot more work. I don’t see any reason to cut up the 9 Patch in the Disappearing 9 Patch manner if I am just going to add more sashing to the middle. I might as well cut squares and sash them.
I really should have put a quarter or a dime next to these blocks so you can get an idea of how large they are, but I didn’t think of it before I took the photos. As a result, I don’t know if you will be able to to tell how large the final cut patches are?
First 4 Real Sized Patches
As I iron fabric, I cut these large squares out and set them aside. I was finishing up Stars for San Bruno #2 when I first cut these, so I didn’t cut any black/whites or reds. I’ll get to it.
Yes, I really did it! I made the first quilt in this series and it is finished. I have brought it around to CQFA and BAMQG and shown the contributors in those groups. I want as many people as possible who contributed blocks to see it before I give it to DH’s cousin.
Now I have to call the cousins and arrange to bring the quilt. I am nervous, since I don’t know them that well. I’ll let you know how it goes.
Nota bene: the Block-a-long will return next week.
These pillows have been languishing in my fabric closet for so long they weren’t even on my WIP list. They were yelling at me very loudly on Saturday after I finished the Teacher Pillows. I was inclined to work on them since they were taking up valuable floor space in my fabric closet.
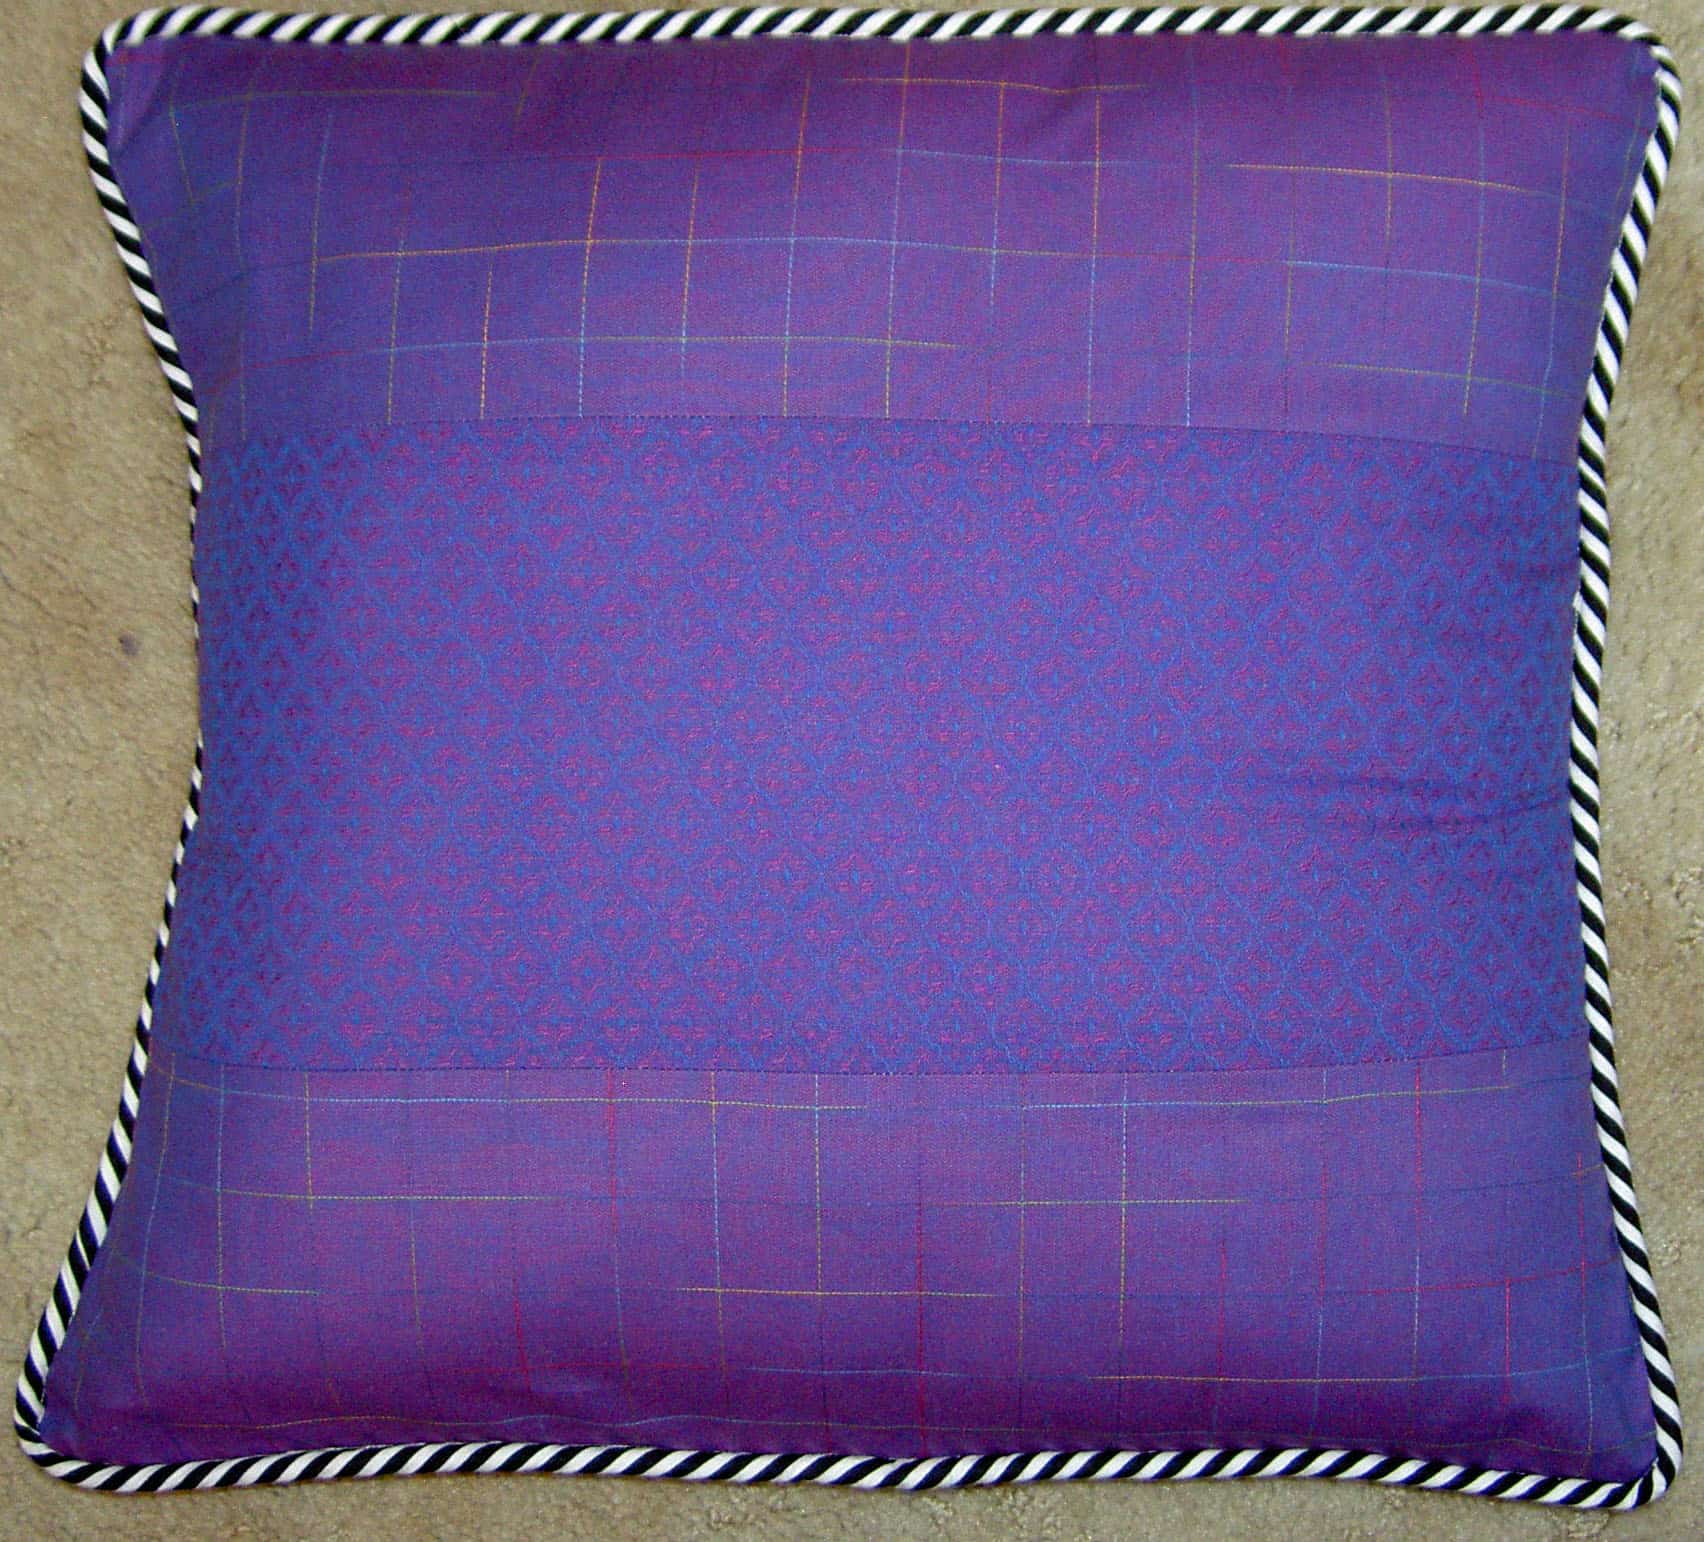
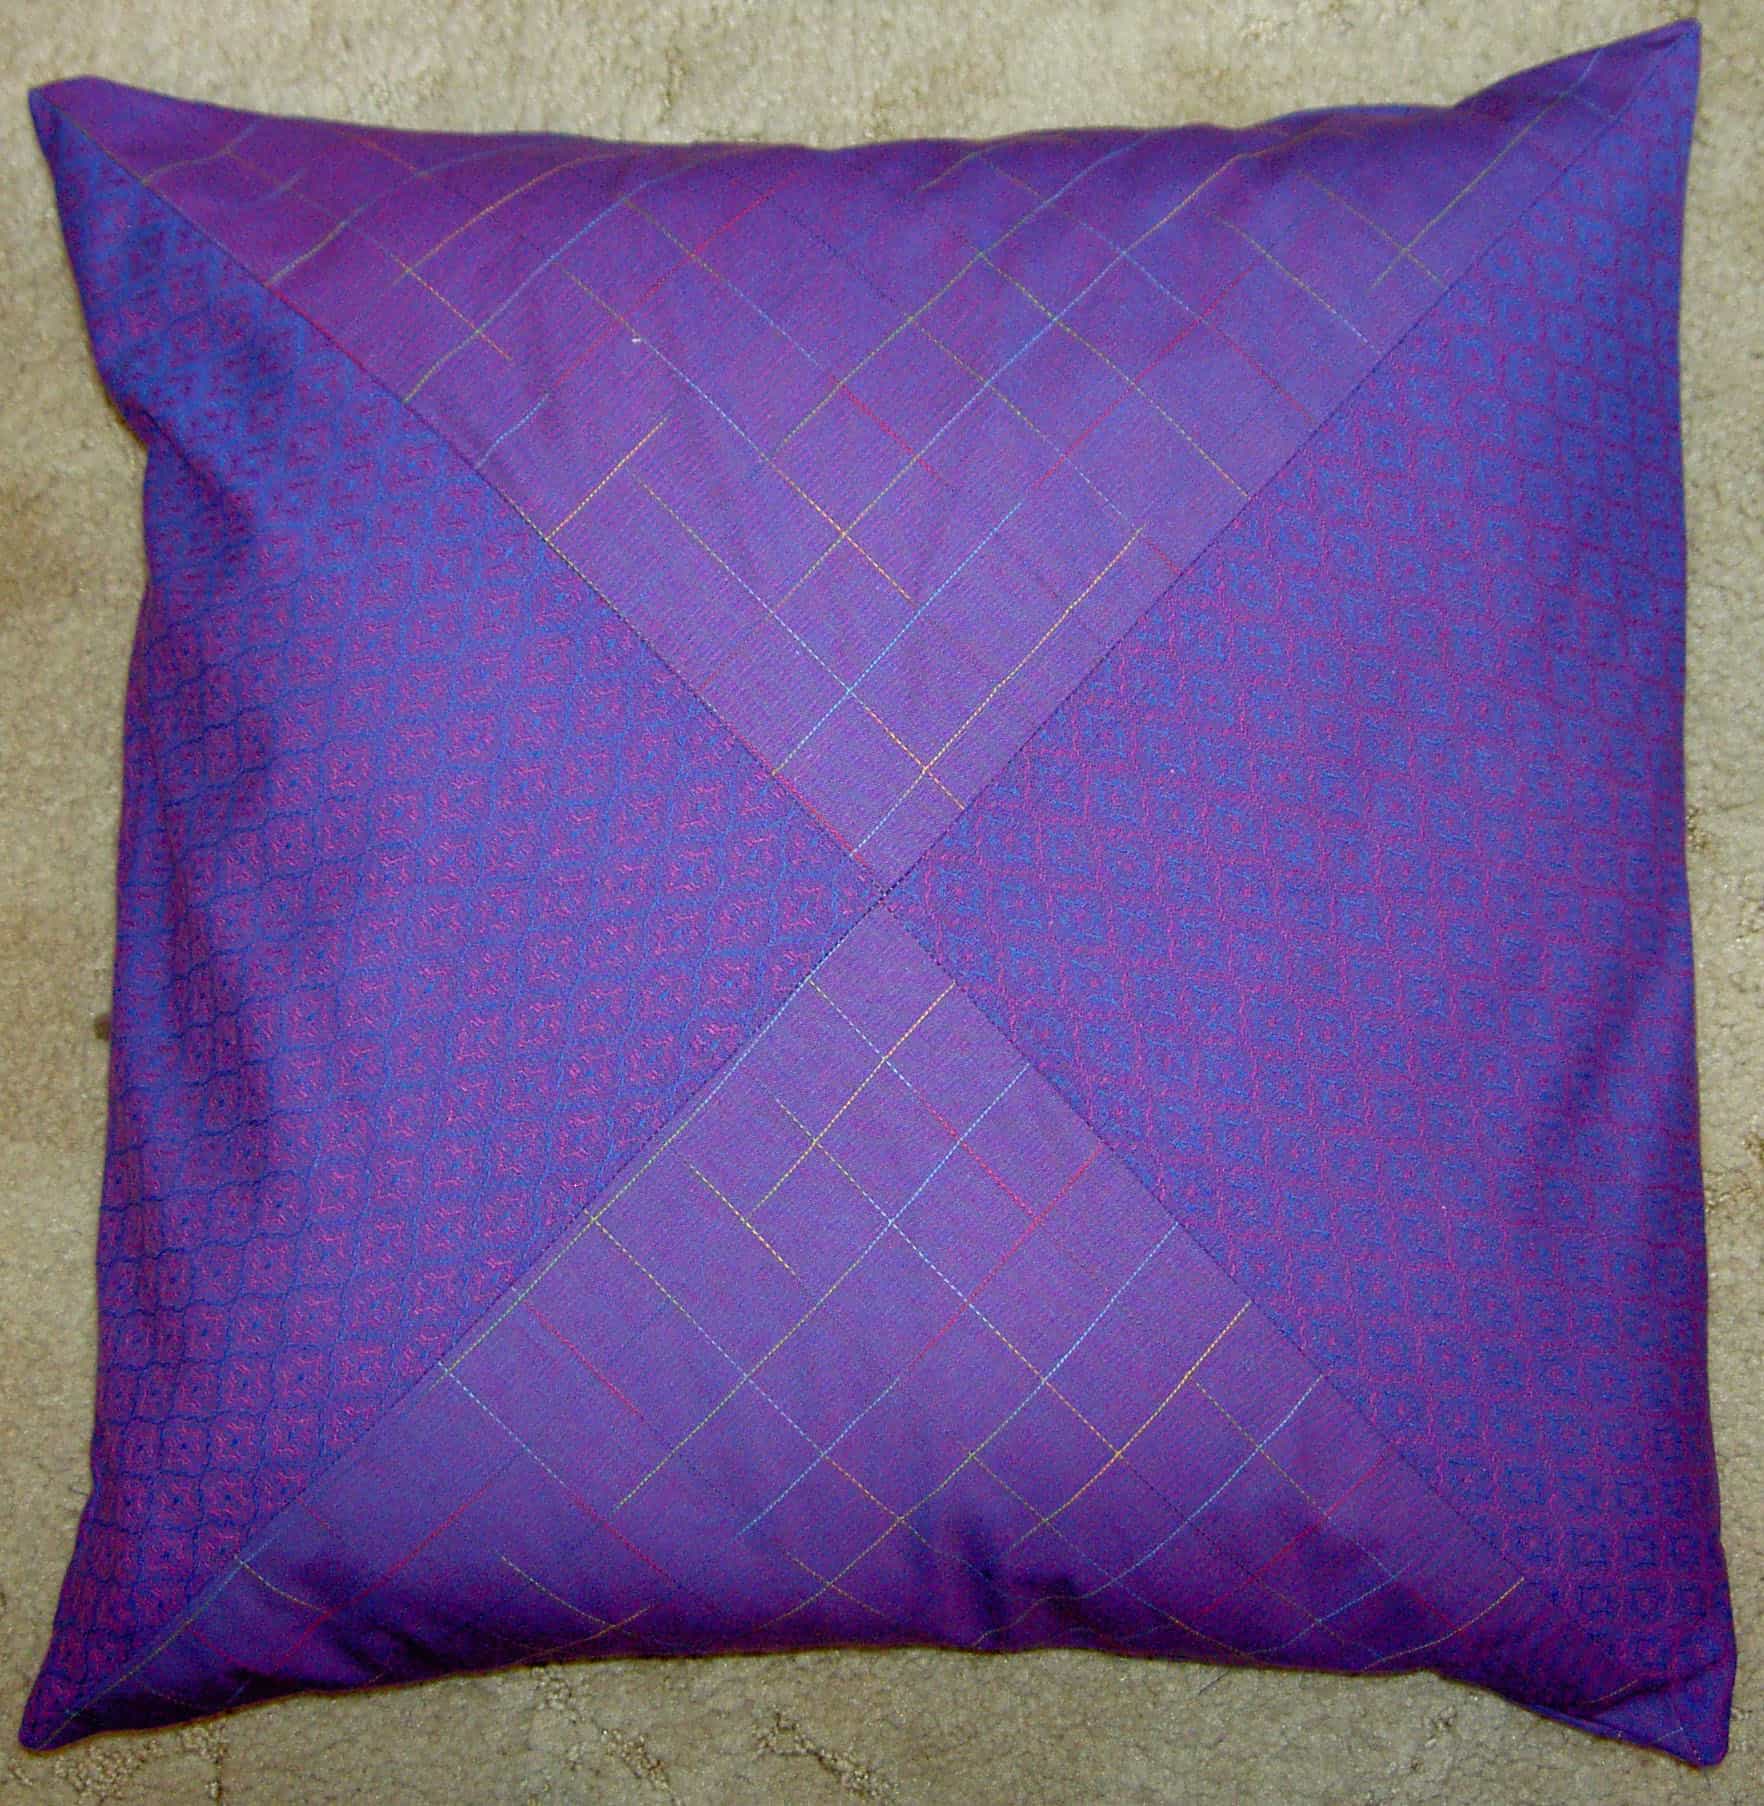
The class I took at the Sewing Workshop was called Simply Pillows and Linda Lee taught the class. I took the class in 1999. Most people didn’t piece their pillows, but since I was enamored with quiltmaking I decided to piece my pillows. We learned to do piping and the striped piping on the pillow above was already done when I took the pieces out of the bag on the weekend. I had to sew one seam and I was done. It is pathetic that I let this project languish for so long.
Actually, I was kind of surprised that I took the class in 1999, because I thought for sure I had taken it when I lived closer, but the dates are in my handwriting on the folder. Very strange.
Simply Pillows Class Project #2
The hourglass pillow did not finish as intended. I put on some piping, which was in the bag of supplies. I found out that the back wouldn’t fit, because, apparently, I needed to trim the front of the pillow before adding the piping. I took off the piping and just sewed the back to the front and called it done.
Whenever I finish the Teacher Pillow Project, I always feel a little sad. This is even after ripping half my hair out and spending way more time than I wanted in the process. Crazy, I know.Somehow the end result of a little pile of pillows is wonderful. And this is the last year I am doing this. The Young Man goes to high school next year and, except for special occasions or for special recognition, I am resolved to not make this many pillows again. (I know you are thinking “Famous Last Words.” Stop thinking that!)
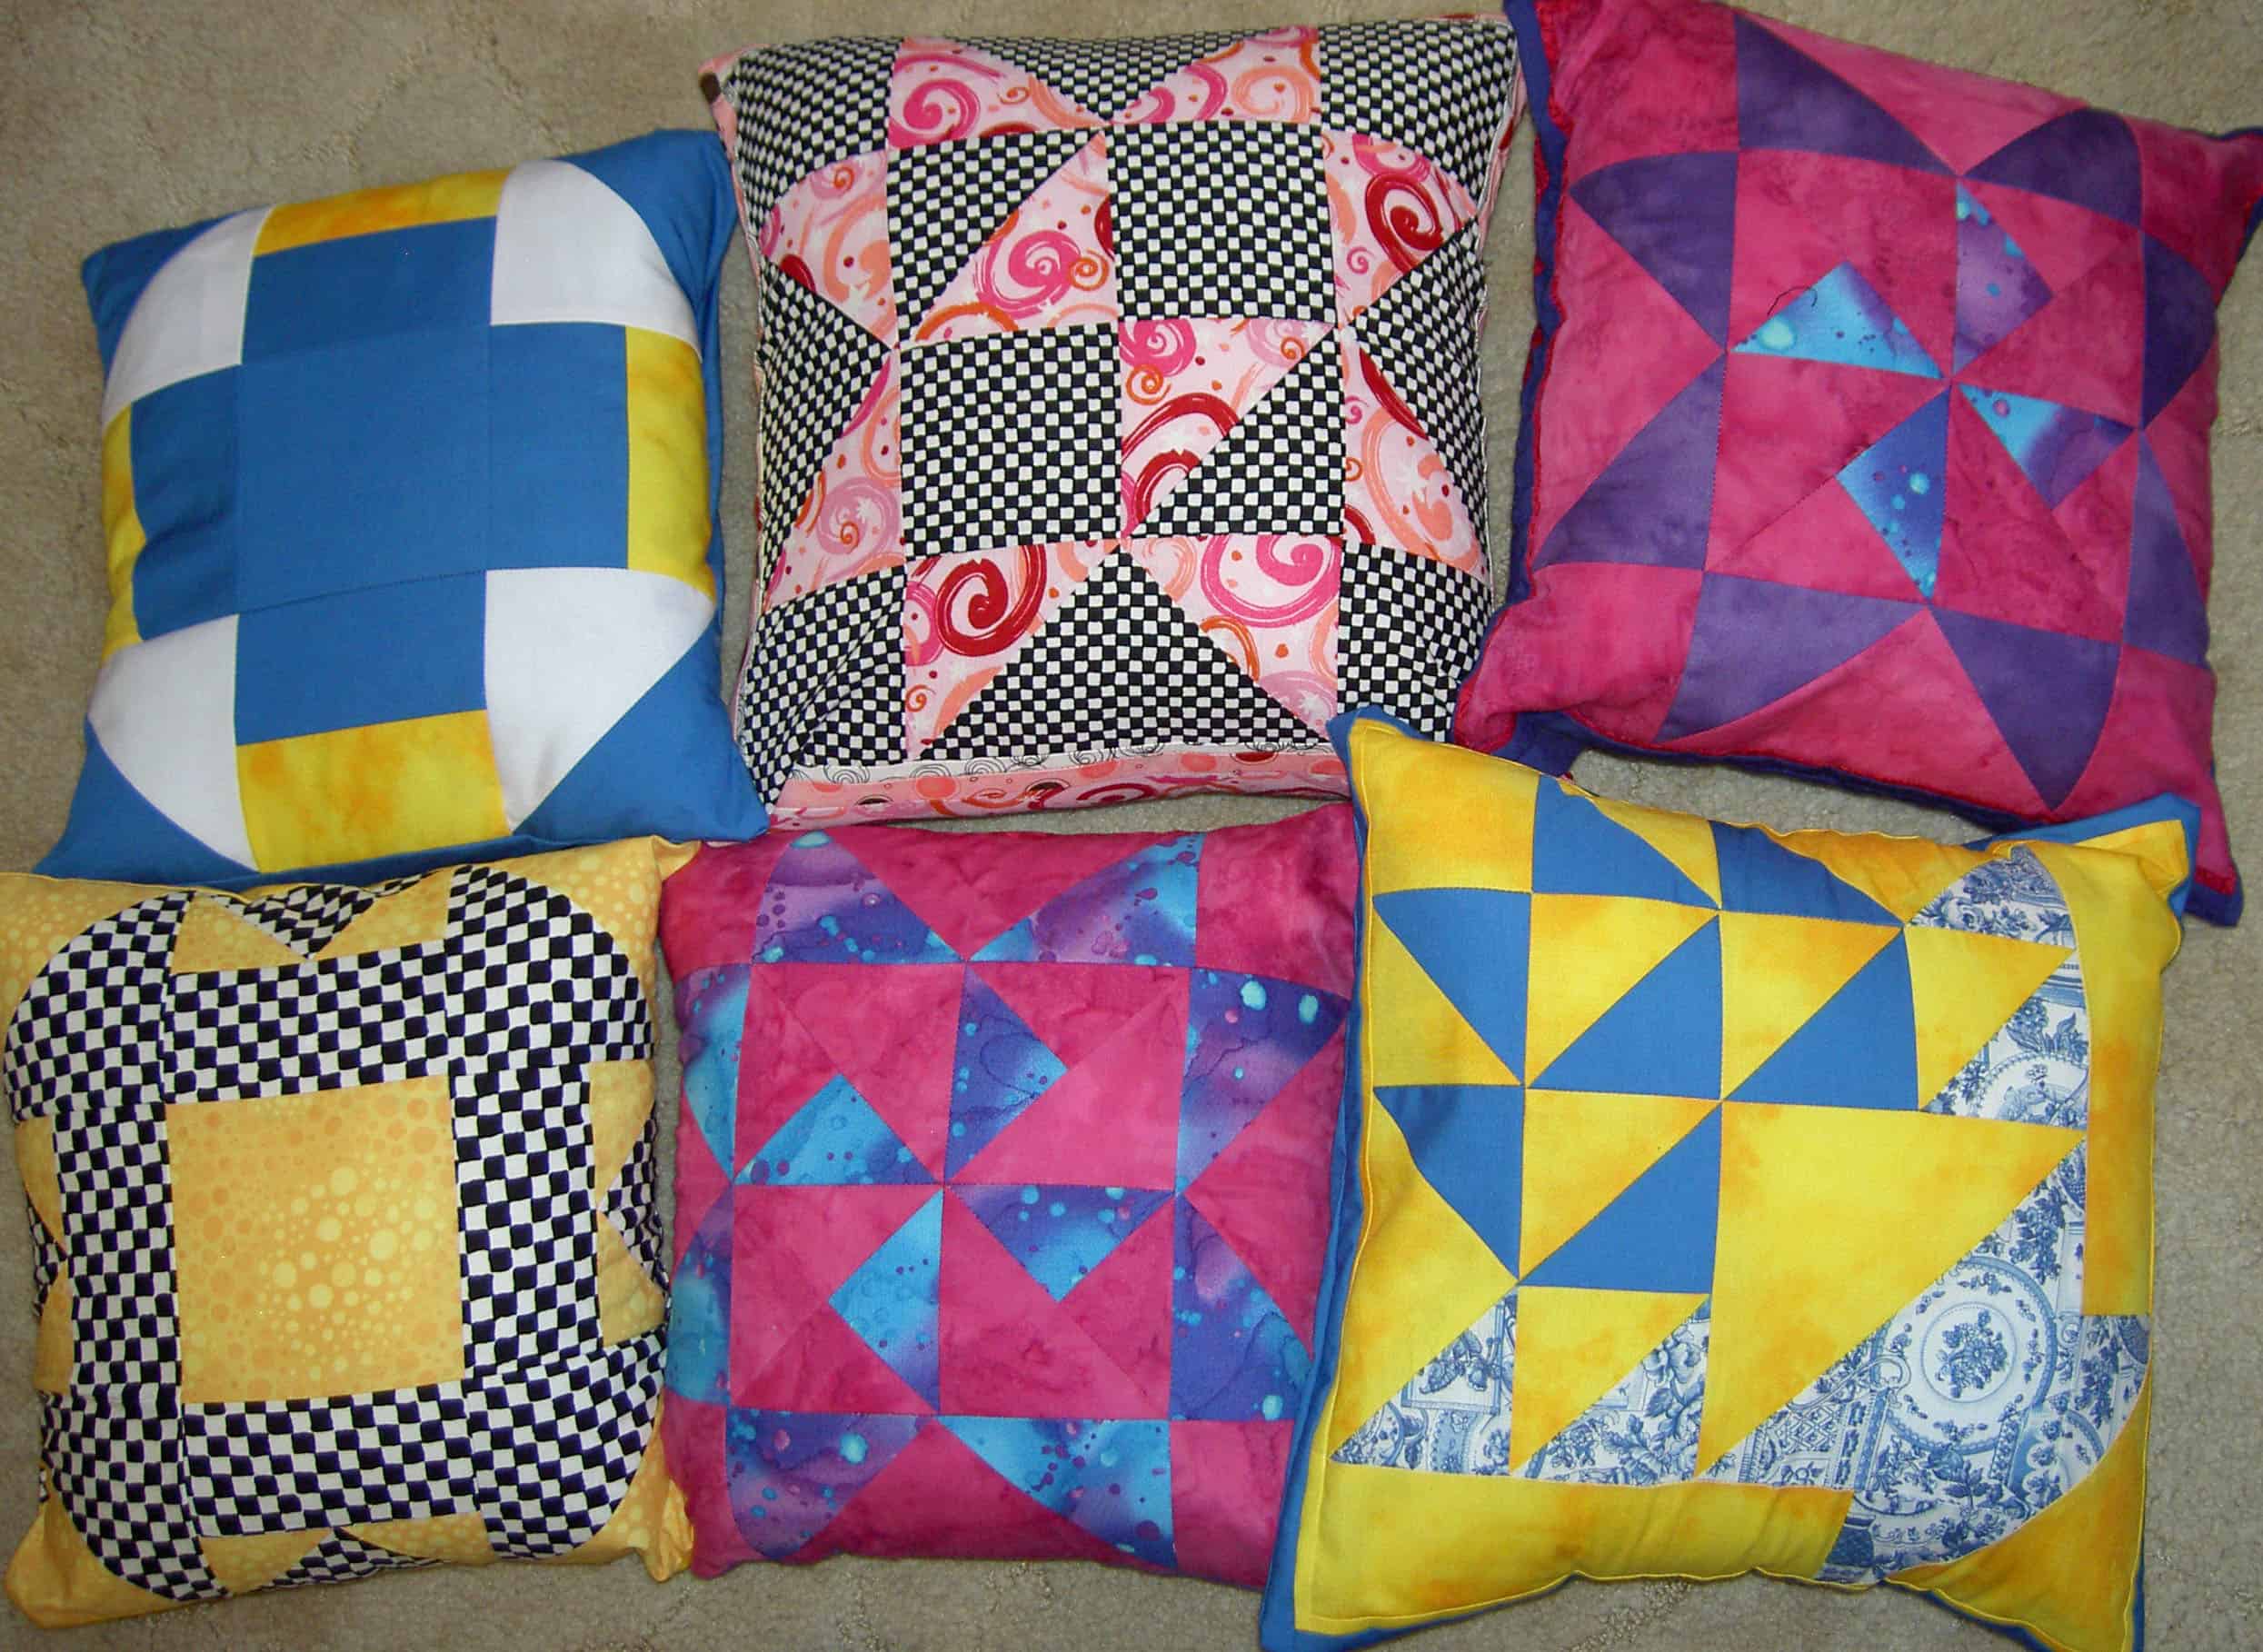
2011 Teacher Pillow Group
This year I had 5 pillows to make, but decided, as I talked about yesterday, to also make a pillow for the Art Teacher, leaving me with a total of 6 pillows to make.
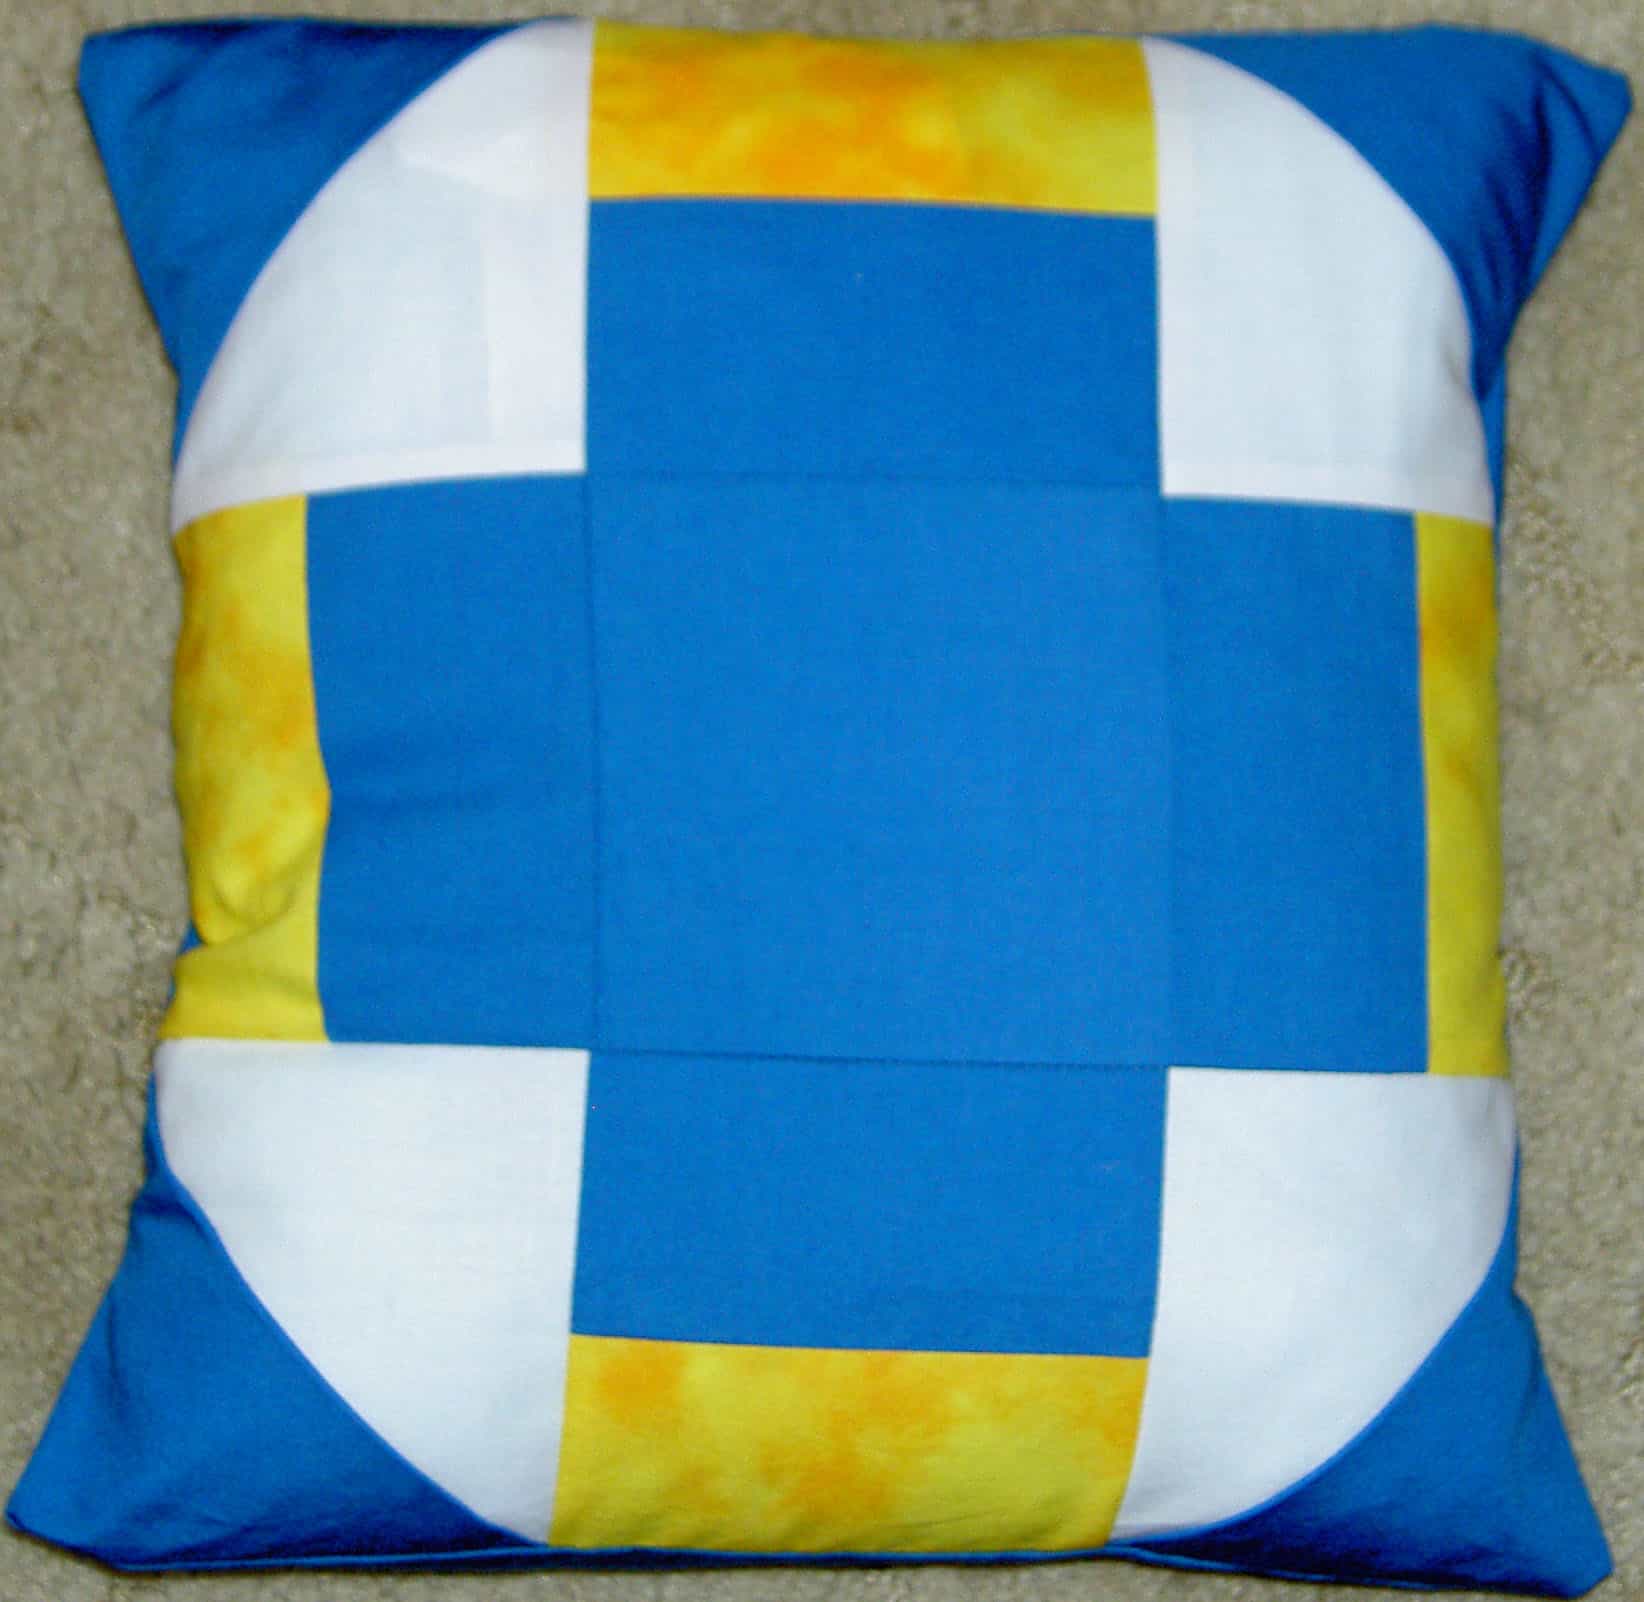
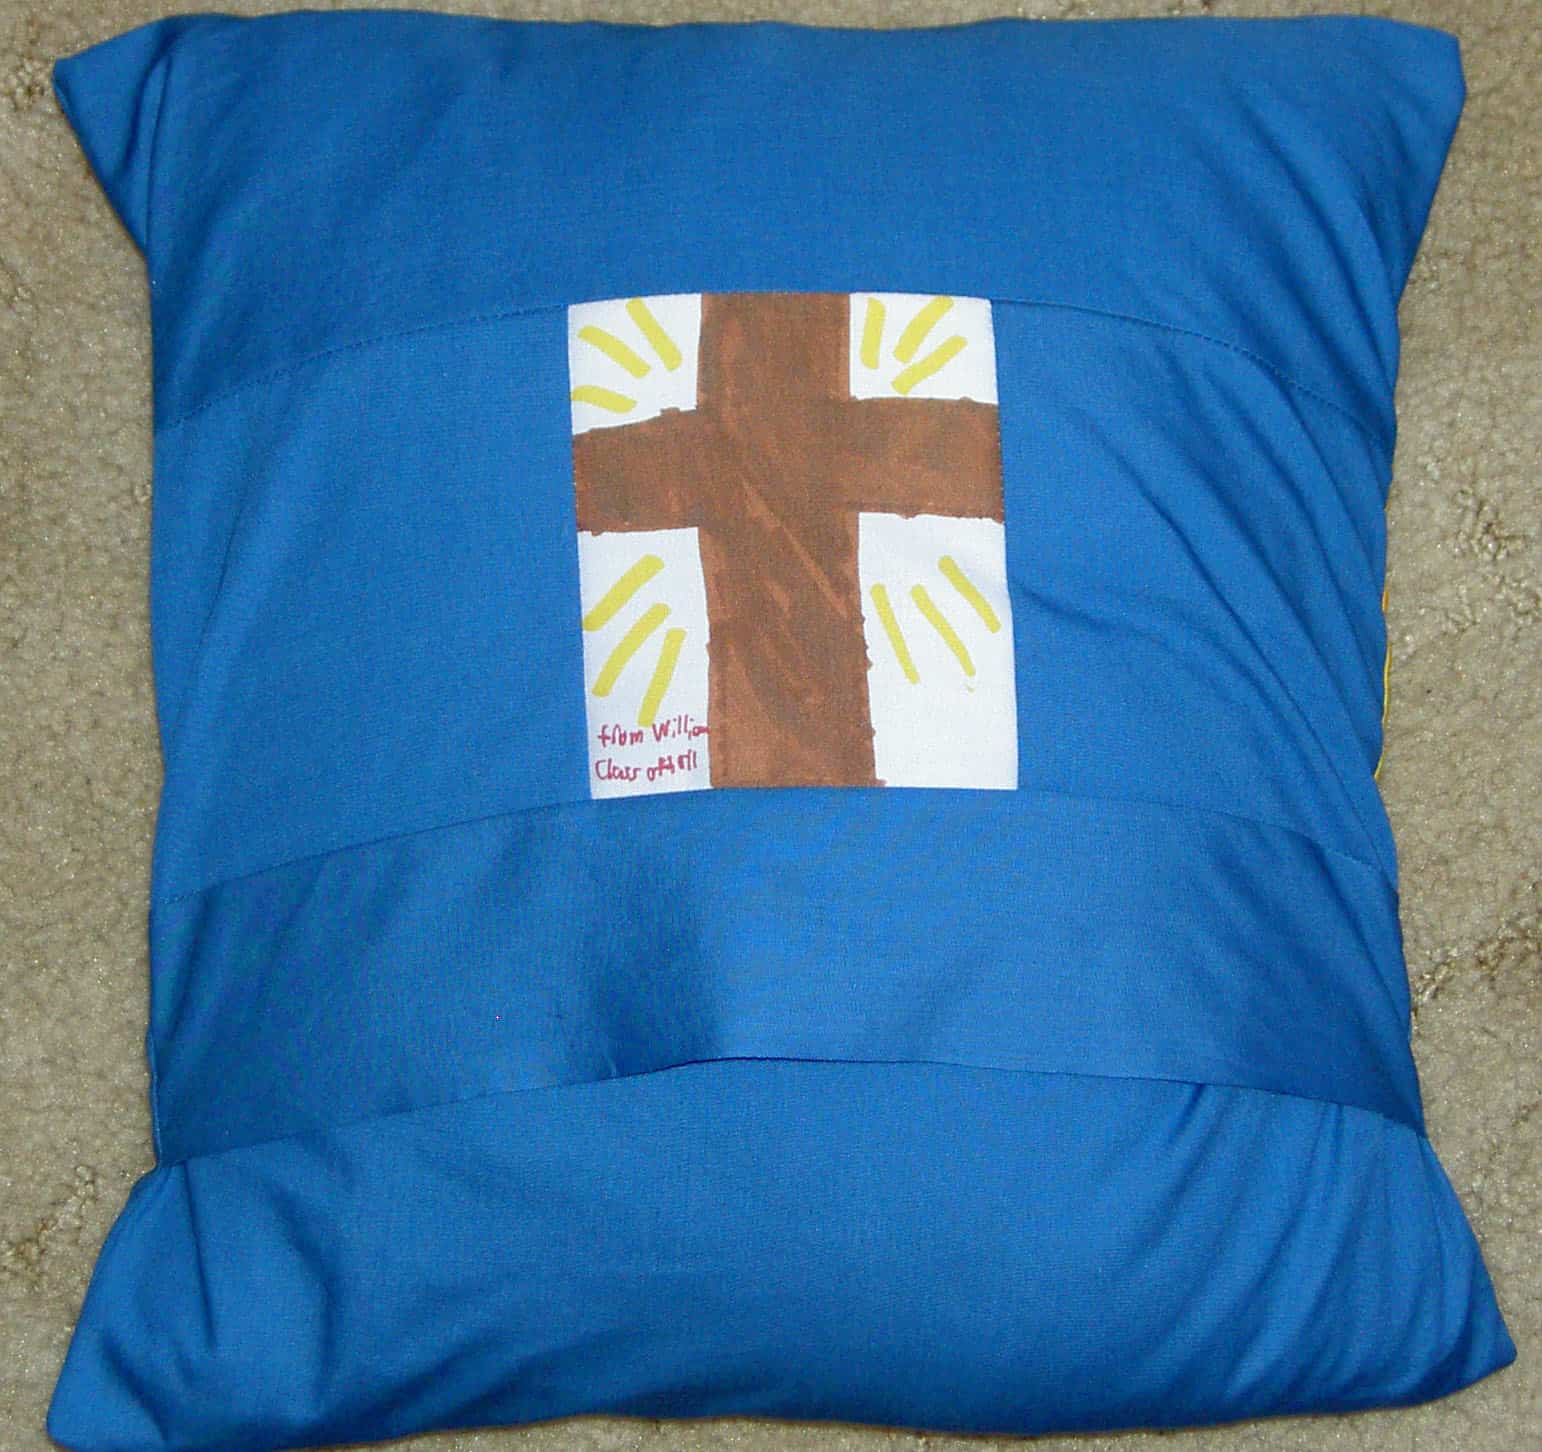
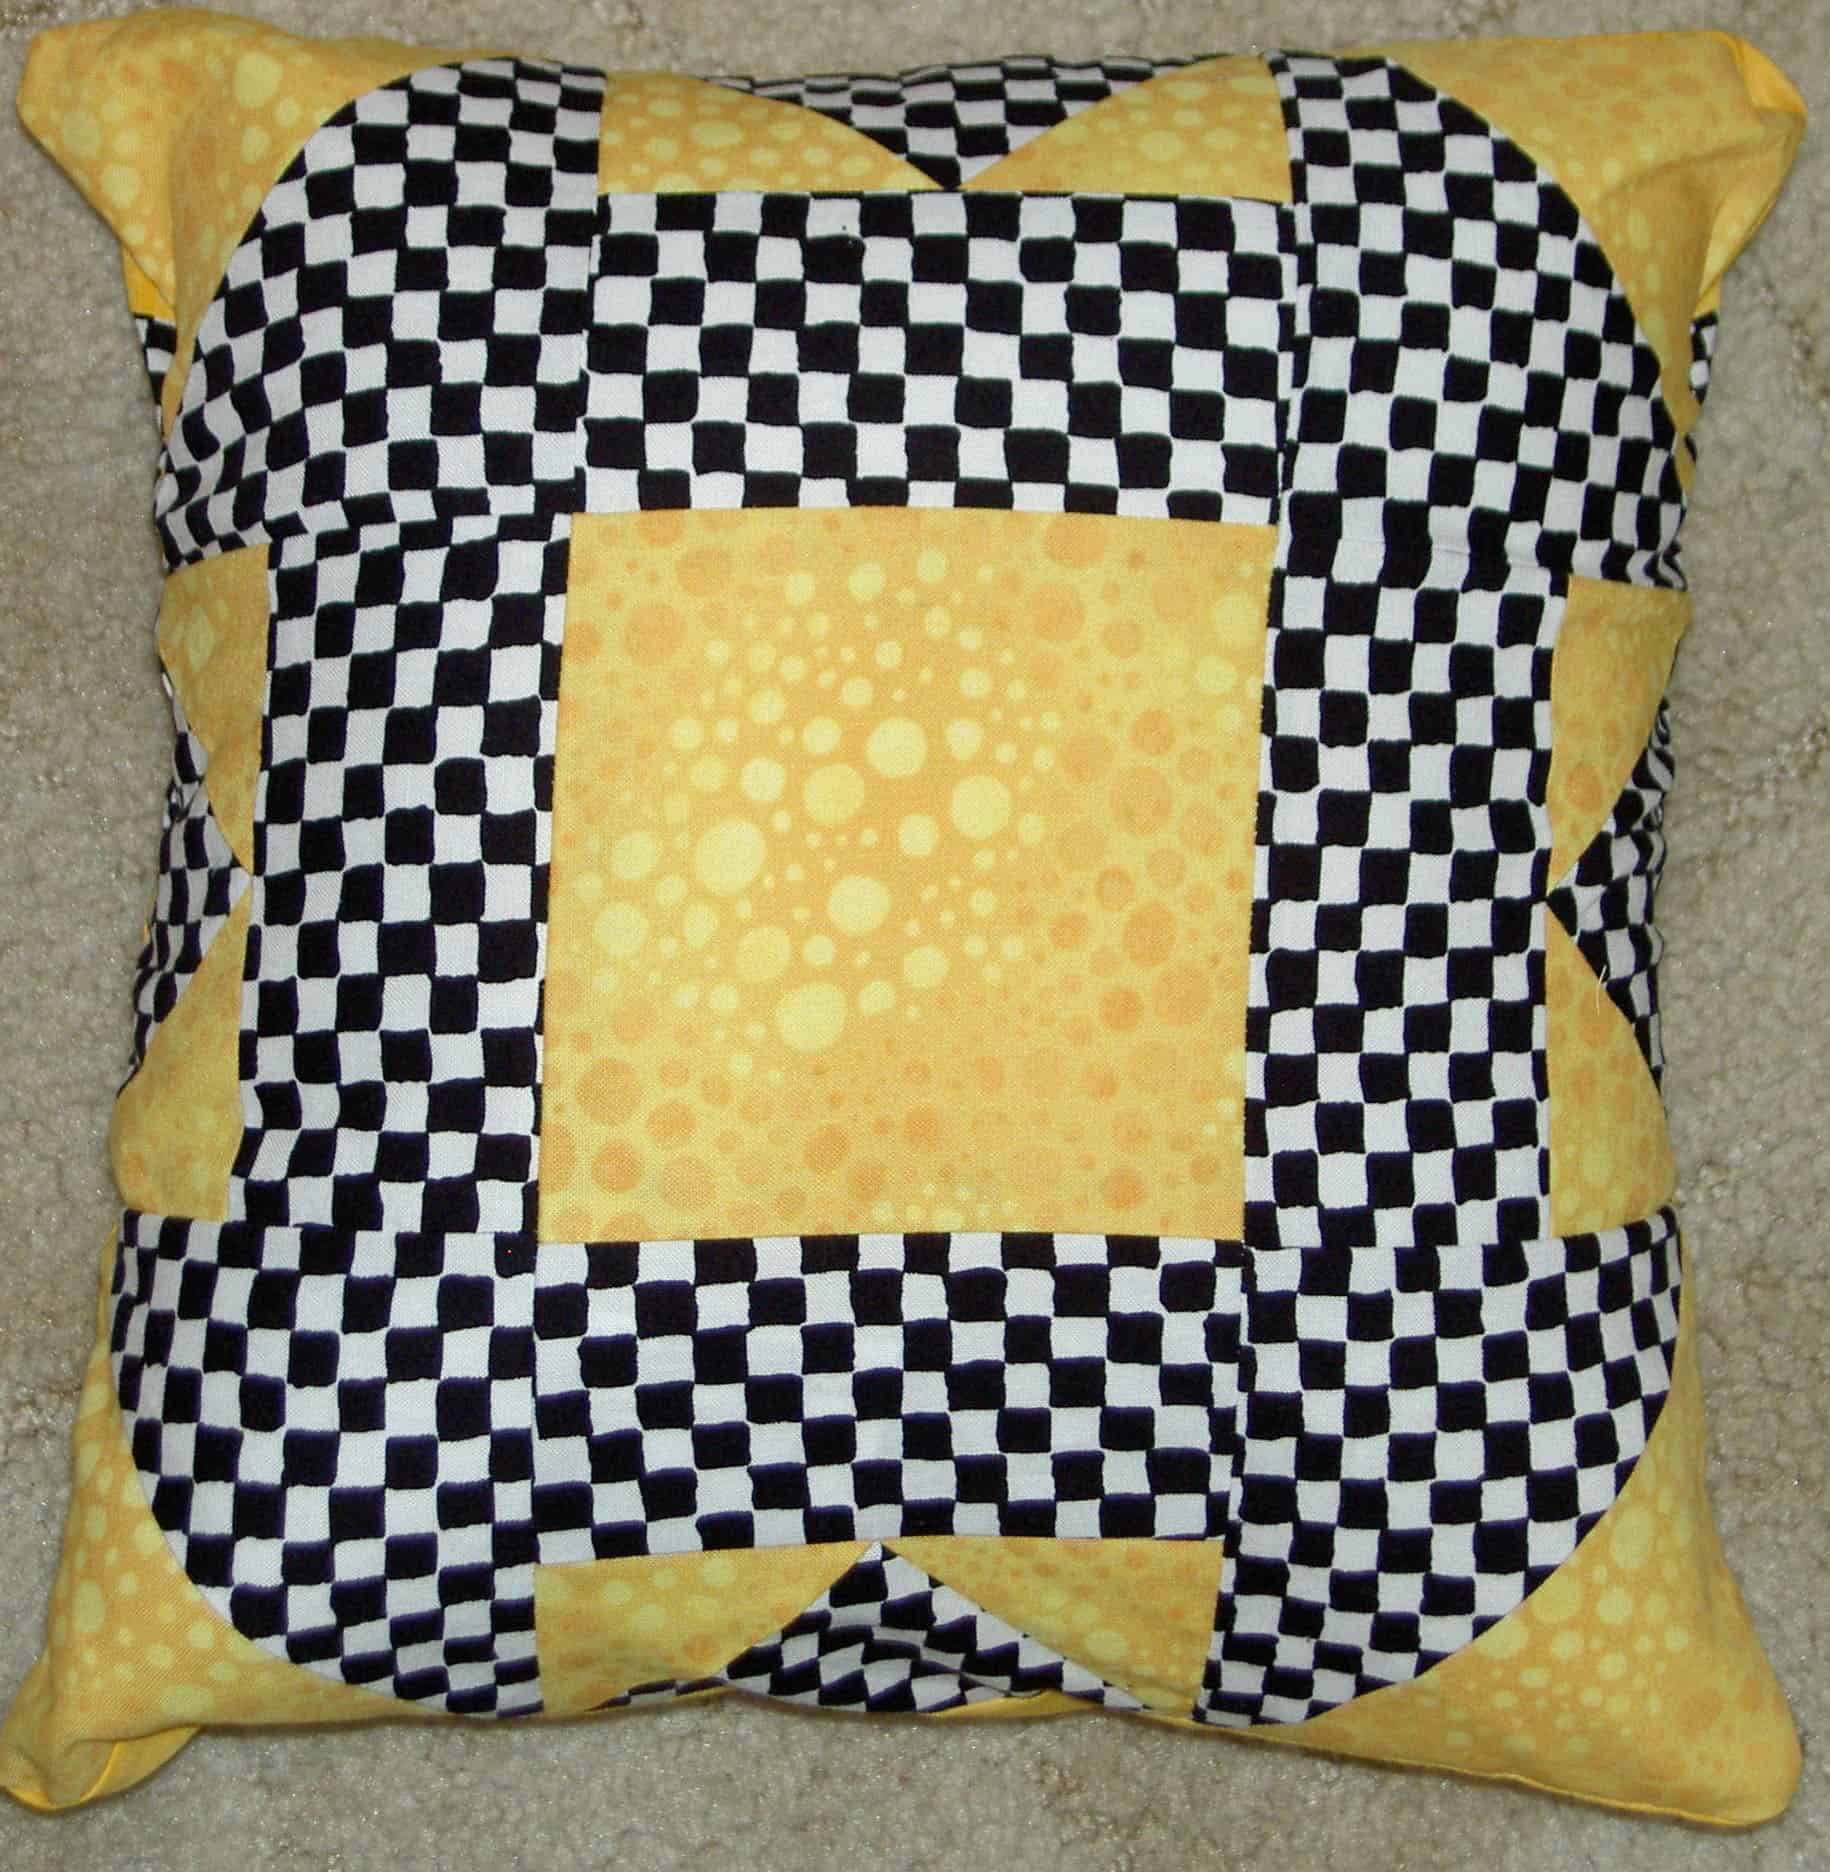
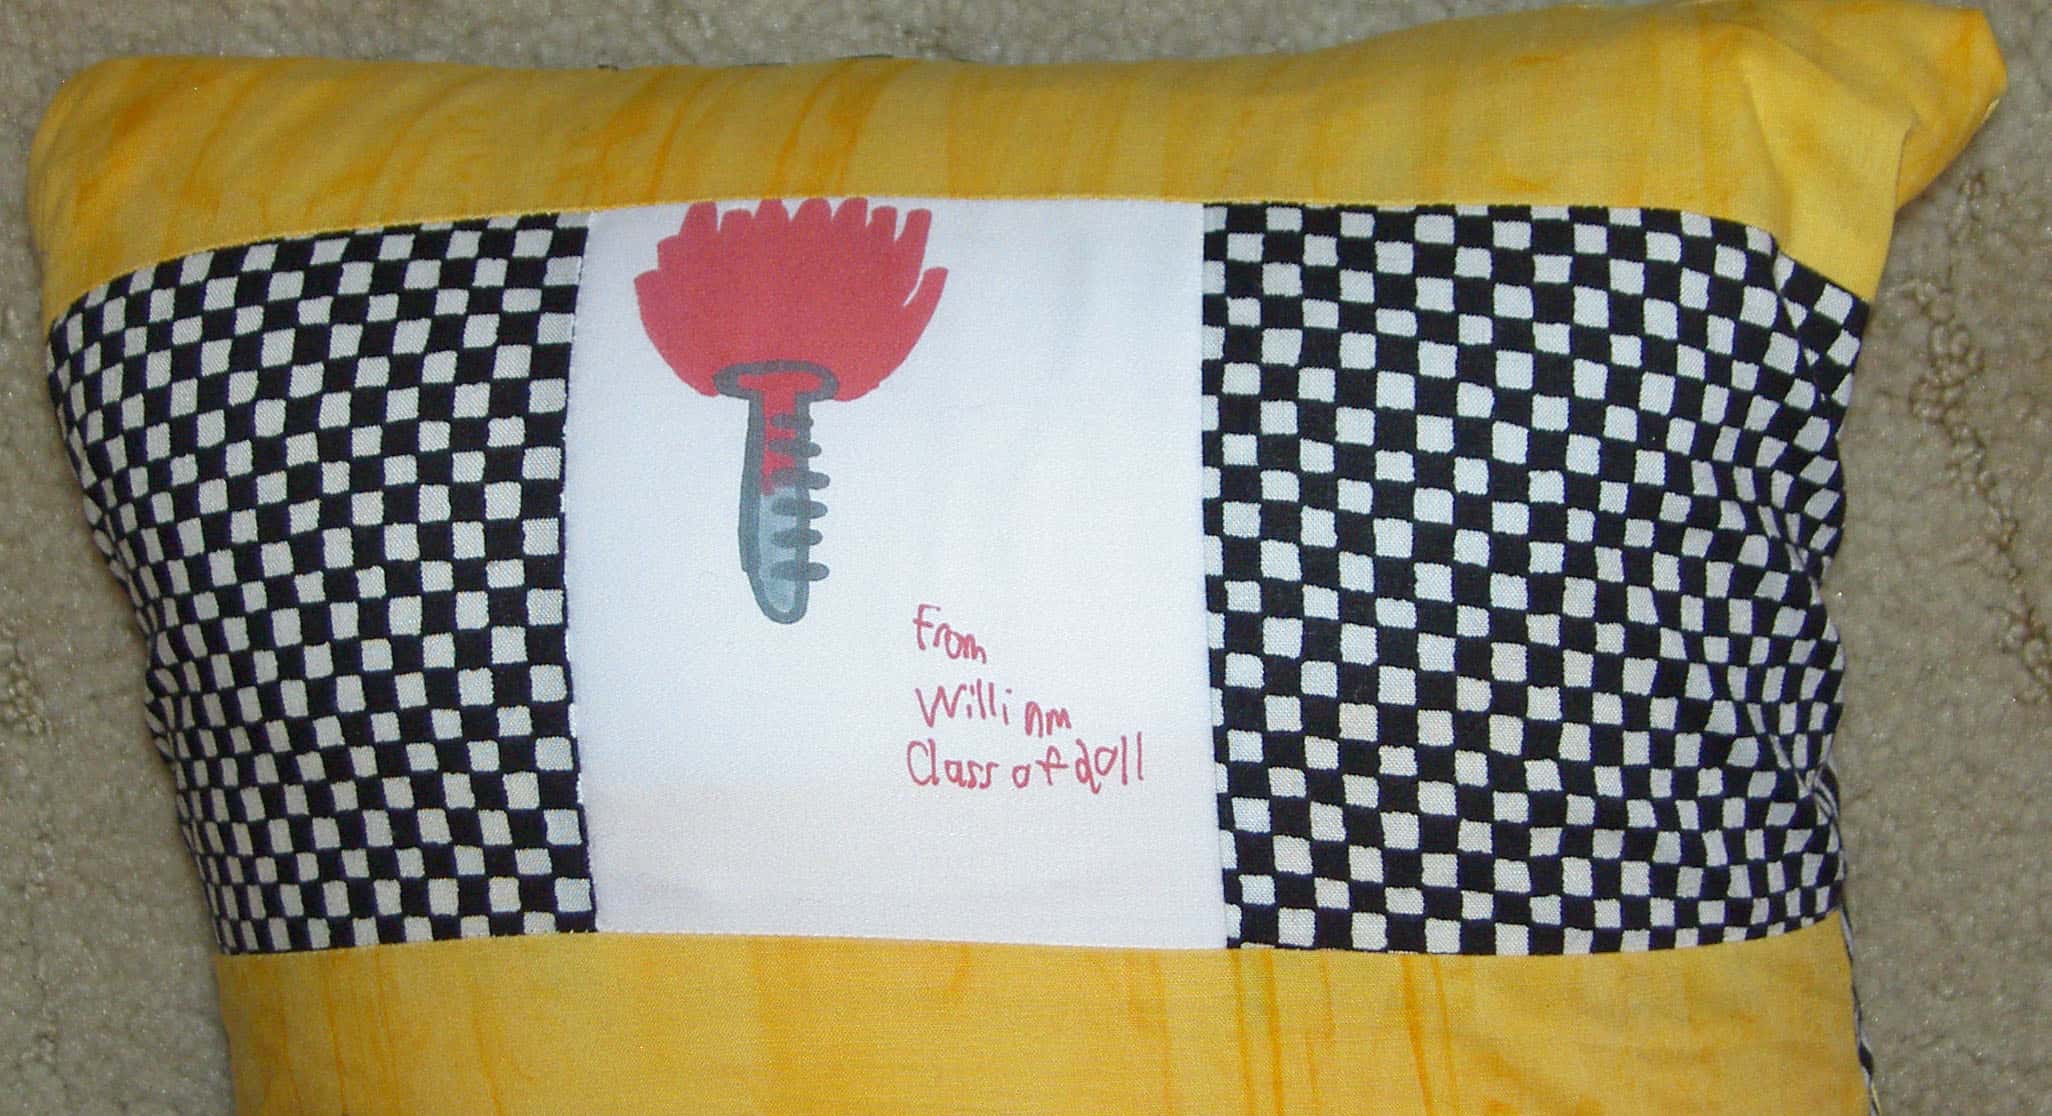
2011 Religion Teacher PillowReligion Teacher Back
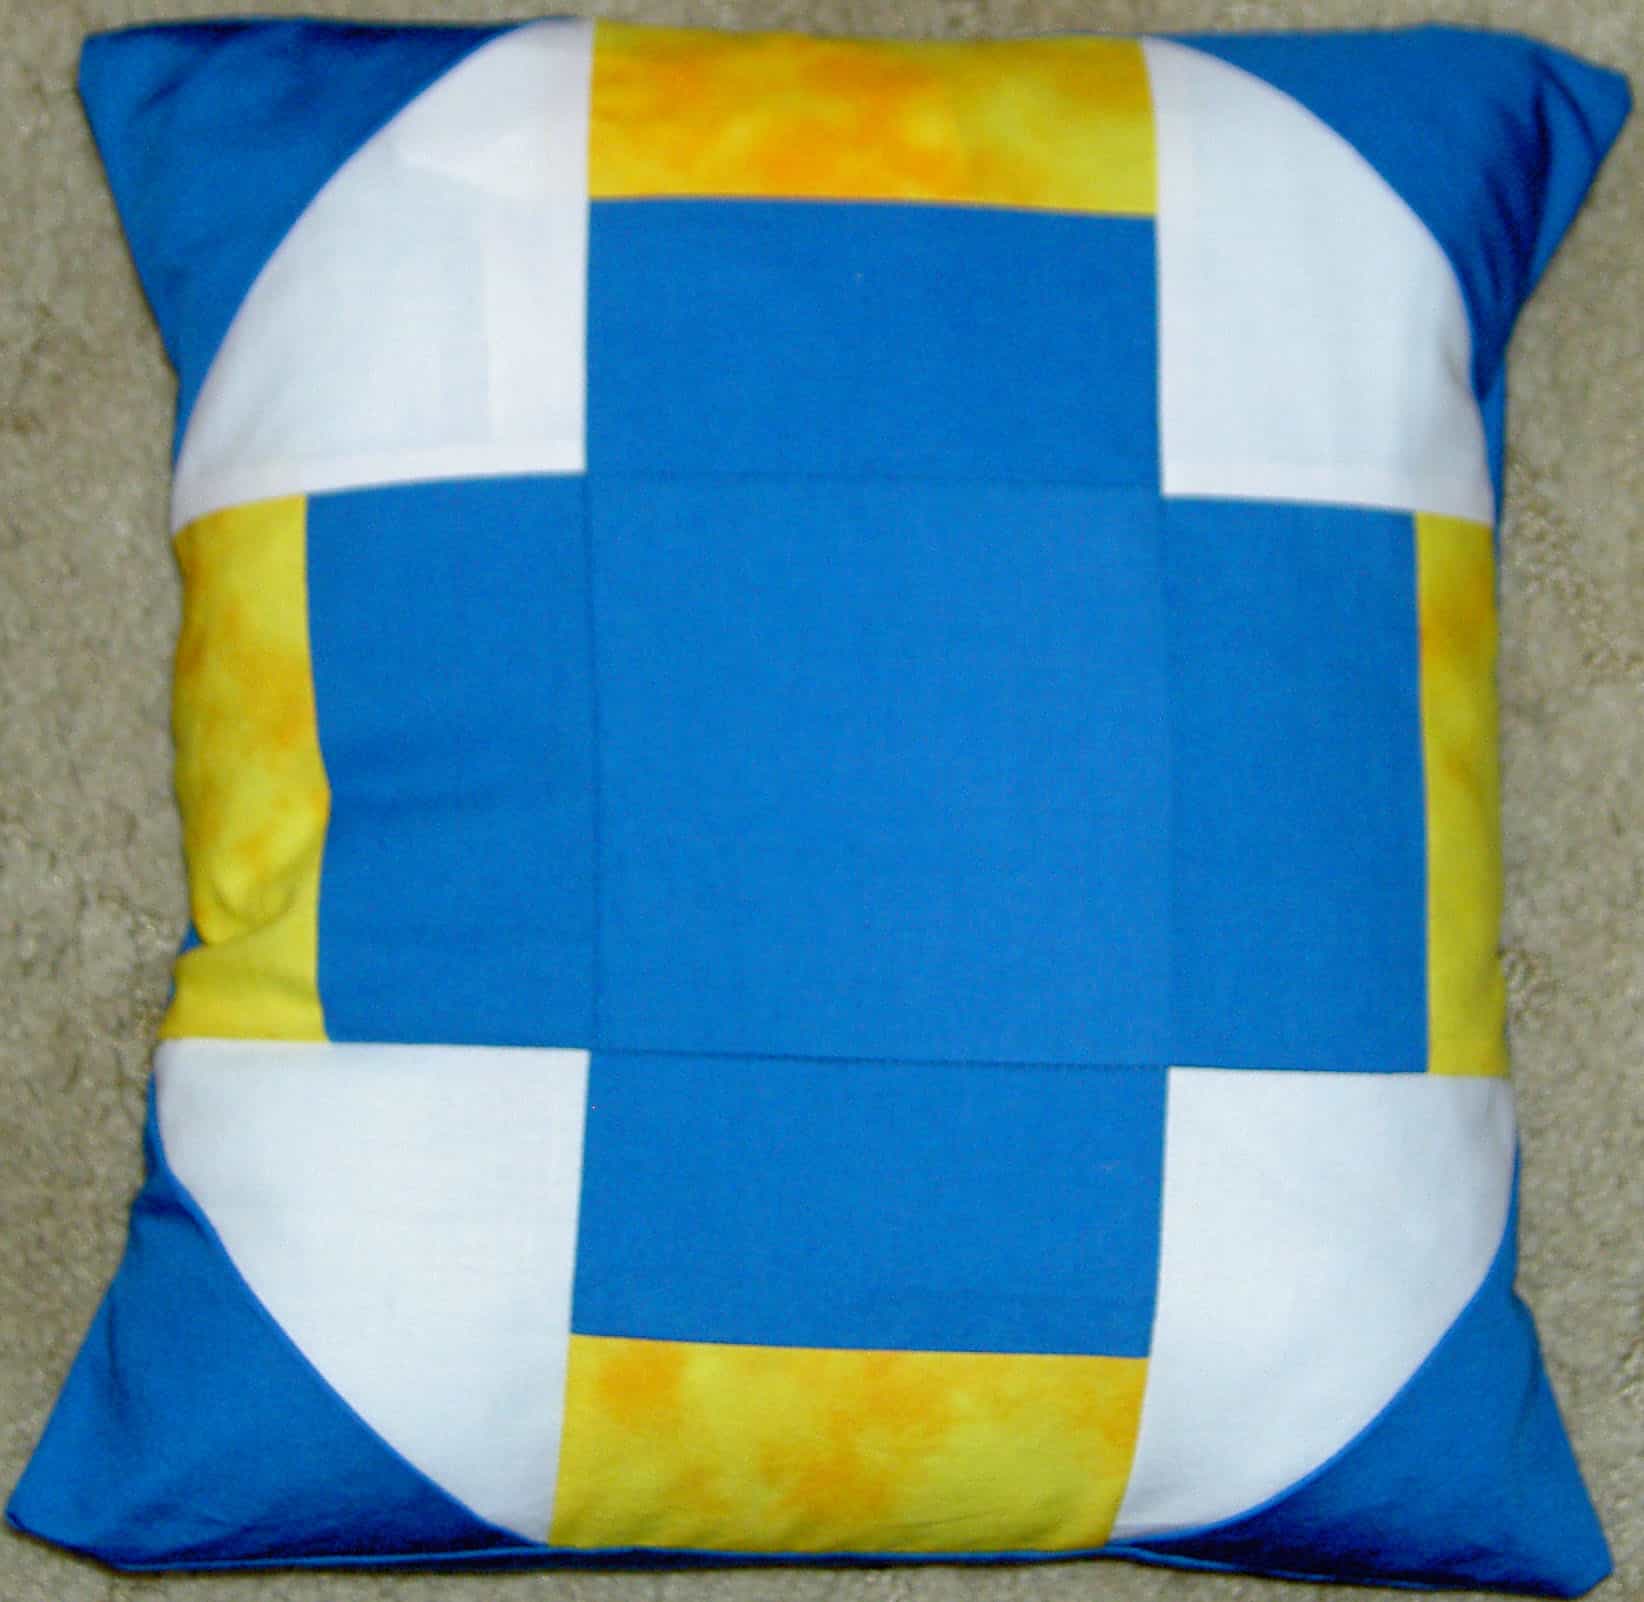
I made a Greek Cross (pg.72) block for the 8th grade Religion Teacher.
2011 Science Teacher Pillow2011 Science Teacher Pillow back
The Science Teacher got a Big T (pg.37) block. Do you like the label? It is an exploding test tube. The Young Man’s goal of blowing something up in science class has not yet been achieved.
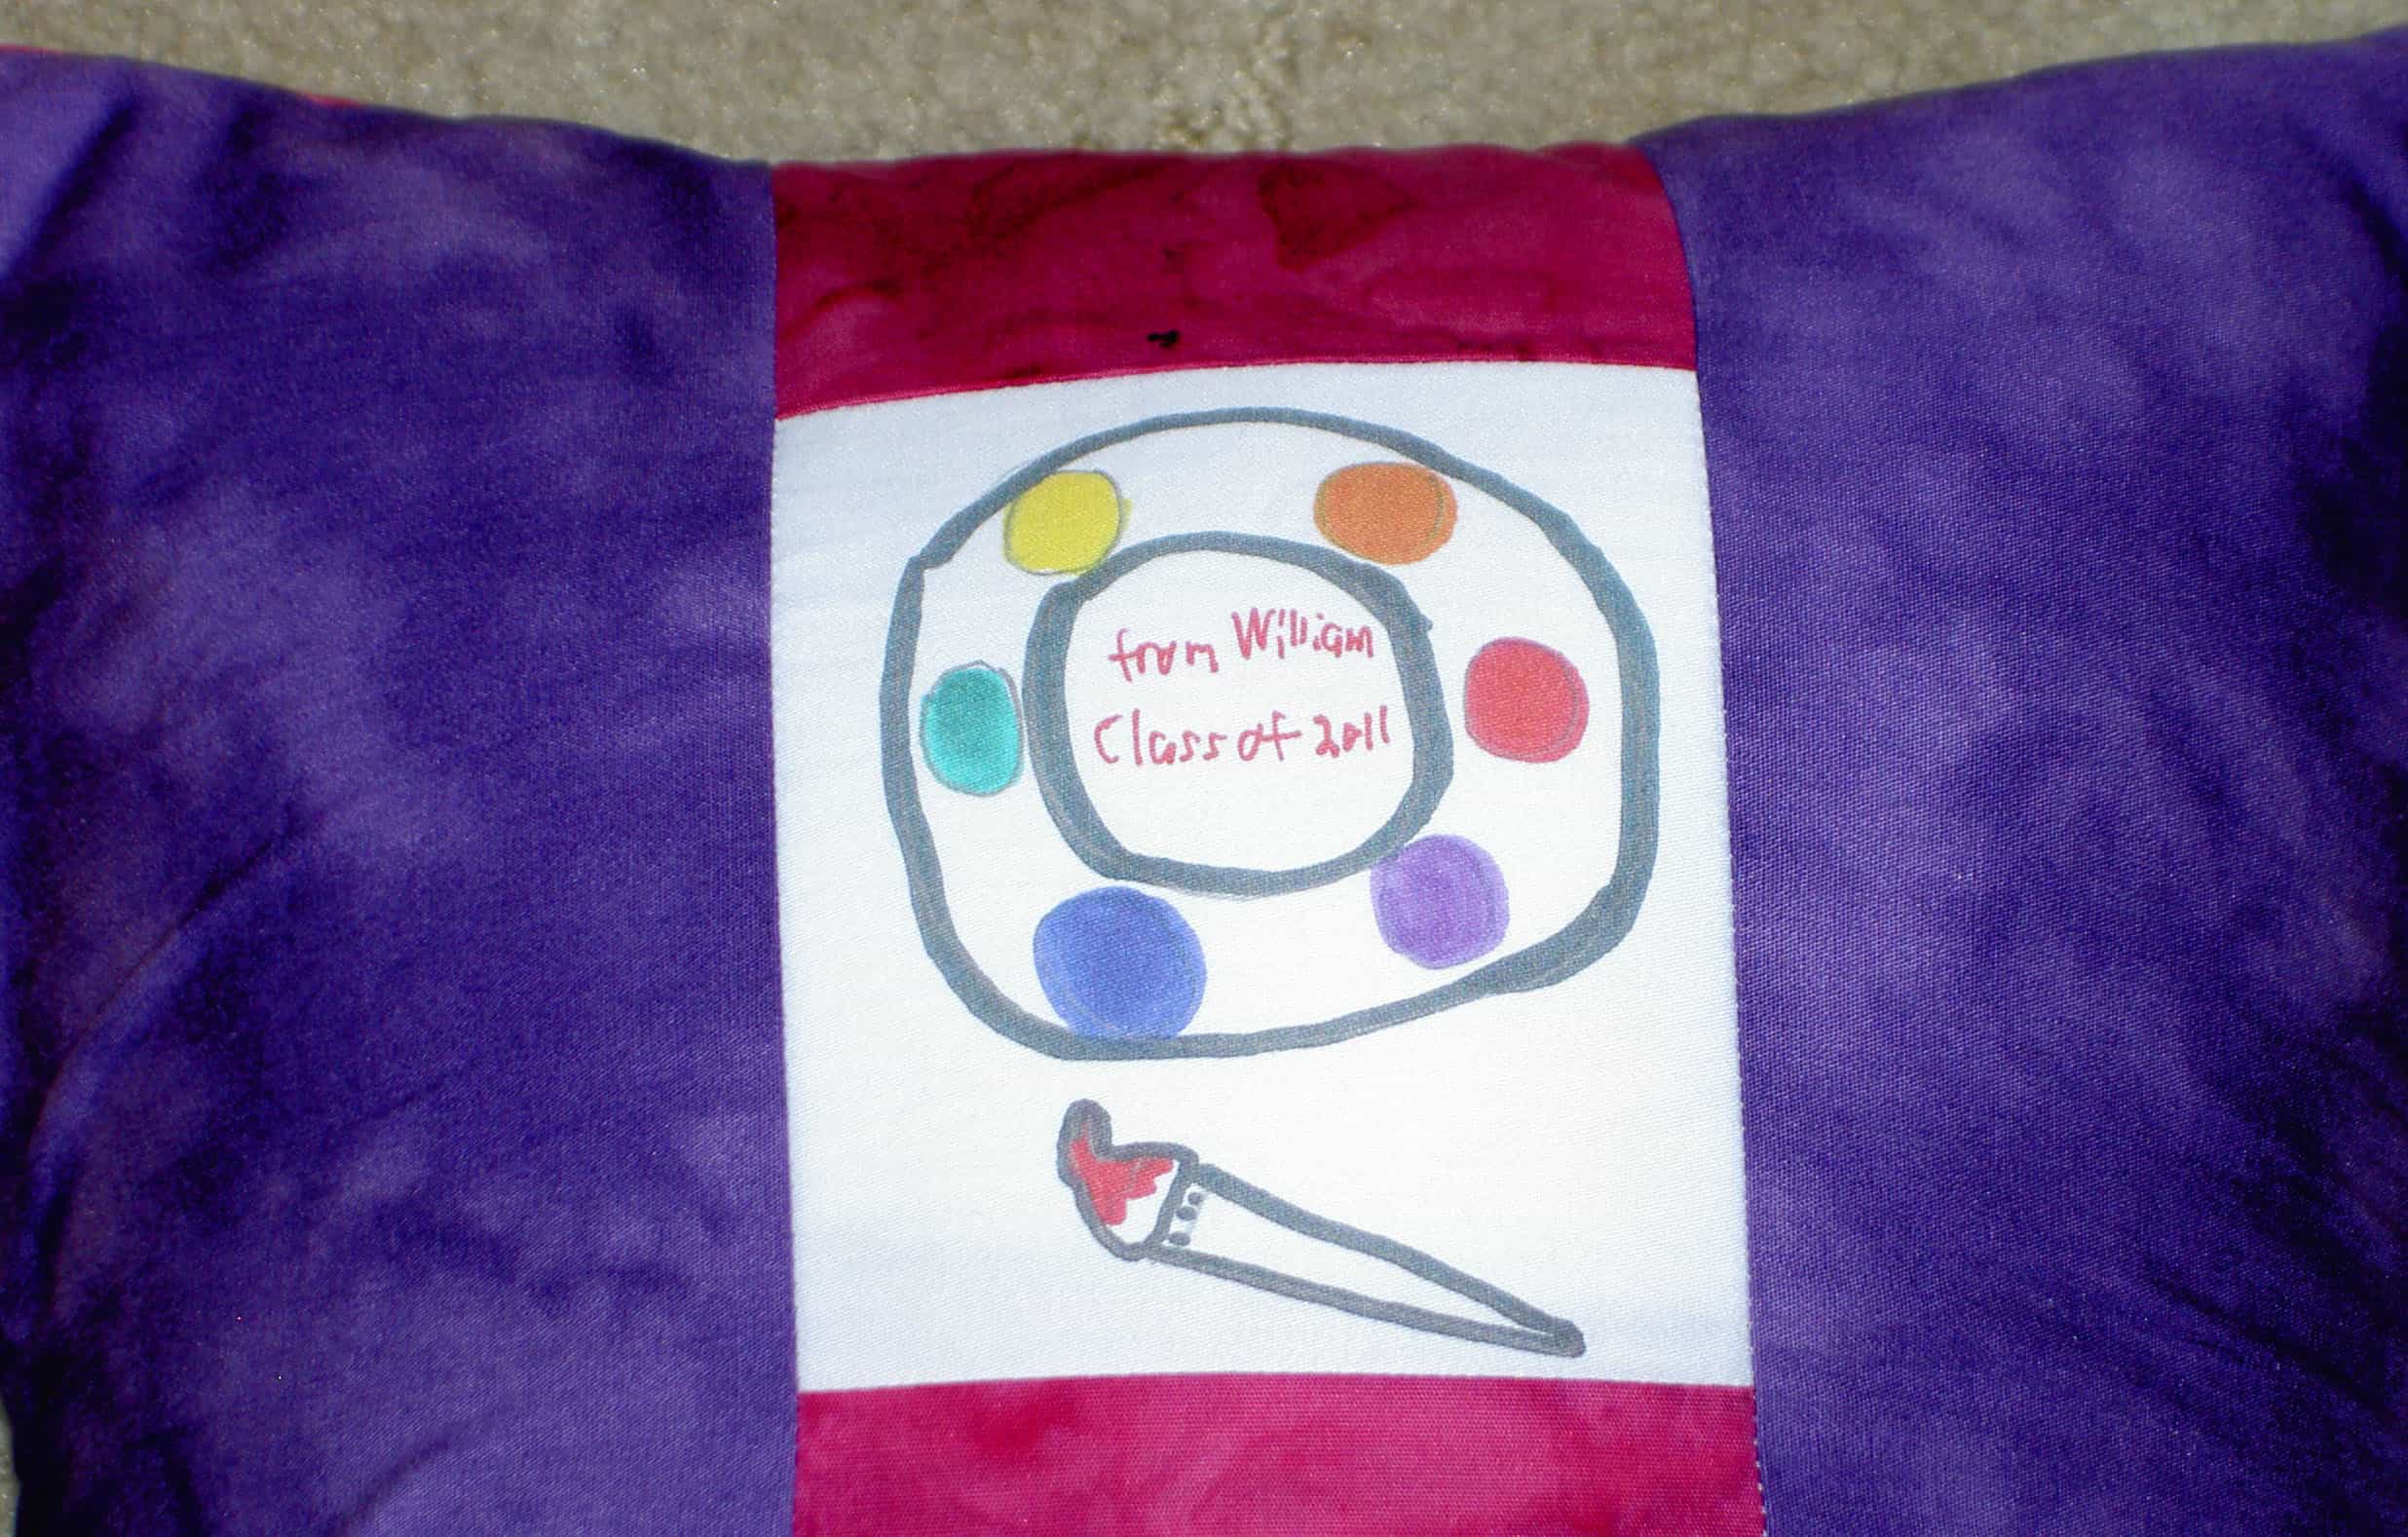
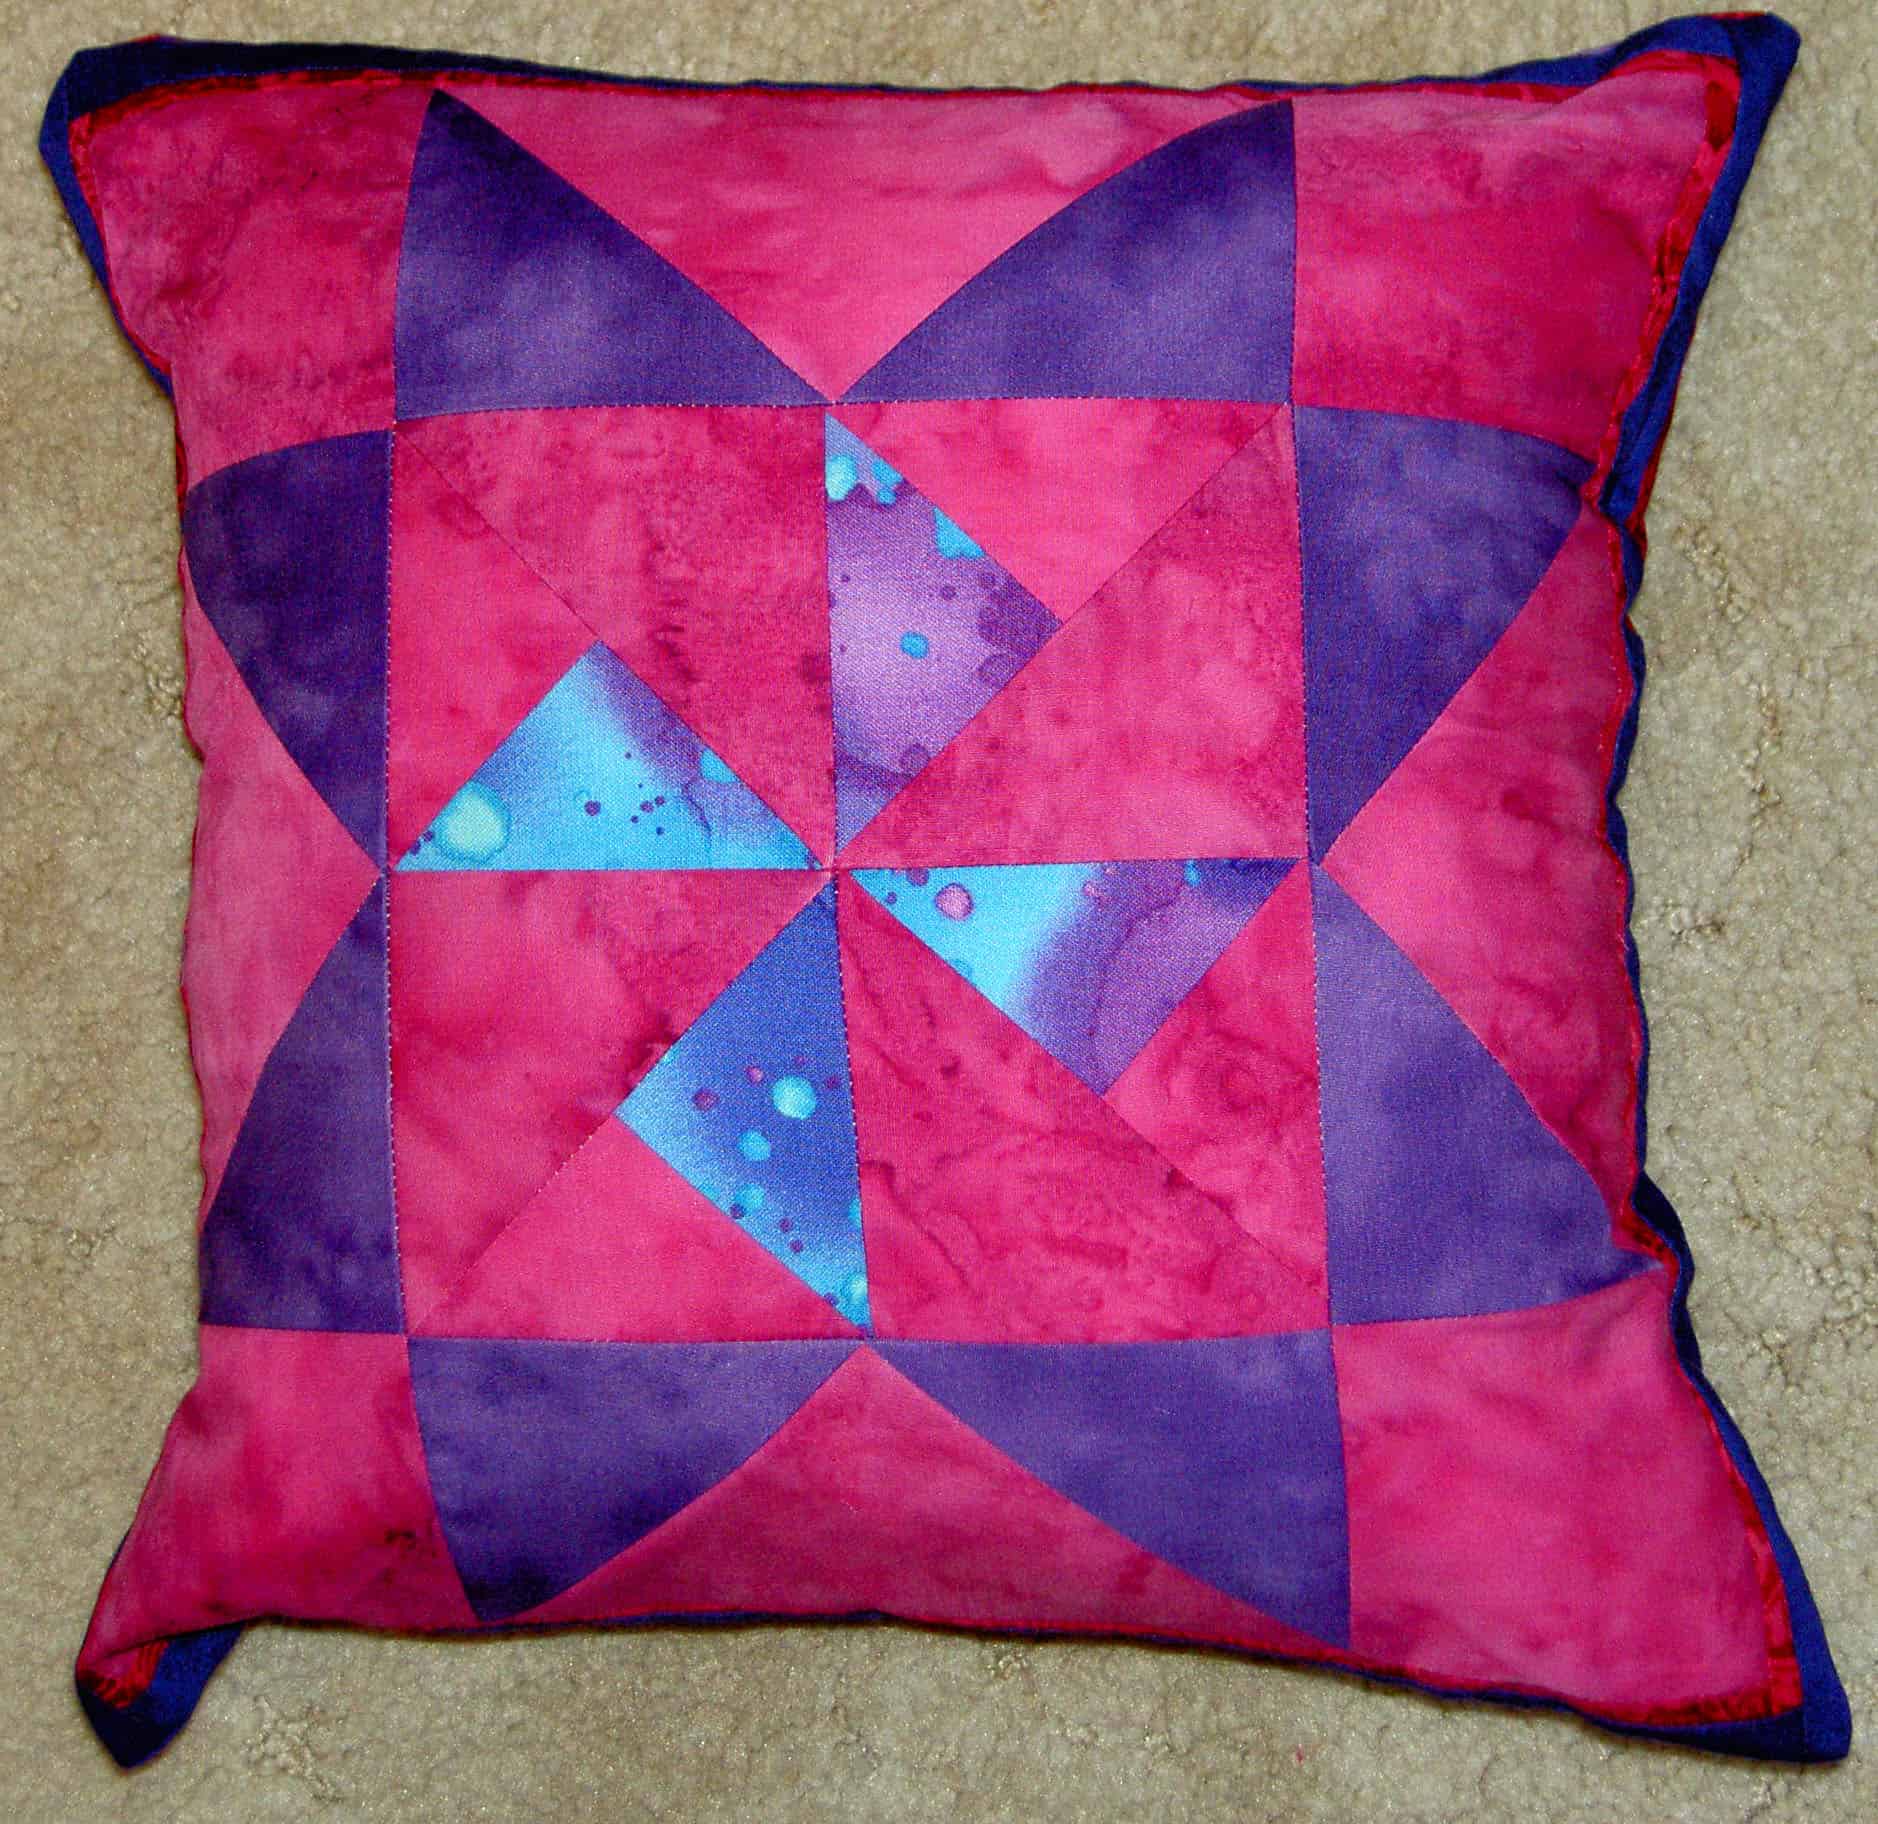
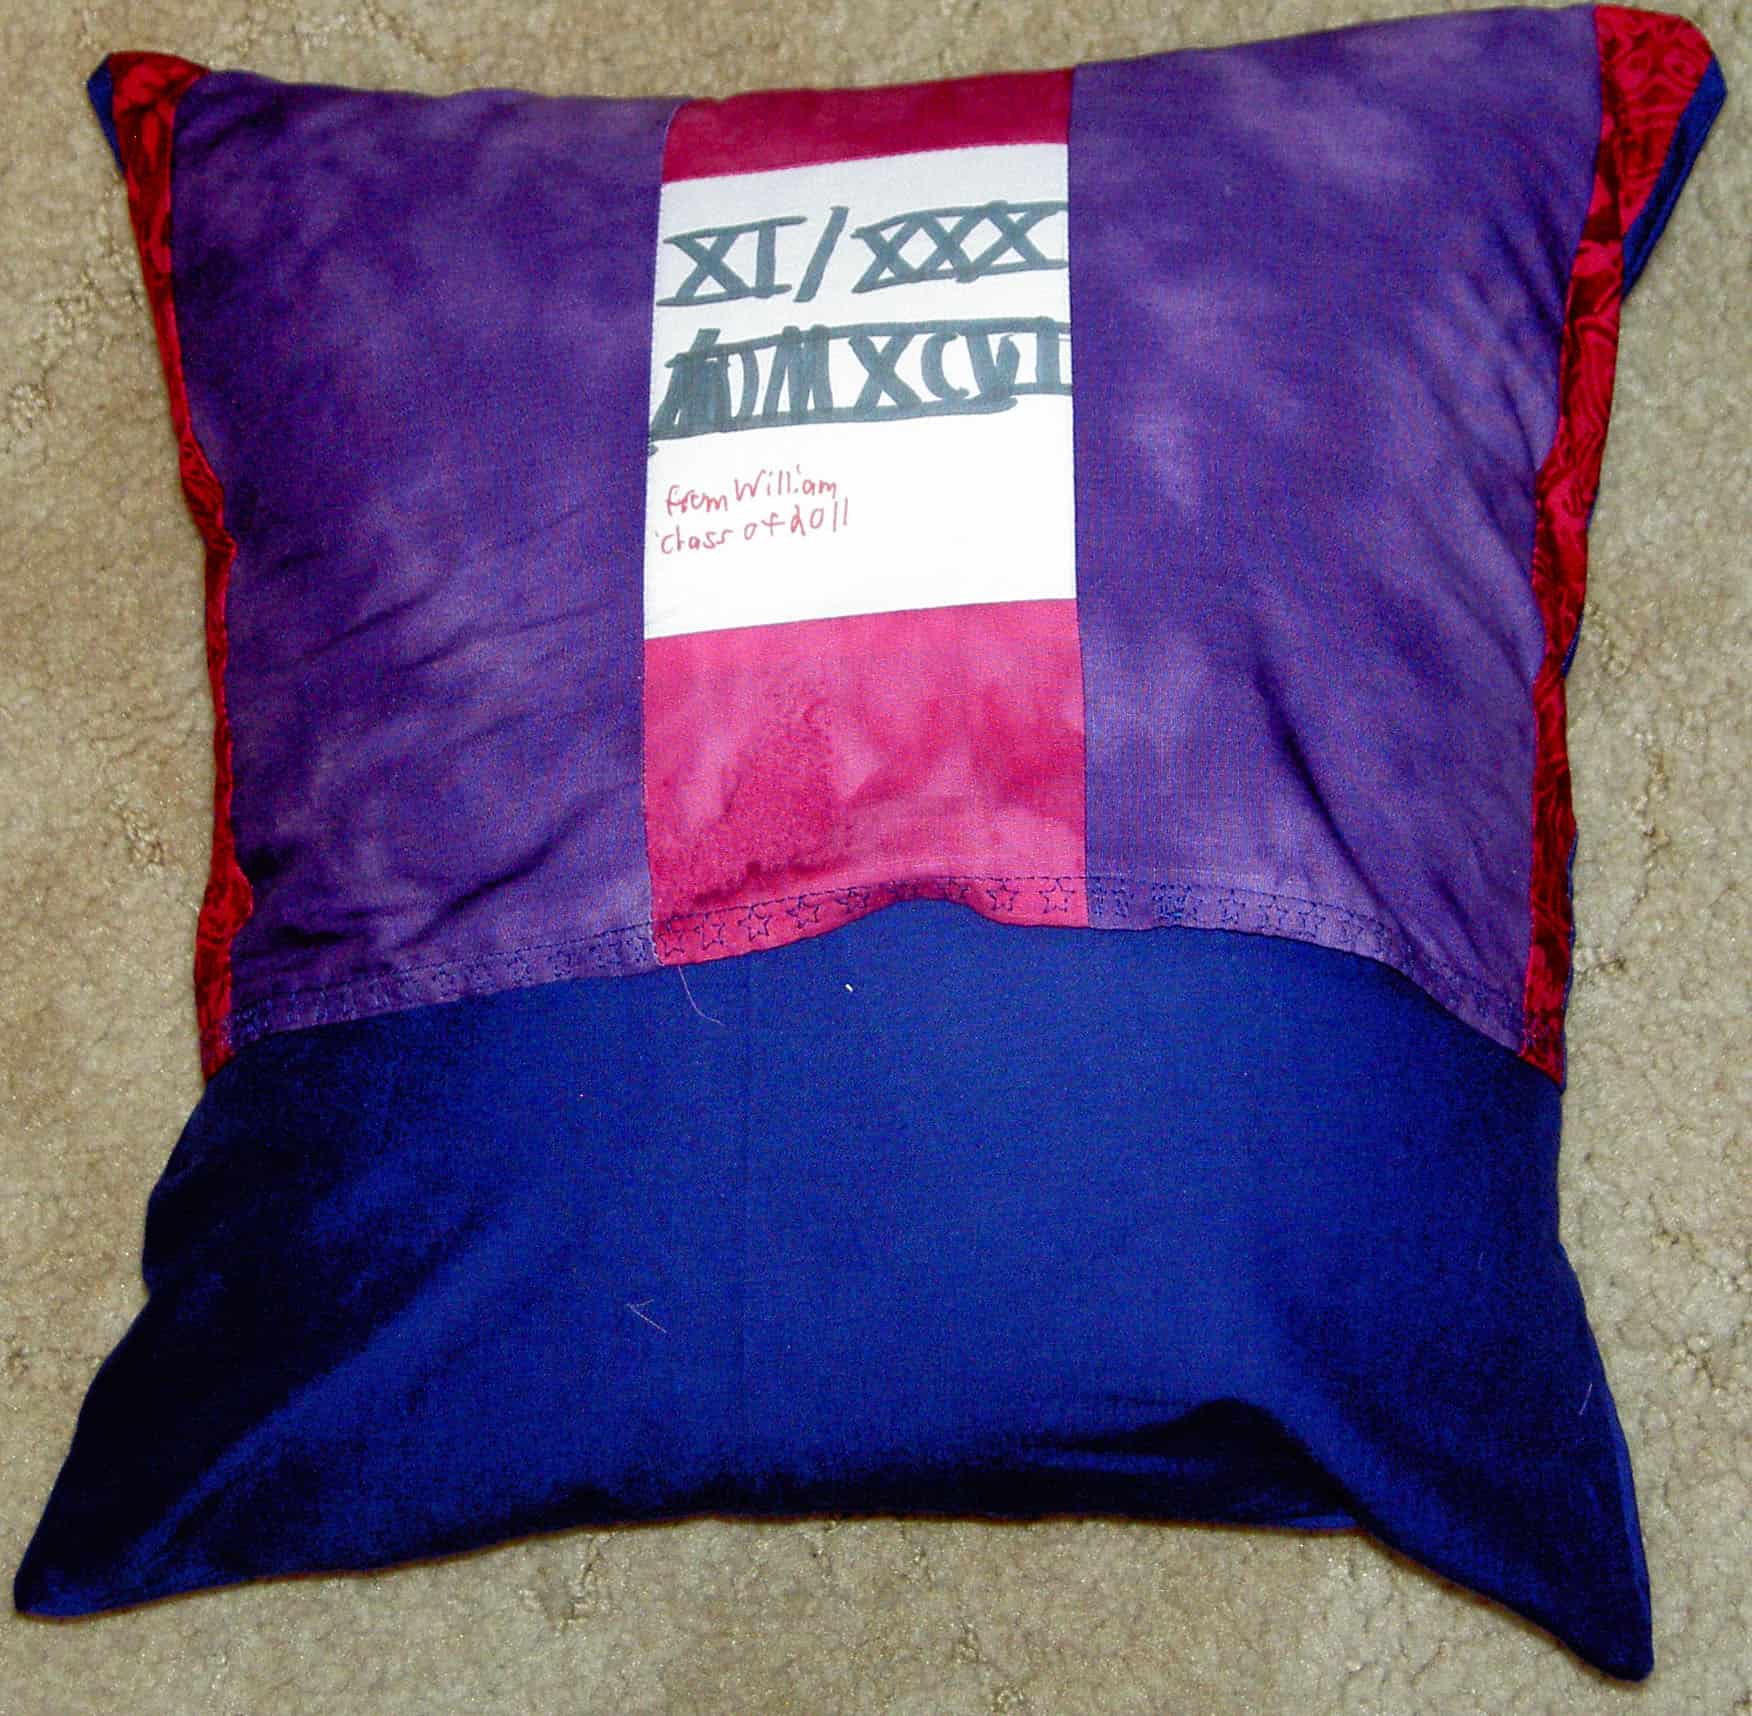
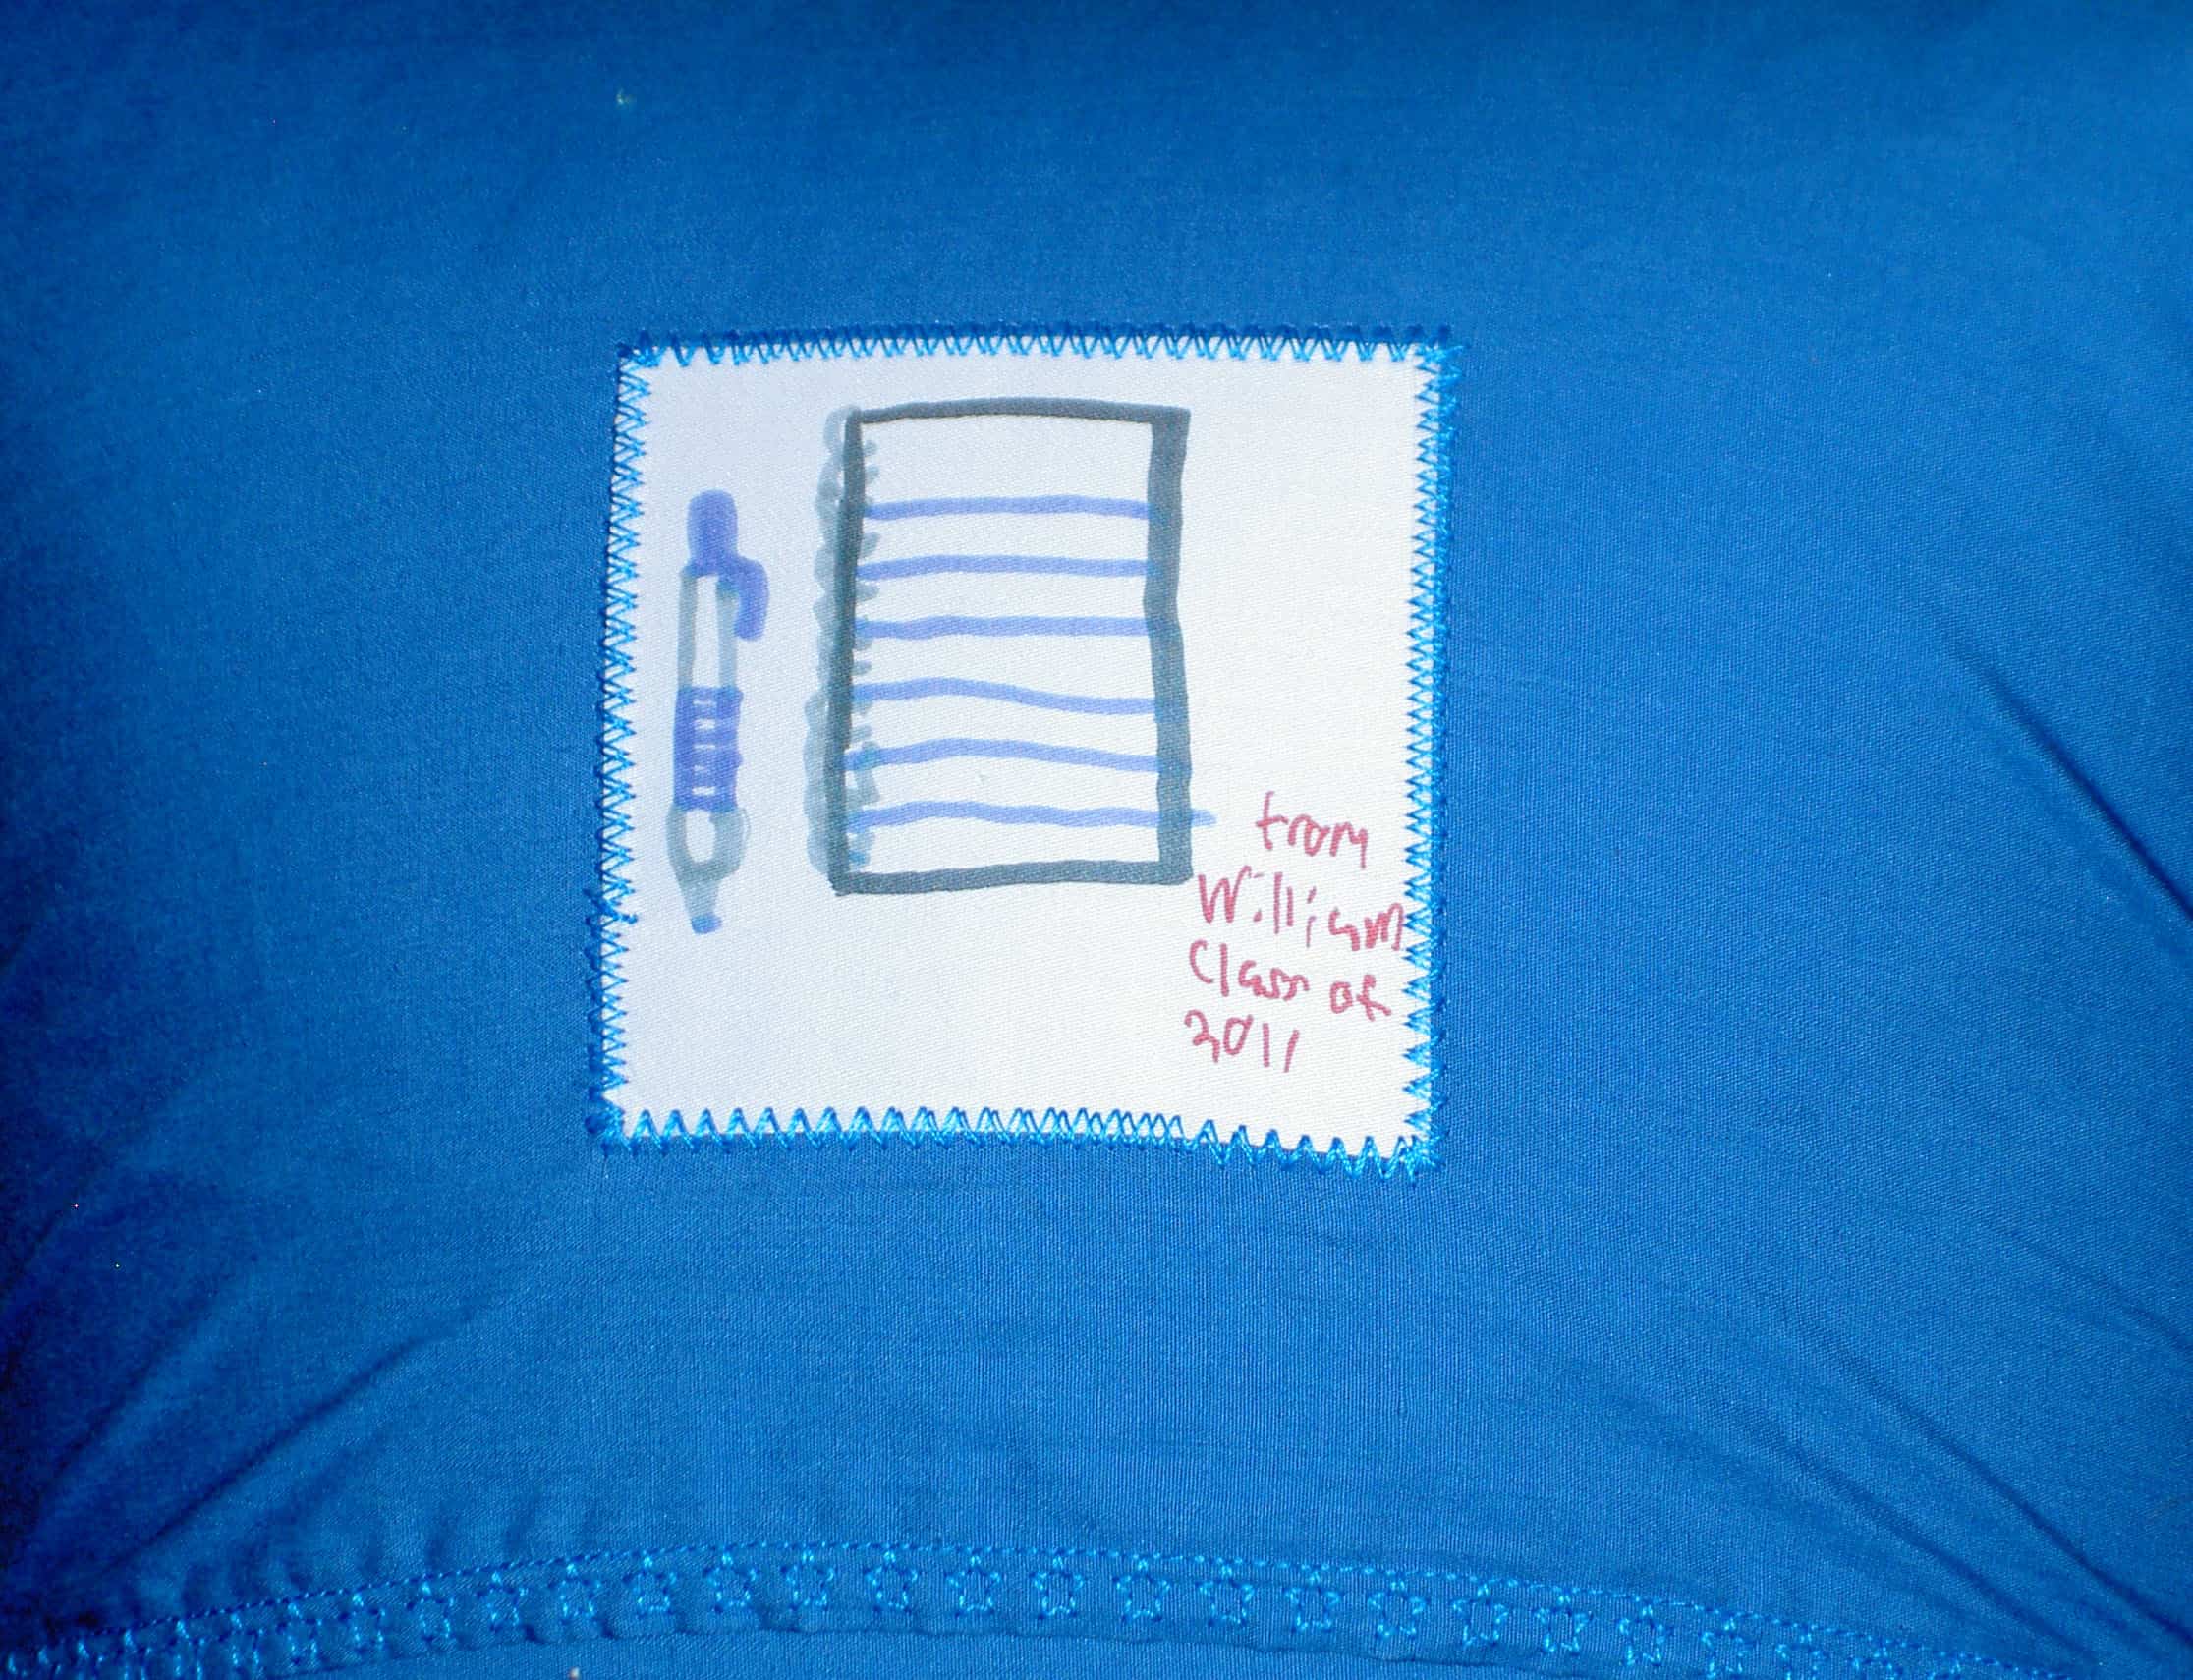
2011 Art Teacher Pillow2011 Art Teacher Pillow back
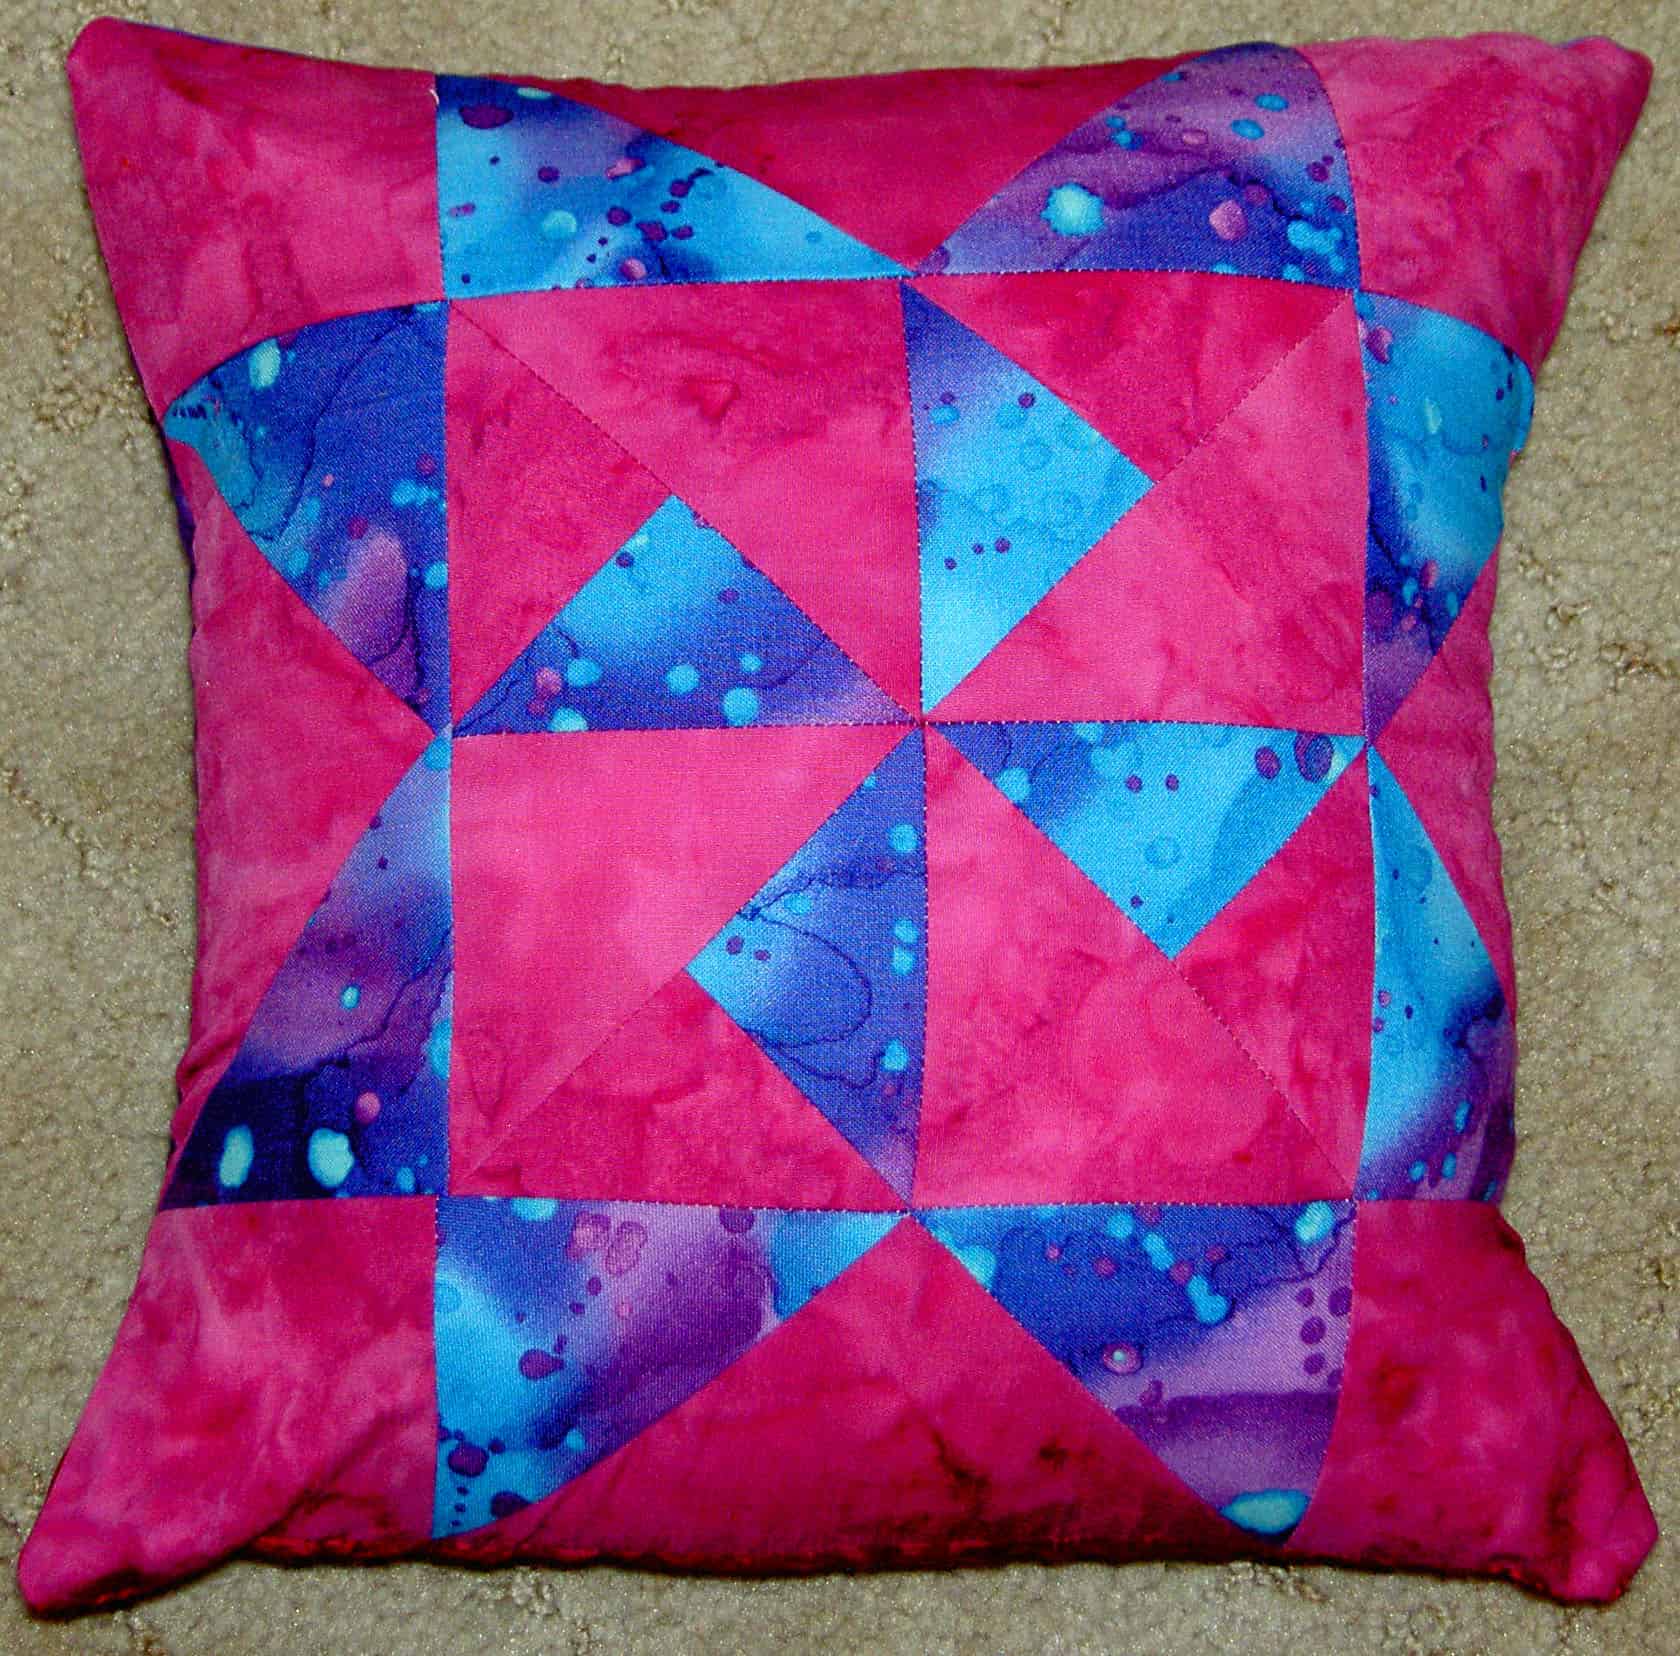
Art will receive a Martha Washington Star (pg.85). I really like the back that the Young Man did for her. Very appropriate, I think.
2011 SS & Reading Teacher Pillow2011 SS & Reading Teacher Pillow back
The Social Studies and Reading Teacher will also receive a Martha Washington Star. Look familiar? I was feeling uninspired. Now I think I should have made the block red, white and black, but I am not remaking it. I don’t know what the back means. Perhaps an inside joke?
2011 English/Literature Teacher Pillow2011 English/Literature Teacher Pillow back
English and Literature received a basket block pillow last year and she will receive the above Grape Basket (pg.71) this year. The fabrics and colors goes with the block I made last year. This basket block was a bit of pain. I have made a number of basket blocks and this one went together very strangely. When I had finished putting it together, I looked at it and thought that I would have done it differently, had I known.
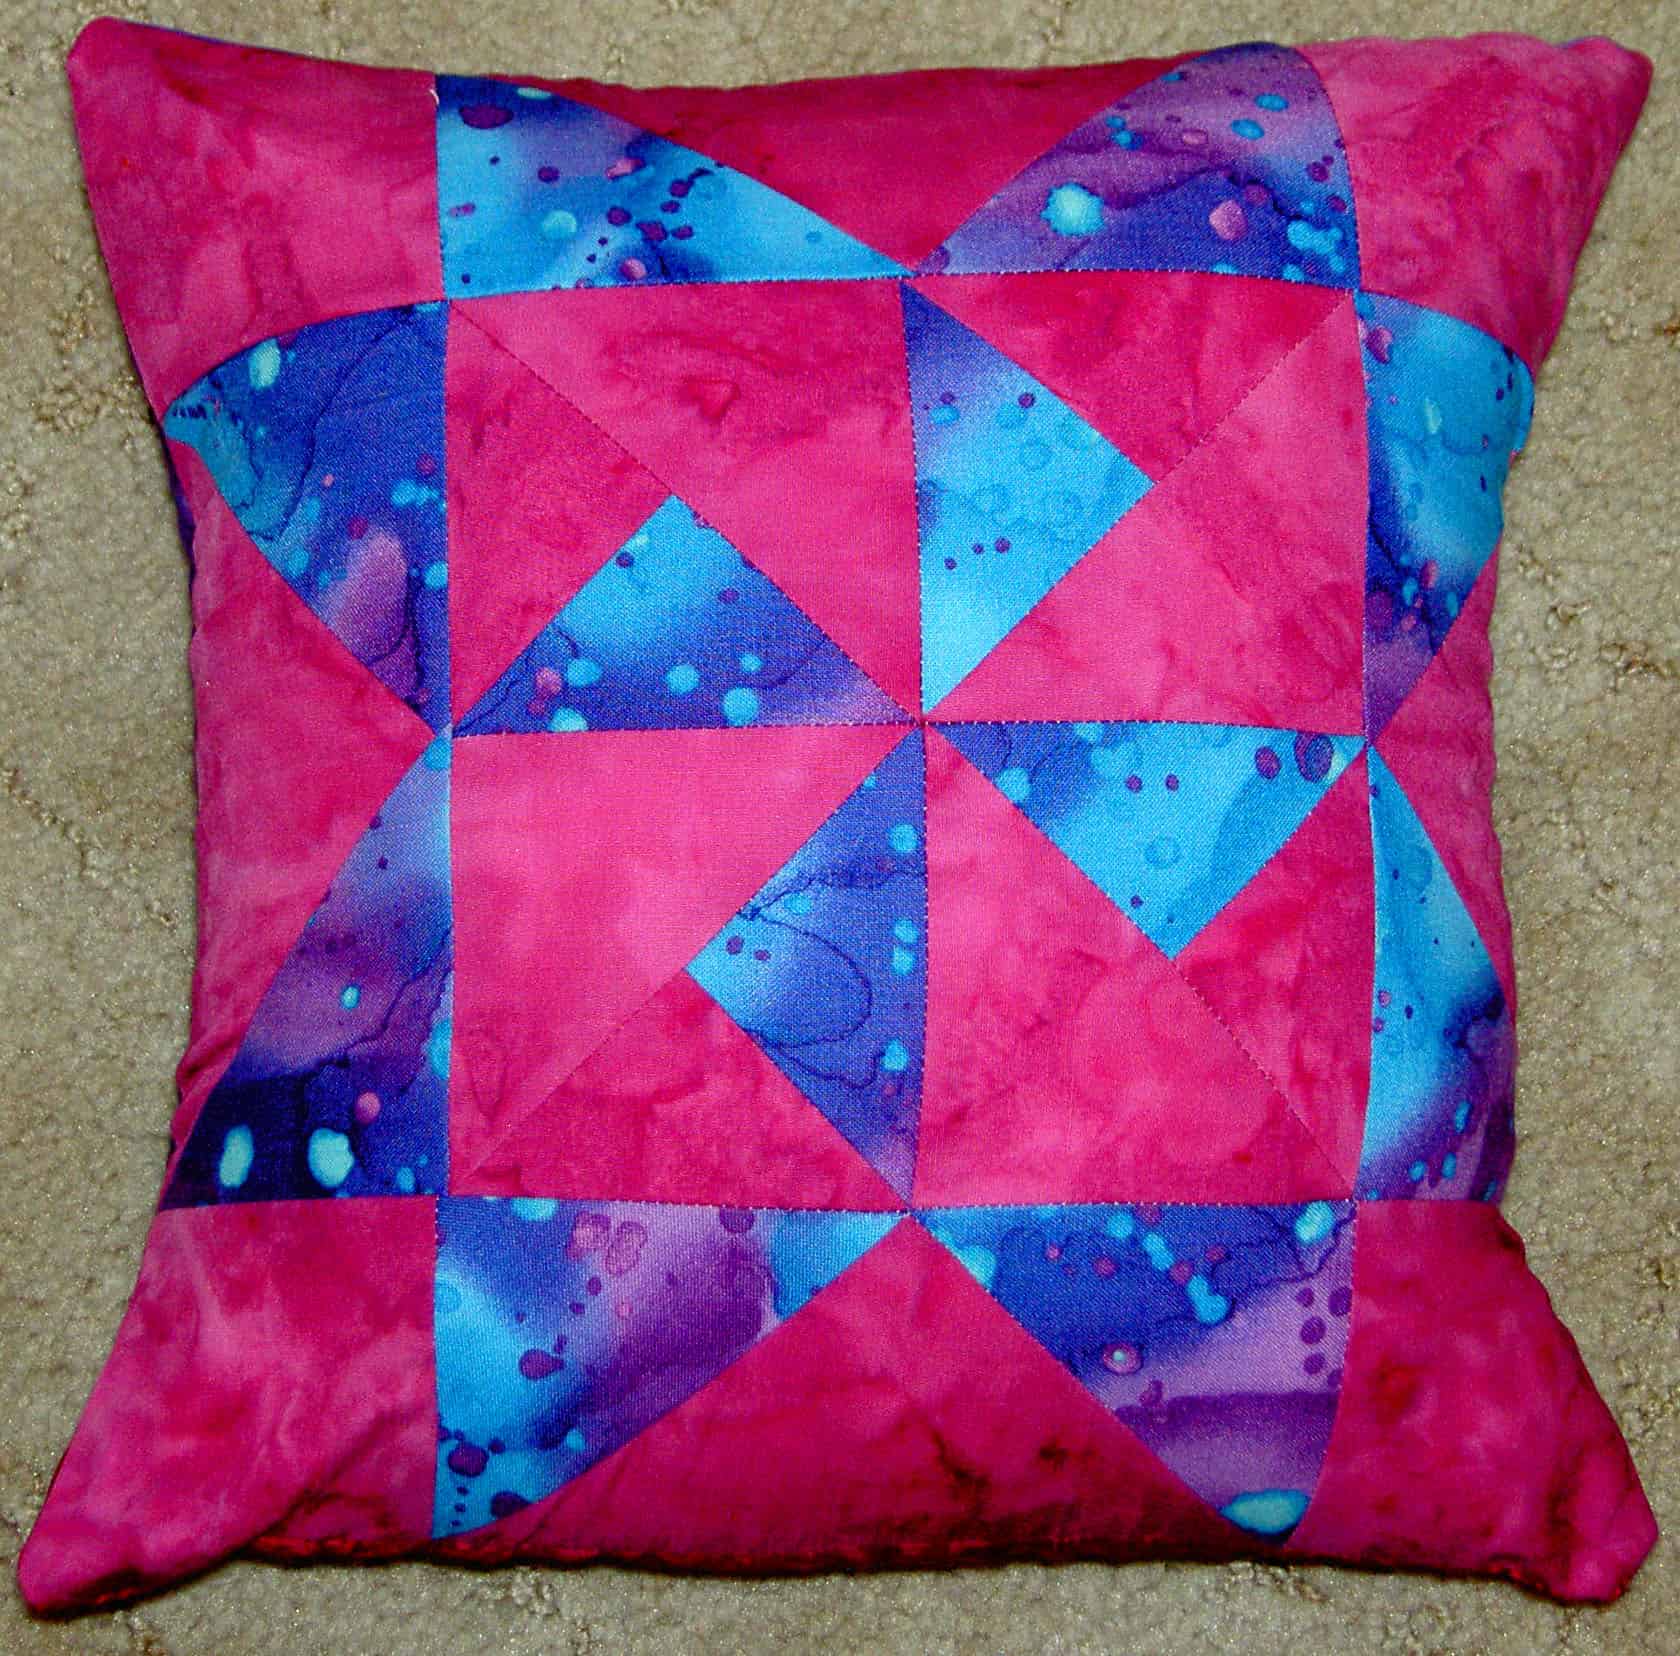
2011 Math Teacher Pillow2011 Math Teacher Pillow back
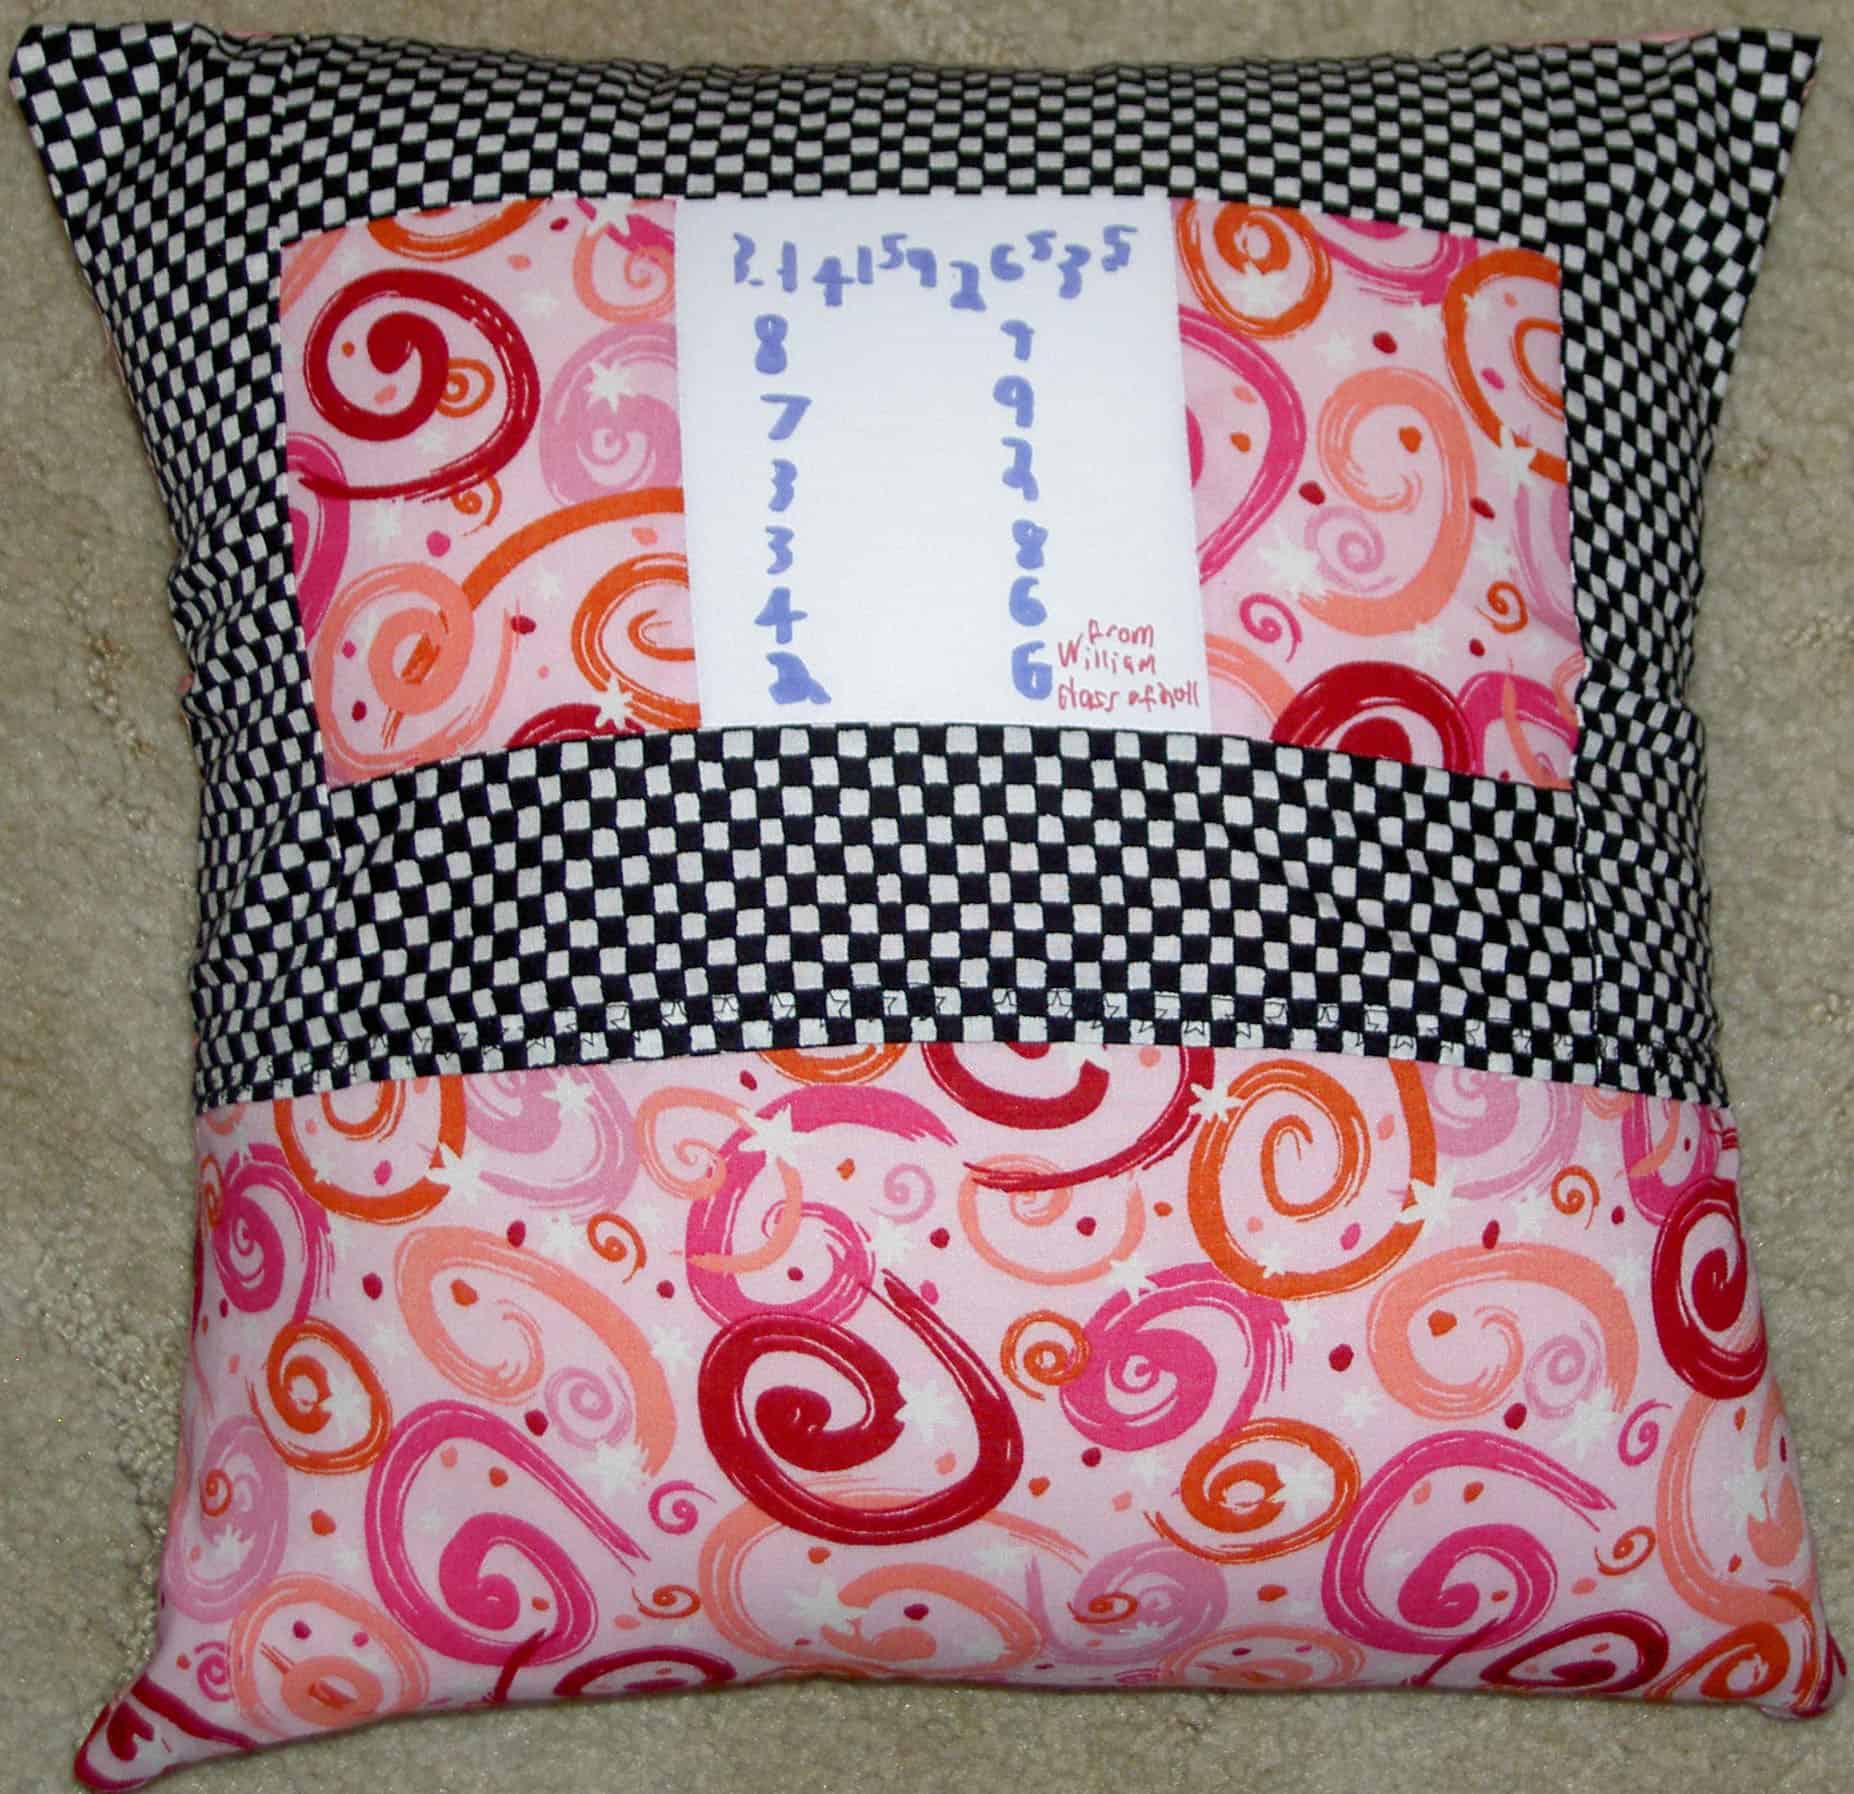
The Math teacher will receive a Free Trade block (pg.67). see a theme here with the Sawtooth Star variations? Again, I was uninspired. The fabrics go with some I used last year. Hope she likes pink. The back depicts Pi out to a lot of digits.
In years past, I have also given the Resource teacher a pillow, but this year she is getting a quilt.
Nota bene: All the blocks are from a book called Around the Block. It is out of print, but has been been reprinted with v.2 and v.3 in a book called 501 Rotary-Cut Quilt Blocks. Very worthwhile purchase. I would have a hard time living without this book.
I will be glad when this project is done. I wanted to finish last week, but there was too much going on. I thought I could make some progress this past week in the evenings. No joy there either. Today, I am supposed to be resting, because of this cold that I am trying to have not turn into the flu.
And this is the last year for bulk pillow making. I still have to make the raffle pillows for the Native Sons and I may make a pillow every once in a while for a special teacher, but that is it. If I go back on my word feel free to remind me.
Anyway, the above pillow is for the art teacher. She has been a rock for the Young Man and has really encouraged his creativity and has encouraged his style. The pattern is Martha Washington Star from Around the Block.
The blue and yellow pillow is Greek Cross for the religion teacher. It actually came out really well. I used my last IKEA pillow form and kind of like those forms. I wanted more robust forms, but the ones I bought are REALLY really firm and forced me to make the pillow covers a bit bigger.
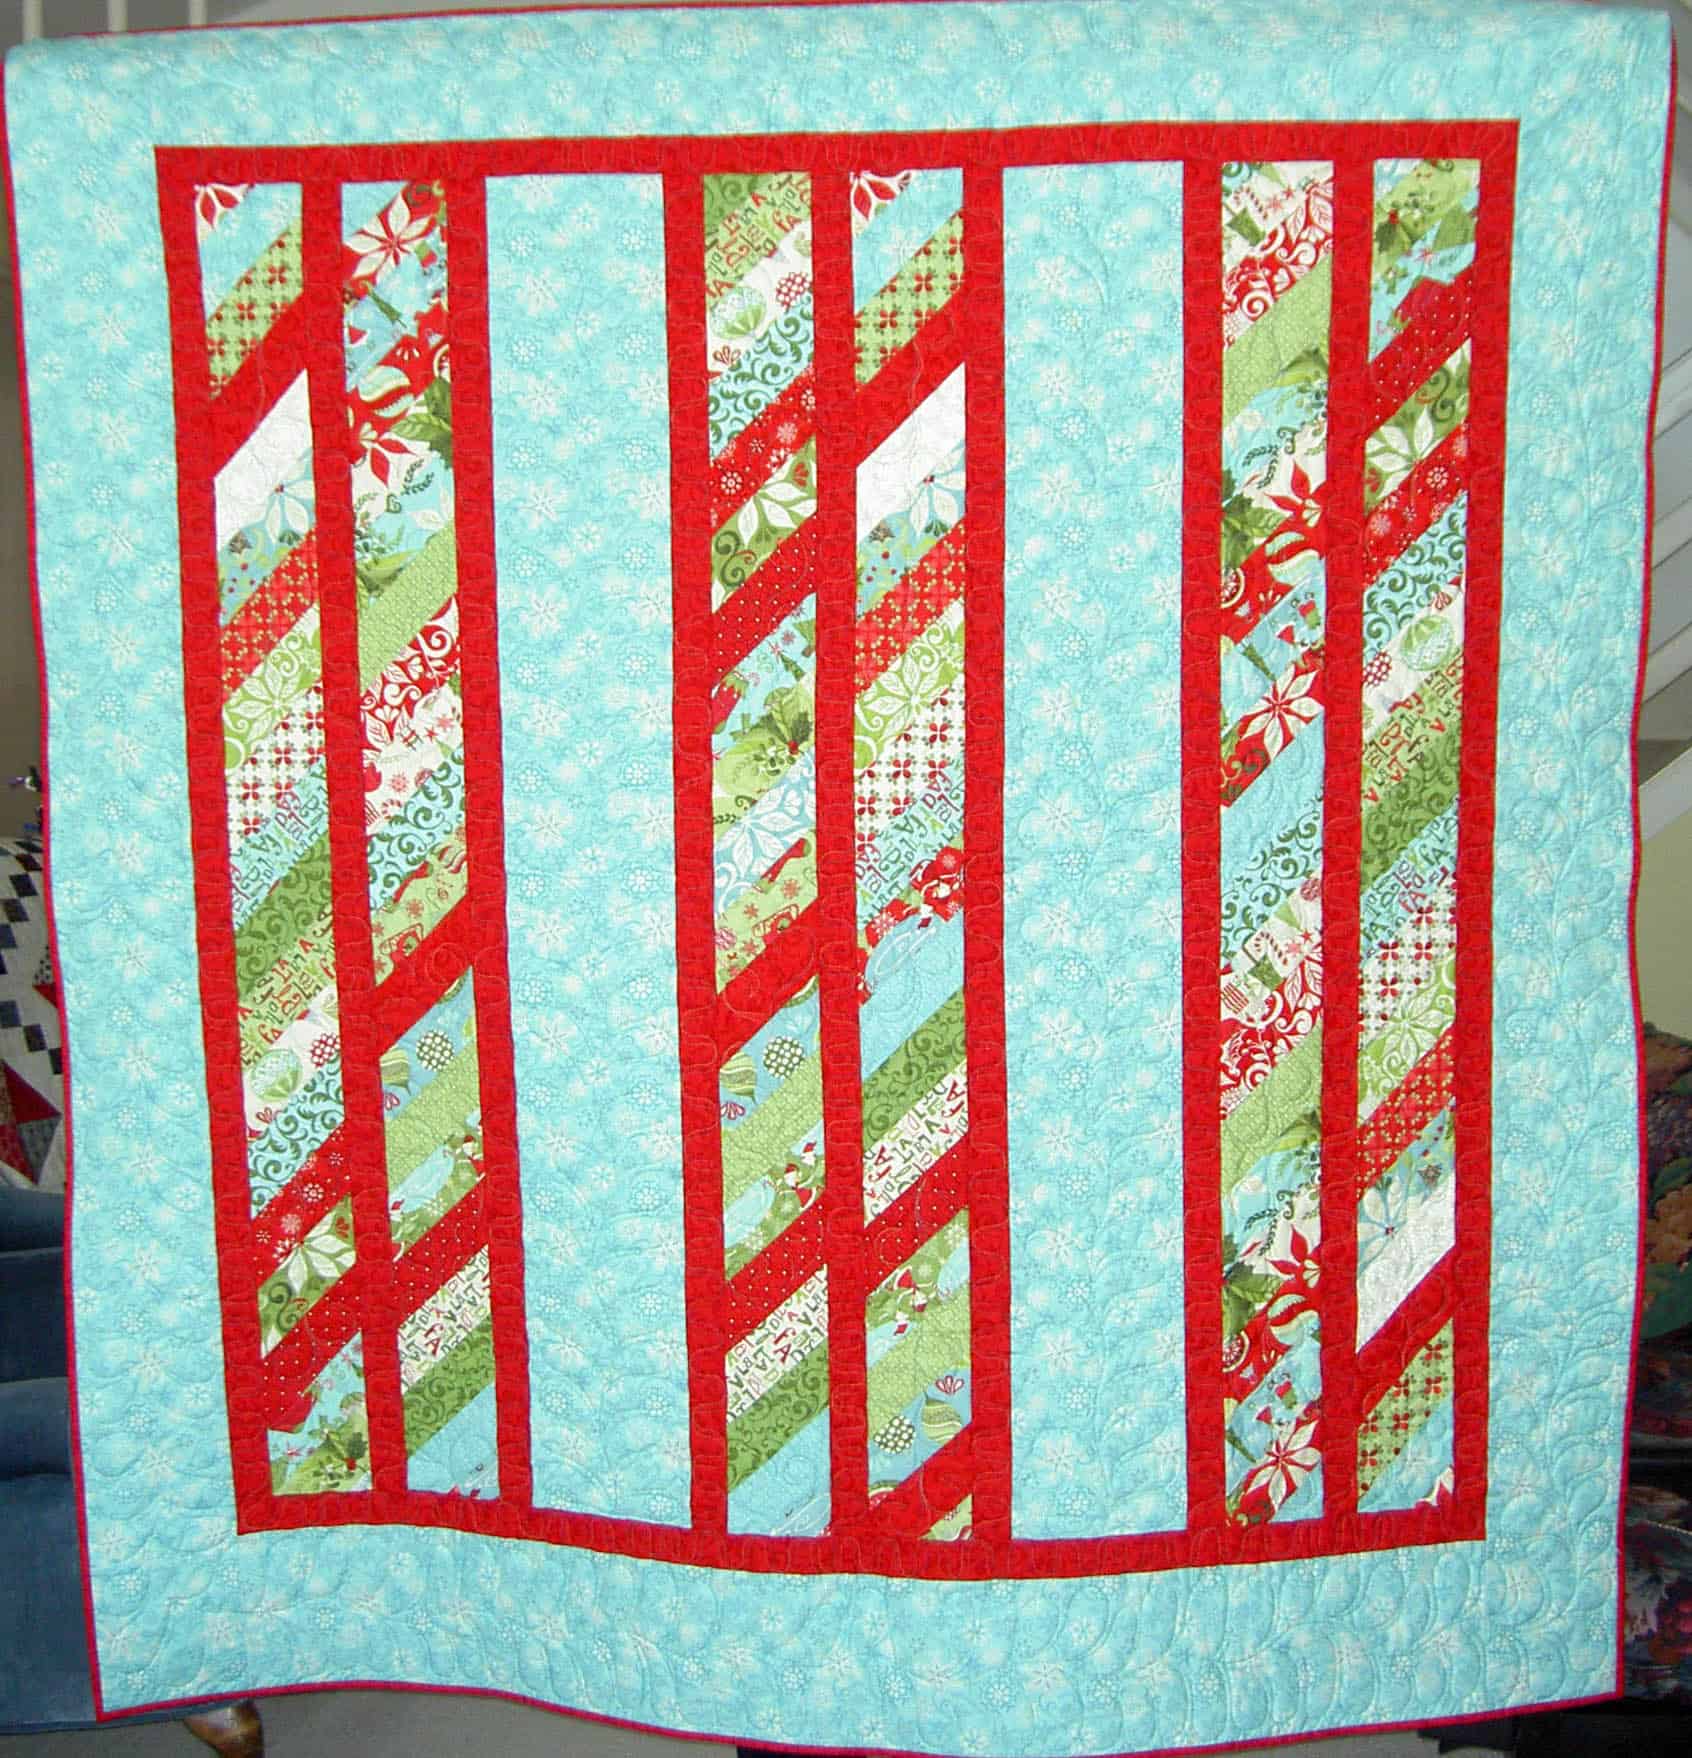
The last time you saw this quilt was after Thanksgiving.
Last night I finished the binding while watching Oceans 12 and now it is ready to go off to its new home. I am not ready for it to go off yet, because I will wait for the end of the school and give it then. I decided I am going to go and get several large gift bags (no, I am not making them, though I probably should) and just start filling them up with quilts and Teacher Pillows. The thought of having a bunch of gifts to wrap at the end of the year makes me crazy.
I have to admit that I have never gotten over the feeling that the quilting will ruin the look of my piecing. It turns out that I am really pleased with the quilting. Colleen did more feathers, which I love. She also paid special attention to the various borders – no all over patterns for me. The other thing that is making the finishing of these various quilts much easier is giving her the binding and having her sew it on. I can just bring it home and start working on the binding right away. Wonderful.
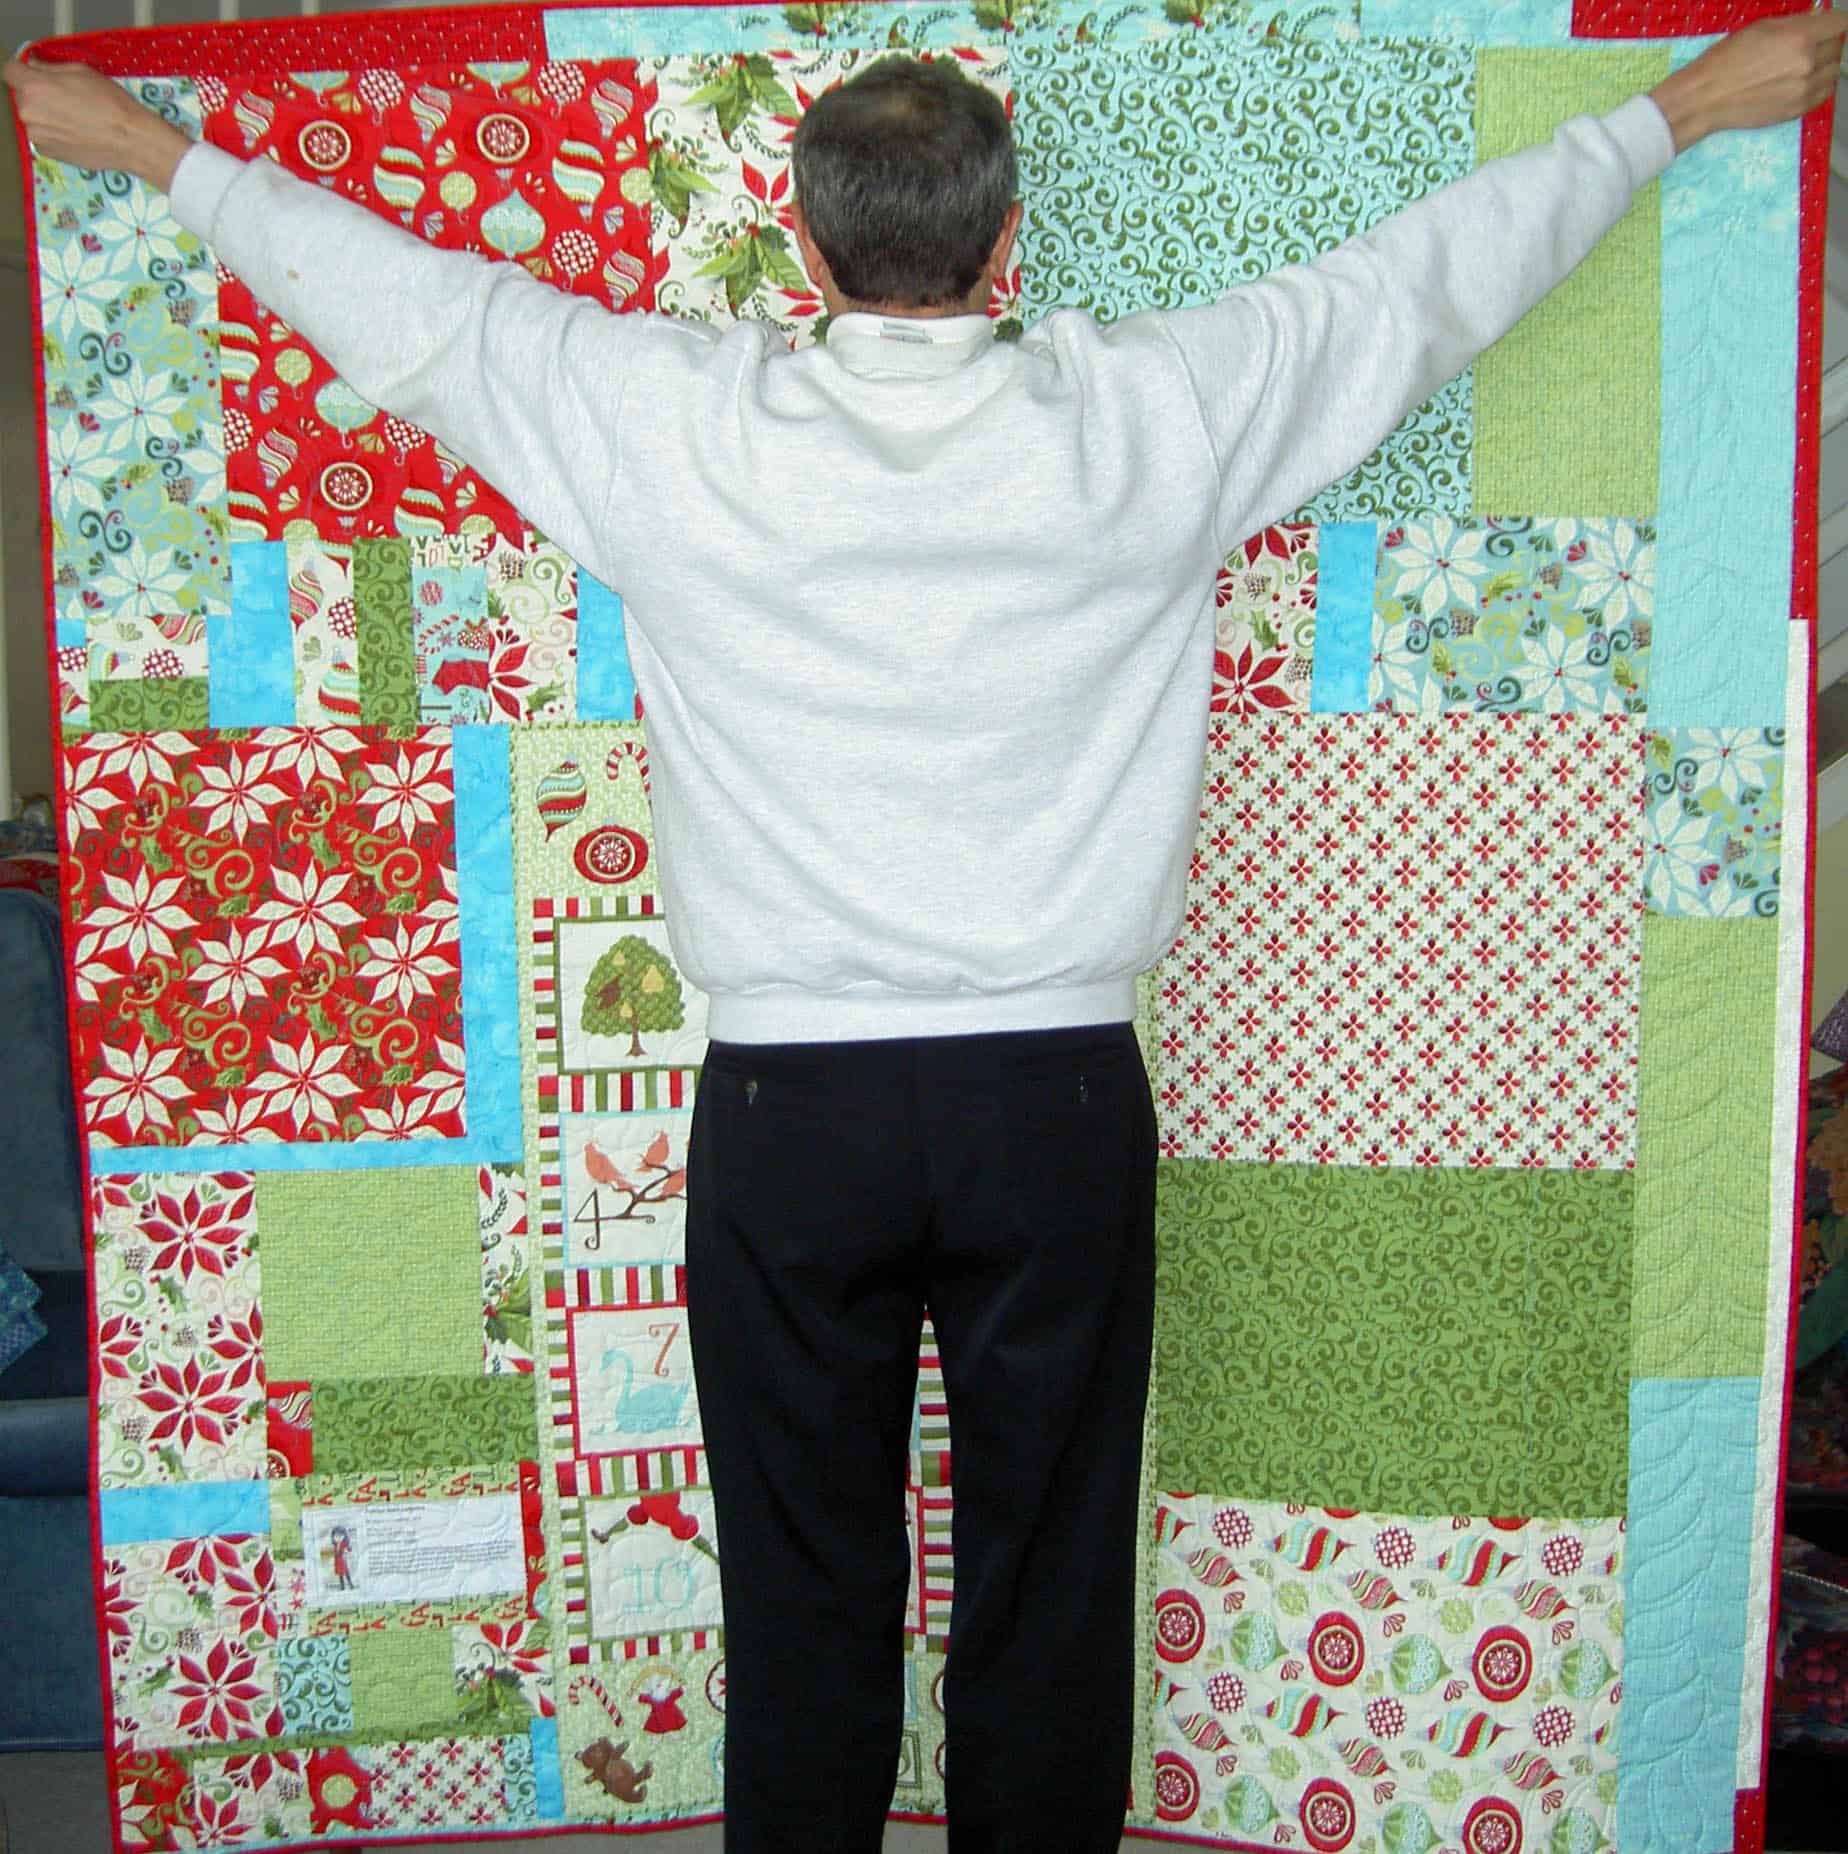
I decided that I should take a photo of the back, so I asked my quilt holder to turn the quilt around. You get a lovely view of the back:
Smart Aleck BackFrosted Stars Leftovers - Back
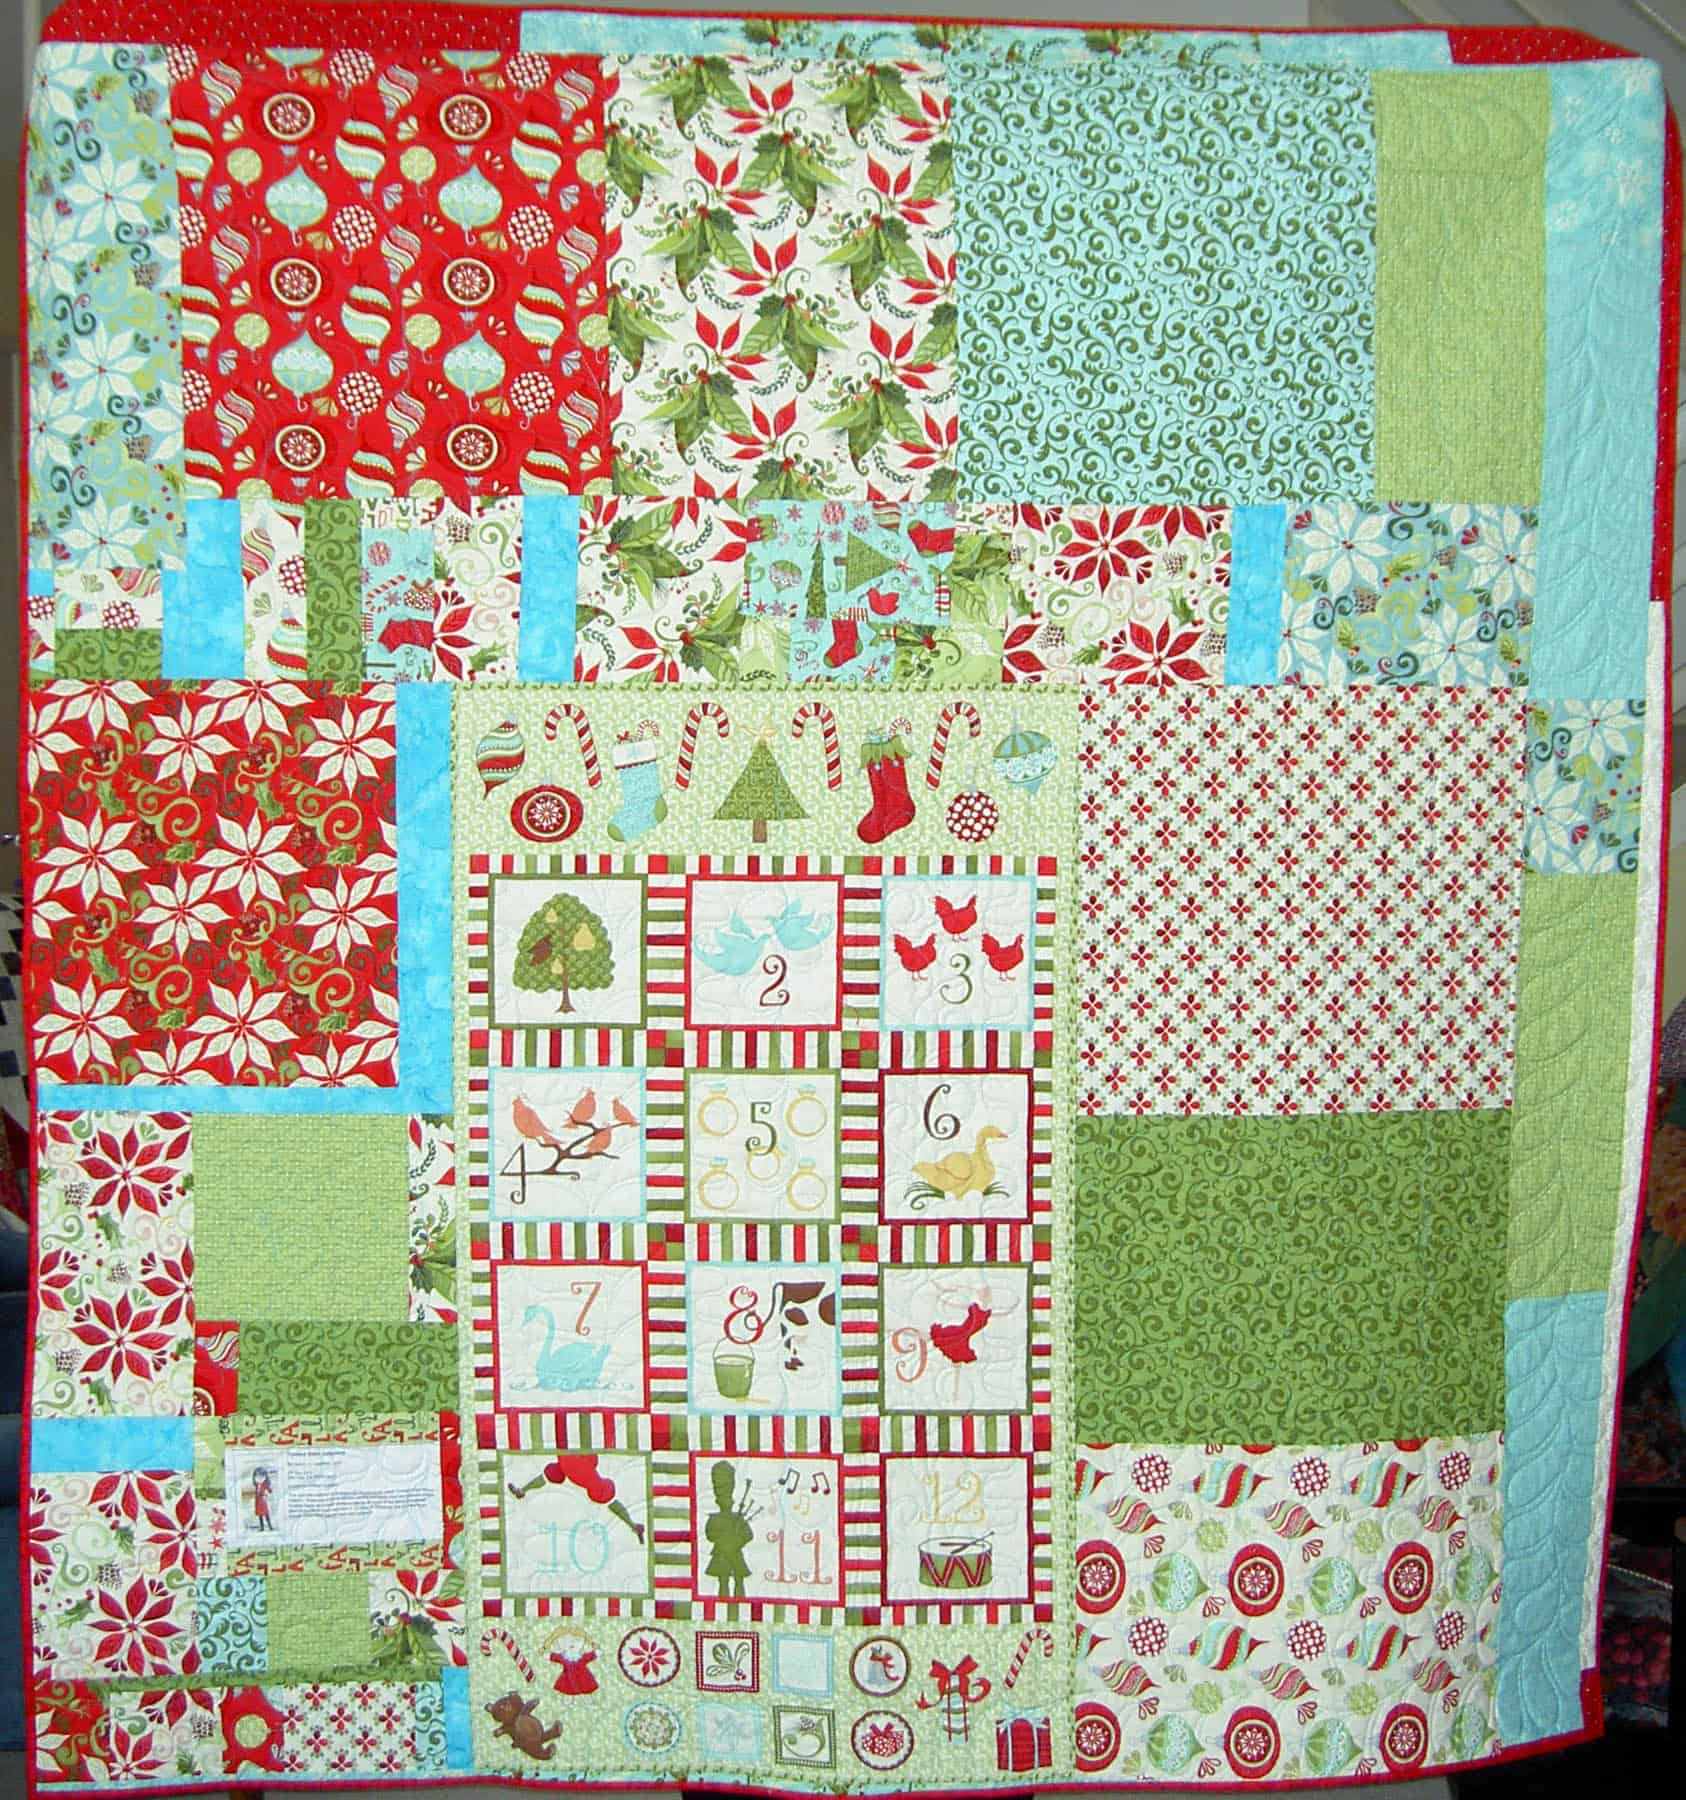
I like using the leftover fabric as the back, as I have said before. I prefer to use larger pieces, as I discussed when I was talking about making the back for FOTY 2010. Two panels were included in this group of fabrics. I thought it was a little odd looking, but one of them works for the back.
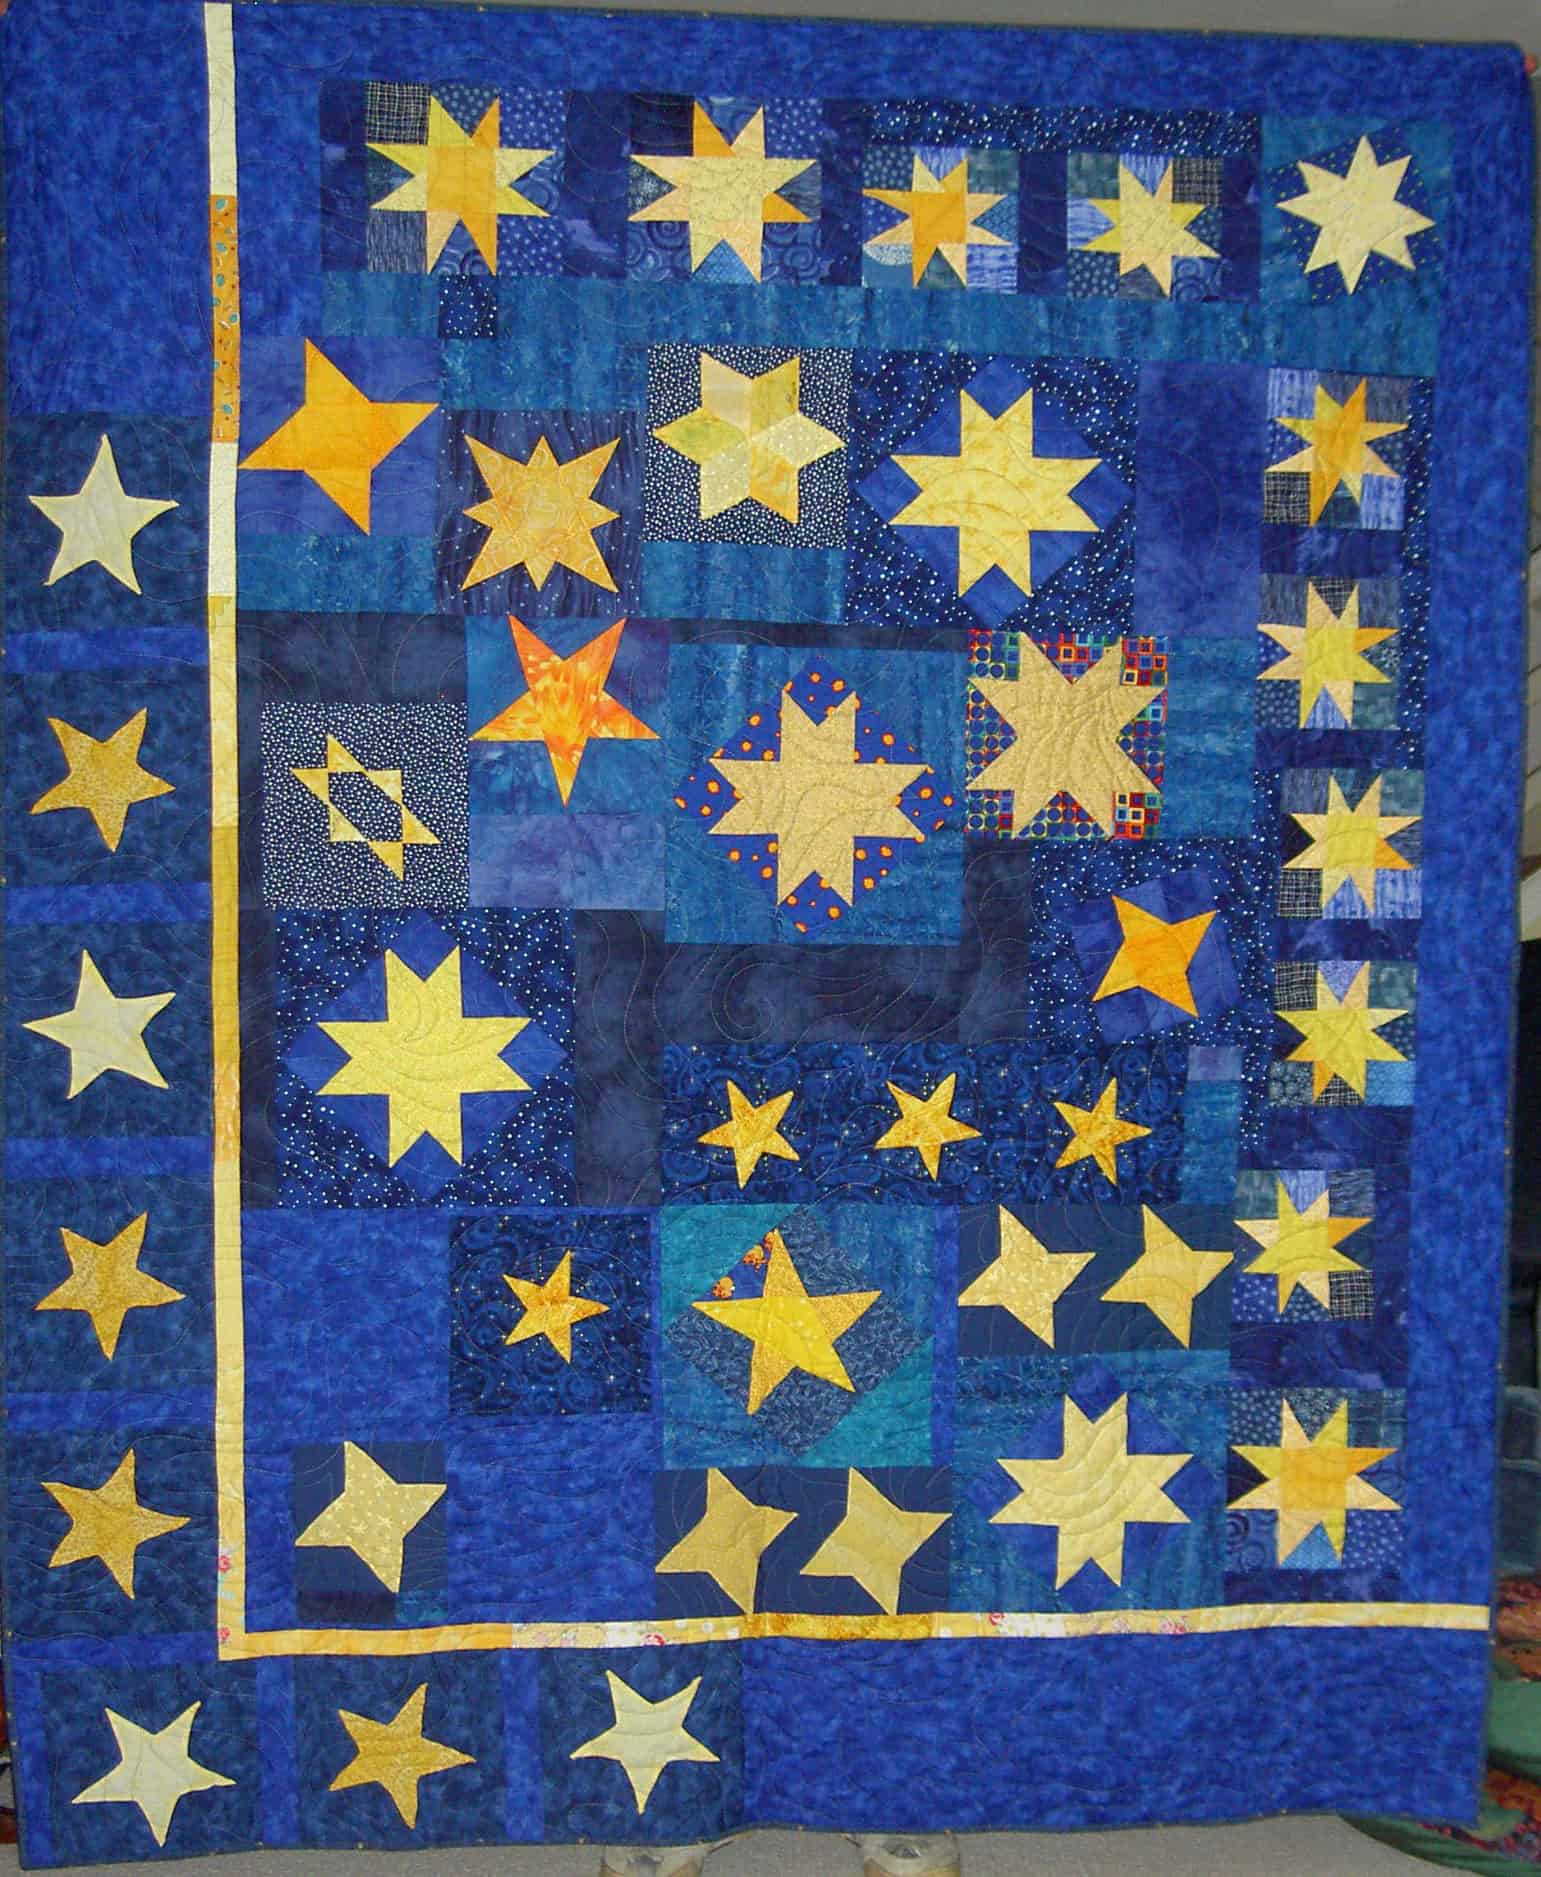
Here is the full quilt. I only showed part of it before, because it was too large to photograph in the space I had. I am going to make a second version in different fabrics with a few changes.
I wanted to get this one done so I could send it off, but didn’t get it done in time, so it will have to wait for the new owner to get home.
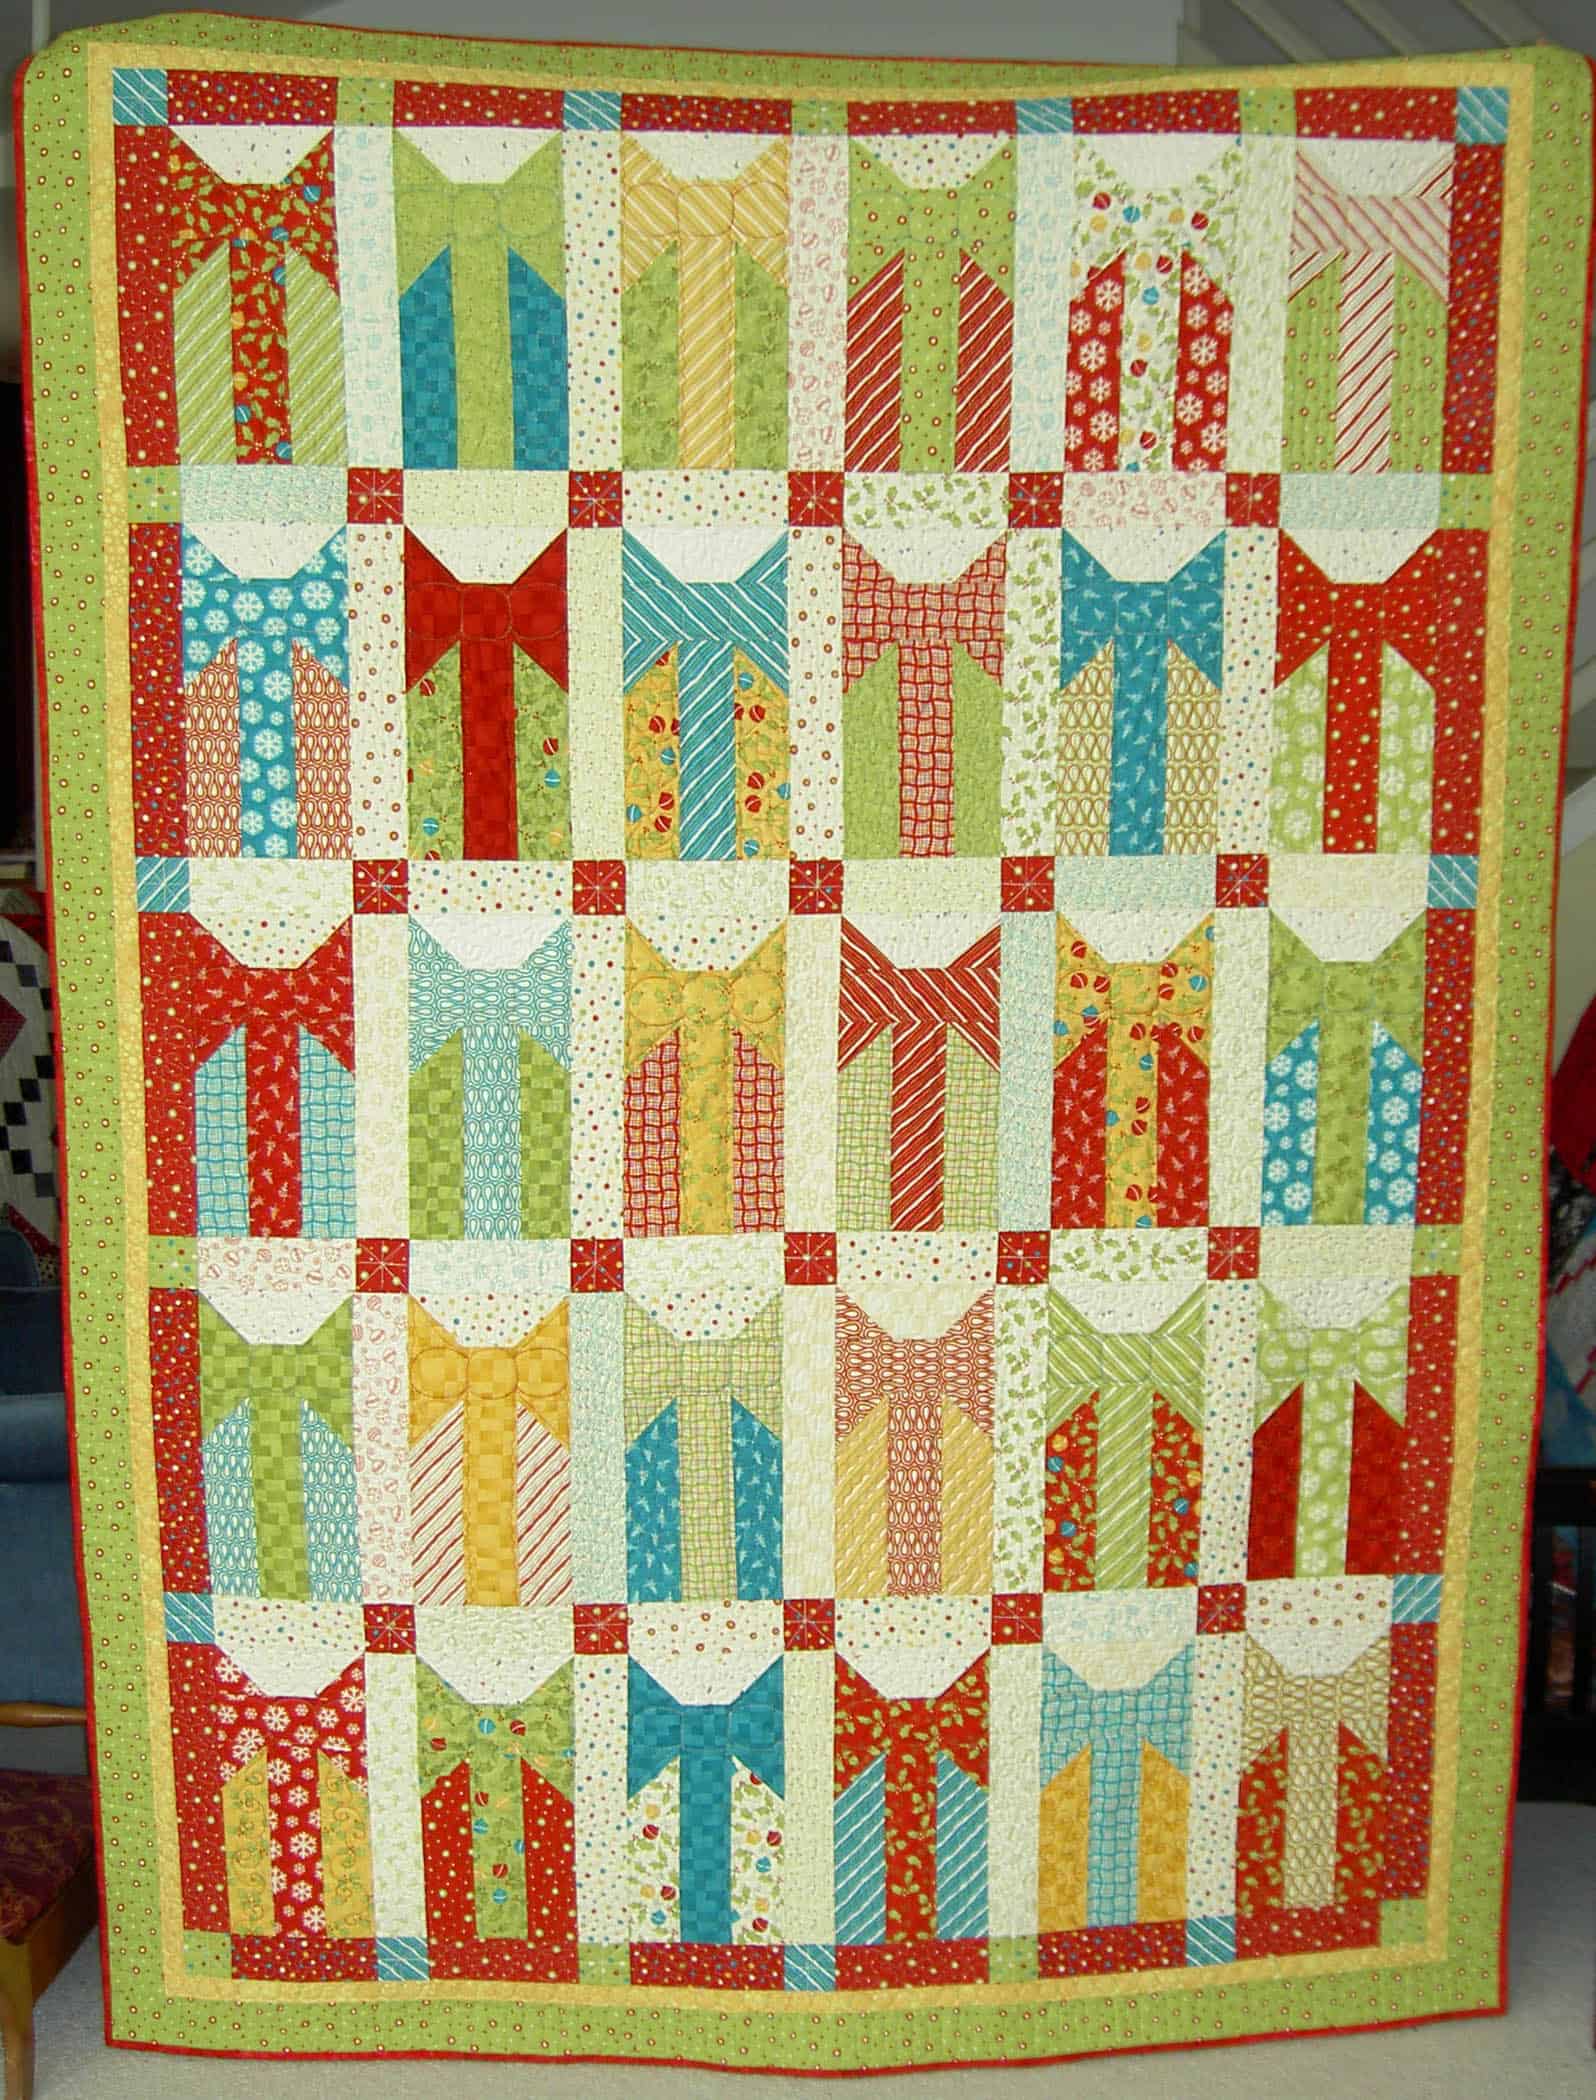
I really finished this in December, but never got around to taking a photo. Here it is in all of its glory. It will be a gift. This is a pattern from Sandy Gervais called It’s a Wrap. Someone thought the packages looked like elephants.
The last post about this project talks about selecting the border.s
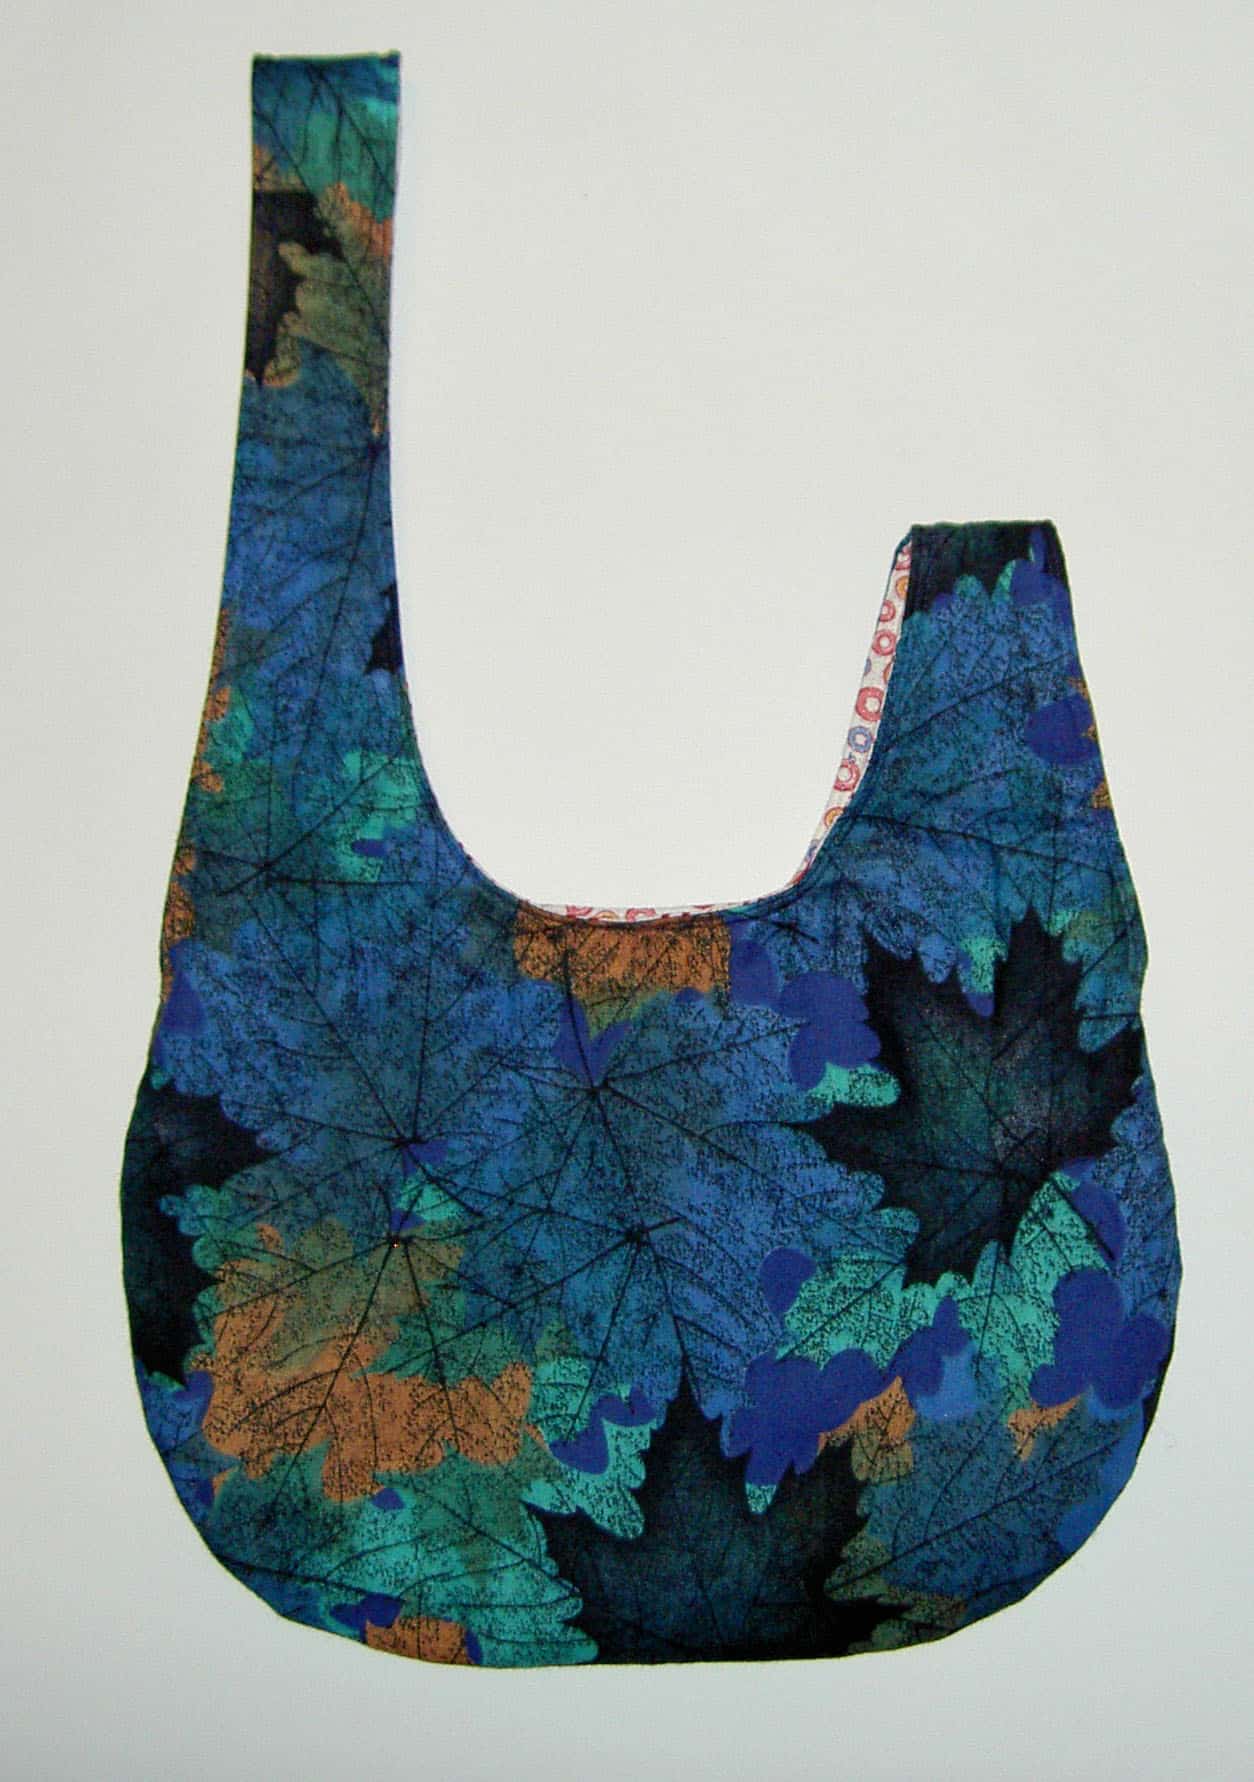
I finally finished Grama’s 2d Grab Bag. She lost the first one, perhaps I mentioned it? I am really sad she lost the first one, because I really liked that one. Oh well.
I wrote (sewed??) her name with my stitch letters in the handle, so perhaps the next finder will return it to her. Perhaps I should start the next one? 😉
I used Aurifil thread and two different light fabrics for the inside so she could see what was in there. The leaf fabric is one I have had, but since I hadn’t used it, I thought it would be fine to use for this project.
I really like the Martha Negley giant vegetable prints. I am not sure why except that they are really different. This one was a much darker color than I thought when I bought it (online), which I mentioned when I made this pattern back in October. I was a little unsure what I would do with it.
This tote bag pattern is great! It is a good size and it is a useful size. I sew the straps a little differently than the pattern suggests, because I prefer the straps to be inside the seam. Otherwise this is a very clever pattern that goes together relatively easily and quickly.
I also think large scale fabrics show up very well on this pattern design.I finally learned to put the contrast fabric behind the pocket! TFQ likes to use the same fabric for the middle panel, but I like the way I have done it in the picture. I hope I remember to do it that way next time!
I have an idea in my head to make one of these a month all year. We will see: two months down, 2 bags complete.
My next wishlist item for this pattern is to make a bottom out of the fusible Timtex like stuff that Anna Maria Horner uses for the Multi-tasker tote and insert that to give the bag some stability.
Mom has been busy making more stars. She is trying different patterns, which means I never know what to expect from her! On another note, I told her to start showing some of her 19 (!!!) works in progress on her blog. I can’t wait to see what she has started.
The paper pieced block in the upper left hand corner was made by Maureen. It is really a perfect combination of colors. I know Maureen from CQFA. She is wonderful dyer and fabric printer. She does a lot of really good work in fabric manipulation with dyes, paints, etc and is an inspiration and teacher to others in the group in this area.
Mrs. K's handwork
Mrs. K came to a party yesterday. She lives 4-5 hours away from me and prepared these reverse appliqued blocks for the drive down the mountain. The stars are reverse applique’ and then she has tied some French knots in each inset of the stars. You can just see them in the photos. I will have to take out some of the basting and trim the backs, but that is ok. I would rather do it when I am ready to sew than have the edges unravel or fray. I know Mrs. K from an online quilt group and we have gotten together several times. She loves handwork and crazy quilting. She taught hearing impaired students for many years in public schools. I really appreciate her effort on these blocks.
Crazy Quilt Cookie
Mrs. K also made me a cookie. Check it out! I think I need to have a cookie baking and decorating session with Mrs. K!
We now have over 50 blocks!
Want to help? The background for this project is that one family we know from school and my husband’s cousin were affected by the September 2010 San Bruno fire. We are making 3 quilts: one for our cousin and his wife, one for my son’s friend and one for the parents of my son’s friend.
I am thrilled at how many people are making a block or two. Do you want to contribute some blocks?
All star blocks are welcome!
Block background: dark blue
Block design: Yellow star (any pattern, technique, eg. embroidery, painting, silkscreen, etc)
Block size: 8? finished (8.5″ unfinished) or smaller (we will work with any size)
Remember to sign your block!
Deadline: TBA, probably around the end of March. We can’t do it without you!
Contact us through our blogs for mailing instructions. Thanks very much for your generosity!
The fabric I ordered with my Fabricworm gift certificate arrived about 2 days after I ordered it. This is a different look than I usually buy, but I like it. Not sure what I will make out of it. I am thinking I will use it together, but we will see. I have to finish FOTY 2010 first! You can see it all at the Piece O’Cake website fabric page. There is a wonky 54-40 or Fight quilt on their home page today. I don’t know how long the links will work, though.
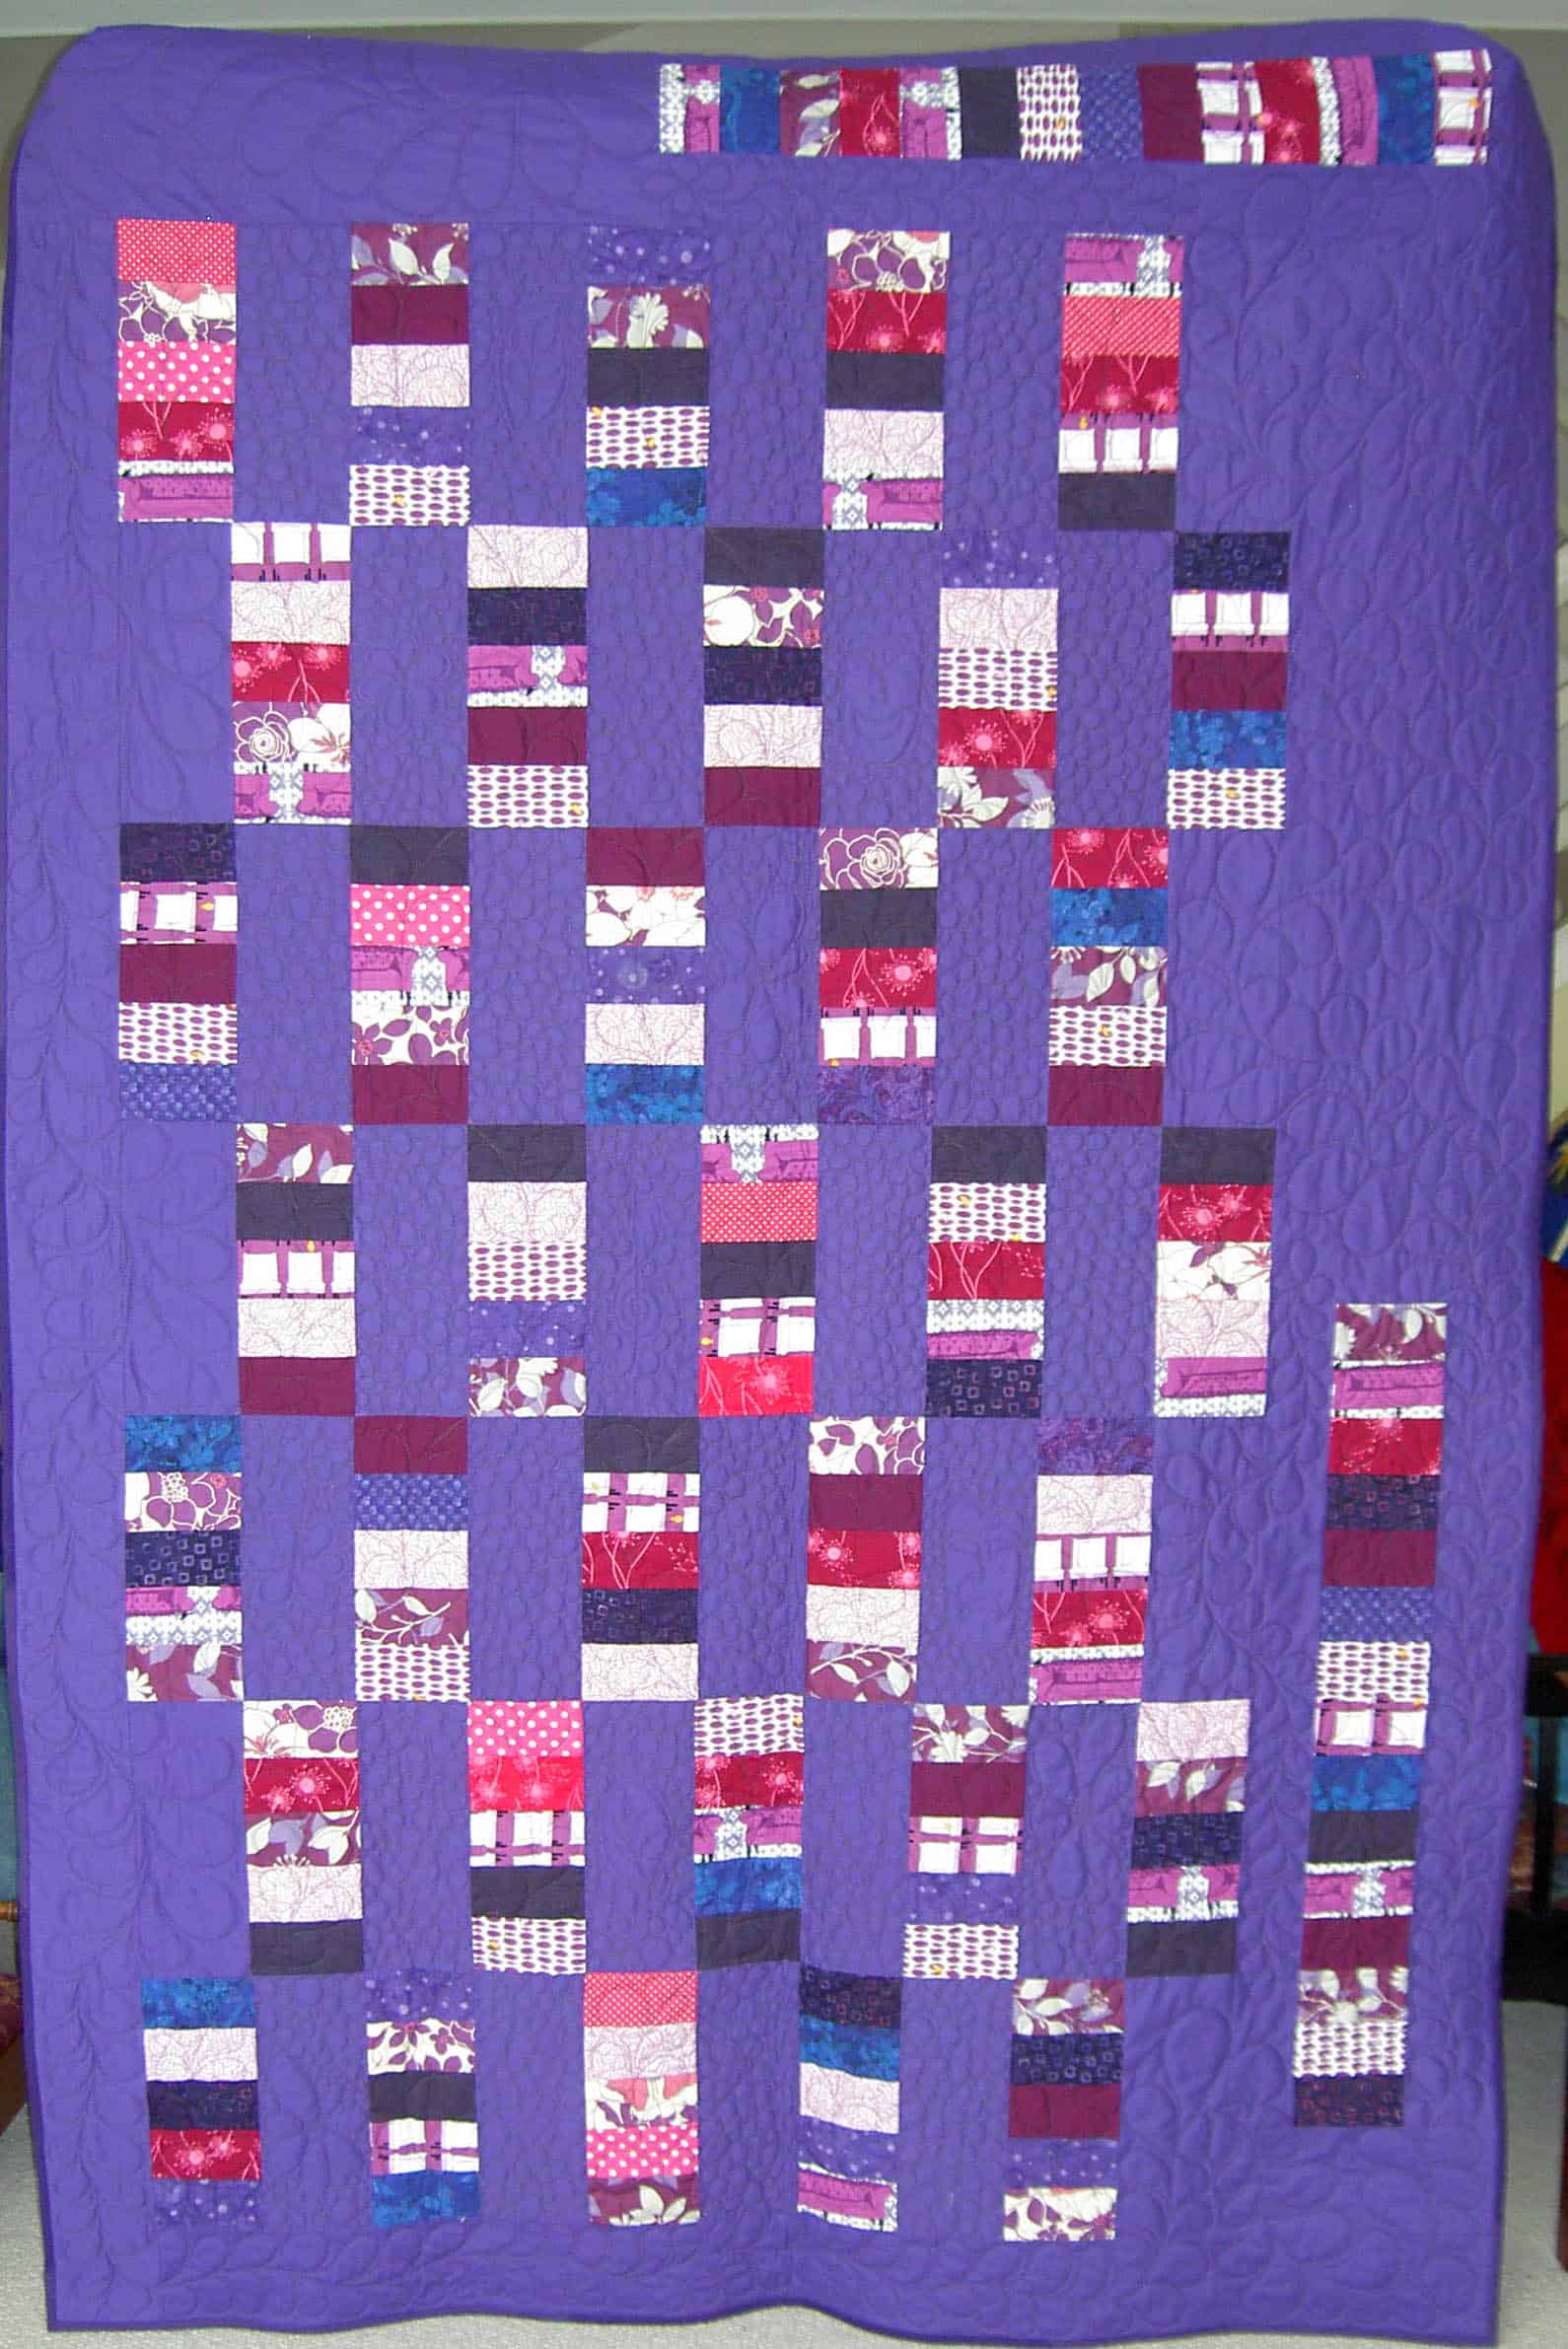
I have been working on this quilt on and off for a few weeks. I was mostly cutting and piecing the stacks of rectangles, but last weekend I sat myself down and pieced all of the blocks and finished the quilt.
I did something different on this quilt, which was making an assymmetrical border. I made a large stack of rectangles for the bottom and the side of the quilt.
Top part of quilt - in process
The piecing wasn’t difficult, but the cutting and the figuring out of how many fabrics to use was a challenge. I started off with a Birch Bundle from Birch Fabrics/FabricWorm. I ended up adding a few fabrics from my own stash. I had to add still more fabrics from my stash for the back.
This will be a gift, but I don’t want to say for who until the gift is given.
I have to say that I felt the same way I felt when I made Passionate Purple. The purple on the design wall was depressing. I needed to get this quilt done, because it was too dark and was making my workroom depressing. It could be that I seem to do purple quilts in the winter. It could be I just don’t like purple enough to make more purple quilts.