I have been working on Lupine steadily since after Christmas. As previously mentioned, it is a lot of piecing. This is not a project to work on while distracted and I have made some cutting errors. This means I have had to re-cut and sew some of the pieces. No shortage of fabric, but frustrating.
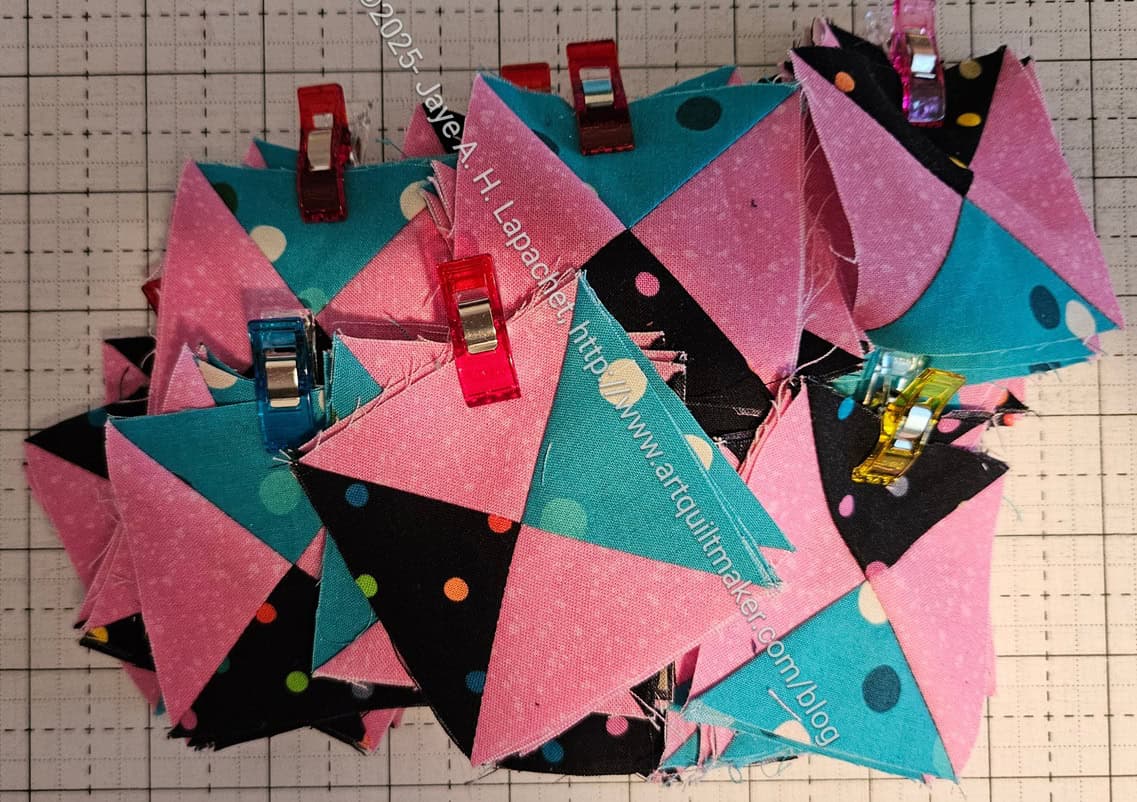
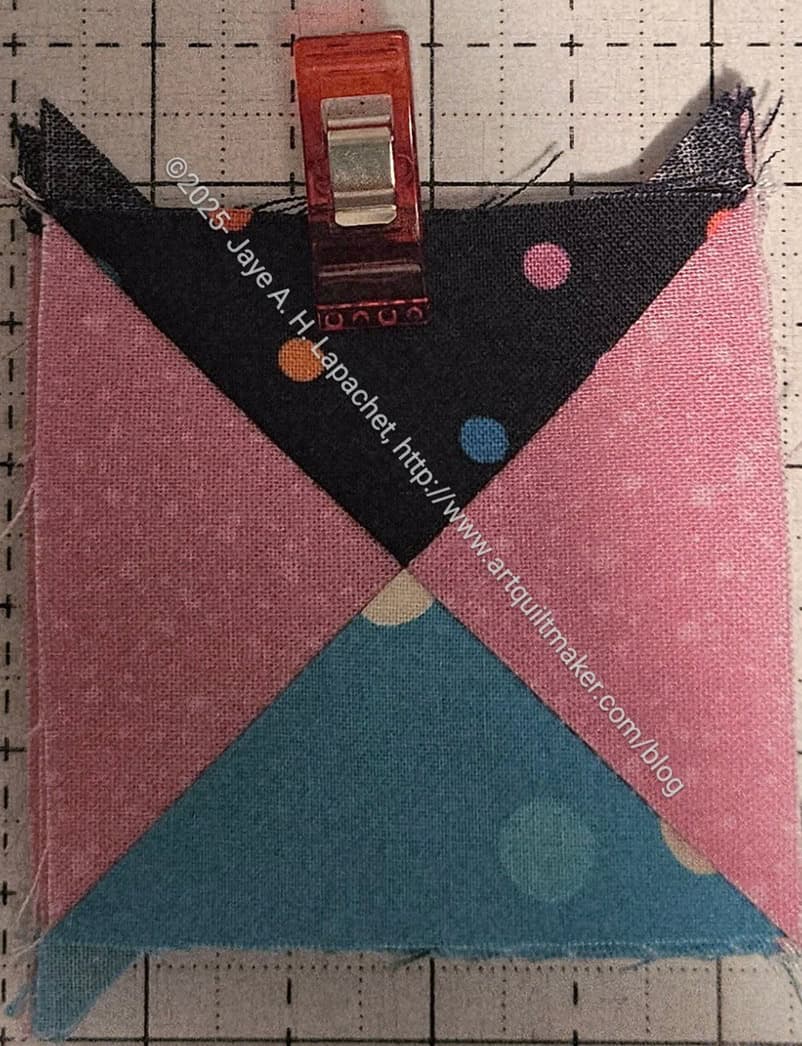
I really wanted to make progress, so I cut some 2.5 inch squares and made the blocks for Clue 5.
Clue 1 was the only clue I had completed, but I had the units I needed so with some squares, I thought this was low hanging fruit, which would give me the boost I needed to get back to the miles of piecing I still needed to do.
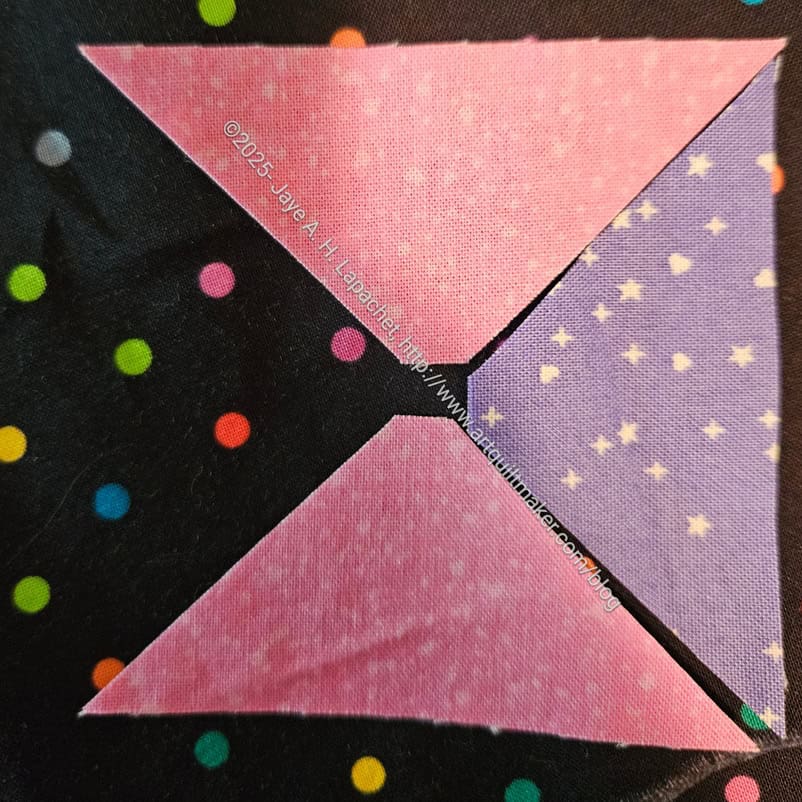
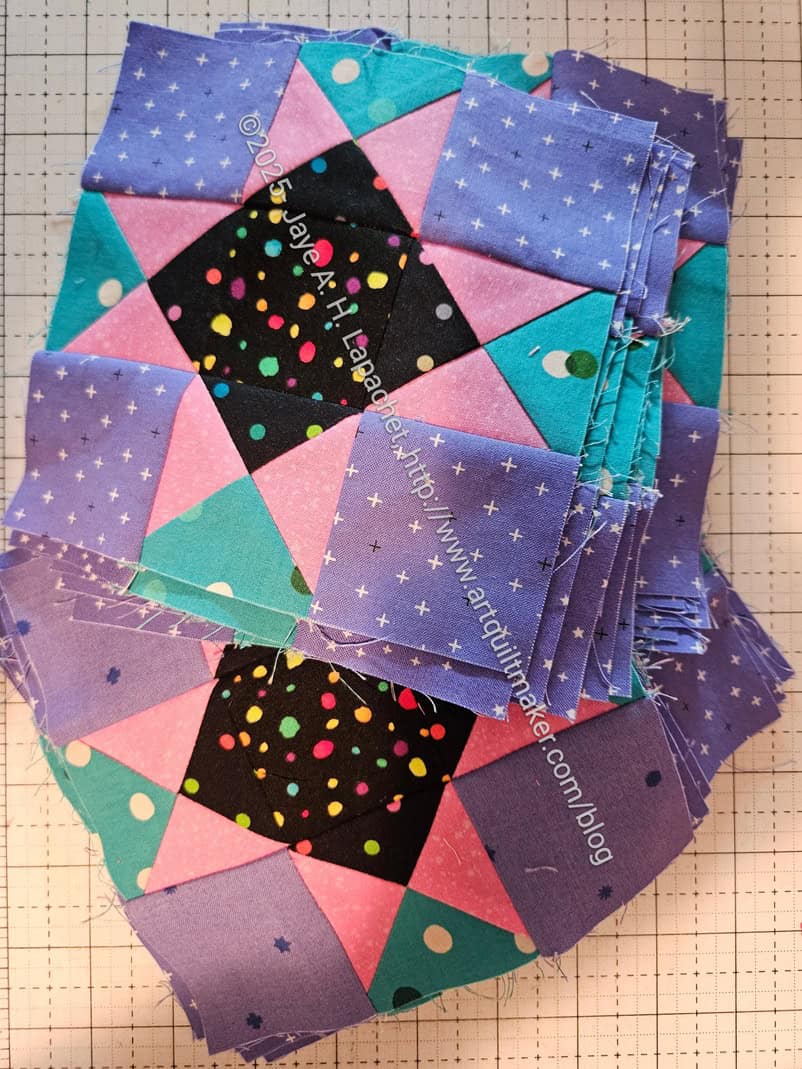
These are also the first finished pieces for the quilt. I don’t know how they will fit in, but they show me how the color combination I selected work together. I am pleased. So far the black doesn’t seem too dark and I am using up some fabric that has been around awhile.
Jeff Rutherford gave me a great idea. It was a serious DUH! moment. He made a comment on my blog and sent me some instructions I needed (free, no copyright issues here!), which set off an email exchange. In the course of this exchange, he mentioned he was using his Accuquilt** to cut pieces for the various Luppine clues. I don’t have tons of dies, but thought that even if I had one die that would work, it would be worth dragging out the machine and doing the prep.
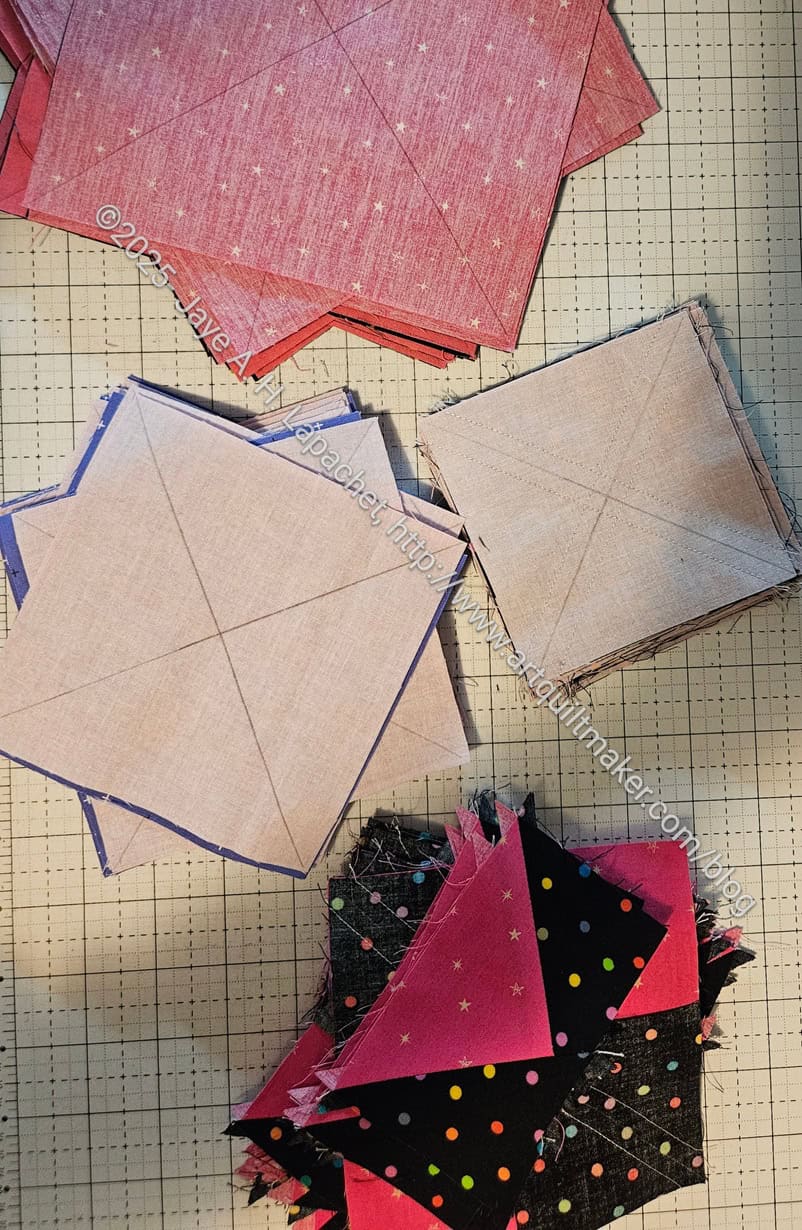
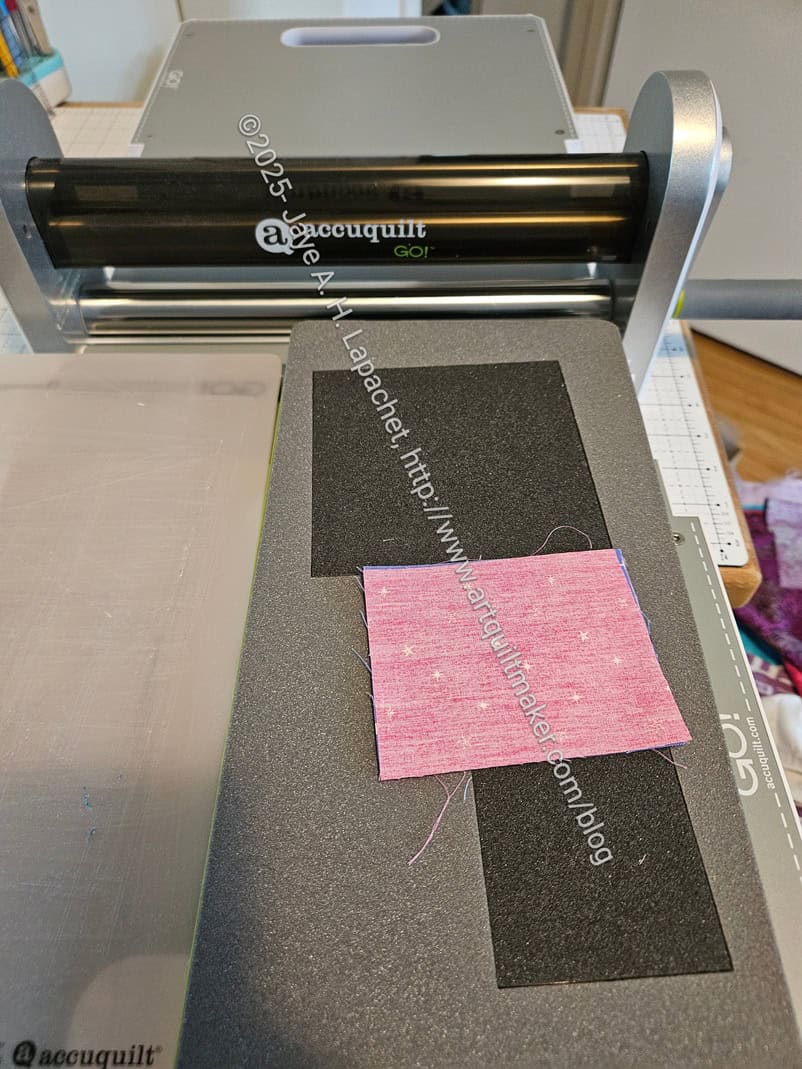
It turns out I have three dies that worked for this project, though I couldn’t find one of them. ERGH! Fortunately, I had HST and HRT dies that I could use. There was some pre-cutting because the HST die I have is the “Value“** die. It came with my Accuquilt and has pretty useful shapes. I cut some fabric just the size of the HST section so I wouldn’t waste fabric on shapes I didn’t need. The picture above shows my fabric/die layout before cutting.
I was able to layer 6 pieces of fabric on the die and cut about 6 HSTs at a time. When you need a lot, it is a good deal.
I did the same thing with the HRT die. I don’t think I had ever used that die before. I think I bought it when I was writing the HRT Resources guide or while making a donation quilt. Anyway, it worked GREAT. I was able to cut, then sew them together easily. As a bonus I didn’t need to trim. I am behind in getting my clues done, but this machine really helped me to almost get caught up. I have to start incorporating the machine into my thought processes and planning when working on a quilt that has general sized shapes to cut. If I start using it more, I might even consider buying one of the electric versions.
N.B. Bonnie will remove the posts to which I have linked from her blog sometime in February 2026. Download or save the clues now if you want to make this quilt.
**Obviously, you should shop at local quilt shops and small businesses. However, if you are too busy or can’t find what you need there, I use Amazon affiliate links and may be paid for your purchase of an item when you click on an item’s link in my post. There is no additional cost to you for clicking or purchasing items I recommend. I appreciate your clicks and purchases as it helps support this blog.