I spent last Saturday doing the final clear out of my workroom. It is kind of horrifying to do something like this. It shows how much stuff I have. I don’t feel bad about it, but I need to use it. I produce a lot, but I need to produce more. Now that I have a better idea of what I have, I can use more of it. I am also going to be more careful about what comes into my workroom going forward.

The other thing is the dust. There are places that are inaccessible so the dust bunnies are large.
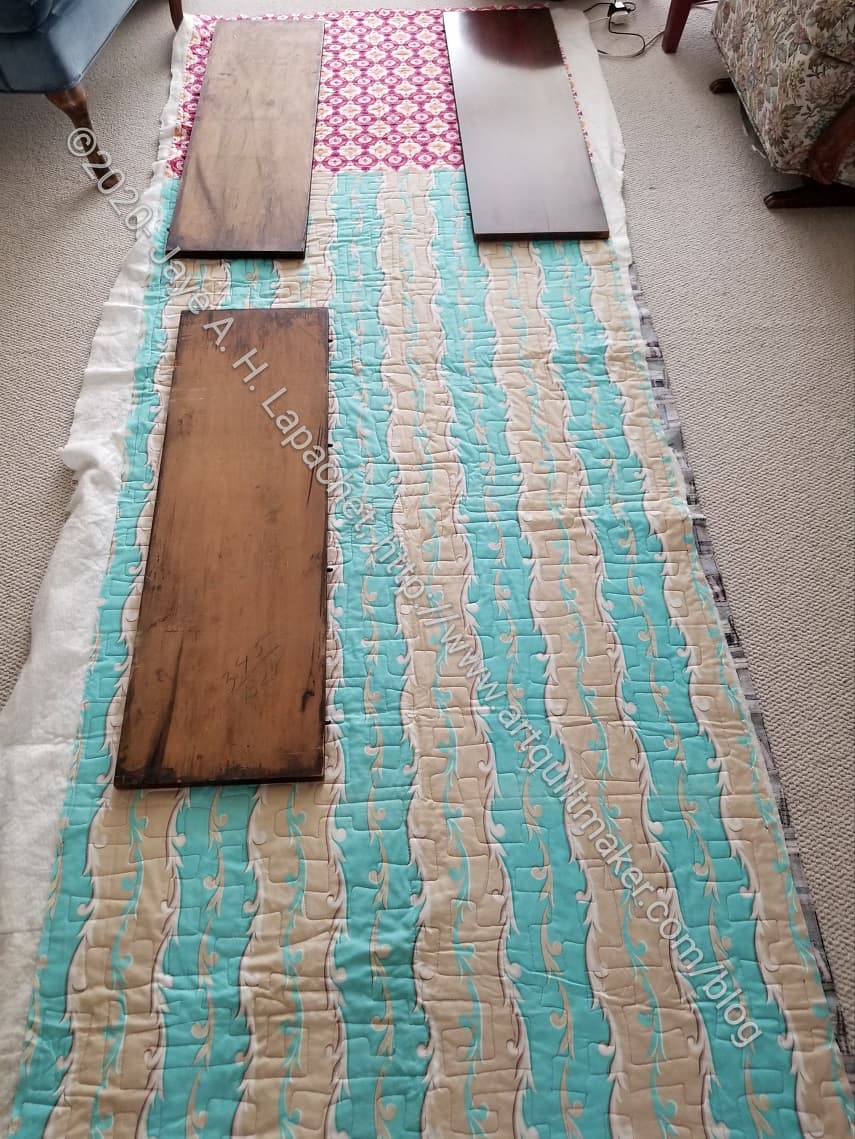
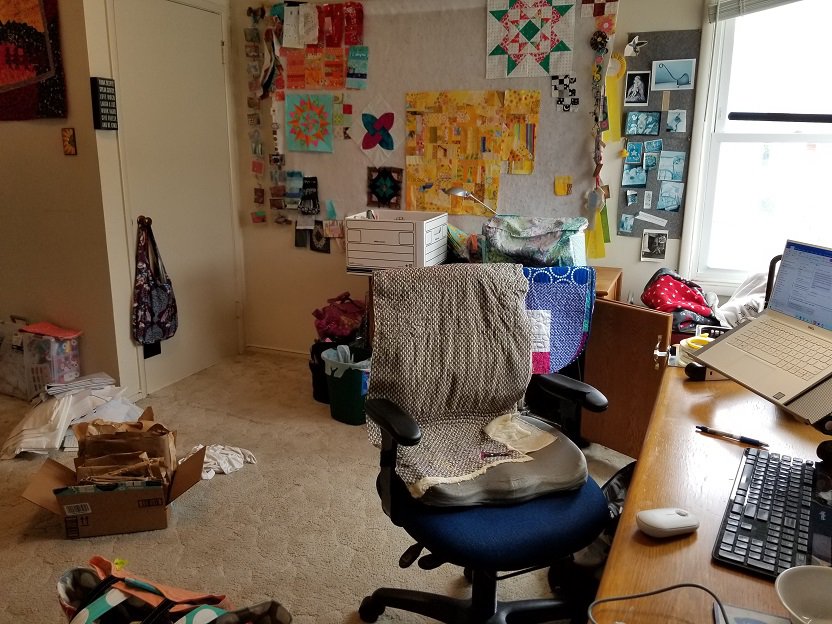
The view in the photo, right, doesn’t look like much, but I moved a lot of random stuff out of that corner. I had organized everything I could, but it was still kind of a jumble of projects and other random stuff. There is still some project boxes and my thread box there, but the corner next to my design wall is a lot more clear.
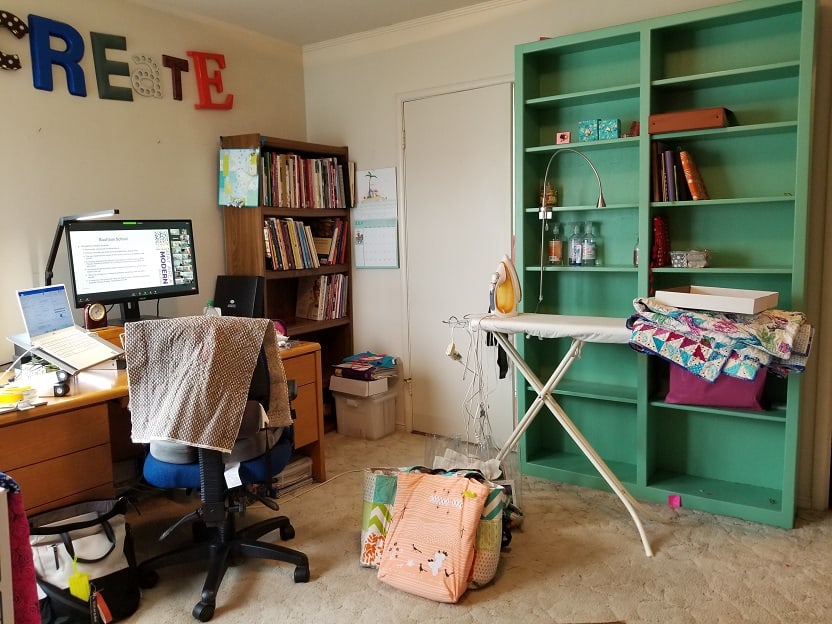
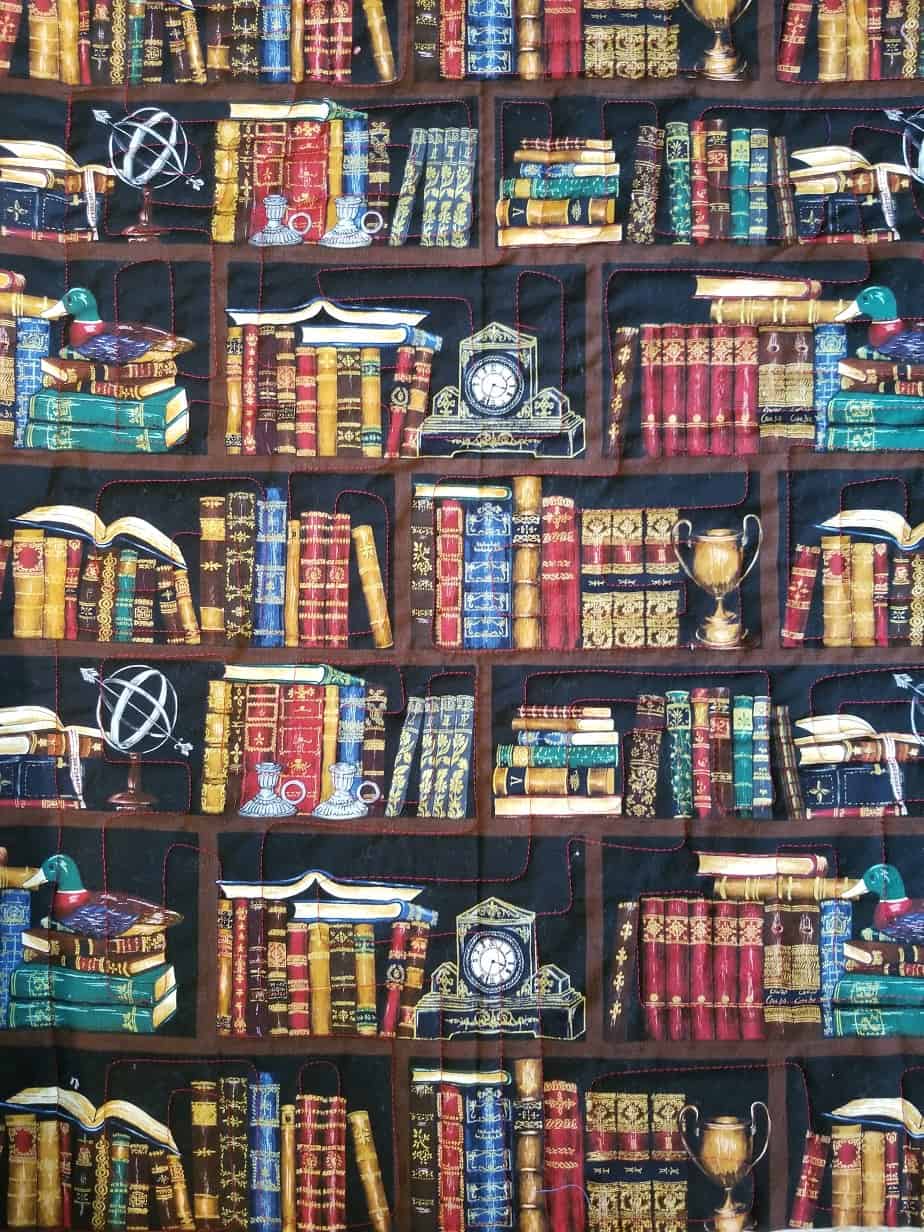
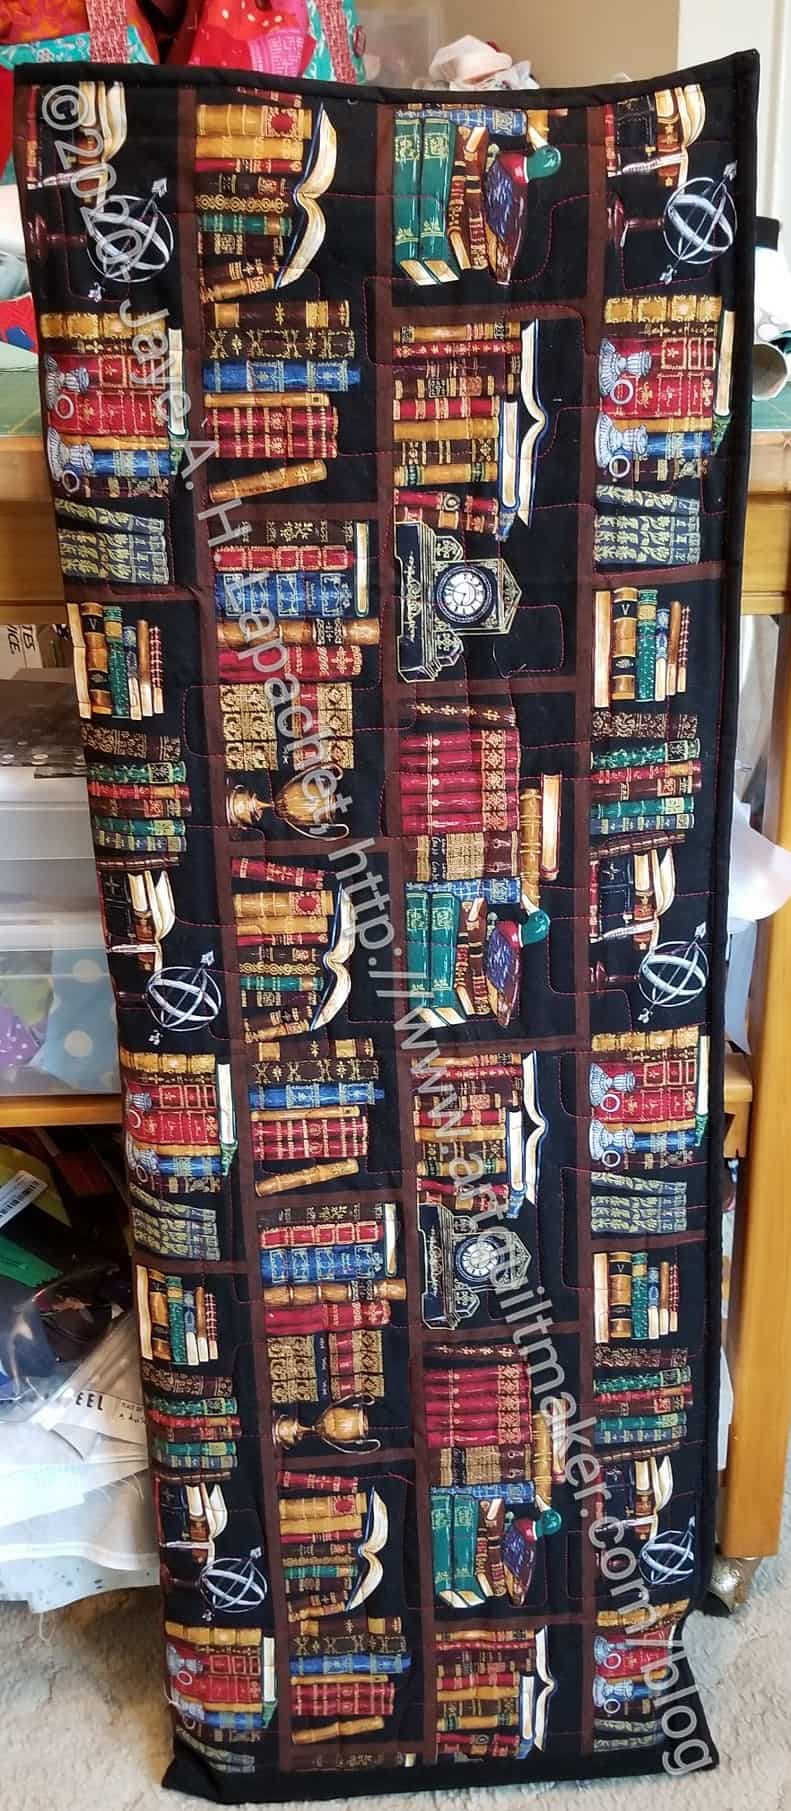
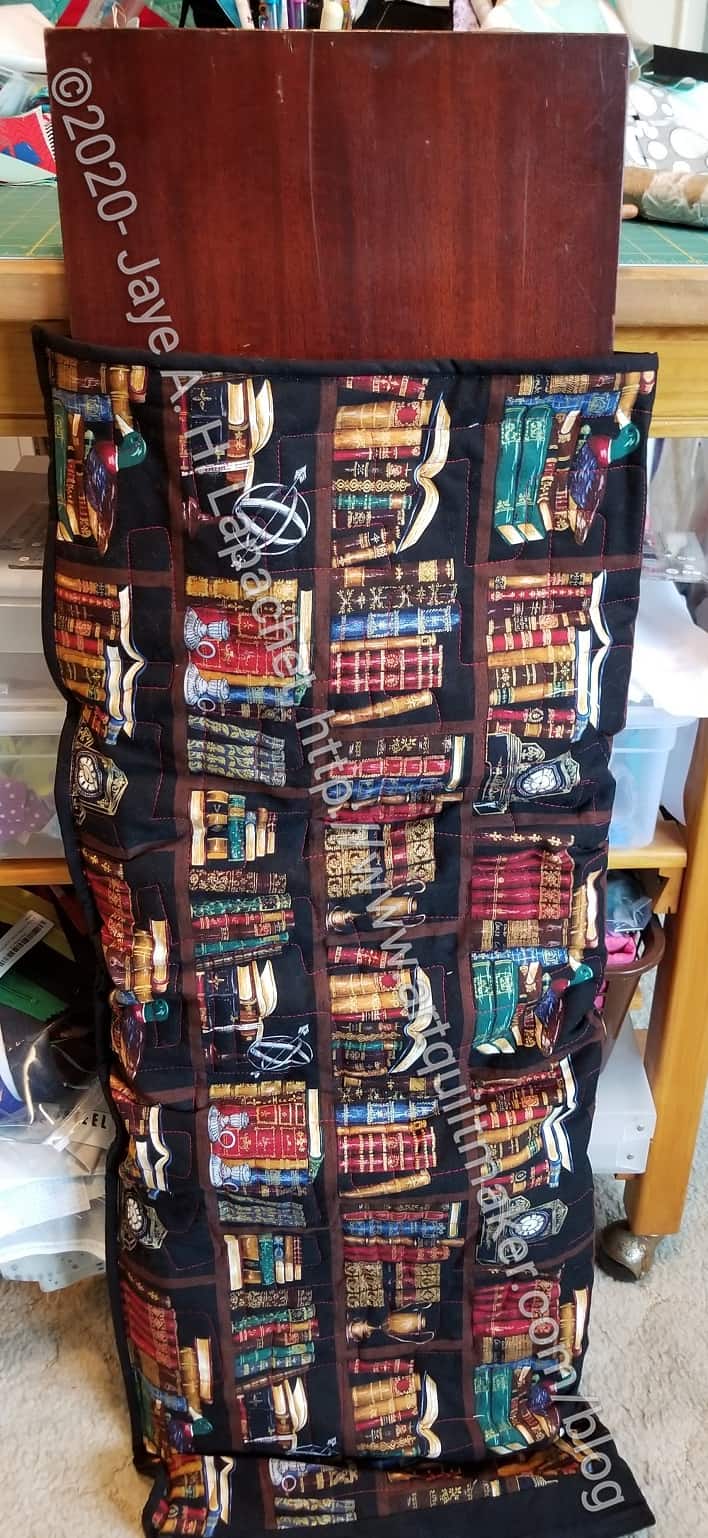
I am getting rid of some ugly pieces of furniture. That brown bookcase in the corner is out of the room as I write this and will be leaving my house soon. It is too short and too ugly for the future. I hope to bring in some fresh white bookcases. I haven’t picked them out yet, but I will.
Clearing out the last bits from my workroom is a big drag. It has to be done, but is a big drag. It’s like moving. Stuff that has always been in a spot has to be moved. A lot of it has to be wrapped up, you need boxes. Bleah. It’s just a lot of work. I keep thinking of the end result.
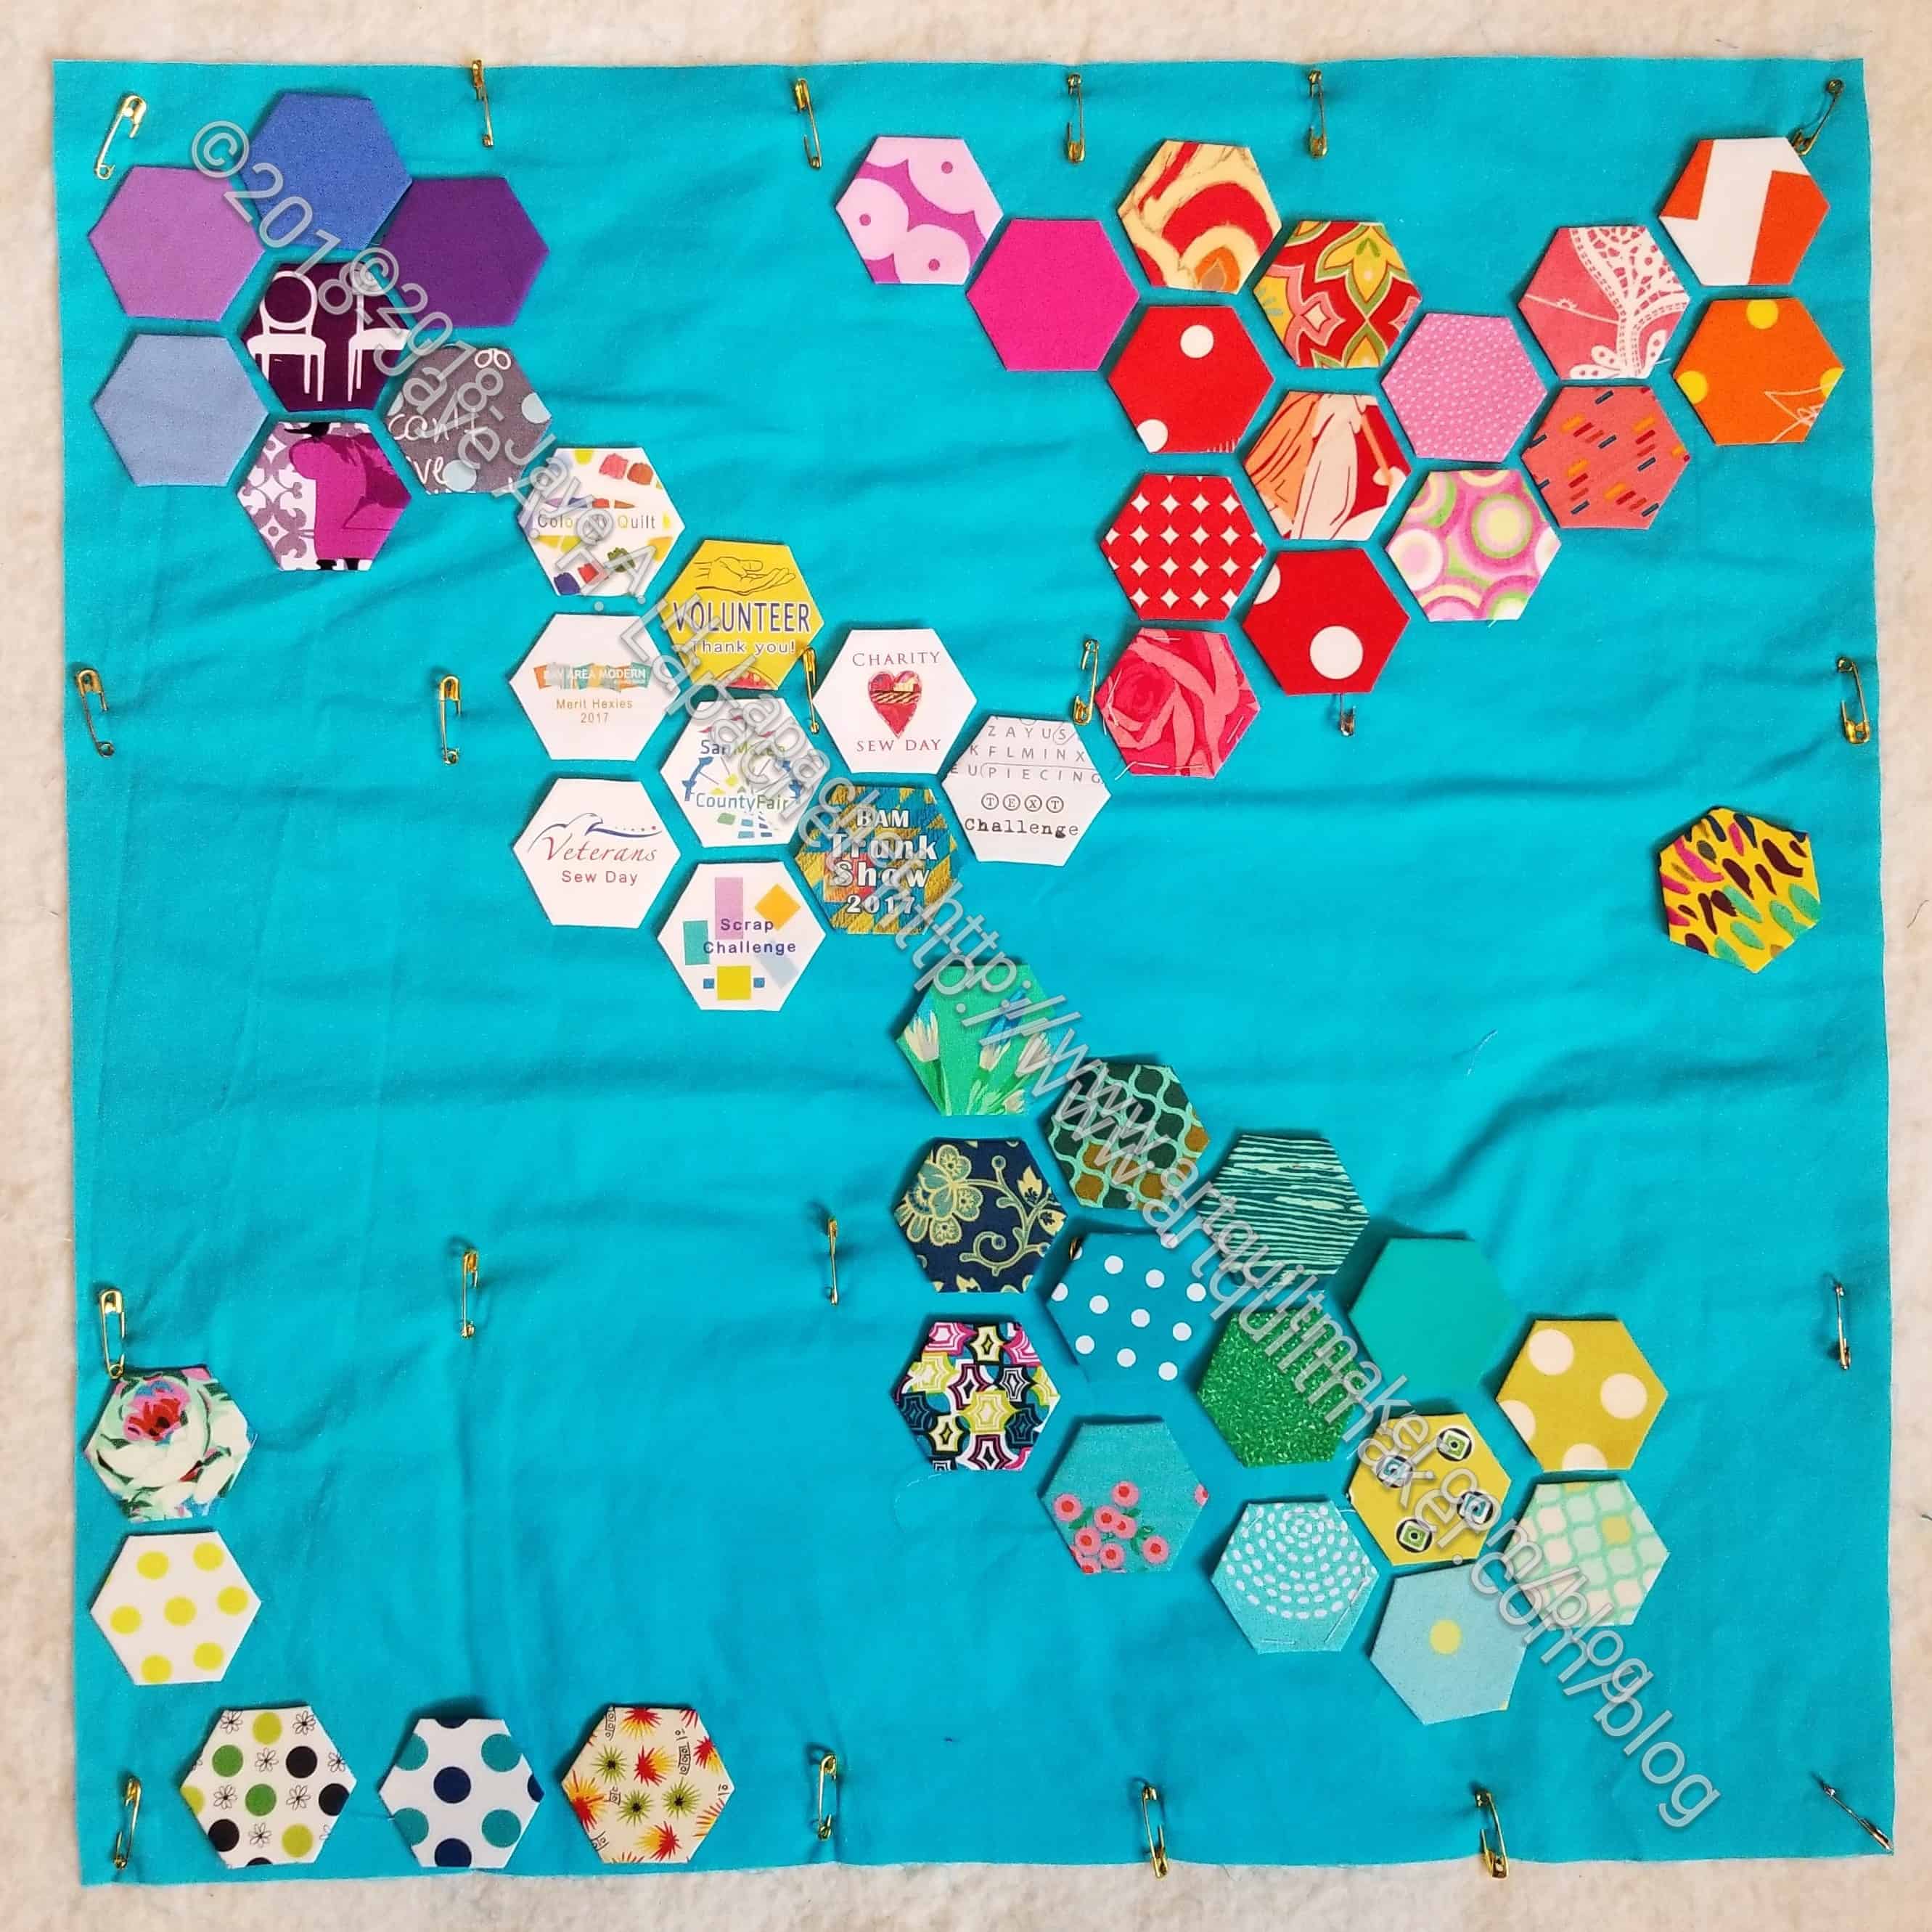
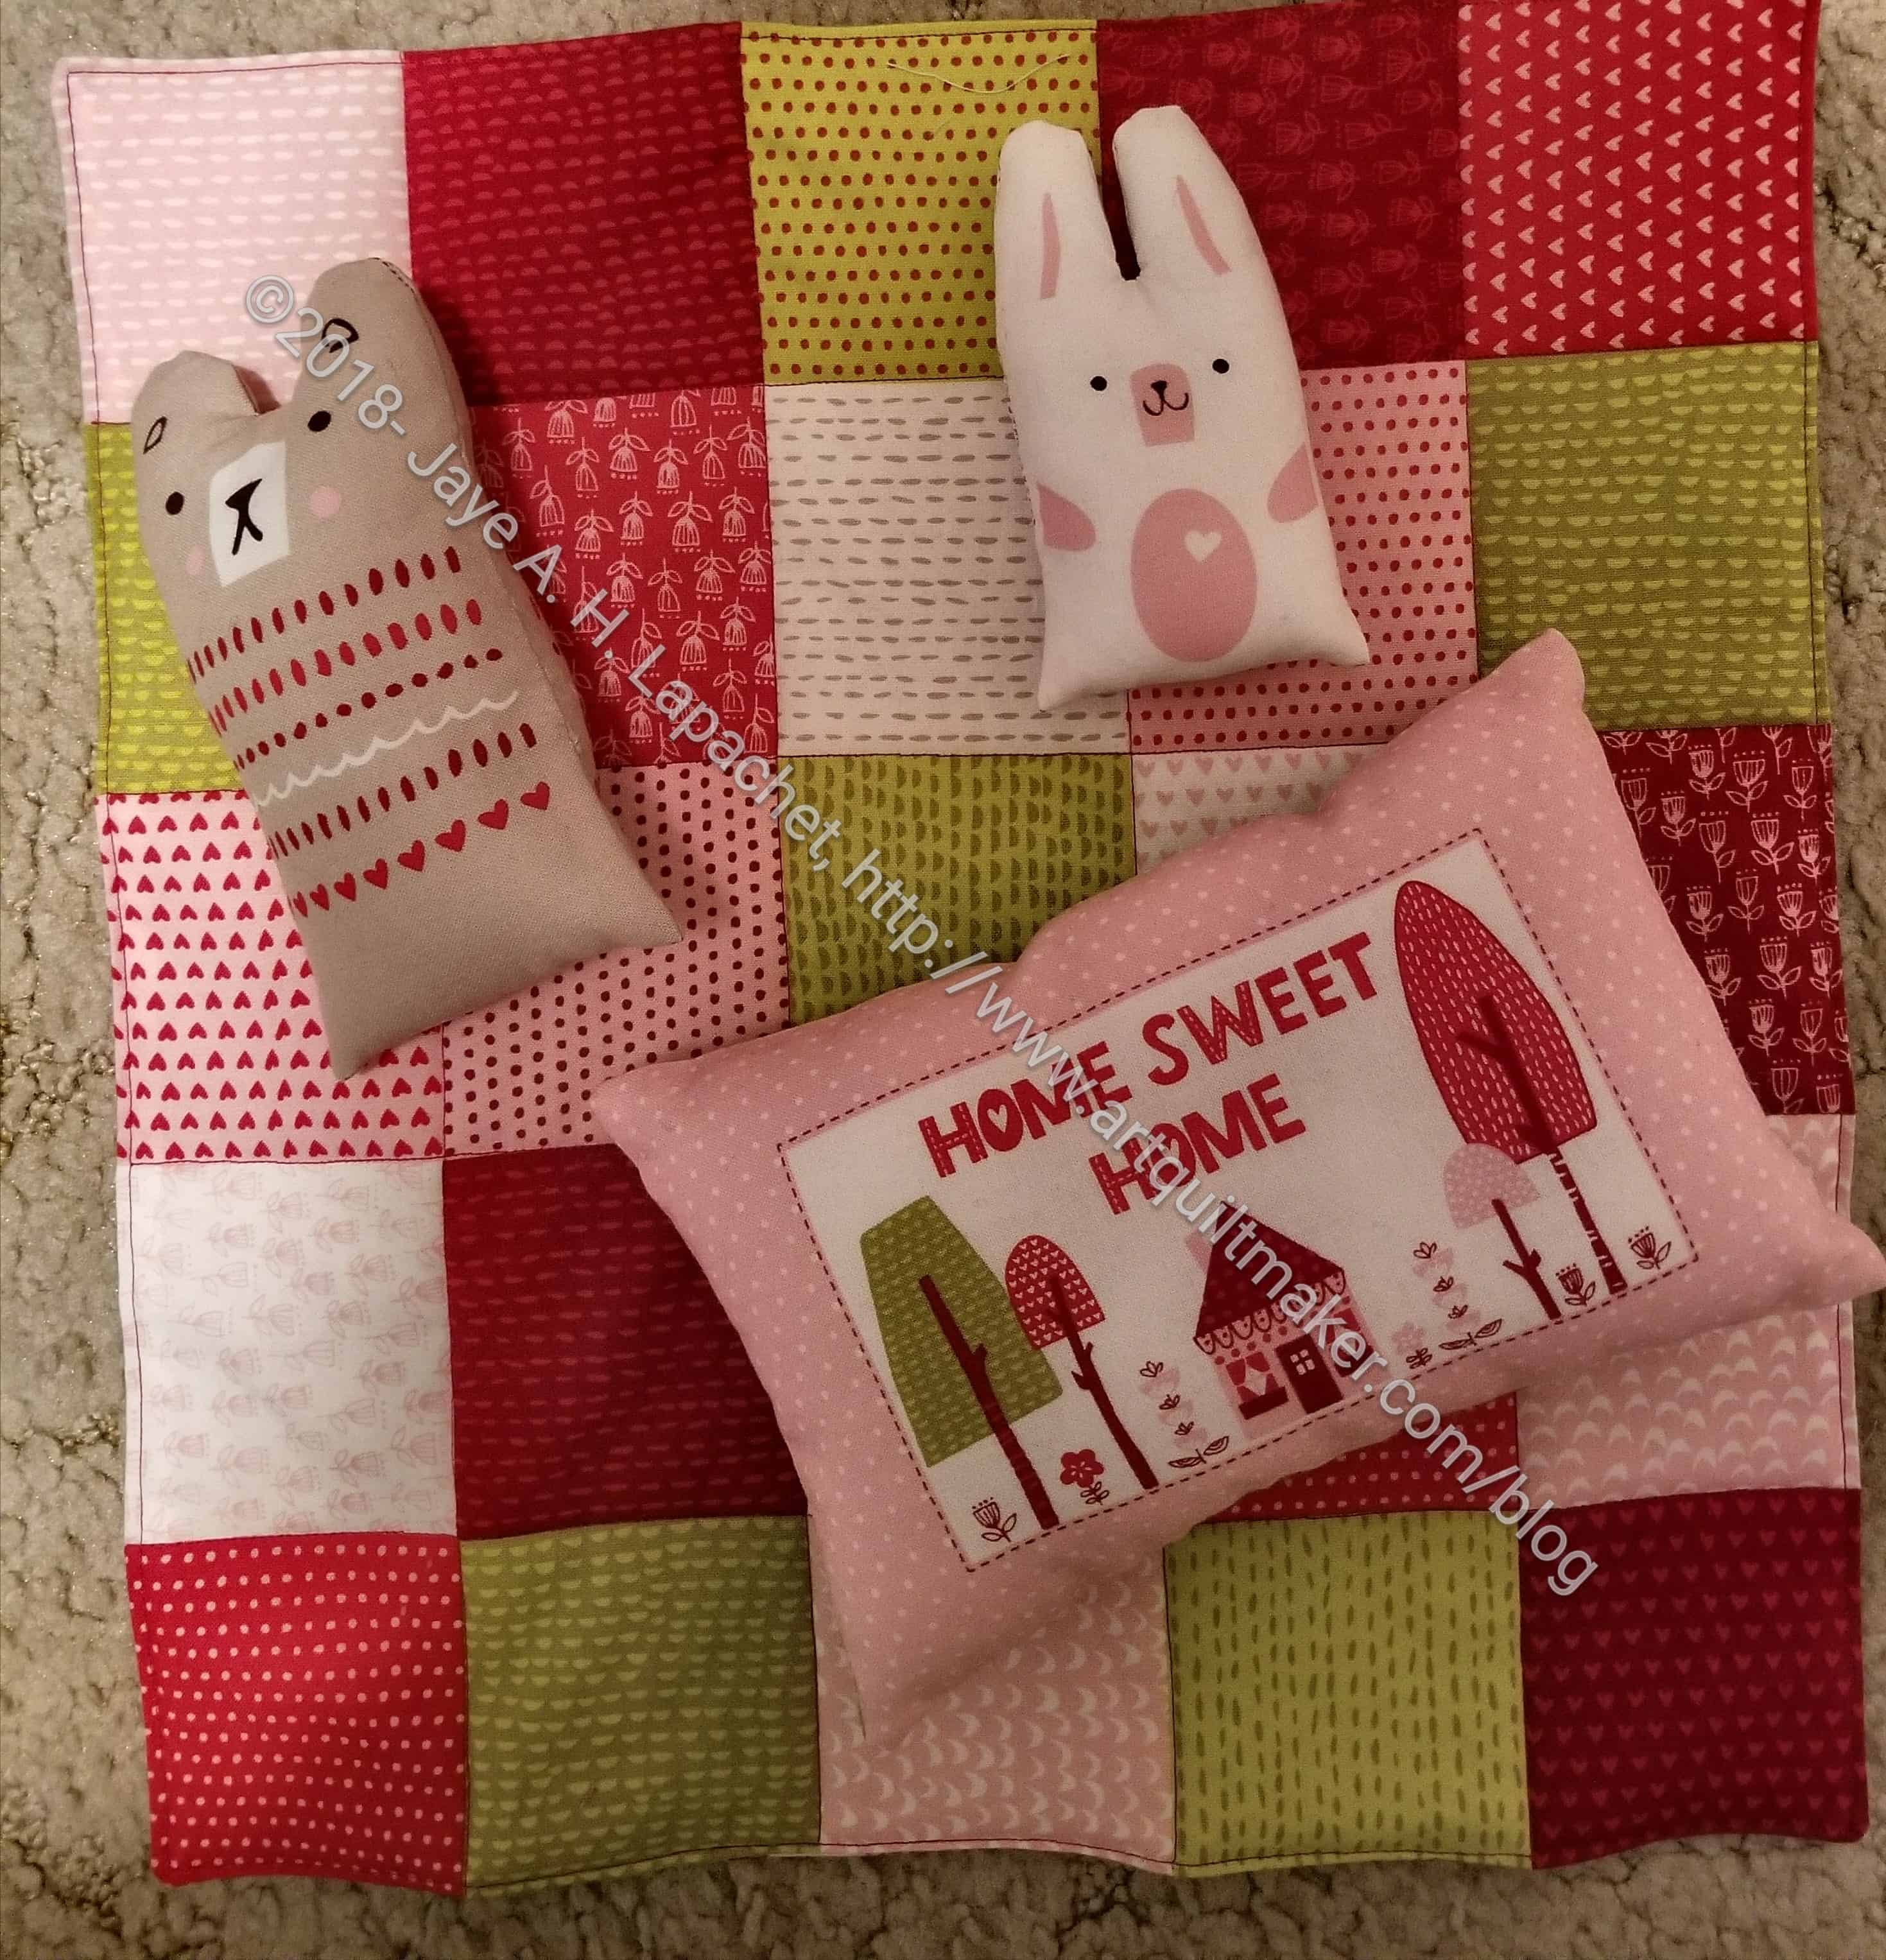
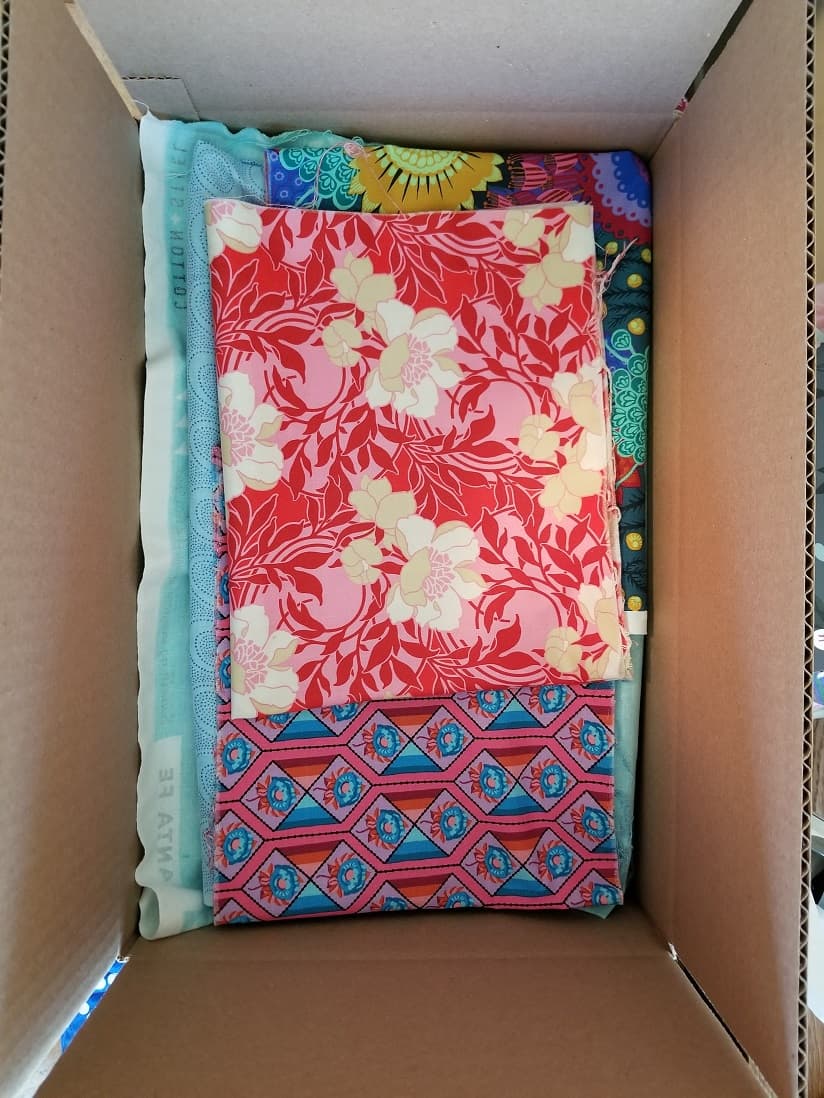
I had a pile of just pressed fabric and a pile of fabric waiting to be pressed. I decided to put them all in boxes. It was a good opportunity to check out some fabrics I hadn’t seen in awhile. I picked out another group of fabrics for a different quilt. Stay tuned for that post.
The removal of everything gives me two opportunities to go through my stuff. I am donating a lot of books. I also threw out a bunch of stuff I didn’t need to keep around. I hope to go for another round when I put everything back.