Recently I talked about some fabric I bought and some ideas for a new project. I have pretty much ruled out the idea of the complicated design I drew up. Not forever. Just for this fabric bundle.
While I have been thinking about it, I have thrown in a couple of other bits of fabric.
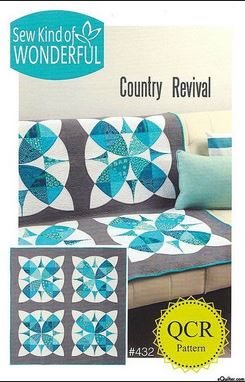
Country Revival by Sew Kind of Wonderful
Recently I bought a pattern called Country Revival by Sew Kind of Wonderful. You know what that means, right? Yep, Quick Curve Ruler.. Ever since I made MetroScape, I have wanted to use that ruler again. This might be the time.
The example quilt has a limited color palette, which I like, though I think it might be interesting to use the fabrics above, carefully, in the different circular designs.
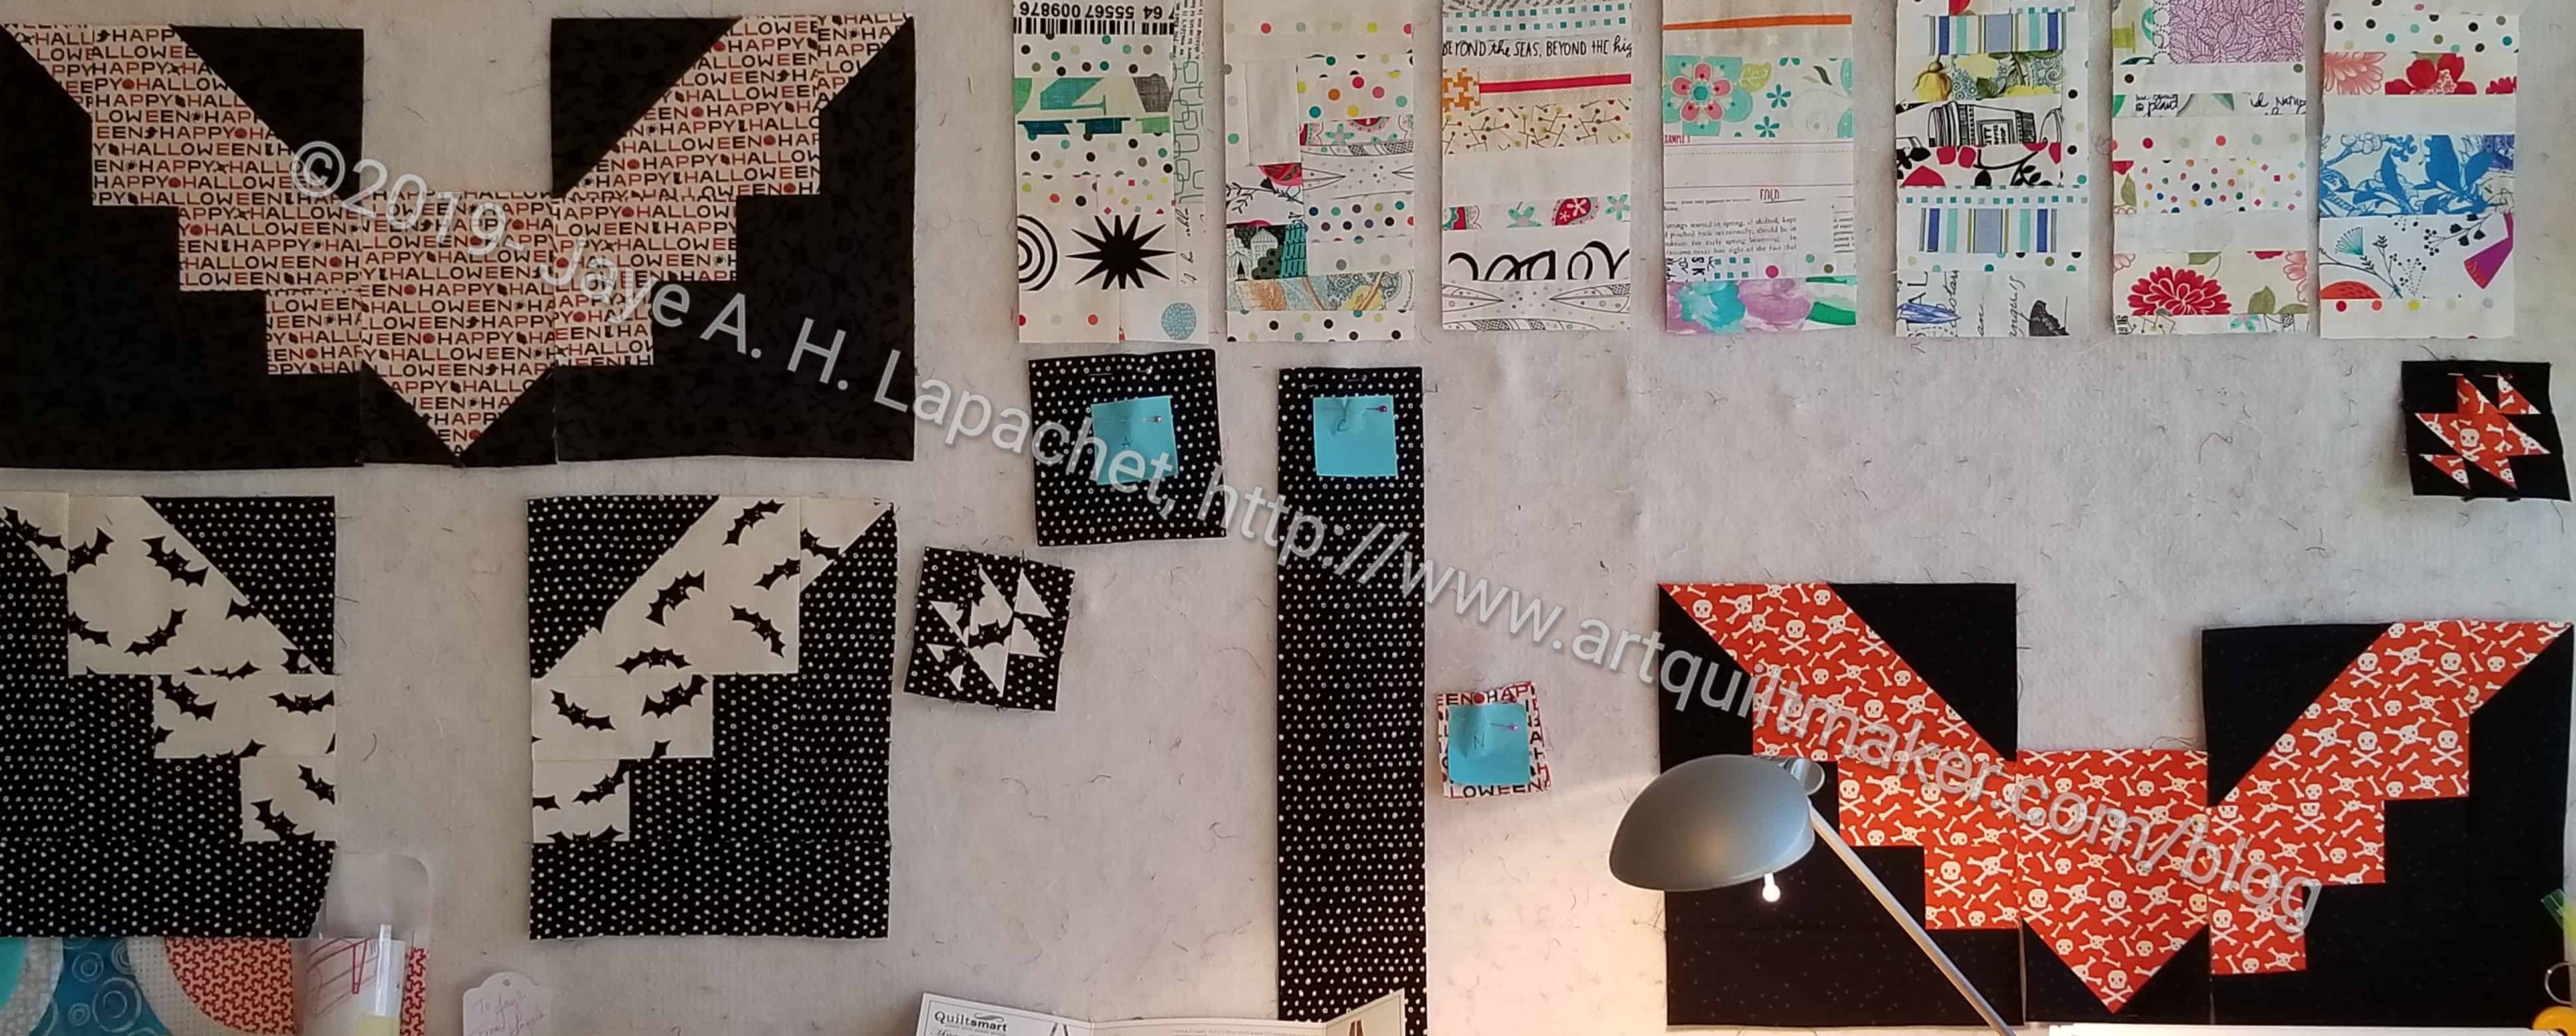
I finished the top of the bat tablerunner. I just sat down and did it, so it would be one thing that was finished. I am going to make the back and the binding for Amy. It is on my short term list, as in next week. I’d like to bring it finished to the meeting.
I am making progress on the bats. I don’t like this kind of piecing, because it doesn’t make sense in the way blocks are put together. In this kind of piecing the maker creates an image not a pattern. In order not to make mistakes, I had to follow the pattern closely. I wasn’t able to do a little of the piecing, get the hang of it and then zoom along.
I have to say, though, that it is interesting the way they actually look like bats once I get more piecing done.
Gosh this must seem painful to you! I said the other day that I was nearing the end. I am still nearing the end, but even closer! The corner pieces are all cut and I just need to sew them together.
30 seams, maybe?
Then I have to sew the giant chunks together. There is quite a bit of partial seaming, but that is not difficult. I have been doing it all along. Check the tutorial if you need to know how to do partial seaming.
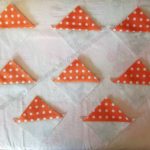
We did a fun activity at Craft Night the other night. We helped SIL #2 rearrange her HSTs to make sort of a gradation in color for her quilt.
SIL is making a quilt for a former work colleague who is having a baby (well, his wife is). Two of us went over to SIL’s house for Craft Night and she asked us to help rearrange the HSTs. I have done it a million times, but our other member has never done it. She mostly crochets and is getting into knitting. She was great and had a good eye.
I thought it was fun to work on someone else’s project. The photo above isn’t even the final version. I thought it was, but we kept rearranging. At one point we couldn’t find a center we liked for one of the blues, so we rummaged through SIL’s scraps (her scraps are tiny!) and found a piece of fabric we liked. Then, we made her rummage through her yardage so she could cut a piece that was perfect. 😉
I am not a huge fan of Friendship Stars, but these look really good. I like the small size and the scrappiness. I think Friendship Stars are better small.
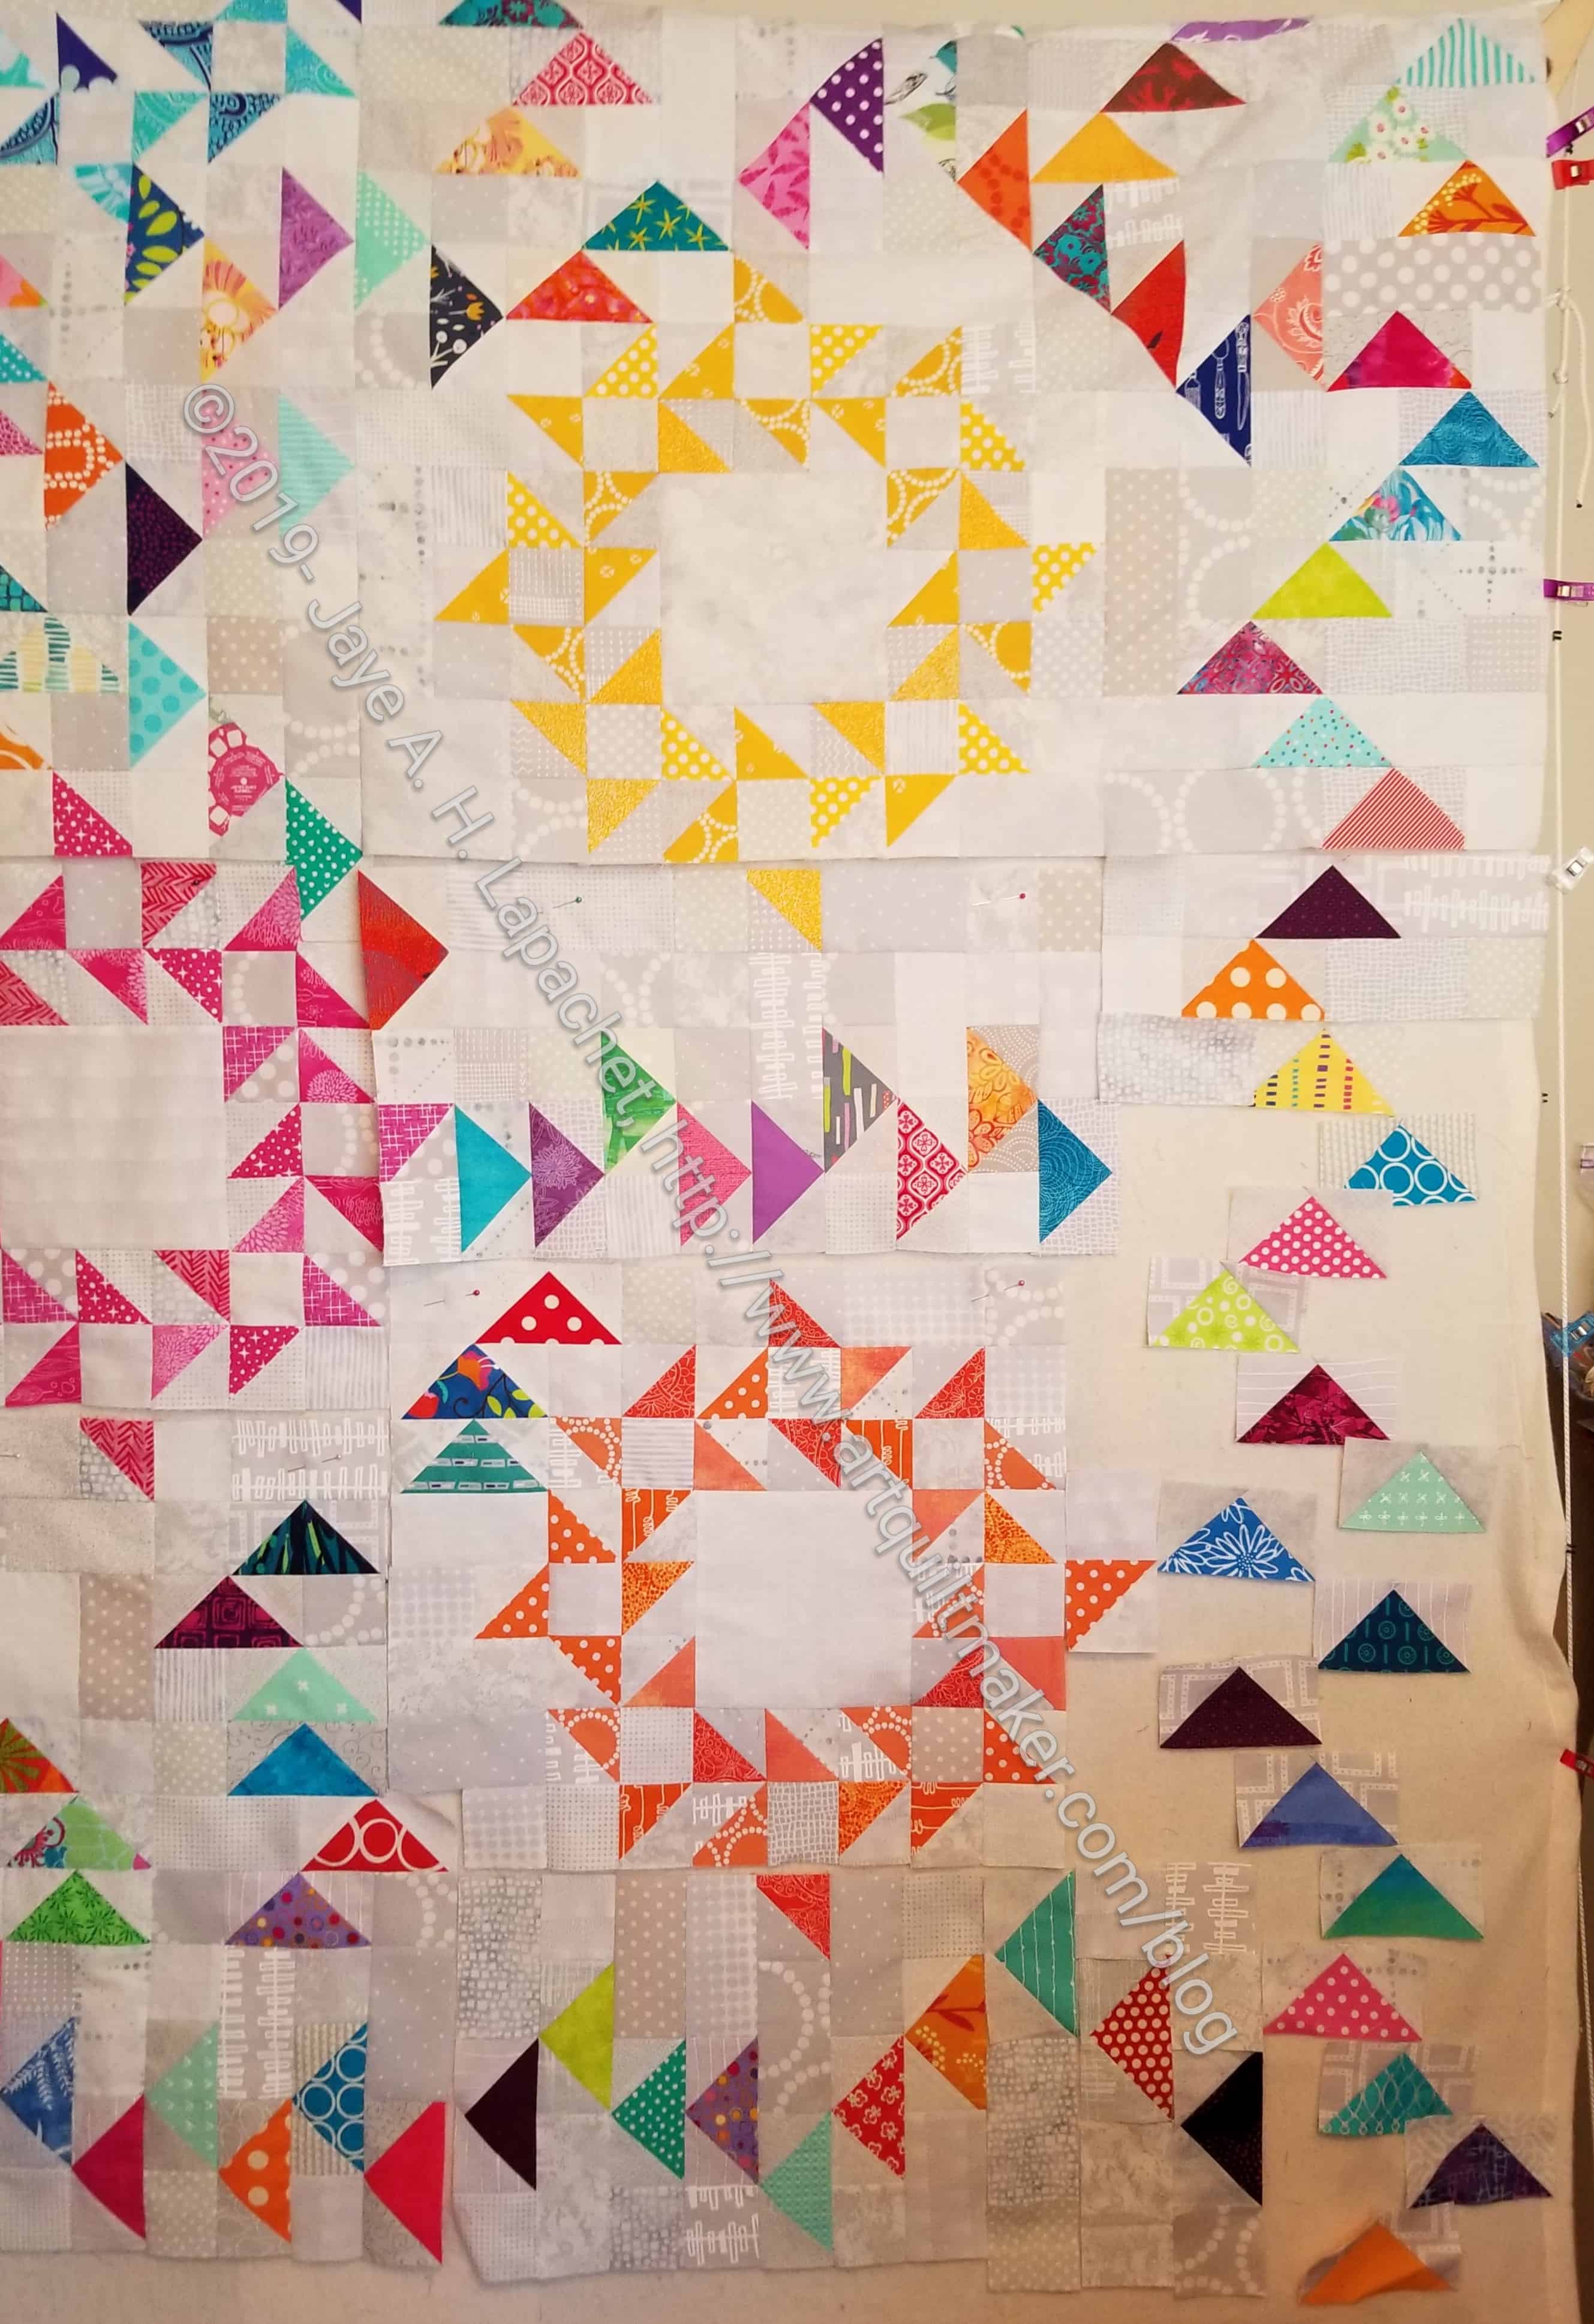
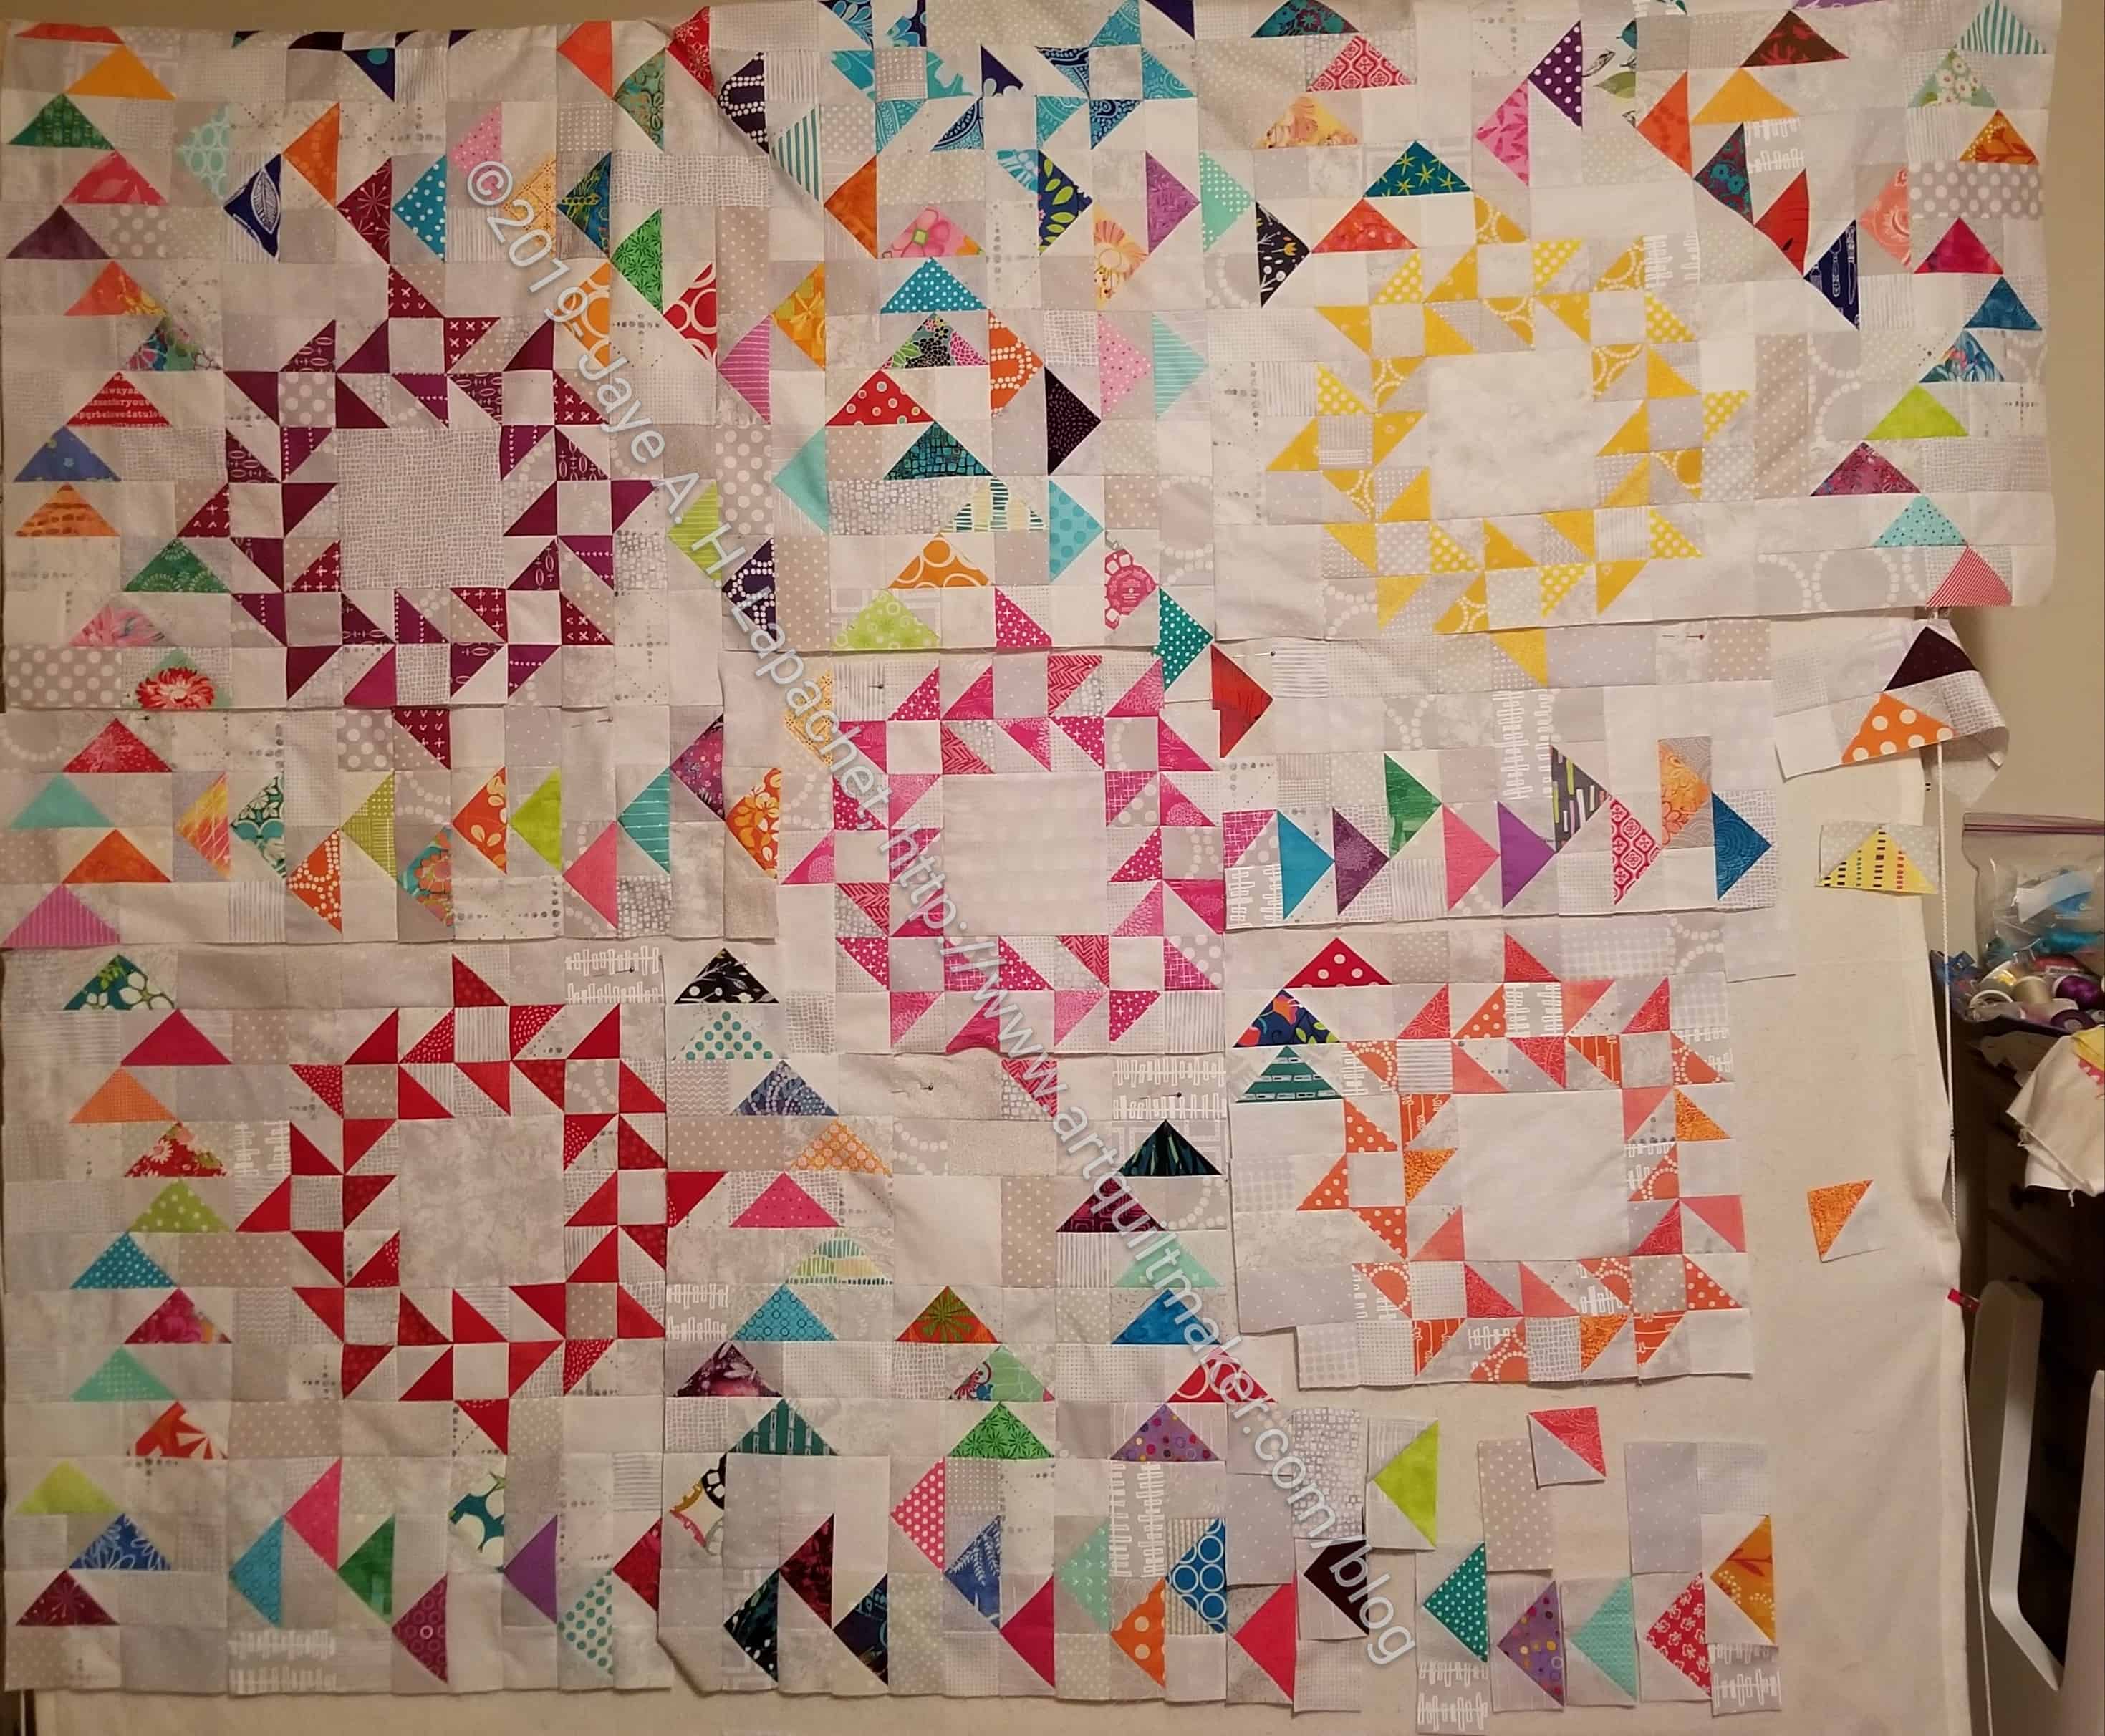
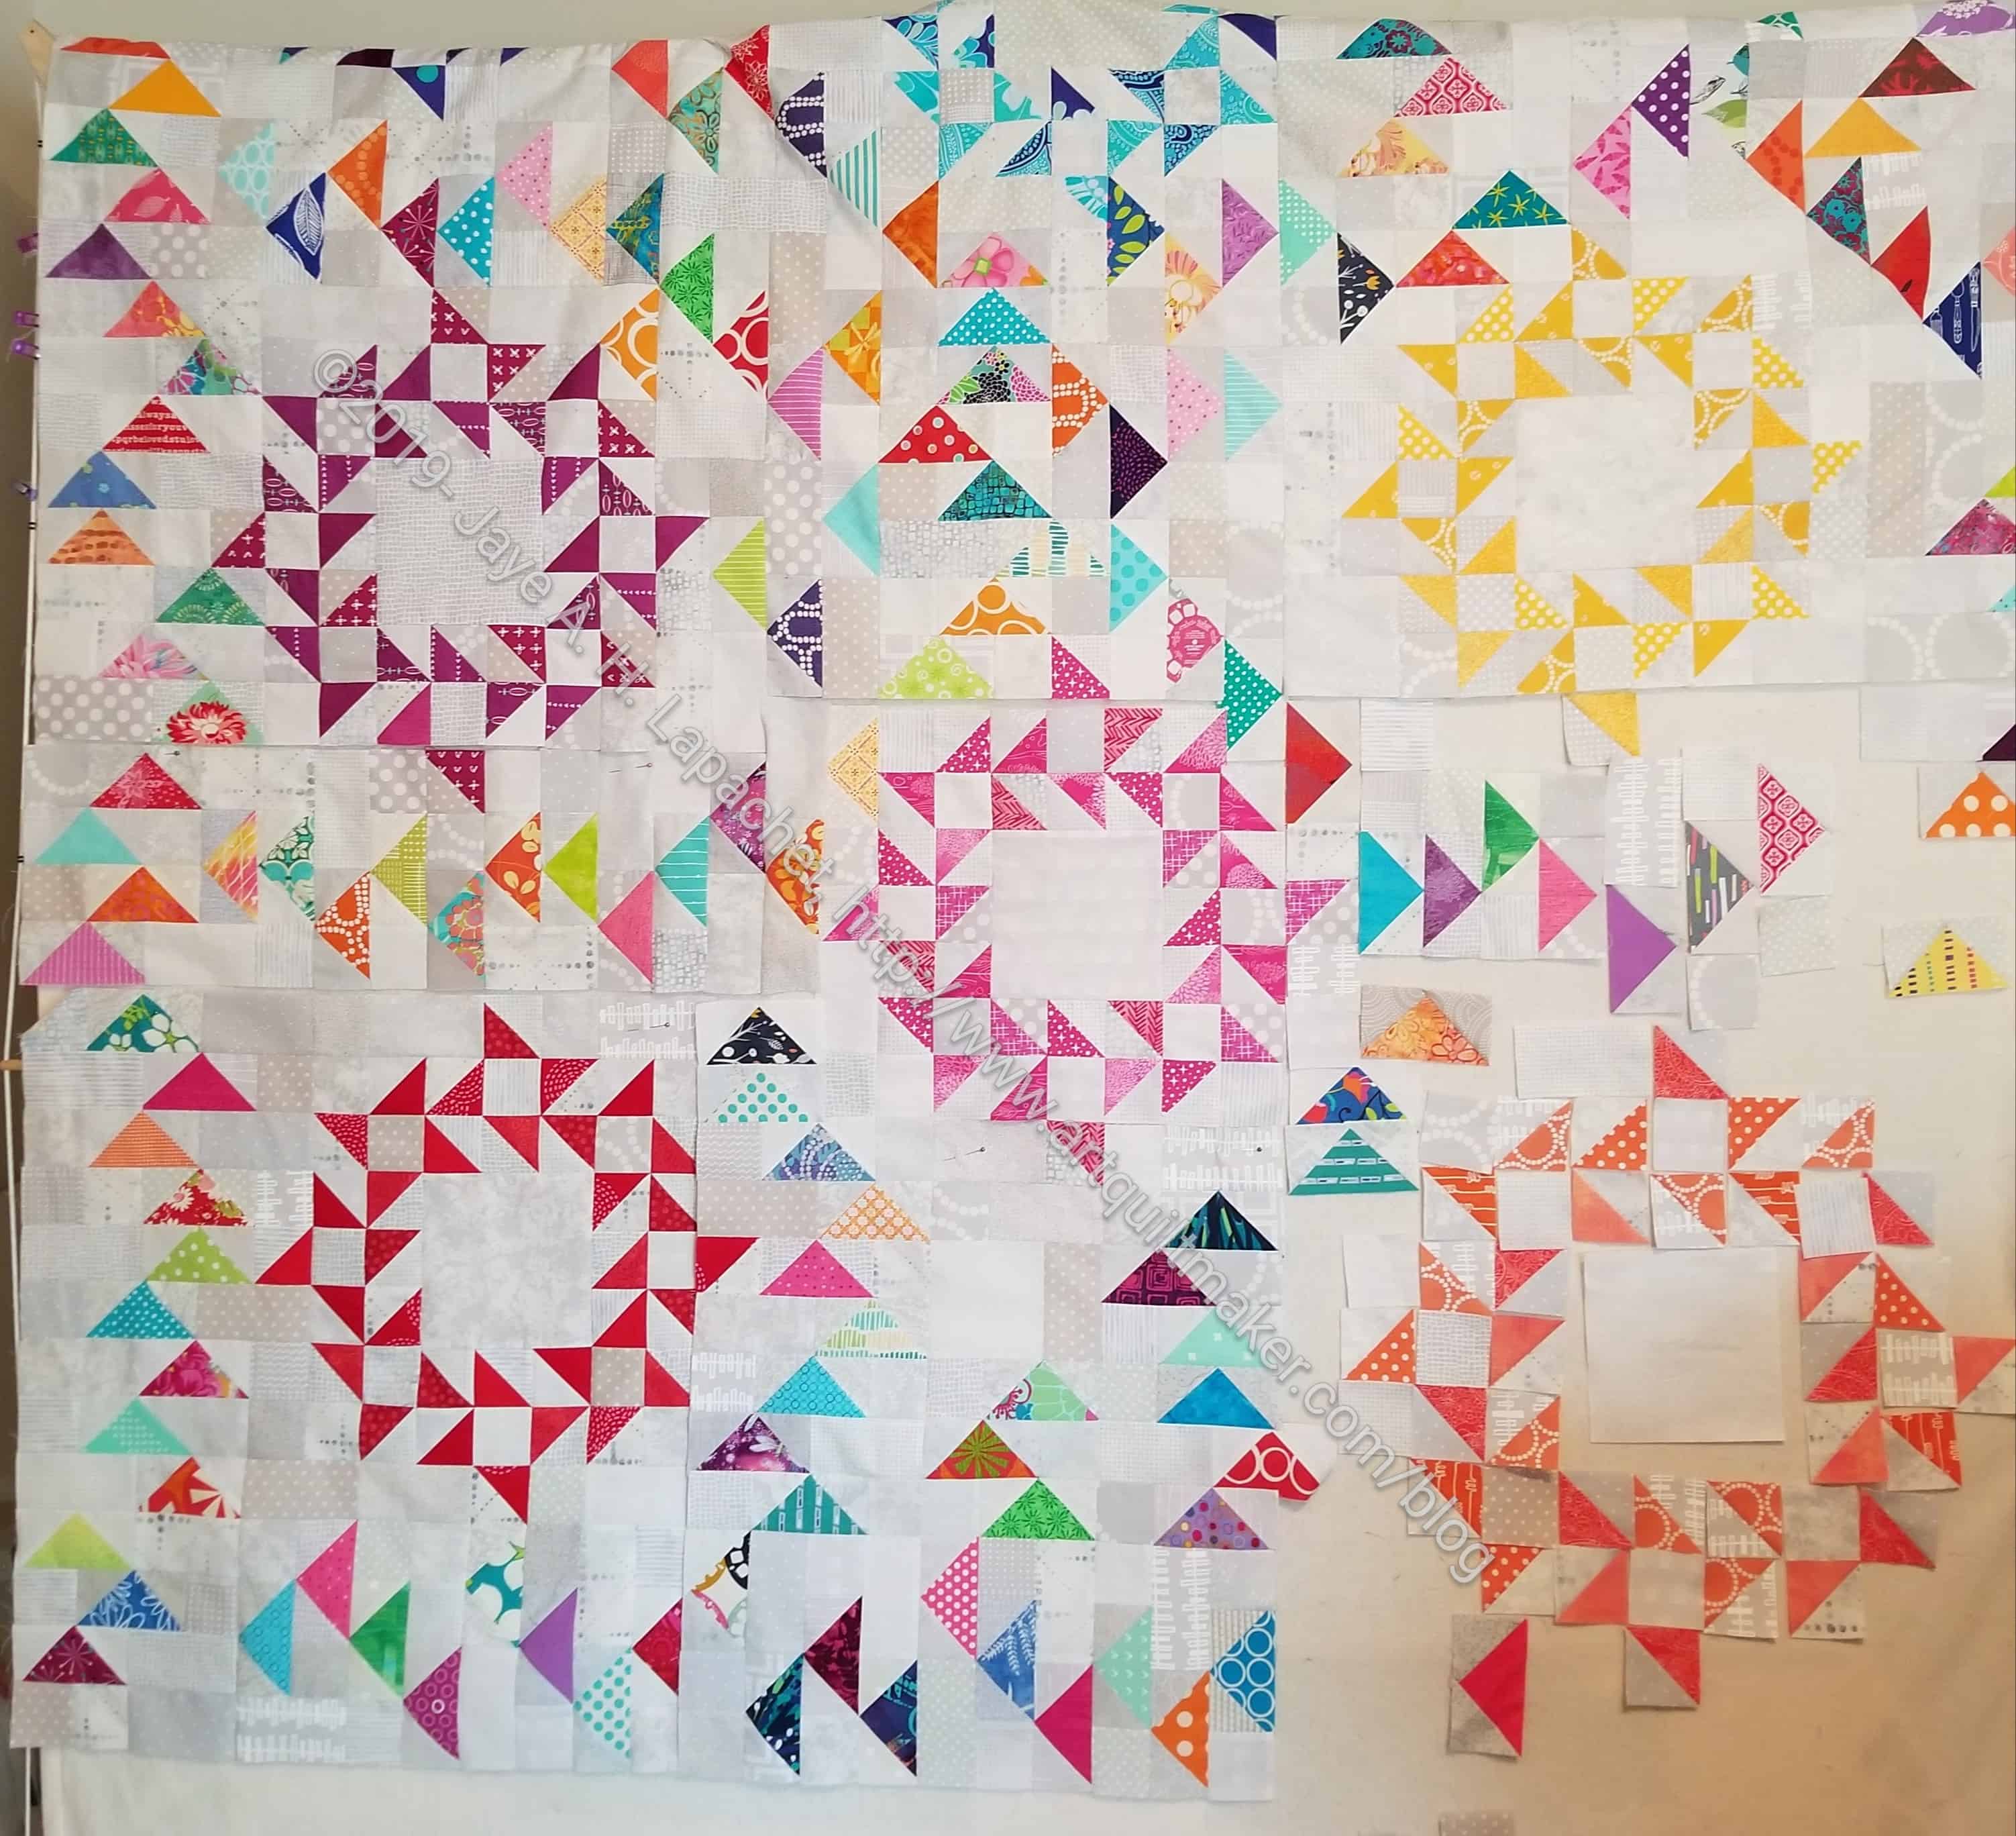
I made good progress on Flying Around over the weekend. I am nearing the end, which I know I keep saying, but it is true. That orange Friendship Star is together and I am working on the corner. Lots of cutting required there.
I really worked hard on Flying Around this past Labor Day Weekend. I really wanted to finish the top, but made sure that I focused on it looking good rather than finishing.
I am not 100% sure I am happy with that center section. It looks like I added a string of Flying Geese that go nowhere. I think I might have put a couple of the geese in out of order. Yep, those will have to be ripped.
Still, the whole thing is progressing and is really shaping up well. I think the Flying Geese look like little fluttering flags. I really want this to be a GREAT quilt. I thought that the Carpenter’s Wheel would be GREAT, but it turned into a disappointment once all was said and done. I am not sure why.
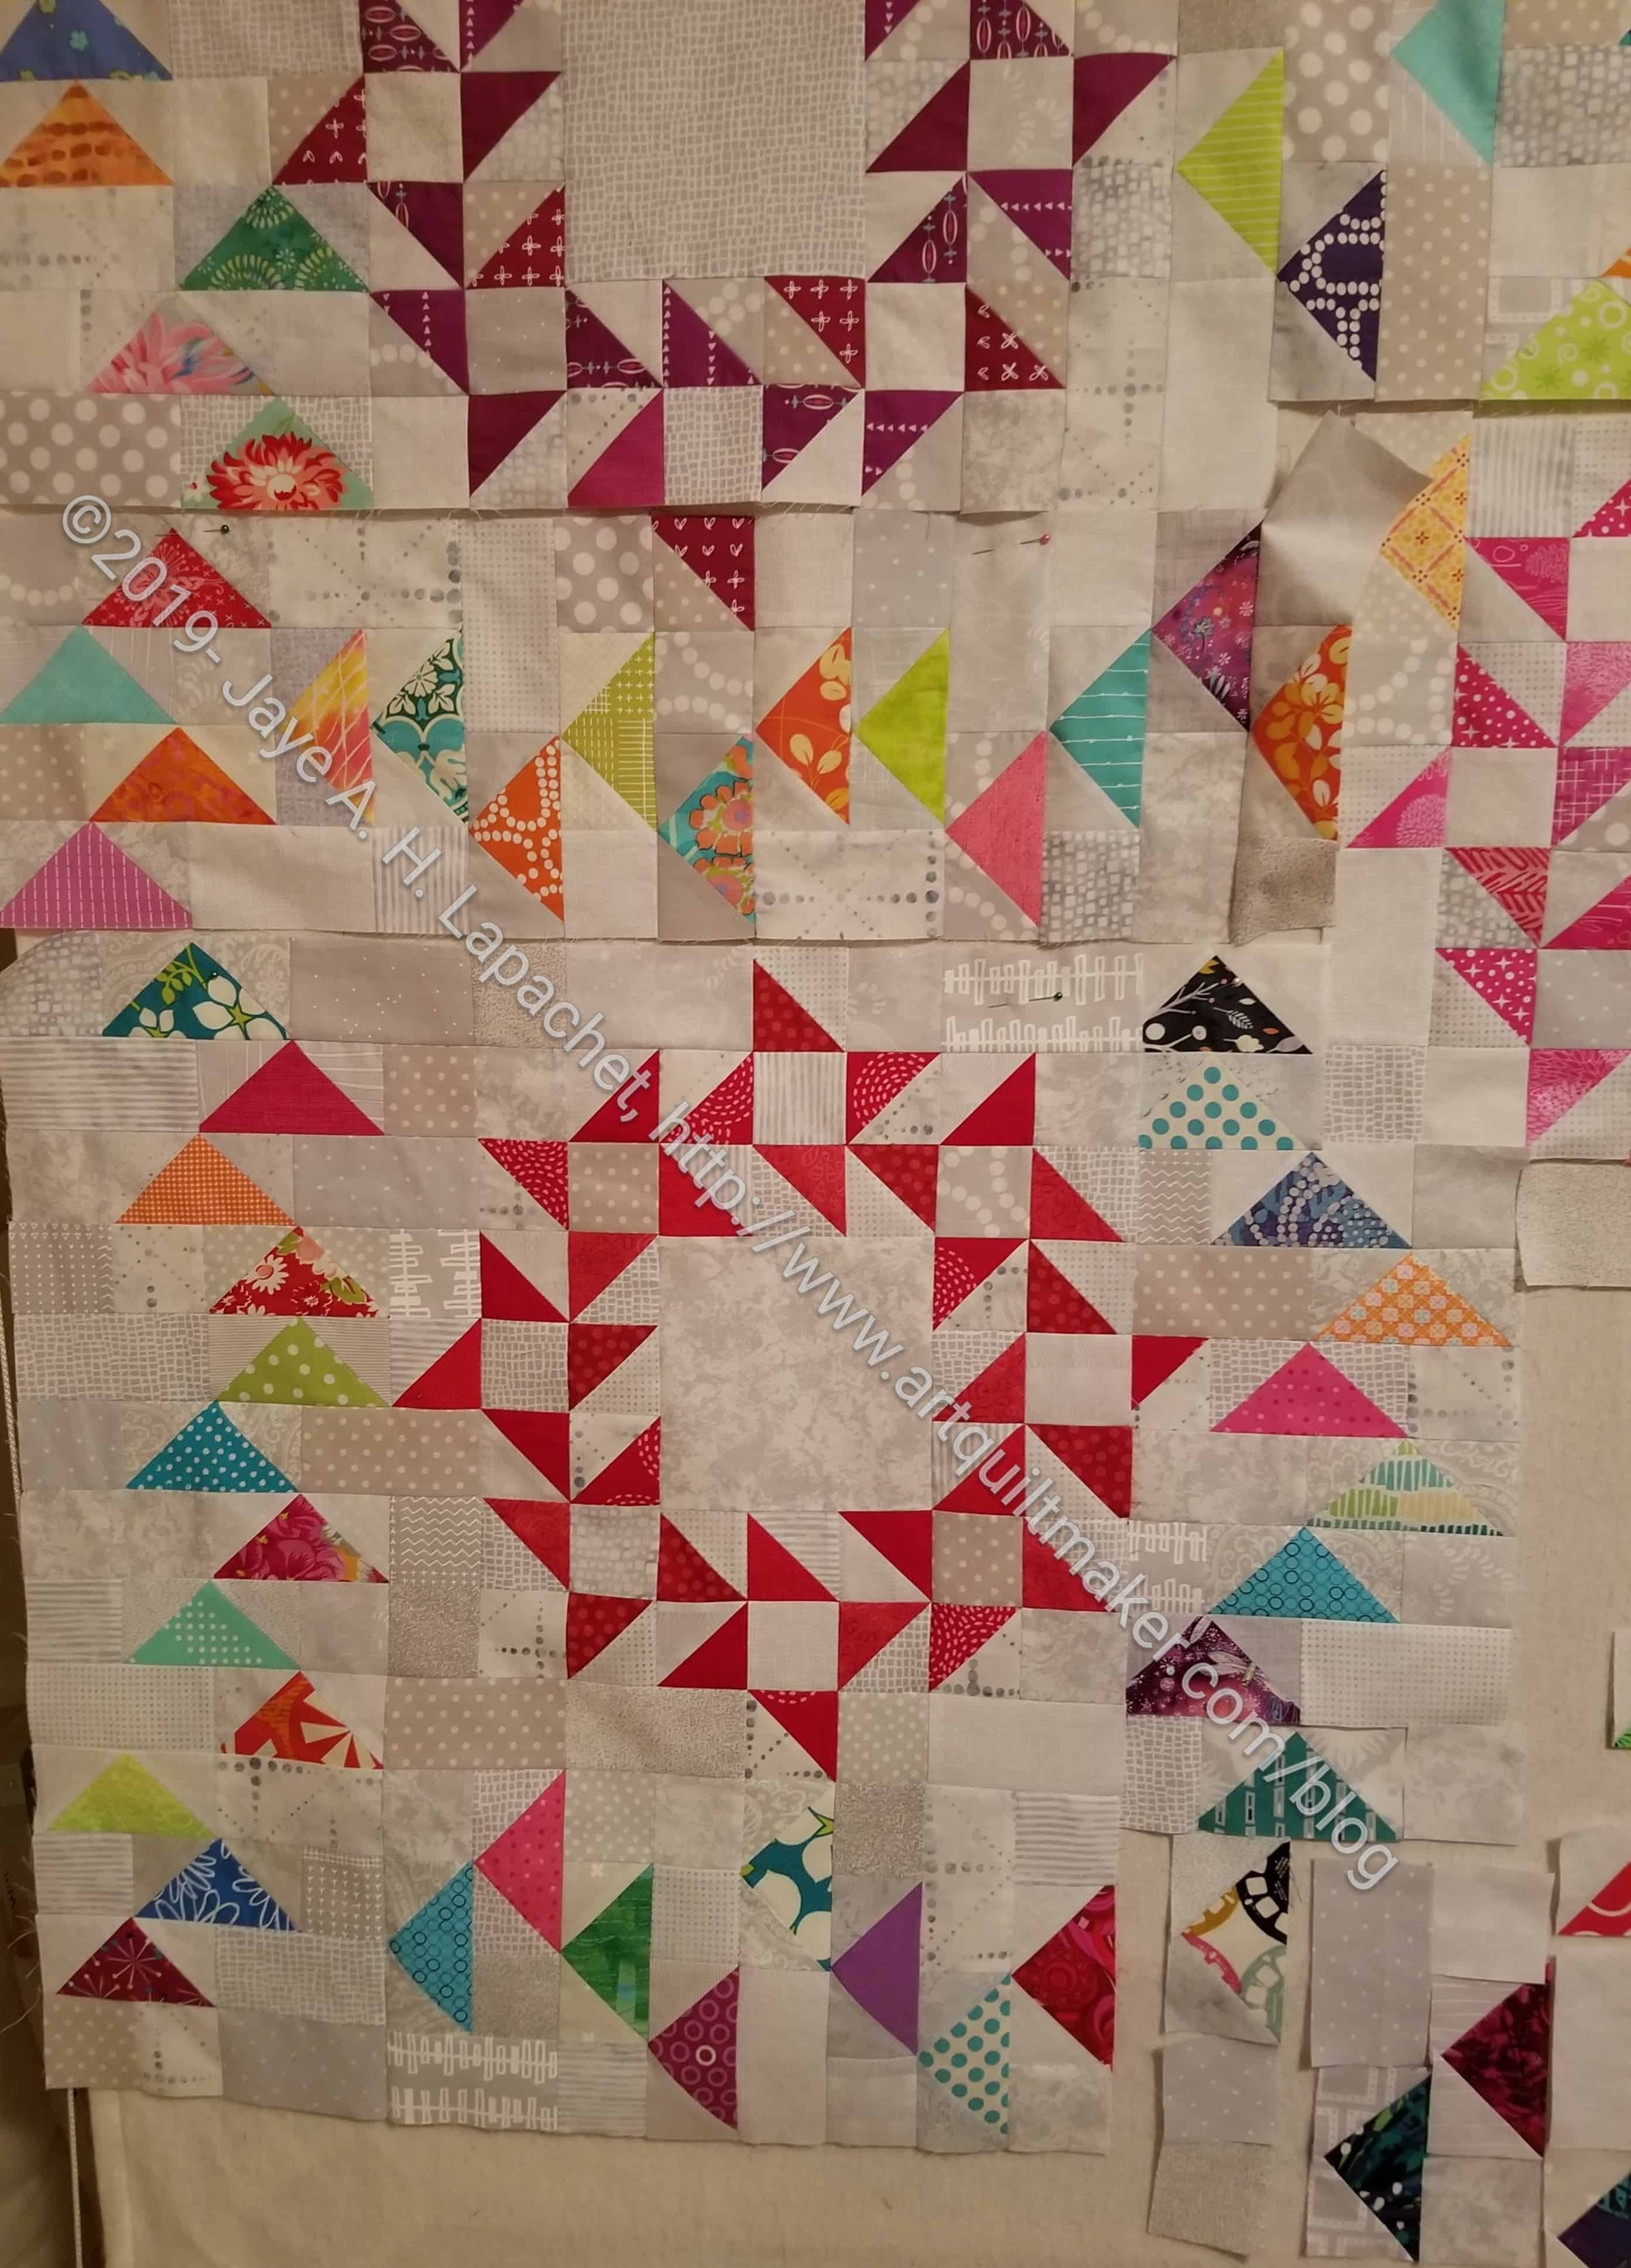
I made good progress on Flying Around over the weekend as well.
It is a lot of piecing, as I have said, so it may not look like much to you.
Flying Around- detail – early September 2019
I wanted to sew the bottom section to one large piece. I may, however, have to sew some of the sections to the upper piece before I do that. There is quite a bit of partial piecing I have to sew.
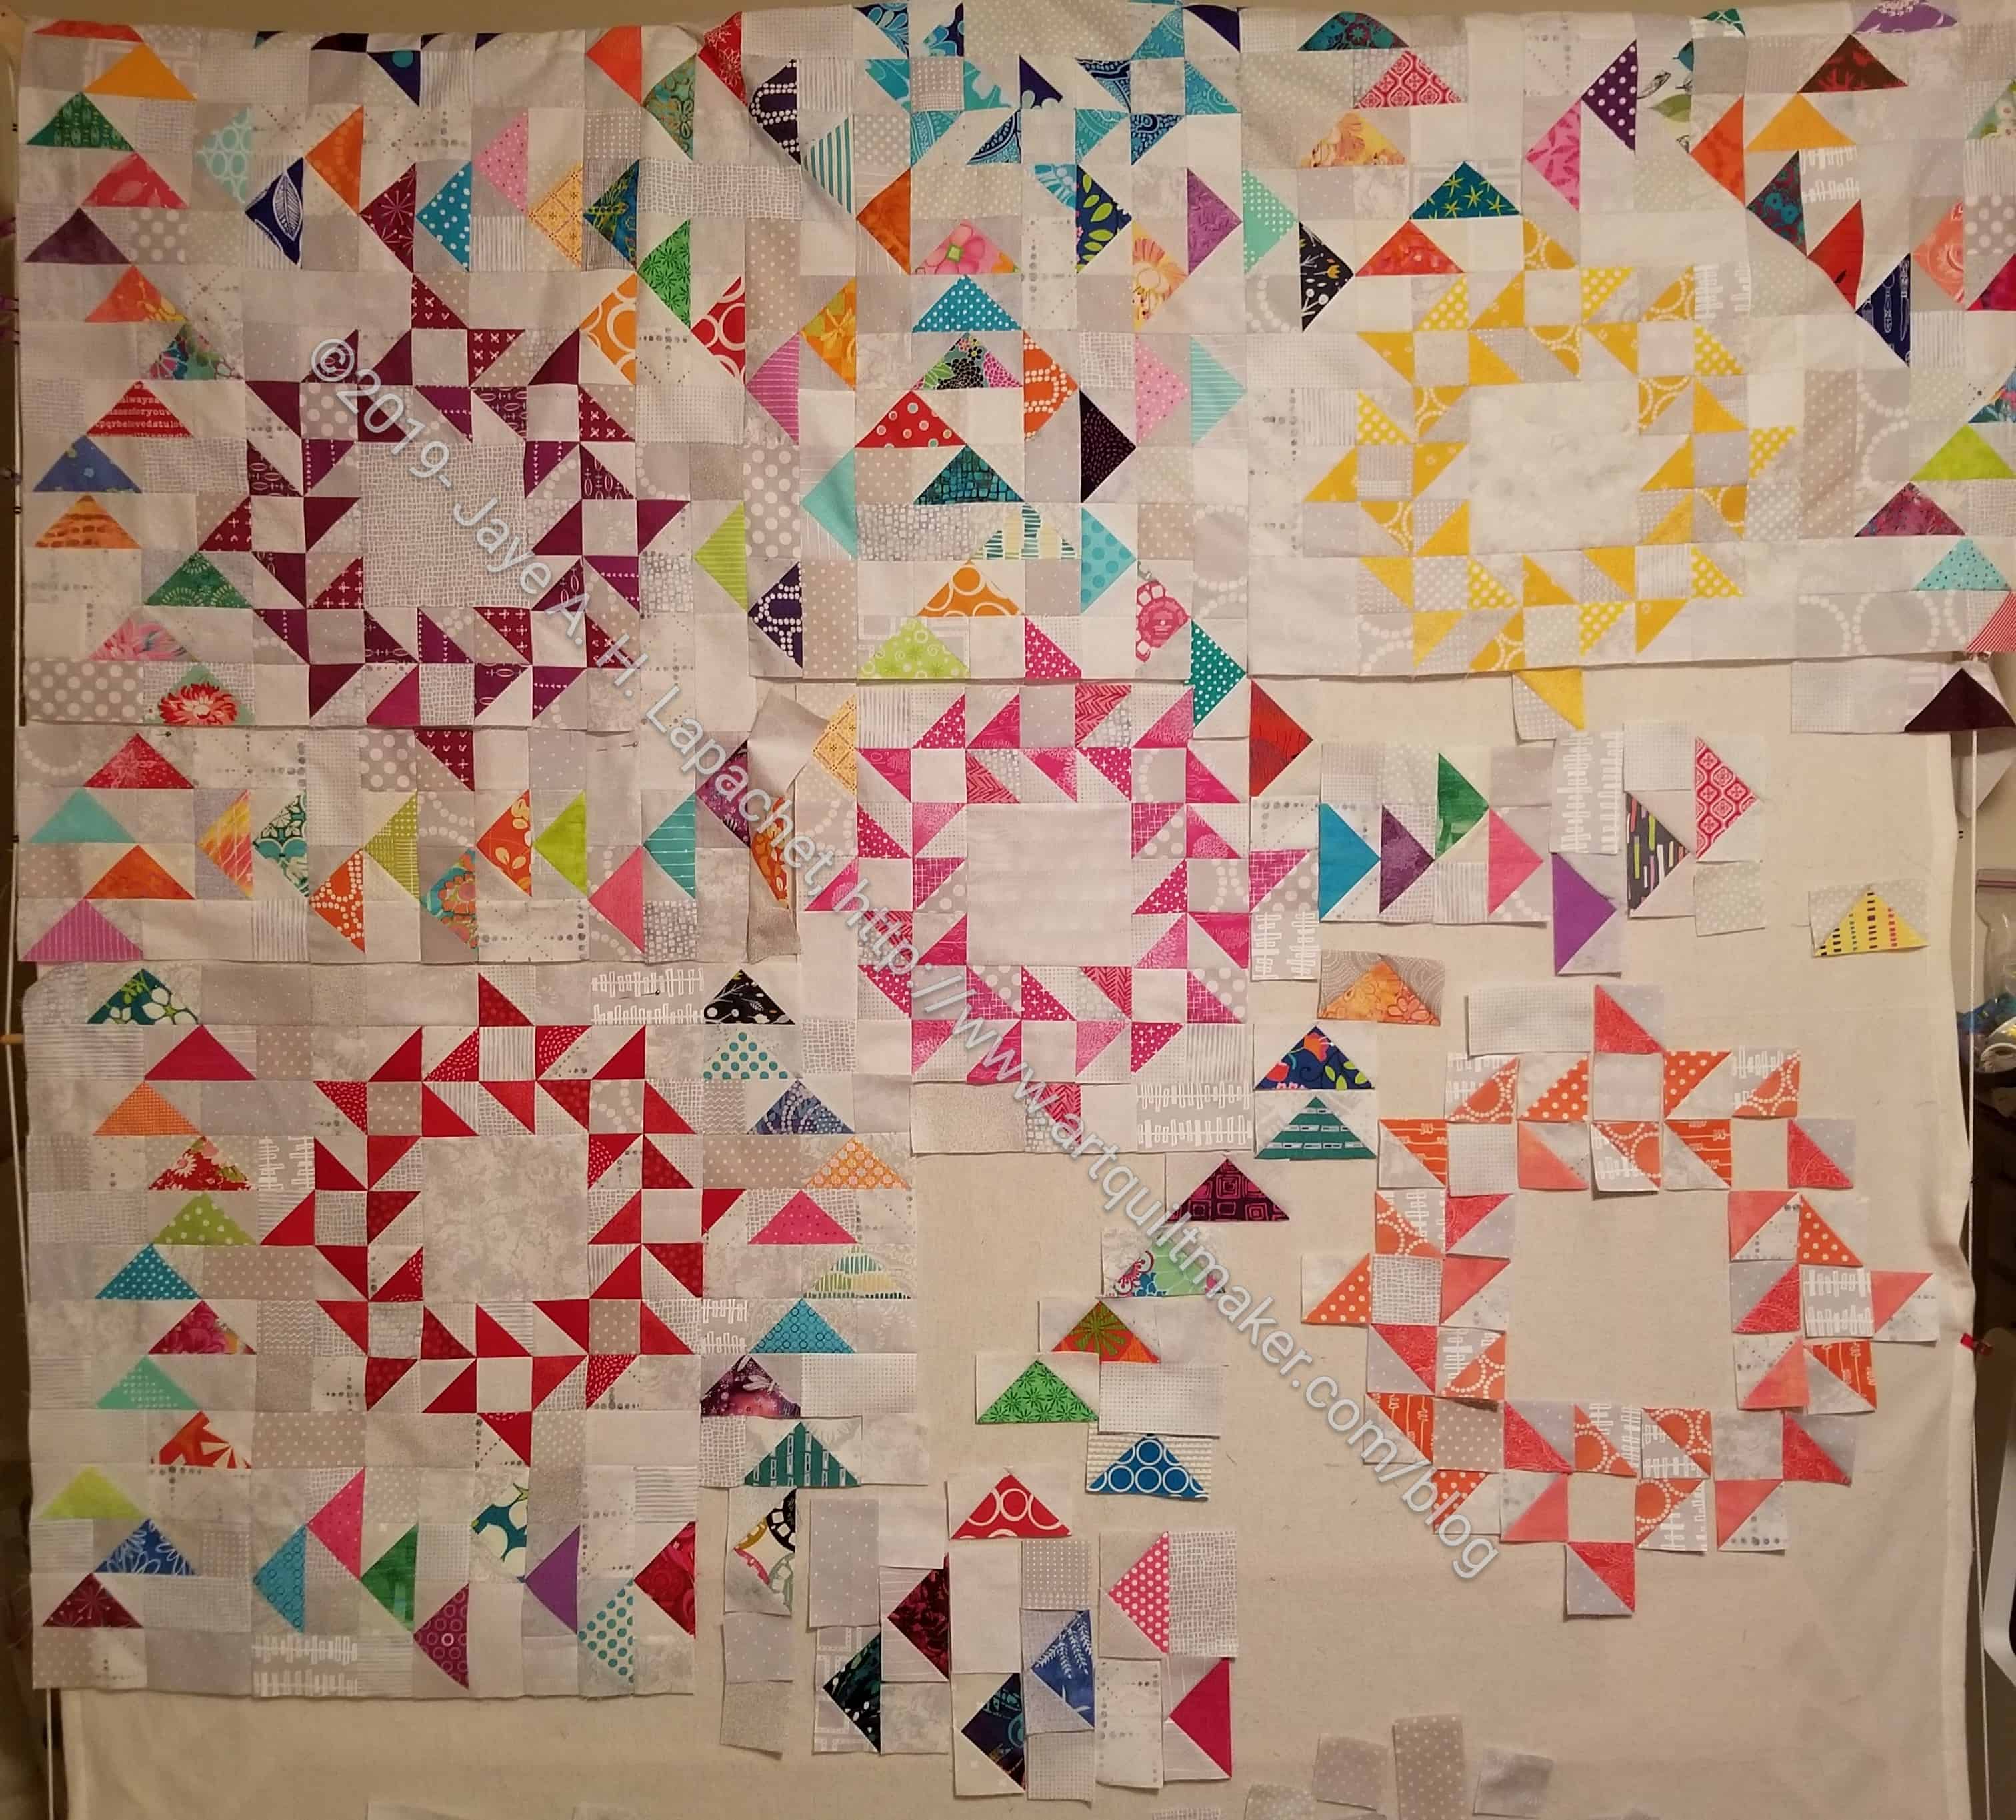
The other day I showed you most of a photo of Flying Around. After posting that, I started in on the last two Friendship Circles.
Flying Around detail
The placement of these will be tricky for a number of reasons. First, they will be on the floor (see the bottom most red Friendship star? It is right at the bottom of my design wall) as I place them unless I sew together the top and move everything up. I have been wanting to do that, but am waiting because I am not sure I am happy with the top middle of the piece. That big piece of grey at the top is of concern to me. I wonder if it pushes the Flying Geese down too much.
I want the Geese around the edge to act as a border without being a separate entity, but I am not sure that particular section achieves that goal.
Next, I don’t want the ratio of width to length to be too strange. If the piece gets to be too long, it might look too long and skinny. Of course, I am often hampered by the width of my design wall and this is the case with this piece. Sigh. I don’t want to take apart the whole piece and make it wider, so I have to measure and try and estimate how long it will be.
I also need the Flying Geese to wrap around each of the Friendship Circles and there isn’t quite enough space for them to do that with the placement of the red HSTs. You can see that dark Goose near the second Friendship Star; notice how crowded that area appears. Of course, I could move the red Friendship Circle over to the left, but I also don’t want it to be directly below the red-violet circle. I want them to appear randomly placed. The width is really a problem for me.
As you can see, there is still work to do on this piece. I started it sometime in April, I think, so it has been on the wall for a long time. I would like it to be finished, but I also want it to be right.
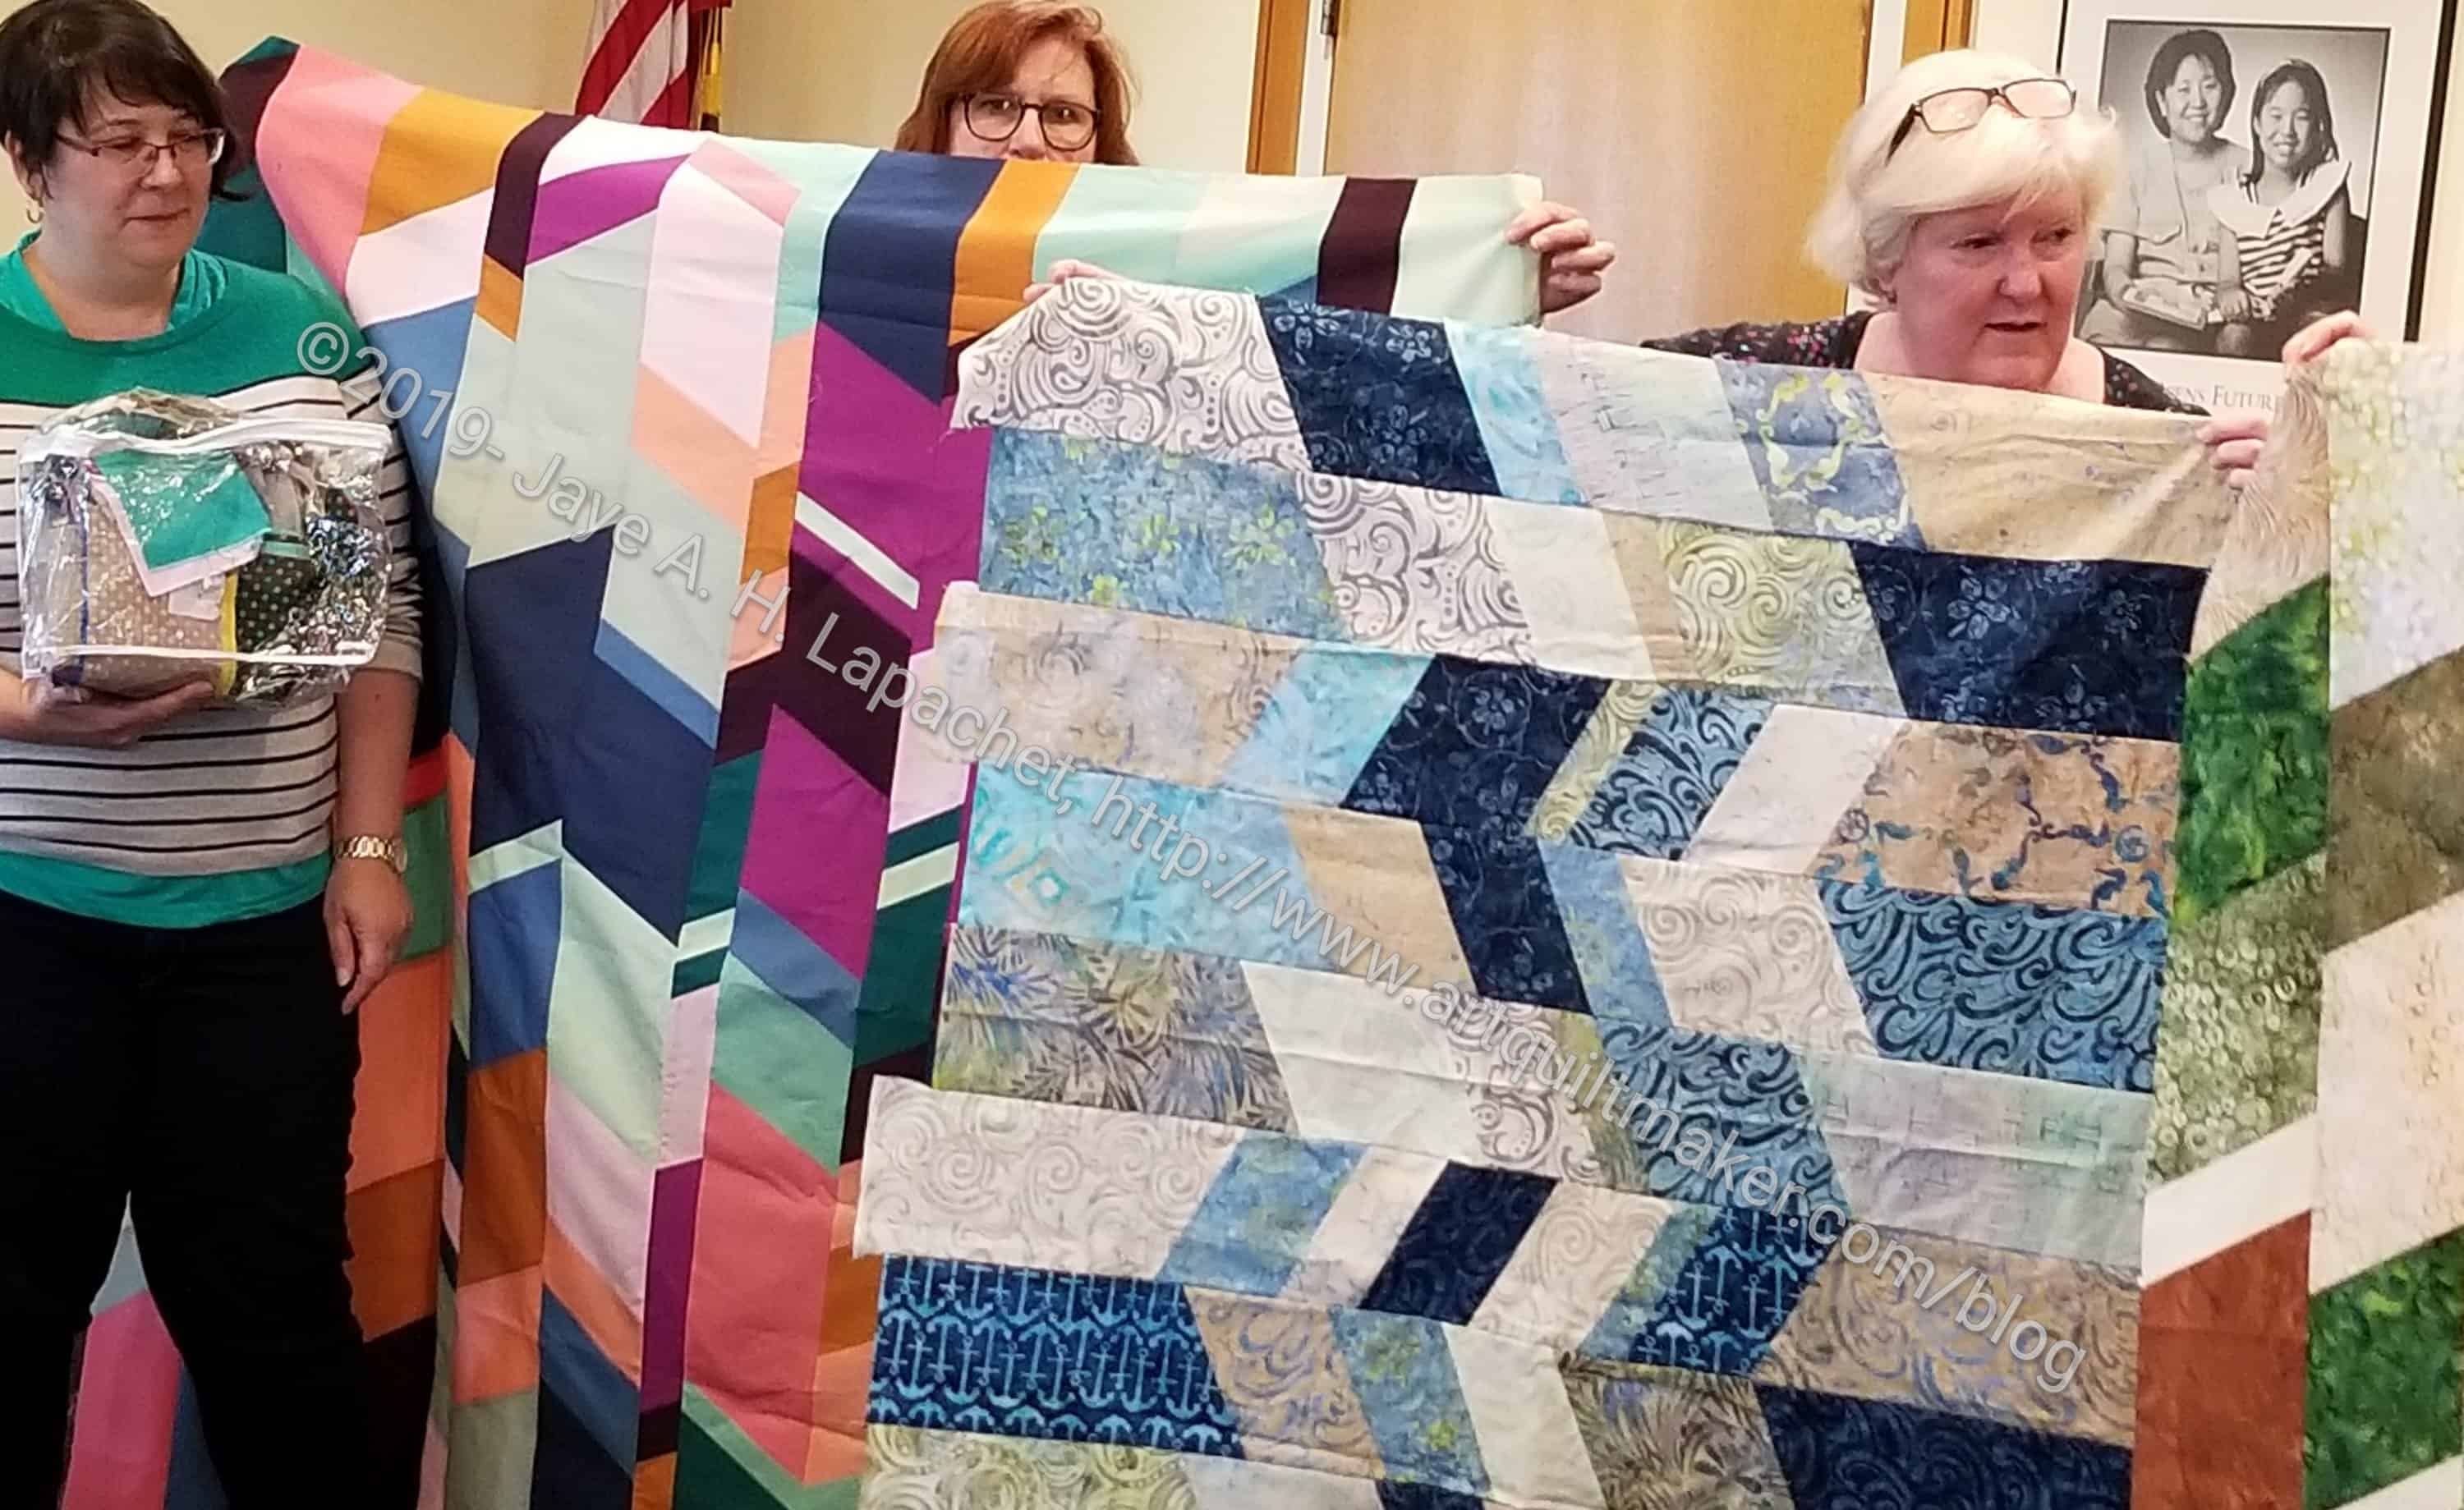
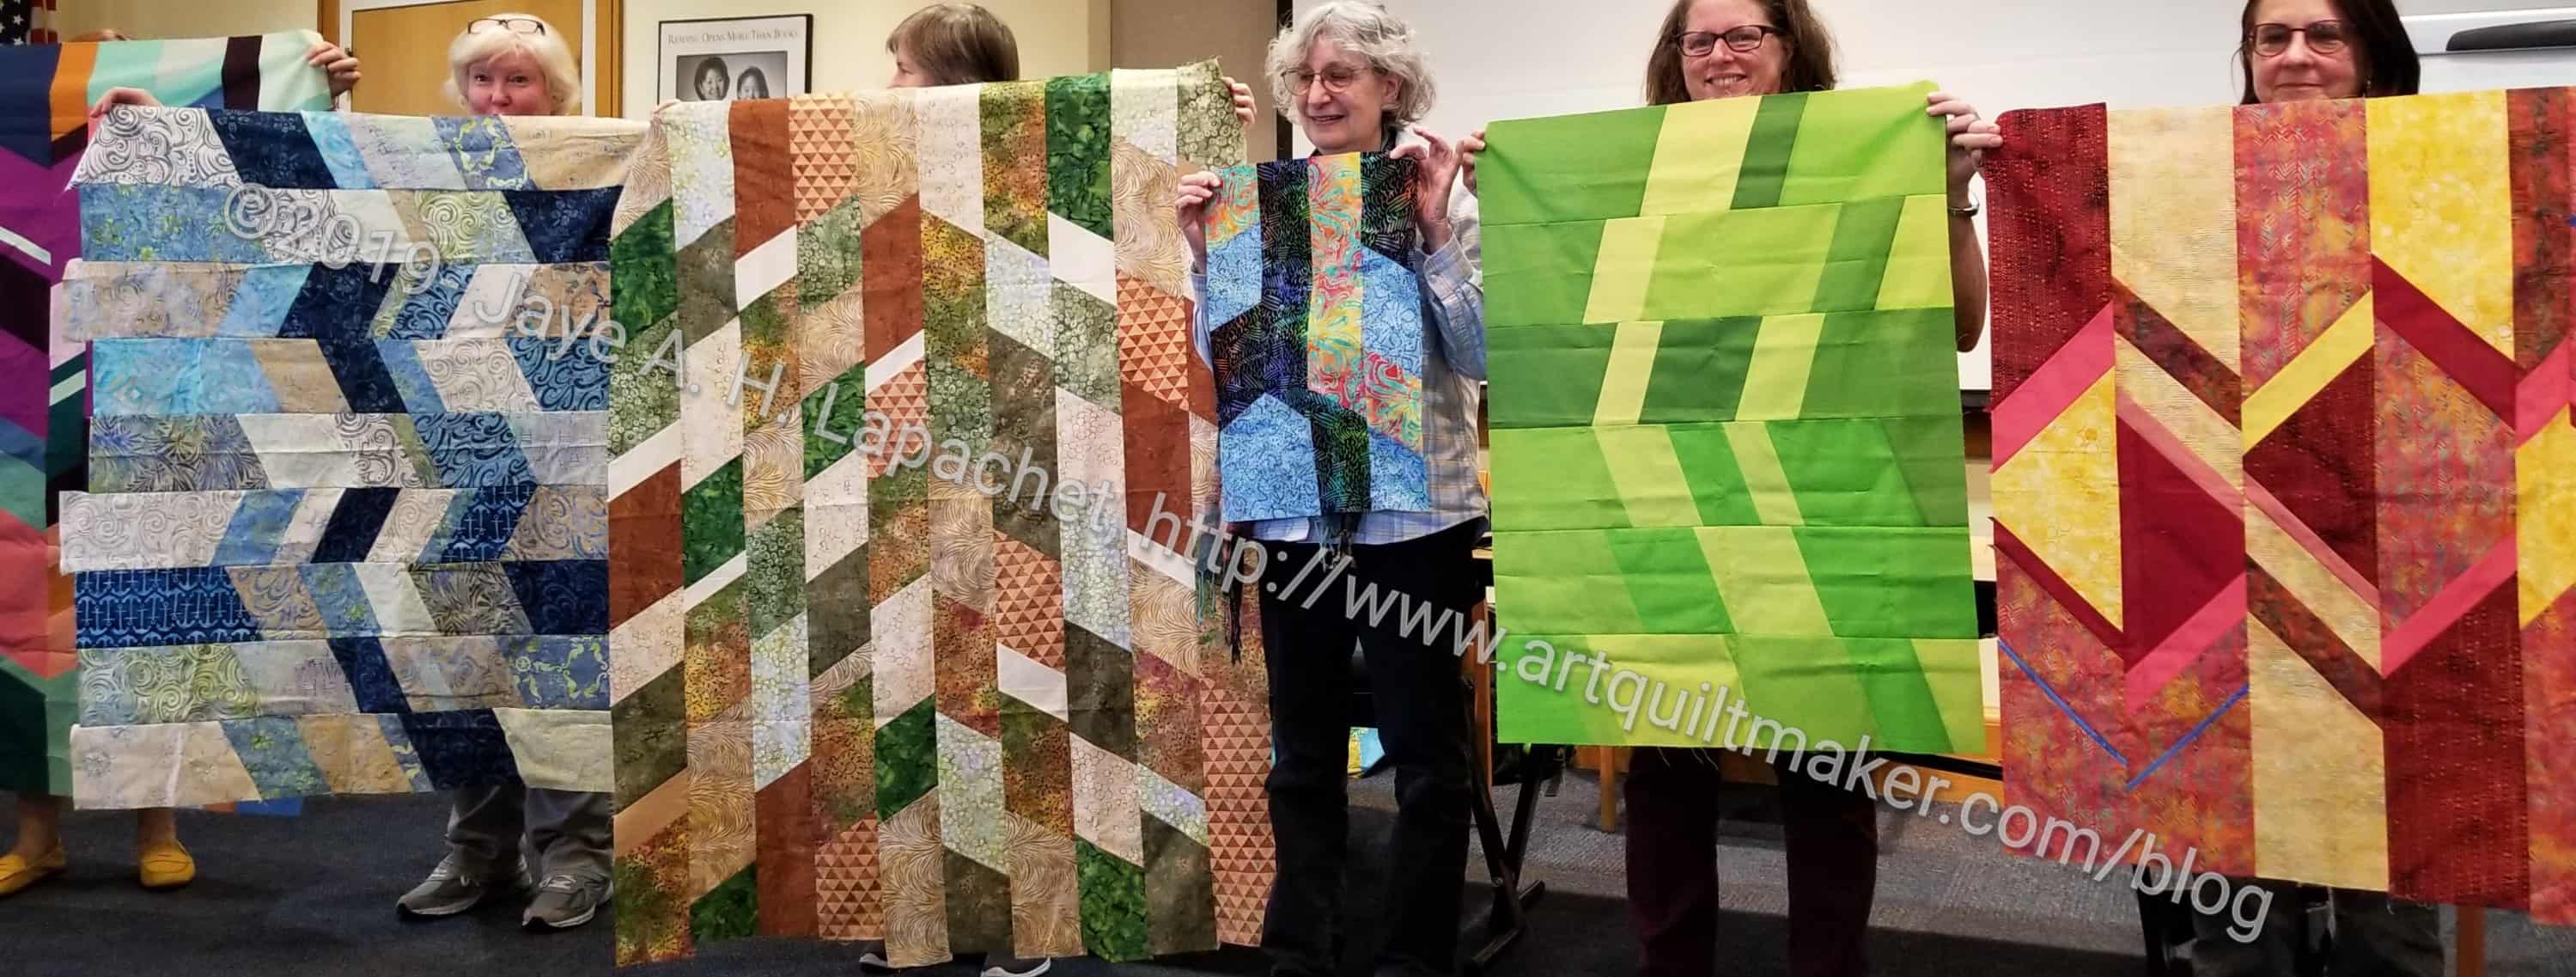
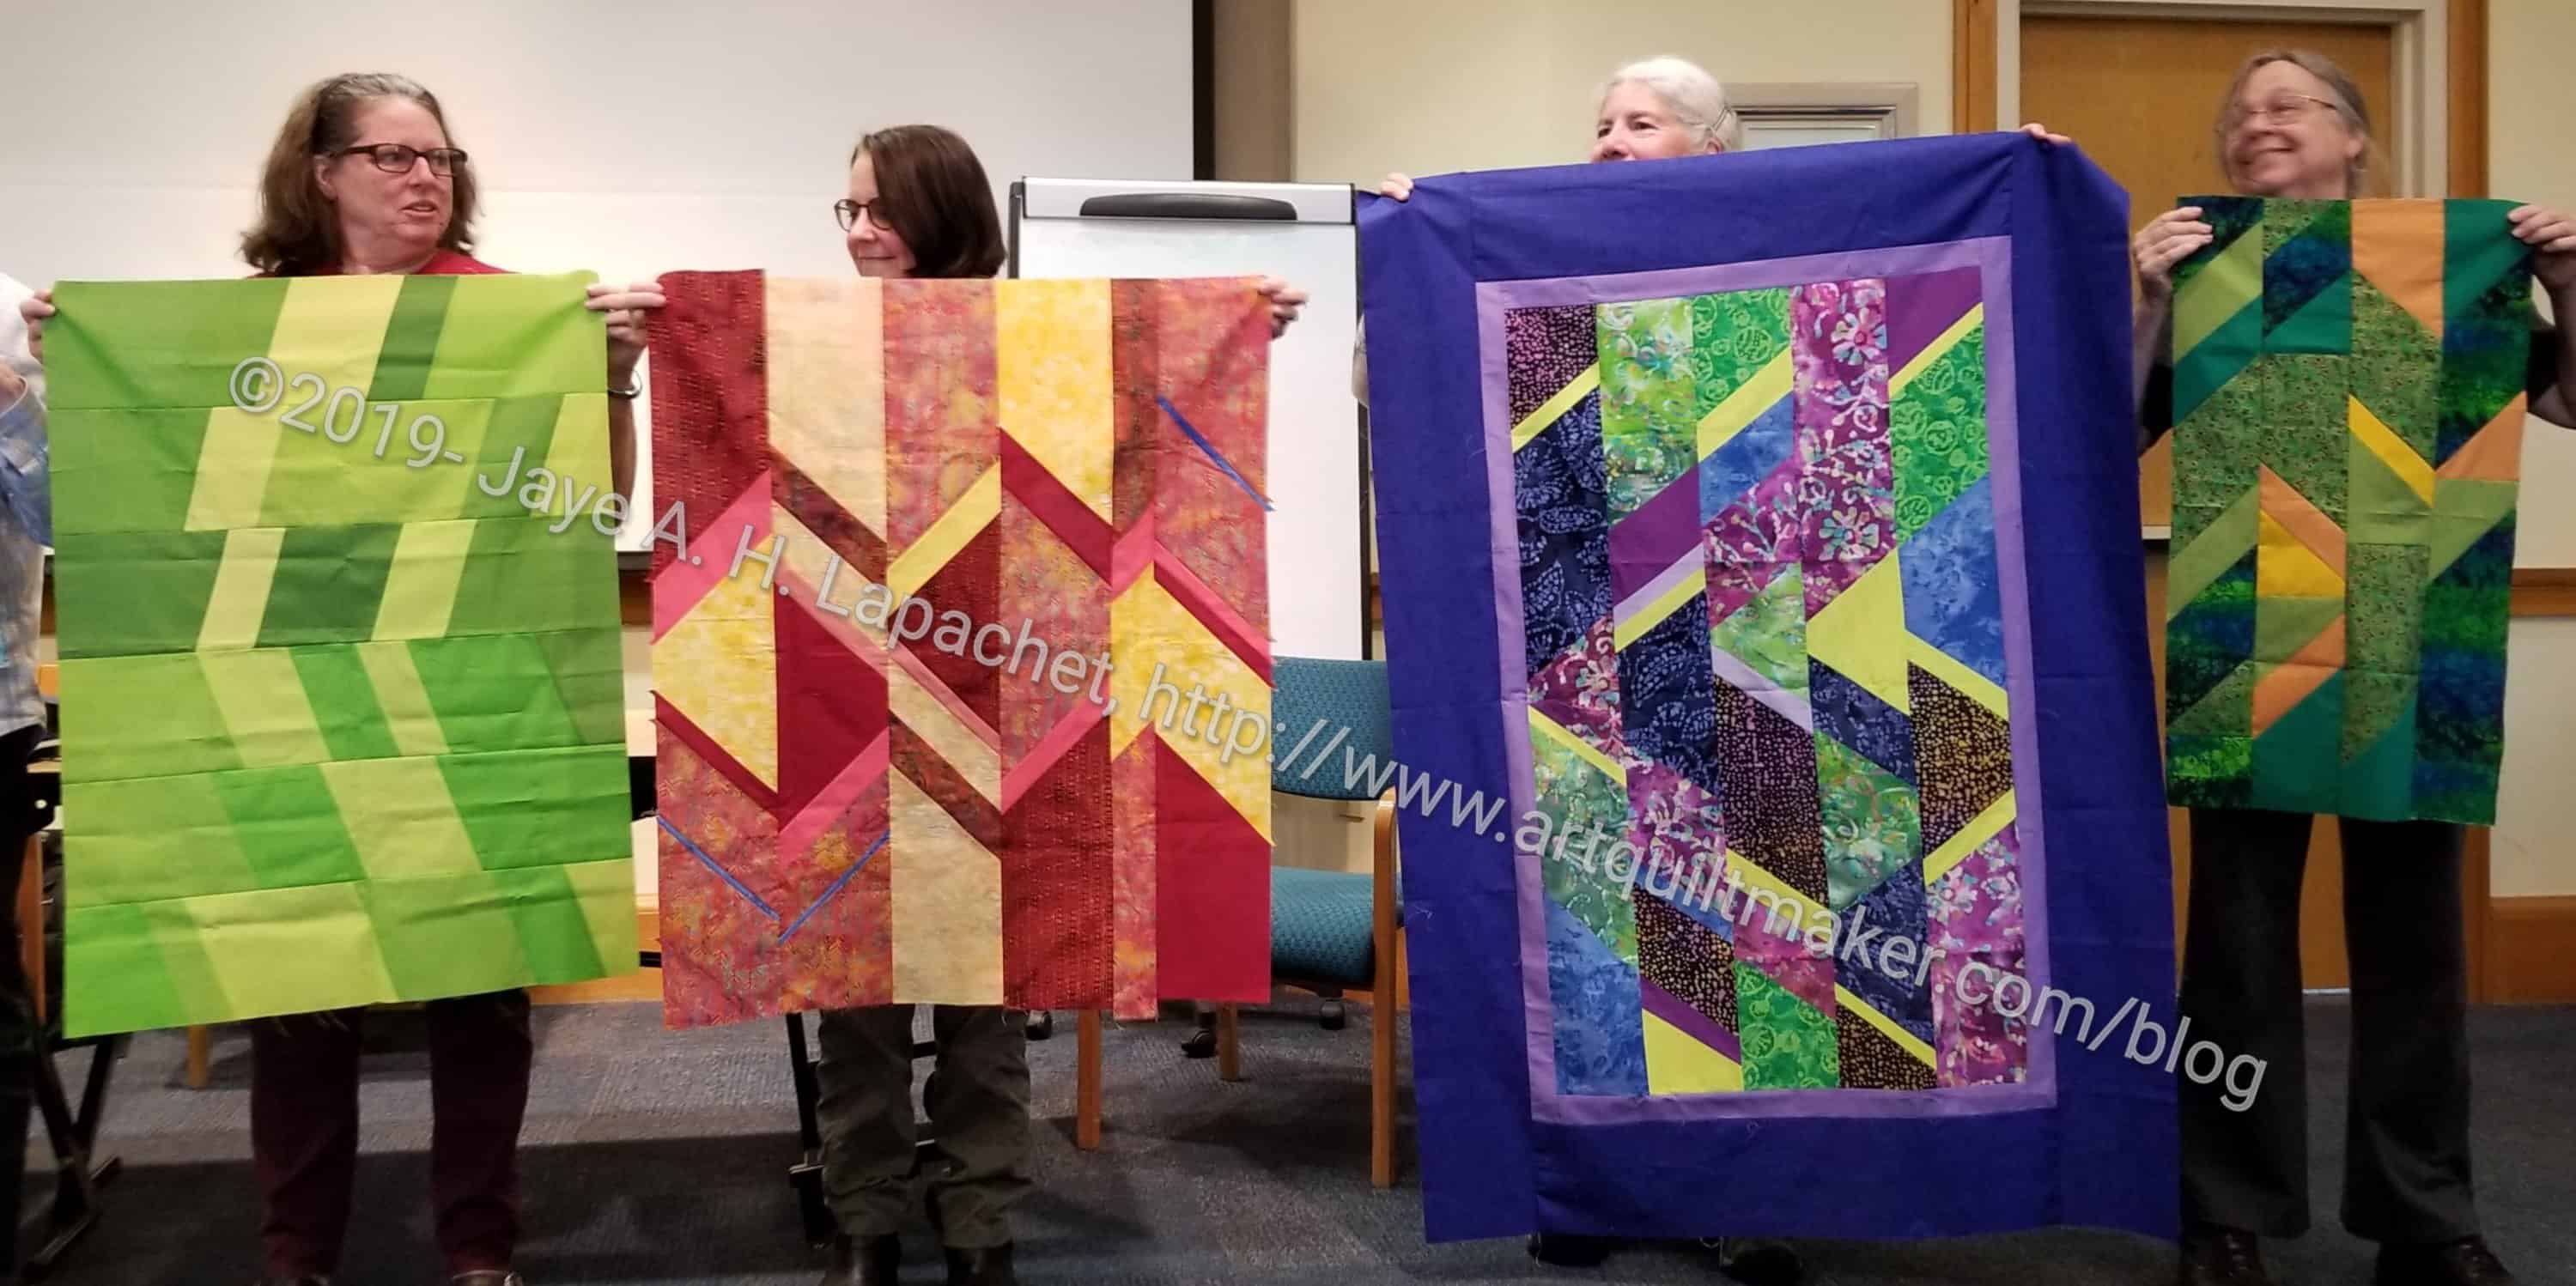
As mentioned, BAM held another class by Sarah Goer. I showed some of the quilt tops other members were in the process of sewing. Remember, Sarah also taught the Planned Improv class, which I really liked?
Tim’s Angles
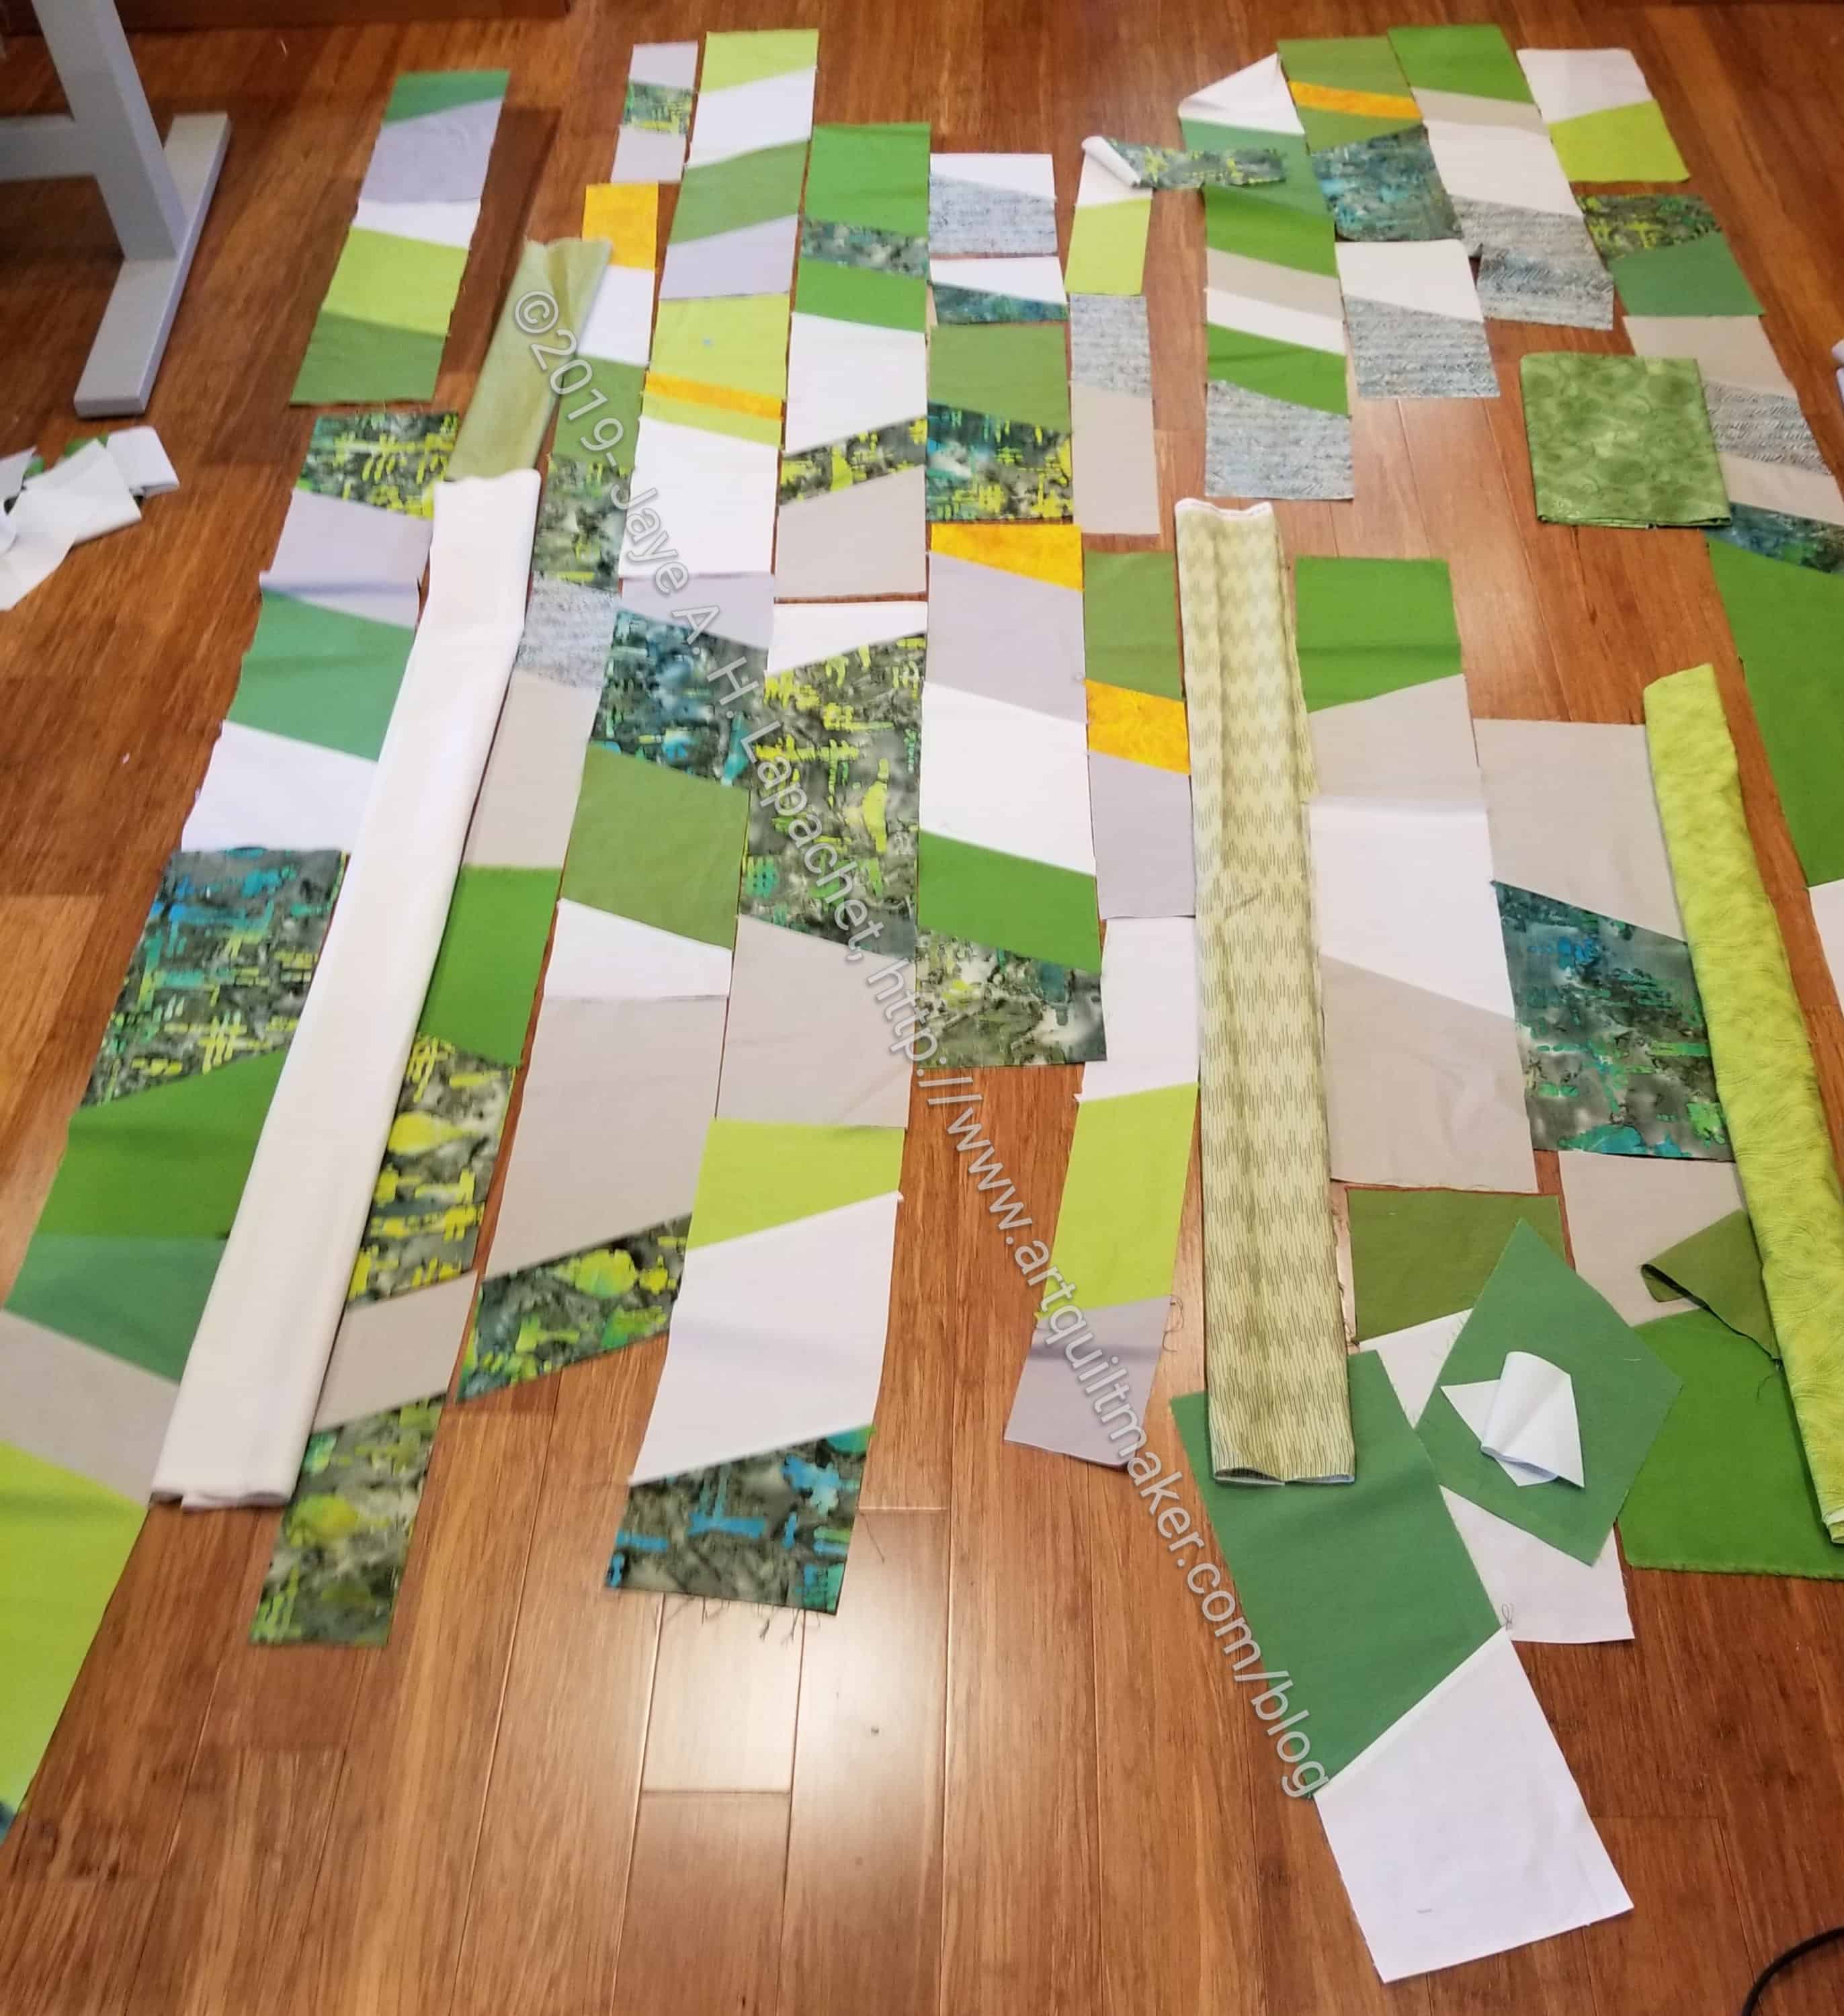
I was over at Tim’s the other day and he showed me his version. He really likes green and his piece reflects that.
We talked about adding in some strips, so you see some folded fabric mimicking the strips that he would need to cut.
I really enjoy seeing other people’s interpretation of a concept.
Despite my determination, I wasn’t 100% sold on the pattern I mentioned. I went back to the box of patterns, blocks, etc and looked through the rest of it to make sure I didn’t find a pattern or idea I liked better.
I found a few that I thought were more interesting or had some promise.
Japanese Circle Block
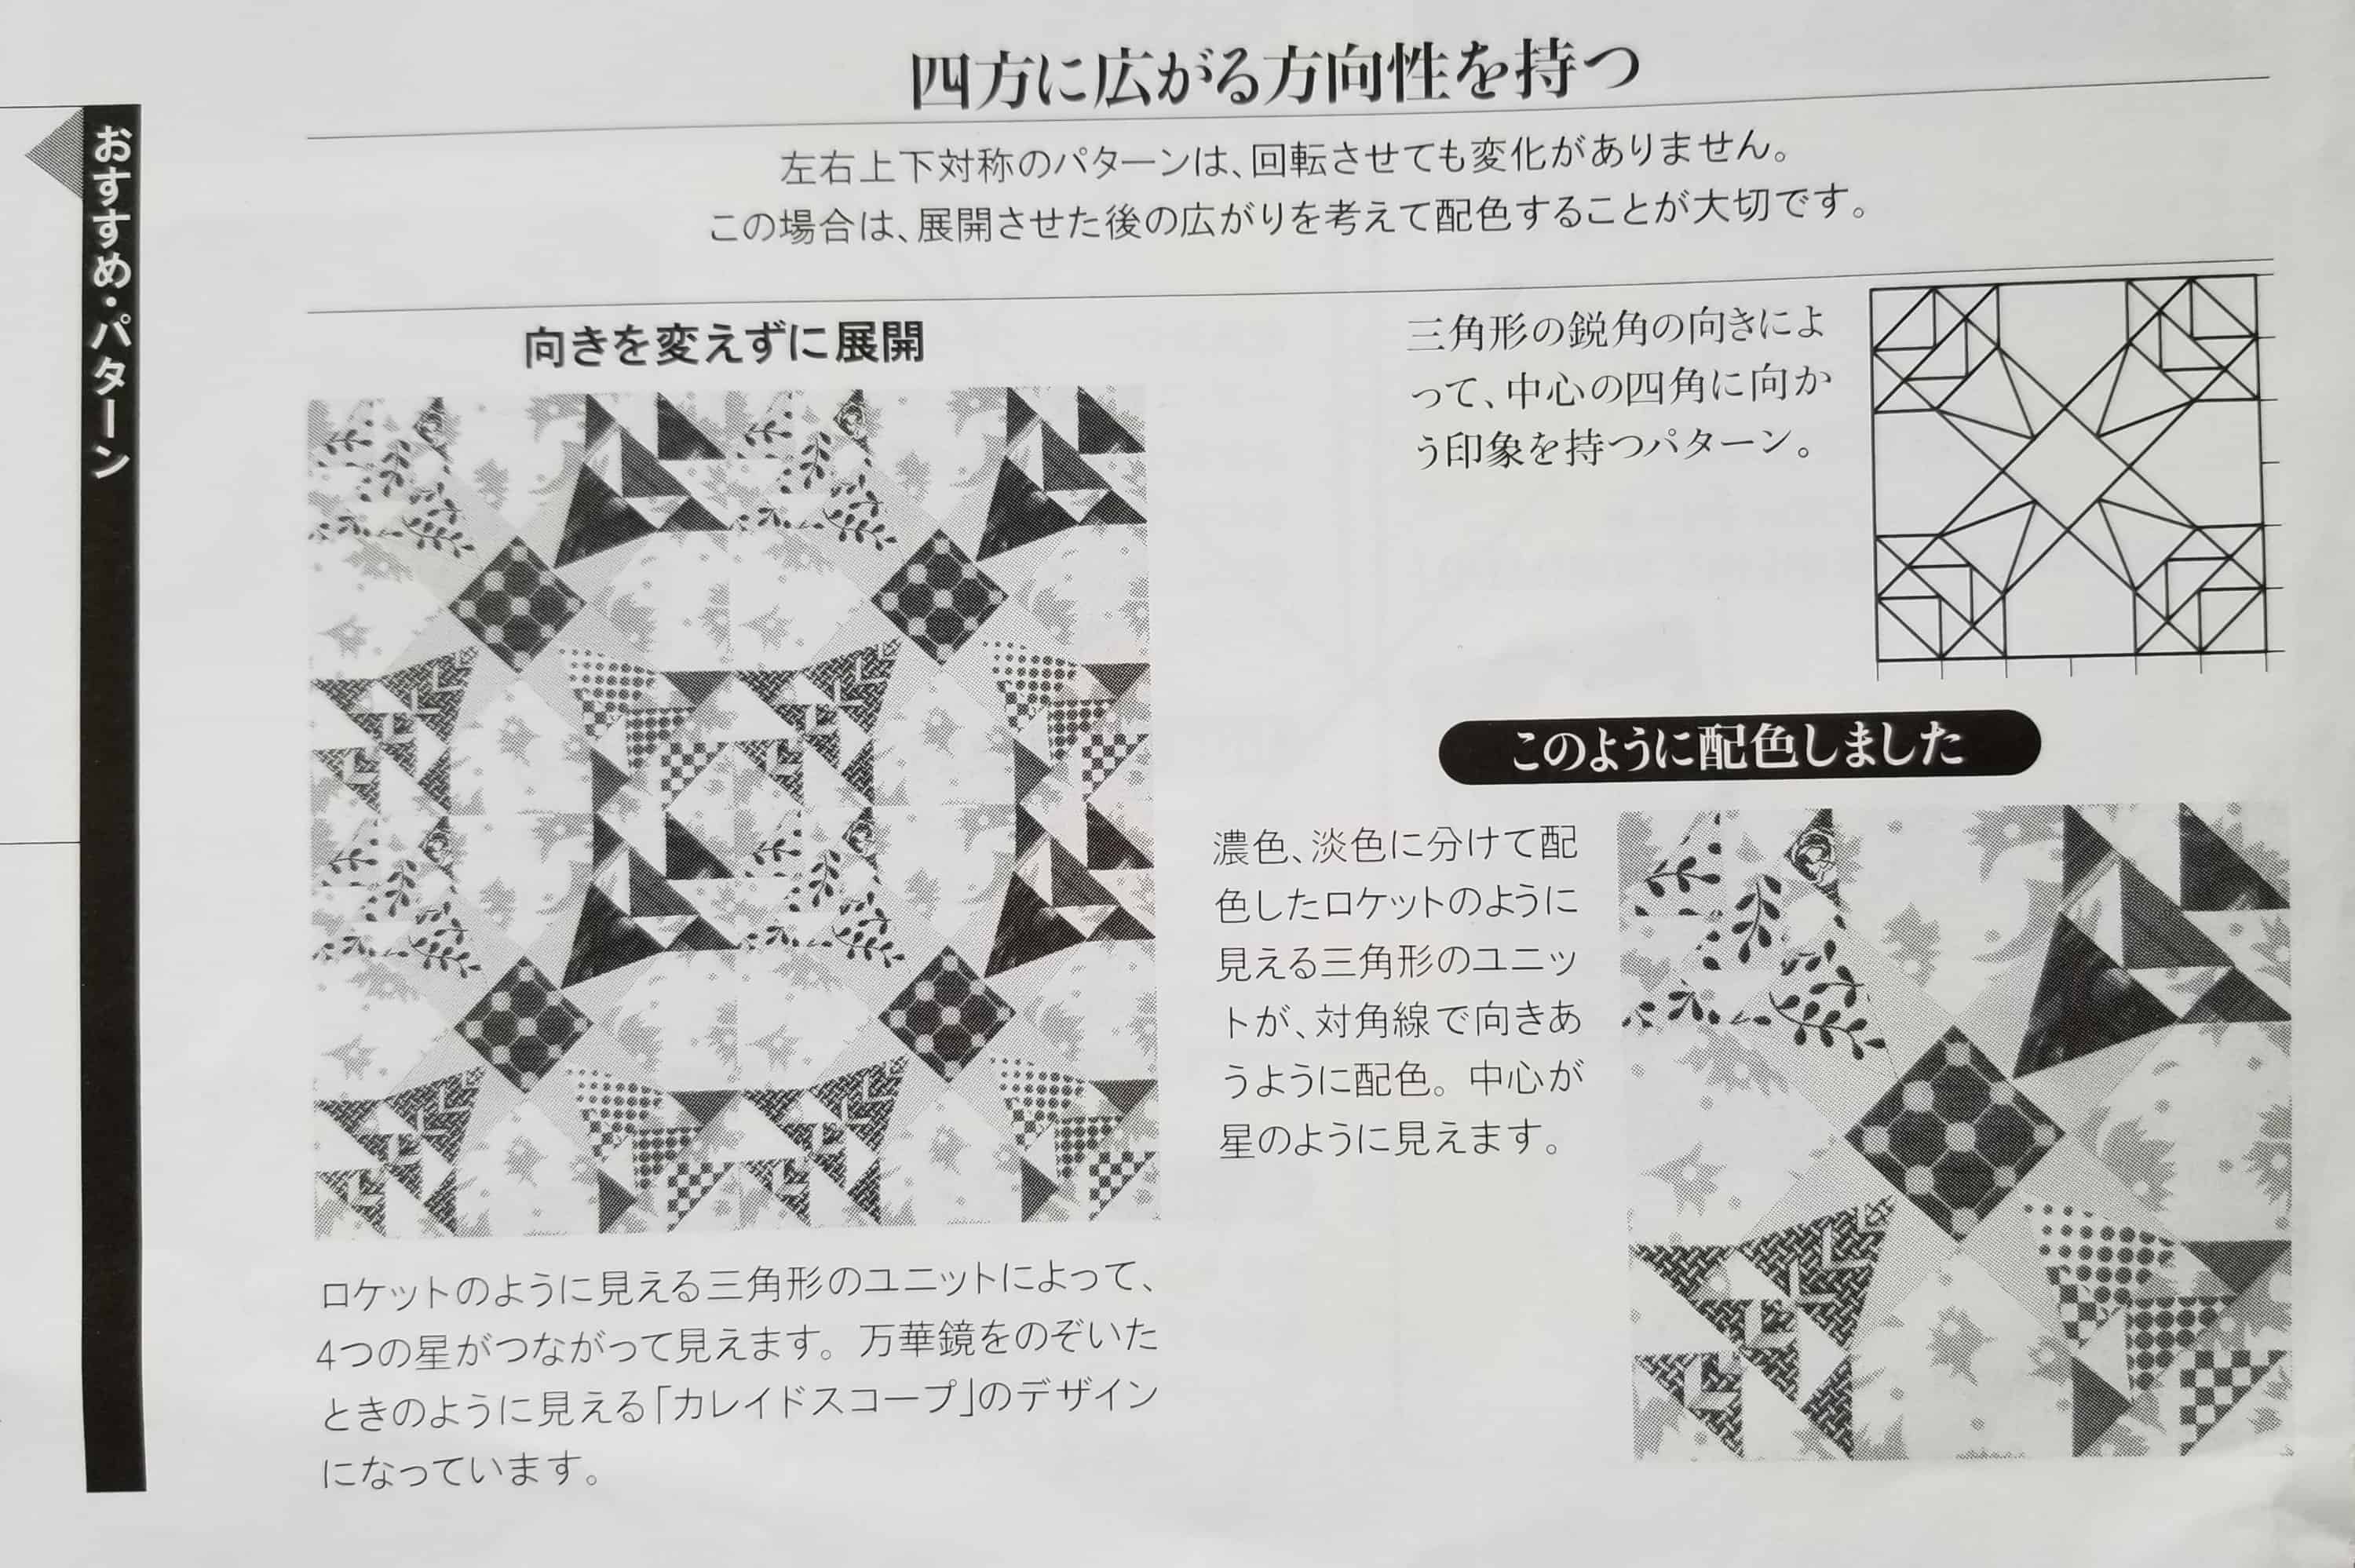
My top contender for the moment is a block I found in a Japanese magazine. Because I do not read Japanese and I ripped out the page at some point, I don’t know which magazine or issue.
As you can see from above, the block breaks down into Flying Geese and Peaky & Spikes as well as some strange pentagon shape.
The page showed a number of different blocks both in outline format and in black and white, but with fabrics. The example shows four blocks together as well.
Block from Japanese magazine
The four blocks together is what caught my attention as I looked through the box. The black and white fabric image makes it look like there is a circle going on.
One of the trends I saw in the box was a lot of blocks with curves or either implied curves.
Elements Quilt Layout
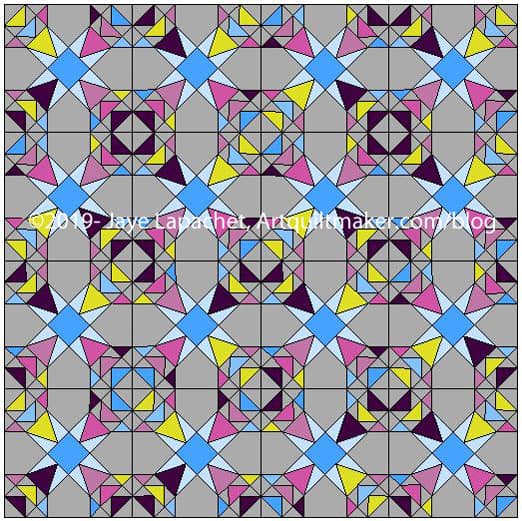
I drew up the block in EQ8 and made a quilt from the drawing, so you can get an idea of what my version of the quilt will look like.
I don’t know if I get the full effect from the drawing of the circles, but I see it a little bit.
I used the colors from below to create the quilt example (left). I think I have more colors and fabrics, so the example is not reflective of what the quilt will look like.
Home magazine color inspiration
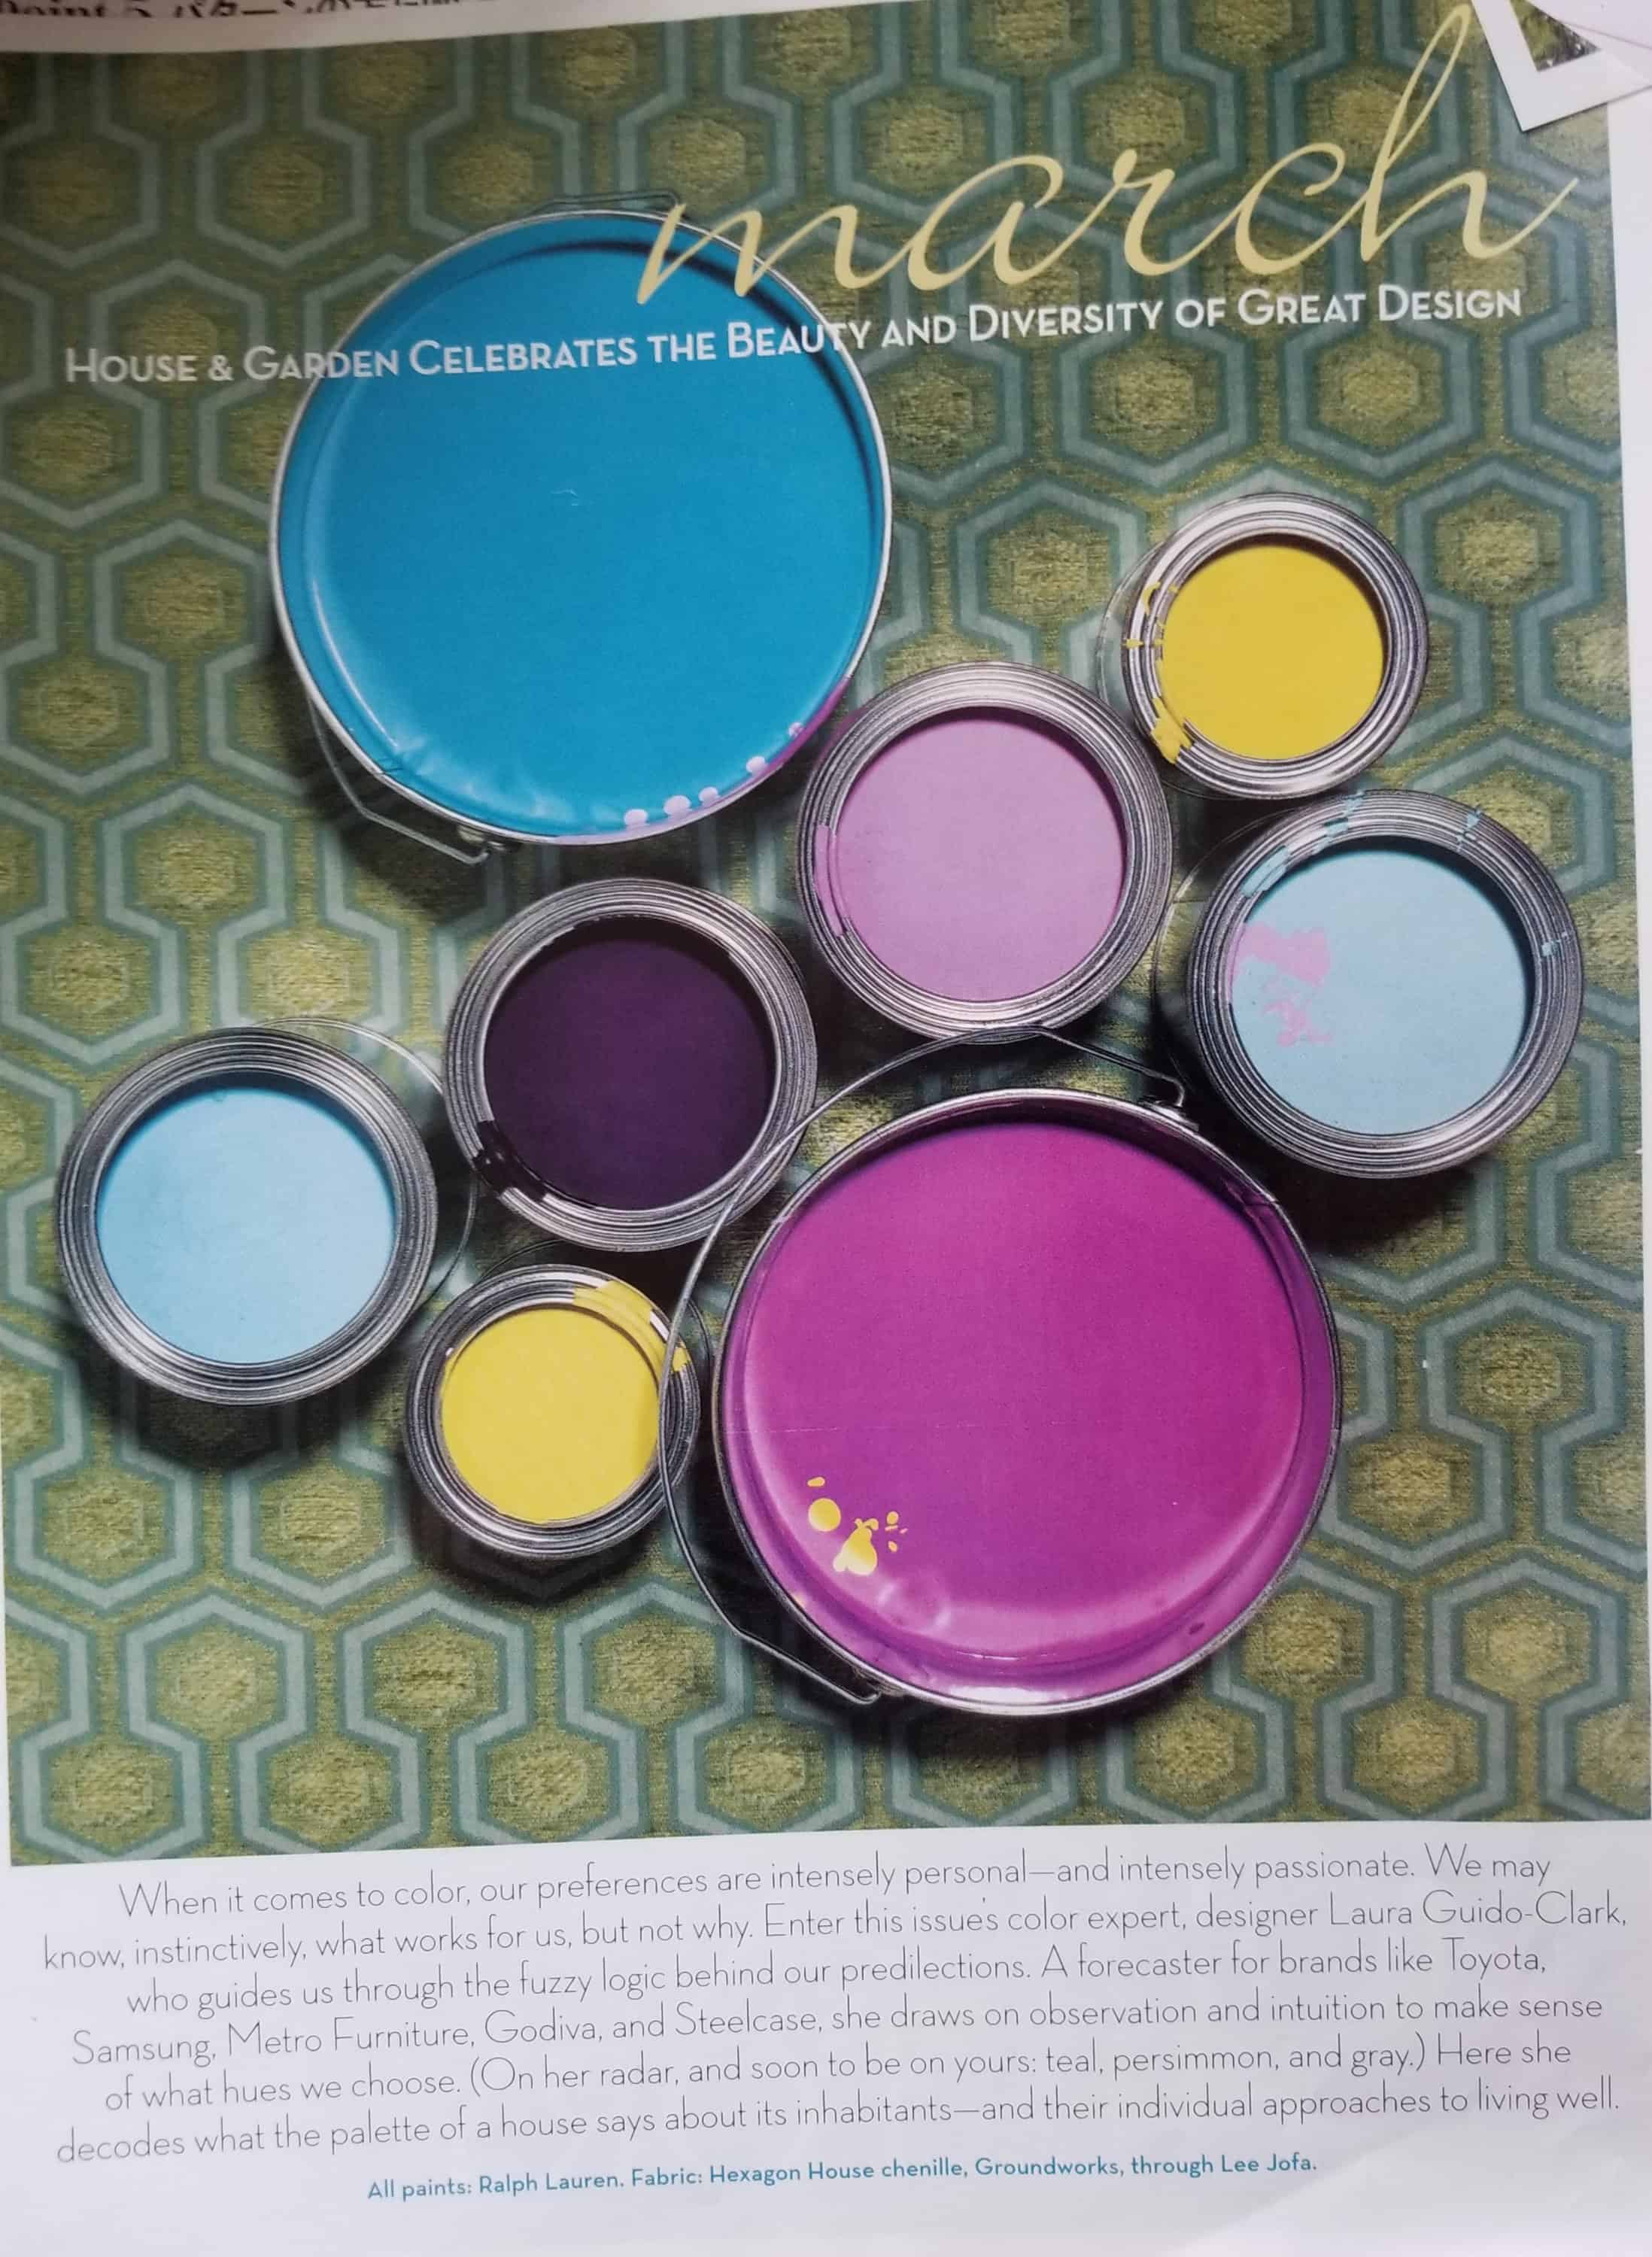
I also found an inspiration page from a home magazine that I ripped out at some point. With a couple of exceptions it mimics the colors in the fat quarter pack I bought and plan to use in this project. I intended to add some turquoise, but may also add a mustard-like color as the inspiration suggests.
I haven’t started this yet, but I plan to. It started out as a yearning for a fabric bundle I saw. I am not allowing myself to buy fabric, for the most part, unless I have a project.
Stash Fabrics: Art Gallery Elements bundle
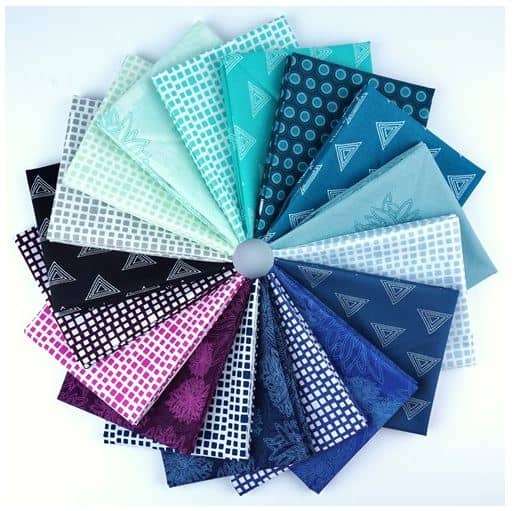
The other week Stash Fabrics was having a sale on Art Gallery fabrics. I love Art Gallery. I know many people don’t because of the tight weave, but I do. I saw a bundle I wanted. I tried to resist, I really did, but bought it in the end. The fabrics came on Thursday and I was a little disappointed to find that they were not as bright as they appeared on the website. It isn’t a problem as I need a few more fabrics and will add in some turquoises and some brighter blues.
AGF Bundle in my workroom
Since I needed to find a project, I looked through a big box of patterns I have ripped out of magazines. I found one that would work and that I liked. A Maze of Little Gems (Yes, I will change the name!) is the pattern that I picked. Nancy McNally has it on her website/blog as Playground of Triangles. N. B.: I am glad it isn’t going to get lost in the Quilting Company debacle. The pattern is fat quarter friendly and uses a lot of the HSTs, which will work well for the fabric I have. I added in a AGF solid in Ash as the background. Yes, I am still on the grey background kick.
I have to finish Flying Around before I start something else. I also have a number of small projects I want to work on or finish.
Last month, the guild had another class with Sarah Goer. As you may recall, I took the Planned Improv class with her and really enjoyed the process as well as the end result. I also really like seeing people be excited about a class project.
All About Angles Class work – May 2019
Due to travel (did you see the Thimble Towne and Calico Mermaid reviews?), I wasn’t able to sign up. Although I was home, I would not have had time to pack for the second trip and I needed a bit of a breather. I still was able to admire the work of the other students at the guild meeting on the 18th.
This tutorial started out after I watched an episode of Love of Quilting where Jo Morton was a guest. Based on what I saw Marianne and Jo do on the show, I tried the technique and was pleased with the results.
For the Flying Geese quilt, I needed 2.5″ finished HSTs, so according to the chart I made after DH did a bunch of math for me, I started with 6.25″ squares. All of the sizes on the chart make 8 HSTs.
Cut 2 pieces of fabric[/caption]
Cut 2 pieces of fabric
First, I cut two pieces of fabric,foreground and background, the correct size. Again, you need to download the chart and look at it. I cut my squares a bit larger, because I like to trim my HSTs just to make sure they are exactly the right size. The chart does not take trimming into account. You need to make the starting squares larger if you want to be able to trim.
Draw an X corner to corner
Draw an X corner to corner
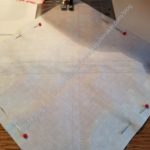
Next, I drew an X, corner to corner, on the lighter square. Then I put the 2 squares right sides together and pressed them. I securely pinned the two squares together.
Sew on each side of the line 1/4 inch away from the line
Sew on each side of the line 1/4 inch away from the line
Sew on each side of the line 1/4 inch away from the line
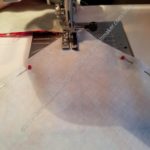
Next, I sewed on both sides of each of the lines of the X, 1/4 inch away from each line.
After sewing, I measured to the center of the X from the side of the square. This measurement is the PLUS cut.
Cut horizontal PLUS line
Cut vertical PLUS line
Cut the square in a PLUS configuration.
Cut diagonal lines
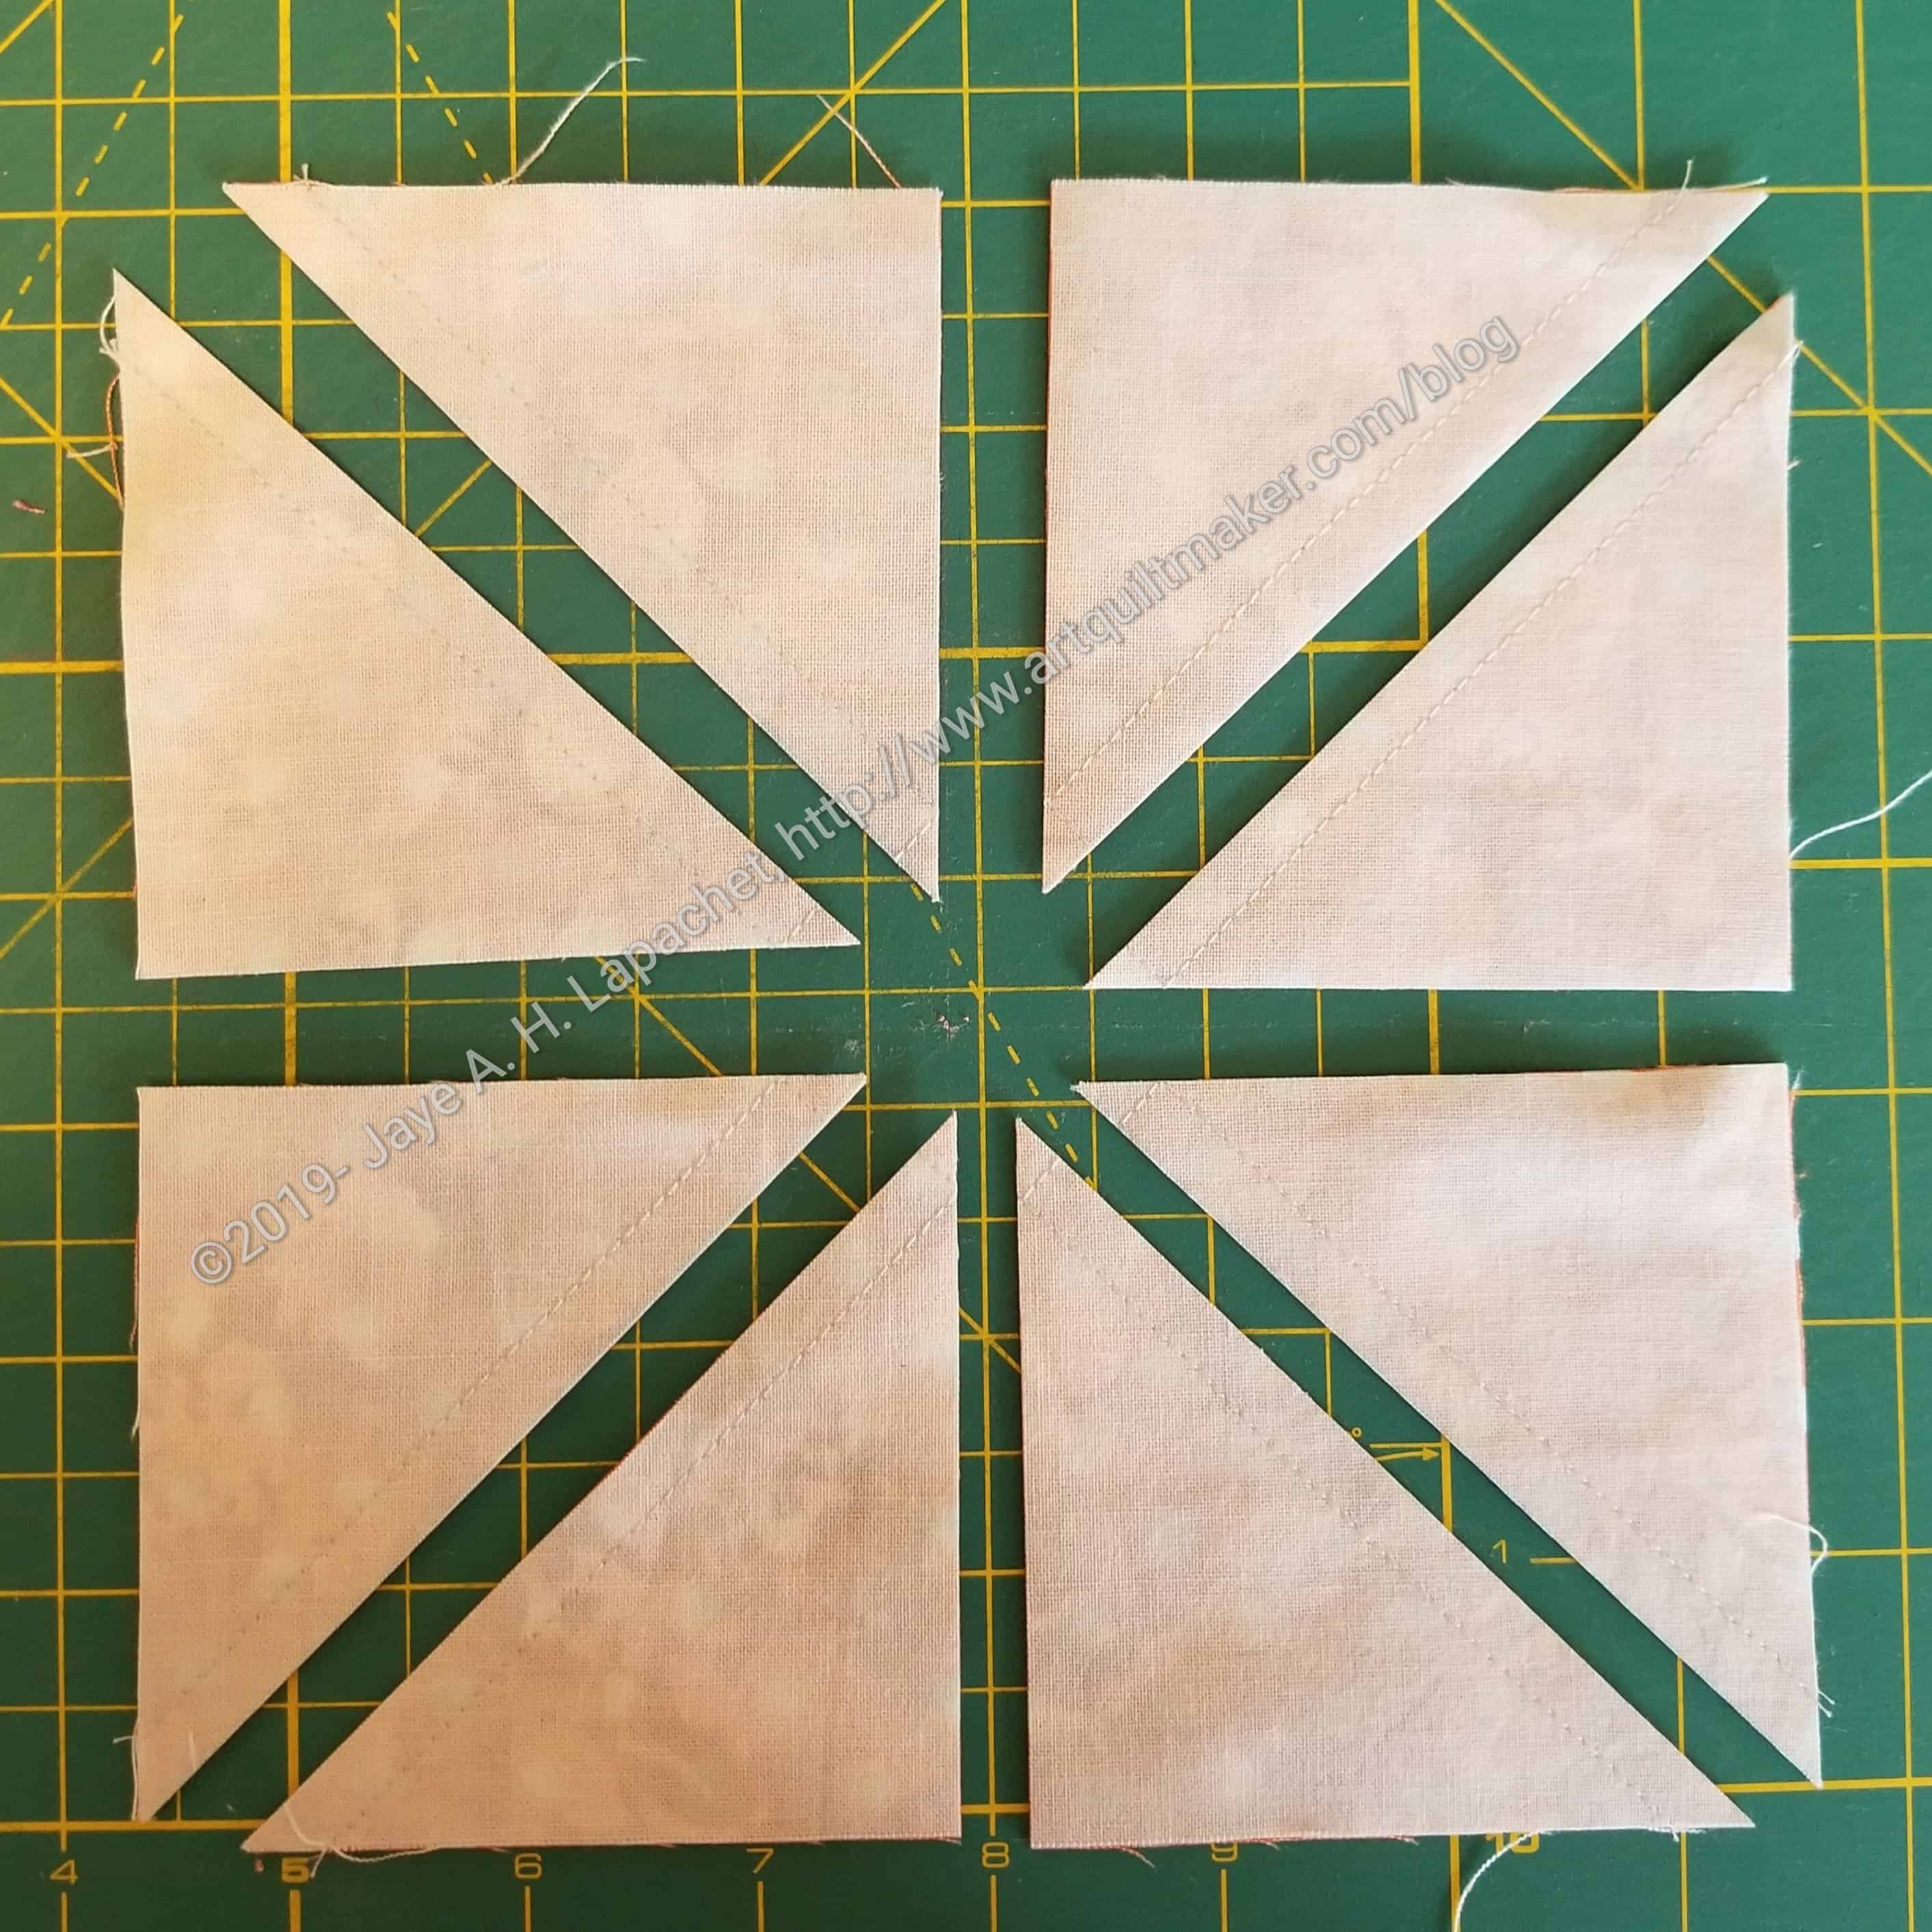
After you cut the PLUS, you will have four squares, each with a line drawn diagonally across the middle. Cut the squares in half diagonally. You can use the line as a guide. It is more important to line your ruler up corner to corner.
The result is 8 2″ half square triangles. You still need to press them carefully open.
Lay out unpressed HSTs
Press HSTs carefully open
Move the unpressed HSTs to the ironing board and press carefully. Use a stiletto to keep your fingers from getting burned.
Lay out HSTs to trim
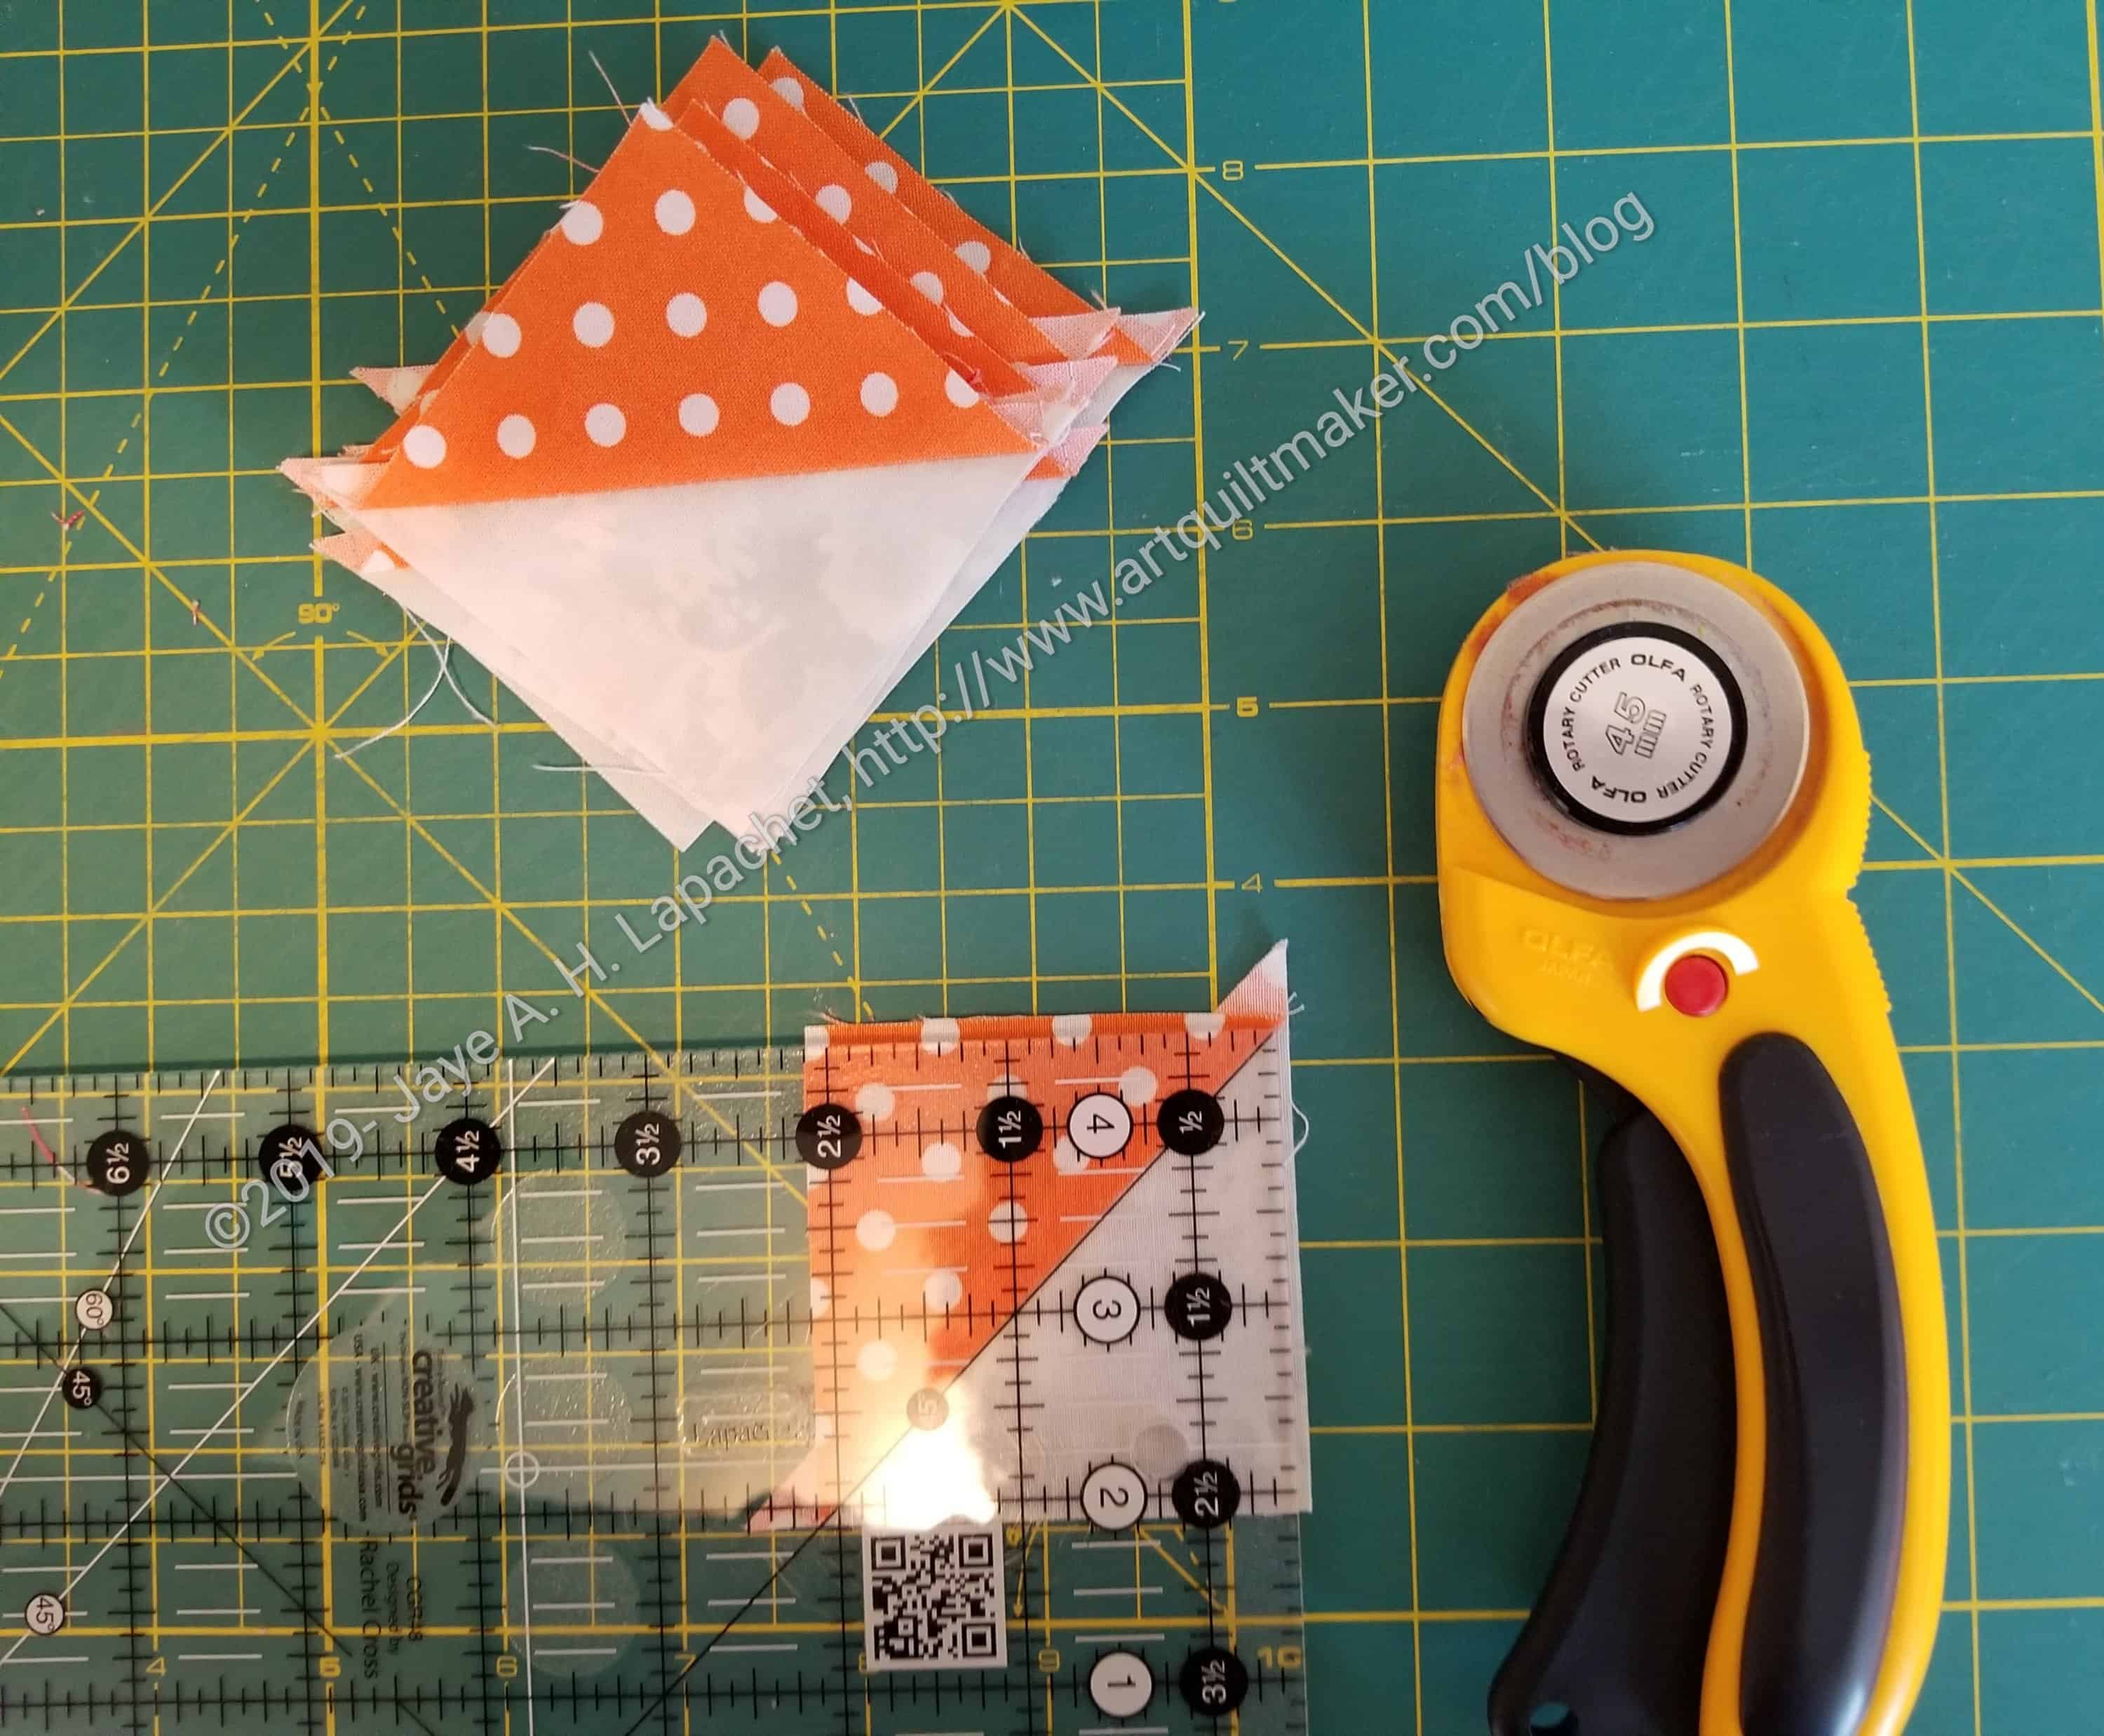
Next, I trim. Layout your pressed and untrimmed HSTs.
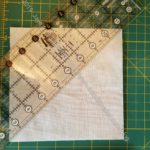
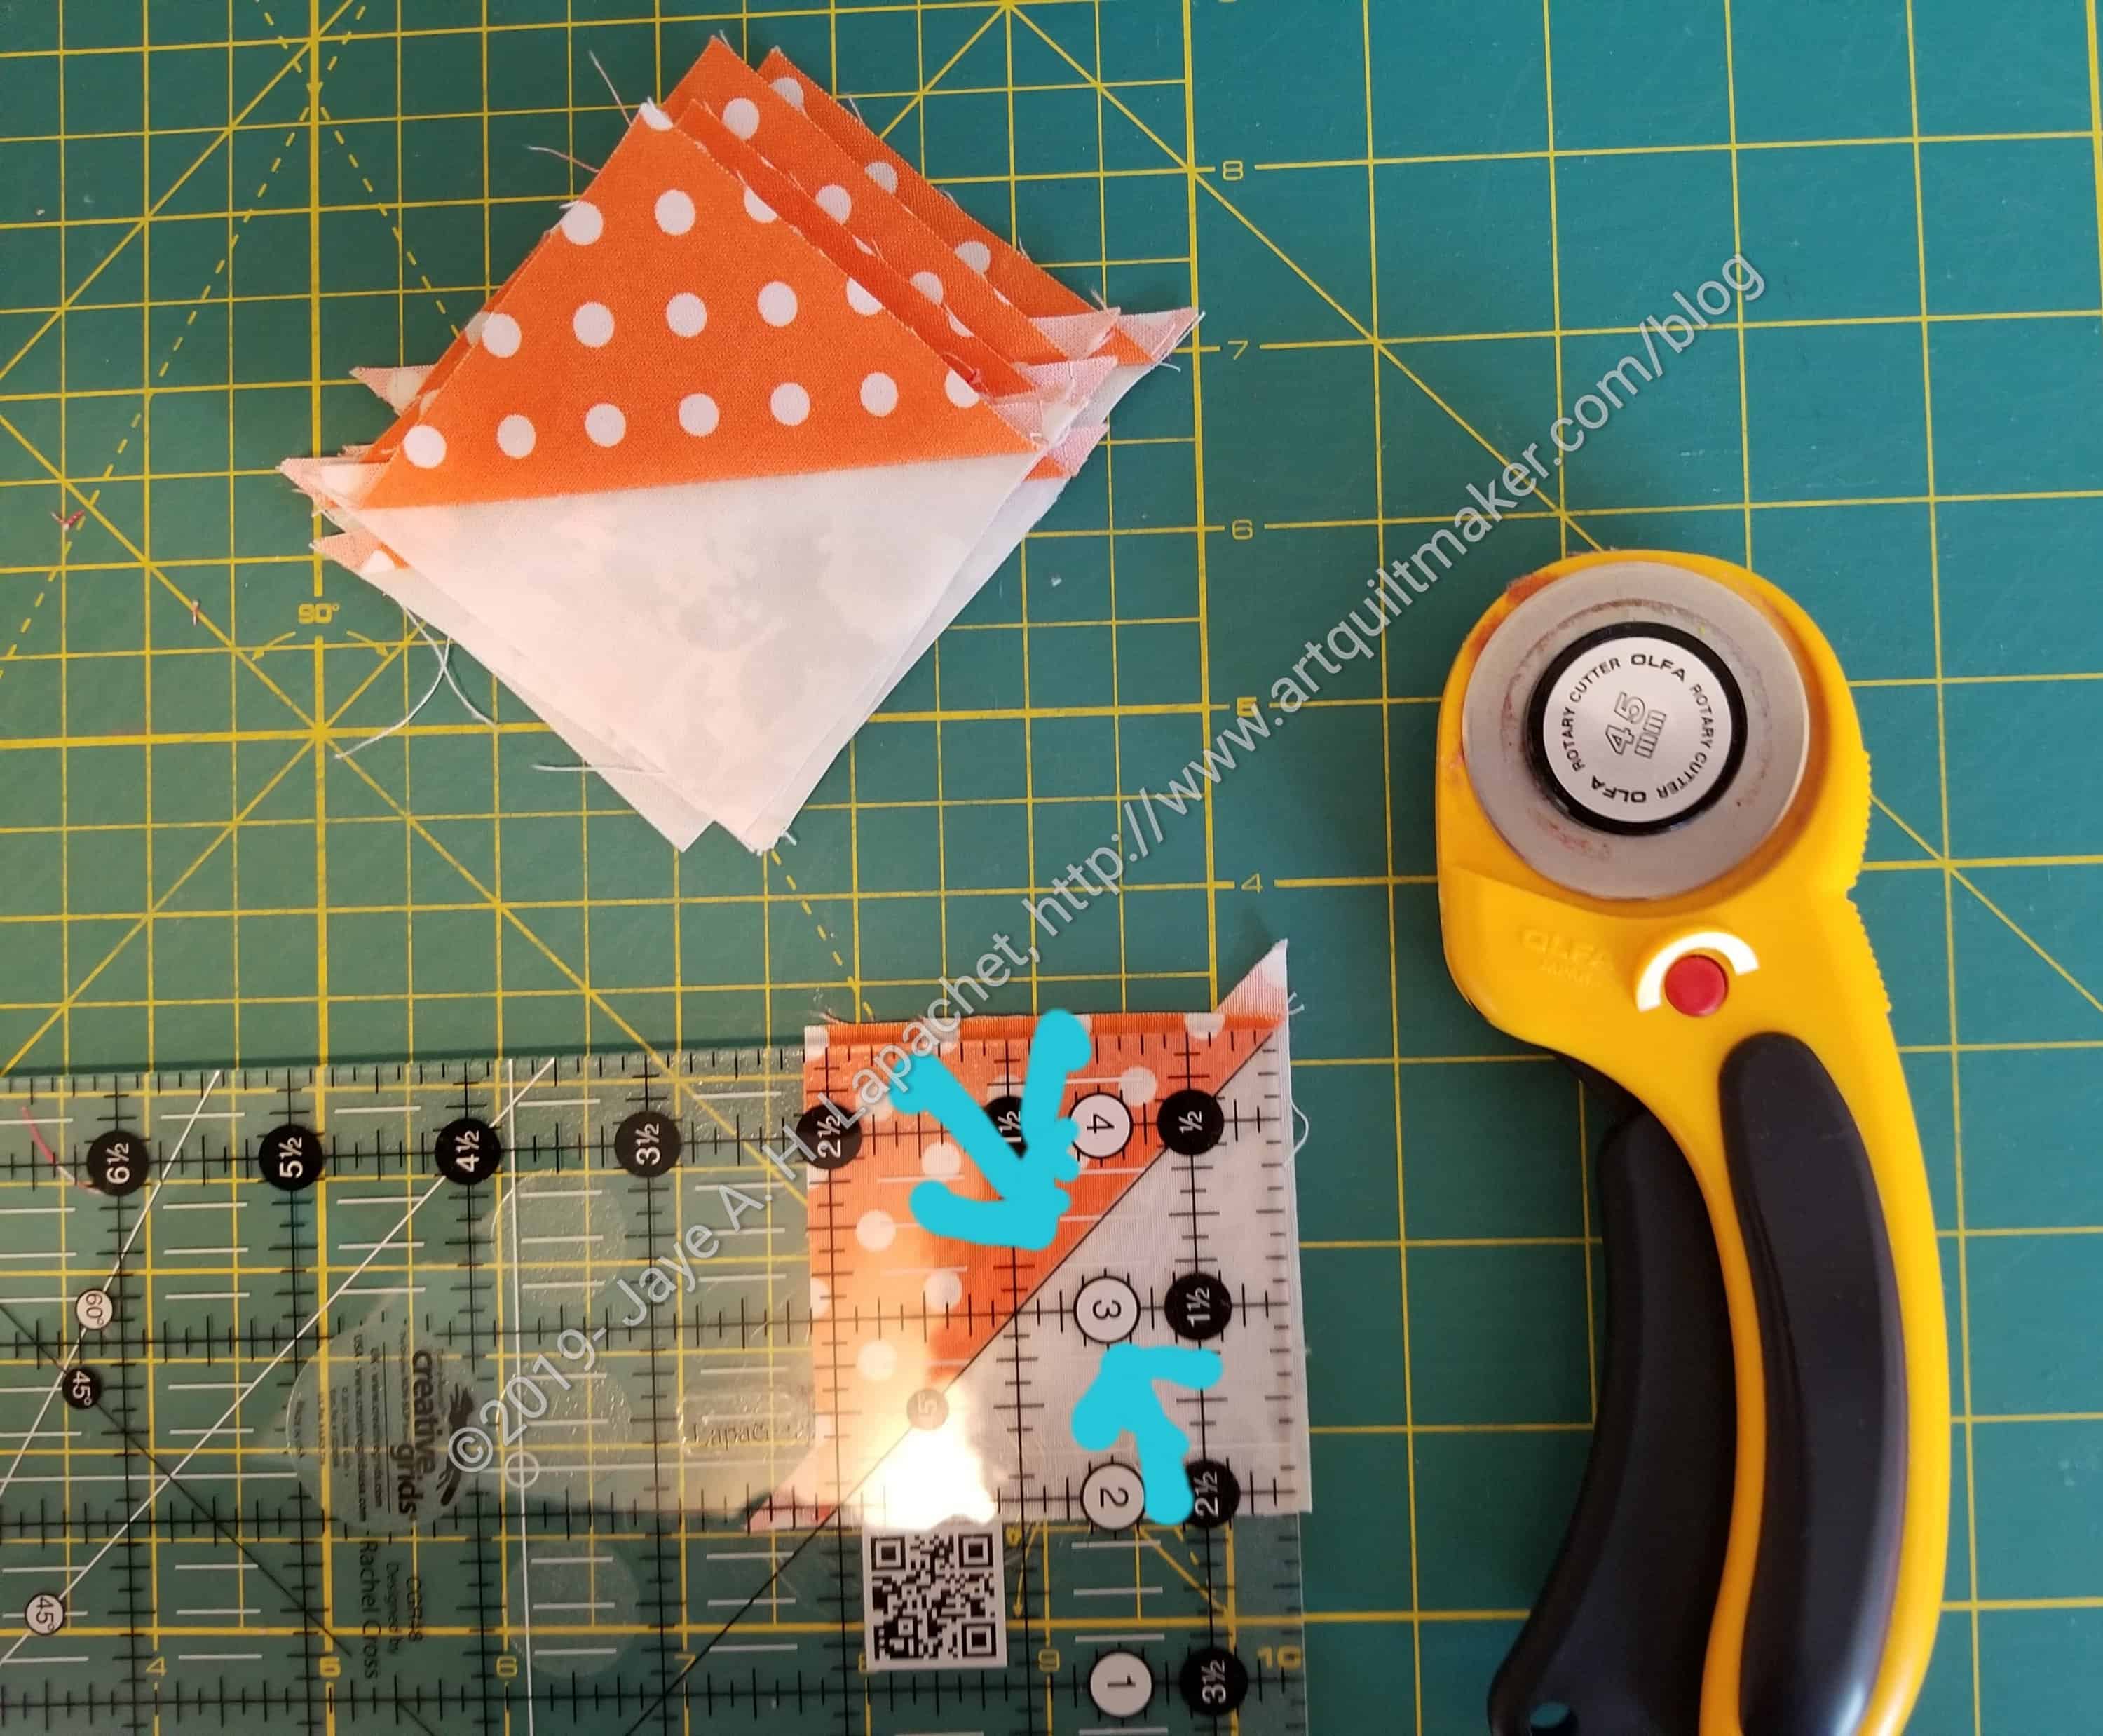
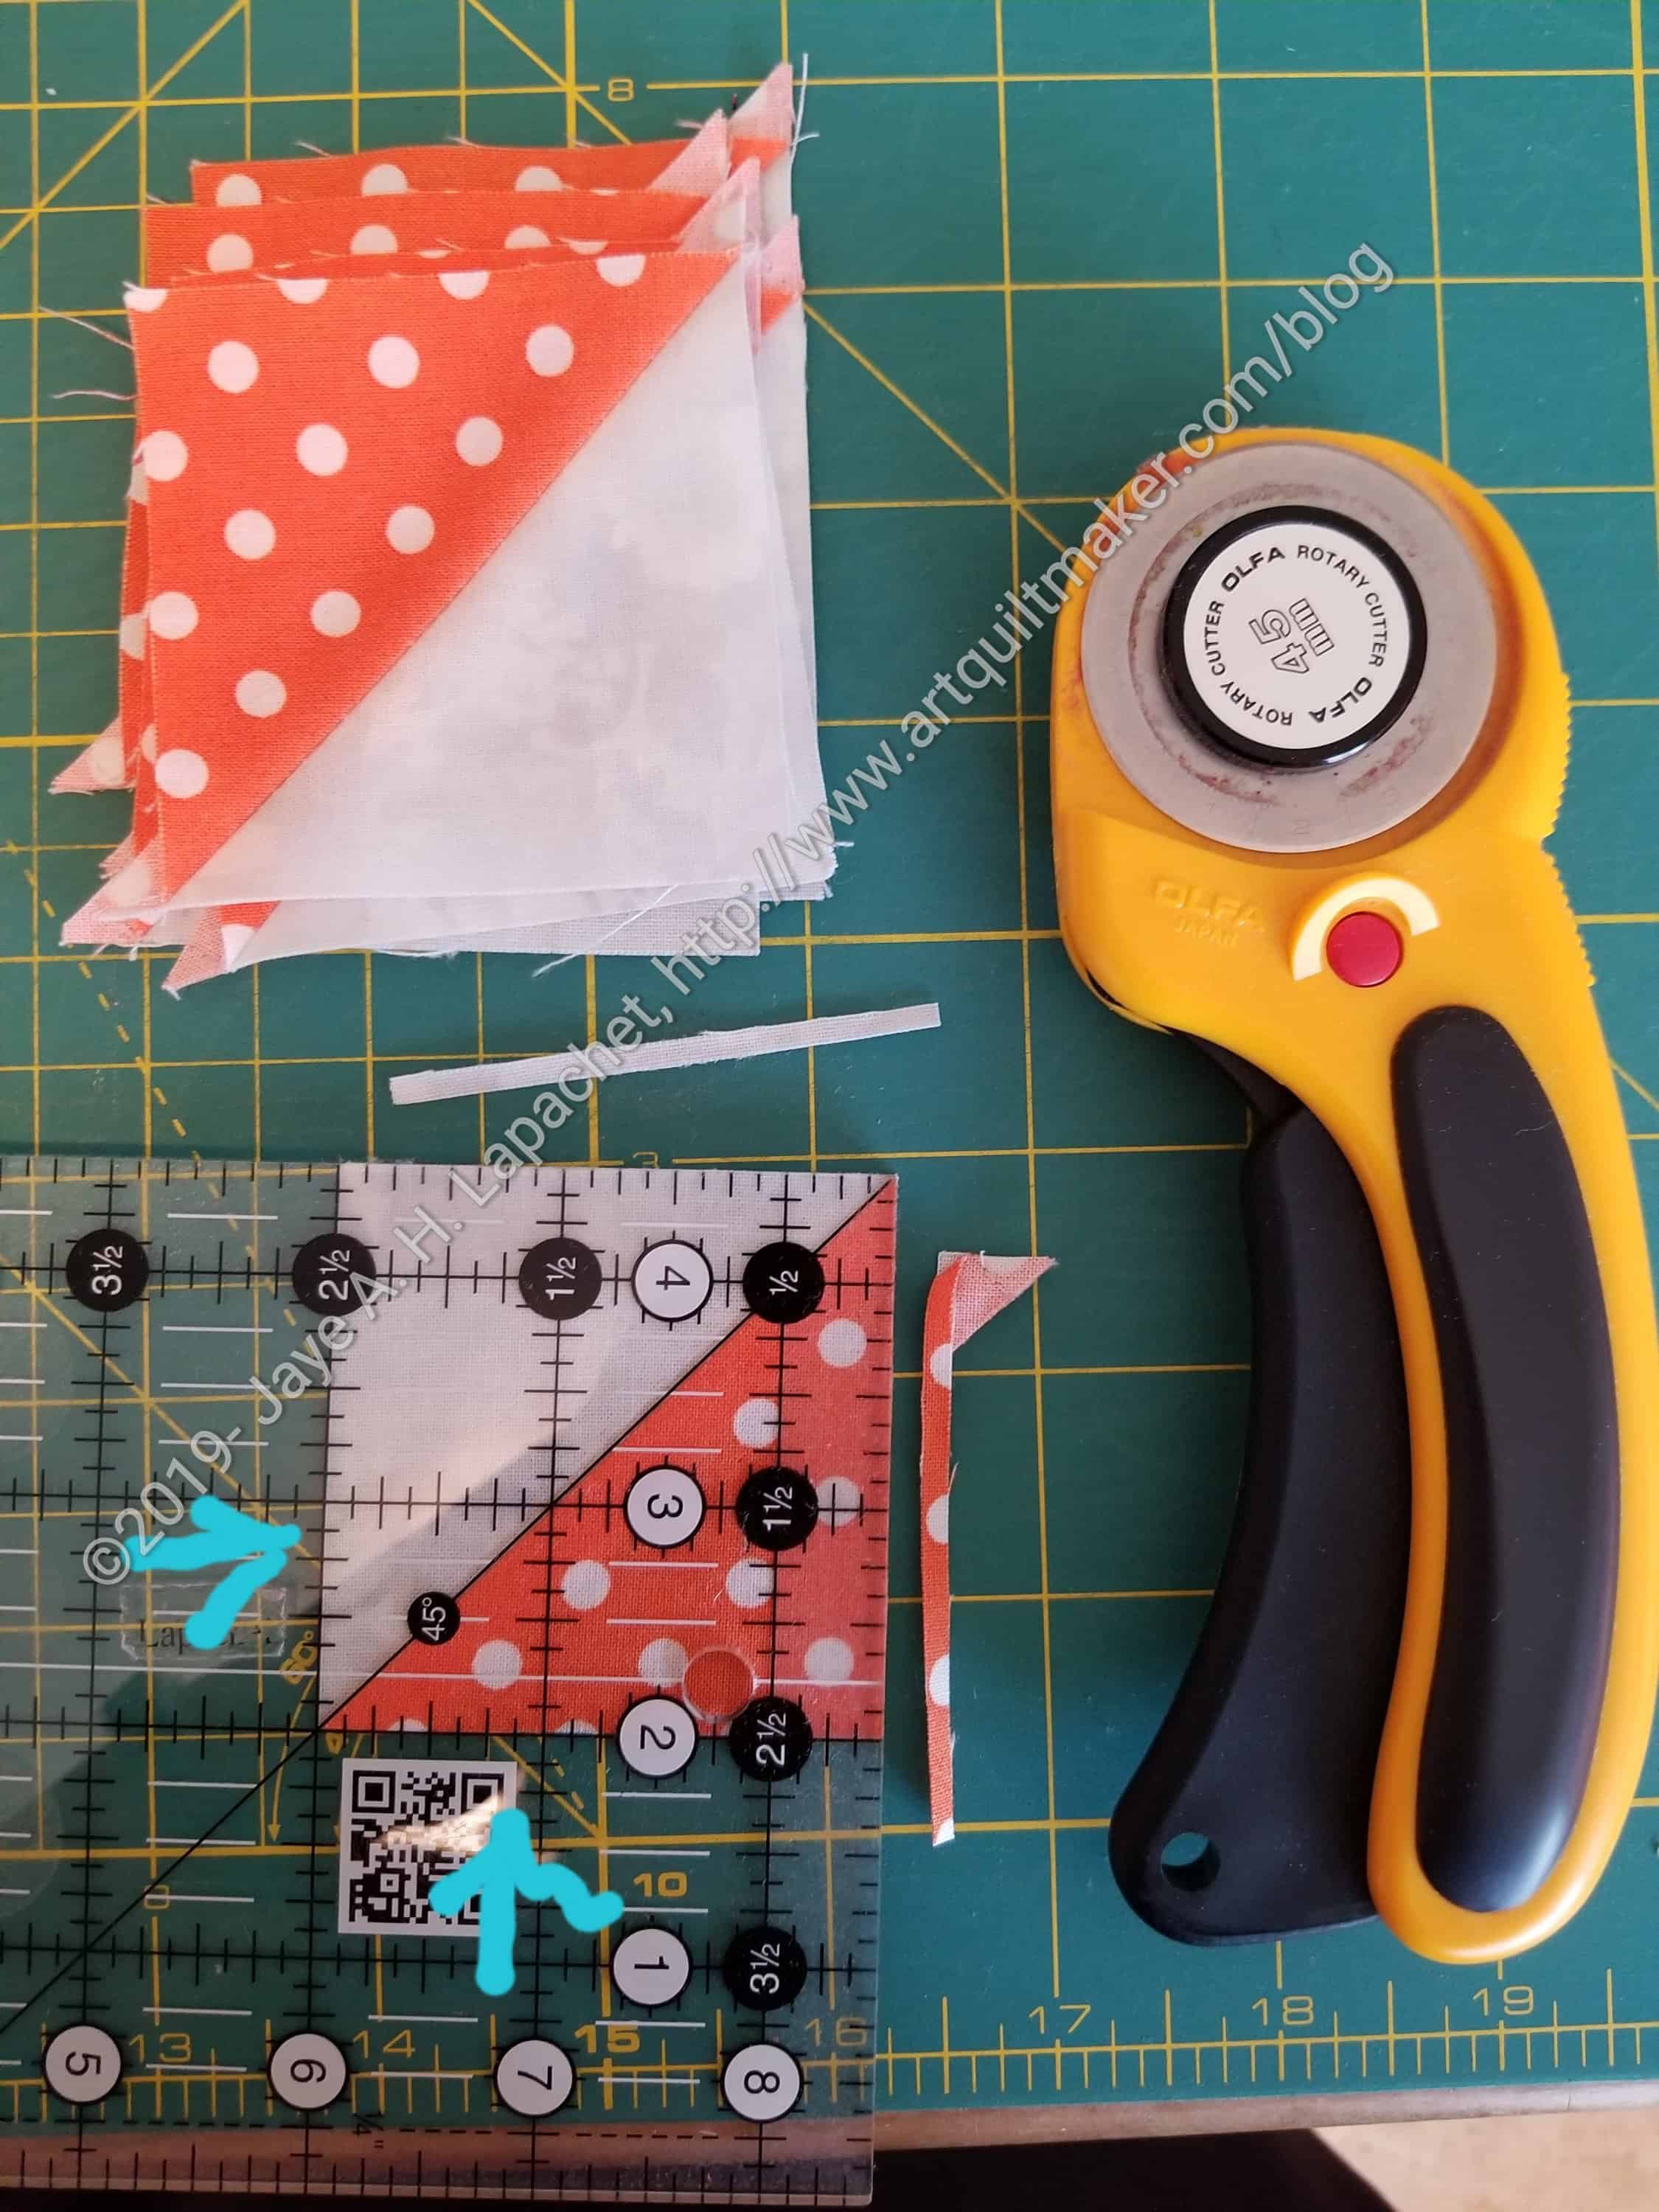
Line up diagonal lines
Line up the center diagonal line with the 45 degree line on your ruler.
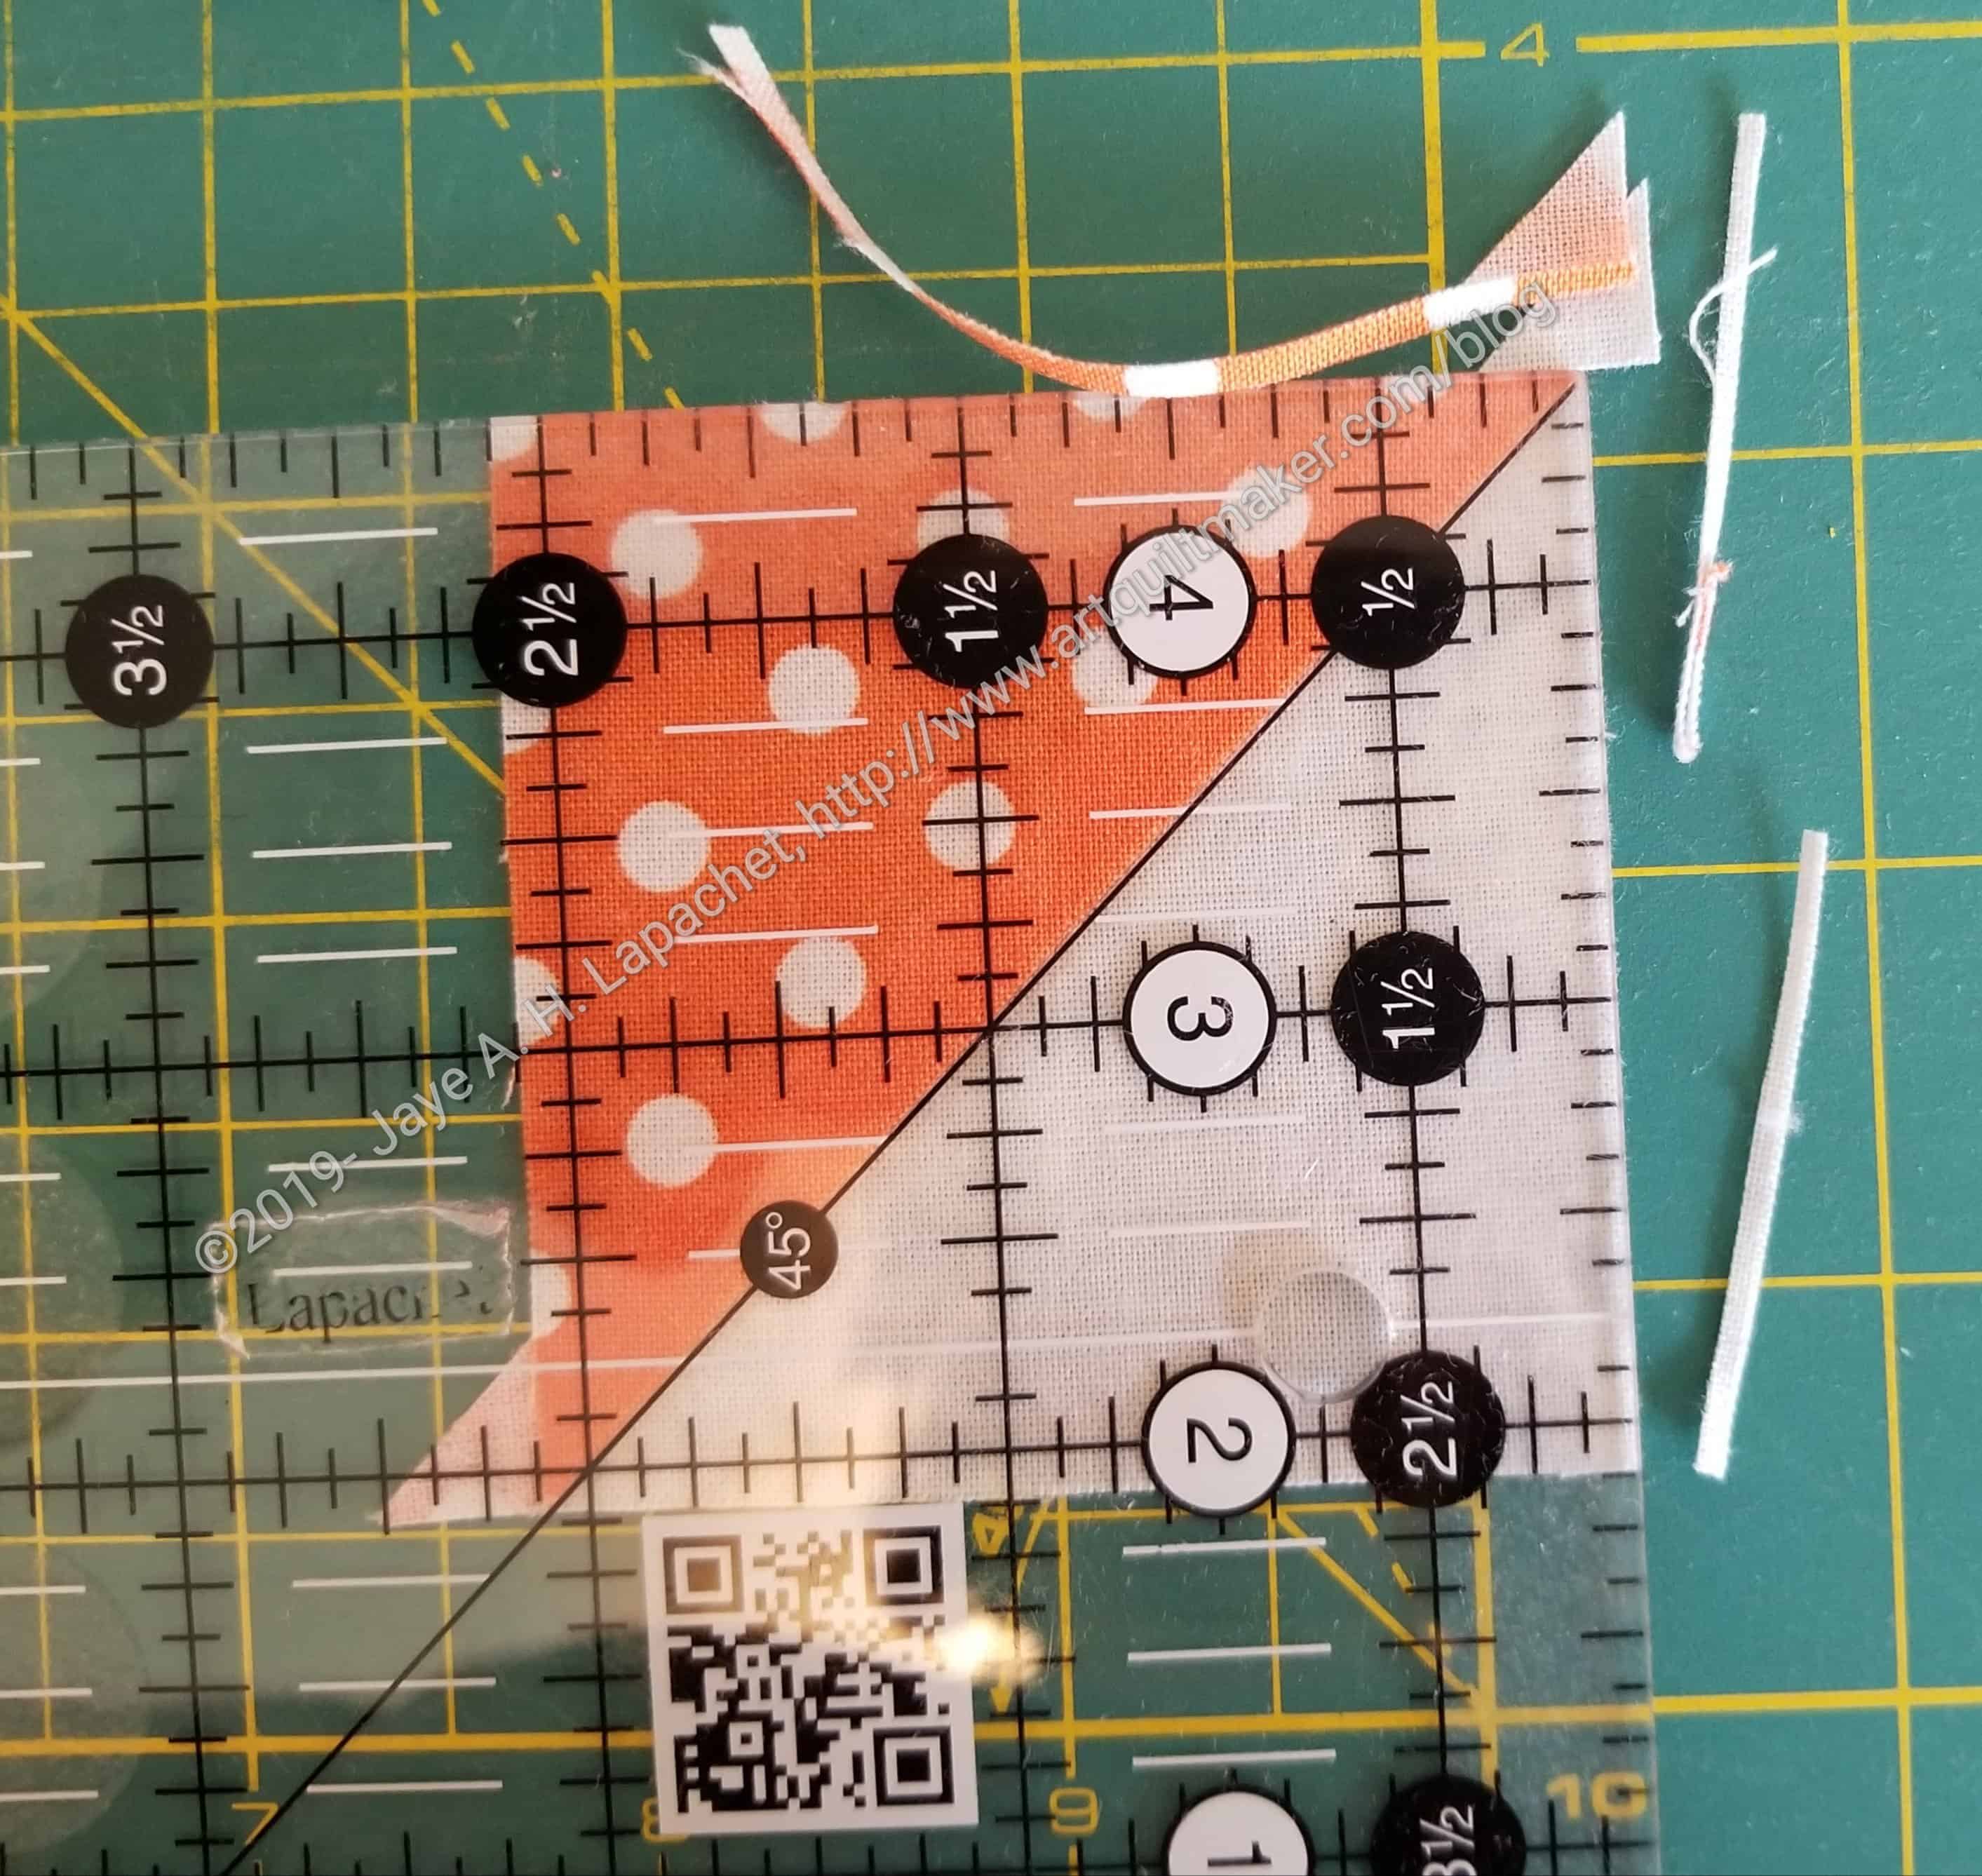
Edges trimmed
Trim the edges.
Line up just cut edges
Once you trim the first two sides, line up the 2.5 inch line on your ruler with the just cut edges. Trim the second two sides.
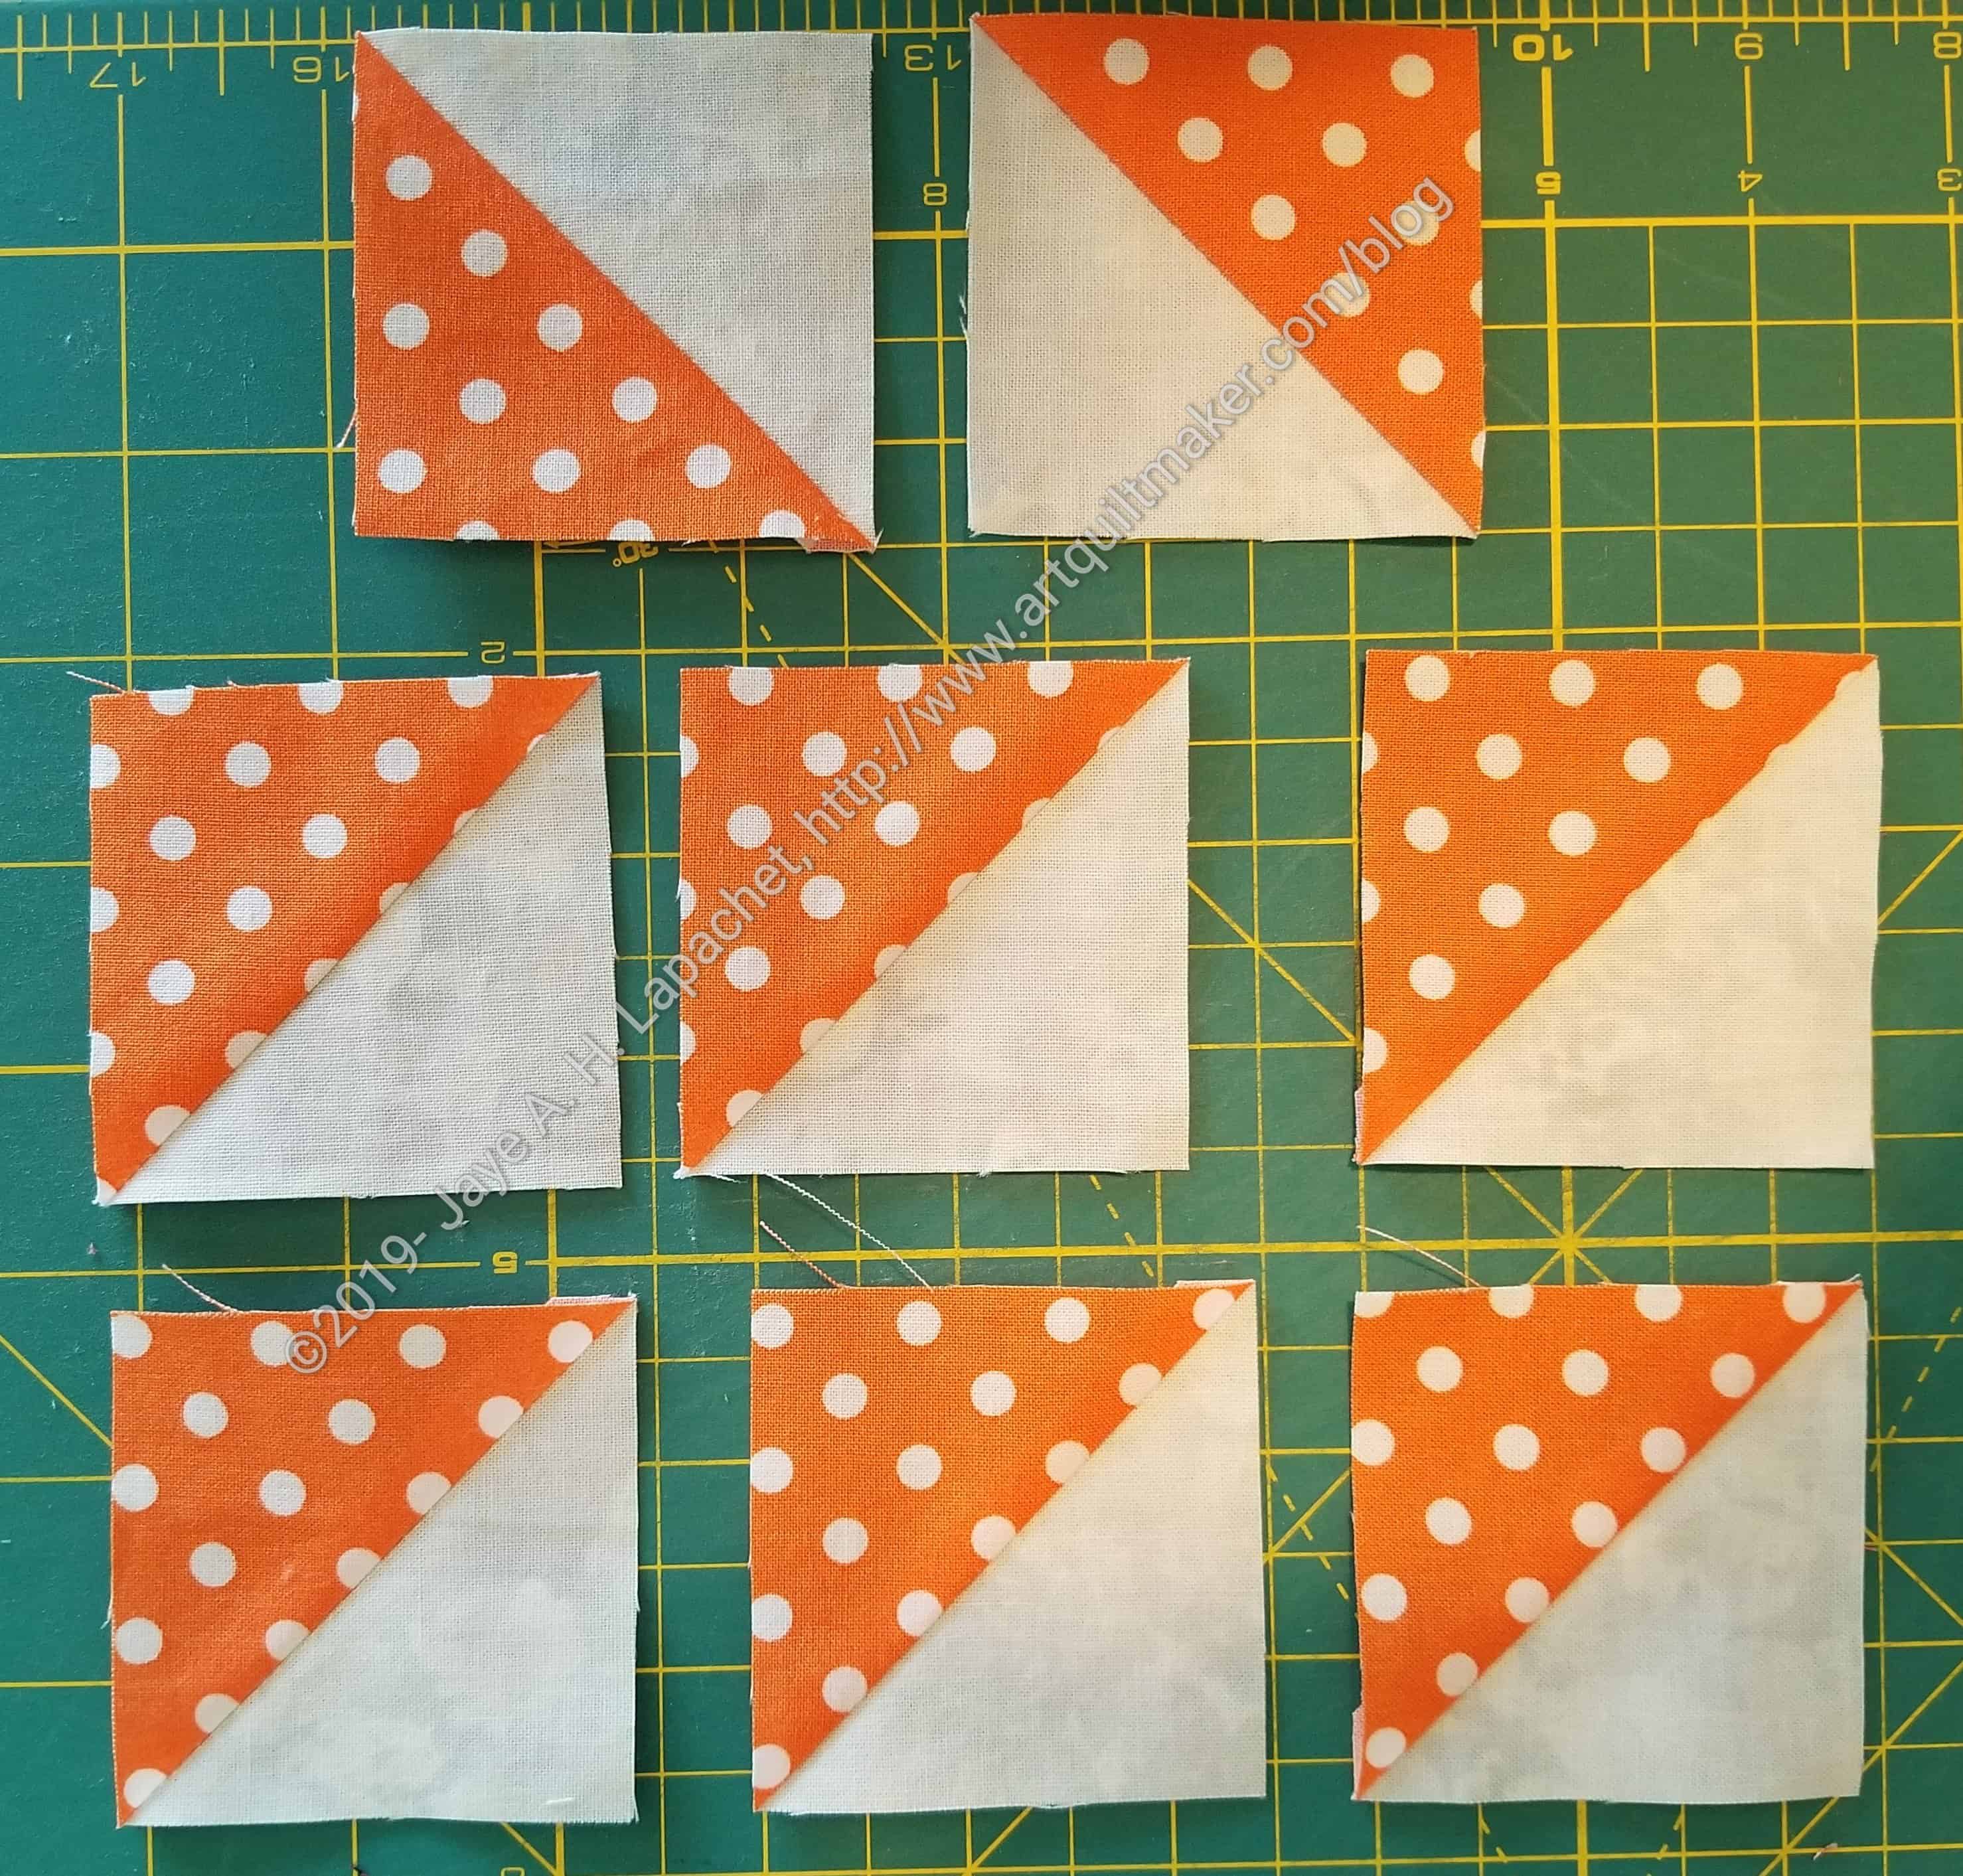
8 beautiful HSTs
Now you have 8 beautiful HSTs.
N.B. : The bias edges shouldn’t be scary for you on the regular method, but this method makes HSTs much easier. I think this would be a fabulous method to make a lot of HSTs in a short amount of time. It is similar to a tutorial that p.s. i quilt posted, but times 4. I am planning to try out different sized beginning squares to see what sized HSTs I come up with.
I talked over the math with my DH and came up with a chart showing the different sizes you can make with this technique. This is the updated version and you need this chart to use this method.
This is a great technique to use as leaders & enders.
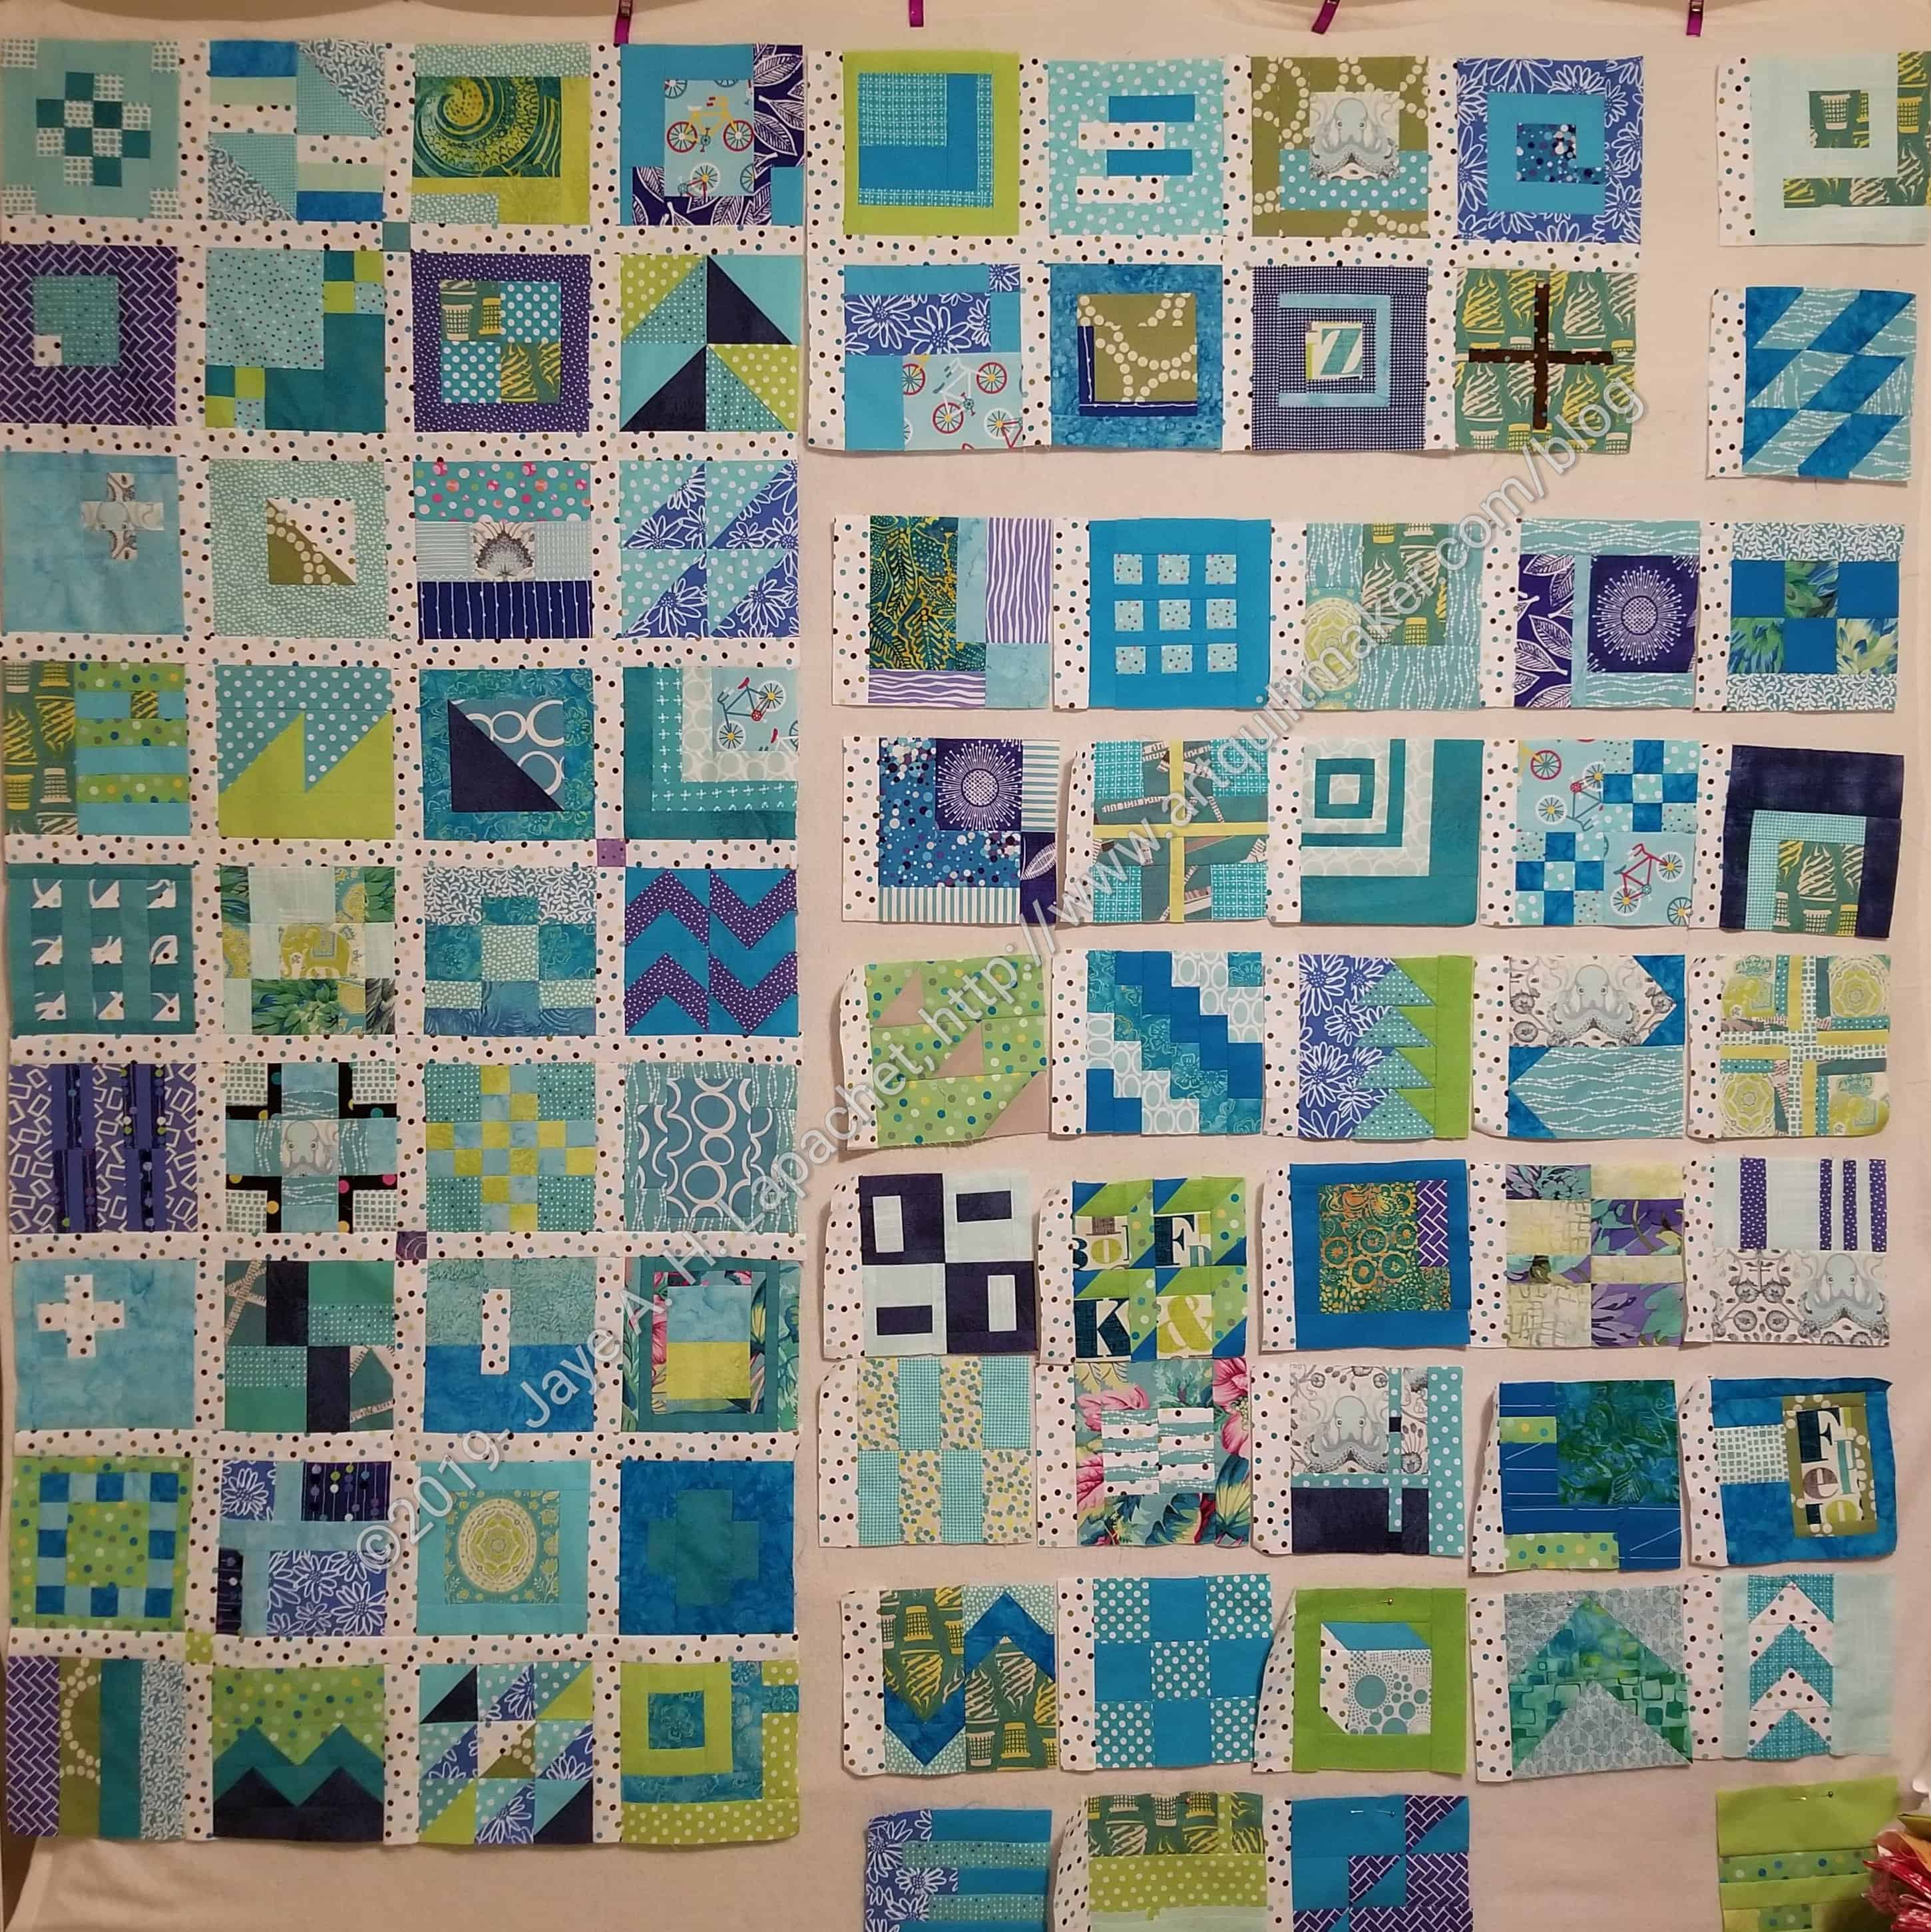
I was feeling a little discouraged by my City Sampler Progress. I felt like I spent last weekend sewing and sewing and sewing and not getting anywhere. Then, all of a sudden, the whole left side is together!
That side has 36 blocks, so I am not yet halfway through, but I do feel like it is significant progress. I also don’t feel as discouraged. I have hope that I will be able to get this top together.
I am thinking of putting the border on that side before sewing the side to anything else. I think it will be easier than wrestling the quilt when it is finished.