Back to Frolicking!

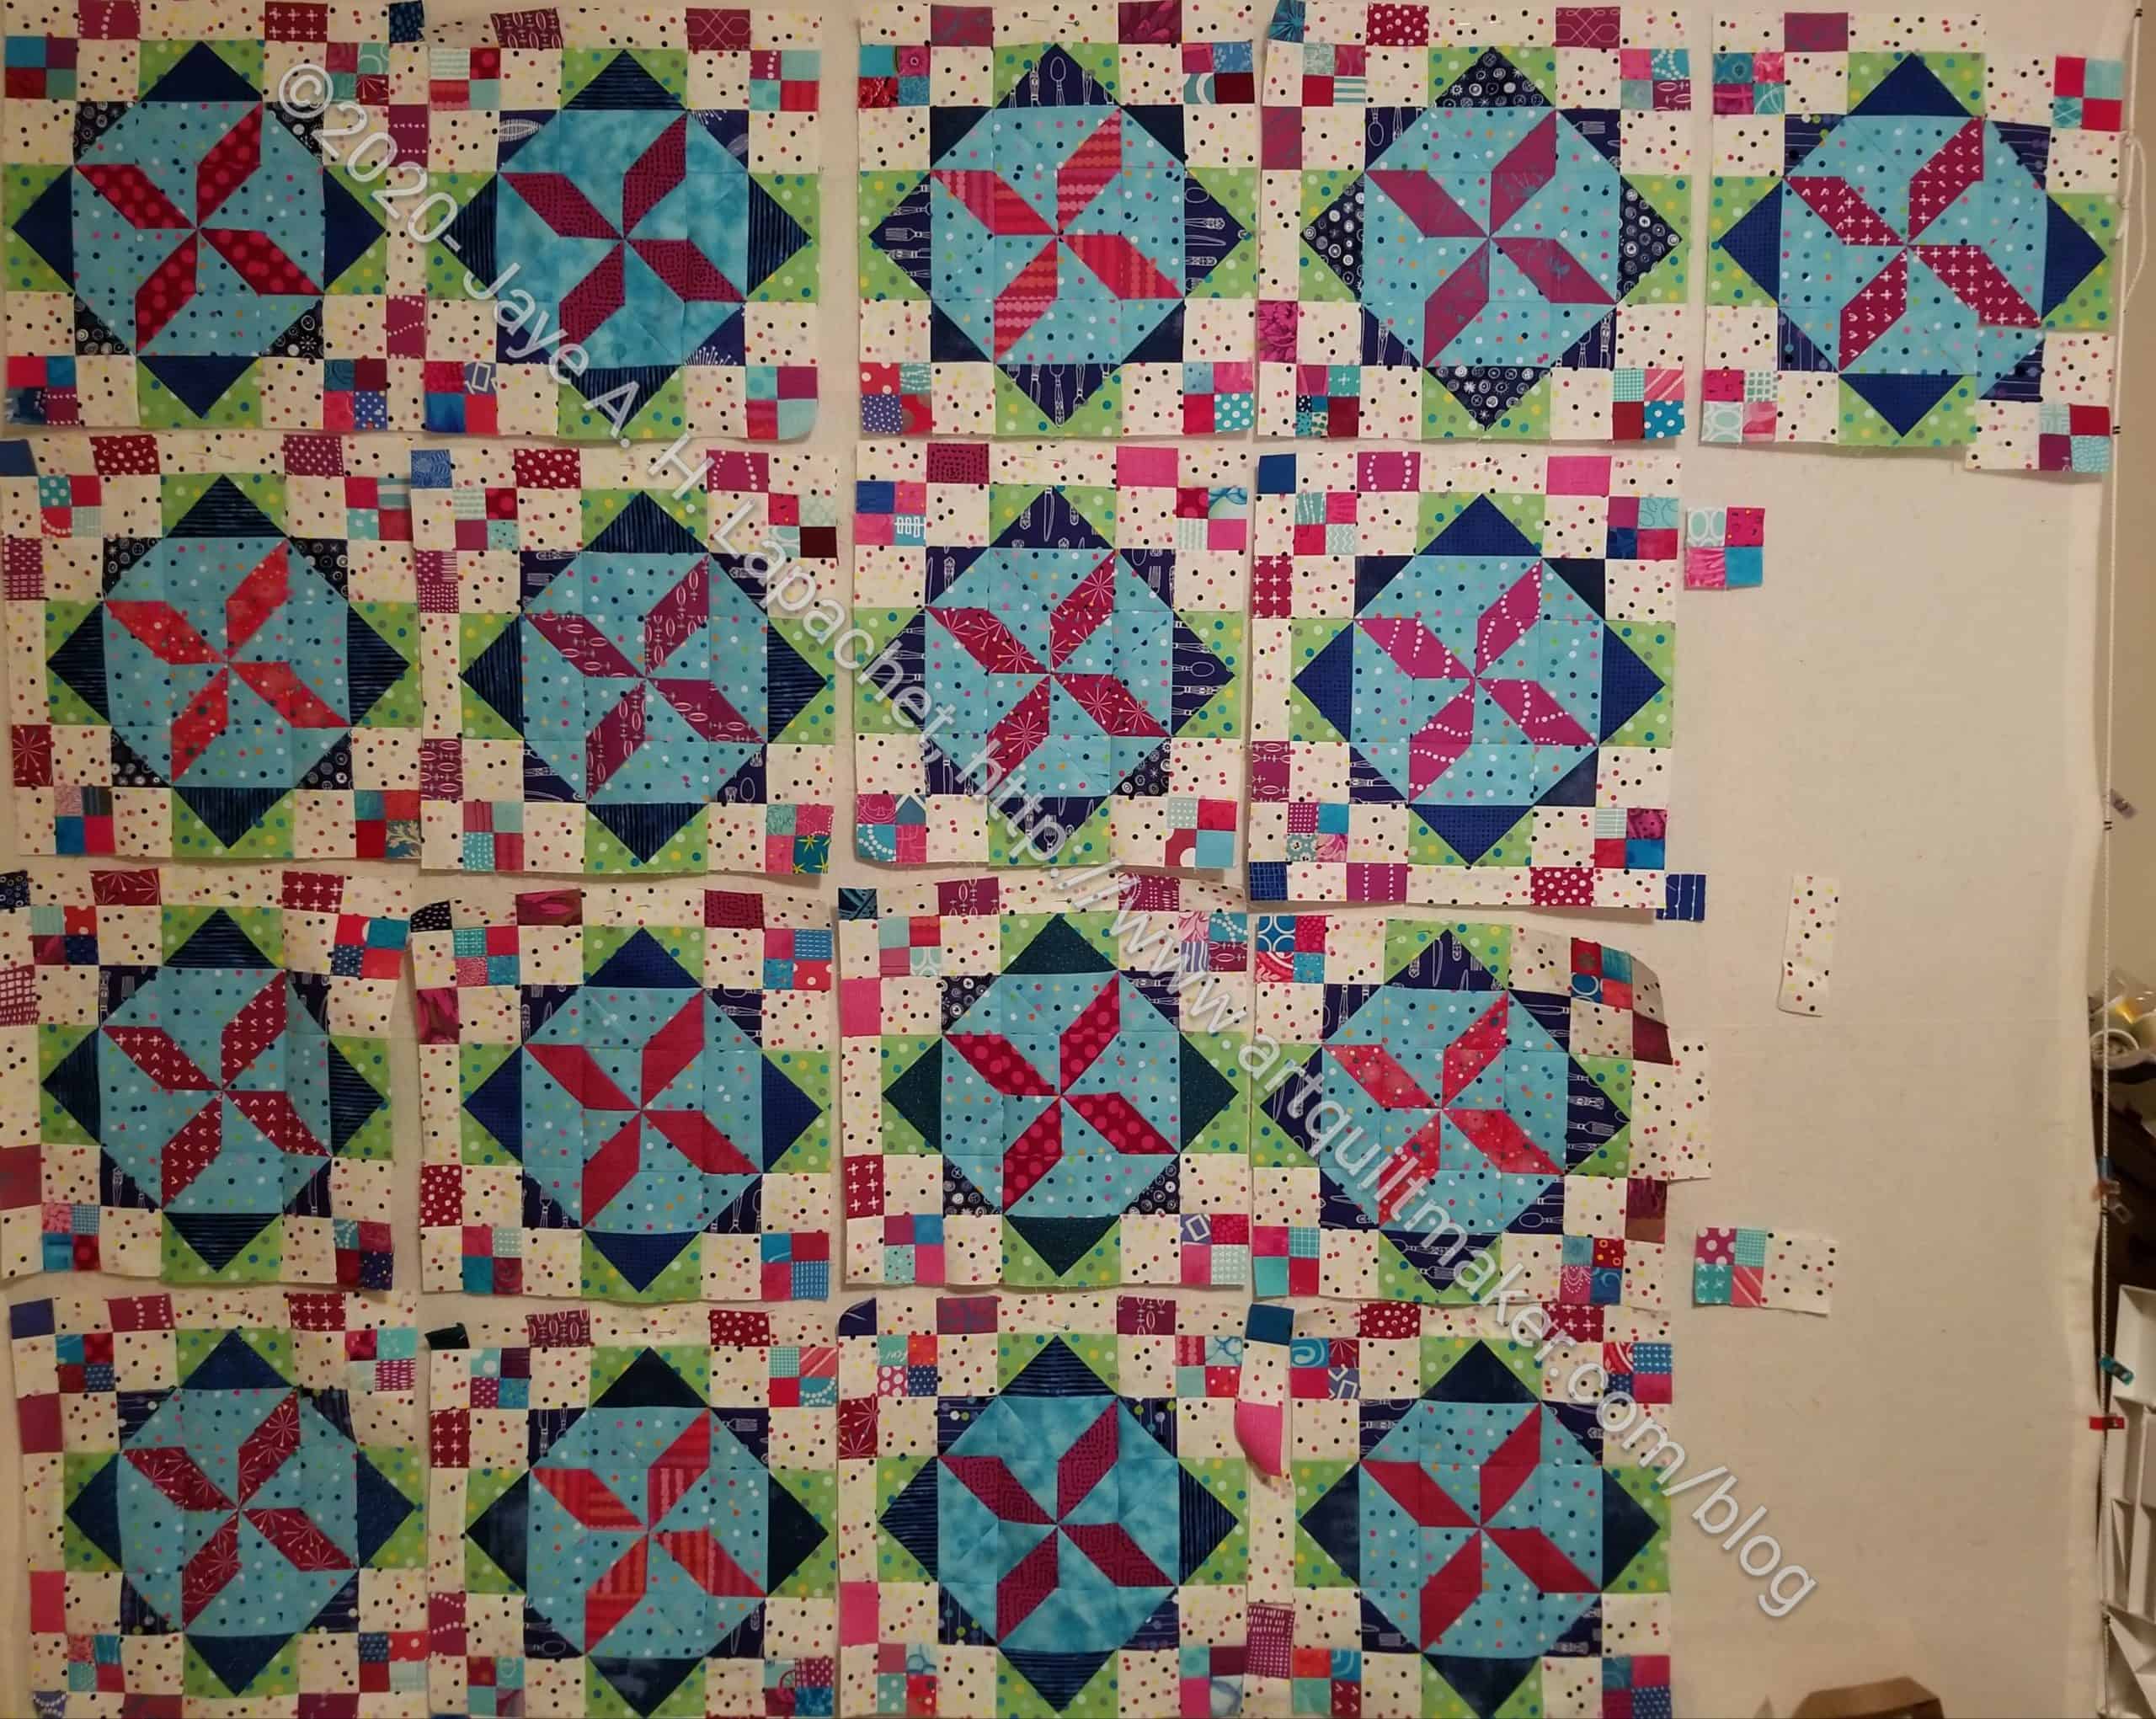
Frolic! block
Frolic! block

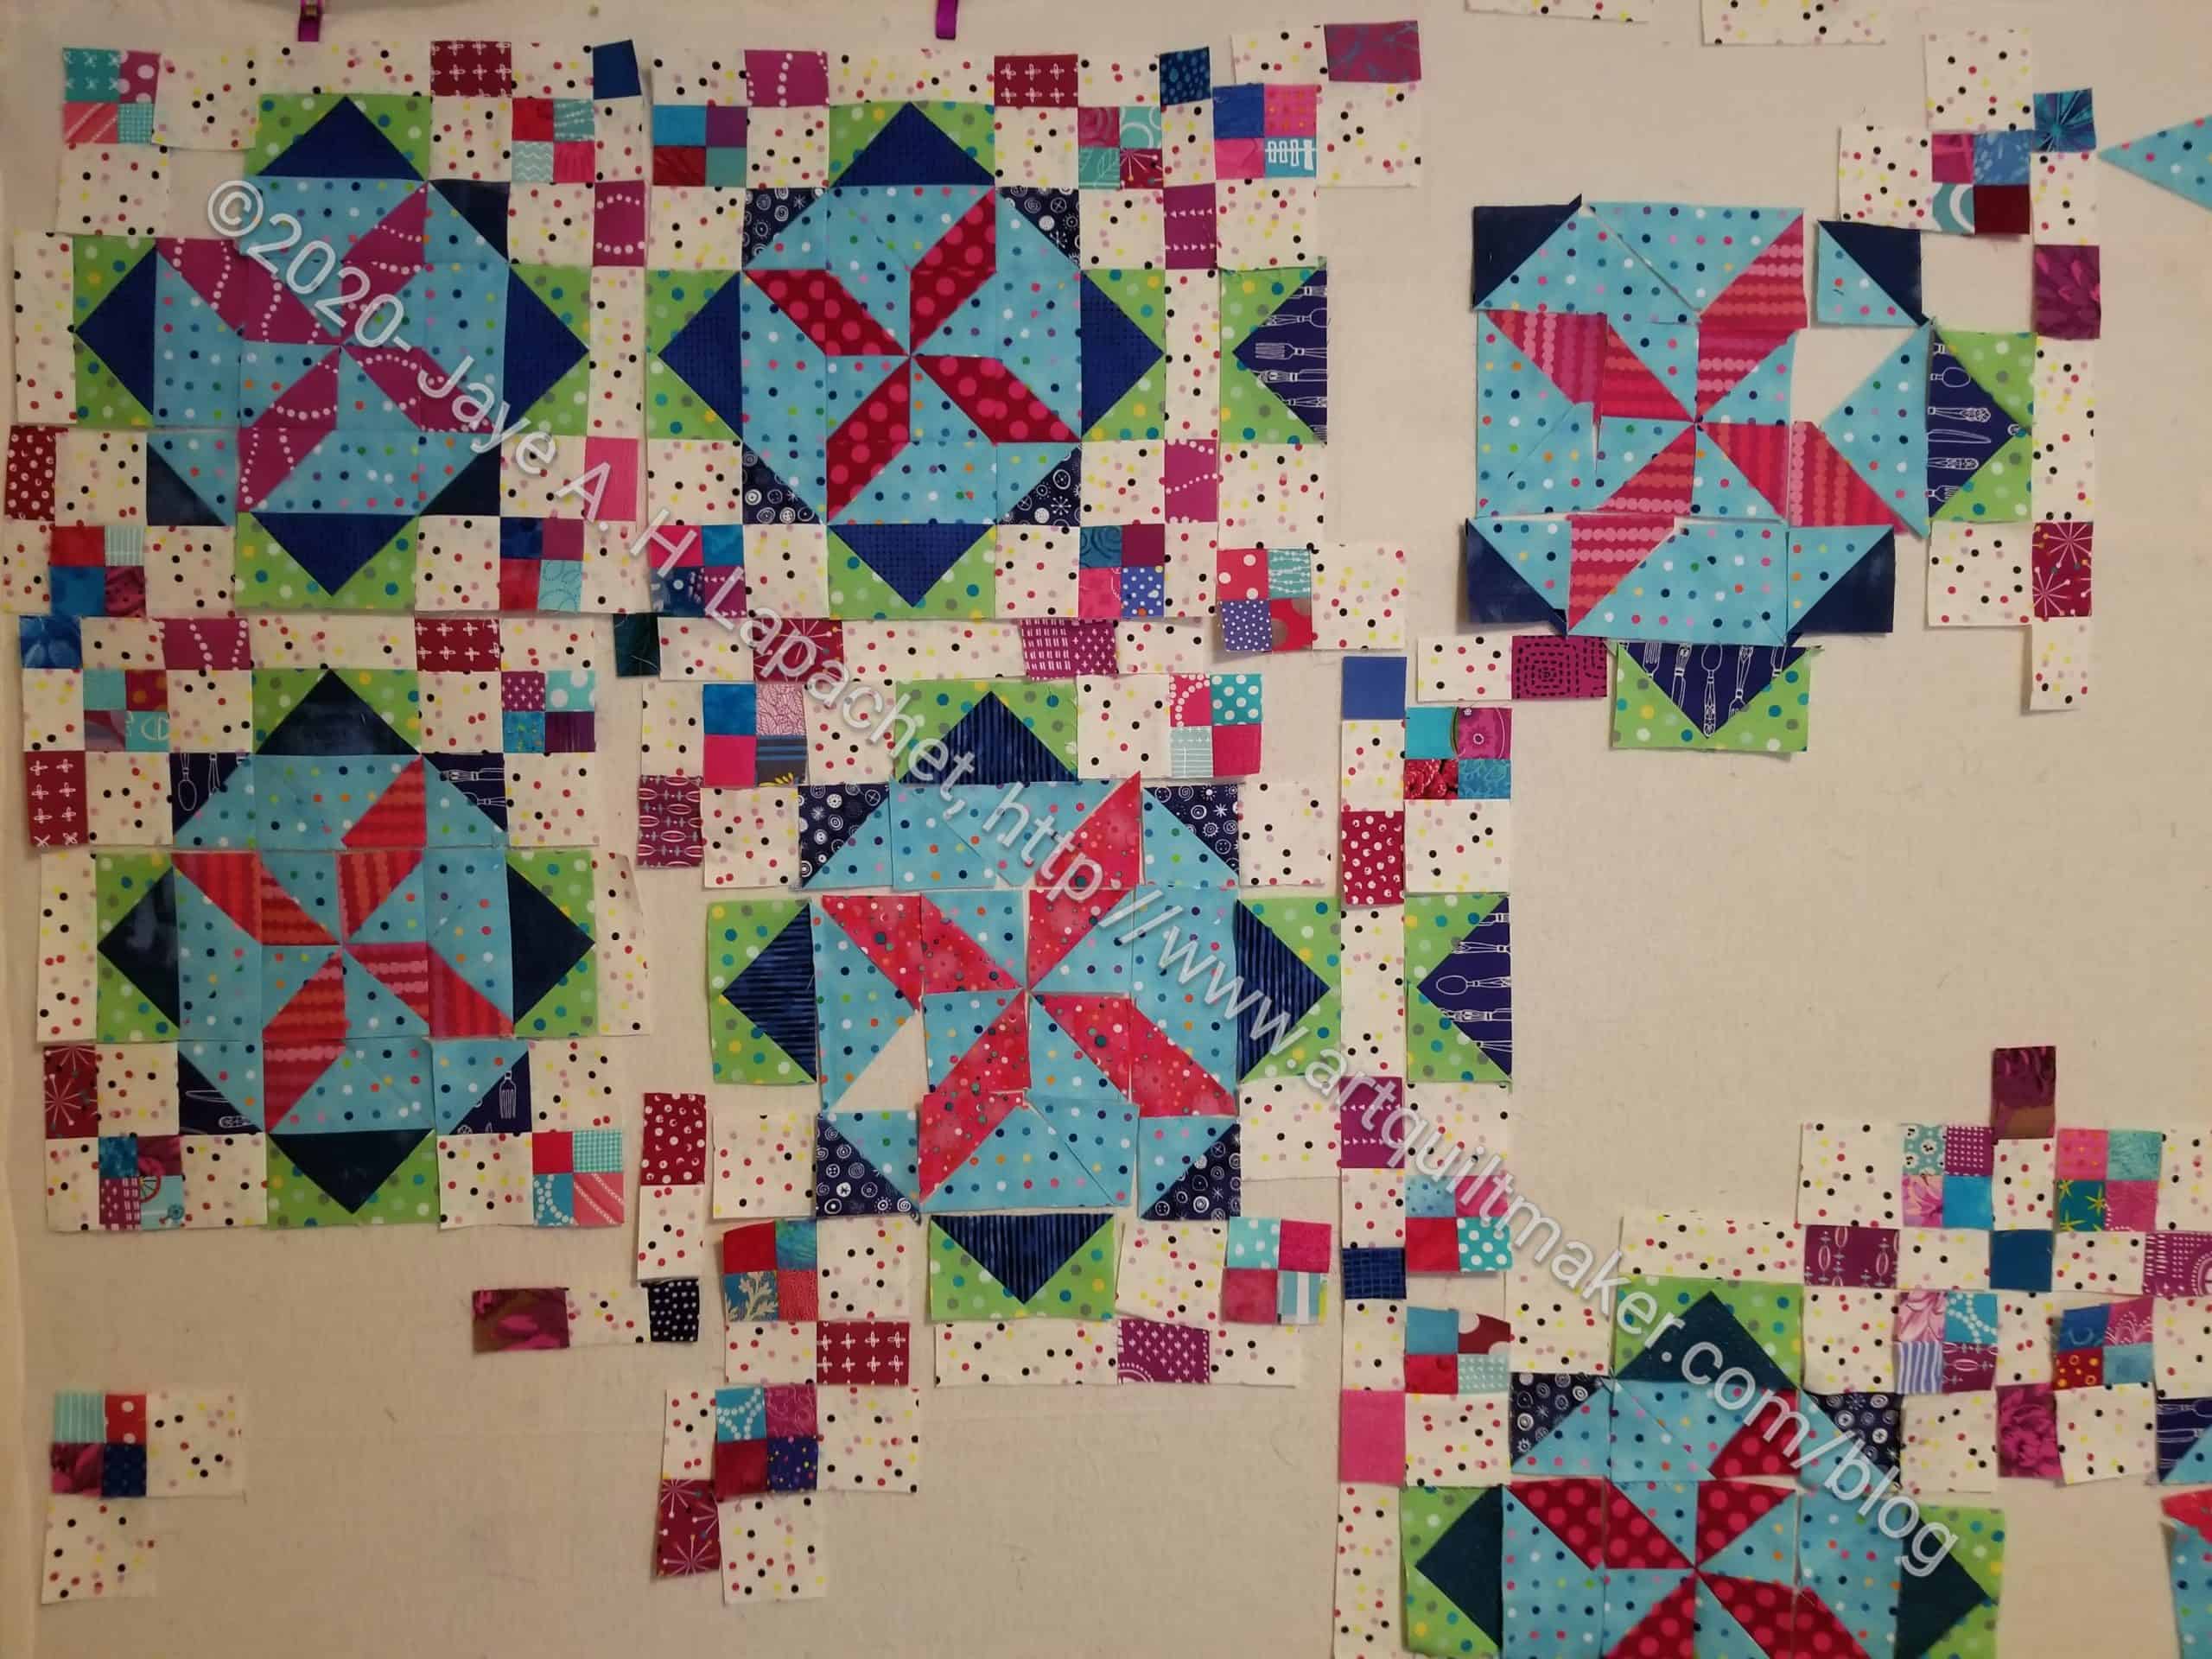
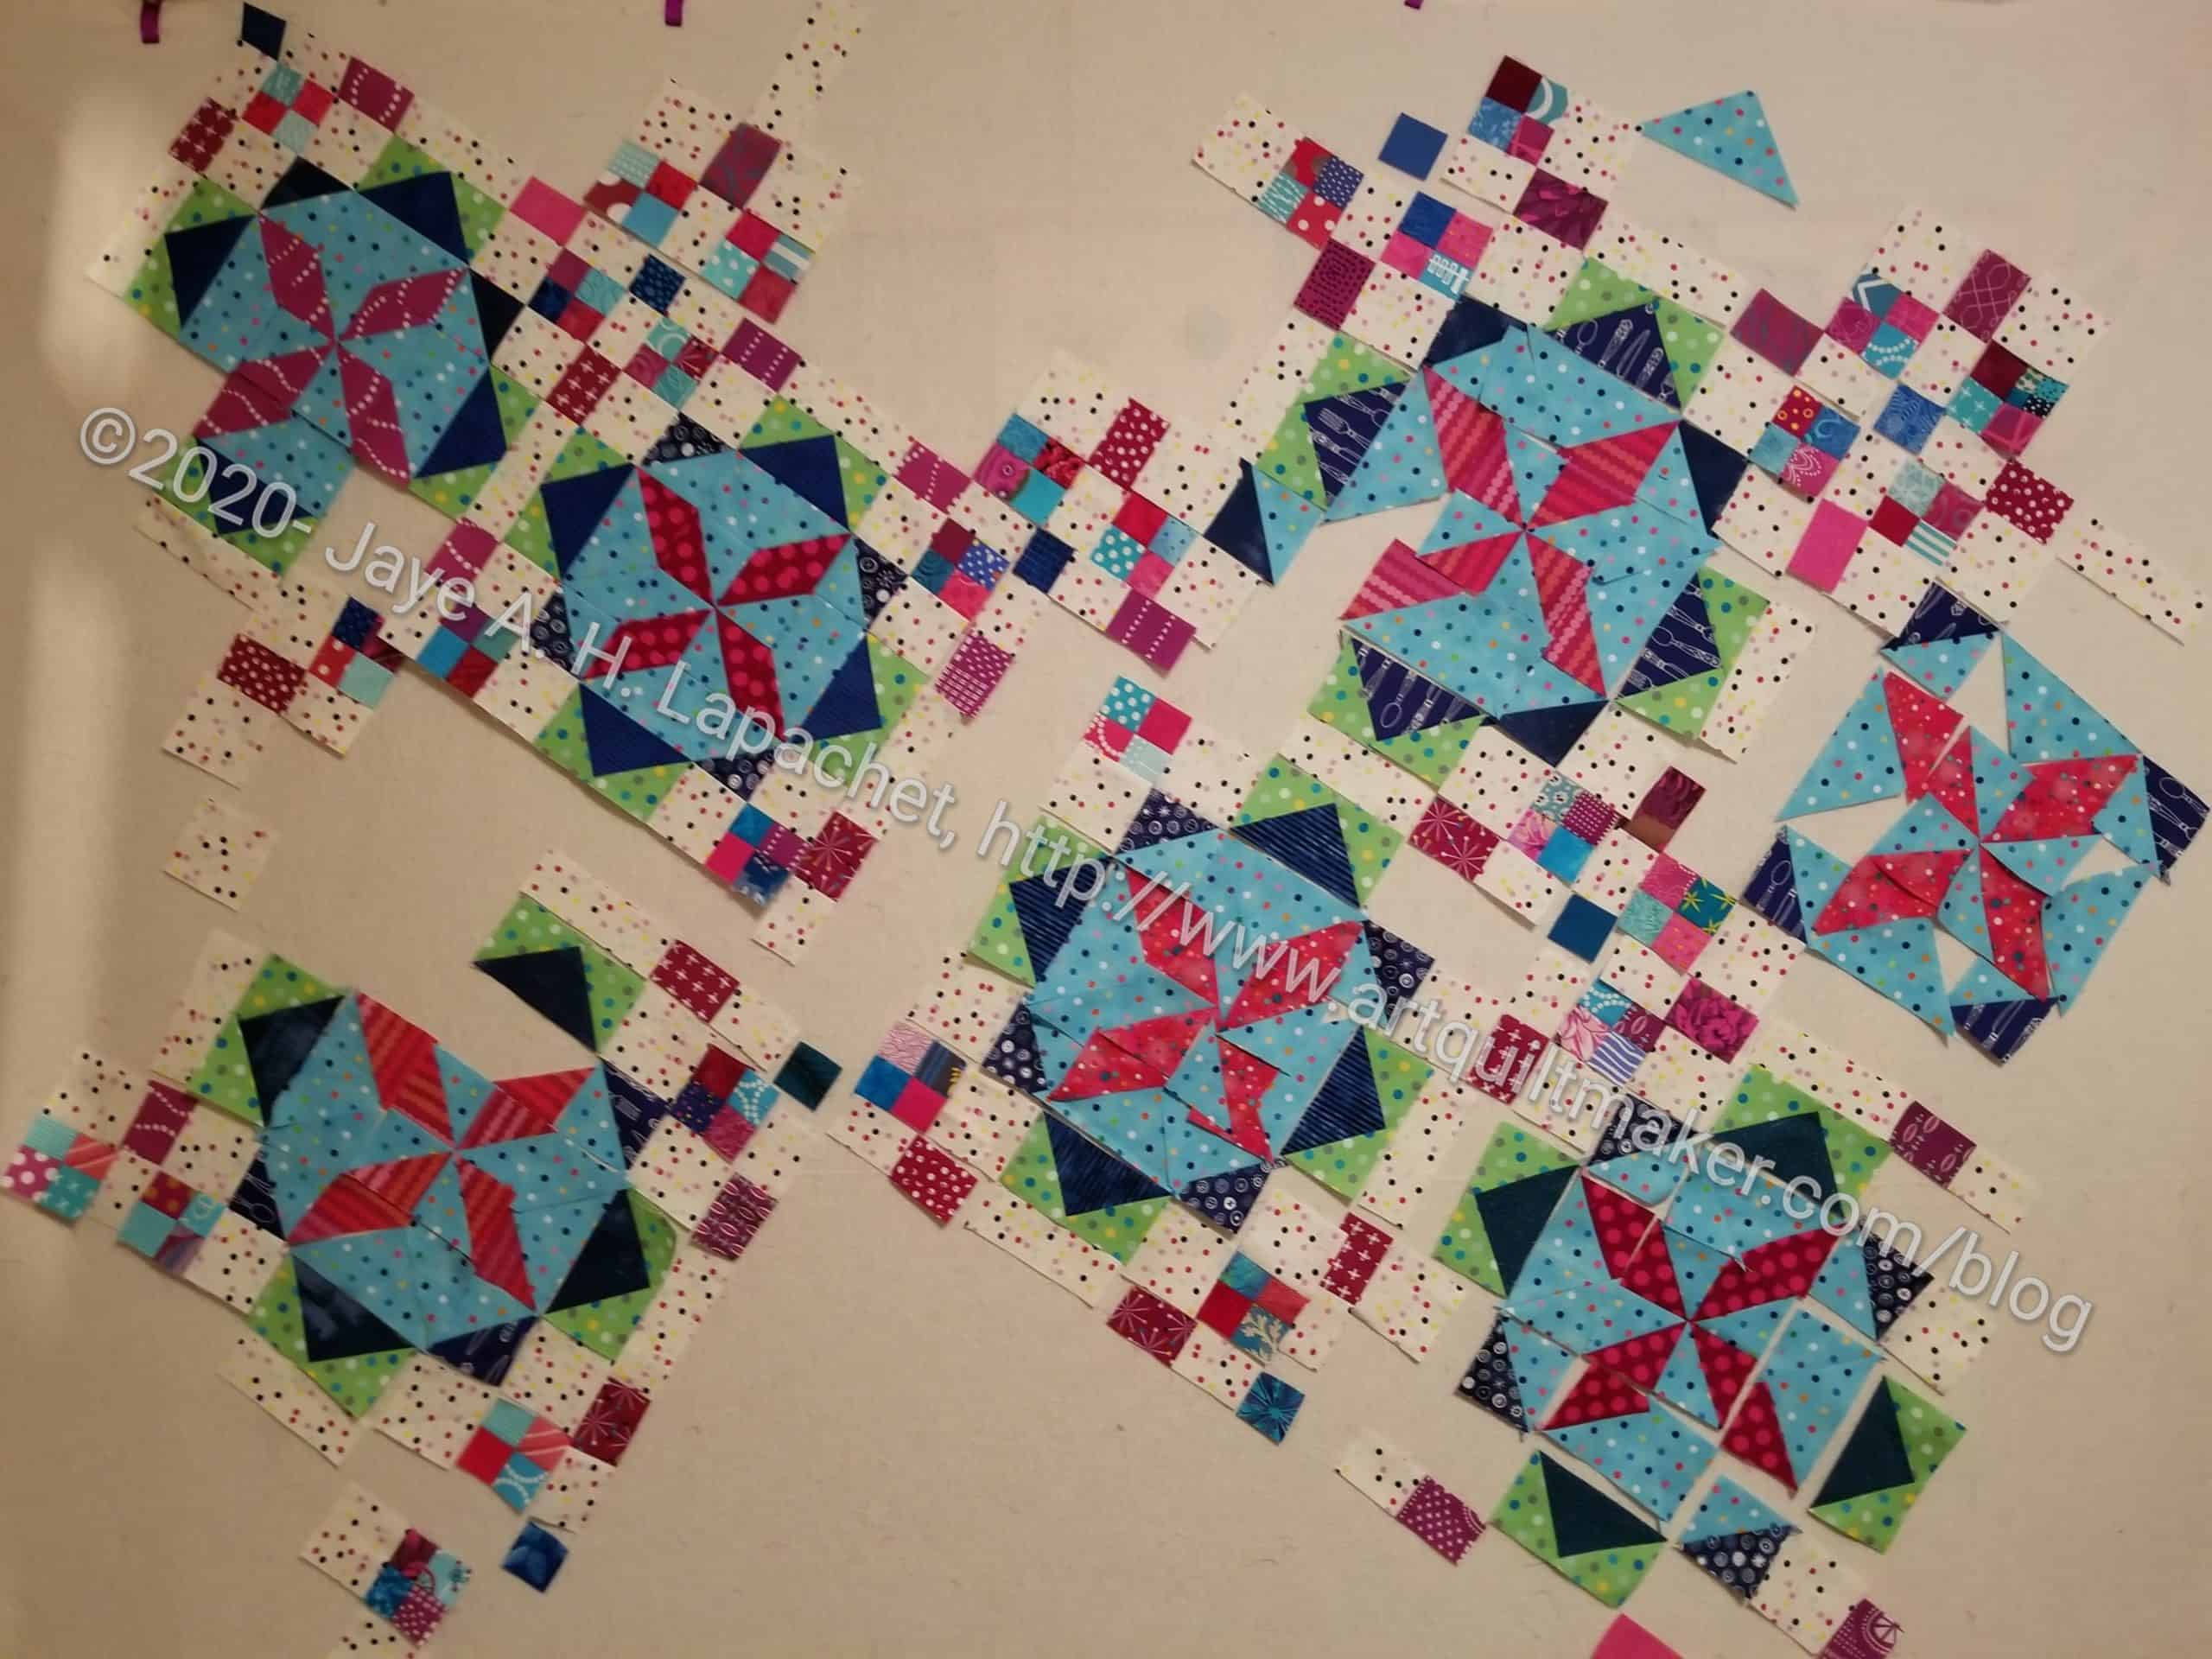
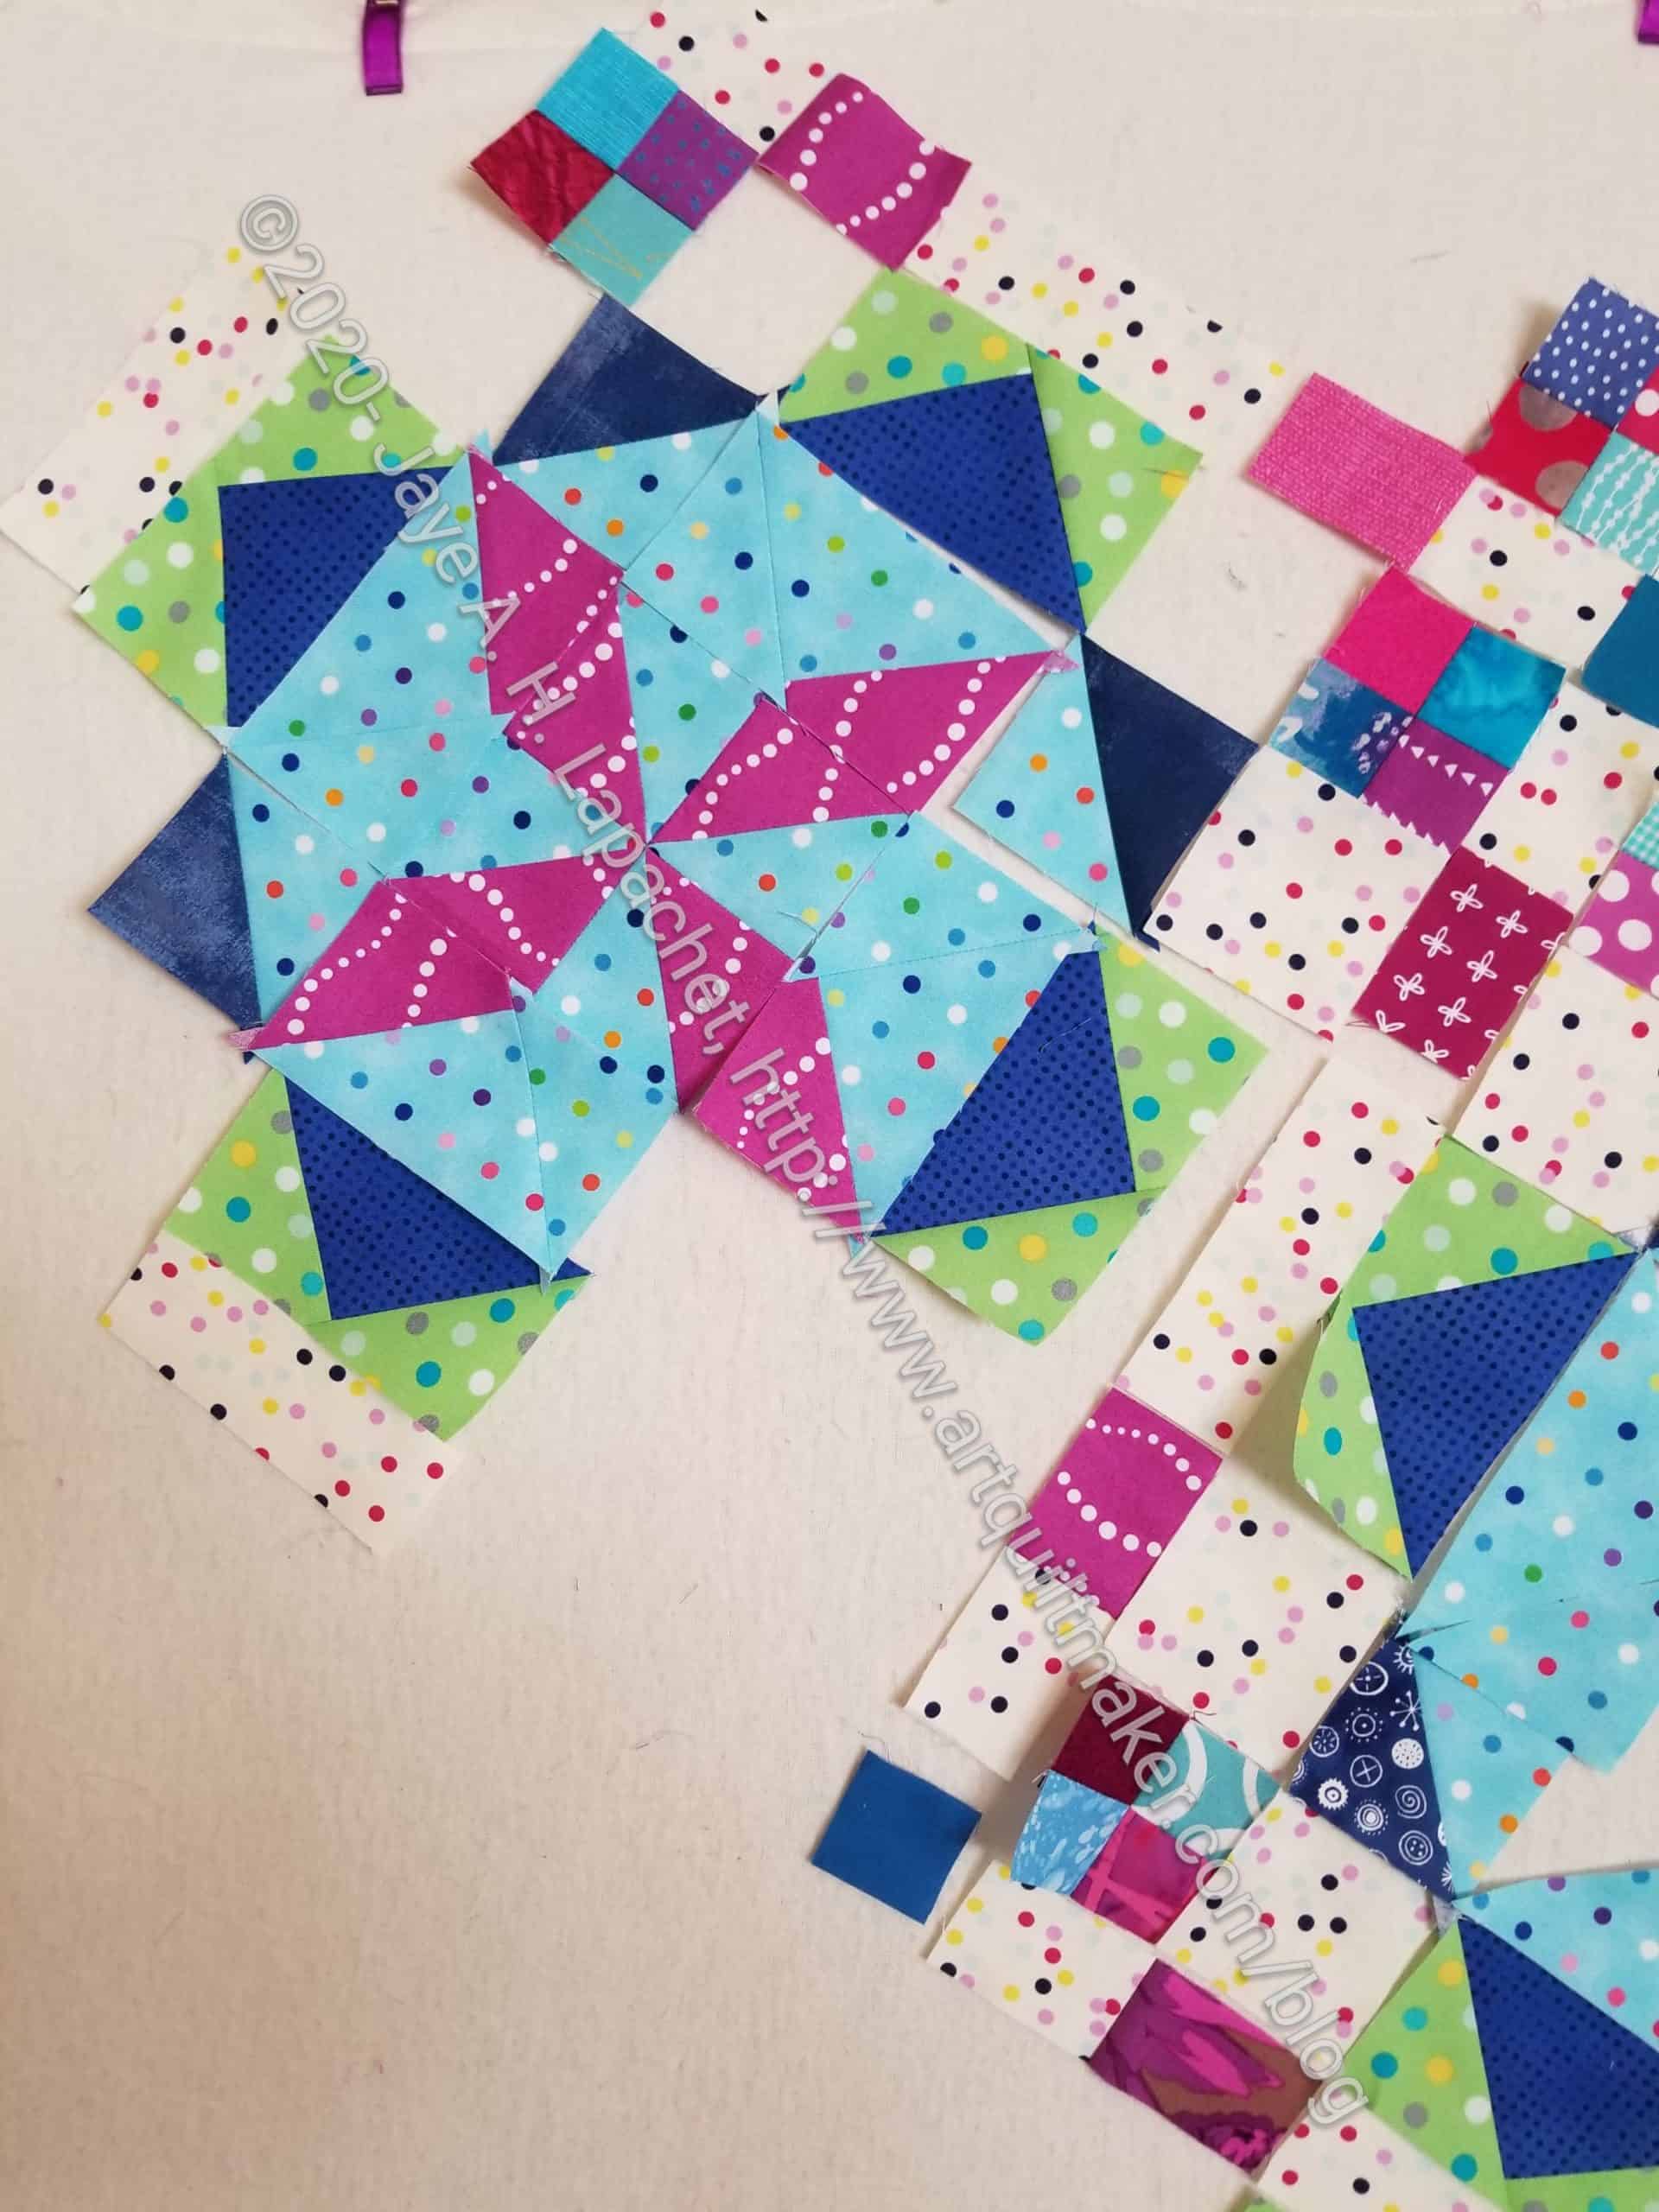
Frolic!, or what there is of it, has been on my design wall since earlier this month. I said then that I didn’t want it to become another UFO, but I didn’t made any progress. I don’t want it to become a UFO, so I worked on it over the weekend.

I determined that I needed to start piecing in order to get interested in it again. I haven’t finished Clue 4 (still!). I don’t want that lack to drag me down.

I thought I would start from the corner and cut and piece as I went along, chunking the top together. The corners are a conundrum and I left them off after awhile and worked on the blocks. You can see that my progress doesn’t look like much, but it feels like progress. I am still contemplating a straight set.

Finally More Frolic!

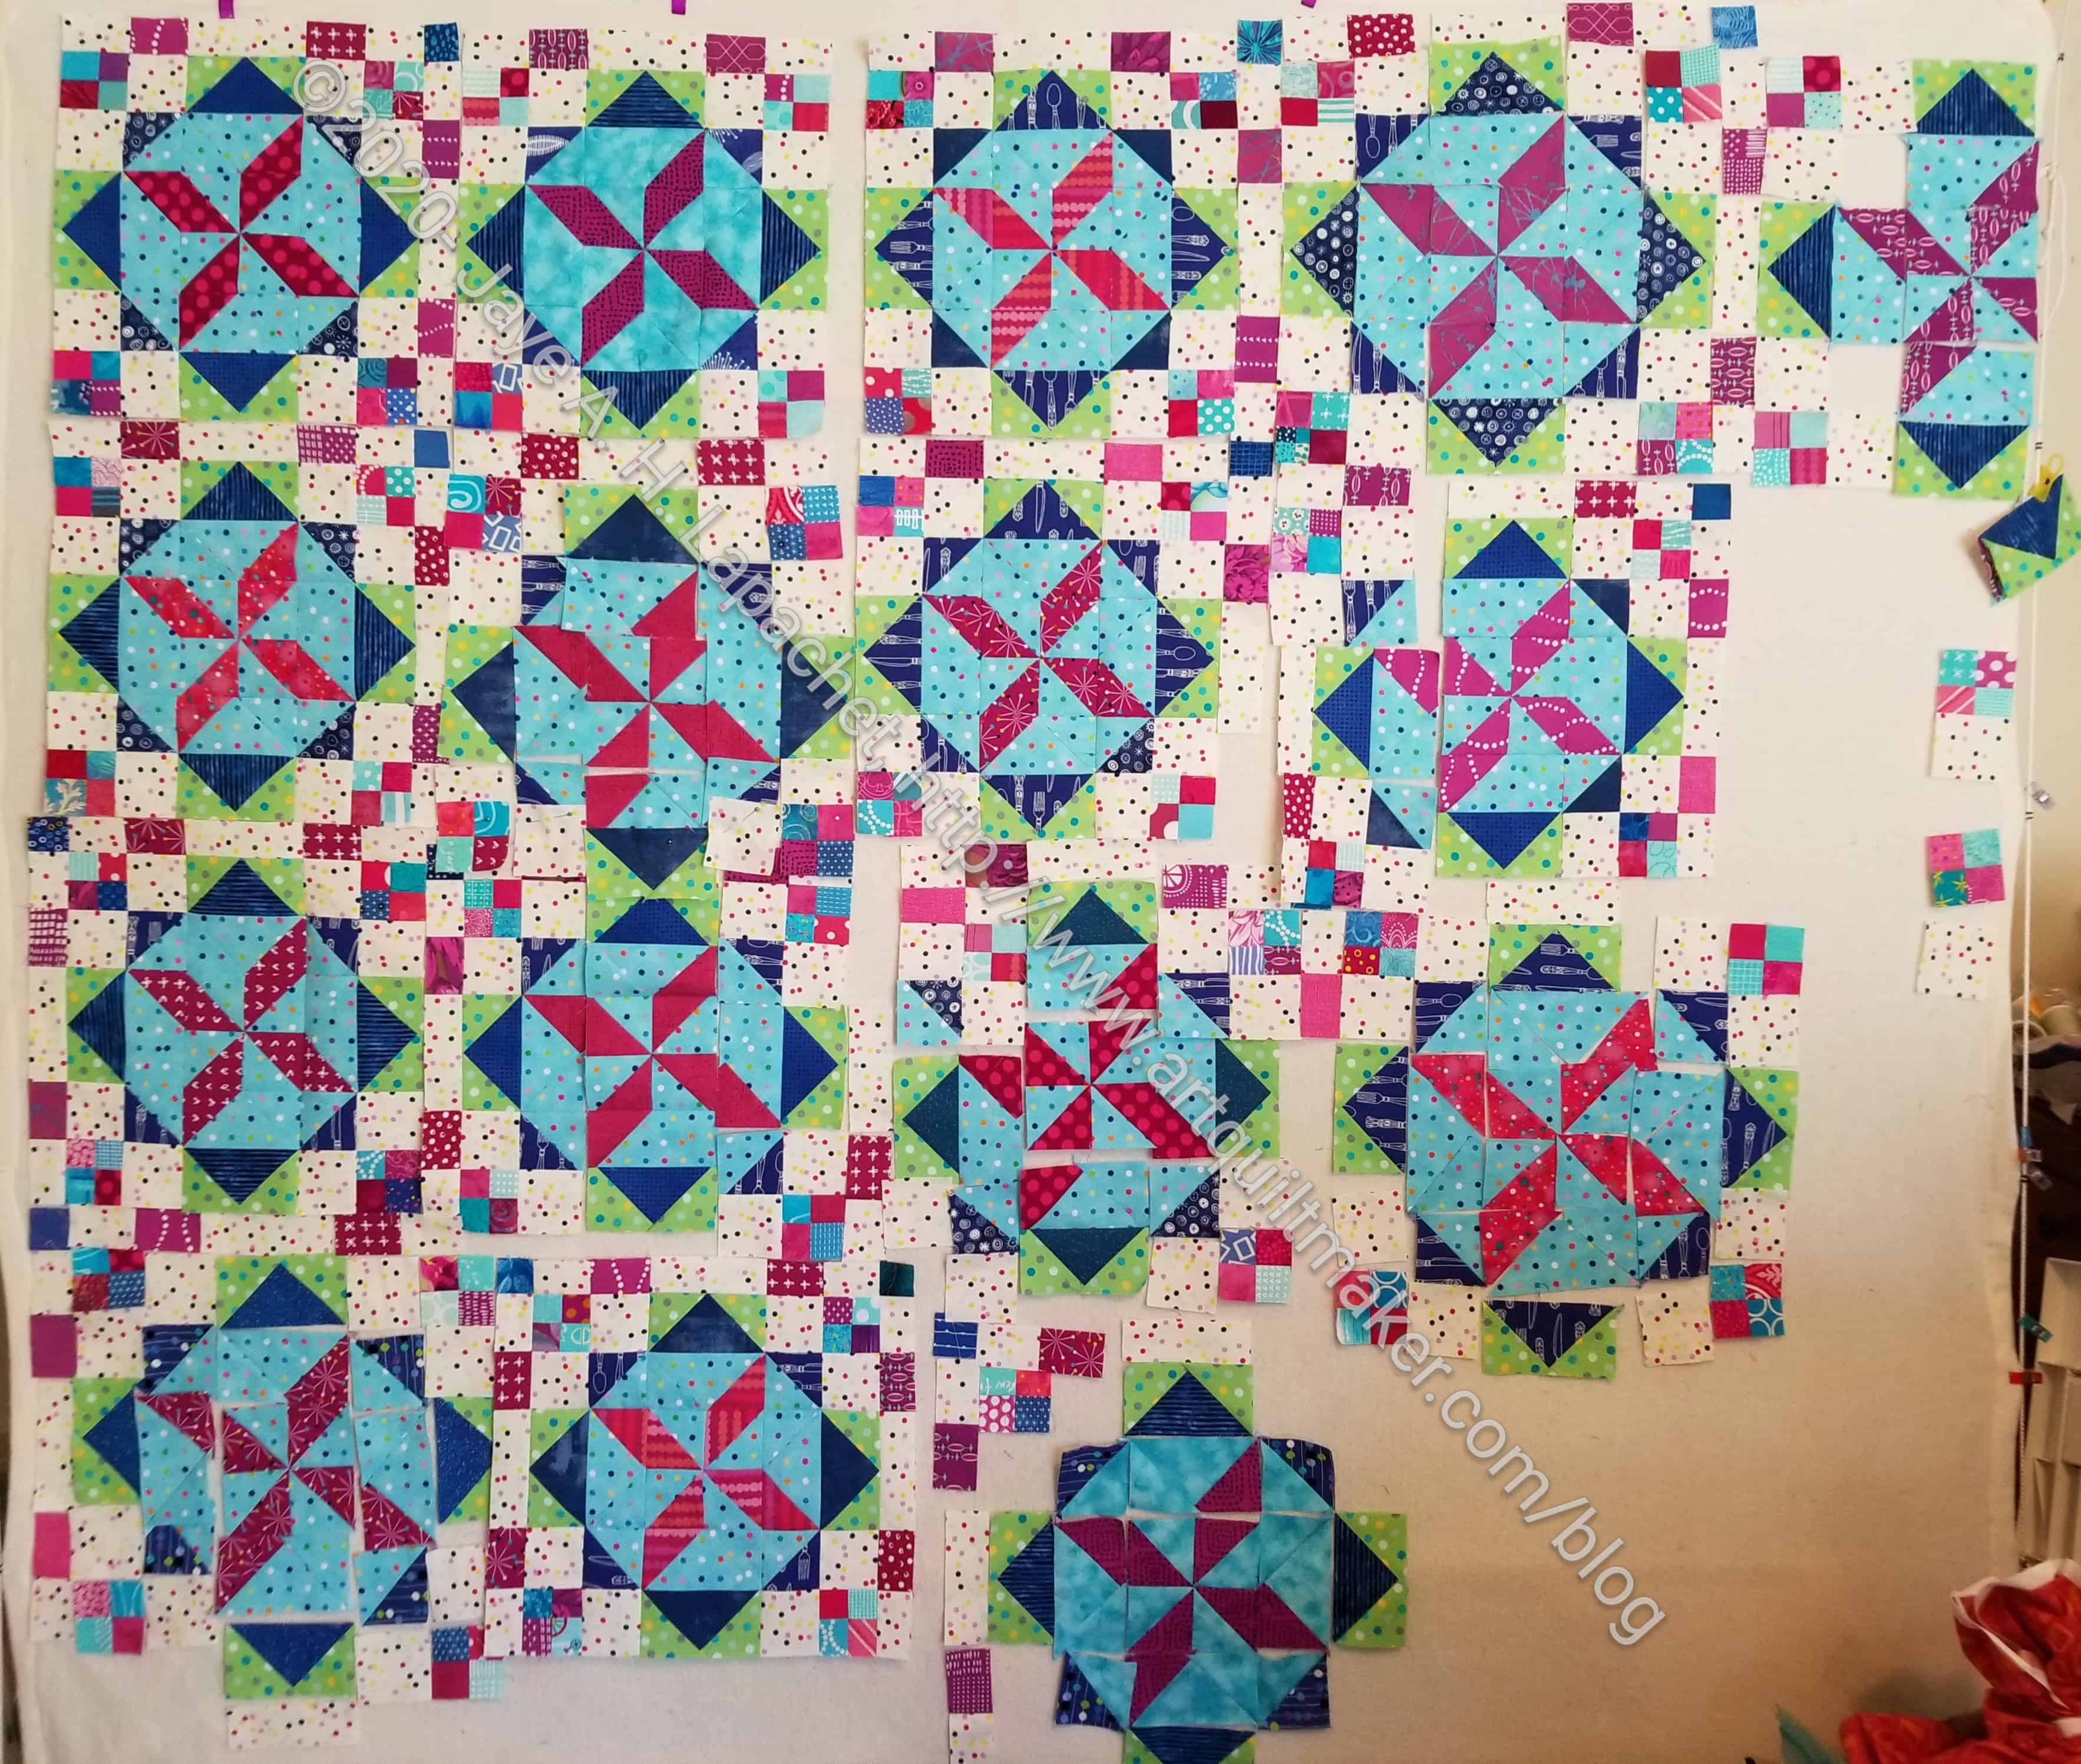
Frolic! Late January 2020

A lot of the Frolic! Mystery quilts have been posted. I am determined not to let this one become another UFO, but I have to admit that a couple of the steps are not making my life easy.

They aren’t difficult just require a bunch of weird cutting and few speed techniques.

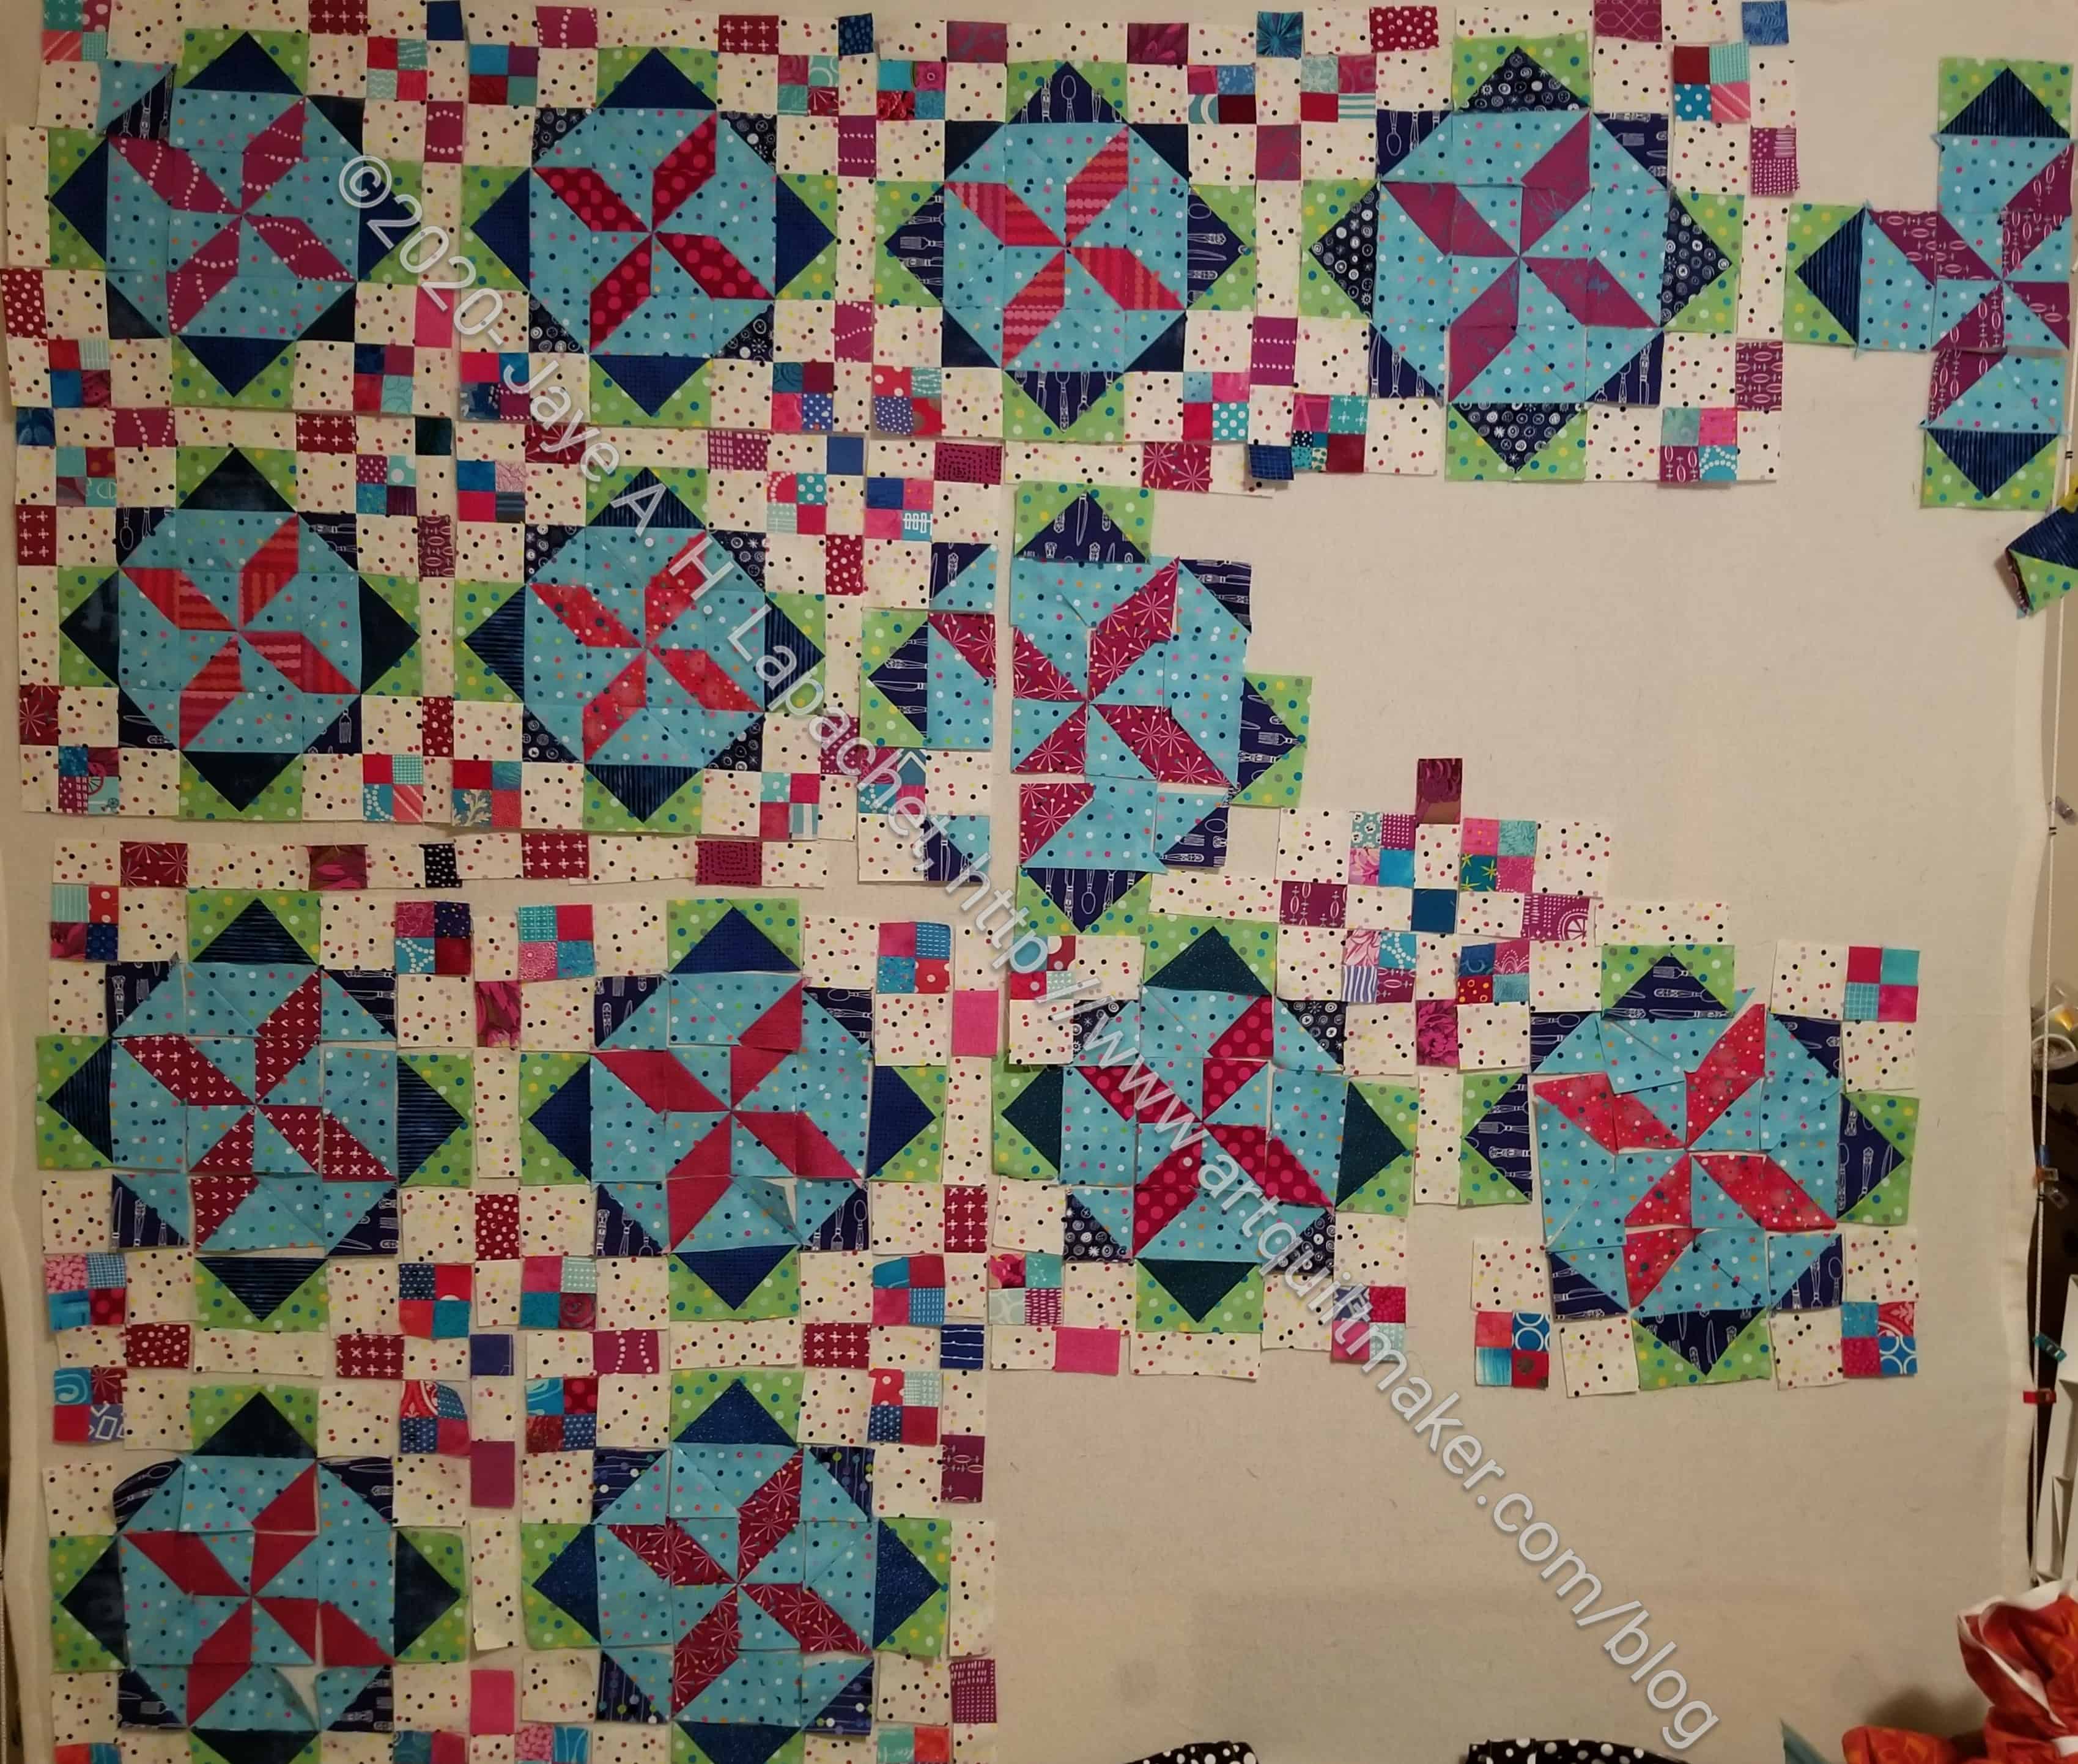
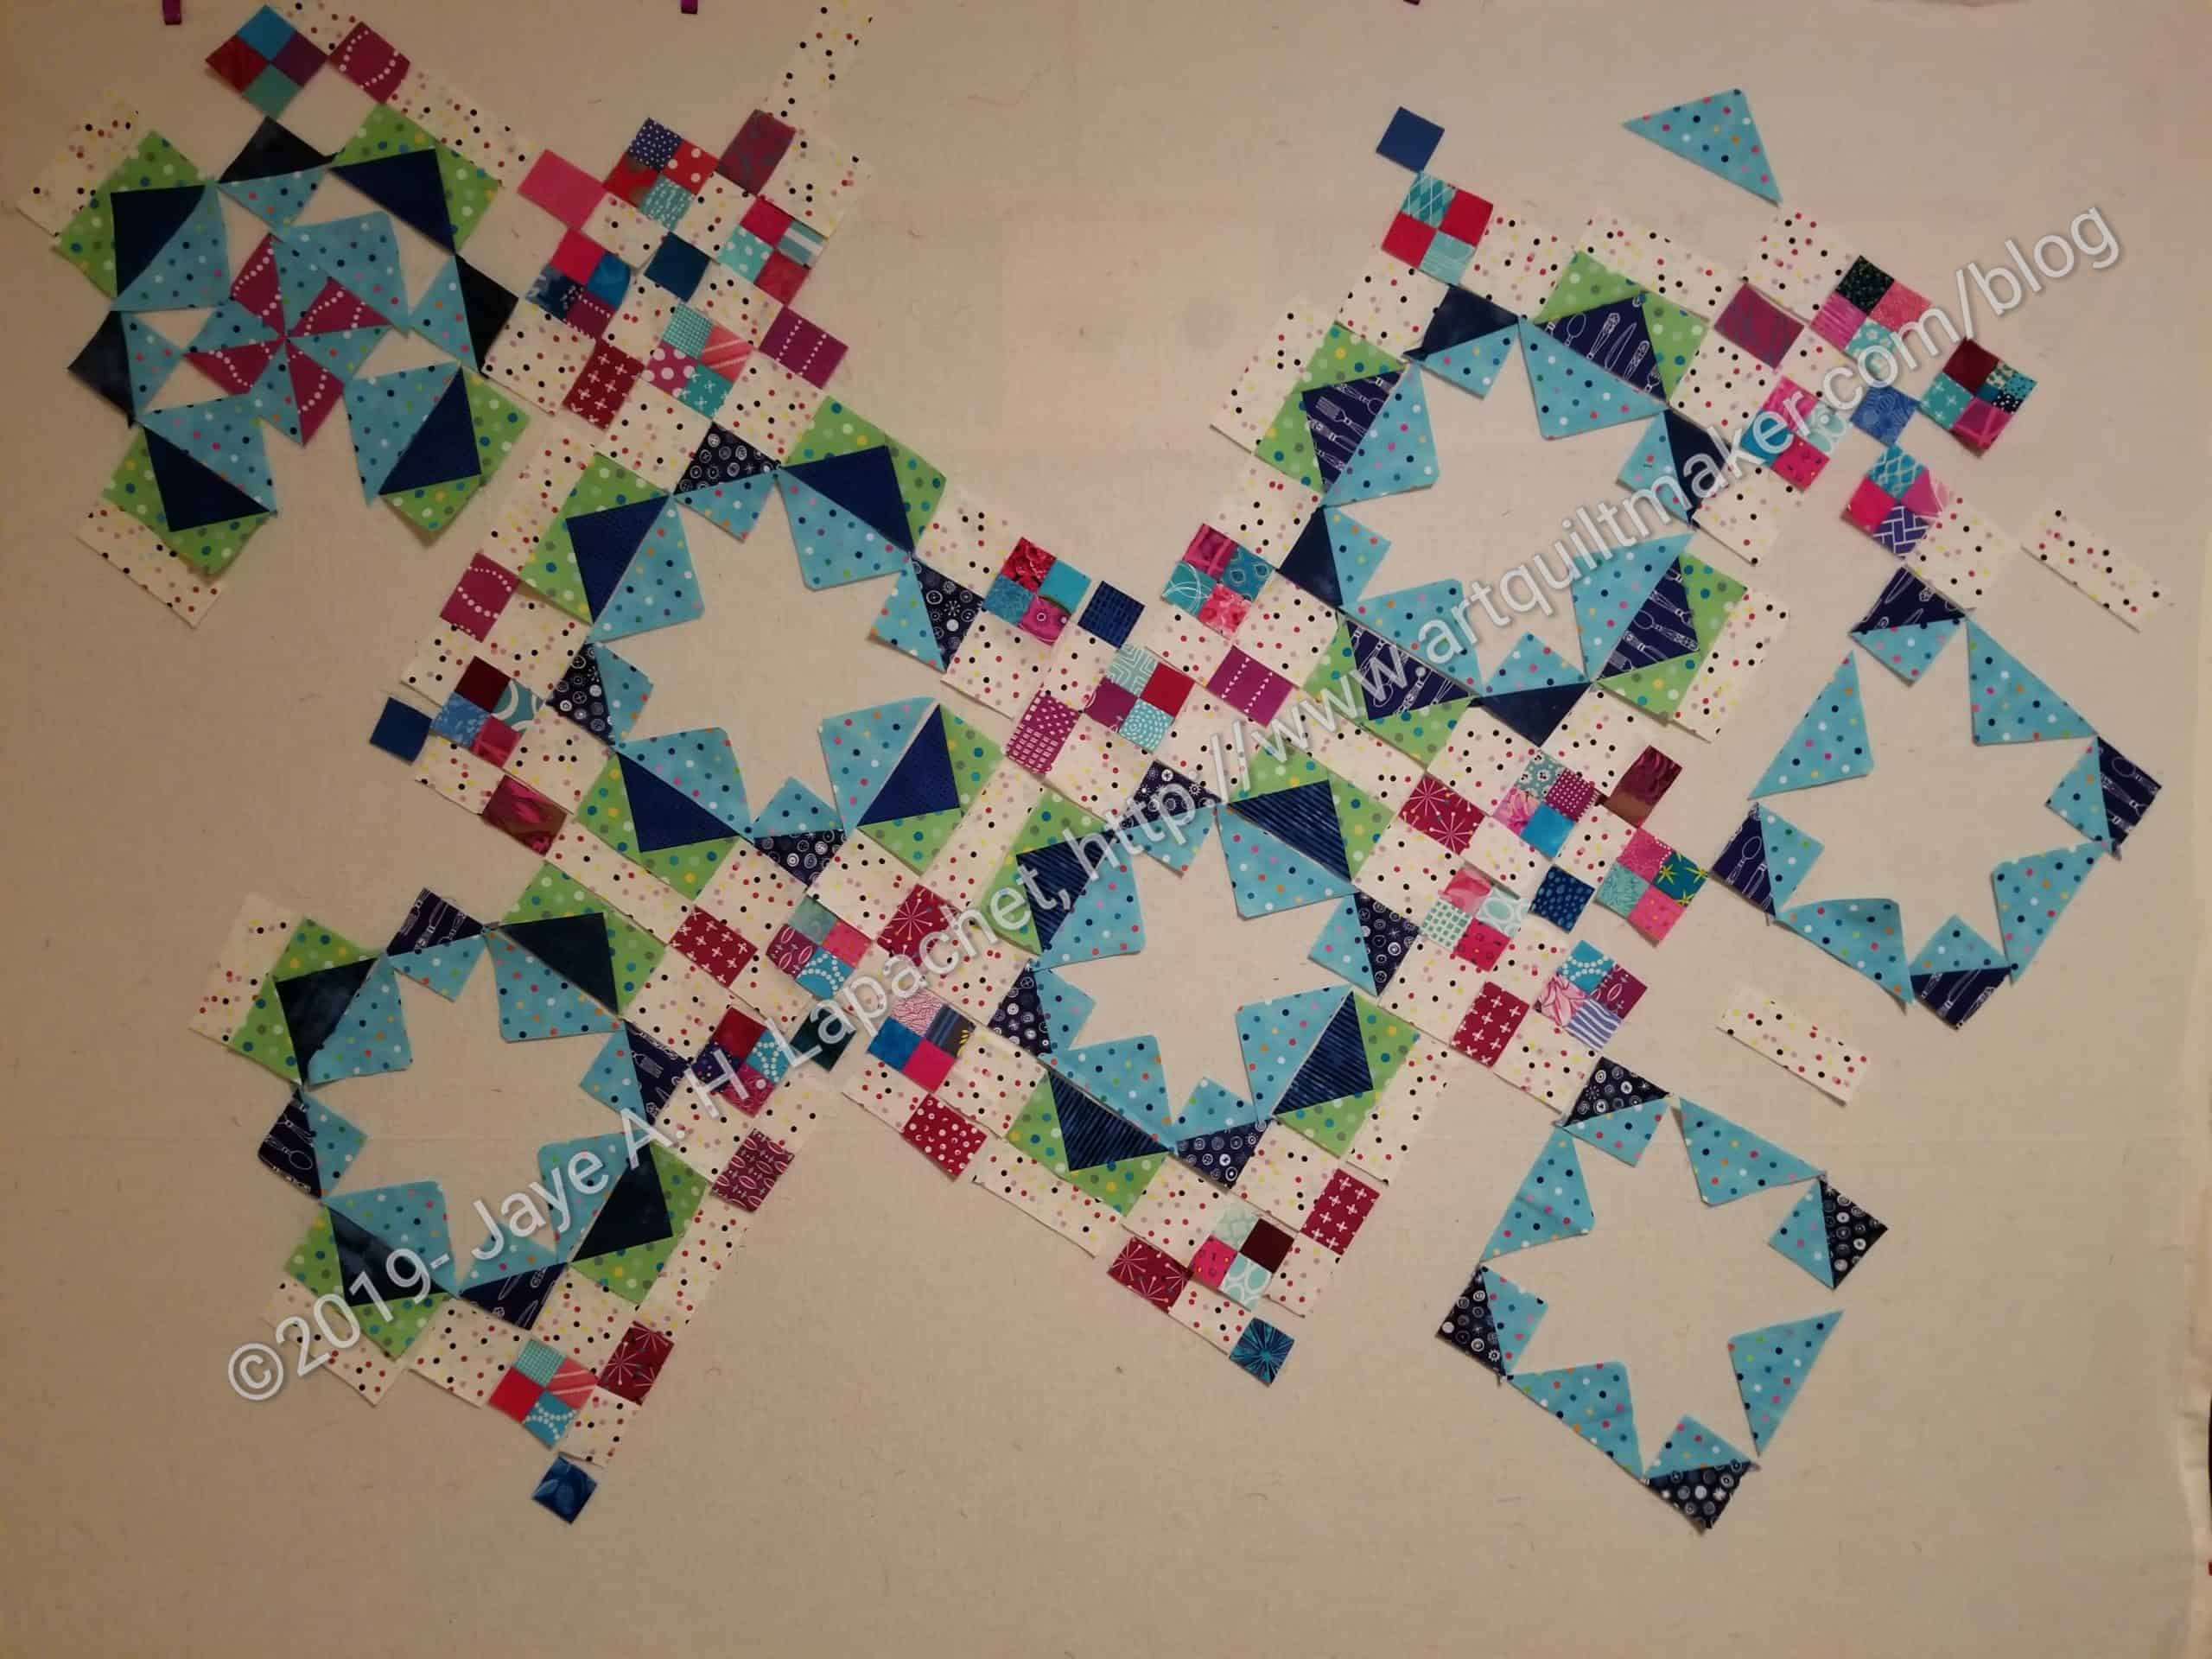
As you can see from the photo, I have done a couple of things. First, I rearranged the pieces so that the piece is oriented the way it will be oriented when it is all sewn together. I did not have it on point before. I didn’t exactly achieve the on point look at this time, but as soon as I get some of the more difficult pieces cut, I’ll be able to do it.

I also cut some of the triangles that will be Flying Geese in the near future.

I’d really like to start sewing the piece together, but I don’t have enough pieces yet. I need more of the pinwheels and the weird Flying Geese.

Frolic! Reveal

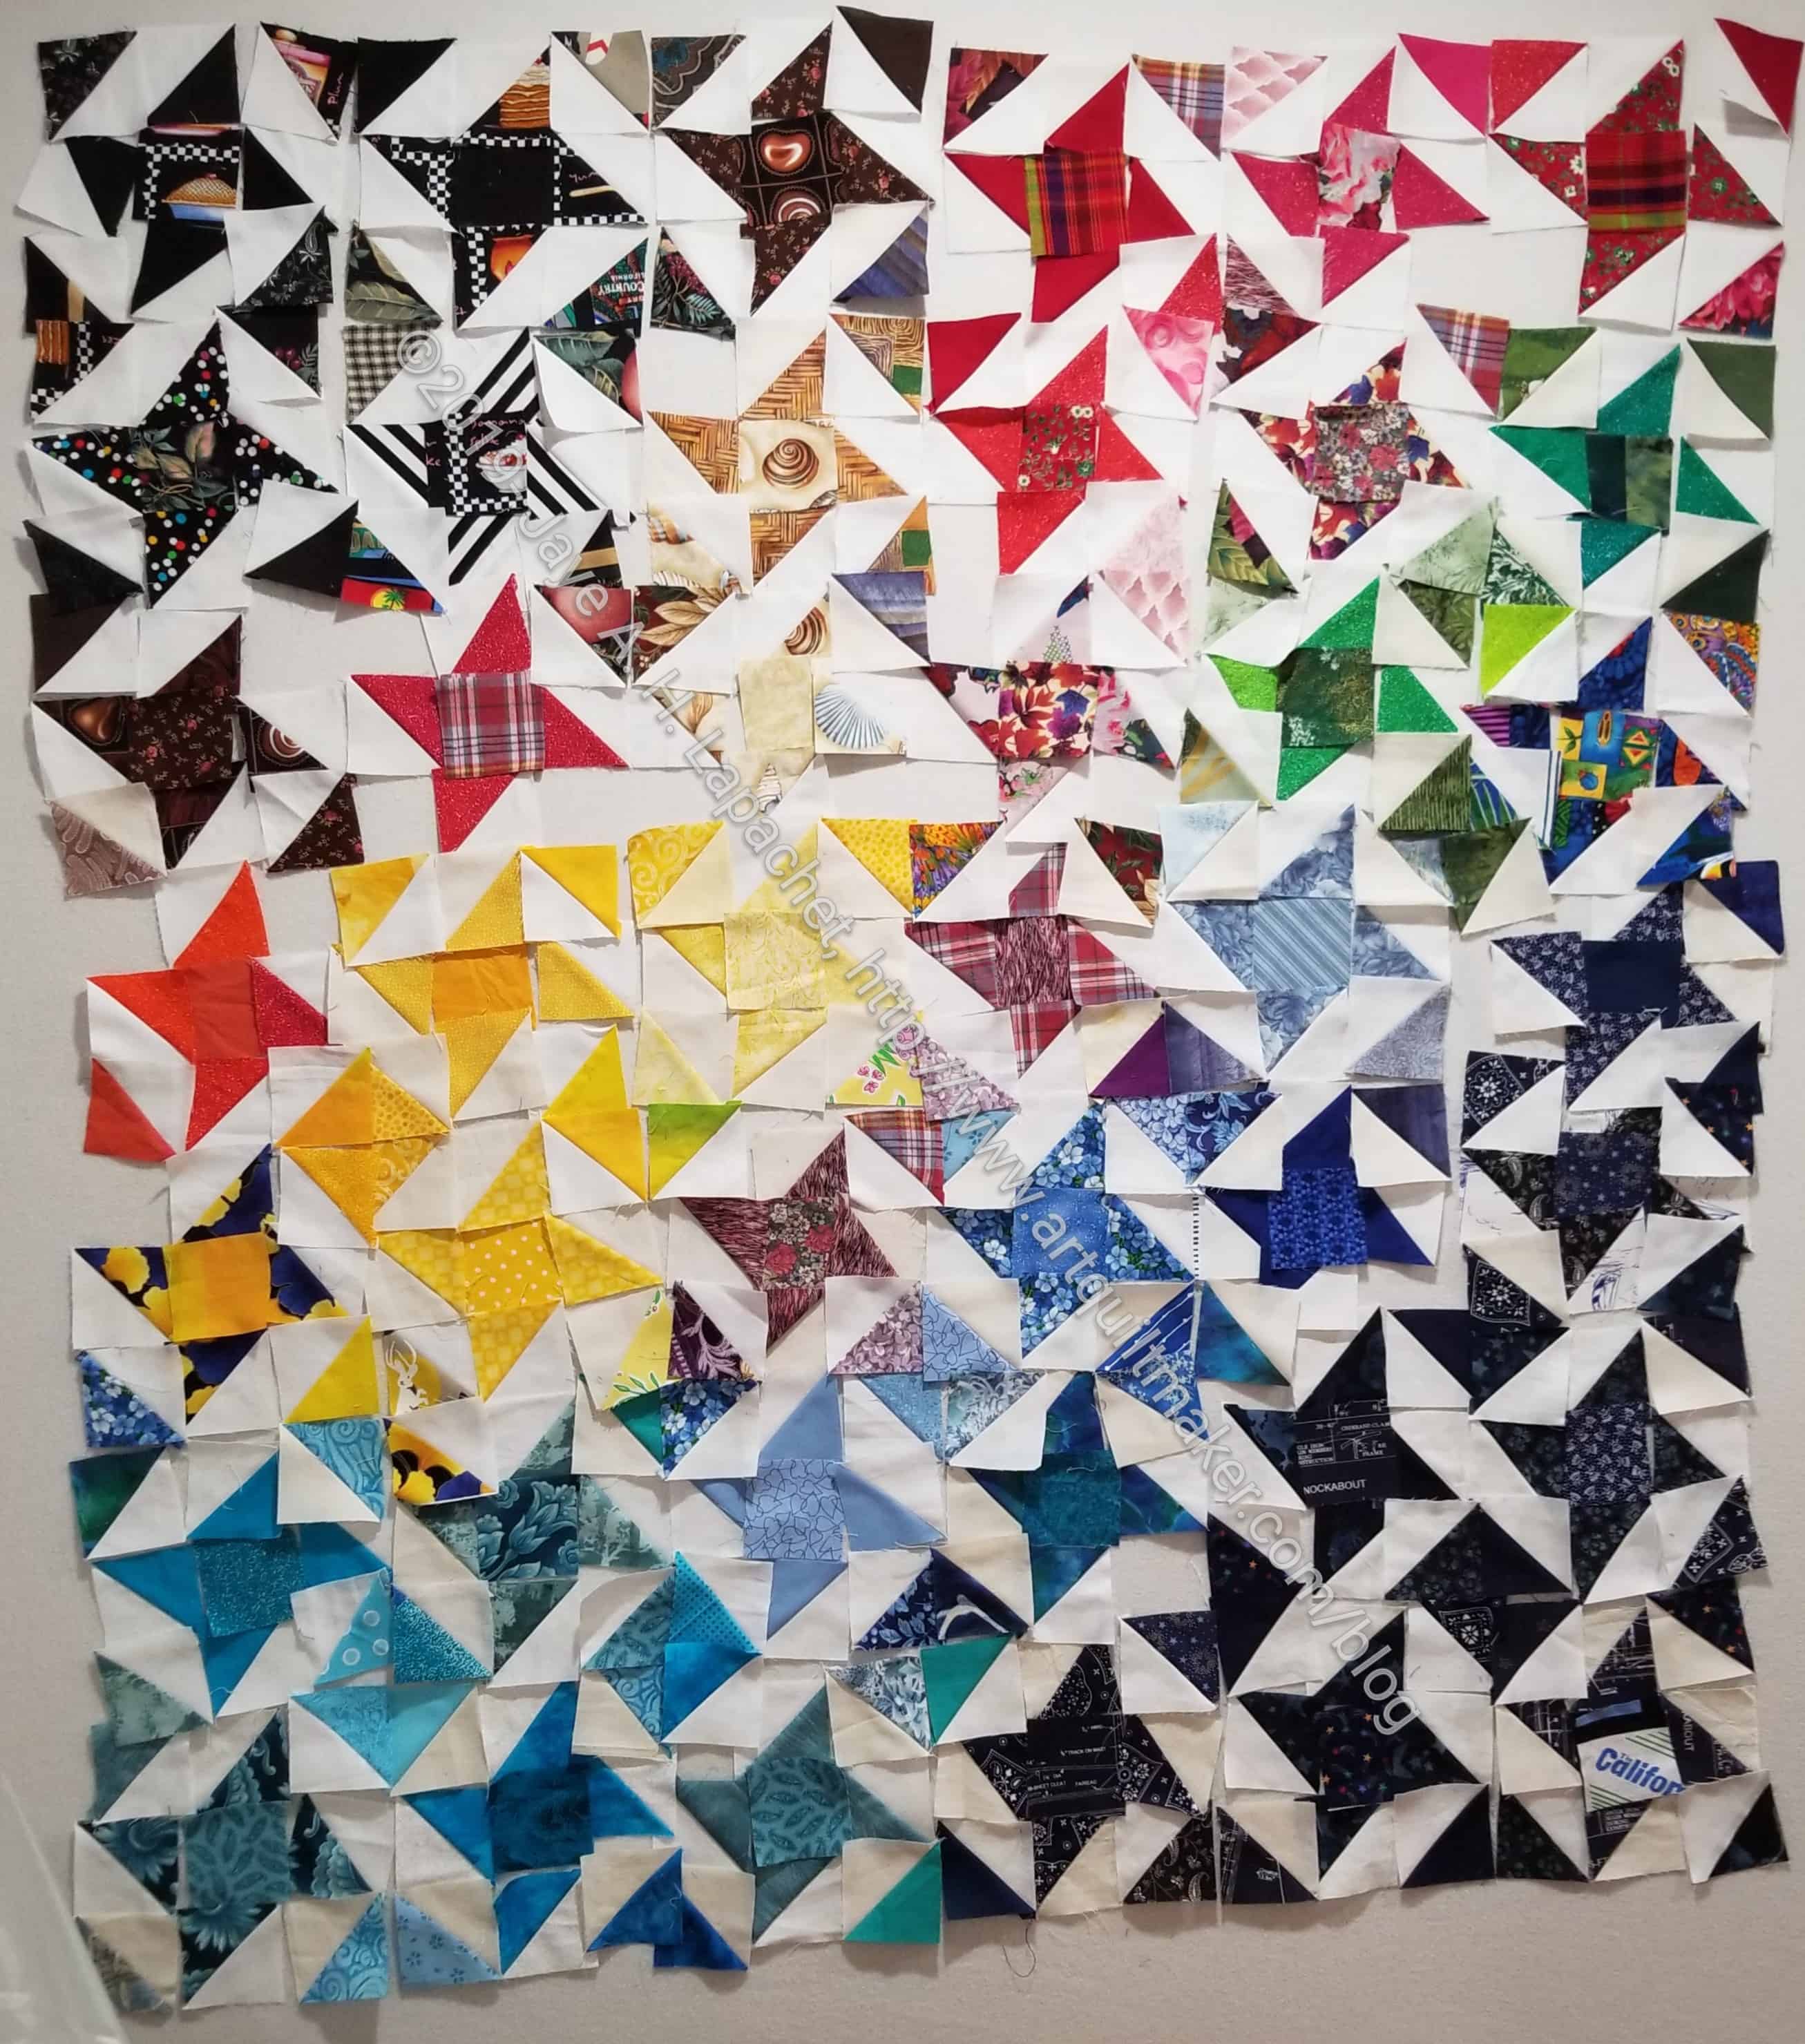
Frolic! Reveal in process

Bonnie Hunter did the big reveal of the final layout of Frolic! the other day. I laid out the pieces that I had to see how my version of the project would look. What you see in the photo does not show the piece on point, which is how the final will be sewed together. As soon as I get some more of the pinwheels made, I will begin sewing the piece together in the way it was intended so I have more space on the design wall.

I am happy with my choices. The green does stick out quite a bit, but I think it will settle down once I have more pieces ready to sew. I have a lot of HSTs and Flying Geese to make.

This is probably a design I wouldn’t have made if I had waited until the final reveal to decide, but I am happy enough with it. I’d be happier if I had been able to keep up with the clues, but it is what it is.

Frolic pt.6 Finally

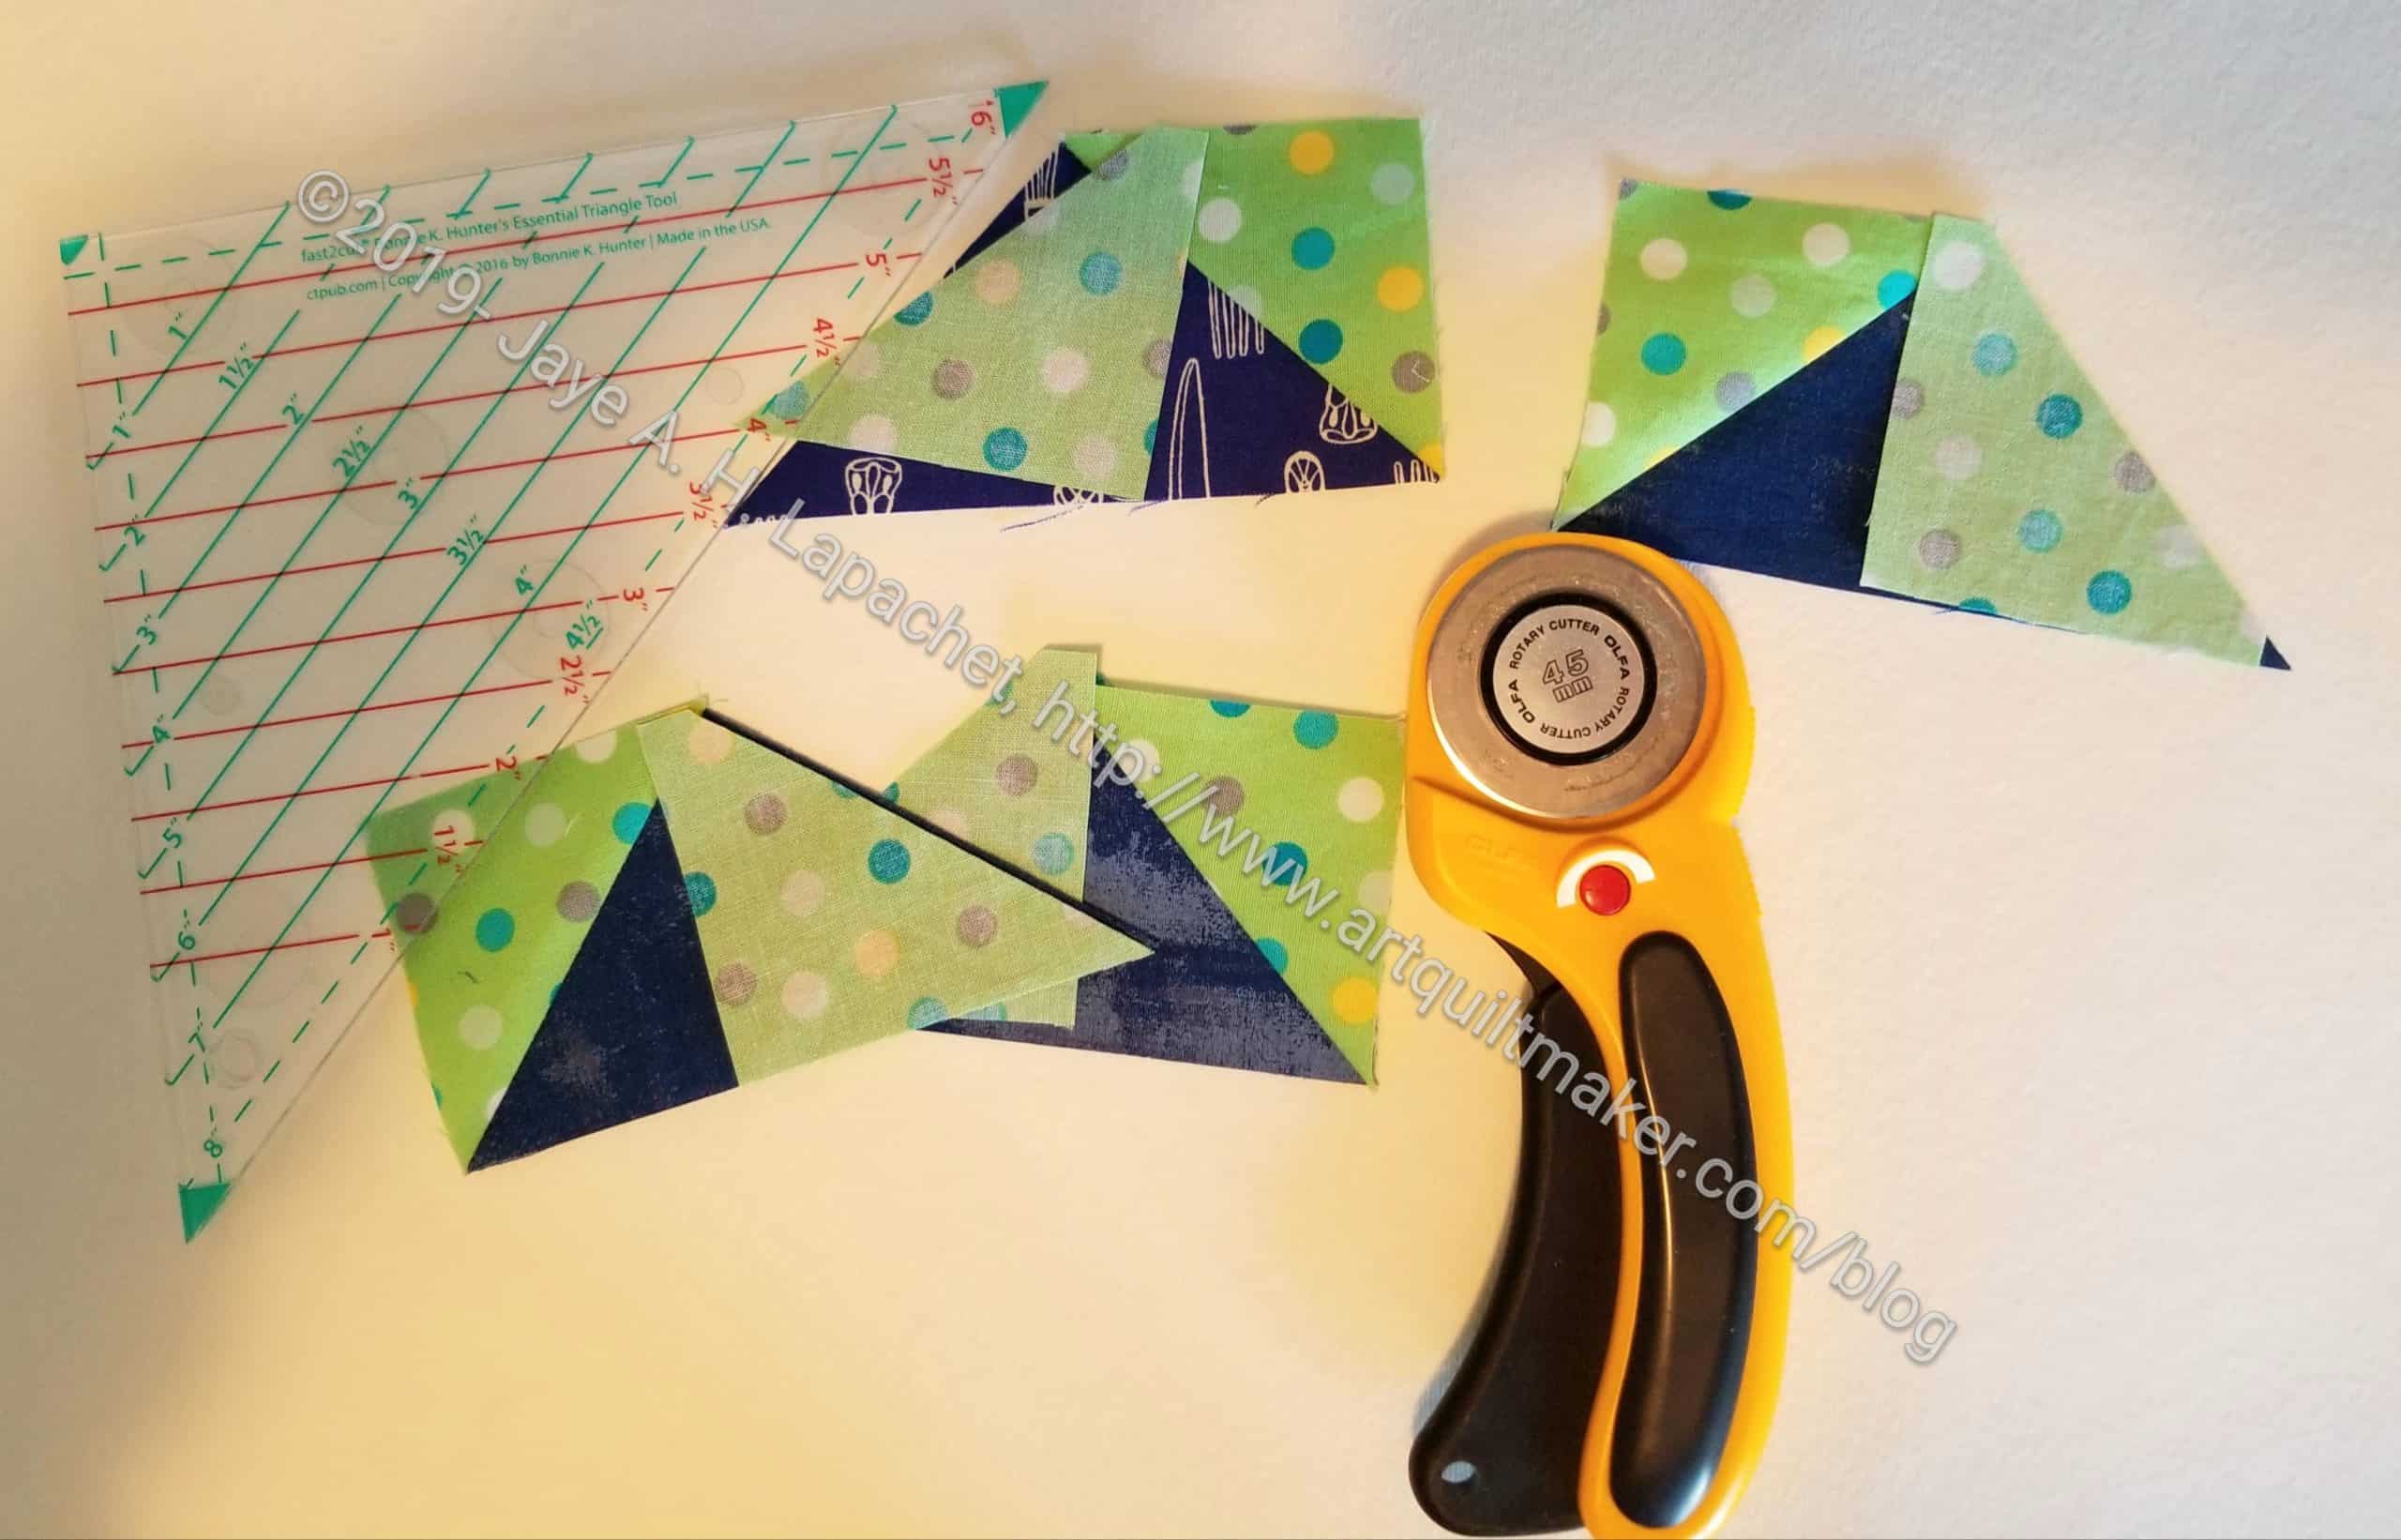
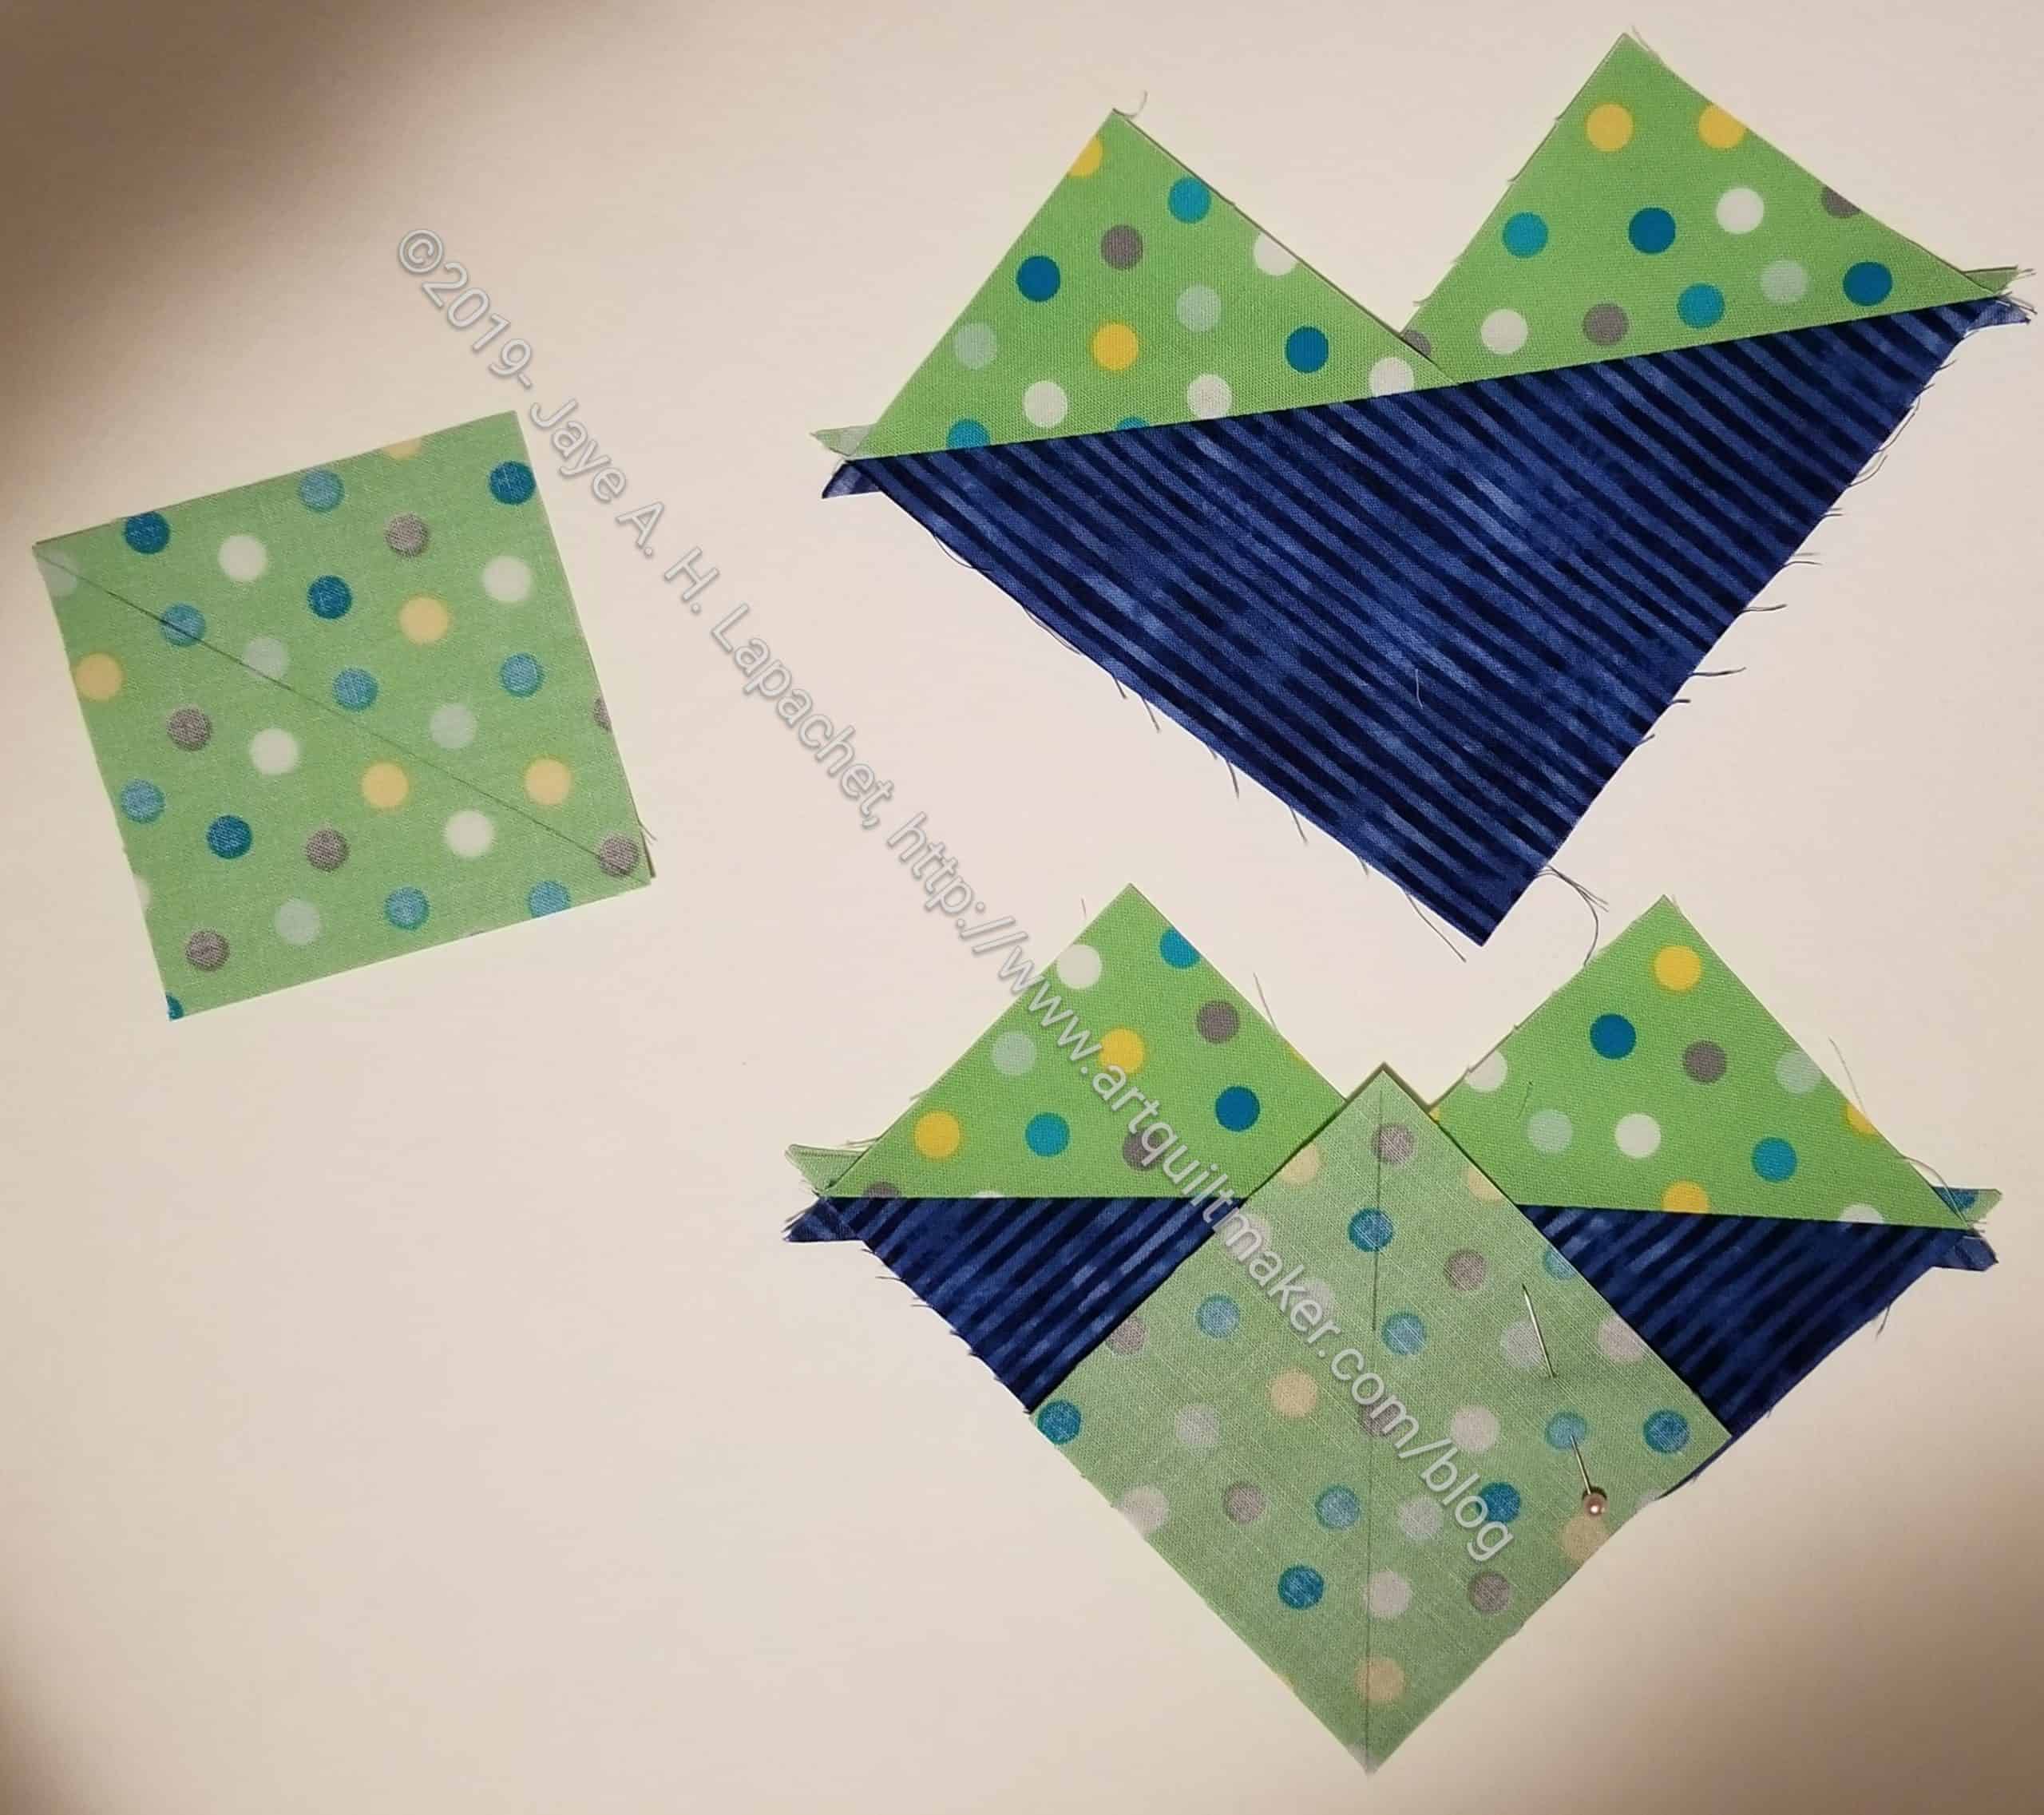
Flying Geese - Essential Triangles method
Flying Geese – Essential Triangles method

I finally finished part 6. I am now only 2.5 parts behind in the project. Bonnie published a sneak attack set of directions on New Year’s Eve. I just didn’t have a chance to do it when I finally did notice it, which wasn’t until the Friday.

Flying Geese - Wing Clipper method
Flying Geese – Wing Clipper method

I was vindicated in not finishing part 4 when part 6 was making Flying Geese from the quarter square triangles that were supposed to be cut in part 4. I did use the pieces I had cut to make Flying Geese using Bonnie’s Essential Triangle Tool* method, but I made the rest using the Deb Tucker Wing Clipper ruler* method. If you have the dimensions, you don’t actually need the ruler, but the chart of sizes is one of the benefits of the ruler. I also use this ruler to make Sawtooth Star blocks.


*I use affiliate links and may be paid for your purchase of an item you click on. There is no additional cost to you for clicking or purchasing items I recommend. I appreciate your clicks and purchases as it helps support this blog.

Warm Windmill Again

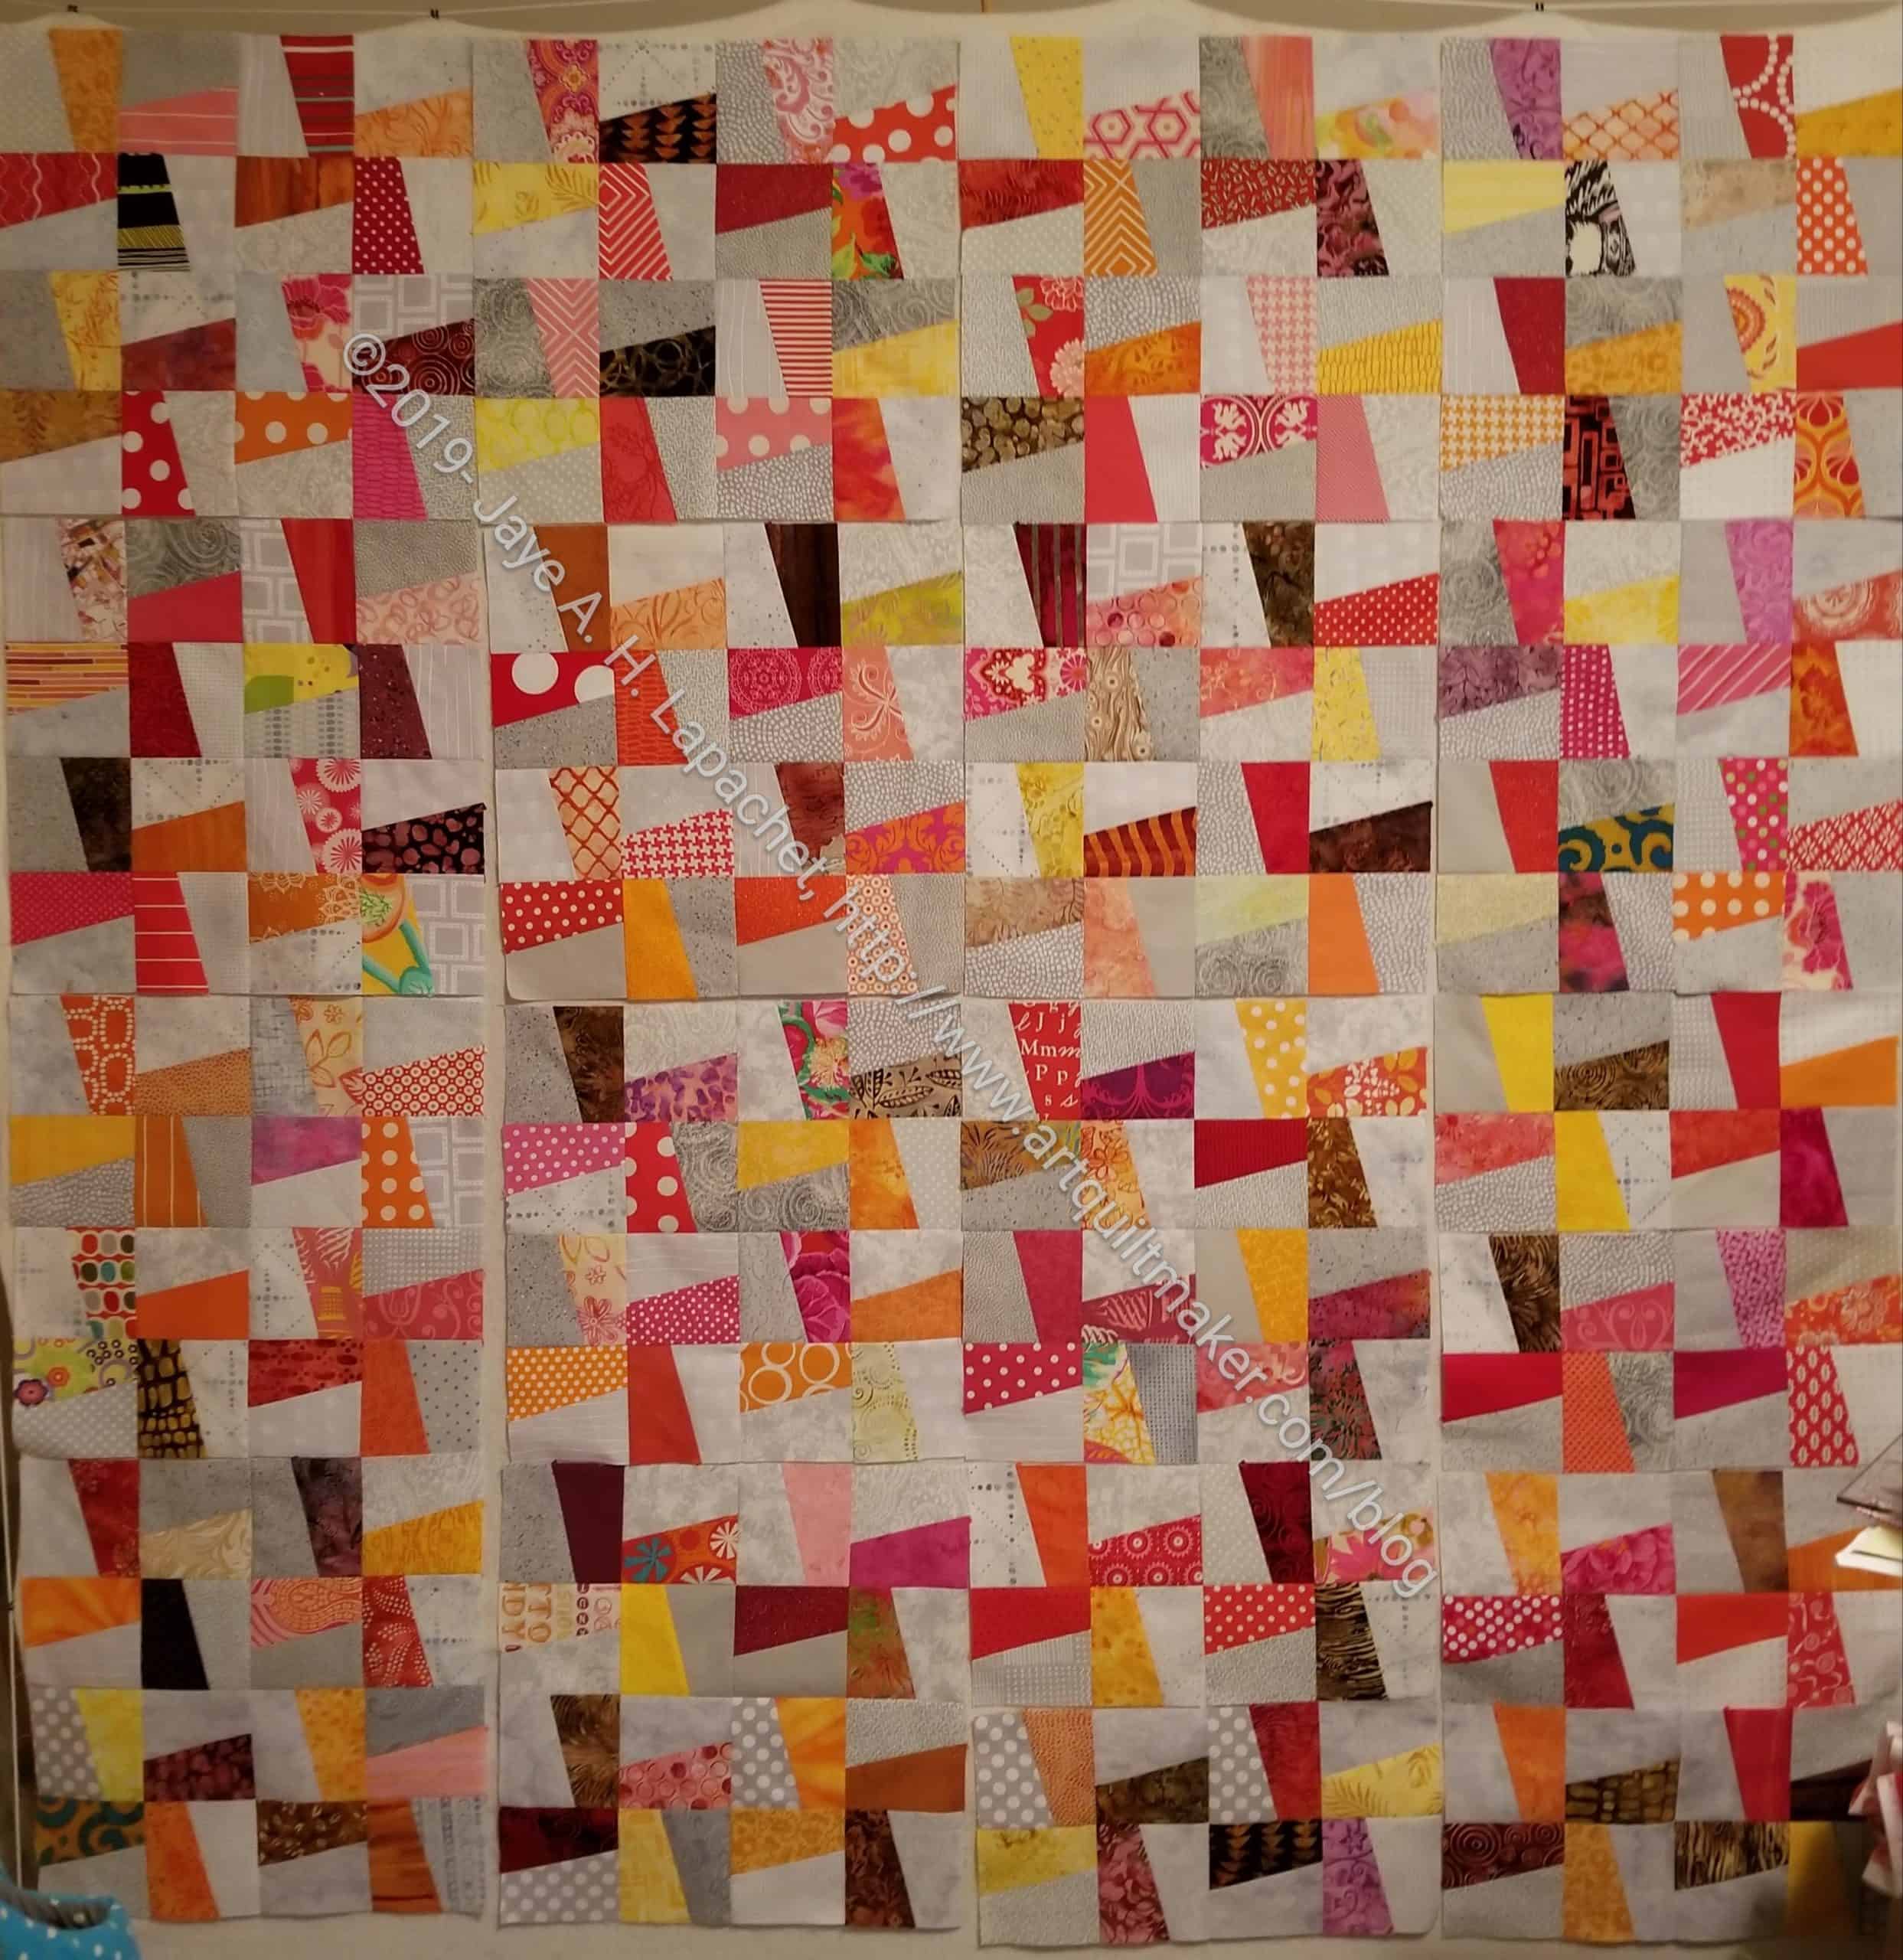
Windmill Progress - early January 2020
Windmill Progress – early January 2020

I made a lot of progress over the holiday. I am back at work, so I hope to continue to make progress.

The blocks are mostly sewn together. I am chunking them and it is going quickly, though I have started to pin the intersections so they match.

I added a row to the right and another on the bottom. After I sewed the first group of blocks together, I had space. Since I have a lot of blades, I decided to use them. The piece is now 64 blocks (groups of 4-2 blade blocks). It fits on my design wall, though wouldn’t if it weren’t sewn. I had to cut more backgrounds, which is a little tedious, but I am breaking up the work by sewing.

I hope to have the top finished soon.

More Frolicking! Around

Frolic! Clue 5 Finished!

I am sort of keeping up. I am still working on Clue 4, but I did finish Clue 5. This was another clue that went pretty quickly and where I used the Triangle Technique for making HSTs.

I find now that I am two clues behind as Bonnie slotted in a clue on New Year’s Eve when I was otherwise occupied. Oh well, one is pretty easy, so I should be able to catch up soon.

Warm Windmill

As mentioned, I started working on Windmill blocks. Last time, I talked about this project, I was sewing all the blades together. I realized that I had TONS of blades, so I shifted gears. I have enough blades to make at least two quilts. I decided to make a warm version first. This will consist of red, orange, yellow, pink, brown, beige and any mottle fabric that reads ‘warm’.

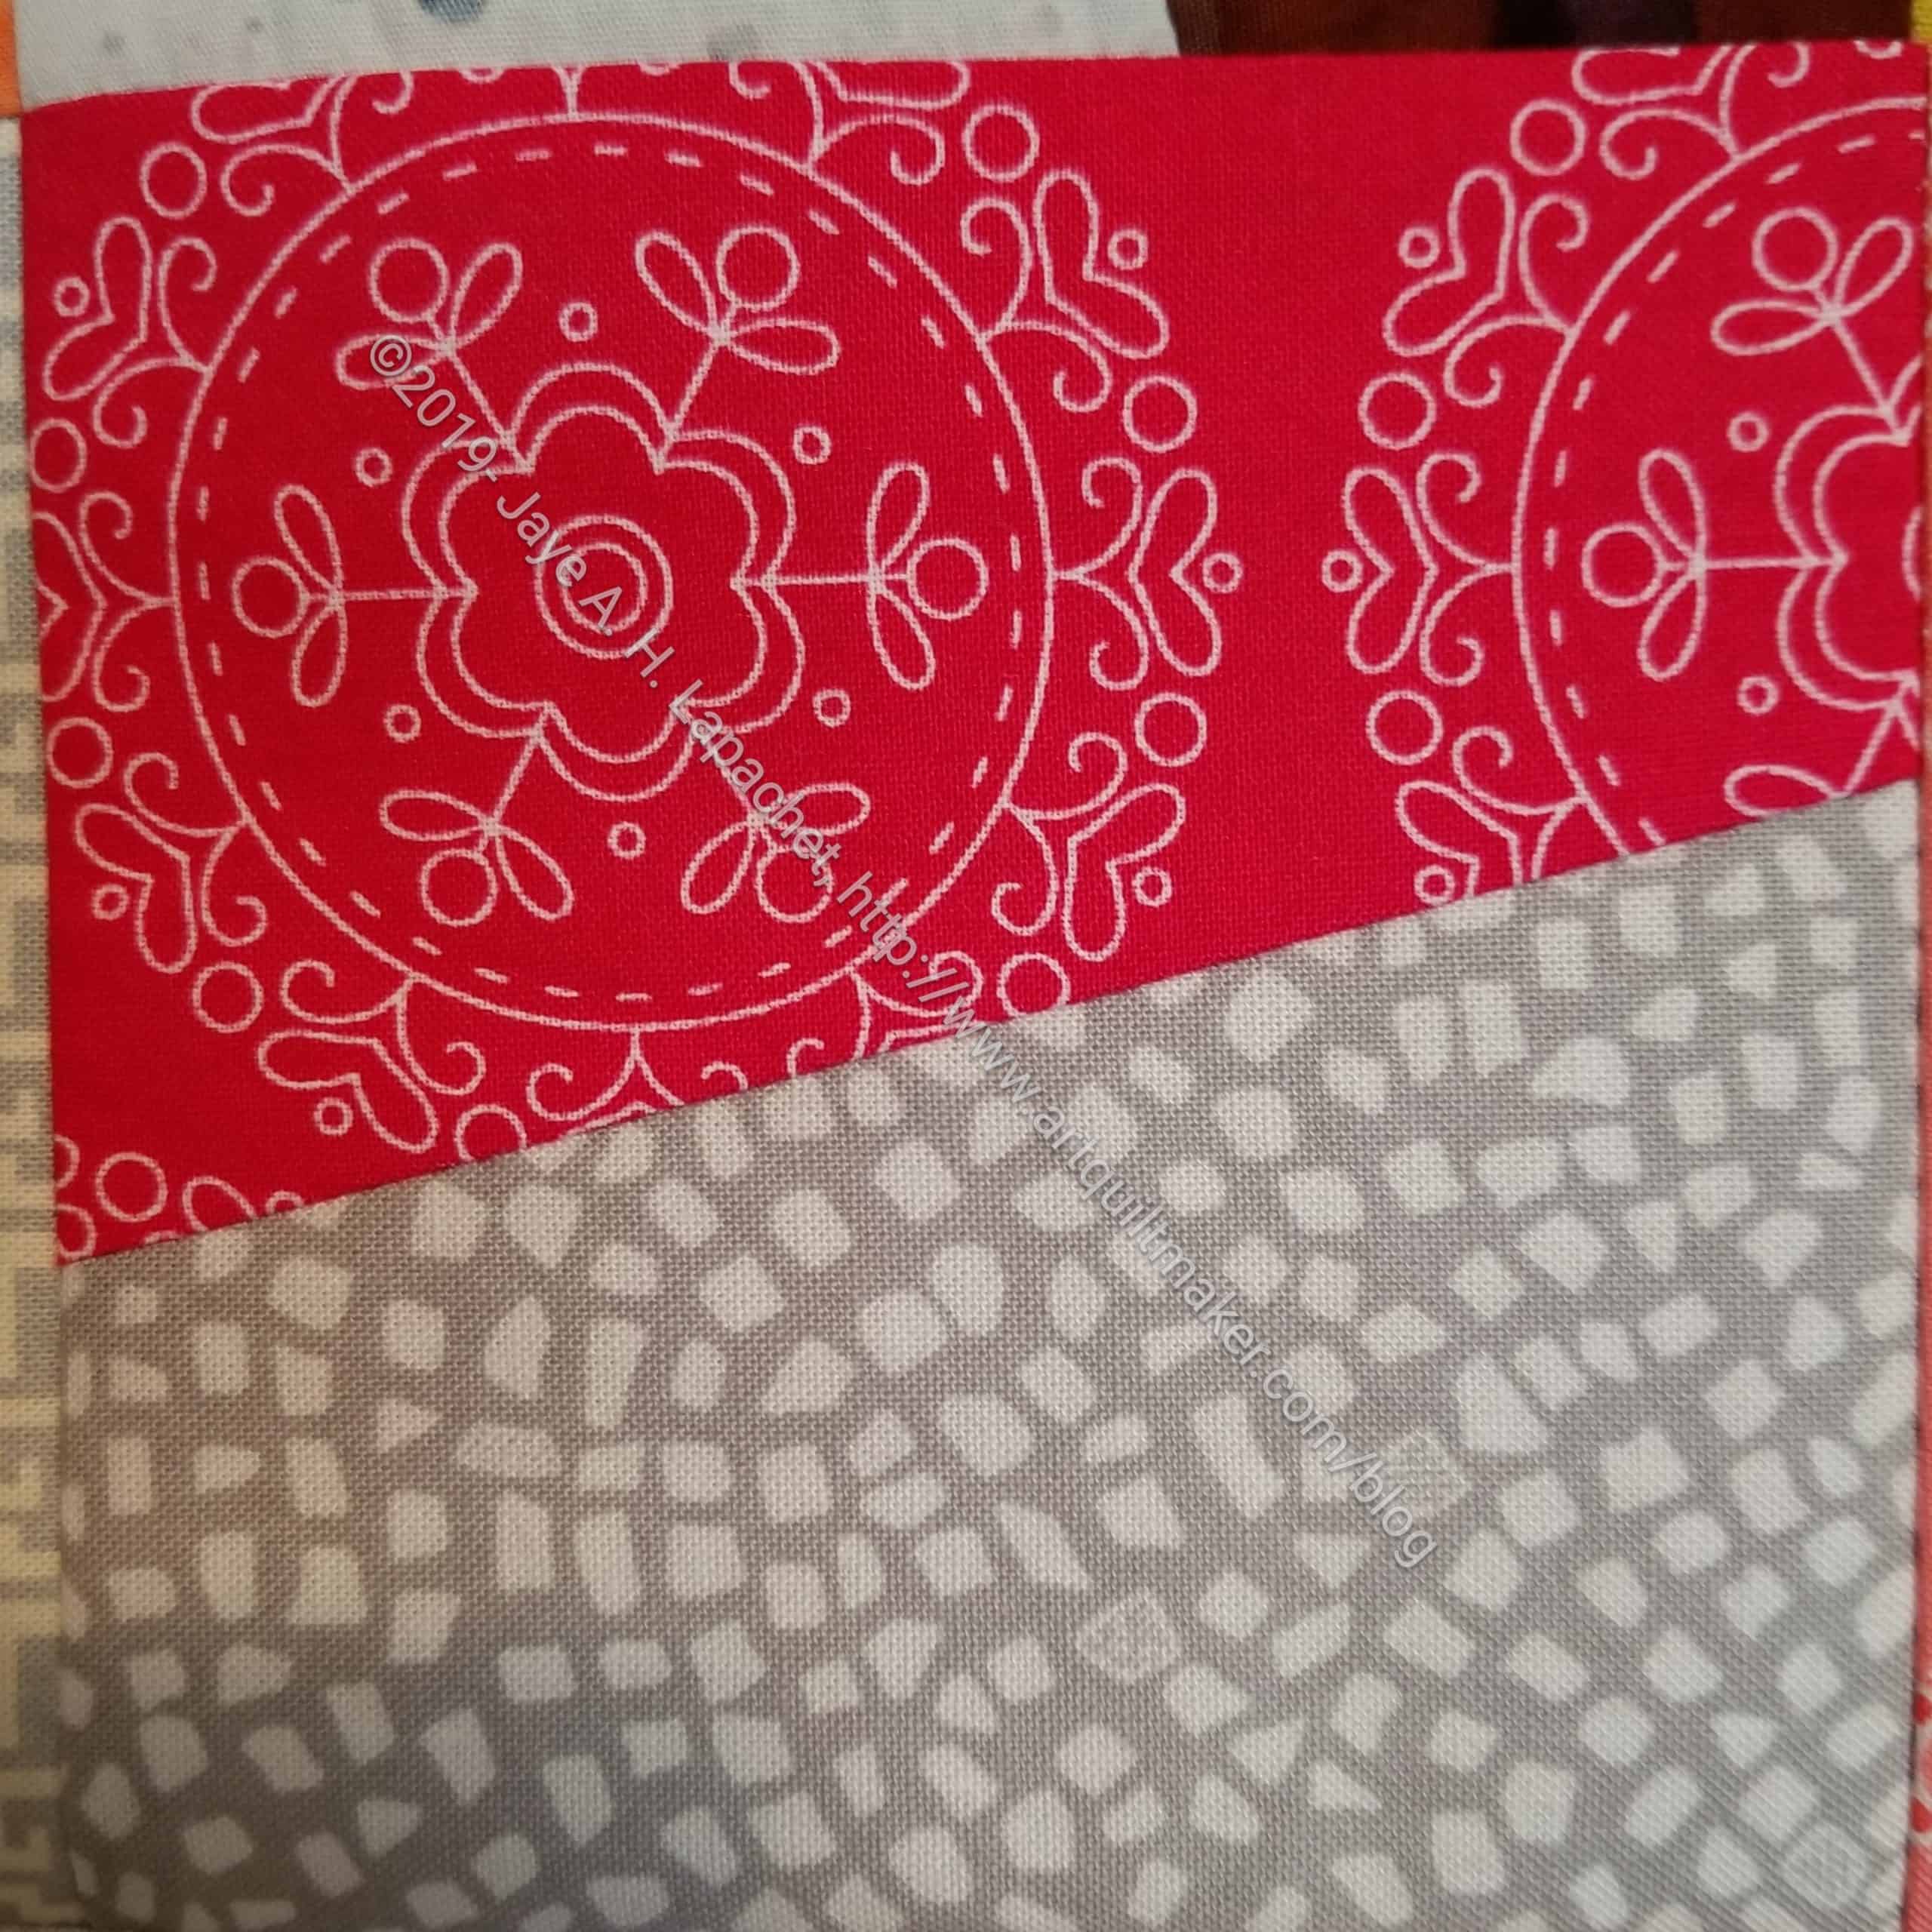
Windmill patches
Windmill patches

I wanted something easy to sew together. Despite the angles, my idea worked. I can eyeball how to put the patches together so they sew up into a square.

Since I started cutting greys, I made the background grey so the foreground fabrics stand out.

I think this will be part of the Niece-phews project.

Windmill Starts

Along time ago, Friend Julie and I started cutting Windmill shapes for each other. It’s possible that the last time I posted about this project was in 2012. Last weekend, I decided that it was time to sew them together. This project is coming off the Hunting and Gathering list.

Windmill first sewn blocks - layout 1
Windmill first sewn blocks – layout 1

The blades sew together very quickly once I got the placement correct.

My first layout, shown left, was kind of a wonky looking zigzag. I was starting to change the layout to the one shown below, so the upper right hand corner blocks are in a different layout. Check the bottom. 😉

The zigzag layout has its charms. Then I texted Friend Julie and she called the pieces blades, so I started thinking about them in a kind of fan format.

Windmill first sewn blocks - layout 2
Windmill first sewn blocks – layout 2

I rearranged the blocks into that format. I am not sure about this quilt in general. I think I might need to use all warm colors or all reds and pinks or something. I think both layouts look strange.

At some point, I decided to cut background fabrics, so that the foreground blades would be highlighted. The idea works; I am just not sure if I like the whole effect.

Also, I have a lot of these blades. I think I can make at least two quilts.

White Improv Donation Quilt

White Improv Donation Quilt start

No, I am not finished with the White Improv Strip Donation quilt, but I needed some leaders and enders, so I started sewing bits of white fabrics together to start the improv version in my series.

Some of the bits were not used for the strip blocks and some were long enough to be added as the shard grew.

SIL’s Friendship Star pt.2

SIL's Friendship Star - October 2019
SIL’s Friendship Star – October 2019

About a month ago, I told you about SIL’s Friendship Star. She is still working on it. We had dinner over there on Saturday so I got to see the evolution.

She is still not quite happy with the layout. I can see where she might want to make changes, but I think the gradation is a lot more evolved since the last time I saw it. It is looking really good.

New Project pt.3

Stash Fabrics: Art Gallery Elements bundle

Recently I talked about some fabric I bought and some ideas for a new project. I have pretty much ruled out the idea of the complicated design I drew up. Not forever. Just for this fabric bundle.

While I have been thinking about it, I have thrown in a couple of other bits of fabric.

Country Revival by Sew Kind of Wonderful

Recently I bought a pattern called Country Revival by Sew Kind of Wonderful. You know what that means, right? Yep, Quick Curve Ruler.. Ever since I made MetroScape, I have wanted to use that ruler again. This might be the time.

The example quilt has a limited color palette, which I like, though I think it might be interesting to use the fabrics above, carefully, in the different circular designs.

Bats Progress

Bats without bodies
Bats without bodies

I am making progress on the bats. I don’t like this kind of piecing, because it doesn’t make sense in the way blocks are put together. In this kind of piecing the maker creates an image not a pattern. In order not to make mistakes, I had to follow the pattern closely. I wasn’t able to do a little of the piecing, get the hang of it and then zoom along.

I have to say, though, that it is interesting the way they actually look like bats once I get more piecing done.

Flying Around the Corner

Flying Around with cut corner

Gosh this must seem painful to you! I said the other day that I was nearing the end. I am still nearing the end, but even closer! The corner pieces are all cut and I just need to sew them together.

30 seams, maybe?

Then I have to sew the giant chunks together. There is quite a bit of partial seaming, but that is not difficult. I have been doing it all along. Check the tutorial if you need to know how to do partial seaming.

SIL Friendship Star

SIL #2 Friendship Star

We did a fun activity at Craft Night the other night. We helped SIL #2 rearrange her HSTs to make sort of a gradation in color for her quilt.

SIL is making a quilt for a former work colleague who is having a baby (well, his wife is). Two of us went over to SIL’s house for Craft Night and she asked us to help rearrange the HSTs. I have done it a million times, but our other member has never done it. She mostly crochets and is getting into knitting. She was great and had a good eye.

I thought it was fun to work on someone else’s project. The photo above isn’t even the final version. I thought it was, but we kept rearranging. At one point we couldn’t find a center we liked for one of the blues, so we rummaged through SIL’s scraps (her scraps are tiny!) and found a piece of fabric we liked. Then, we made her rummage through her yardage so she could cut a piece that was perfect. 😉

I am not a huge fan of Friendship Stars, but these look really good. I like the small size and the scrappiness. I think Friendship Stars are better small.