I haven’t gotten my act together for the BAM door prizes yet. I have a tote bag full of stuff ready to be sorted and nothing sorted. Part of the problem is that I only have canvas bags from a shop. I don’t have any handmade bags. I have several of the canvas bags and they are nice – thick and sturdy and great for something like the Farmer’s Market. I prefer not to give the same bag every month.
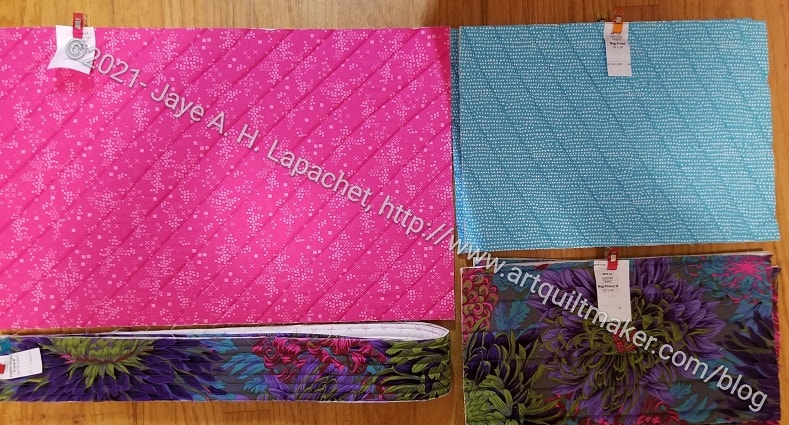
At the guild meeting the other week, Maria tempted me to take some canvas. The motif is a kind of Paris theme. I got out my Jane Market Tote pattern and this fabric and made some totes.
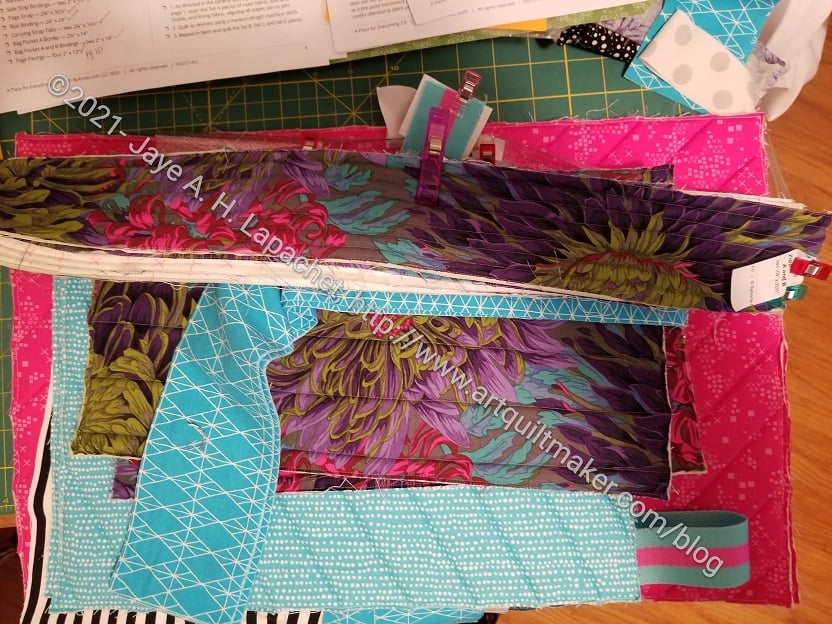
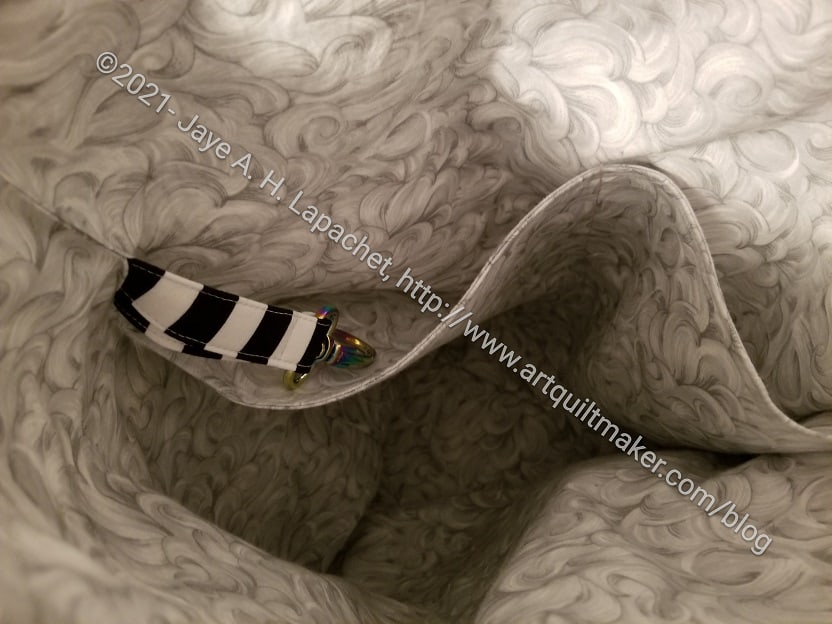
I didn’t use the exact pattern; mostly I just used the dimensions from the pattern. I didn’t want to line the tote, because the canvas was thick enough without a lining. That meant that I needed to sew French seams to make sure all of the raw edges were enclosed.

With the first one, I enclosed all the seams on the inside of the bag. Enclosing the seams on the inside when very smoothly and the bag went together really fast.The bag came out a little smaller than the already small Jane Market Tote, but I think it is a cute size and different from many bags.
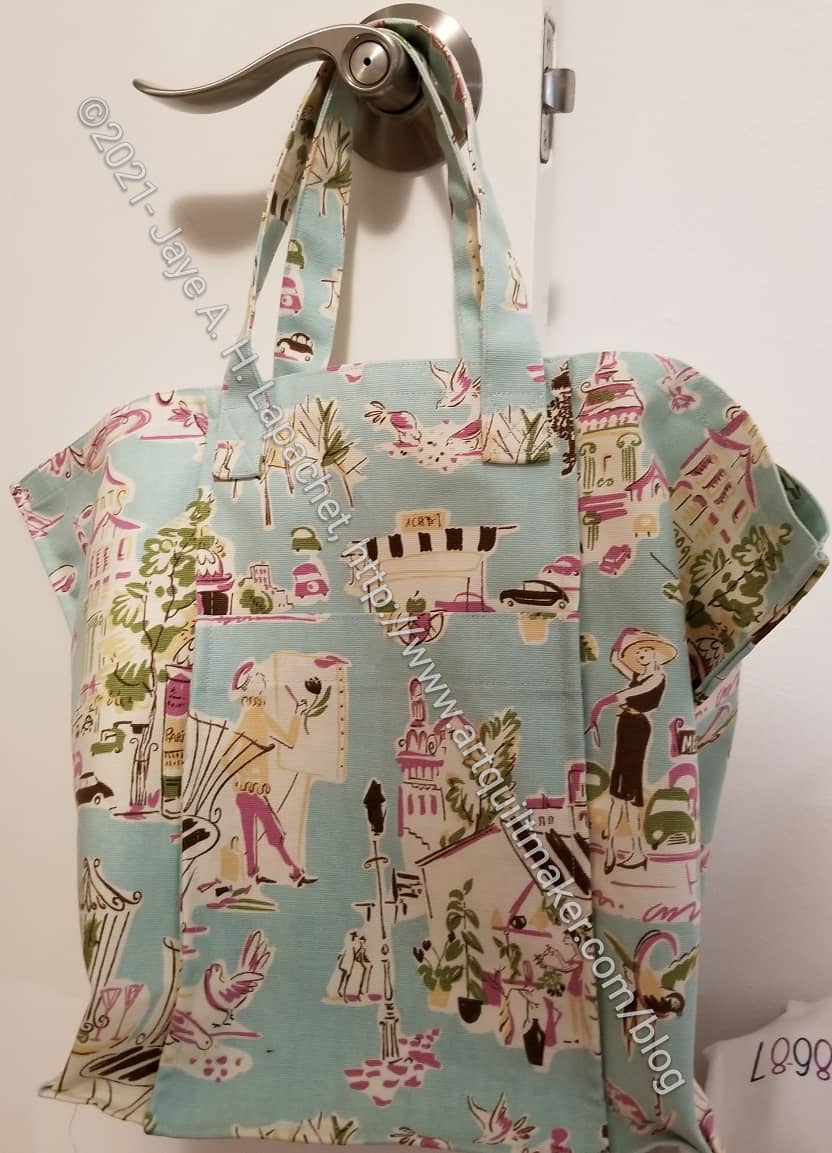
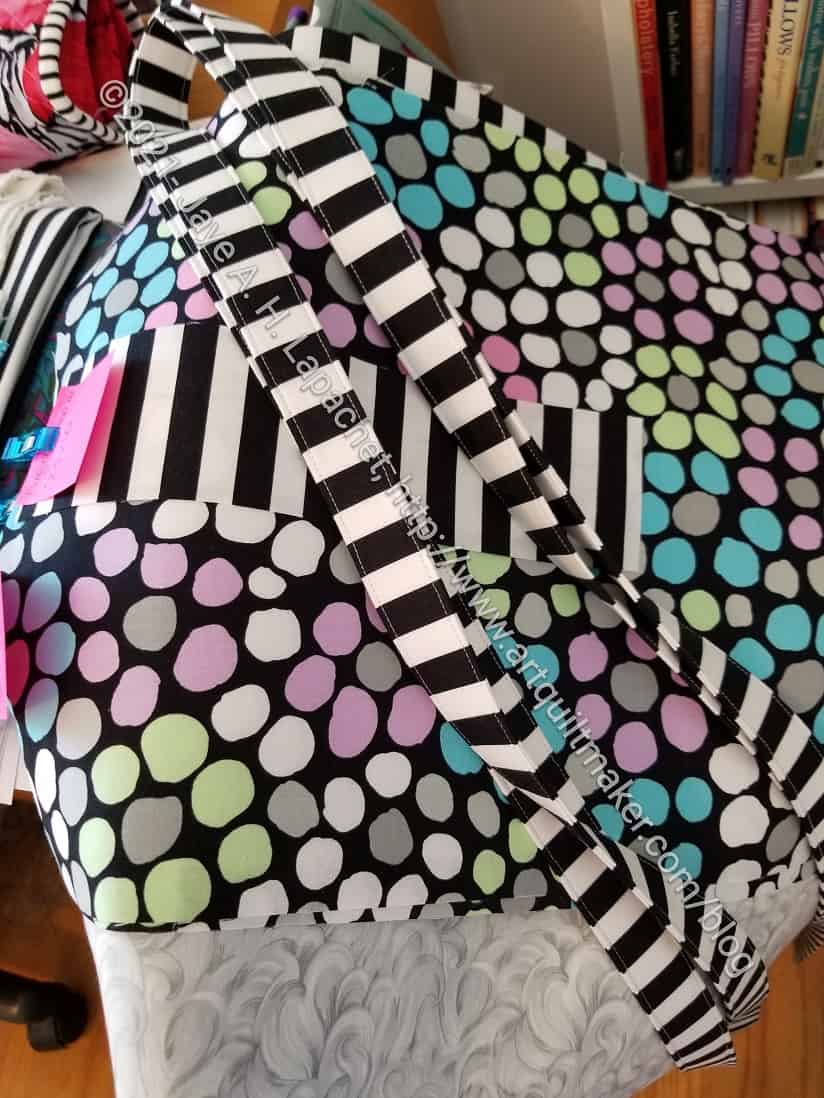
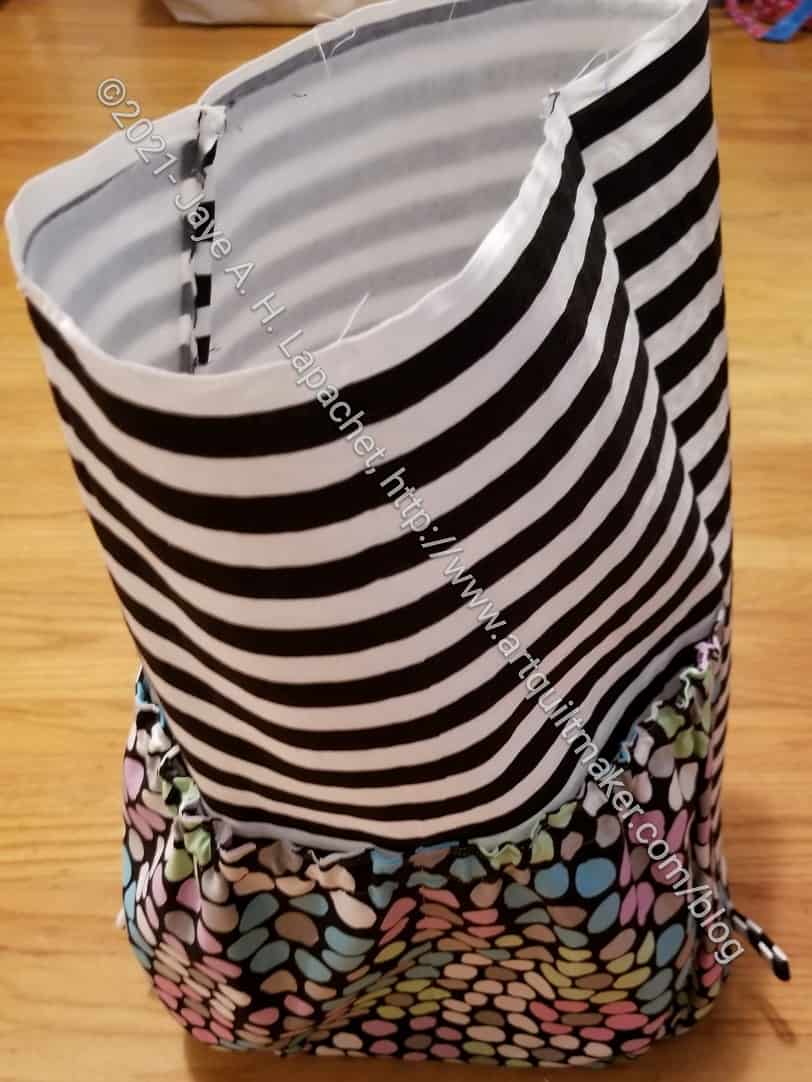
After making the first one, I thought I would enclose the seams on the outside for the second one. I thought it would be an interesting design feature. This version also went together pretty well, but I had more trouble with the seams on the outside. I am not sure why. In this version, there is also a big lumpy seam on the outside of the bottom, which is not ideal.
So far I have made two and I think I have enough fabric to make at least one more. My sister might like one. The motif is up her alley. I think the size will work well for the door prizes.