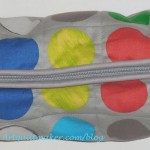
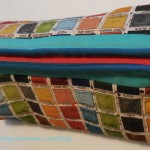
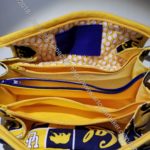
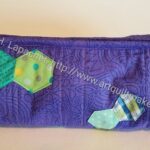
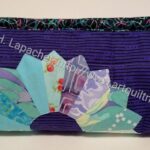
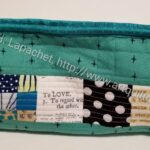
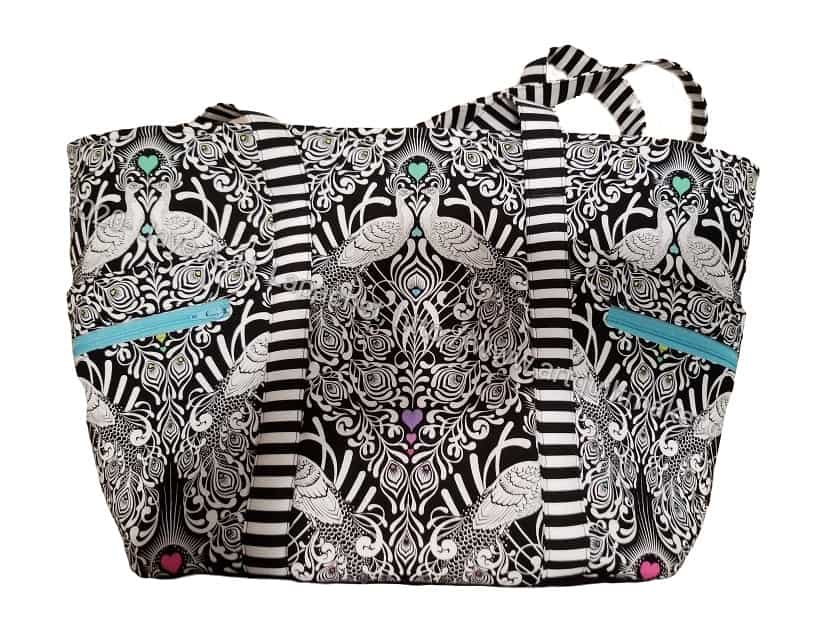
Remember the Ring Toss block that I agonized over? I am pretty sure I told you I wasn’t going to make the quilt. The block, which I like has been hanging on my design wall since December of 2018. It occurred to me that it would make a great exterior for a Sew Together Bag. I thought this was an especially good idea since I had no idea what colors the recipient likes.
While I am sad I won’t have this block to look at, I am pretty pleased with how it came out as a Sew Together Bag.
Ring Toss Sew Together Bag closed
Ring Toss Sew Together Bag
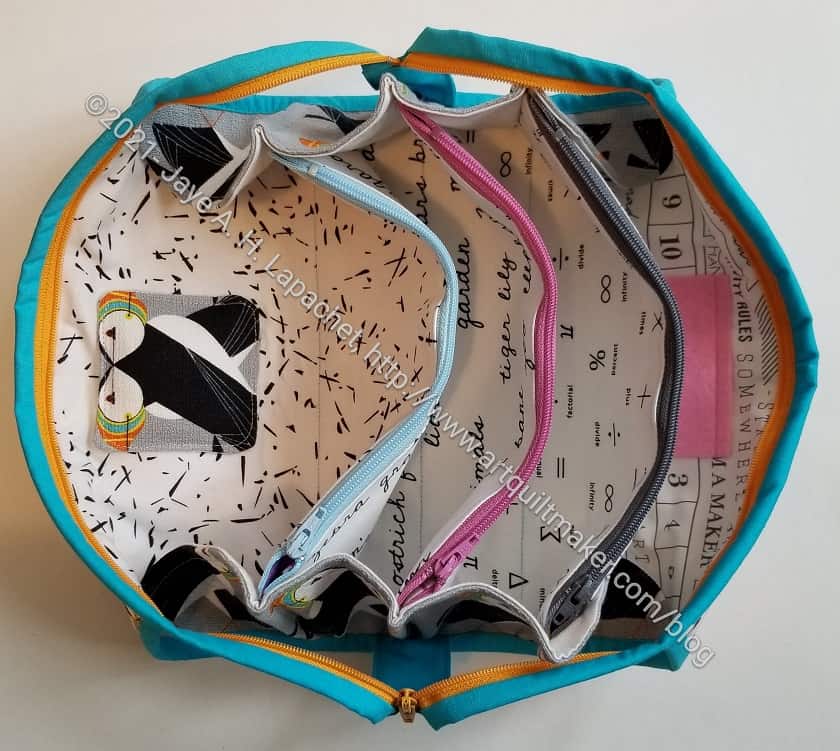
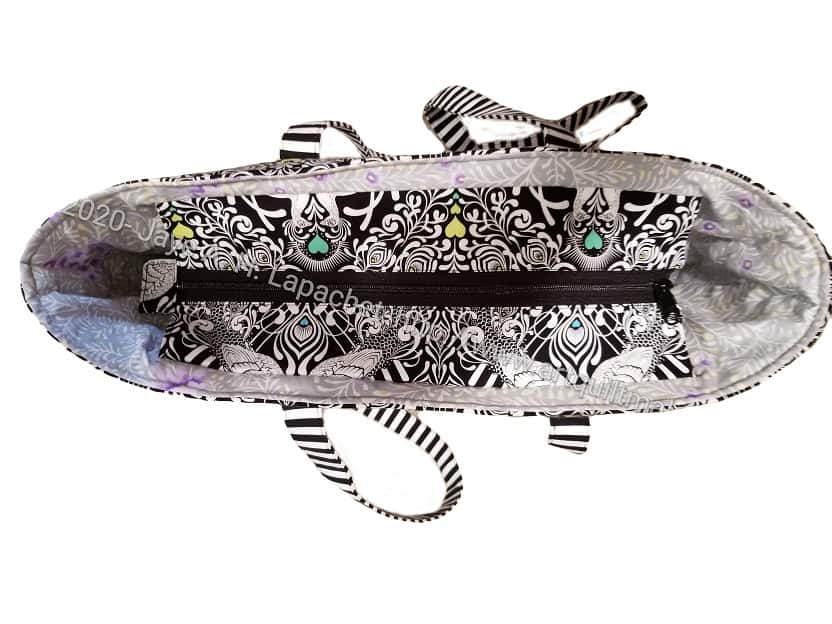
I wish I had thought of how the bag would look from the top. I added grey around the block to make it large enough for the exterior. The viewer can’t see the Ring Toss block from the top. Mostly you see the grey. I think it is fine, since I mostly look at mine from the side or end.
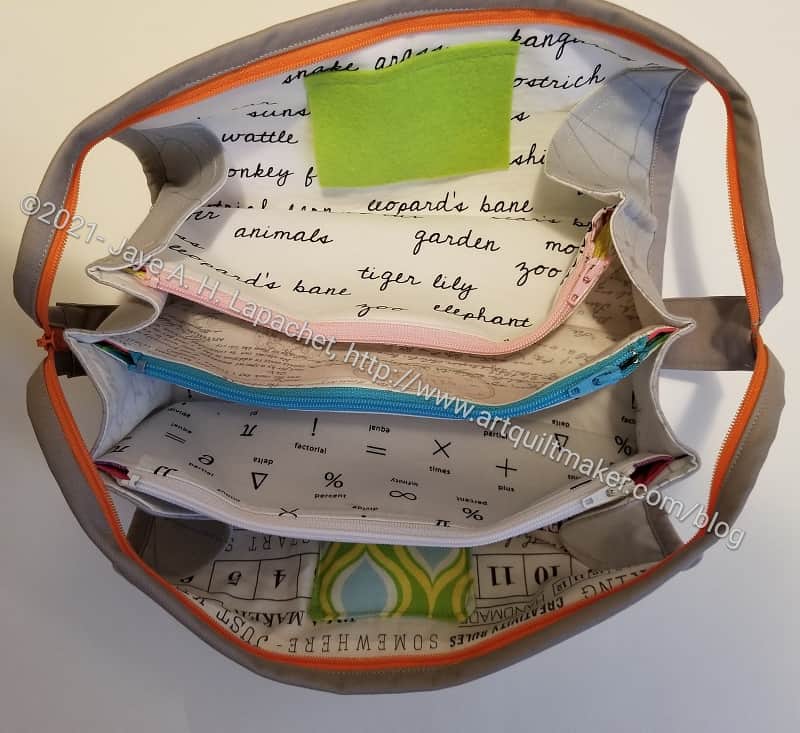
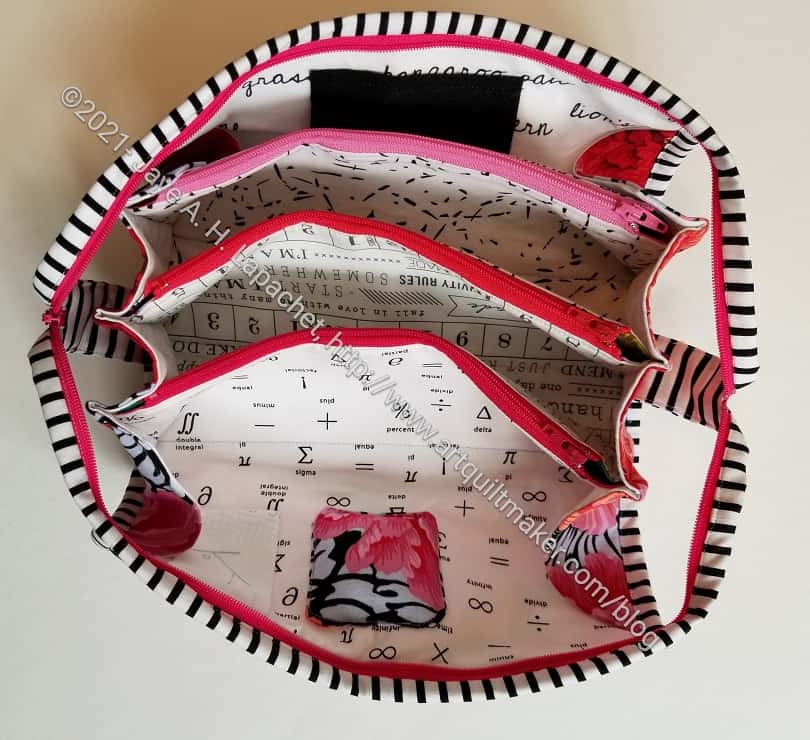
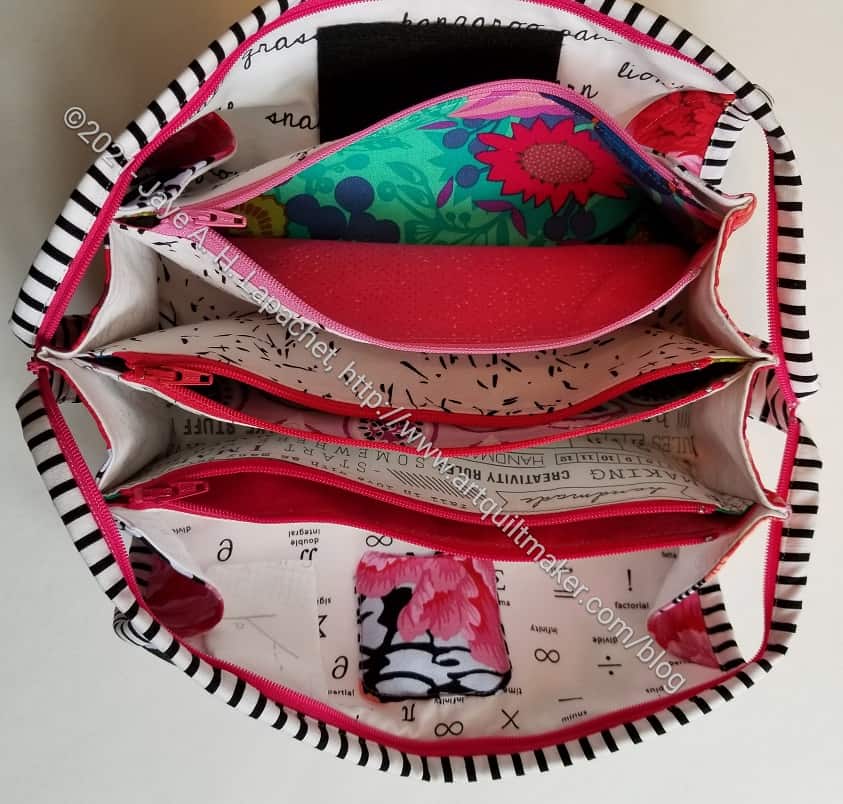
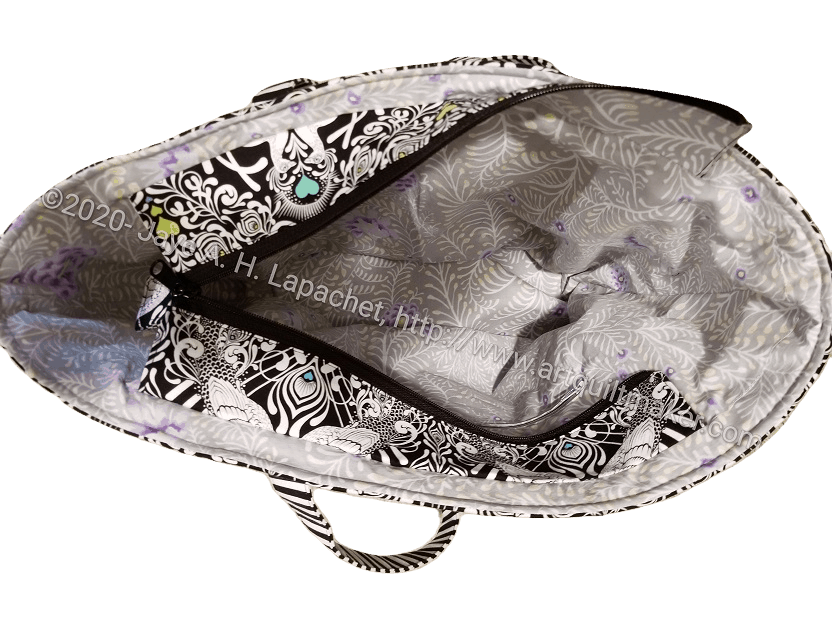
Ring Toss STB open
This bag has similar insides to the Leaf STB, the Puffin STB and the Brocade Peony STB. I chose different colors for the zippers, needle holder and pincushion so they are different from the other bags.
I meant to hand this off to my DH to deliver at a Native Sons event, but I forgot until he was already gone, so I’ll have to mail it.
I made some progress last weekend on the Ultimate Carry All Bag. Shocking, I know. I was spurred on by finishing the STBs, not having my design walls available and by talking with Lynette at Sew Day. Mostly, I am also determined to get this *&^% project off my to do list.
As you might remember, I am making one as a gift. That one is farther along, because all the pieces are cut. I have been cutting the pieces as I go along for this one and I didn’t cut the pieces for the zipper yet.
Sometime ago, I decided to use some fake leather I bought for the bottom, so I want able to use that piece to put the exterior together.
I am still trying to decide whether I will put an ironing pad in this one. I am not sure I will use it, but it seems like a good thing to have anyway.
I made this Sew Together Bag as a gift. I want to send it off now, but am trying to wait until Christmas.
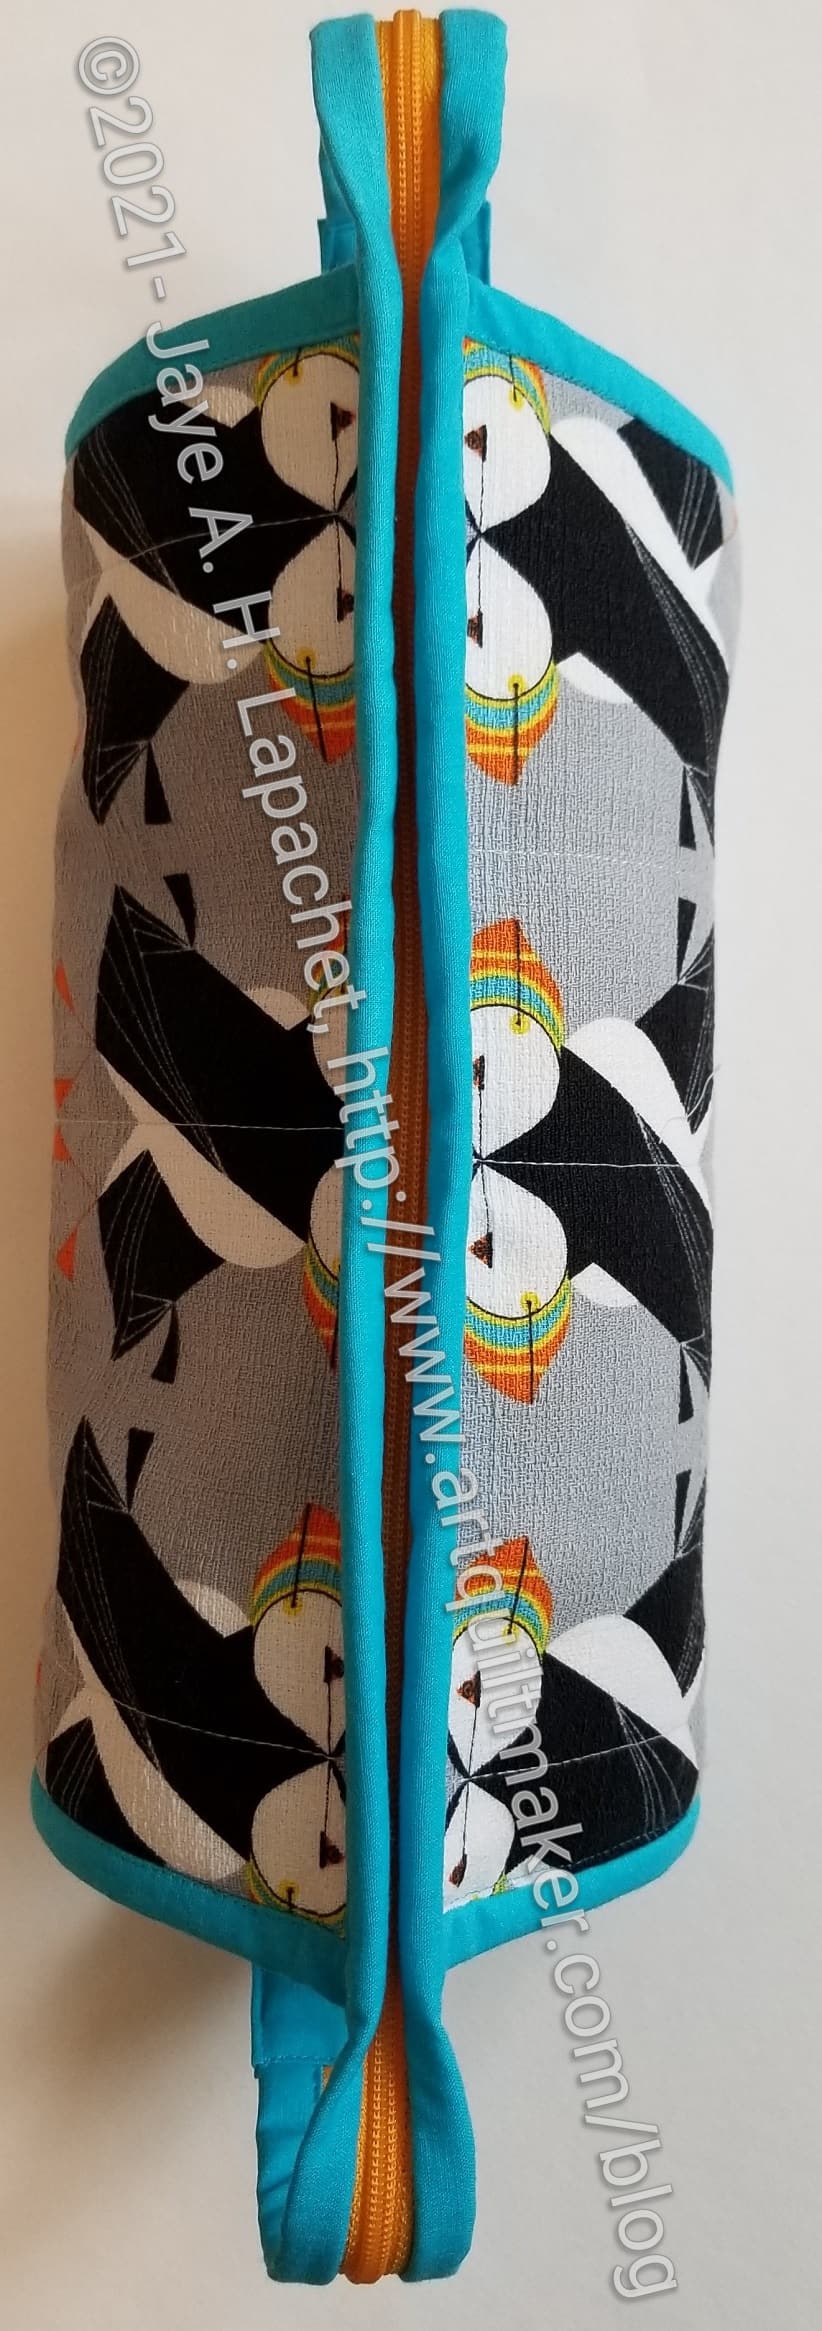
The outside is a Charlie Harper print made from Barkcloth. I have never used Barkcloth before and it was fine. I interfaced it with SF101 and didn’t have any problem with the looseness of the weave. I am not sure how it will be if I cut squares and try to use them in a Fabric of the Year quilt. I only bought it to make this bag because my friend loved it. Ordinarily I wouldn’t have bought it.
I really struggled with what to put with it for the binding. I don’t think the turquoise is perfect, but I think it looks pretty good. Black was my other choice, but I think with the grey background and the black on the puffins the whole project could have easily gone towards depressing. I chose the turquoise binding to make it super cheerful.
Puffin STB interior
I fussy cut some more puffins for the mini pincushion. I think they look really cute.
You can see similar interior fabrics to my Brocade Peony / La Pass Sew Together Bag. Same fabrics- different order.
I haven’t talked much about zippers as I have spoken about these projects. Each bag requires 4 zippers. I chose, mostly, different colors for each zipper to make the bags more visually interesting. I also think that zippers are another visual cue to where the maker put a tool or supply. I kind of wish I has used another orange zipper on this bag, but I think it looks good as is.
It might seem ridiculous to make another Sew Together bag for my latest project. I have plenty of fabric and I know how to make these bags, so that is not the issue. The issue is that have been using the area under my computer stand to store various supplies and tools. This does not make the project very portable. It does make it convenient to grab some pieces and sew when I have a work meeting.
Brocade Peony (La Pass) Sew Together Bag
I have been using my embroidery Sew Together Bag for this project, but I want to be able to take the pieces around and I need my embroidery STB to stay with my embroidery. I was also making some gift STBs so I thought I might as well make one for myself.
This might be a stopgap until I can make the A Place for Everything Bag that will be really useful for this project. I talked about it briefly in a Various & Sundry post. I have been collecting supplies and I think I would rather just toss the Sew Together Bag in the A Place for Everything Bag when I go somewhere. I am used to using Sew Together Bags for handwork and don’t want to try to learn new habits. At the moment. I just want to sew.
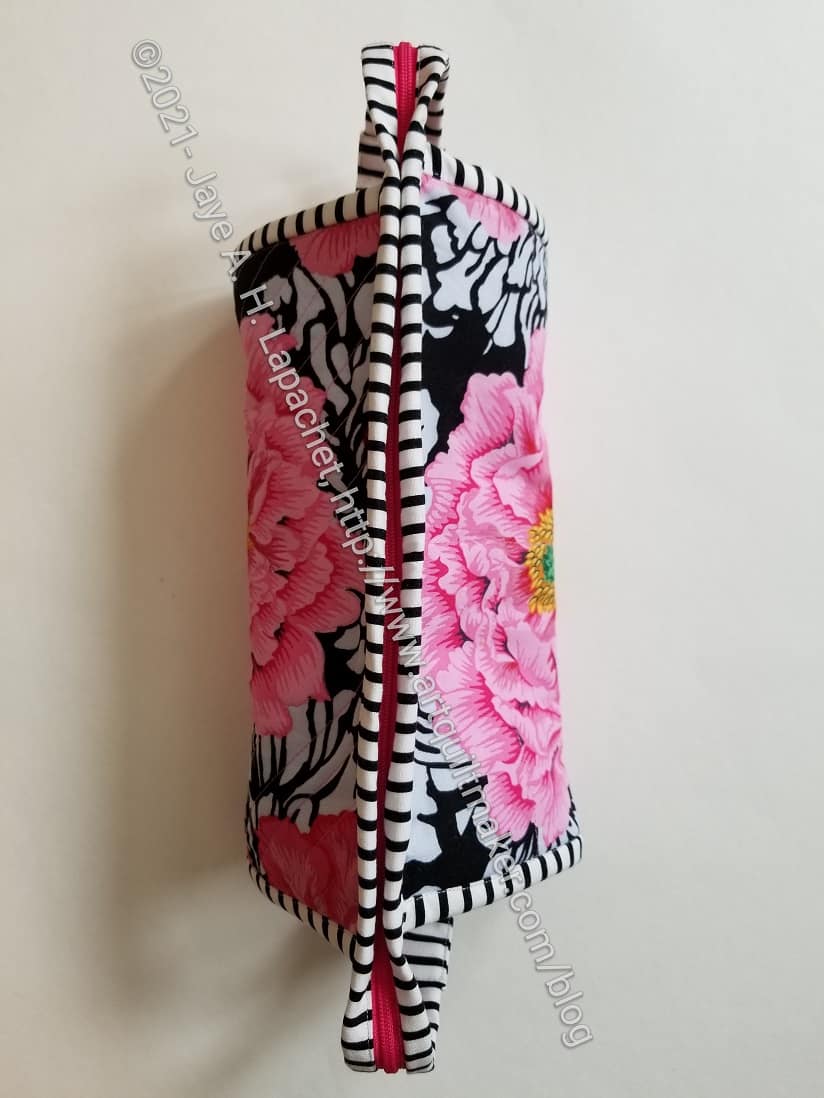
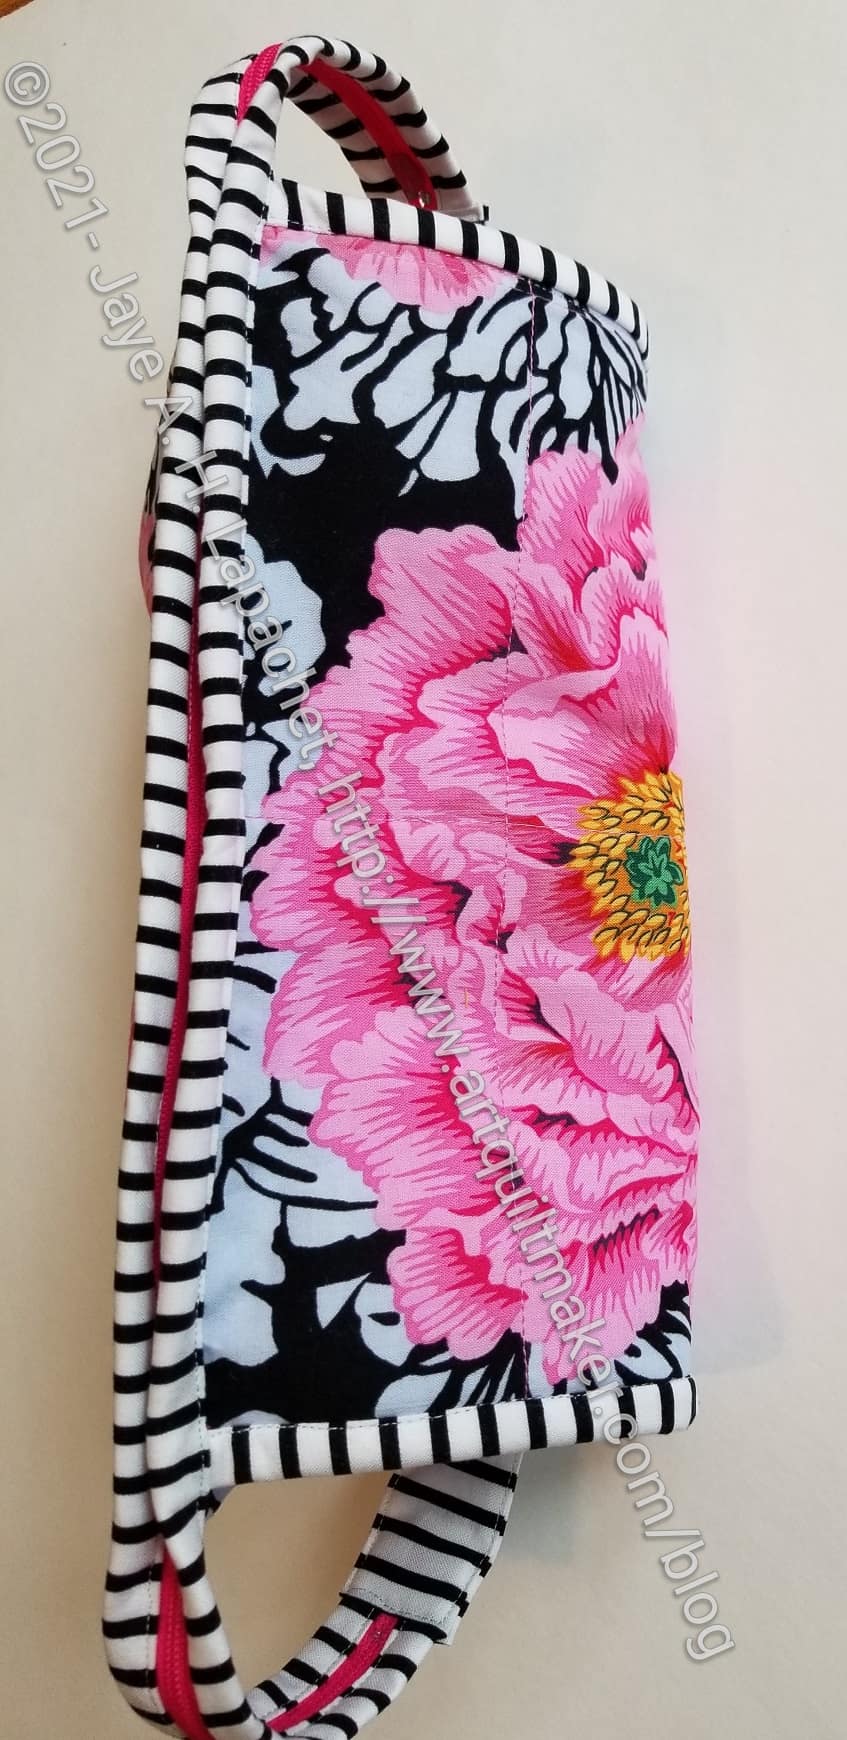
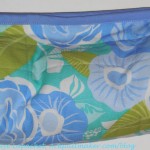
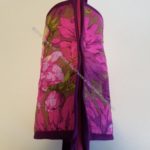
Brocade Peony (La Pass) Sew Together Bag – exterior
As you can see, this bag uses one Philip Jacobs recent prints. He recolored the Brocade Peony print and I thought it would be good to showcase a couple of the blooms on this bag.
I also used the striped binding, which is a favorite trick for adding interest to a bag. If I were making this bag again, I might use pink on the side bindings and reserve the stripe for the top zipper only. I don’t think the stripes as I have used them are too much, but they are verging on too much. I keep thinking of the striped stockings the witch wore in the Wizard of Oz movie. In general, I am happy with the exterior of this bag.
Brocade Peony / La Pass STB – interior 1
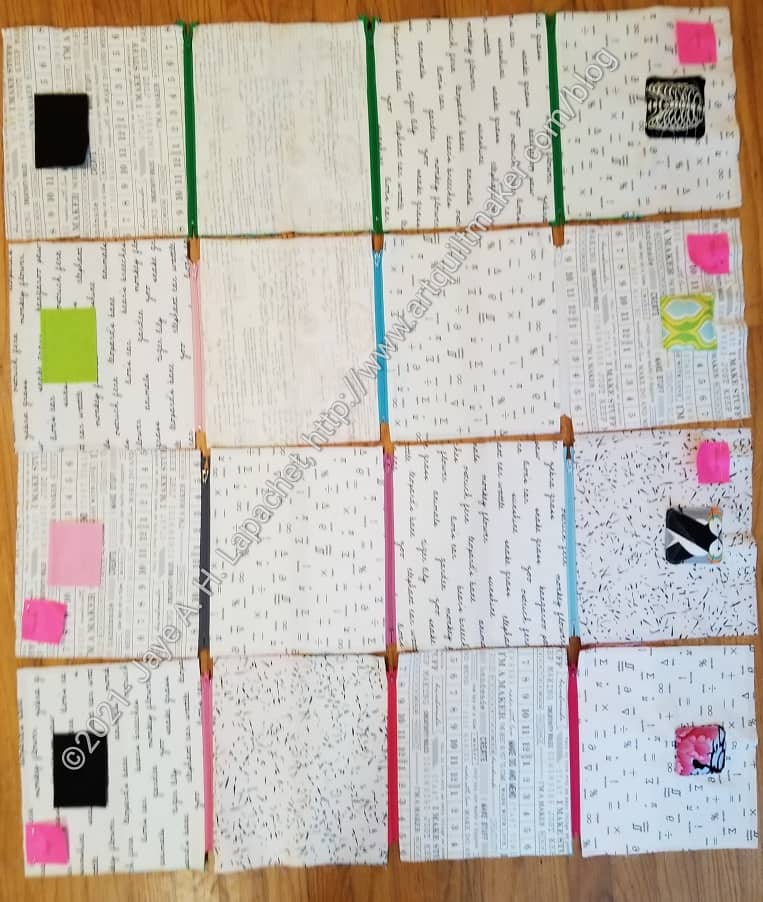
As you saw in another post, the white insides are mostly the same for the four most recent bags. It was easy to cut the whites all at once. I did put the whites in different places on the different bags, but I used, mostly, the same prints. I did run out of a few, so there are a few differences.
As I have said before, I like light interiors so I can see my tools and supplies.
Brocade Peony / La Pass STB – interior 2
I did vary the fabric in some of the pockets according to tastes of the recipient.
For mine I used a lot of pink and that great Anna Maria Horner print with the emerald green that I got in the Modern Quilter’s Box from Modern Handmade last year. I am not a huge fan of green, but something about that fabric is perfect. I also used it for a Retreat Pouch.
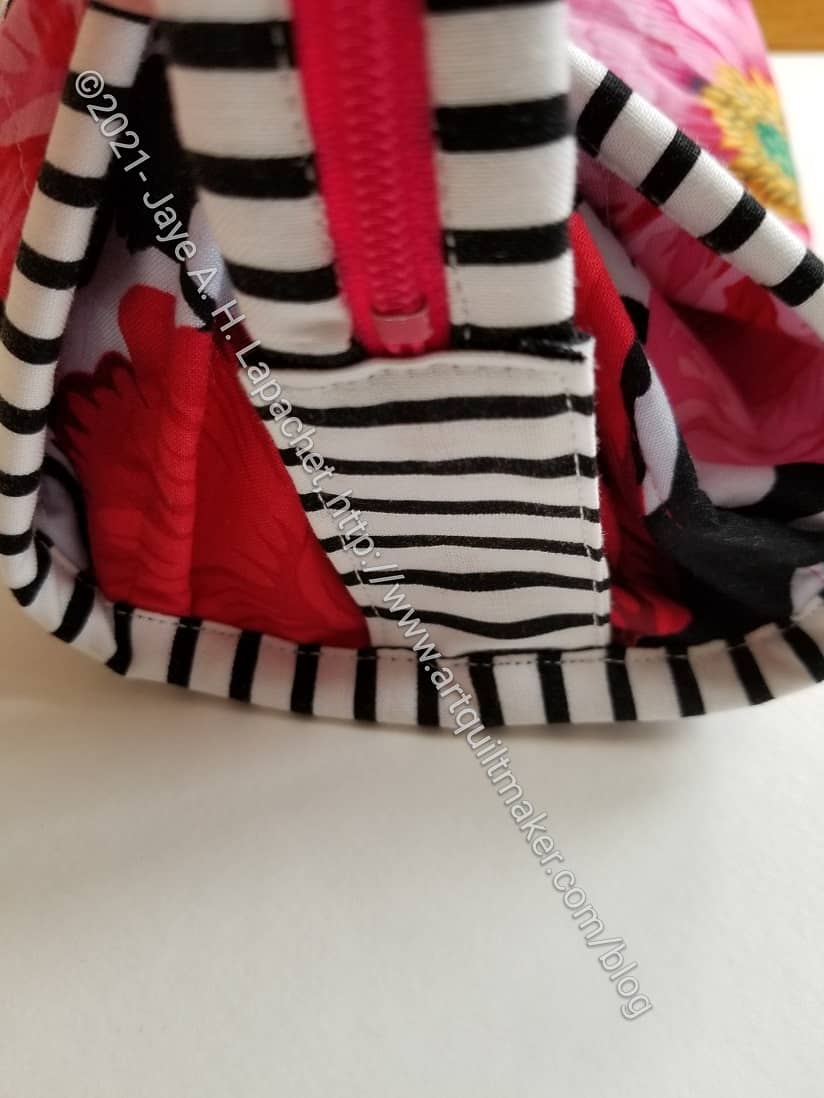
Brocade Peony / La Pass STB zipper tab detail
And look at this fantastic zipper tab. I carefully cut the fabric to match and used the directions I posted the other day for securing the zipper tab. I am really pleased with how it came out.
Now I just have to fill it with my supplies and tools for my La Pass project.
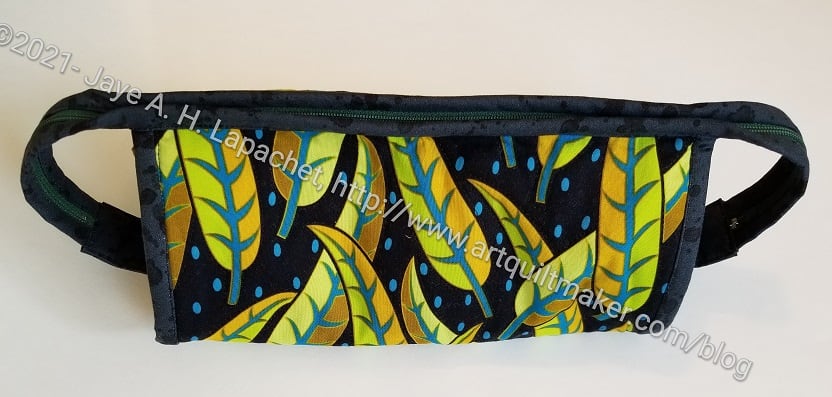
I worked on the leaf Sew Together Bag over the weekend and was able to finish it. Yay!
As shown the other, this used a Jane Sassaman leaf fabric for the outside. I used black for the binding, though green might have worked as well. I don’t have a lot of dark green. I think the black is a good choice.
Leaf Sew Together Bag – open
As you saw on another day, I made all the insides light colored so items stored inside are easy to find.
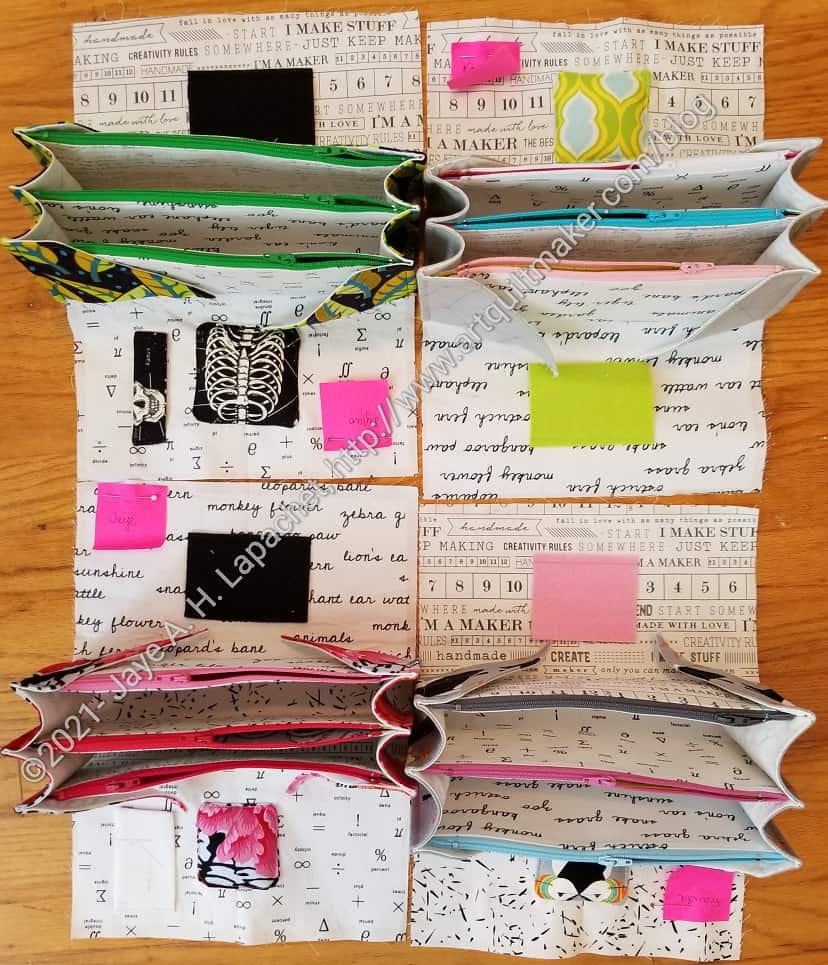
The recipient works for a public health department and I have been assured she will like the ribs.
I did the pincushion a little differently from my red-violet Sew Together Bag. I made it much smaller and I machine sewed it to the interior. I don’t know if that is better, but we will see.
The flap on the right of the pincushion is for WonderClips. I think Sew Tites could be stored there as well.
I spent last weekend finishing the Sew Together Bags. Mostly what I had to do was put the bindings on.
In the last batch of Sew Together Bags, I did something a little different. I tucked the zipper tab into the side binding to make it look really finished. Look for a mini-tutorial about how to do this later. I did that again, so it took me most of two days to get them completely finished. Now they are and I am really pleased with how they came out.
These were much easier to make. I felt like I was playing a bit and not fighting the pattern. I guess that is what comes after you have made 14 of them!
I spent a lot of time over the weekend working on these bags. I have to say that it was a joy. I do want to get them done, but I really enjoyed the process.
I talked, a long time ago, about trying to be process oriented. It is hard and I have to focus on it. This sewing didn’t feel hard. I just moved through the process steadily, listened to an audiobook and felt very happy.
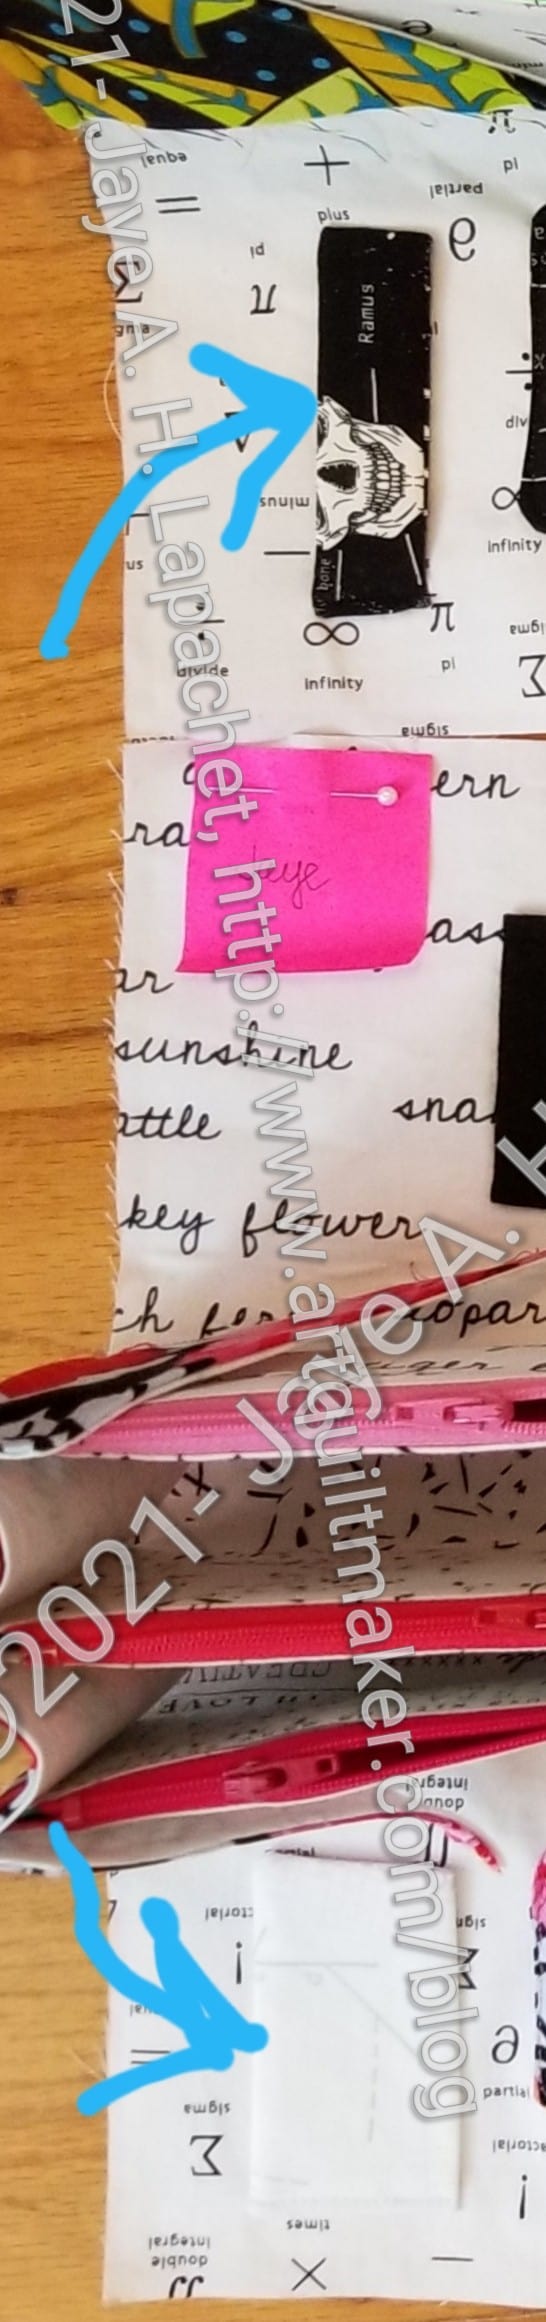
I also added a little flap to hold WonderClips. It isn’t a great solution and I’ll have to think of something better for next time, but it will hold WonderClips, which will keep them from falling out of the STB if it gets turned on its side.
The arrows point to the flap. I want to hide end somehow for future models as it is hard to get the end straight with the seam allowance pushed down into such a small space.
I am not sure if this is actually called a pocket panel. I might have heard that somewhere else or in another bag pattern. It fits the description, however.
I tried to match up the different zippers with the exteriors of the bags. Stayed to see what you think about my matching.
In the photo, you can see that I have already added the needle holder and pincushion. I haven’t found a good pincushion size. I did something different this time, which was to sew the pincushion to the lining piece by machine. I have sewn them by hand before. The pincushions are also much smaller. Not sure that is good, but we will see. I am sure I will make more in the future.
It occurred to me that I should add a WonderClip holder. I wish I had thought of it sooner, but I can still add something.
I mentioned the other day that I had gotten my sewing machine back in gear. Some of my supplies, etc are still packed, so I am kind of doing ‘camping sewing’ – making do with what I have.
What I worked on was the exterior and sides of the Sew Together Bag pattern. I am making 4 of them this time. One is for me and the others will be gifts.
Leaf STB exterior
Leaf STB exterior
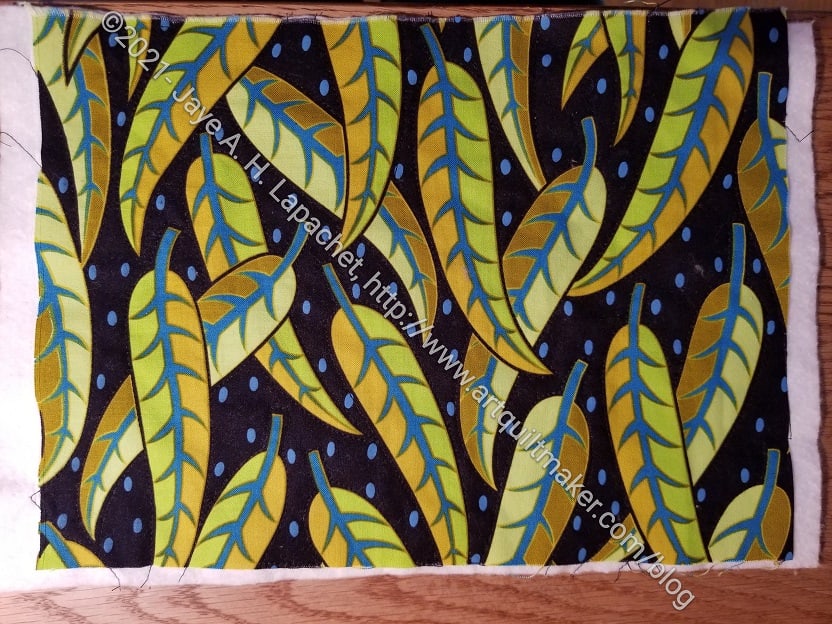
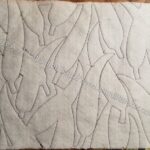
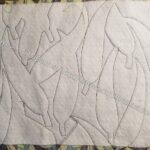
The first thing I did was quilt all of them. The two pieces above are from the leaf print. There are two pieces because I wanted the leaves facing up, so I had to use the ‘directional print’ directions for the exterior. Viewers cannot really see the quilting from the outside, but it looks great from the inside. I used a straight stitch and my quarter inch foot*
I did a little quilting on the others, mostly because I wanted to get to assembly.
*part of the ‘camping’ since I don’t know where my box of other feet are at the moment.
Yes, I am making 4 more Sew Together Bags. Yes, I started cutting at Sew Day in July. Yes, I am writing about these now, because I was finally able to make a tiny amount of progress on a non-La Pass project. No, I didn’t sew, but I cut the rest of the fabric for the 4 bags and am now ready to quilt the exteriors.
Jaye’s Sew Together Bag – closed
TFQ Sew Together Bag – closed
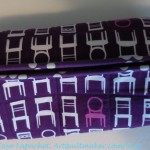
Purple Chair Sew Together Bag – closed
Mom’s Watercolor Box Sew Together Bag
Embroidery Sew Together Bag Closed
SIL #2’s Sew Together Bag – outside
Beth’s Sew Together Bag
Carrie’s Sew Together Bag – outside
Sue’s Sew Together Bag
Tim’s Sew Together Bag
Since I discovered this pattern, I have made 10 different versions of this pattern. Two are mine and the rest were gifts. As I have said, this isn’t the greatest pattern, but people love it. Recipients are also pretty impressed by the intricacy. I feel like I really got the whole process the way I like it on the last batch. I am excited to get finished with the prep and start sewing these together, if I can ever sew again.
During the tutorial session on Saturday during Sew Day for the Ultimate Carry All Bag, Lynette showed how to complete the front panel. I had tried and messed it up. Don’t worry, though, I will write a tutorial for this step now that I know how to make it to post here later.
UCAB front and back panels
Lynette went further than I had planned. I had planned on just doing the front zipper pocket, which I talked about the other day. She showed us how to complete that pocket, plus apply the pocket to the front, add handles and make the back panel with handles. I am really glad as it makes the tutorials move along faster and I have to create fewer. I am not afraid; the work just takes time.
One thing that came out is one piece was missing from the list on the pattern of pieces we needed for this step. On part 2, pg.16, you need to add L6, an 8×8 lining piece, to the list of pieces you’ll need. This pattern would improve significantly if the designer went through and numbered all the pieces. I know you know that we did that at the beginning, but you can’t number pieces in the pattern that aren’t listed.
One thing I did was use the handles I made for the All Rolled Up Tote, which I ended up not using for that project. I decided that those handles would work for this bag even though they are a little wider than called for in the pattern. One side, which you can see in the other blog post, is pleather and the side you can see above is the accent piece I sewed from Philip Jacobs Brocade Peony fabric to cover the pleather seam.
I had to unsew and redo the back luggage sleeve because I forgot to put SF101 on the back. I thought it would be ok, but decided it was too flimsy. I am much happier now that I redid it, though unsewing takes awhile.
Finally, this project is starting to look like something. With the back and front panels finished, I can see the end of the road in the distance. In some part of my brain, I feel like I am wasting time when I am working on this project. I feel like I could be working on better projects. In another part of my brain, I tell myself that I am making progress, this bag will use up some fabric in my palette, etc. It is so weird. I just think this project has been hanging around for longer than I like and I want to be done with it.
I have to remind myself that one of the reasons we started this was to encourage people to make bags and show them they could do it. Perhaps we didn’t choose wisely with this weird and difficult bag. Fortunately, it will be a useful bag. I don’t know if people will be encouraged to make other bags or be daunted.
We had another tutorial session on Saturday during Sew Day for the Ultimate Carry All Bag. This time Lynette was the teacher. I was relieved not to have to do the tutorial, because I was confused about how to complete the front zipper pocket. I had tried and messed it up. I hadn’t quite given up, but had put it off for awhile.
The directions seemed to be more complicated than necessary, but once Lynette discussed the steps, I was able to follow. The key is that L7 is sewn to the rest of the zipper panel by top stitching the top part of the zipper. you sew around the outside of the whole panel eventually, but this top stitching is such a weird instruction. I have never seen that type of instruction before.
The Mustang Purse Organizer is another project from Minikins Season 3. I decided to try out the pattern to give as a gift. I am making both sizes so the recipient can choose which works best in her handbag.
I started cutting them out at Craft Night earlier this week. I had other things to do, so didn’t get to spend the whole time on this pattern. I was able to cut out and interface the main exterior panels. I also cut out grab handles for both sizes.
There are so many great patterns in Season 3 (no affiliation!). There are really interesting shapes. It is also interesting to see how the different sizes of each pattern sew up.
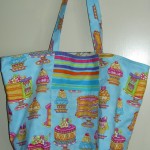
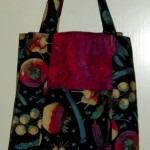
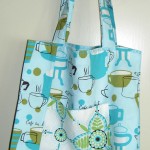
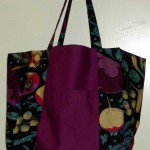
The other day I talked about the Jane Market Tote I made for the guild’s monthly door prize. it occurred to me that I had made a lot of Jane Market Totes, but I had never seen them together.
Voila! Here they are!
2011 Jane Market Totes
Barb’s Jane Market Tote
St. Paddy’s Jane Market Tote
Silvia’s Jane Market Tote
Maureen’s Jane Market Tote
Mom’s Jane Market Tote in Paintbox fabric
Donation Jane Market Tote
Jane Market Tote
Jane Market Tote
Orange Jane Market Tote
Jane Market Totes
Skull Jane Market Tote – detail
Grama Jane Market Tote
Black Jane Market Tote
Jane Market Tote in Monaluna fabric
Jane Market Tote
I am surprised to say I can’t remember making most of these. I guess they are kind of ephemeral since they go together so quickly. I am sure I will make more. I am definitely getting my money’s worth out of this pattern.
First I am excited with how well the bag came out.
Next I am excited at how well the fussy cutting looks.
Third, I am thrilled with how the Linework print and my strips fit together.
Superbloom top closed
Fourth, I am ridiculously happy about the top zipper placket. I don’t know why this bit of a bag makes me so giddy. I don’t think I have ever done one before, so that may be part of it. I’ll probably come down off my cloud tomorrow.
Superbloom open
Finally, I just love those turquoise zippers. Could they be any better? They add such a spark of color.
The lining is a little baggy even though I followed the directions and used different seam allowances. Not sure what that is about, but I will do better next time.
I was surprised at the size of the bag. I thought it was much larger. It isn’t a stupid size or anything. It is a reasonable size, just smaller than I thought. I really like the angled shape, though I don’t know if you can tell that from the top photo. I forgot to put a D-ring in it, though I know where I will put one next time. I plan to make another of these, especially since I bought the templates. So many bag patterns…so little time.