The Petrillo Bag Along Week 4

This week we are finishing. You may already be done. If so YAY!!! If not, keep at it! You can do it!

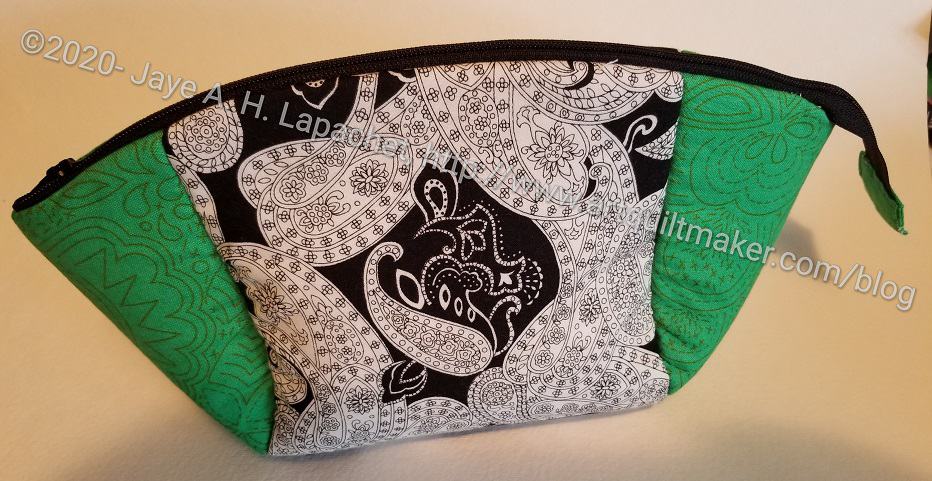
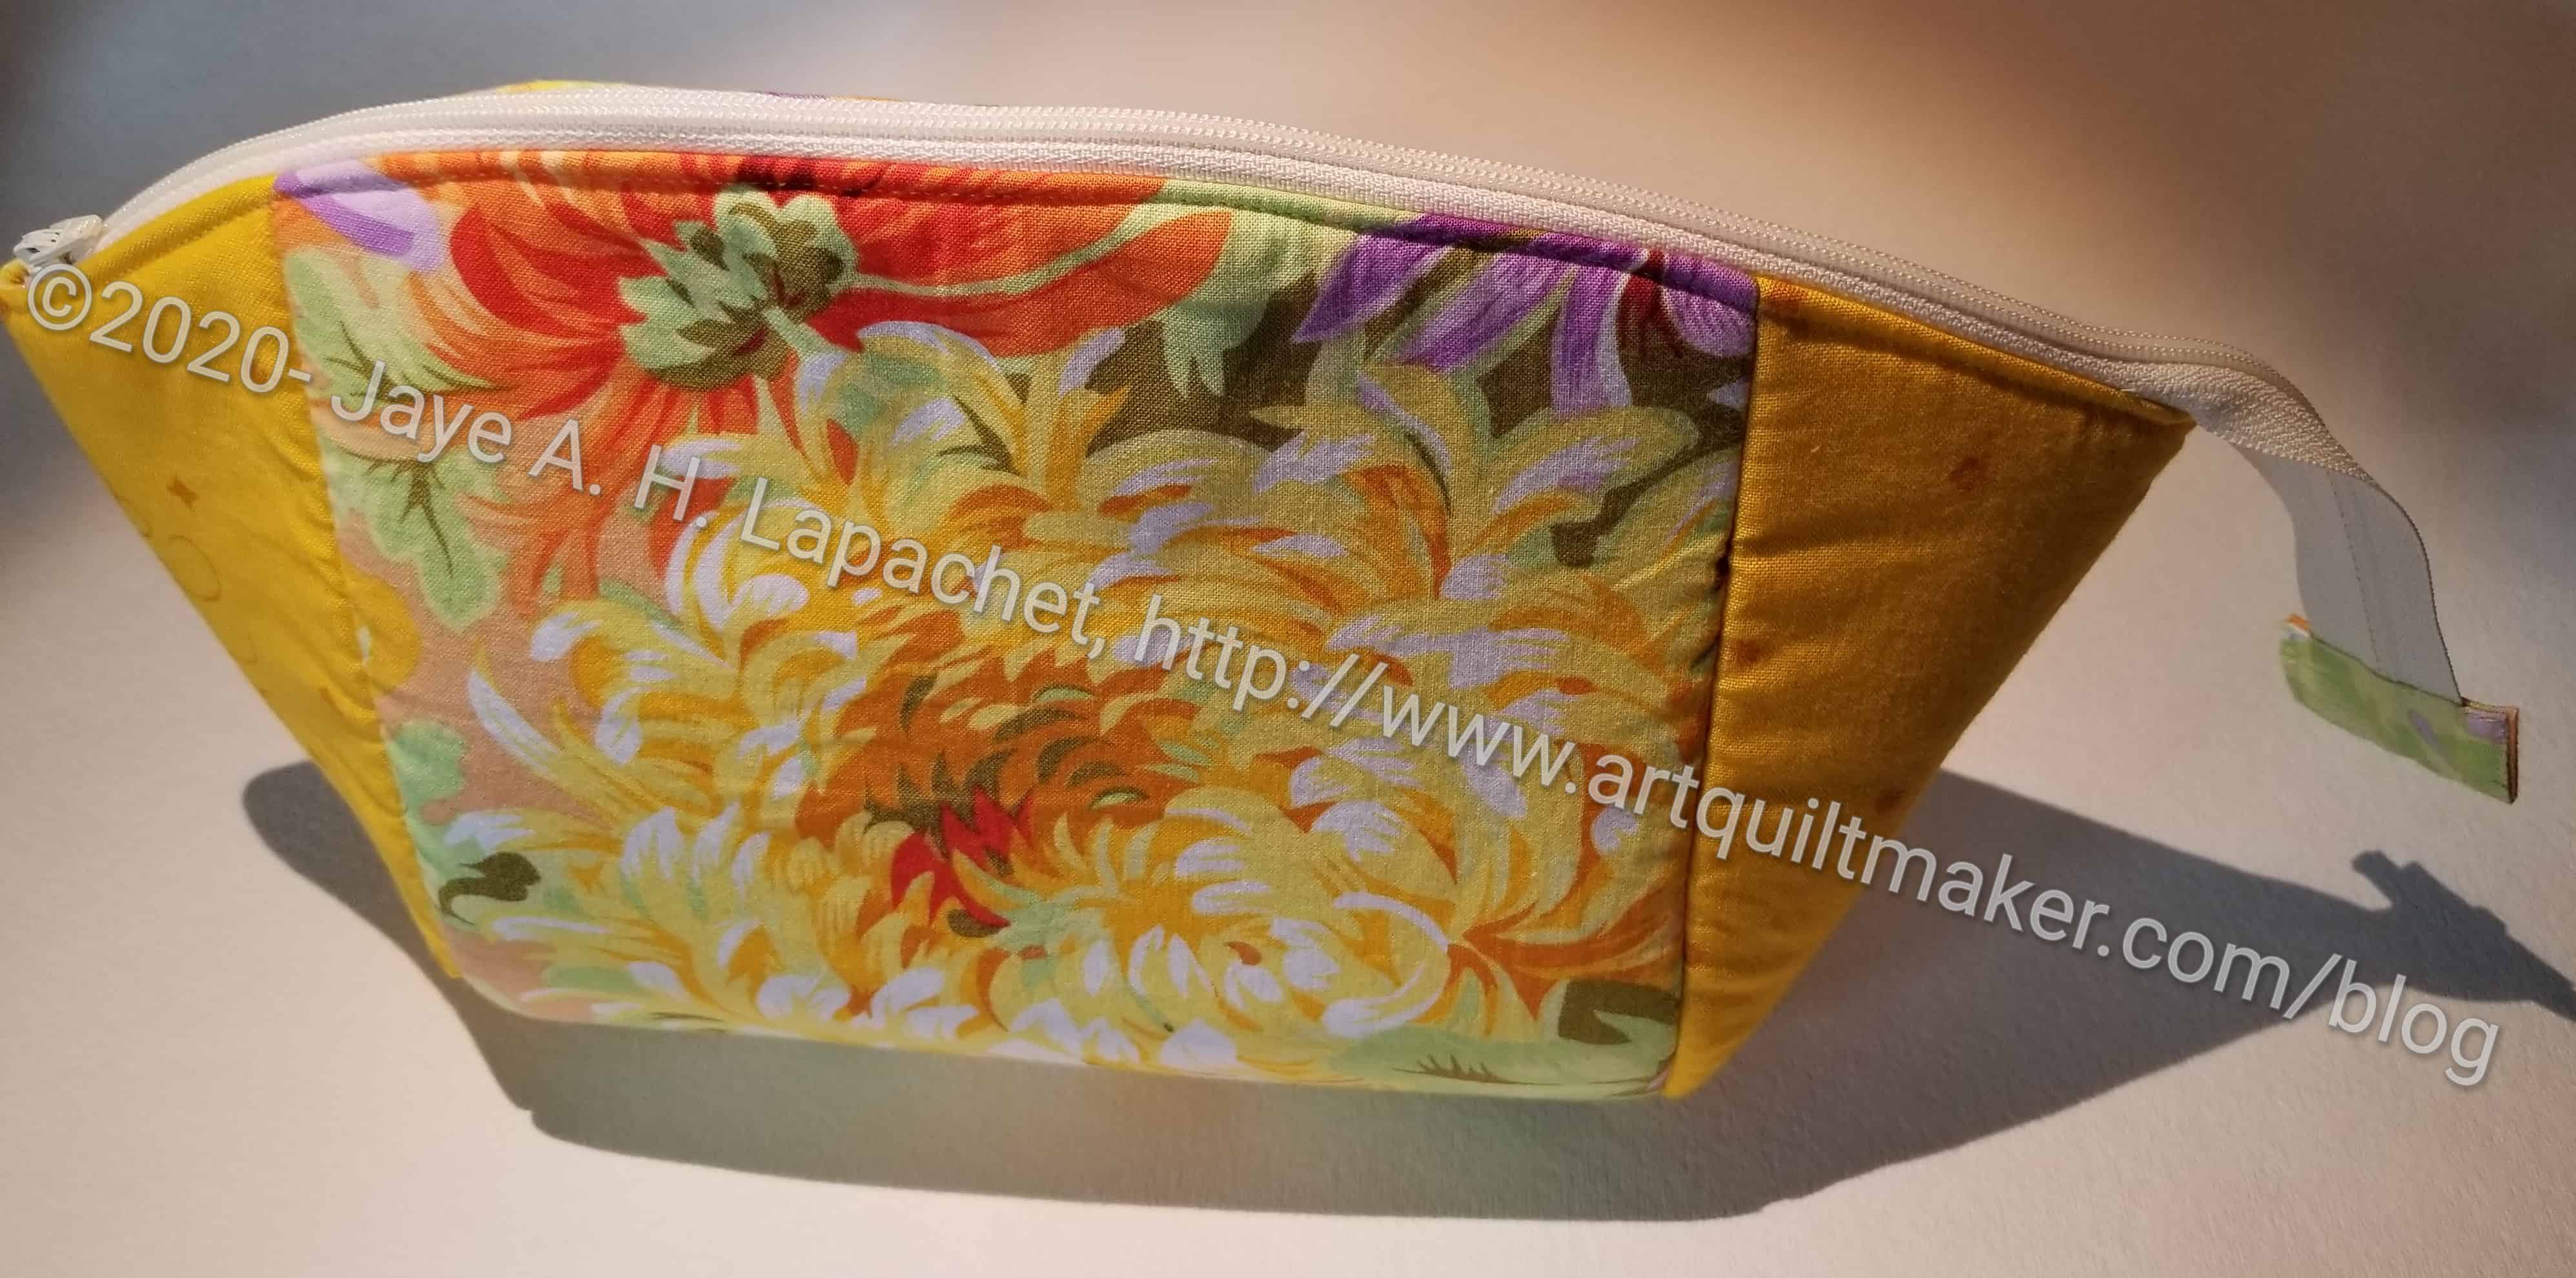
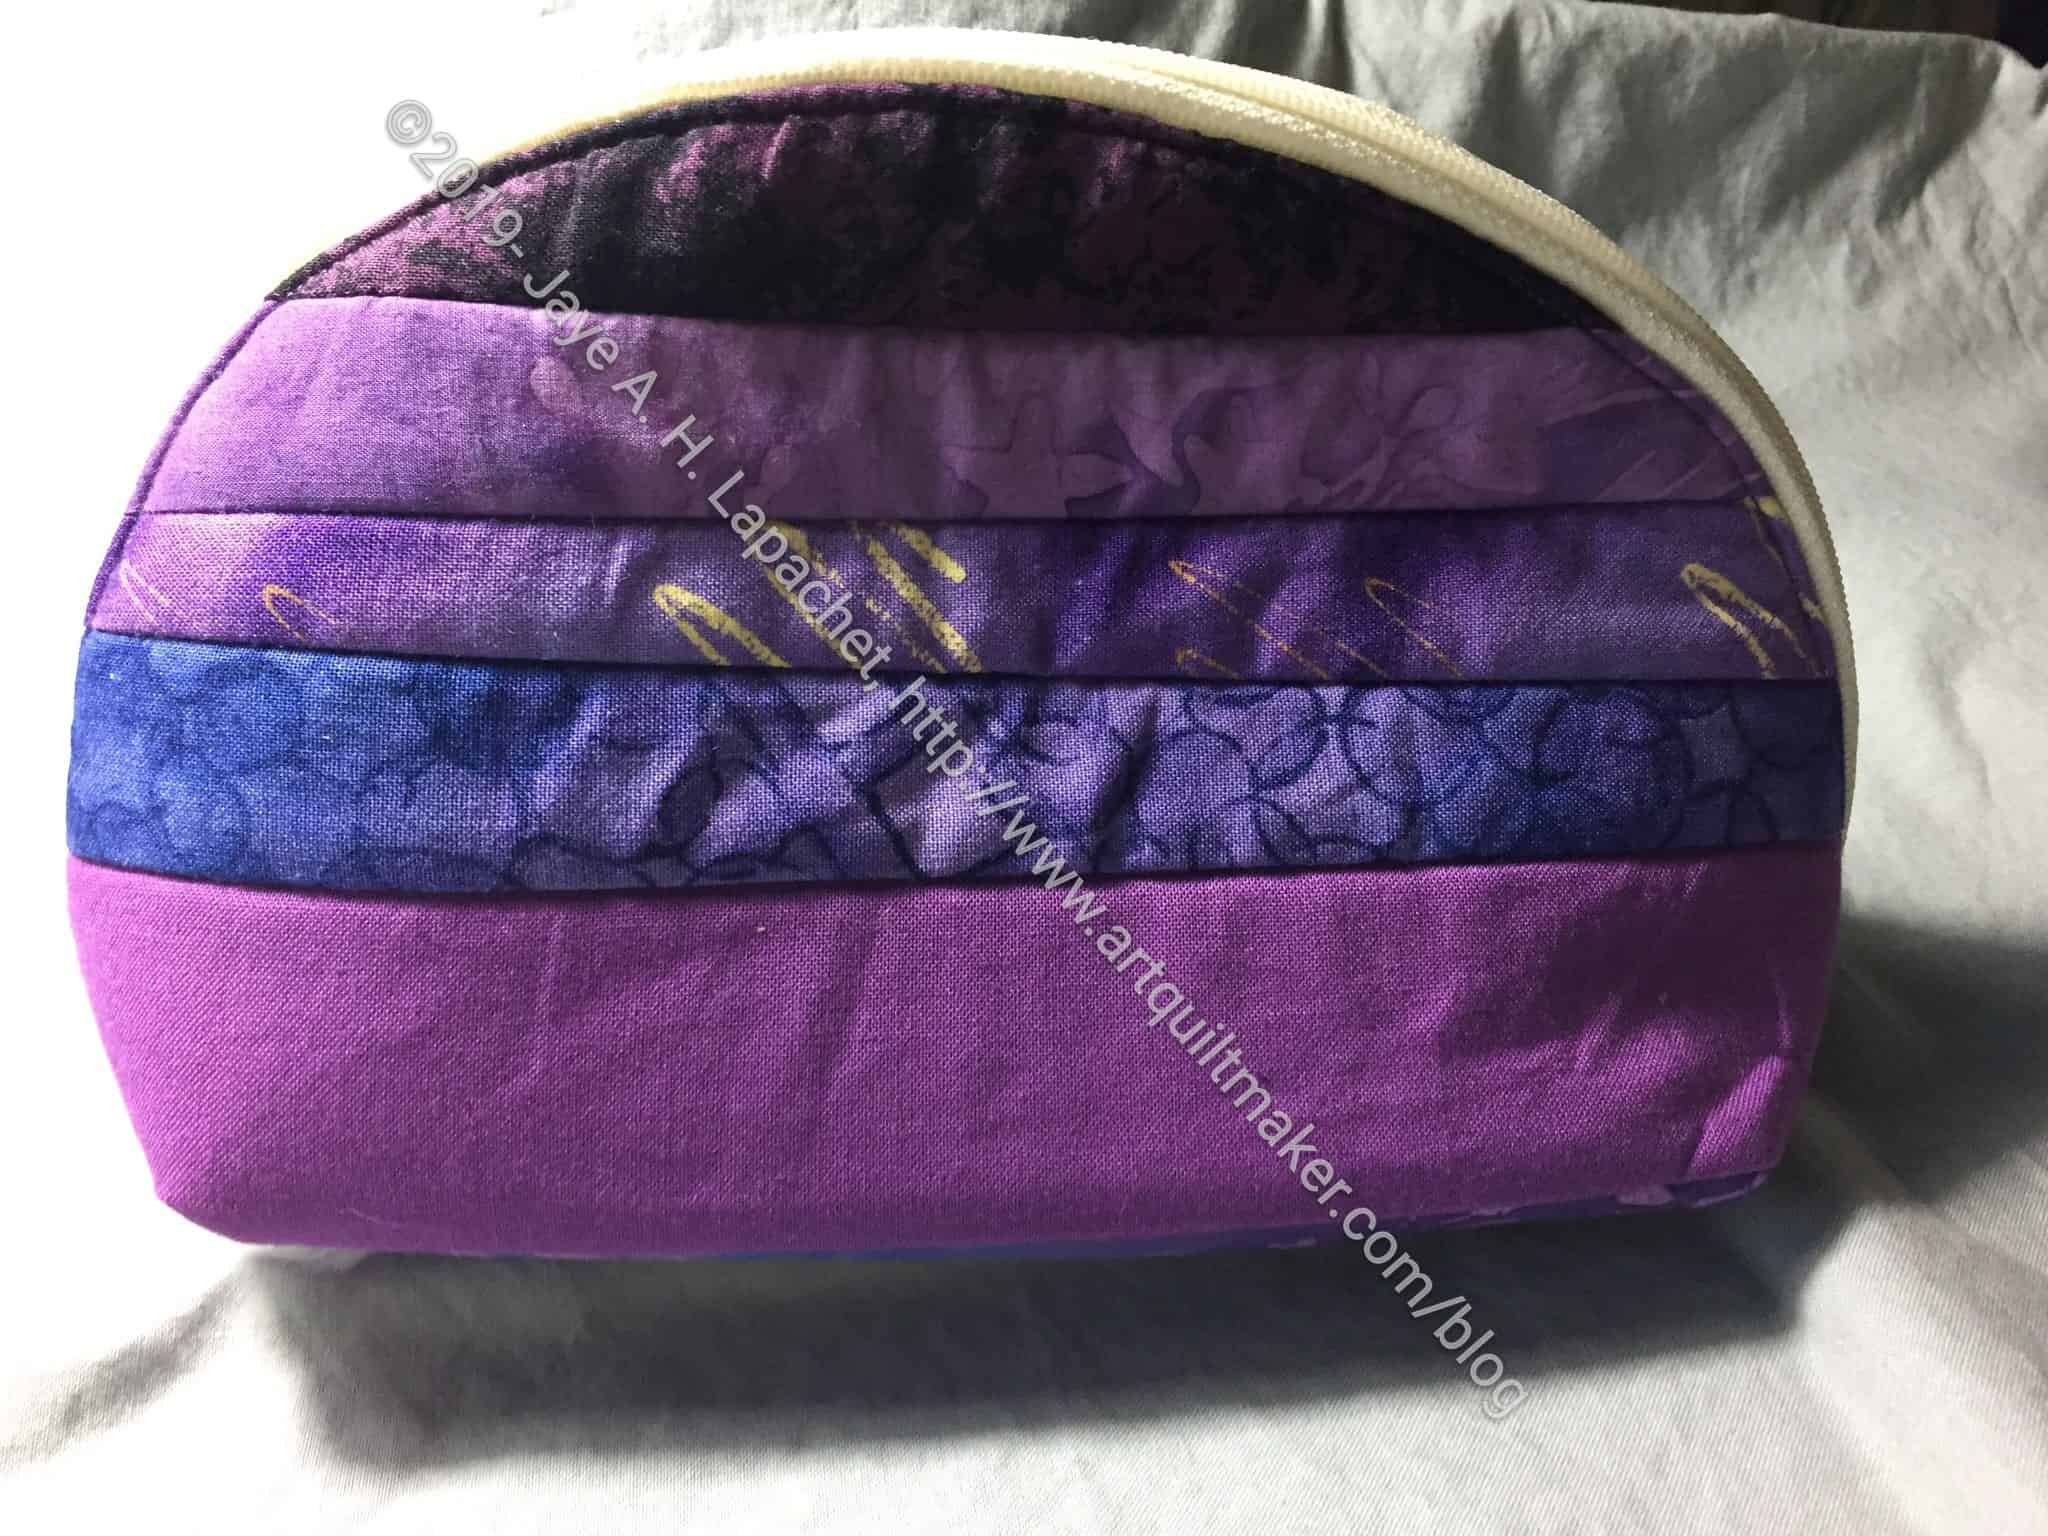
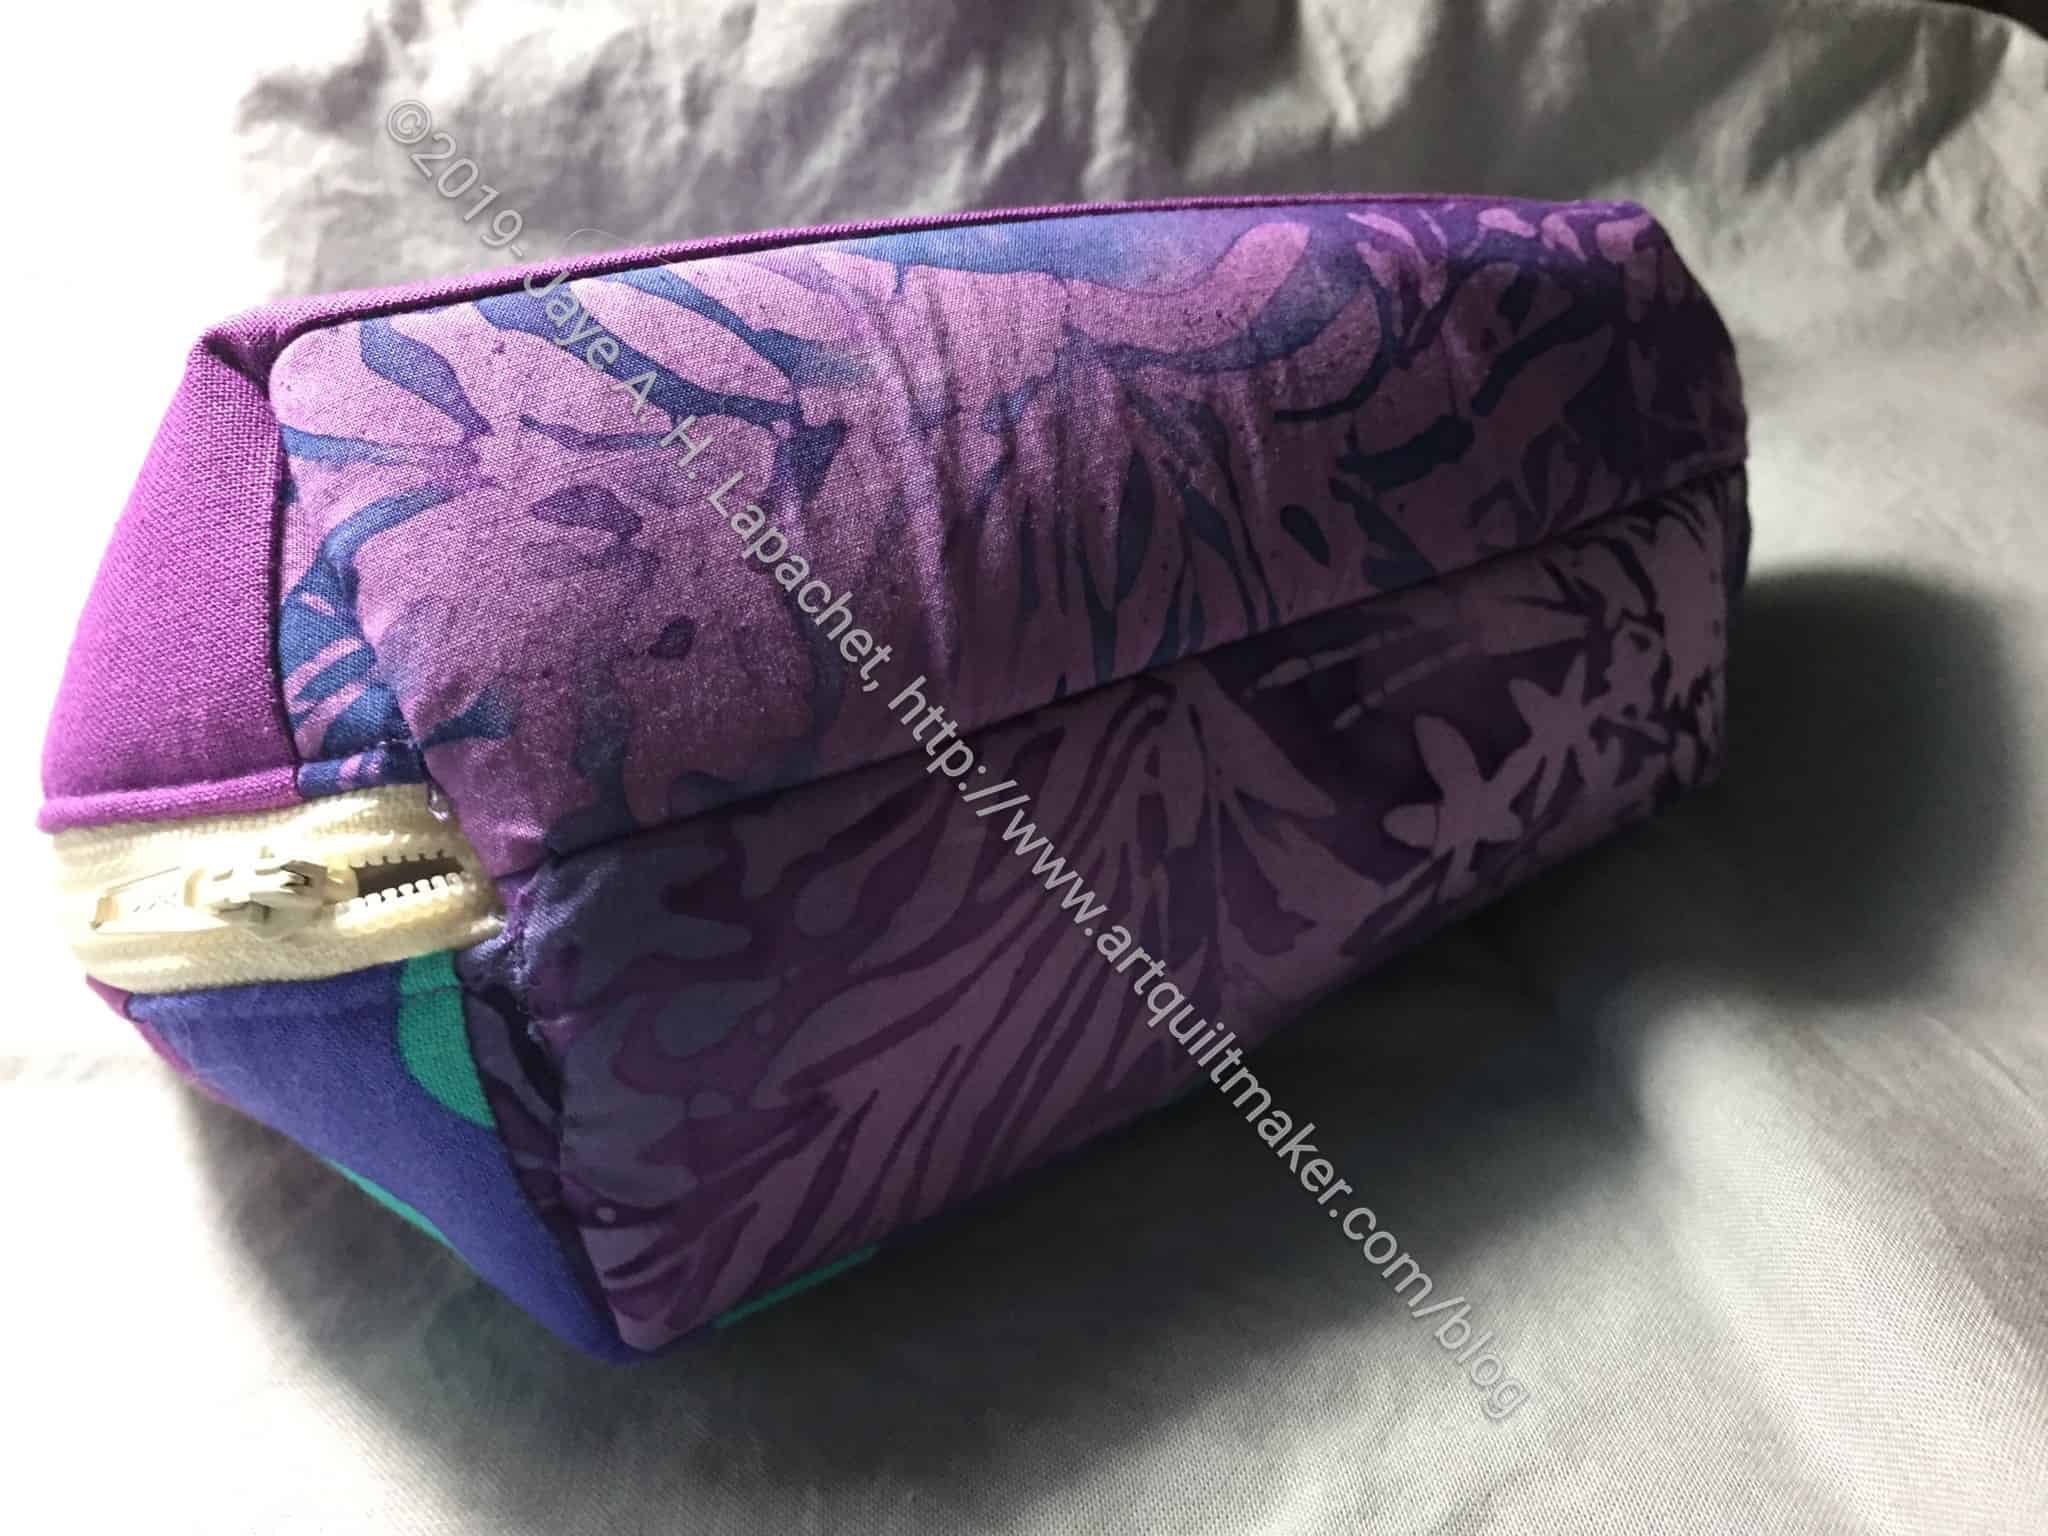
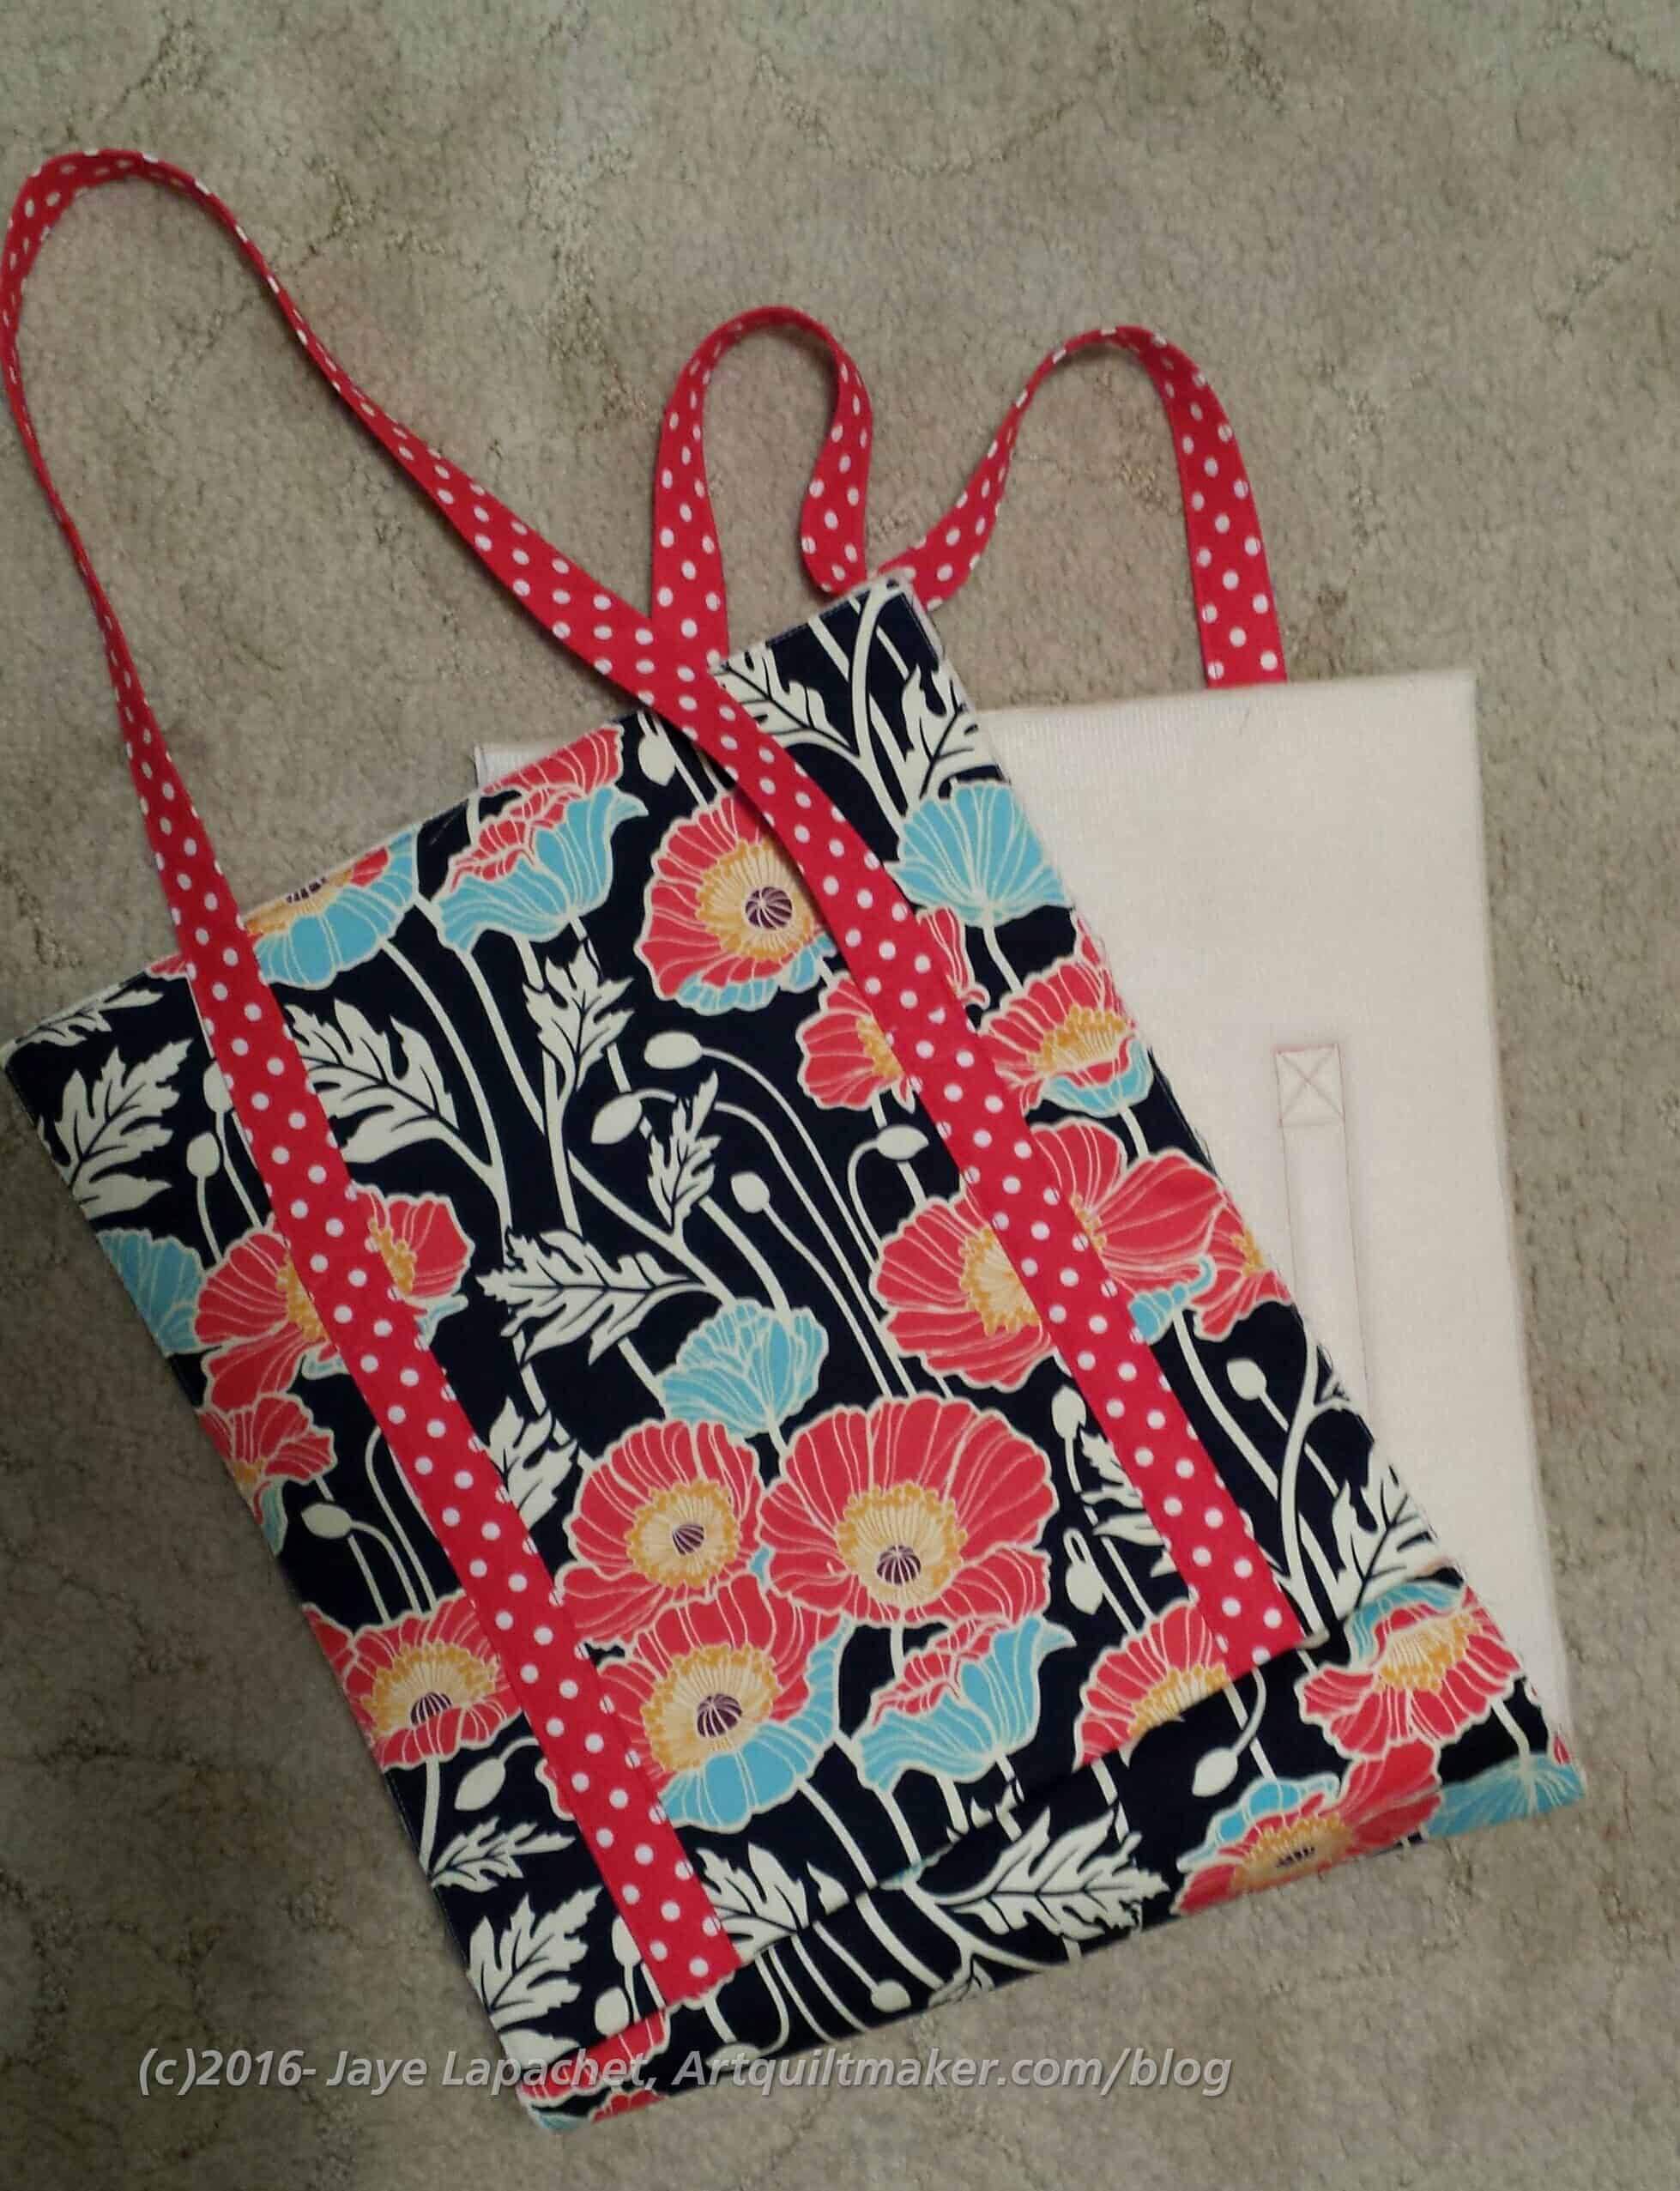
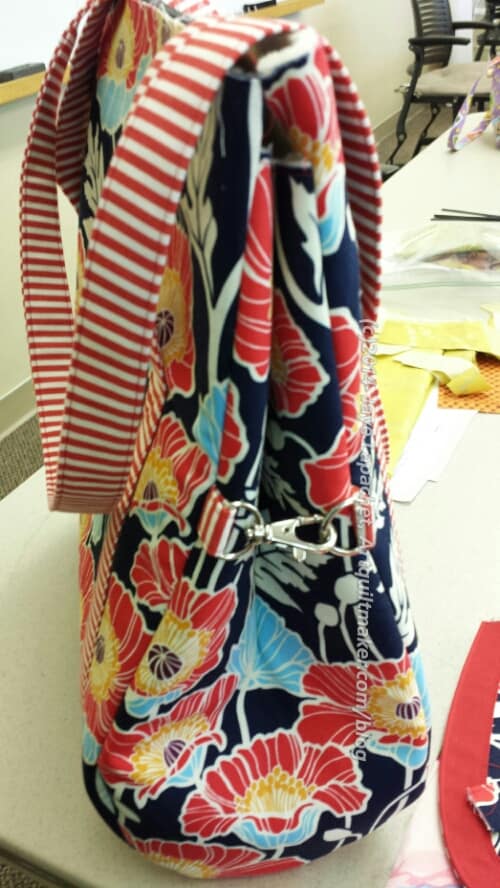
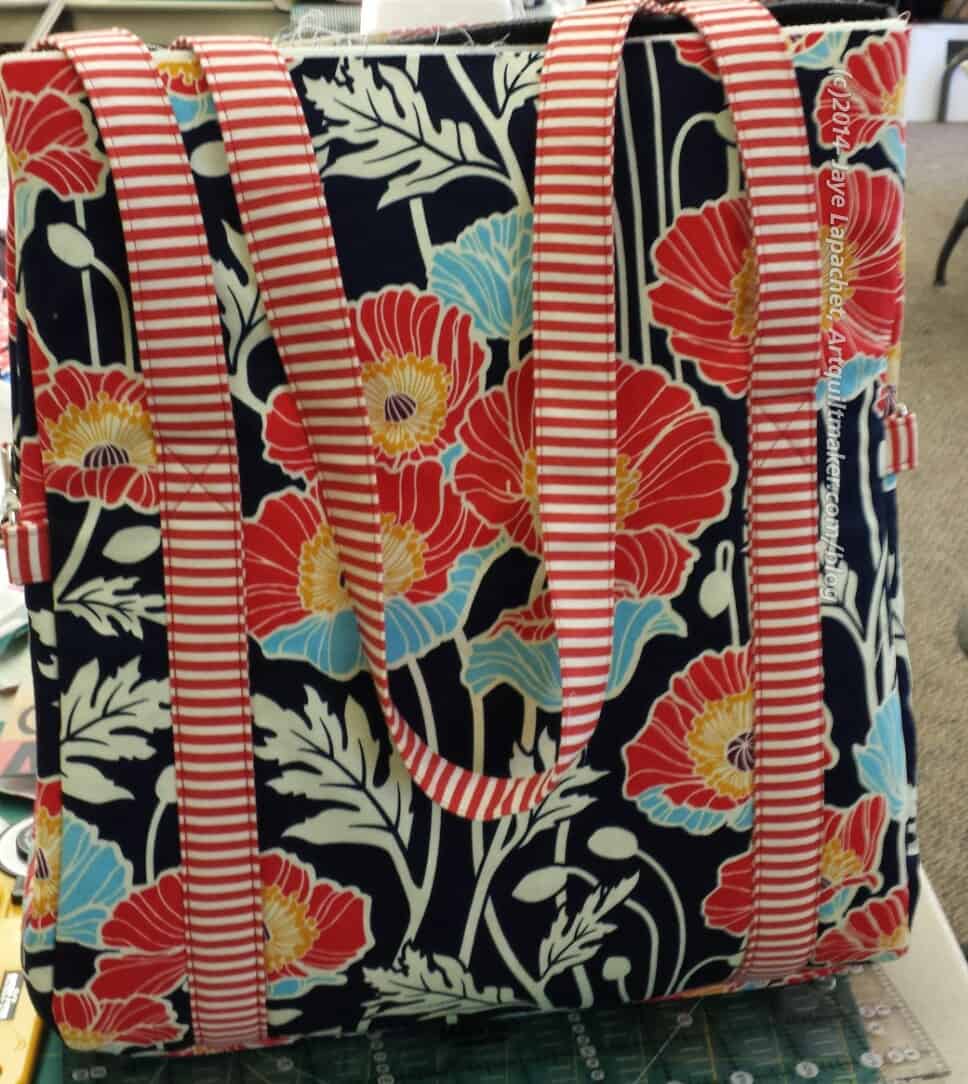
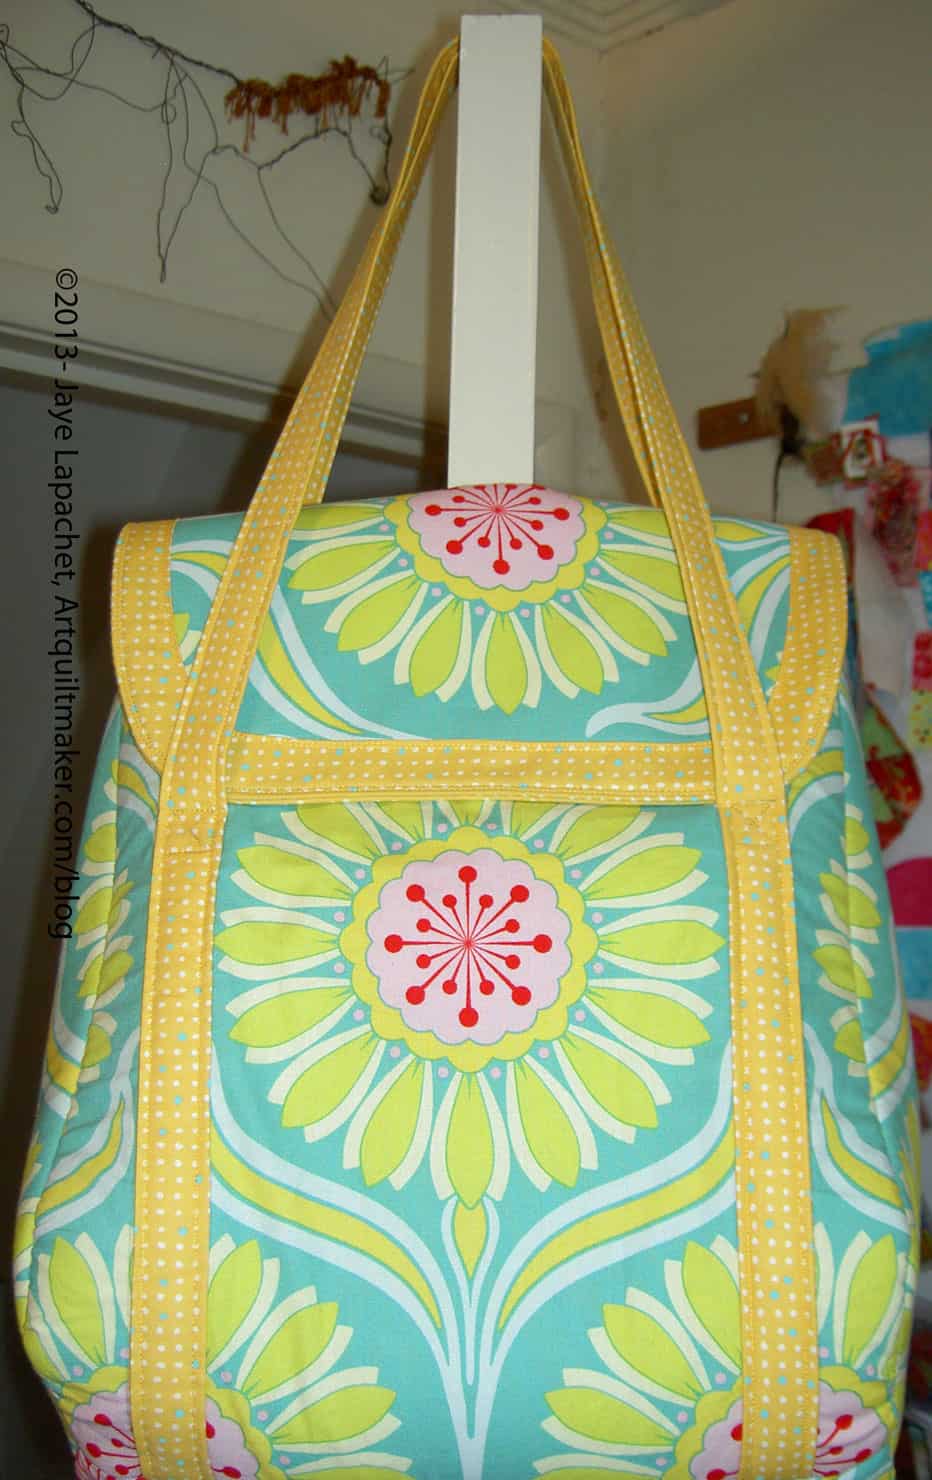
Petrillo Bag Complete

Me? Yes, I am mostly finished. I have a bit of hand stitching of the inside to do then I can say I really am finished. I will put up a completed project post when I am done.

As I have mentioned, I was out of town for part of last week including the time I usually spend sewing. That meant that I had to get back in the groove of where I was with this bag. I found that I rely on regular sewing time to keep me on track. Not having that time completely put me off my game.

It turned out that more ripping was in store for me. I had forgotten to, not only, cut the inside flap piece for the main flap used on the top of the bag, but also to sew it when I put the main flap together. Sara clearly says in Step 17 what to do and I just missed it. Sigh.

I ripped out the Main Flap top stitching, put in the inside Flap piece to line the Main Flap and resewed.

Then I thought I could make some progress, but when I tried to sew the flap to the back of the bag (Step 29) I found that I had sewed the straps too close to the top of the bag (Steps 24 & 25). Sigh. More ripping ensued. I would recommend stopping an 1″-1.5″ away from the top of the back of the bag.

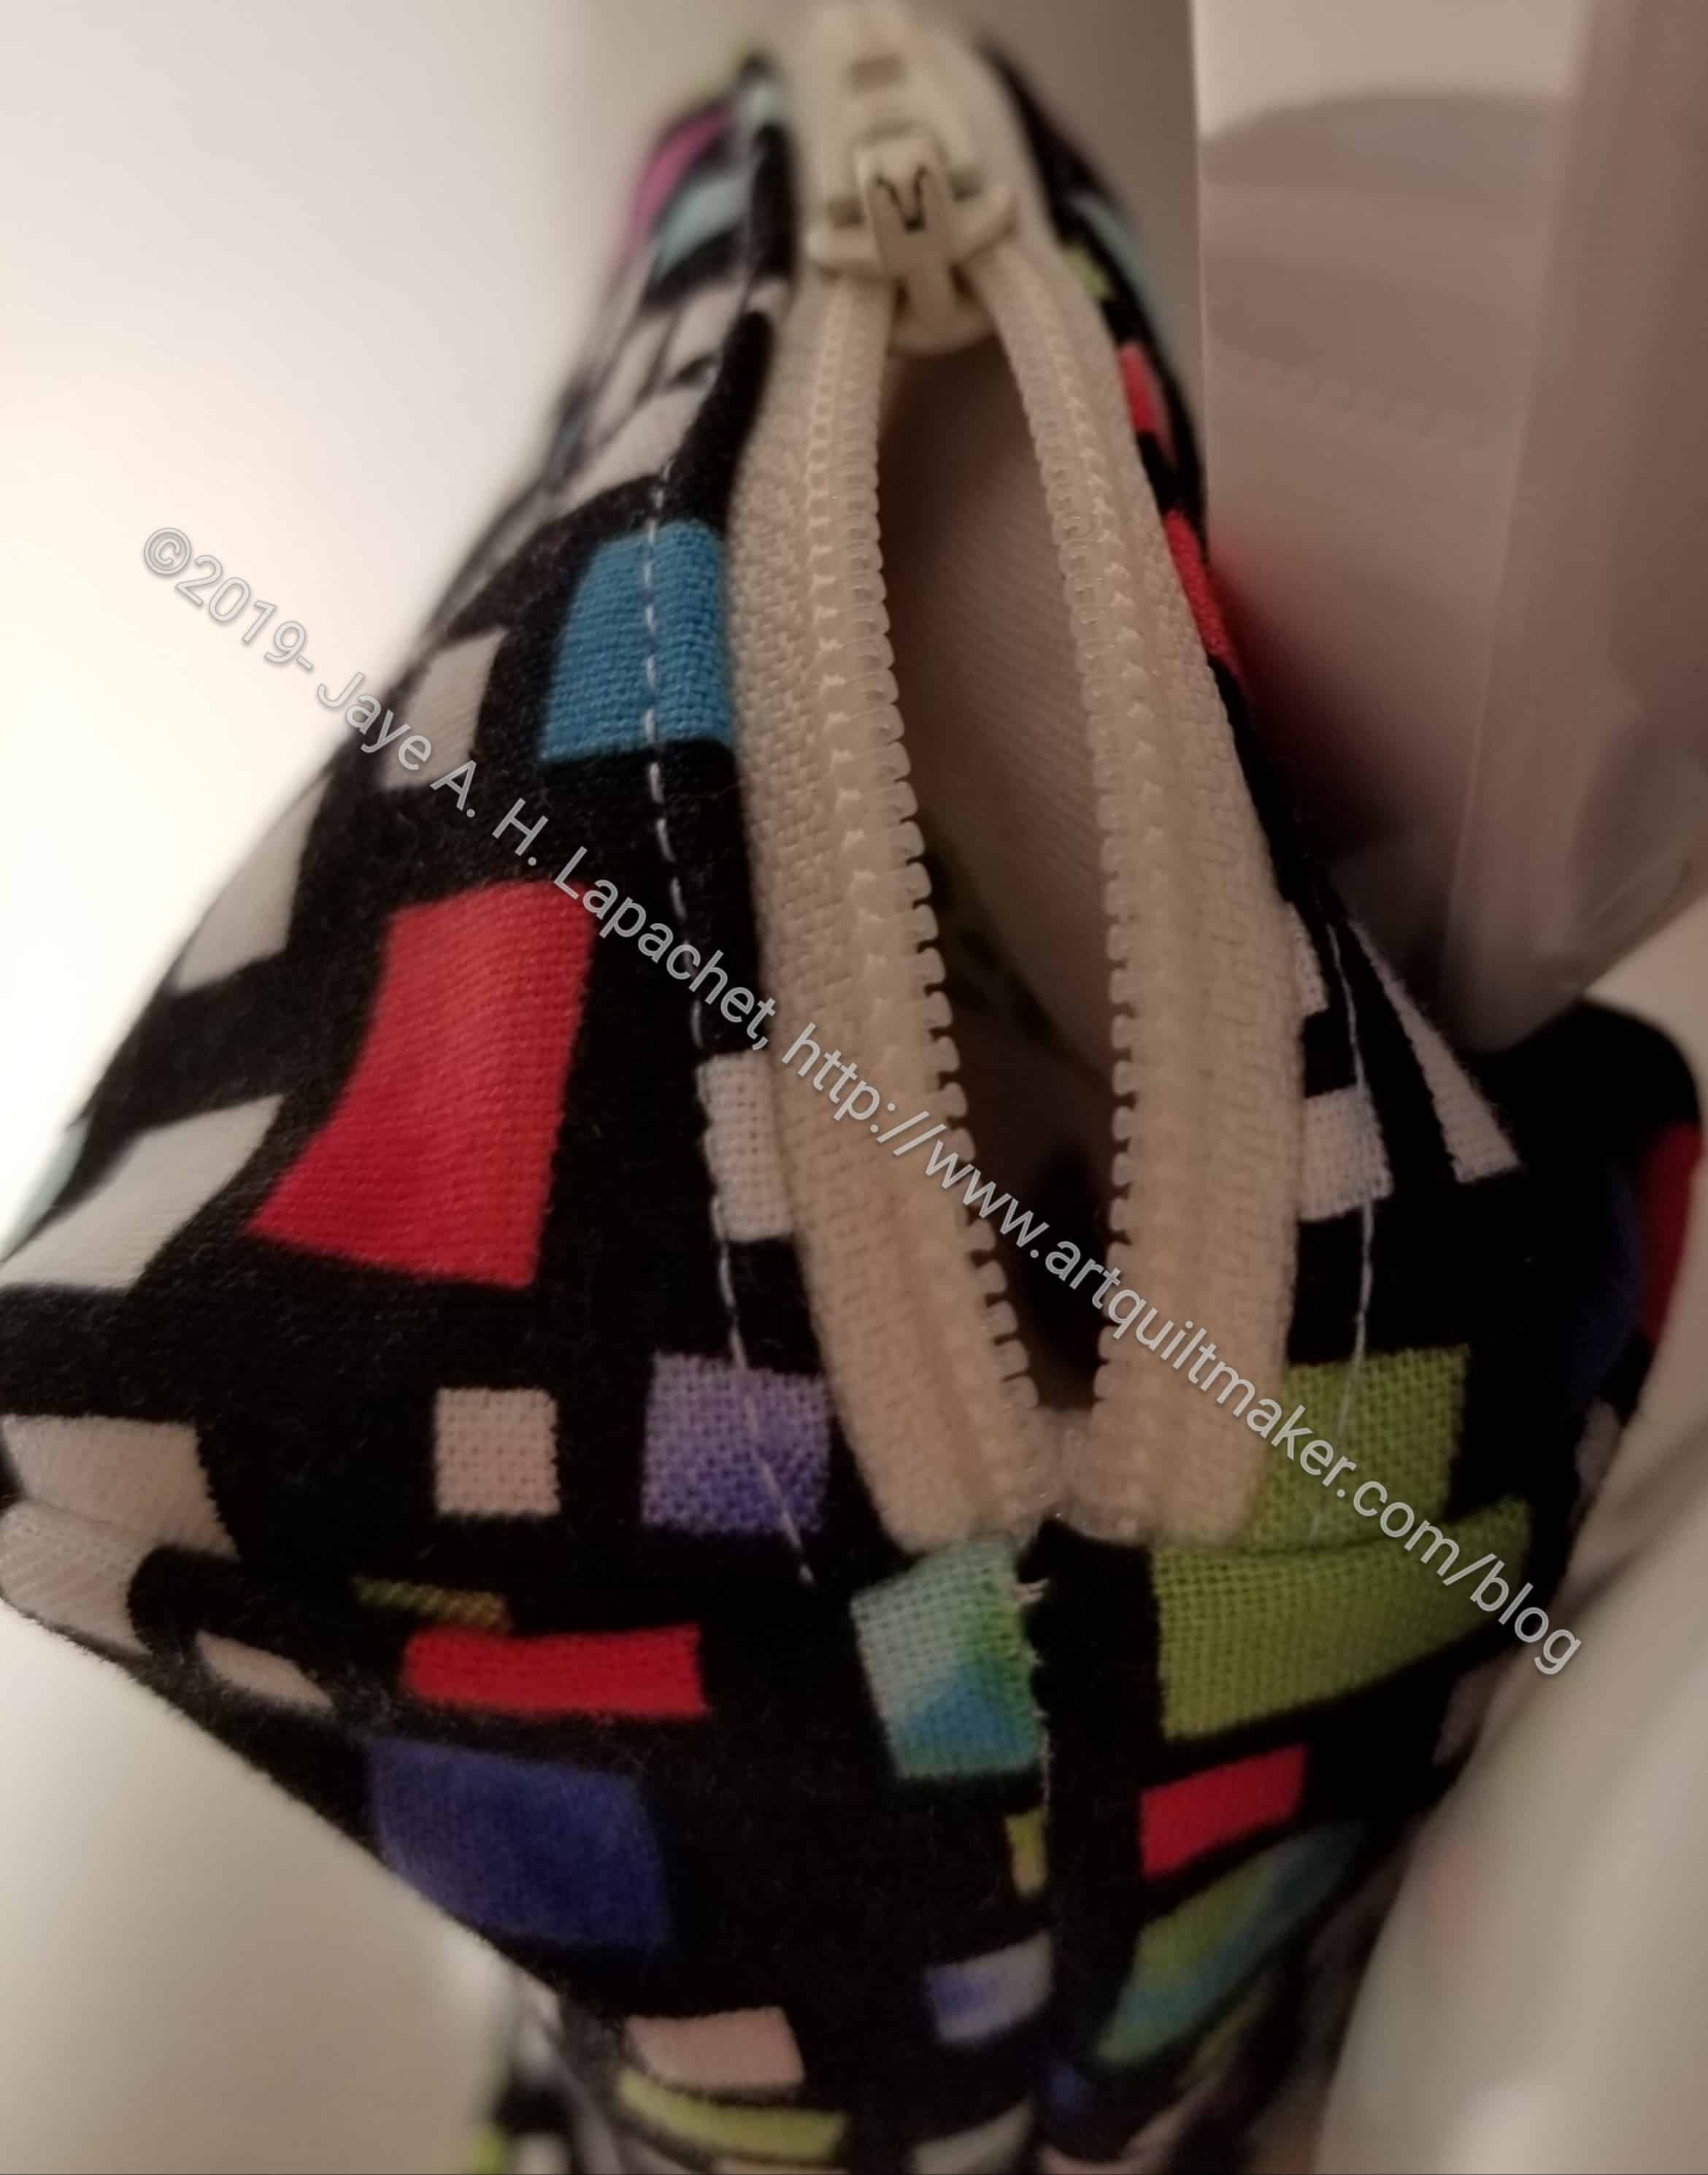
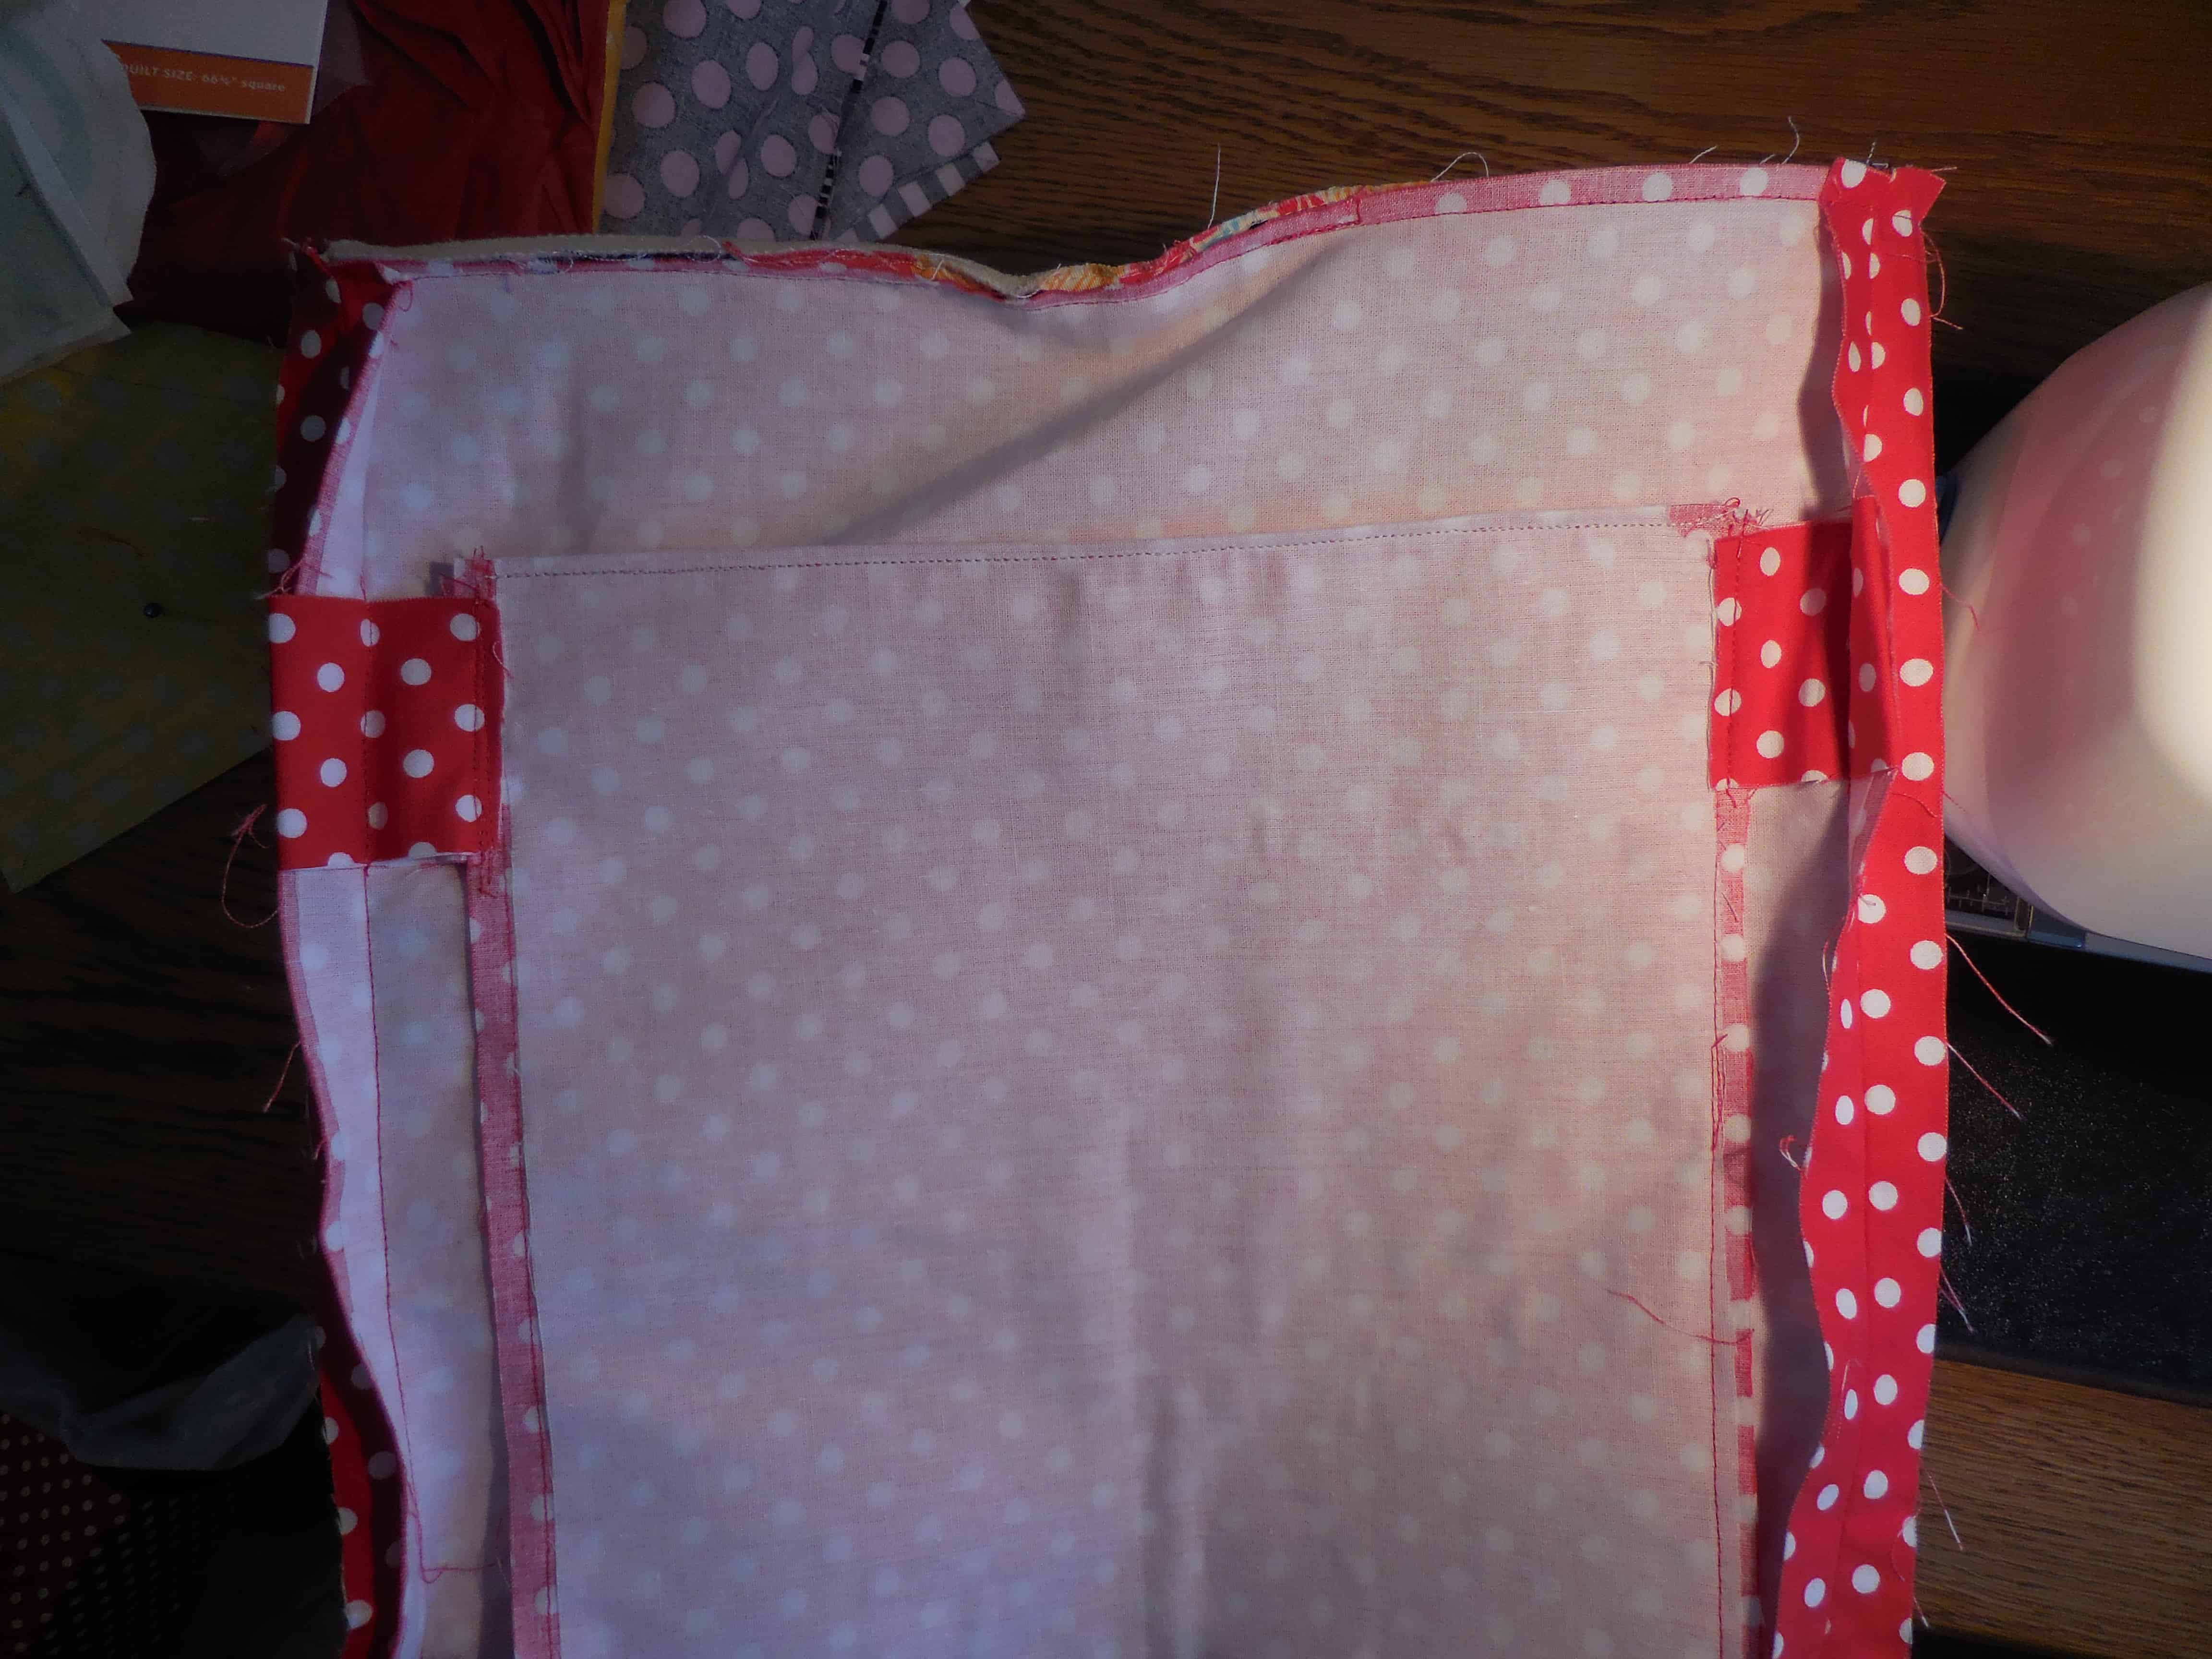
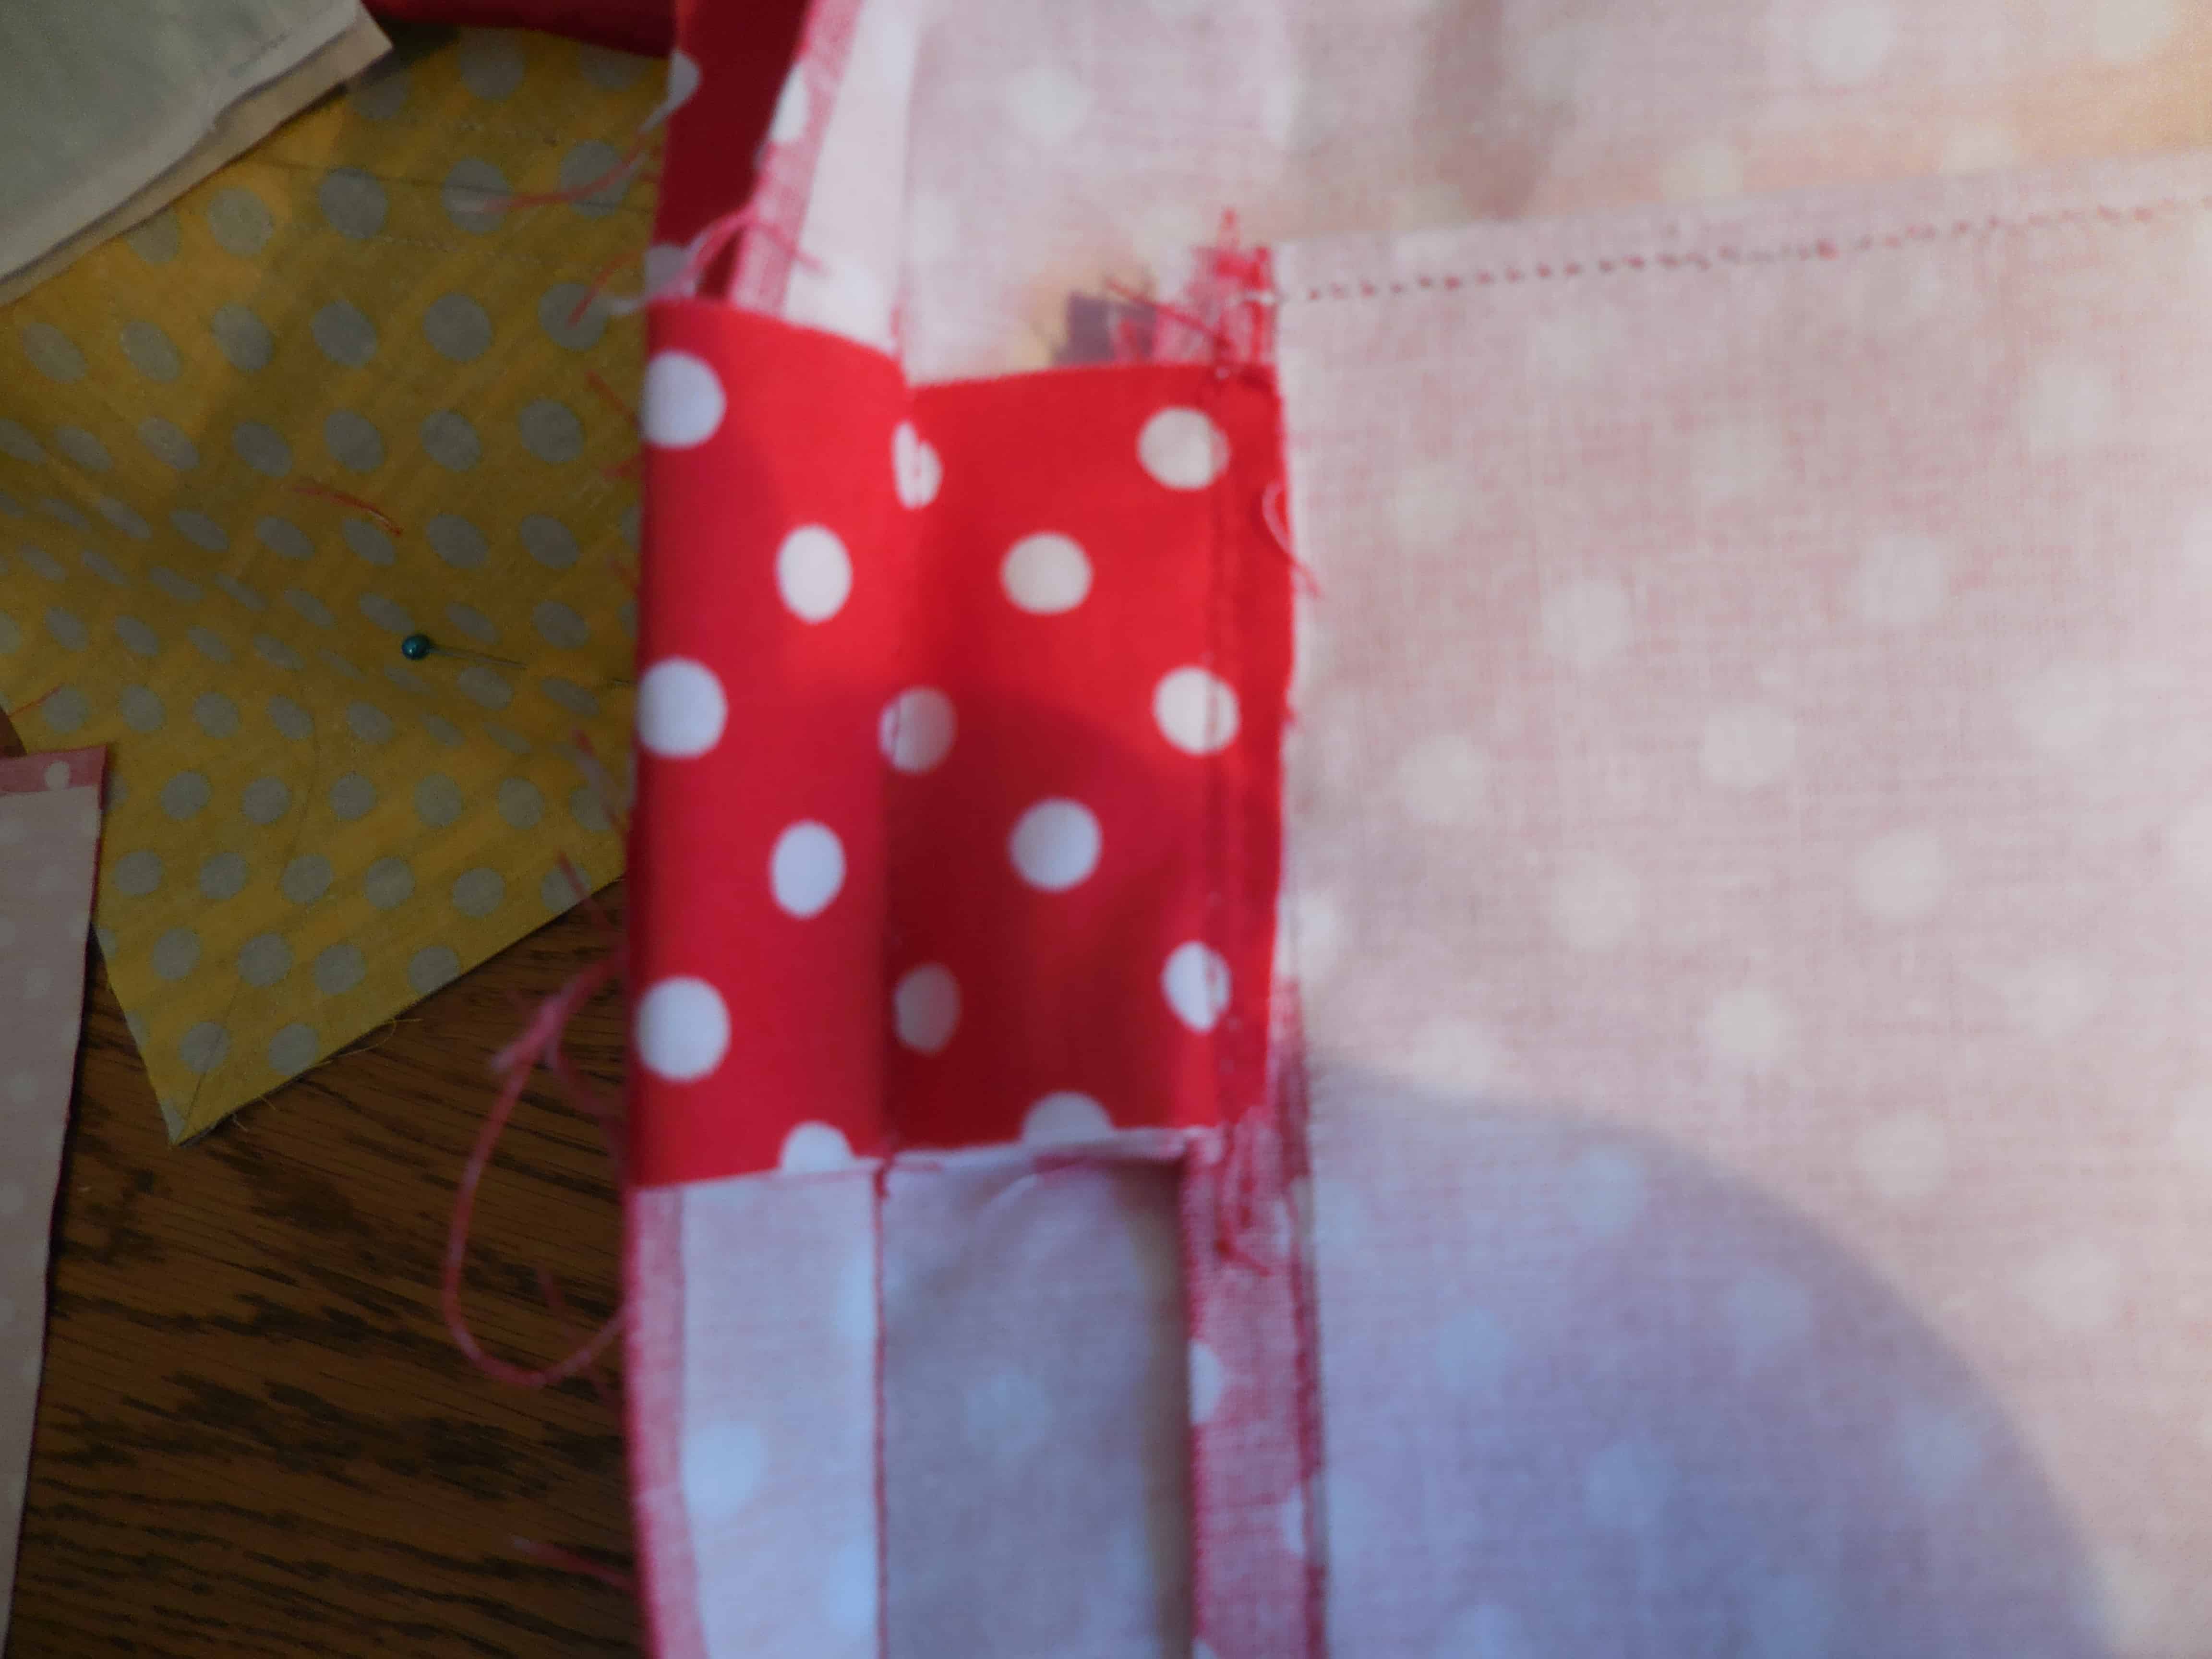
Zipper Pocket
Zipper Pocket

I also started the inside of the bag. The inside of the bag starts with the zipper pocket (Step 33). I did Steps 33-36, which include cutting the opening for the zipper. As soon as I cut the zipper opening, I was sure I had the placement of the pieces wrong. I stared at the picture in Step 33 and the picture in Step 36 and they didn’t compute in my mind. I emailed Sara and she was kind enough to email me back fairly quickly to reassure me. I still was not convinced, but I soldiered on. As she promised, the zipper pocket worked out fine.

Do I seem like I am struggling with this bag? I am a bit. It is really hard for me to read directions and do what they say. I am much better when someone shows me what to. I got through it which gives me an image in my mind. I’ll be able to breeze through the next iteration of this bag. Yes, there will be a second bag. 😉

I have to say that I do like the shape of this bag. Good thing since there is so much ripping. 😉

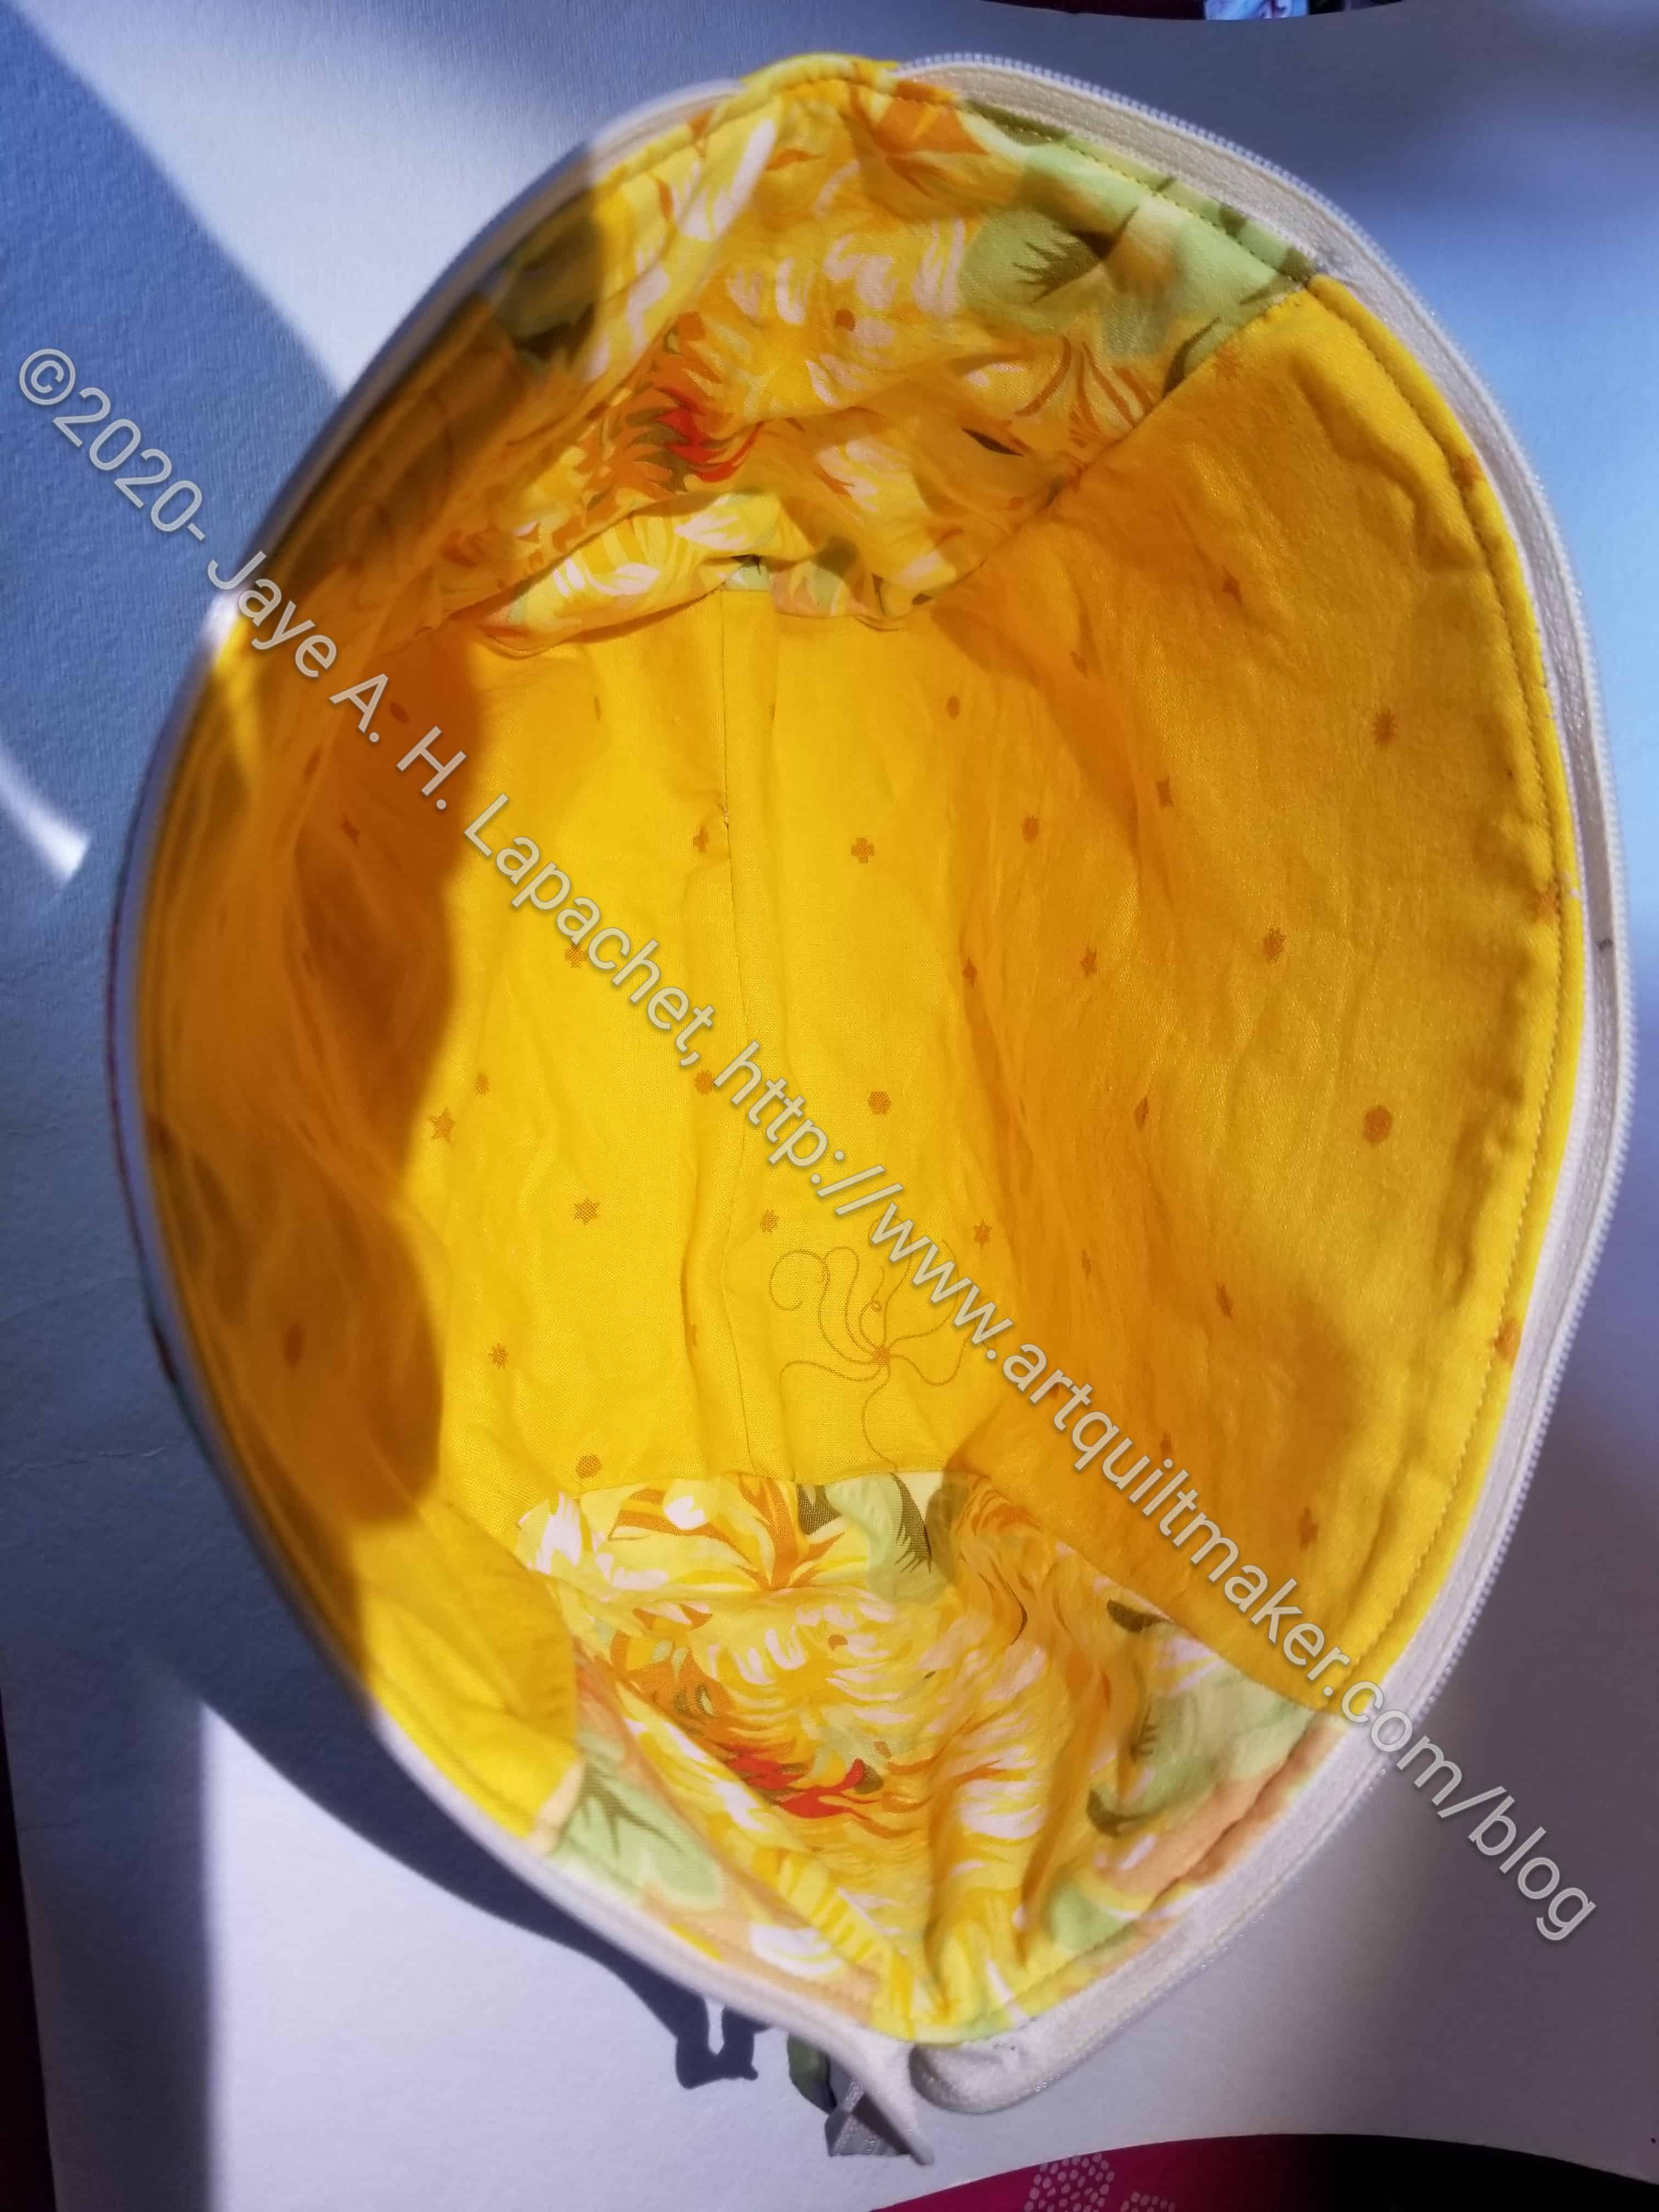
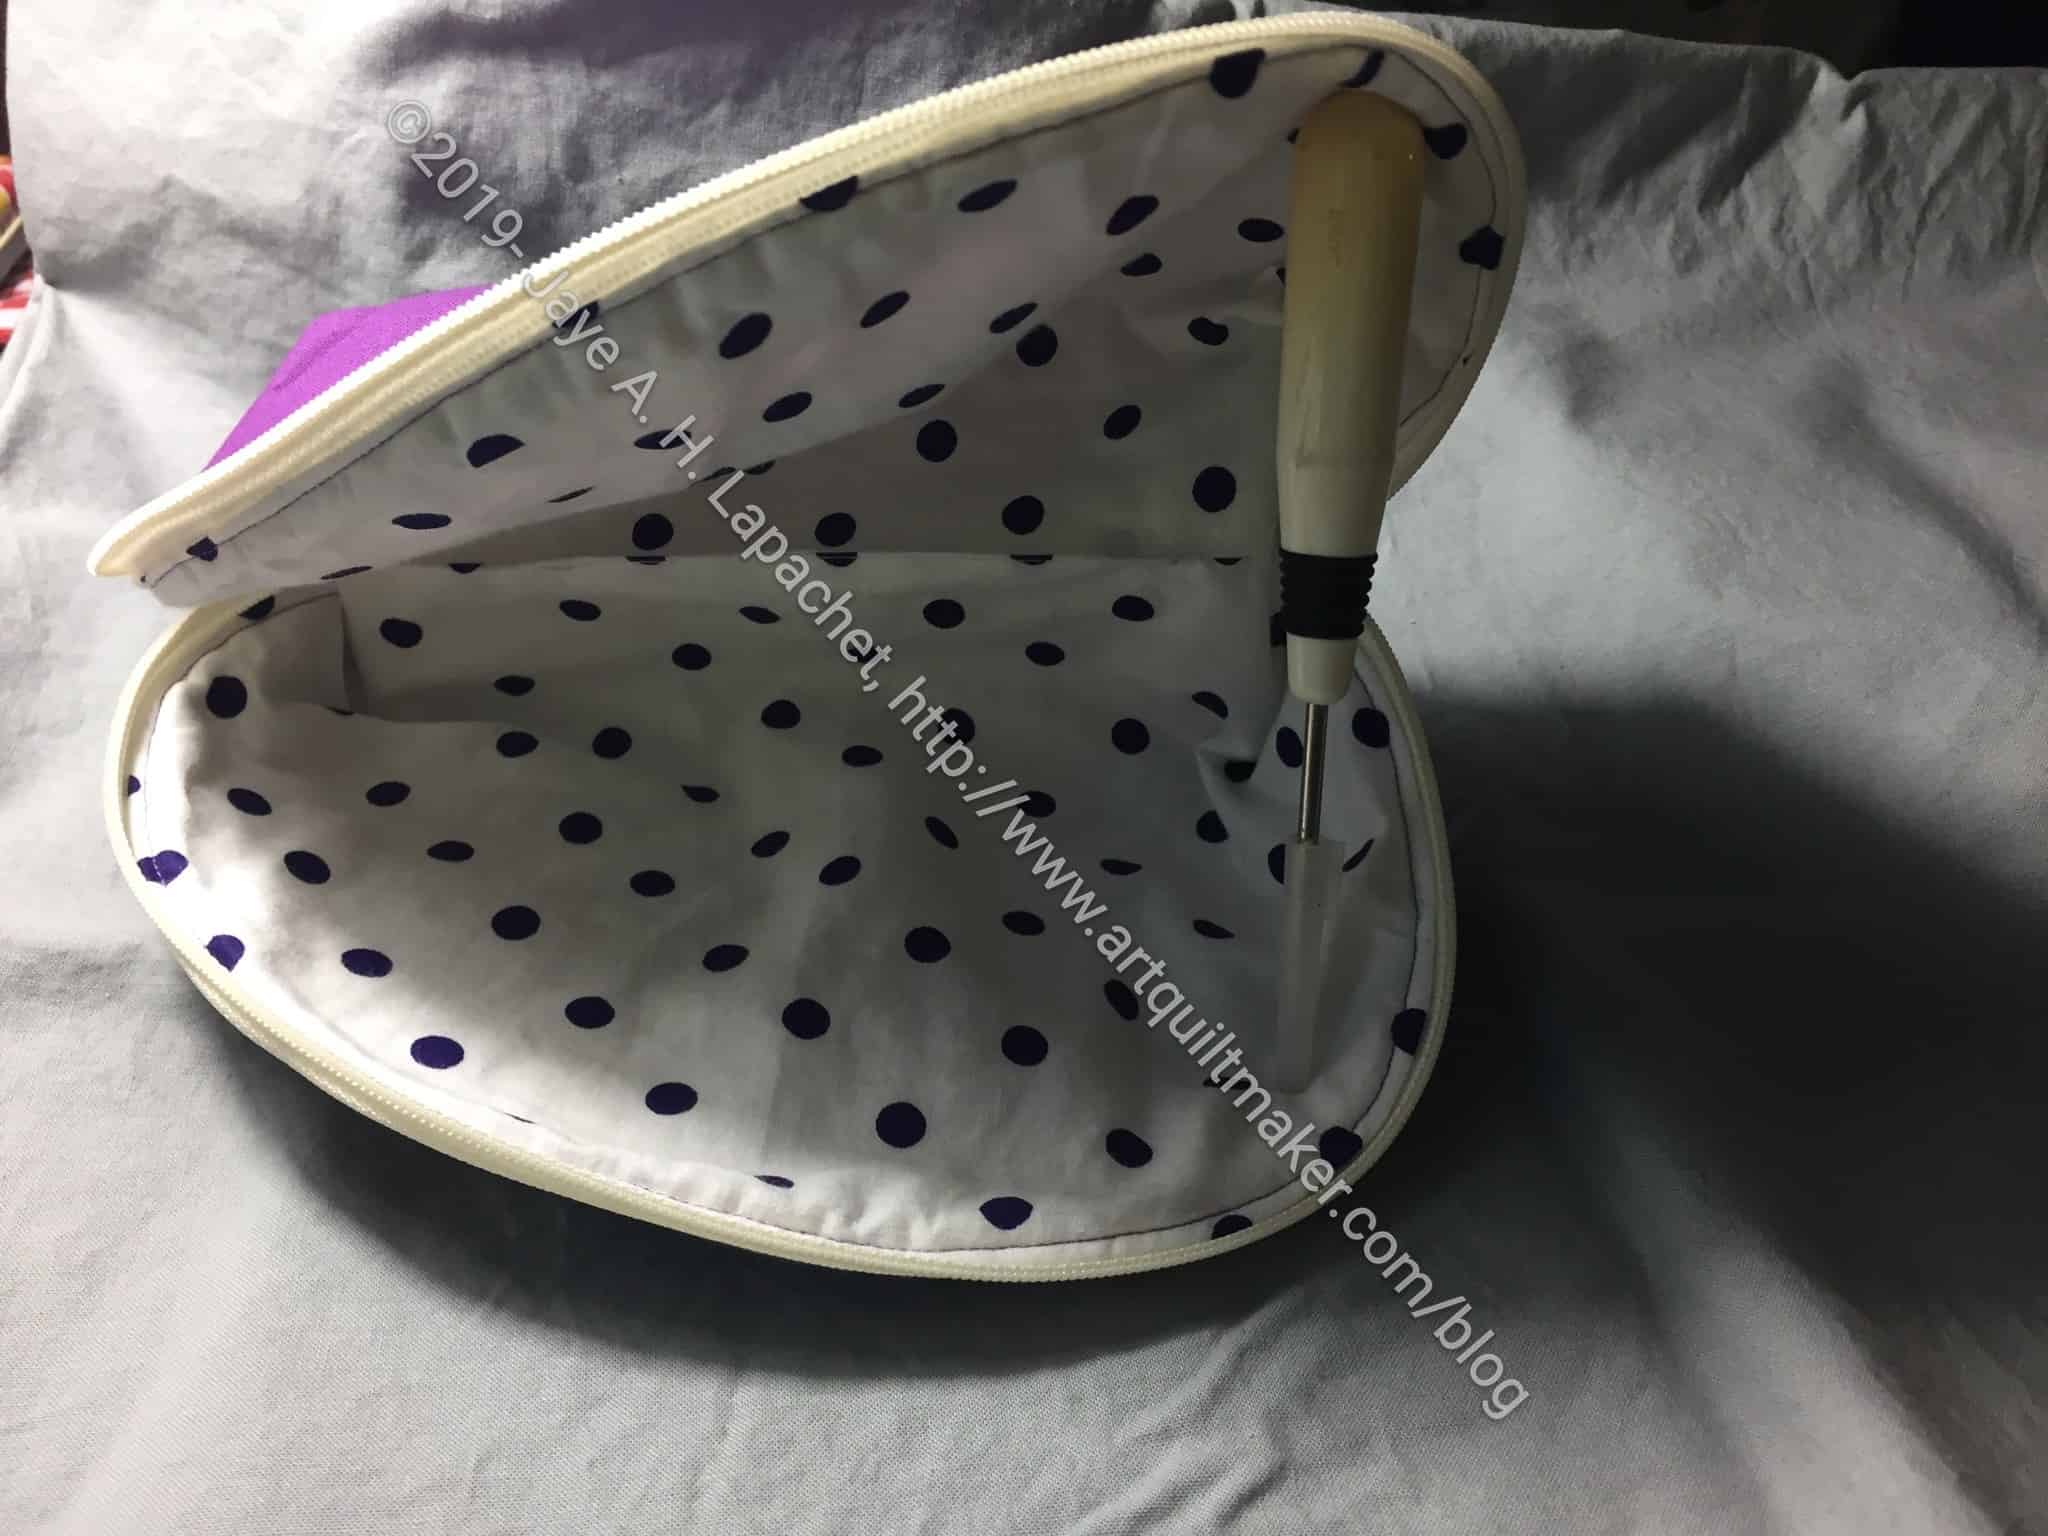
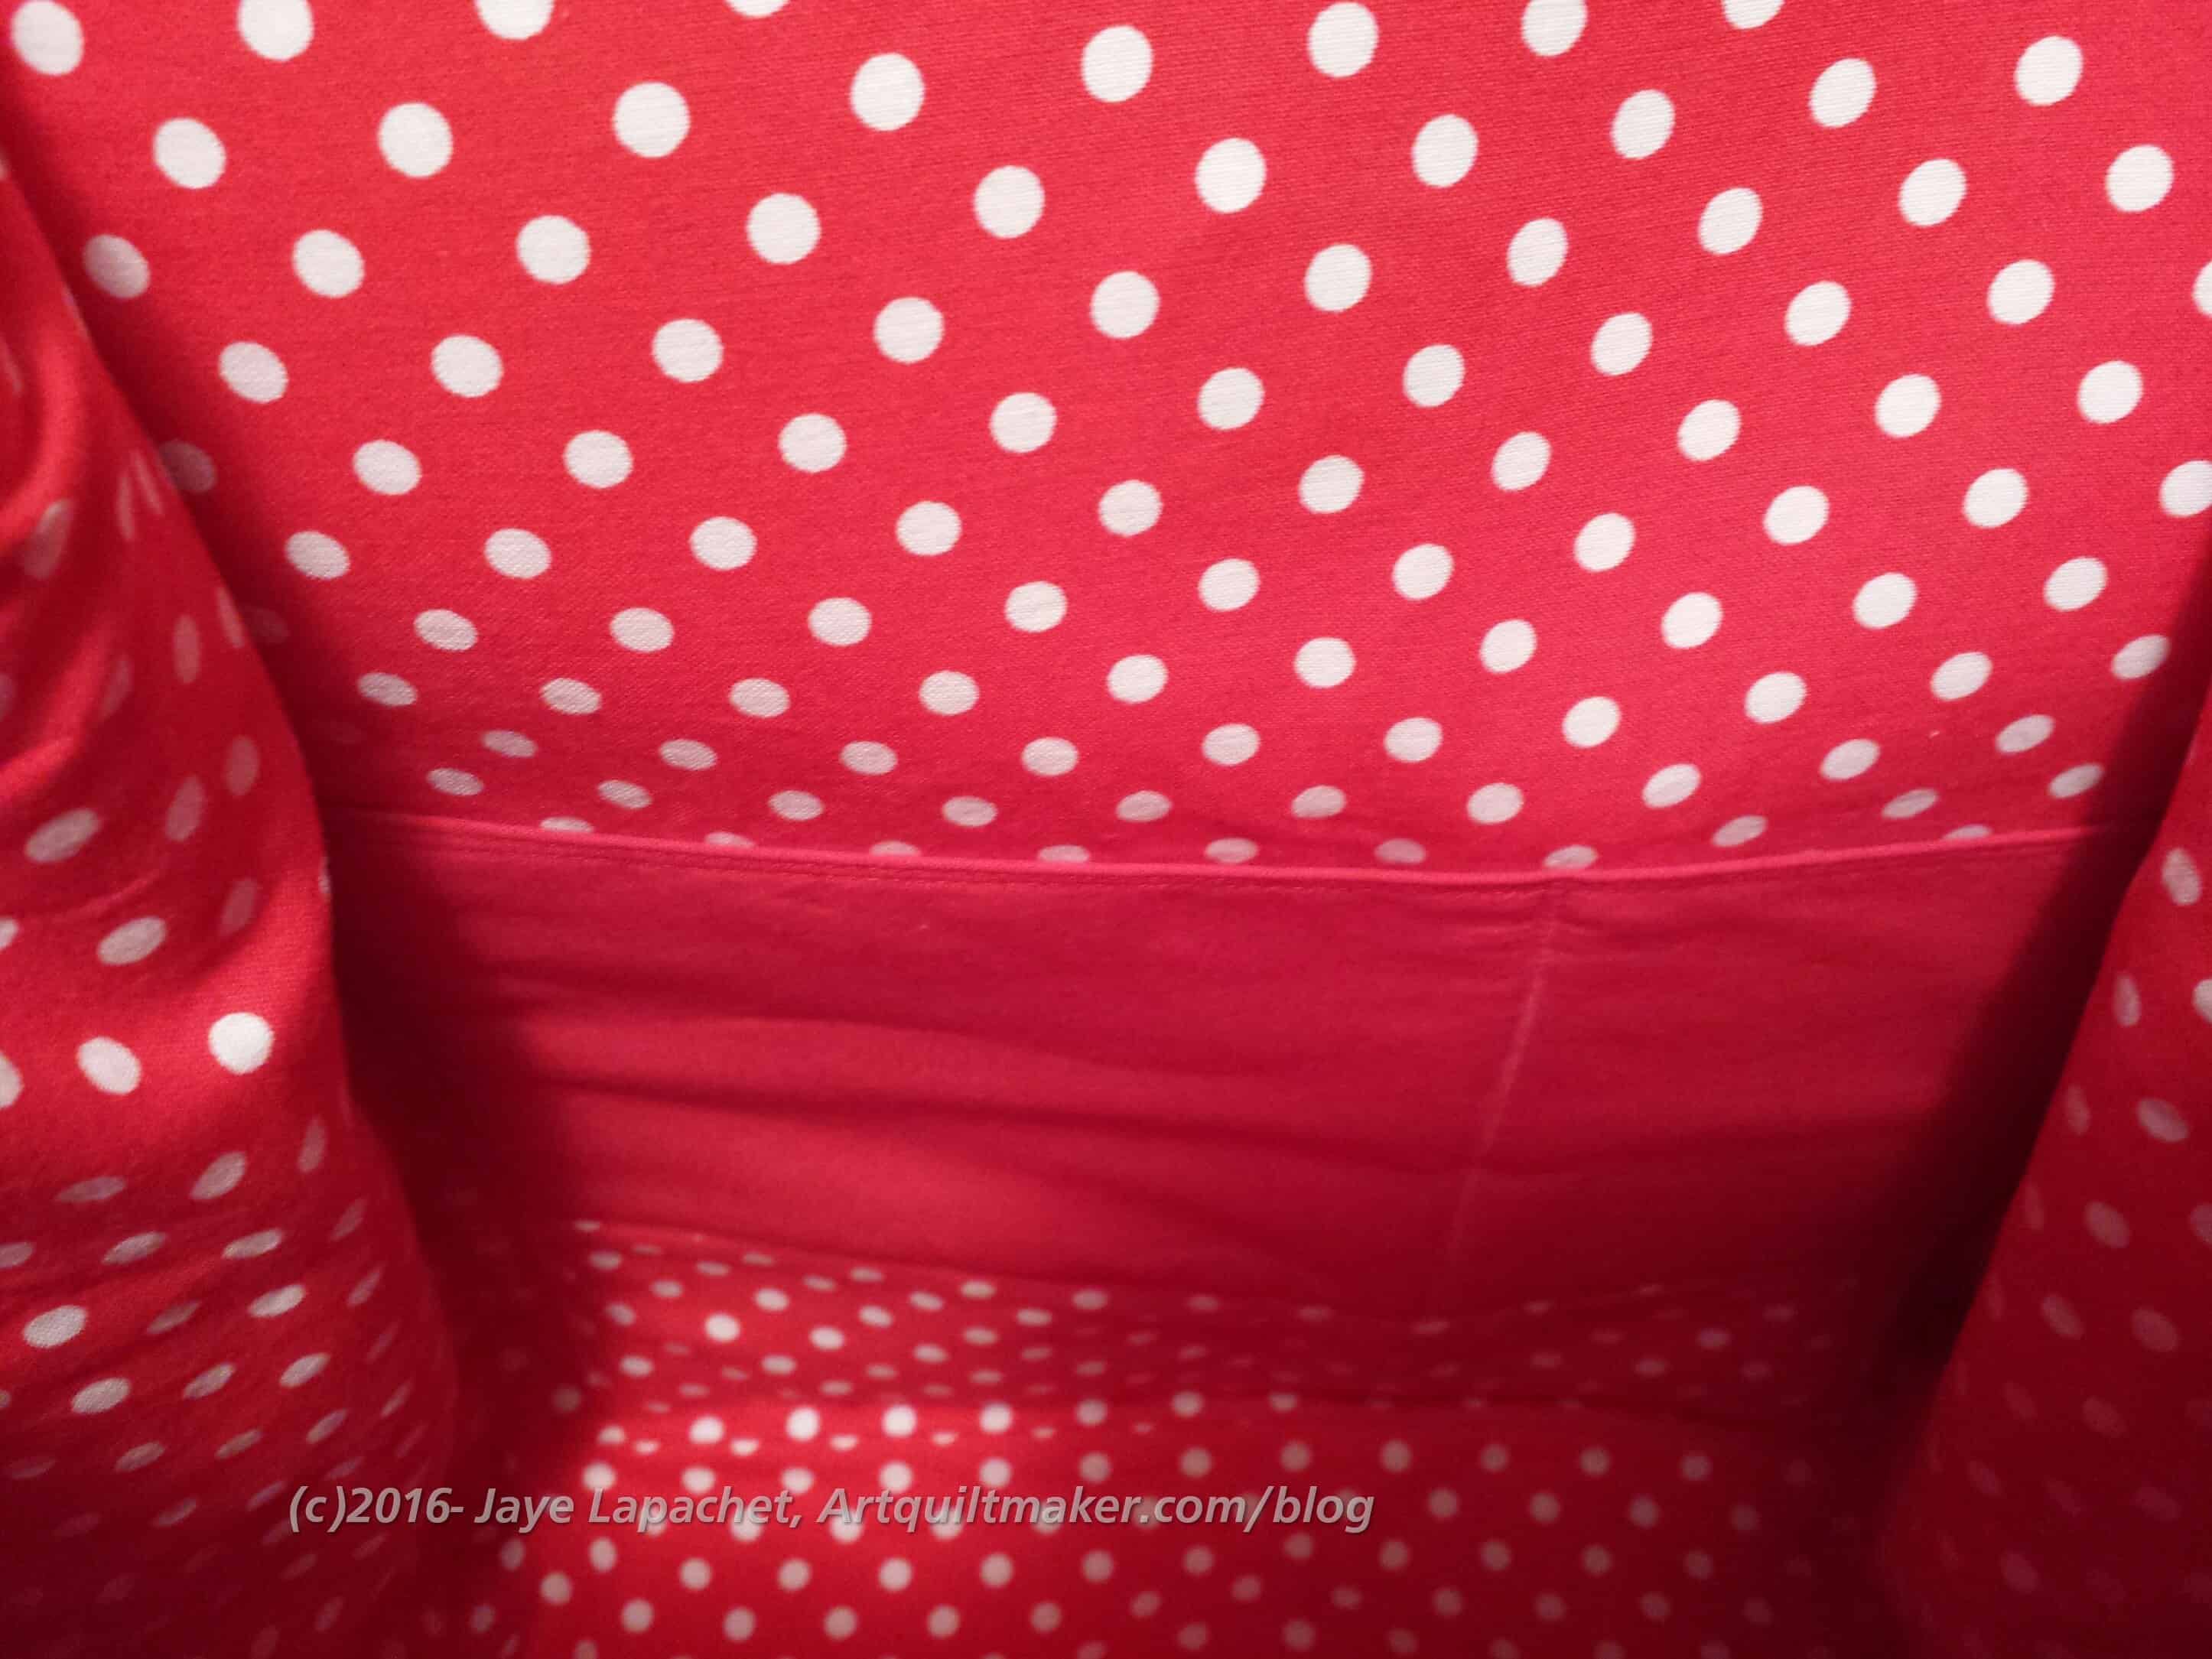
Inside Petrillo Bag
Inside Petrillo Bag

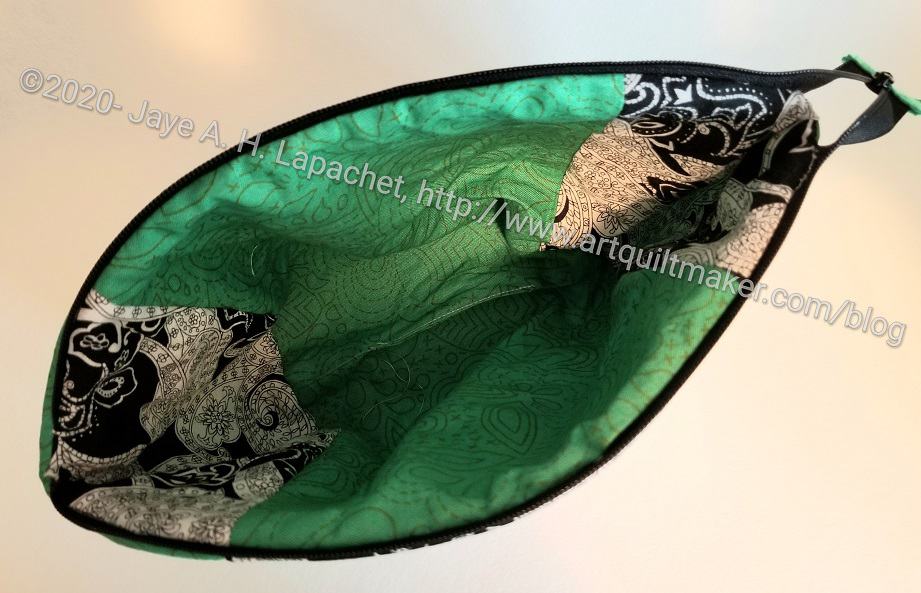
The inside of the bag, which went together very well, after I made the zipper pocket and the padded pocket, seems a little big to me.

More Hilarity

Tutinella made a second Petrillo bag and wrote about it recently. The thing she did differently was add side pockets, which is a great idea. I might add side pockets to my second bag. I may also add inside side pockets.

Another thing I like about this bag is the opportunity to use new products. I have talked a bit about the Soft & Stable, but the Shape Flex is on my mind today. I still have the skirts I planned, to make. One thing that was holding me up was lining. The pattern I have does not call for a lining, but quilt weight fabric is not very thick, most of the time, so I will need something under. I am not sure my clothing skills are up to the task of a lined skirt out of the gate. I got to thinking about the Shape Flex and may try it to give a bit of weight to the fabric and to provide a kind of lining. I will have to give up some drape, so I will need to think about it. Let me know if you have experience with using Shape Flex on clothing.

I have to say that I am amazed at how Sara could have conceived of this bag and the way it goes together. I thought the same thing about the Anna Maria Horner Multi-tasker tote, which is a great bag, if you haven’t made one.

Other relevant posts:

For you Tweeps, you can follow Sara at @SewSweetness.

As a result of all this Petrillo-ing ;-), I have no updates to the Star Sampler.

The Petrillo Bag Along Week 3

This week we are working on the sewing. Before  we can get to sewing the bag together, there is still some prep to do. Please note that this is not a tutorial on how to make this bag. I am just recording my experience and noting things I had trouble with. If you want to make the bag (and I think you should), buy the pattern and read the opening post. Keep in mind that I don’t learn well by reading directions, so I have more trouble than most when reading patterns. My trouble is no reflection on Sara’s pattern directions.

Prep

I was so relieved to finish the cutting. What a lot of work that was! Anyway, I was so relieved that I got right down to the business of putting the bag together. Since adding the magnetic snaps is one of the first steps, I immediately realized that that I had bought the wrong ones. I didn’t buy the sew-in snaps. I bought the ones with the arms you have to bend. This is absolutely NOT Sara’s fault. Yes, I did read the instructions for purchasing supplies, but I didn’t know there was such a thing as sew-in magnetic snaps and simply didn’t see those two words on supply list. UGH! A delay!

I ordered them immediately from Tantalizing Stitches’ Etsy Shop, which is the vendor Sara recommneds. I received the sew-in snaps in about 2 days. I put them in relatively quickly using a small zigzag. The sew-in snap was covered with a clear plastic square and I had to sew over the plastic, which was odd. My machine did it, but I had to yank on the piece a bit to get it started since I was sewing the plastic covered snap to the Soft & Stable (=very thick!). I went around twice just to make sure it would stay in place. The hard part was keeping the snap straight. It didn’t end up completely straight, but since the important part is the circle, I figured it didn’t matter as long as it was in the middle. These are sewed to the Soft and Stable so there is no distortion of the fabric.

I know I could have used the magnetic snaps that you bend, which I think Pam did, but I did like the sew in snaps: no cutting of the fabric.

A lot of the prep was preparing to sew the whole bag together and some of the prep involved some top stitching and sewing parts together.

Straps

I was pleased to see the way Sara creates the straps. None of that turning tiny strips inside out nonsense. She creates them using the folding method that I like. Hooray!

Sewing

Flap with Accent
Flap with Accent

I decided not to do the gathered flap after having some trouble with the gathers. I can’t remember whether I have done gathers before. This was not unexpected as I was a little unsure of the gathers from the beginning. They do add some interest to the bag, but I kept wondering if they would catch on something as I navigate my way through the public transportation systems I frequent. Sara suggested just cutting out a flat piece of fabric using the Flap pattern piece, which is what I did. I also liked that I was able to highlight one of the motifs of the fabric

I was a little confused by the directions in Step #14, covering the flap, but I decided Sara meant topstitching and went with that. I was able to apply the accent with no problems, though, as usual, turning under a small seam allowance, like you would do for applique’ was a pain. I think you could do a regular quilt binding around this piece, if you didn’t mind a little bit of dimension.

PICT3421sm Tutinella suggests topstitching the bottom, which I thought was a great idea.

I used my clear applique’ foot and just measured using the inside of the right hand side of the foot, which gives me a line of stitching about 1/8″ away from the bottom of the bag.

One thing about all the prep is that you don’t have to stop to do prep. Once the prep is done, the bag starts to go together very quickly.

Petrillo Bag
Petrillo Bag

I was really surprised at how well the Soft & Stable acted with my machine. I thought I would have to fight with the machine, because of the layers (fabric + Soft & Stable, occasionally 4 additional layers with the straps).

The first round of stitching was really satisfying because of the quick way the bag started to look like something. Yes, the above photo shows it being flat, but it still starts to look like a bag.

Finished Outside of bag

The directions say to draw a line 4 3/4″ from the top of the front of the bag. The purpose is to show you where to stop sewing the straps. You need to stop sewing, because the flap flap slides underneath the straps to keep it closed.

I missed that part of the directions and sewed the straps to the bag all the way around. when I realized what I had done, I knew I had to rip. Bleah. It is very hard to rip through all of those layers. I also had made the little squares with Xes through them at the top of the bag which made the ripping even more arduous.

I did it, though, and after an hour and a half I had the bag back to where I should have been.

Other relevant posts:

The Petrillo Bag Along Week 2

If you are just joining us, please read last week’s post or Pam’s post.

If you read between the lines of my last post, I was a little ahead of those of you, because I had already gathered my supplies back in March and had started to cut. I did want to be a little ahead of you, so I could give you some tips and tricks if I found any.

Nota bene: Kay at Tantalizing Stitches sent the sew-in magnetic snaps out the day after I ordered them.

Fabric

The fun part was choosing fabric. You can see the colorways below, but the particulars about what I chose are:

  • For the exterior: Heather Bailey’s Pop Daisy  from the Pop Garden line (Westminster Fibers #HB02). It is a few years old and had been slated for a back, but called to me when I looked in the Fabric Closet – green, yellow, red print
  • For the lining: Savon Bouquet by Verna Mosquera for FreeSpirit – pink polka dots
  • Straps and accents: City Weekend by Oliver & S for Moda (Pattern #11165, I think. It might be L1165)- yellow

I am not sure what possessed me to choose these colors and this combination of the three. It was grey and foggy at my house the day I chose the fabrics, so, perhaps, I was seeking cheerfulness. I also wanted to use some dots for something. I do like a light interior for bags. It is hard to see what is inside if the chosen fabric is too dark.

Organization

Petrillo cut pieces
Petrillo cut pieces

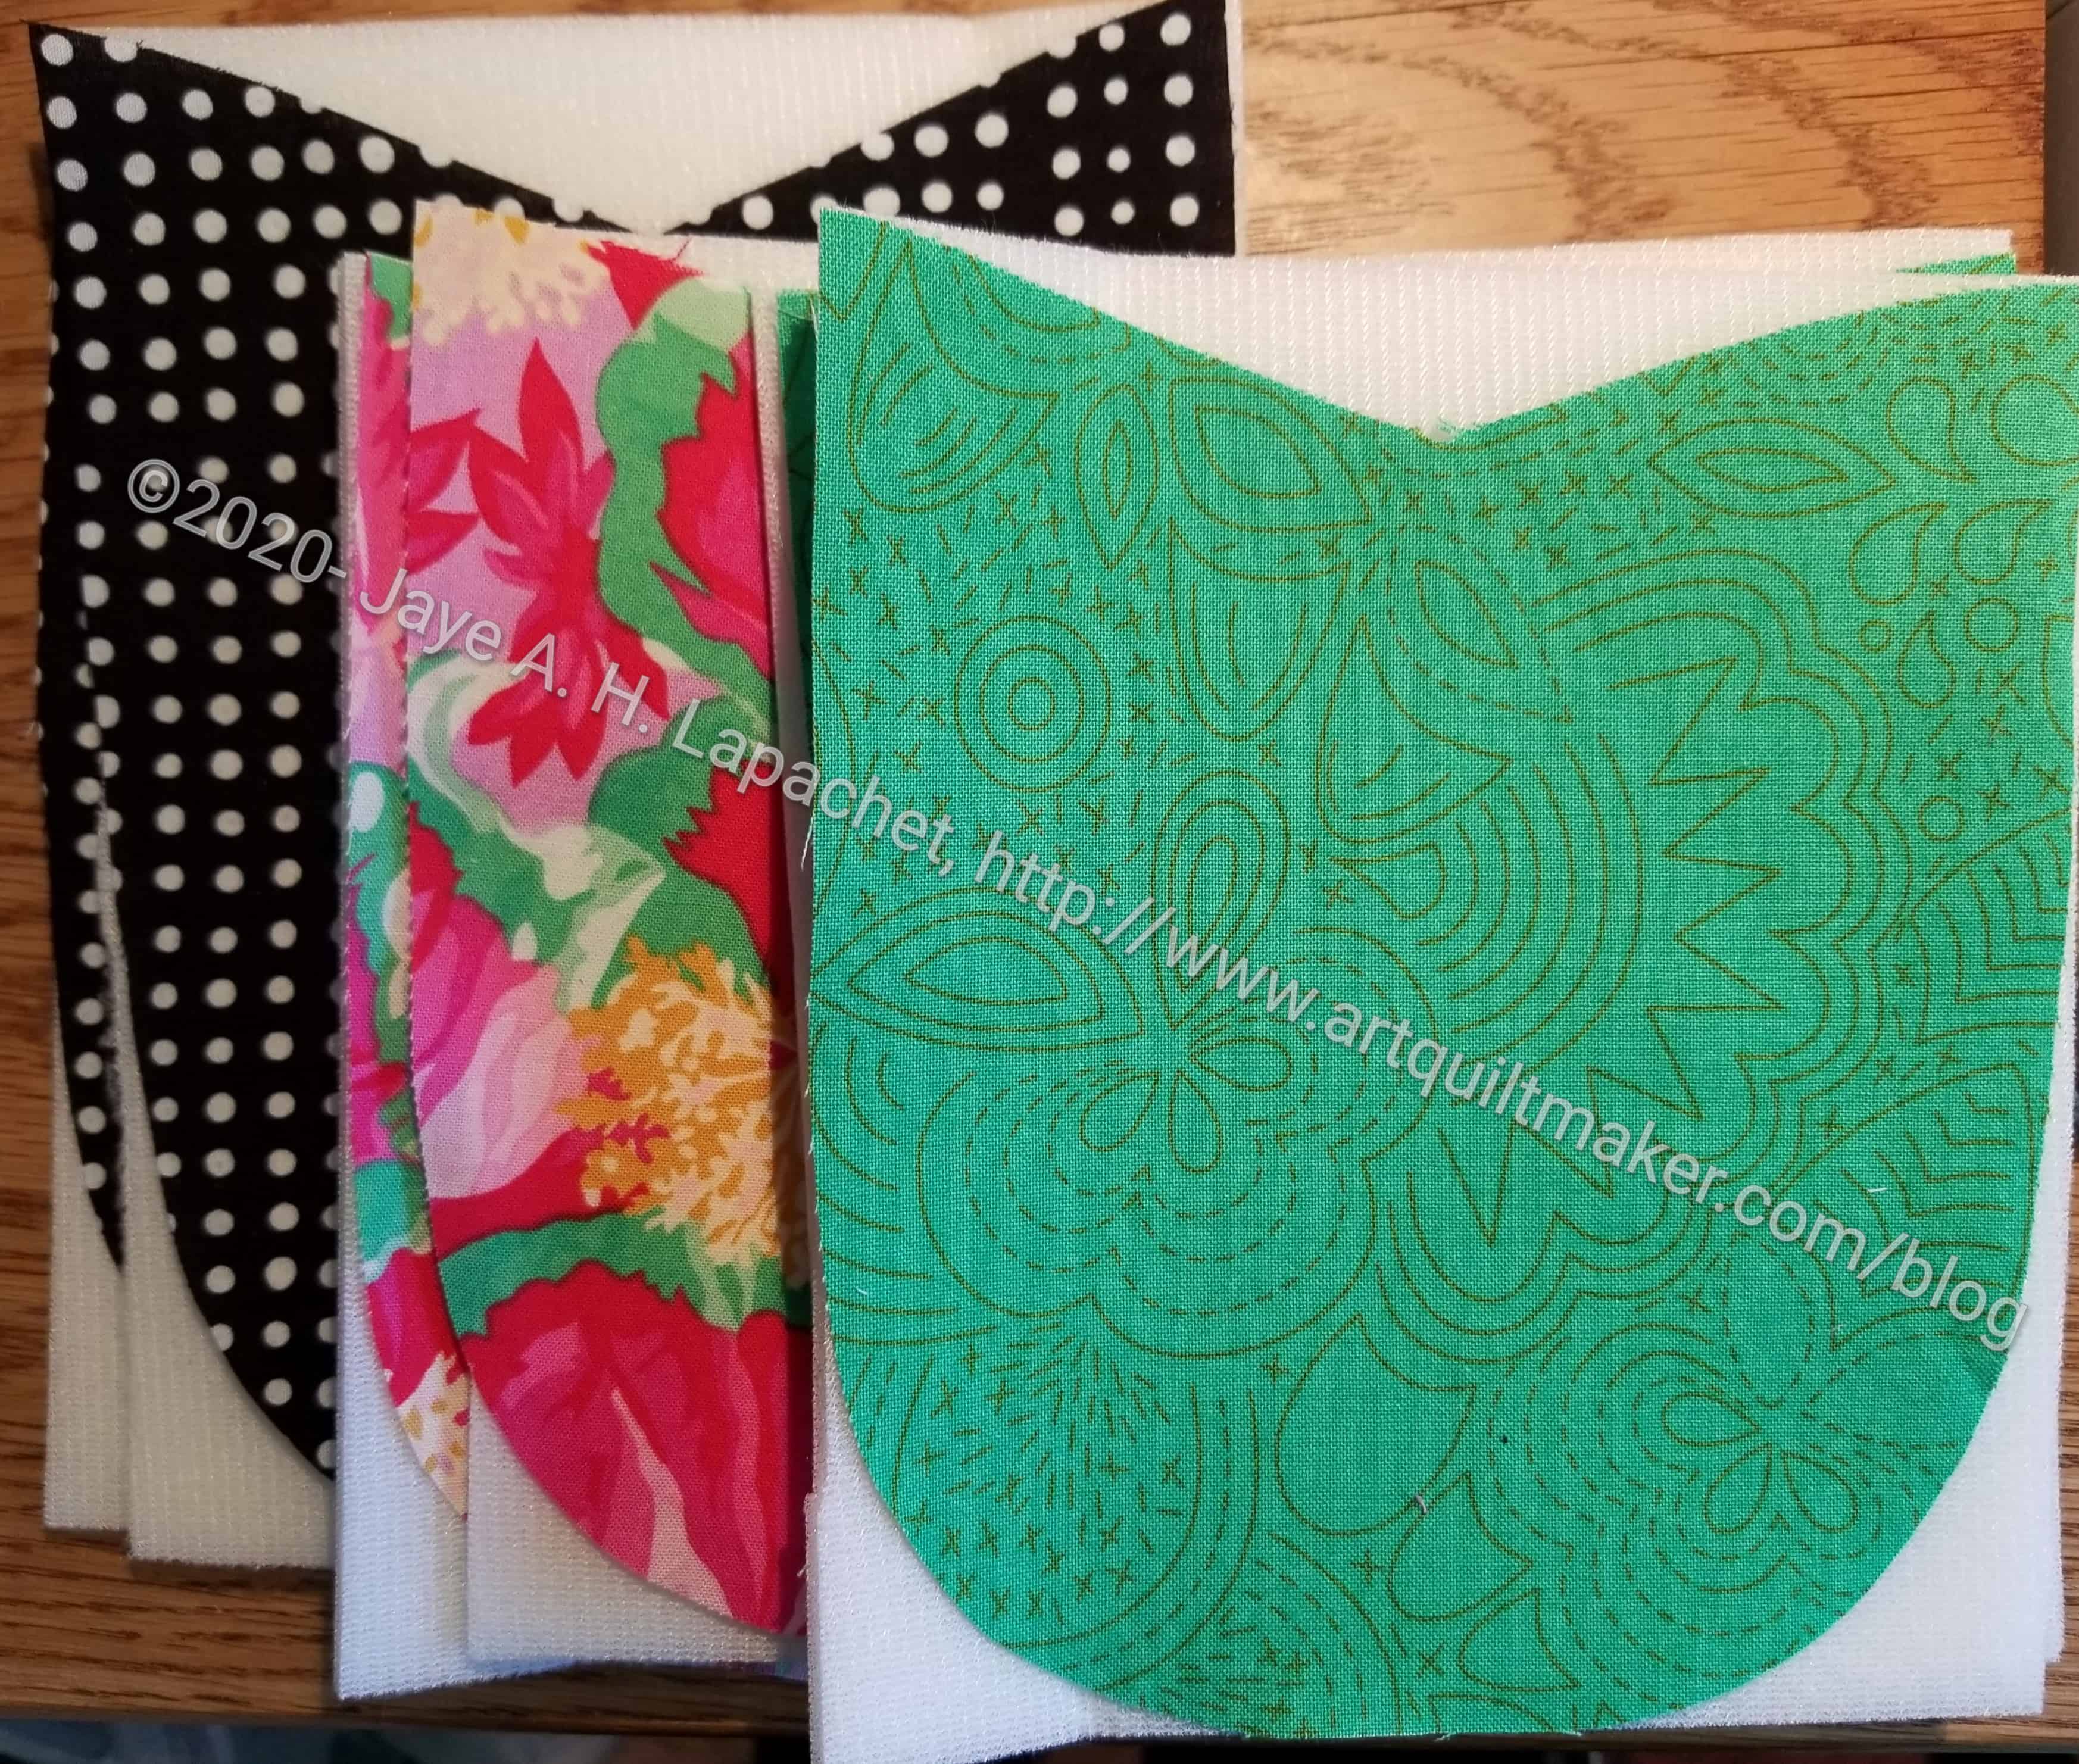
Week 2 is all about cutting, so I did the cutting. It took me awhile to get the cutting done. I would say it took me about 3-4 hours. I was doing laundry, ate lunch and went to pick up the Young Man in between, so it is hard to say. It did take me a long time as I was trying to be really careful and not miscut. Don’t plan on doing it in a few minutes.

Additional supplies
Additional supplies

There are a lot of pieces to cut for this bag, so take the time to be organized. I would add the following to the supply list:

  • sticky notes, though paper will do as well
  • Wonderclips
  • pen

I like to pin a piece of paper or sticky note to each cut pattern piece with the corresponding name from the pattern, e.g. Lining Flap, and the size. Even if it doesn’t help me truly be more organized, I feel more organized.

I also felt like I needed a spreadsheet to track everything that I needed to cut. I think it would look like a main column of what parts needed to be cut and a main row of the materials out of which the parts needed to be cut. I might also put dual columns for each put a tick mark in one noting I needed to cut a part from that materials and the second column for when I had done it. I could have just ticked off the lines on the pattern. I didn’t because I didn’t want to confuse myself for the future use of this pattern.

Cutting

Sara wants you to cut the fabrics in the order listed on the pattern. In some places, she has you cut a smaller piece before a larger piece. I like to cut all the larger pieces first, so I rearranged a few, but really tried to stick to her pattern directions. I would like to see a layout sketch for the pattern pieces on fabric in the directions.

There is enough fabric to cut all the pattern pieces. Sara did a great job estimating yardage.

I did cut one piece wrong early on and had to piece together enough of the lining fabric later for one of the bottom pieces. As I haven’t made this pattern before, I am hoping it will be ok. I am going to rummage through the fabric closet and see if I have another piece of the pink fabric (shown above) and cut a whole piece out of it. You could add an additional quarter of a yard, if you are worried about screwing up the cutting.

I just used my rotary cutter to cut the Soft & Stable where possible. I did notice, during cutting of the Soft & Stable, the sounds of paper being cut. I couldn’t feel any paper on it, especially something like paper covering a fusible. I am not sure what it is made of or if it was a good idea to use a rotary cutter, but I did want to speed the process along as much as I could.

Fun and Games

Other relevant posts:

Petrillo Bag by Tutinella

This Petrillo bag by Tutinella is one of my favorites. I love the use of the map fabric, especially how she carefully placed the legend. I think Tutinella (great name, don’t you think? It is fun to say!) is a girl after my own heart. She writes “I’m a typical girl – no matter how many bags I have, I want more!” in her post about this bag. I also love how she calls her husband/significant other Mr. Right. I wish I had thought of that first! This is one of the great bags you can see in the Sew Sweetness Flickr Group, so go and take a look.

The Petrillo Bag Along

Petrillo Bag PDF Sewing Pattern  by Sew Sweetness
Petrillo Bag PDF Sewing Pattern by Sew Sweetness

The Petrillo Along is starting!

You might remember that I saw this bag a few weeks ago and extolled its virtues, most of which had to do with it being a vertical bag that was good sized, but not a Rotator Cuff Injury inducing size. I posted a ‘warning’ in a post on March 18 that we would be starting soon and Pam, of Hip to Be a Square fame, talked about the bag along in her episode 121 podcast. We have finally gotten our acts together, other projects in order and are ready to go. Pam already posted the notice of the ‘Along’ yesterday and I am following along in her footsteps to catch my readers as well.

Here is the schedule that Pam laid out:

  • Week 1 (week of 4/7/2013) – assemble pattern pieces, supplies, and get fabric cut out.
  • Week 2 (next week, starting on 4/14) – sew the bag.

I may have to modify it to:

  • Week 1 (week of 4/7/2013) – assemble pattern pieces, and supplies
  • Week 2 (week of 4/14/2013) – Cut out the fabric
  • Week 3 (starting on 4/21) – sew the bag
  • Week 4 (starting 4/28) – finish up

I know that we all have a different working pace and obligations. Pam works quickly, so don’t be intimidated by her pace. I have to be out of town a couple of times this month and I like to work slowly on bags. Pick  (or make up) the schedule that works for you. Pam is in the middle of her Labyrinth quilt, so the only hope I have of finishing the Petrillo bag anywhere close to when Pam does is to get started immediately and sew like a demon. 😉 I would advise you to focus on having fun.

If you need to buy the pattern you can get it instantly (or nearly instantly) as it is a downloadable pattern. It is only $8.

There are some specialty supplies you need to probably get online. Sara suggests different places to get the supplies. I had seen Soft & Stable at the Road to California quilt show I attended last year. I was interested in trying it, but didn’t buy any as I didn’t have a suitable project at the time. Thus, for this project, I ended up buying the Soft and Stable from ByAnnie.com. I am not affilated with that site and don’t think it was the absolute cheapest site, but I was in a rush and wanted to make sure I got the right stuff. Amazon was out at the time. The package was sent out really quickly. I received the Soft & Stable in a few days.

I bought the snaps from AGraffSupplies on Etsy. I am not affiliated with that site. They had the snaps cheaper than Sara’s preferred vendor. I compared and I am pretty sure the snaps were the same. The confusing part about both Etsy shops was that it was hard to tell how many I was buying. I ended up with a big bag of magnetic snaps – many more than I needed. I’ll have to go on a bag making binge to use them all up. Nota bene: These turned out to the wrong ones. You need to buy SEW-IN magnetic snaps. I didn’t even realize such a thing existed.

I bought the Shape Flex, which seems to be muslin with fusible on the back from Beverly’s online.

Pam made the Aeroplane bag pattern and says “Sara’s patterns are awesomely written with clear instructions and lots of pictures”.  Pam is making one change to the bag construction; rather than using the Soft & Stable, she will be using “a combination of Pellon Decor Bond (a home dec weight interfacing) along with Pellon Fusible Fleece.”  If you want to make changes like that, then Pam is your girl. I wasn’t happy with the floopy results of changing out fusible fleece for two layers of regular batting and some interfacing when I made my last Chubby Charmer, so I am going to stick with the directions on supplies for the most part. It is also a good opportunity for me to try the Soft & Stable as well.

As Pam said, in addition to posting my progress here, I’ll be posting pictures to Sara’s usual Flickr group so she can see our work as well.

Go forth and make a Petrillo bag!


**Thanks to Sara at Sew Sweetness for allowing me to use her image.