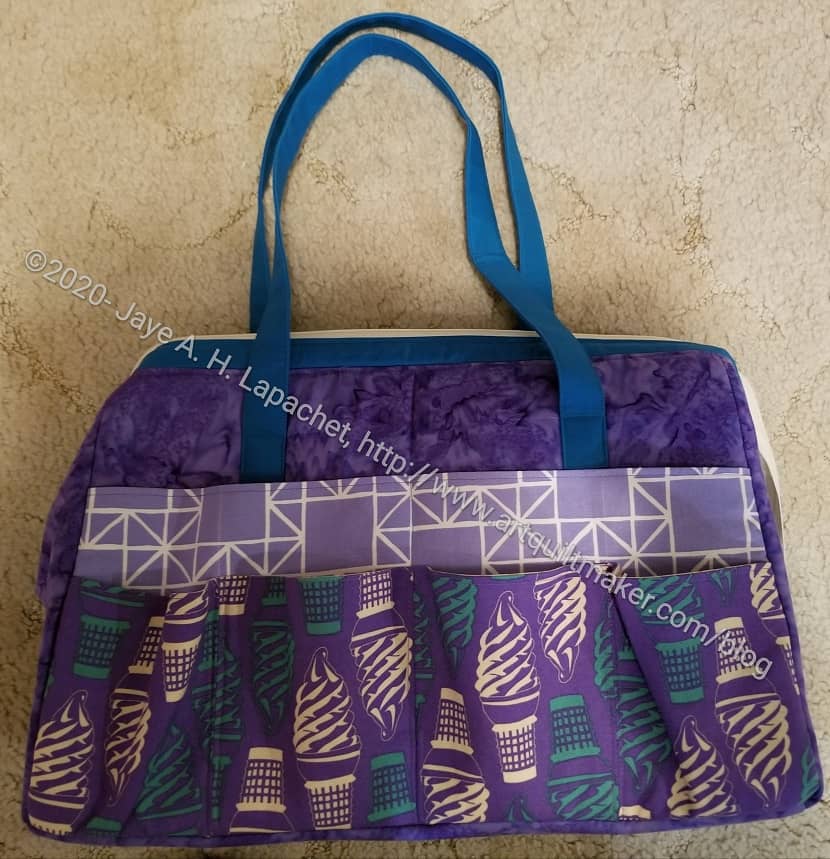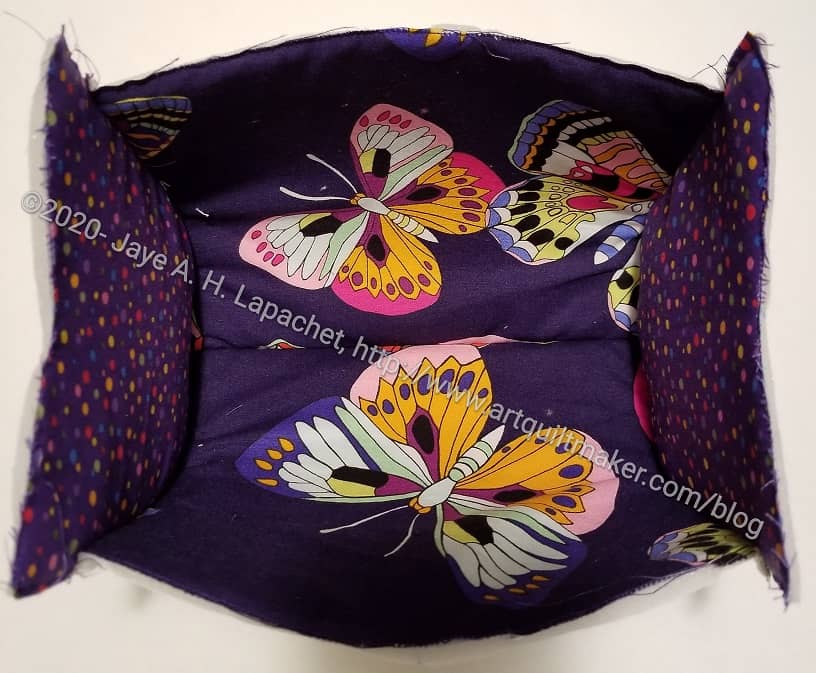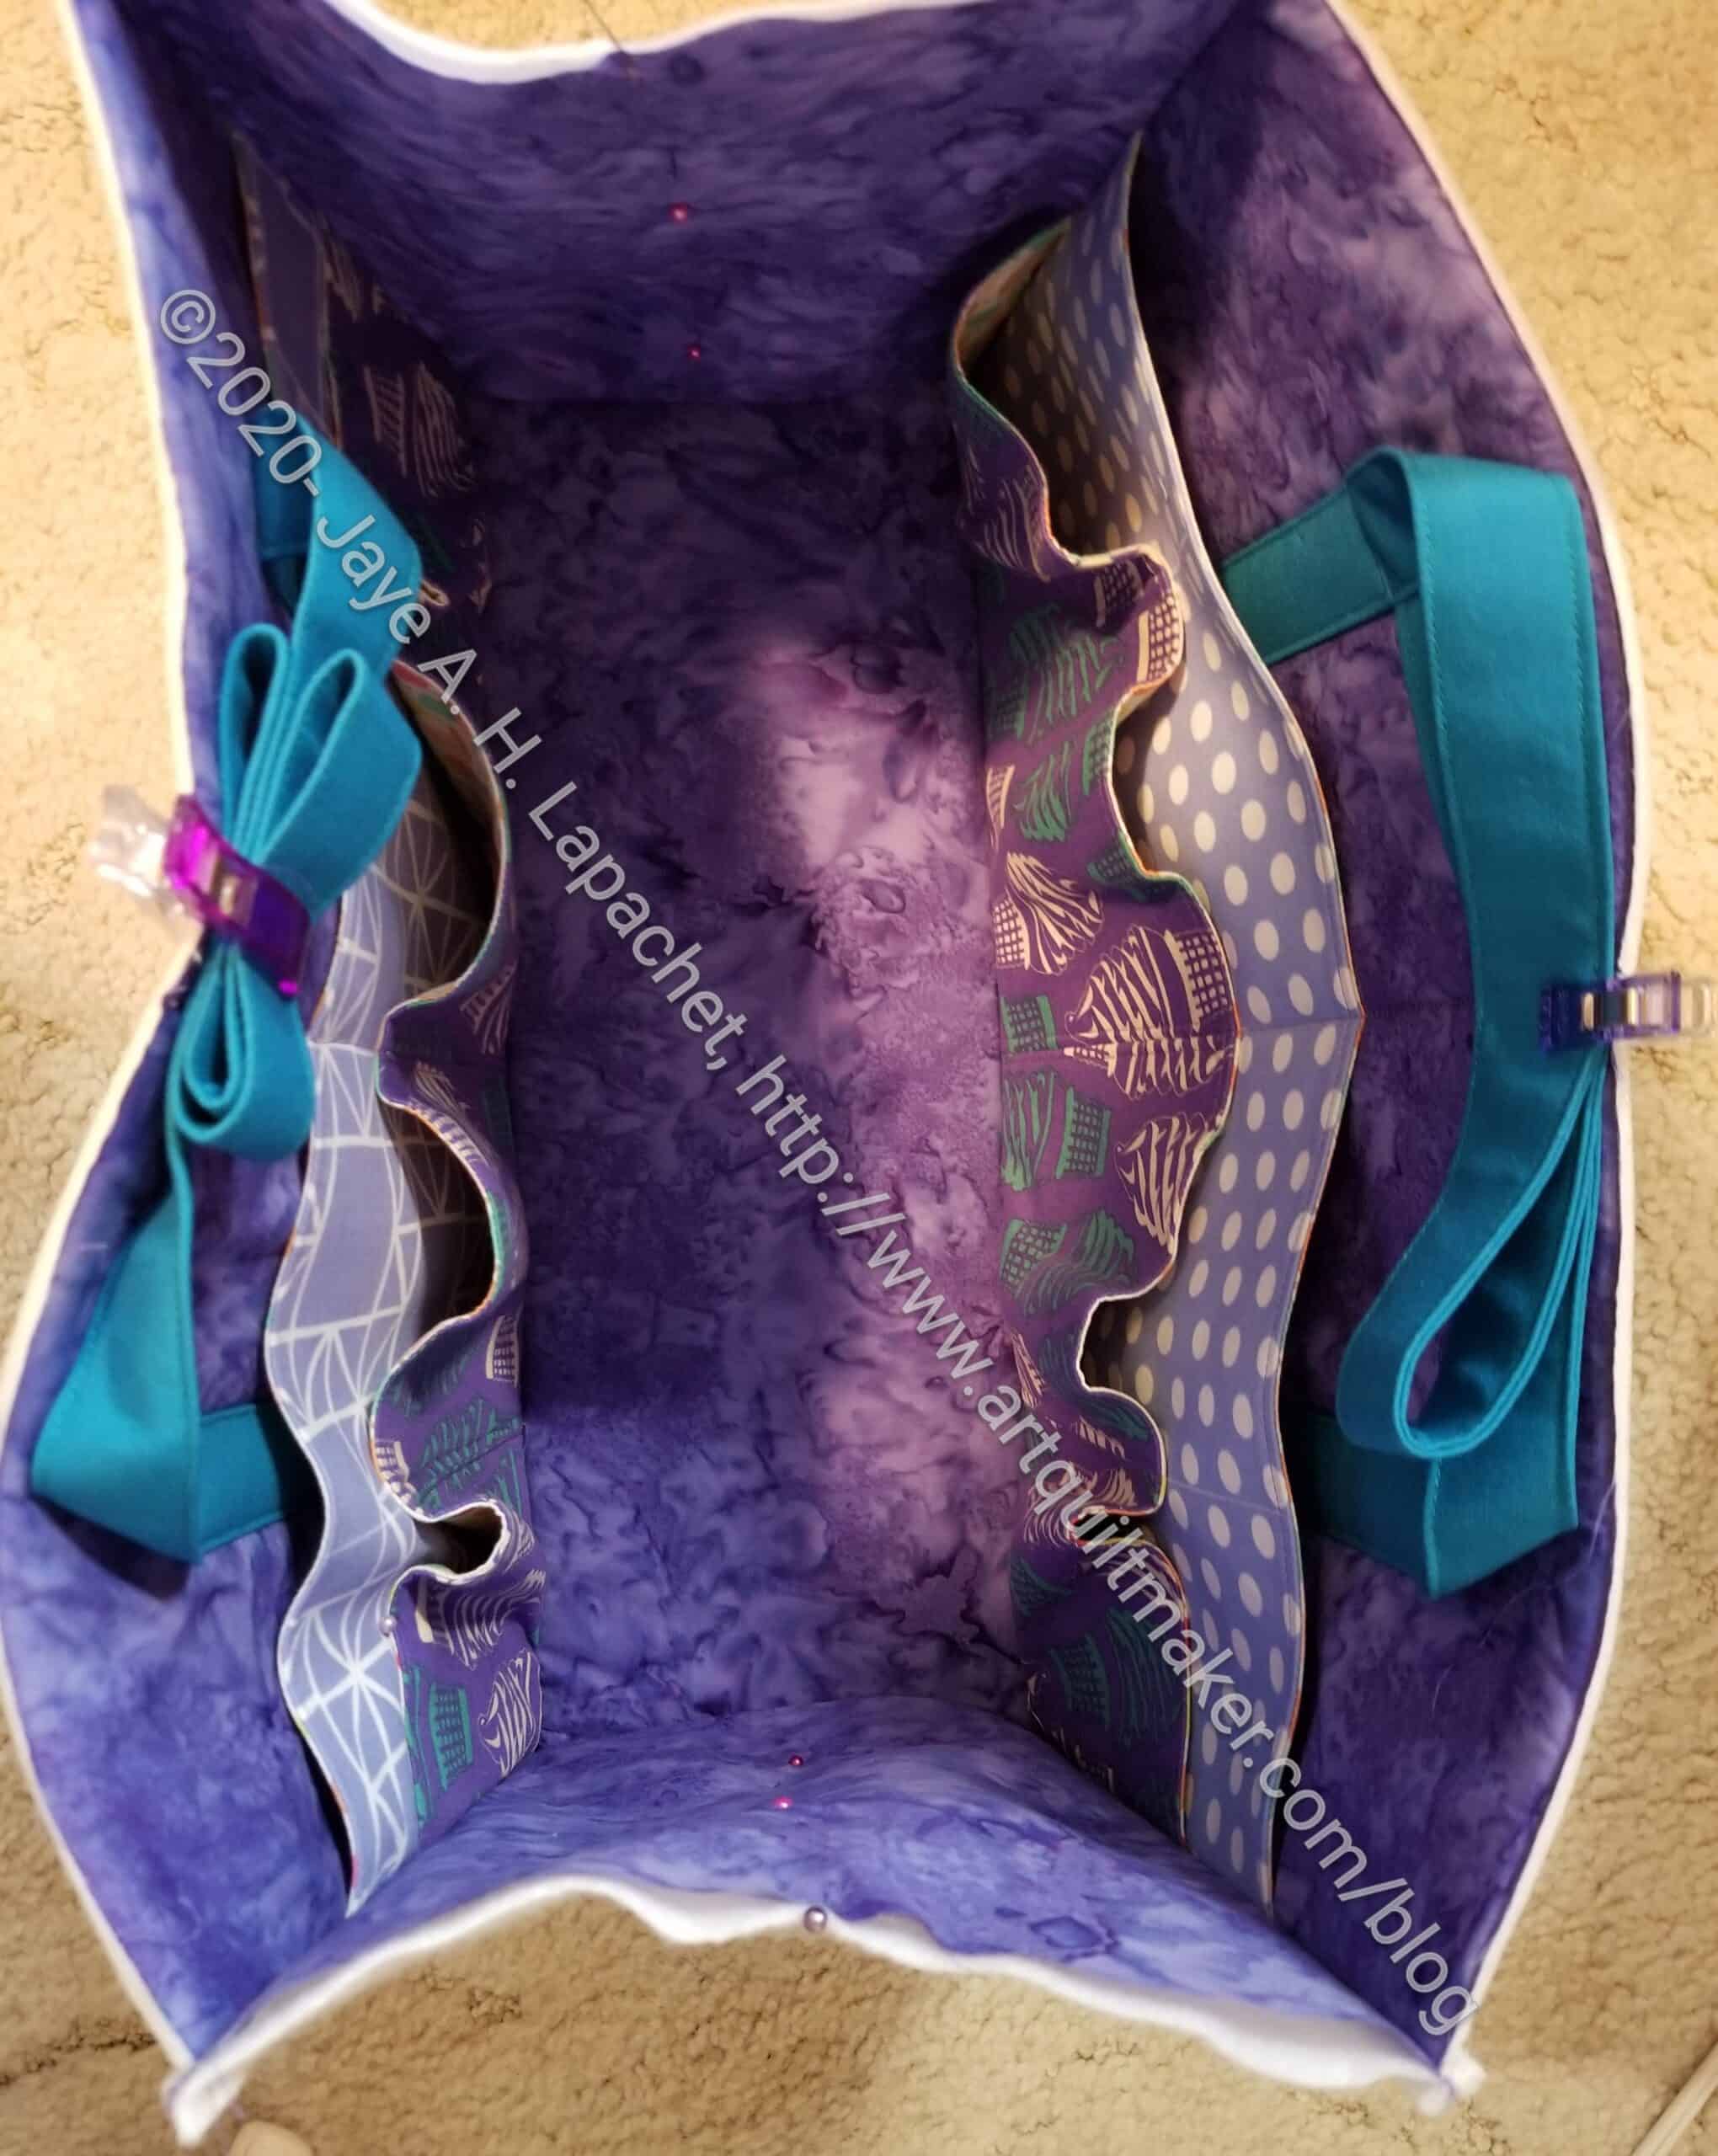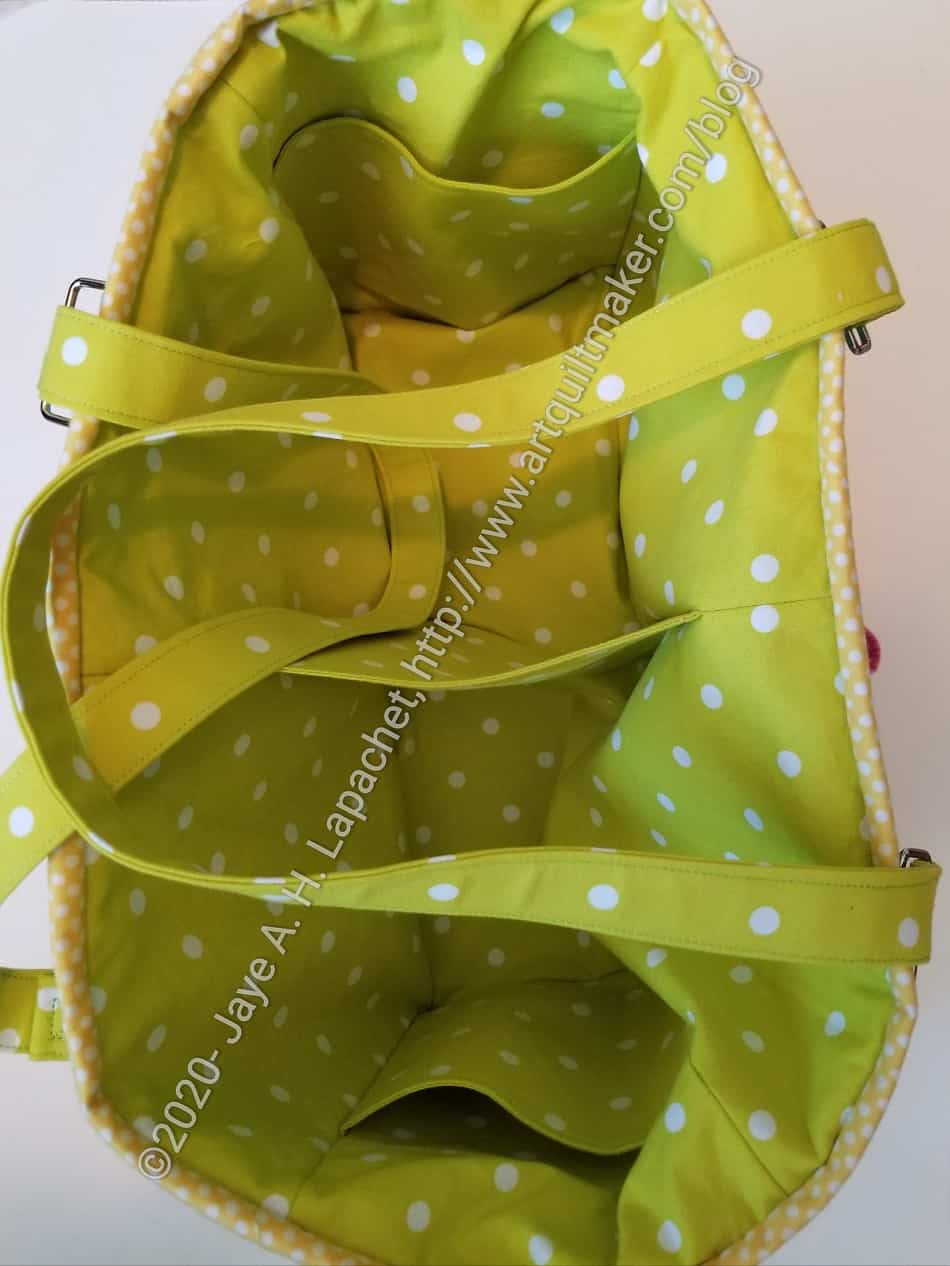
PJ Ivy Cotton Candy Pouch

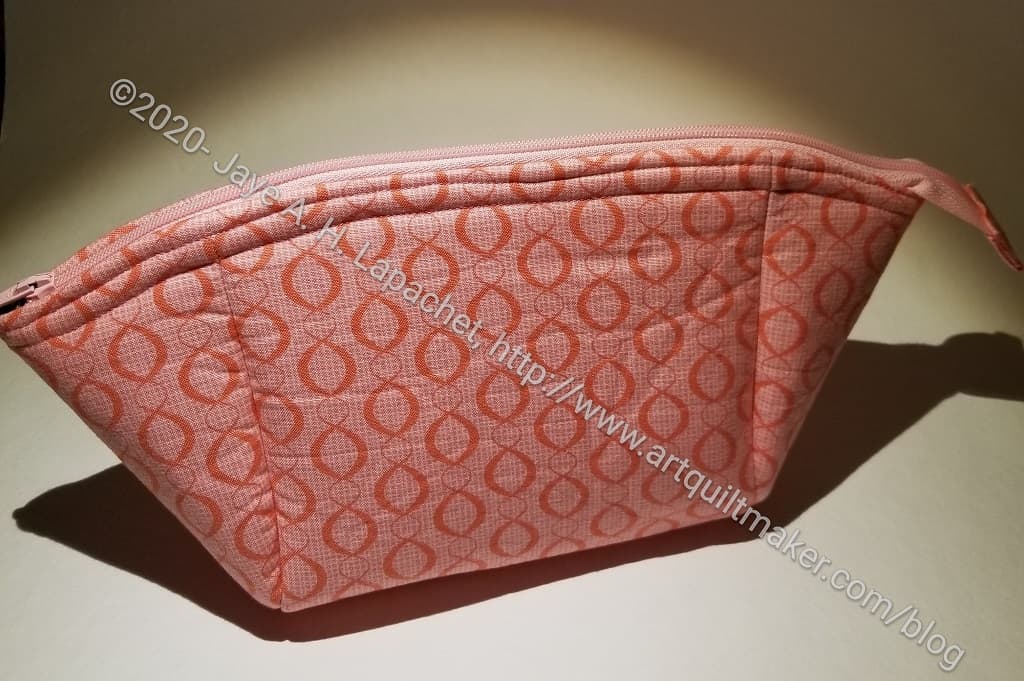
PJ Pink Cotton Candy Pouch

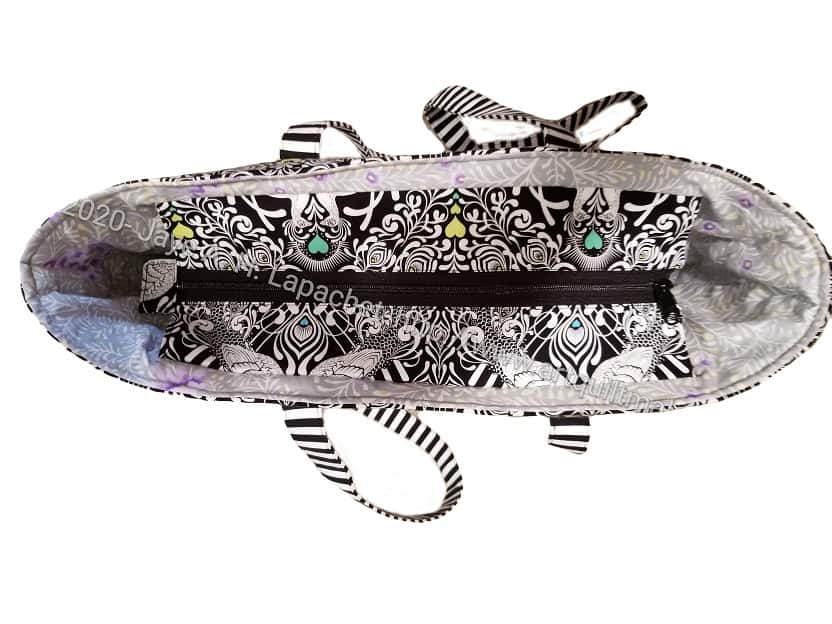
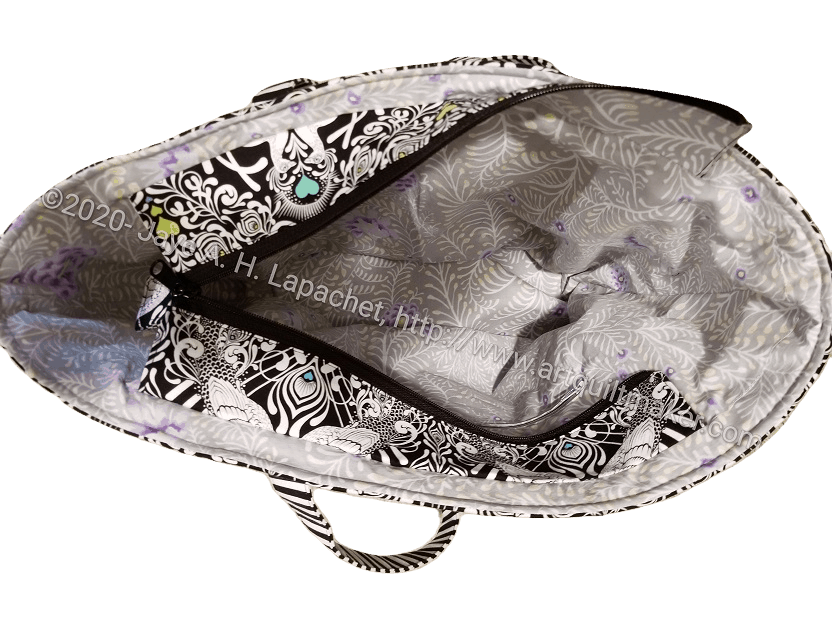
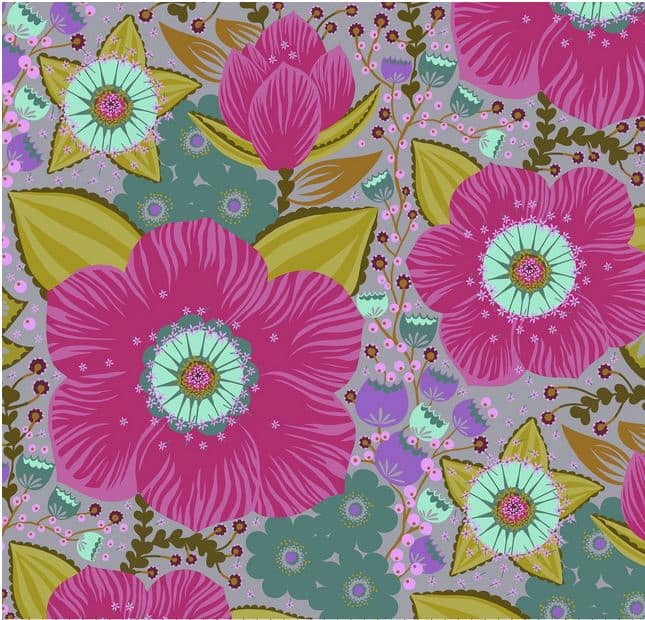
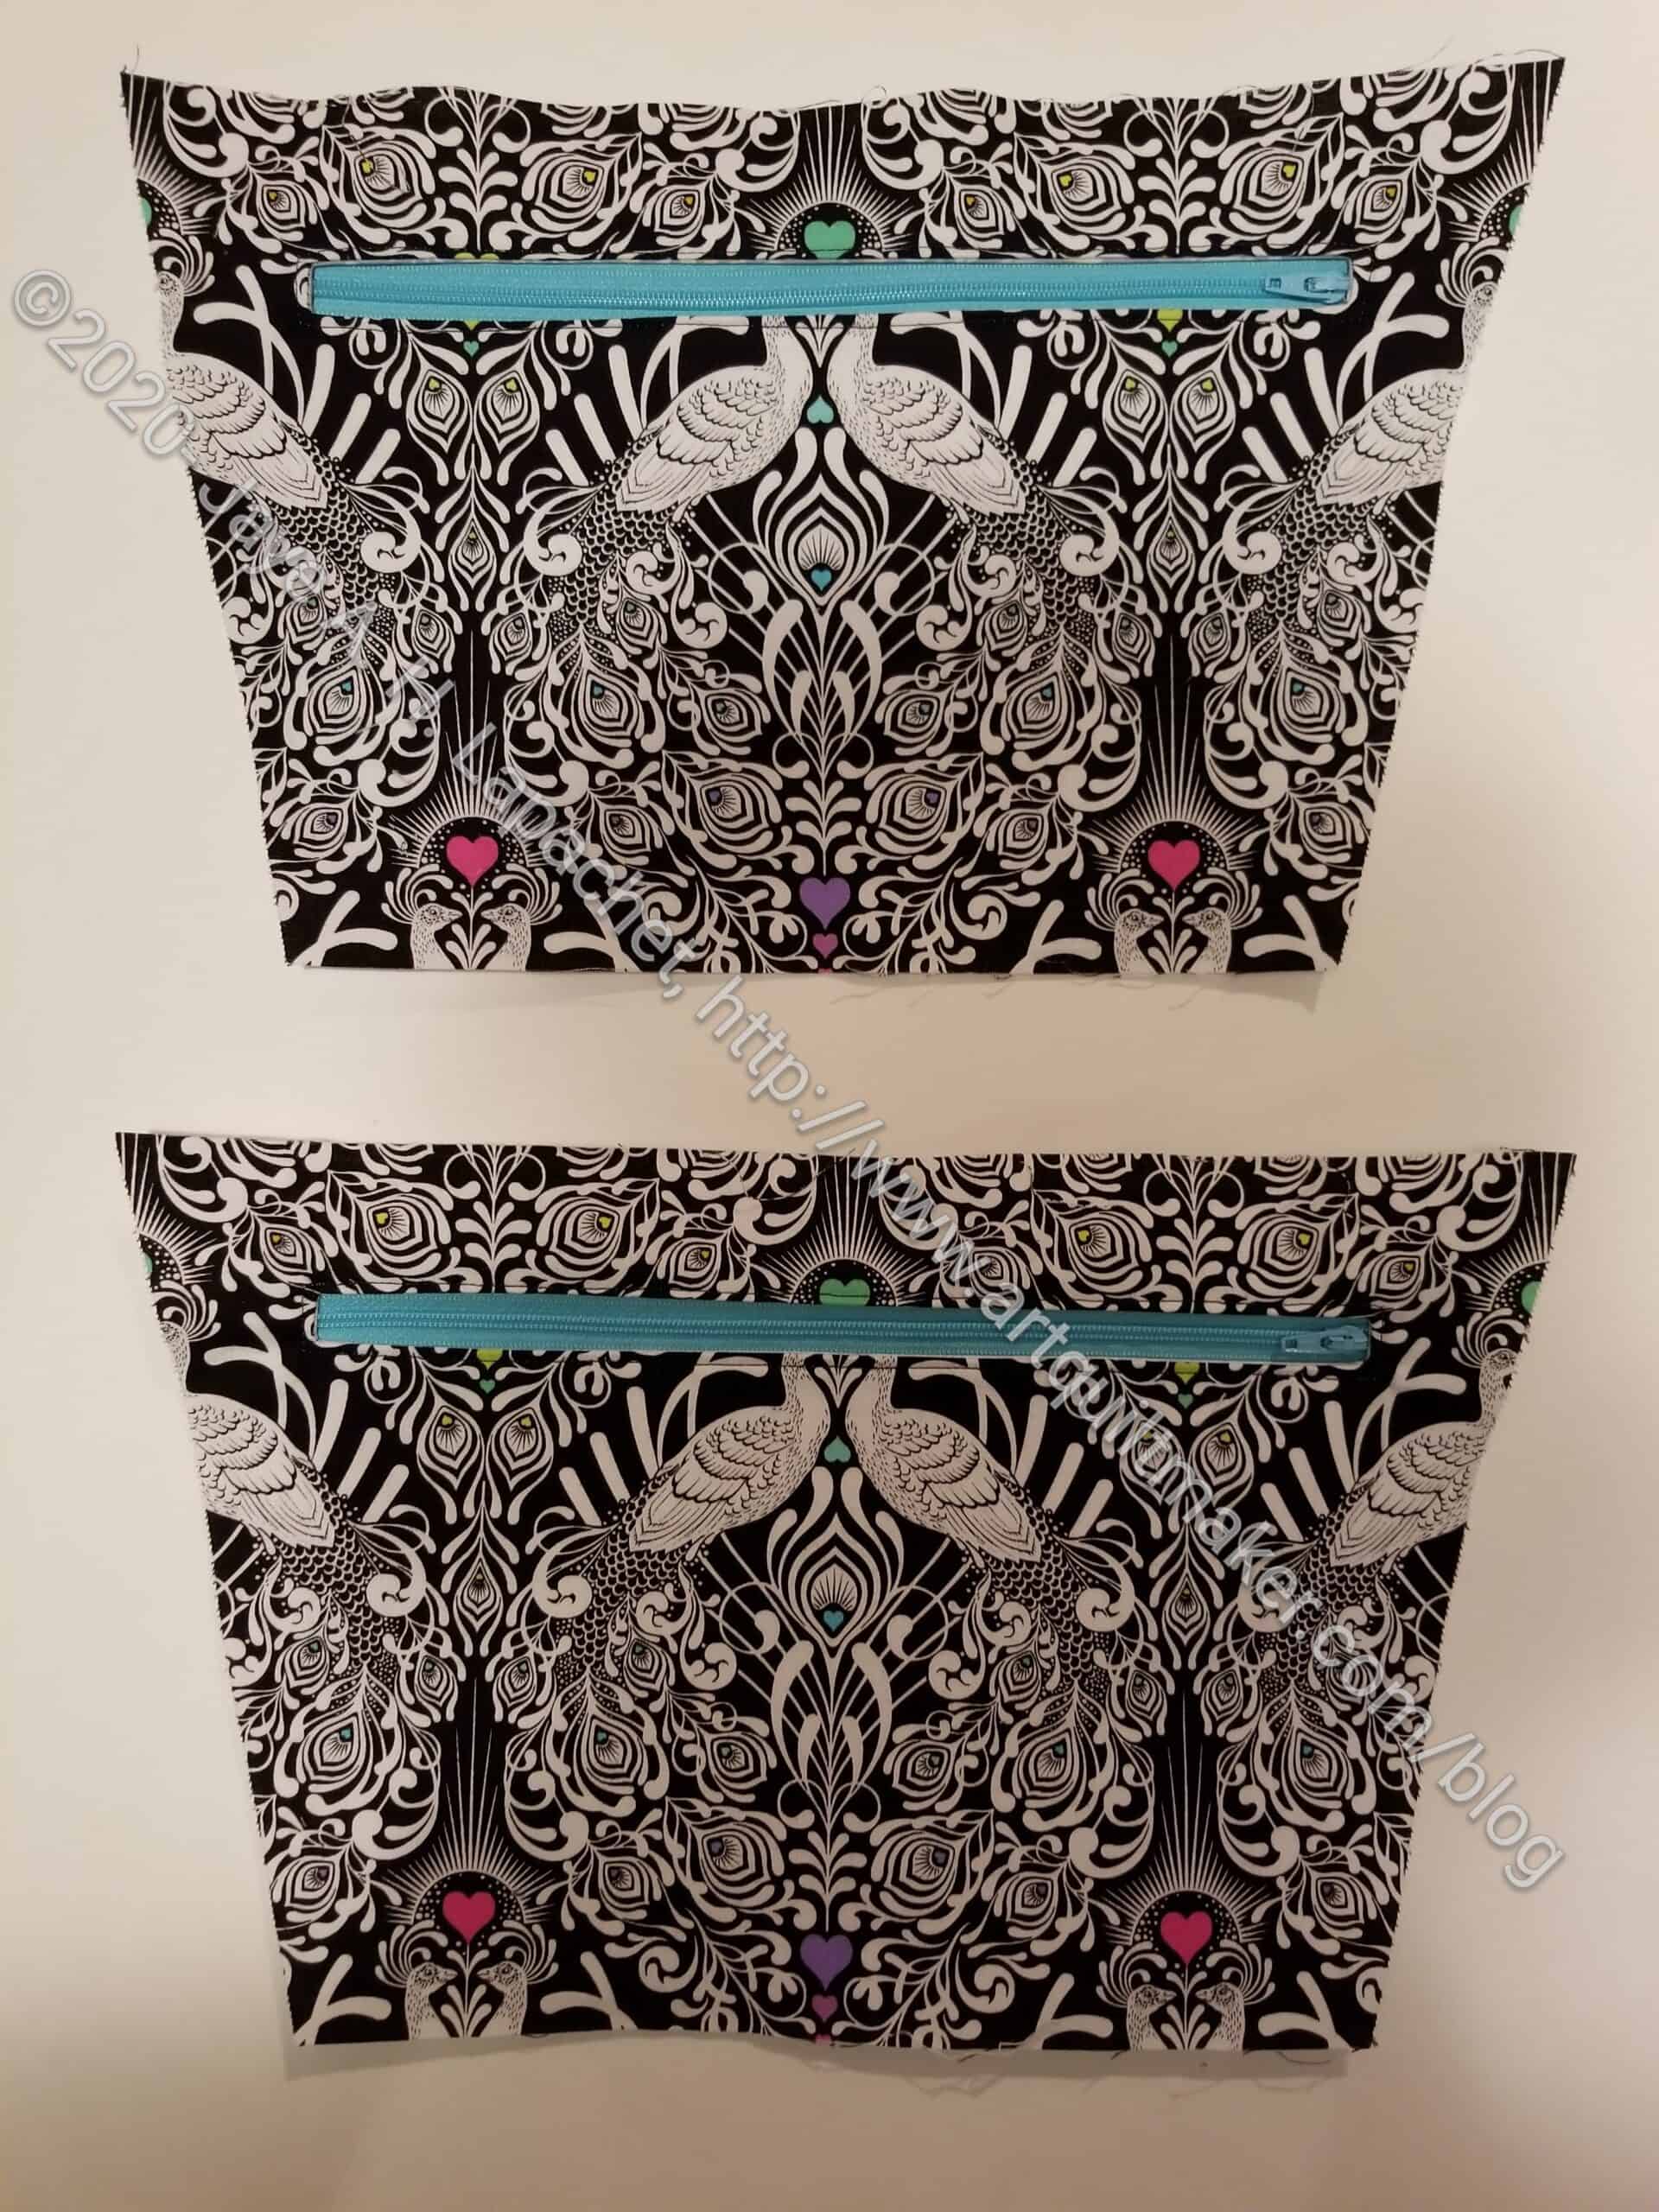
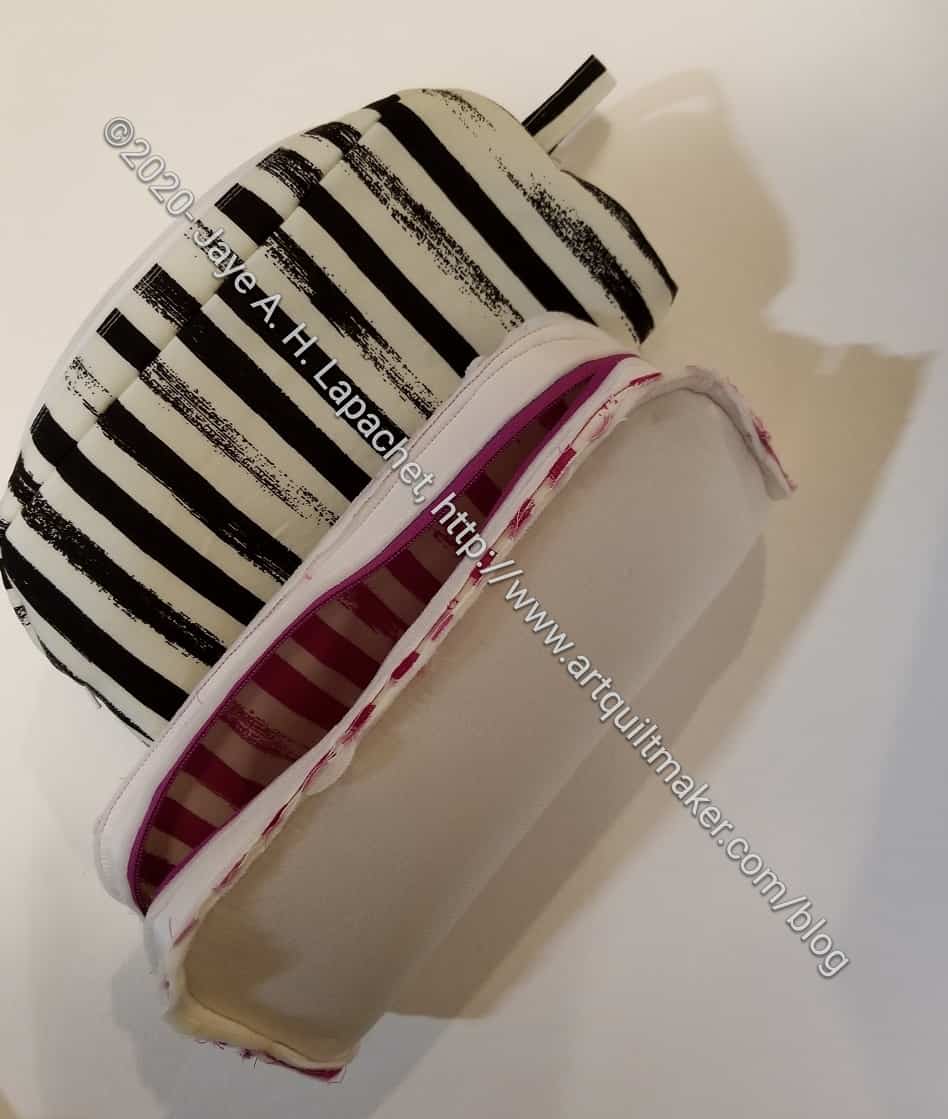
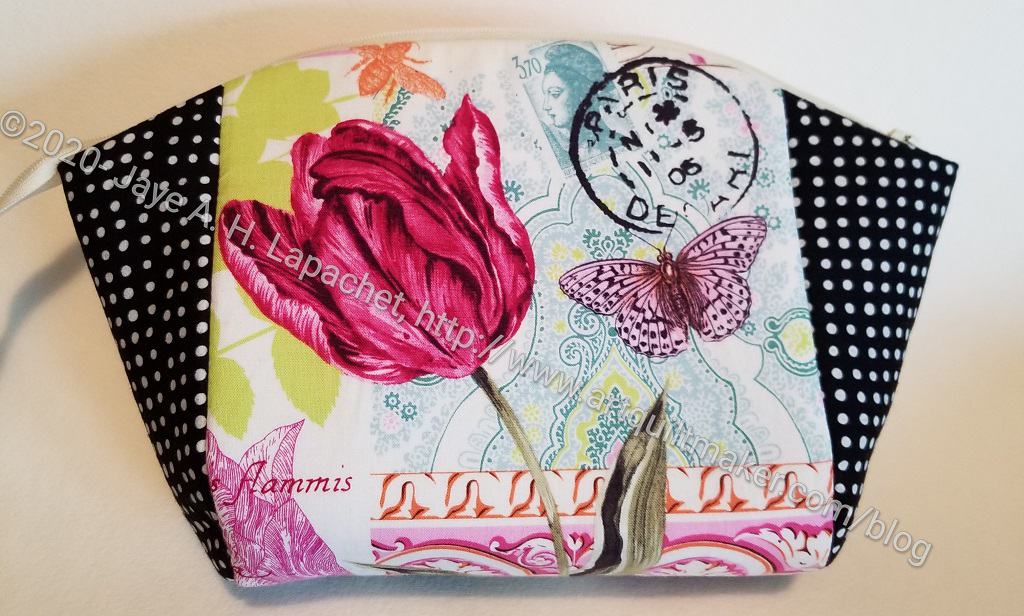
This is the second of the three pouches I made over the weekend. I used the Philip Jacobs Variegated Ivy fabric in pink for the ends and the lining. In order to tone down the large and exciting flowers, I used the black and white for the main panel.

This is the medium sized Cotton Candy Pouch from Sara Lawson’s Minikins Season 1 pattern set (no affiliation).

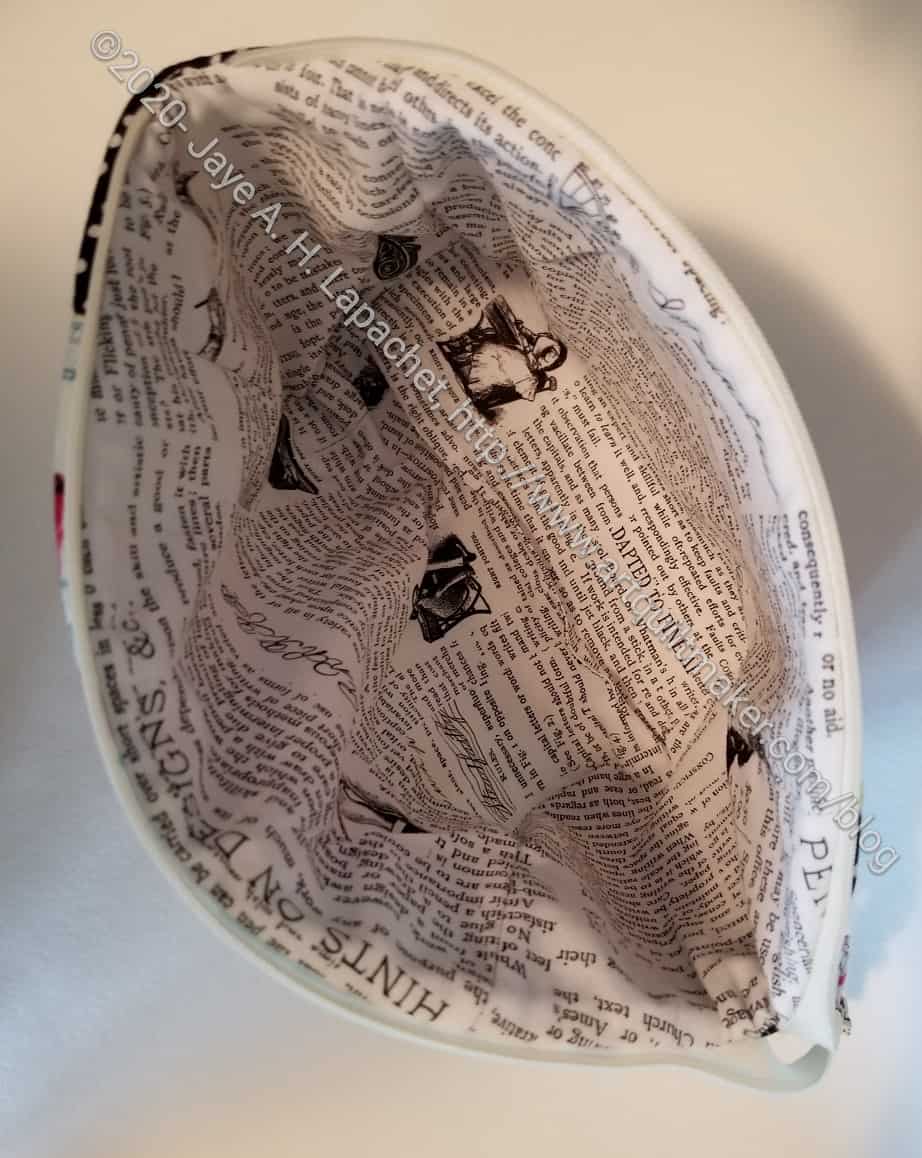
PJ Pink Cotton Candy Pouch lining

It is actually not for one of my co-workers. I made this for my co-worker’s daughter. They are having an especially tough time at their house. Another zipper, some time and fabric were not that big of a deal.

I sent this one off with my co-worker’s yesterday.

Green Cotton Candy Pouch

Green Cotton Candy Pouch

In some ways this will be pouch Week. I didn’t intend it to be, but I have a lot of pouches to show.

I made three Cotton Candy pouches over the weekend. As mentioned before These are to be gifts for co-workers who have helped me.

Green Cotton Candy Pouch-open

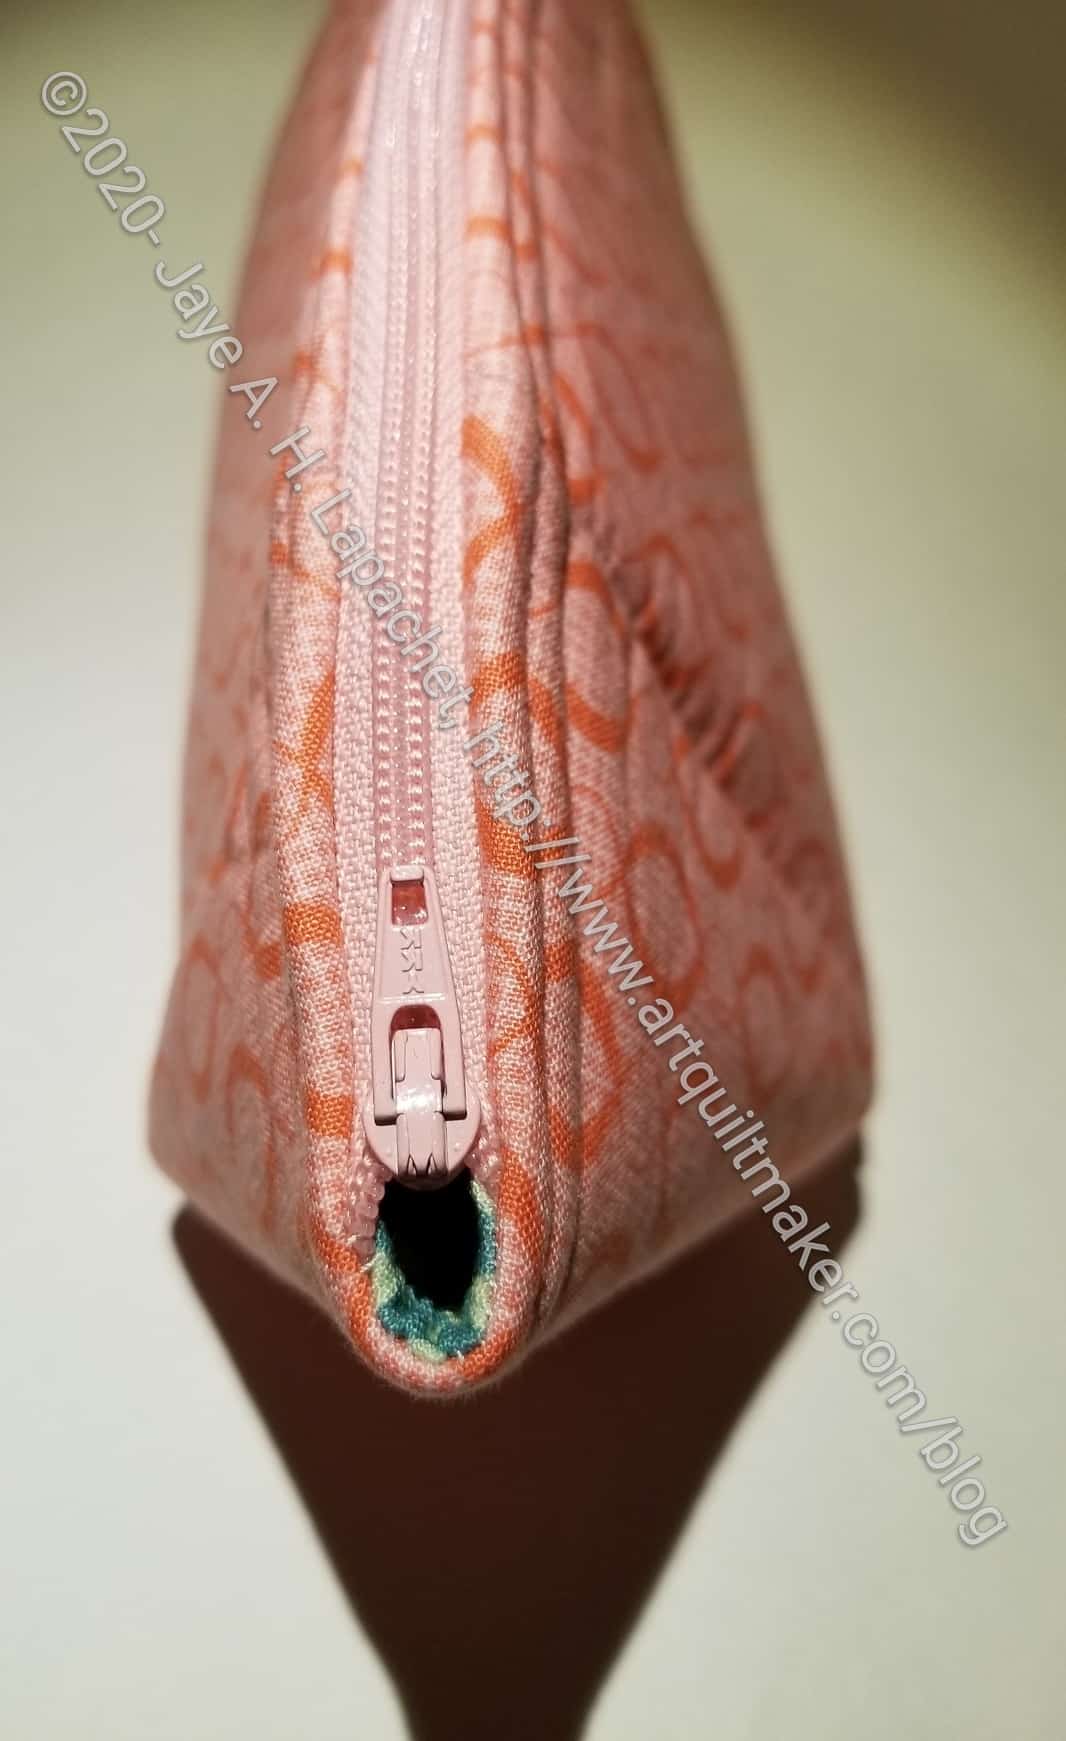
I really want to get good at this pattern, so I keep making it even though I have many patterns from the Minikins to try. There are a couple things I need to work on. One is veering the zipper. I didn’t get both sides of the end even this time. Next time, I think I will mark where I want to veer the zipper off the fabric and see if that works. I ripped it out a couple of times, but couldn’t do better, so I’ll try to do better next time.

More Cotton Candy Pouches

I am making 3 more Cotton Candy pouches as gifts for people at work. I am also trying to perfect my efforts at sewing this pattern.

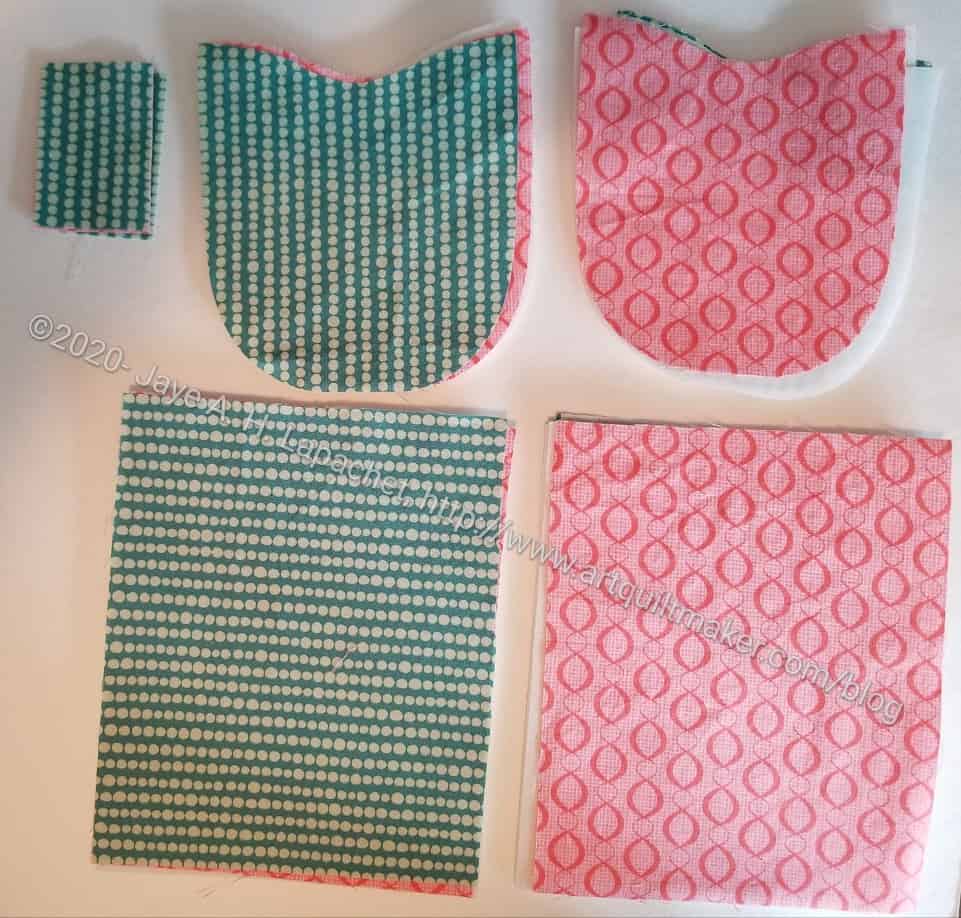
Making 3 requires a lot of cutting time. It took me about two hours to cut out all the pieces, which didn’t include forgetting to cut out the lining side panels! Duh! I guess I have decided that cutting out all the pieces at once is the best way to work.

Cotton Candy Pouch side panels

One of the things I found was that basting the side panels to a square and cutting the shape out later was really handy. Cutting out the side panel, which is tulip shaped, with the rotary template on the Soft & Stable is difficult. It is difficult, because the Soft & Stable is so thick. Cutting the shape out after basting it worked really well.

I also found that basting the pieces to the Soft & Stable in advance was really helpful. I know the pattern says to do it, but I hadn’t done it before.

I am still struggling with veering the zipper. Apparently, I need to make more of these to get that right. I made some annotations to the pattern so I remember what to do next time and where salient points are in the videos.


Chrysanthemum Cotton Candy Pouch

Chrysanthemum Cotton Candy Pouch

I finished another Cotton Candy Pouch over the weekend. As mentioned in a previous post, this pattern is from the Minikins Seasons 1 & 2 (no affiliation) by Sara Lawson of Sew Sweetness.

Chrysanthemum Cotton Candy Pouch - inside
Chrysanthemum Cotton Candy Pouch – inside

I made an effort to fussy cut fabric this time so my pouch  highlighted some great fabric. Sara does this in her pouches and I really like the look. I cut the side panels out of the Philip Jacobs fabric, which was not correct – I keep thinking those side pieces are the main fabrics. I decided to use them on the inside, reversing the way I put in the fabric.

I had some trouble with the zippers, but in the end the video about veering the zipper off the project and the project video finally got the thole technique into my head. I want to cement it. I think I might make another pouch with some of the Echinacea fabric I got from the last Modern Quilter’s Box.

Sewing Room Stand

As mentioned, I had (took) Friday-Monday off for Memorial Day weekend. While I had to clean the house, I also took the time to finish a few projects that needed finishing or knocking other must-do projects off my list.

Minikins 2: Sewing Room Stand

One thing I started and finished was a Sewing Room Stand from the Minikins Season 2 patterns.

I made the item in a couple of hours. I used the video portion of the pattern (Sew Sweetness Minikin patterns comes with a video as well as the printed pattern). I didn’t find it difficult. I thought it was a lot easier than Tooly McToolston, though the Sewing Room Stand is smaller and doesn’t have as many pockets. It is the same idea.

Minikins 2: Sewing Room Stand tablet side

One of the things I like about this pattern is the possibility of standing a tablet on it and having the tablet oriented in such a way that I could see a pattern as I was working on it.

I thought the stand would come out larger based on the picture on Sara’s website. My tablet is not large (*inches?), but the one in Sara’s photo seems larger and the stand is still larger. Granted, my tablet does not hang over the ends, but still seems like it is overwhelming the Sewing Room Stand.

Minikins 2: Sewing Room Stand tool side

Thetool side is tall enough to accommodate a medium sized tool, so you could have your tools and your tablet in use at the same time.

I turned pretty quickly to the video to make this item. I was not getting what the printed pattern was saying. The video made it very clear, so I was glad to have it.

As far as I can tell, the pattern doesn’t fold up into a flat package.

Minikins 2: Sewing Room Stand empty

I chose the colors as this will be a swap gift and these are the colors the person requested!

Gift Post: Cotton Candy Pouch

I finally bought the Minikins Seasons 1 & 2 (no affiliation) a few weeks ago when I received a bonus from a vendor with whom I work on occasion. I talked about being obsessed with these patterns back in January since they came out. They are on sale when they first come out and then they went up in price. I plan to buy Season 3, if there ever is one, when it is on sale.

Cal themed Cotton Candy Pouch

Anyway, I made my first project from the patterns, the Cotton Candy Pouch. I made this for my SIL for her birthday. Fortunately, she lives around the corner, so I just put the bag on her doorstep during my morning walk and then texted her to take a look. Not as good a party with cake, but something during this shelter-in-place situation.

There are a few things I had trouble with. I am pretty pleased with the evenness of the zipper, but the ends were a bit of a problem. Next time, I think I will use a coordinating or solid fabric for the side pieces. I think it will highlight the themed fabric better. I find that making a project the first time is always an adventure and a learning experience.

Cal themed Cotton Candy Pouch

I also added a leash. I don’t know if she has a bag with a D-ring, but when she does, she will be able to attach it.

This pouch takes an 18″ zipper, which I thought was long. I don’t have many that size, so I’ll have to think about getting some.

Gift Post #8: Julie’s Persimmon Pouch

Persimmon Pouch for Julie

I forgot to take photos of this pouch before I sent it off, but Friend Julie was kind enough to send me some photos. The photos were much better than I would have taken so I was glad I asked her.

This is another version of the Persimmon Dumpling Pouch by Sara Lawson. You can find this free pattern at the Sew Sweetness website. I made a few of these during my fabric gift foray (November 2019) and found it to be a clever design.

Persimmon Pouch for Julie side 2

I made this one, as well as another, with Soft and Stable*. I think the pattern calls for Soft & Stable, so I cut the pieces out, but decided not to use it in the first pouches I made. I just used fabric with SF101/ ShapeFlex* and that worked fine. After making a few of these, I decided I was ready to tackle one with Soft & Stable*. I used the Soft & Stable as a base and piece it using the Quilt as you Go. This prevented me from having to quilt the pieces later. I also got to use up some scraps. I didn’t do anything crazy, though I can see improv possibilities using QAYG.

Persimmon Pouch for Julie bottom

One thing I like about this pattern is the zipper installation. It is very clever and there are no issues with the ends of the zipper. The ends get tucked into the lining out of sight. There is no need for zipper tabs or cutting zippers or anything.

Persimmon Pouch for Julie lining

Turning the pouch was a little tricky because of the Soft & Stable, but not terrible. Normally, I like to make my interfacing a little smaller than the fabric, to reduce layers. When I make this pouch again with Soft & Stable, I will cut the piece larger than the pattern and then trim after I sew fabric pieces to the Soft & Stable. I had a couple of problems with the ends and I think this method would increase accuracy.

I did not hand sew the inside shut. I just wasn’t up for it. Still, I think the piece looks nice and Julie seems to be happy. The only other thing I would change is to get a zipper than matches.


*I use affiliate links and may be paid for your purchase of an item you click on. There is no additional cost to you for clicking or purchasing items I recommend. I appreciate your clicks and purchases as it helps support this blog.

Gift Post #7: Mom’s Persimmon Pouch

Mom's Persimmon Pouch
Mom’s Persimmon Pouch

Like the pouch I talked about after Christmas and back in November, this pouch is made using the same Persimmon Pouch pattern, still FREE from Sew Sweetness. I made this one and Julie’s at the same time. I used Soft & Stable* for the lining.

I used the Soft & Stable as a foundation piecing base and sewed scraps to the base. The Soft & Stable* makes for a good base and I liked not having to quilt the sides separately.

I also used some of the artist fabric I had in my scrap pile to keep the idea of the set of items going.


*I use affiliate links and may be paid for your purchase of an item you click on. There is no additional cost to you for clicking or purchasing items I recommend. I appreciate your clicks and purchases as it helps support this blog.

Gift Post #5 2019: Day of the Dead Pouch

Dia de las Muertos Pouch

This isn’t very Christmas-y, but I knew my friend would like it. I cut this one at the same time I cut the other Persimmon Pouch. Same pattern. Same FREE pattern.

I used the fabric leftover from some pillowcases I made for her.

Dia de las Muertos pouch end

I wasn’t able to get this zipper to behave as well as the one in the first pouch, but the pouch still closes and I think it looks fine.

I still love the way this pouch finishes! It is so clever.

Persimmon Pouch

Persimmon Pouch
Persimmon Pouch

A few weeks ago, I cut out some pouches. I used the Persimmon Dumpling Pouch pattern, a free pattern, from Sew Sweetness for two of them. The pattern has three sizes, small, medium and large, included. This is the small version.

Persimmon Pouch: open

I LOVE this pattern. It went together really quickly after I sat down and just worked on it. It has about 5 seams and the pouch is together. My first try took me awhile, but after finishing it, I thought of a couple of ways I could make this project go faster.

It is so interesting how this pouch opens almost all the way flat. I suppose that could be a problem if the owner had a lot of small items inside.

I have seen this made with two zippers that come together in the middle. Doing that is a skill I have not yet mastered – or even tried. I doubt it is difficult. I’ll put it on the list.

The pattern uses strips to make the exterior. It would be a great pattern to use with some improv piecing, but I just used one piece of fabric for this one and the one I have not yet completely sewed. There is a lot of scope for imaginative fabric use in this pouch pattern (and most, I suppose).

I made this one for the raffle baskets as a test to see if I would want to keep making these as gifts. I think it will be a great pouch to hold all the little gifts. Of course, I have other patterns I can and want to try as well.

Persimmon Pouch: zipper ends

It also has a great way of finishing the ends of the zippers. There is no cutting off the zipper ends or making new stops. The ends are tucked into the bottom seam and hidden between the lining and exterior.

I was thinking I would like to add a leash and a lobster clip to this pouch, but since there are side seams, I am not sure if it is possible. I have another one cut out, so I will think about it some more as I make the next one.

Stay tuned for more! If you try this pattern, let me know what you think.

Petrillo Bag #3: Hacks

I spent some days on the weekend finishing the Petrillo Bag #3 (Buy the pattern from Sew Sweetness). I have a few threads to weave in before I can say DONE, but it is close.

In this bag, I made a few more changes to the original pattern.

Elastic sides
Elastic sides

First, I made the bag larger again, but instead of using clips like last time, I bought some wide elastic and used that. The reason I need to use something rather than let the bag be free is because I want the front closure to still work. It is a magnetic closure and probably wouldn’t be strong enough to keep the bag closed if the shape weren’t similar to the original bag. I want it bigger to be able to get stuff out easier (this bag is GREAT for conferences) and be able to stuff a sweater in for cold conference rooms.

I didn’t have enough of the sew-in magnetic closures that Sara of Sew Sweetness recommends, so I bought one more at Joann. Big mistake. Use the ones that Sara recommends; they are MUCH better.

Saggy zipper pocket from Petrillo Bag #2

Next, I needed a way for the interior zipper pocket to be stabilized. I use the zipper pocket a lot and it was completely saggy. You can see the outside folded over to the inside from the weight. One solution was to lessen the amount of stuff in the pocket.I do like my stuff so I sewed close to the edge on the top of the pocket as one possible solution to keep the pocket stable.

Stabilize zipper pocket

However, I thought of a solution that would allow me to keep the same amount of stuff in the pocket and not be saggy. I thought of this at the last minute when the bag was almost completely together, so my options for making it super nice were limited. I sewed tabs on to the ends of the zipper. They were sticking out just enough to allow me to do so, then I sewed the tabs into the side seam.

Stabilize zipper pocket - detail
Stabilize zipper pocket – detail

I didn’t finish the tabs, but I figured it wouldn’t matter much since the stablizers were on the inside. I would finish the edges and make real zipper tabs if I were making the bag again.

Petrillo Bag Slip Pocket

In a further effort to stabilize the interior zipper pocket, I also added a slip pocket to the outside of the padded pocket. I got this idea from making the Cargo Duffle. I hope to put the pens in this pocket instead of in the zipper pocket, which should help the stabilization. I divided the slip pocket into two sections using my phone as a guide for size.

The slip pocket isn’t in exactly the right place. I should have put it down a little further, because in its current location, it interferes with the padded pocket flap. Thinking about this made me realize that I probably don’t need a flap over the padded pocket.

I think I will have to make this bag again with further refined hacks.

Finally! Petrillo Bag #3

The 3rd Petrillo Bag has been cut out and on my to do list for awhile. Last Sew Day was the day to start it. I worked on the donation and when I finished that, I started working on this bag. I decided that I needed to clear off my To Do list and I also want my first Chubby Charmer back. I have been using it as a storage space for the pieces to this bag.

I really don’t know why I waited. It has gone together fairly easily thus far even though I have had to do some ripping.

Petrillo Bag #3 in process

With this bag, you get a lot of bang for your buck quickly. Within a few seams, you get something that looks like a bag.

Is it finished? No, but I am making progress.

I had some trouble with the flap and after ripping a few times, I decided to remake. I am also making a couple of adjustments. I am making the bag larger again, but using elastic this time. I wasn’t careful when I sewed it in and needed to rip it out and sew it more securely.

Mom had a great idea, which I will also do. I have a pen problem. I always have several with me. I have been using the hidden zipper pocket to hold them and everything else, which makes the bag sag. She suggested I put a slip pocket on the padded pocket and put the pens there. Brilliant!

I am still trying to figure out how to stabilize the hidden zipper pocket. That is a bit of a holdup, but not terrible.

Pattern: Petrillo Bag by Sew Sweetness
Fabric: Home Dec, Pristine Poppies by Joel Dewberry; various dots for trim and Art Gallery Red (not sure this is the name of the colorway) solid for some of the pockets and other trim.

Book Review: Big City Bags

Big-City Bags: Sew Handbags with Style, Sass, and SophisticationBig-City Bags: Sew Handbags with Style, Sass, and Sophistication by Sara Lawson

My rating: 4 of 5 stars

I love Sara’s Petrillo Bag pattern and have made two of my own. She also has a very sweet tone to her blog and I like reading it. I couldn’t resist this book in hopes that she would have more of the fun shapes and clever construction methods I found in the Petrillo Bag.

Several months ago, I picked the book up to read and review, made a bunch of notes and then put it down for a long time. Why? I don’t know. This is a great book and I should have reviewed it RIGHT away. If you only read through page 19 and never look at the projects, you will learn techniques that will be useful in other patterns and projects.

First, there is a whole section on interfacing. She explains the properties of and uses for various types of interfacing. This section also has a conversion chart from American brands to Vilene. This expands the usefulness of the book and patterns to our European friends. US readers can also use this chart when making European patterns that refer to Vilene in the materials list. I was considering making a needle case from a pattern where one of the supplies listed was Vilene. This chart would have been useful.

Throughout the book, Sara also gives hints. Such tidbits as what to use to reinforce magnetic snaps, along with other tips and tricks, are scattered in little boxes throughout the book.

After the chart, Ms. Lawson provides a narrative that includes more detail on each interfacing mentioned in the chart. She tells what she likes about each one and how she uses it. Sometimes a tip or trick on adhering the particular product to fabric is provided.

Next, there is a section called “Bag Making Techniques” (pg. 12). In this section, Sara gives detailed lessons on installing zippers. I have installed zippers, but, boy, am I glad I read the section of this book. In one part of this section she gives me the perfect way to deal with those stupid zipper ends. I don’t know why I didn’t think of  her method before. Lawson also goes over making the same kind of pocket included in the Petrillo Bag pattern. By showing it separately, she gives readers the skills and provides space for the imagination so we can include it in projects of our own.

Magnetic straps, purse feet, O rings, D rings and lots of other hardware are also discussed, evaluated and defined with the same completeness as the zippers.

Sara also discusses leather handles, a topic I have never seen before. These are included in some of the projects, so tackling their peculiar requirements is prudent. I think these are an interesting addition to the patterns. I also think the manufacturers have not come out with enough colors. Many of the projects in this book, which use leather handles, have black handles rather than a color matching the fabric. It could be that Sara likes the black against some of the modern fabrics.

After explanations and diagrams concerning the the leather handles, the projects start. This book includes 12 projects: all bags of different sizes and shapes. The projects have wonderful names and are made from fabulous (modern) fabric. This section has some excellent attributes: there are at least two colorways shown for each bag. Also, the patterns, while not full-sized, are right after the directions, thus easy to find. I also like it that the finished size of the bag is included at the top of the pattern.

I would have liked to have read more about the inspiration for the bag with the pattern, but, perhaps, I am the only one who cares about such a thing.

There is no question in my mind that Sara is a genius when it comes to bag patterns. Her patterns are practical and fun. This book is beautiful to look at as well as useful. The strength of this book lies in the information before the patterns including installing zippers and how to use interfacing. As I read those pages (pg.8-19), my creative juices really started to flow.

I think you would appreciate this book. Go out and buy a copy!

View all my reviews, including non-quilt book reviews

Petrillo Bag #2 Hacked!

Detail of Gusset
Detail of Gusset I added to make the bag bigger, if necessary

The BAMQG retreat was over Memorial Day Weekend. I wasn’t able to attend on Friday, but I had been cajoled for a couple of years and decided to join as a commuter this year. I really had a good time and will post some more of the fun in a different post. Short bit of advice: if you have the opportunity to go on retreat, GO! You get a lot done and really get an opportunity to get to know your guild-mates much better.

After working on the mystery quilt, I switched to working on the Petrillo Bag. This a Sew Sweetness (Sara Lawson) pattern. Pam and I worked on a Petrillo Bag-along last year. Since then, I had wanted to make another with some changes.

Since I commute to work by train and do not have a car at work to store stuff, I have to carry my stuff or leave it at work. Thus, I have developed very specific ideas about what I like in my bags.

Part of what I like in a bag is security. I don’t want people reaching into my bag and grabbing stuff out. Thus, the bag has to have some kind of flap and closure. I also like lots of pockets and a light colored interior so I can see all the stuff inside. Easy, quick access is also a must.

One of the things I didn’t like about the Petrillo Bag, as written in the pattern, was the skinny top. I liked the look a lot, but the functionality needed to be improved for my use. The side panels are shaped like ice cream cones. After you insert them the top access is very thin. This does help with security, but it makes it hard to stick stuff in and pull it out.

I had been thinking about changes to the pattern in my mind for awhile and had started cutting out pieces several months ago. As you know this bag has been on my to do list for awhile.

Petrillo Bag back
Petrillo Bag back

After being frustrated with another project, I started working on this bag and was able to get most of the outside done on Sunday, late, and Monday at the retreat. It is a good thing I was commuting, because I switched lining fabric midstream and was able to get some Michael Miller red with white Dumb Dots from home and start recutting lining pieces. I’ll use the previous lining choice for another bag.

I got to the point Sunday night that I was ready to construct the gussets and on the drive home, I turned over the process in my head, so I really felt ready to tackle it on Monday when I returned to my sewing machine at the Retreat.

A number of people at the Retreat had never heard of Soft & Stable, so we had a little talk about that. Many are not bag makers and since I never heard of it before the Petrillo Bag pattern, I wasn’t surprised.

When I got home I worked on the lining and, as of this writing, I am ready to start putting the lining together. I am not sure what I will do about the side panels of the lining. I don’t want to put another set of clips on the inside. Elastic, maybe?

I don’t know if this will be the perfect bag as I have just realized that I forgot to put on side pockets for a water bottle or my cell phone, but I will try it out and see if I like it enough to use it or if I will give it as a gift.

Finished: Petrillo Bag

Petrillo Bag Complete

Yes, I completed the Petrillo Bag.

Really and truly.

Cross my heart.

I sewed the inside bottom opening I used for turning and the bag is done. I haven’t used it yet, because I entered it in the Fair and don’t want to get it dirty or anything before that event. I will take it to guild this weekend and next and show it off.

It occurred to me that one good thing about this bag is that it wasn’t too easy and it wasn’t too difficult. There was the right amount of challenge in the making.

I have to say I love that Soft & Stable. I’ll have to see if they have it at Joann or Beverly’s. The way it makes the bag stand up is awesome!

Now I am thinking about the next one. My list of to dos or changes to the next version are:

  1. put iron-on vinyl on the bottom of the bag to protect the fabric
  2. make the sides bigger, but enable them to close so the same shape is maintained and it is easier to get stuff in and out of the bag. Tutinella suggested that it might be a good idea to add an inch or so to the flap to accommodate this change
  3. I may change the zipper pocket to a cell phone pocket or group of pockets that can hold things like pens and cell phones.
  4. add side pockets on the outside. Tutinella did this, so I can get tips from her
  5. make the padded inside pocket larger to accommodate my iPad AND its case. An inch and a half would probably do it.

I don’t know why I can’t just be happy with a bag as is. I can’t, though. I can’t help myself.

Other relevant posts:

For you Tweeps, you can follow Sara at @SewSweetness.