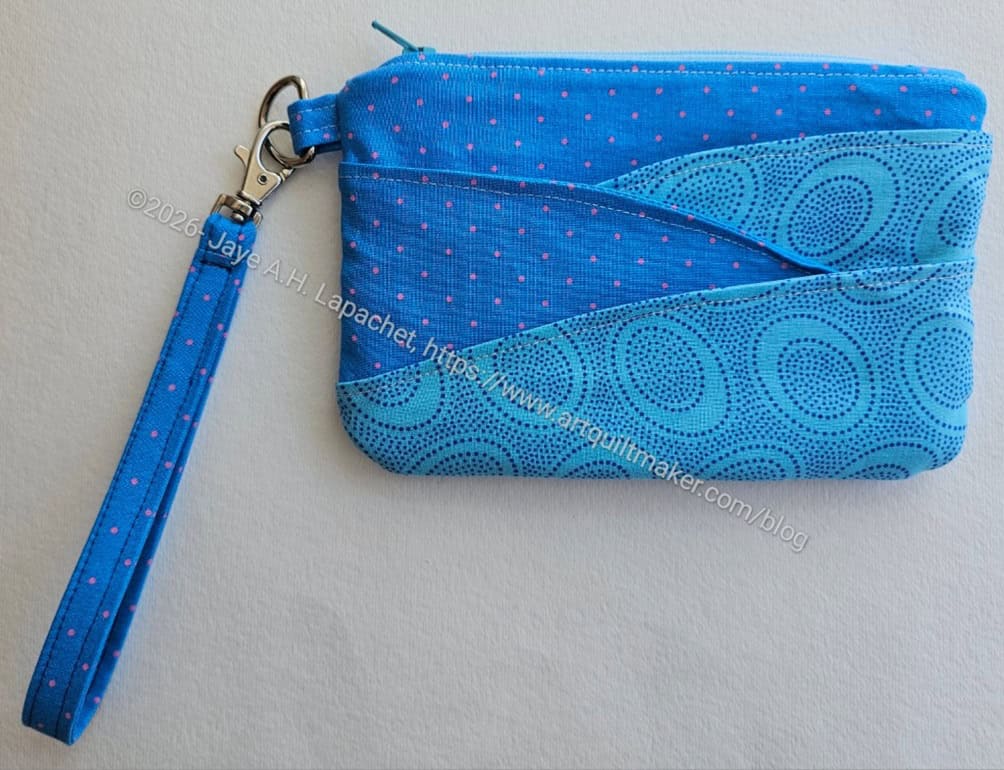
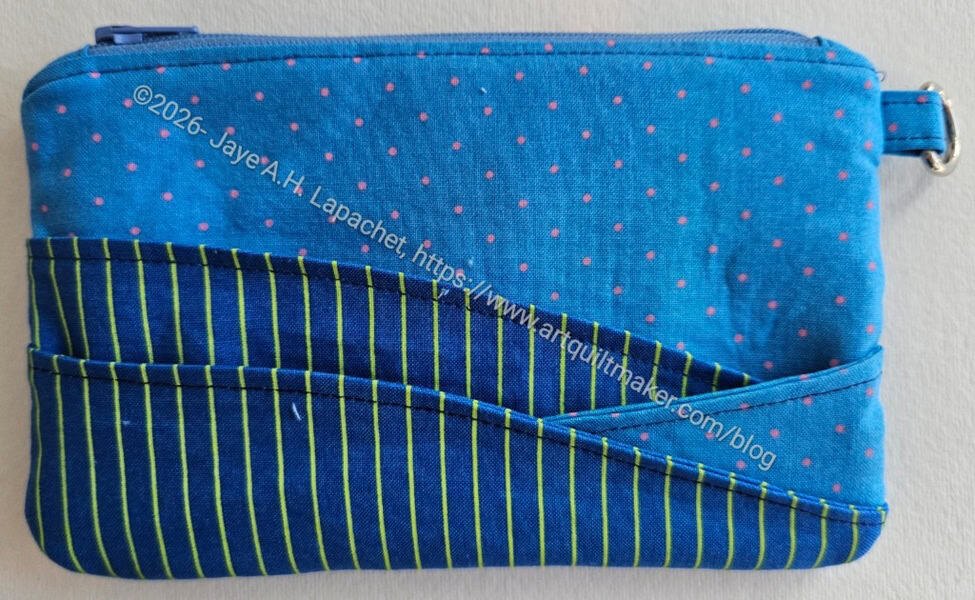
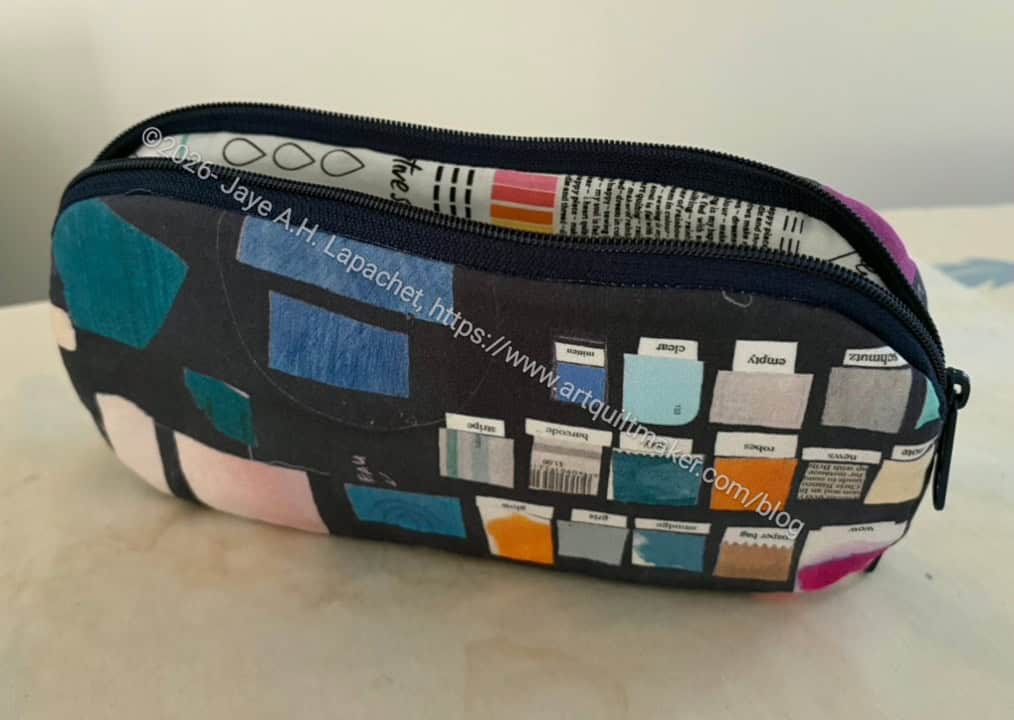
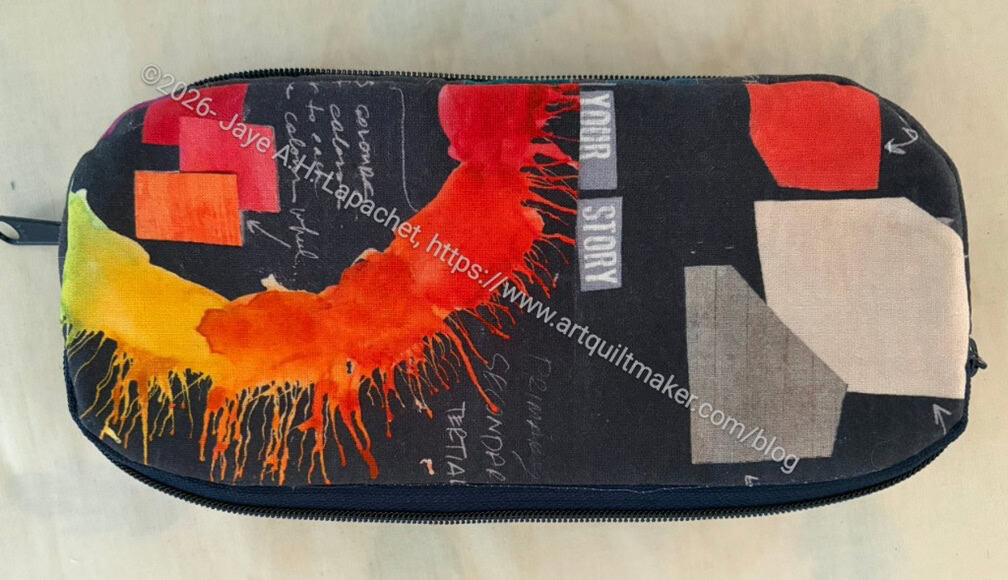
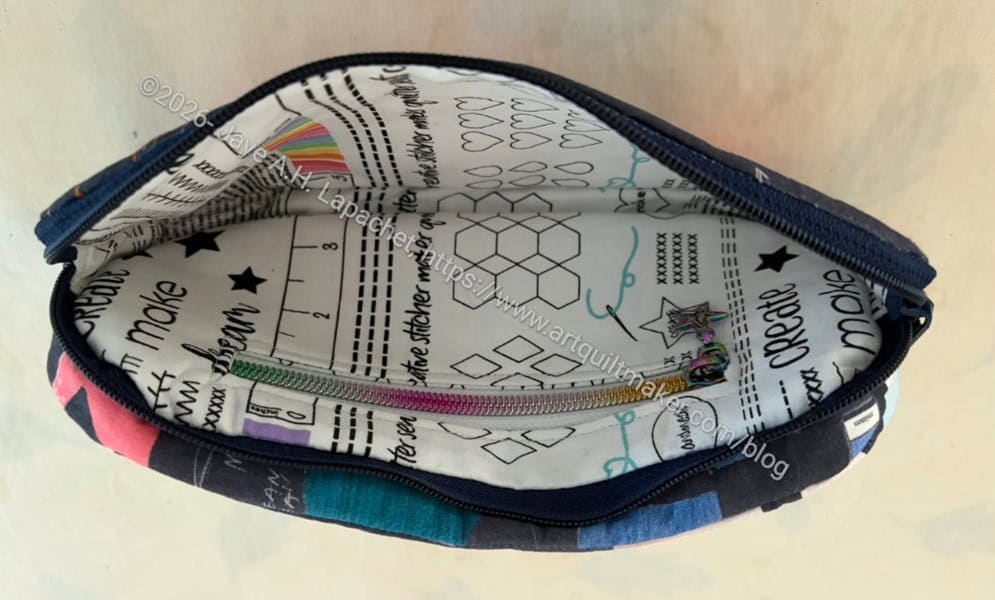
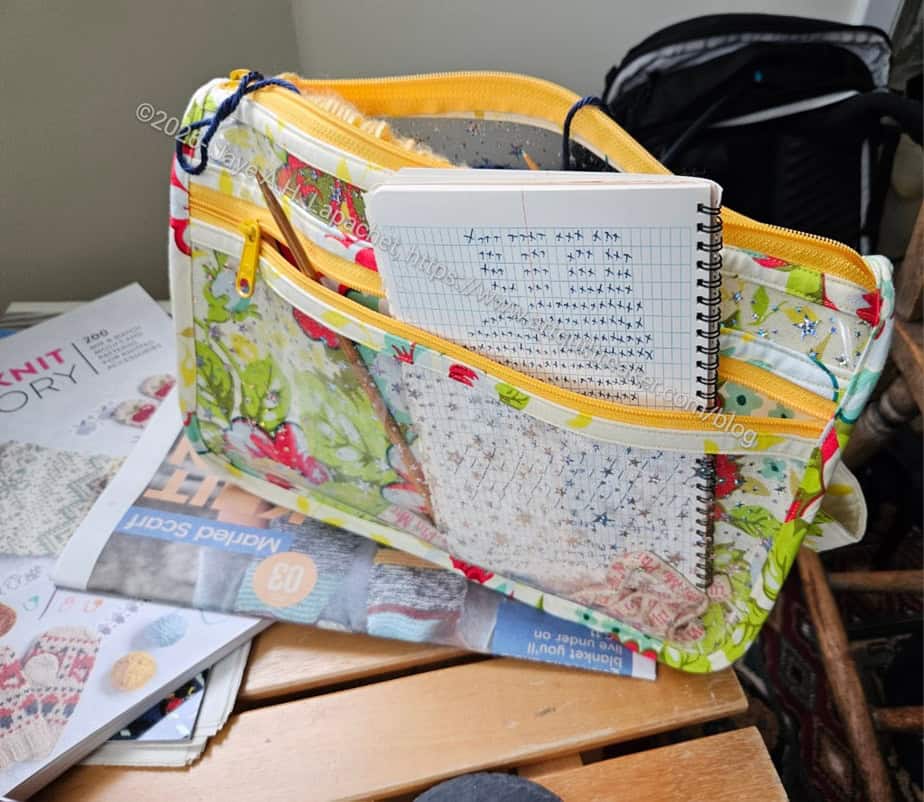
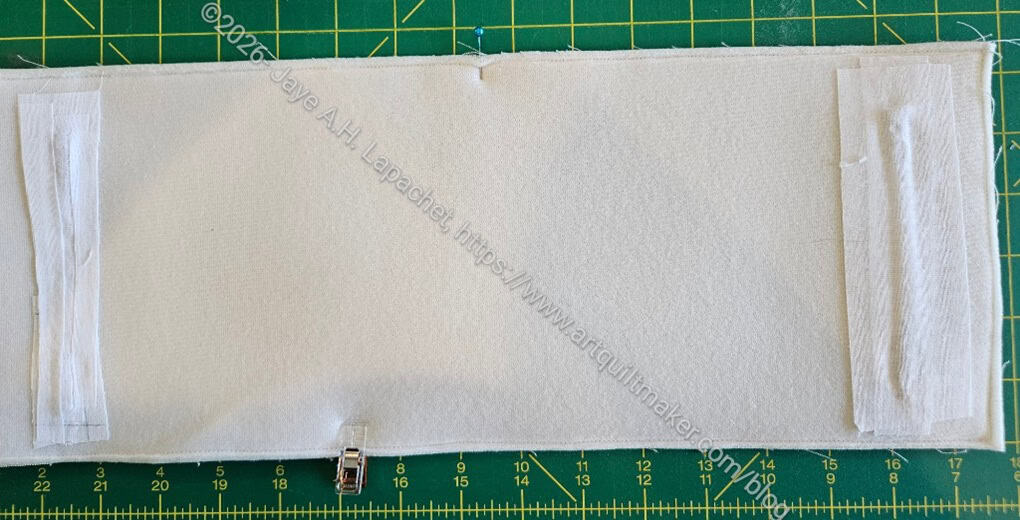
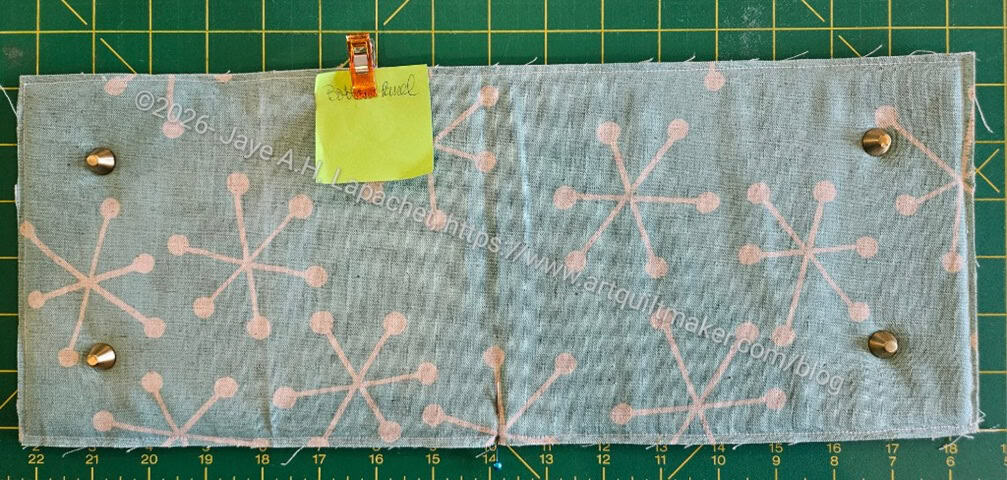
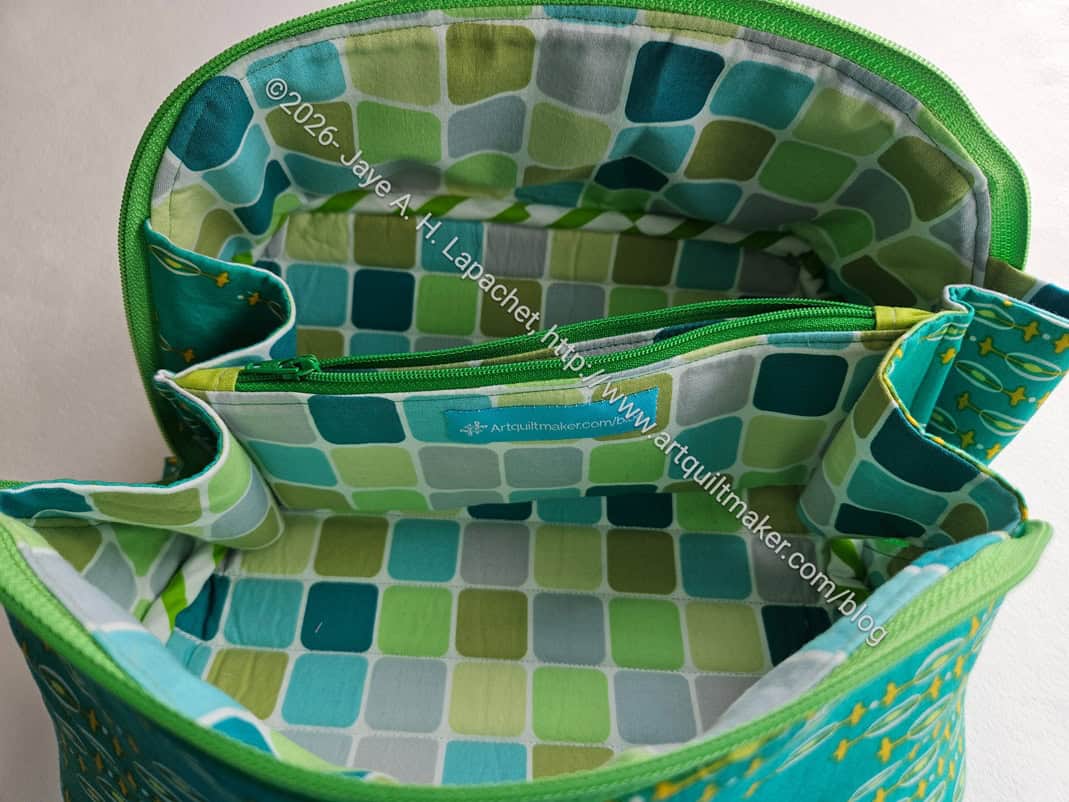
After my adventures with waves the other day, I tried again and this version is great. I still wouldn’t put a driver’s license or credit card in the wave pockets, but some receipts or a photo would be ok.
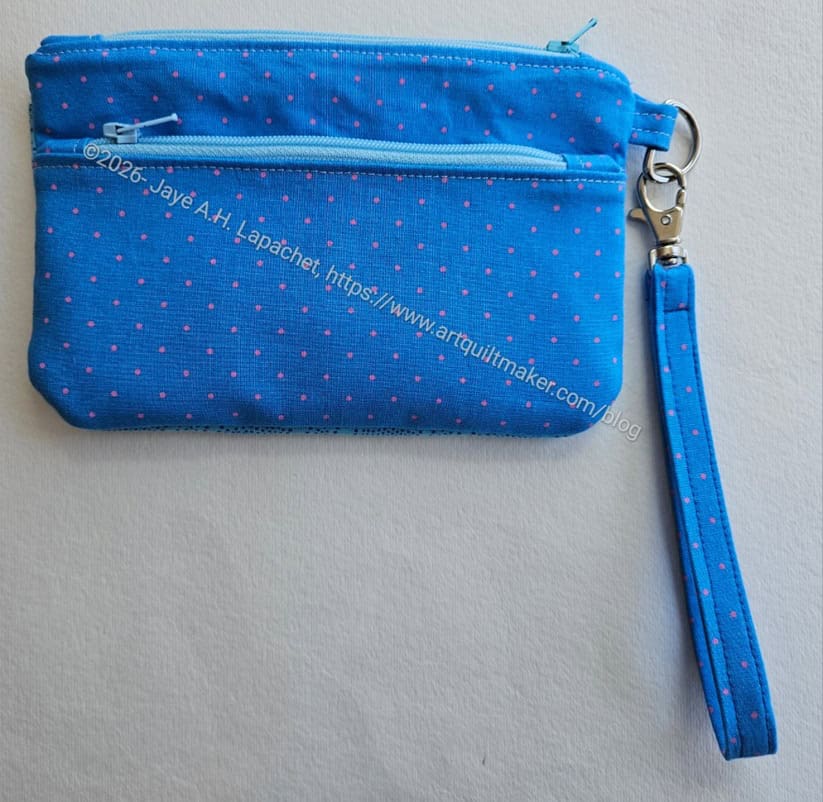
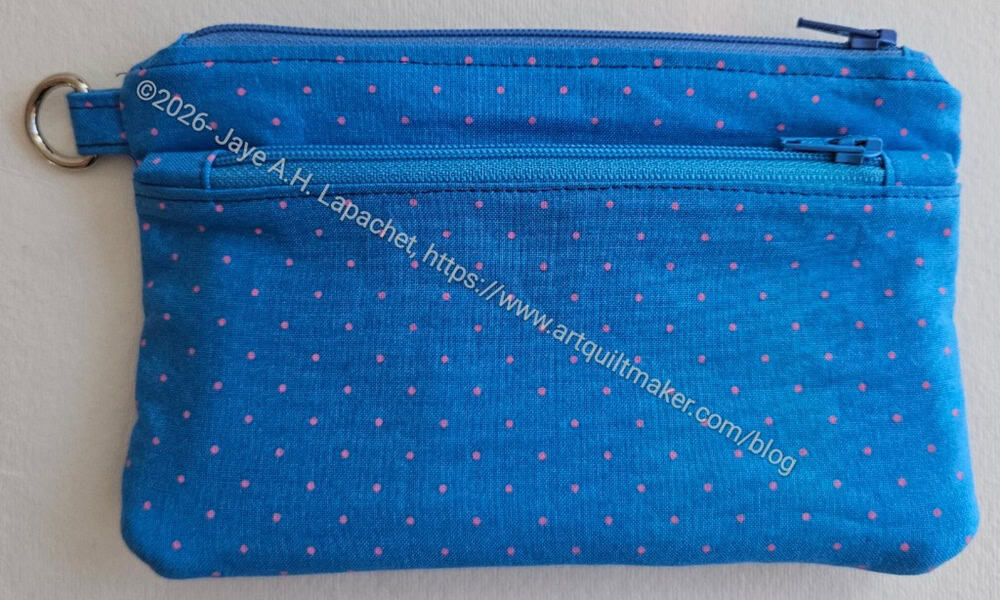
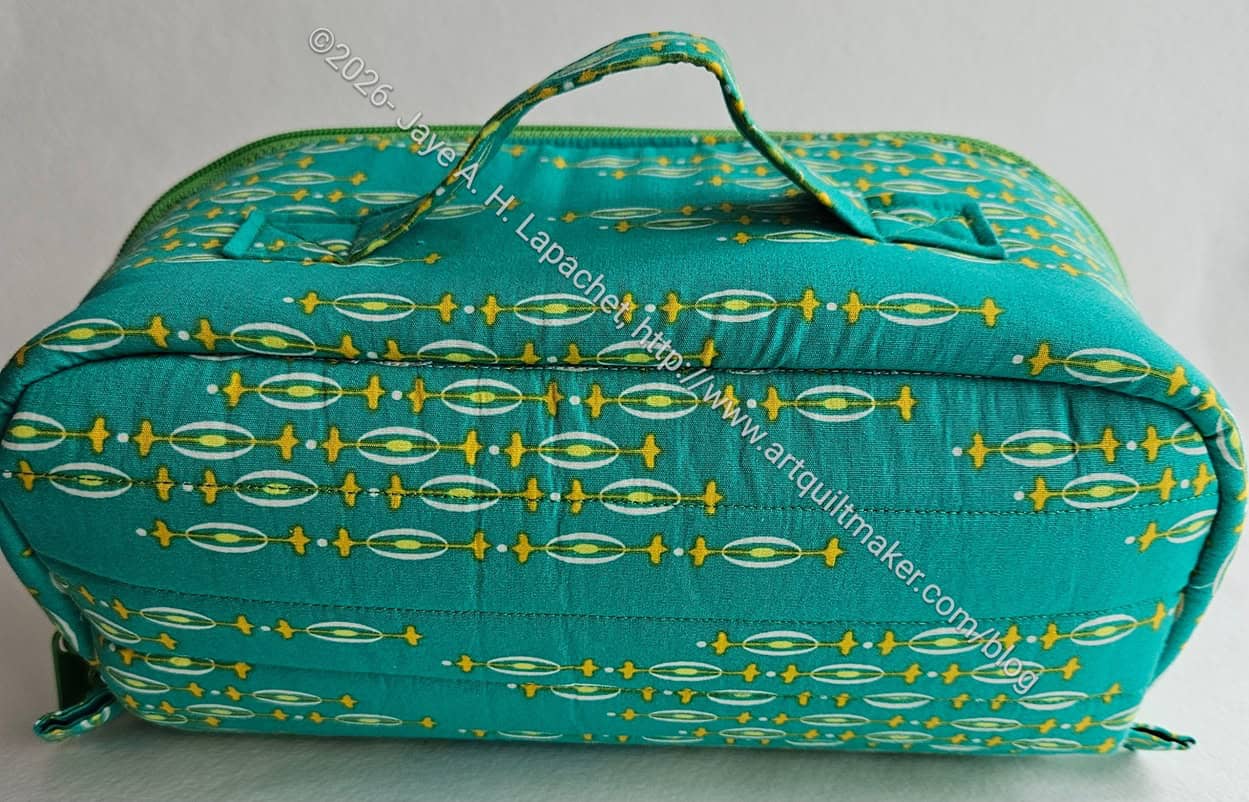
I think the non-pocket side of this pouch is a little boring, though I guess it wouldn’t be if I fussy cut some cool fabric for that side. I think extra pockets is better, though.
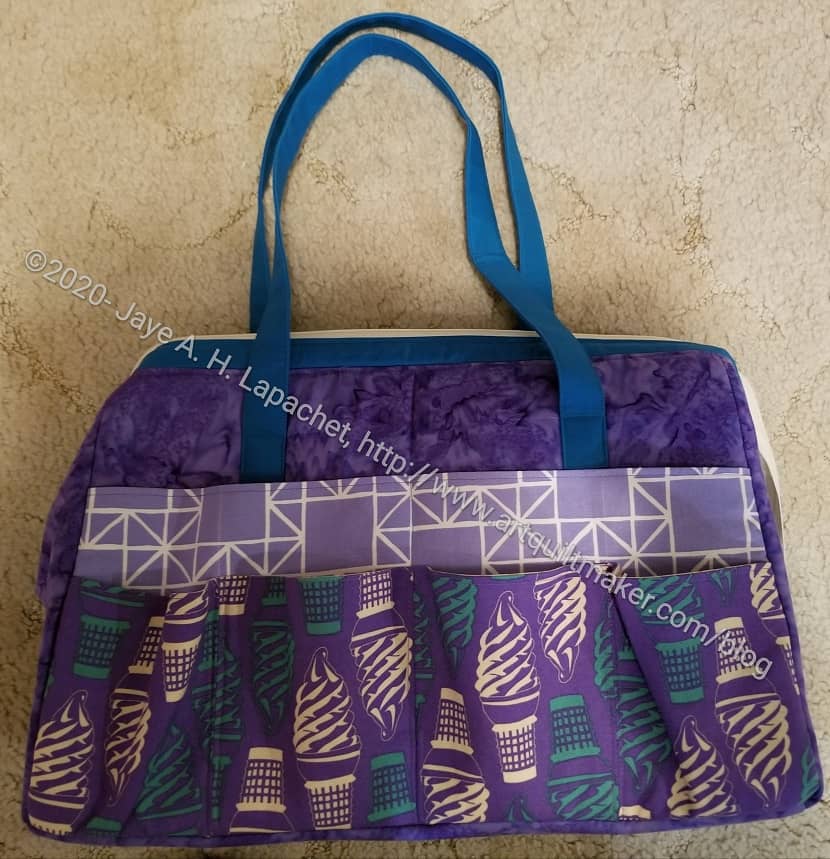
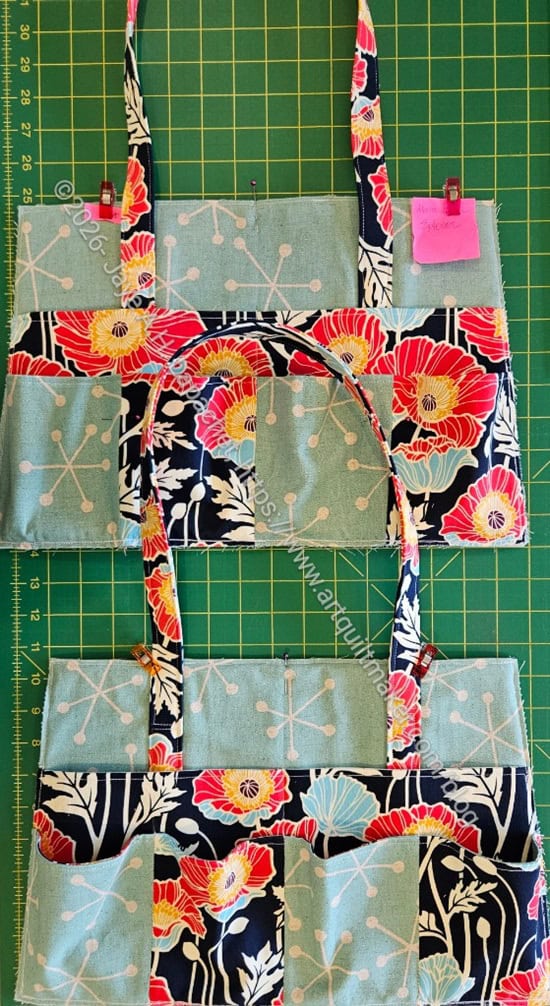
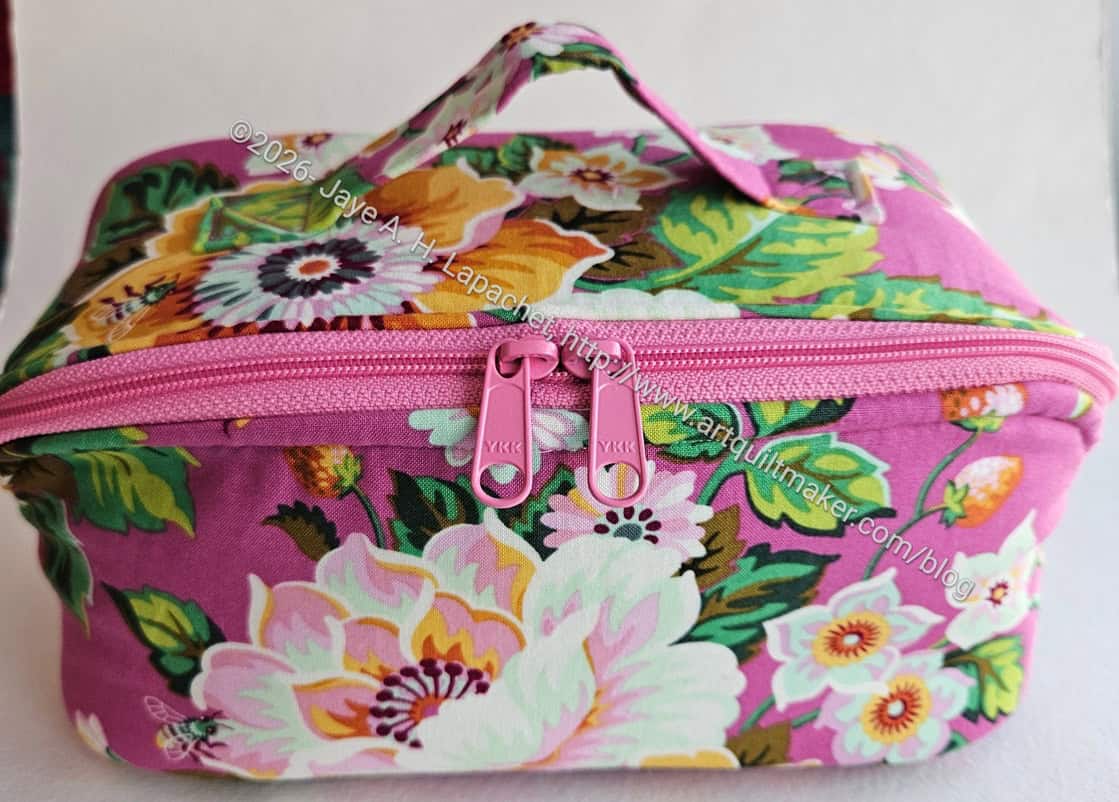
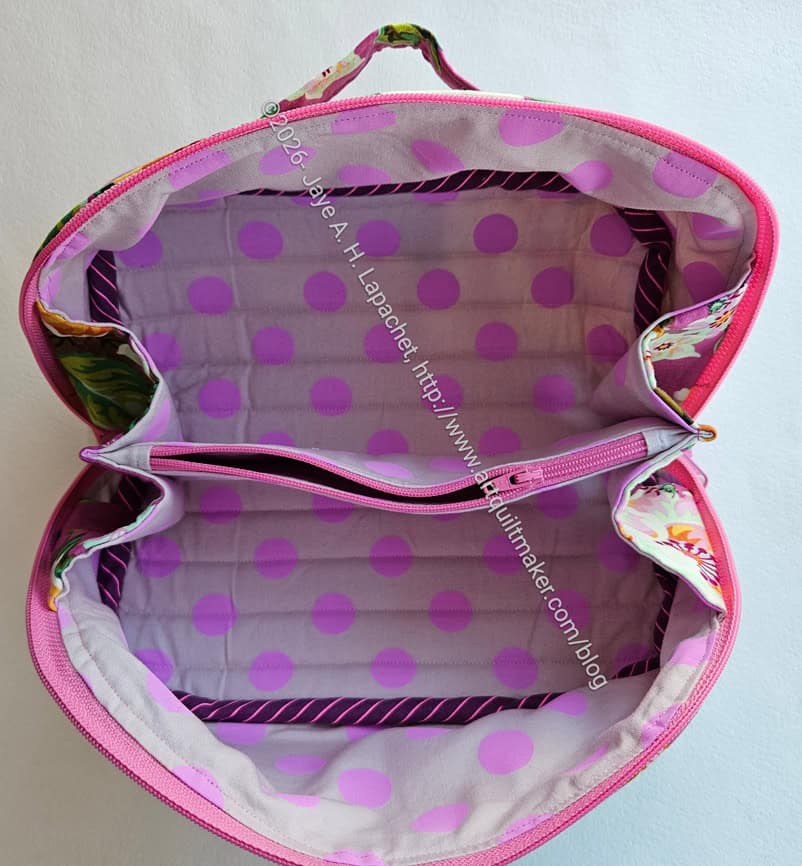
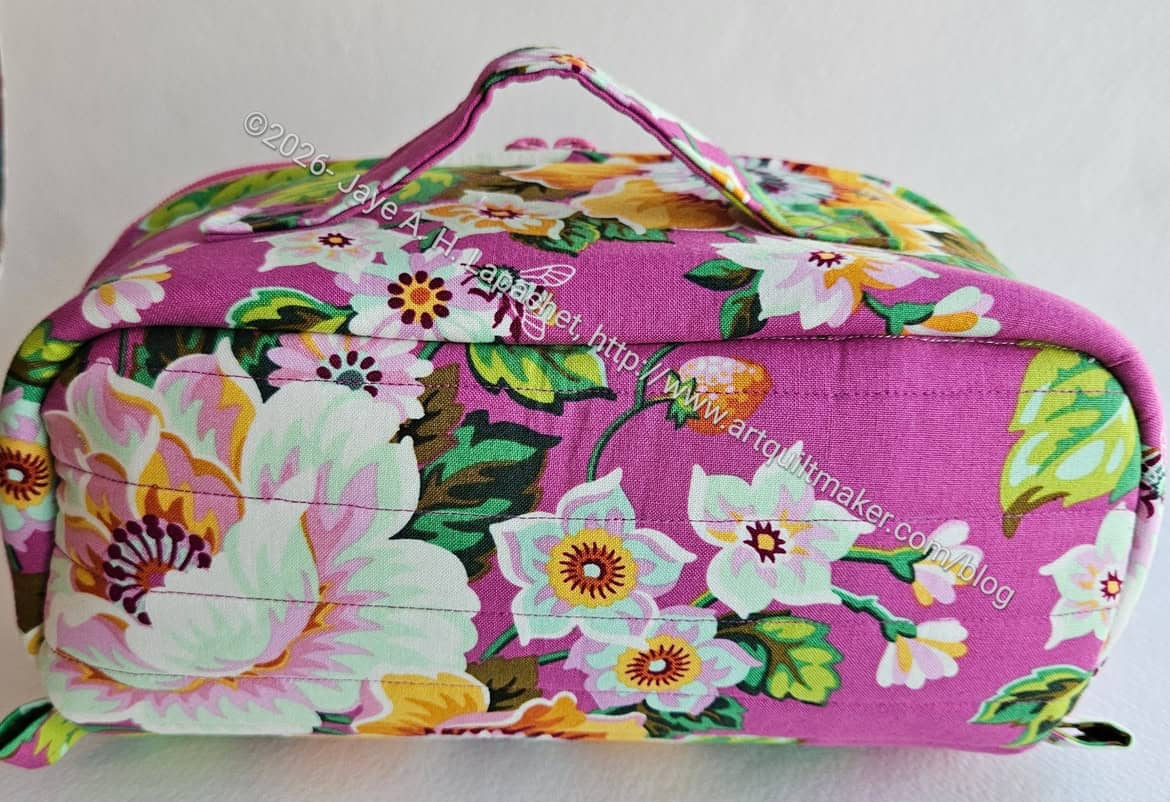
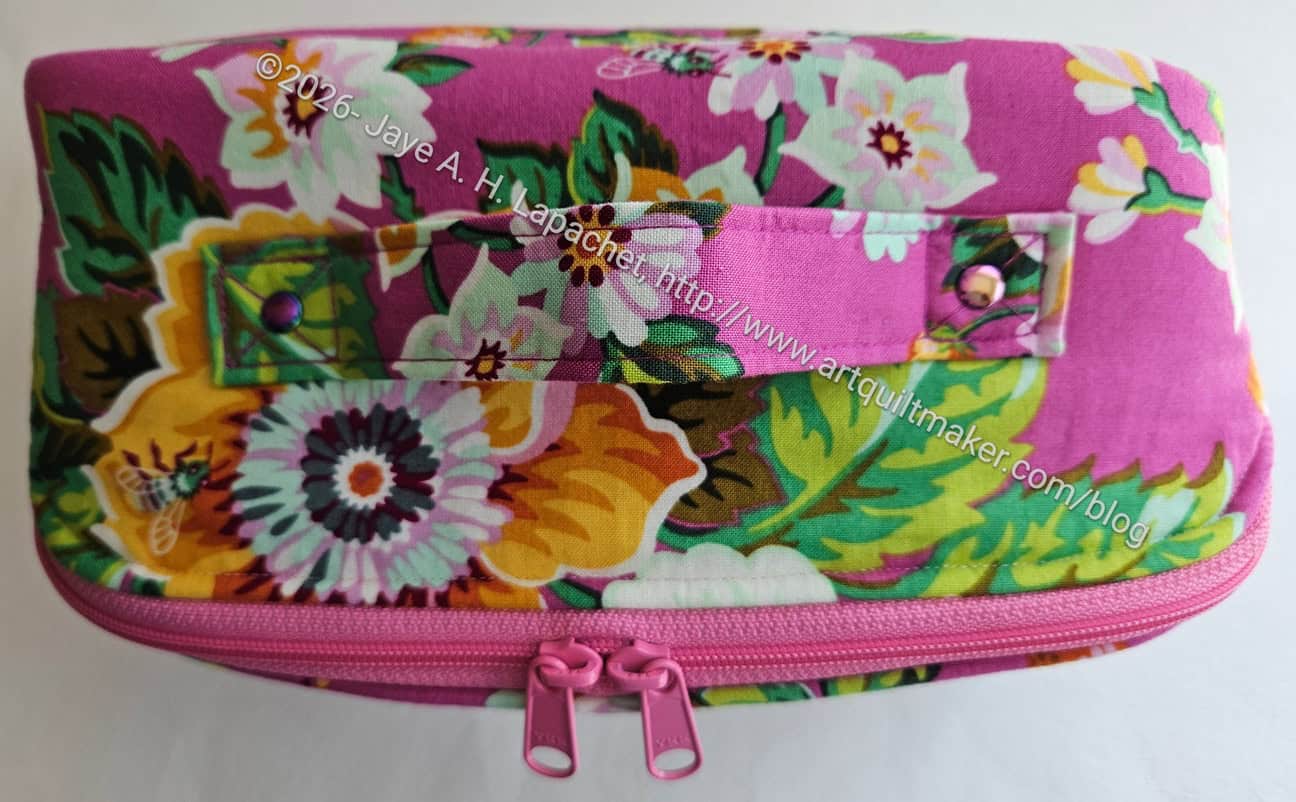
Metro Double Zip #2 with wave pockets – back
I made the vertical measurement of the pouch a half inch taller as well, because I thought everything at the top was a little squished. I am pleased with the way this version came out. I plan to make a few more of these. I had one special request for it, so I’ll see what I can do.
BTW, the way Sara told me to make the strap is genius! I didn’t understand the directions at first, but when I got it, it was one of those AHA moments I wish I had known years ago.
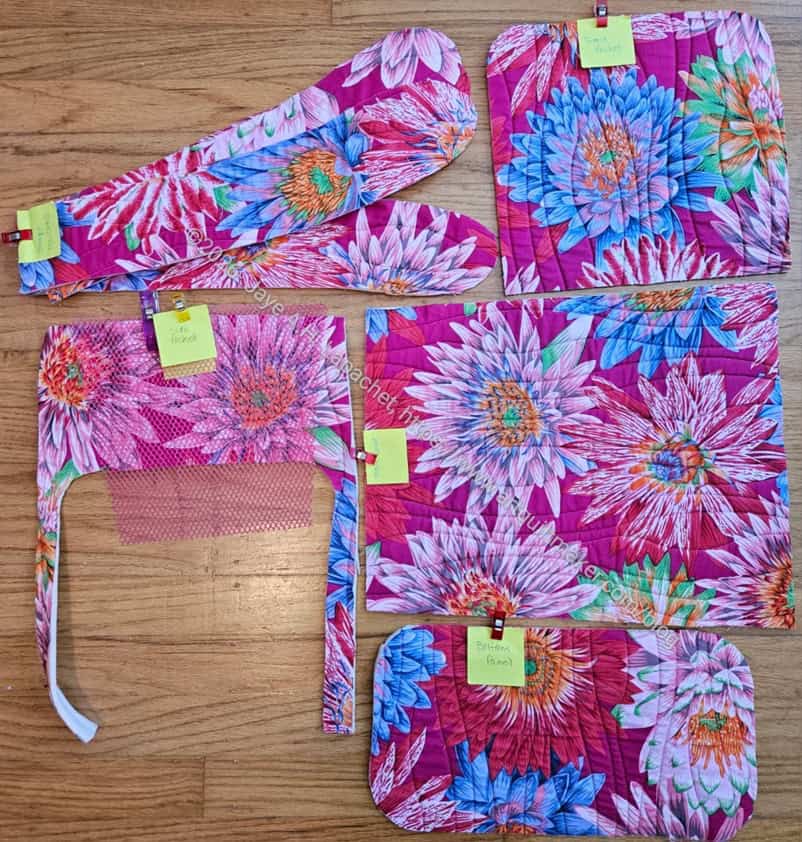
I posted about my progress on the guild UFO challenge. What I forgot to mention is that I started cutting out the Chickadee Backpack as well. I didn’t cut it all out, but I did start cutting from the large piece of quilted foam I had Colleen longarm for me months (years?) ago.
This month’s UFO project hasn’t been chosen yet, but making a little progress will be helpful when the Chickadee is chosen.
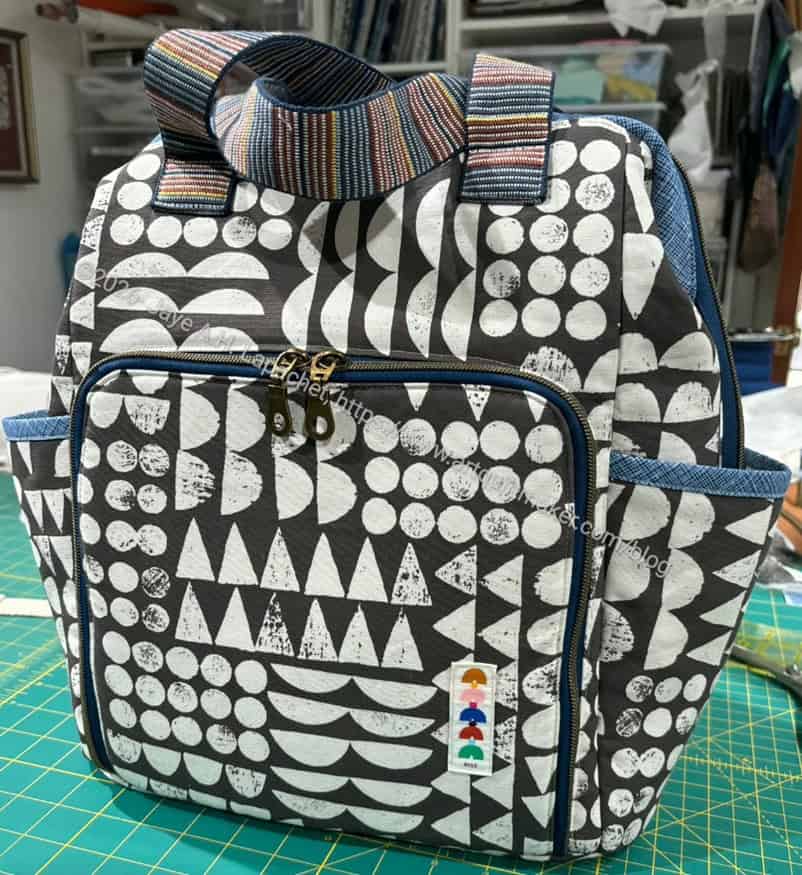
MaryC’s Chickadee
I was also inspired by MaryC churning one out for a baby gift. She is amazing.
I was also pleased that she tried out a Sew Sweetness pattern! Many of my bag making friends don’t try Sew Sweetness patterns, despite my best efforts. Maybe she will try some of the others.
I saw a picture of a pattern on IG. I couldn’t get the wave design out of my head. I didn’t want to buy the pattern as I don’t need a coin purse, or a pattern in Chinese. Also, I wanted to try it larger and thought I probably had several patterns I could use. I decided to play around with the Metro Double Zip pouch. This is a Sew Sweetness pattern from Minikins Season 2 that I thought would work in this context.
Minikins Season 2 is the one season from which I haven’t made many of the patterns. I am not a wallet or a clutch person. I mean I use a wallet and clutches occasionally, but not made from quiltmaking cotton. I also have grocery bags and am not into Essential Oils. As I have said before, I bought this season for the Day Trip Wallet. This also means that I am very excited when I have a reason to make one of the bags or pouches from this season.
The Metro Double Zip pouch is an unanticipated gem. I made two of them, each of which took me about 2 hours, aside from figuring out the wave. It was fun to figure out the wave pockets.
I have seen a number of curved pockets lately and I want to learn more about them so I can add them to bags as I want. My experience with the EPPic has made me positively bold!
Metro Double Zip #1 with wave pockets
The first one is totally usable, but MVP and not quite as usable as the second. I didn’t get the wave pockets right. They are a little small and floppy.
Still, I was fairly excited about actually making a change to a bag that wasn’t terrible. All of the stitching and turning of the pockets made them a bit thick, so I’ll change that along with making them taller.
I made Sue a Tadpole. I think I made it at the same time I made Gerre’s and Carrie’Sus, but I can’t really remember.
The Tadpole is a double pouch that is designed to hold your scissors and rotary cutter. I am not sure how one could prevent the various cutters from cutting the fabric, even with the included scissor sheath pattern, but it is still a cool and interesting pouch.
I just gifted it to her last week. She had to supply photos since, apparently, I forgot to take any.
Sue’s Tadpole – top
I shortchanged Sue by not making the Scissor Sheath, which I didn’t like making and thought wasn’t that useful since making it out of fabric wouldn’t protect anything. I still want to try making a scissor sheath from the Diamond vinyl I bought from Sewfisticated. That is on the “I’ll try that someday list.”
Sue’s Tadpole – open compartment
The pouch has a similar shape to the Hackney pouch, but is a little different as it has independent sections that you open from the top and the bottom.
One of the compartments has an interior zipper pocket. More pockets are better, but I am not sure how I would use this one. It is very compact, which is nice.
Sue gave me good feedback on this pouch, so I am happy.
I decided to enlarge the I Spy pattern to accommodate the Joni Tote templates I bought from Sew Hungry Hippie. I know I am mixing pattern companies, but I don’t care.
I have only made one other enlarged I Spy. The pouch came out ok, but was just a bit short for holding the Joni templates. 🙁 Part of the reason is that I had already cut the lining for some reason. I think it might have been leftover and I was trying to use it up.
This is part of the reason I buy bag patterns. Still, I have plenty of large templates and will use this pouch for the Mistflower Water bottle carrier (Minikins Season 4) templates.
Large Fairytale I Spy with templates
After realizing my error, I wondered if I put the sizes from the pattern into a spreadsheet if I could figure out different sizes by some calculation. I haven’t tried it yet, but am undeterred.
I used some measurements for the handle from another handle and must have forgotten how to measure. It works, but is a little small.
I love seeing bags I have made in use and not staged for my benefit.
This was the case with the Cosquilla I made for my SIL#4 for Christmas last year. We visited them for dinner one evening and I saw the bag on a side table when I went to stash my handbag.
This also reminded me that I need to make sure I do a good job when I sew bags. They need to not fall apart as people will actually used them.
I struggled with the curve on this bag and am curious to see how the new machine will handle the curve.
Finishing the Sheffield took longer than I expected. I thought I was done, then I had to make the false bottom, and add a label and…
No problem. I really enjoyed finishing it. REALLY! I realized that I have been anxious to get through the final assembly of recent bags, because that was the time when I fought with my machine. I didn’t even realize I was fighting with my machine until I used the new machine to put this bag together.
Sheffield: open wide design
The Sheffield has been on my list to make for a long time. Since I made Gerre hers, I wanted to make one for myself. The open wide design of this bag is very appealing.
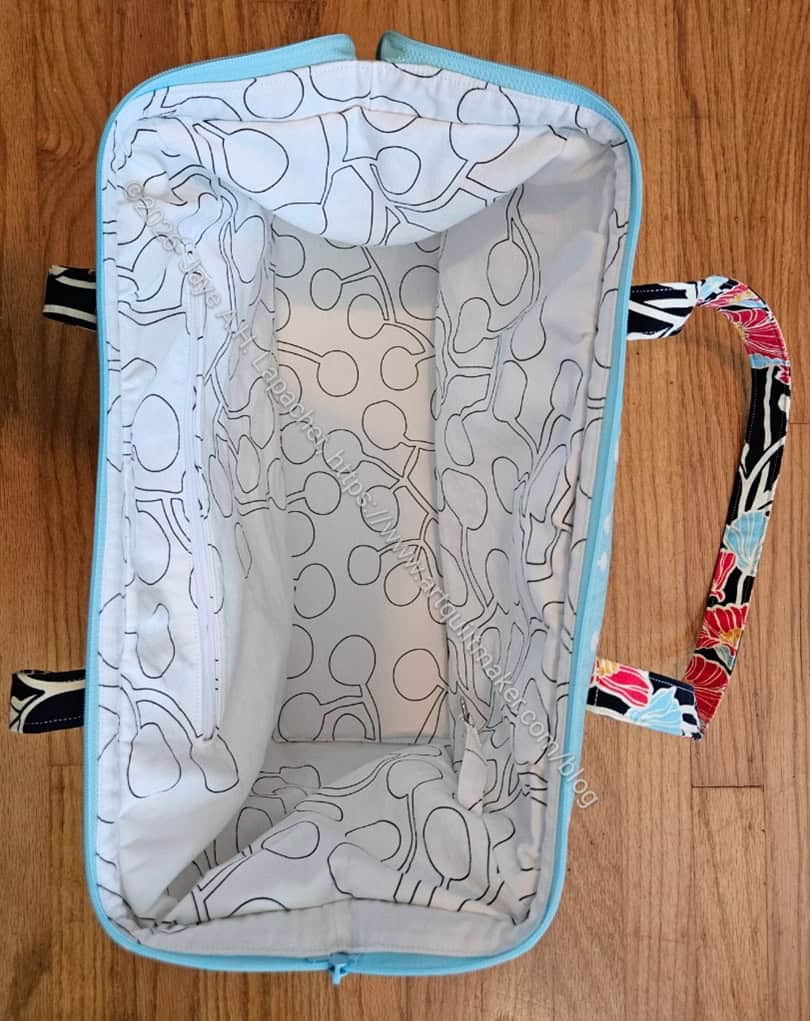
The interior is made from an IKEA lightweight canvas I picked up from the free table. My lining is a little saggy baggy, despite the larger seam allowance. The lining will not fly out since I used my hard won knowledge (thanks, Lynette) of anchoring the lining to the exterior. One issue I had is that the pattern pieces for this bag are not square. They are trapezoids. I think something might have happened, because the pieces are trapezoids, when I was sewing the lining together that made them larger than I would have liked. I don’t know.
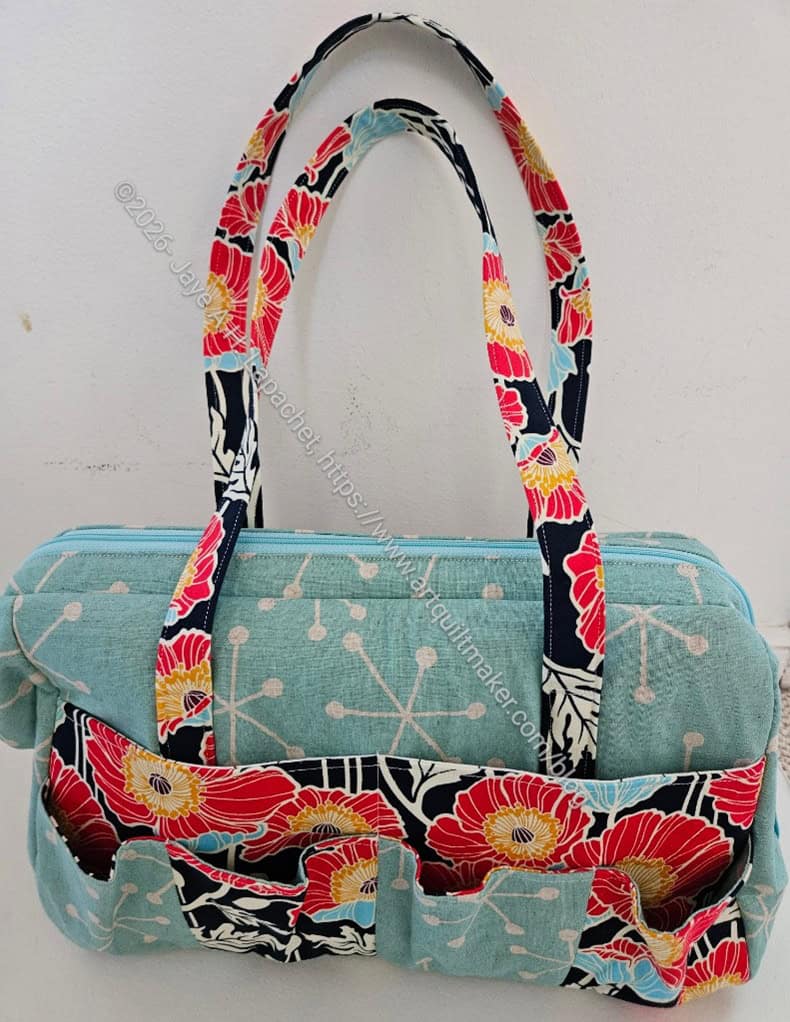
Finished: Sheffield back
I finished most of the exterior pieces while visiting MaryM.
I did the final assembly at home after adding a leash and an interior zipper pocket. I wanted to add a slip pocket,but forgot in my excitement.
The handles on this bag are larger than the those indicated in the pattern. Sara has makers position the handles a half inch up from the bottom. This is so the handles clear the seam allowance. Beyond reducing bulk, I am not sure why. I would like to say I will try putting the handles in the bottom seam on my next one, but I am not sure I will make another one.
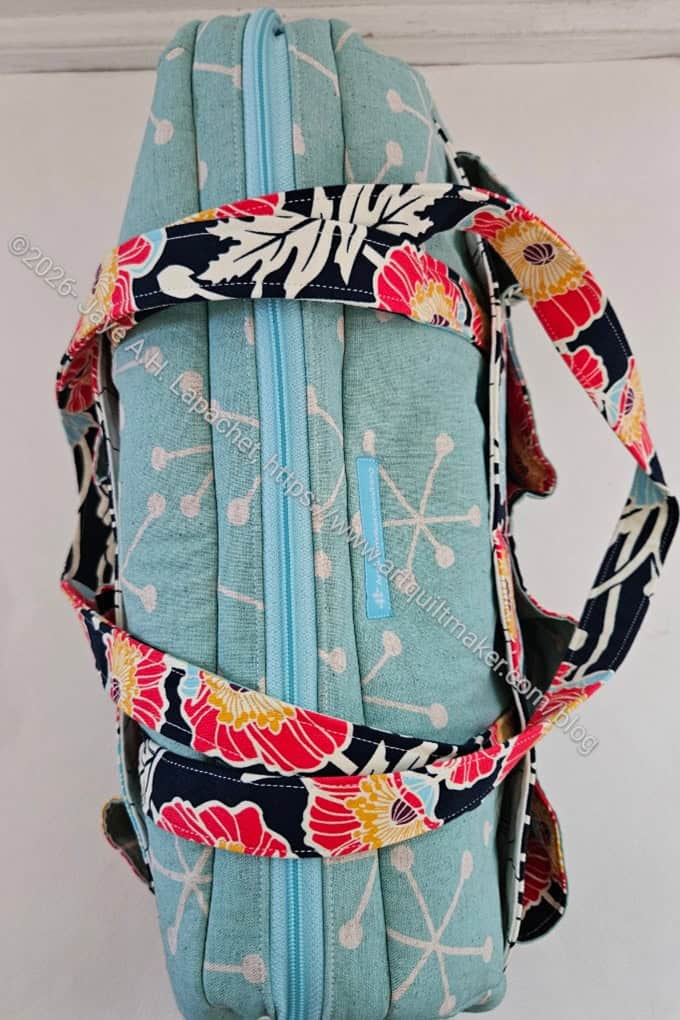
Finished: Sheffield top
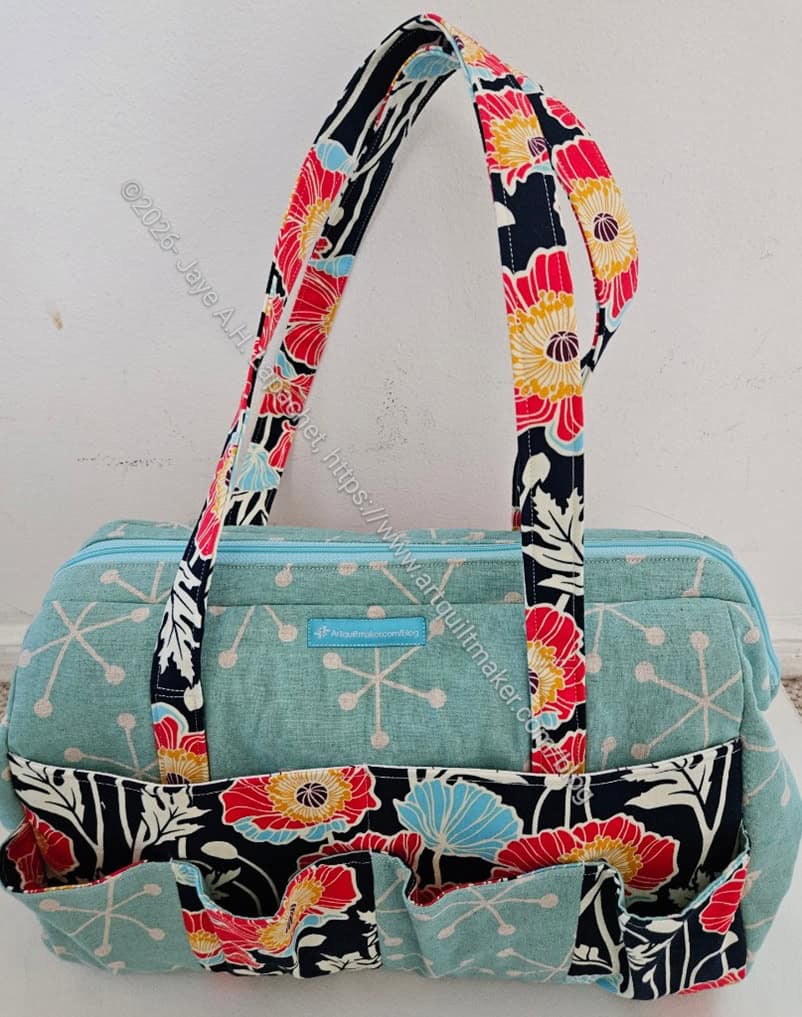
I think I could have put the poppy fabric on the frame casing. I think it would have added a finish or border to the top of the bag.
Cutting for the frame pocket was confusing. I have to look at the directions again to see where the cutting went wrong. I wanted to have the exterior match the exterior and same for the interior. I ended up with extra lining pieces.
For now I am just excited about the bag. I don’t know for sure how I iwll use it. I am thinking about putting all of my metal tools in in: KAMsnaps, Snap Setter, awl, hammer, etc. If there is space, I could add in webbing as well.
The Sheffield is a joy to work on! I can’t tell you how much easier it is to work on a bag when I don’t have to fight with my machine. I didn’t even realize, really, that I was fighting with my machine.
To make this bag, I changed feet and needle plates pretty frequently, but it really helps use different feet.
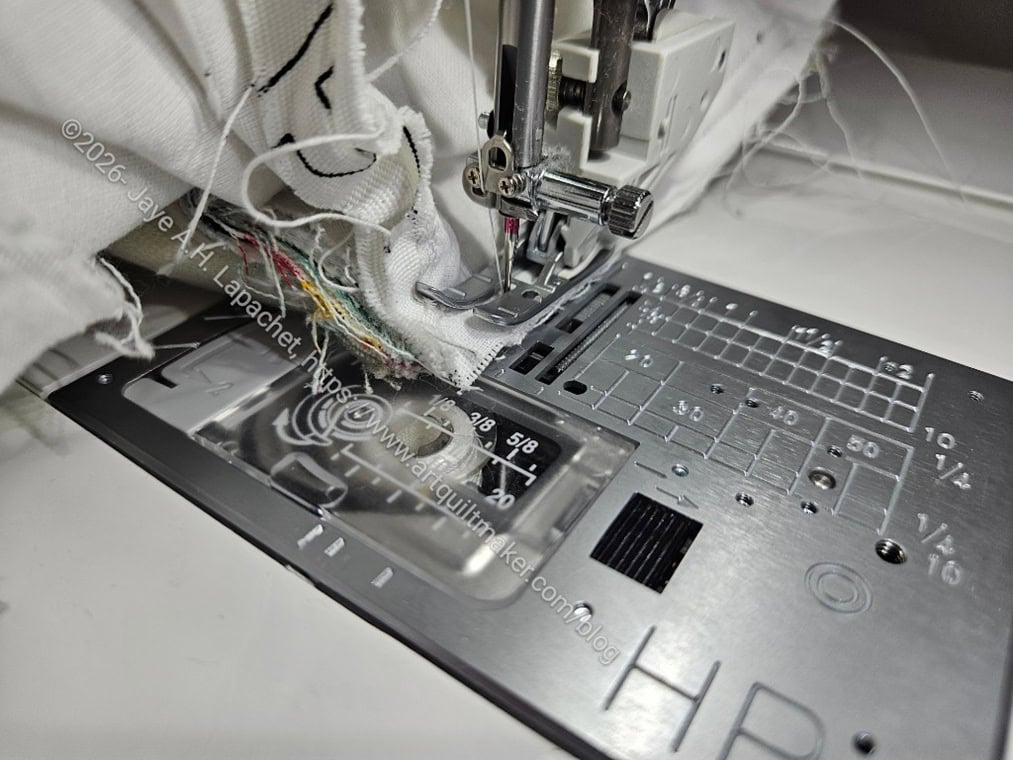
Top stitching thick layers
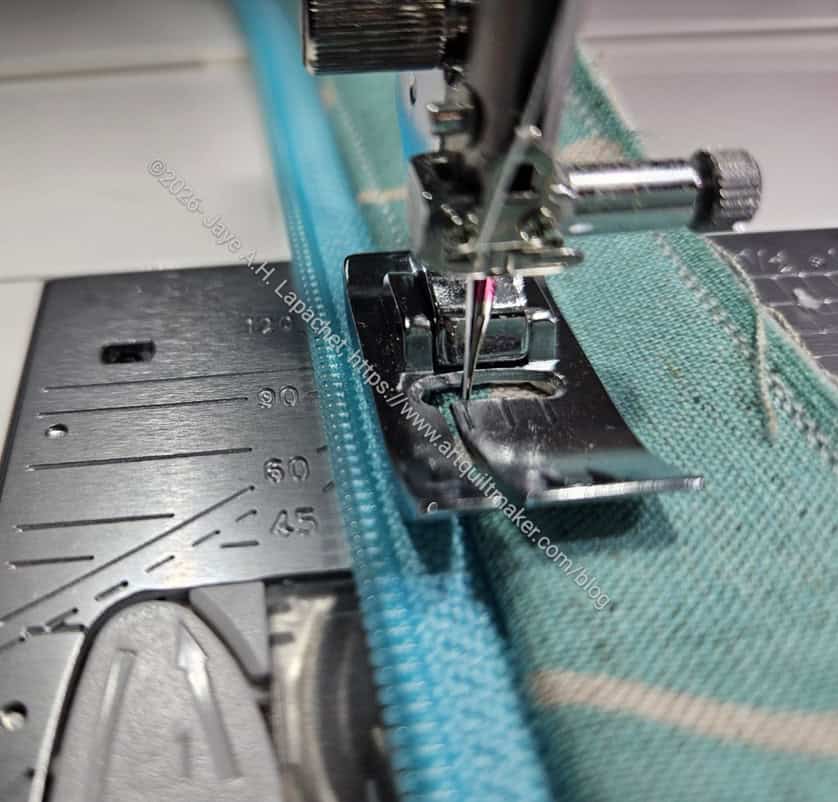
I used the Bi-level foot to stitch the top stitching on the frame case and that was a breeze. I never used the Bi-level foot before, but now it is one that seems to be coming out of the box often. I am not sure why I didn’t use one before. Maybe I didn’t have one?
Anyway, I was amazed and pleased with how straight the stitching was using this foot. There are a lot of layers the machine is punching through in the photo above and I got good stitch quality, no broken needles or stuttering. Of course, I wasn’t being the demon speed sewist either. I sewed pretty slowly on this section.
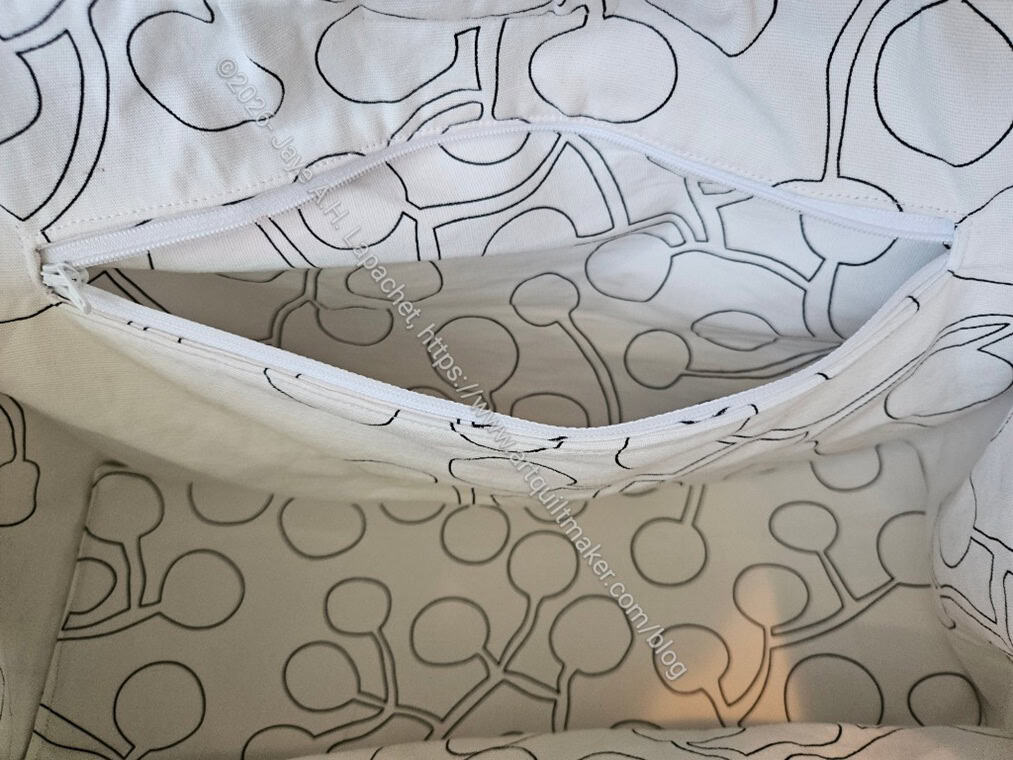
Sheffield internal zipper pocket
I decided to add an internal zipper pocket, which is not part of the pattern.I didn’t have any trouble making it. I learned a bit from the second interior zipper pocket on the Pandora Charisma and that experience helped.
I also wanted to turn the bag through that zipper pocket, which is a technique that Tim taught me. I had to think about it for awhile, because I wasn’t sure if any bag could be turned that way. I didn’t come to any conclusion, so I just went for it. It worked out fine. I like this method, because it means that nobody can see where the bag was turned unless someone digs into the pocket.
I am not sure why I wanted a zipper pocket, but I did. I also added a leash, which I do for all of my bags.
Anchoring the lining
Finally, my next step is anchoring the lining to the exterior. I have started but need to finish.
Making a Sheffield bag for me has been on my list for a long time. Since it is #6 for the BAMUFO challenge, it is time to work on it. In case you are confused #6 was selected for this month’s project on which to work. I needed to get busy.
The Sheffield is another Sew Sweetness bag. It has an open wide zippered top and is NOT part of the Minikins series. It is a stand-alone pattern. I made one for Gerre (the purple one above) a few years ago.
I put it on my UFO list, because I knew I could finish it within the 30 day window. I was surprised to find I had started to cut pieces for it. They were in my bag fabric bin with the metal frame. That means it truly was a UFO!
After setup at Mary’s house and making a couple of small projects, I got to work on the Sheffield. I was sad not to be using my new machine, but was happy that Mary had a second machine I could use. Not having to haul a machine in our stuffed car was great. She has a Babylock Crescendo, which I have used before. It is a high end machine, which was fine to work on.
Before I could sew the Sheffield, I had to cut the rest of the pieces. As with most bags, there were a lot of pieces, thus a lot of cutting. The handles and the slip pockets were already cut. Apparently, I had already made the choice to make the handles slightly longer than the pattern suggests. Once I finished cutting, I was able to get started with the preparation of the various elements.
One new thing I did was add purse feet. This was my first time. They are listed as optional in the pattern. Since I had some, I decided it was time to use them. The ones I had were Clover Nancy Zieman Bag Feet in Satin Bronze**
BTW, isn’t ‘purse feet’ a funny phrase? All sorts of hilarious images appear in my brain when I say ‘purse feet’!
Installing purse feet
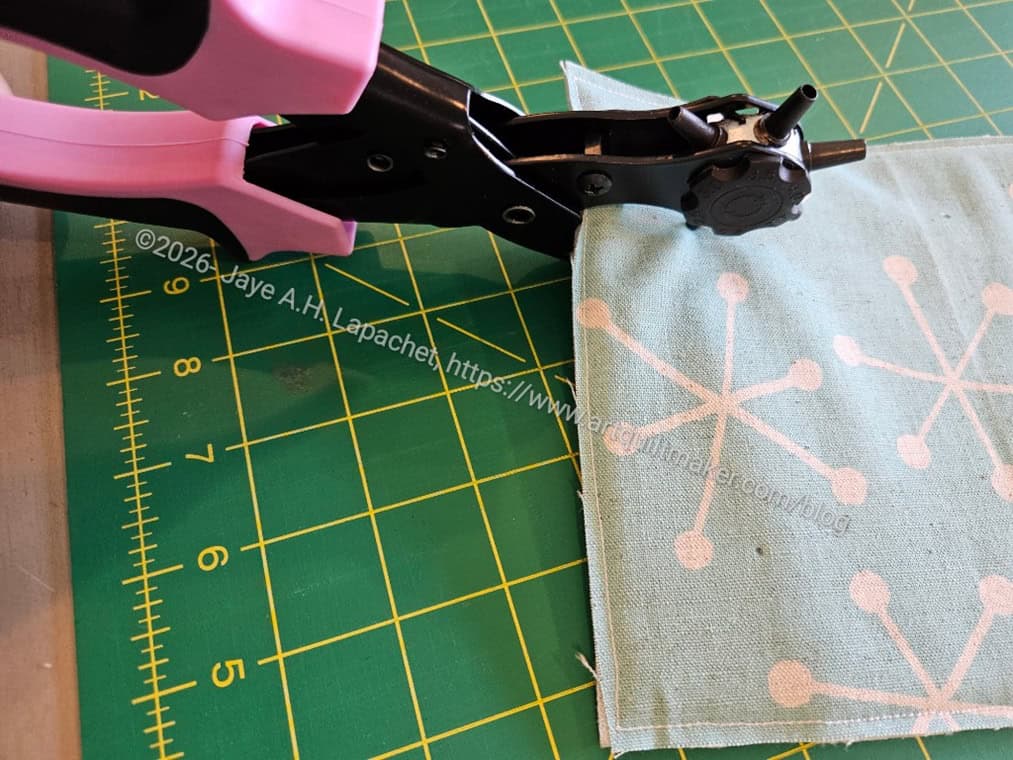
I brought my ProMaster leather punch** (hole maker) along for the trip. I like this tool. It made punching through two layers of canvas and a layer of foam pretty easy. Since I forgot to bring mine, I borrowed some pliers from Mary’s DH, who is a master wood craftsman. The purse feet are installed by shoving two metal flanges through the hole, putting a metal washer over the two and bending the flanges down as flat as possible.
Safety first! SF101 covers purse feet flanges
After I installed them I put a couple of layers of SF101 over the folded flanges to keep them from catching on the lining fabric.
Sheffield bottom with purse feet
There were only four, which surprised me. I always thought purse feet came in sets of five so you could put one in the middle of the bottom to keep the center off of dirty surfaces, but no, the pack I had came with four. I may add some Odicoat** to the bottom. We’ll see.
I had sort of decided not to add the gathered pockets on the outside, then changed my mind and added them at the last minute. I tried out different looks to see how I wanted them to feature.
Sheffield exterior option 1
Sheffield exterior option 2
I finally decided to alternate the fabrics. I didn’t like the look of the all blue gathered pockets. I really wanted to see the Poppy fabric. I had cut the slip pockets out of the Poppy fabric when I thought I wouldn’t use gathered pockets, because I wanted be able to admire that fabric. Using only the blue would cover up too much of it. Using only the Poppy fabric was too jarring and confusing so I eliminated that option right away.
Sheffield – finished exterior mains
The main exterior panels came out well with my choices.
This isn’t a particularly difficult bag, but I felt like I needed to sew slowly and make sure I was doing everything correctly.
After finishing the main exteriors, I was able to put the exterior together.
Poppy Sheffield for me- exterior
I decided after I had made good progress that I wanted to put some pockets on the inside as well as a leash, so I stopped work on it. I didn’t have the hardware with me and we had already been to Green’s, the place to buy hardware near Mary’s house. Since I had hardware at home, I decided to finish it at home.
This is farther along than I have gotten in the 6 years (SIX YEARS – WHAT?!?!?) since I made Gerre’s. I am pleased with how it looks and pleased with my progress.
I am getting quite the collection of tools and might need to make another one of these to store those. Or maybe I will use this one to store tools such as my my ProMaster leather punch**, KAMsnaps, awl, Snap Setter, etc.
**Obviously, you should shop at local quilt shops and small businesses. However, if you are too busy or can’t find what you need there, I use Amazon affiliate links and may be paid for your purchase of an item when you click on an item’s link in my post. There is no additional cost to you for clicking or purchasing items I recommend. I appreciate your clicks and purchases as it helps support this website.
One of the first projects I finished on my vacation was an I Spy pouch. I wanted to make one for the Chaos templates. There are a lot of them and I want them to be corralled.
The largest size of the I Spy pouch wasn’t large enough for the templates, so I decided to make a larger one.
I wanted to make the new pouch 12×12 inches-ish. I got confused using Mary’s ruler and the pouch ended up being about 10×12 inches.
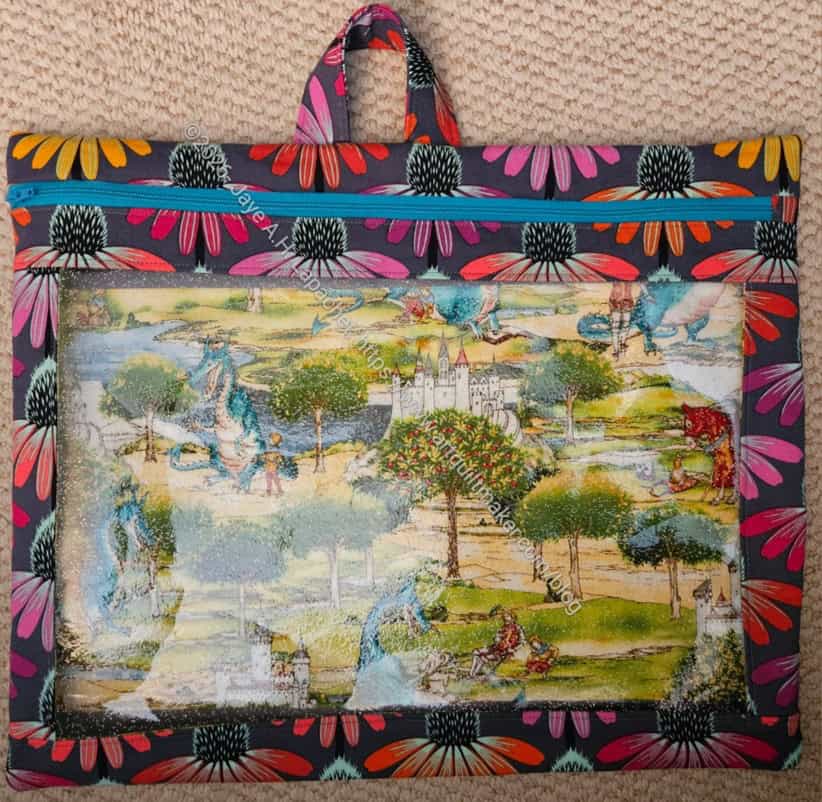
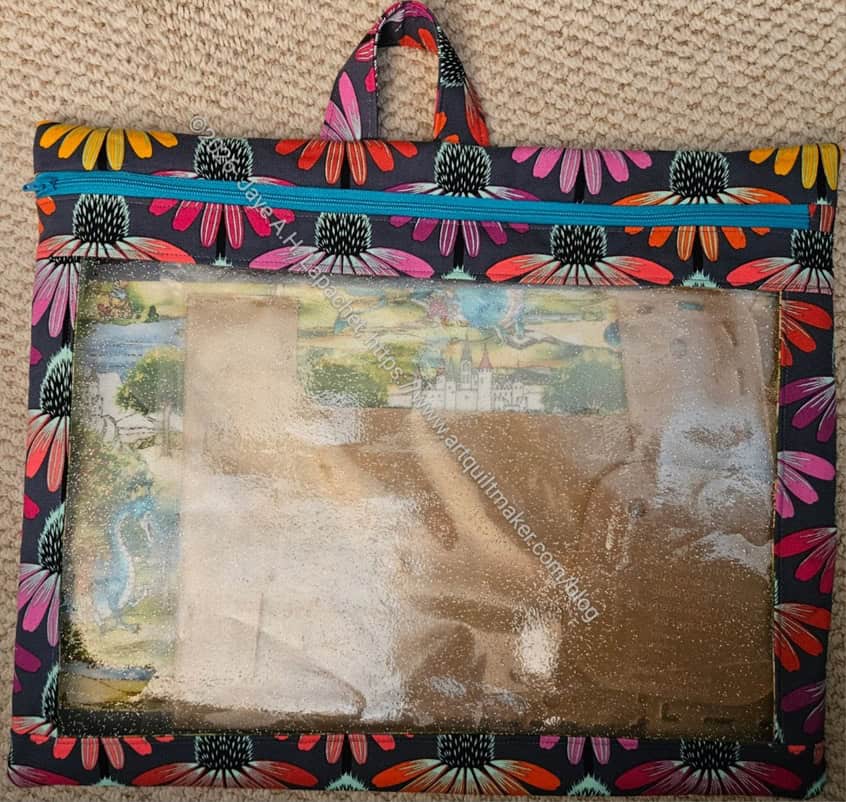
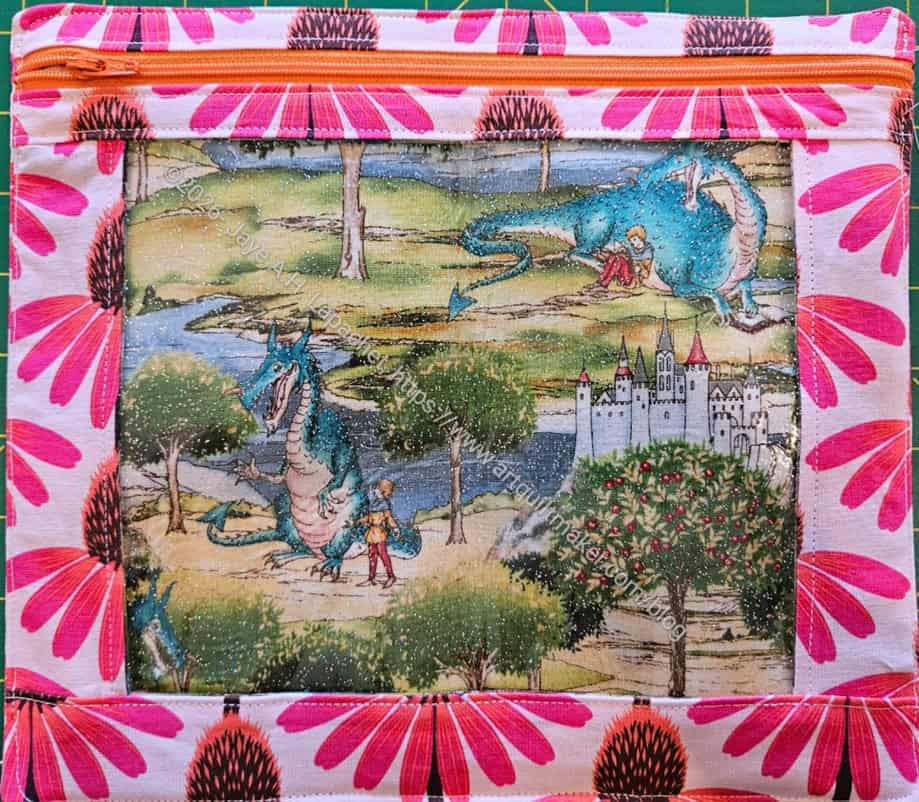
Fairytale I Spy with templates
When I got home I found that the templates all fit, but the I Spy pouches are pretty flat, at least this one is, so the zipper doesn’t quite close. If I had made it with SF101 instead of the Sewfisive foam from Sewfisticated, it probably would have worked perfectly. I love that foam so much, though!
That fairytale fabric was in my pile of backing fabric. I have a few pieces of novelty fabric that have been hanging around for awhile. I thought about donating it, but decided to use it here. It’s fun and provides a good name for yet another I Spy!
As it is, it will do for now. I’ll make another larger one soon and use this one for something else.
I finished and sent off this latest Enigma to friend who helped me with a project. It matches the Multi-Pocket Organizer that I gave to her last year.
Nykky’s Rose Enigma-top, open
Like the Green Enigma, I struggled with this Enigma. Many things went wrong and I felt like this project took longer than it should have. Still, I think it turned out well and I am pleased I was able to send it off.
The Tula Pink dots look so great on the inside. This line had some challenging colorways, but the pinky-purple is a favorite of mine.
It also lightens up the inside so it easy to find things.
Nykky’s Rose Enigma-back
I fussy cut various parts a little bit so the roses would be highlighted on the back.
The rose pink of the background looks very cheerful. The shapes and shading of the flowers are nice as well.
Nykky’s Enigma-riveted
This is one of the bags that I riveted. Riveting the handles adds to the strength of the bag.
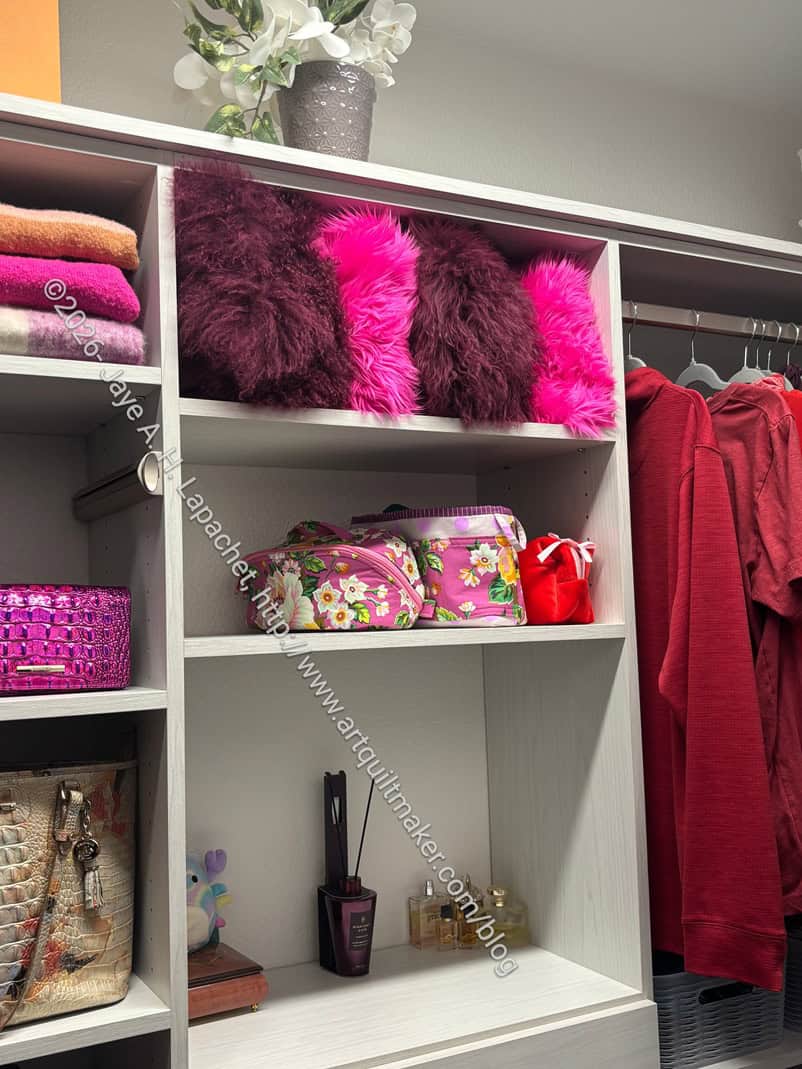
My friend sent me a picture of her closet, which she recently had redone. In it I can see the bags I have made her on the shelf.
Nykky’s closet
The next Enigmas will be finished on the Elna, so hopefully, I won’t have as many problems.
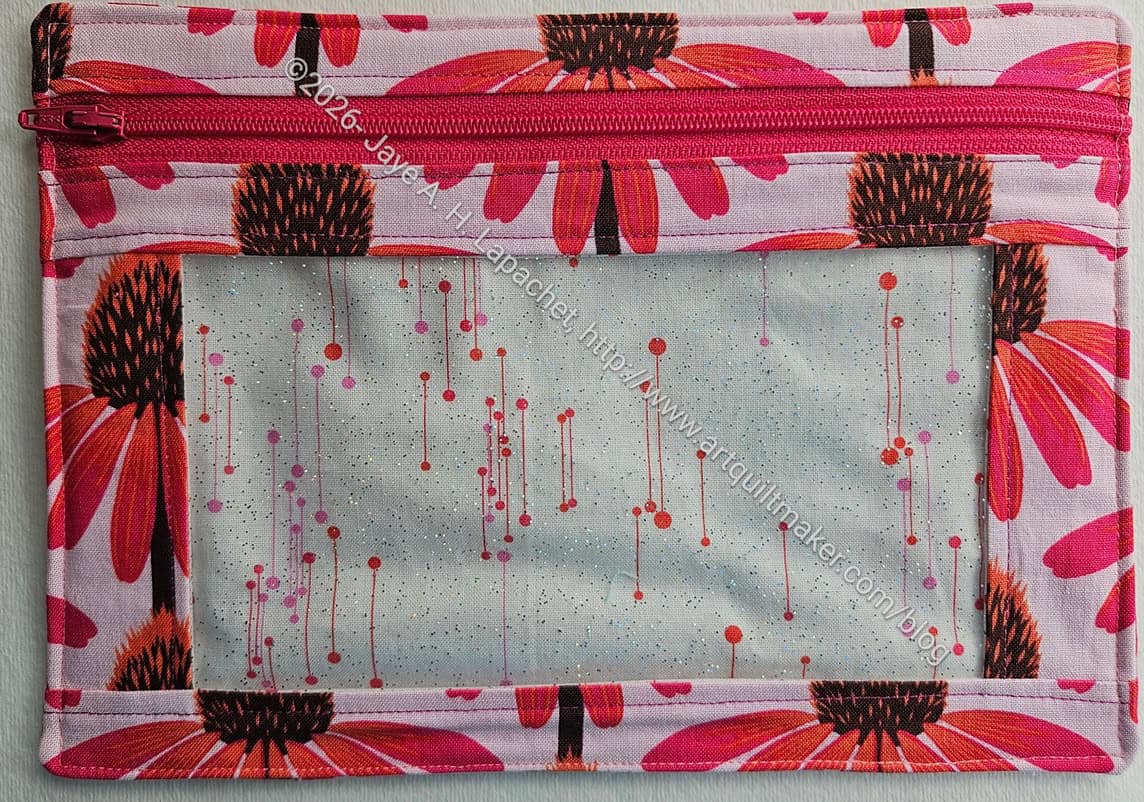
I am pretty excited about how well I matched the horizontal zipper tabs on this one. I also feel like this pouch has a delicate look to it.
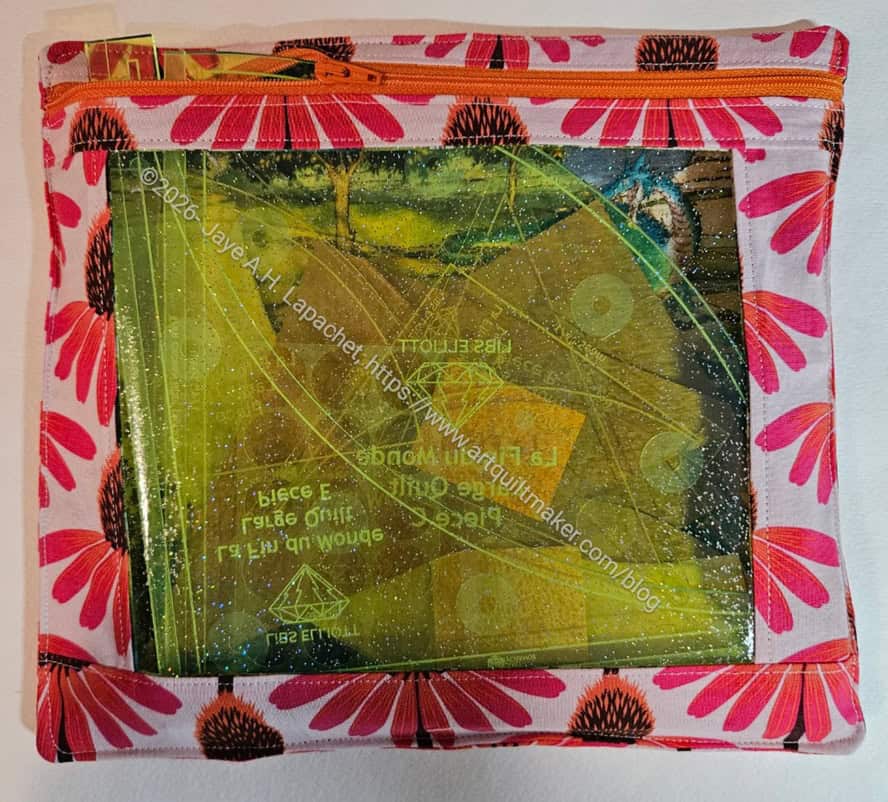
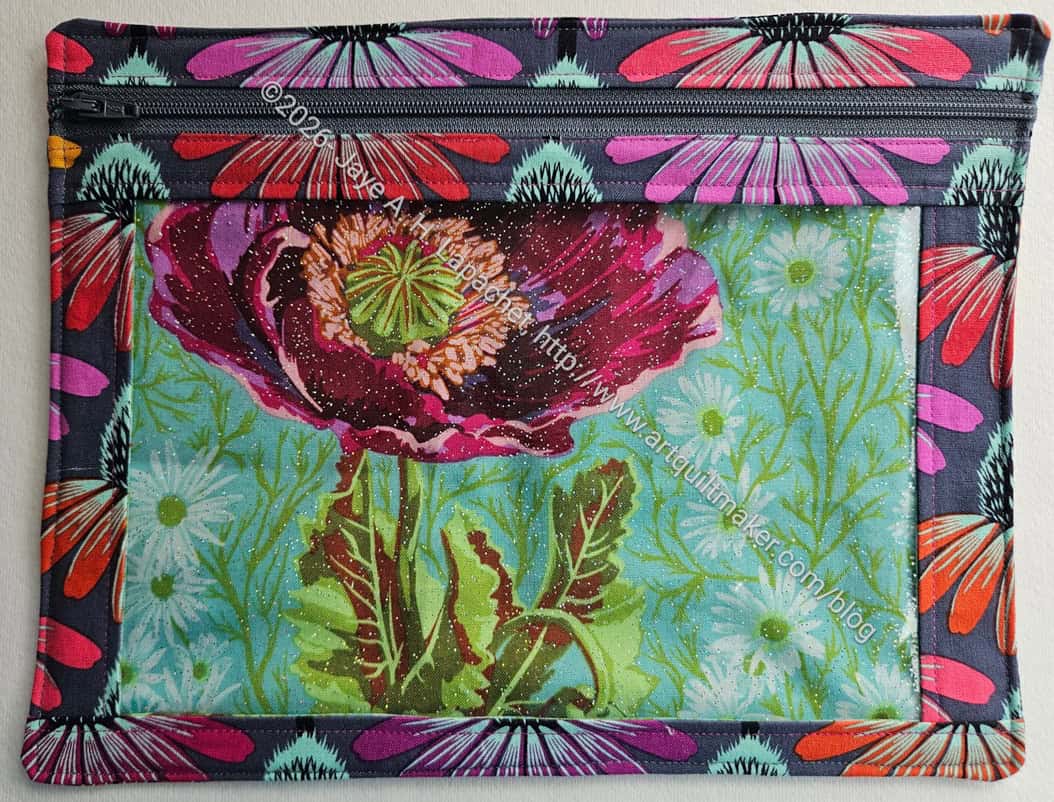
Pink Echinacea I Spy – small
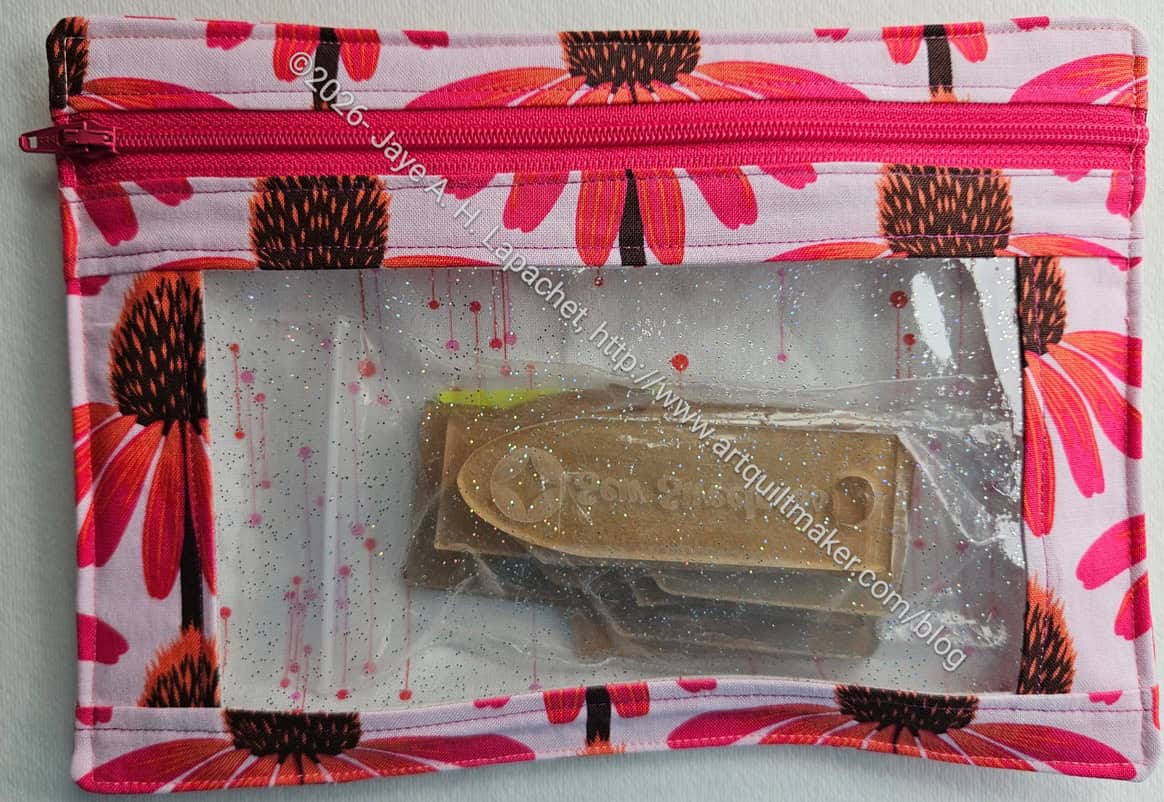
This pouch will house Purse Tab templates. Mary and I talked about these when we were riveting the other day. They could be used on the Oxbow Tote to reinforce the side, which was an area we decided would be detrimental to rivet, because it would cut the thread on the side seam.
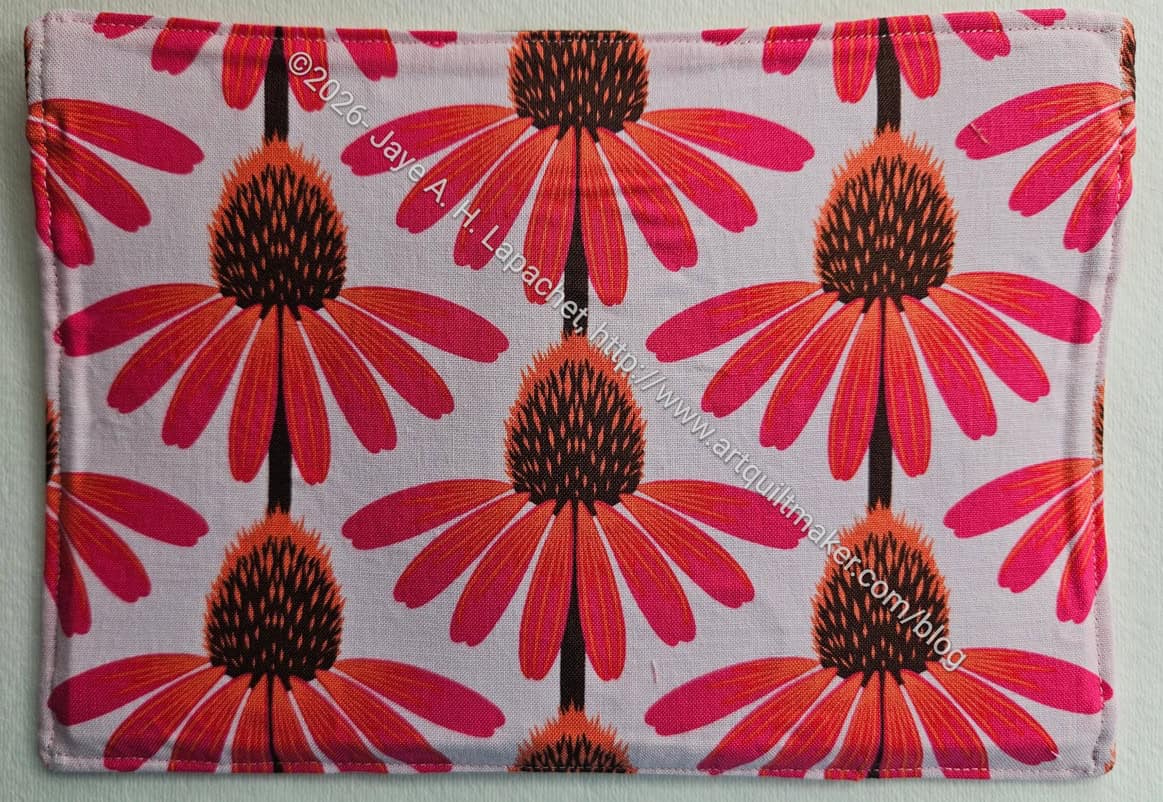
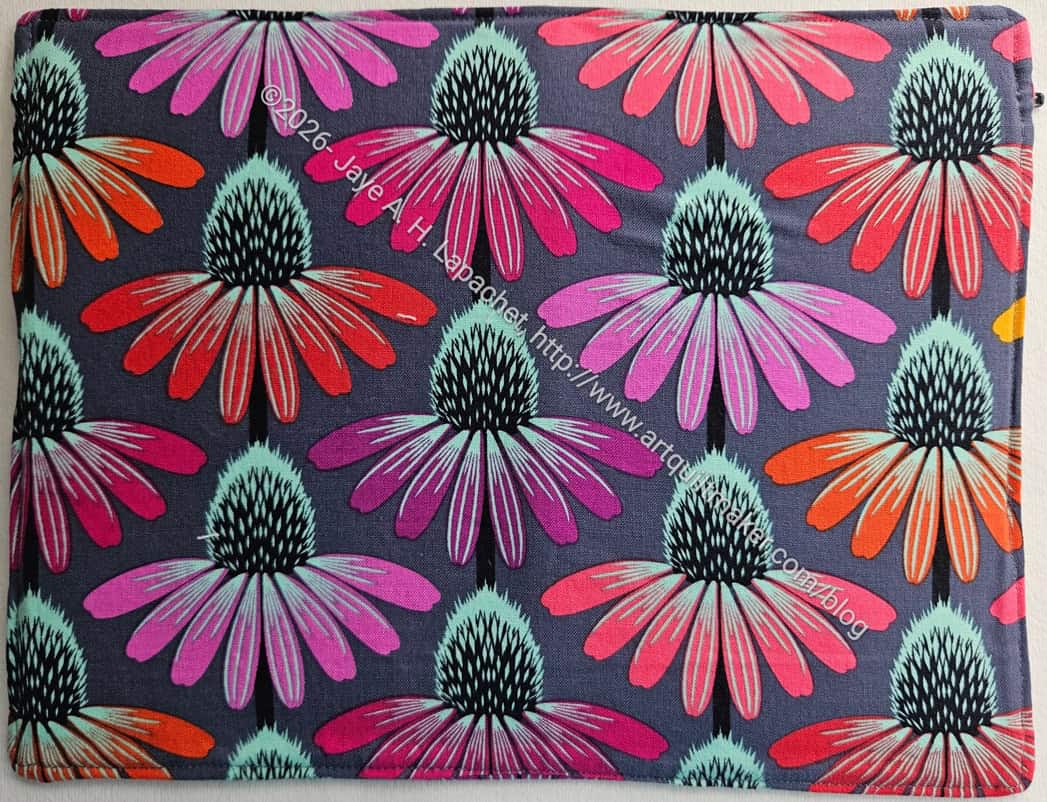
Pink Echinacea I Spy – small – back
I also top stitched this one since I used the stick-on interfacing, like the other two.
I mentioned making multiple I Spy pouches when I talked about the Poppy I Spy the other day.
I made all three in assembly-line fashion, so they all got done at once and I made the same mistakes with all, which was forgetting the interfacing! 😉
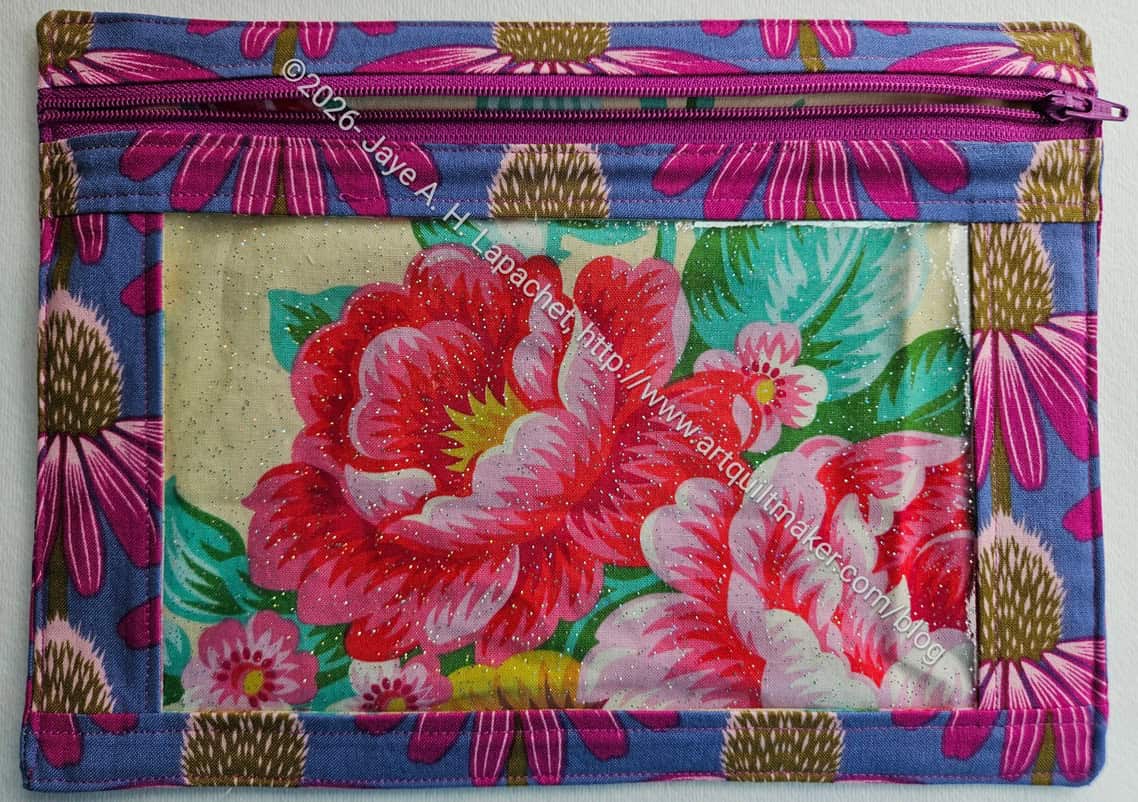
Rose I Spy – medium
The lining fabric on this pouch is a Heather Bailey print. I only had a fat quarter, or only had a fat quarter left, and fussy cut it so the rose would show up when the bag was empty. The motif would also be a nice surprise when I take out the templates out of the bag.
Somehow the Echinacea print doesn’t clash too badly with the roses. At least I don’t think so. I like using different prints for the lining as it helps me associate a certain template with a certain pouch.
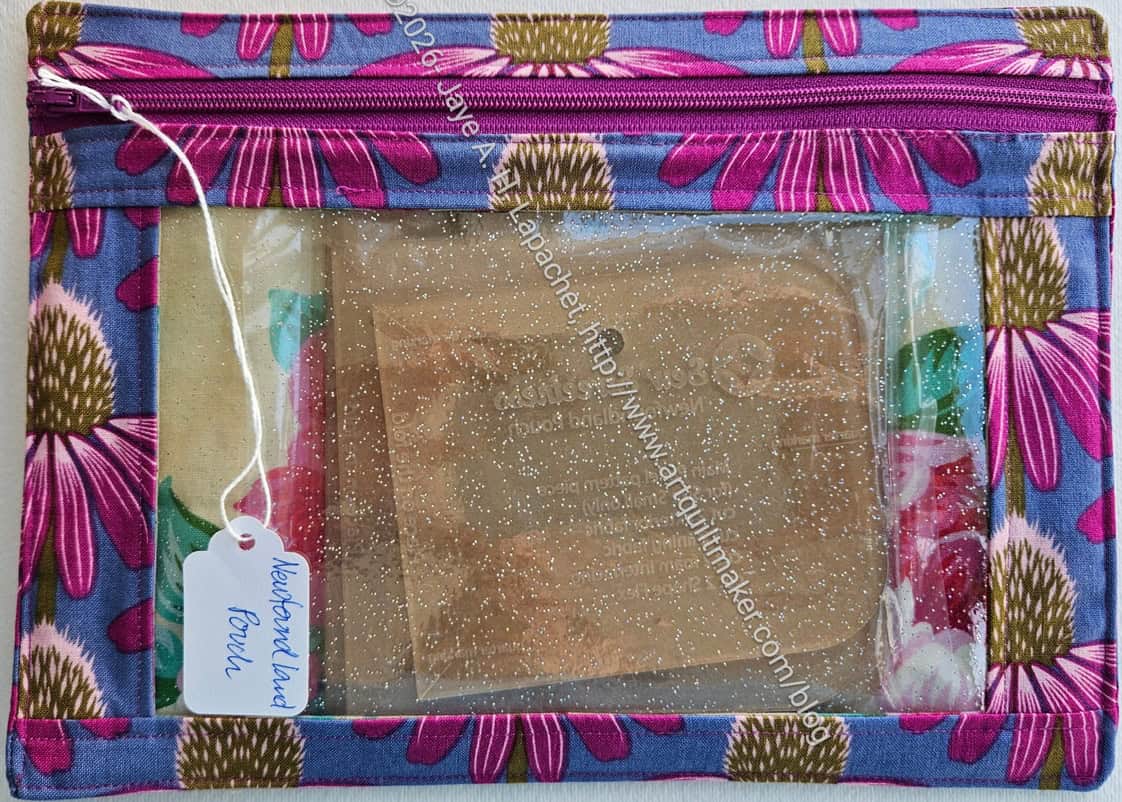
Rose I Spy – medium for the Newfoundland templates
This pouch will be used for the Newfoundland pouch templates. The Newfoundland is a little like the Sew Together Bag as it has an accordion section in the middle creating some organization. It has a similar feel.
I haven’t made the Newfoundland before. Now that I have been reminded that I have the templates, I will put it on my list to try.
I finally finished the green Enigma. I shouldn’t say ‘finally’, though it did take longer than expected. I felt like everything that could go wrong did go wrong and I am not sure why. Still, it looks great and I am not embarrassed to give it as a gift.
I still want to rivet the handles, but that requires a little coordination with my “rivet press dealer”. LOL! And I can give it without the rivets if necessary.
Tim’s Enigma – open
I am still planning on making a few more of these this year. I want to get over the drama I felt making this one and the pink rose one that I still need to finish.
The lining fabric is one I have kind of been saving. I had it in a pink/orange colorway, but think I used it for something. I really like the blue/green colorway and was looking for a special project on which to use it. I didn’t really try to match up the squares, but they sort of ended up that way, which was nice.
Tim’s Enigma – back, closed
Sara of Sew Sweetness’ quarterly challenge has just been announced. The challenge is to use some aspect of quiltmaking in your bag or pouch. This bag requires quilting on the bottom, so it qualifies. I may enter it as my entry. I don’t expect to win, but it is fun to participate.
I cleared out a box of acrylic templates that had been in my fabric closet for awhile. I wanted to be reminded what was in there. I was surprised to find some smaller templates as well the large ones I knew were in there. I am sure I had a plan when I put the small templates in the box, but I didn’t remember the plan when I found them.
I still want to make a bag for large templates, but that is a project for another day. On that day, I decided to make 3 more I Spy pouches, one for each of the template sets.
I like to highlight a special fabric on the lining. I had very little of the Anna Maria Poppy (Bright Eyes??) left, so I decided to use one of them for this pouch. The last time I used this fabric was for the Andalusian pouch.
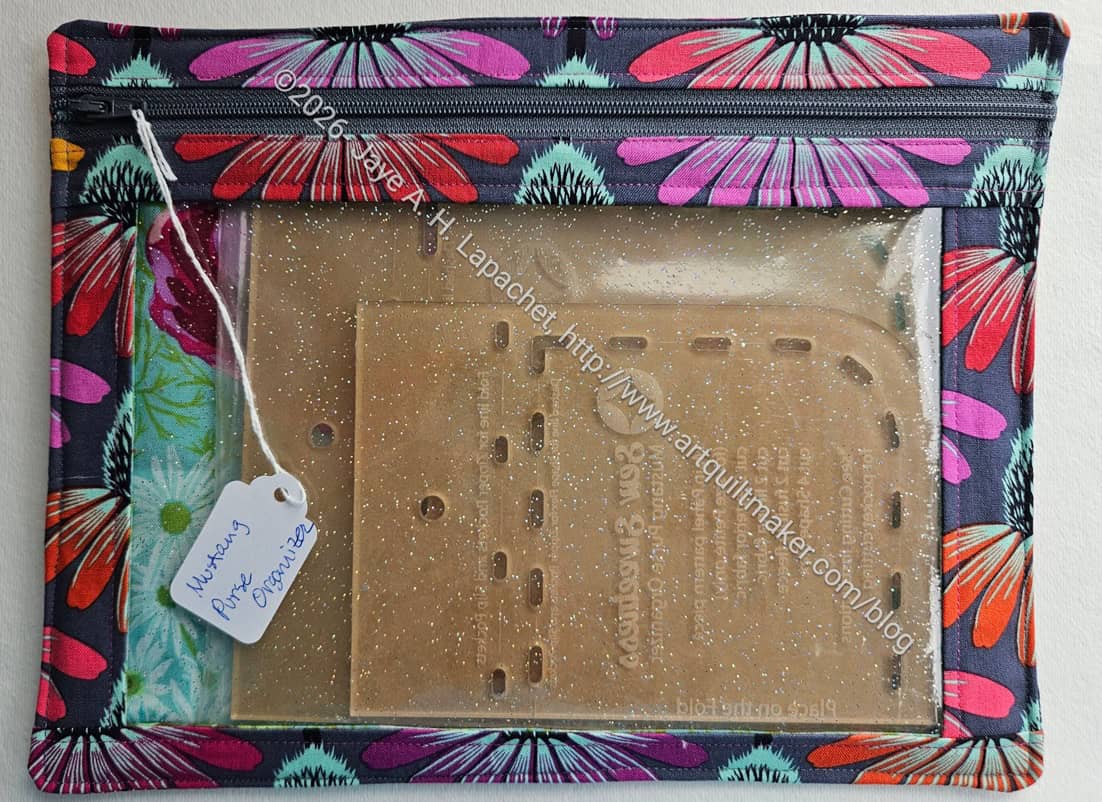
This large I Spy will be used for the Mustang Purse Organizer templates. I made a set of these for my Mom in 2021. I have a vivid memory of making them in my machine’s old location, which was before I redid the whole room.
Poppy I Spy – large, back
For some reason, I forgot to interface the pieces so I added a bit of the Sewfisticated 2mm stick on interfacing right before I closed the turning pocket. It was a little tricky to get the paper off the stick-on side of the interfacing, but I managed it in the end. This interfacing is much thicker than the SF101 called for in the pattern, but it worked.
The interfacing made the pouch very stiff. I top stitched around the whole edge. It made the pouch very structured and I kind of like the feel.
Poppy I Spy – large for Mustang templates
I am also using some tags I bought for another purpose to label the pouches. Thus far, I have been relying on post-it notes, which are unreliable in this context. All of the templates are engraved, but the words are hard to see sometimes.
I did make an I Spy pouch with the poppy print before. I would say ‘great minds think alike’, but I don’t think one can say that when it is yourself! LOL!