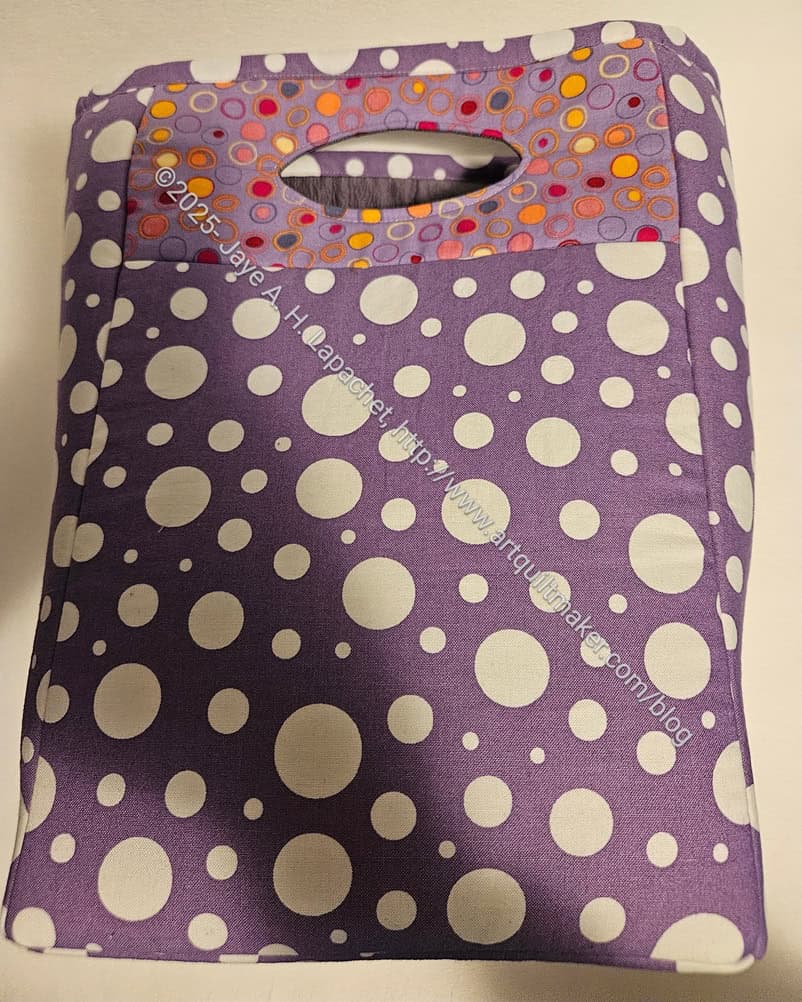
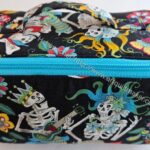
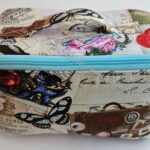
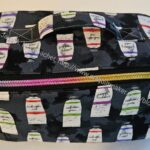
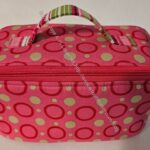
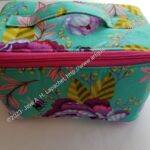
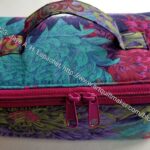
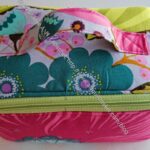
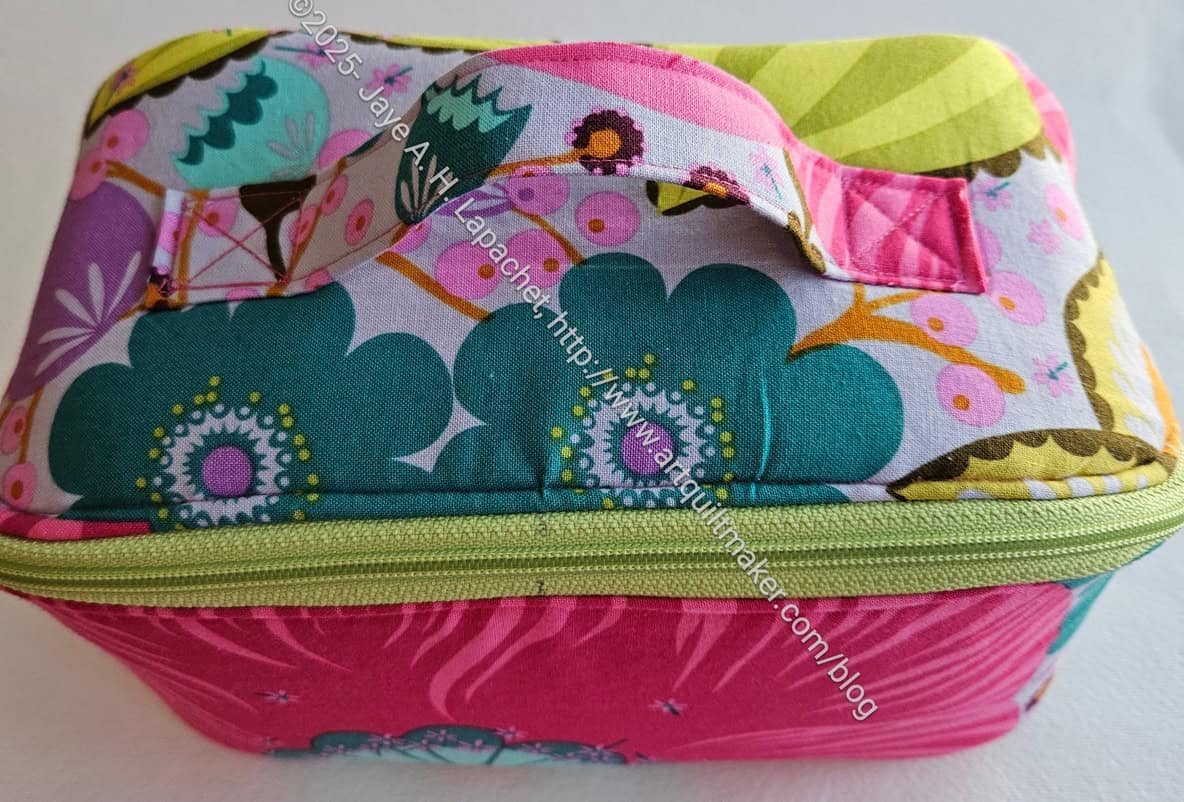
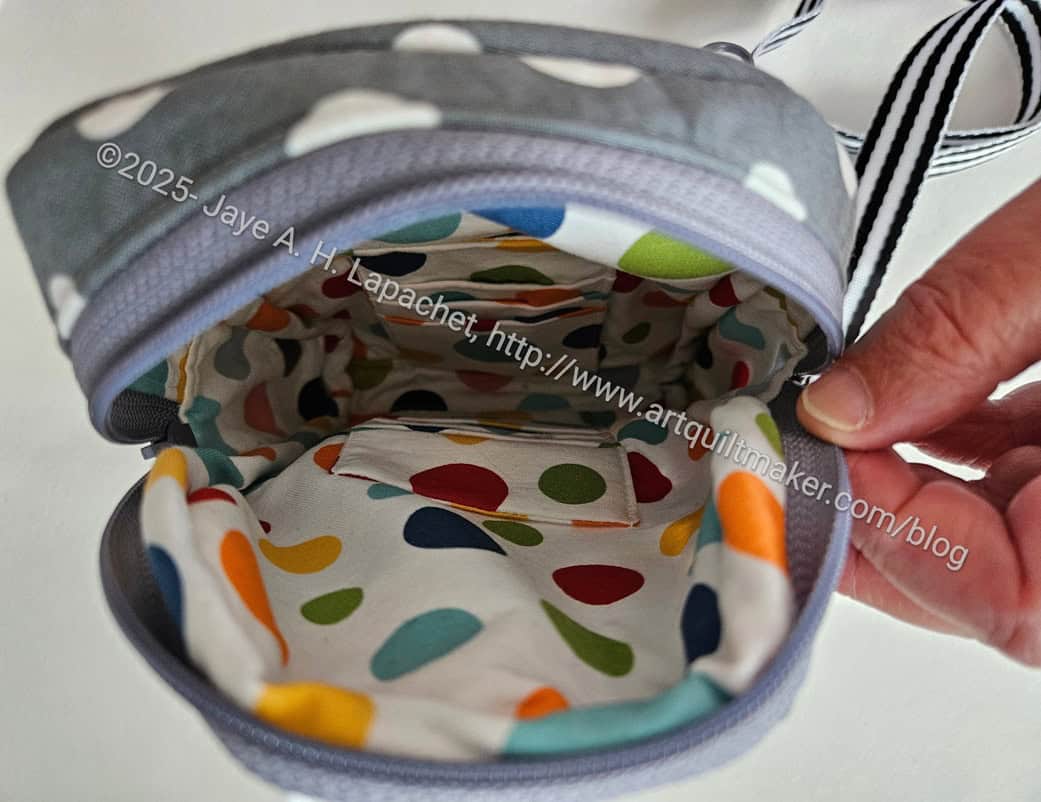
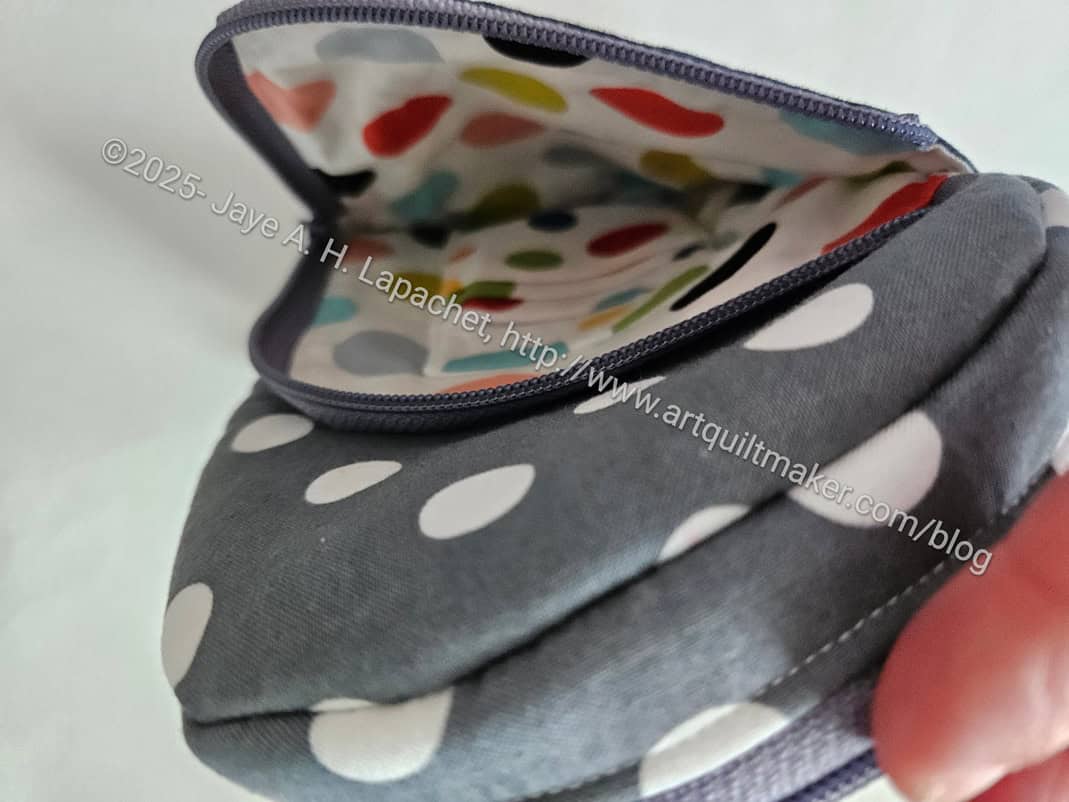
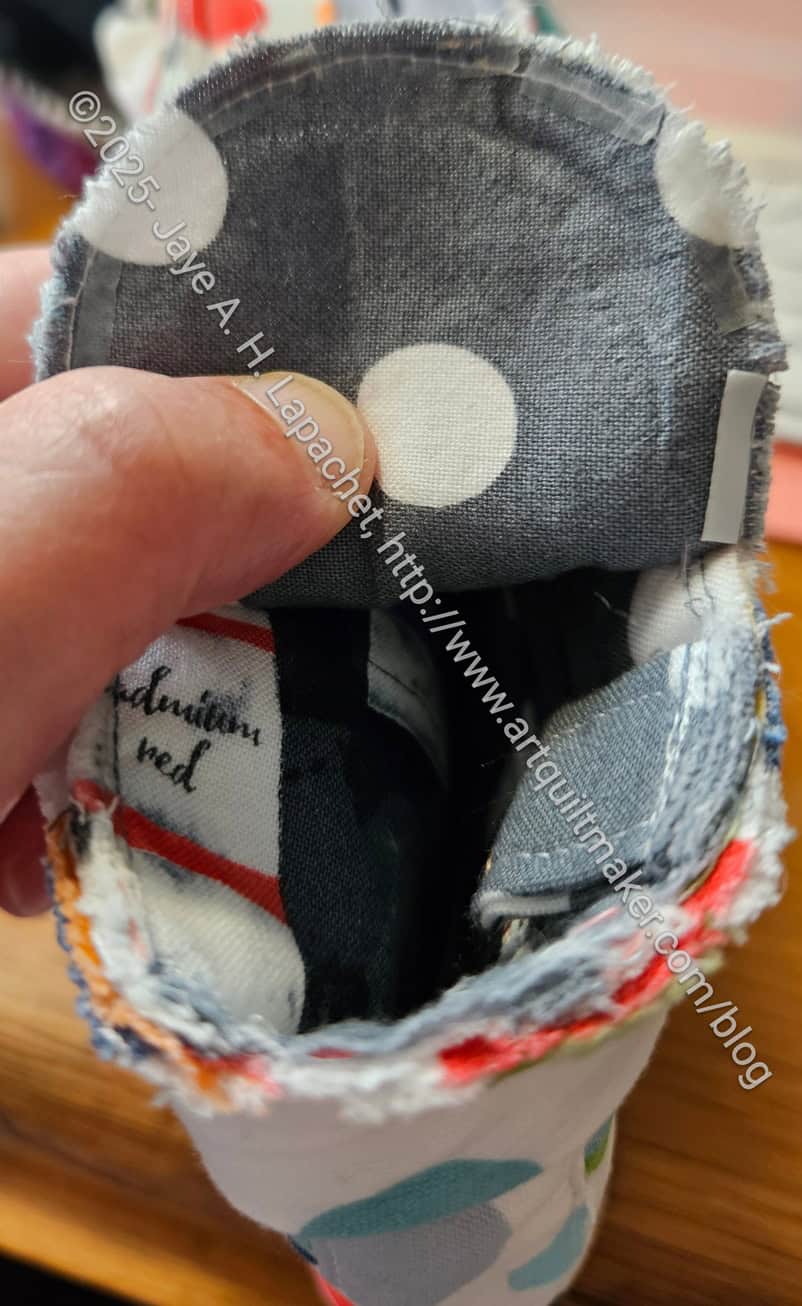
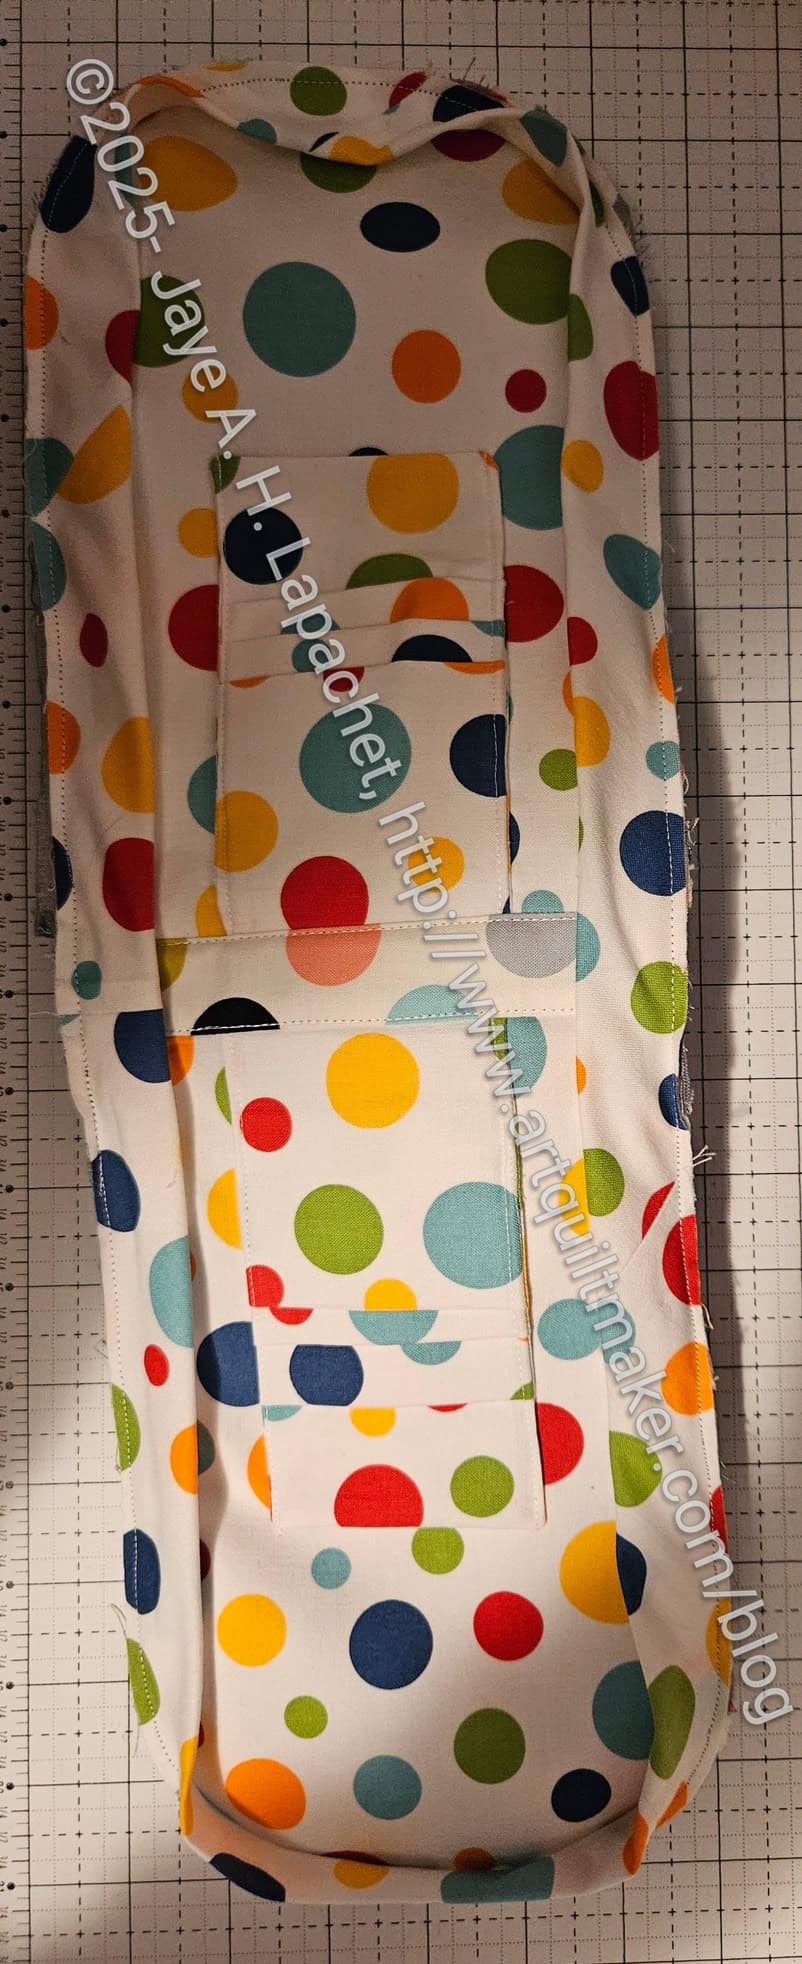
After looking at all of the Enigmas, I decided to make more this year. I have been slowly working on two new Enigmas in between working on other projects. These are gifts, one of which will be sent off soon and the other is for later this year. I am ahead of the game to a certain extent. I think I plan to make 8 total this year, of which these are number 3 and 4.
When I sewed the Bone Enigma I followed the directions exactly with regard to rivets. The directions say to add rivets before assembly. The rivets can go anywhere, but I wanted to put them on the ends of the handle, just to reinforce it. It is at the stage of assembly shown in the photo where the directions say to add rivets.
Peony Enigma with rivets – full
This is great except for Enigma bags already completed. I decided I wanted rivets on my Enigma bag. The bag is already complete, so I consulted with Mary and we decided it could be done. We had to squish the top a little, but the overall procedure worked and my bag now has rivets on the handle.
Peony Enigma with rivets – detail
I wanted silver, but Mary thought a gunmetal finish would look better. I am pleased not to worry about ripping out the handle.
Megan’s Bone Enigma has been on my list for awhile. It doesn’t show up on any of my 26 Projects lists, because I hadn’t started cutting or sewing. It only shows up on my UFO Challenge list, because I have been wanting to make it for awhile and hadn’t quite gotten to it.
I could have waited to write the “All the Enigmas” post, but I will have to write another one as I am already cutting others out.
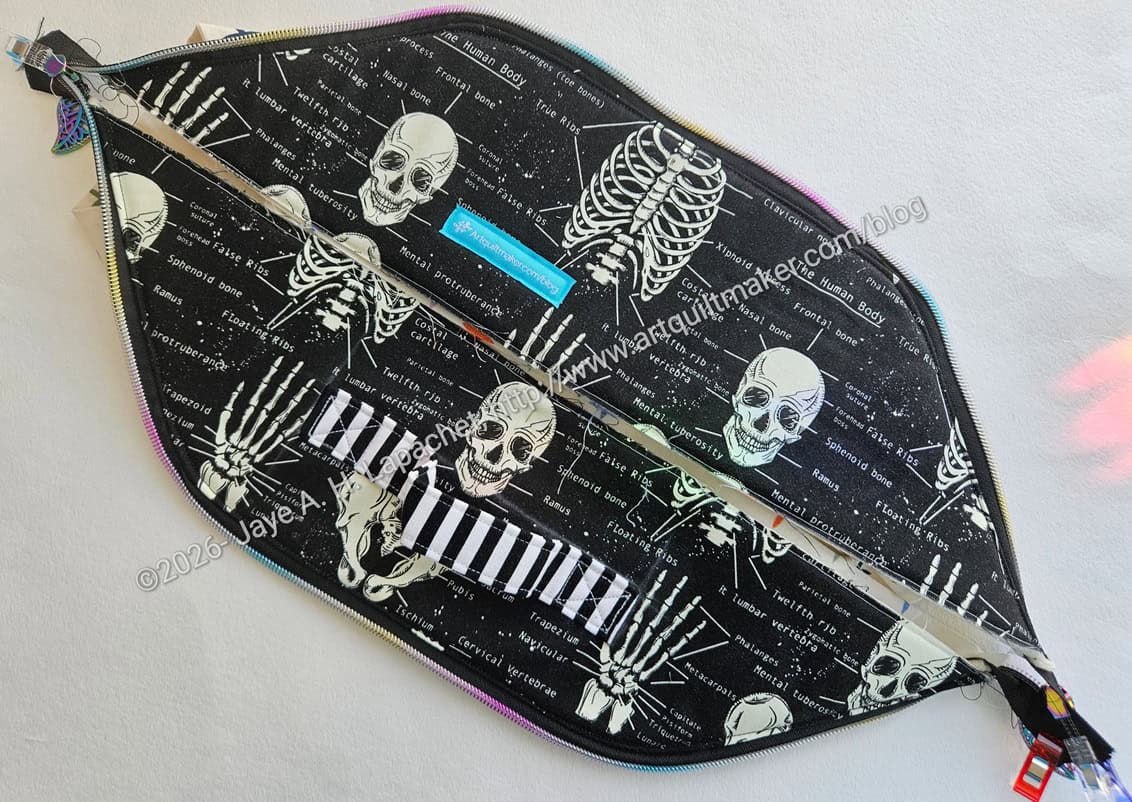
Megan’s Bone Enigma-interior
This bag goes with Megan’s Hand Bone Hackney. She said she liked this fabric and I hope that is true. I bought it for another purpose for which the fabric will not be used. I did make several projects from it, but still have at least 1.5 yards left.
One thing I did on the bottom, which are pieces that need to be quilted, was fuse the fabric, both lining and exterior, to the foam using MistyFuse**. I had forgotten to cut the lining and exterior larger before quilting and wanted to try and mitigate shrinkage. I think I could have left the bottom unquilted, because the MistyFuse really adhered well to the fabric. I was kind of surprised since the MistyFuse has been laying around my workroom for years.
I am pleased with how the center looks. I just feel like it came out really well. The fabric, a Birch Organic, looks really great.
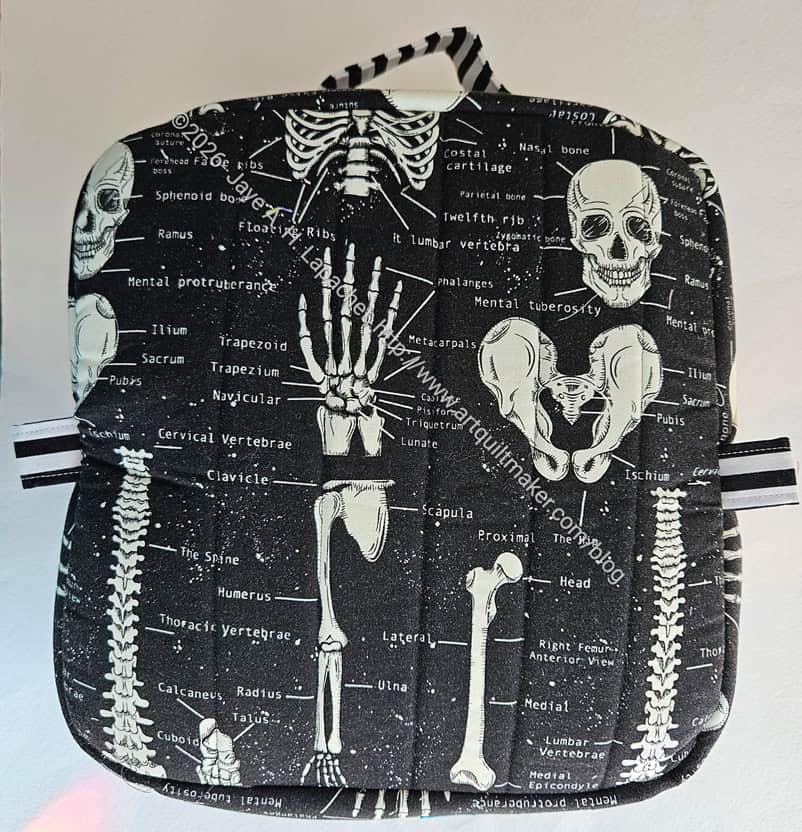
Megan’s Bone Enigma-bottom
I tried really hard to line up the fabric so that the motifs were oriented in the right way.
In the photo of the bottom you can see how the motifs are oriented towards the top. See the handle? When the bag is closed the part of the bottom with the skull forms the back of the bag and that skull as well as the other motifs are right side up.
Megan’s Bone Enigma-bottom-> back – closed
Cool, huh? Sadly, I did not match up the motifs on the top piece with the back piece. I was pretty proud of myself for doing this much, though I don’t think anyone will notice. *I* notice and that is what is important!
Megan’s Bone Enigma-top closed
I am on the fence about the striped handle and pull tabs. I didn’t have any solid black at the time I cut those. The design works pretty well, but I think a solid black would have been better. Or maybe a black and grey stripe? Not sure, but I’ll have to think about it. I did use this same strip on the handle of Hand Bone Hackney, so that is something.
An unintended effect looking at the top is that the handle is enclosed by two hand bone motifs! It looks kind of cool.
I also used MaryC’s rivet press at Sew Day to put rivets on the handle. I am super excited about that!!
Megan’s Bone Enigma -side
Megan’s Bone Enigma -side
I still love the diagonal zipper. I thought the zipper tape I chose would be too large, but it worked out ok.
Well, even though that number hasn’t been picked in the UFO Challenge, I have finished it. I am giving it to Megan today, so needs must.
**Obviously, you should shop at local quilt shops and small businesses. However, if you are too busy or can’t find what you need there, I use Amazon affiliate links and may be paid for your purchase of an item when you click on an item’s link in my post. There is no additional cost to you for clicking or purchasing items I recommend. I appreciate your clicks and purchases as it helps support this website.
I finished the Tadpole I made for Gerre’s International Women’s Day celebration. This is another Sew Sweetness pattern I bought and hadn’t yet made. I made this one at the same time I made Carrie’s.
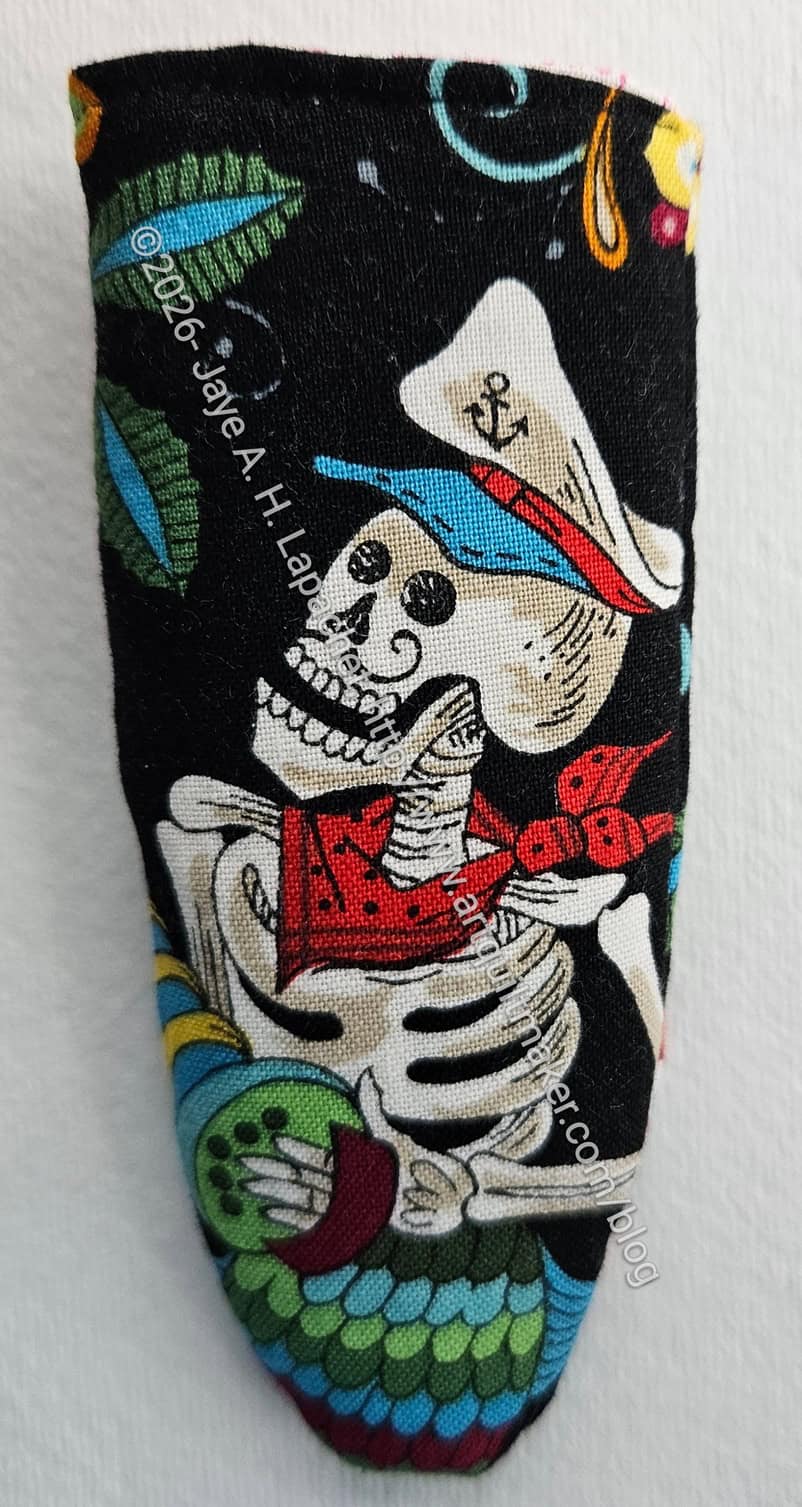
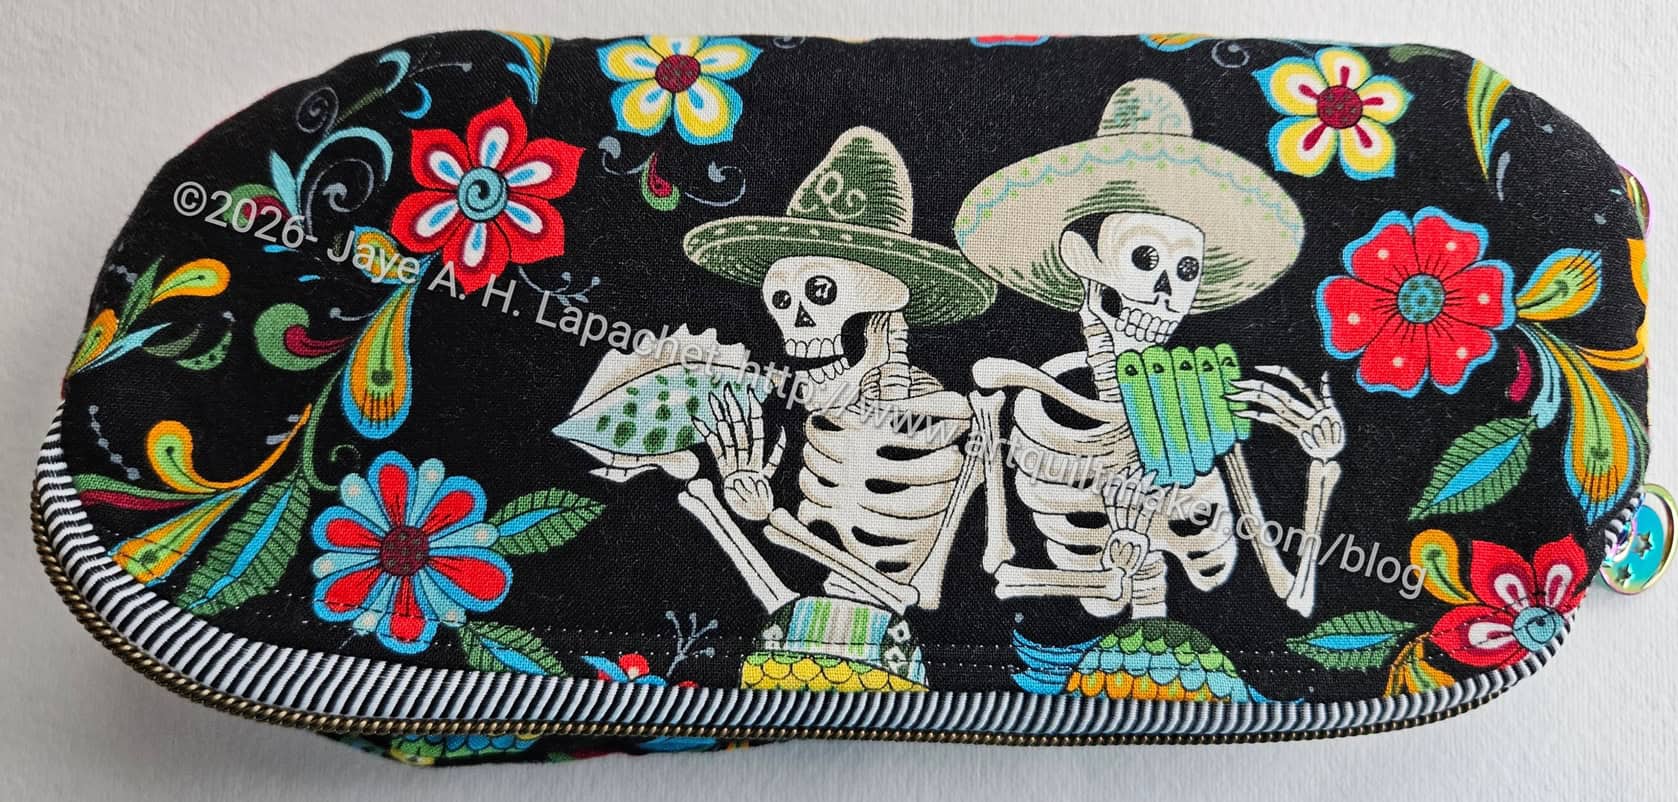
Gerres’ Scissor Sheath
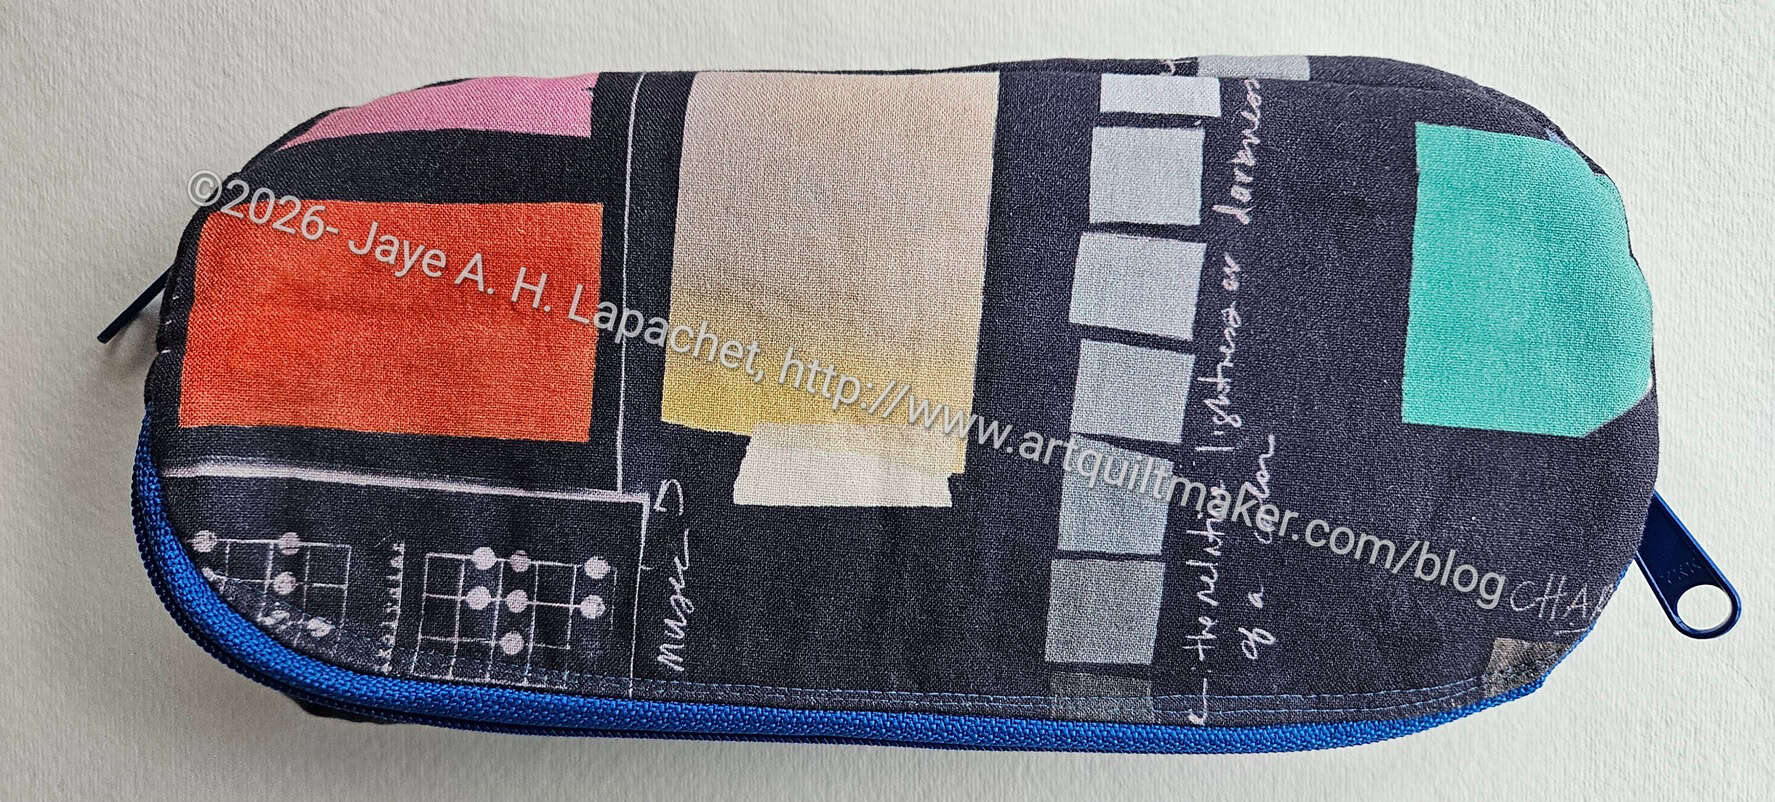
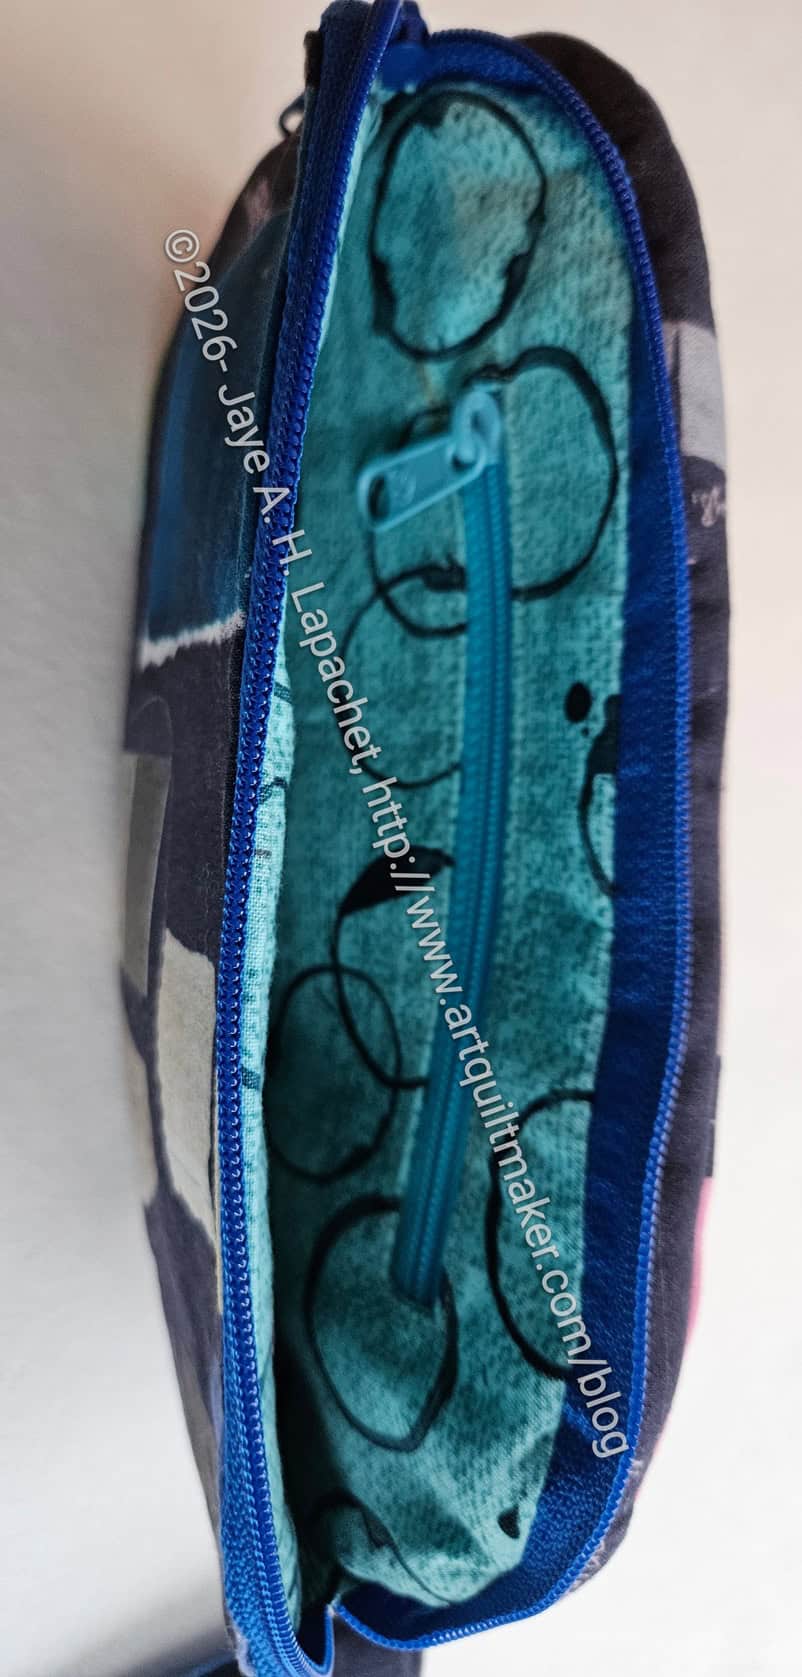
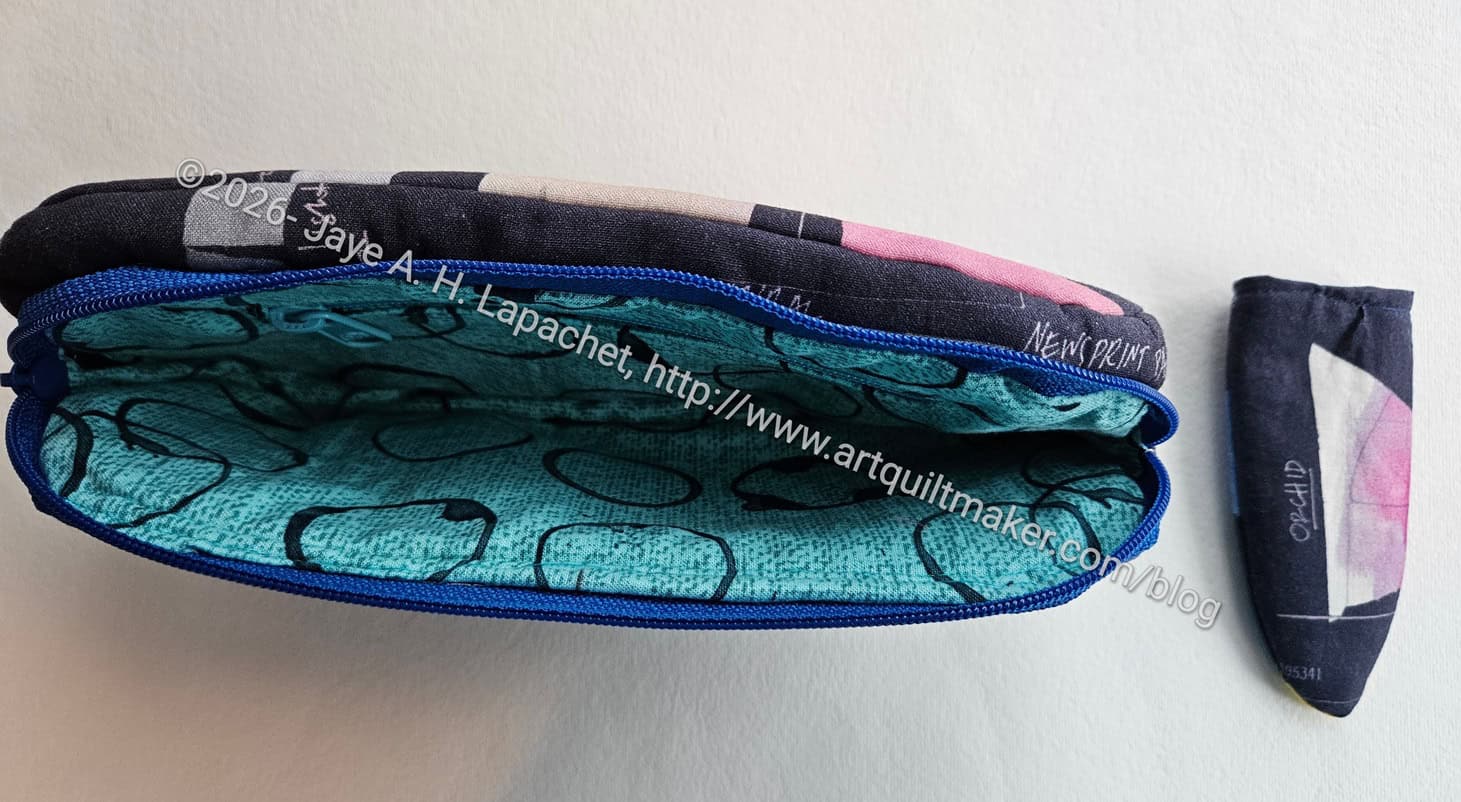
The fabric I used was the same used for another of Gerre’s bags, the Enigma Pouch. I am not a huge fan of this fabric as it looks a little too creepy for me. However, first, I am almost out, and second Gerre said she really likes it. I decided to use it up and then I can get back to the Alexander Henry Dia de los Muertos fabric I also use for her gifts. Yes, I have used a few different fabrics for her gifts. She was the first one, I think, for whom I started making sets of bags. It took me awhile to settle into the process.
This fabric does provide some good fussy cutting opportunities. Since I don’t have much of it left, I am using all the bits.
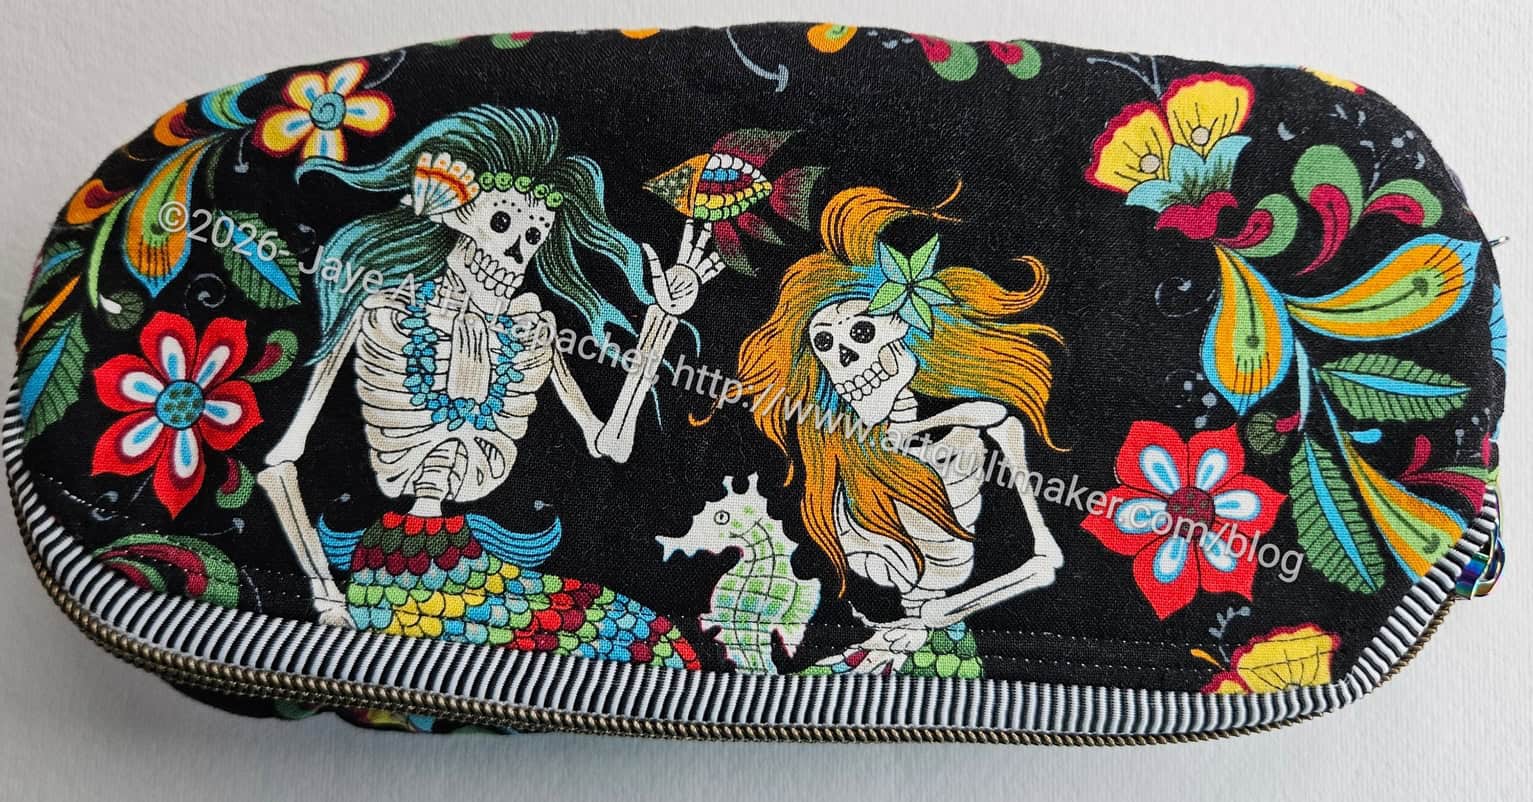
Gerre’s Tadpole other front
This pouch is more 2 sided than Carries, because of the fussy cutting opportunities. It is interesting how different the two sides are. However, all the figures are skeleton mermaids or mermen. I mostly cut off the tail of them. I suppose I could have turned the fabric 90 degrees and included the tail. Considering the design of the pouch, that might be a better way to orient the fabric. I guess I’ll have to make another one to see. 😉
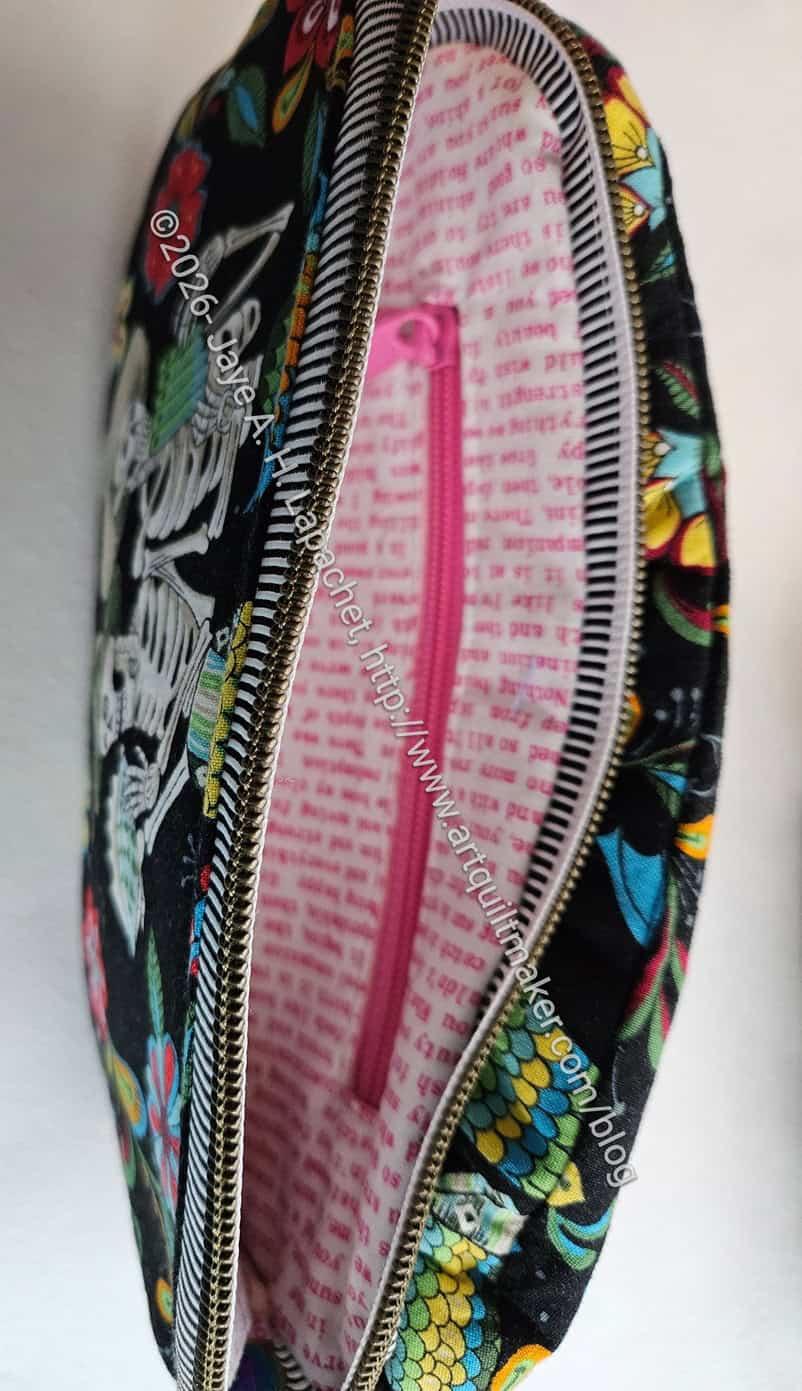
Gerre’s Tadpole interior
As mentioned, I followed the pattern exactly, which I might not do if I make this again.
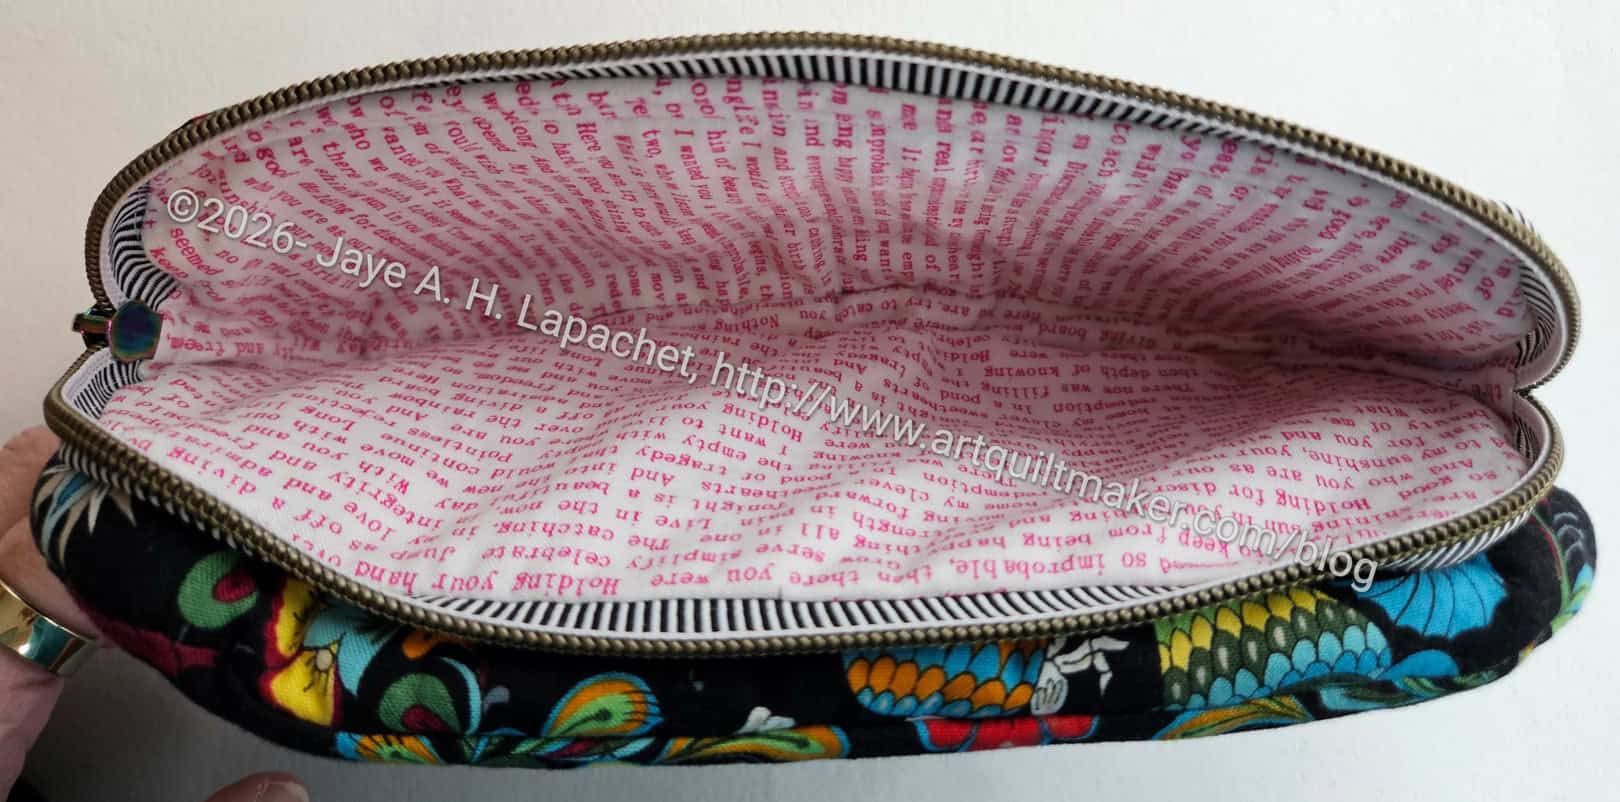
I also put an interior zipper pocket on one side of the pouch. I think this pocket could be used for extra rotary cutter blades. They might not be obvious, but a reminder could be using this same side for a rotary cutter.
Gerre’s Tadpole – interior
I am paying closer attention to making sure the linings are not saggy baggy. I am pleased with the way the pockets came out.
Two Tadpoles – front
Two Tadpoles – other front
Both Tadpoles look good, I think. I need some practice to make them better, but this is a useful pouch.
The Tadpole is a pouch that I bought as part of a 4-pack with the Cosquilla pattern last June. I am glad to say that this isn’t the first time I have made a bag from this 4-pack.
Carrie’s Tadpole front
The Tadpole (weird name, I know) is a useful pouch with two pockets that can secure scissors, rotary cutters and other similar types of tools.
Tadpole with interior zipper
One pocket is on the top and the other is on the bottom so you have to kind of flip it around to get at both zippers.
One of the pockets includes a small internal zipper pocket. This pocket could be added to both of the larger zipper pockets. I am not sure what I would put in that interior zipper pocket, but I do think that, generally, the more pockets the better. In this case, that might not be true if I were to put something in there and then lose it or forget about it. I look forward to seeing what Carrie says.
Tadpole open with sheath (Carrie)
The pattern includes a scissor sheath. I bought Carrie a nice pair of scissors to go with the pouch and the sheath can be customized to fit the scissors. I wanted to do that, but I didn’t want to open a new pair of scissors. I am not 100% sure the sheath is very useful with sharp scissors. It is definitely cool to have a matching scissor adornment, but I am concerned that sharp scissors will cut through quilting cotton. I might make the scissor sheath out of cork or pleather scraps in the future. It wouldn’t match, but it might be useful.
I made this first one in the fabric I use for Carrie, the Carrie Bloomston Color Theory fabric. I was able to use some smaller pieces, which was nice.
I forgot to post about the lunch bag I made for Friend Julie for Christmas. This was a project from Minikins Season 1. Season 1 includes the I Spy pouch pattern, which is one of my favorites. The Cotton Candy pouch is another of which I have made several. I knew that I had this pattern when I decided to make her a lunch bag.
I noticed that she was carrying her lunch around in a plastic bag. There is nothing wrong with plastic bags, especially with messy food. I thought it was odd. I thought I would try this pattern and hope it was a useful bag.
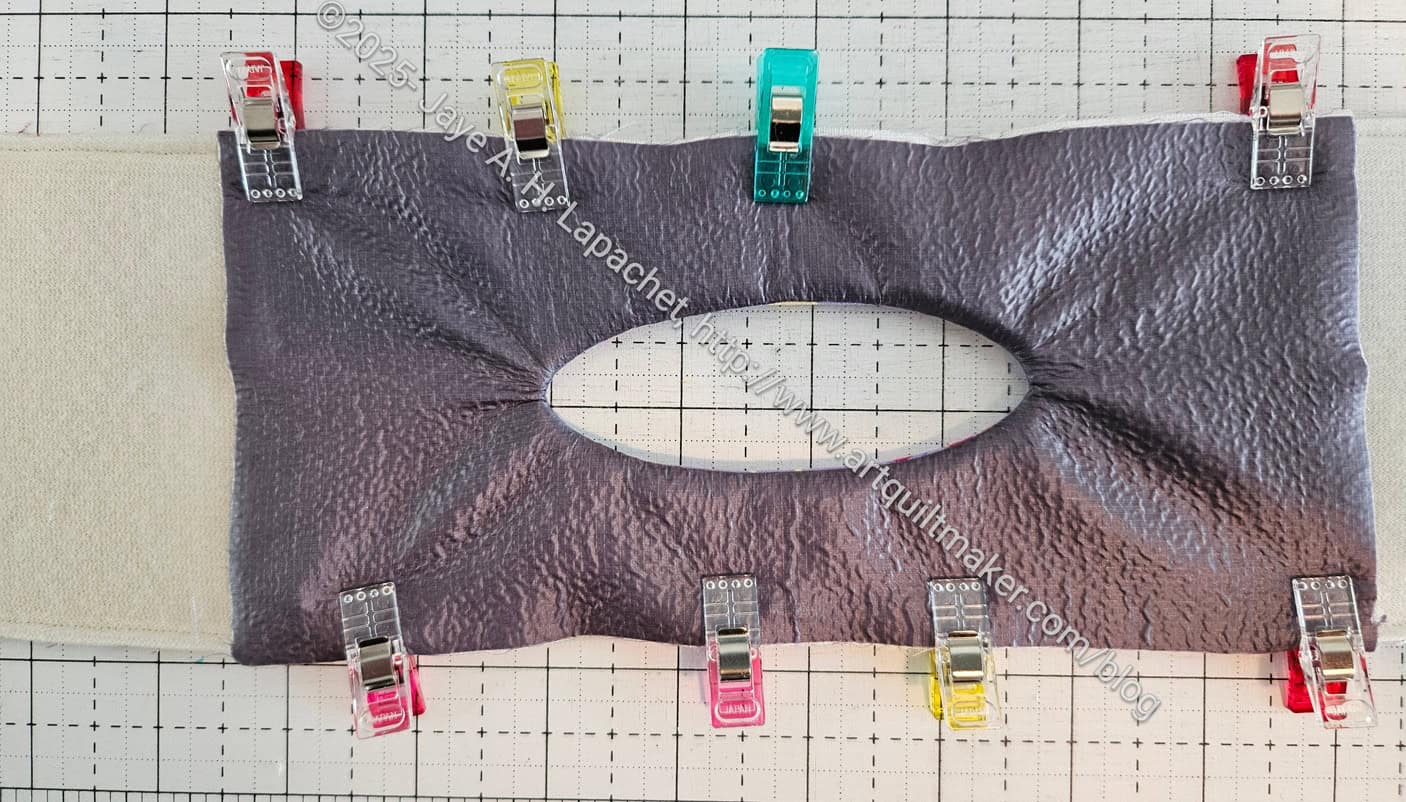
Morsel Handle
The first thing I did was get some ripstop nylon in order to make the inside sort of water resistant. I was inspired by Lynette using it for her Oxbow. Hers came out flat and beautiful. Mine came out bubbly and lumpy despite using Lynette’s tips. I have a feeling the ripstop I used was lesser quality than what Lynette used.
Morsel lunchbag interior
The pattern had no interior pockets. I guess a person just tosses all their lunch items in and pockets aren’t really needed.I keep thinking of regular bags and pockets are always useful.
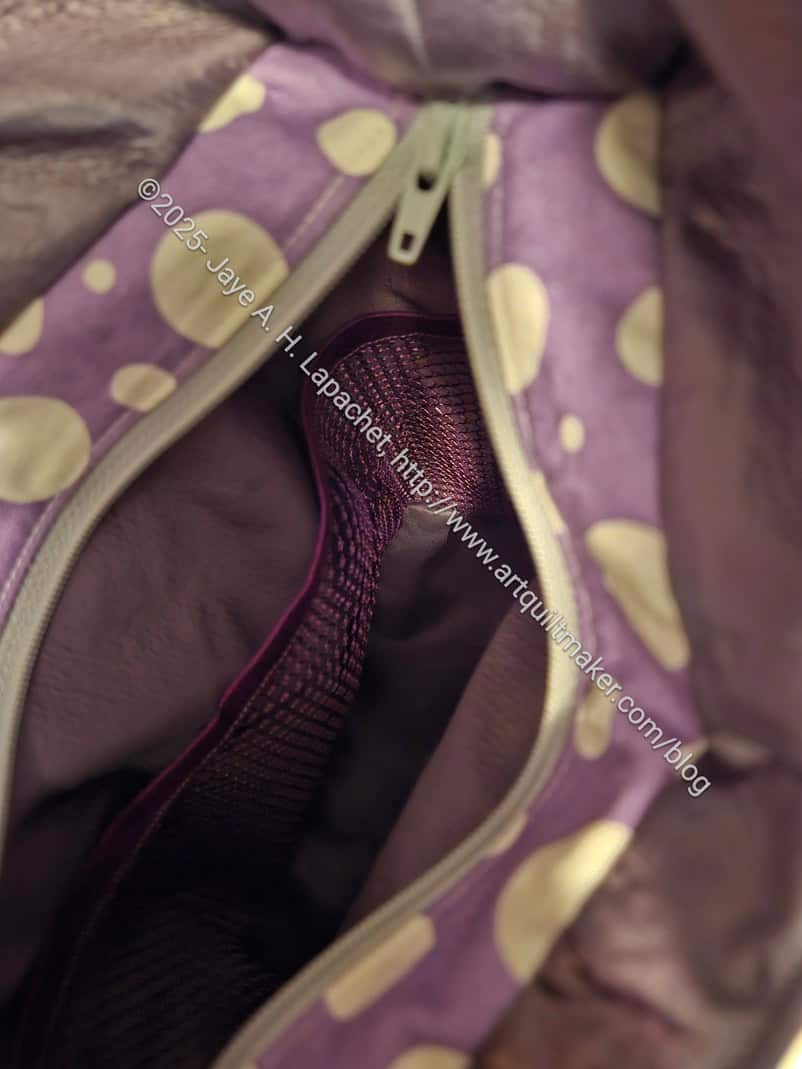
I decided, based on my lunch bag, that I needed to include an ice pack. I added a mesh pocket for an ice pack. I thought a mesh pocket would better for something that might sweat. I included an ice pack (not shown) before I wrapped the gift.
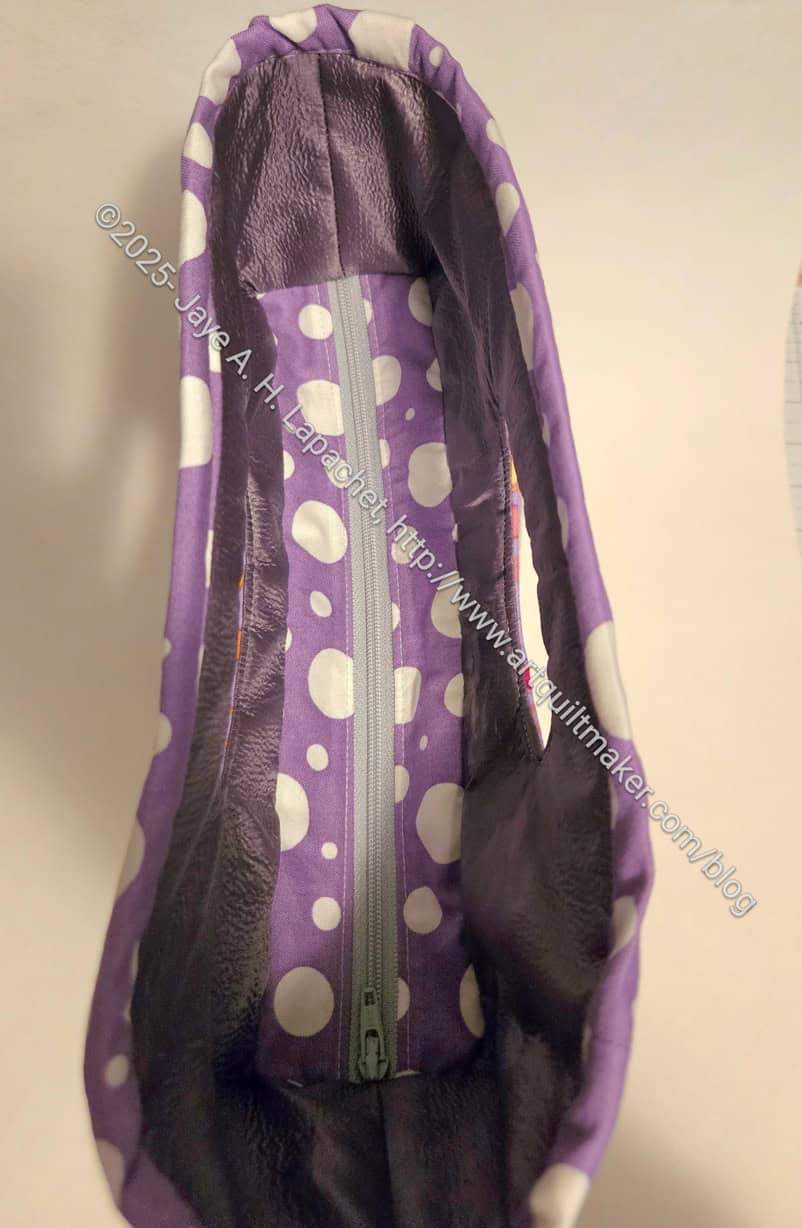
Morsel Lunchbag top
The bag is on the small side, so no 5 person picnics.
The top has a recessed zipper, so the contents are out of the way of the handles. It might have been useful to include a shoulder strap, but I didn’t think of it.
In general, I am pretty happy with how this bag came out. Julie has brought it to a couple of Sew Days and that is really nice to see. I am definitely happy that I was able to use another Minikins pattern.
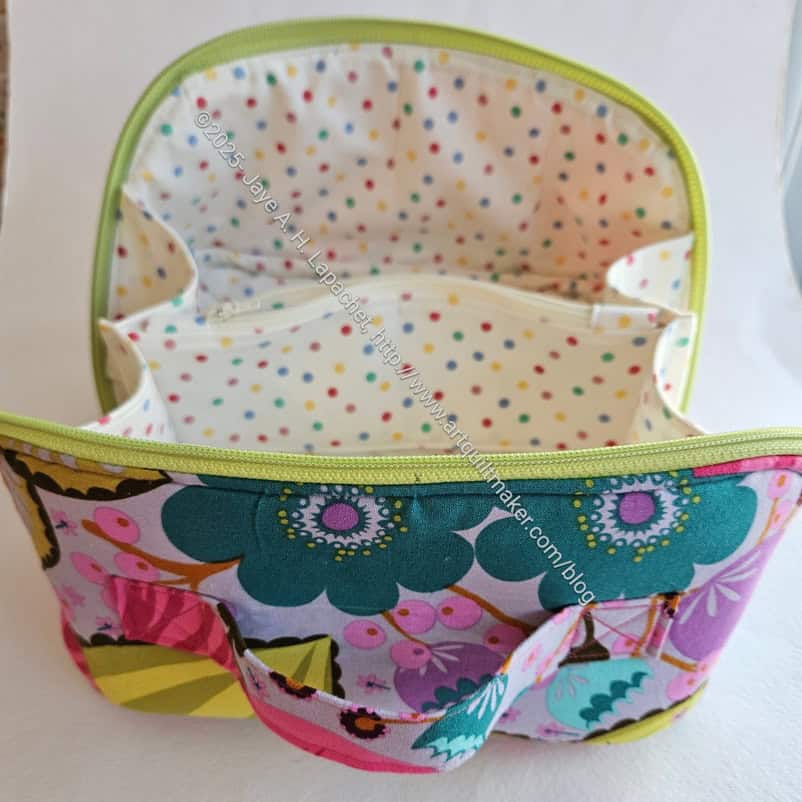
This is my first finish of the year! Finally! The Enigma might be my bag of the year as I feel excited about this bag and am eager to make two more.
I started this, because I had another one on my to do list and thought making two at a time would be quick and efficient. I also thought (and really hoped) it would, maybe, be chosen as the UFO project for the first month of the guild UFO challenge. As mentioned, no such luck, so I held off making the one on the list and just worked on this one.
Diana’s Enigma – open, side view
I made this bag for the Angel Mother, and my birthday twin, Diana. I have made a Day Trip Wallet and two Dogwood pouches using the same fabric. I have no idea if she likes it, so I’ll just keep on making bags for her until I run out.
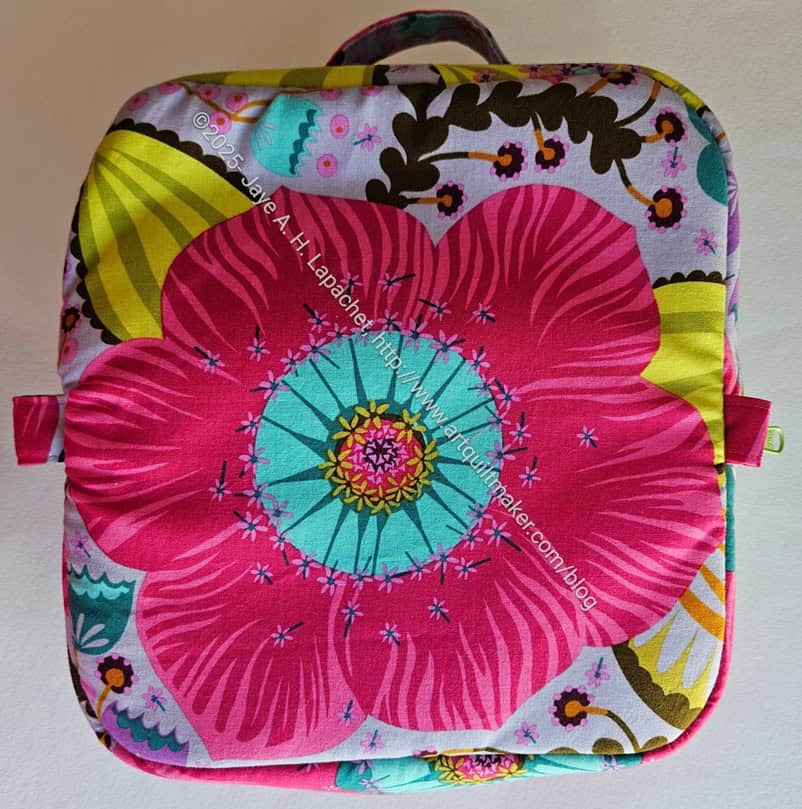
Diana’s Enigma bottom
I wanted to fussy cut the front so it looked a bit better than mine. I ended up fussy cutting the bottom, which ends up being one side. It looks good, but you can’t really see it.
I really like that big flower.
The more times I make this bag, the easier it becomes, but the more I like the construction. I watched part of the video and there were some helpful hints in it. The video is totally worth the purchase when you buy a Sew Sweetness pattern.
Of course, the Enigma is part of a 12 pattern bundle. While Minikins Season 3 is probably my favorite, I have also made several of the patterns from Season 4. See the various projects and decide which season you like best.
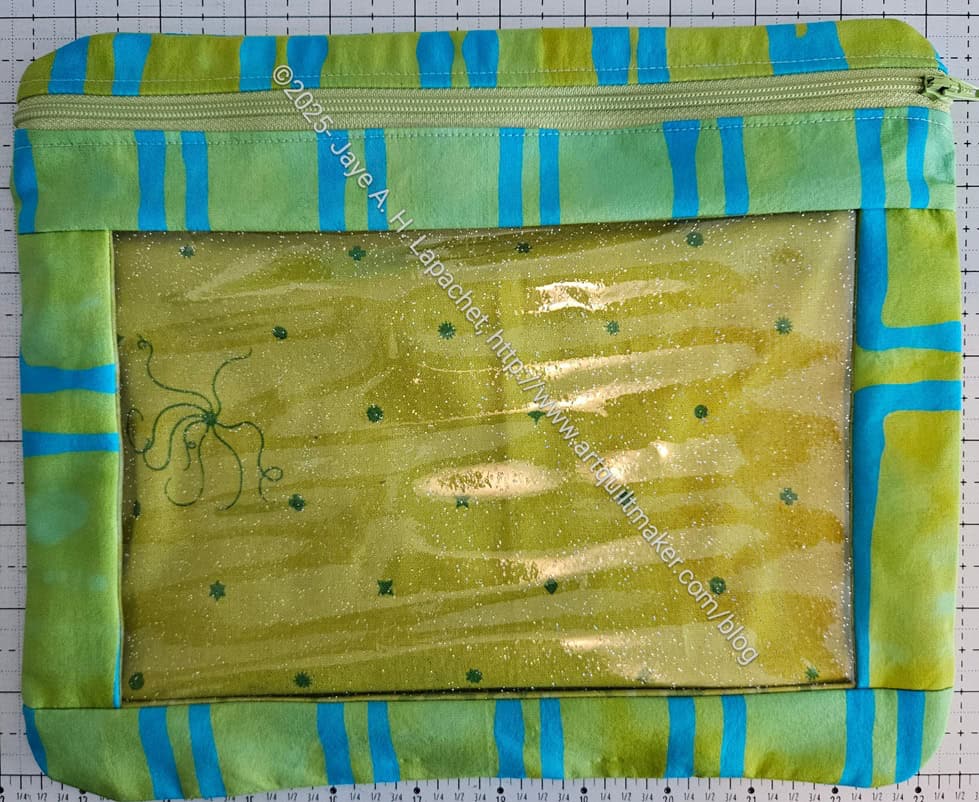
I quickly made this pouch for Tim as a gift. I usually make him a gift, but for some reason I didn’t plan ahead for him. I will in 2026.
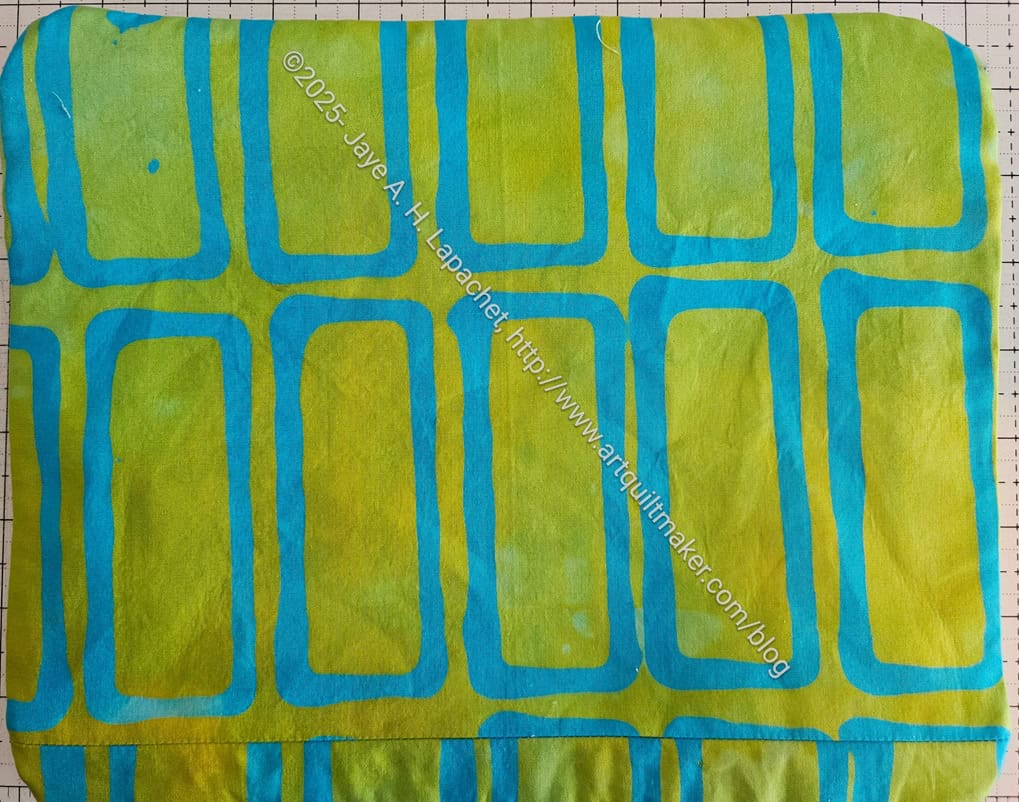
I rounded the corners of this version as it was easier to sew. I also used some great hand-dyed fabric that Sonja made for me a long time ago. It is precious so I save it for special projects.
Green I Spy for Tim-back
Tim loves everything green and he uses the bags I give him, so I decided to use some of this precious fabric for him.
I finished the Cosquilla pretty quickly, considering I only started it a few days ago. In general, this pattern has only a few pieces, so is easy to cut out. The instructions are excellent and there was only one confusing part where I needed to watch the video to complete.
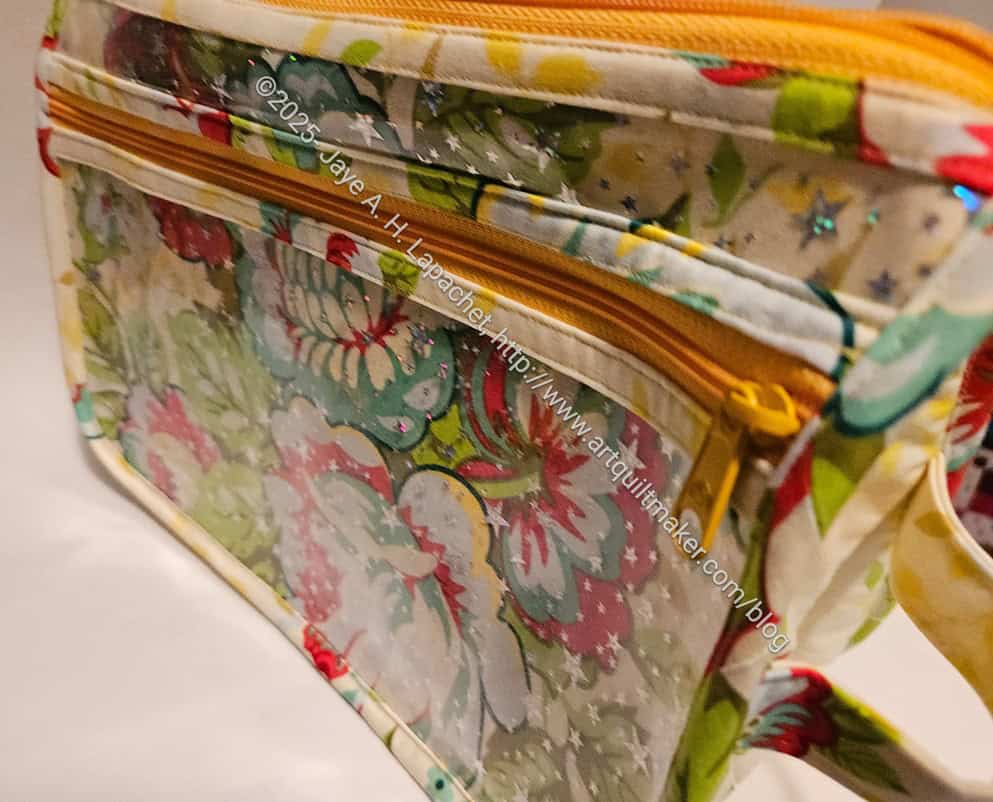
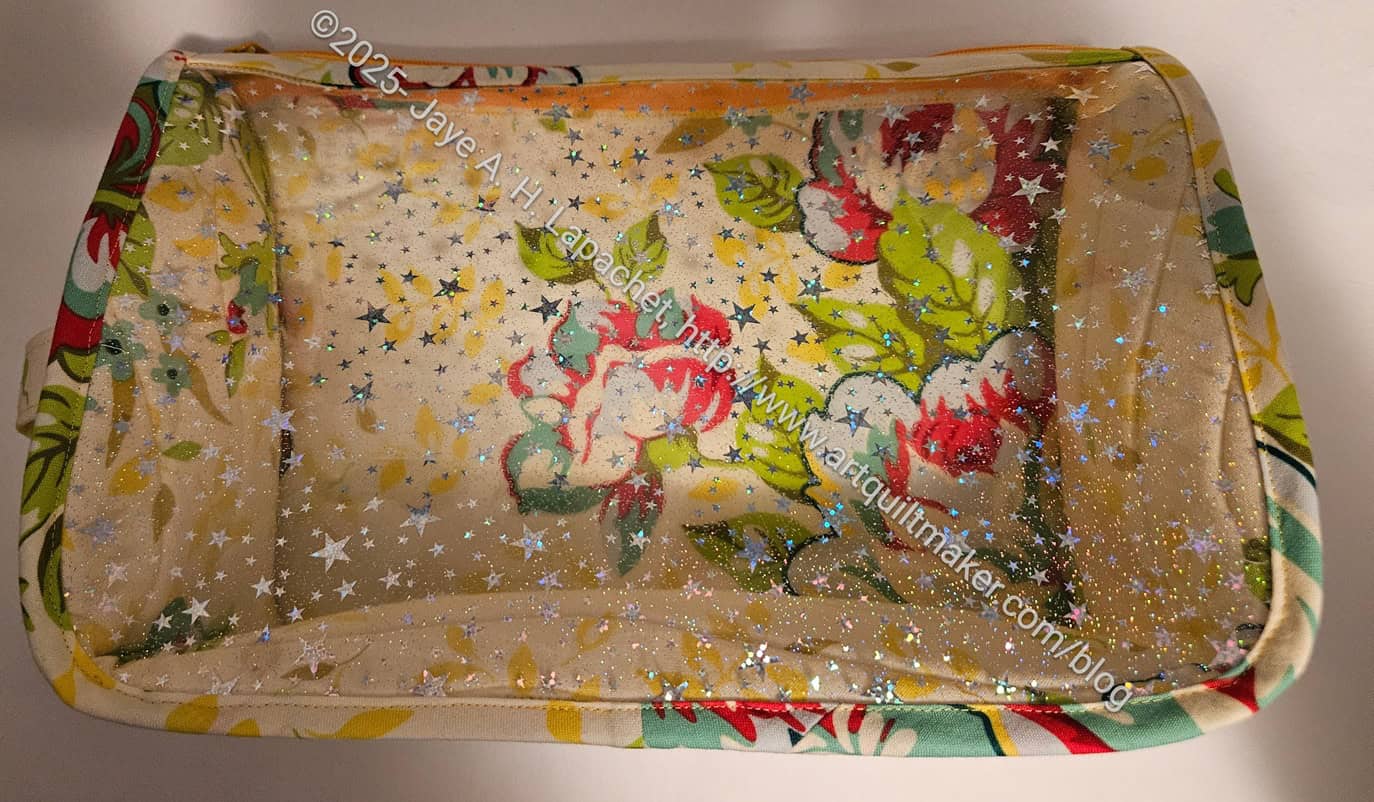
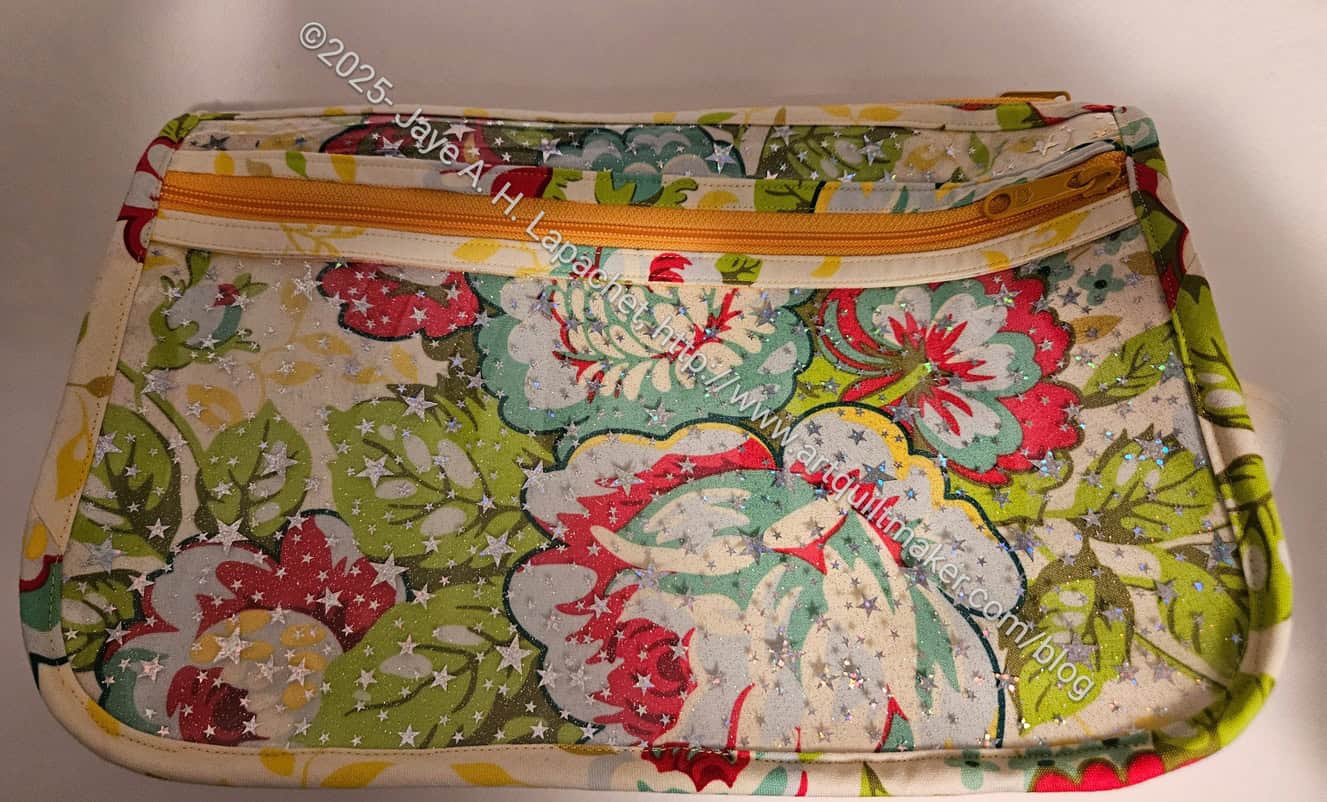
I was able to use one ByAnnie 30 inch double pull handbag zipper for both of the zippers needed in the project. The yellow of the zipper doesn’t go exactly with the fabric I chose, but I think it looks good. There are not as many zipper colors as fabric colors.
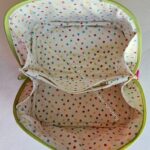
Beth’s Cosquilla: interior
This is the first time I have used the same fabric for both the exterior and interior. I don’t know why I never thought of it before (DUH!), but I think it worked really well. There wasn’t a lot of exterior and there were some focus type motifs that I fussy cut in order to make the parts interesting. I still wanted the whole pouch to read as yellow, so I kept that in mind.
Beth’s Cosquilla: zipper side
This pouch, as you can see, has a lot of vinyl. I recently replenished by supply of vinyl. Mostly I like the glitter vinyl, but this time I also bought some vinyl with stars printed on it. I like the glitter vinyl, because it doesn’t interfere with the pattern on the fabric. In this case, I used the star vinyl and I think it allows the fabric motifs to shine as well. The other thing I like about these two vinyl patterns is I can use every inch. I don’t have to worry about the motifs on the vinyl being in the wrong direction when the bag is finished.
Beth’s Cosquilla: side
The pattern had a really interesting piece for the bottom and the sides. It was a long oval piece that had to be quilted before cutting it out. There are fewer seams when one piece makes up the sides and bottom.
I really don’t know how Sara thinks of these bag designs, but I am constantly impressed. Having the sides wrap around the bottom/sides piece was really clever. I like the way it went together.
Sewing it together was no picnic, but it wasn’t as difficult as the Pearce Sling I made for Mom. They share that curved shape, but this pouch is much bigger and that curve was easier, though not easy to navigate.
Anyway, I got SIL#4 a couple of gifts off her list, but also made her this as a bonus. I like to receive things I want, so I always make sure I buy someone something off their list even if I make them something.
My Mom has been using it for a few days and she loves it. I am so relieved. I won’t tell her about the trials and tribulations.
It is a good thing I didn’t add that mesh pocket I discussed in the progress post! This was a challenging bag to put together. The final seam, as mentioned, was more than a bear.
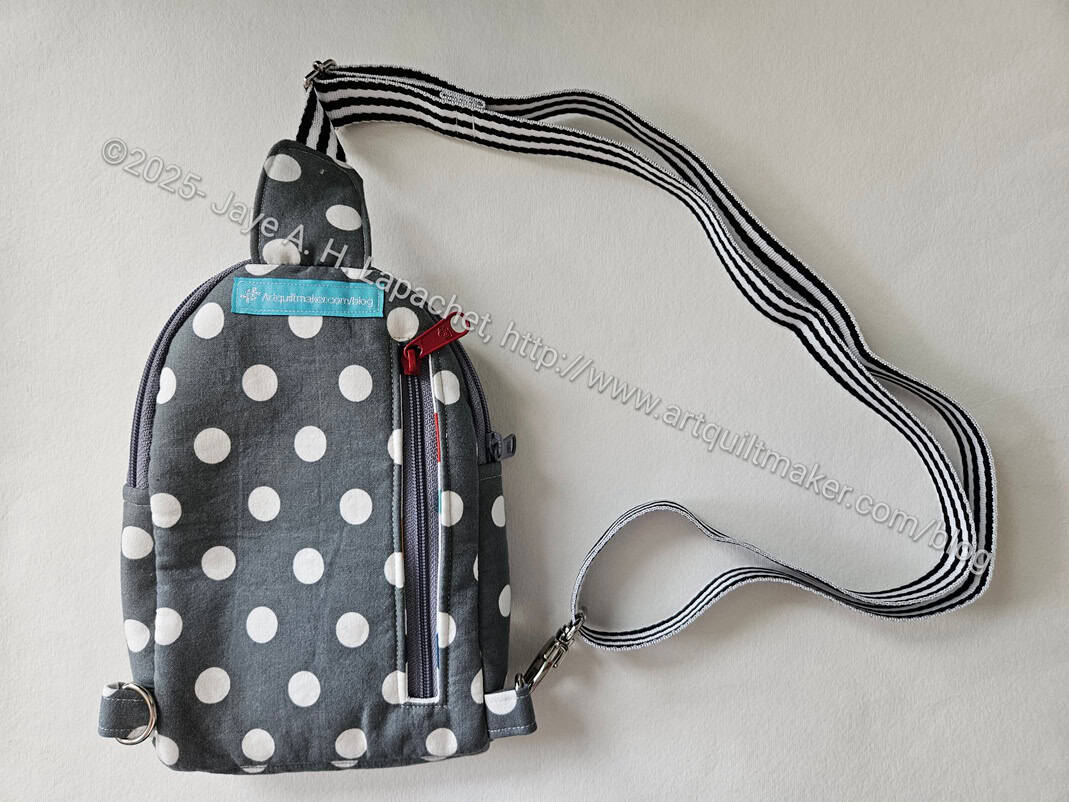
Pearce back
I like the features that Sara added, such as the vertical pocket in the back.
I was able to use a leftover piece of zipper that I had laying around, thus the odd red zipper. Hopefully, it will add a visual cue to where my mom puts stuff. She uses that pocket for her glasses as it is too small for her phone.
Pearce large pocket
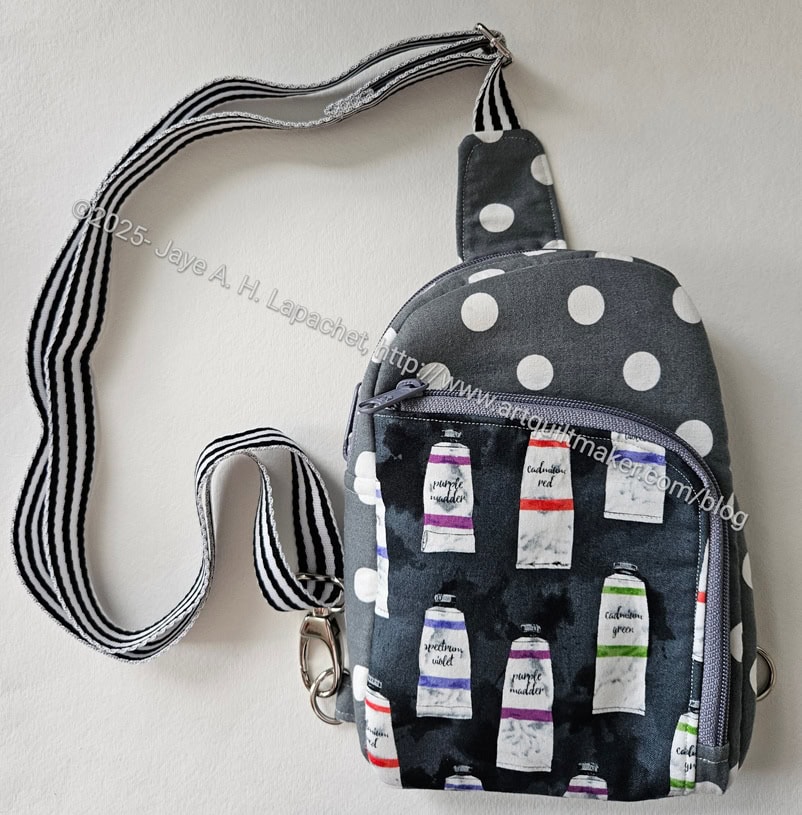
I am running out of the Paint Tube fabric, so I had to find some other fabric that would coordinate. The dots are leftovers from a dress I had made for Politcal Wifery. It worked pretty well, I think. No complaints anyway.
The bag has two pockets. I added vertical credit card slots to both. I am glad I did and I would do it again. She uses the large pocket for her phone as well as various cards.
Pearce small front pocket
The small pocket is accessible, too. I think she uses this for her insurance card, driver’s license, etc.
I am pleased that she likes it. I feel like I should make another one, but am reluctant to take on that bear of a curve again.
The Pearce is not going well. This curve is nearly impossible to sew on the machine. I have tried at least 4 times and ripped it out that many. Right now it is on timeout while I finish the Multi-Pocket Organizer.
Pearce in Progress
The bad part is that this was going SOOO well. I got to the point where there was one seam left to sew (photo left) really easily. I mean the pattern has been a bit of a challenge, but nothing like I am experiencing with that last curve.
I am afraid I should have sewed the curve first. If I make this again, I will do that. For now, I will think about what to do and get back to it in a few days.
I am making good progress on the Pearce. I have the whole piece together and only need to assemble the final parts.
What you are looking at is the entire inside before the lining is flipped right sides together and sewn around the outside.
You can see that I added some binding, which will have to be sewn down as well.
Pearce credit card slots
The pattern didn’t include any pockets in the lining, which I didn’t realize. I added some credit card pockets using the template from the Sweetbay Crossbody. I would have preferred horizontal credit card slots, but I didn’t have time to figure out all the math.
I lined the panel for the credit card pocket so that the top portion is open and pens can be attached behind.
I need to get this done for my mom. I might add a mesh pocket as well, but we will see.
I made some good and positive progress on the Pearce Sling. Cyndi and I got together for a Sew Day at her house. It was really nice to hang out with her and I was able to focus and get quite a bit done on this piece.
It takes quite a few steps to get to this point, but I didn’t feel annoyed about it. I felt like I was making good progress. Part of it was probably that I had someone with whom to consult and chat to.
I could have made more progress, but I decided to put a credit card pocket in the lining and I didn’t have a pattern piece with me. I switched to working on the Sleeping Bag Pouch, which was fun, too.
When I got home I pulled the credit card pattern piece out of the Sweetbay Crossbody project file and used it. It is a more vertical credit card pocket, so I might need to add another one, so Mom has enough for all of her cards. I was expecting the pocket to be horizontal. I am not as familiar with making these types of pockets, so I got what I got.
I am also excited about nailing down that skill. I had a little trouble with it on the Dogwood pouches I made, but after watching the Bag Lab tutorial, I understood the concept much better and was able to do it relatively easily. One key was to use thin pins to hold everything in place until you sew. I am not a big fan of thin pins, but they are key in this technique.
Pearce Sling front pocket
After doing all these steps, my Sling is well on its way.
Clearly I found my Sewjo again, because once again I am starting projects right and left. The latest is the Pearce Sling. I started it for my mom.
A few months ago, I made her a Day Trip Wallet. I made it so she wouldn’t carry a 40 lb. purse around after her surgery. She uses it all the time, but when she came over she had the Day Trip looped over her shoulder (cross body) and her hands full of stuff. Not great for someone with balance issues.
The Pearce sprang to mind. I bought it with the recent 4 pack release of patterns from Sew Sweetness. This isn’t one of the patterns I thought I would make from the 4 pack, but I am kind of glad I am making it. It is slightly larger than the Day Trip, so I thought it might work for my Mom to keep her more hands-free.
I haven’t made a backpack before, but I think I can do it. Perhaps this will set me up to tackle the Pandora Charisma.