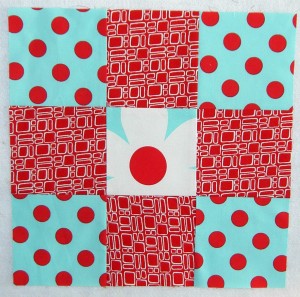
Today we are making a Nine Patch. This is usually the first block I teach when I teach beginning quiltmakers in a Sampler Class context. You will need:
Supply list:
- rotary cutter
- rotary cutting ruler large enough to cut 4.5″ squares
- rotary cutting ruler
- fabric (2-3 different)
- Optional: Mary Ellen’s Best Press (or similar)
- Optional: pins
- sharp trimmers or scissors
- thread for piecing
- sewing machine
- Iron
- ironing surface
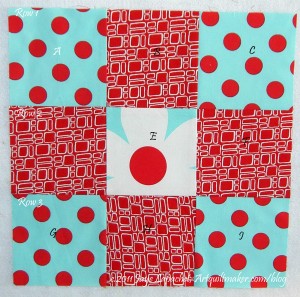
I have marked the rows and patch with letters and numbers so I can more easily refer to them for you.
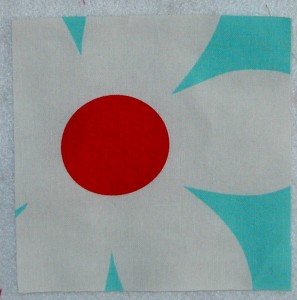
Step 1: Cut fabric. You need 9 squares 4.5″x4.5″ each. I like to use a different fabric in the center of the nine patch block. It adds interest, especially to a 12″ finished size.
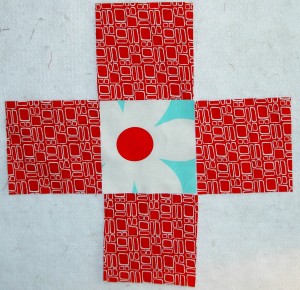
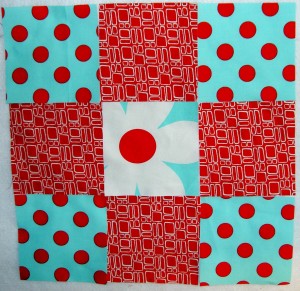
This block is actually the first block I teach in the sampler series. This particular Nine patch will be in the quilt I am making with Frances. You have seen it in different photos on the blog.
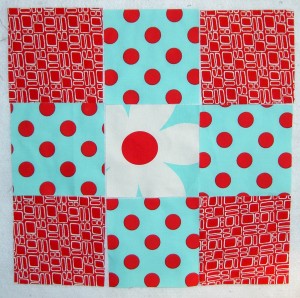
Step 2 (above): After you cut the squares, move them around to make sure you have the placement of the fabrics in the right place.
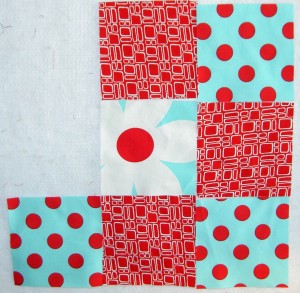
Step 3: Prepare to start sewing.
start, usually in the upper left hand corner 9row 1 patch A and row 2 patch D), everything else being equal. In general, if I don’t start in the upper left hand corner for other blocks, I start by sewing smaller units/patches into larger patches.
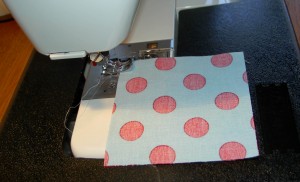
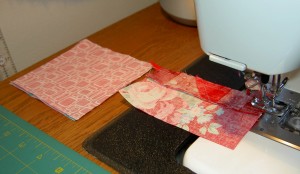
Step 4: Place fabrics right sides together and place into machine. I have my quarter inch foot on my machine and I sew 2 patches together to make a unit that will fit into the upper left hand corner of the block.
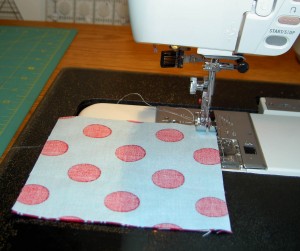
The edges of the patches are lines up so that the bottom fabric is not showing when I sew. Fabrics are right sides together.
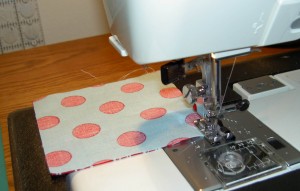
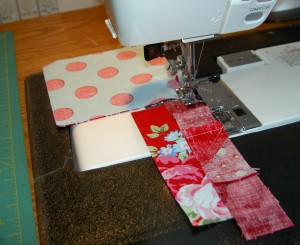
You can certainly take the sewn patches out of the machine, but this is a good time to talk about chain piecing. I have other bits and pieces handy so that I can keep sewing, so I will put them through the machine after the patches for the block on which I am working. In the above photo, you can see scrap pieces for a journal cover. I find it is much easier to work on sewing scraps together rather than another block. For my journal covers, I sew pieces together any which way. I don’t have to worry about putting the right patch in the right place or not cutting off triangle corners. This method gives my brain space to concentrate on the block at hand.
Once you have done some blocks and know how you work, you can certainly put the next group of pieces for your current block through the machine after the first set. Also, if you feel confident, then go ahead and put the next set through the machine.
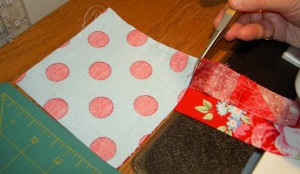
Step 5: After you have put your second group of patches, or your scraps, through the machine, cut off the sewn patches apart from your second group of sewn pieces. I usually just put one set of chain piecing through my machine after my set of patches for my current block, especially if I have a lot of fiddly placement. I would rather unsew one set of patchwork if I make a mistake than many.
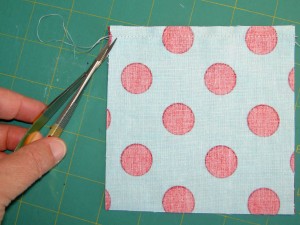
Step 6: Trim threads.
I dislike a bunch of long threads hanging off the back of my finished blocks. The best way I have found to deal with that is to trim as I go along. Trimming threads is a personal preference. I find it makes my blocks look a bit better and there is less of a chance of anything getting caught in my machine as I sew further along in the project.
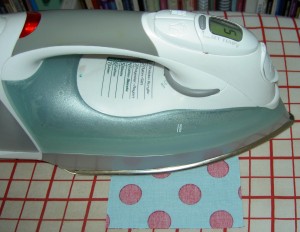
Step 7: Bring your 2 sewn squares over to your ironing board and press the threads on the seam allowance from the back with the patchwork closed. You have not yet opened your piecing to look at it from the front.
I have no idea if this step really sets the seams. Fons & Porter do this and since there doesn’t seem to be any harm in it, I started to do it as well. If you skip this step, your patchwork will not fall apart.
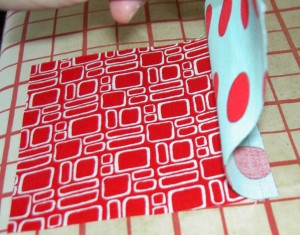
Step 8: Open your patchwork so that the seam allowance is pointing towards the patch that will be in the very upper left hand corner.
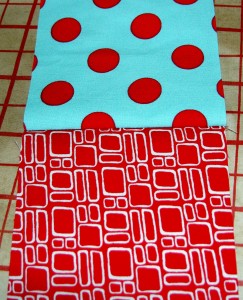
Step 9: Point the seam allowance, referenced above, away from you.
You could also point it to the side (either right or left depending on which is comfortable based on the hand with which you press). Above is the way I do it, which probably depends on the size of my ironing board and habit.
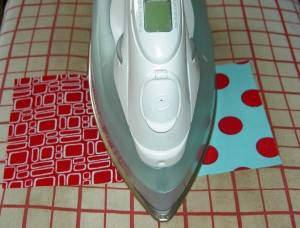
Step 10: Swoop your iron carefully from the patch without the seam allowance to the patch which is laying on top of the seam allowance. In my case I am swooping carefully from the red towards the aqua dot.
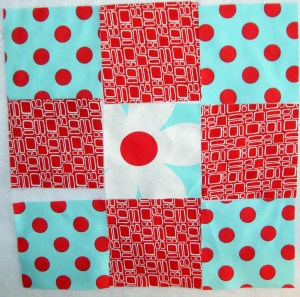
Step 11: Place sewn patches on in their spot on the design wall (or design floor or design table).
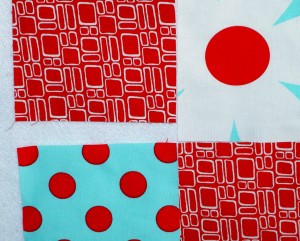
You will notice that they are quite a bit smaller (1/2″ to be exact) than your other cut pieces. No panicking is necessary. The patches are smaller because you have used 1/2″ of fabric for the seam allowance. You are on track, if your block looks like the two pictures above.
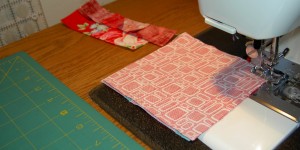
Step 12: Take the center patches (from row 1 patch B and row 2 patch E) and sew them together. Again, you will place your right sides together before you sew.
Step 13: Follow steps 3-11 for these patches and the right hand patches (row 1 patch C and row 2 patch F).
Step 14: Above we pressed towards row 1. After sewing row 1&2, patches B&E, you will press the seam allowance towards row 2. Patch E will be on top of your seam allowance.
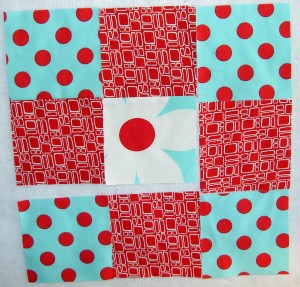
Step 15: Place your pressed patch on the Design Wall. You have used up another 1/2″ of fabric.
After you have sewed all the patches for rows 1&2 together, you will need to sew the patches for row 3.
Step 16: Sew row 3 patch G to patch D. Yes, patch D is already sewn to patch A. Don’t press yet.
Step 17: Follow the directions in Step 16 for patch H and patch I. Wait to press.
Step 18: Press patch G towards patch G.
Step 19: Press H towards patch E
Step 20: Press patch I towards patch I
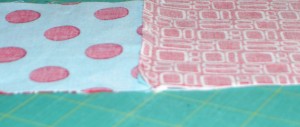
Step 21: Lay the column with patches B, E and H on top of the column with A, D, and G. Make sure that your seams look like the photo above – nested into each other, not resting on top of each other.
The reason to pay attention to pressing is that you can ‘nest’ the seams when you go to start sewing the rows. Nesting seams is when the seam allowances are pressed in opposite directions so that they rest against each other.
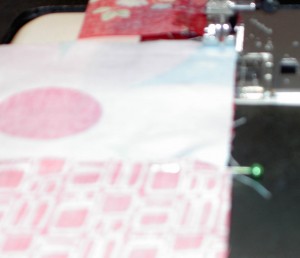
Step 22: With the column with patches B, E and H on the bottom, sew the column with A, D, and G to the column with patches B, E and H on the right side.
I did use some pins at the seam allowances.
Step 23: Set seam between the left and middle columns.
Step 24: Press seam allowance between the left and middle columns in whatever direction suits you.
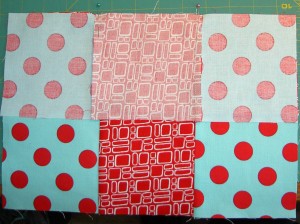
Step 25: Lay left column (with patches C, F and I) on top of the middle column.
It looks like the top row, but really is the right column. I just have it turned so the right column is on top.
Step 26: Pin at seam allowances, if desired.
Step 27: Sew left column (with patches C, F and I) to the middle column.
Step 28: Set seam between right and middle column.
Step 29: Press seam between right and middle column.

Step 30: Congratulate yourself! You have successfully completed your Nine Patch!!!
Nota bene: I may update this tutorial or make clarifications, changes as necessary