Donation Blocks

Outside of the Sisters Retreat, I have had very little time to sew. We have a lot of house stuff to do and we can only do it all on the weekends. None of it involves a sewing machine. :(.

Saturday, we had a party to attend, but I a had time between a haircut and making food for the party to sew a little. I also had almost all day on Sunday, so I got a bit of work done. It was awesome.

I worked on finishing the Ends Donation Quilt n.5, but I also worked on some donation blocks.  Since I haven’t had much time to sew I also haven’t had much time to make donation blocks. I’ll have some time before the next meeting to get a few more finished.

I made the black with the leftover black scraps from the back of the Ends n.5 Donation back. I used the greys as the alternate and I know that isn’t very popular, but it is a good way to make some other people push their own envelopes.

I think I’ll use the aqua block for part of another Spiky Stars donation quilt.

Ends Donation Quilt n.5 Finally!

Ends Donation Top n.5

I finally finished the Ends Donation Quilt n.5. It seemed to take me forever, but as I said yesterday, I haven’t had much time to sew. I spent time arranging the yardage on Saturday. I did a bit of sewing, but mostly just arranging. That helped me finish relatively quickly on Sunday.

I think the borders made this piece look better. It looks more like a picture with a frame. It is so hard to tell when one of these quilts needs a border and when no border is required.

Ends Donation n.5 back

On the back I used some leftover black yardage, some of which is black-multi. Some of these blacks had never been cut into, so it was time to use them for something. Then, I used some of the leftovers from the border.

I haven’t done a leftover batting project yet. We’ll see if I have the time. Whoever quilts it at the guild may only get a back and a top. There might be enough of the back to make a straight of grain binding.

Ends Donation Quilt n.5

Ends donation quilt n.5

This process is going painfully slowly, but I took some time during the week to sew on the last two borders. I think the addition of borders looks good for this quilt. It kind of frames the strips and makes them look like a picture.

As I have said before, I am kind of thrilled that the leavings from backs can become something useful. Yes, I added some half yards of fabric to the dark grey and black leavings. I was going to donate that fabric anyway, so it is a win overall.

I can’t believe I have done five of these quilts so far. There are probably more in my future. You can see them all:

Creative Spark #28: Give it Away

“We are often able to rise to our highest self if it is for someone else” (pg.118). This quote had a profound effect on me this week I worked very hard for the past month on a work project. In the past week, I spent every spare work moment on this project. I gave it my all. The effect was that my personal life was a bit of a mess. Two appointments snuck up on me. I paid the YM’s tuition at the last minute. I didn’t plan for a dish we needed to make for a party tomorrow.

The point of this chapter is that we go all out when we have something due for someone else. We let ourselves go. I think this has resulted in the self-care movement, which is good IMO, but also promotes the feeling of guilt in many of us.

We are, inherently, creative people. Before you even think that you are not creative, I will remind you about all of the creative ways you coerce…uh…encourage your children and pets to go outside, eat their dinner and a million other things. While you may not have picked out fabric for a new quilt, you are being creative.

Combine these creative problem solving skills with your making- your quiltmaking, knitting, whatever art or craft – and give the product away. I find yarn I like, knit a scarf and give it to my mom for the gift baskets her church makes for a local domestic violence organization. I get to knit, someone gets a gift and I don’t have a thousand scarves laying around my house.

Carrie talks about getting to yes. She points out that ‘no’ is about the parent. Extrapolating out, since I no longer have young children at home, how can we use creative problem solving to get to yes in our making? How can YOU have time for a few seams or to see a few inches of binding?

I am not going to recommend that you sit down for 15 minutes a day and just do it. That doesn’t work for me. There are too many things that people want me to do for just 15 minutes a day and none of them are sitting with my DH watching TV. ?

Figure out what works for you. Also, recognize the creativity you already employ in your life and celebrate that.

You can see the last post on this topic from a few weeks ago.

Nota bene: we are working through Carrie Bloomston’s book, The Little Spark. Buy it. Support the artist. Play along. There is much more to each spark than what I am writing. The original chapters will help you. Go buy Carrie Bloomston’s book, so you get the full benefit of her fabulousness! You can see my book review, which is what started this flight of fancy.

Color My Quilt Results

Joelle's Color My Quilt
Joelle’s Color My Quilt

Some time ago, I wrote about the shard I made for Joelle. Last Saturday I went to the guild  meeting and Joelle brought her finished quilt to the meeting.

This is a fantastic piece. I love the way Joelle pieced the shards together. Also, the colors go really well together.

Joelle's Color My Quilt
Joelle’s Color My Quilt

My shard is on the top towards the left next to the circle piece. Joelle said she cut the shards up in a lot of cases. You really have to do it to make the quilt fit together. I think mine survived intact. It is so exciting to see the quilts finished. I hope Joelle enters the quilt into a show.

End Donation Quilt n.5

Ends Donation Quilt n.5 - half borders on
Ends Donation Quilt n.5 – half borders on

I kept looking at the latest donation quilt after posting about it last time and feeling like it wasn’t completely finished. I finally decided that it needed a border.

I was kind of surprised, because the Ends n.2 quilt really didn’t need a border. I guess each quilt has its own requirements.

I have put on two of the 4 borders. It has taken me forever it seems, as I haven’t had any time to sew since I returned from Sisters. I’ll get there.

I’ve done five of these quilts so far. You can see them all:

Ends Donation Quilt n.2 Finally

Ends Donation Quilt n.2

I saw Tim at the meeting and he had finally finished quilting the Ends Donation Quilt n.2. I wrote about this quilt top last in November. I thought the quilt was done a long time ago and Tim said I had taken several photos, but I can’t remember and can’t find any posts about it after the November post.

Tim did a great job and looks really good. While we are finding another place who will take quilts made by the group, we are saving these for the San Jose mayor’s gun buyback program. Those people who bring guns will also get a quilt.

Ends n.1 quilt

Ends n.3 quilt

Ends n.4 quilt

Ends n.5 quilt

Design Wall Monday

Design Wall, July 23 2018

My design wall looks crazily turquoise and red this week. I didn’t realize how much I am in a turquoise and red mood lately. The Stepping Stones n.2 is part of that as well.

Despite the color theme, not much is happening on the design wall. For the moment it is acting as storage.

Design Wall July 2018 annotated
  1. The Lobster. I still have to finish the stitching
  2. New FOTY 2018 squares
  3. Aqua-Red Sampler blocks, most not all
  4. Half of a new donation block

I moved the Aqua-Red Sampler off the larger design wall. My goal is to put the Who Am I? piece up there an finish it. Yes, the Sampler needs to wait awhile longer. Poor baby getting supplanted again.

I’m linking up with Small Quilts and Doll Quilts, the relatively new hosting site of Design Wall Monday.

Sisters Retreat – Quilt Show

Sisters Outdoor Quilt Show 2018 -Street Closed

Saturday July 16 was the Sisters Outdoor Quilt Show. The show starts early in the morning with teams of volunteers, including the local fire department, hanging quilts from everywhere.

Oregon State Highway 20 is the main road that goes through town and that road, much to my amazement, was closed except for cross traffic in some places.

We packed the car (Julie did most of the work!) and parked near downtown at about 8:30 in the morning. This was a day for a lot of amazement. This time I was shocked and thrilled that we could find a parking place within a block of the first quilts available to look at. After that, we just wandered around looking at quilts, going where our feet took us.

Sisters Outdoor Quilt Show 2018 -Stitchin' Post
Sisters Outdoor Quilt Show 2018 -Stitchin’ Post

The Stitchin’ Post was decked out in all of its glory. The quilts on the front were just a taste of what was inside and on the side.

We couldn’t resist taking photos of ourselves in front of the display on the side of the shop.

When I said the quilts were everywhere, I meant almost everywhere. They were hanging from buildings, awnings, sides of buildings, backs of buildings. There was other art on display as well. I’ve seen a robot like that before somewhere and may have even posted it here. I am a sucker for leaded glass and these were great. I also love public clocks and think there aren’t enough of them.

Sadly I only took pictures of individual quilts not the entire displays on walls. I’ll know better if I go again. People on Instagram posted a lot of photos, so take a look at the hashtag for a better view.

Book Review: Art Quilt Maps

Art Quilt Maps: Capture a Sense of Place with Fiber Collage-A Visual GuideArt Quilt Maps: Capture a Sense of Place with Fiber Collage-A Visual Guide by Valerie S Goodwin

This is a 2013 book. I have had it for awhile, but put it in my bag a couple of weeks ago. I have been carrying it around with the intention of reading it since then, which I finally did, then began writing the review last week. I was inspired to put this book on my list after seeing my friend, Nancy‘s map quilts.

I am often skeptical of books that purport to teach art quiltmaking and improv techniques. While there are certainly things we can learn from books, I feel that the essence of learning these techniques is very hands on.

Thus, I was pleased to see the way the techniques were presented. This is not a pattern book. There are no projects included. Each technique is presented in a way that helps the reader learn a skill that will help them make their own map. From the instructions you can make your own map quilt, but your quilt will not look like Ms. Goodwin’s project. I really like the layout of this book and applaud C&T for thinking outside their normal book template.

The book begins with an introduction (pg.6-7) talking about her grandmother, learning to sew and the spark that started Goodwin on the quilt journey. I always love it when authors tell readers where they came from and how they learned to sew.

The next section, Mapping Out Ways of Working (pg.8-18) is really an extension of the introduction. This part goes into depth about what came after the initial spark. Valerie Goodwin talks about maps, why maps and other imagery captures her attention. One of the things that inspires me is that she has chosen one type of image and is working through possibility after possibility. I think this is a great way to grow as an artist as long as the type of image, in this case the map, chosen is not too limiting in scope.

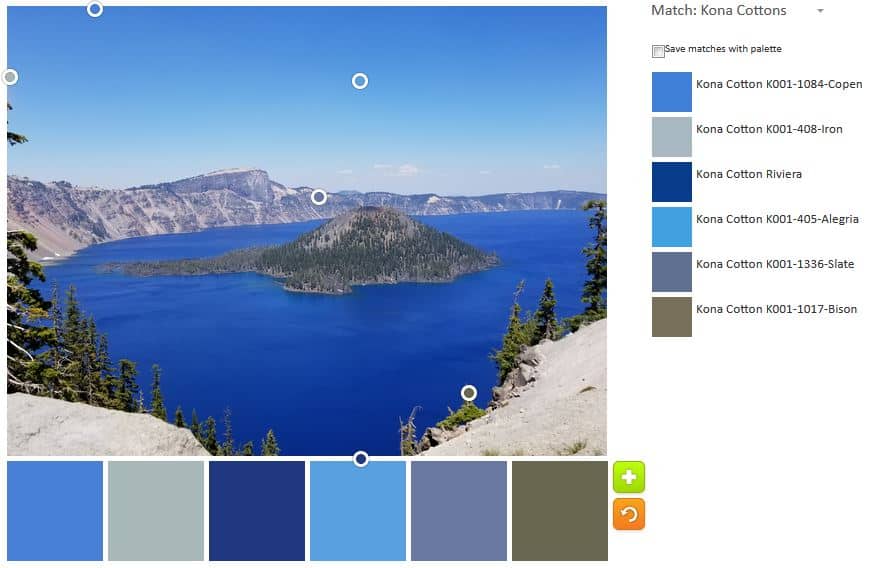
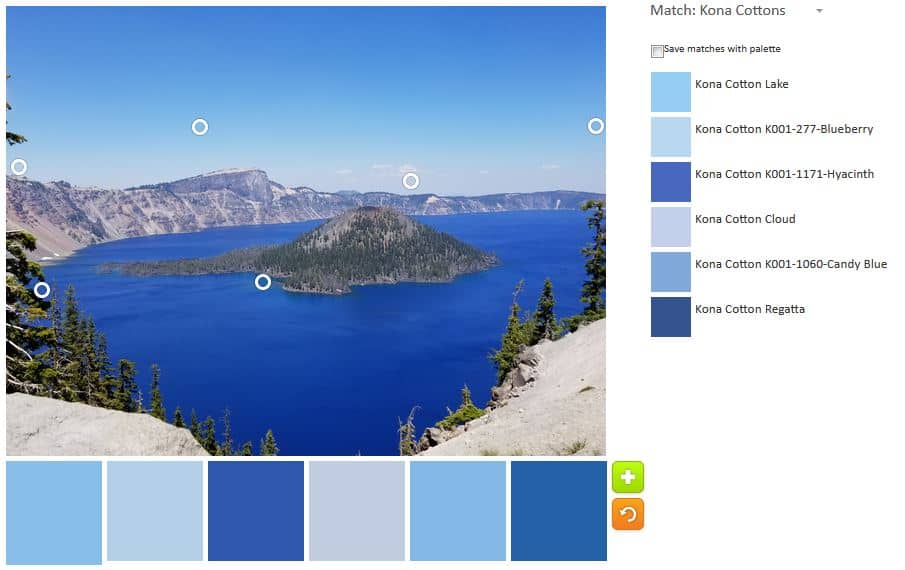
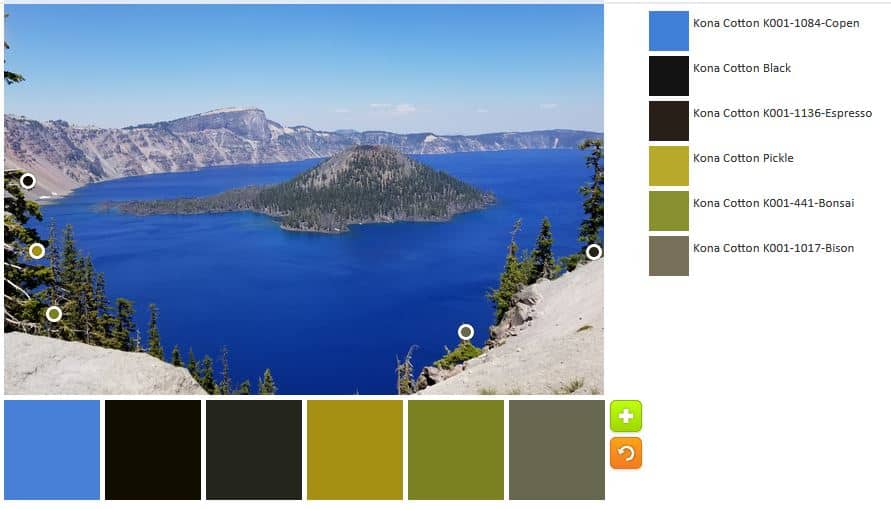
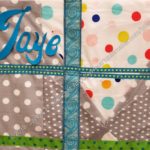
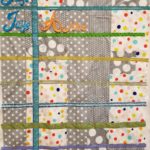
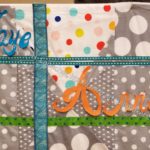
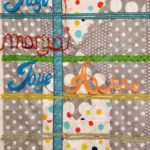
This book is lush with images. There are drawings, quilts, maps, step-outs and other types of images on every page. Not only does this give the reader an idea of the work Ms. Goodwin has done, but it also shows the variety of maps and elements that can provide scope for inspiration.

This section talks a lot about Ms. Goodwin’s process, which I love. She writes about starting with small sketches (pg.16) and how the sketches play out in the actual work (pg.15). We also get some history of maps, including a brief mention of the Nolli maps (pg.17).

I also found that this section is designed to teach how to look at things and get inspiration. I think inspiration: gathering it, putting pieces together and making something is one of the, if the, most important part of art quiltmaking, but quiltmaking in general.

Yes, there is a section on materials (pg.19-22). Fortunately, the author doesn’t go into detail about basic sewing supplies. She takes up the space with materials and supplies required for art quiltmaking, including transfer and stencil supplies, fabrics and stabilizers, painting and stamping supplies. The fabrics listed are not just the usual quilting cottons. They include crinoline, silk organza, and drapery or kimono scraps.

After the supplies, we get down to business with the background layer. In the introduction to this part, Goodwin reminds us “as you work through the exercises and examples, remember that you are building a framework to create your own unique map art ” (pg.23). Following on to this advice comes a section about different layers – opaque layer (pg.24), painted layer (pg.25) and translucent layer, etc. Each of the projects is a practice piece, which the author emphasizes. As I warned, she tells the reader generally what to do, but not exactly what to do. You will not end up an exact replica of one of the author’s quilts, but you will end up with a satisfactory layer. In each exercise, there is plenty of information to be successful. There are examples of other background layers as well.

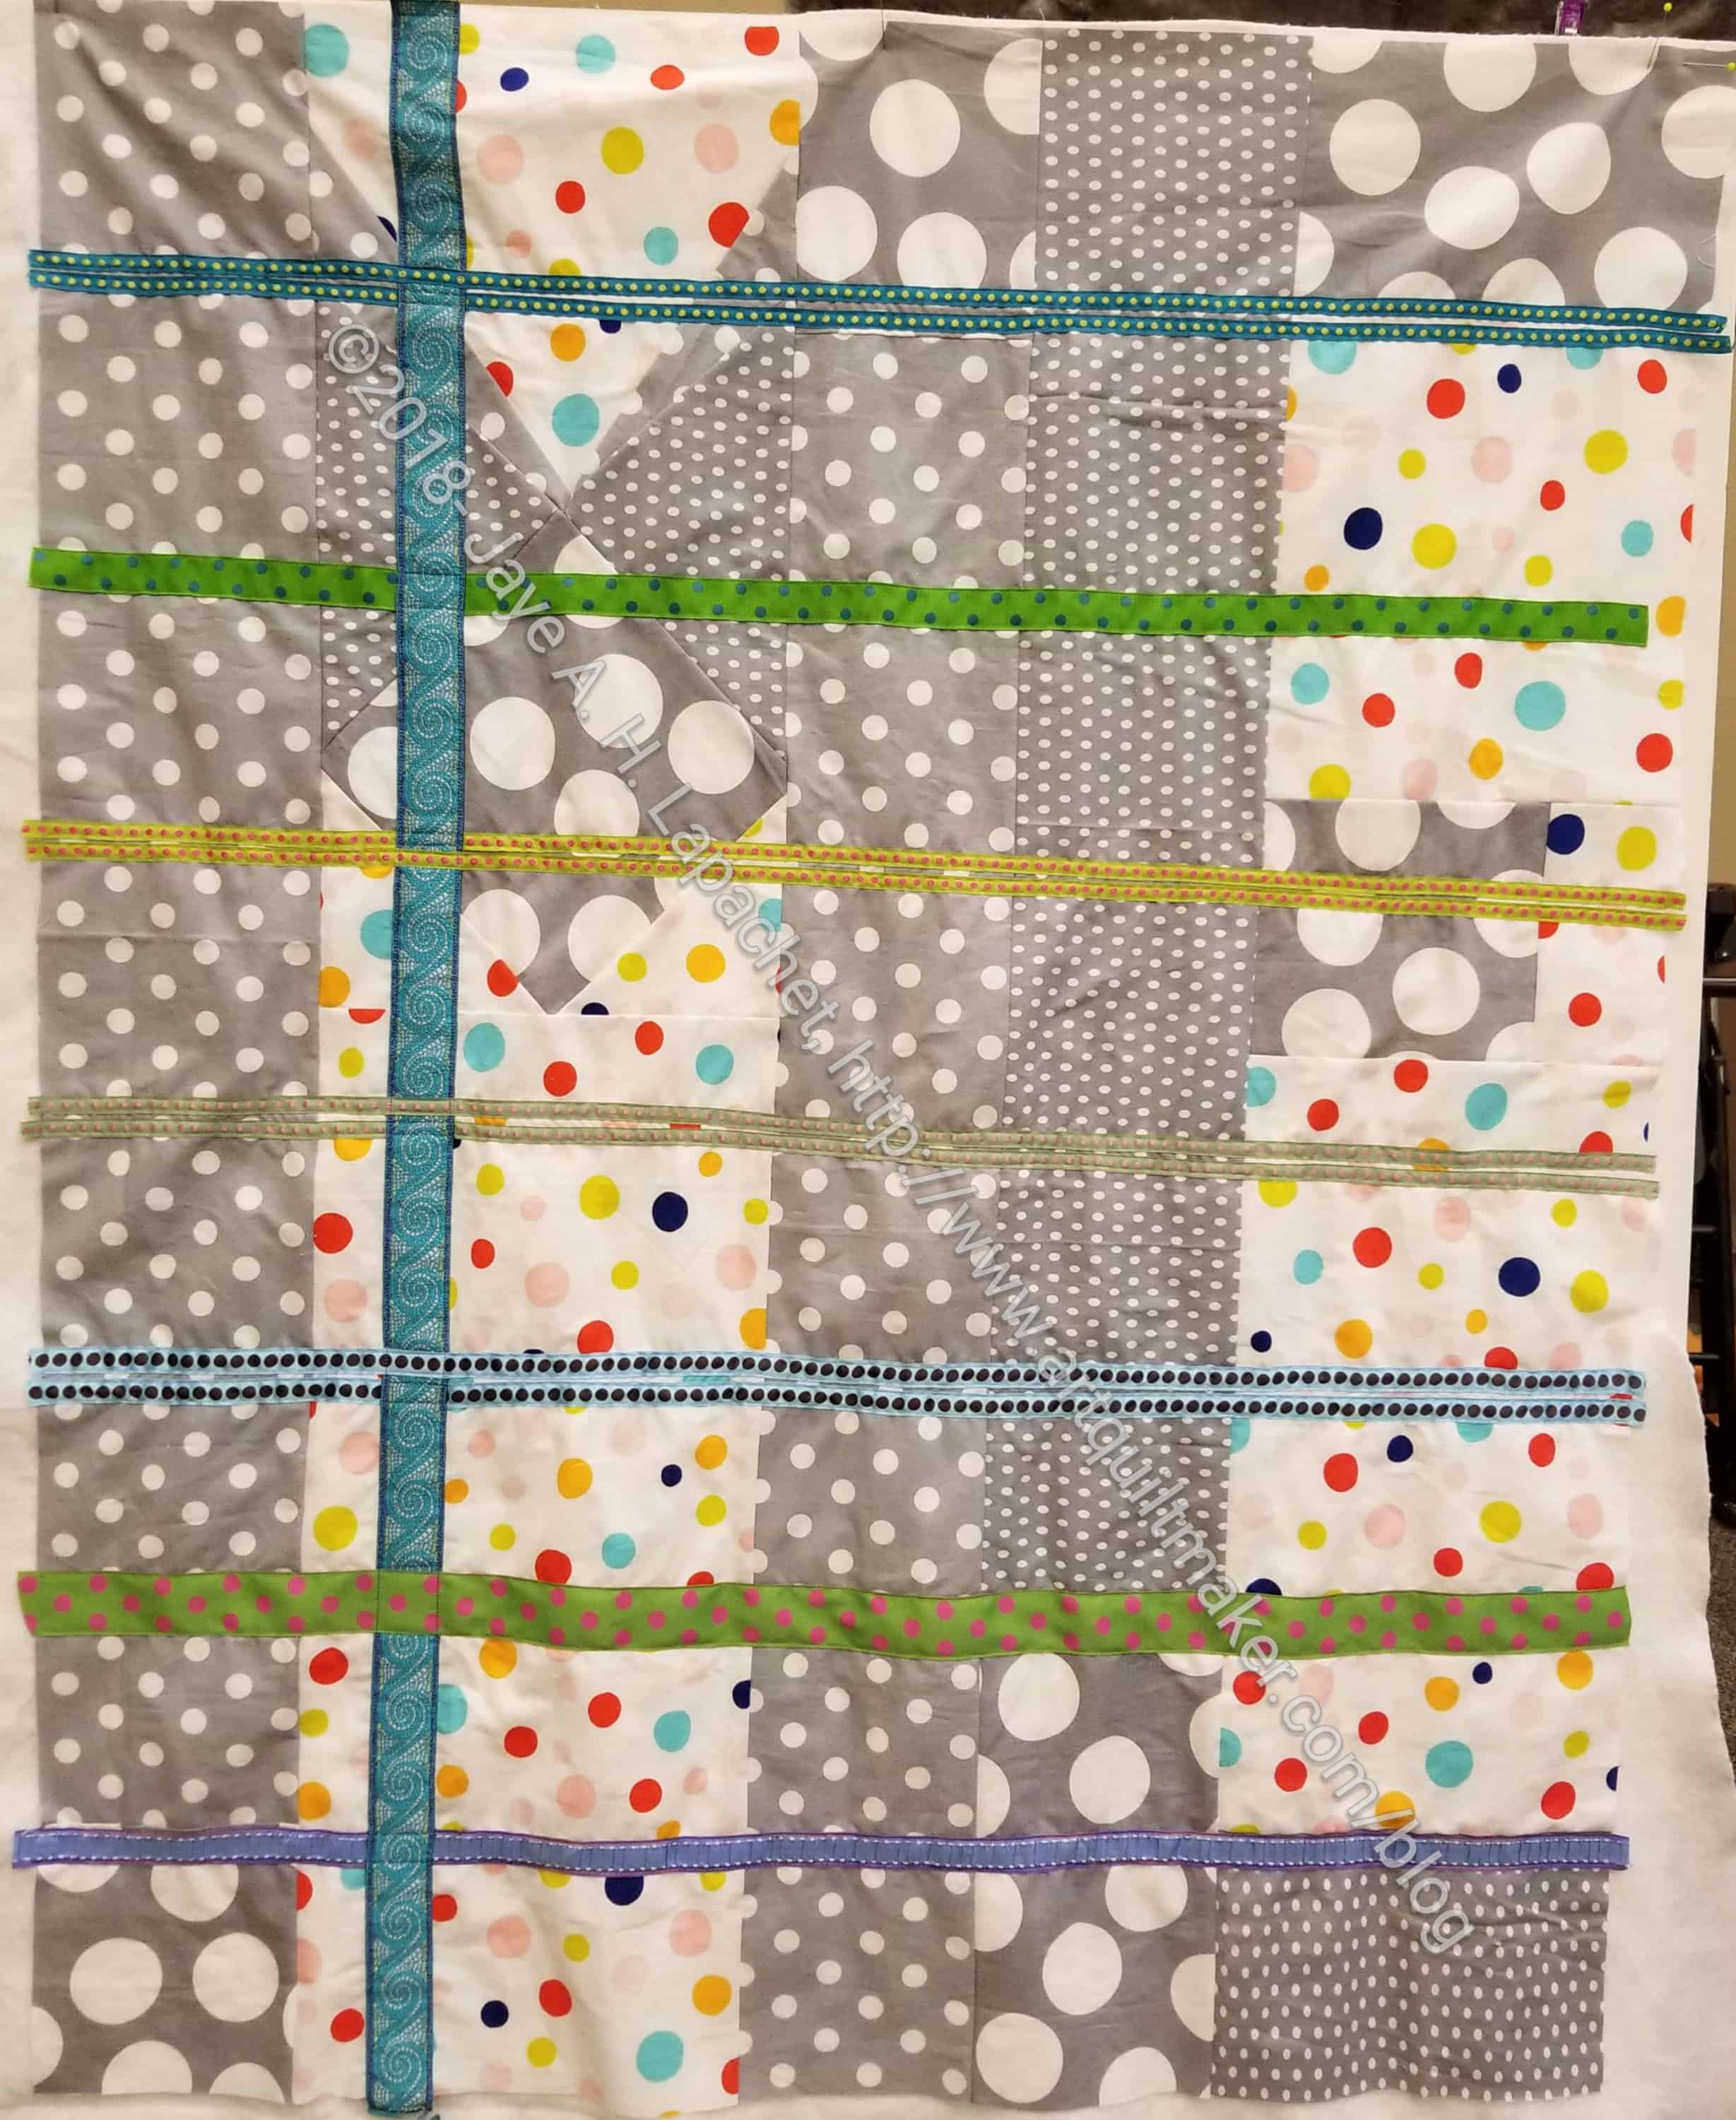
The background chapter is followed by the lines and shapes chapter (pg.28-38) – creating elements at the heart of the map. Goodwin gives examples of different kinds of lines and shapes useful for this technique (pg.30). You will be familiar with them if you have ever looked at a paper map. This is the chapter where hand and machine stitching, stamping, applique’, stenciling and other fun techniques enter the picture. I like the gallery at the end of the chapter (pg.36-38). It is a feast for the eyes and full of inspiration.

A chapter on Map haiku/visual poetry starts on page 39. In this chapter Goodwin suggests adding haiku or poetry to the piece (pg. 39). She talks about what haiku is (pg. 40), materials required and the design process (pg. 41).

Throughout the book, Goodwin reiterates lessons and techniques. While working with poetry, she writes “After you have design sketches, it’s time to start the background. Refer back to Background Music. The first or background layer is the base layer or the Earth’s surface. The subsequent layers make up the details of the map, such as roads, paths, landscaped areas, and buildings” (pg. 42). This smart because the process is reiterated over and over in context. Repetition is an excellent strategy for teaching.

The poetry chapter had more step-by-step directions, though not the kind where she tells the maker to use a certain fabric or color. She also follows the directions she gave earlier in Background Music. It is easy to move back and forth between sections to check details. I used some post-it flags to mark pages to which Goodwin often referred.

The haiku chapter also has a gallery (pg.46-48), which is such a great addition to the chapter. The pieces in the gallery illustrate the point of the chapter and provide another feast for the eyes.

Fiber Art Travel Maps starts on page 49 and is described as a reminder of a trip or a wish to visit a certain place. In this chapter, the reader follows along with making a map quilt (pg.52-56). We see many images of steps in the process and get an idea of how the process looks in detail.

The important point of the chapter is the author’s reminder that “It is important to think about what you want to express in a travel map” (pg.50), which I think is true for all art pieces. The artist doesn’t have to send a message to the viewer and can explore, for example, the interplay of colors. Be clear on what you, as an artist, want to express. Being clear about what you want to express makes a better design.

The chapter that begins on page 57 and is about mapping personal memories. The images show Valerie Goodwin’s memories, but also how she relates them to each other. Additionally, she discusses preparing them to be part of her artwork (pg.58-59). The focus of the chapter is design (hooray!) not technique (pg.58).

Valerie starts with words she and her sisters associate with the place. I like this brainstorming technique as I always formulate images in my head as I see words on a page and as I brainstorm the images start to form a cohesive shape.

This is a very personal process and the reader must extrapolate from the author’s process to create his/her own process. The process of collecting is followed by design sketches (pg.60), prep work (pg.62) and creating the background layer (pg.63). The map piece (pg.64) is discussed as is finishing (pg.65-66), but, again, not in a step by step or dogmatic manner.

The book finishes with two extensive galleries, one by the author (pg.67-81) and another by her students (pg.82-93). Both show the extensive possibilities provided by the techniques in this book. The work is extensive, varied and gorgeous. Valerie Goodwin has a definite Autumn color palette preference. While there are many black and white pieces in the student section, the works in color are very vibrant.

Buying this book, Art Quilt Maps, would be a good way to get a start in art quiltmaking.

ColorPlay: Crater Lake

Crater Lake, 2018 (original)

Someone really should try to make dresses out of the blue that is this lake. It is an unbelievable color.

ColorPlay: Crater Lake-default

Default: look! not all neutrals, though the tool couldn’t avoid neutrals completely.

ColorPlay: Crater Lake- n.1

Palette 1: monochromatic. I worked hard to make sure the blues were different. One good thing about Kona is they have a lot of shades and tones.

ColorPlay: Crater Lake- n.2

Palette 2: also monochromatic. There are so many different blues in this photo.

ColorPlay: Crater Lake- n.4

Palette 4: cools and neutrals. I was going for an all green palette, but couldn’t quite make it.

What will you make?

Sisters Retreat-Class Day Three

Wednesday – Day Three of the Rosalie Dace class

Who Am I? with grid
Who Am I? with grid

I started out the day with the ribbons applied.

Construction again. I drew out some letters and started cutting them out of fabric on fusible.

I am pretty happy with the letters. I started out with a ‘J’ I found on the web. I wanted all of the letters of my name to be beautiful. I didn’t have an entire alphabet, so I extrapolated out from that one ‘J’. I used the slant and thickness of the letters to make up the other letters. I also used the stem of the ‘J’ to make one stem of the A. I don’t know if they are beautiful, but I think they are beautiful.

I wanted some, not all, of the letters on the overall piece to be beautiful.

I started working on the letters. And also the placement. The last day was much slower than the other two days. I made good progress, but the pieces were smaller and more detailed. I worked on the placement of the Jaye and the Anne. I thought my names would be the first two lines, then I realized that I was my mother’s daughter before I was anyone else’s anything.

I used fusible, ribbon and some zig zaggy trim for the various letters. Each group of letters required at least one ‘rewrite’.

Sisters Retreat-Class Day Two

Tuesday – Day Two of the Rosalie Dace class

Who Am I? background

I got the background done pretty sharpish when I got to class Tuesday.

Yes, this is the background. It is the essence of who I am. I guess. I am not exactly sure why this is the background.

The biggest problem with art quilts is construction. To achieve the design goal, the construction can be challenging. the background you see was pretty basic piecing except for the spot where the top of the M comes together at an angle.

For the moment, I am leaving the -v- for later. Rosalie said that she couldn’t see it, so I decided not to worry about it right at the moment.

Who Am I? grid in process

The next step was to get the ‘ladder’/grid motif appliqued on. I tried strips of fabric, but eventually landed on some ribbon that I have been saving for …something. This is the something. I laid out the ribbon where I thought they should go and looked. I moved them around and looked some more.

Again construction was an issue. The first piece, a piece of thick ribbon that looked like mosaic tile, went on like a dream. The next piece, which was much thinner would not go on. It bunched up, slid around and was generally a pain. I finally put batting on the back and sewed through the ribbon, the background and the batting. This is not ideal, because I have to worry about when to put a backing on and how to quilt it all again. Still, I was in class and had to make do.

Who Am I? grid
Who Am I? grid

The grid, which is kind of like a second background, came out ok. The ribbons aren’t perfect, but they fit with my design.

I got back to my schedule and finished the ribbons by the end of day two. Next up: letters.

Sisters Retreat-Class

Sisters High School / Quilt Class Retreat Center

Monday started in bright and early with class. Julie, Kathleen and I all took the Rosalie Dace class. I signed up when Kathleen and Julie did because I was OBE. I really had no expectations.

This was a three day class with the title “Word for Word.” I brought some text fabrics and threw in some greys and a large piece of a dot print as well as some embellishments, ribbon and some fancy sewing machine feet.

This was one of the best classes I have ever taken.

Rosalie teaching
Rosalie teaching

First, we talked. Rosalie showed us slides of art that included words. There were quilts (think about the Temperance movement), graffiti, one piece that depicted the words escaping a box and many others. She talked about creating and design. The talk went on for awhile, but the most helpful thing to me for my design was when the students introduced themselves. We had to say why we were in the class in one sentence. People talked about their names as well, but I can’t remember if that was part of the question or just evolved. One fellow student talked about how she had many names – nicknames, names she called herself or wanted to be called, names others called her. She has a long and girly name, so the permutations are endless.

Who Am I? piece
Who Am I? piece

This got me to thinking about my name. My name has no nicknames. None. That made me think about my roles. Even if I have no nicknames, I have roles. I decided to use my roles as a basis for my piece.

This idea gelled into place so quickly that it was frightening. Because of the speed, i was really unsure of the whole concept. I talked with Rosalie about it and she loved the idea, so I went for it. Every staged gelled, so I just kept working.

I don’t agonize over my pieces constantly. Yes, I do agonize a bit , but in this case, I kept asking for a bit of feedback from Rosalie and moving forward.

I got the background almost done on Monday. My goal was to get the background done On Monday. I know that if I get a lot done I can continue when the class is over. I needed momentum.

I had only two more seams to go on Tuesday to finish the background.


Sisters Retreat

Packing for Sisters
Packing for Sisters

Last Saturday Friend Julie and I packed my car and headed off towards Oregon. We made a quick stop at Colleen’s to drop off three quilts, as mentioned and then settled in for a long drive.

We made stops at Granzella’s in Williams (mob scene with a great taco salad) and Dunsmuir (yummy lemonade), ending up in Klamath Falls for the night. We saw haze, but other than that we weren’t affected by the fires raging throughout California. If we had  left a day earlier, we would have been stopped at the border by a fire that jumped the freeway after a girl with firecrackers started it. DH encouraged me to drive the entire way in one one long day, but that is too much sitting in the car for both of us.

We had a good night’s sleep and set off again. After a few errands, including having to wash the car (tons of ash), we got on the road. The car wash was hilarious. It was one of those U-Wash-It type places and we wash and rinsed the car with giants wands. We decided to make a detour to Crater Lake. It was on the way and we had plenty of time.

Julie had been there before, but I hadn’t as an adult. I might have been there as a kid. I don’t remember. Being summer, the place was pretty busy. We were still able to enjoy the amazing view. AMAZING.

We spent a good hour or more as t Crater Lake then stopped at a small diner in Chemult for lunch. No amazing taco salads and kind of a flare when I asked about gluten free buns.

Stitchin' Post
Stitchin’ Post

We wanted to stop at some quilt shops on Bend, but time was short so went straight to the Stitchin’ Post to checkin for classes and get our packets. We did look around the shop, which is gorgeous!

Yes, I bought some yarn, needles and some yardage of a Philip Jacob’s print. It was getting late and we were tired. Our housemates were waiting and we still had a stop to make at the grocery store, so we left with our few purchase. We plan to go back and really inspect everything later.

Kathleen had dinner ready for the whole gang when we arrived, which was fabulous. The house is great-comfy and plenty of space. It isn’t too far from town or too far from the classes. We can walk to both. I looked forward to the week.