I bought Doug Leko’s Folded Corners Ruler** awhile ago but didn’t have a reason to use it until Saturday. I started working on the X Quilt last week. I was really struggling with the way the pattern was written. After reading a Bonnie Hunter post about Valentine’s Day where she mentioned this ruler**, I dug it out. I watched a video, started using it which resulted in the X quilt process moving along. I also felt happier.
Folded corners are often referred to as “flippy corners”. This ruler makes them easy. I was amazed to find that they sew up perfectly. I watched the Fat Quarter Shop video demo to get me started.
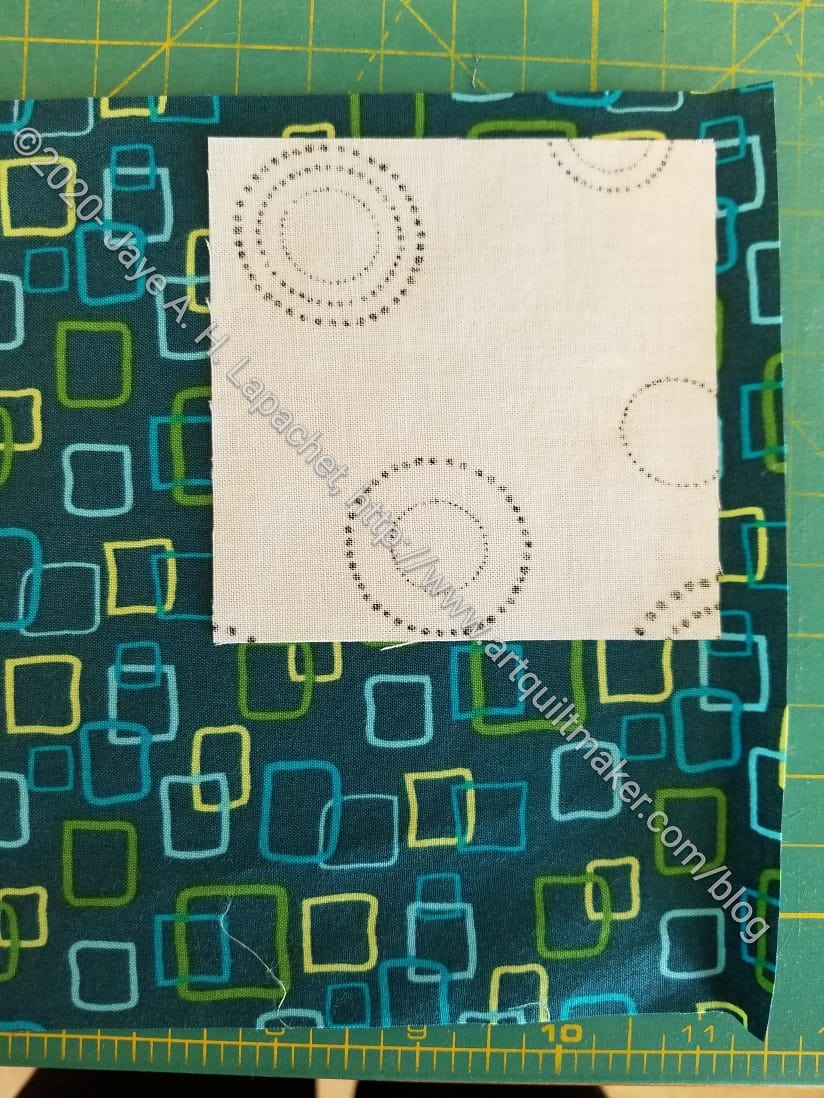
First you need the two squares indicated in your pattern. I used a 6.5 inch square and a 3.5 inch square. These sizes came straight from the pattern. These sizes were one of three pairs of sizes I needed to make the quilt. I used the same process on all the sizes and it worked perfectly regardless of size.
My smallest sizes were 3.5 inch square and 1.5 inch square (for the corner). I was concerned that the 1.5 incher would be too small, but it worked just as well as the others. N.B. I did have to make sure that the small pieces did not get caught in my machine, but it was made easier because there were no dog ears. Doug Leko does have a mini version of the ruler** I mentioned, but I don’t have it and didn’t’ investigate the differences. I also noticed that Creative Grids has a ruler that purports to do the same thing**.
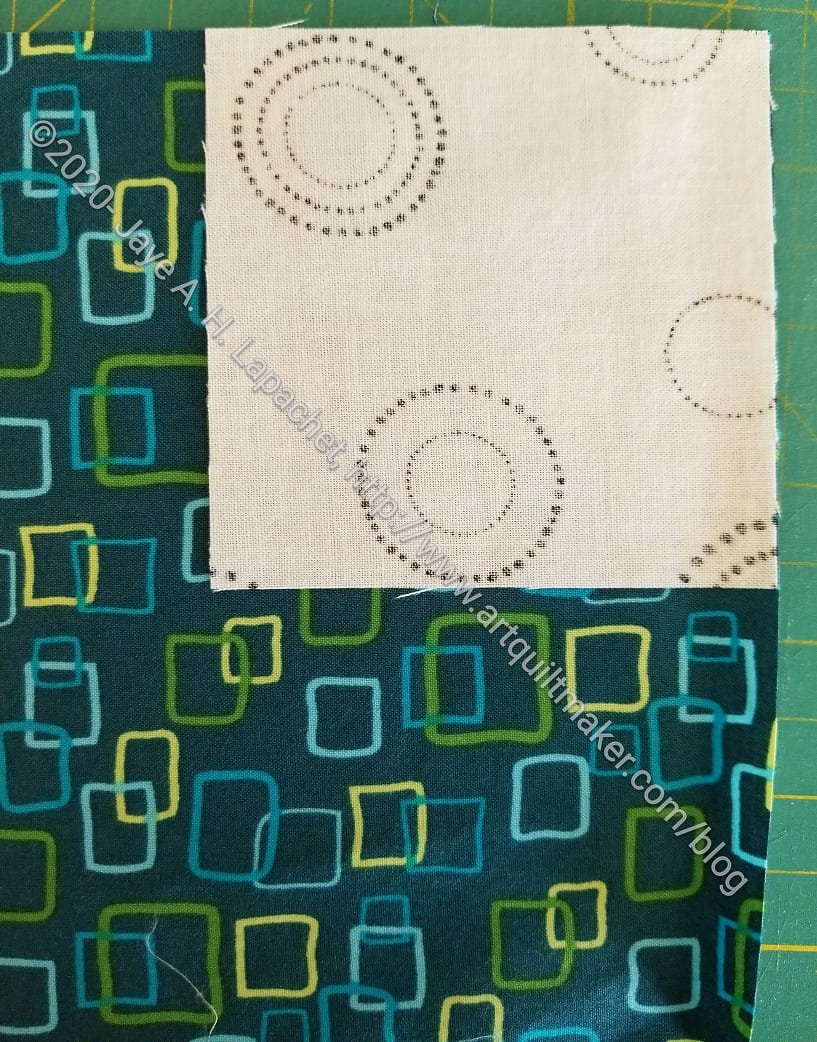
Make sure right sides are together. Line up your squares so the corners are straight. You do not want to see the bottom square on the top or right when the pieces are lined up.
The above step requires fairly accurate cutting. By that I mean your square should be square.
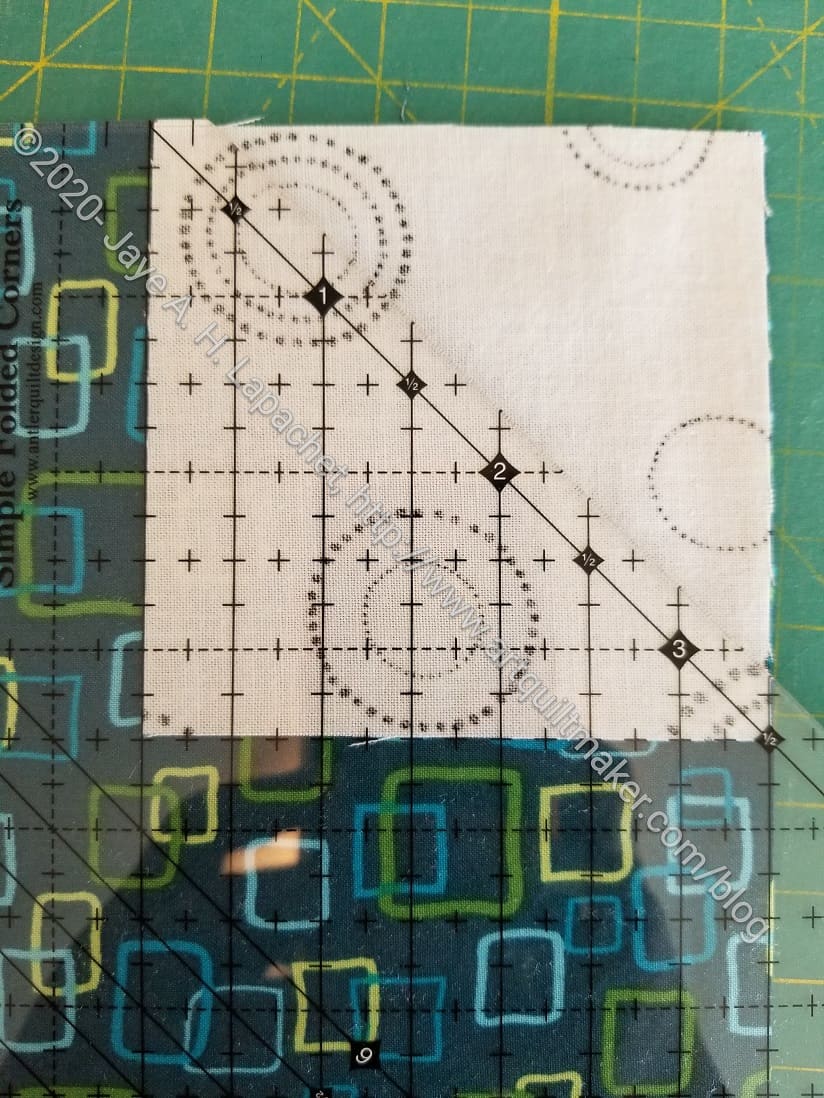
Place the ruler** on the two squares. Line up the solid line on the left and the XX line on the bottom with your top square.
When you line up the ruler, there is a solid line on the left. It is the first solid line on the left and connects with the diagonal line. This is the line you place on the left side of the smaller square. The diagonal line should be corner to corner.
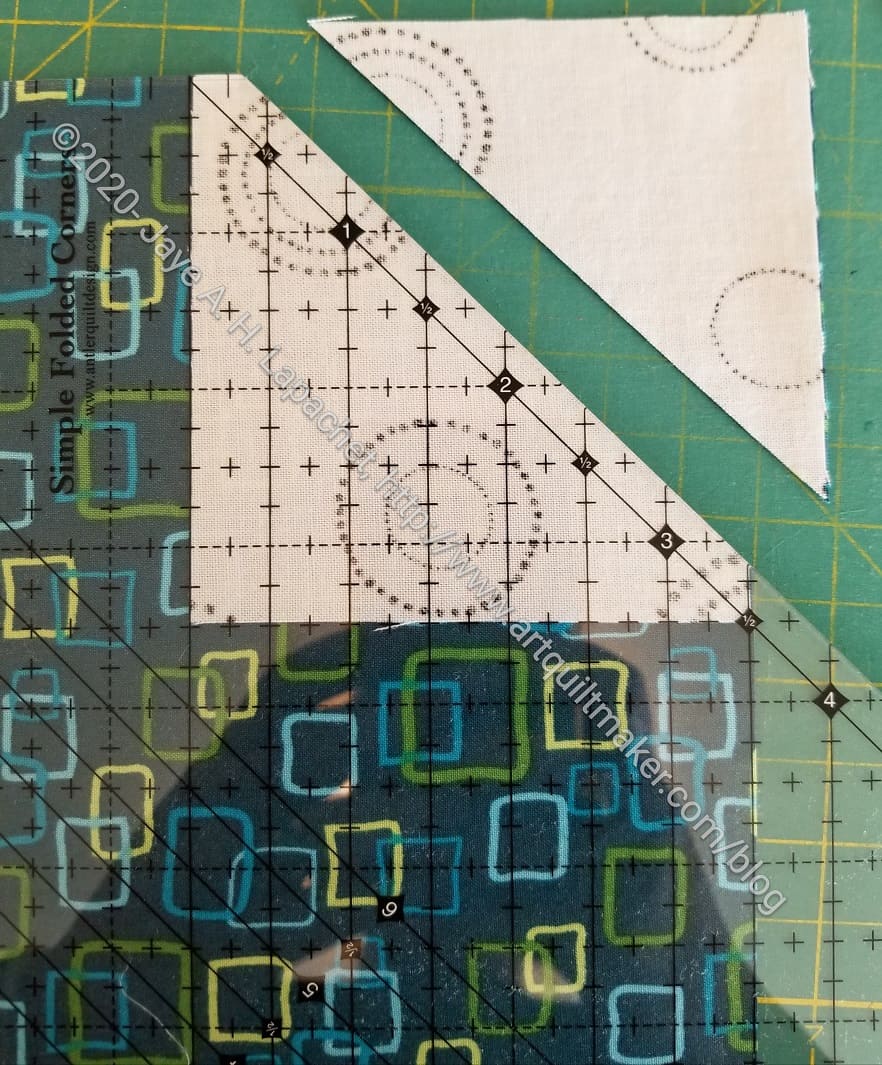
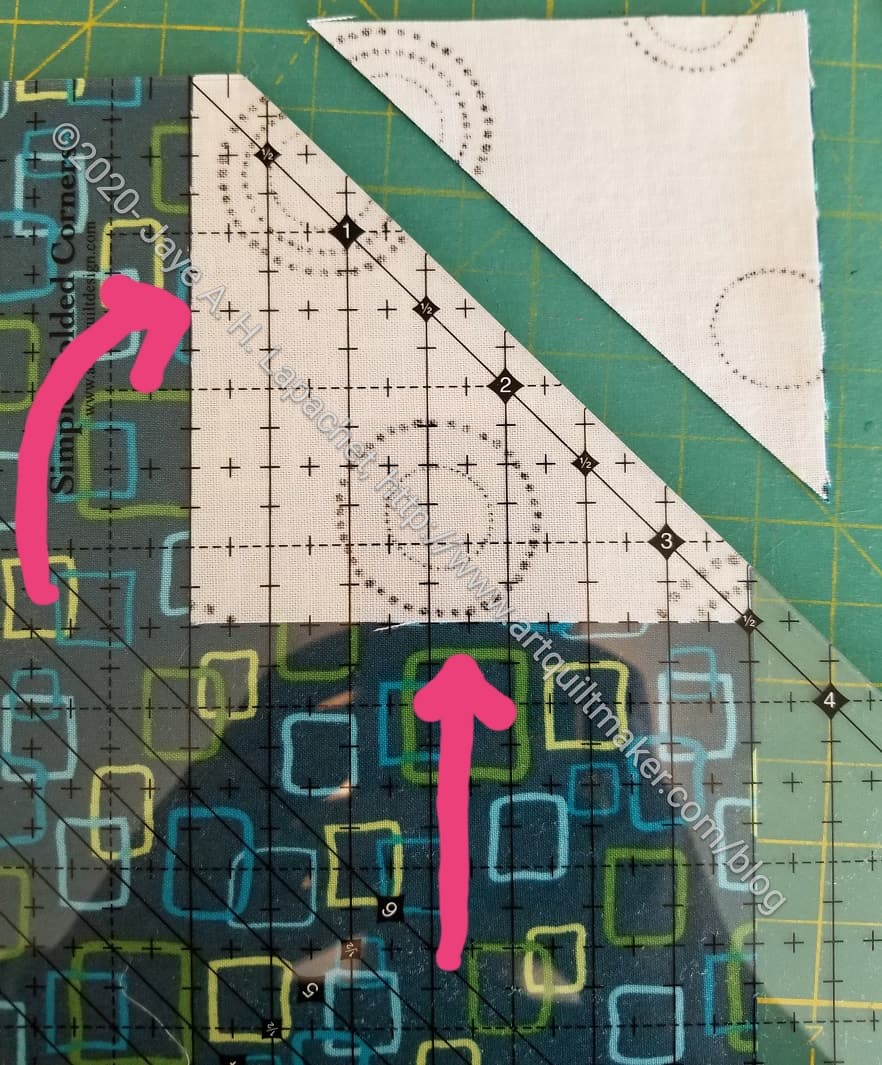
Cut on the diagonal. The ruler includes the diagonal seam allowance. This is a great feature of the ruler so you don’t have to guess where to sew like you do when drawing a diagonal line. Also! No drawing of diagonal lines. I have a lot of corners to add for the X quilt so this is a bonus. It saves me a little time.

I like to pin, then I sewed along the diagonal.
Press.
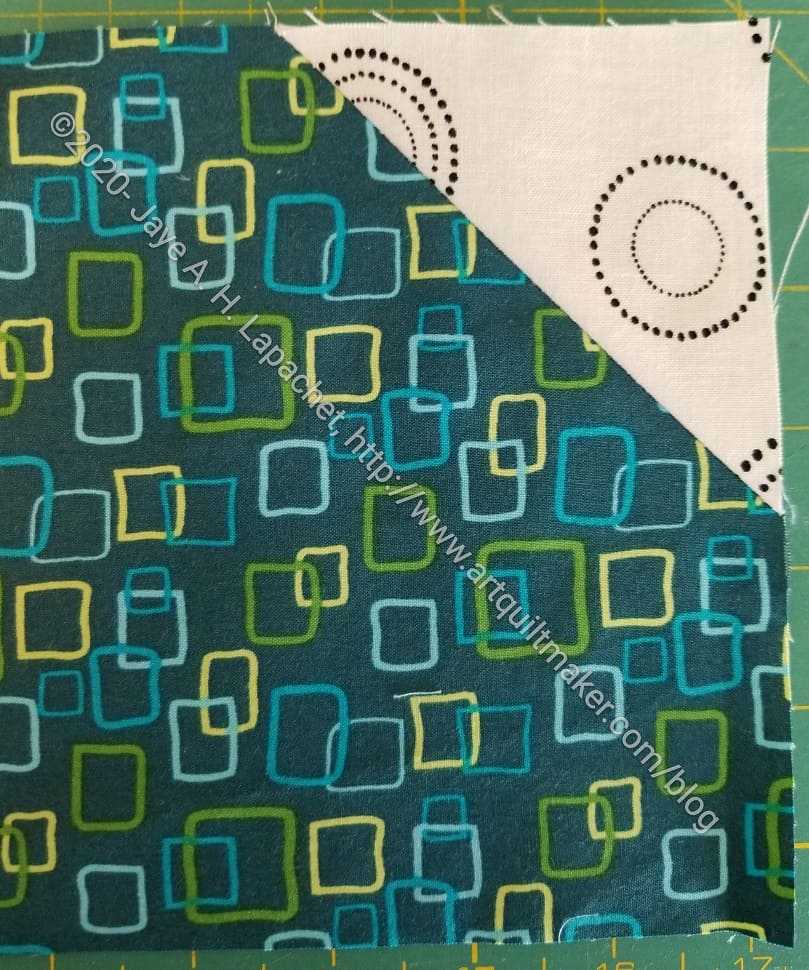
Perfect! You might think that I picked the most perfect one, but I didn’t. First, I didn’t know what was going to happen when I started taking photos for the tutorial. With very few exceptions all the corners came out lined up perfectly. Where they didn’t (1 or 2 only), I think it was because I didn’t press the fabric properly or didn’t cut accurately.
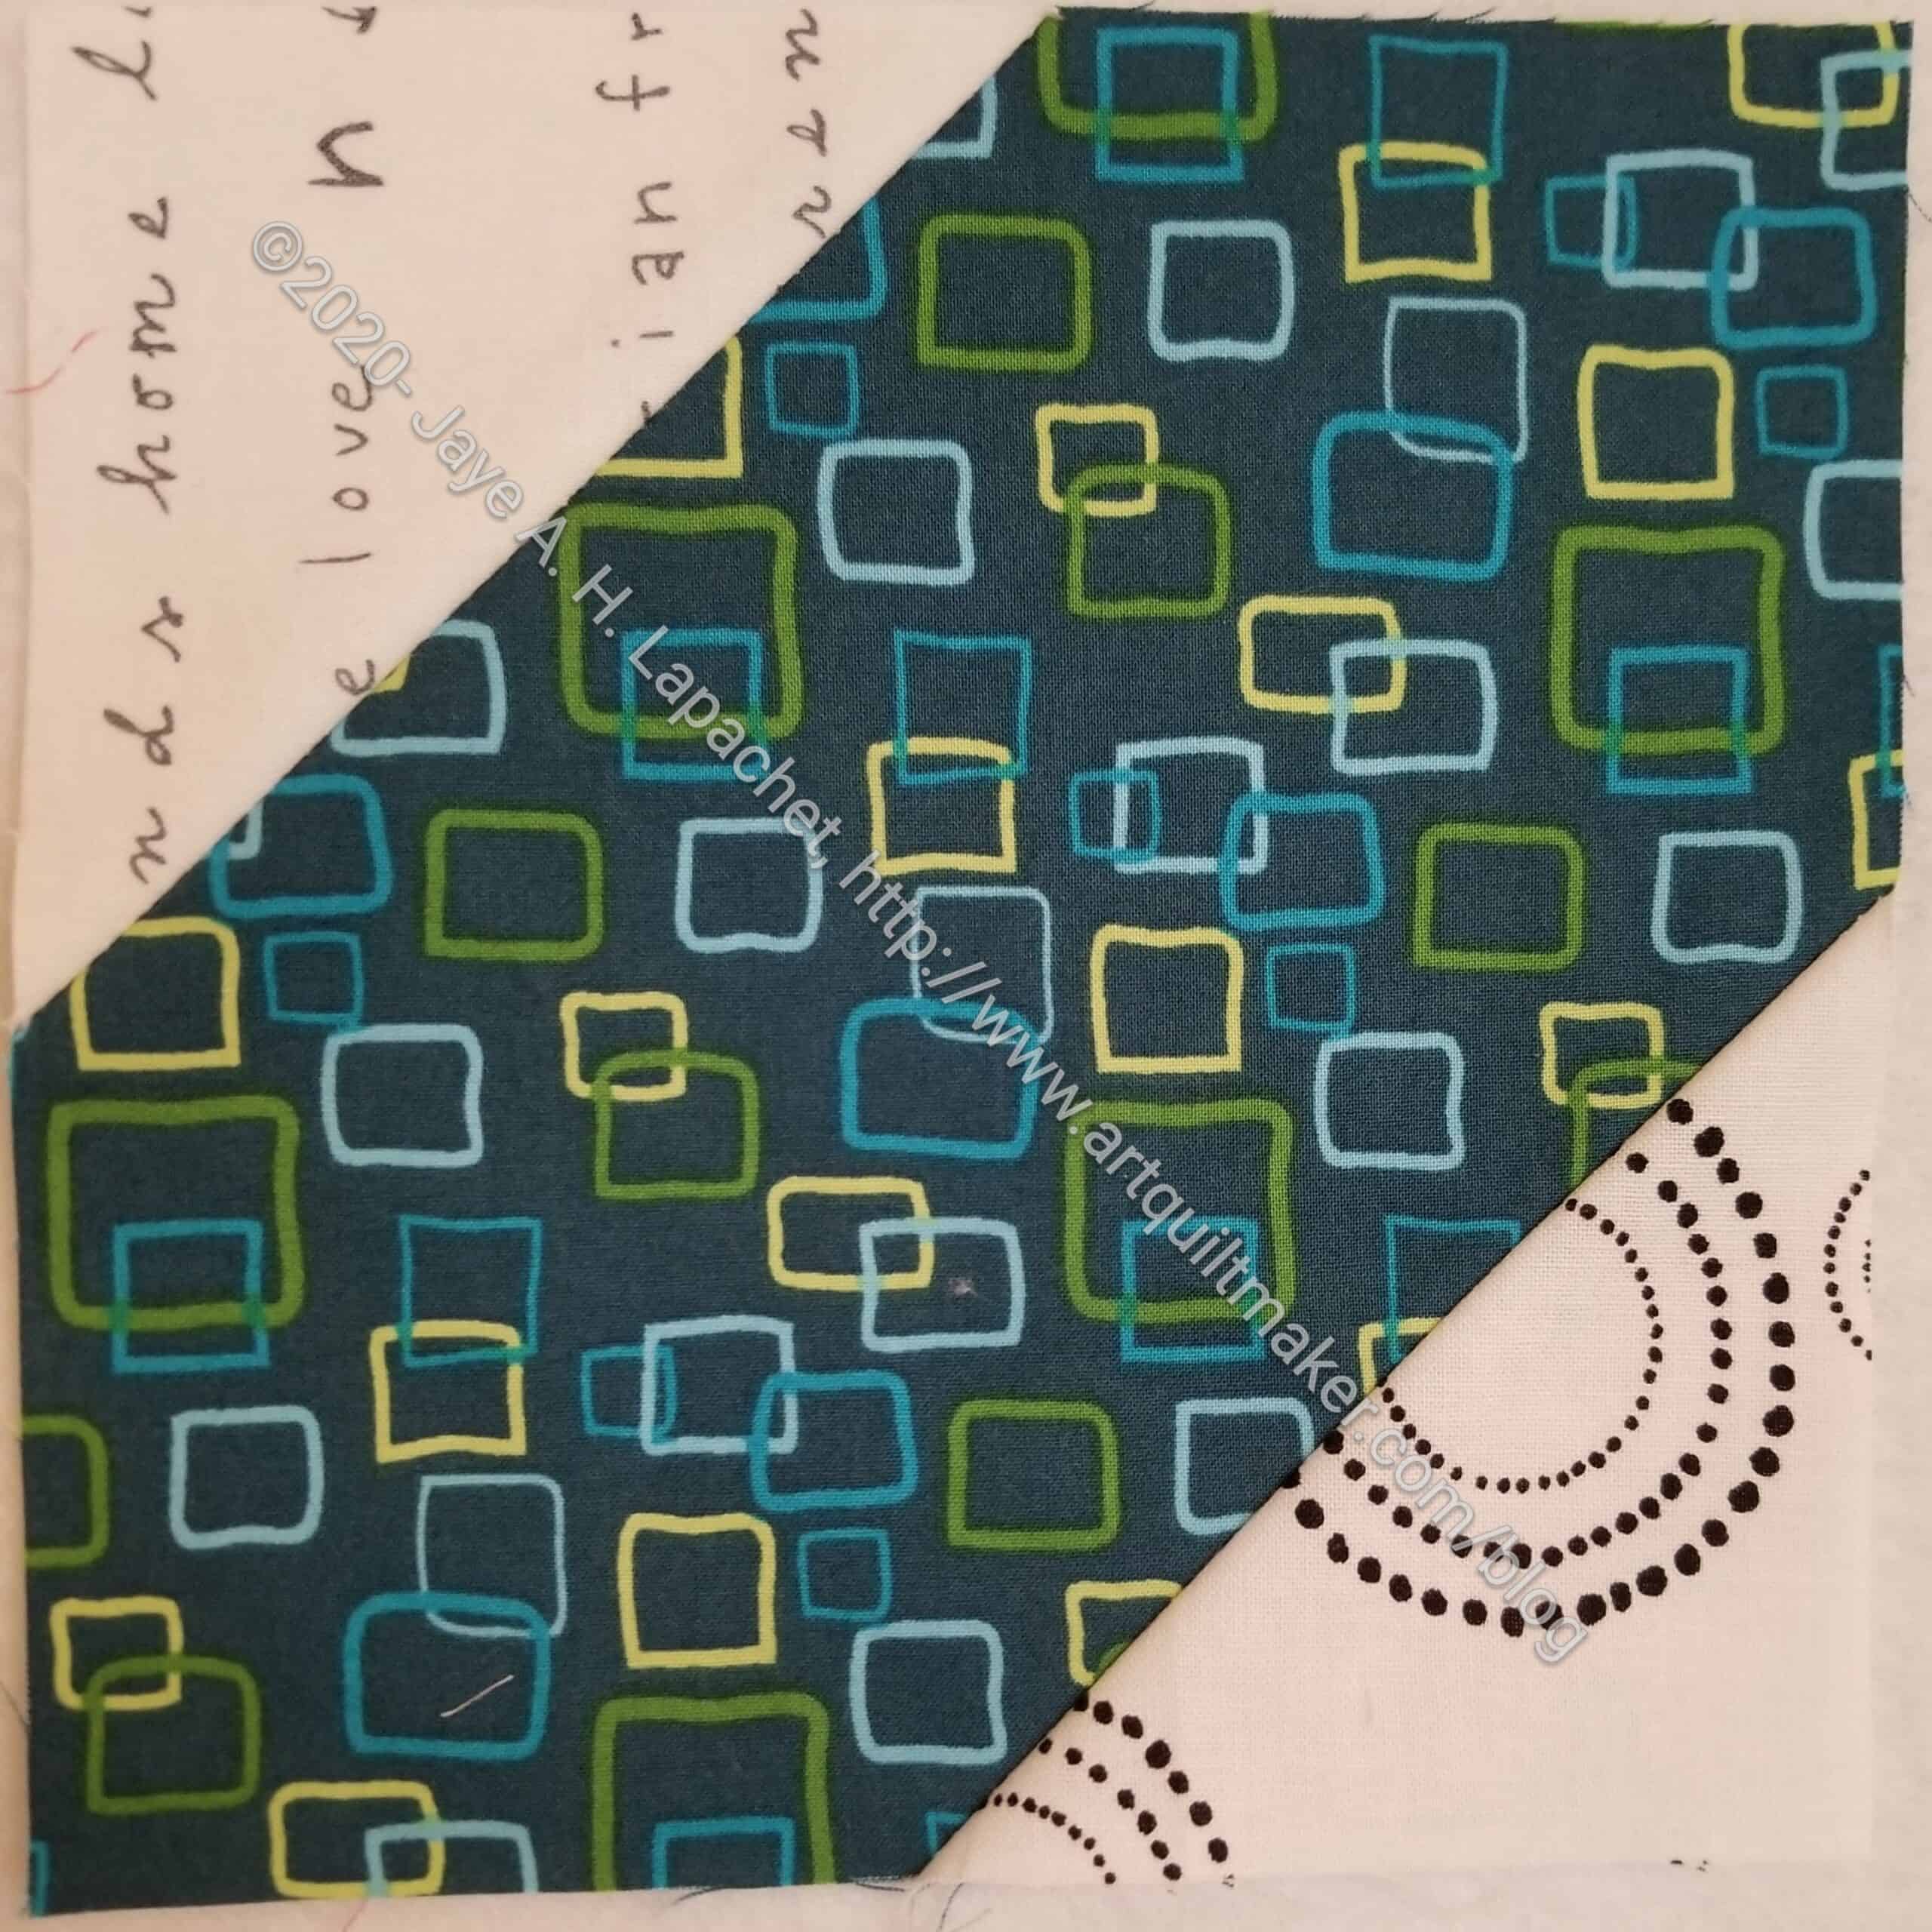
The whole block came out really well, too.
I love the idea of specialty rulers. I often buy them with hope and don’t take the time to learn to use them. Or they turn out to be not as promised- not as helpful, hard to use, etc. This ruler works really well. I am super pleased not to have to draw 2 zillion diagonal lines!
**I use affiliate links and may be paid for your purchase of an item
when you click on an item link in my post. There is no additional cost
to you for clicking or purchasing items I recommend. I appreciate your
clicks and purchases as it helps support this blog.