This is more of a product review than a tutorial. I’ll talk about the ruler and give you some resources and tips.
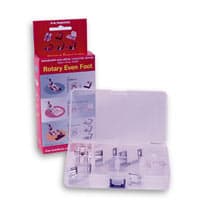
I started this post when the HuRTy 1** was a new-ish tool. The designer, Latifah Saafir has now released two more HuRTys: 2 and 3. All three HuRTys help quiltmakers cut and sew Half Rectangle Triangles (HRTs). I received HuRTy 1 as a gift from Friend Julie! On a whim, I bought HuRTY 2 and 3 myself.
You may know that Latifah is the creator of the Clammy series of rulers** that help make curved designs. You might remember the class I took from her and the quilt I made using the Clammies, as well as the relatively recent Orange Peel Circle tutorial. Latifah is talented and her rulers work really well!
Remember, I did a series of posts on tools for making HRTs? Take a look at those to get an idea of the various tools available for making this great shape. I use the Split Rects** ruler, mostly. I am always open to new tools and I had high hopes for the HuRTy 1 ruler** when I received it. I have to admit I struggled using it at first. The only way I got more comfortable was to cut a million HRT pieces for the Triumphant quilt. I admit that I cut a lot wrong as I got used to the ruler. Make sure you have plenty of fabric. You can plan to use the mis-cuts for a donation quilt.
Latifah, the designer of the ruler, has a YouTube channel. On it she has some good video tutorials, which SueS talked about when she wrote for this space recently. I tried using the ruler without watching the video and it didn’t work for me. This has nothing to do with the ruler or the instructions. As I have said before, it has everything to do with the way I learn. Also, specialty rulers can be challenging, so videos are great learning tools.
One of the things about HRTs is that you have to be able to make both HRT A & B blocks, if you want to make a piece like my Spiky 16 Patch. This means a lot of flipping and turning of the ruler. Different HRT ruler designers accomplish this in different ways.
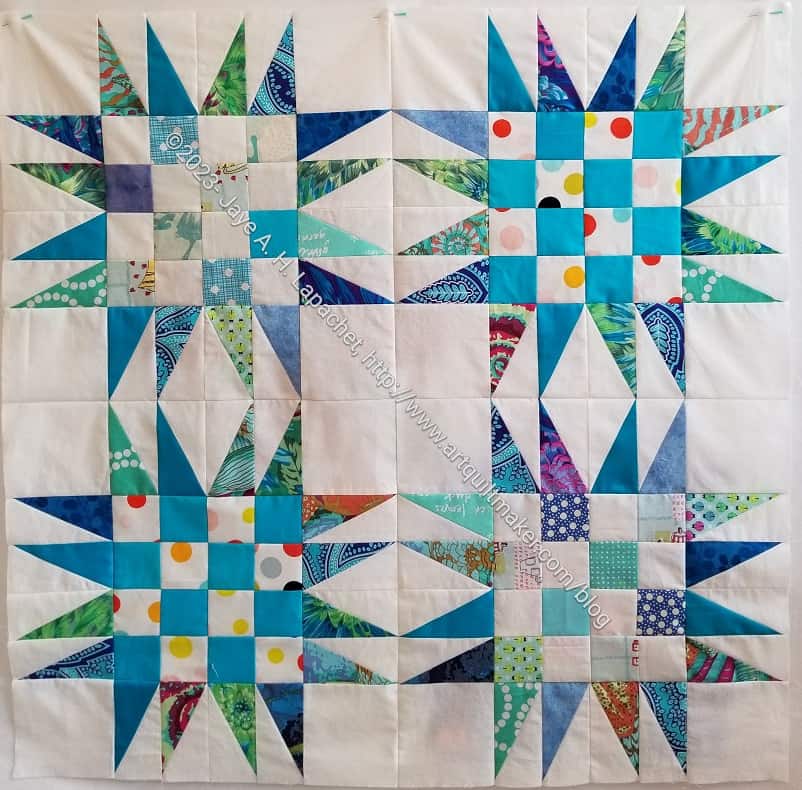
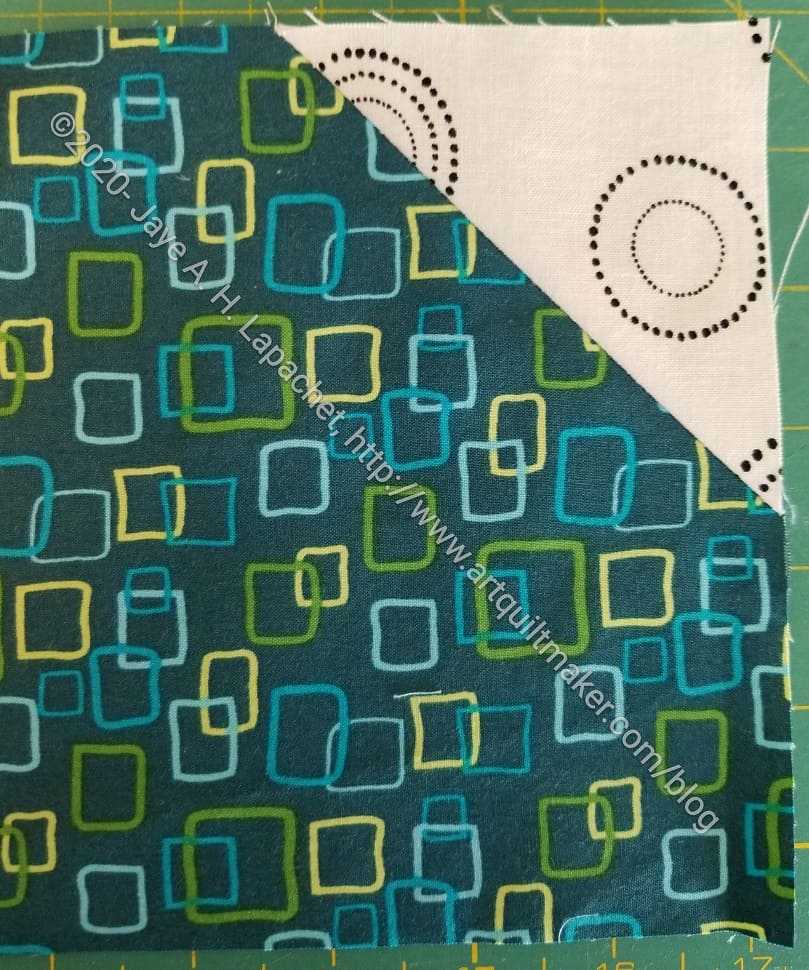
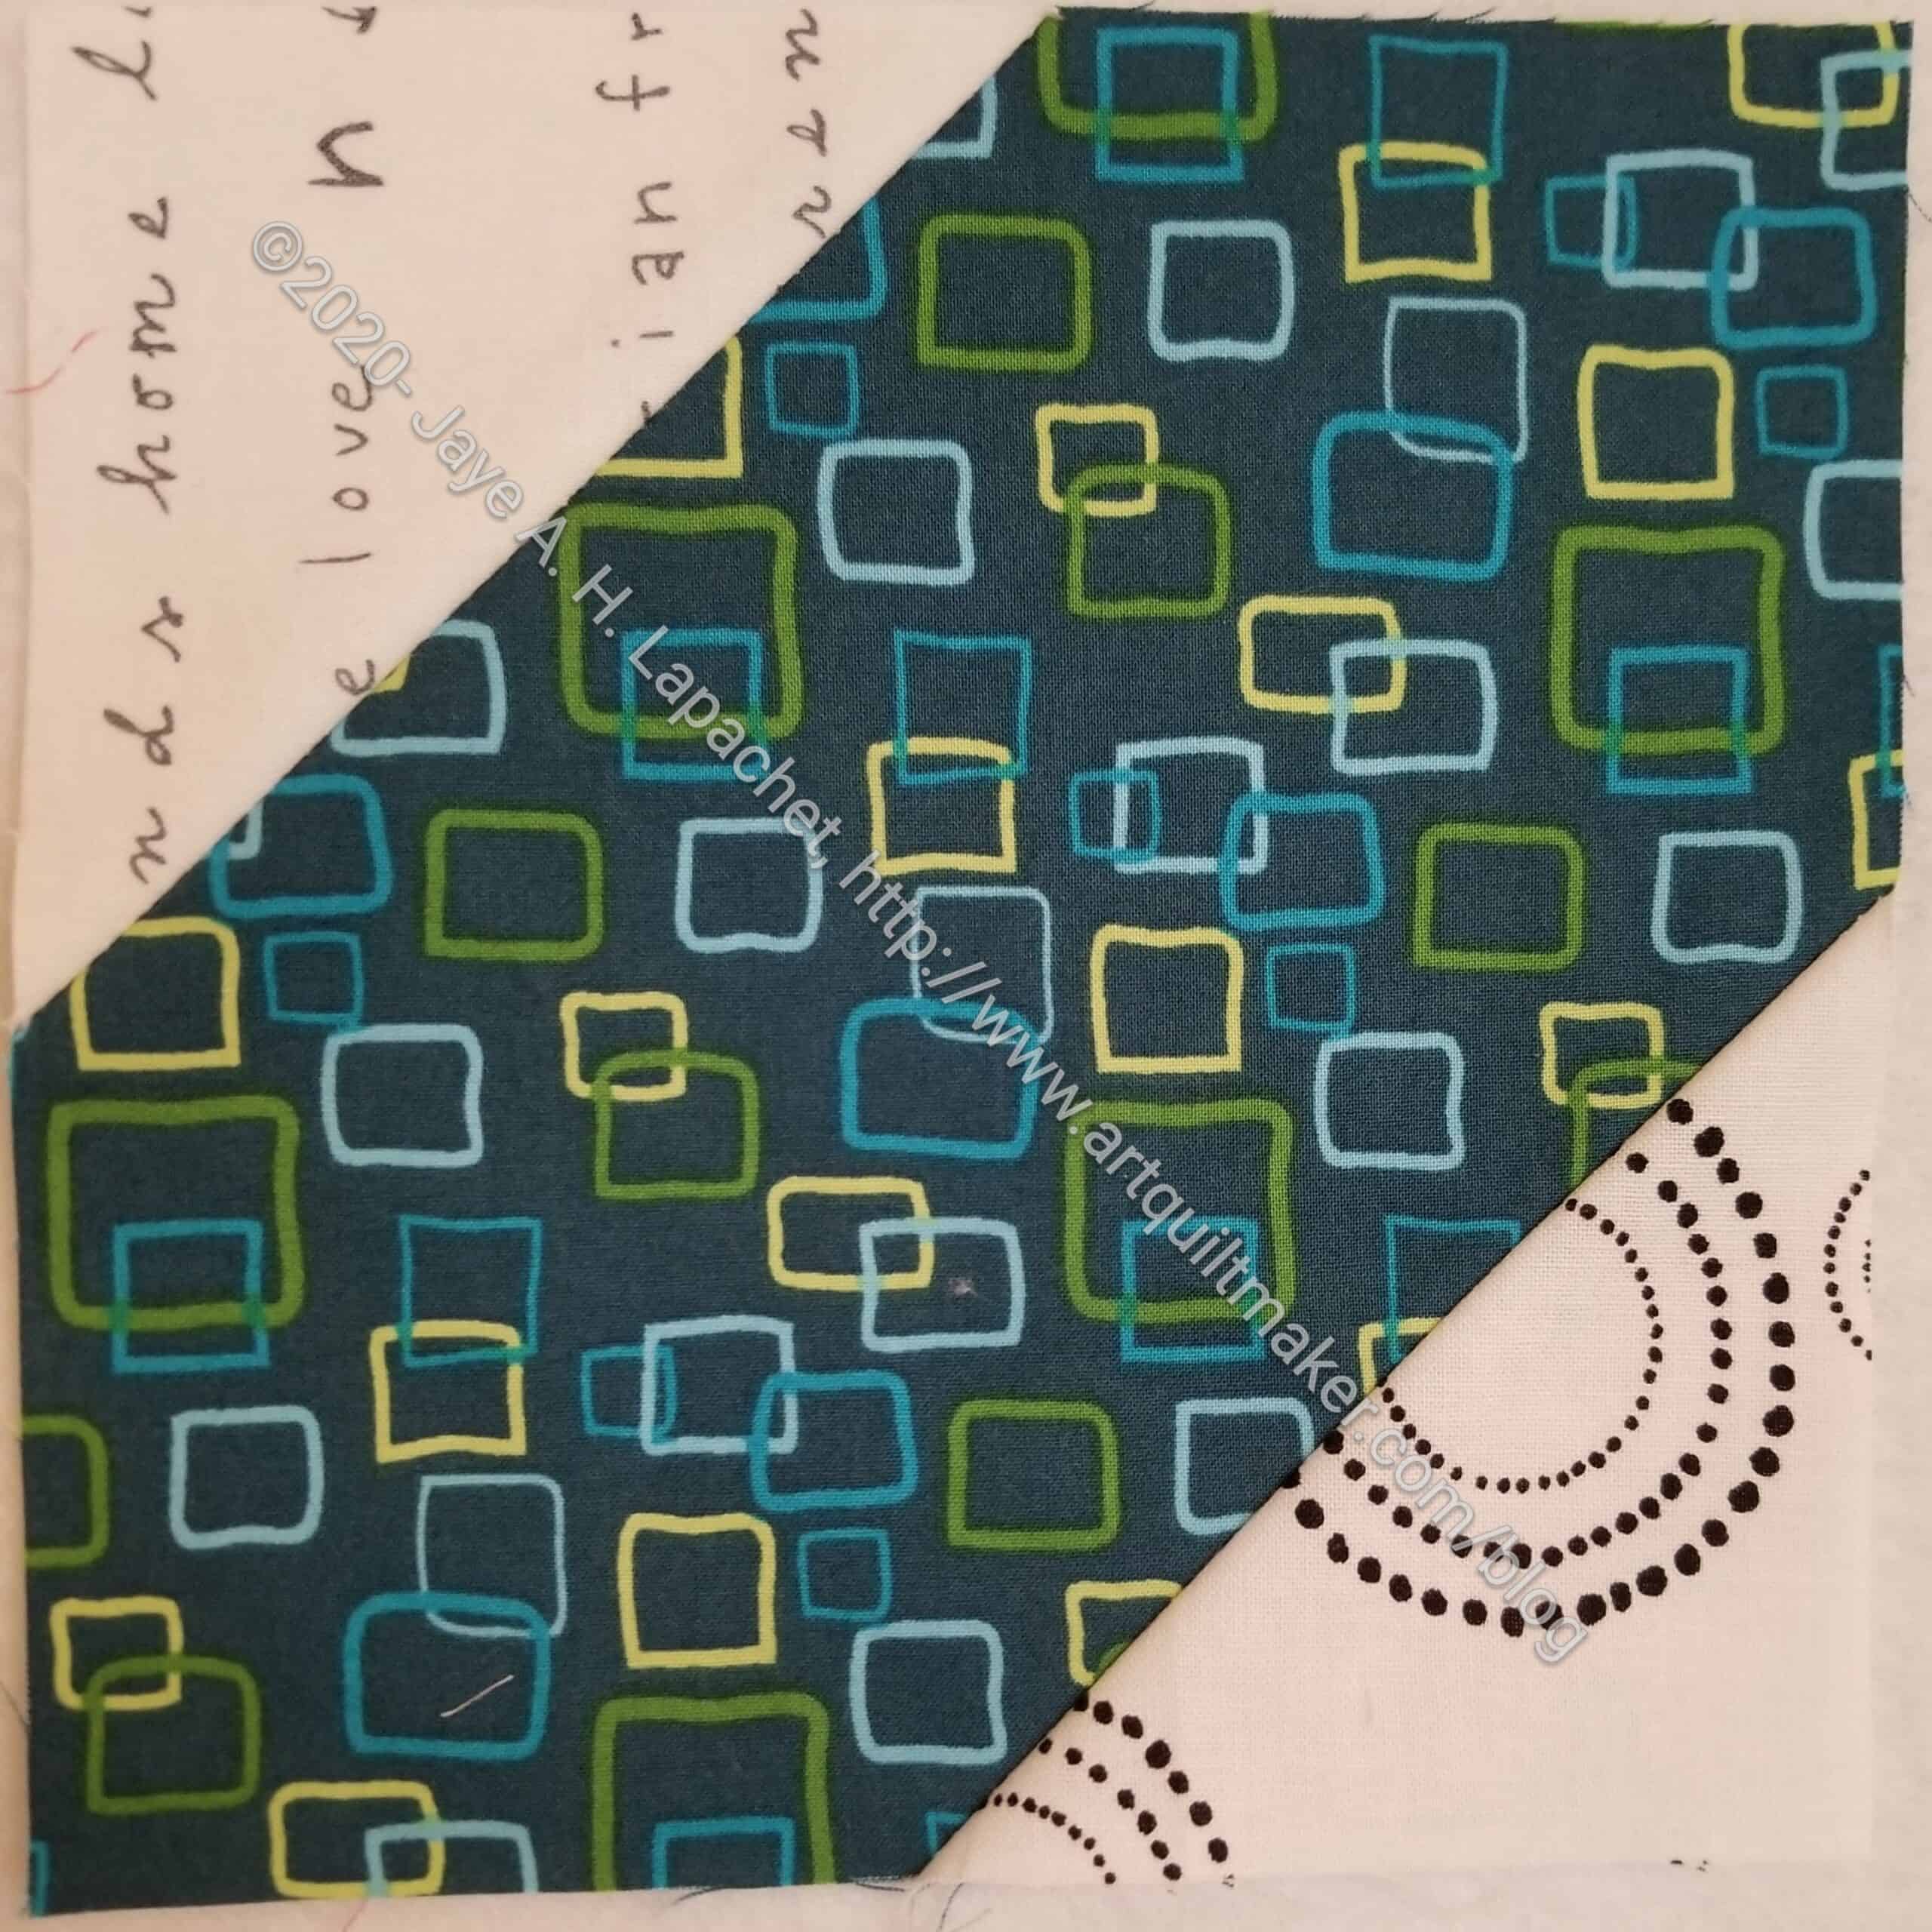
The first HuRTy video shows viewers how to use The HuRTy™ to cut both A & B HRT pieces. Amazingly, Latifah includes left handed cutting! These HRTs are the normal ones that I was able to cut using the SplitRects rulers.You can see the A and B pieces in this Spiky 16 Patch quilt. They face each other in the top center with the fat part of the triangle pointing in different directions. In this design the middle HRTs are touching.
My first efforts with HuRTy ruler, before using the Triumphant instructions, didn’t seem right. The pieces just seemed too small, then I realized I would have to trim them anyway, so I think most of them would work on my test project. I think trimming is a good thing with HRTs. There is so much bias that, in my opinion, it is the best method for making sure the patches are the right size.

Part of the issue is knowing what size to cut the strips or pieces at the beginning. The Split Rects ruler** by Studio 180 Designs has that information printed on the ruler, which is super helpful. The Triumphant pattern had a whole section about cutting strips, which are later subcut into HRTs. The strip info does not seem to be printed on the HuRTy rulers.

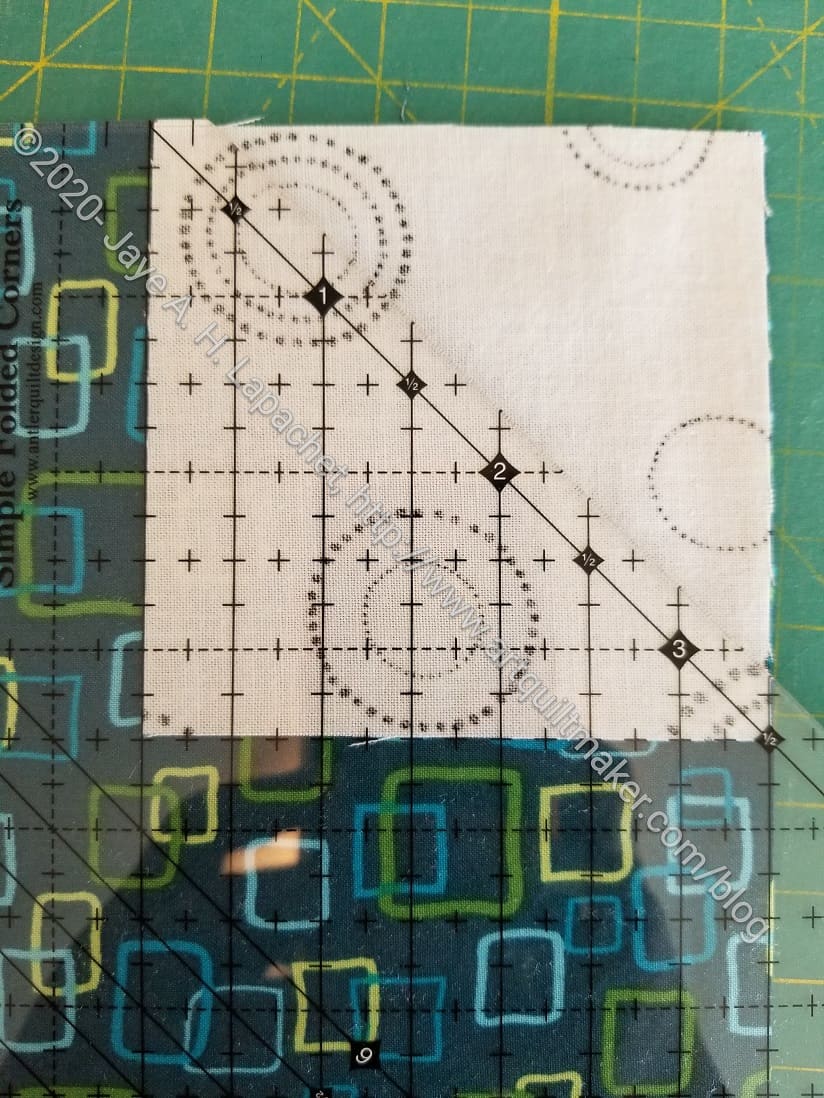
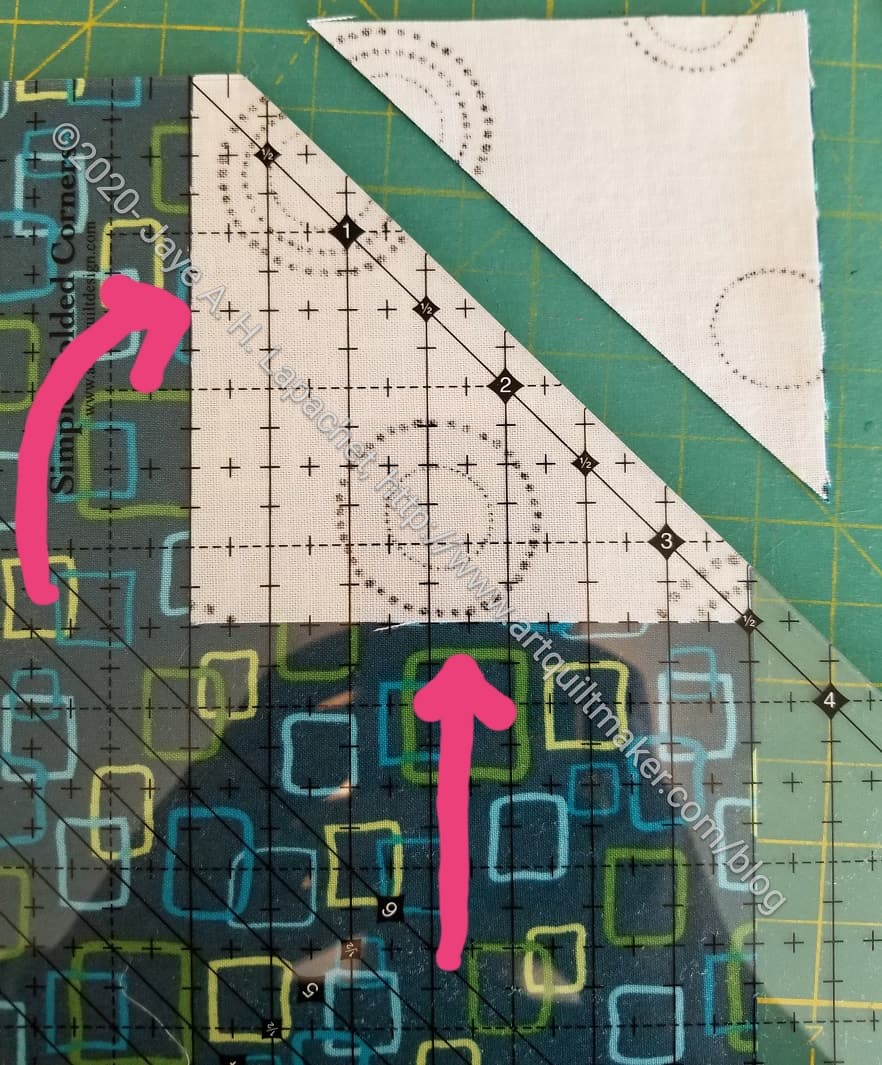
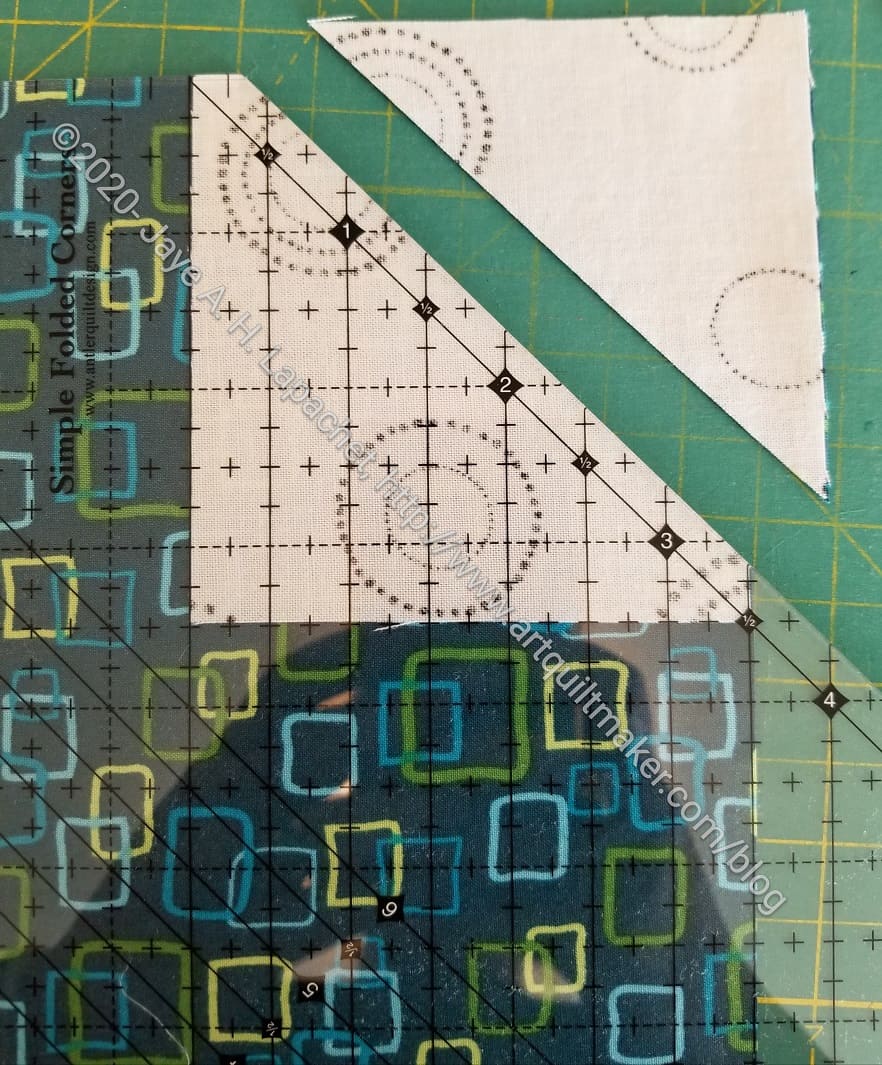
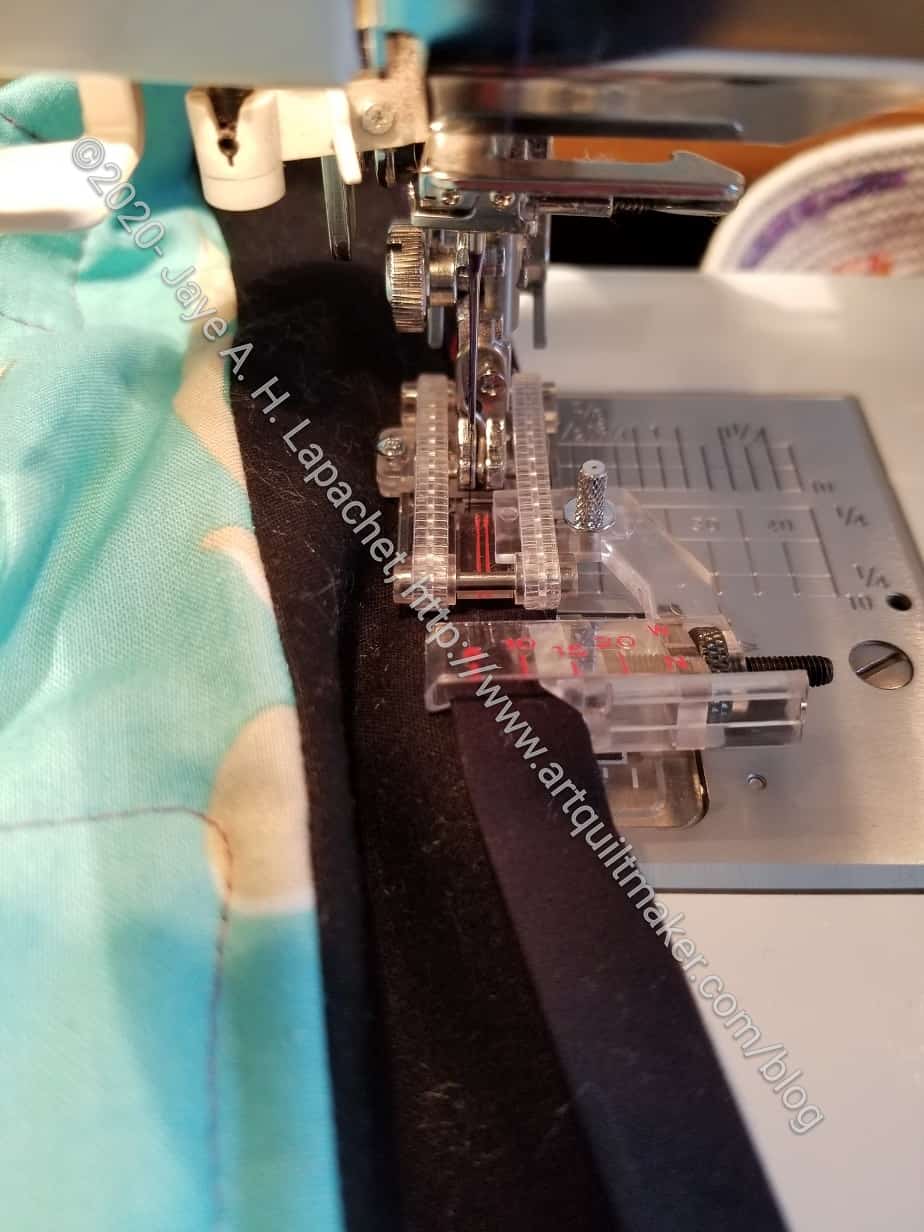
You use both sides of this ruler. For the HRT A, the side called ‘A Start’ is up. For the HRT B pieces, the ‘B Start’ side is up. In the photo you can see that the ‘A Start’ is upside down. In the photo, I am trimming an already made HRT.
This is a little challenging, because you would have to put True Grips**, or similar, on both sides. I often put True Grips on specialty rulers so they stay in place. With the HuRTys, I have to pay careful attention.
I am curious about how to design a quilt using the HuRTy(s). Though I love specialty rulers, one thing I don’t like is if you have follow a pattern in order to use them.
In general, I will try new rulers. Often I buy specialty rulers with the intention of trying them and never do or get derailed. I was glad I signed up for the Triumphant quilt as it really is helping me to learn about using the HuRTy(s). It would be great to have a ‘ruler library’ where people can check out rulers in order to try them out.
Other Resources and Previous Posts
- Deb Tucker tutorial on using the Split Rects ruler
- Bias Rectangles Resources
- Latifah Saafir Studios
- More Bias Rectangle Resources
- Friend Julie has some posts about her Slopes quilt, which uses Half Rectangle Triangles. She used the HuRTy ruler, partially, to make them for a Color Collective project. You might want to take a look at her blog.
- SueS Talks HuRTy 1
- Tutorial on using the Split Recs Ruler
**N.B: Obviously, you should shop at local quilt shops and small businesses. However, if you are too busy or can’t find what you need there, I use Amazon affiliate links and may be paid for your purchase of an item when you click on an item’s link in my post. There is no additional cost to you for clicking or purchasing items I recommend. I appreciate your clicks and purchases as it helps support this blog.