
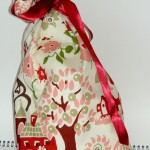

Once again, I am posting a gift bag tutorial to encourage you to forego paper wrapping and wrap your gifts in reusable gift bags. As a reminder, if you do not celebrate Christmas or another gift giving winter holiday, you can still make gift bags for birthdays, graduations, weddings and for giving quilts to people. You can make them using the tutorial below. You can make them using your own tutorial. You can use the In Color Order drawstring bag pattern or you can buy reusable fabric gift bags.
Supplies:
- Fabric – I use either a half yard, a yard or a fat quarter. If you use a yard you can make 4 smallish bags, two medium bags or one large bag. You can make bags with any size piece of fabric and you can use the directions to make a specially sized bag for a special gift. Also, check out FabMo, if you are local, and get some super special fabric that makes up gorgeous gift bags.
- thread
- ribbon or cord or use your imagination (braided yarn?)
- Sewing machine
- basic sewing kit
For this tutorial, we will use a fat quarter of fabric
1. If your fat quarter does not have a selvedge, create a hem using two folds so there are no raw edges. If your fat quarter has a selvedge, use the selvedge for the top. It won’t unravel. If you are using the selvedge and not making a hem, skip to step 4.
2. (If you need a hem) Press hem in place.
3. Sew hem with a decorative stitch, if you have it, a zigzag or straight stitch work fine as well.
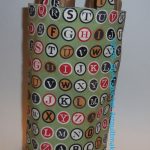
Optional: If you have stitch letters on your sewing machine, stitch your name and the year so you know when you made the bag.
4. Fold hemmed bag in half WRONG SIDES TOGETHER so that half of the hem is underneath itself towards the top and the fold is on the left. You will be making a French seam.
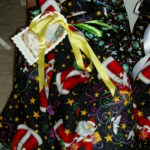
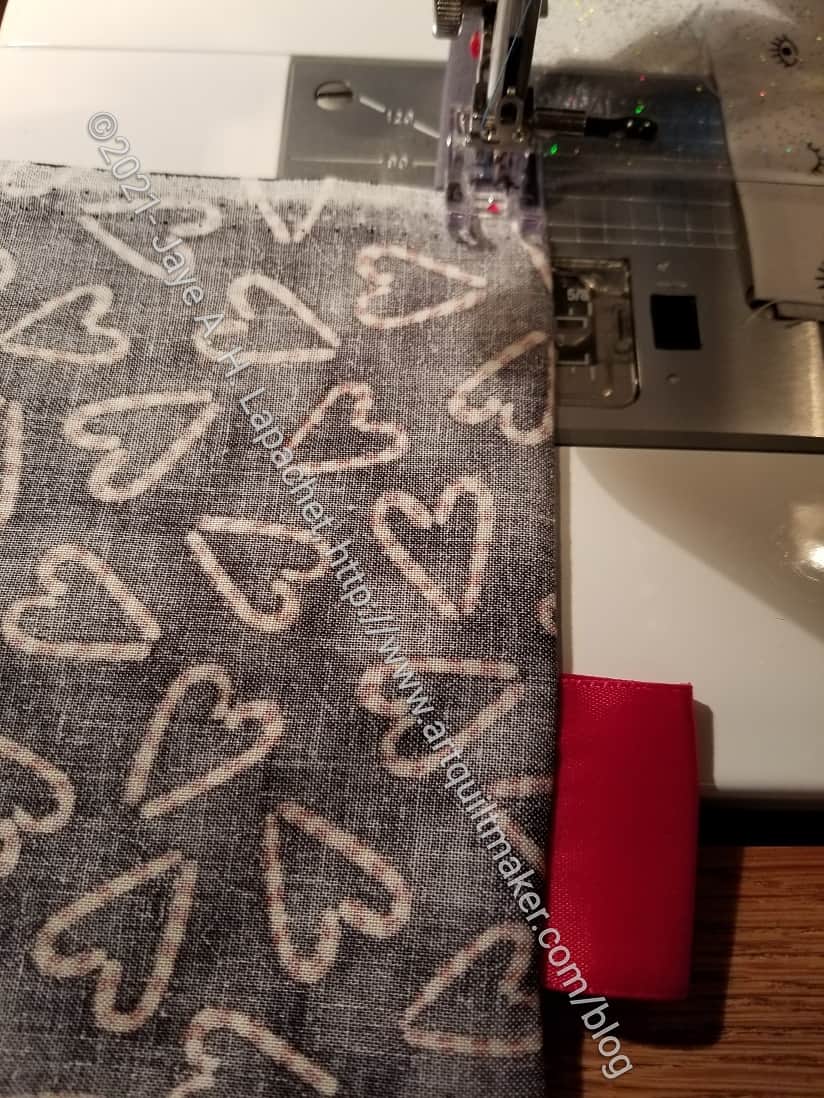
5. Fold a piece of ribbon about 1.5 feet long in half. You can adjust the size of ribbon you use depending on how much ribbon you need to tie.
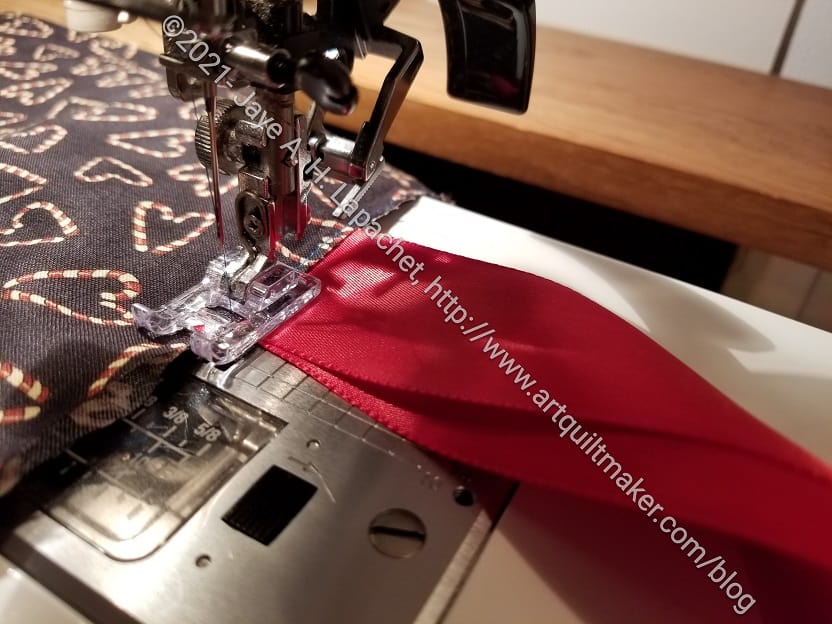
6. Place the folded ribbon in the open side of the bag about 4 inches from the top edge/hem.
7. Pin ribbon in place.
8. Pin rest of the right side and bottom closed. NOTE: If you are folding your fabric in half, you will be sewing two sides rather than the side and bottom. Basically, sew the sides or bottom closed depending on where your open edges are.
Use an 1/8 inch seam allowance or as small as you can.
9. Starting from the top, sew down the right side, backstitching at the beginning and over the ribbon 2-3 times. Backstitch at all stress points to keep the bag from ripping apart.
10. Turn at the corner and continue across the bottom, backstitching at the end.
11. Turn the bag inside out, so the right sides are together and the ribbon is out of the way of the seam (It will be inside the bag, but I put mine as straight as possible towards the opposite side of the bag).
12. Press seams, taking care to push them as far out as possible so there is no extra fabric near the seams.
NOTE: If you ribbon is synthetic or delicate, keep it out of the way of the iron.
Use a 1/2 inch or 5/8 inch seam allowance.
13. You are now sewing on the wrong side. Starting at the top, sew down the side and across the bottom again to finish the seam.
The raw edges will now be hidden inside the seams.
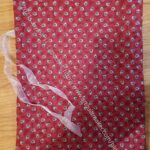
14. Open bag to make sure the raw edge is hidden inside the seam.
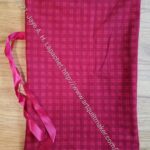
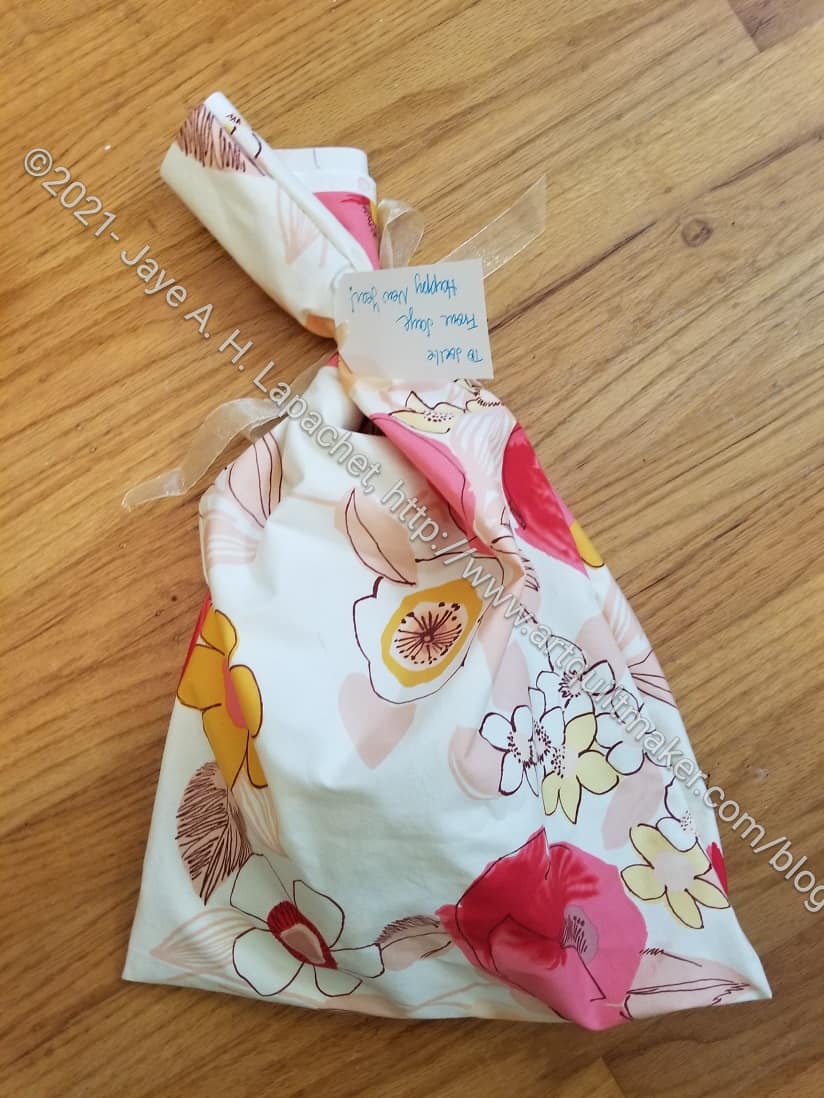
15. Turn bag inside out and press.

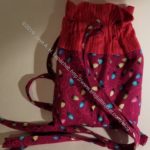
Voila! Your bag is really to use!
Benefits:
- reusable
- good way to use fabric you might not use for quilts
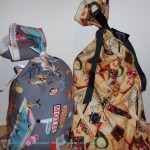
- Novelty fabrics
- fabric you don’t love anymore
- Use fabric you already own
- orphan blocks
- vintage sheets
- opportunity to buy holiday fabric without committing to making a holiday (or birthday) quilt
- quick way to wrap
- no need to rush out to buy gift wrap
- no tape or scissors needed
- small children can help wrap, or wrap their own gifts
- Fabric costs can be amortized over the years of the gift bag use
- bags are made quickly
- good opportunity to try out decorative stitches
- Can quickly make a gift bag for an oddly shaped gift. I once wrapped a weed whacker in a gift bag!
- Odd sized bags can be cut up later and used for different sized gifts
- I reuse ribbon I get from other places for the ties
- Easy to open and close the gift bag up again if the gift tag falls off
- Embellishment possibilities are endless, if you want to take the time. Gift bags are a great way to try out different techniques, stitches, embroidery and embellishments

Drawbacks:
- takes time to develop a stockpile
- reusable gift bags have to be stored
- fabric costs are not insignificant
- You don’t get beautiful mounds of boxed gifts under your tree
Any gift bags you make will add to your stockpile. You can use leaders and enders to make them, which means that your regular sewing isn’t interrupted much .
Resources:
- Gift Bag tutorial
- In Color Order pattern (and some information from another post)
- Trim Tied Gift Bag Tutorial from A Quilter’s Table