The other day I talked about joining two rosettes. This achievement emboldened me to join another piece to those two rosettes.
Of course, joining more rosettes gets more complicated, because joining pieces are required. What I call ‘joining pieces’ are pieces that need to be added in between the rosettes so there are no holes. I am not sure why these weren’t included when we sewed the other rosettes, but it doesn’t matter.
It was easy for me to add one more rosette to those two rosettes I joined the other day except I had to include a joining piece.
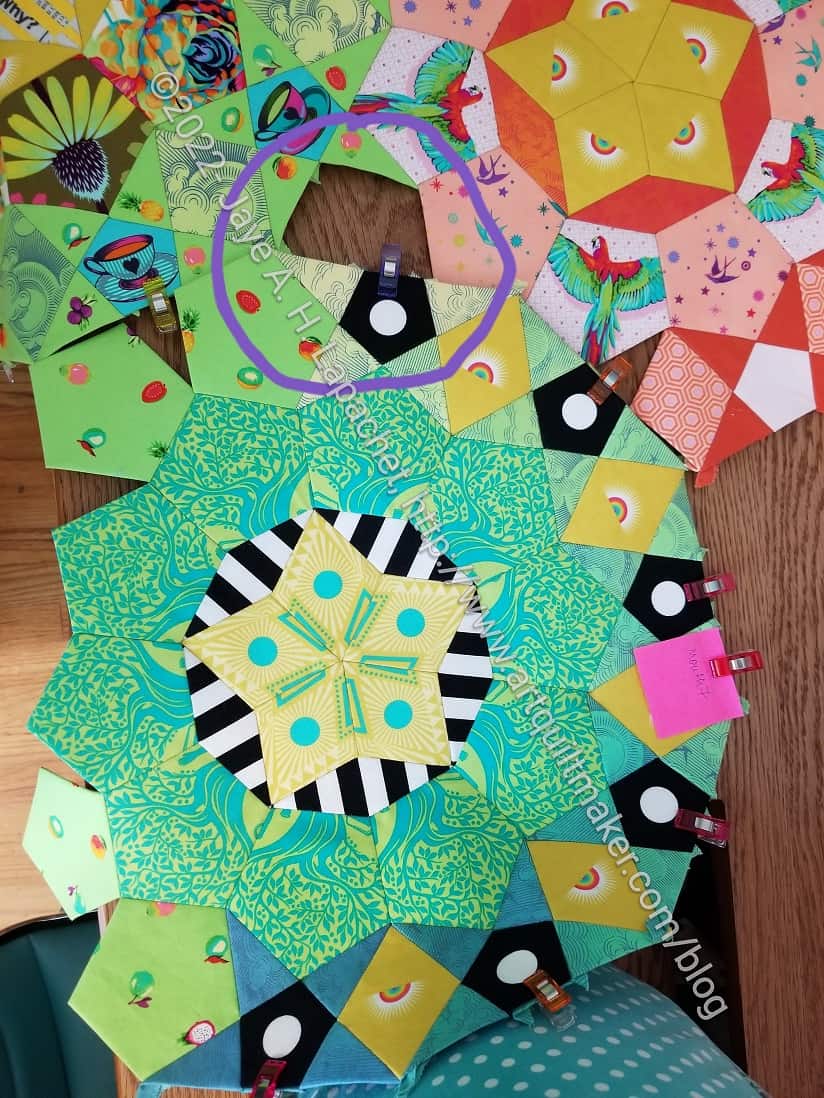
When I set the three together, I saw the hole. I went and looked at the layout map we received and also at the book. The book, not clear in the best of circumstances, was pretty clear on this point.
This meant I had to figure out what to do. Or do nothing.
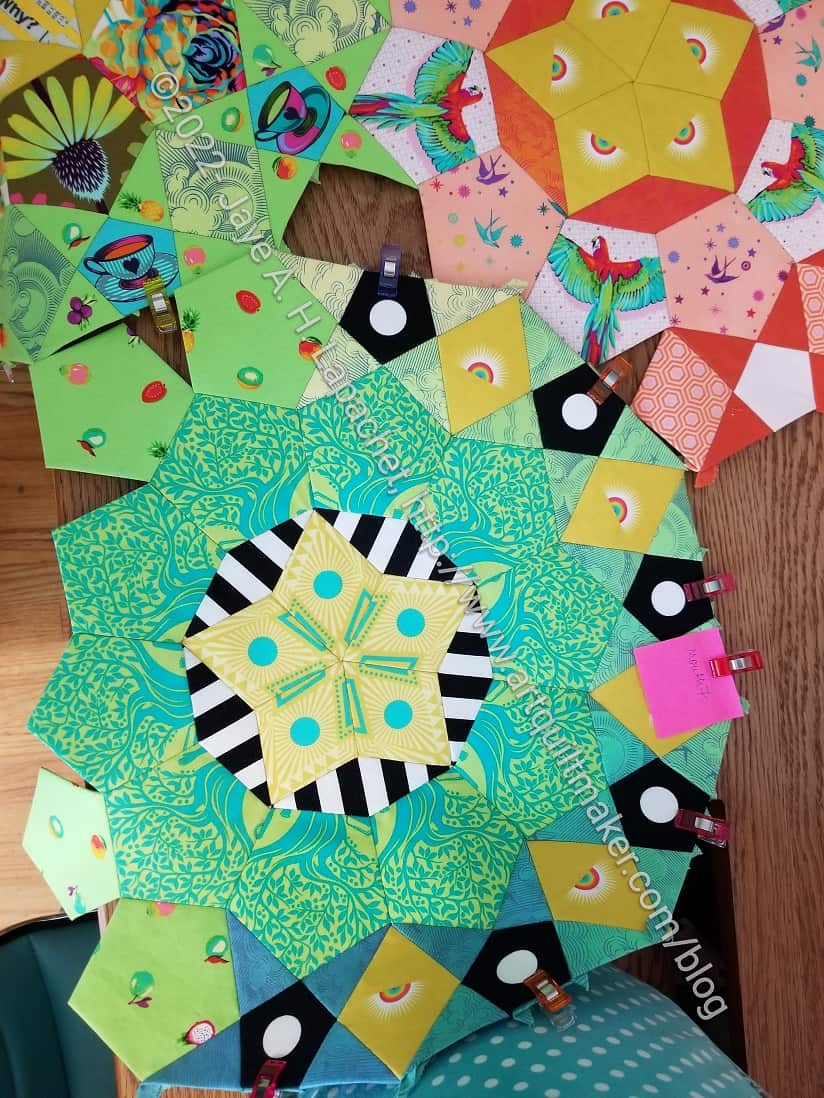
Laying the rosettes out allowed me to look at them to see how the rosettes fit together.
The circled point is where I had to fit in a fabric. I wanted it to look as though the rosettes fit together well. That spot is not is not ideal as it is not really any part of any of the three rosettes.
The start point was already cut and basted. It is attached to the bottom rosette with a clip so all I had to do was decide on a fabric for diamond.
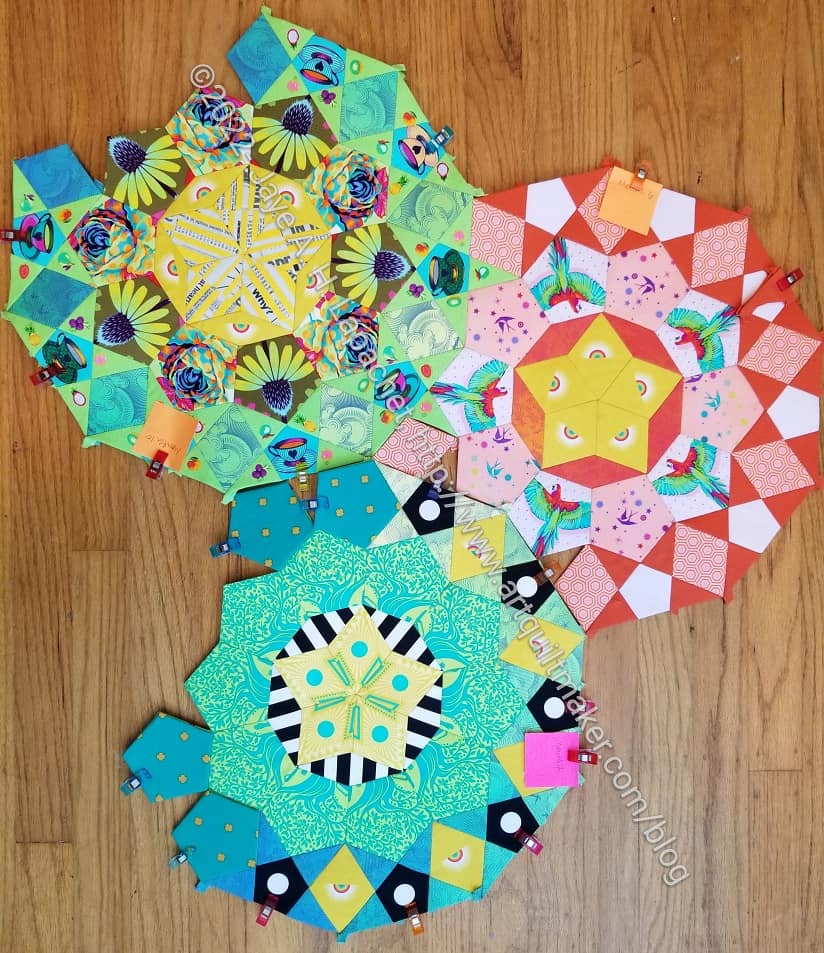
After looking at the whole piece I decided on the peach hexagon fabric. Look carefully in the middle to see it laid together in the spot. It kind of looks, which was my intention, like the peach and orange rosette is peeking through from behind the green rosettes.
I got distracted by finishing the Take A Stand bags, so I haven’t joined them together yet. I still may be able to do it before M11 arrives.