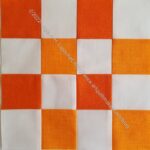
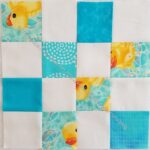
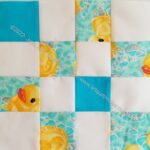
I got back on the donation block bandwagon this month as I was finishing up the Ends n.14 (Typewriter) donation top. I didn’t make many, but every little bit helps, right?

Commentary about works in progress, design & creativity
I got back on the donation block bandwagon this month as I was finishing up the Ends n.14 (Typewriter) donation top. I didn’t make many, but every little bit helps, right?
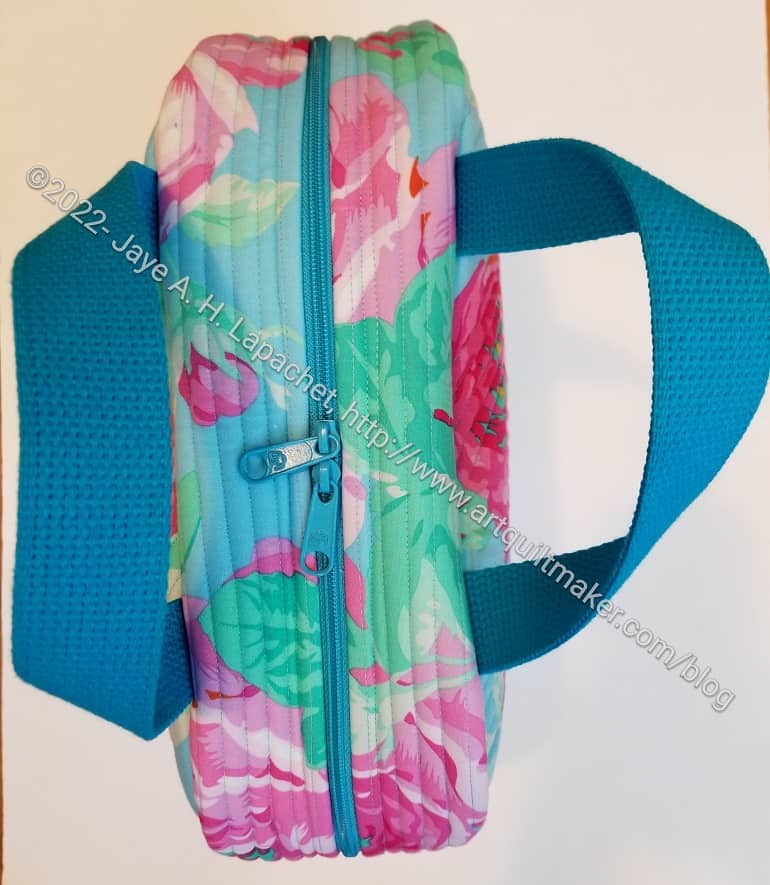
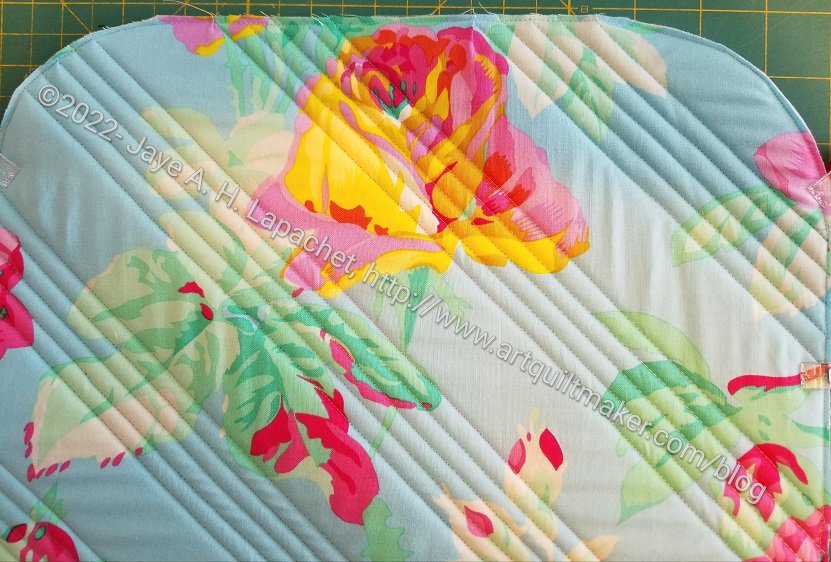
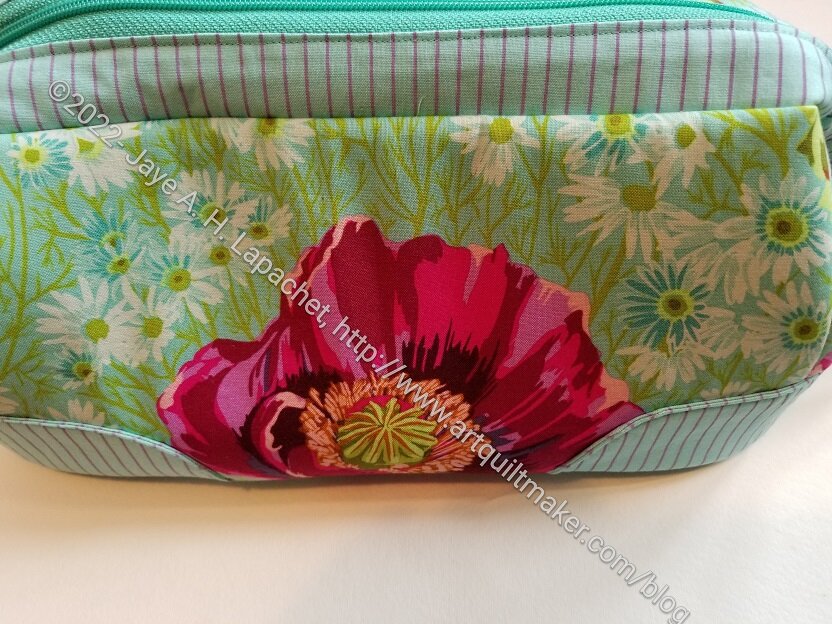
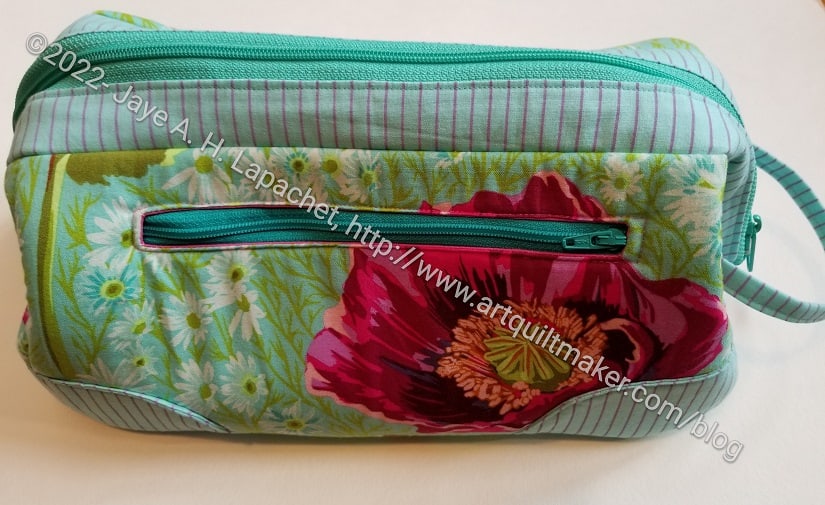
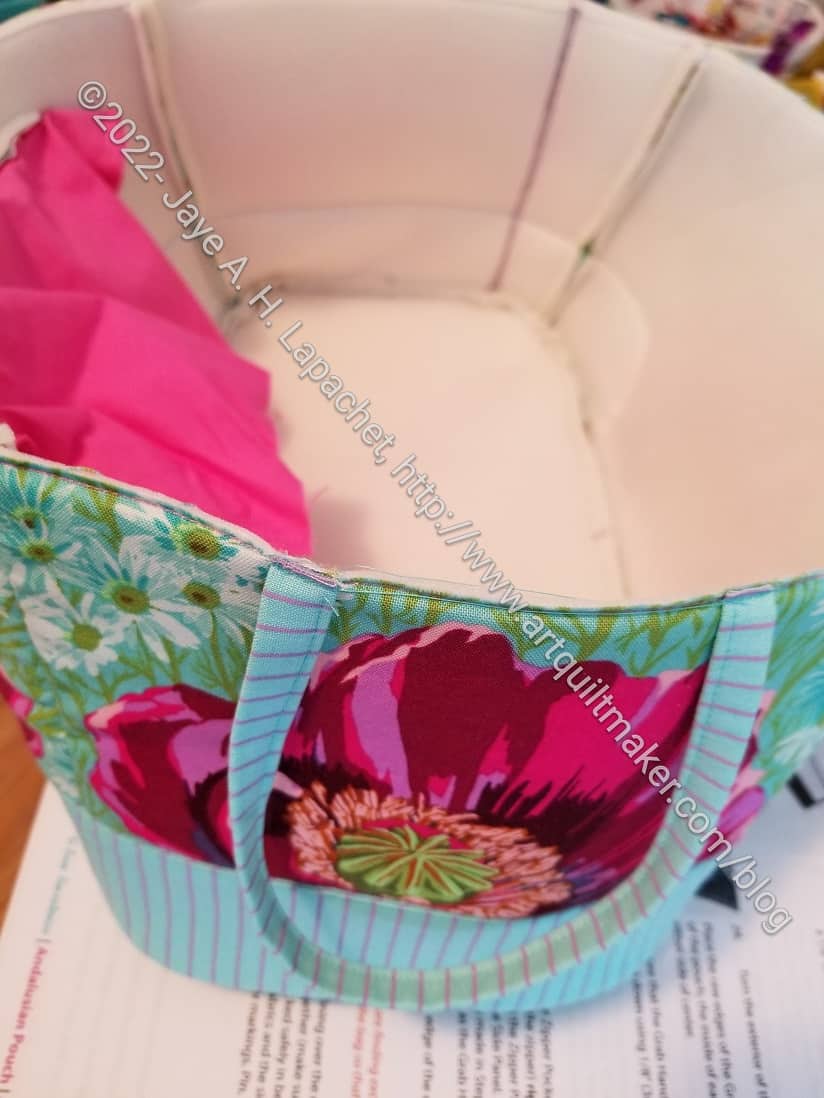
I finished the Sunset Project Bag not long after my last post. I like the shape and how well it stands up.
The fabric is one I unearthed when I was looking through my fabric for the correct colors for pieces for Orange You Glad. I thought I had used up all of this old Philip Jacobs fabric. Even though it doesn’t match my Take a Stand bag or my A Place for Everything v.2.0 bag, I like the way it came out. The fabric seems cheeful and light to me.
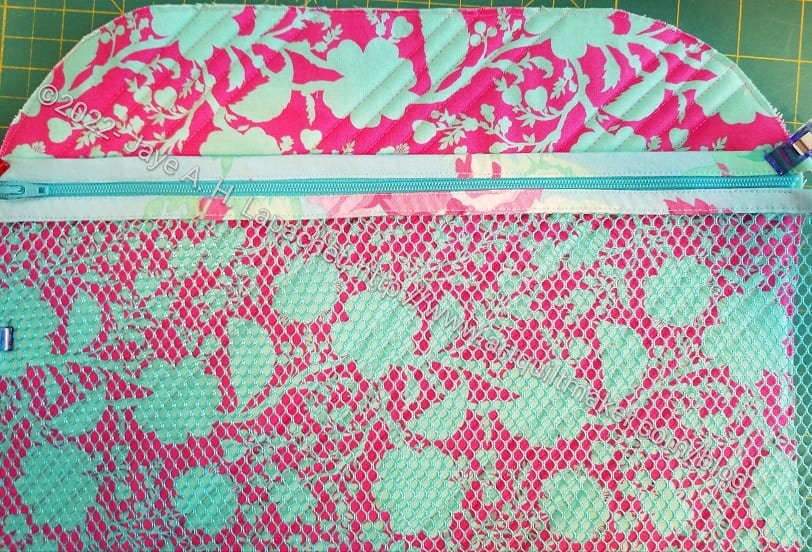
I really like the way the zipper came out. It works as expected. I was a little disappointed in the zipper on the my Take a Stand bag. It just seems weird to use.

I fussy cut the front and back panels to take advantage of the beautiful roses. The yardage I have left now looks a bit like Swiss cheese, but I am more interested in a good looking bag than non-Swiss cheese fabric.
I would have preferred pink or light blue handles, but I don’t think the darker turquoise looks bad. The handles came from some cotton webbing I have had around for a long time. It was time to use it.

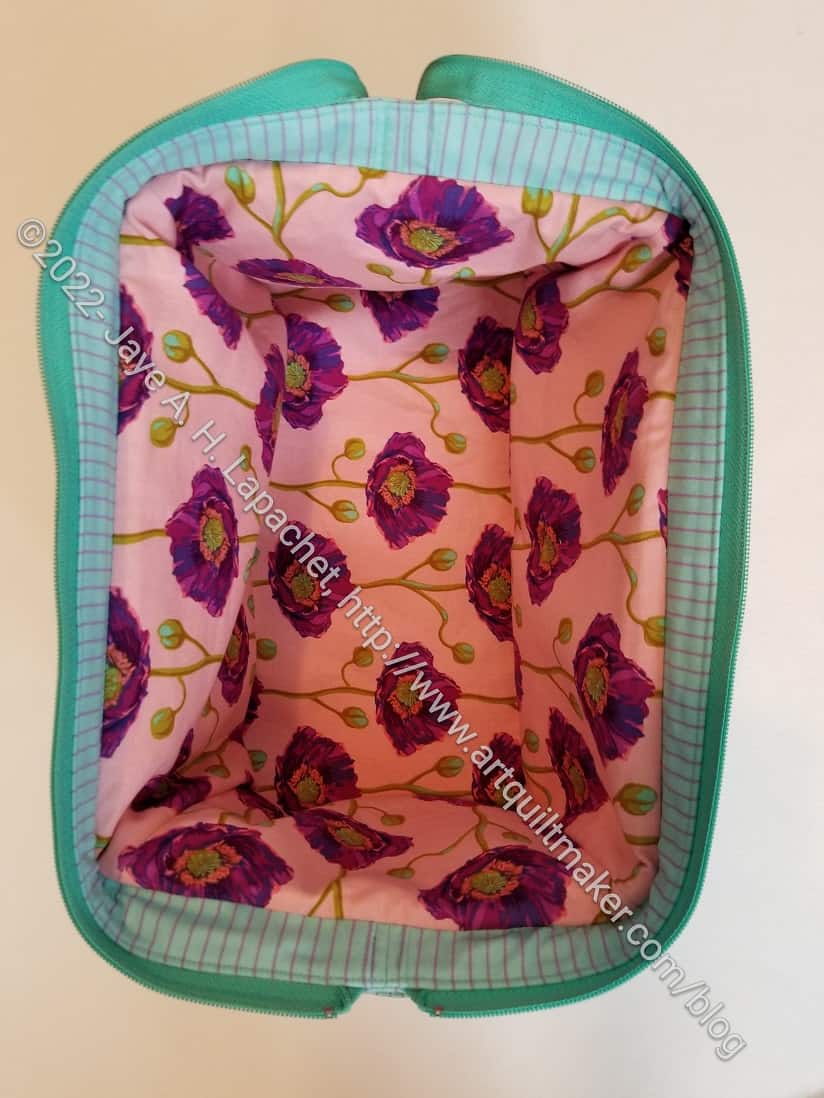
The inside came out particularly well. The True colors fabric I used looks great. I thought that I would want to save it for something special, but what? I don’t have a lot of it left, but I decided to use something that would make me happy when I opened the bag and now I am really glad I did. I need to remember to use the good fabric.
As you can see the bag opens flat. Vanessa from Crafty Gemini uses this bag for knitting (or maybe crochet?) projects. Opening flat provides good access to the contents. With balls of yarn, however, they might roll away if the bag was opened flat.
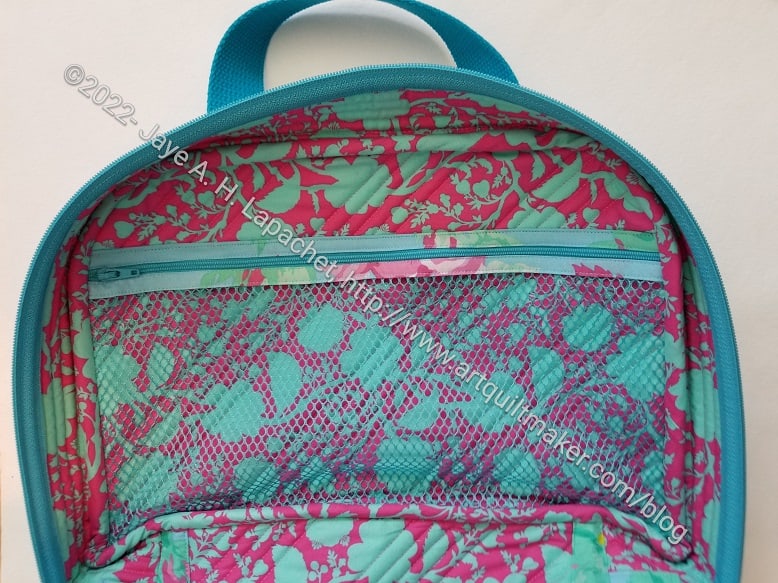
The mesh pocket works well and will allow me to see what is inside. The pocket is a good size, I think. I wonder if there are other pockets I should have added, but I think just tossing in a pouch with additional supplies will work. What are pouches for anyway?

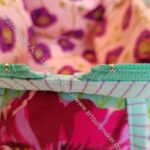
The other side has no pocket, but you can see that I had to bind the raw edges on the inside to cover them. I machine sewed one side of the binding, then hand sewed the other. It wasn’t as much of a hassle to hand sew this bag’s binding as it was to sew the binding on my Take a Stand bag or my A Place for Everything v.2.0 bag. I still stabbed myself several times. One of the risks.
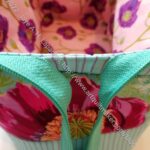
I am struggled with the finishing. I like to poke out the corners and make the bag nice and finished looking. In this case, I have rolled the seam joins, I have also pressed them and poked them out. Nothing I have tried will get them all the way out. I am not sure why, but maybe the binding since it is on the back of the joins.
I think it came out pretty well, though there are some things I would like to change.
I am waiting for my backgrounds to be returned. Julie has them finished and I will get them when we meet for lunch.
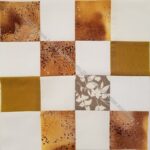
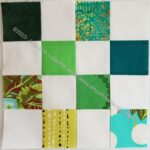
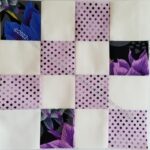
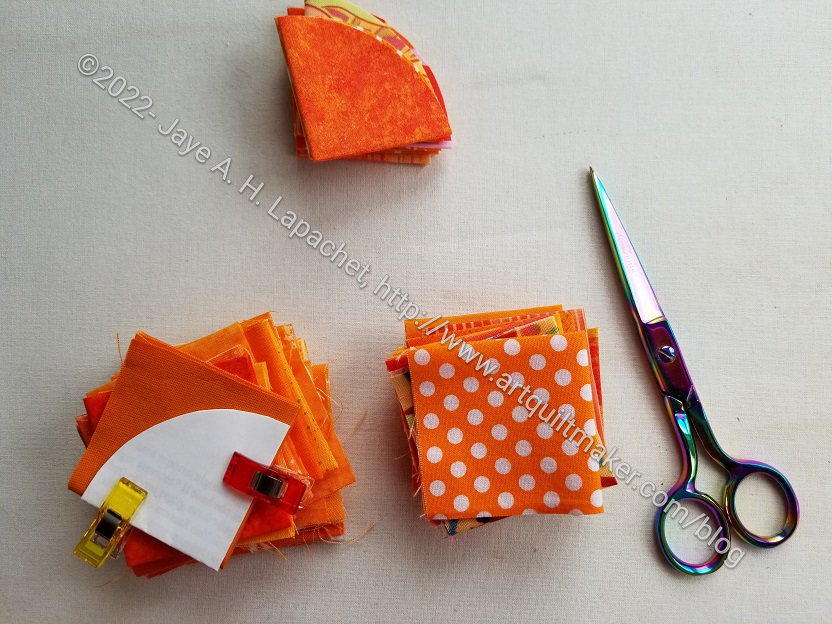
I cut these squares as I was cutting the backgrounds. I have no idea if they will work after the other two have added their stamp to my backgrounds. However, they are a start.
I spent some time over the weekend working on the Sunset Project Bag. As you saw, I was ready for assembly, after getting everything cut and quilted. In my mind, at least, I was ready for assembly. As I found out, I had more prep (prep plus?) to do.
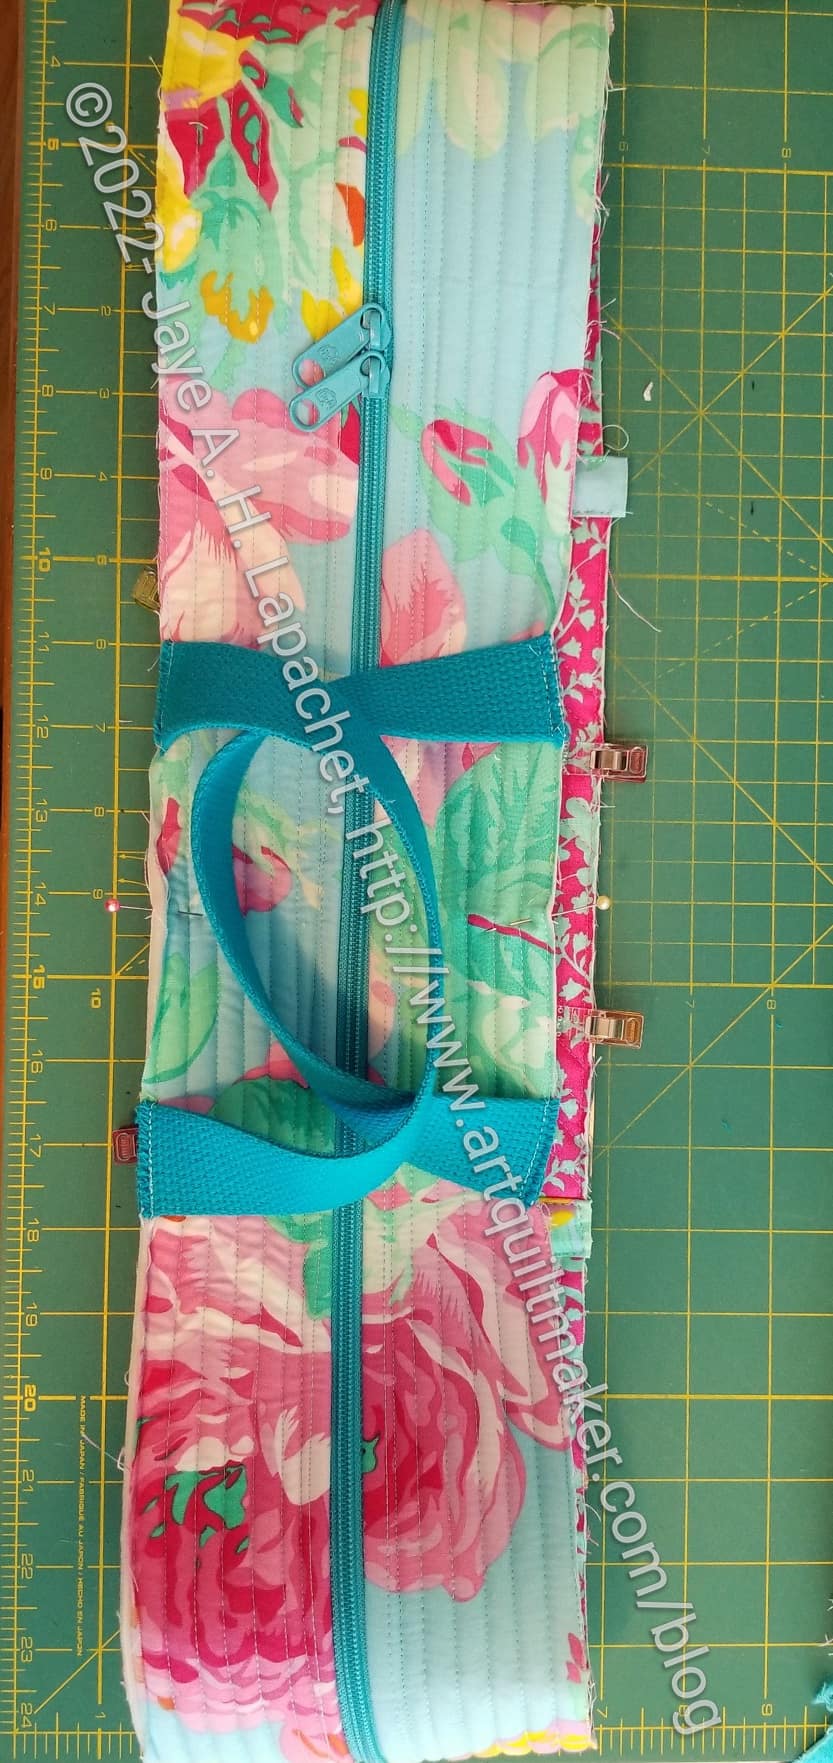
First, I had to add the mesh pocket. Generally, this is no problem, but I immediately found a problem: my beautiful quilting would be ruined. Ok, ruined is a little bit dramatic, but one of the lines of stitching needed to keep the mesh pocket in place would go through and show on the front. That line would not fit in with my previous diagonal lines. 🙁
There was no way out. I had already quilted what I had quilted, so I just had to move on. I know that the Muggles won’t know.
The line of stitching across the top of the mesh pocket is the area that shows through
Note to self: if I make this again, use horizontal lines. I do think the diagonal lines look nice.
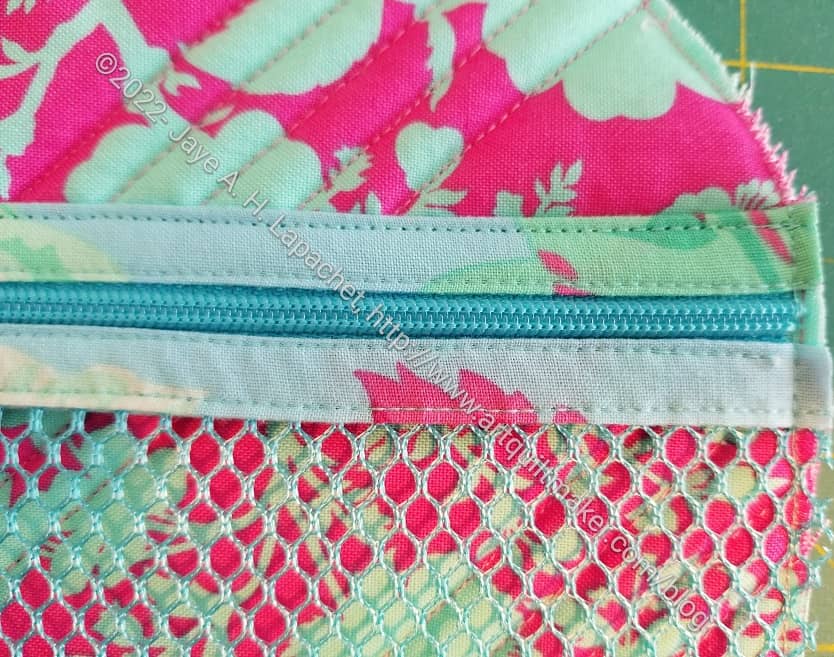
I will say that the mesh I chose goes really well with the pink and turquoise True Colors fabric I used on the inside.
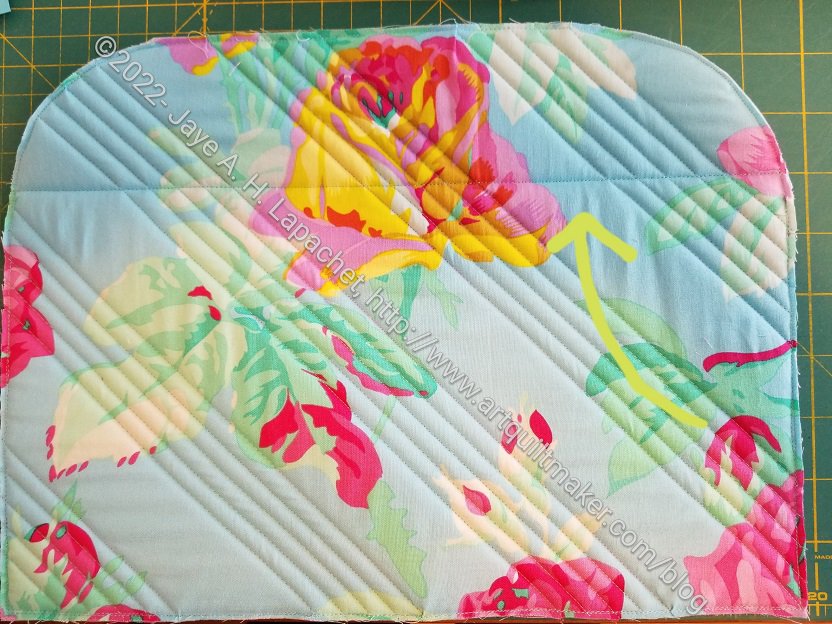
You can see how the top line of stitching now shows through on the front. Sigh.
Fortunately, it is only one line not the top stitching for the other parts of the zipper assembly.
I did think about what I could do to hide the line, but I couldn’t think of anything that didn’t require remaking the front panel or unpicking a lot of stitching.

In order to assemble the bag, I had to make the gusset into a loop. I have done that before. It isn’t difficult, though the detail of the zipper end was something I hadn’t done before.
I should have used the True Colors fabric, but I think it looks fine. Also, the way the raw edges are enclosed within the zipper are very clever. I had to watch the video to completely understand it. I don’t always watch all the steps in the video, but I usually go through a few of the steps and the videos are always helpful.
The handles are attached to the gusset, which I thought was a good idea. I had the opportunity to sew over them several times as I completed the bag.
I also added a piece of vinyl to the bottom, now incorporated into the gusset, to keep the bottom clean when I use the bag. I wanted to try that technique after seeing it in a Tula Pink Tuesday video. I only used the vinyl for the bottom, not for the whole bag. It was sticky on the bed of the machine, as is usual for vinyl. I am out of practice with vinyl and needed to reorient myself to sewing with vinyl.
I struggled with final assembly. The bottom corners had a bit too much fabric in them for me. I wonder if I could round the corners to make the assembly easier. I found that to be a real help with the Andalusian pouch, the Andalusian does not have a gusset.
I took a class from Victoria Findlay Wolfe at QuiltCon about 1, 000 years ago (well, 2016). I think I mentioned that every time I rewrite my quilt to do list the same projects are listed as UFOs. I decided that some of these are going to get finished. I backtracked a little and decided to work on one then see how it went. Of course, I want to finish them all, but every journey requires the first step. My first step is Pies and Points.
I have also been in desperate need of a quilt project. Why starting one or jumping back into one was difficult, I don’t know.
The first step for actually working on the project was positive. I found the project and all the pieces were in the same bag. Yay! I had been talking about this project to myself for a few days, so I feel happy that I actually did something.
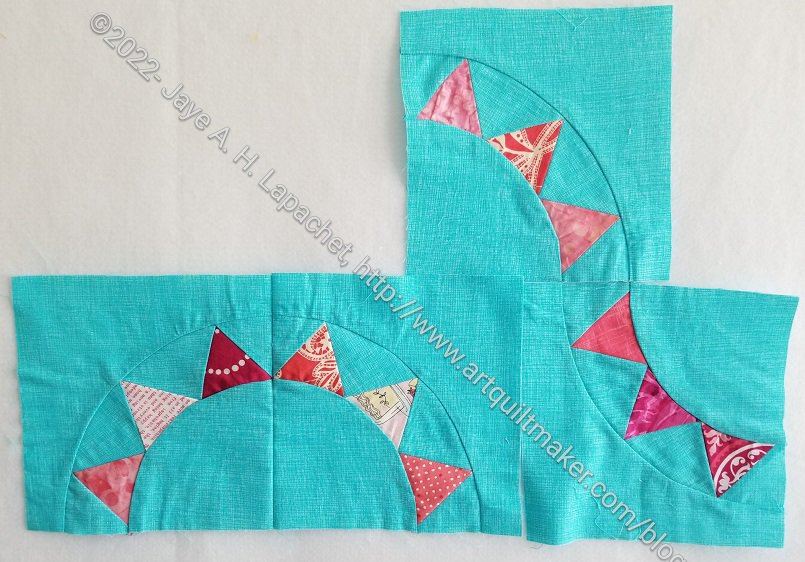
The second step was positive as well. I put the blocks I have made (4) on the design wall and I still like them. The background might be a bit boring, but well see how things go after I make a few more blocks.
Last Autumn (sheesh! Has it been that long???), at the urging (temptress-ness) of Angela I joined the Crafty Gemini 8th Bag club. I liked the bags and some of the techniques I would learn, so it was a good idea. I tried to keep up, but cutting (which you know I dislike) really kept me from keeping up. I made the Flagler backpack and that was it.

The Sunset Project Bag has been on my mind and I finally started it. Cutting, of course, takes me so long. I tried get into a Zen frame of mind about, but almost lost it when I realized I had to quilt a bunch of pieces, too. I started and then after four lines of stitching, I decided to vary the design to leave a 1.5 inch space between four lines of stitching. I really like the way that design turned out. I think it looks like I actually know how to design quilting designs rather than just wanting to get it over faster.
I just did straight line quilting horizontally along the gussets. I didn’t want to stop and start after 20 stitches over a 35 inch wide piece.
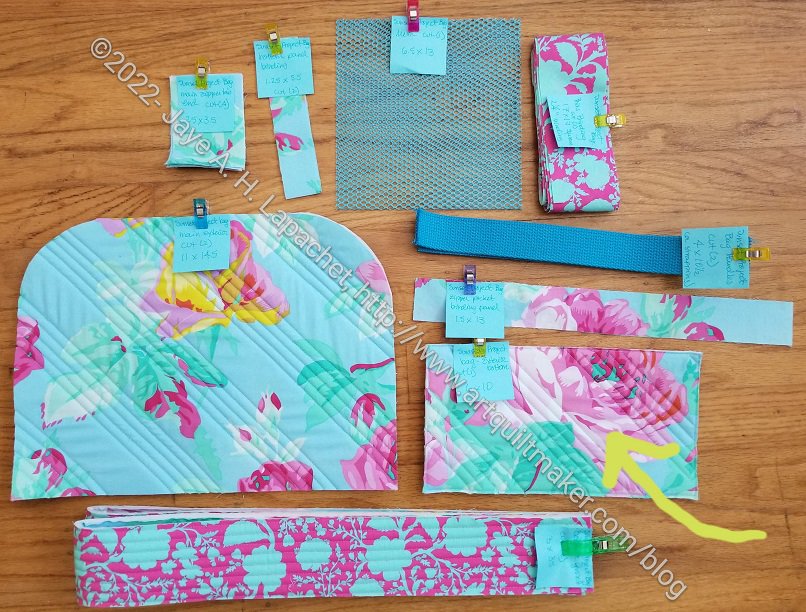
I lined up the pieces and noticed that it looks like I fussy cut some pieces to fit together well.
Those pieces don’t go together and I didn’t plan it, but it would be nice if they did.
I am in the process of sealing the edges of the quilted pieces and will be ready to start assembly soon. There aren’t very many pieces so I should be able to finish quickly. Fingers crossed anyway.
Another month under my belt! Good thing, because I received the notice that Month 12 is about to ship.
This was a pretty easy month, though I did cut and re-cut fabric for some of the pieces a couple of times. I couldn’t decide what fabric to use to replace the Alice faces. I don’t want animal faces looking at me and I certainly don’t want Tula’s little sister as Alice looking at me for eternity!
Pink Door’s Sandra sent a new layout that shows all the rosettes we have made. I think Month 12 will use a lot of blue. Hooray!! I plan to add (substitute?) turquoise if there isn’t enough for me.
On a separate Life note. I know today is bad for women. Power has temporarily won. While we regroup:

I left work early on Friday and spent the time sewing. I hadn’t worked on this project since May and wanted to get it done. I thought I could make a start.
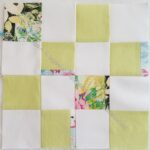
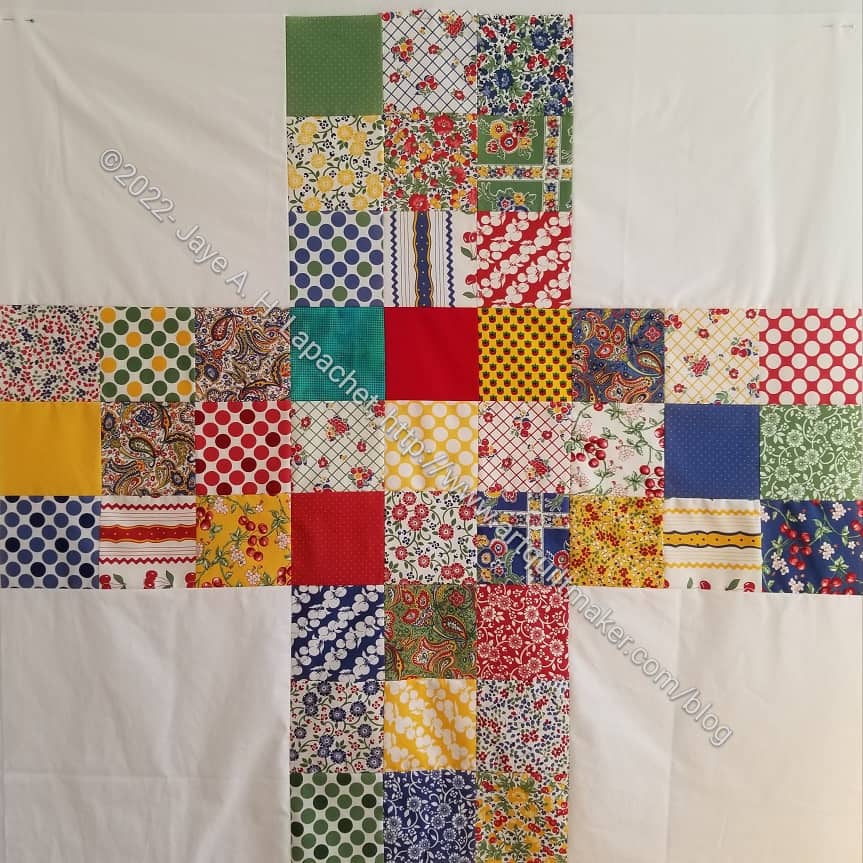
As shown in the previous post, I had a bunch of pieces for this community quilt cut and blocks sewn together. I still really only needed to find one 5 inch square to finish the last block and put the quilt together.
I started rummaging through fabric and found a piece that would work fairly quickly. If charm packs would add 3 more squares I would be super happy. Of course, who knows if I will ever make a Plus quilt again?
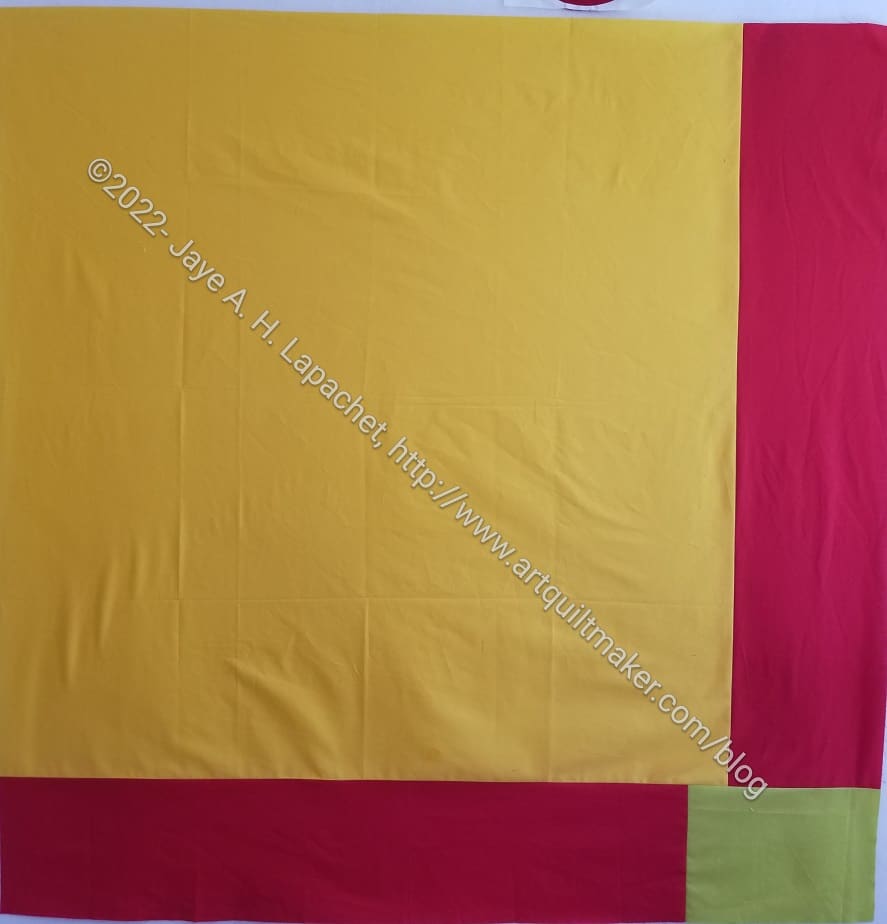
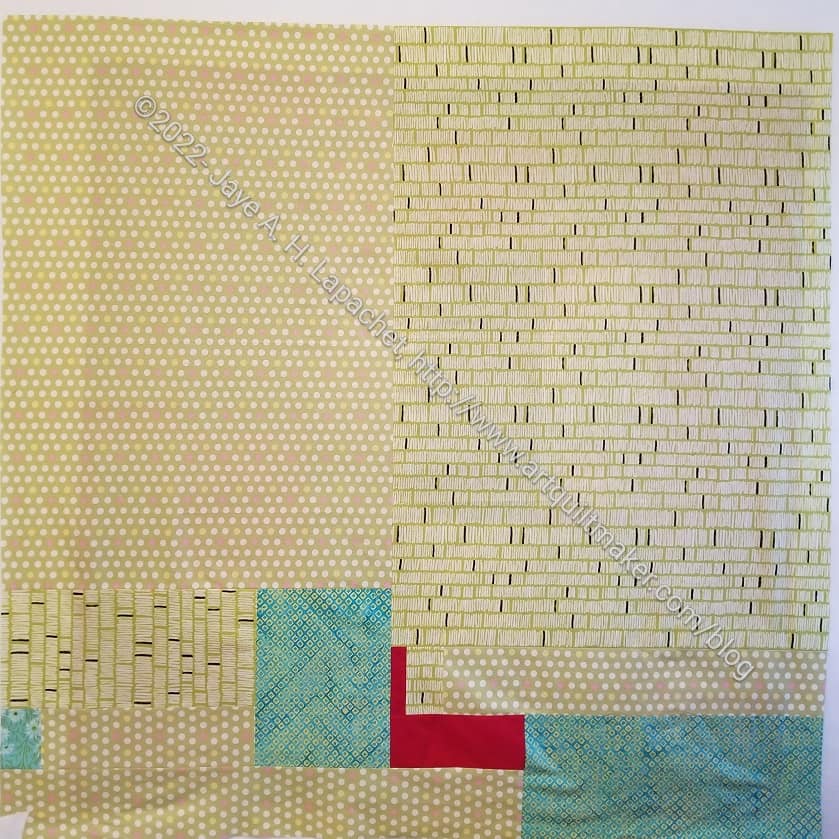
Once I finished that last block and cut some background fabric, I was able to finish the top pretty quickly. I had time, so I went rummaging for fabric again. I wanted to find some pieces for the back. I was hoping for one piece, but my hopes were dashed. I found a large piece of yellow solid, but it wasn’t large enough so I added some red and green. I finished just as my DH texted to tell me he was coming home. Perfect!
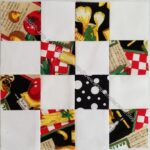
I am going through my charm packs and trying to use the ones I like, but don’t think I will use for my own projects. As soon as I select one, I pull it out and start thinking about (or even deciding immediately) what I will make then I get busy. This one was inspired by one of my quilts that Joelle quilted. I saw it finished and thought “I should make another one of those”.
That one used the donation squares that Peggy requests, so it was smaller. This quilt is about 41×41 inches. Nice size.
Frankly, I almost never use charm packs so I don’t know why I buy them. Well, I do know. I want just a little bit of the fabric, so I buy a charm pack.
Charm packs make great Chubby Charmers. How many Chubby Charmers does one girl need? I have three already, after all. I have a Lintott Girls book, Layer Cakes, Jelly Rolls and Charm Quilts**, so I should look there to find some patterns I might like to make. I might make another HST Sawtooth Star quilt. I don’t think I am quite done with that pattern.
**Obviously, you should shop at local quilt shops. However, I use affiliate links and may be paid for your purchase of an item when you click on an item’s link in my post. There is no additional cost to you for clicking or purchasing items I recommend. I appreciate your clicks and purchases as it helps support this blog.
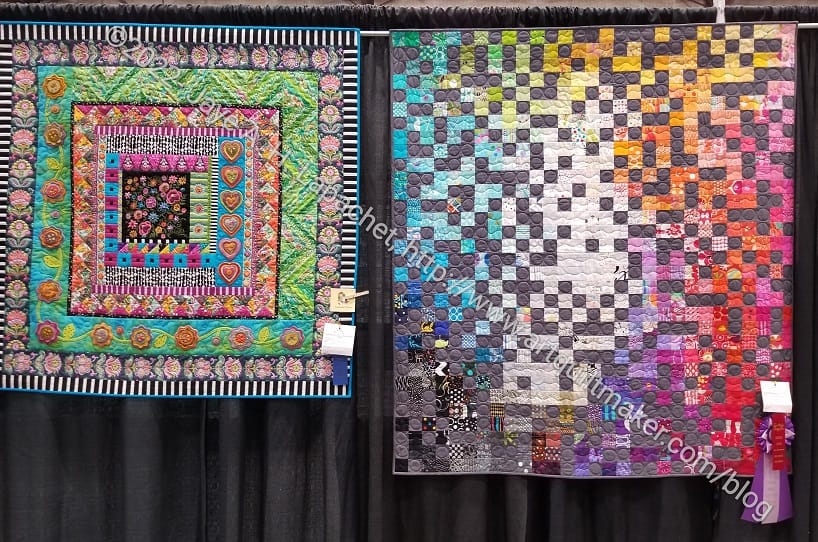
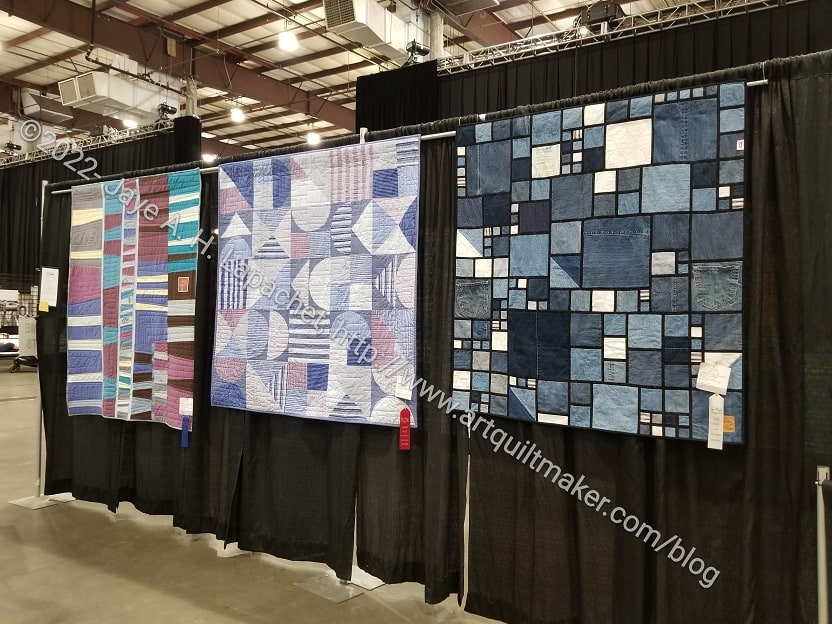
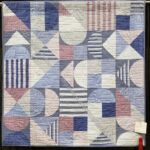
The quilt that won the blue ribbon in the category where I won second happened to be hung next to my quilt. The quilt that won is called Threads and is by Sara Guyol of San Mateo.
I like Sara’s quilt and the only reason I can think that her quilt is in the same category as mine is that they had to consolidate categories. Mine was entered into the Quilt top made by one person/pro quilted and the class was hand guided quilting – small quilt.

I really think Sara’s quilt should have been in an embroidery category if there is an embroidered quilt category. Her quilt had a lot of Sue Spargo type embroidery on it. It was a really different style of quilt than my quilt. I think of the Fabric of the Year quilts as complex in design, but they are complex to design not to piece. As you know, there is a lot of moving of pieces around before the quilt gets sewn. Once everything is in place, the piecing is easy.
I don’t think the Fair really looks at design. Design is hard to judge, I know, but if they only look at technique, I will never win a blue ribbon. I am not angry about this. Sara’s quilt is amazing and I am pleased that she won. I’d love to meet her and wish there were a reception for the artists.
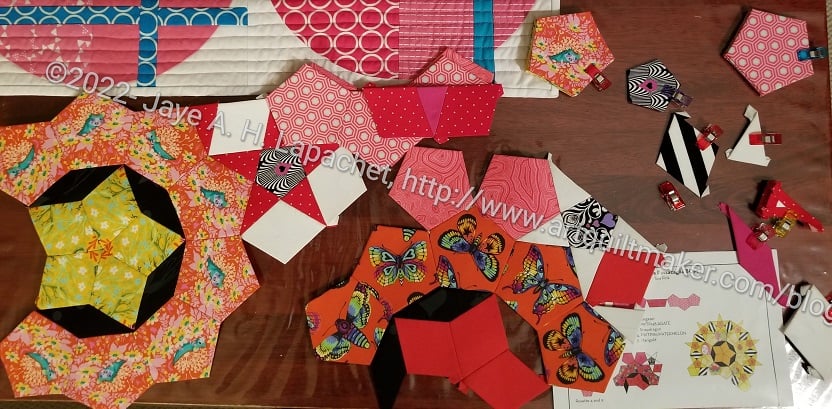
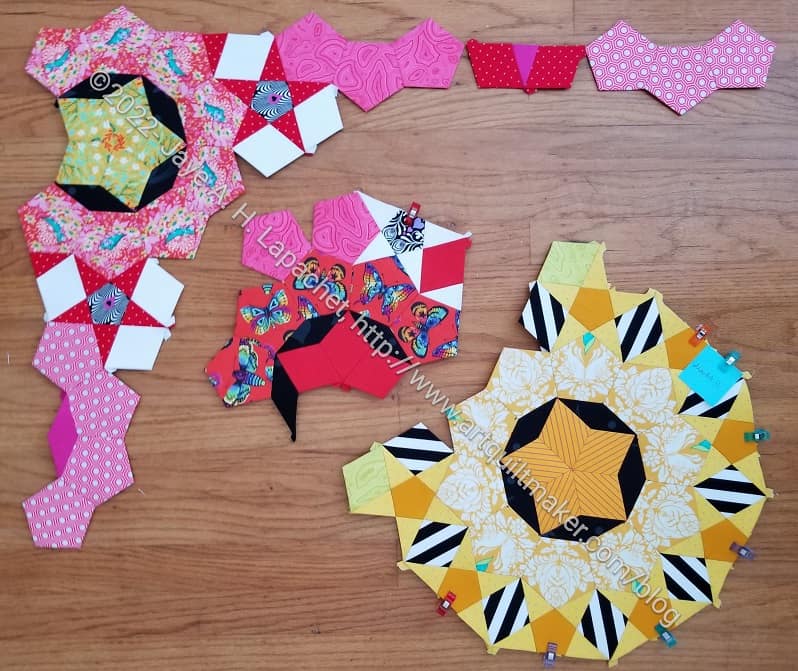
I am making progress on the rosettes and edge pieces that comprise Month 11.
I showed you the first rosette from Month 11 the other day. I have continued to work on the month and this is what my workspace in the living room looks like while I am sewing in the evenings.
The particular sections I show above are not quite as satisfying as some of the other months. It is so fun to see them grow, however, and I am so thrilled with how the project is progressing.
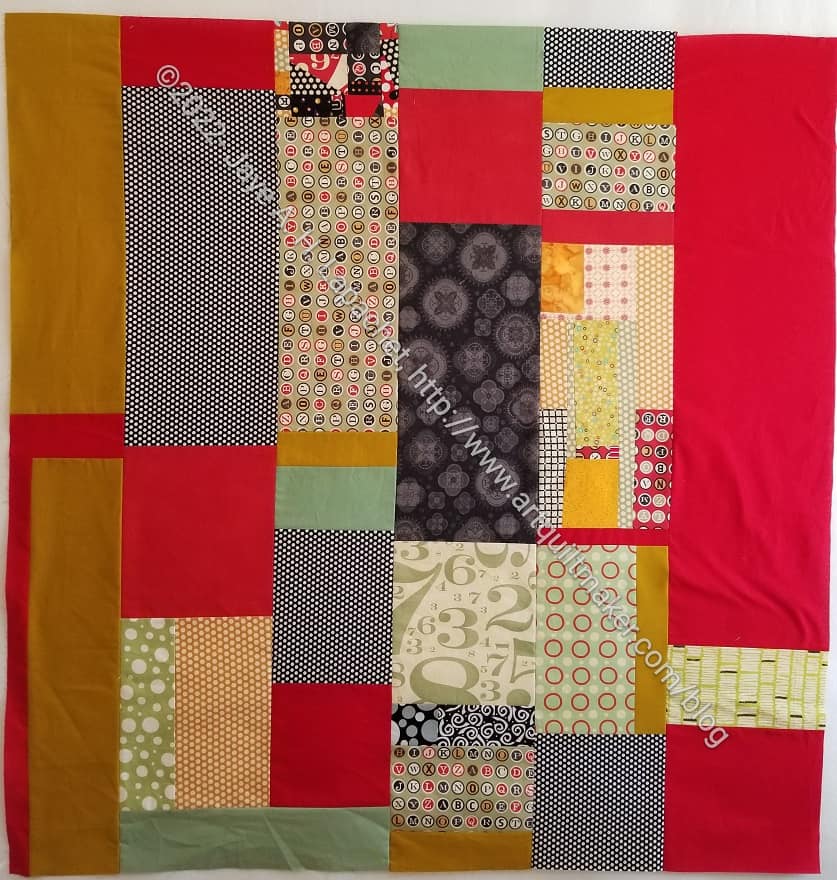
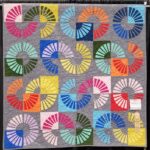
I finally put the black, red and gold ends together to make a quilt. There is some leftover typewriter fabric in the top, thus the Type writer moniker. I have to distinguish between these ‘Ends’ quilts somehow!
The main parts of the fabrics used in this quilt come from the first Stepping Stones quilt I made for my nephew for his graduation in 2013. Yes, they have been hanging around for a long time!
I didn’t have enough to make it quite as wide as I wanted, so I added the red and gold solids.
I didn’t have enough to make the back so I had to rummage for fabric. This quilt might work for a boy quilt.
See all of the Ends quilt on their own series page.
I spent yesterday afternoon at the guild meeting. I went to drop off the Ends n.14 (Typewriter) top and back and the American Jane Plus donation top and back. I also needed to hand over the door prize.
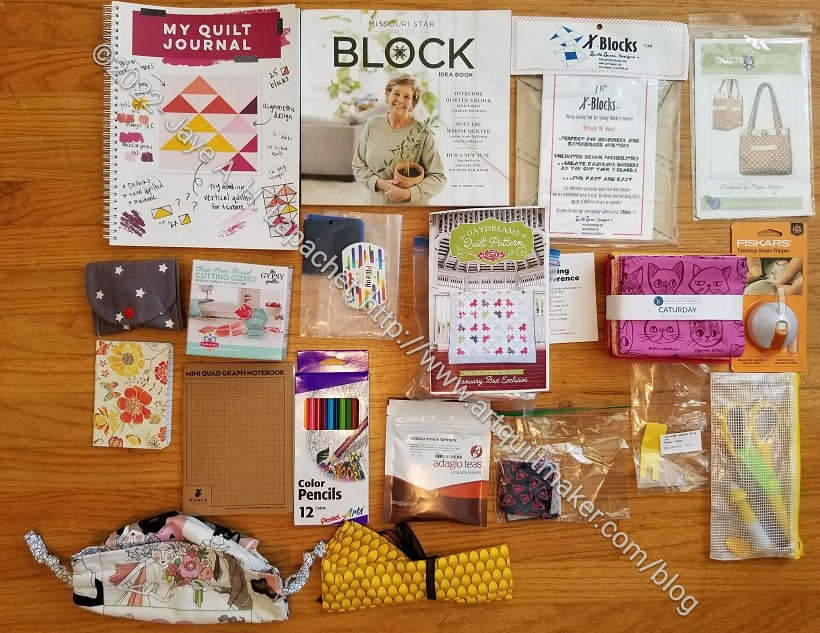
The skills of the whole team are shown off here. Sue’s drawstring bag and Carrie’s little wallet are in evidence. So many people from the door prize team contributed to this bag that it warms my heart.
Lee Ann was the lucky winner this time and she was at the meeting, so no mailing required.
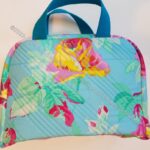
I was able to finish the Andalusian Pouch over the weekend.
It went together amazingly well. I barely used my seam ripper at all.

This pouch started because I had a fat quarter, cut a few pieces then put them away for later. I got more of the Anna Maria poppy fabric and decided to make the pouch for a friend who has been super helpful at work. I used one of the new True Colors fabrics for the accent fabric.
This pouch has rounded corners and those rounded corners made it so easy to put together! It was really a dream, which makes me want to make another one TODAY.
The pattern is from the Minikins 3 series by Sara Lawson of Sew Sweetness. It comes out looking more like a man’s shaving kit when closed, but when open, it would be great to carry sewing supplies (one track mind, I know, I know!) to Sew Day.
The man’s shaving kit shape is a little weird, but I really like the open wide mouth that the frame provides. I like being able to see all of my stuff.
I am super proud of the way the zipper came out. Both ends of the zipper look like they are supposed to look.
The start of the zipper had the ends sewn at 90 degrees and it looks so finished. I really like it.
The end of the zipper required veering at the end. I think, after much practicing, I have finally gotten the hang of veering the zipper. I have to admit that I did watch that part of the video and followed the directions multiple times. I am still a little unclear on the exact purpose of veering the zipper. I plan to keep practicing so it will become second nature.
My careful fussy cutting didn’t work 100%. I have never made this bag before so that was part of the problem/issue. The accents covered up some of the flowers. I knew there were accents were part of the bag; I just couldn’t judge where the flowers would end up. Still, I think it looks nice. I hope that my friend likes it.
I think if I make this again (and I do have another frame) I would use a fabric with an all over pattern, then use cork or vinyl for the bottom accents and the bottom of the bag. Sara has some turquoise cork that I have had my eye on.
DH and I were both sick over the long holiday weekend. The illness lingered through the beginning of the Fair and through the day our extended family had decided to go together. I didn’t think we would be able to make it at all, but we decided to go last Saturday. I was not intending to see every single thing at the Fair and I made my desires clear: quilts and a frozen chocolate covered banana. I didn’t want to overdo it after resting and taking it easy for a few weeks.
I let DH pick what he wanted to see first, so we looked at the Commercial area first. It was sad. So many of the vendors and information booths we had seen before were not exhibiting. The vendors who made the effort were selling items of low quality or of no interest. I wish the Fair management would find a way to get artists to sell their wares.
After that, we went to see the quilts and other Home Arts. I saw Laura, the organizer of Home Arts, pretty soon after we arrived. She will be taking suggestions after she rests for a bit, but I talked with her about some things I thought were confusing. She also said that they had 75% of the entries they had pre-pandemic, which was a lot better than the other areas. I was pleased at the number of quilts even though it was obvious there were fewer.
BAM made a GREAT showing. In addition to my wins, I saw that Sue G., Joelle, Bonnie, and Cyndi all received awards of one kind or another. The upcycle/recycle challenge was shown in a prominent place.

I saw one of the orphan block Sew Day quilts, Cyndi’s, which is a great effort. It is colorful and interesting to look at.
I was so impressed that she got her act together enough to get this into the Fair. I think it was made in April and since the deadline for entry and deliver are in different parts of May, it was a quick turnaround.
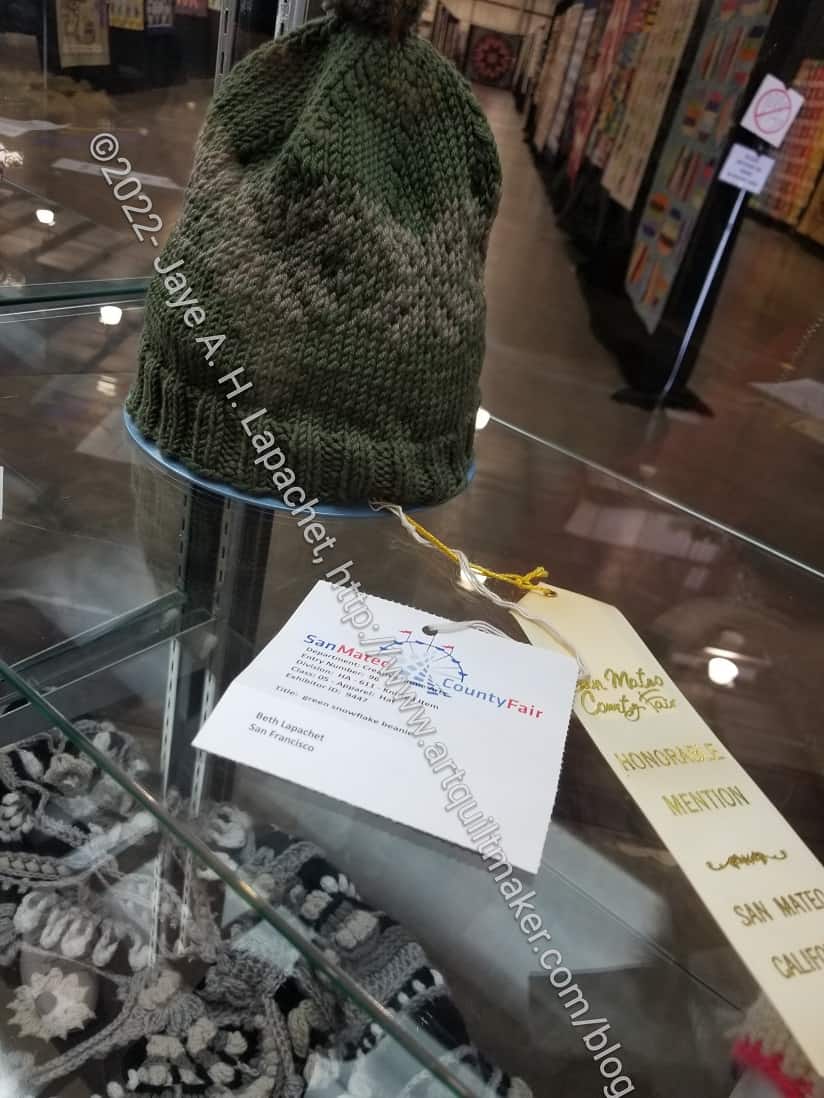
SIL#4 also won a prize for one of her knitted hats. I saw her hat before I saw either of my winners. It makes sense, though, as small knitted items are right at the front of the hall.
I was really pleased to see that my teaching paid off. Sue G., one student in a recent class (and member of the door prize team), put two quilts in the Fair and won prizes for both! I was thrilled beyond belief. She has been sewing a lot and practicing her skills, so the prizes were well deserved, but I was still thrilled. I’m not saying that I did everything, but I do take credit for instilling good habits and teaching good skills.
I was shocked at the prices. Everything had gone up. In some ways I felt like Fair management and the vendors were making me pay for the loss of two years worth of my attendance at the Fair:
Entry fee: $20.00 x 2 – $40.00
Parking: – $15.00
Ice Cream: – $16.50
Drink: – $10.00
______________________
$81.50
minus free ticket: $20.00
______________________
$61.50
We didn’t even have lunch. I wondered how families with children were able to afford the costs just to get in? I told DH he had a year to figure out what to enter into the Fair next year so he could get a free ticket as well. By the time we got home, he had decided on a cell phone photo.
I am making good progress on the pouch. I think I overestimated the time it would take to finish in a recent post. I made good progress, but the last parts seem to take longer than I usually anticipate.
I had to put the Zipper Panel pieces that hold the frame and the zipper panel together. These were a bit fiddly, but not too bad. I was in a good place when I decided to work on this project and it wasn’t too late in the day so I wasn’t tired.
I also ended up putting the grab handle on. I hope the thinness of the handle doesn’t prevent it from being useful.
I feel like I am making good progress and will be done soon.