I decided that I will make this Enigma and then get back to the Hackneys I planned and cut out. I am making amazing progress.
I have all of the pieces prepped, the bottom quilted, which you saw in the other post, and assembly is underway. The second time is almost always easier than the first.
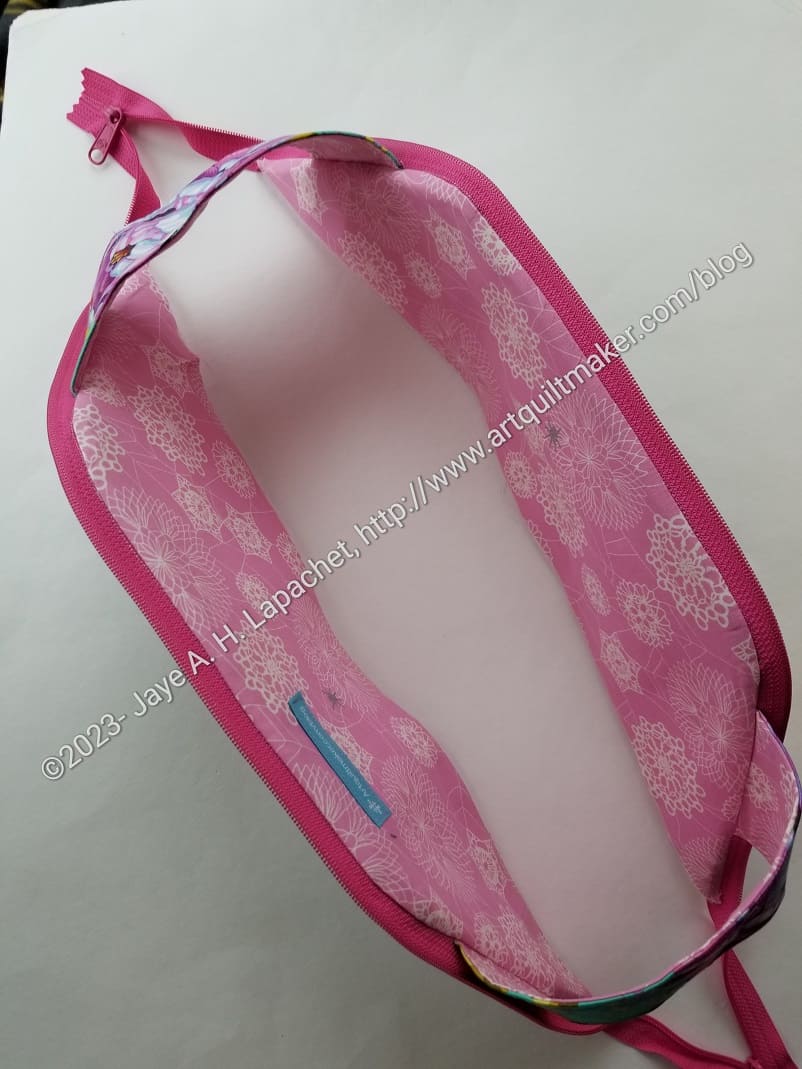
I remembered to put on my label this time, though this one will probably be for me and I don’t really need a label. I am trying to make it part of the process so each bag I make gets a label. I have a few more hours to make it a habit.

As mentioned before, this bag design requires binding and Sara shows how to do it on the machine. I sewed the binding on by hand last time, but decided that I would do it by machine this time. I am pleased to tell you that it went well and it looks good.
The bag looks like the photo above and on the right when it is ready to be bound. I had to keep the sides out of the way when I got to the binding part.
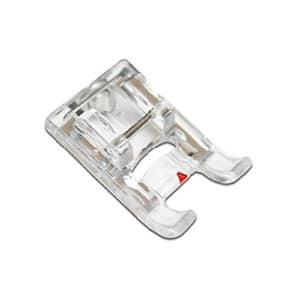
I changed feet and used the Janome foot F with the little red triangle and kept the left hand tip of the triangle right on the fold of the binding. My seam line looks pretty good. I didn’t really check the bottom because it doesn’t show when the bag is in use anyway.

After sewing, the inside of the bag looks like the photo on the right.
The hardest part to sew past is where the zipper stops. You have to zip the zipper a little to keep it out of the way of the machine foot while keeping the bottom of the bag flat. It was a lot easier the second time, though still not 100% easy.
A few more things to do, then I’ll be finished with this bag.