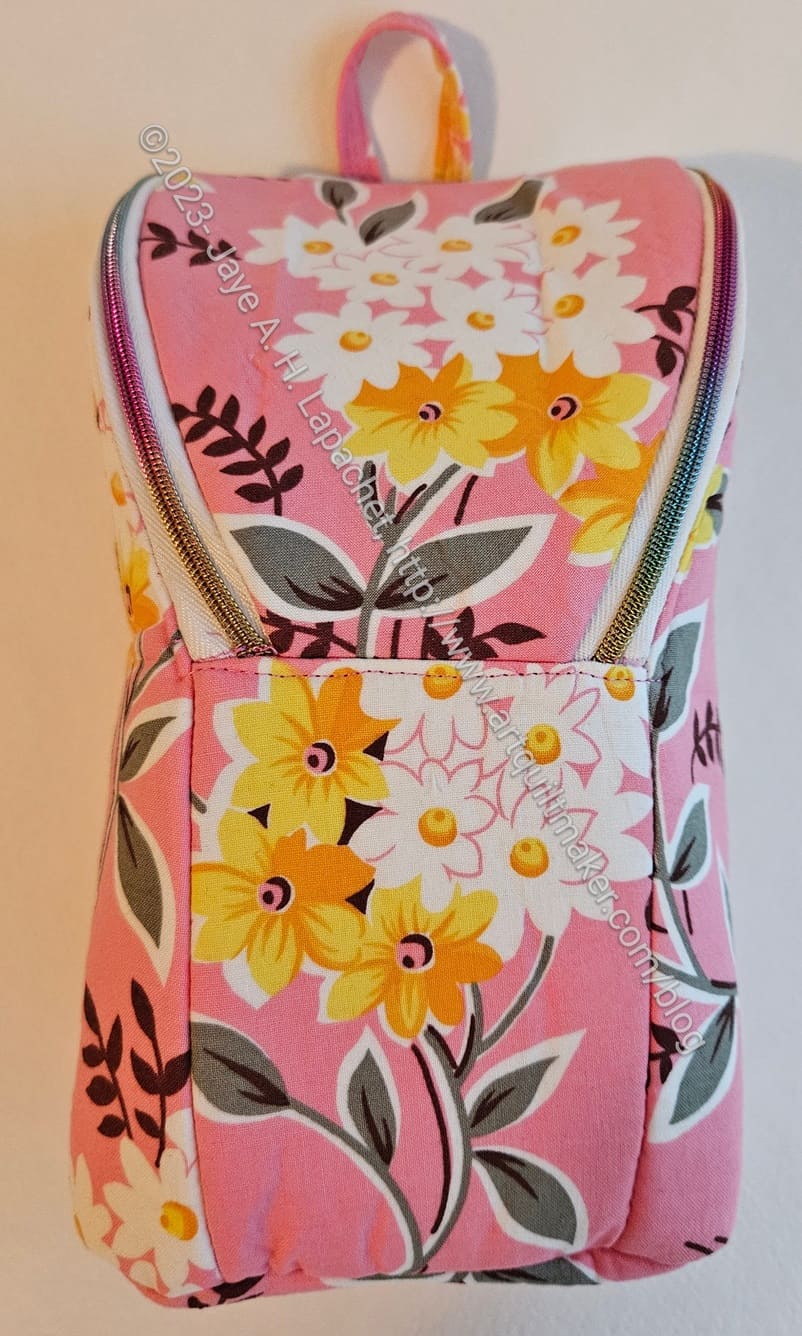
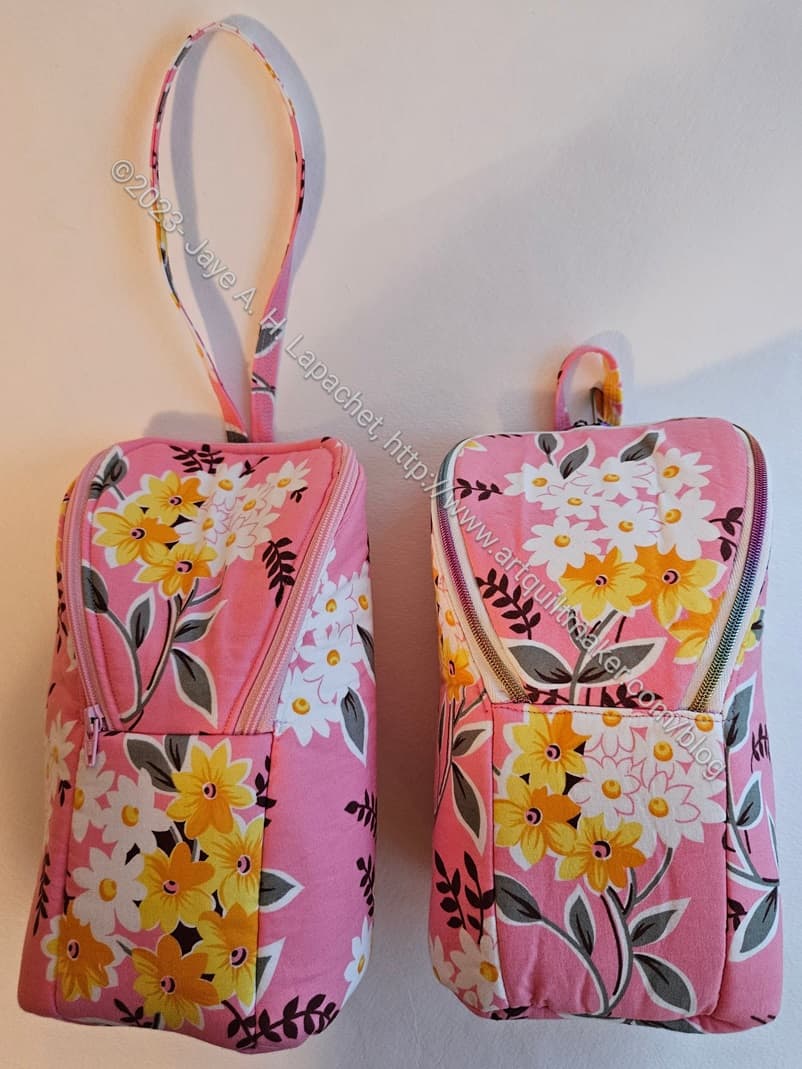
I finished the third Piebald in time to give it to my friend. This one looks quite fat and squat. I didn’t even plump it up for the photo. Isn’t it funny?
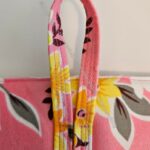
I was able to fussy cut the flap and front panel again, which makes the flap look good. I was able to get the fussy cutting the right way up on the front panel this time as well.
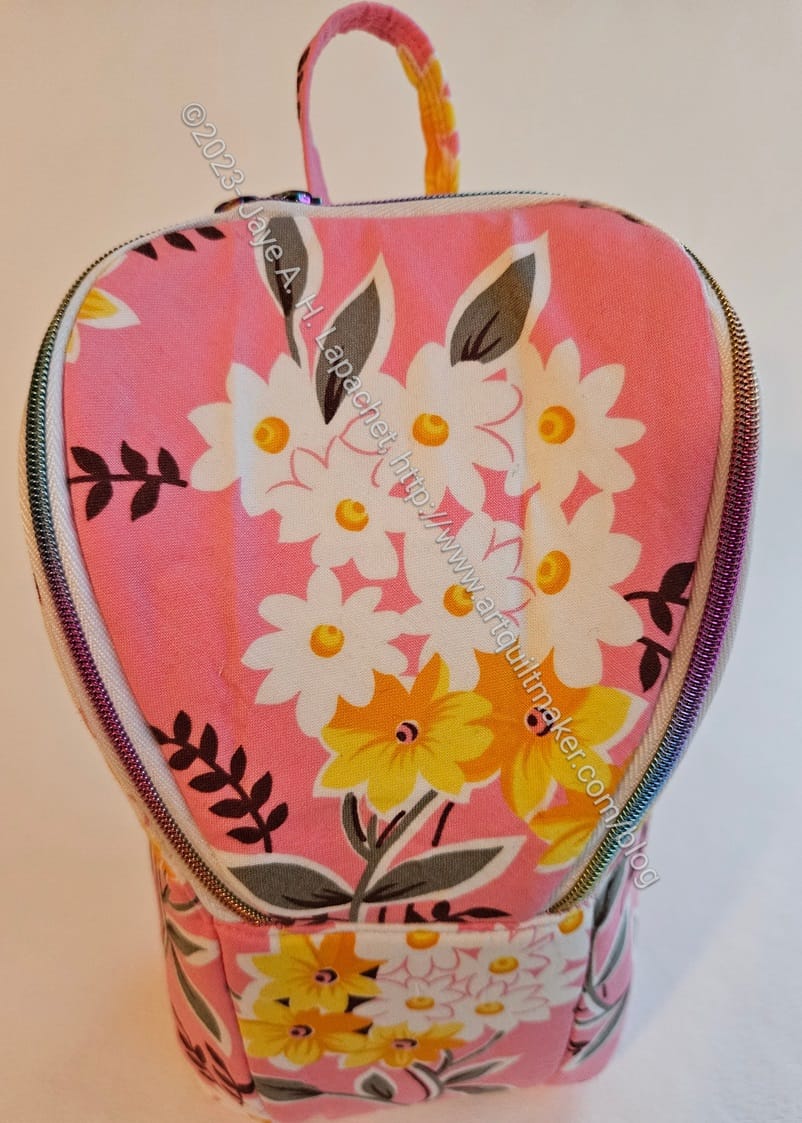
I am also really pleased with the zipper. I found some #3 rainbow zipper tape and some smaller zipper pulls. I used them to try adding a double zipper, which worked perfectly. I thought the white tape would look a little weird, but I think it looks fine. I just love those rainbow zipper teeth.
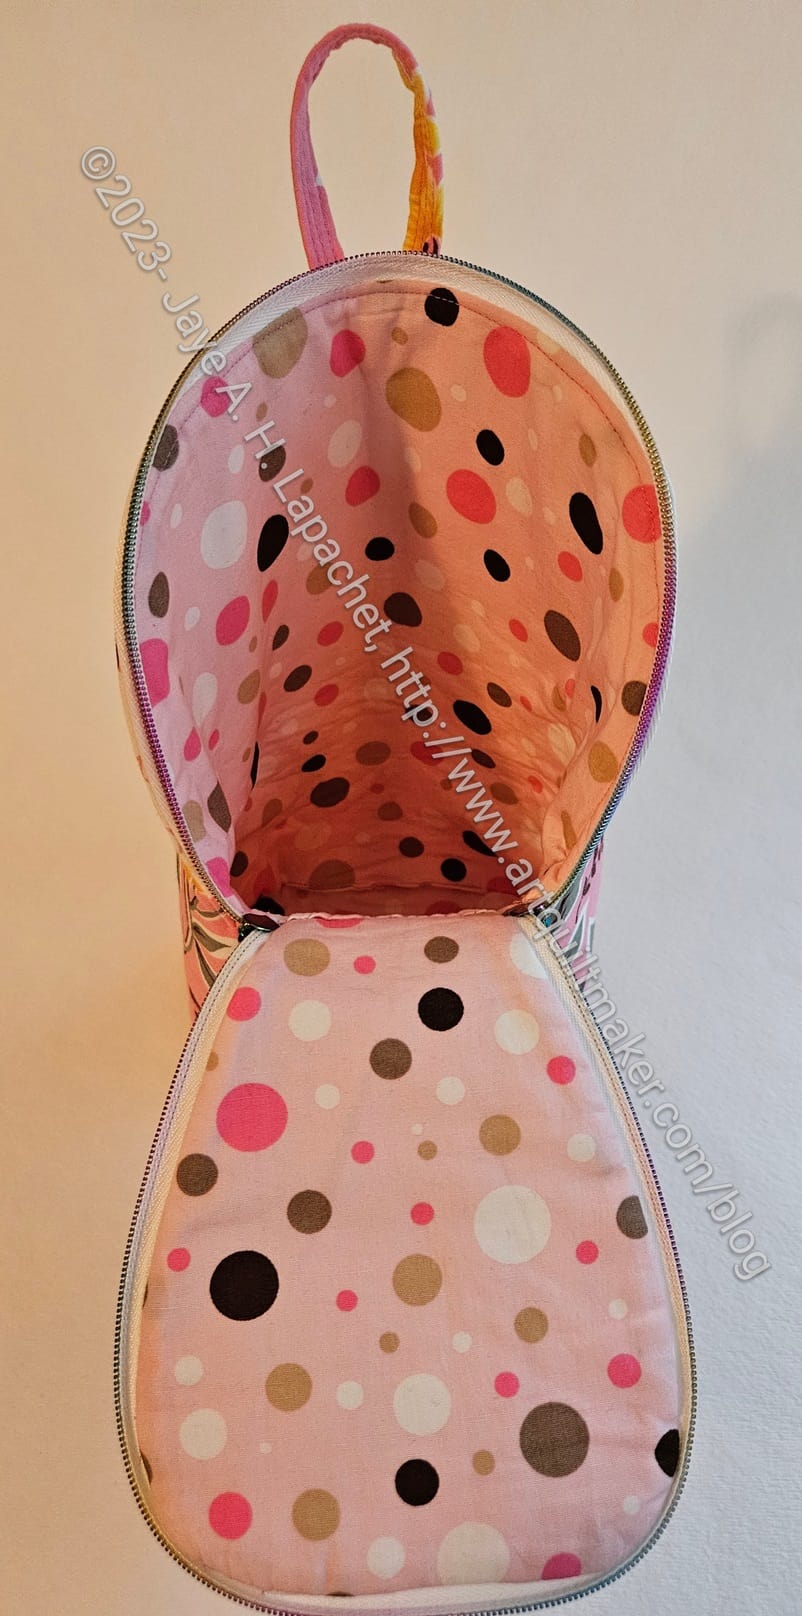
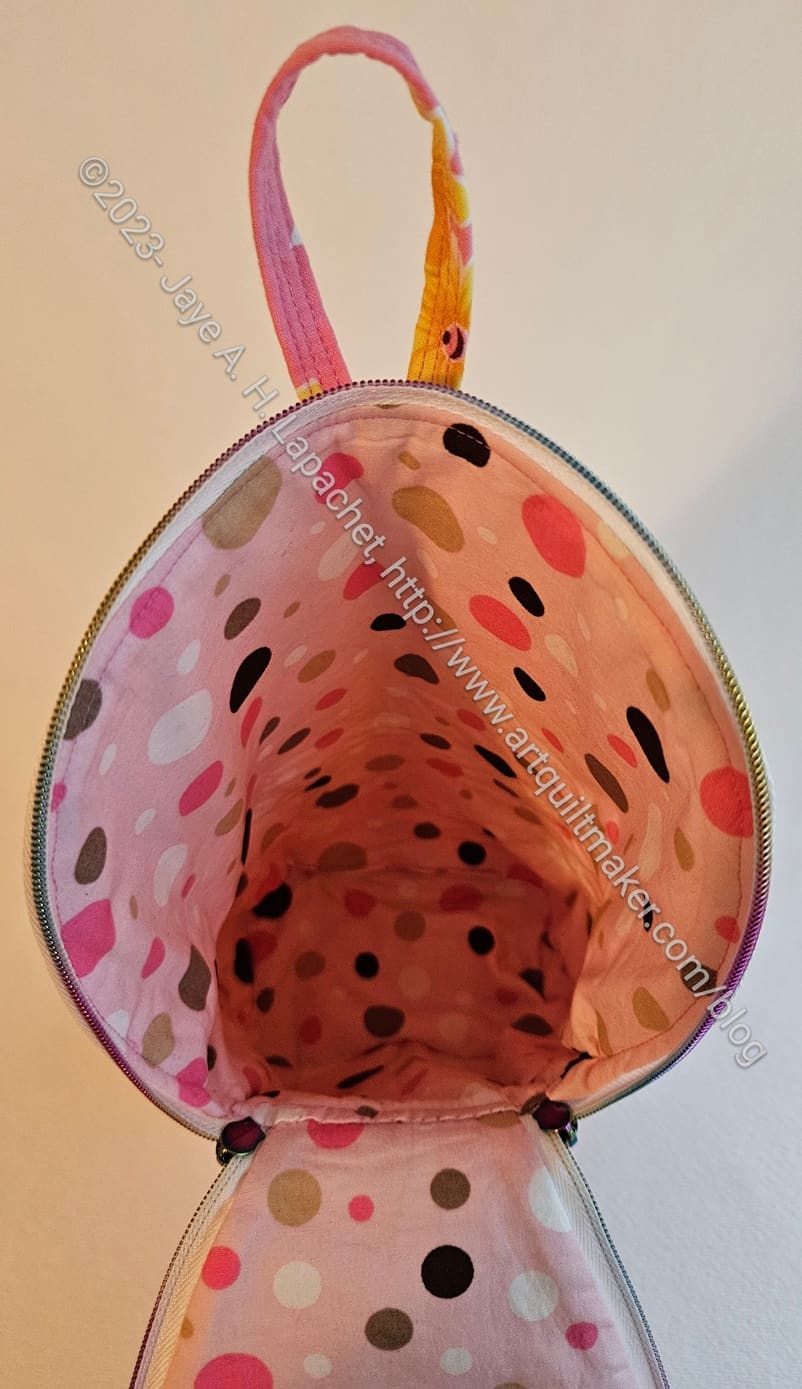
This time I understood the directions for completely attaching the lining. There is a part you have to glue the lining to the foam on the inside, which I did, but it didn’t work even though I let it dry as described in the video. Fourth time is the charm? We’ll see.
I hand stitched the lining to the front panel, which worked fine.
I didn’t have very much of the lining fabric, but I was able to cut all the pieces I needed with no problem. I also still have some left. I think I had most of a fat quarter or slightly over the FQ size from an original half yard. I don’t remember how much I originally bought.
I changed the way I assembled the lining as well. The directions say to start out with a quarter inch seam allowance then veer to 3/8s and then veer back to a quarter. I didn’t like the way that worked on Piebald #2, so I used a 3/8 inch seam allowance for the lining of this pouch. I think it fits much better.
As you can see from the various photos, the strap is much smaller. I measured exactly this time (21.5 inches) and added it as directed. When I make the Cal version I’ll make it somewhere in between the lengths I used on Piebald #2 and Piebald #3.

Measuring correctly made a difference in the way the various stitching lines lined up on the back. I don’t know why there is so much stitching on the back. Is it for strength or does it just look cool? I’ll measure the wristlet one so the stitching lines line up when the loop is longer.
Both Piebald #2 and #3 came out better than I expected. I wish I could do each bag perfectly the first time, but each pattern really takes more than one try to get it – or get it acceptable.
Perhaps I should make these for everyone I know! I think I will move on to another pattern! 😉